There's a moment every evening when my backyard goes from "nice" to "oh, this is lovely" — and honestly? It's never about adding more lights. It's about turning the right ones down. Dimmable outdoor lights changed how we use our porch and patio more than any single fixture I've ever bought, because brightness is a mood: full power for grilling and finding the dropped tongs, low and golden for conversation once dessert is finished. If your current setup is strictly on-or-off, you're missing the best part of outdoor lighting. In this post I'm sharing 17 ways to build dimming into every layer of your yard — porch sconces, string lights, path lights, and landscape spots — from a $15 plug-in dimmer to smart bulbs you control from the couch. I'll cover which dimmers actually work outdoors, how to dodge the dreaded LED flicker, and the layered approach I always recommend: task light up high, ambient light down low. Let's find your perfect after-dark setting.
1. Dimmable Outdoor Lights Start at the Front Door: Porch Sconces on a Real Dimmer
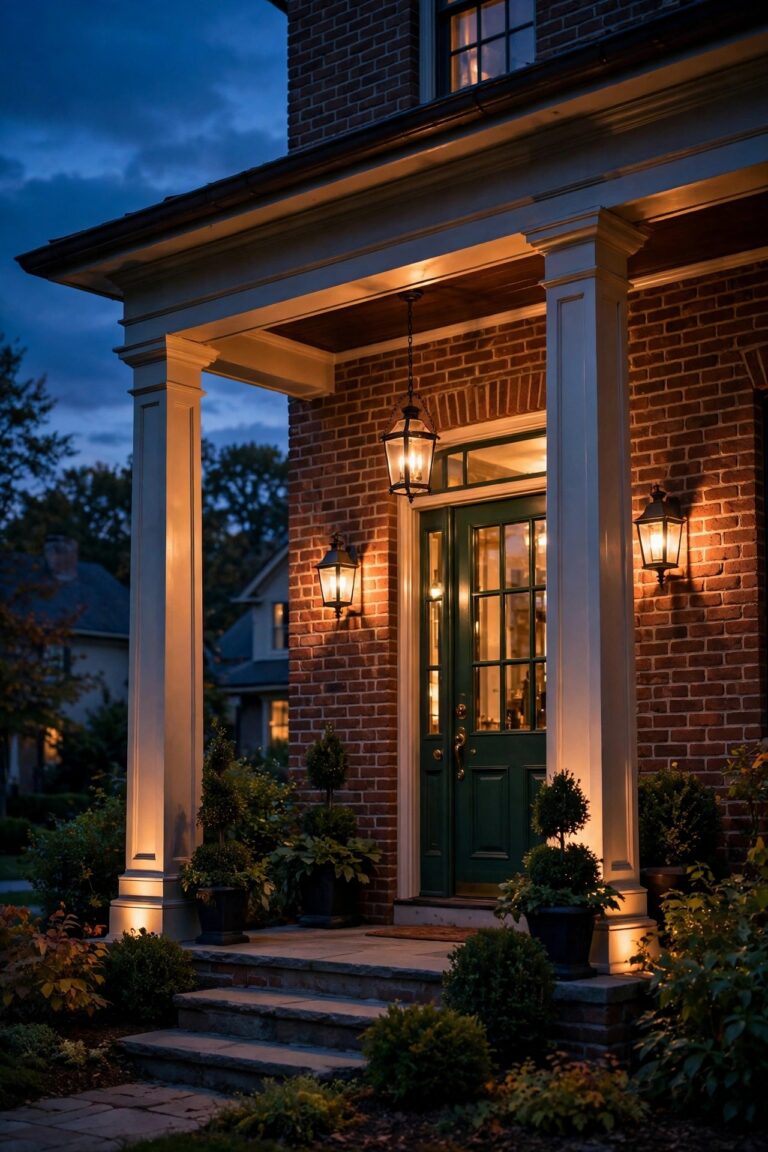
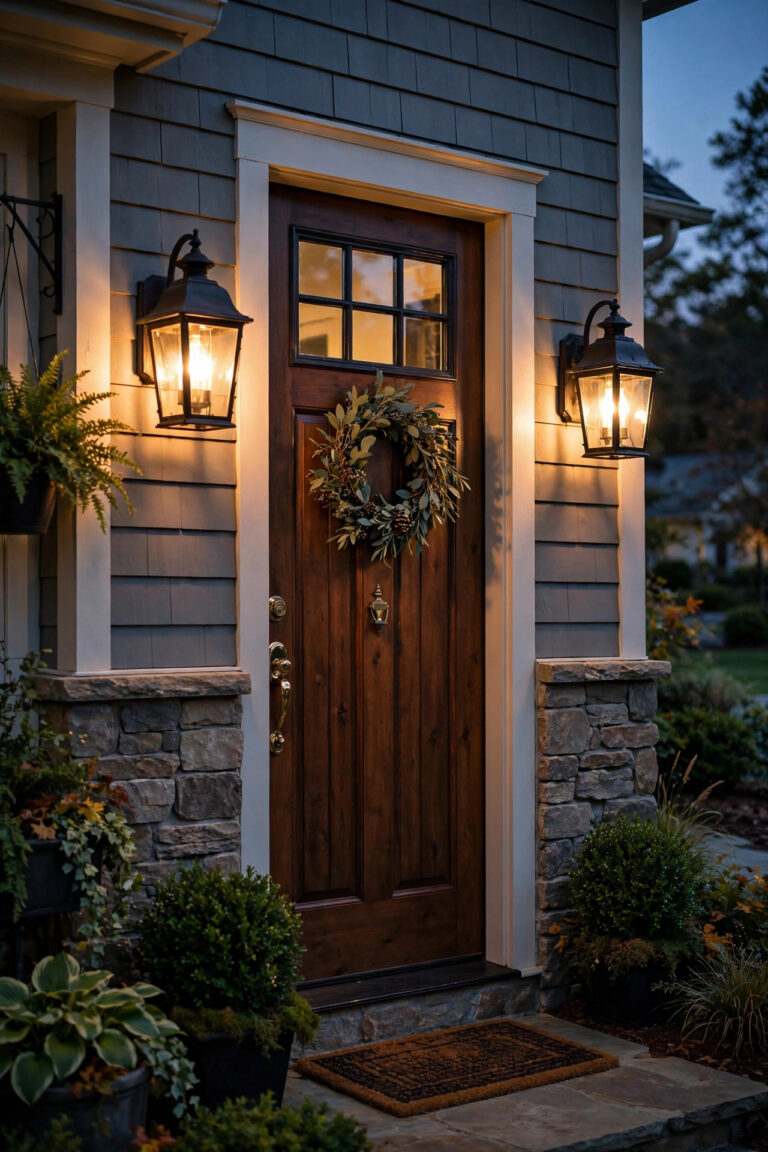
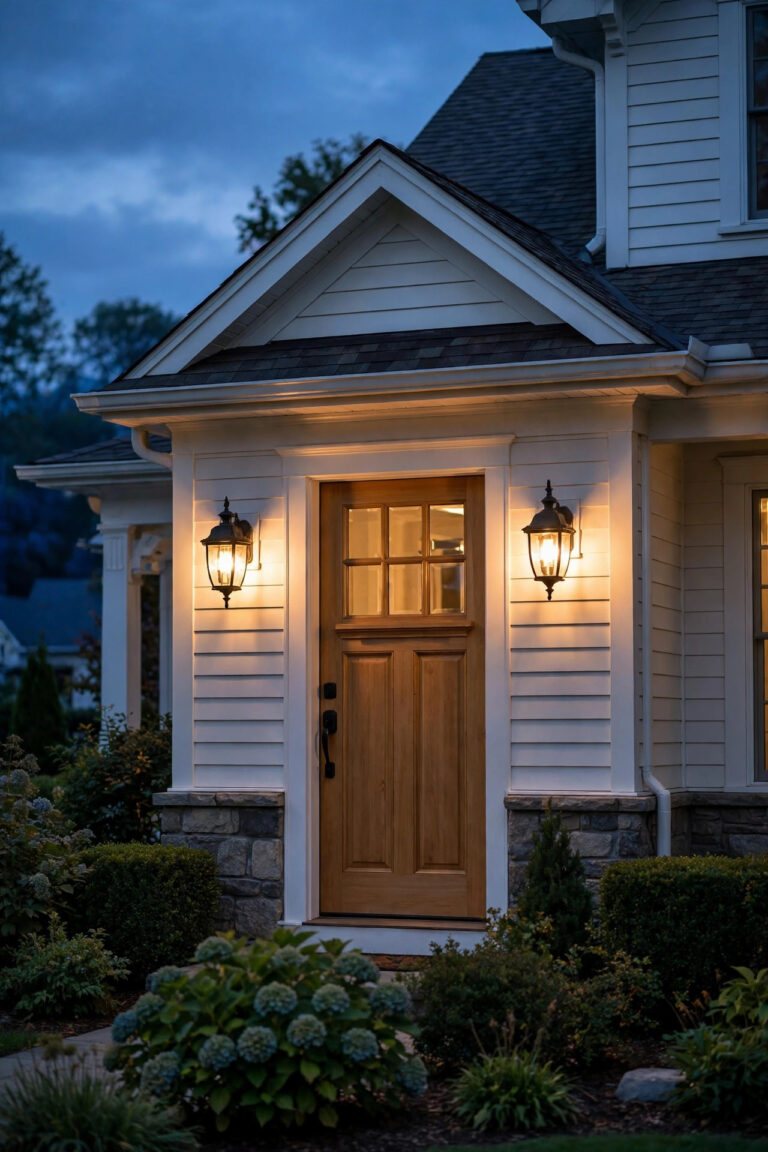
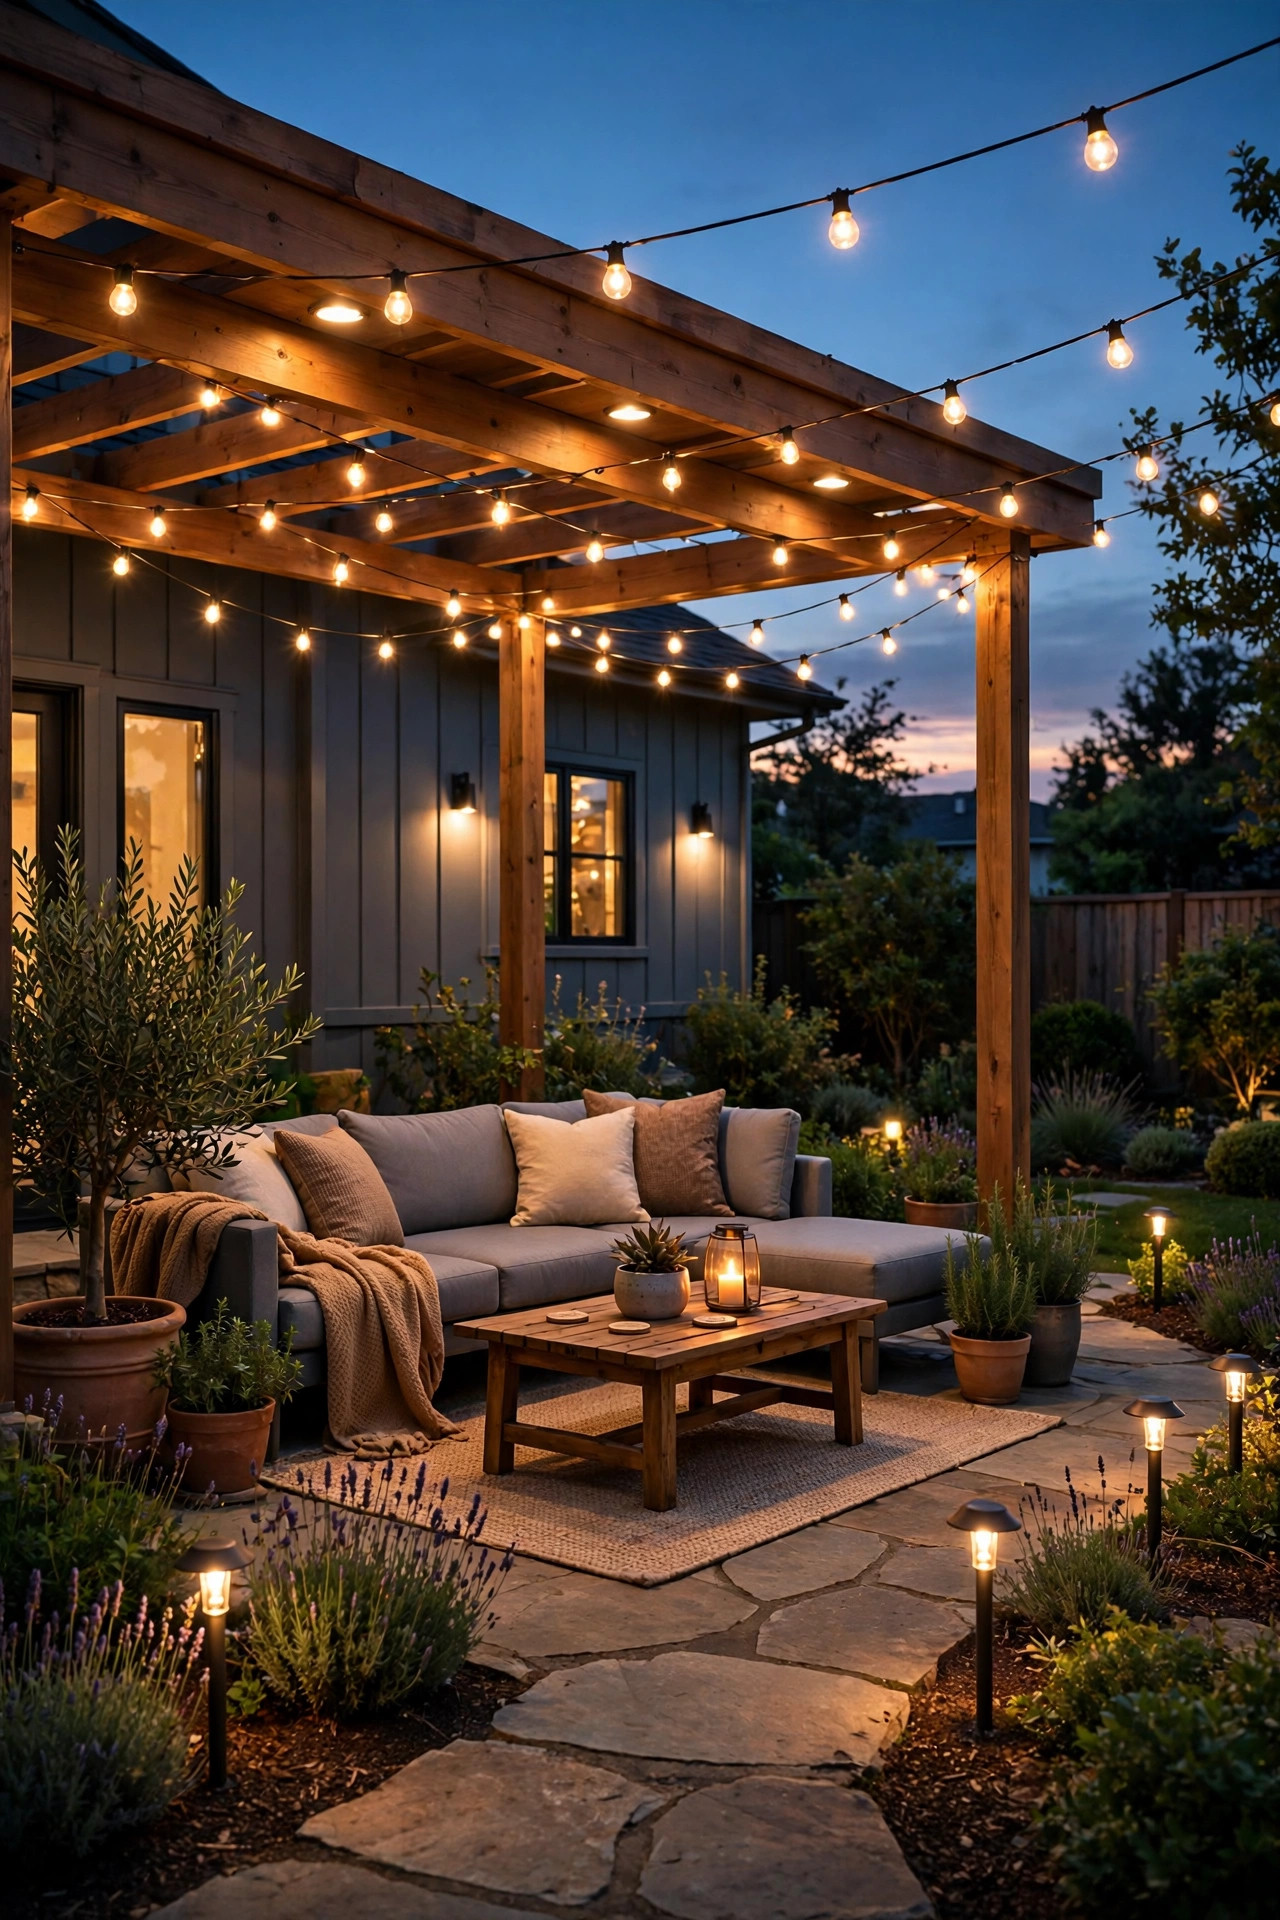
Your front door light does two jobs: it welcomes people in, and it sets the tone for the whole evening. On a standard switch it can only manage one of those — blast bright or go completely dark. Swap that switch for an LED-rated dimmer, the kind with a small slider beside the toggle, pair it with dimmable LED bulbs in your sconces, and suddenly you have range. I run mine at full brightness when we're expecting guests or hunting for a dropped key, then slide it down to about a third once everyone's settled on the porch with drinks. The softer light is kinder to faces, keeps the moths less interested, and makes my rather ordinary entry look genuinely styled. Two practical notes from my own trial and error: pick a dimmer that appears on your bulb maker's compatibility list, because mismatched pairs are the number one cause of flicker and buzz. And if your sconces are fully exposed to rain rather than tucked under a porch roof, make sure the bulbs carry a wet-location rating. This is the cheapest mood upgrade in this entire list, and honestly, it's the one I'd do first if I were starting over tomorrow.
Suggested budget range: $40 – $120.
2. Smart Dimmable Bulbs in the Fixtures You Already Own
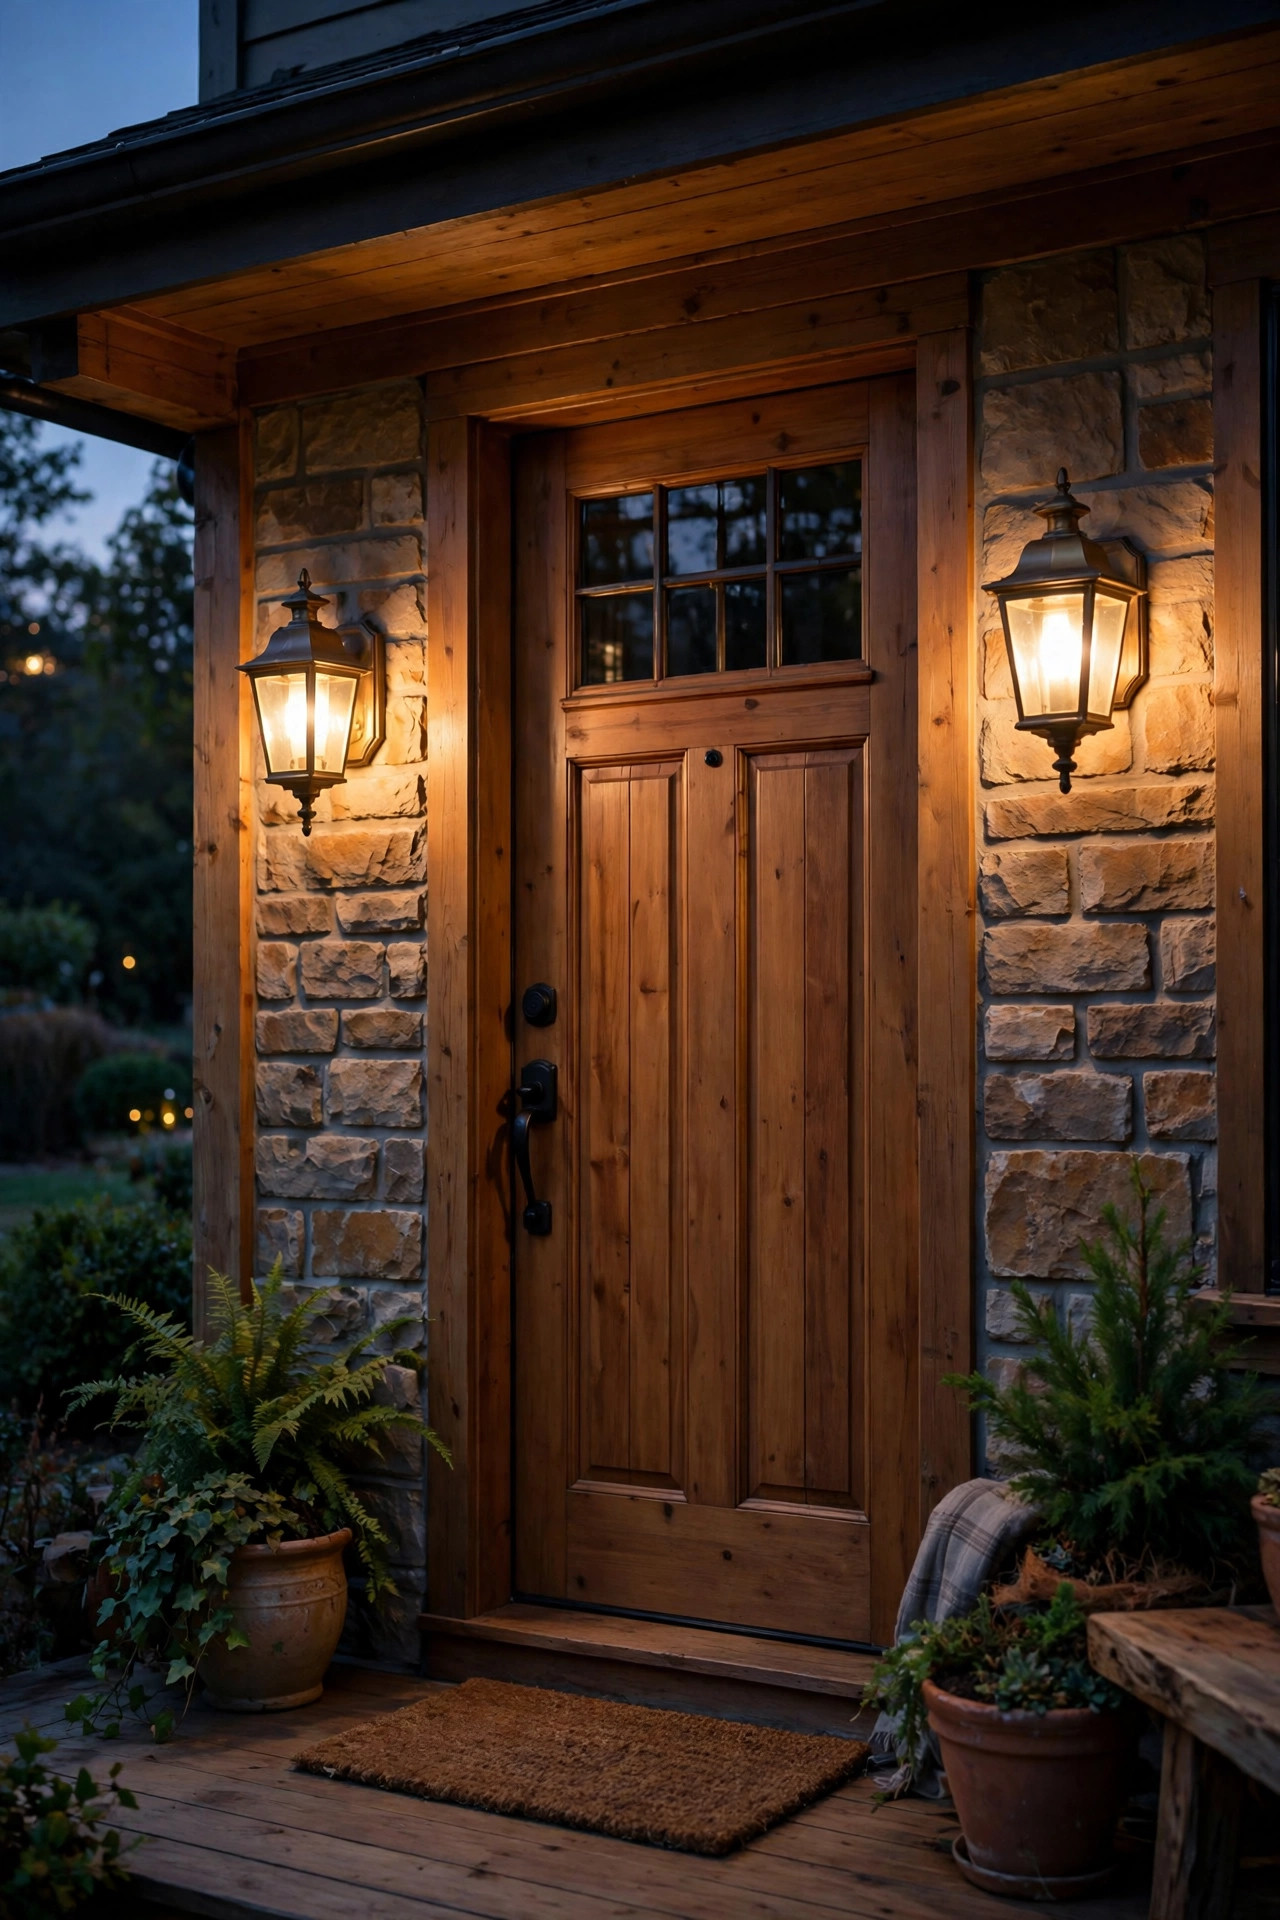
If rewiring a switch sounds like a weekend you'd rather spend outside, smart bulbs are the shortcut I recommend to friends. You screw a dimmable smart bulb into your existing porch lantern, garage carriage light, or patio pendant, connect it to your home Wi-Fi, and dimming happens in an app or by voice — no electrician, no new hardware in the wall. My favorite trick is scheduling: my porch bulbs fade up to 60 percent at sunset, hold there for the evening, then ease down to a 15 percent night-light glow at eleven so the entry never sits pitch black. A few honest cautions from experience. Fully enclosed fixtures trap heat, so check the bulb is rated for enclosed use or it will fade early. Outdoor Wi-Fi can be patchy at the far end of a driveway, so test your signal where the fixture lives before buying a multipack. And stick with bulbs in the 2700K warm-white family for that golden look. Beyond dimming, the app scenes — "porch coffee," "party," "goodnight" — are what turn this from a gadget into a nightly habit. If you want to go deeper on hubs, apps, and schedules, my smart outdoor lighting guide pulls the whole system together.
Suggested budget range: $25 – $90.
3. A Plug-In Dimmer Module for String Lights and Plug-In Fixtures
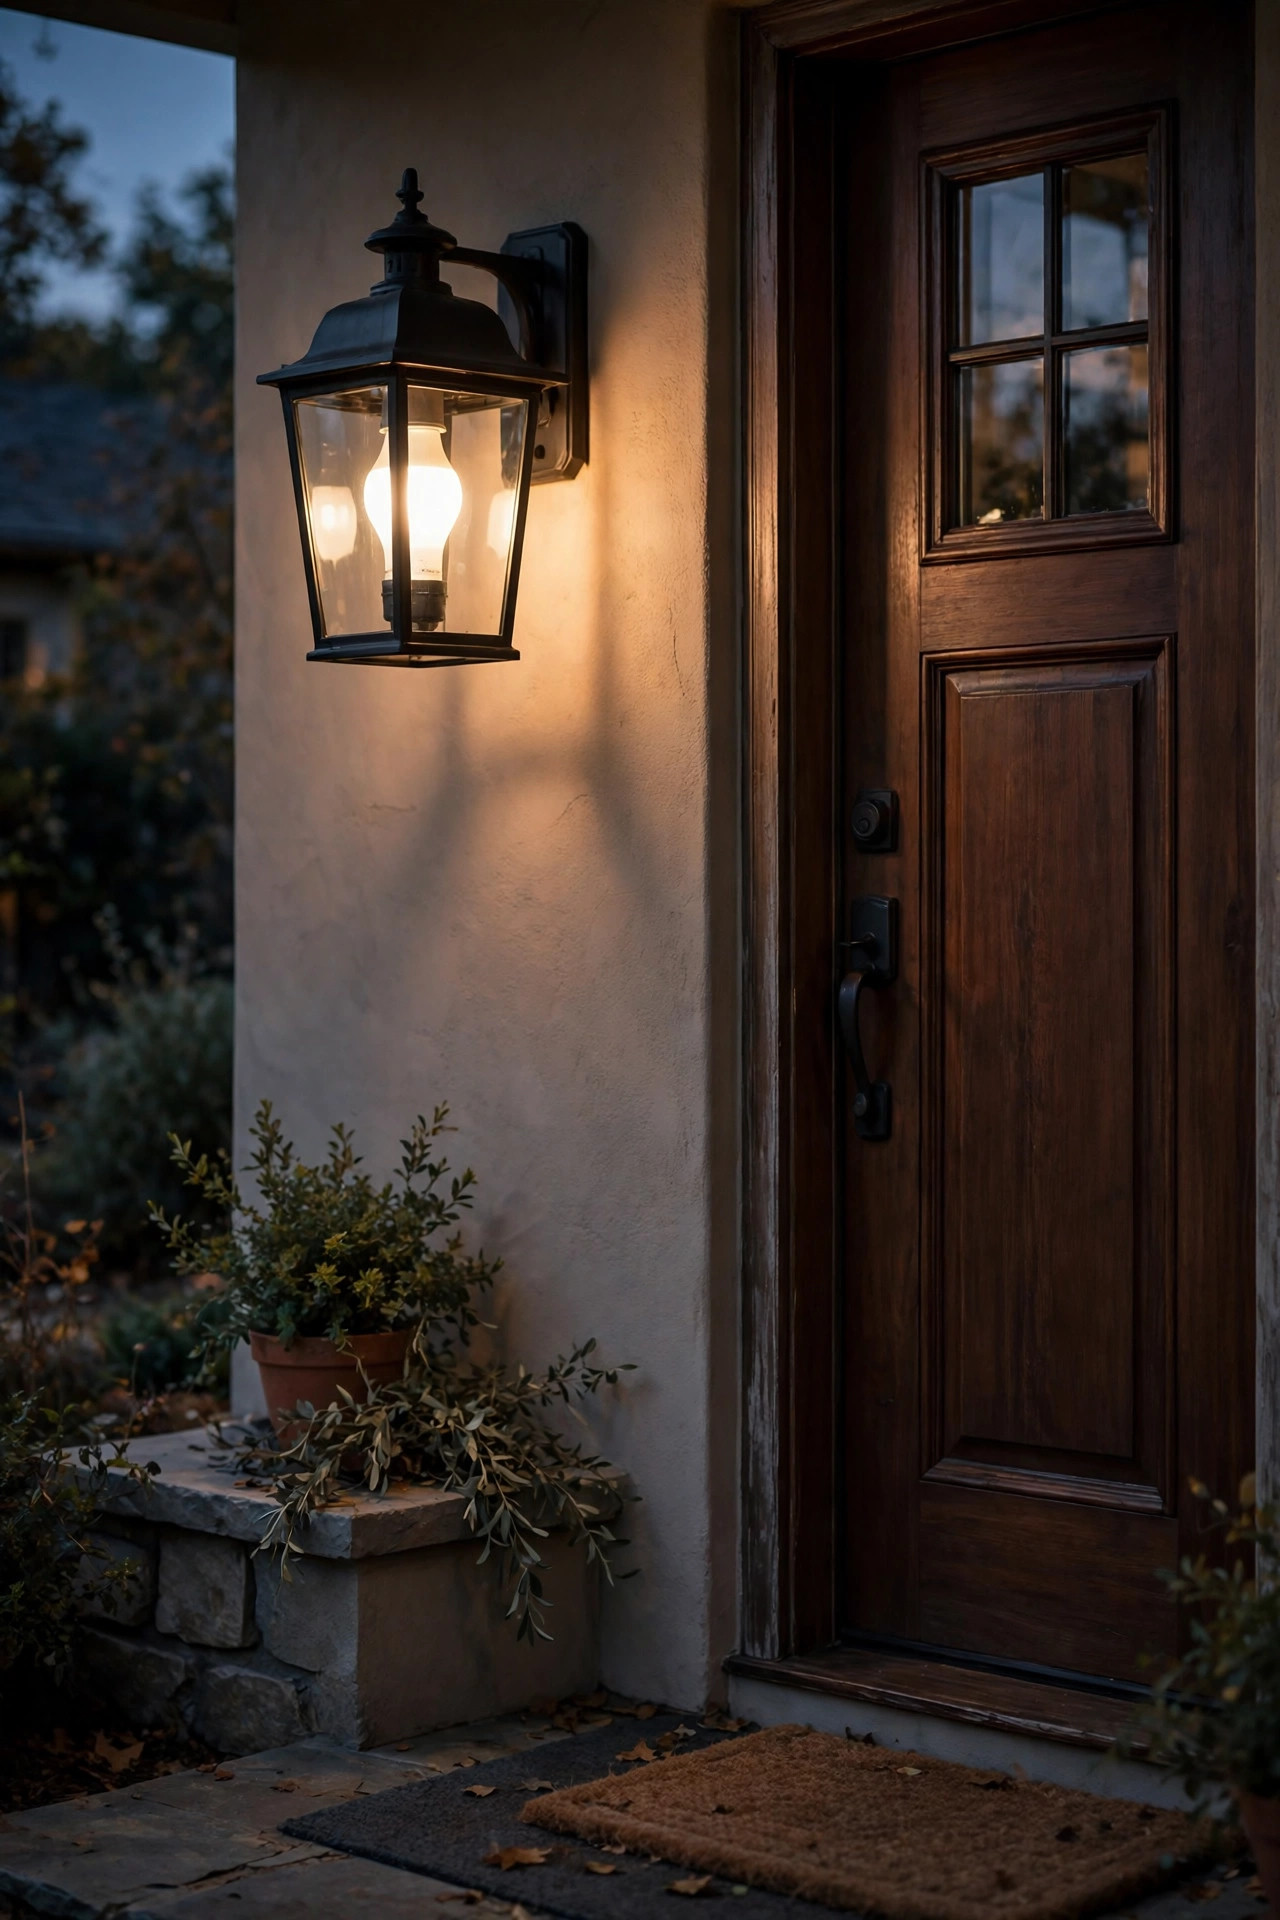
Some of the best mood lighting in my yard plugs into an outlet rather than a junction box, and it deserves dimming too. An outdoor-rated plug-in dimmer sits between the outlet and your fixture's plug, and many come with a little wireless remote you can keep on the patio table. I use one on the plug-in festoon strand over our side deck, and it solved a real problem: that strand was either carnival-bright or off, nothing in between. Now it idles at about a quarter brightness during dinner and comes up when we're clearing plates and need to see. When you shop, check three things: the module is rated for outdoor use with a weather-resistant housing, its wattage capacity comfortably exceeds your strand's total draw (easy with LEDs), and the dimmer is made for LED loads rather than old incandescent ropes. Keep the connection point under an eave or inside an in-use outlet cover so rain can't pool in the plug. It's a fifteen-dollar experiment that will convince you dimming matters, I promise.
Suggested budget range: $15 – $45.
4. Dimmable String Lights Over the Patio for Restaurant-Level Glow
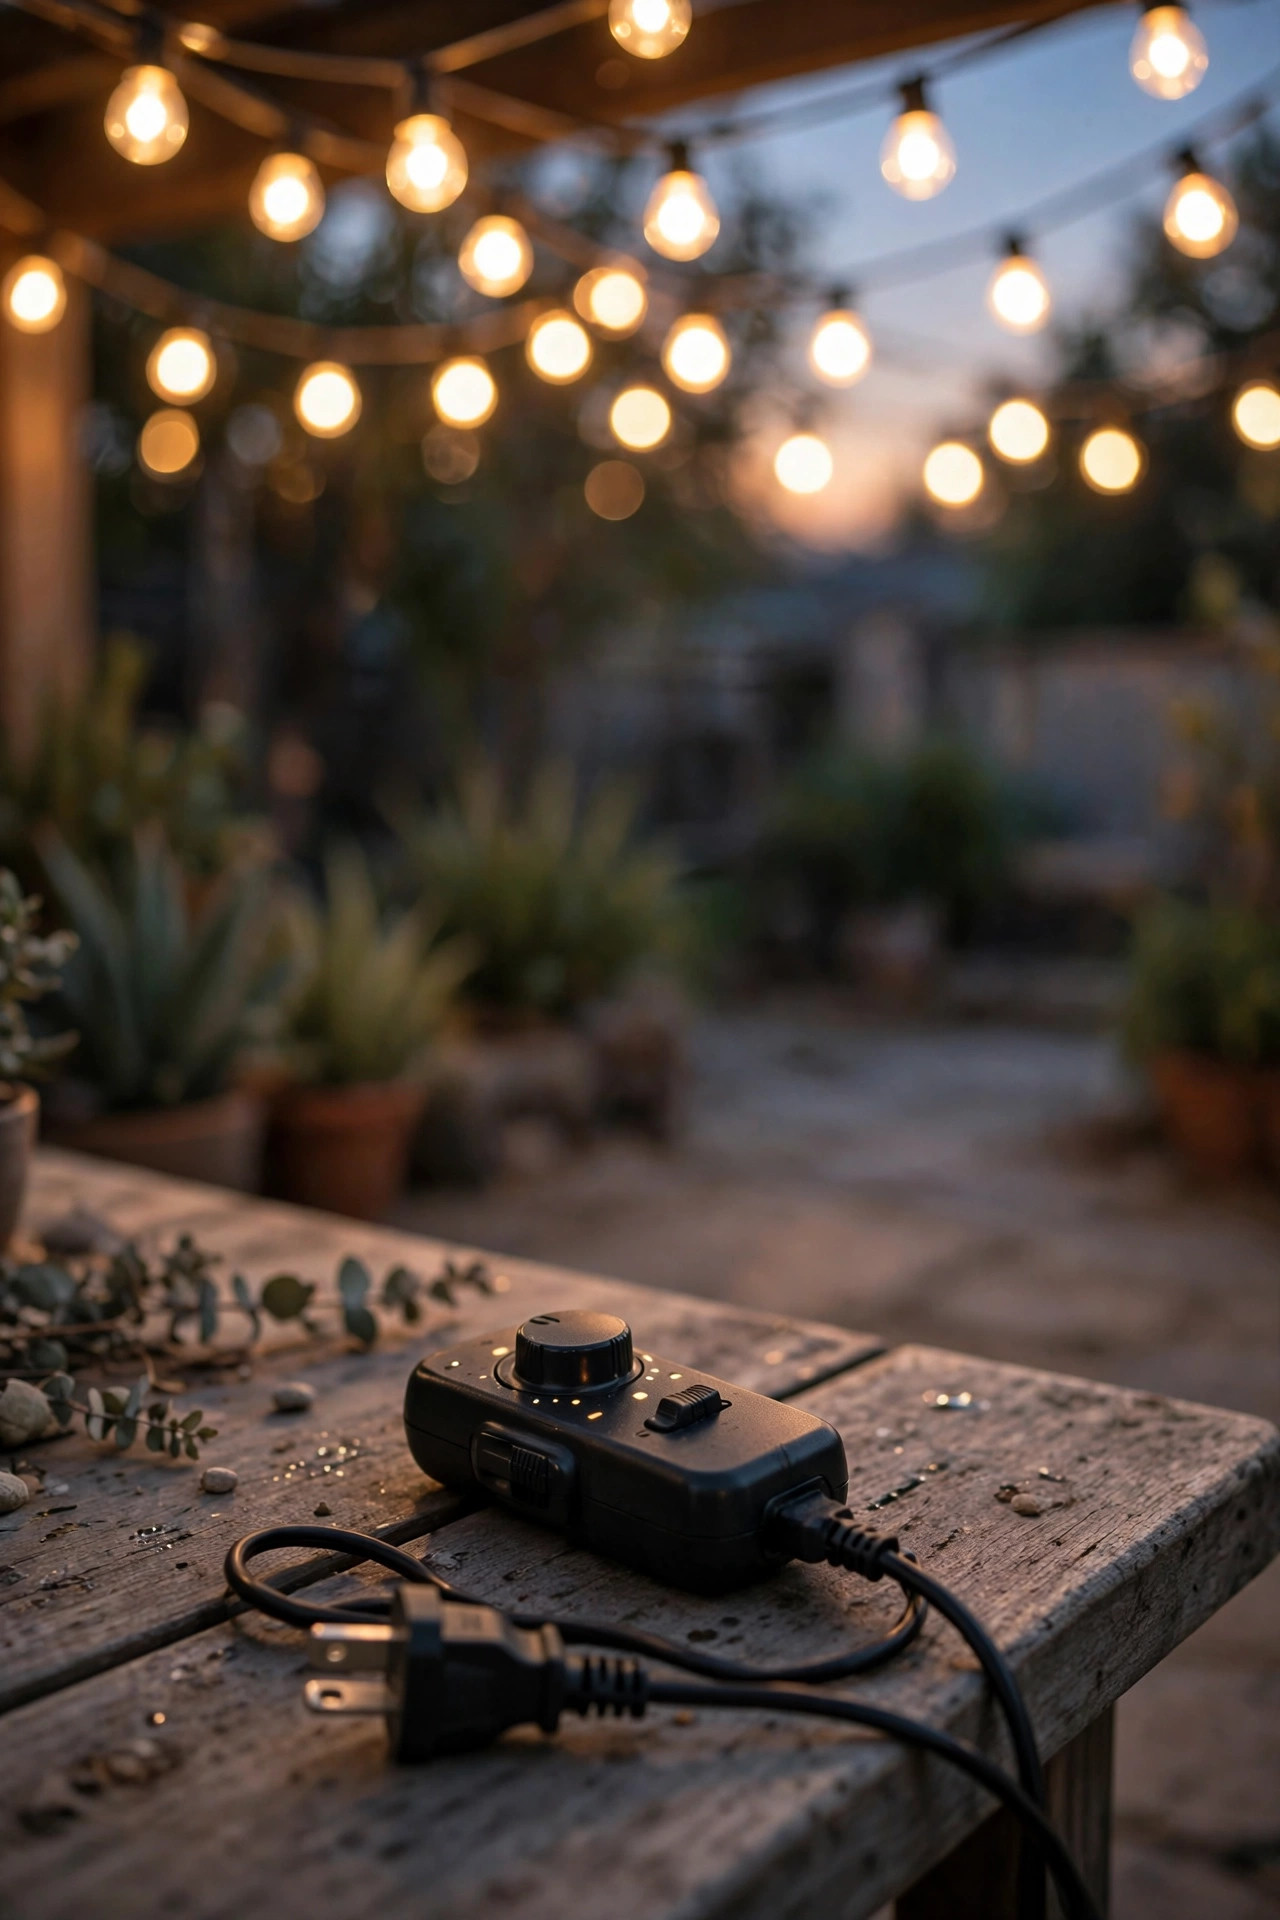
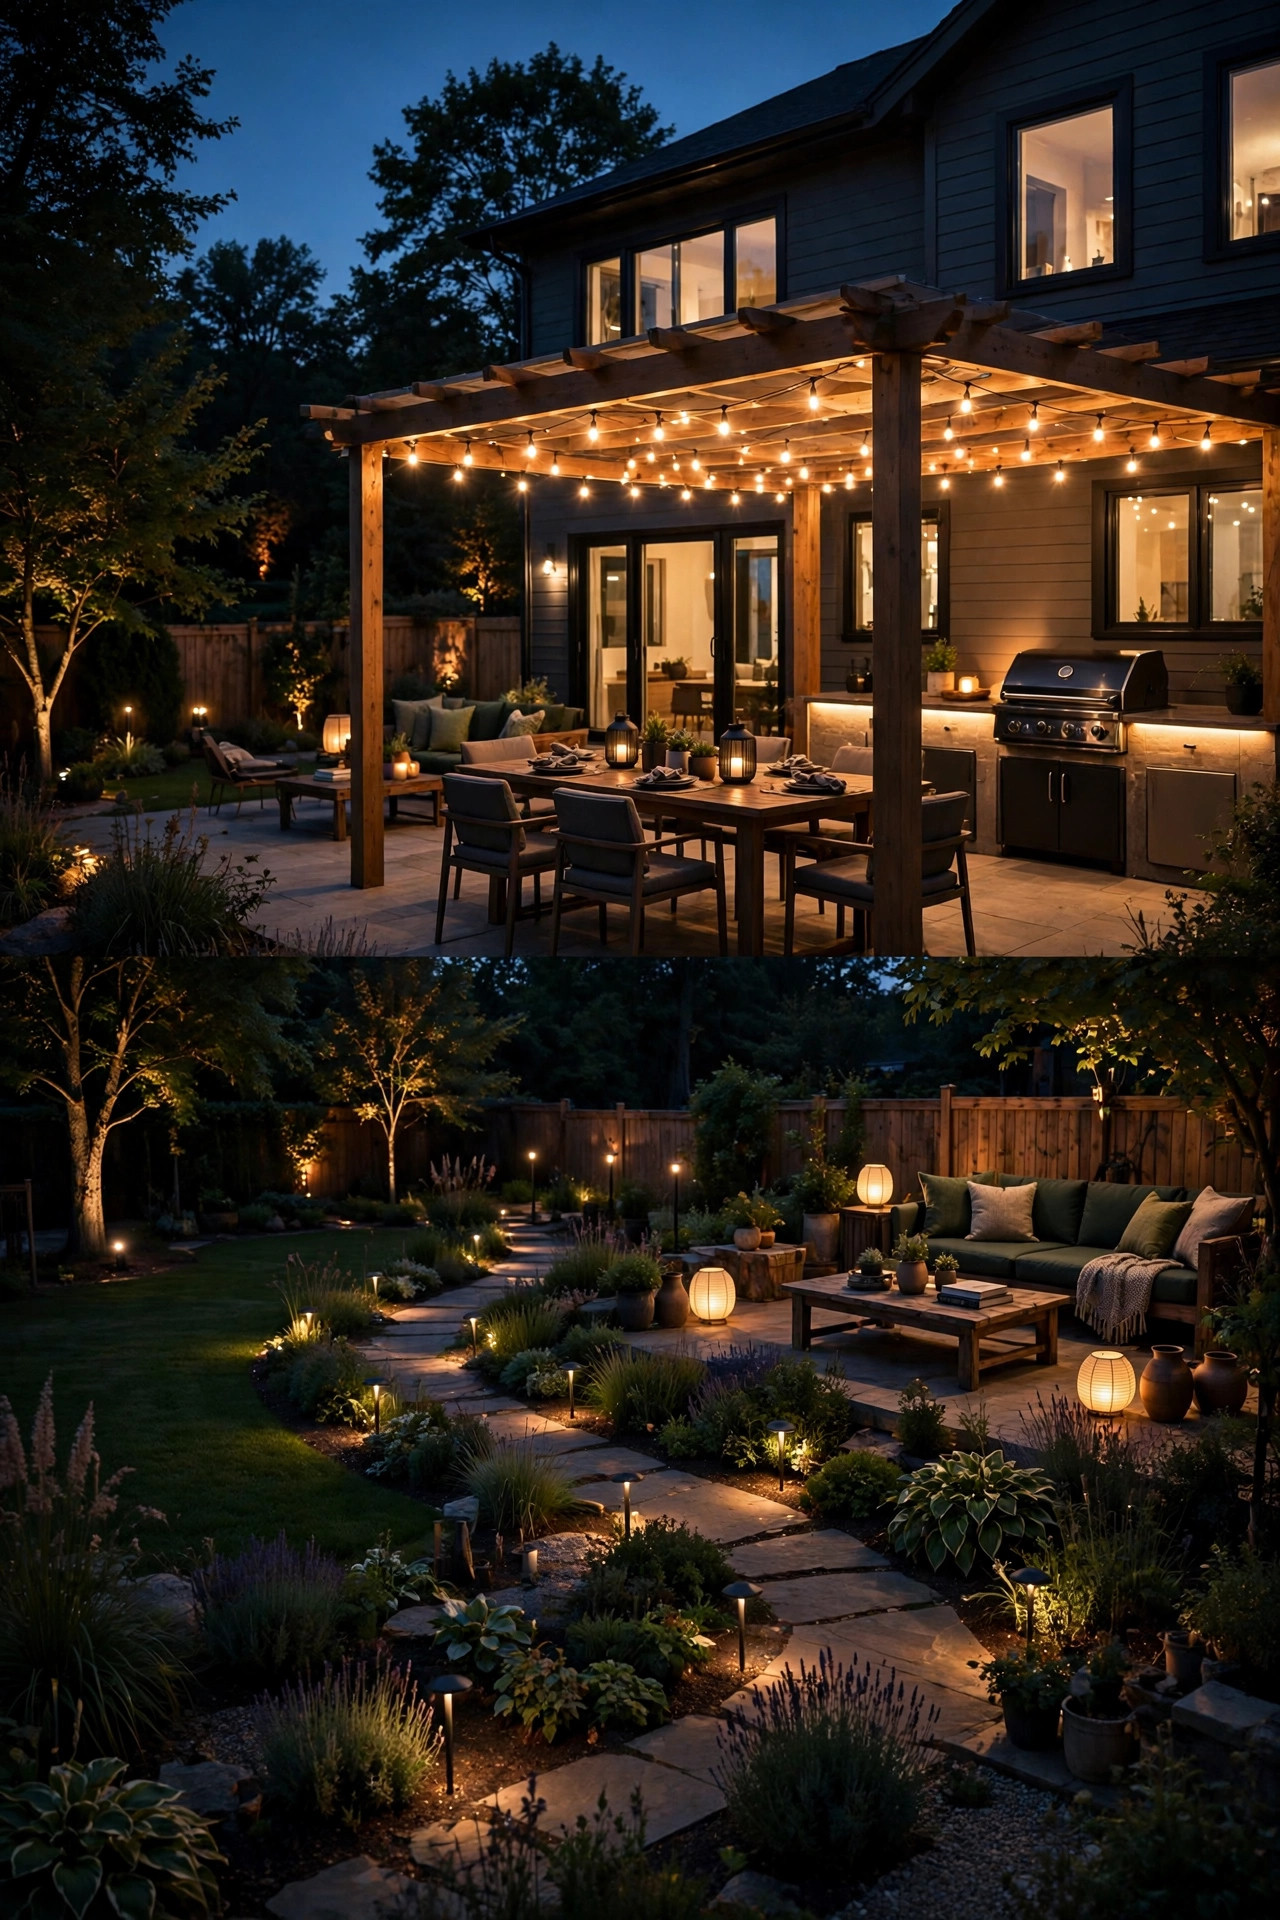
Everybody loves patio string lights; almost nobody loves them at full blast. Commercial-grade dimmable LED string lights — the heavy-duty strand with replaceable bulbs — paired with a dimmer give you that restaurant-patio glow that makes an ordinary Tuesday dinner feel like an occasion. I hang mine on a guide wire so the swags stay even, spacing the bulbs about 12 to 15 inches apart over the table, and I dim them to roughly 25 percent once food is served. At that level the light flatters everyone, the stars come back, and the bulbs stop competing with the candles. Installation notes: only strands sold as dimmable will behave — bargain non-dimmable sets flicker or cut out at low settings, which defeats the whole purpose. Look for shatterproof LED bulbs in warm white, and buy one strand longer than you measured so you can afford a graceful drape instead of a tightrope. If your patio is big, split it into two strands on two dimmers; zoning one half lower while you eat and keeping the grill end brighter is layering at its most practical.
Suggested budget range: $45 – $130.
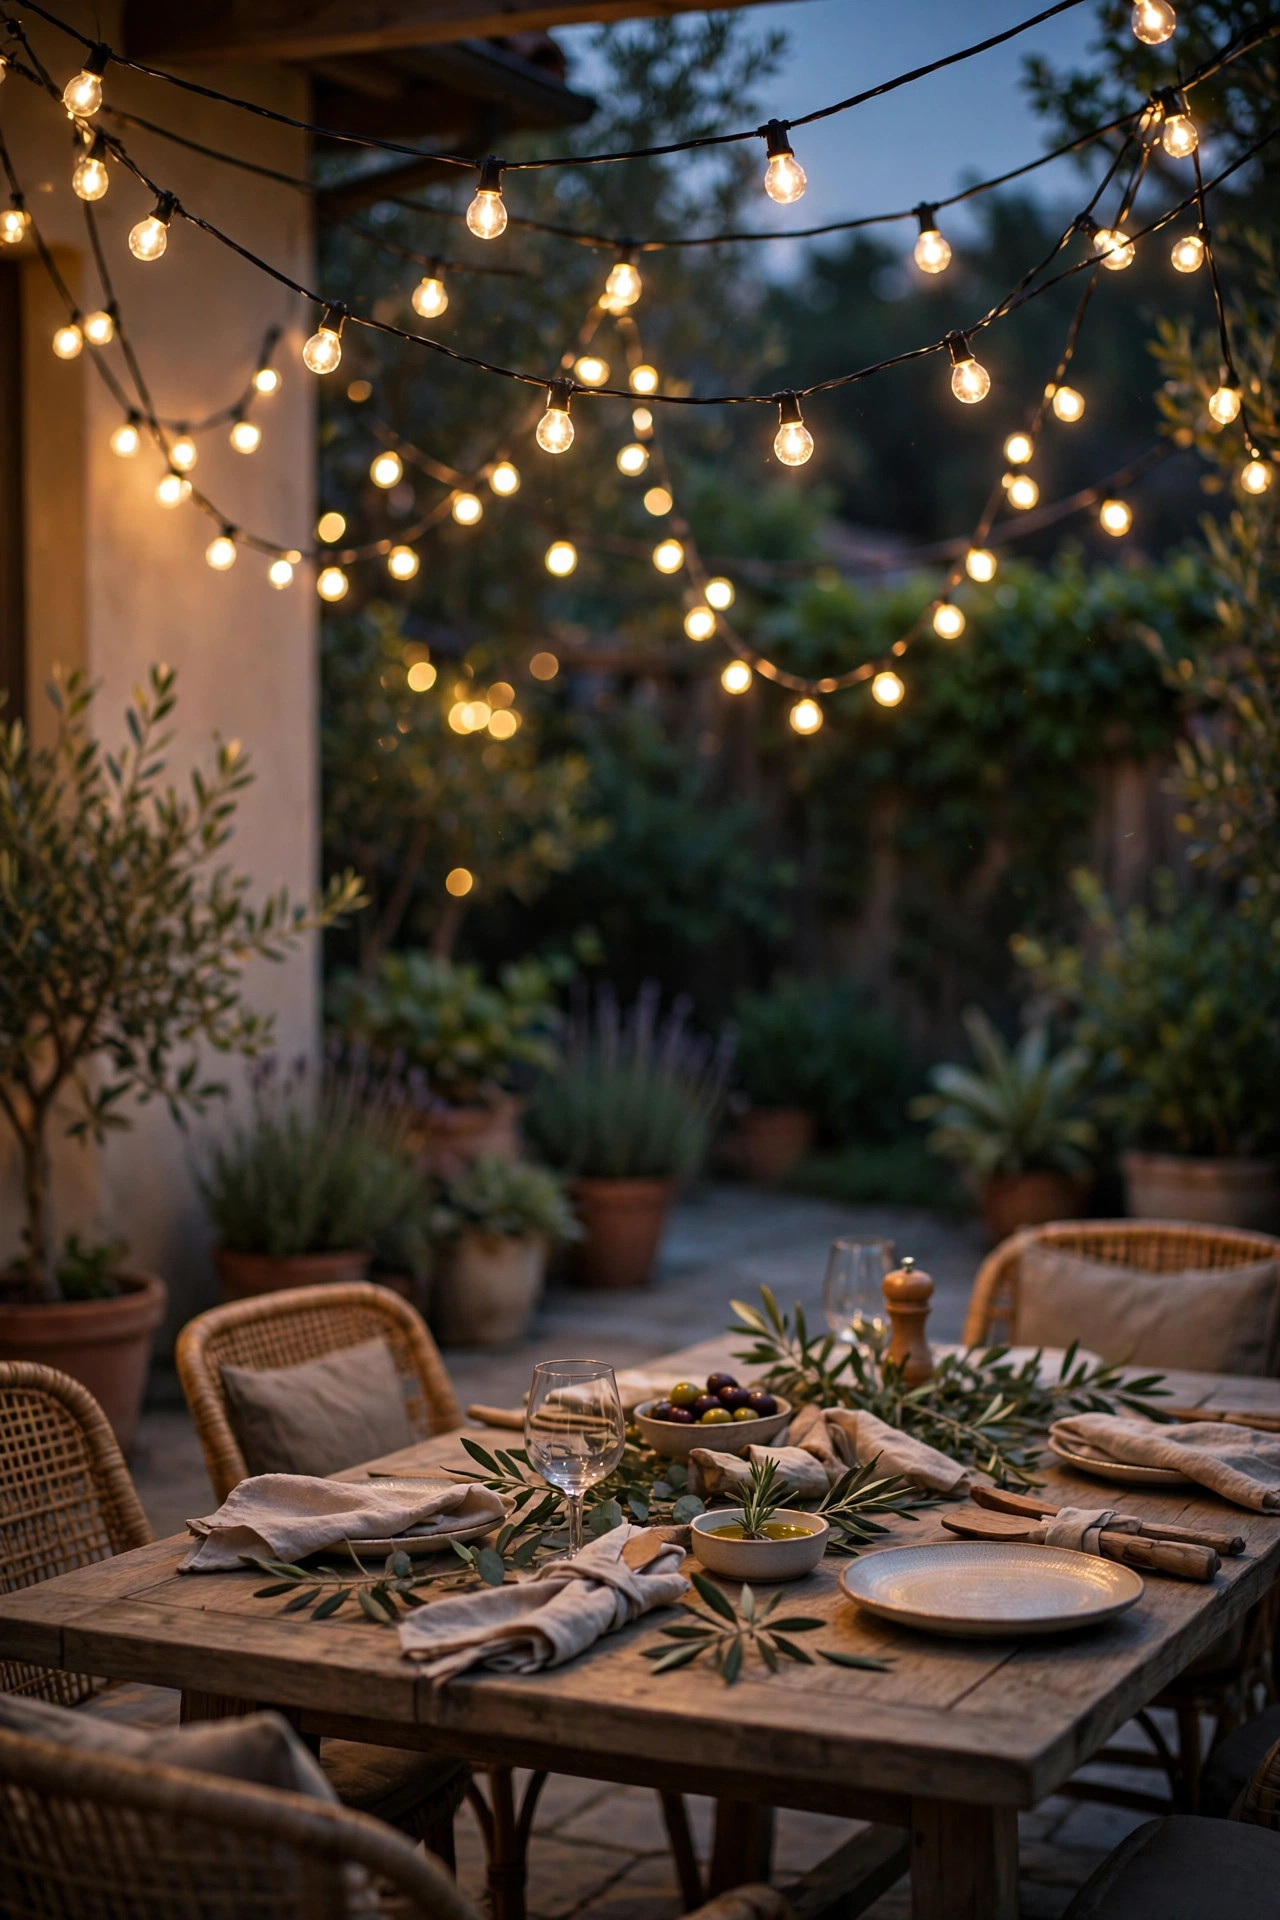
5. Low-Voltage Dimmable Outdoor Lights on a Zoned Transformer
The backbone of my landscape lighting is a low-voltage system, and adding dimming to it changed everything about how the front yard feels after dark. Many modern transformers offer zone control, and add-on dimmers for low-voltage lines let you set each run independently: the path lights at a gentle 40 percent, the uplights on the maple a touch stronger, the garden bed wash barely there. Without dimming, matched fixtures all shout at the same volume and the yard looks like a showroom. With it, you get depth — bright where feet need guidance, soft where eyes want to rest. Practical advice: size your transformer at about 80 percent of its rating once all fixtures are counted, keep individual runs under roughly 100 feet to avoid dimming falloff at the far end, and always test your dimmer with one fixture before installing the whole run, since some inexpensive LED fixtures dim unevenly. This is a slightly bigger project than a bulb swap, but in my experience it's the single most professional-looking upgrade a homeowner can make. It's really just layered landscape lighting with volume controls — task, accent, and ambient layers you can conduct independently.
Suggested budget range: $120 – $350.

6. Dimmable Path Lights That Guide Without the Runway Look
We've all seen the walkway that looks ready for a 737 landing: a row of identical bright dots marching to the door. Path lights should whisper, not shout, and dimmable fixtures make that easy. I choose path lights with a modest output — 100 to 200 lumens is plenty — and run them on a dimmer so I can drop the whole row to half power on quiet evenings and bring it up when guests are picking their way to the car. Spacing matters as much as brightness: stagger lights on alternating sides of the walk, about 6 to 8 feet apart, so pools of light overlap softly instead of striping the concrete. At low dim, the light stays right where it's useful — on the path surface and the planting edges — and stops spilling onto the lawn and into the street, which your neighbors and the local moths will both appreciate. If your fixtures are solar, look for models with two or three brightness levels; they're the closest solar equivalent to true dimming and they stretch runtime on long winter nights.
Suggested budget range: $60 – $180.
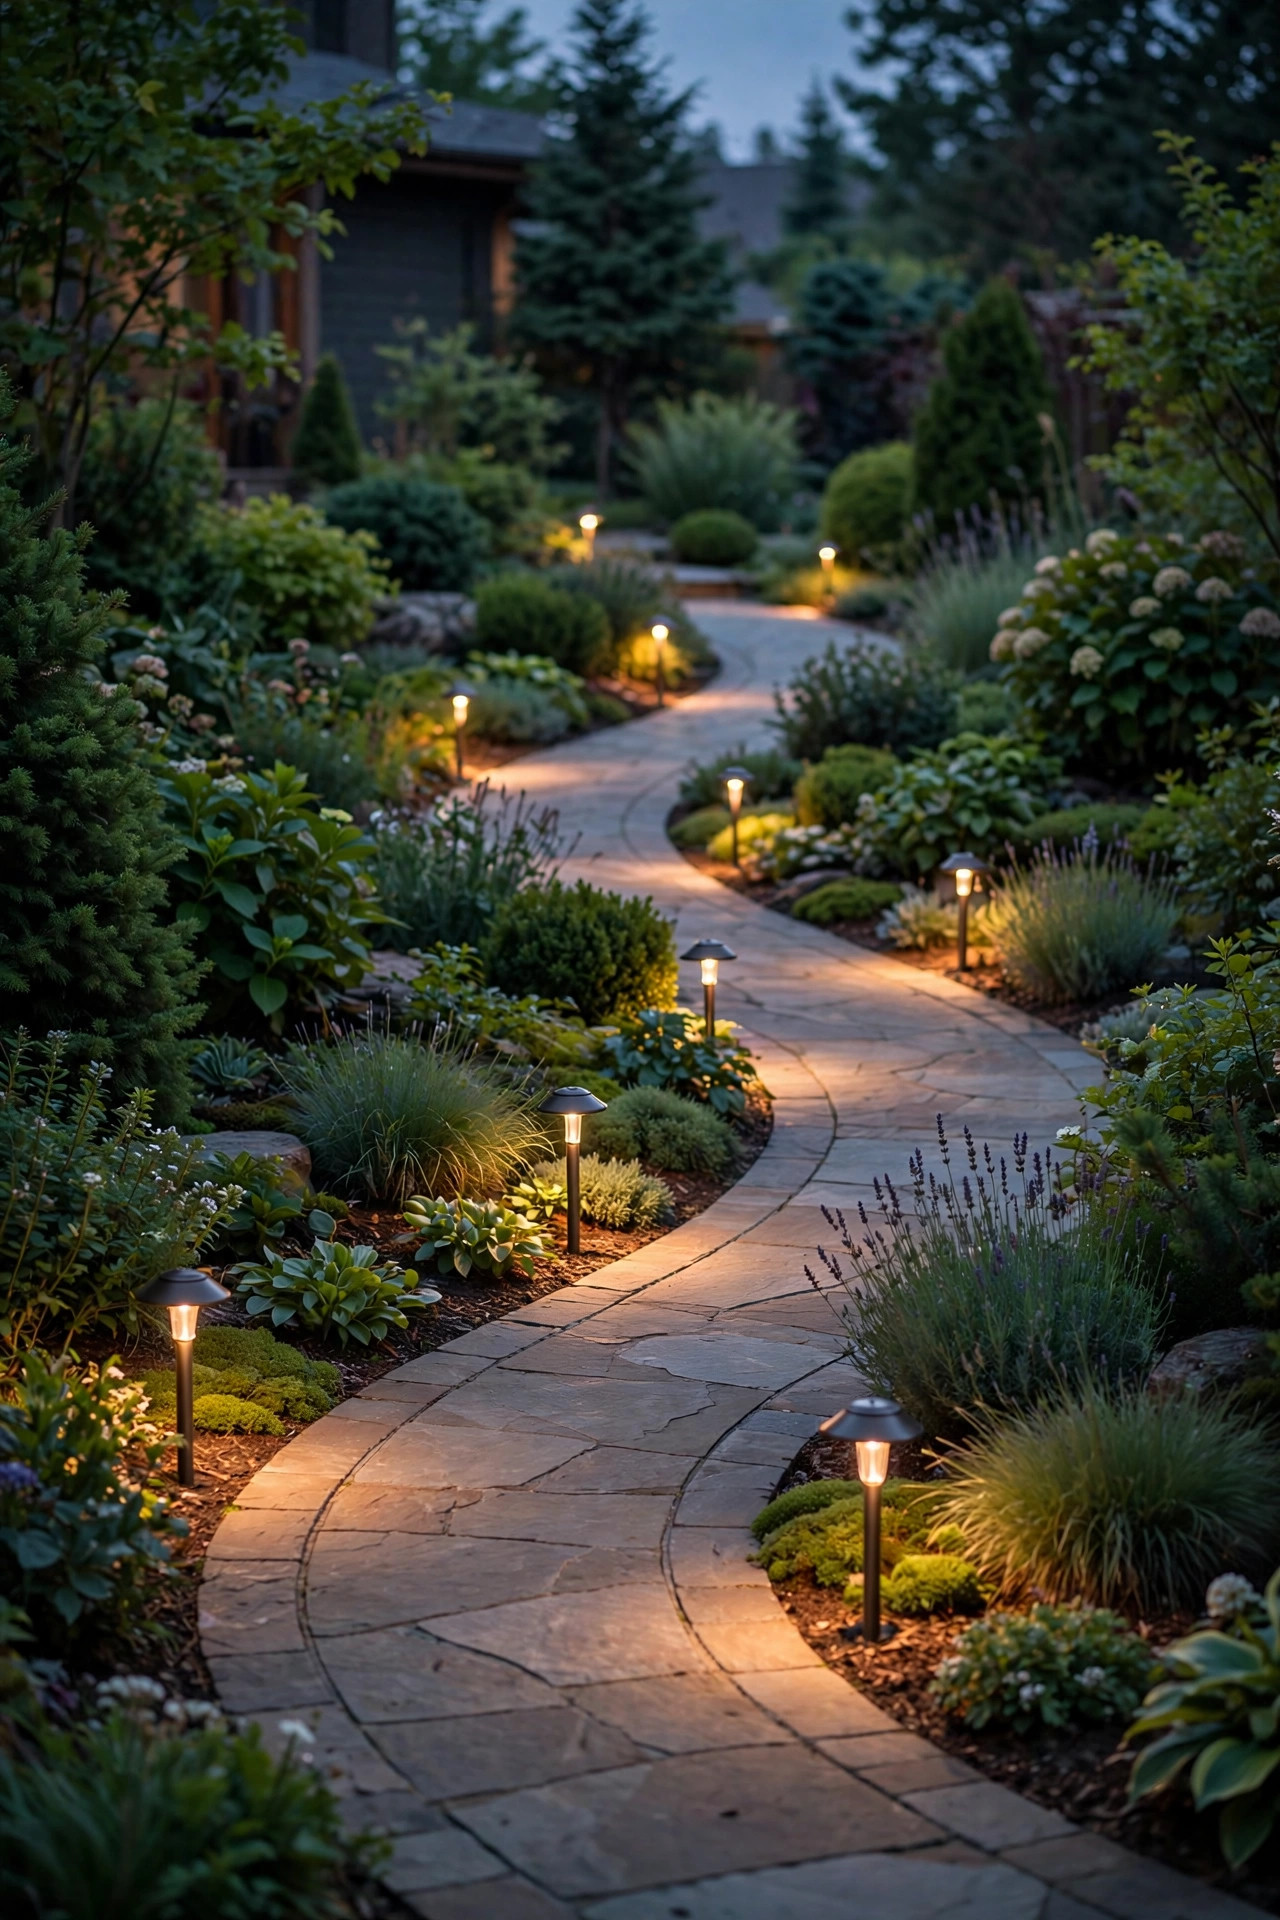
7. Pergola Pendants and a Ceiling Fixture on Their Own Dimmer
Overhead light is the layer most people forget to dim, and it's the one that changes the room — even when the "room" is a pergola. I have two weather-rated pendants hanging over our pergola table on their own dimmer, separate from the string lights, and that independence is the whole point. Bright for serving and board games, low for lingering, and completely off when we want just the fire pit and the stars. When you plan yours, hang pendants so the bottom of the shade sits around 30 inches above the tabletop — low enough to feel intimate, high enough to see faces across the table. Use damp- or wet-location rated fixtures under any open structure, and put the dimmer somewhere reachable from a chair, not back inside the house, or you'll never bother adjusting it. If your pergola light shares a circuit with a ceiling fan, give the light its own dimmer control so fan speed and light level don't fight. Honestly, this layered independence — every zone on its own control — is the secret behind every outdoor space that feels professionally designed.
Suggested budget range: $90 – $300.
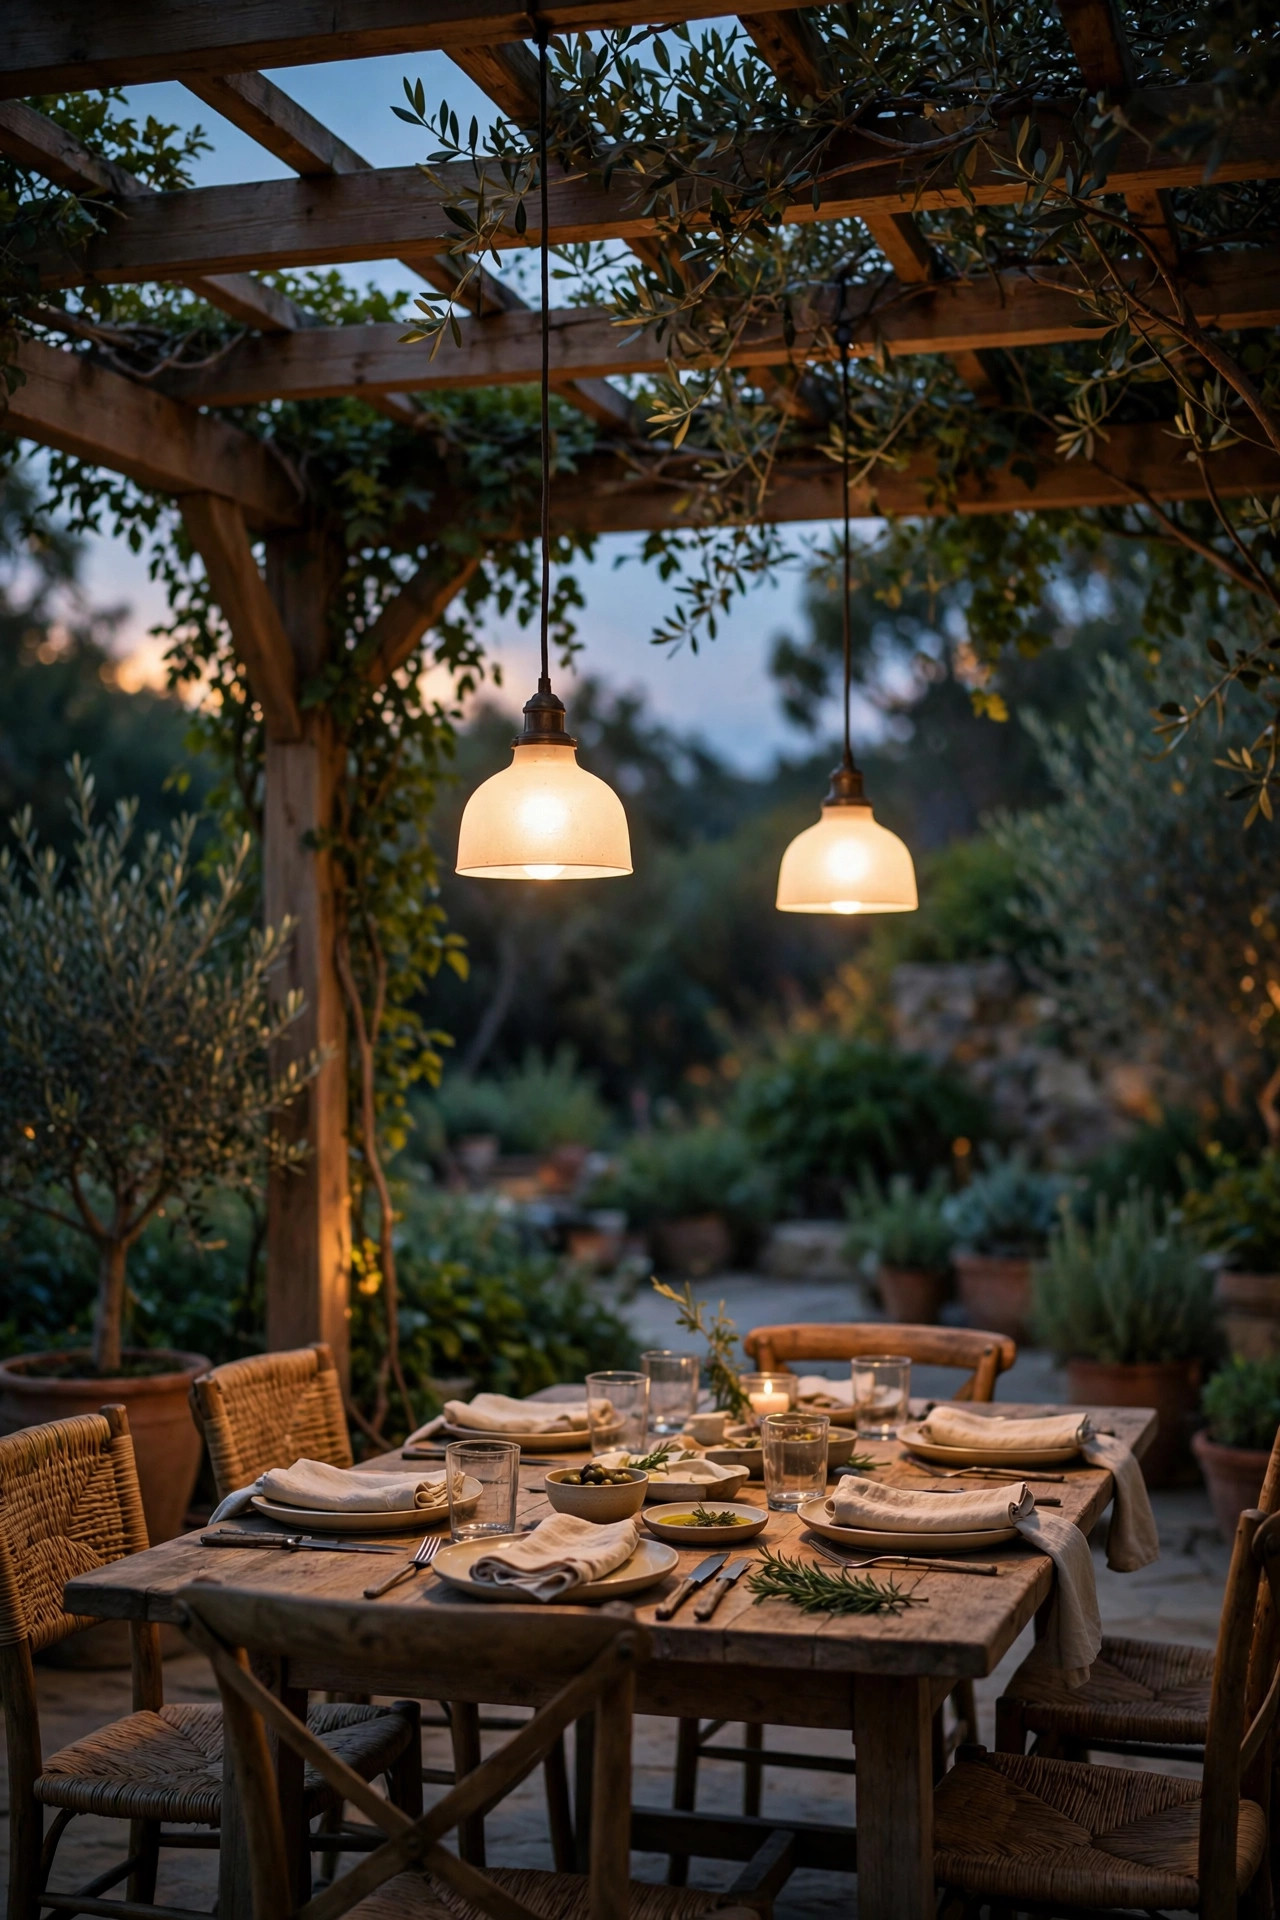
8. Deck Step and Riser Lights With Gentle Dimming
Step lights exist for safety, but safety doesn't have to mean stark. My deck riser lights are on a dimmer, and I keep them at a level I think of as "candlebright" — enough to read every tread edge clearly, not enough to feel like a stairwell in an office building. That balance matters: too dim and the lights fail their one job, too bright and they glare into the eyes of everyone sitting on the lower deck. Here's my settling ritual for any dimmable step setup. Walk the stairs after dark at your chosen level, carrying something, the way a guest carrying a drink would. If you hesitate on any step, nudge the dimmer up a little. Fixtures with frosted or louvered lenses dim the most gracefully because they hide the bright LED point even at low power. Wire step lights on their own zone whenever you can, separate from the deck's overhead light, and consider a photocell upstream so the whole zone wakes at dusk automatically, already at your preferred mood level, without you touching a thing.
Suggested budget range: $70 – $220.
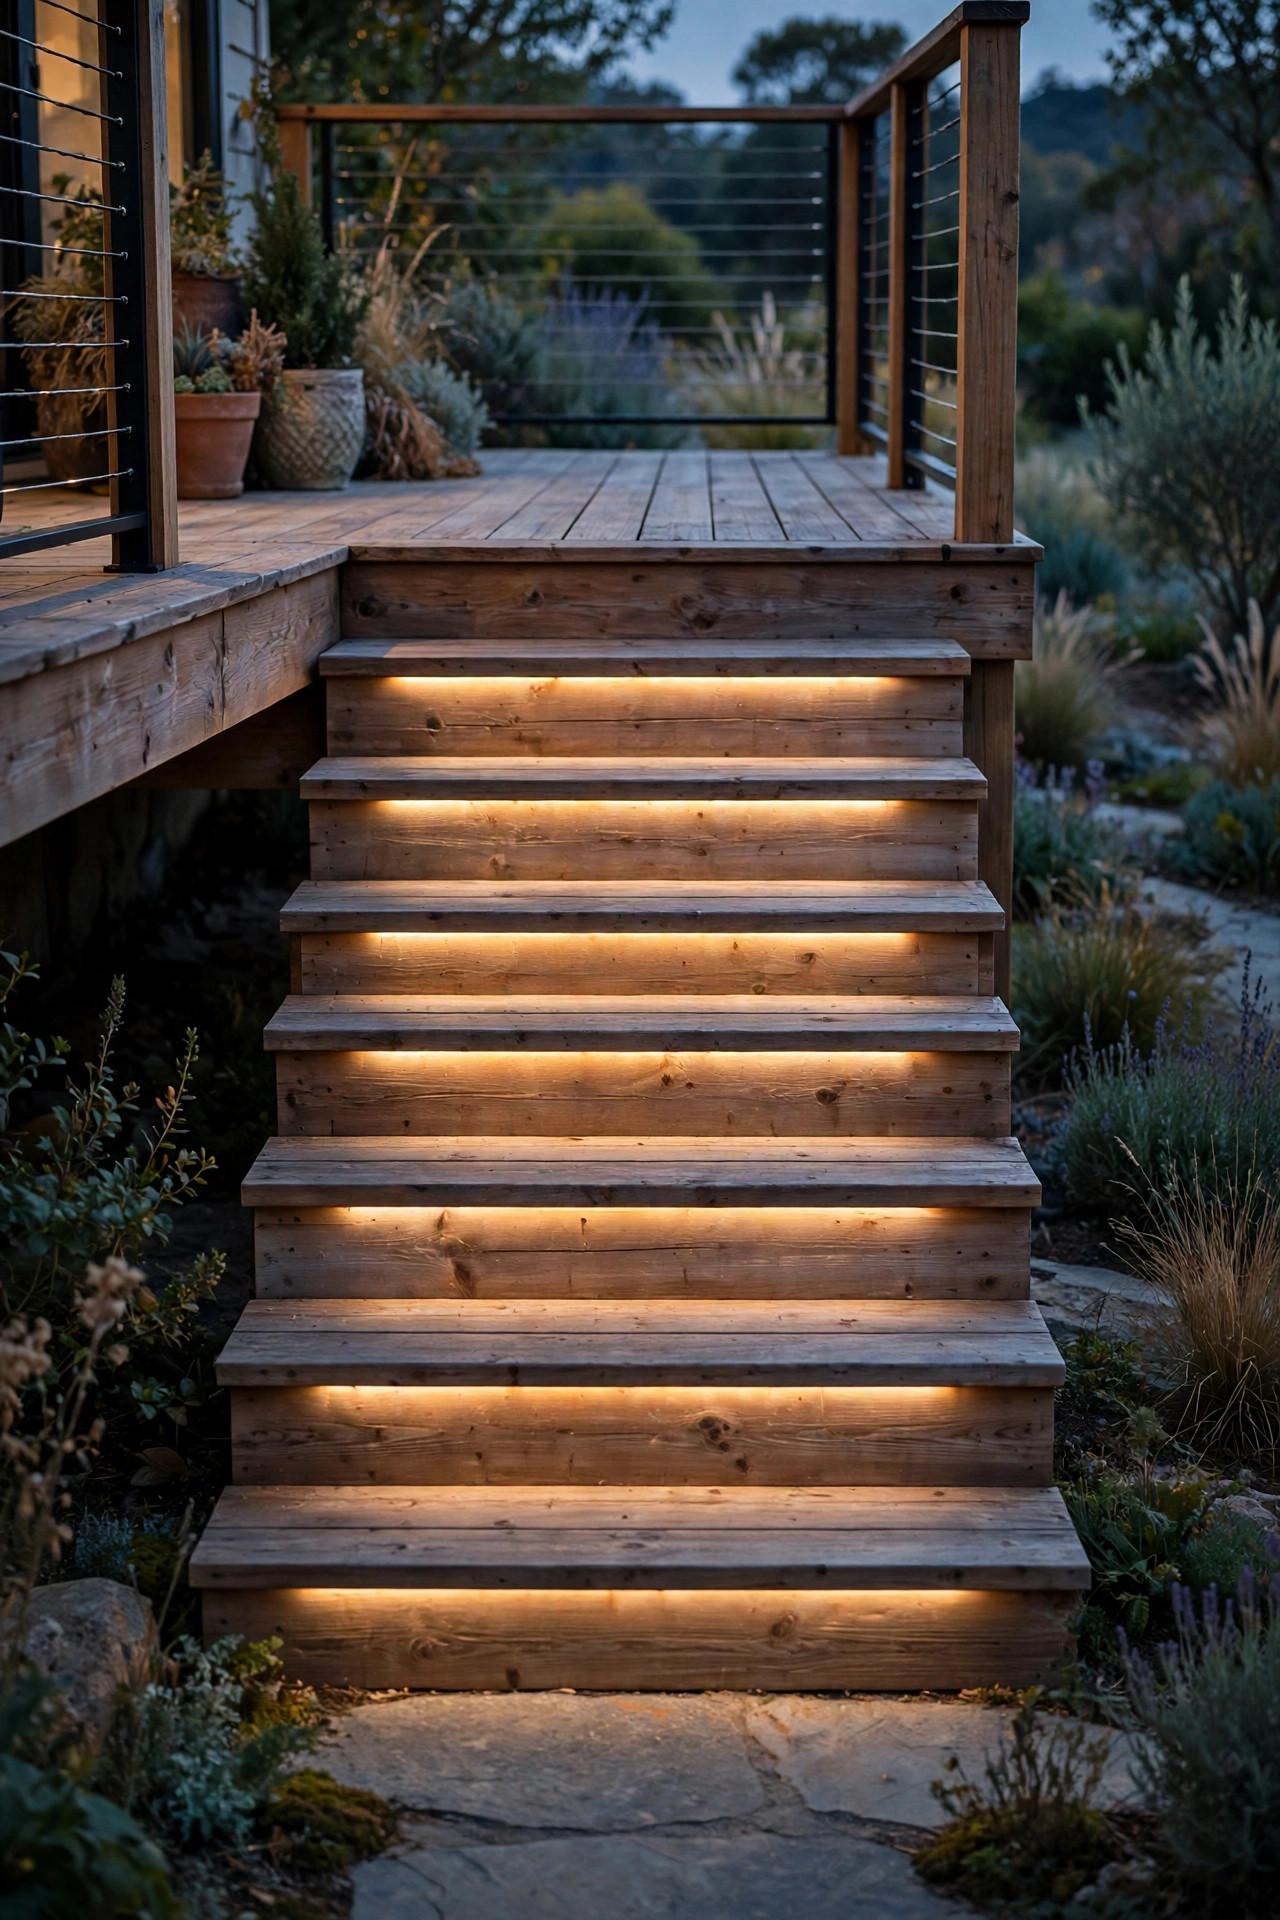
9. Dimmable Uplights That Flatter Trees Instead of Interrogating Them
A tree uplight at full power can look like an interrogation; the same fixture softened is pure drama. I aim a mid-power spotlight up into our oak's canopy and dim it until the leaves glow rather than glare — usually around half power is the sweet spot, and it uses the dimmer more than any other zone in the yard because the right level changes with the seasons. Full spring foliage wants less power; bare winter branches want a touch more to trace their structure. Placement is simple: set the fixture 12 to 18 inches from the trunk, angled up into the widest part of the canopy, and step back to the street to judge the effect from where passersby see it. Dimming also keeps you a good neighbor and a friend to the night sky — softer uplights mean less light trespass into bedroom windows and less glow washing out the stars. If you're adding just one uplight, choose a fixture with an adjustable beam or a built-in glare shield; combined with the dimmer, you'll have complete control over the final picture.
Suggested budget range: $50 – $160.
10. Flood Lights That Work Hard, Then Soften Down
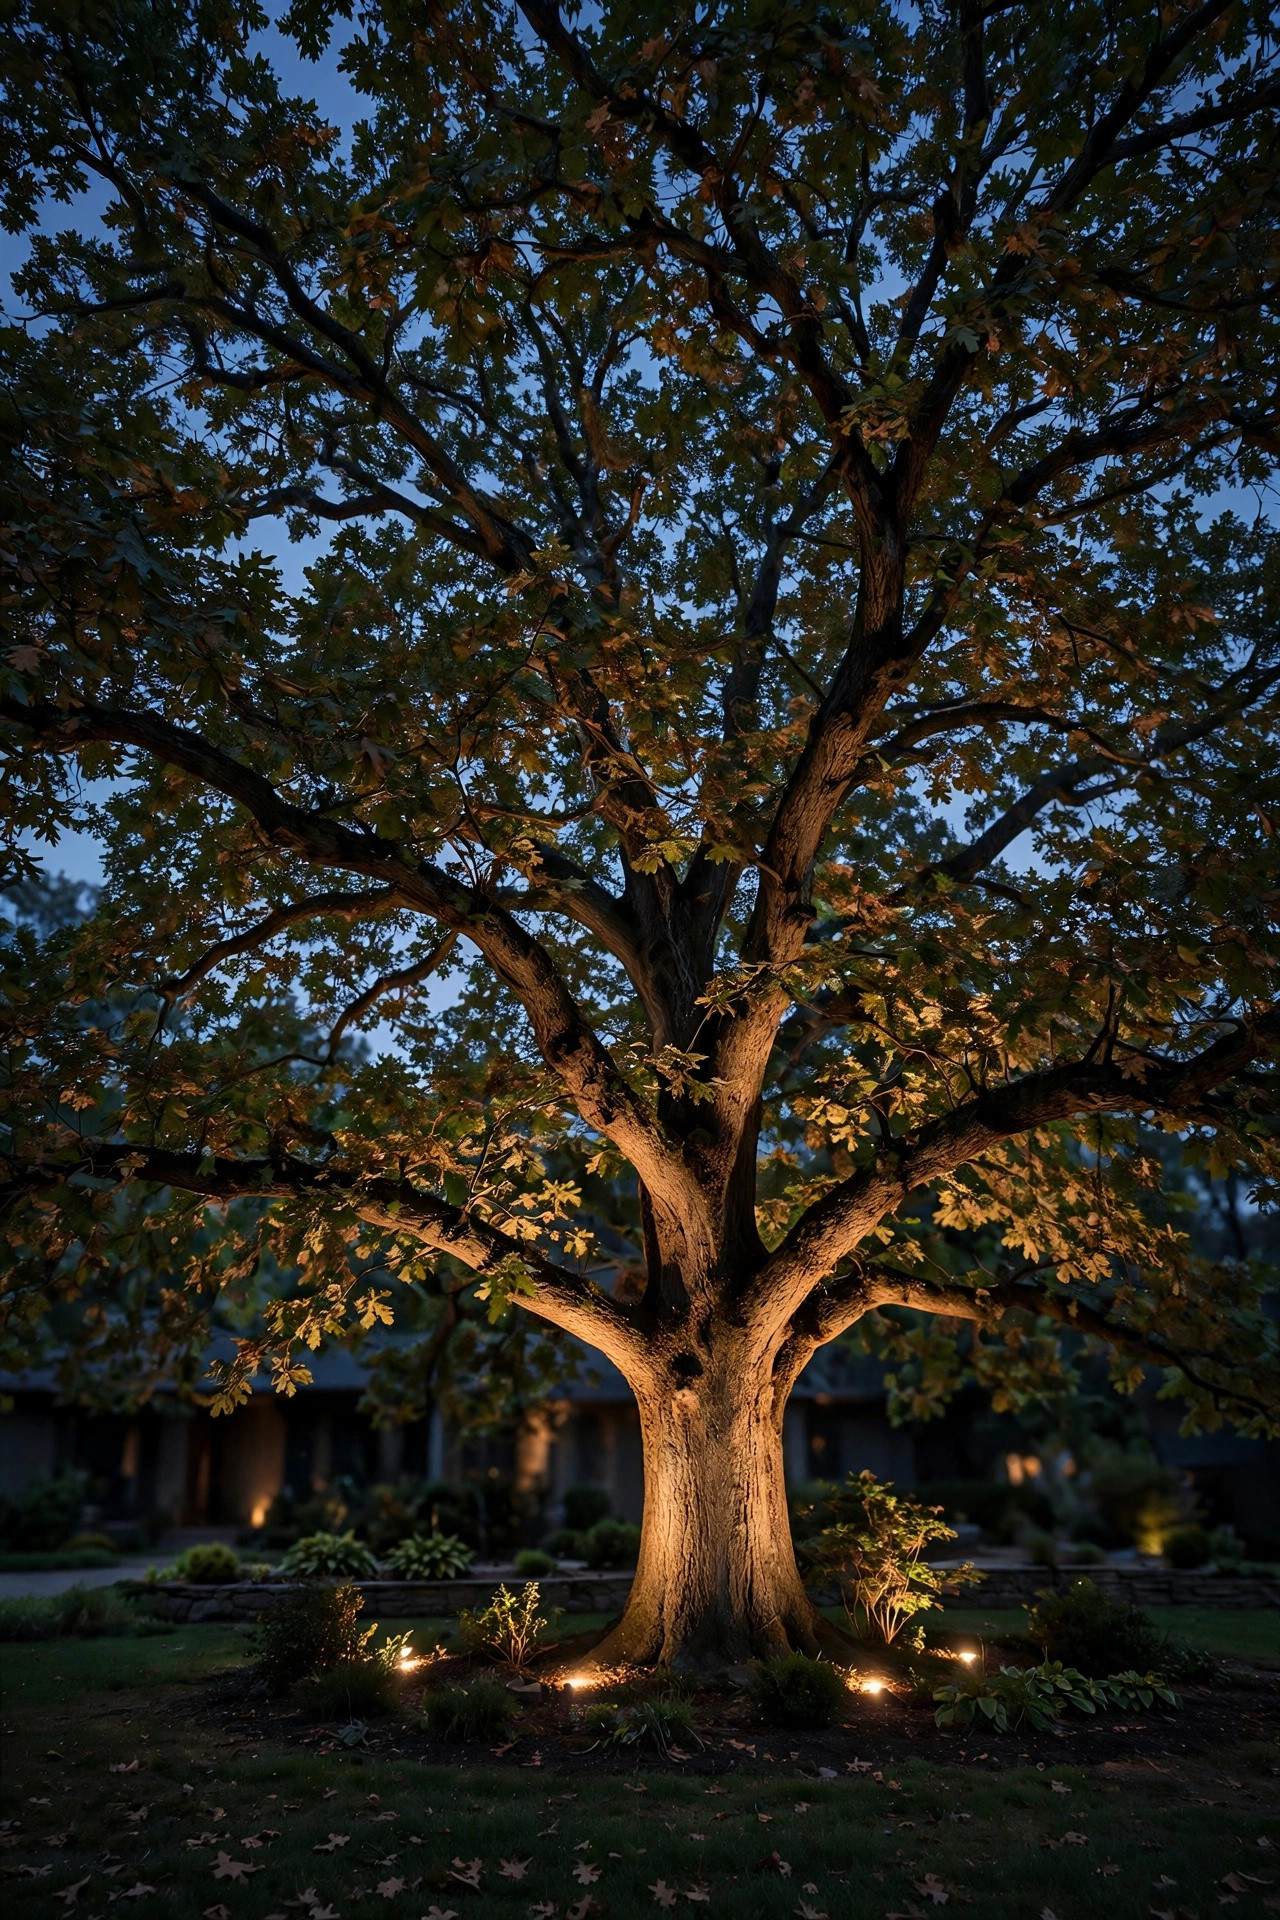
Security lighting and mood lighting used to be enemies in my yard. The old flood came on like a stadium and stayed that way until the timer killed it. The fix was a two-level approach: a dimmable flood (or a standard flood on a smart switch with soft-start) that idles at a low, warm glow — just enough to show the yard's edges — then jumps to full brightness when motion is detected and settles back down a few minutes later. The low idle level is the part nobody expects to love. It keeps the side yard from feeling like a black hole, it reassures without glaring, and it uses a fraction of the energy of an all-night full-power flood. Aim floods from about 9 to 12 feet up, angled down at roughly 45 degrees, so the bright level lights the ground instead of the street and the neighbors' windows. In my experience, pairing this setup with your dimmed ambient layers means the yard feels calm right up until the moment it needs to be alert — which is exactly the mood a home should have.
Suggested budget range: $45 – $140.
11. Battery Lanterns With Dimmer Remotes for Tabletops
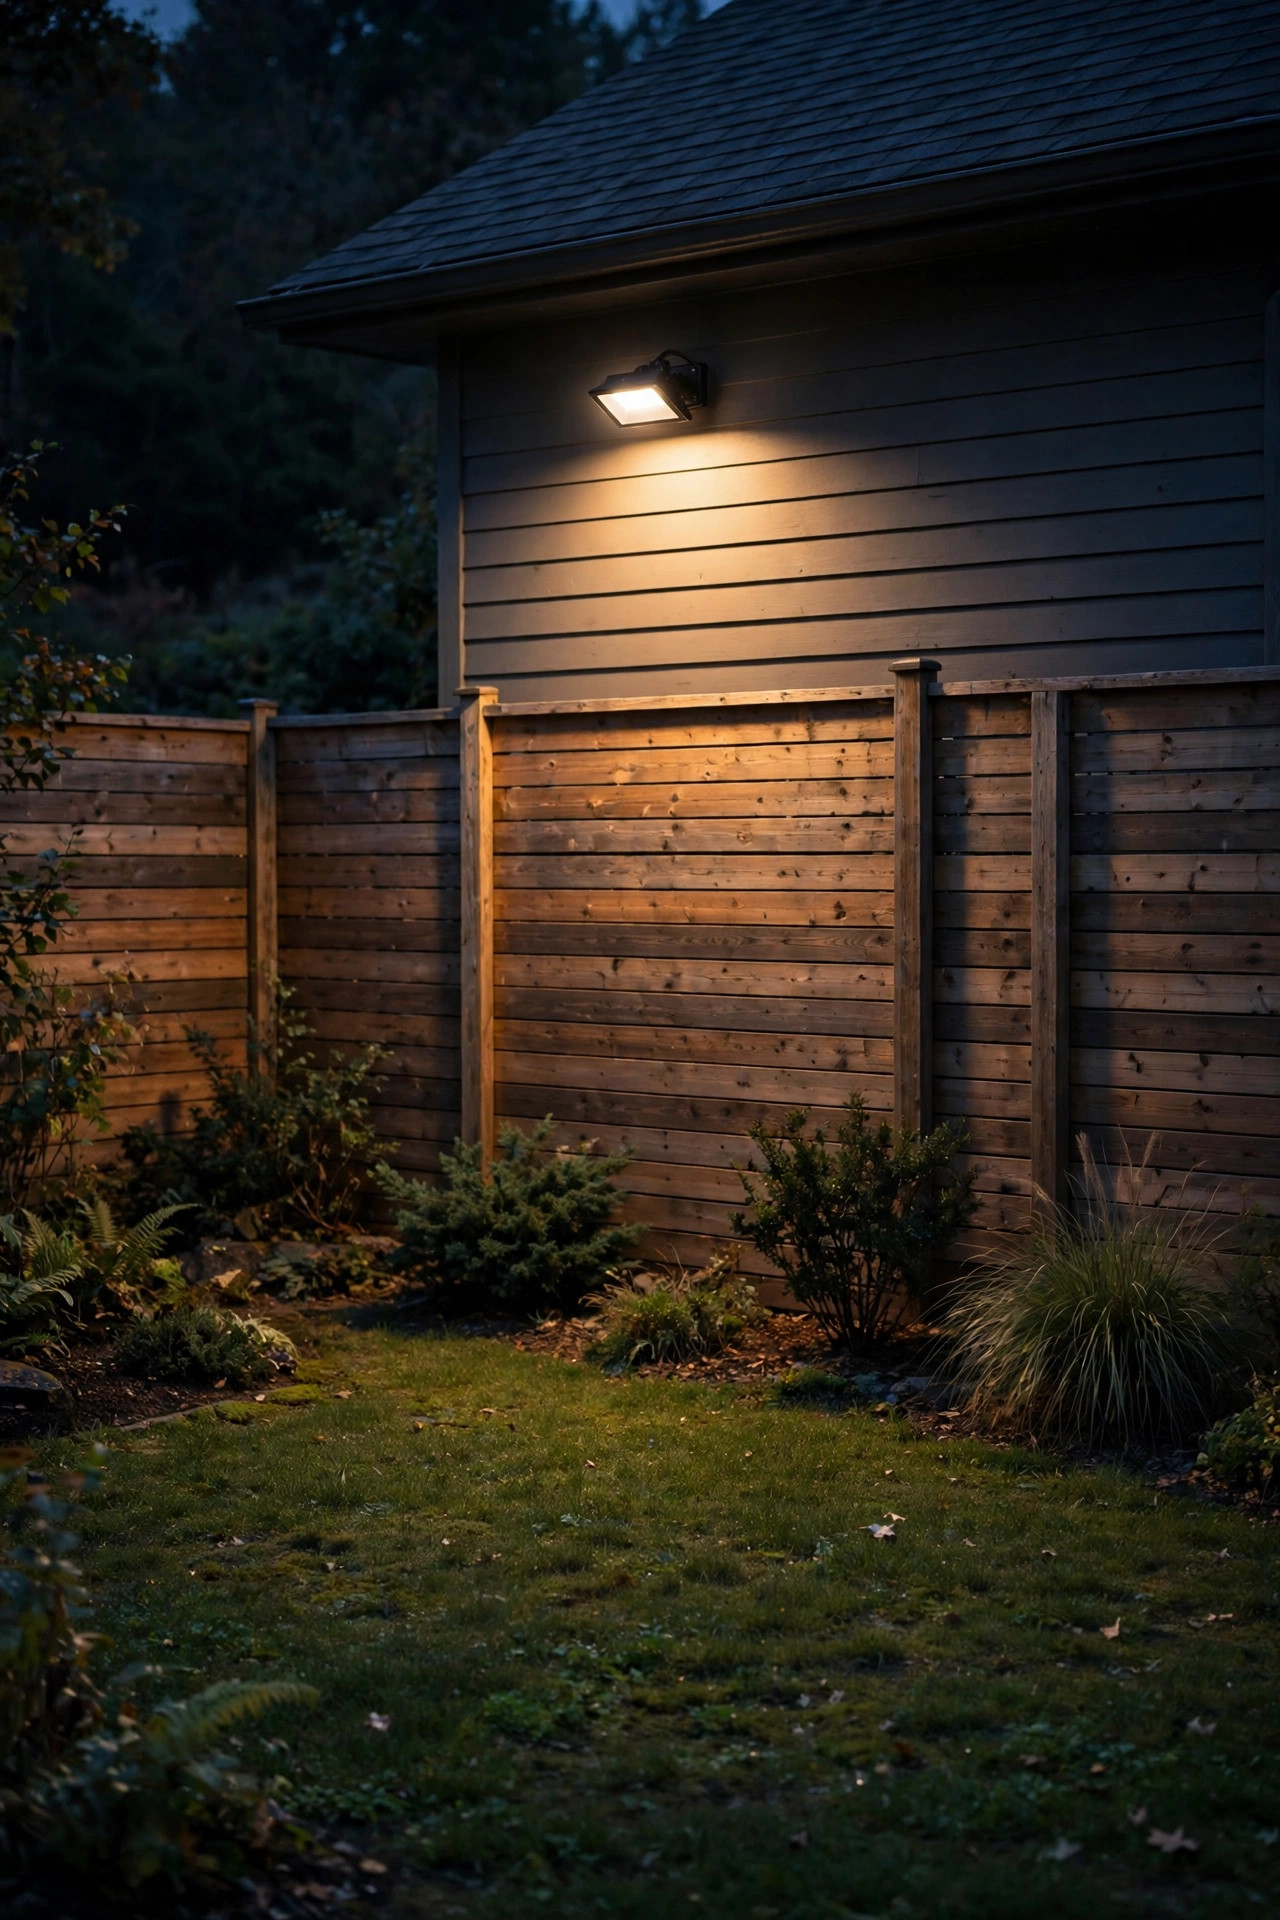
Not every dimmable moment needs wiring. The flameless LED lanterns on our patio table dim by remote, and they've become the hardest-working lights we own — they move to the porch steps for Halloween, line the garden bench for parties, and land on the outdoor coffee table every single evening. The dimmer is the magic: at full power they're task lights for setting the table, and at the lowest setting they're indistinguishable from candle glow, minus the wind problem and the wax on my tablecloth. When shopping, look for lanterns with a warm 2200K to 2700K tone (some skew cold and blue, which ruins the candle illusion instantly), a timer function so they light themselves at dusk, and rechargeable batteries if you'll use them nightly — the cost of disposables adds up faster than you'd think. Group them in threes at different heights for a styled look, and dim the group rather than each one. Honestly, if your budget only stretches to one idea from this list, these little lanterns deliver the most mood per dollar, full stop.
Suggested budget range: $20 – $60.
12. Dim-to-Warm Bulbs for the Porch Ceiling Fixture
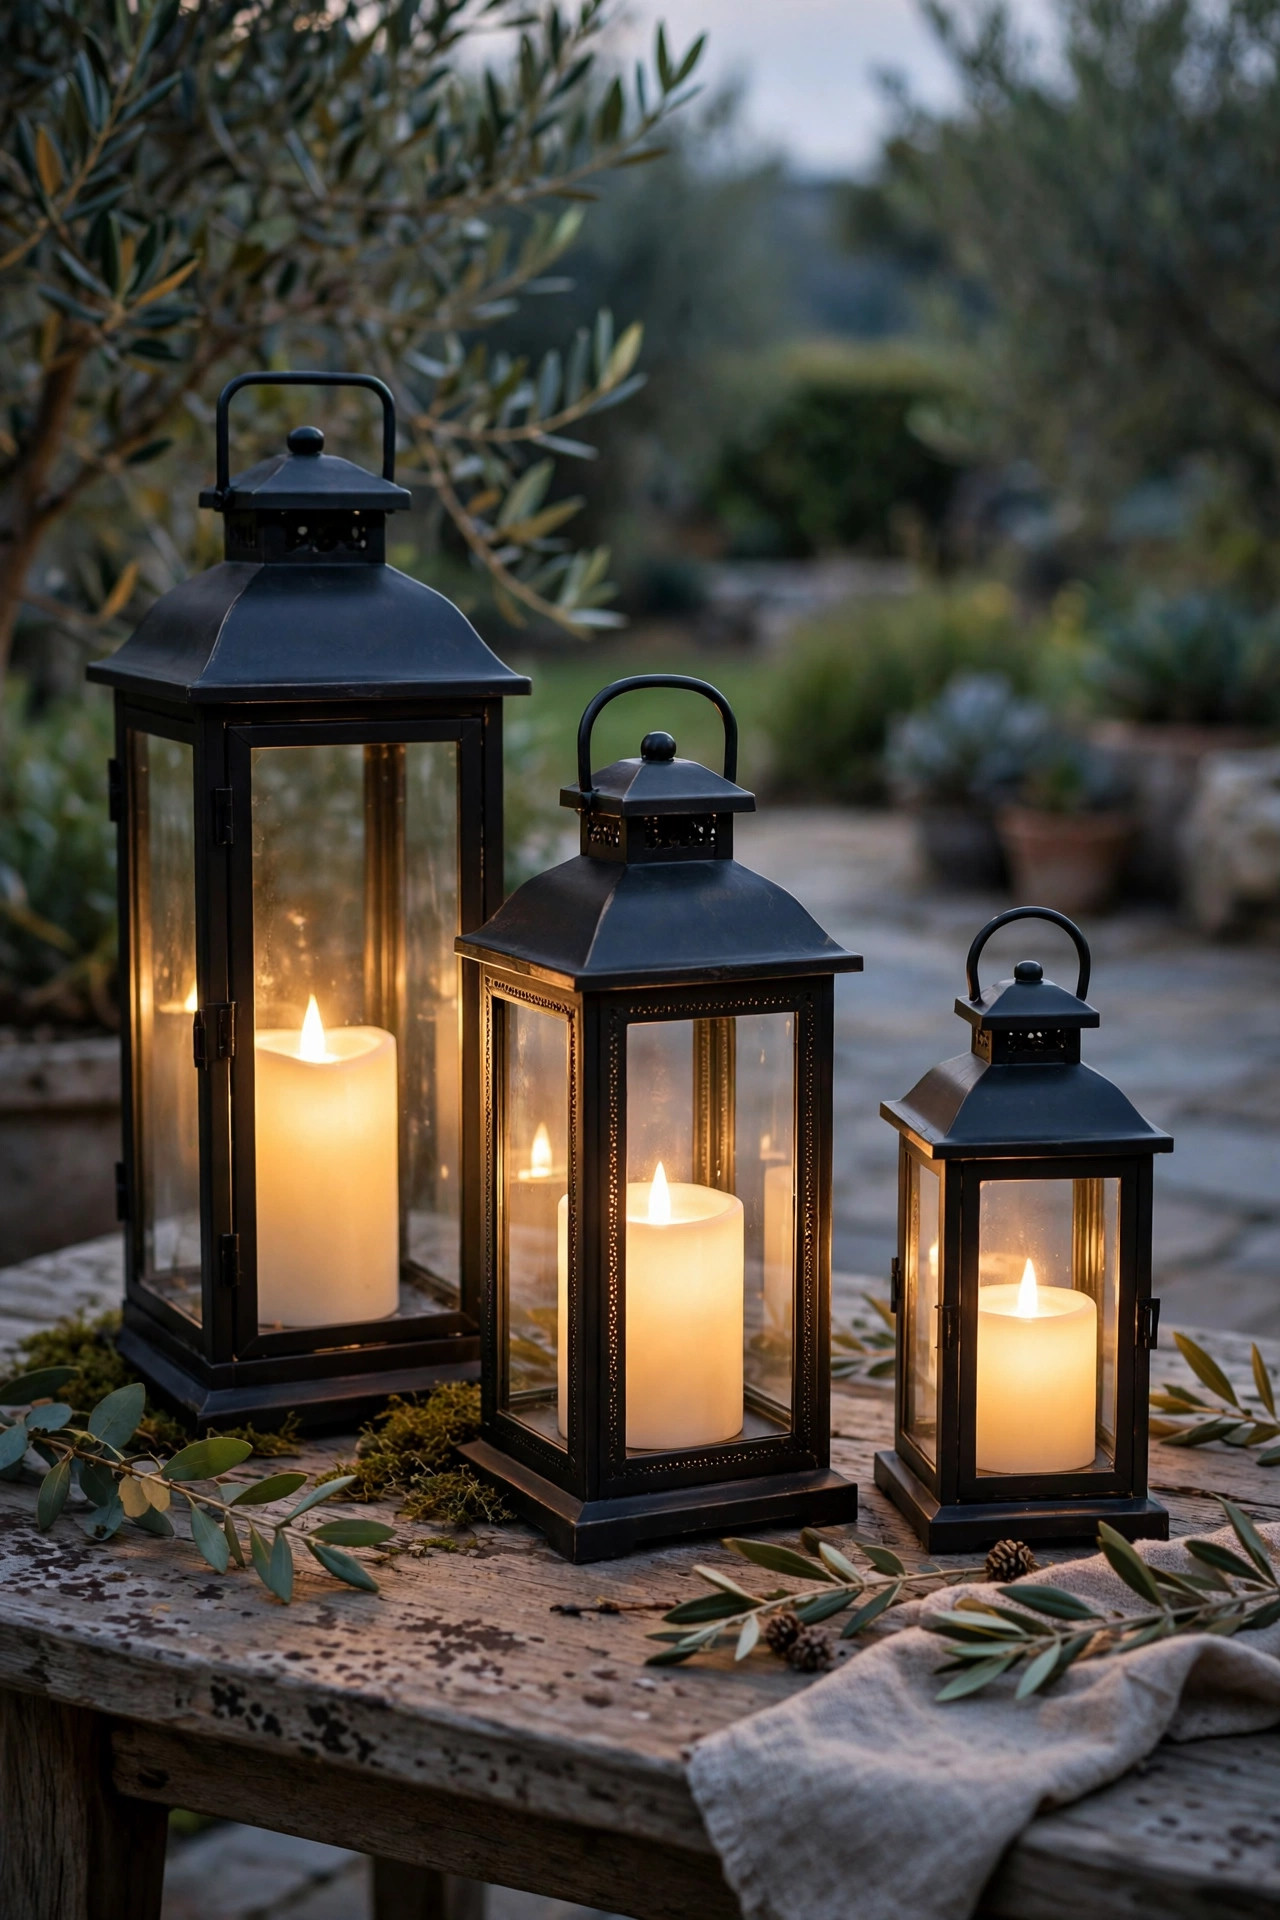
Here's a detail I wish someone had told me years ago: most dimmable LEDs get lower but stay the same color, which can look a little grey and sad at low power. Dim-to-warm bulbs solve it — as you slide the dimmer down, they shift from a neutral 2700K toward a firelight 1800K to 2200K, exactly the way old incandescent bulbs behaved. I put a dim-to-warm bulb in our porch ceiling fixture, and the transformation at low settings is genuinely lovely: the porch feels lit by a lantern instead of a dimmed office light. They're perfect anywhere people sit close to the light — porch swings, covered patios, gazebo fixtures — because the warmer color flatters skin and wood tones. Two buying notes: dim-to-warm only works on a compatible standard dimmer, not as a smart-bulb feature, so check the packaging; and because the effect lives in the bulb, every fixture on that dimmer needs the same type of bulb or the colors will mismatch noticeably at low levels. Small detail, enormous difference in how the evening feels.
Suggested budget range: $12 – $40.
13. Dimmable Wall Washers That Make Brick and Stone Glow
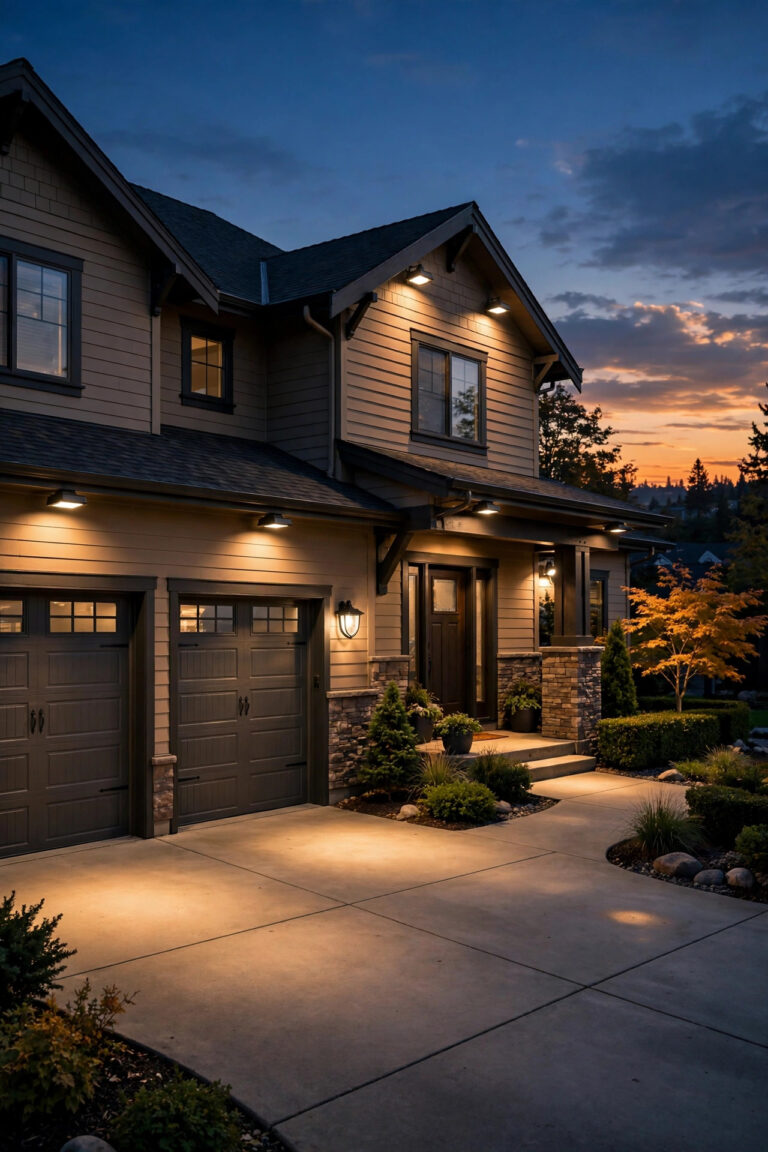
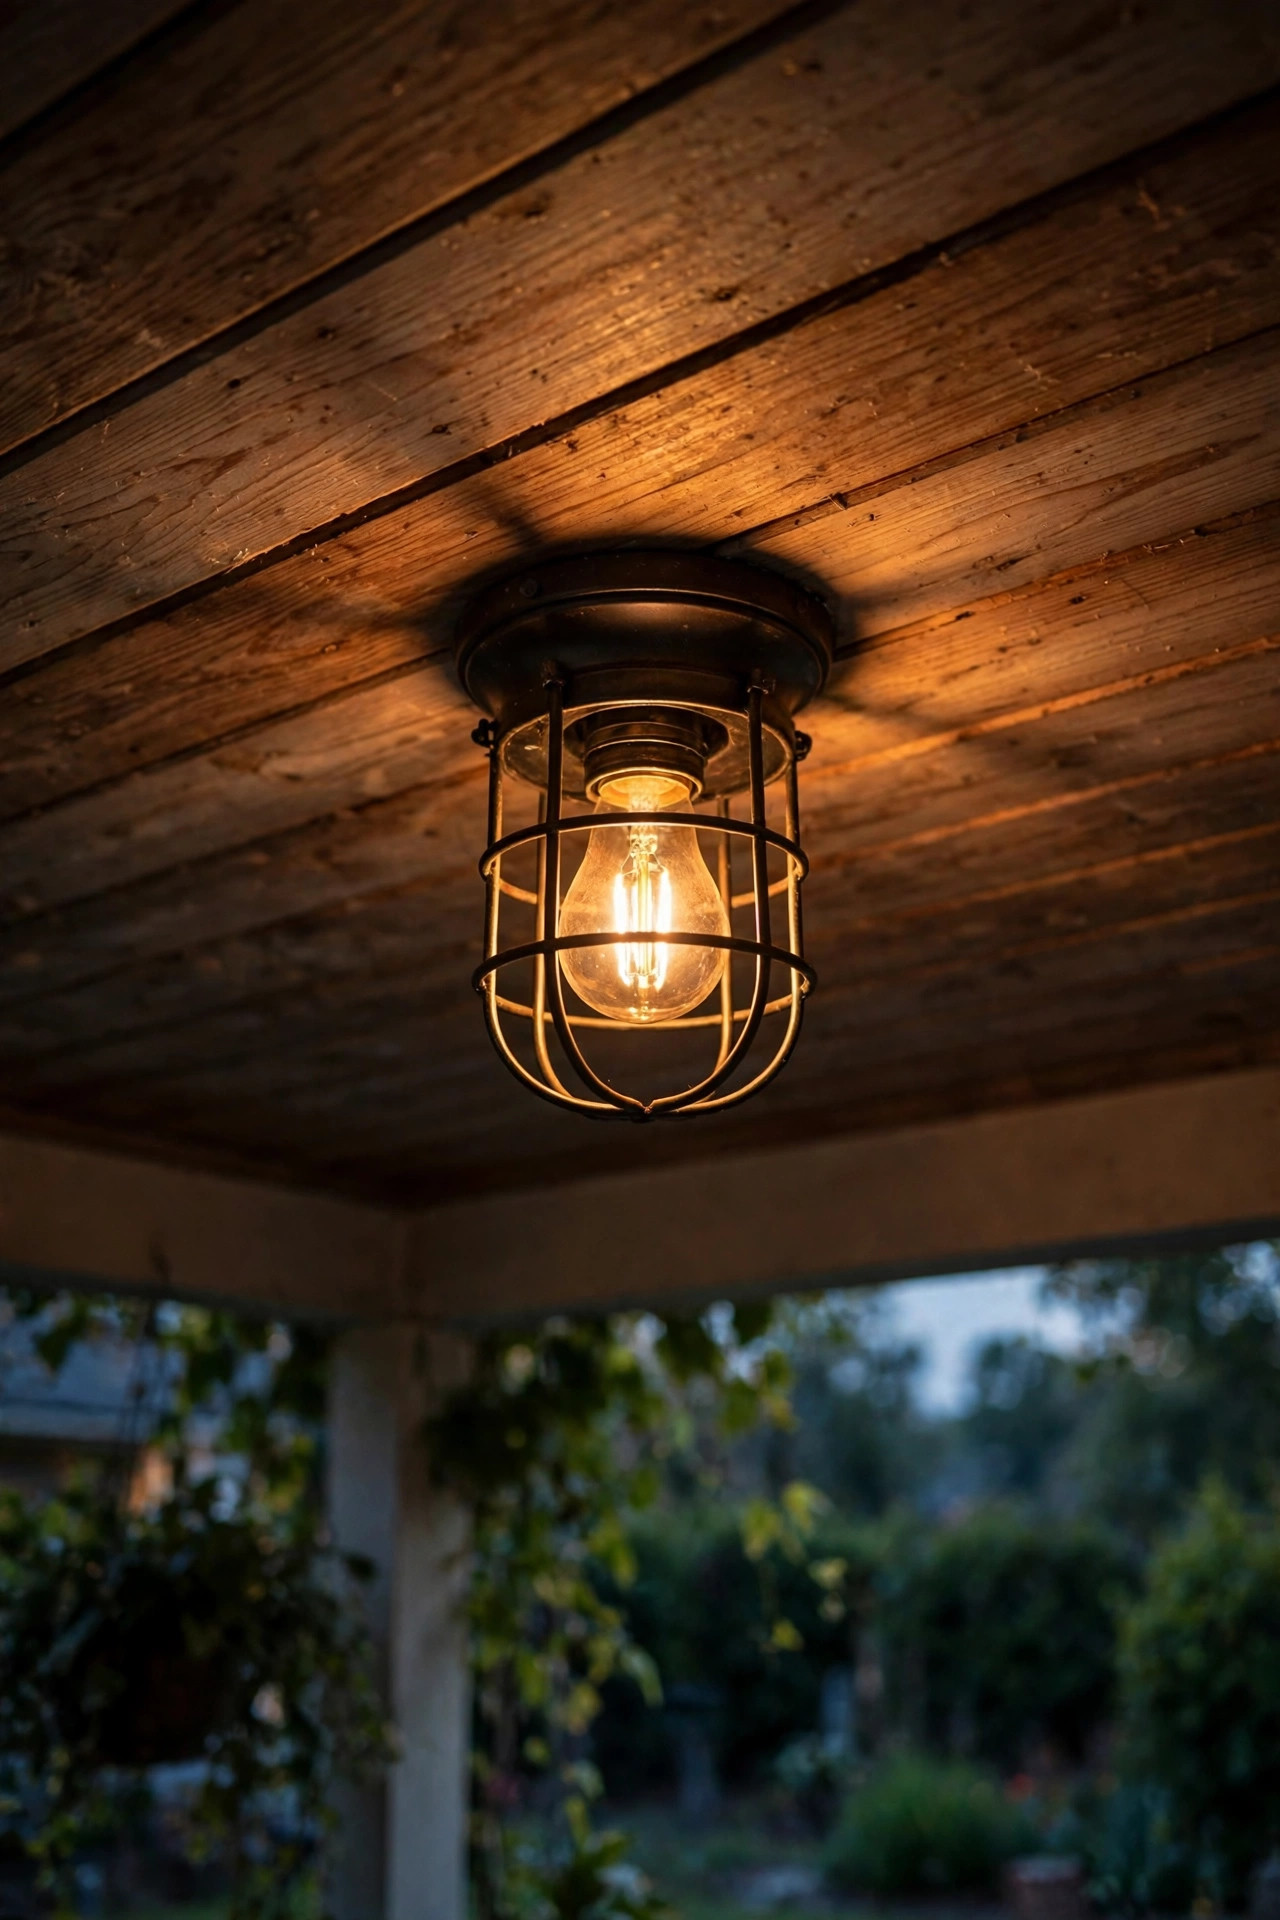
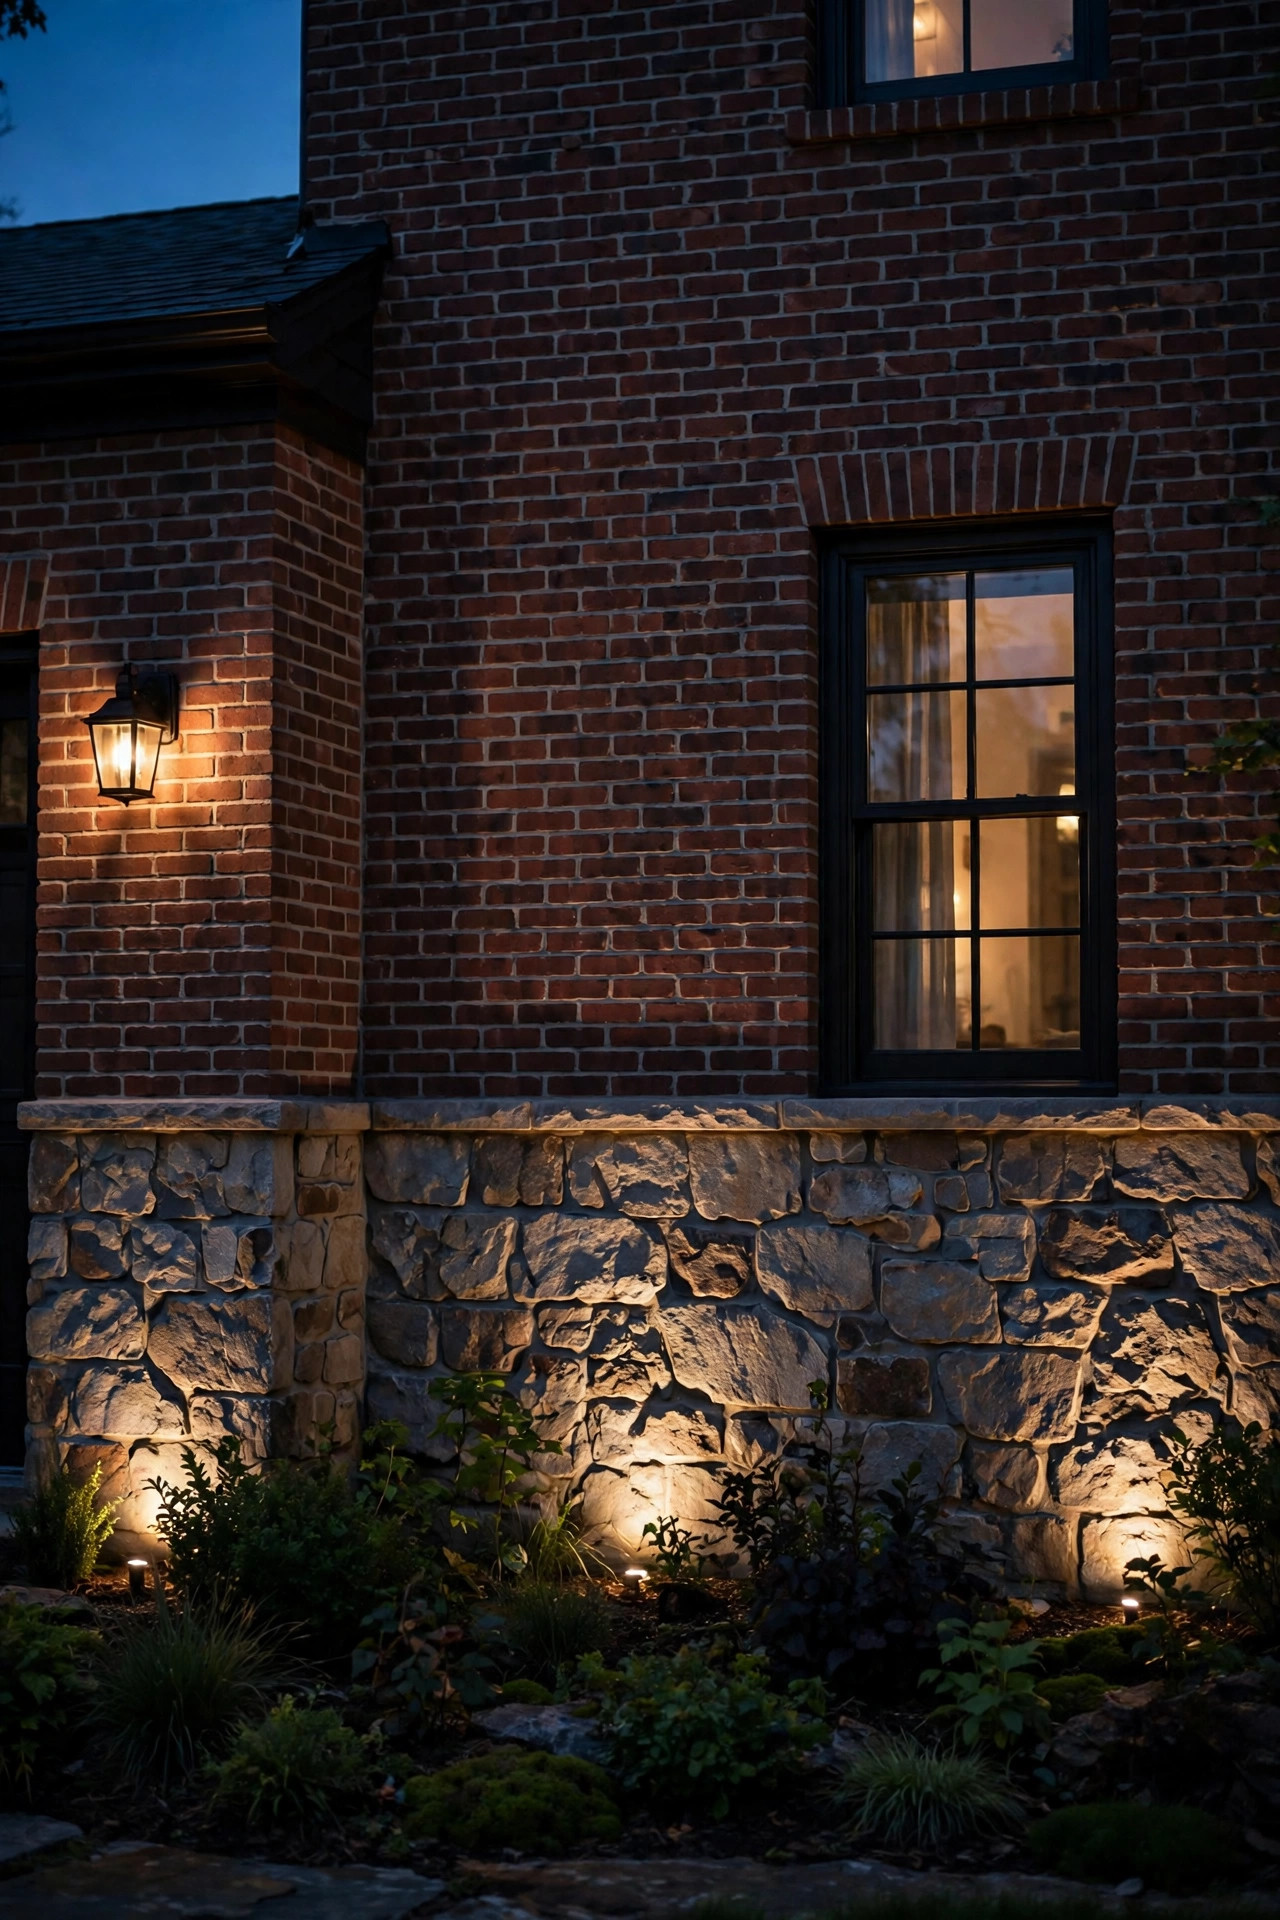
If your home has brick, stone, or interesting siding, grazing it with light is the fastest route to that expensive custom look — and dimming is what keeps it tasteful. A wall washer or a row of low fixtures set 6 to 12 inches out from the foundation throws light upward at a shallow angle so every bit of texture casts a tiny shadow. At full power it can look like a hotel; dimmed to about a third, it becomes a soft backdrop that makes the whole front yard feel considered. My rule of thumb: if you can see the effect clearly from inside the house through a window, it's probably a touch too bright. Textured surfaces need less light than smooth ones, and warm white in the 2700K to 3000K range keeps brick looking rich rather than orange. Keep this layer on its own dimmer, always. It is pure decoration, which means it should be the first thing to go low when you settle in, and the first thing switched off entirely on nights when you want the garden dark and private.
Suggested budget range: $80 – $240.
14. A Fire Pit Zone Dimmed Down to Ember Level
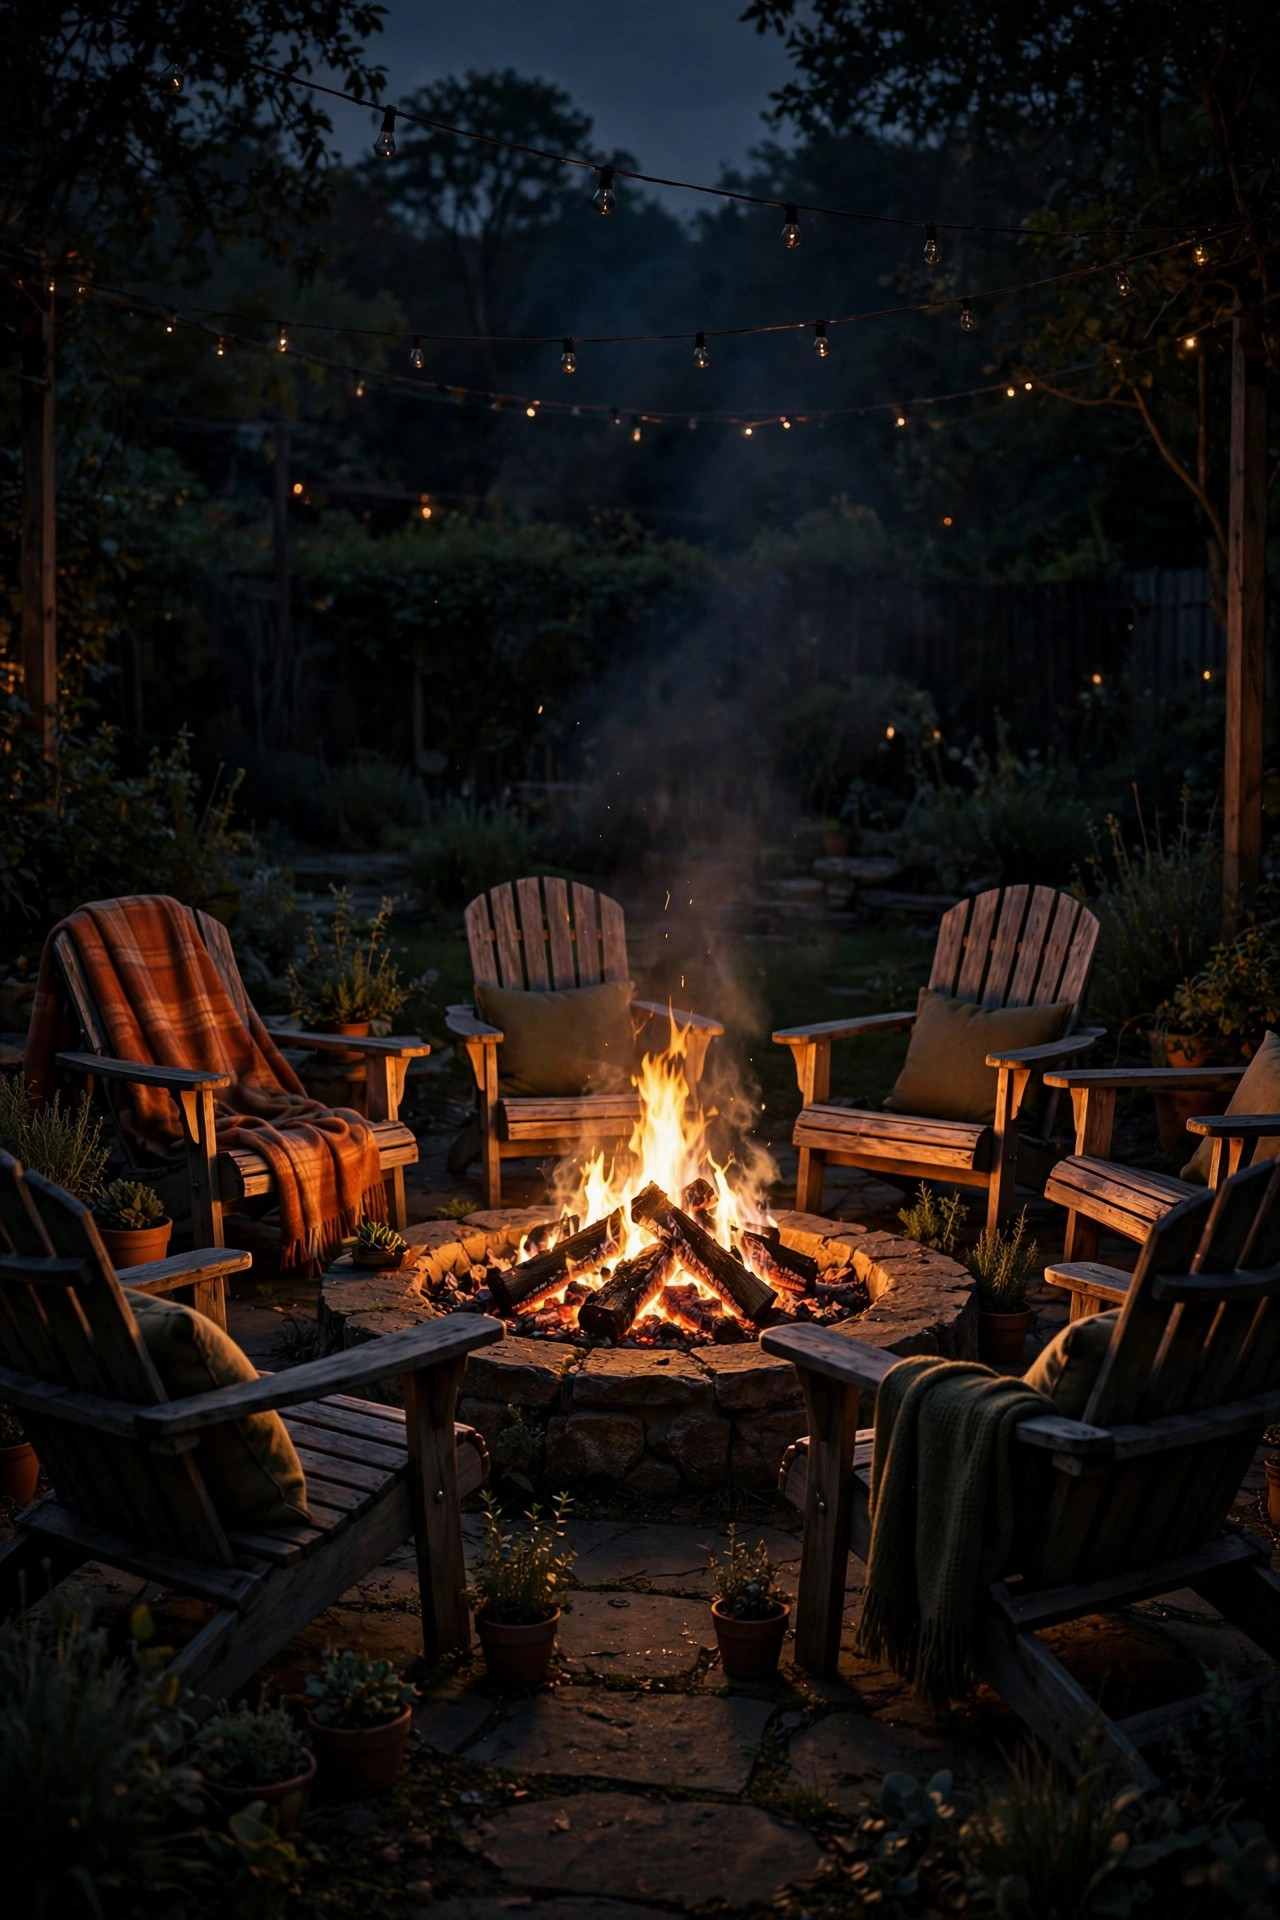
Around a fire pit, electric light should play a supporting role — the fire is the star. I run a festoon strand and two small lanterns on a dedicated dimmer in the fire pit zone, and once the fire is lit, that zone drops to about 15 percent: just enough to find your chair, your drink, and the step up to the deck, not enough to compete with the flames. The trick is zoning. If the fire pit shares a dimmer with the whole patio, you'll end up choosing between lighting the seating and honoring the fire, and the fire should win every time. Safety notes that matter here: keep all fixtures and cords well clear of the fire's heat zone, choose LED bulbs only near anything flammable (they run cool, unlike old incandescent festoons), and make sure any outdoor dimmer or module is rated for exterior use and mounted off the ground. Some of my favorite evenings at home have happened in this exact setup — bright yard behind us, ember-level glow around the fire, and absolutely nowhere else to be.
Suggested budget range: $55 – $150.
15. Solar Lanterns and Stakes With Real Brightness Levels
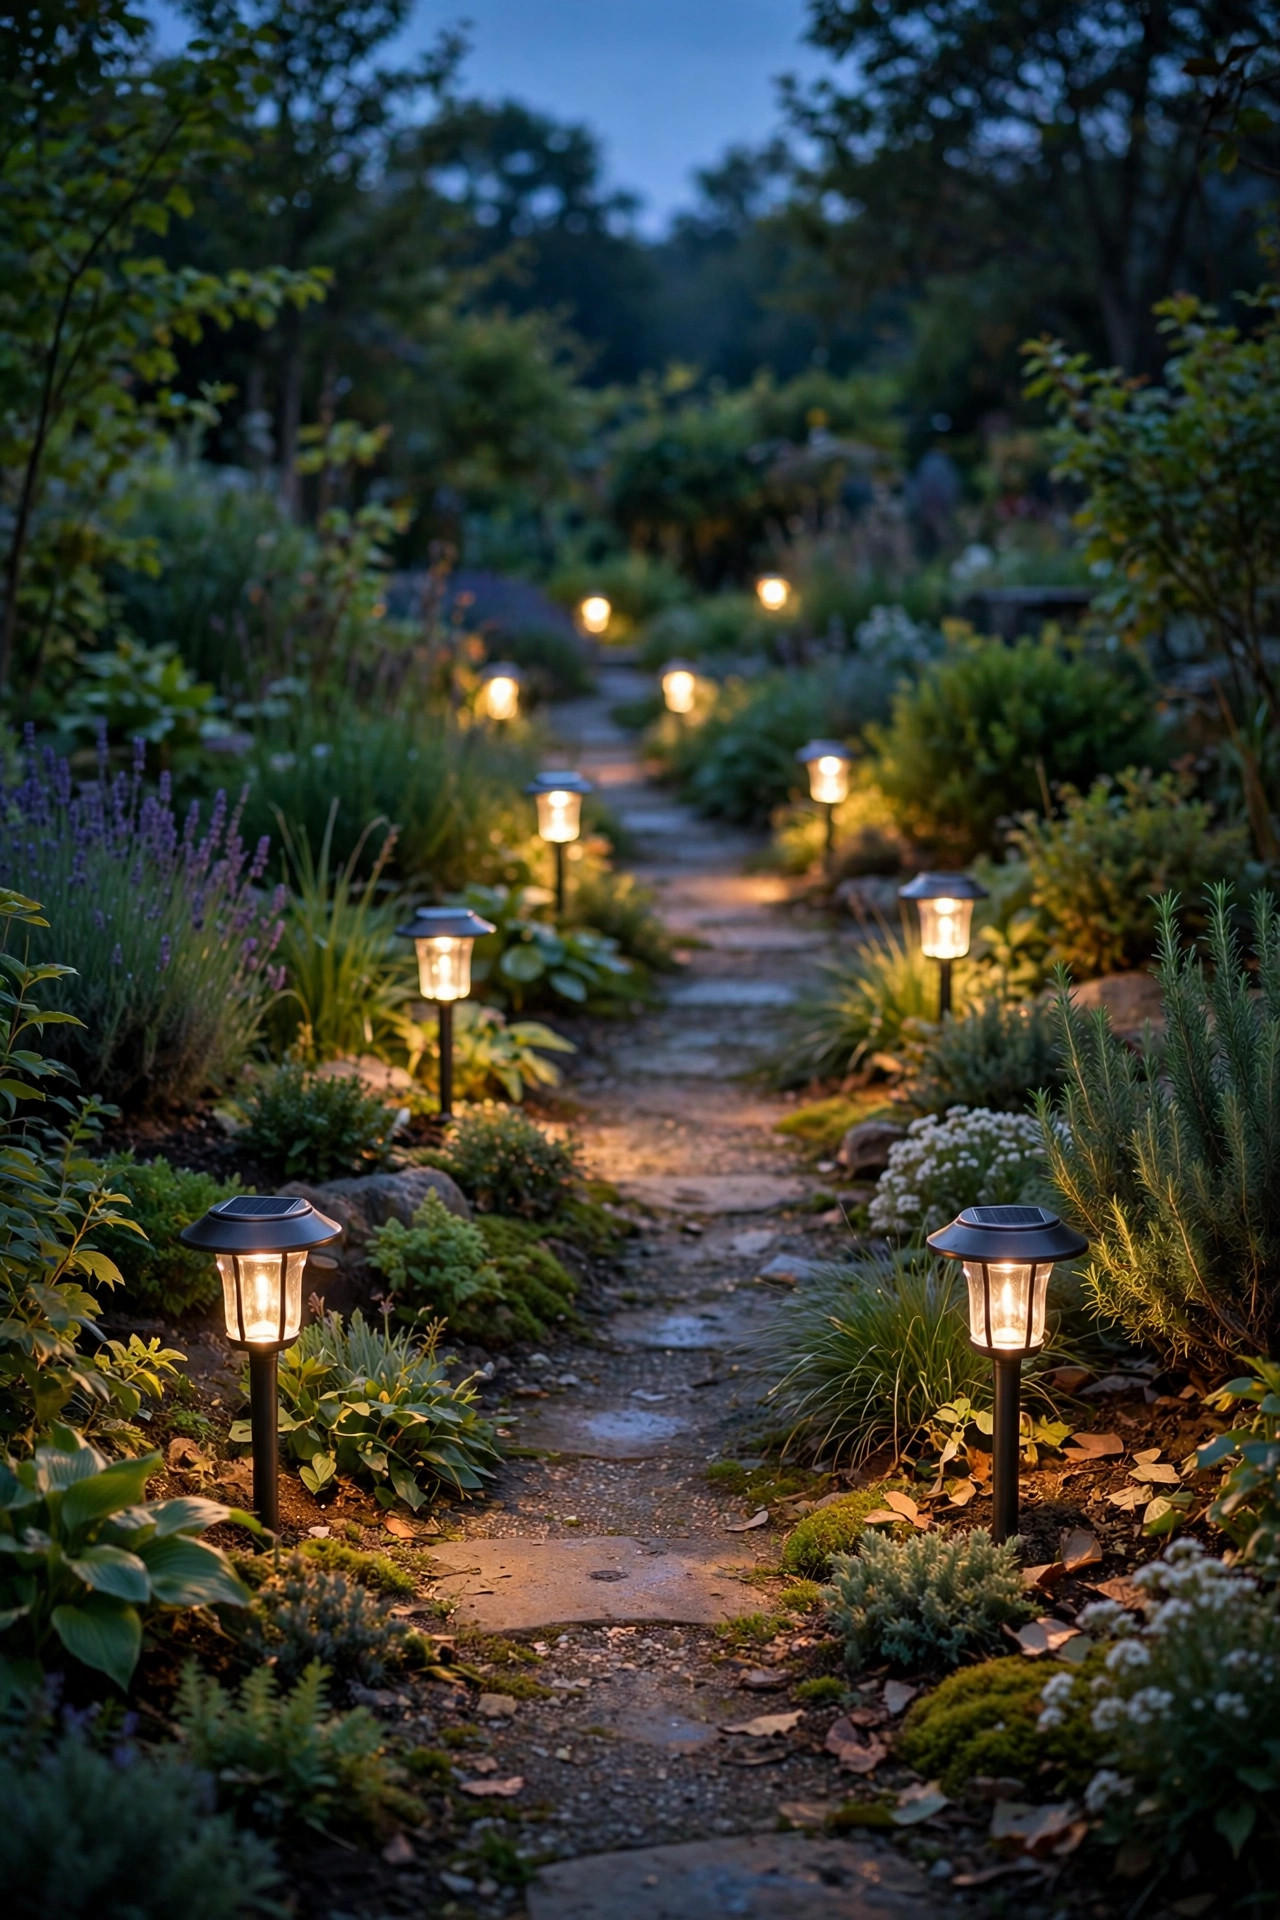
Solar lights used to mean one brightness: disappointing. That's changed. Many solar lanterns, stake lights, and tiki-style torches now offer two or three brightness levels, and choosing the lower level does double duty — it softens the mood and dramatically extends runtime, which matters on December evenings when the sun clocks out before dinner. I keep solar lanterns along the garden path at their medium setting most of the year and drop them to low in summer when nights are short anyway. Be honest with yourself about placement, though: a solar panel in the shade of a porch roof will never charge enough to hold any brightness, so give panels at least six hours of direct sun or choose models with a separate panel on a cord you can park in a sunny spot. Solar will never match a wired dimmer for fine control, and I won't pretend otherwise. But as a wire-free layer you can rearrange on a whim — and rearrange I do — dimmable-by-level solar pieces have earned their place in my yard.
Suggested budget range: $25 – $75.
16. Rope and Strip Lights Under Deck Rails, Dimmed Low
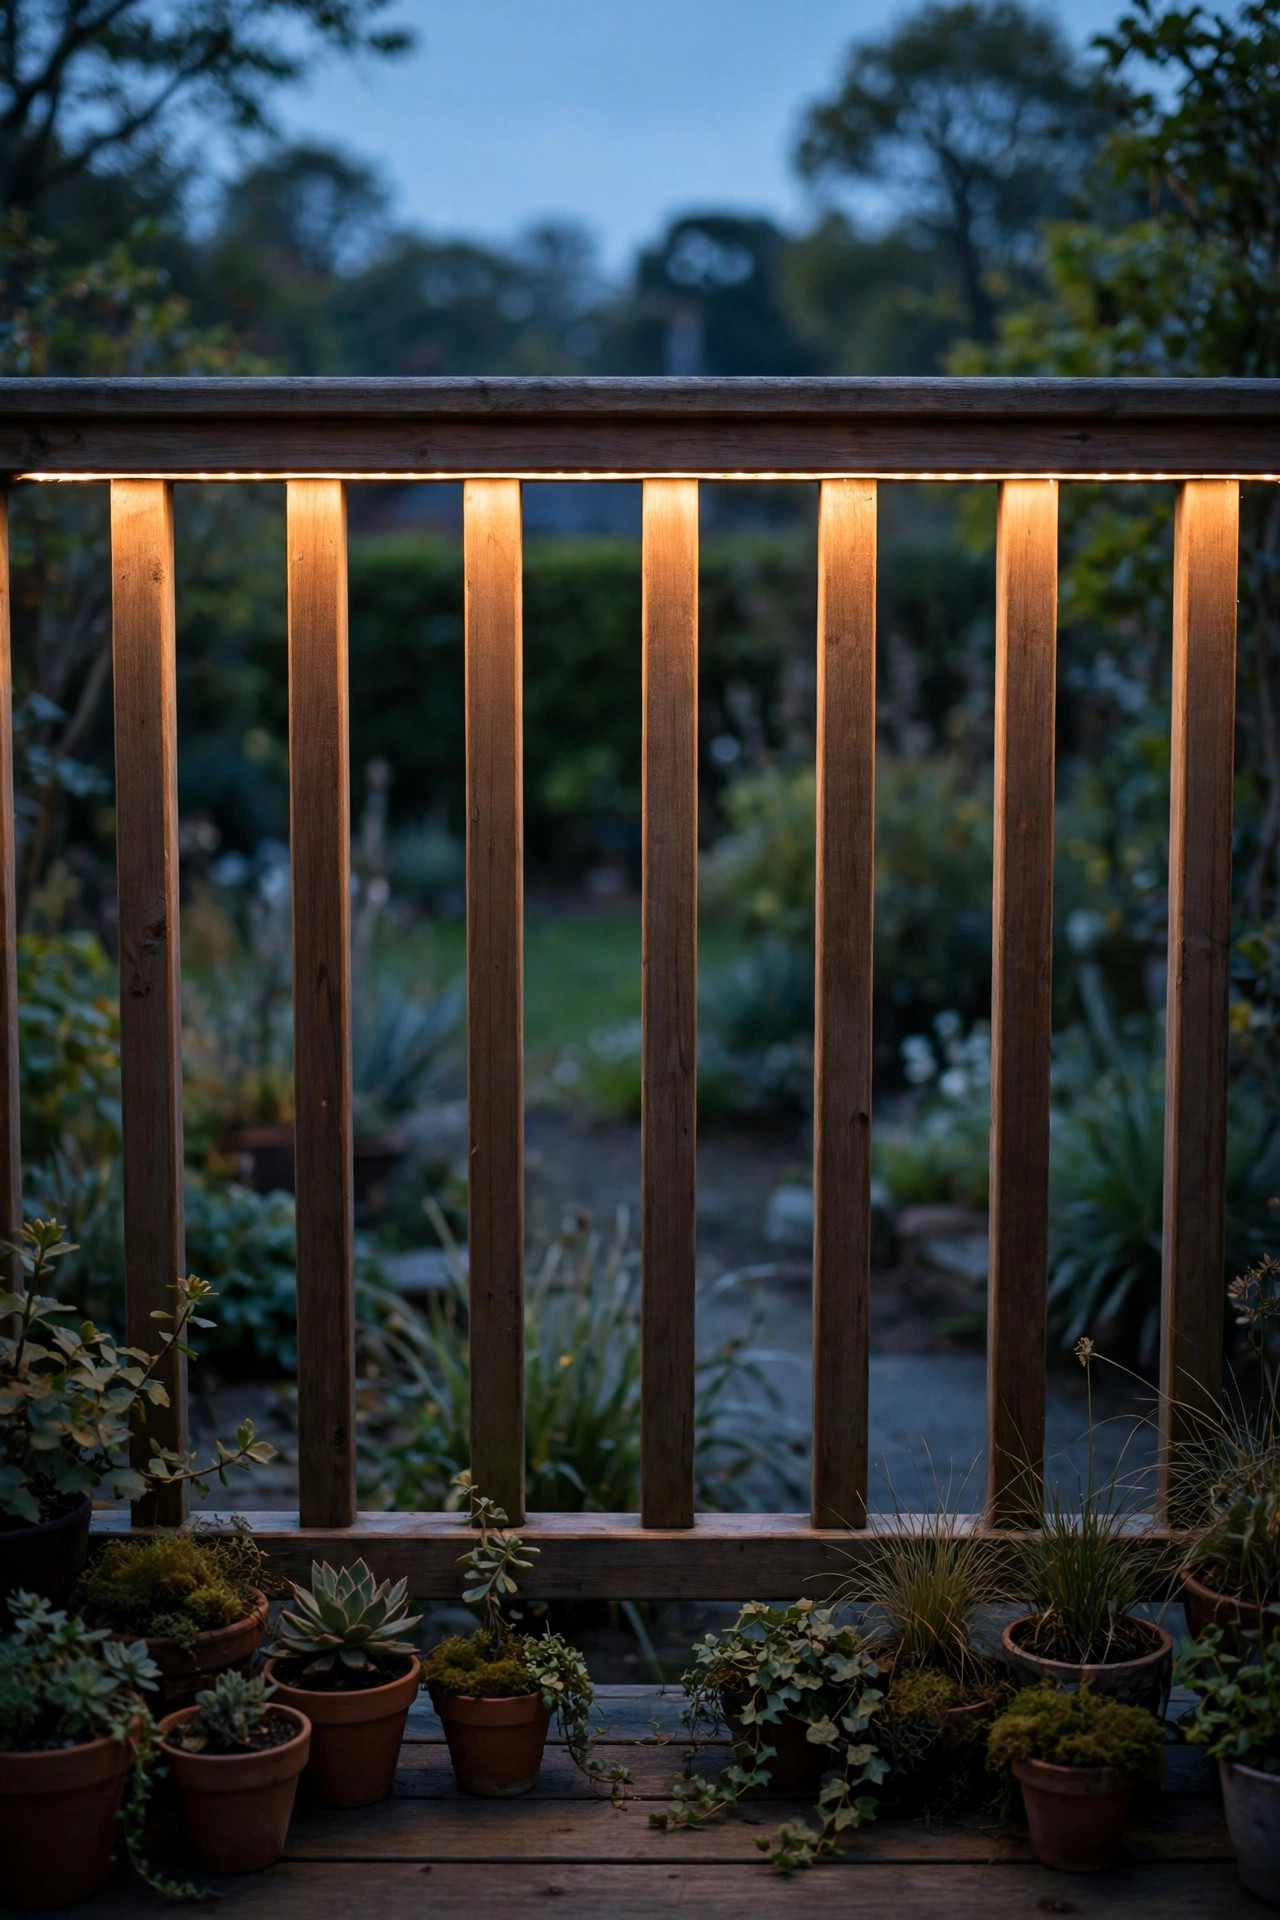
Under-rail lighting is the layer guests always ask about, because they can feel it without seeing where it comes from. An outdoor-rated LED strip or rope light tucked beneath the deck handrail throws a gentle wash down the balusters and across the deck boards, and on a dimmer it becomes the most adjustable light in the whole yard — bright enough to navigate with a tray, low enough to feel like candlelight reflecting off water. My installation lessons: buy strip rated for wet locations, not the indoor kind in a hopeful plastic tube; mount it in an aluminum channel with a frosted cover if you can, because the cover hides the individual LED dots and makes dimming look smooth instead of speckled; and put the dimmer control at the deck door so adjusting it is a one-step habit. A warm 2700K strip at about a third power, combined with the dimmed step lights from idea eight, makes our small deck feel twice its size after dark. It's a weekend project with an every-single-night payoff.
Suggested budget range: $35 – $110.
17. Whole-Yard Scenes: One Tap From Bright to Golden With Dimmable Outdoor Lights
Everything in this list comes together here. Once your porch, patio, path, and accent layers each have their own dimmer or smart control, you can save the combinations as scenes — and scenes are when dimmable outdoor lights stop being a feature and start being a lifestyle. My three: "Arrival," with the entry and path at 80 percent and accents at half, for guests and grocery runs. "Dinner," patio overheads at half, strings at a quarter, landscape low, for eating outside. And "Ember," everything at 10 to 20 percent except the fire pit zone, for the last hour of the night. A smart hub, a few smart dimmers, or even a simple multi-zone controller can store these; the technology matters less than the habit of using them. My honest advice is to build scenes gradually — live with each layer's dimmer for a few weeks, note the levels you actually choose, then save those. A yard you can tune like a stereo, from full daylight welcome to barely-there glow, is the real destination of every idea above.
Suggested budget range: $60 – $250.
Frequently Asked Questions
Can any LED bulb be used with a dimmer switch?
No — and this is the mistake I see most often. The bulb must be labeled dimmable, and ideally matched to your dimmer type; a non-dimmable LED on a dimmer will flicker, buzz, or fail early. Check the bulb maker's compatibility list for your dimmer model, and for outdoor fixtures, confirm the bulb also carries a damp- or wet-location rating. When in doubt, buy the bulb and dimmer from the same product family.
Why do my outdoor lights flicker or buzz when I dim them?
Usually it's a compatibility issue between the dimmer and the LED driver, or a dimmer loaded too lightly — one tiny LED bulb on a dimmer built for hundreds of watts of incandescent load can misbehave. Switching to an LED-rated dimmer with an adjustment for the low-end range fixes most cases. Loose connections and mixing different bulb types on one circuit cause the rest. Swap in matched bulbs first; it's the cheapest diagnosis.
Are solar outdoor lights dimmable?
Mostly, in a limited way. Many solar fixtures now offer two or three brightness levels rather than smooth dimming, and picking a lower level extends runtime significantly — helpful in winter. You generally can't put solar fixtures on a wall dimmer the way you can wired lights. For fine, continuous control, wired low-voltage or line-voltage fixtures on a real dimmer are still the better tool; treat solar as a flexible accent layer.
What dimmer level works best for outdoor mood lighting?
For ambient layers — string lights, wall washes, uplights — most people land between 20 and 40 percent once their eyes adjust. Keep task and safety layers higher: step lights and path lights should stay bright enough that every edge is unmistakable, even if that's 60 percent or more. My rule: dim for the mood, then walk the whole yard like a guest. If you hesitate anywhere, that zone goes up a notch.
Conclusion
If there's one principle behind all 17 ideas, it's this: dimmable outdoor lights give you a yard that can change its mind. Bright for the barbecue, golden for the conversation, barely-there for the fire — the fixtures stay the same, but the feeling is yours to choose, every single night. Start small with a single dimmer or a pair of smart bulbs, live with it for a week, and I promise you'll start eyeing every other switch in the yard. Browse the rest of the site for string light layouts, low-voltage planning guides, and my favorite timers and automation setups to build your next layer — and I'll see you out there at golden hour.