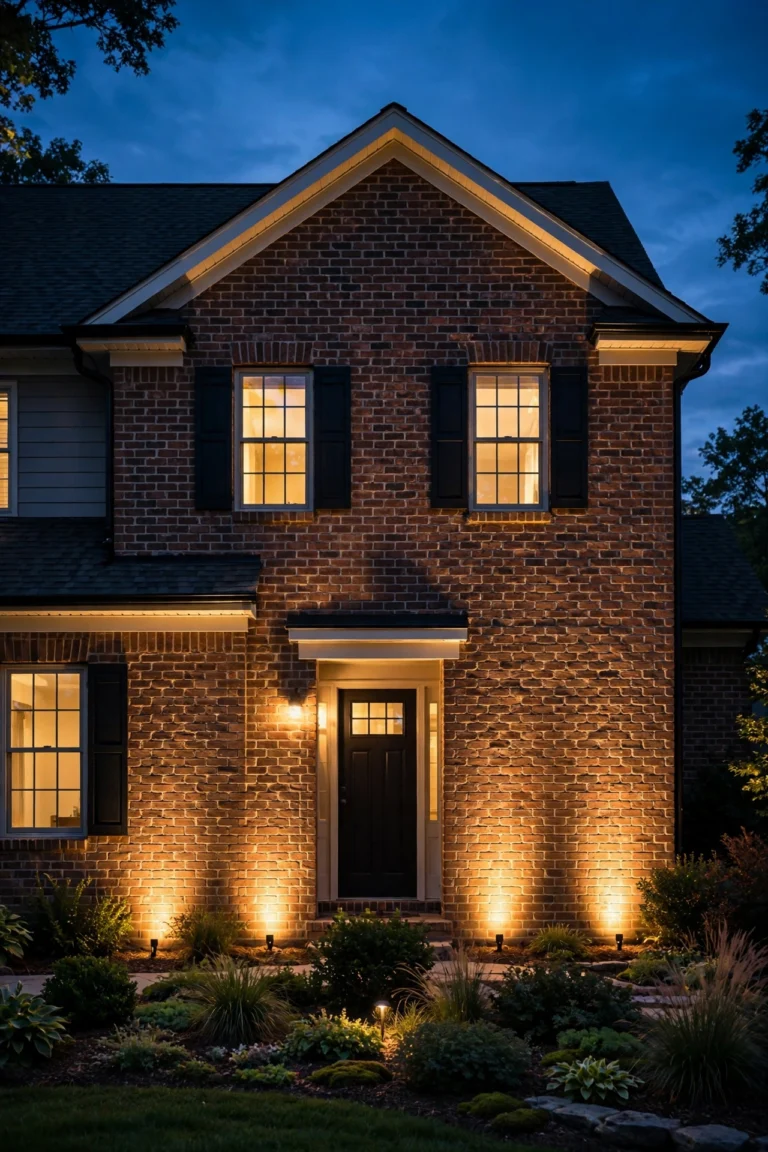
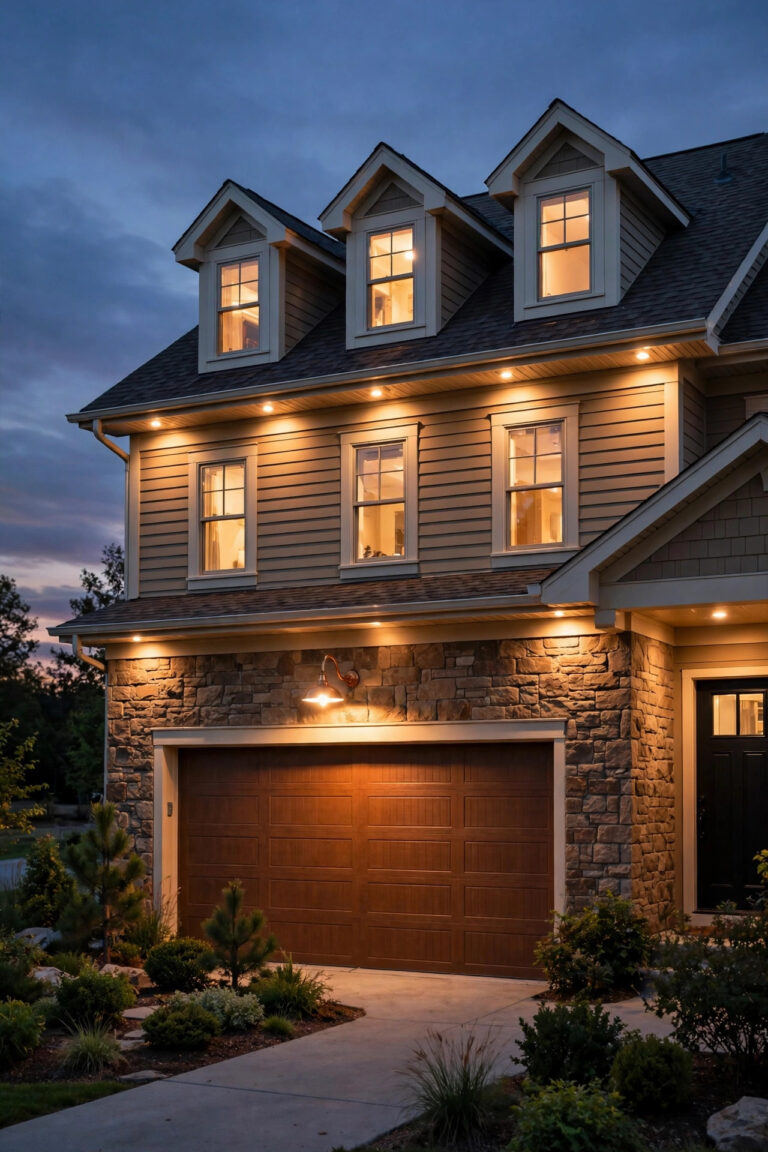
After years of porch lights that glared in my eyes and left the actual steps in shadow, I've become a firm believer that the best step lighting hides its source. LED strip step lights do exactly that — a slim line of light tucked under each tread, washing the step below in a warm pool so every edge is obvious and nothing shines in your face. On floating stairs they create that gorgeous hovering effect; on plain porch steps they quietly turn a trip hazard into the prettiest part of the entry. A strip installation is also forgiving: no cutting holes for recessed fixtures, no hardware sitting on treads to trip over or bury in snow. In this list I've gathered my 15 favorite ways to use strips on stairs — under-nosing channels, solar and battery options for wire-free porches, motion sensors, smart dimming, and the waterproofing details that make an install last for years. Every idea comes with real measurements, brightness guidance, and an honest budget, so you can pick the approach that fits your staircase and your Saturday.

1. Under-Nosing LED Strip Step Lights on Floating Stairs
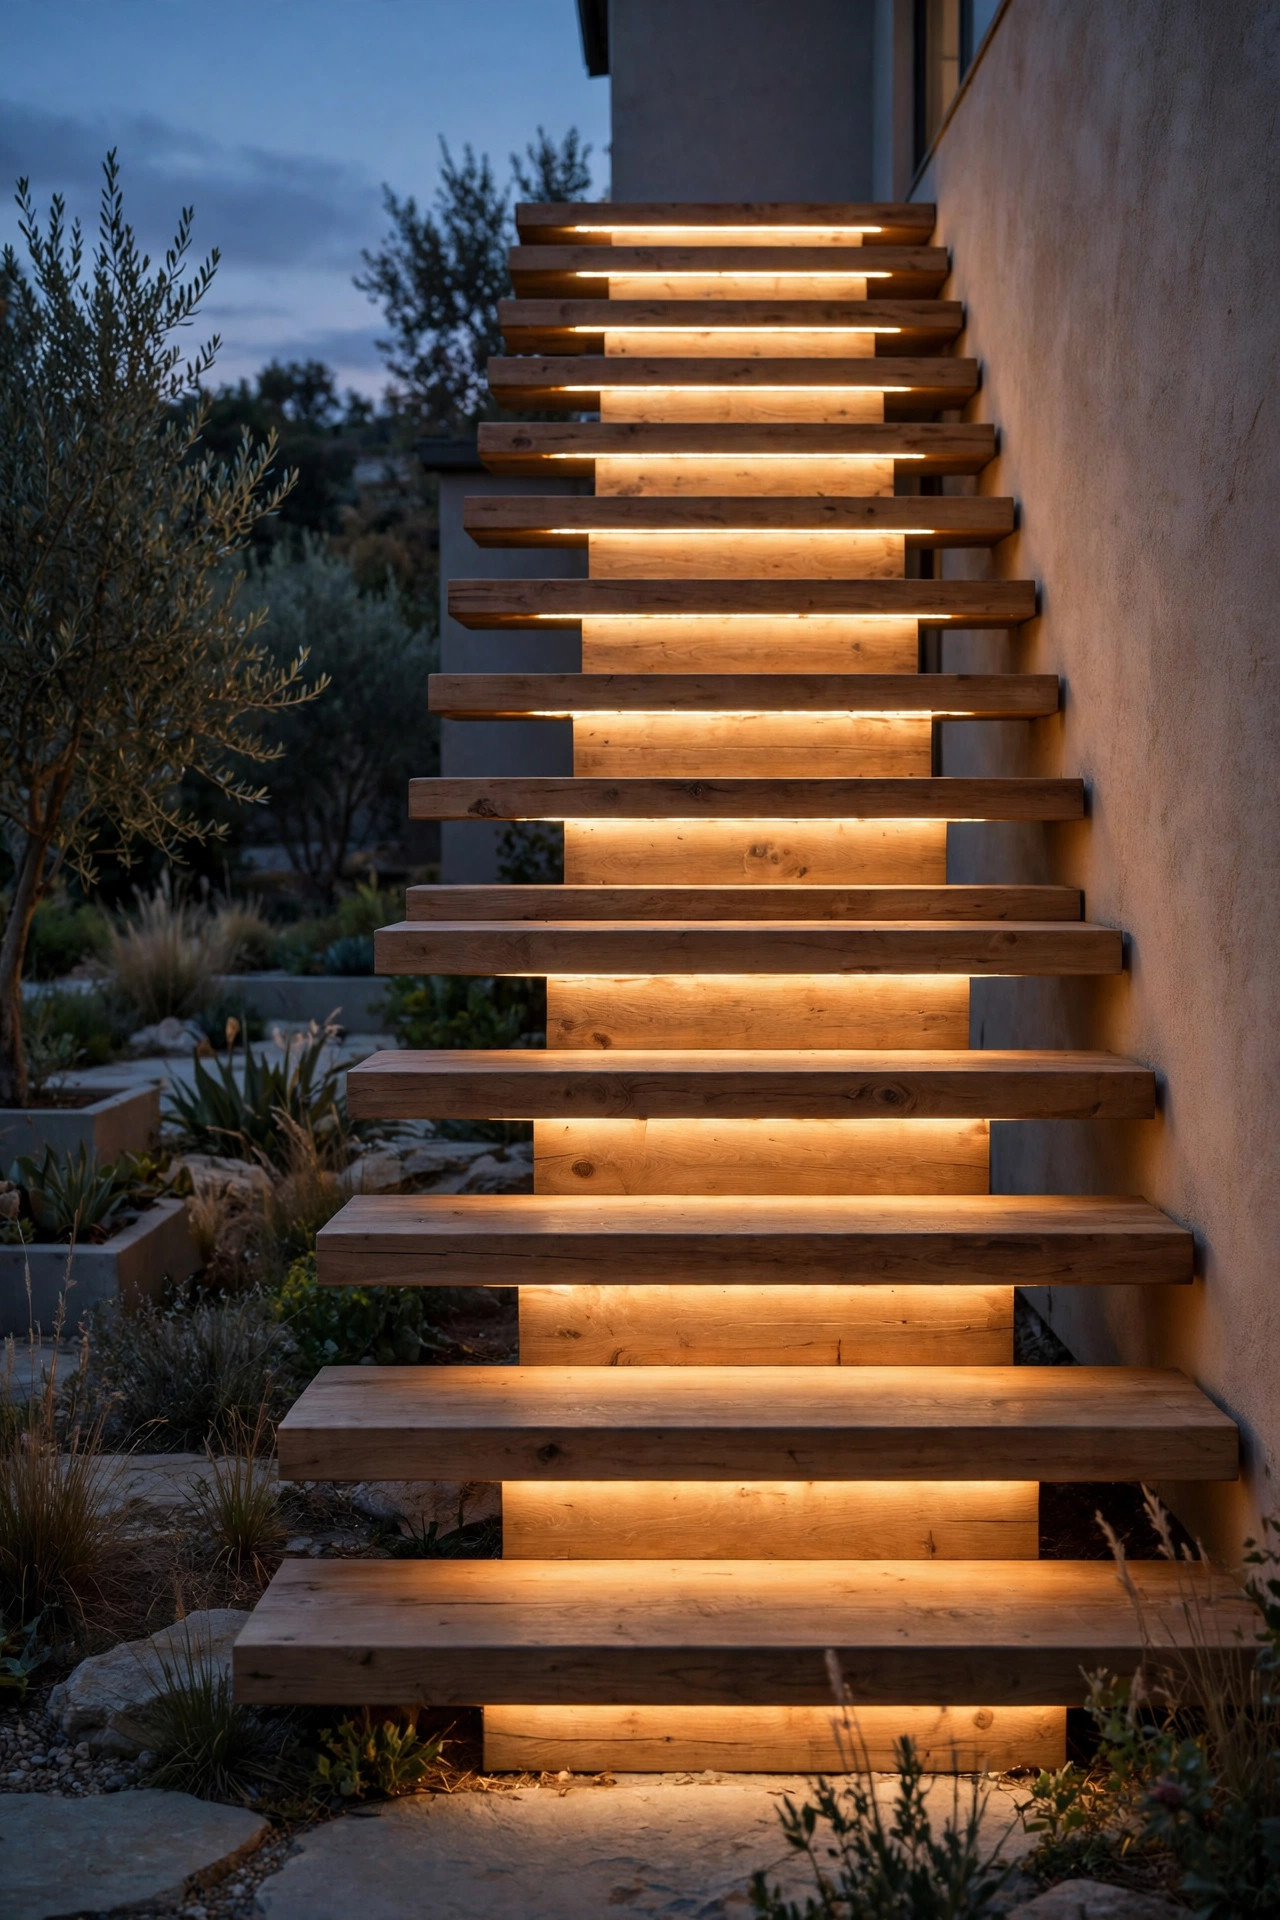
Floating stairs — thick treads with open risers and no visible support — are practically designed for strip lighting. The underside of each tread nosing, the front lip, hides an aluminum channel perfectly, and the light washes down across the tread below so the whole staircase looks like it's hovering over pools of light. Measure the tread width and cut the channel 2 inches shy of the full span so the end caps have room, then mount it 1 to 2 inches back from the front edge: too close to the lip and you'll see the strip reflected in the tread, too far back and the wash goes muddy. Use a 24-volt strip if your runs are long, because it holds brightness better over distance. The driver tucks under the bottom tread or inside a nearby bench, out of the weather but still reachable. Floating stairs are usually a style statement, and honestly, this is the lighting that finishes the statement. Pair it with a low porch sconce so the top landing isn't a dark cliff — my roundup of porch step lighting ideas covers that layer in detail.
Suggested budget range: $180 – $420.
2. Full-Width Strips Under Every Tread for an Even Wash
Some staircases want drama; others just want every step lit evenly, edge to edge. Full-width strips under every tread deliver that — a continuous ribbon of light with no dark corners where a heel can land wrong. The key detail is consistency: same strip, same channel depth, same mounting setback on every step, or the staircase reads as a patchwork. Cut all your channels first, dry-fit them, and check the flight from the bottom of the stairs at dusk before committing, because that's the viewing angle that reveals uneven setbacks. On treads wider than 4 feet, a single strip can dim toward the far end as voltage drops; feeding power from both ends, or choosing a denser strip, keeps the brightness uniform. I like frosted diffusers here because a full-width run is on display — you see the line of light itself, not just its effect. And keep the color temperature identical across the staircase and any nearby path lights, so the whole flight reads as one design rather than an accident.
Suggested budget range: $150 – $380.

3. Aluminum Channels With Frosted Diffusers for a Dot-Free Line
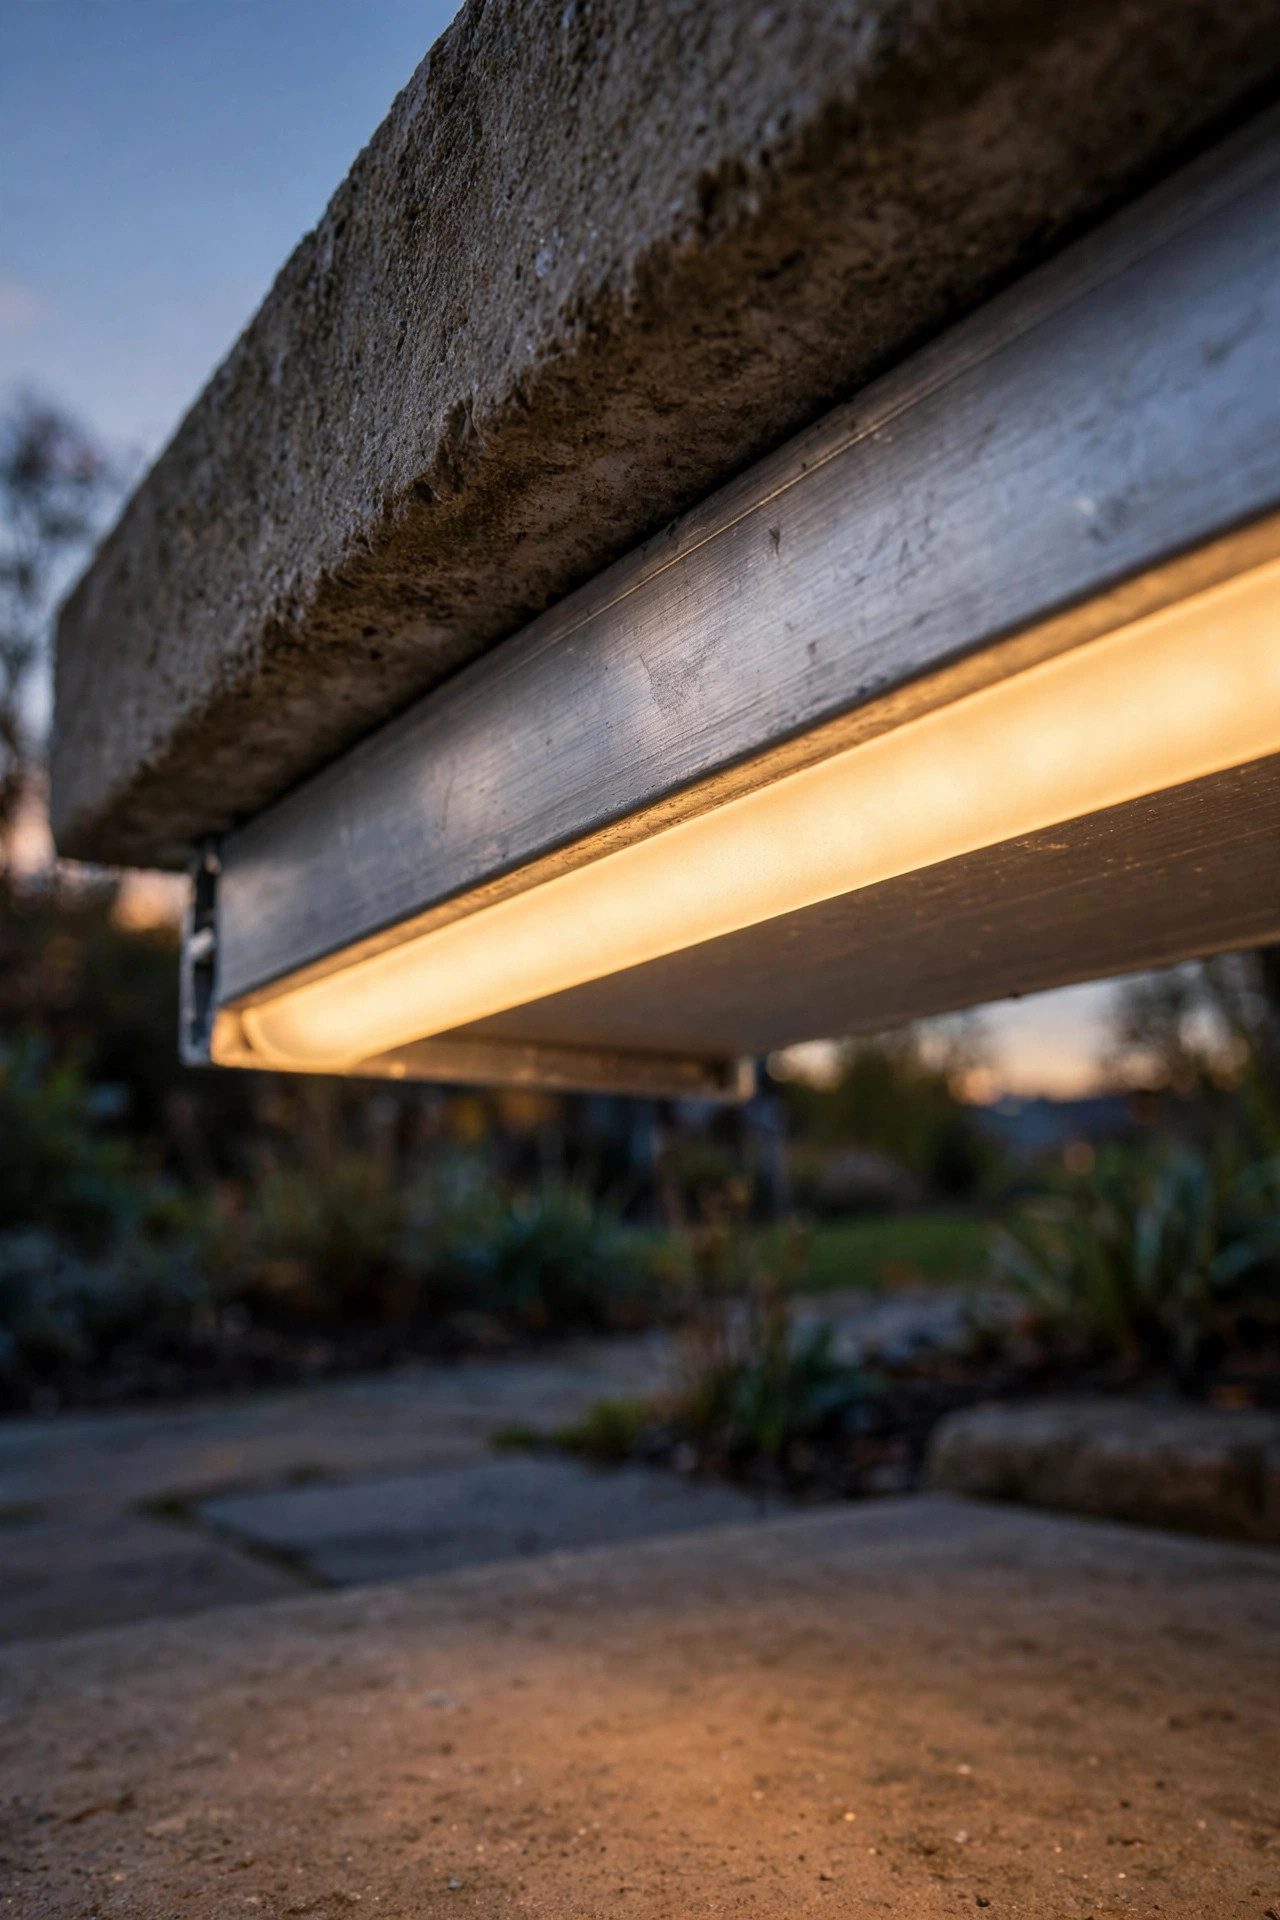
Bare LED strip glued under a tread lasts about one season outdoors — the adhesive lets go in summer heat, moisture creeps in, and individual diodes start winking out. An aluminum channel fixes all three problems at once: it gives the strip a rigid, screw-mounted home, acts as a heat sink that extends diode life, and holds a snap-on frosted diffuser that turns a row of dots into one smooth line of light. Buy channel rated for outdoor use, with sealed end caps and stainless screws. The diffuser matters more than people think. A clear cover shows every diode, while a frosted cover blends them completely at the cost of maybe ten percent of the brightness — a trade I'll take every single time. Mount the channel with the diffuser facing down and very slightly back, so rain runs off the tread edge instead of pooling on the lens. And if a section ever fails, you pop the diffuser, unclip the strip, and swap in a new length in minutes. Try doing that with a glued bare strip in August.
Suggested budget range: $90 – $240.
4. Warm 2700K Strips Matched to Your Porch Lanterns
Color temperature is where step lighting either blends into your home's evening look or fights it. Most porch lanterns and landscape lights glow at 2700K, that candle-warm amber, so your strips should too. A 4000K "neutral white" strip under a tread next to a warm sconce looks faintly blue by comparison and makes the whole staircase feel like a parking garage. If you buy tunable strips, set them to 2700K and leave them there; if they're fixed, check the box twice, because packaging loves to lead with lumens and whisper the Kelvin rating. My other rule is one temperature per sightline. The stairs, the porch, and the first stretch of path should all match, because your eye reads them as one scene from the street. Warm light is also kinder to materials — it deepens the grain in timber treads and makes plain concrete look less institutional. Save the cooler whites for a modern all-concrete design where everything else in the scene runs cool too.
Suggested budget range: $60 – $180.
5. Motion-Sensor Strips That Wake as You Approach
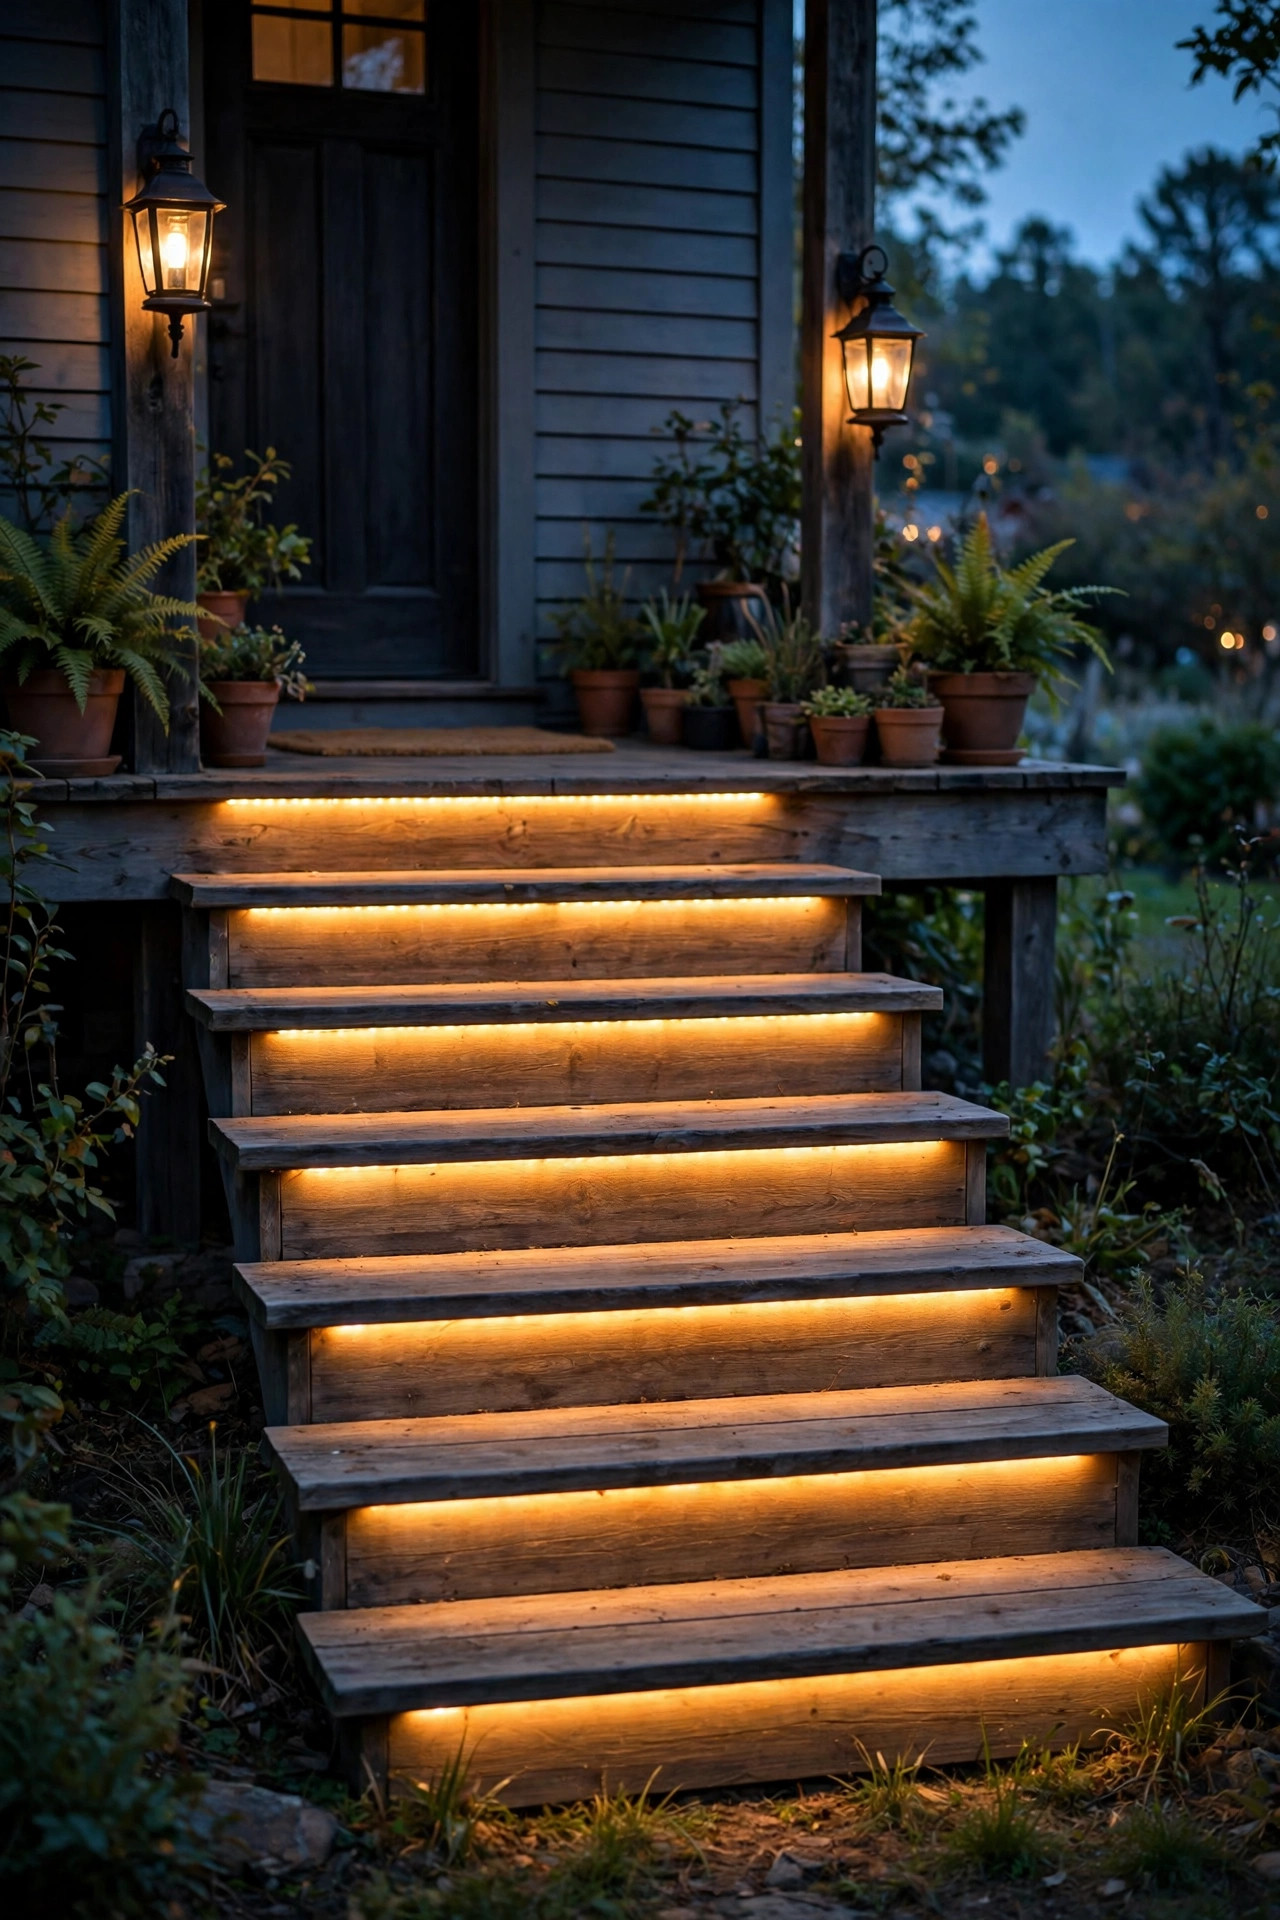
Steps you only cross a few times a night don't need to burn from dusk to dawn. A motion-sensor setup keeps the strips dark until someone is actually on the staircase, then fades them up — welcoming instead of startling, if you choose a controller with a soft ramp rather than an instant blast. Place one sensor at the bottom facing up the flight and, on longer staircases, a second one at the top; a single sensor at one end leaves the far approach dark until you're halfway committed. Aim for a detection zone that starts 4 to 6 feet before the first step, and set the hold time to two or three minutes so the lights don't drop you mid-conversation on the landing. Battery and solar sensors exist, but hardwired ones are noticeably faster and more reliable in cold weather. One honest caution: motion strips and pets mix unpredictably. A cat with a nightly route can put on quite a light show, so aim the sensors at human height, not ankle height.
Suggested budget range: $80 – $220.

6. Solar LED Strip Step Lights for Wire-Free Porch Steps
No outlet anywhere near the porch steps? Solar LED strip step lights have gotten genuinely usable — a remote panel staked in a sunny bed, a slim cable to the staircase, and strips that store enough charge for a full evening in summer. The non-negotiable is panel placement: it needs five to six hours of direct sun, which usually means it does not live under the porch roof with the steps it feeds. Buy kits with a separate cabled panel rather than a tiny panel glued along the strip itself. Expect honest trade-offs, though. Brightness is a gentle wash rather than a flood, and a run of cloudy December days will shorten the runtime noticeably. For a rental, a vacation cabin, or garden steps far from any power, that's a fair bargain. Choose strips in an IP65-or-better jacket since solar kits live fully exposed, and bring the battery box under cover for the winter if your kit allows it. For three or four steps on a sunny porch, solar strips are the fastest weekend upgrade on this whole list.
Suggested budget range: $45 – $140.

7. Battery-Powered Peel-and-Stick Strips for Renters
Renters, I see you: gorgeous step lighting, zero permission to drill or wire. Battery-powered strip kits with adhesive channel were made for exactly this. Modern lithium packs run a short staircase for weeks between charges at a few hours a night, and USB-C recharging means no drawer full of spare AAs. The trick to making peel-and-stick survive outdoors is surface prep. Scrub the underside of the tread with rubbing alcohol, let it dry completely, press the channel firmly for a full minute, and let it cure 24 hours before the strip's weight hangs on it. Even then, I add a dab of removable adhesive putty at each end as insurance; it peels off clean at move-out. Keep runs short — two or three steps per pack — and stick to warm white for a look that reads intentional. When you leave, everything comes off with dental floss and patience, and your deposit never knows a thing.
Suggested budget range: $35 – $90.

8. Smart Dimmable Strips on a Schedule
A dimmer changes step strips from a utility into a mood. Full brightness at 6 p.m. when the dog walkers and delivery drivers are out, forty percent by 10, a bare glow at midnight — a smart controller on a schedule does all of this automatically, and honestly it's the feature I use most. Look for a controller that works with your existing smart home setup, or at least one that keeps its schedule stored offline, because a staircase that goes dark when the Wi-Fi hiccups is a safety feature failing. Set a "guest" scene at eighty percent for parties and a quiet twenty-percent scene for the back stairs down to the patio. Pair the schedule with an astronomical timer so the strips track sunset through the seasons without you touching a thing. And keep one simple physical override — a small inline switch near the door — because apps always fail at the exact moment your hands are full of grocery bags.
Suggested budget range: $110 – $260.

9. Stringer and Side-Wall Strips for Open-Riser Stairs
Open-riser and mono-stringer stairs, where a single central beam carries the treads, sometimes have no clean underside to light from. The answer is to light from the side: run the strip in a slim channel along the stringer or the wall beside the steps, angled so the wash grazes across each tread. This sideways light is surprisingly good at revealing step edges, because it rakes across surfaces and throws a tiny shadow off every nosing. It pairs beautifully with a lit handrail, too — my guide to under-rail LED strip lighting covers the matching technique for the rail itself. Mount the channel a few inches above tread level on the wall, or right along the stringer's top edge, and always use a diffuser: side-mounted strips sit closer to eye level on the way down, so bare diodes glare. This is also the easiest style to retrofit, since the whole channel runs in one straight length instead of fifteen little cut pieces, one per step.
Suggested budget range: $70 – $200.

10. Waterproof IP67 Strips for Exposed Garden Steps
Porch steps under a roof live an easy life; garden steps crossing an open slope get every storm head-on. For fully exposed stairs, spec the strip like a boat part: an IP67 or IP68 jacketed strip encased in a silicone tube, channel with drain holes drilled at the low end, and every connection sealed with adhesive-lined heat shrink — never the little clip connectors, which corrode by the second season. Keep the power supply and controller in a weatherproof box at the top of the run, so any water that finds its way into conduit drains away from the electronics. Freeze-thaw is the silent killer here: water trapped in a channel expands, cracks diffusers, and lifts strips off their mounts. A slight downward tilt on each channel — barely visible, maybe two degrees — lets water escape instead of pooling. Budget a ten-minute inspection each spring: reseal any connection that looks chalky and replace any strip section that's lost its seal.
Suggested budget range: $100 – $280.

11. Two Short Strips Per Step on Wide Staircases
On steps wider than about 5 feet, one long strip has two problems: voltage drop makes the far end dimmer, and a single failure darkens the whole tread. Two shorter strips — each covering a bit more than half the width and overlapping in the middle — solve both. Feed each strip from its nearest end so the runs stay short and bright, and overlap the inner ends by 3 or 4 inches so there's no dark seam at center step, right where two people pass each other. The layout is cheaper to maintain, too: when one strip eventually dims, you replace a 3-foot piece instead of a 7-foot one. It even looks intentional, echoing the two-fixture logic you'd use on wide steps with any other light type. I use the same split approach in my deck stair light ideas for deck stairs with riser lights, so if you mix fixture types between your front steps and back deck, the lighting logic stays consistent.
Suggested budget range: $130 – $320.

12. RGBW Color Strips for Holidays and Game Days
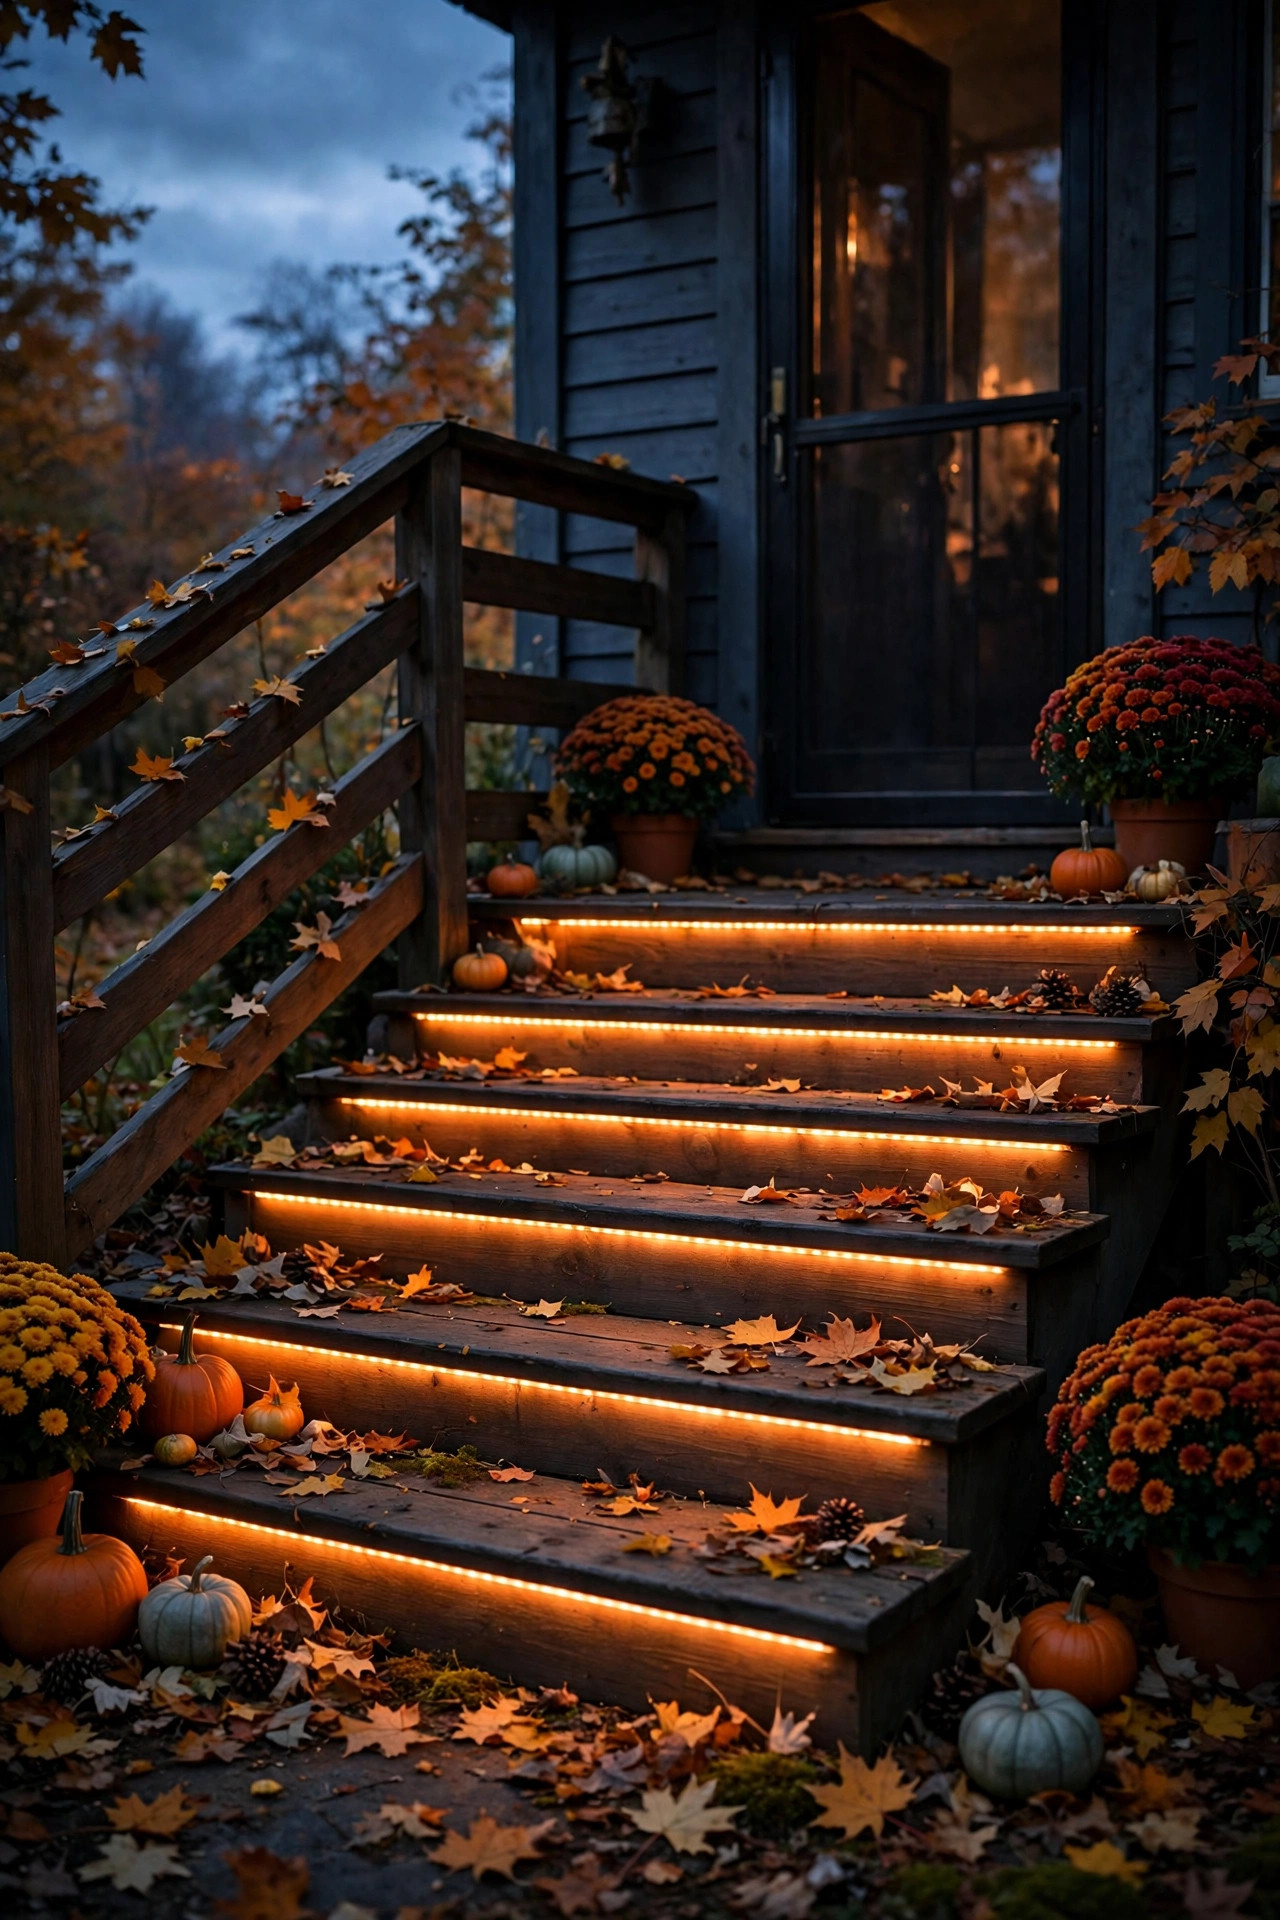
Most nights your steps should glow warm white — but a strip that can turn porch-step orange in October, red and green in December, or your team's colors on game day is pure fun, and it costs almost nothing extra. The important letter in the spec is the W. RGBW strips carry a dedicated warm-white diode, so everyday lighting still looks right instead of the eerie mixed-color "white" that plain RGB strips fake. Run color scenes at moderate brightness: saturated color at full power reads as a theme park, while the same color at fifty percent reads as a stylish wash. Save your scenes in the app so switching back to everyday warm is one tap, because fumbling through a color wheel on your front steps in February gets old fast. And a word of neighborly restraint — keep stair colors static rather than running animated chases. A still wash is festive; a strobing staircase is a complaint waiting to happen.
Suggested budget range: $85 – $210.
13. Low-Voltage Hardwired Strips Tied Into Landscape Lighting
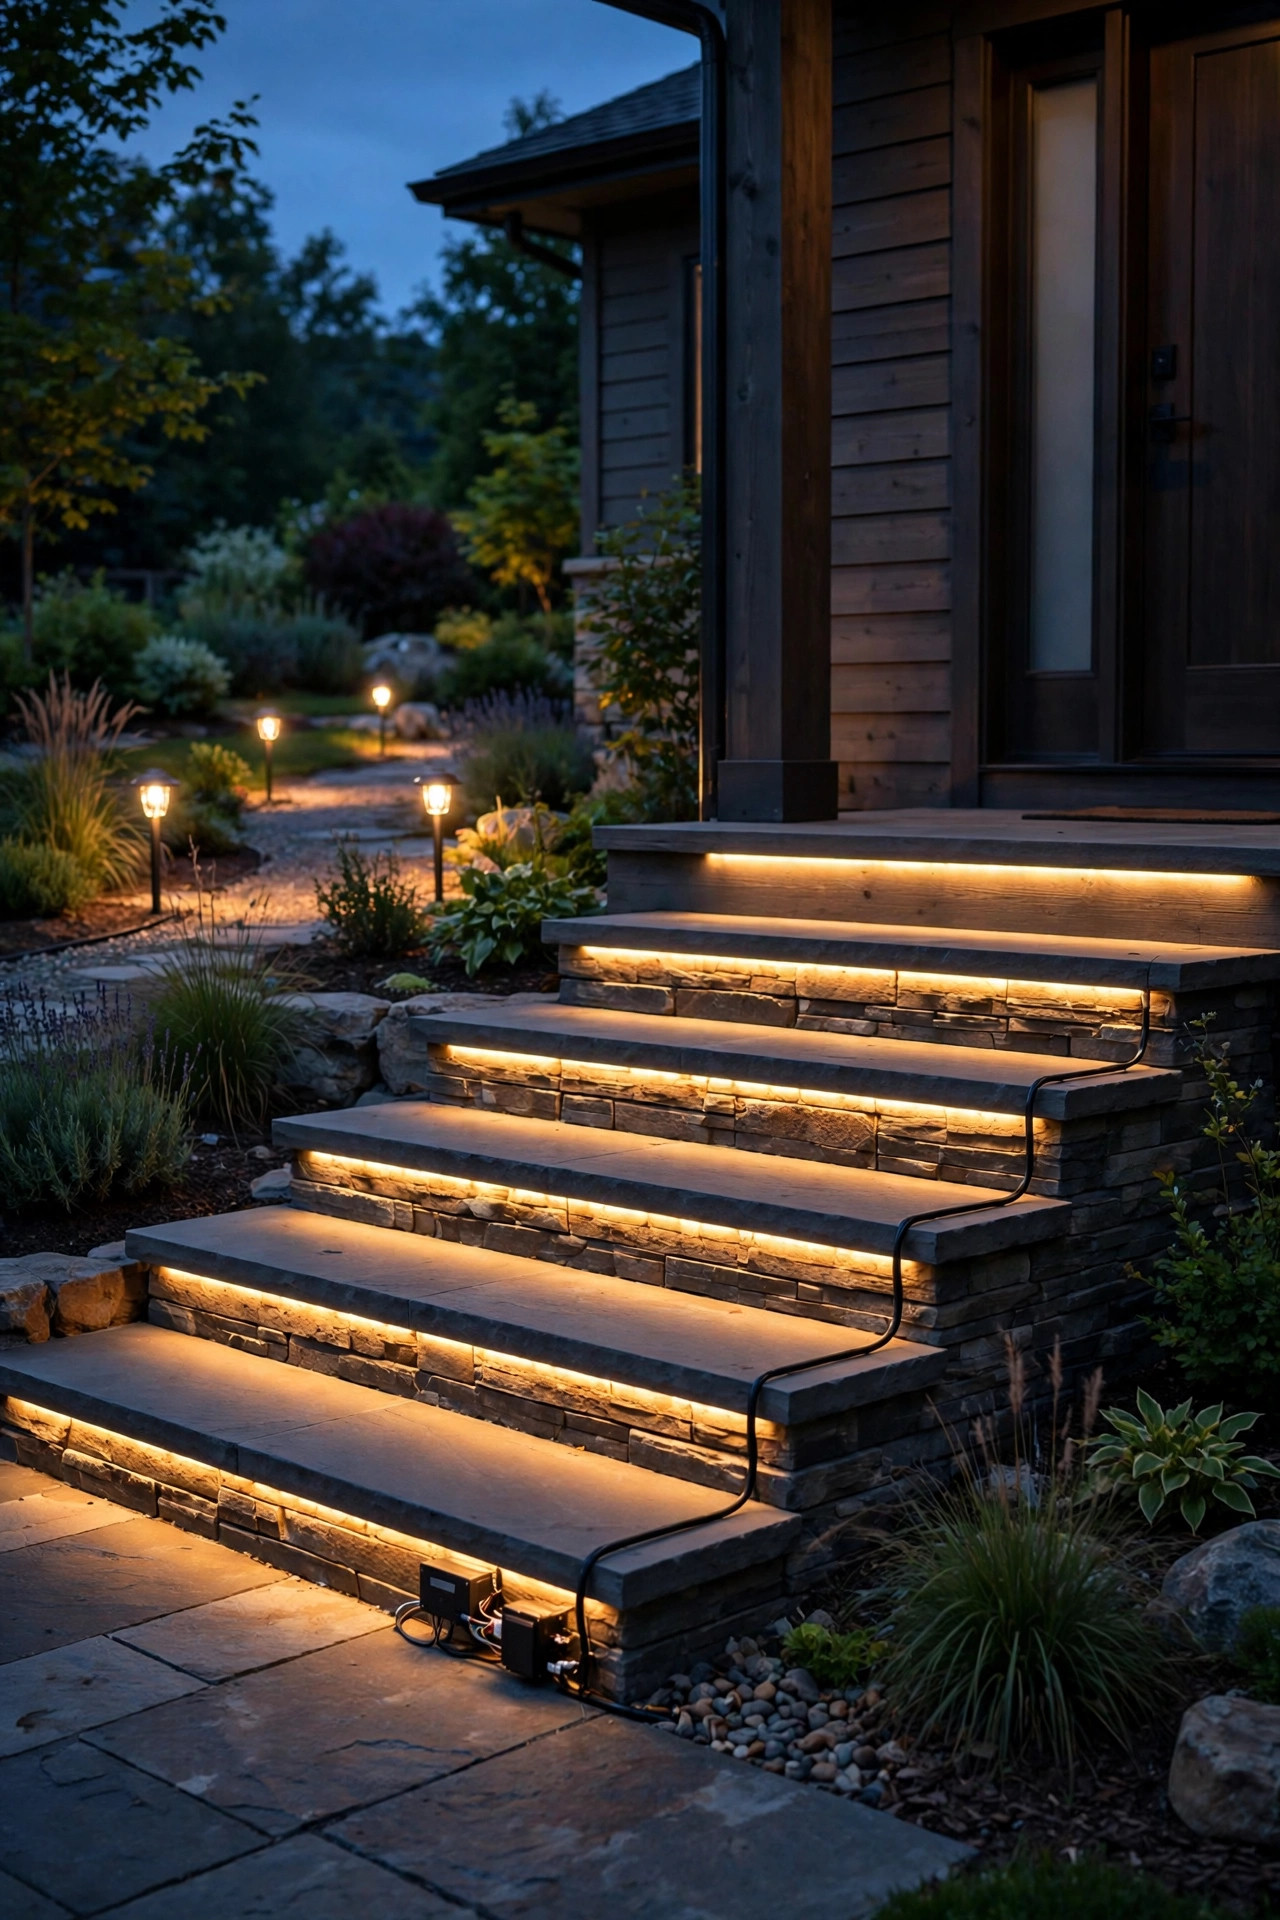
If your yard already runs on a 12- or 24-volt landscape transformer, your steps can join that system instead of getting their own plug. Tapping strips into the existing low-voltage run means they inherit the transformer's timer and photocell, come on with the path lights, and share one point of control — in my experience, the tidiest long-term setup of all. Two rules matter. Match the strip voltage to your system, because a 24-volt strip on a 12-volt transformer just glows dim. And check the transformer's remaining wattage before adding a staircase; strips sip only 2 to 5 watts per step, but long runs add up faster than you'd think. Bury the feed cable in conduit where it crosses planting beds, and use gel-filled waterproof connectors at every tap. Because it's low voltage, this is a confident DIY in most places — no junction boxes or permits for the lighting run itself, though the transformer's outlet should always be GFCI-protected.
Suggested budget range: $120 – $300.
14. Strips Layered With Railing and Landing Lights
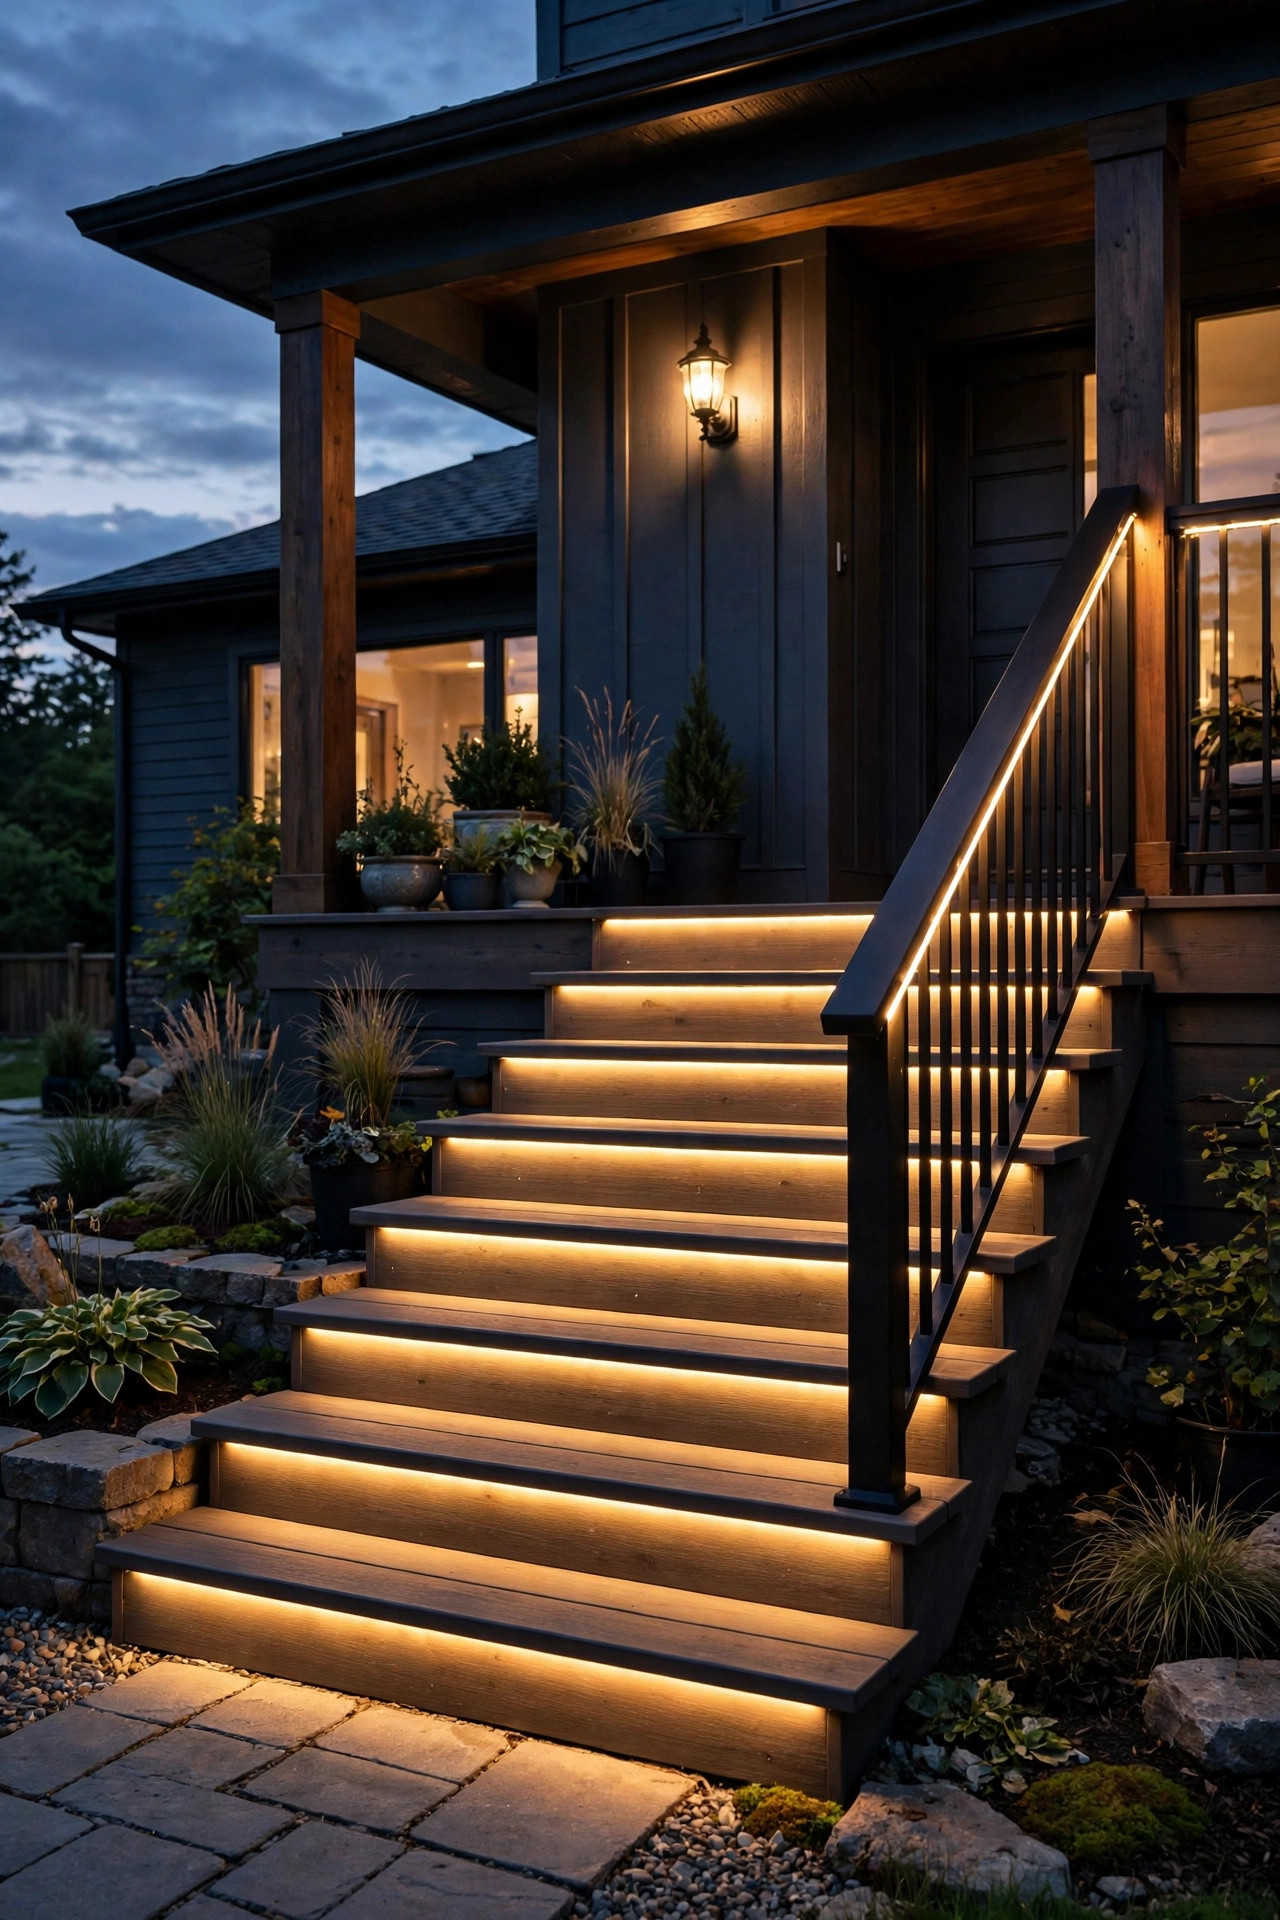
Strips alone light the treads beautifully, but a staircase also needs a hint of where it sits in the yard. Layering is this site's whole philosophy: strips handle the step faces, a low strip or small fixtures along the handrail guide the hand and the eye, and one soft source at the top landing — a sconce or a post light — marks the destination. Keep each layer dimmer than you'd think. Three gentle sources beat one bright one and keep the whole scene glare-free. Put the layers on separate controls if you can, so the railing and landing lights can stay on late while the steps switch to motion-only after midnight. This is exactly how the nicest entries I've photographed are lit, and it's why they look designed instead of merely illuminated. The strips do the safety work; the layers do the charm. Plan the whole staircase at once and you'll never have to retrofit a layer into a finished install.
Suggested budget range: $200 – $480.

15. The Whole-Staircase Plan: LED Strip Step Lights, Layered
Ready to plan it all at once? Here's the layout I'd install on my own porch steps tomorrow. Under-nosing channels with frosted diffusers on every tread, 2700K throughout, fed by a 24-volt driver in a weatherproof box under the porch. The strips run on a smart controller: full brightness at sunset, forty percent after 10 p.m., and a motion boost whenever the bottom sensor trips. A matching strip under the handrail forms the guide layer, and the existing porch sconce gets swapped to the same 2700K bulb so the whole entry reads as one warm scene. Total parts for a five-step porch flight: about 16 feet of jacketed strip, five channels, one driver, one controller — a Saturday project with no ladder work, which your knees will appreciate. Of all the LED strip step lights I've installed and tested, this layered, scheduled, warm-white setup is the one guests comment on — usually by saying the steps feel like a boutique hotel's. That's the real goal: safety nobody notices, beauty everybody does.
Suggested budget range: $250 – $550.
Frequently Asked Questions
How many lumens do LED strip step lights need per step?
Less than you'd guess. Strips are rated in lumens per foot, and around 150 to 300 lumens per foot is plenty for steps — you're creating readable pools of light, not flooding a patio. A dimmable setup is the safest buy, because you can tune a bright strip down but you can't make a dim one brighter.
Are LED strip lights safe to use on outdoor steps?
Yes, with the right ratings. Choose strips rated IP65 or higher for covered porches and IP67 for exposed stairs, and remember that LEDs run cool, so there's no heat risk near wood or leaf litter. Keep plug-in drivers on a GFCI-protected outlet, and low-voltage systems are the safest option of all for DIY installs.
Can I cut LED strips to fit my steps exactly?
Almost always. Most strips have marked cut points every few inches, with little scissor icons on the copper pads. Cut only on those marks, then seal the cut end with a cap and silicone if it's outdoors. The leftover piece isn't wasted, either — it can often be reconnected with a corner or jumper connector for the next step.
Do LED strips hold up through cold winters?
The LEDs themselves love the cold and actually run efficiently in it. The weak points are adhesive mounts, which let go in freeze-thaw cycles, and batteries, which lose capacity in deep cold. For winter climates, choose screw-mounted channels and hardwired or low-voltage power, and expect solar strips to run noticeably shorter on December nights.
Conclusion
However you light them — hidden under a floating tread, solar-fed on a sunny porch, or layered with a glowing handrail — LED strip step lights give you the rarest combination in outdoor lighting: real safety with no visible hardware and no glare. Start with one staircase, warm 2700K light, and a channel you can service, and you'll understand the appeal the first evening a guest walks down without reaching for the railing. Browse the rest of the site for the sconces, path lights, and porch layers that complete the scene.