A narrow front path asks a lot of a light. When your walkway is only two or three feet wide, a standard path light can crowd the stepping space, blind your guests, or get clipped by every delivery cart that rolls through. The good news? Some of the prettiest paths I've ever lit were the skinniest ones. The secret with narrow walkway lighting ideas is choosing small fixtures and layering them thoughtfully — a low guide light here, a soft wash there — so the path feels intentional instead of squeezed.
Below are my 21 favorite ways to light a tight front path, with honest spacing, brightness and budget notes for each. Some are five-minute solar fixes, others are weekend projects, and a few are worth planning into a path remodel — but every single one respects the first rule of a skinny walkway: the light should serve the path, never crowd it. Mix one guide layer with one pretty accent and even the narrowest entry starts to feel like it was designed on purpose. If you want the big-picture version first, my broader roundup of walkway lighting ideas covers wider paths too.
1. Single-Side Solar Stakes for a Clean, Uncrowded Line
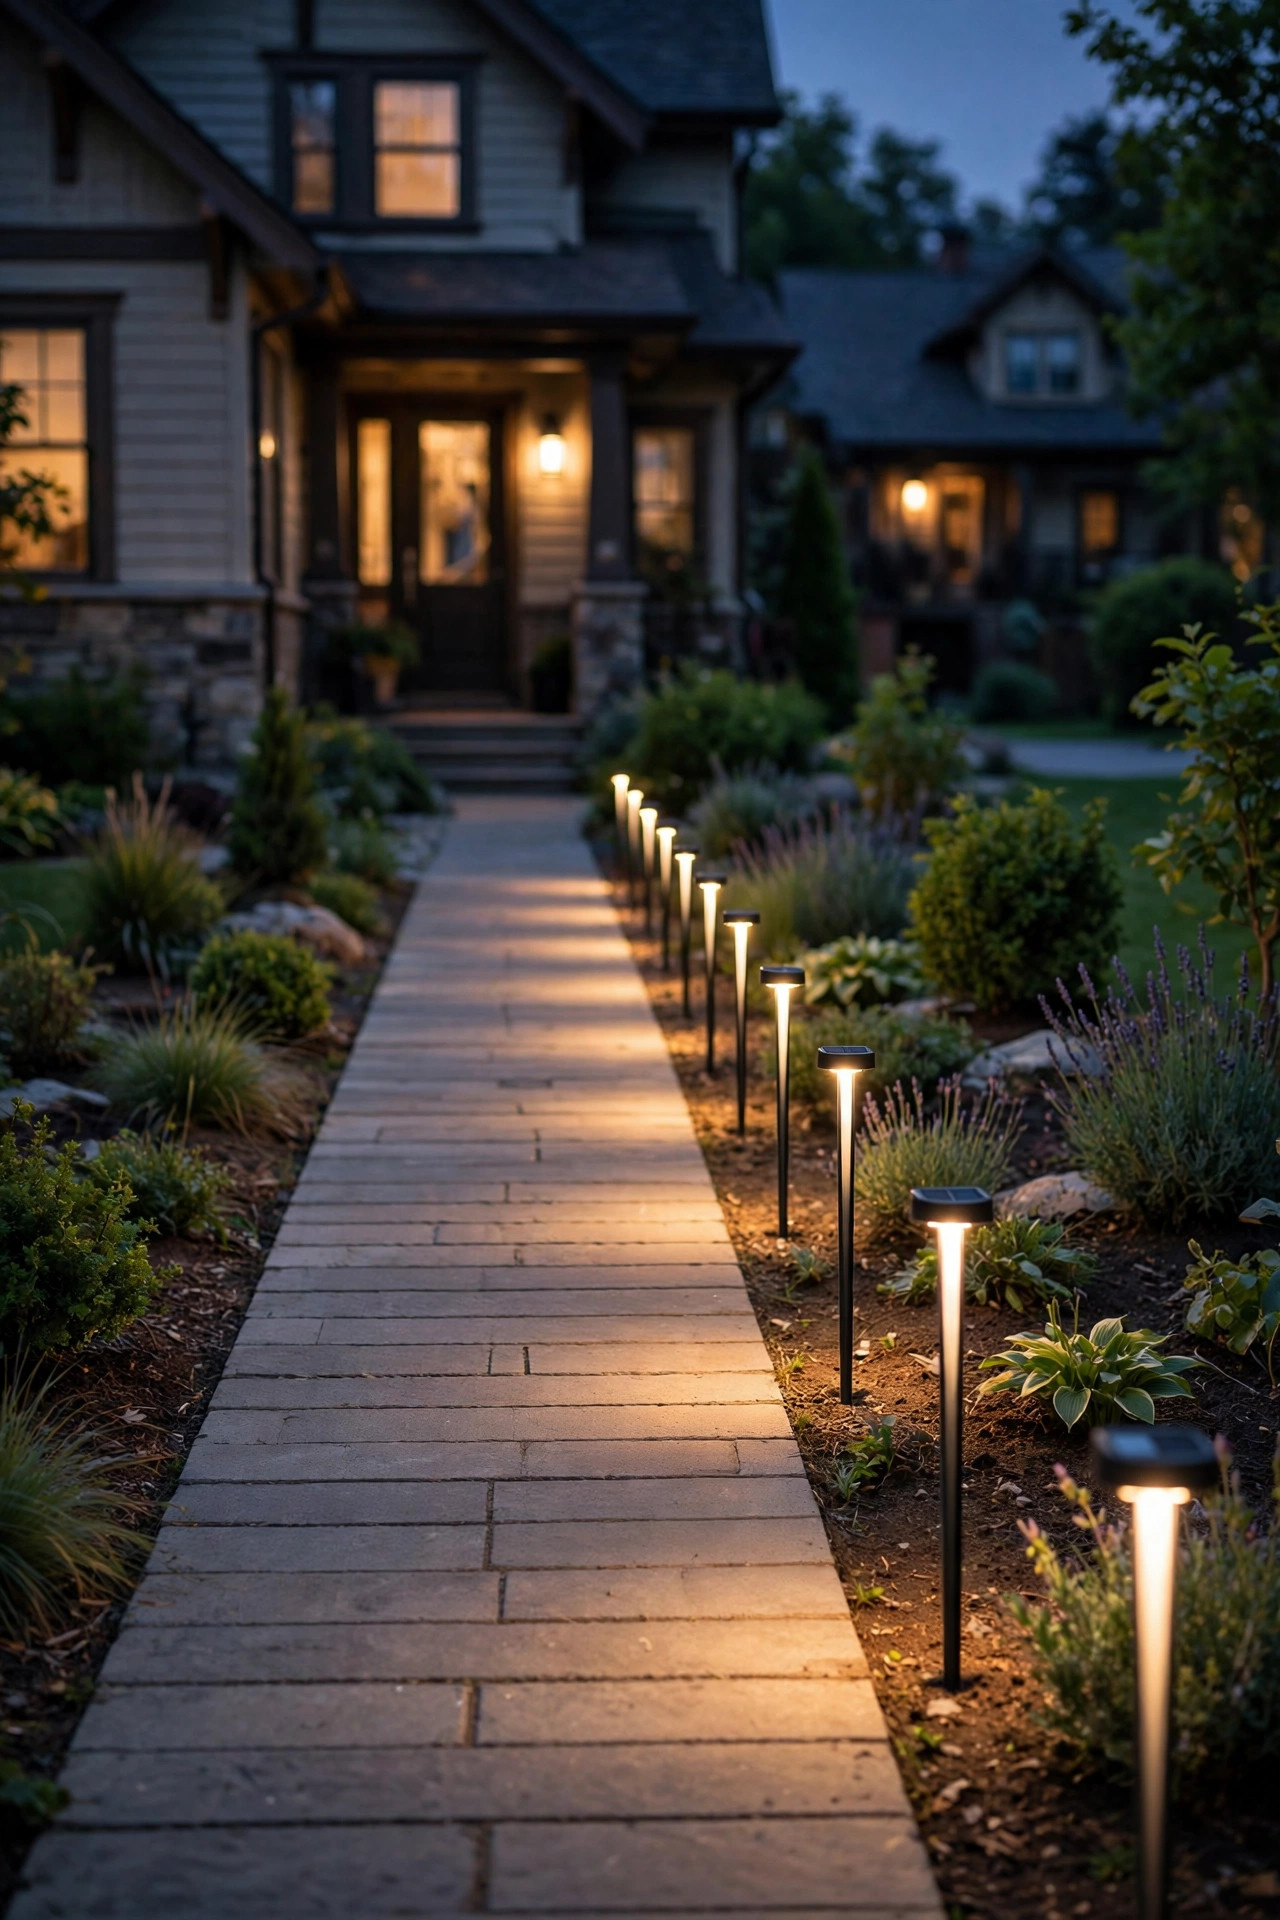
On a path under three feet wide, lighting both edges is honestly overkill — it eats visual space and doubles your chances of kicking a fixture. I light one side only, usually the side away from the door swing, and the path instantly feels wider. Slim solar stakes are perfect here because they ask nothing of you: no wire, no transformer, just a sunny spot to charge.
Space them 4 to 6 feet apart on a narrow path — closer than you'd think, because one-sided lighting needs overlap to avoid dark gaps. Choose stakes under 14 inches tall with the light head close to the ground, and aim for a warm 2700K glow rather than the harsh blue-white some cheap sets produce. Push them a full hand's width back from the path edge so mower wheels and snow shovels pass safely. In my experience, metal stakes outlast plastic ones by years on a tight path where everything gets bumped.
Suggested budget range: $25 – $60.
2. Recessed Paver Lights Set Right Into the Path
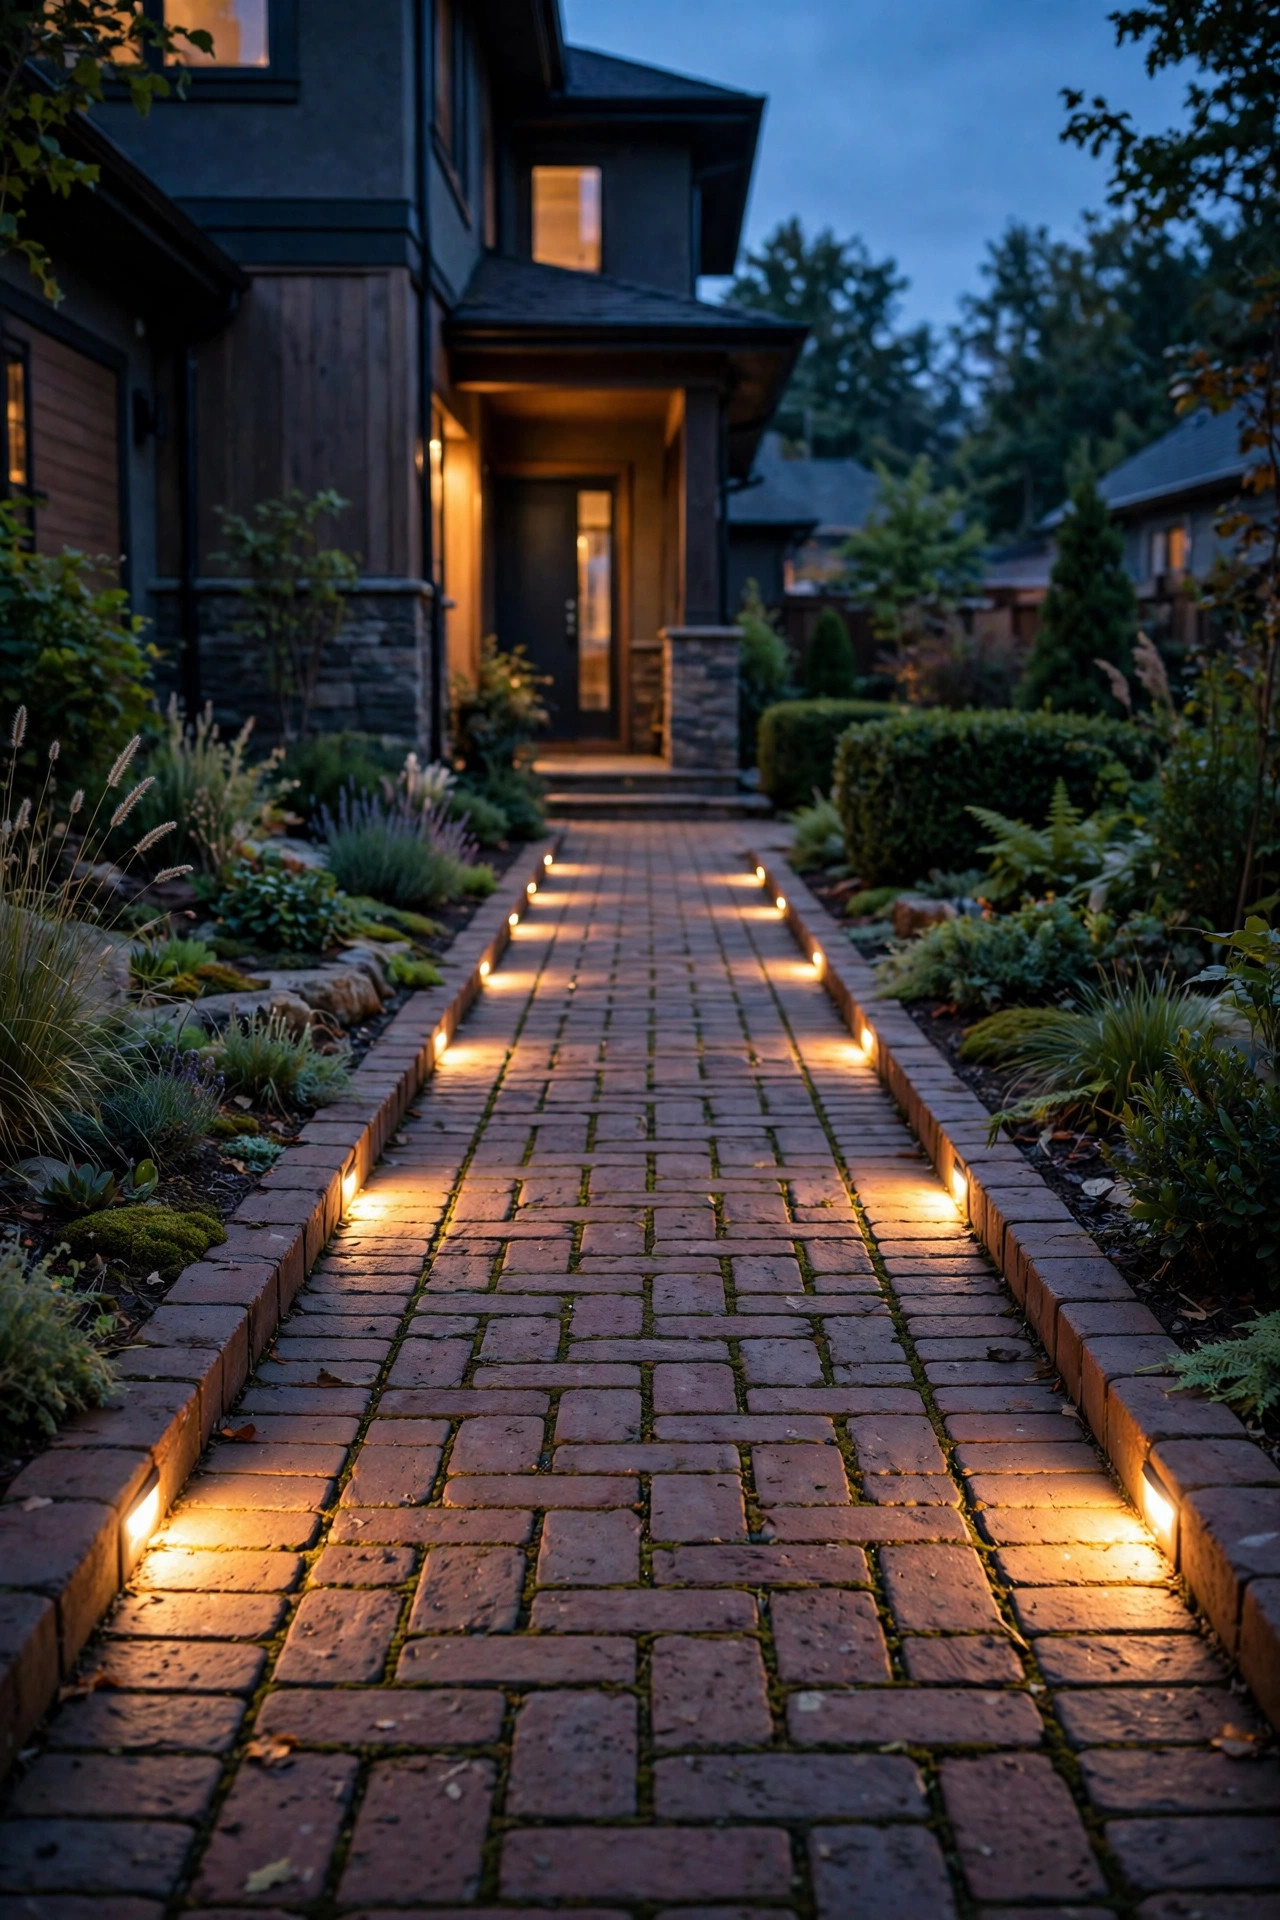
If your narrow walkway is pavers or brick, recessed paver lights are the most elegant answer I know. These small rectangular fixtures replace a single paver along the edge and sit perfectly flush, so nothing protrudes into your walking space at all. Guests see two dotted lines of warm light and never once think about tripping.
Most paver lights are low-voltage, wired in a daisy chain under the bedding sand, so this is a job for a weekend when you're already lifting pavers — or for a new path build. Set one every third or fourth paver along both edges, or alternate sides if the path is very tight. Look for IP67-rated fixtures with replaceable LED modules, and keep brightness modest: 50 to 100 lumens per fixture is plenty at ground level. Honestly, the flush profile also makes these the most snow-shovel-friendly option on this entire list.
Suggested budget range: $120 – $300.
3. Mini Bollards, Staggered So the Path Still Breathes
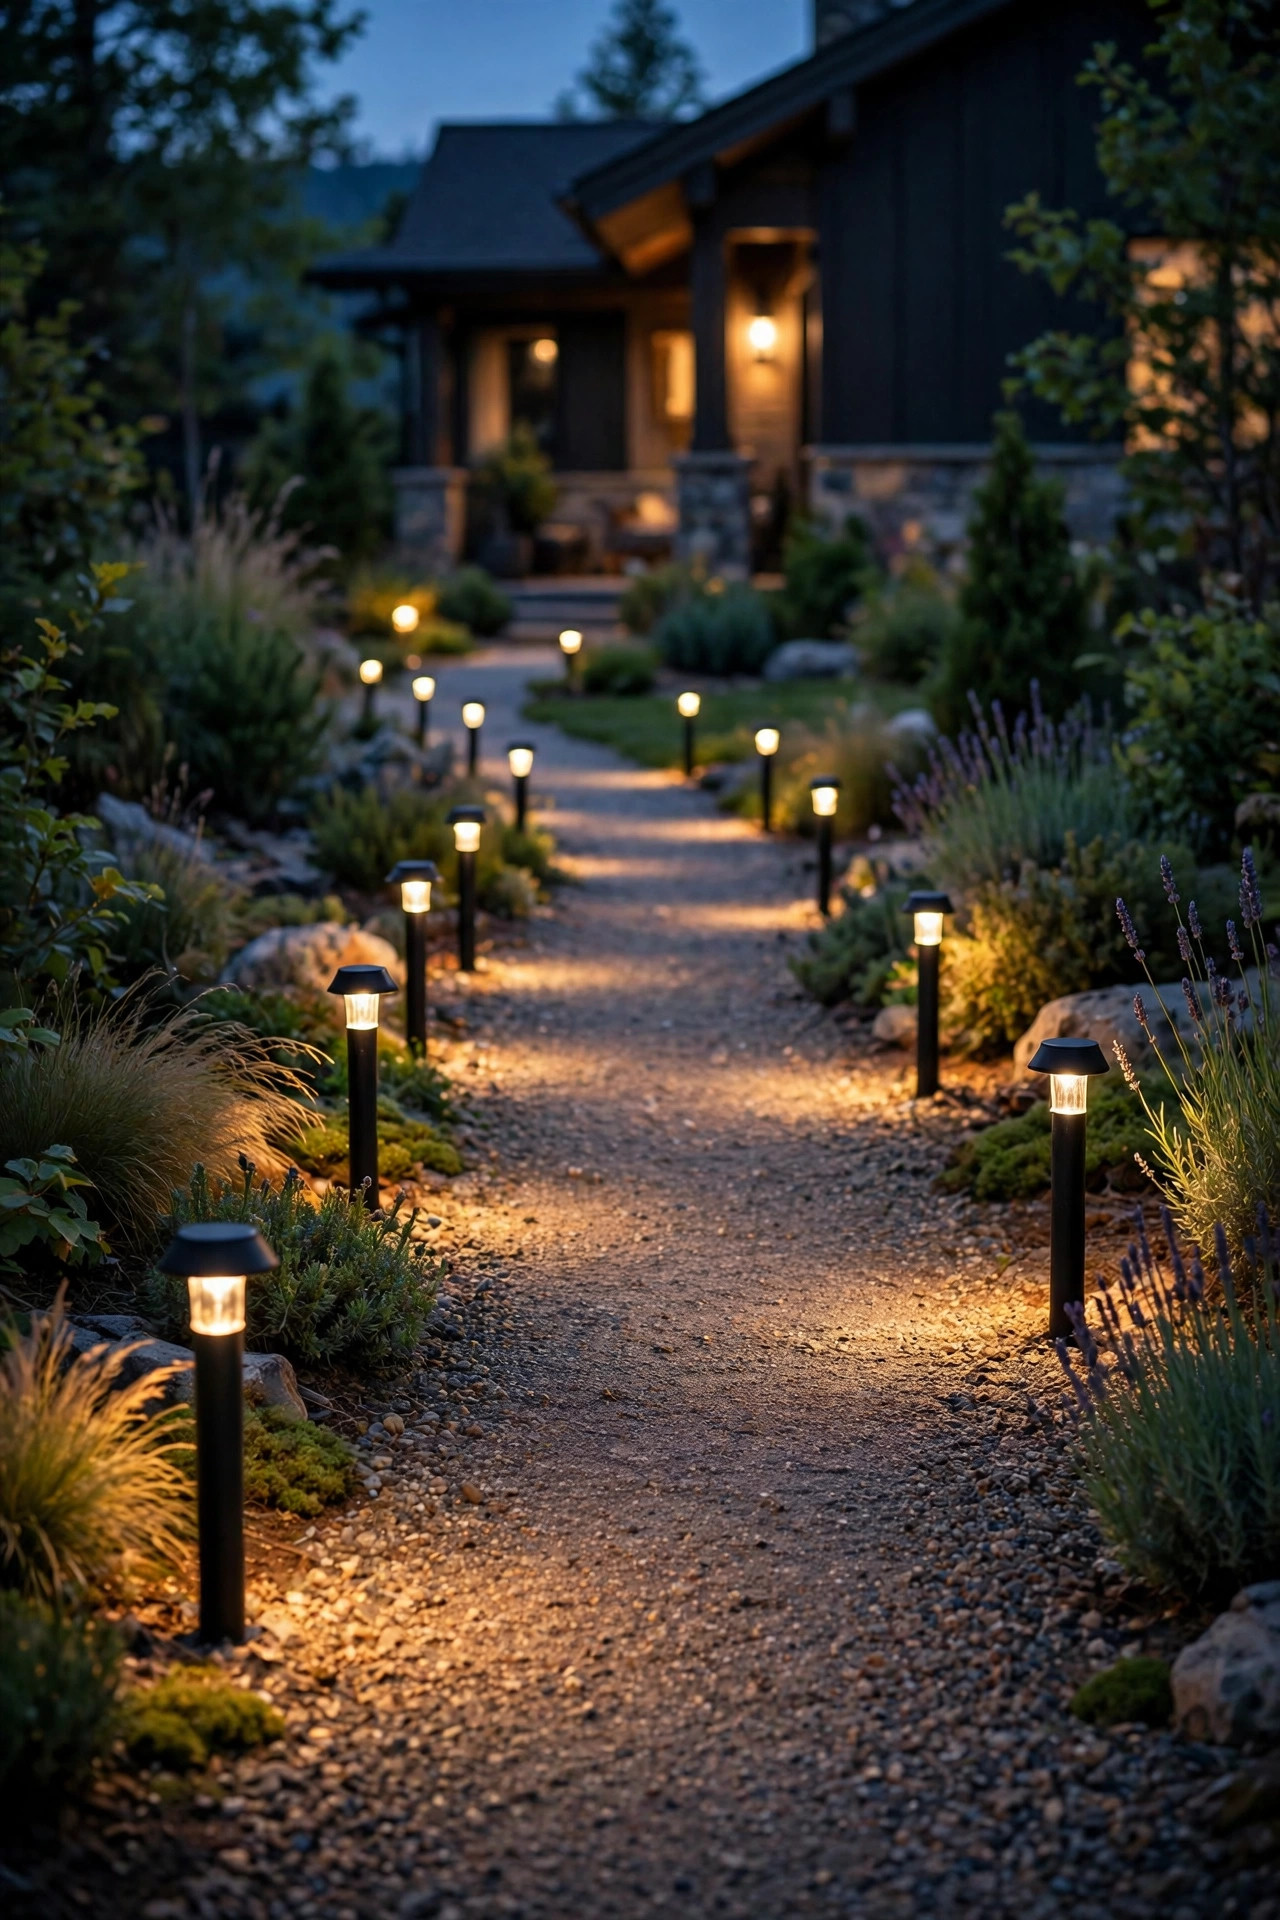
Standard bollards are far too chunky for a tight path, but mini bollards — the 8-to-12-inch versions — are a different story. Their shielded tops throw light down and out in a tidy circle instead of into your eyes, and their solid little bodies read as deliberate design rather than clutter.
The trick on a narrow walkway is staggering: place one on the left, walk four feet, place one on the right. That zigzag keeps the visual weight off any single stretch and prevents the "runway" look. Set each bollard 6 to 8 inches back from the path edge in the planting bed, never on the paving itself. Wired low-voltage models are the most reliable, and since they wire in series along one cable run, a staggered layout costs no extra effort. Choose a finish that echoes your door hardware and the whole skinny path suddenly looks architect-designed.
Suggested budget range: $90 – $220.
4. LED Strip Light Tucked Under a Path-Side Curb or Rail
Some narrow paths run alongside a low retaining edge, a step, or a simple handrail — and that little ledge is a gift. An outdoor LED strip tucked underneath it washes the whole path in a soft, shadowless ribbon of light while the fixture itself stays completely invisible. It is the most space-efficient lighting I have ever installed, because it takes up exactly zero inches of path.
Use a waterproof strip rated IP65 or higher, in warm white around 2700K to 3000K, and mount it in an aluminum channel with a frosted diffuser so you never see individual diodes. Low-voltage strips connect to the same transformer as other landscape lights. The one caution: keep strips and their drivers fully outdoor-rated, and never run them where they'll sit in standing water. The effect is pure boutique hotel — guests always ask where the light is coming from.
Suggested budget range: $45 – $110.

5. Flush In-Ground Well Lights That Vanish by Day
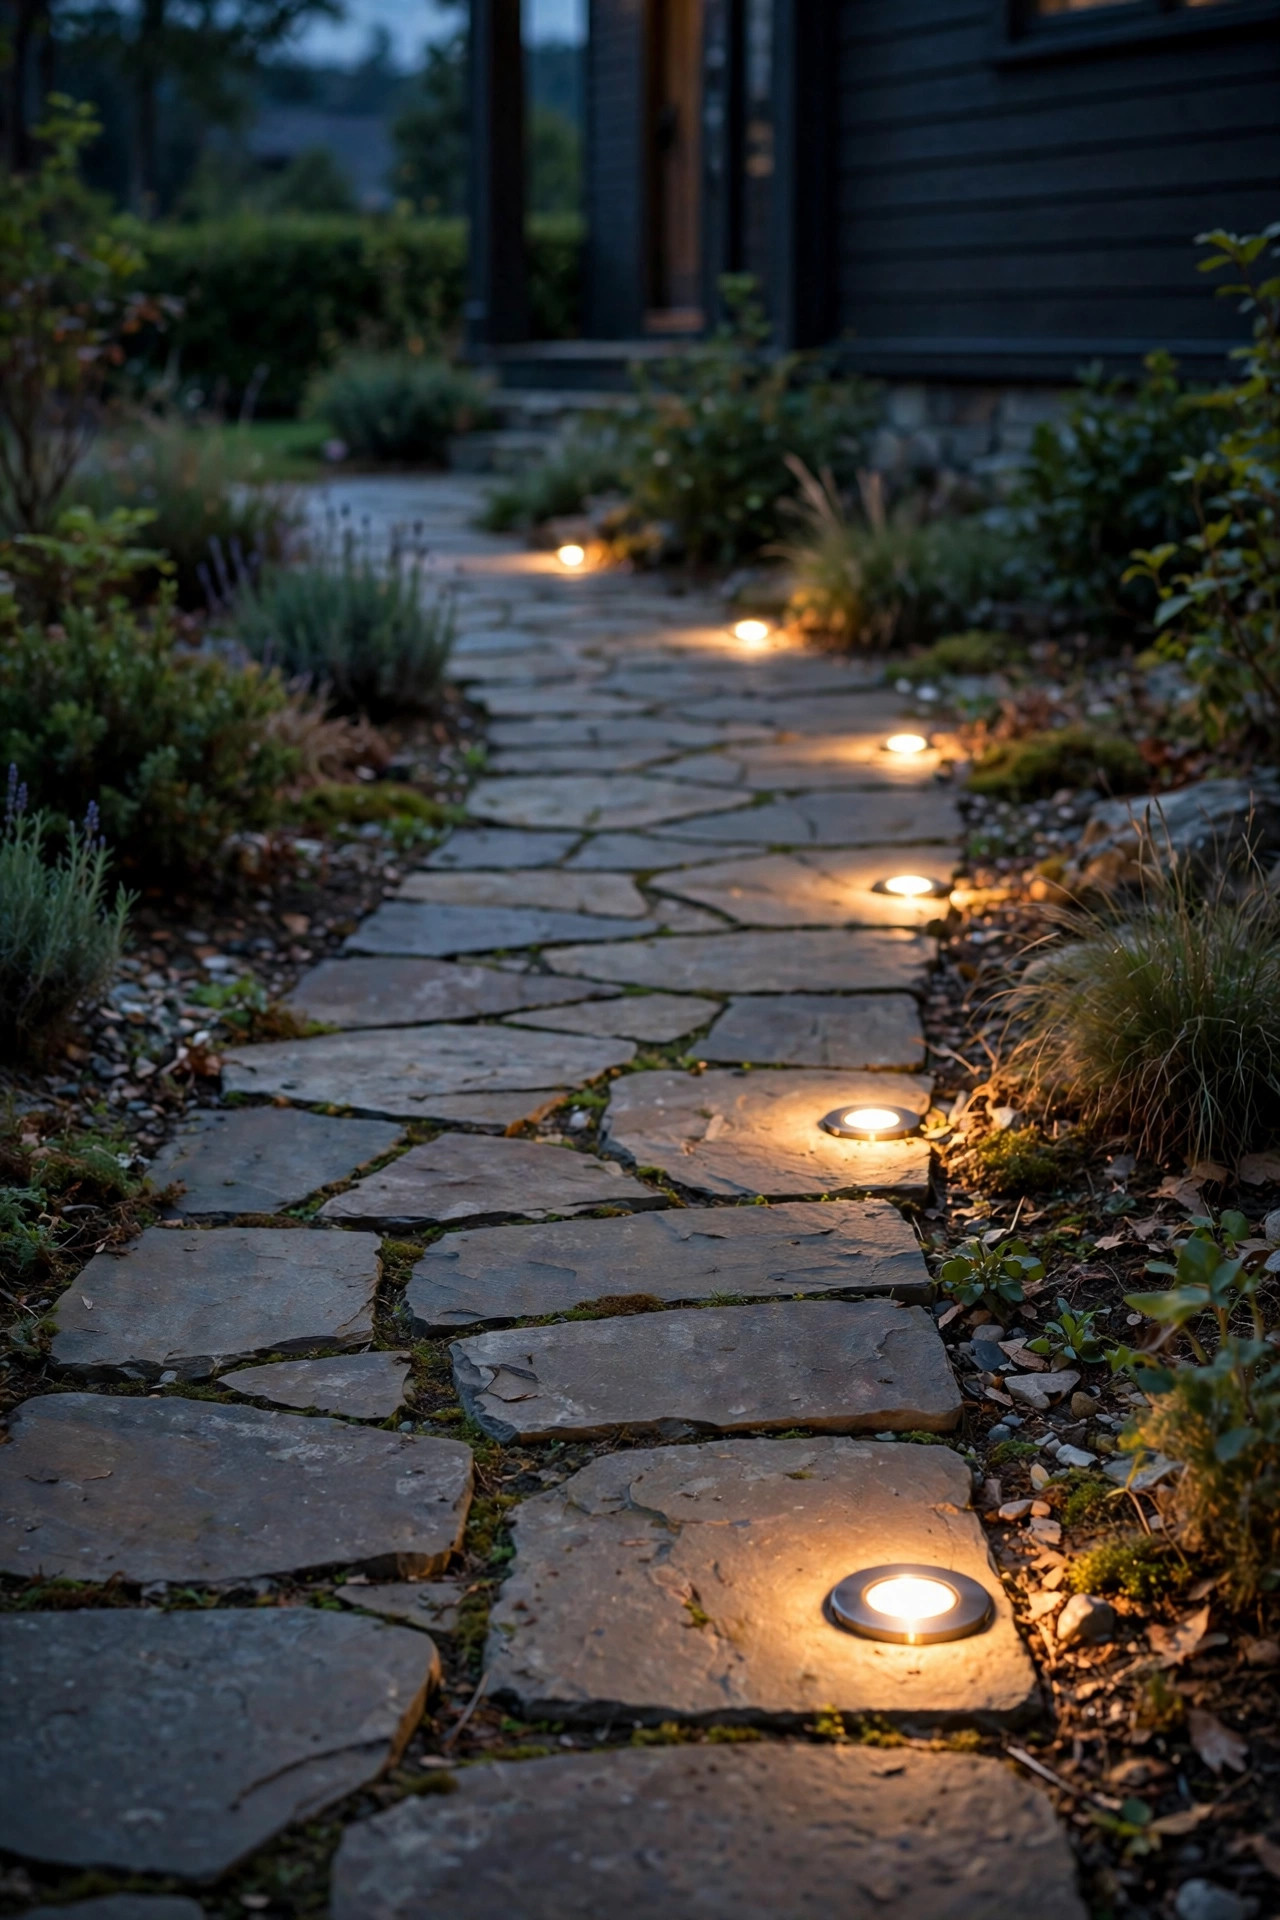
In-ground well lights bury into the soil or gravel right at the path's edge and sit flush with the surface, so on the tightest walkway imaginable they still steal nothing. By day they're unobtrusive metal rings; by night they're calm pools of light that graze across the paving and show every edge and texture.
For a narrow path, I place them on one side only, 5 to 7 feet apart, and choose models with a frosted or honeycomb lens to tame glare — an exposed in-ground LED at ankle height can be startlingly bright. Wired low-voltage versions with stainless or composite housings handle foot traffic at the edge best. Make sure the fixtures are rated for burial and drainage; a small gravel pocket beneath each one keeps water moving away. They pair beautifully with the low-voltage path lights guide if you're planning a wired system from scratch.
Suggested budget range: $100 – $260.
6. Wall-Mounted Downlights Borrowed From the House
When a narrow path hugs the house — and so many of them do — the smartest fixture isn't in the ground at all. A small wall-mounted downlight on the siding or foundation casts a soft cone onto the path from above, lighting the whole width without a single thing planted in your walking space.
Keep the mounting height modest, around 4 to 6 feet, so the light pool stays on the path rather than splashing the street. One fixture every 8 to 10 feet is plenty on a house-side path. Shielded, downward-only fixtures keep you neighbor-friendly and dark-sky polite, and warm 2700K bulbs make foundation plantings look lush rather than interrogated. If there's an existing porch light circuit nearby, an electrician can often tie these in quickly; otherwise solar wall downlights exist, though they're gentler. In my experience this is the tidiest solution for side-of-house paths that double as the main entrance.
Suggested budget range: $60 – $180.

7. Fence-Mounted Lights for a Path That Runs the Property Line
Plenty of narrow front paths trace a fence or hedge line, and that vertical surface is free real estate for lighting. Small fence-mounted downlights or solar fence cap lights turn the boundary itself into the light source, which keeps the path surface completely clear for feet, bins and bicycles.
Solar fence lights that screw into posts or rails are the easy entry point — no wiring, an afternoon's work, done. Space them on every post or every other post for continuous guidance. For a more polished result, low-voltage puck lights under the top rail give a steadier, warmer output. Aim everything downward; a narrow path between a fence and a hedge can turn into a glare tunnel if fixtures point outward. I love this approach on the skinny side paths of older homes, where there's simply no soil bed to stake anything into. One more nicety: because the lights sit above bin-and-bike height, they survive the weekly obstacle course untouched.
Suggested budget range: $35 – $130.

8. Solar Brick Lights Built Into the Edging
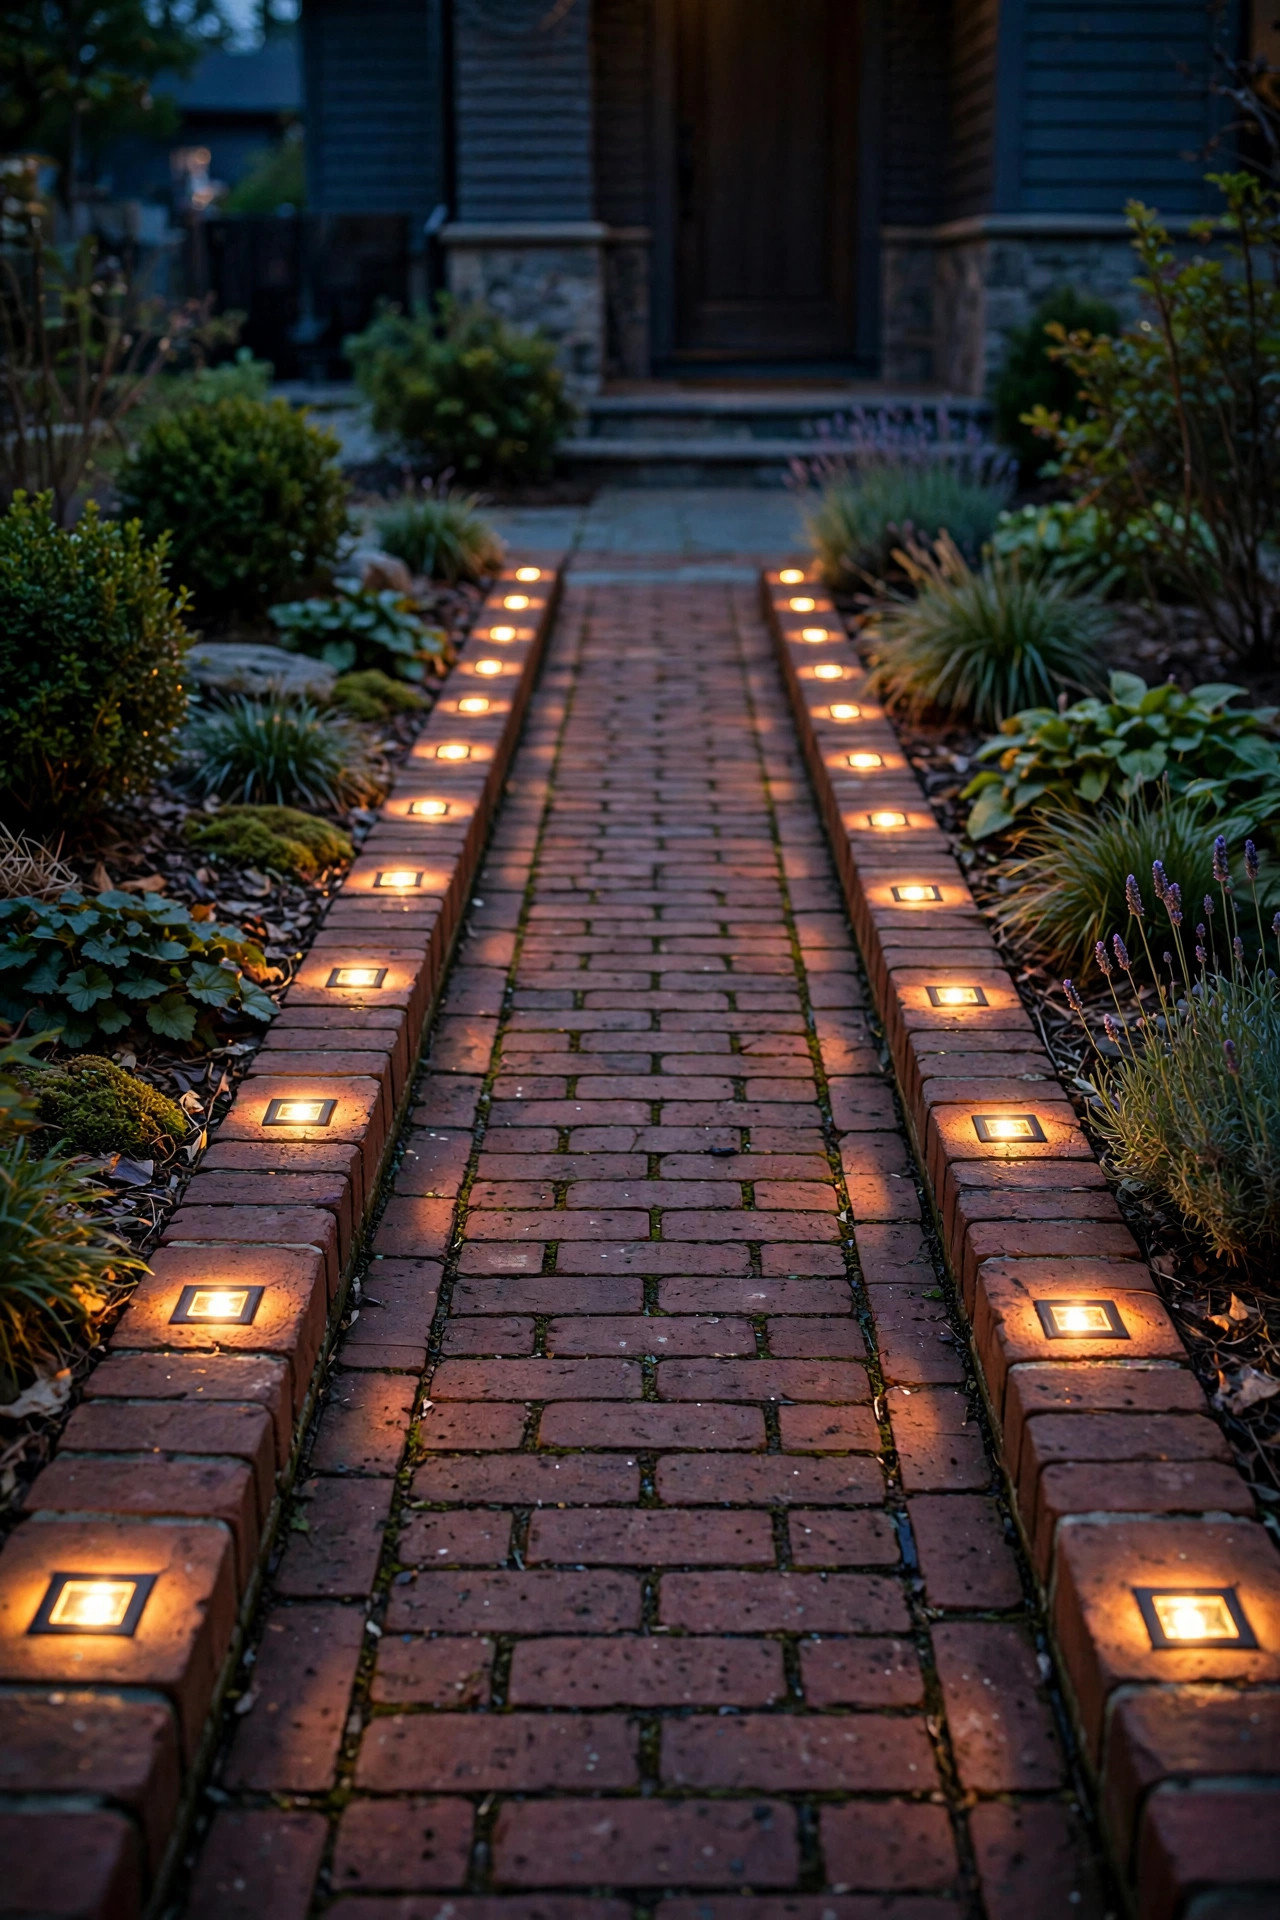
If your narrow path has brick or block edging, solar brick lights replace individual edging pieces with light-emitting ones — the light becomes part of the path's structure rather than an addition to it. Nothing sticks up, nothing gets knocked sideways, and the dotted outline they draw is honestly charming.
Standard solar bricks fit common paver and edging sizes, charge by day and glow for 6 to 8 hours on a good charge. Set them every 2 to 3 feet along one or both edges; on a very narrow path, one side in a steady rhythm looks cleaner. Brightness is gentle — think guidance, not illumination — so pair them with a brighter porch-side fixture at the door end. Keep the solar tops swept clean, since edging collects mulch and dust. Choose warm-white versions; the cool blue ones make a front path feel like a parking lot, and nobody wants that.
Suggested budget range: $40 – $100.
9. Shielded Lantern Path Lights for Zero Glare
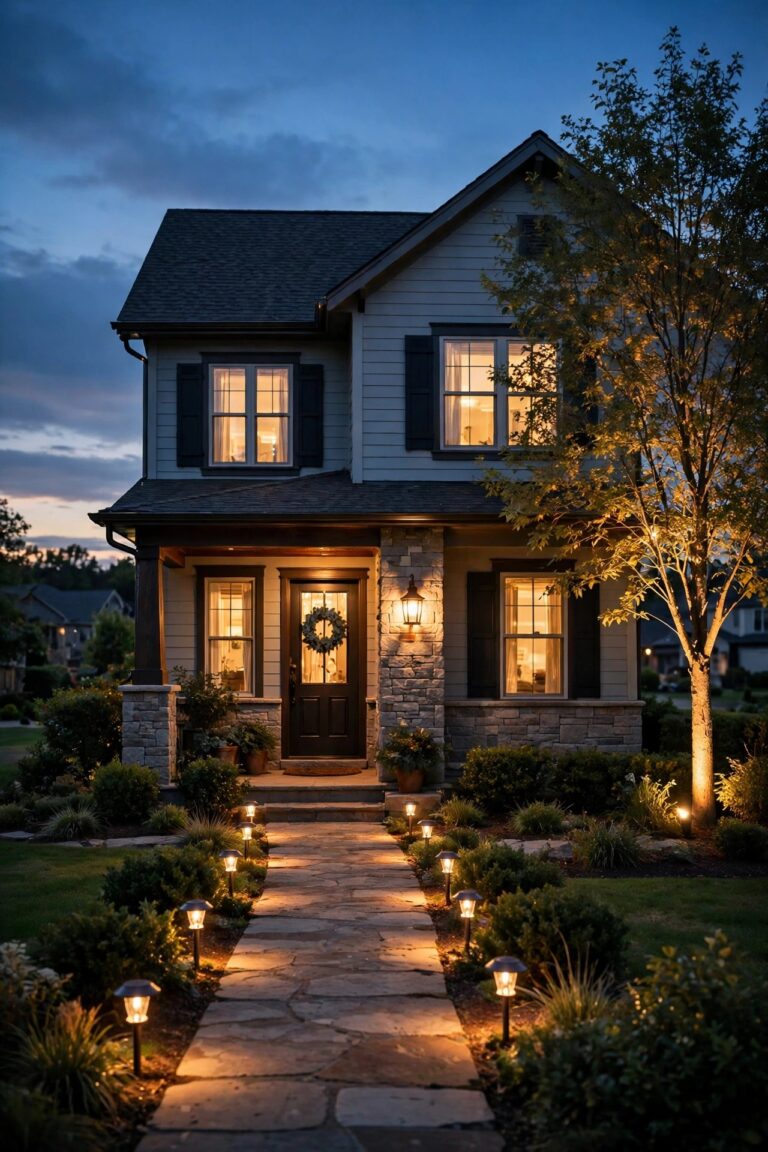
Glare is the enemy of a narrow path — when a fixture is two feet from your shin, an exposed bulb feels ten times brighter than it should. Shielded lantern-style path lights, with a cap over the top and the bulb tucked up inside, throw all their light downward where it belongs. They're the fixture I recommend most when someone says path lights hurt their eyes.
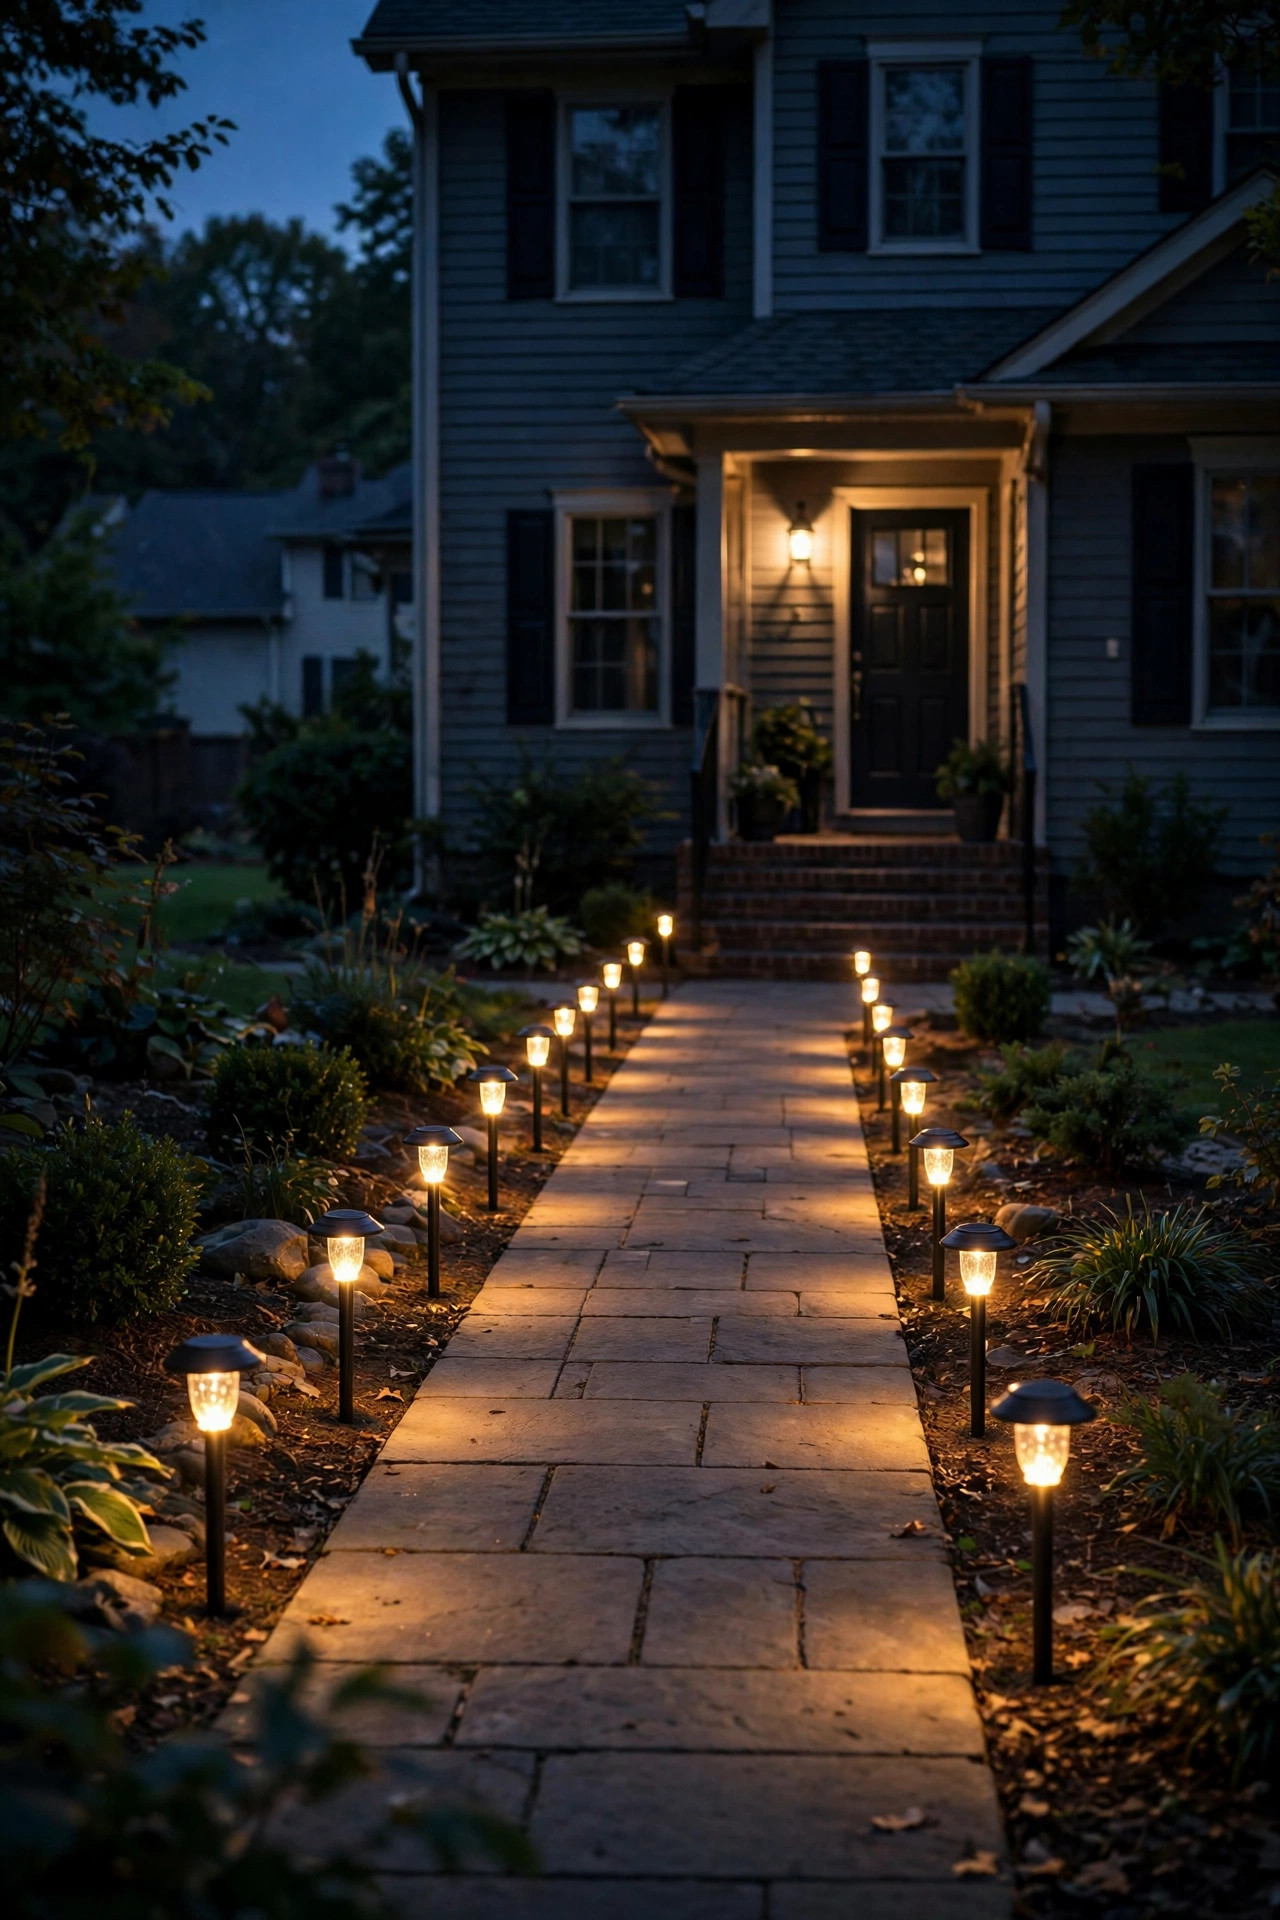
Look for a louvered or capped design in a weatherproof metal finish, 12 to 16 inches tall, spaced 5 to 6 feet apart on alternating sides. Warm LED filaments at 2700K give that old-fashioned lantern flicker feel without a real flame. Both solar and low-voltage versions work; wired ones stay consistent on cloudy weeks. Because the light pools directly beneath each lantern, stagger them so the pools just touch — a scalloped edge of light along a skinny path is prettier than a solid beam, honestly.
Suggested budget range: $55 – $150.

10. Rope Light Tucked Along the Path Edge
Outdoor rope light is the budget hero of narrow walkway lighting ideas. Tucked into the seam where path meets edging, or clipped along a low border, it draws one continuous glowing line that makes even a 24-inch path feel deliberate and easy to follow. The light is soft and even, with no hot spots and no fixtures to bump.
Use only rope rated for outdoor use, in warm white, and secure it with clips every 12 inches so it doesn't wander. Solar rope exists for short runs, but plug-in or low-voltage rope is brighter and more dependable for a full front path. Keep connections off the ground and plugged into a GFCI outlet. One styling note: rope light reads modern and minimal, so it suits straight, simple paths best. On a curving cottage path, the broken rhythm of individual fixtures usually looks more at home.
Suggested budget range: $20 – $55.

11. Motion-Activated Mini Spotlights at Both Ends
A narrow path doesn't need to glow all night — it needs to glow when someone's on it. Small motion-activated spotlights mounted at the path's two ends (one near the street or drive, one at the porch) switch on as a guest approaches and fade off a minute later. You get full brightness exactly when it matters and darkness the rest of the time.
Solar motion lights with adjustable heads are the easiest install; aim them along the path, not across it, so the beam rakes the surface and shows texture and edges. Set the sensitivity so passing cars don't trigger them all evening. Brightness around 200 to 400 lumens per end is plenty for a short, tight path. I always pair these with one soft always-on marker at the porch so the entrance never looks completely dark from the street. It's the most energy-sipping setup on this list.
Suggested budget range: $30 – $80.
12. Overhead Festoon Strings Zigzagged Above the Path
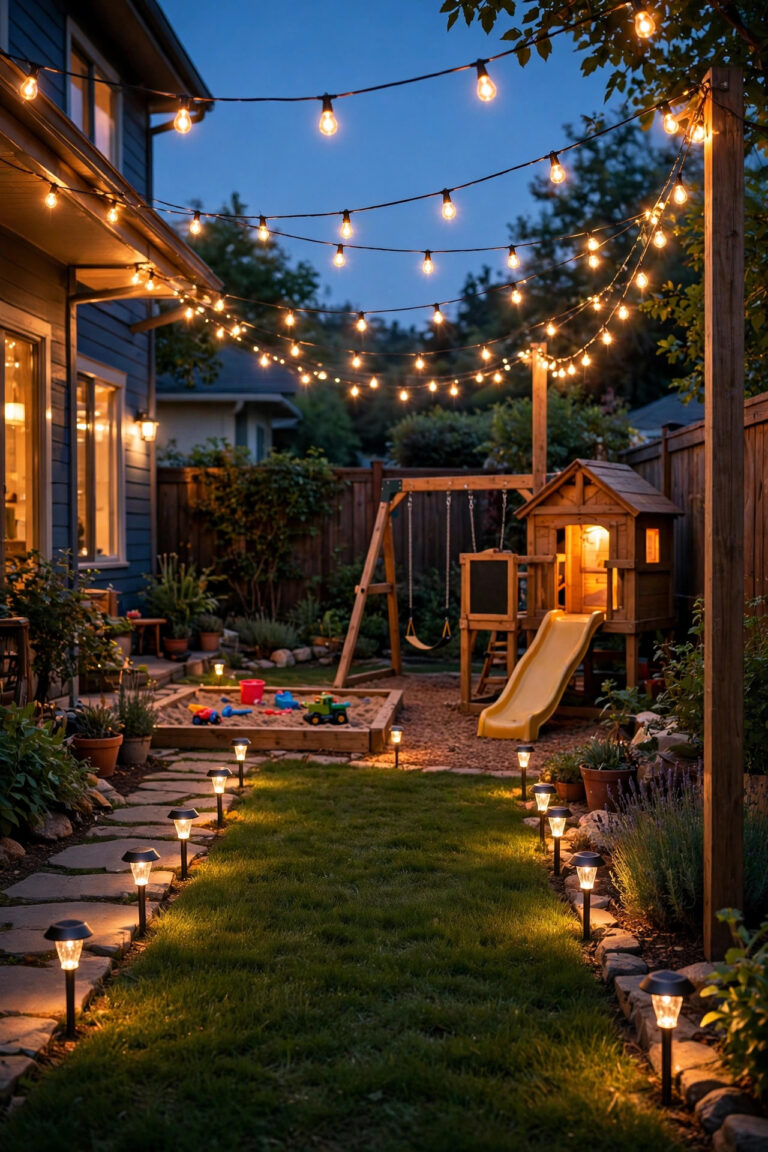
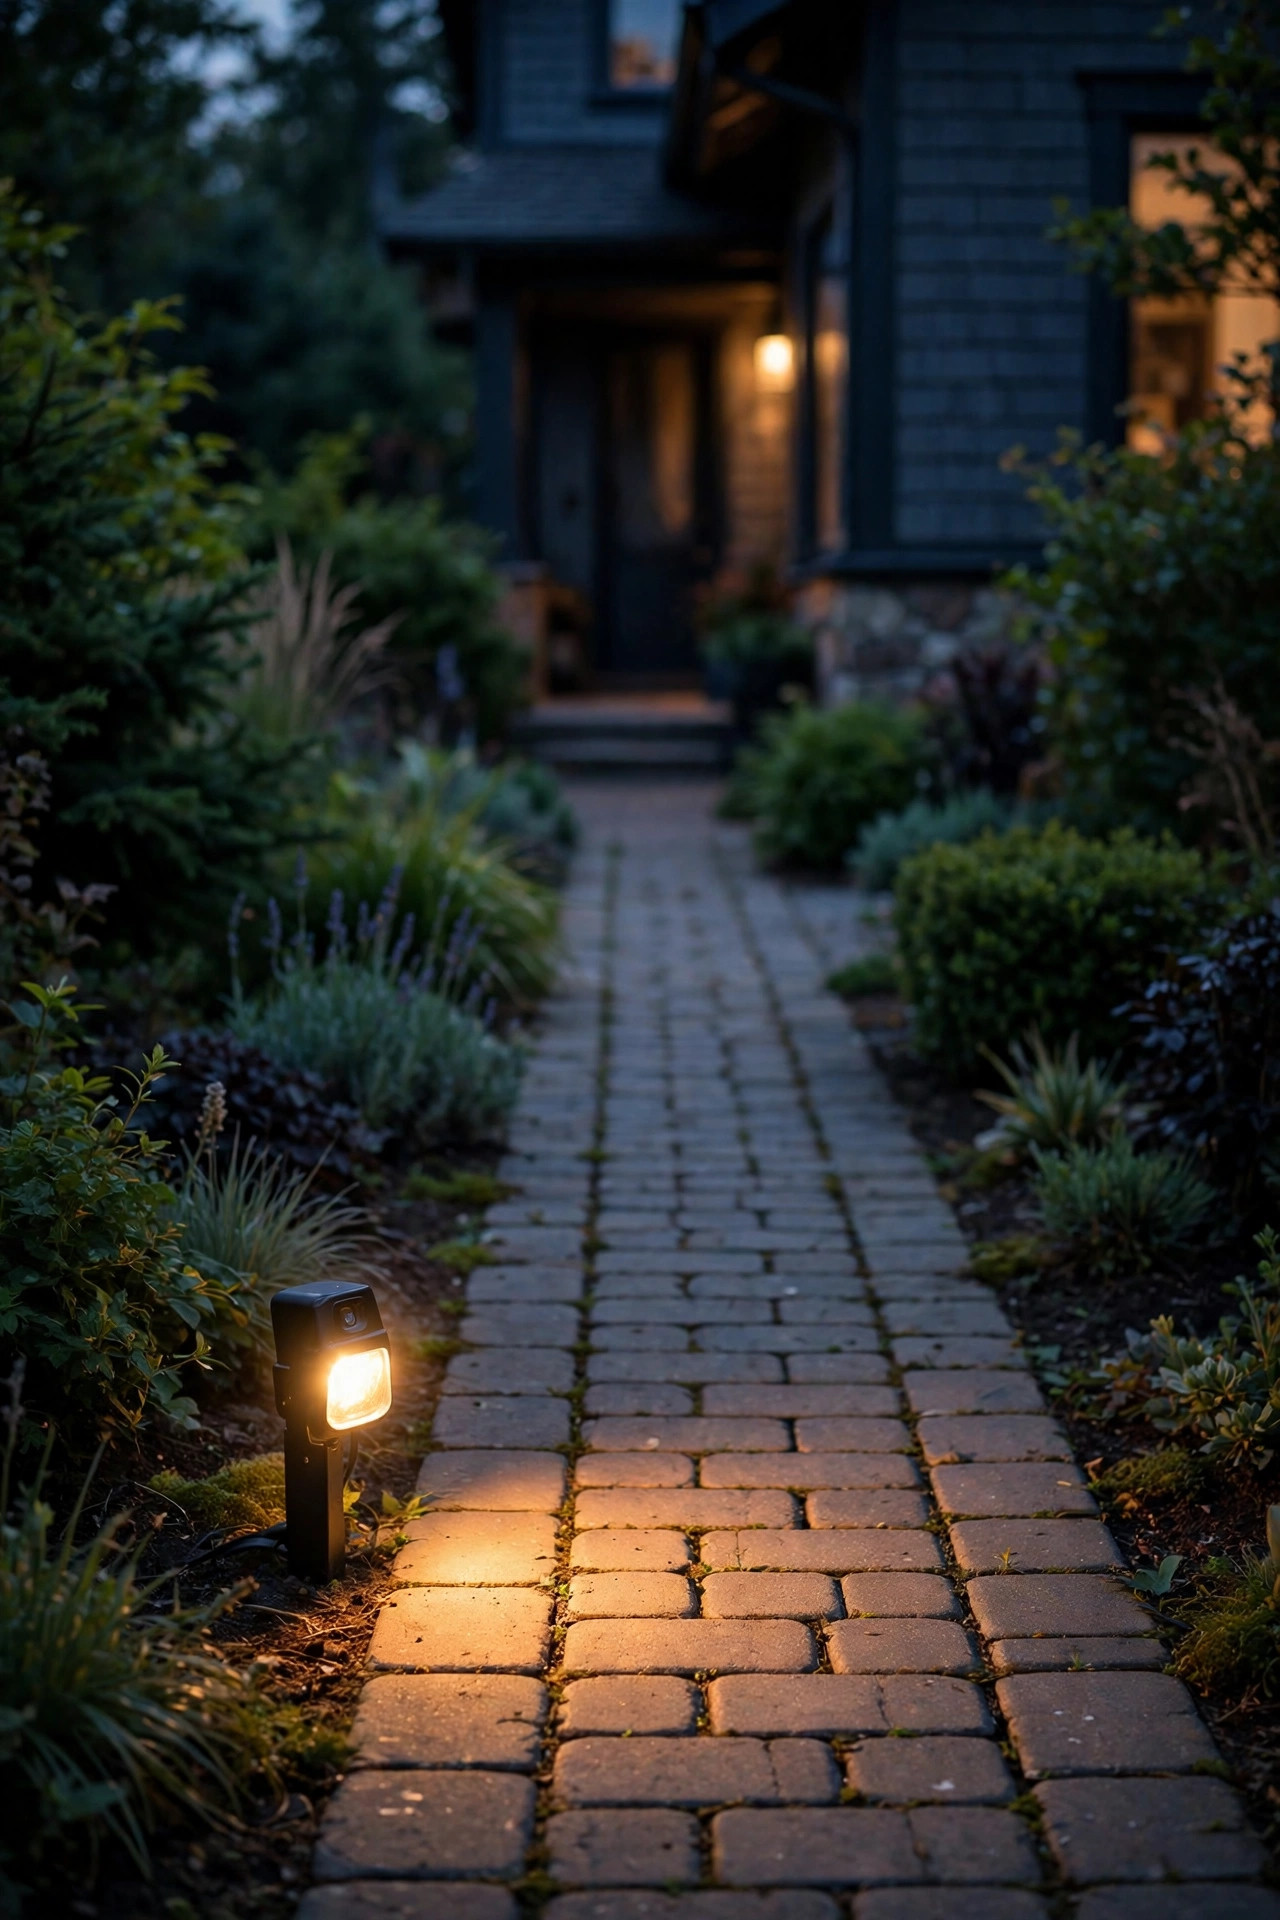
When the ground has no room to spare, look up. A single strand of outdoor festoon or string lights zigzagged above a narrow path — from porch post to a shepherd's hook to the fence — lights the whole walk from overhead, where nothing can crowd your feet. The pools of light between bulbs land like stepping stones.
Keep the strand high enough to clear heads and tall guests: 7 to 8 feet minimum over the walking surface, with gentle swags rather than tight spans. Shatterproof LED bulbs are a must outdoors, and warm 2700K filaments keep it cozy rather than carnival. Anchor swags at three points for a short path; long straight paths can zigzag between hooks on alternating sides. This is the one idea here that also lights faces, which makes a narrow entry feel welcoming instead of tunnel-like. Guests linger — that's the whole point.
Suggested budget range: $35 – $90.
13. Solar Stepping Stones That Light Themselves
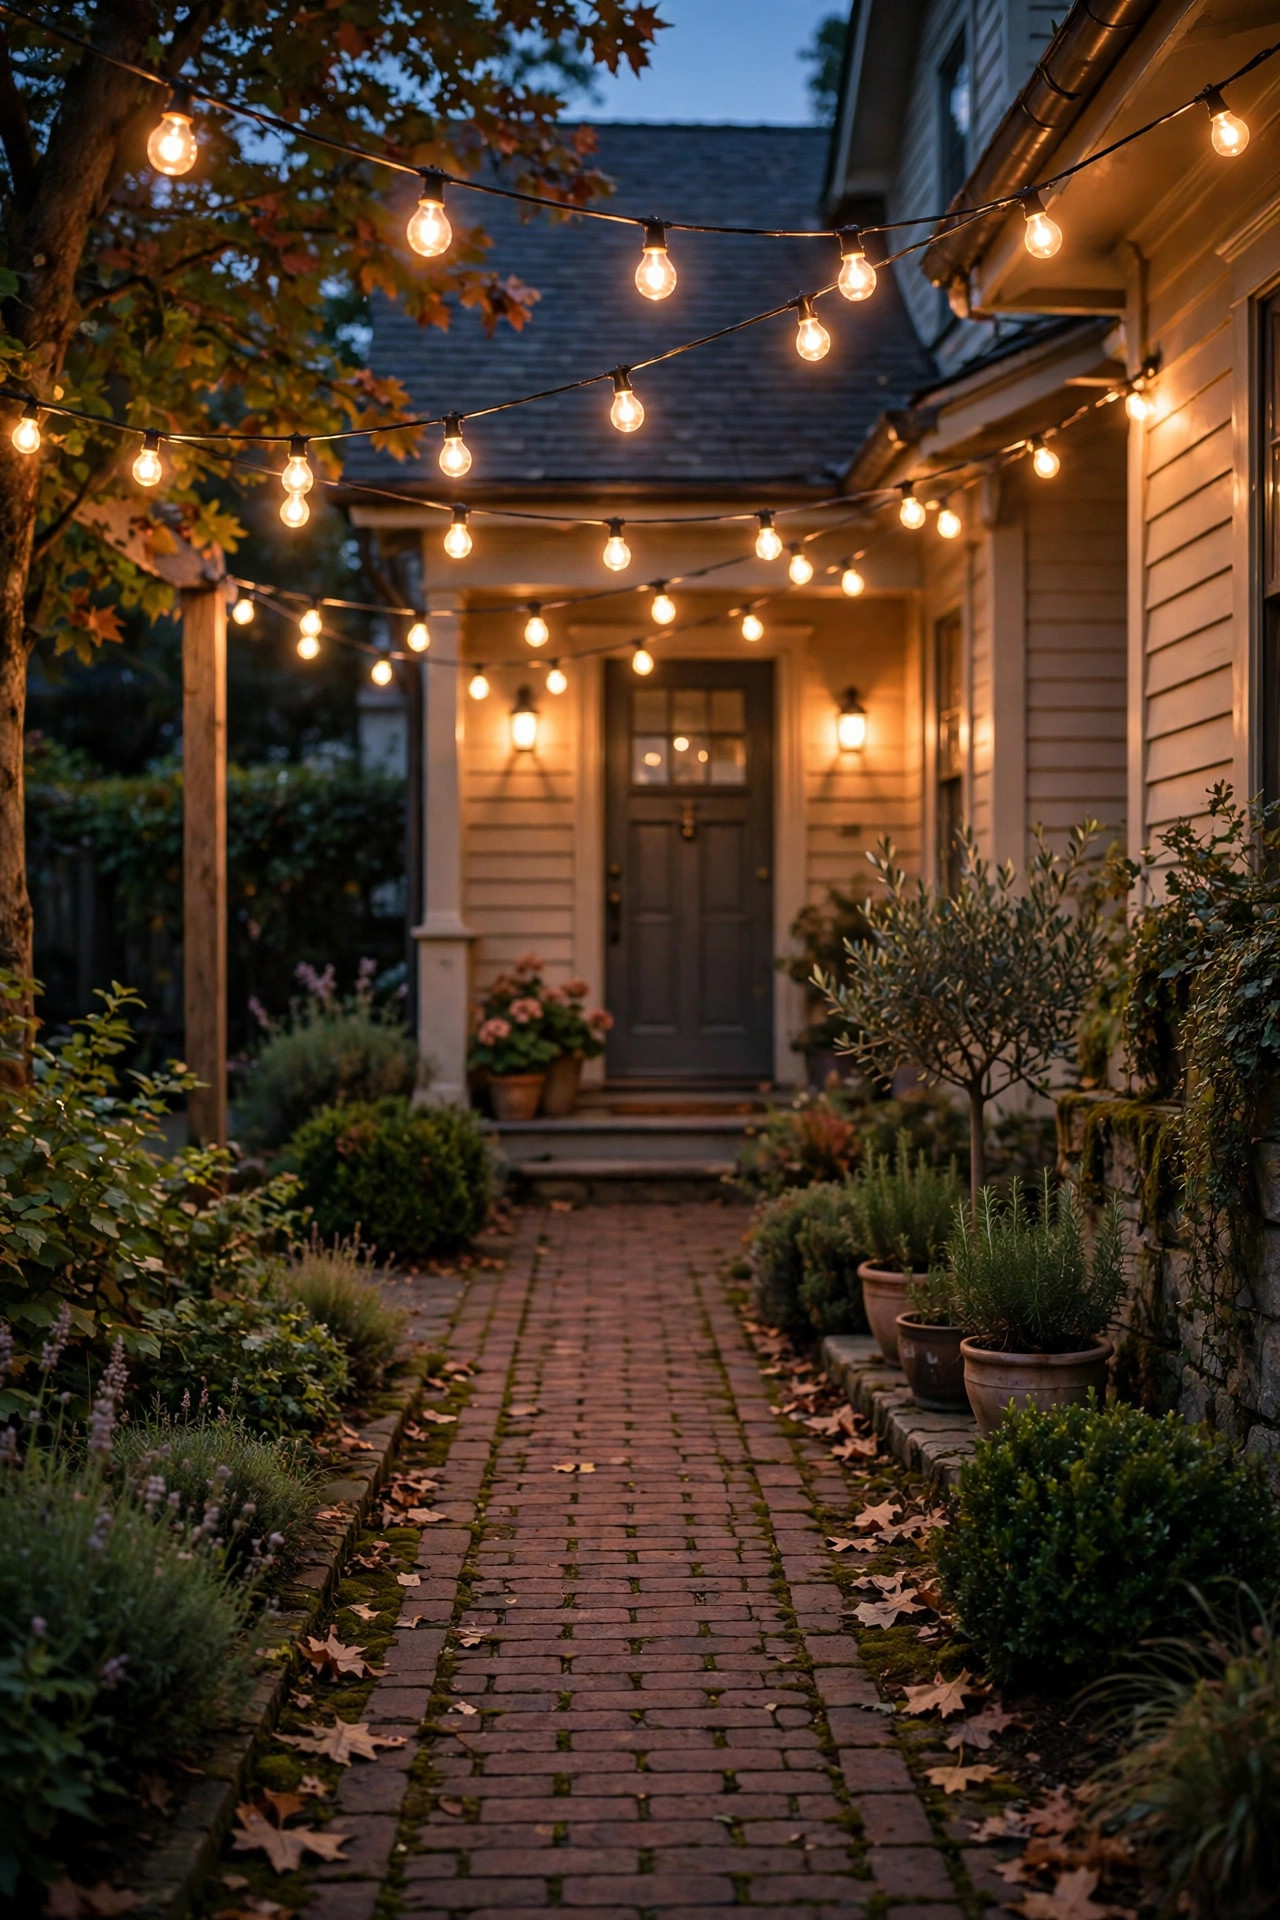
For stepping-stone paths — the narrowest walkways of all — light the stones themselves. Solar stepping stones have a panel and LED ring built right into the stone, charging by day and edging each step with a halo of light by night. They add zero width, because they ARE the path.
Replace every second or third stone in an existing run, or use them as accent stones between plain pavers on a new build. The glow is soft, so think of them as wayfinding rather than full lighting; on a truly dark lot, add one low fixture at the porch end to anchor the route. Resin and stone-look versions both hold up well, but check the weight rating if a stone sits where delivery drivers step off the drive. In my experience these are the idea visitors photograph most — the floating-halo effect at ankle height is pure magic on a dark evening.
Suggested budget range: $45 – $110.
14. Low Mushroom Lights That Hug the Ground
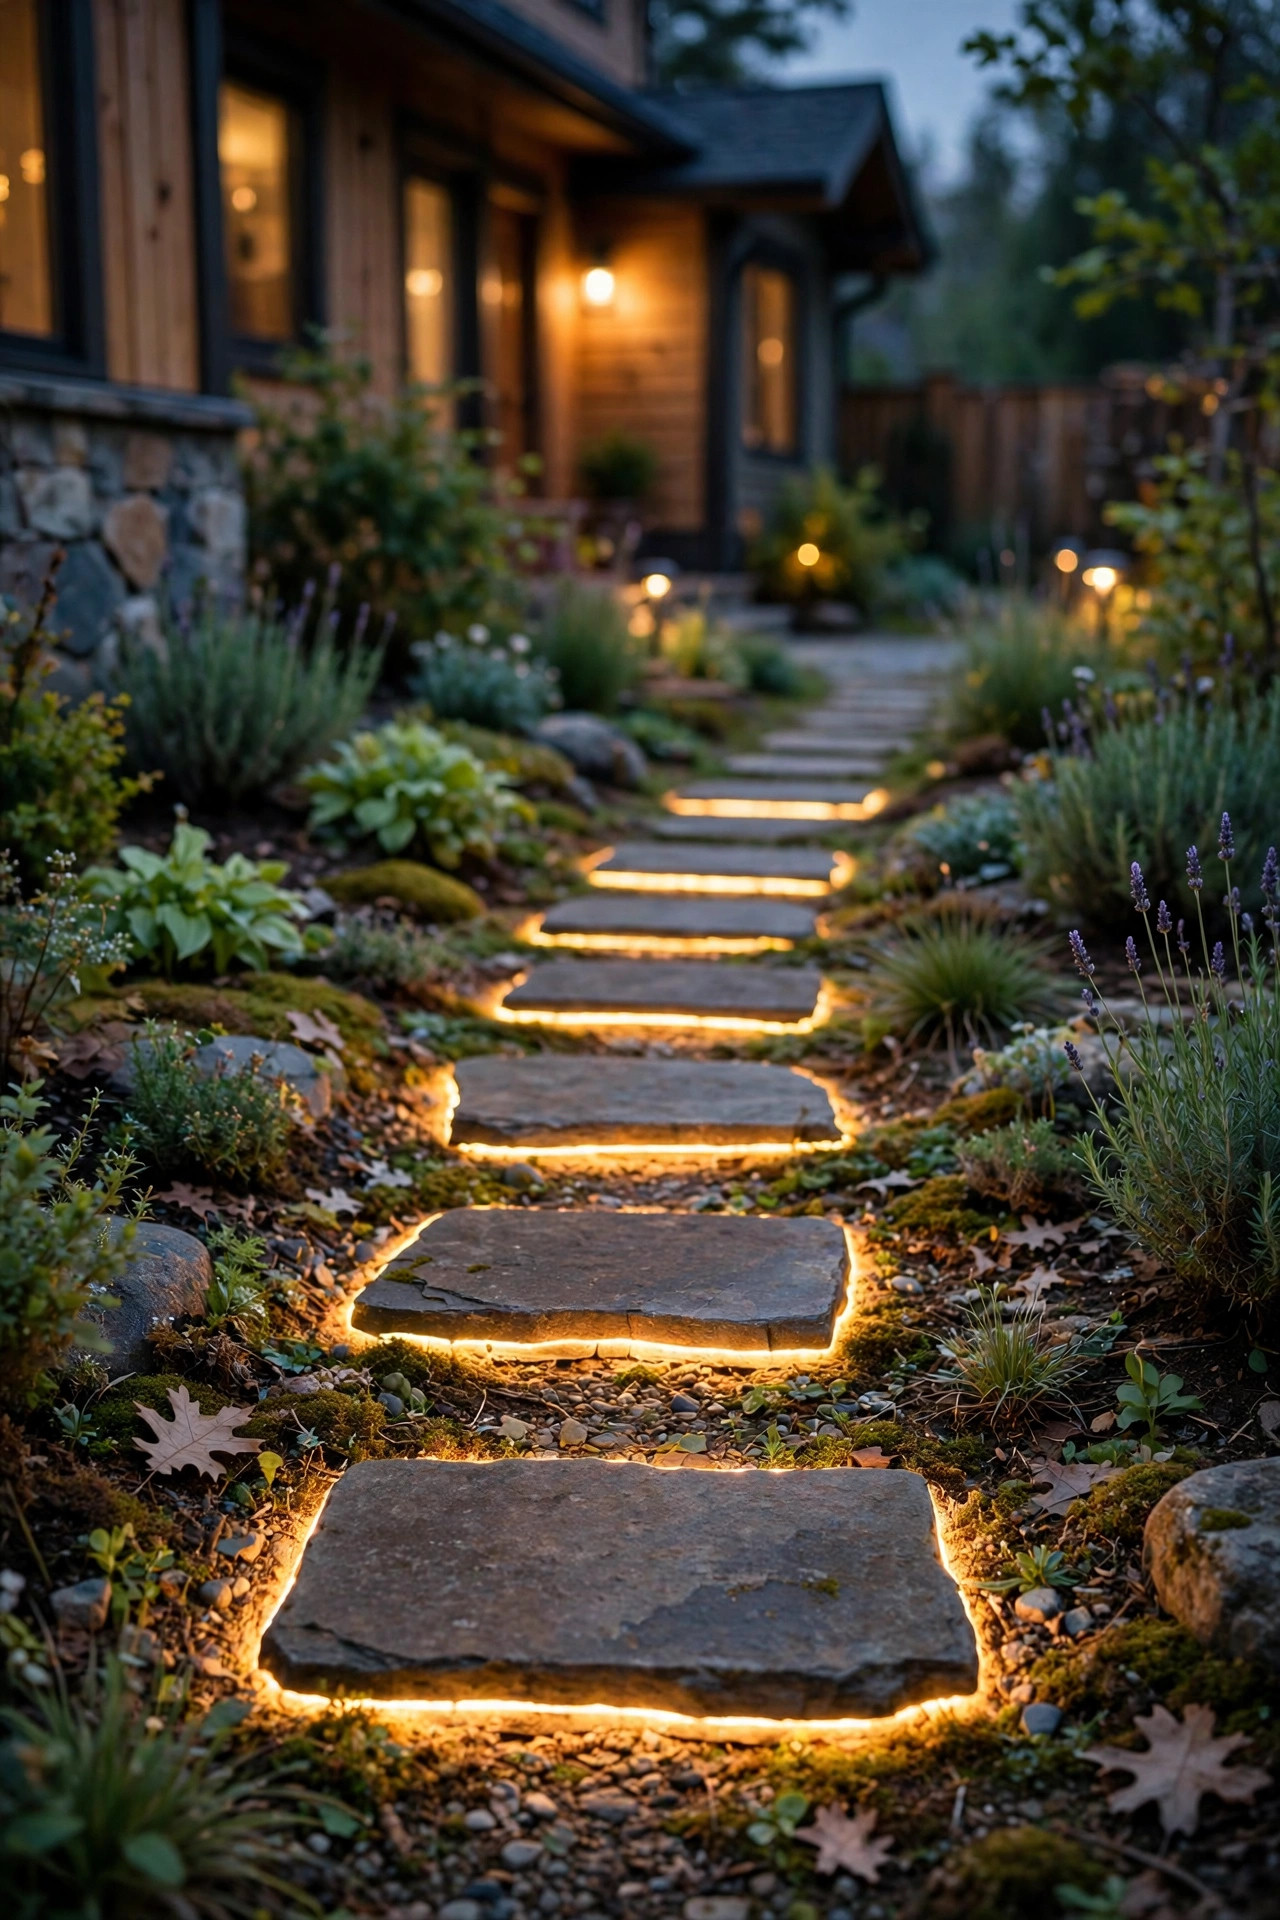
Mushroom or dome path lights are shaped exactly like they sound: a low cap on a short stem, throwing a tidy circle of light straight down. Because the fixture tops out around 8 to 10 inches, it stays below the sightline of border plants and never visually chops a narrow path into segments the way taller lights can.
Their downlight circle is small — about 3 feet across — so space them 4 to 5 feet apart on one side of a tight path. The low profile makes them a smart pick where snow gets shoveled or where kids cut corners on bikes. Wired low-voltage mushrooms are workhorses; solar versions work if the caps get full sun, which can be tricky in a shaded border, so be honest about your light conditions. The matte bronze and black finishes disappear into mulch beautifully. Understated is the whole charm here.
Suggested budget range: $50 – $140.

15. In-Step Lights for Paths With a Rise
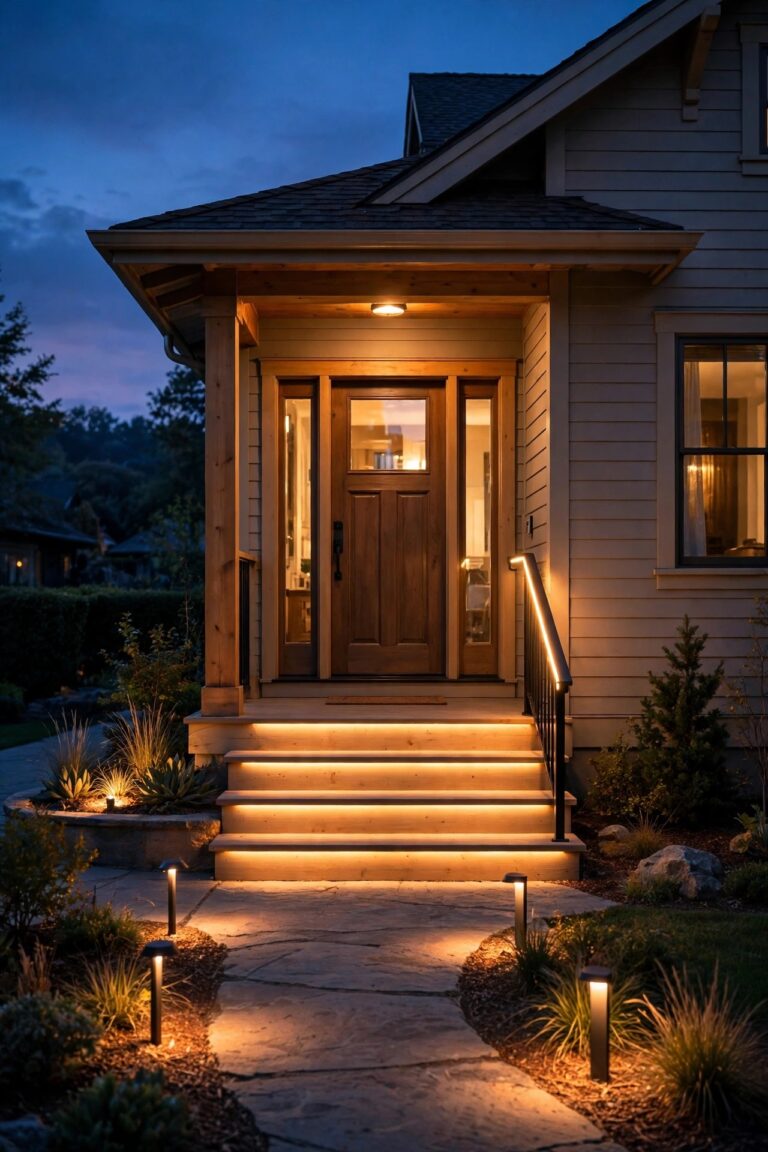
Plenty of narrow front paths climb two or three shallow steps, and those steps are where guests actually stumble. In-step lights — small recessed fixtures set into the riser of each step — wash the tread below with light, so every edge reads clearly even in peripheral vision. Nothing projects, nothing crowds, and the effect at dusk is quietly luxurious.
Retrofitting into existing concrete steps means drilling, so this idea shines during a path remodel; surface-mount step lights that sit in the corner where riser meets tread are the easier retrofit. One fixture per step, centered or at the side nearest the handrail, is enough. Keep them on the same circuit or timer as the rest of the path so the whole route wakes together. Use warm white only — colored step lights look theatrical and can actually distort depth perception on a narrow stair.
Suggested budget range: $70 – $190.

16. Shepherd's Hook Lanterns Along a Narrow Walkway
A shepherd's hook takes up about two square inches of soil, which makes it a natural for tight paths where every inch counts. Hang a solar lantern from each hook and you get soft, slightly elevated light that sways almost imperceptibly in the evening breeze — the most romantic look on this list, honestly.
Space hooks 5 to 6 feet apart along one side, pushed firmly into the bed edge, and choose lanterns with warm flicker-effect LEDs for a candlelit feel without any flame near dry mulch. Hooks 30 to 36 inches tall keep lanterns above low plantings but below eye level. Because the lantern hangs free, this is the one fixture you can swap seasonally — amber-toned lanterns in fall, clear warm ones the rest of the year. Just check the hook's weight rating; a waterlogged lantern after a storm is heavier than it looks.
Suggested budget range: $40 – $95.
17. Flush Edge-Marker Discs for the Tightest Paths
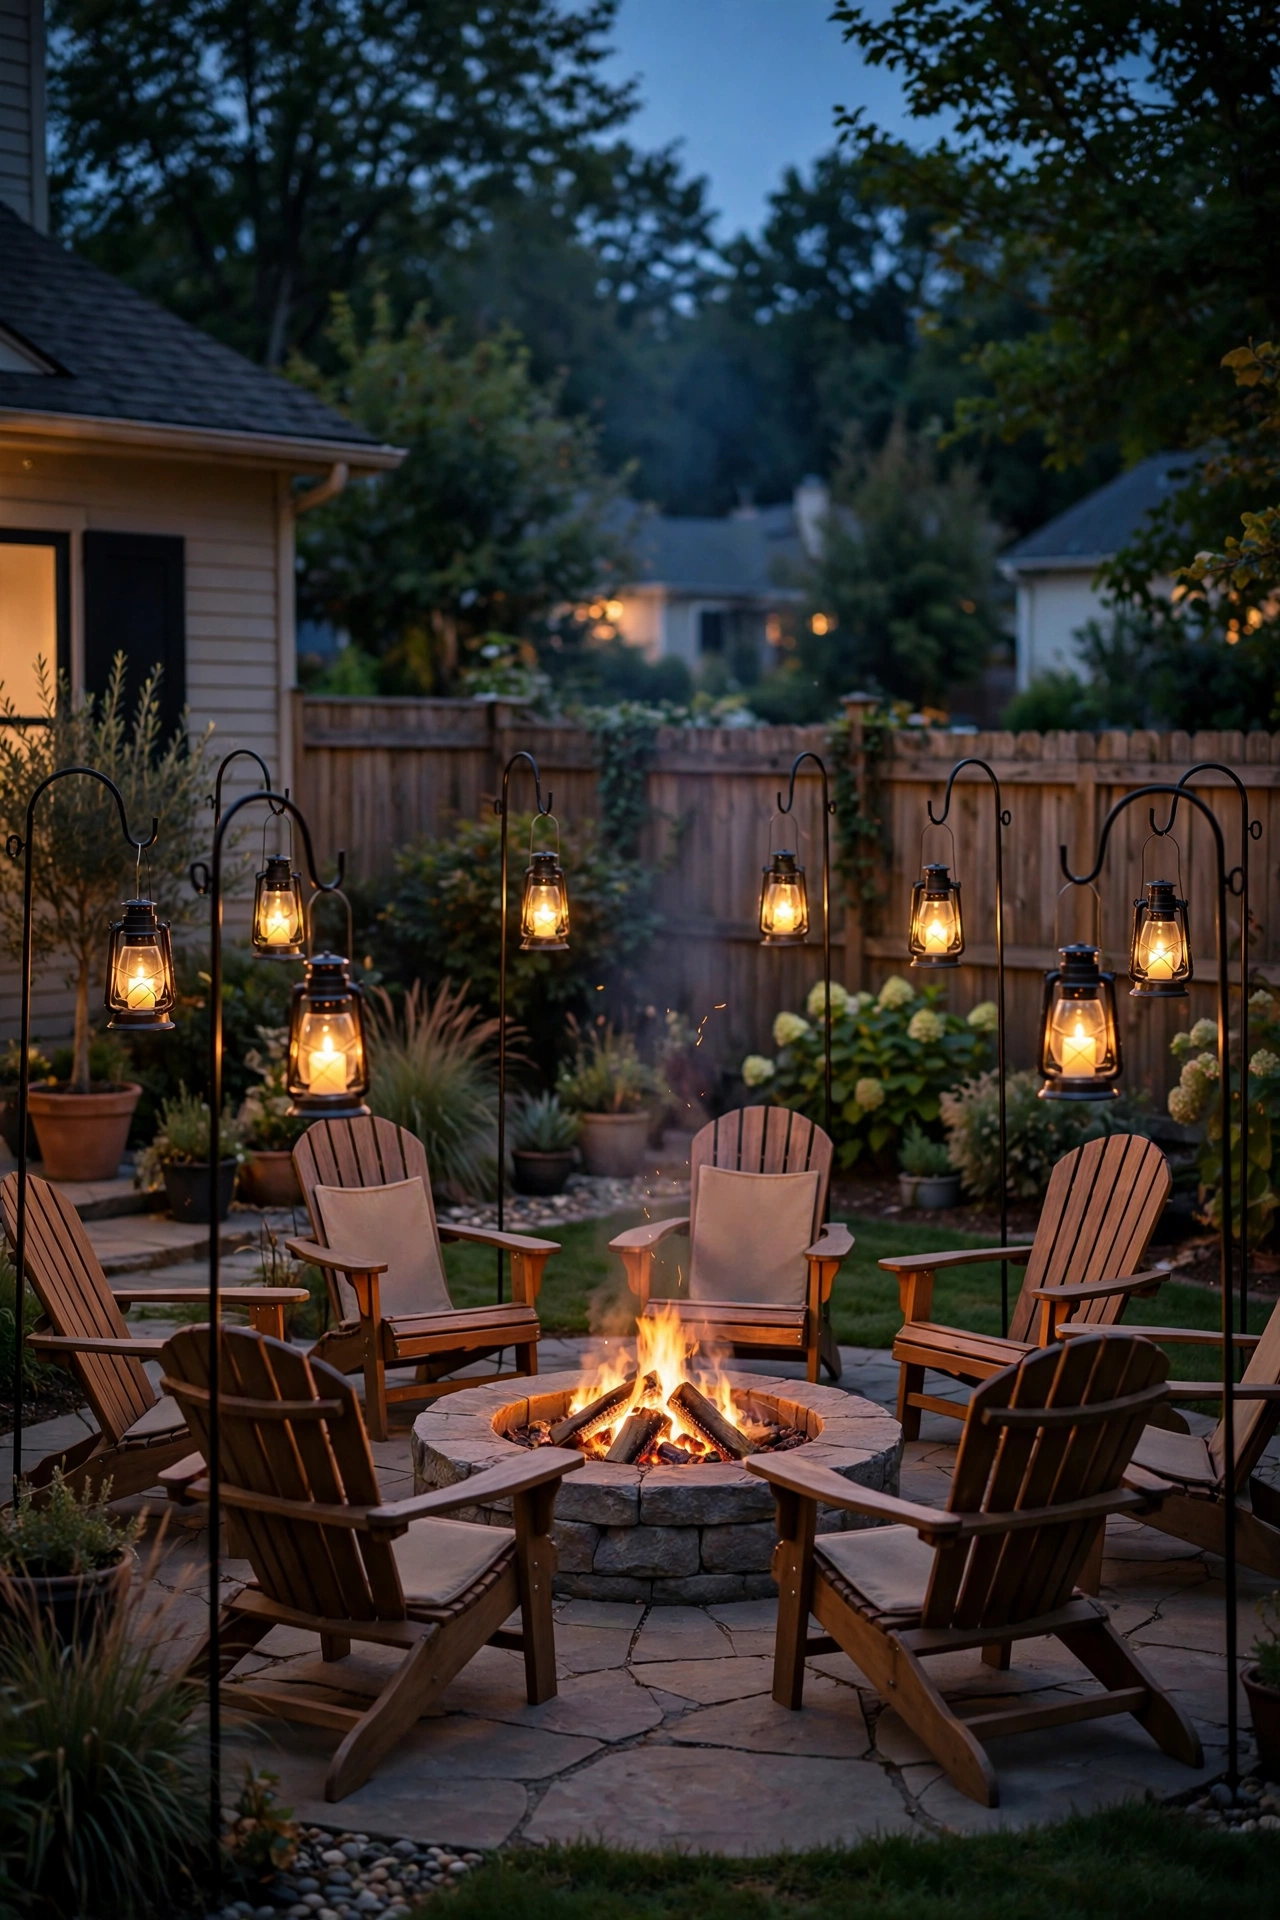
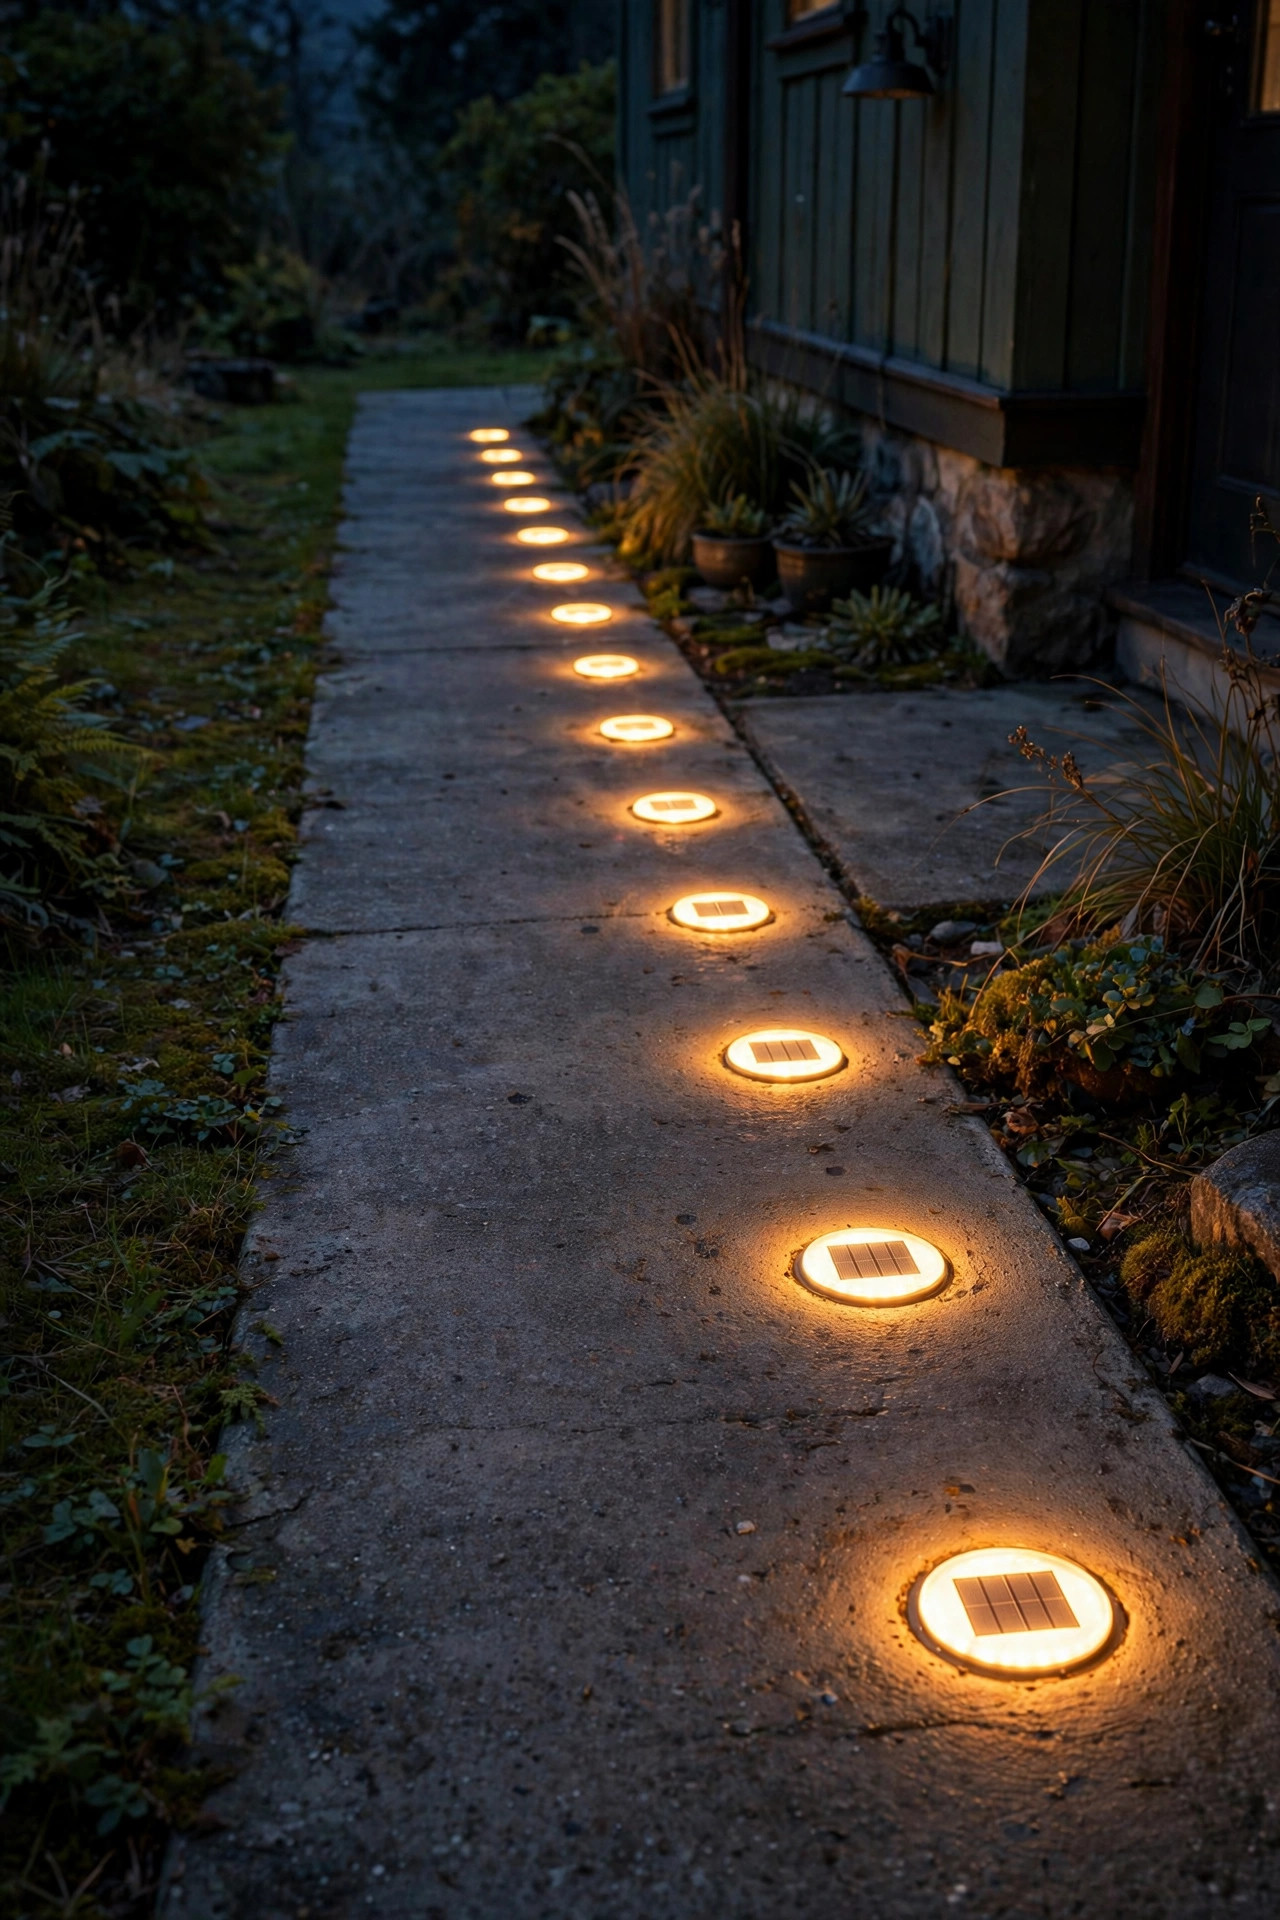
When a path is barely two feet wide, even a solar stake can feel like an obstacle. Flush marker discs solve that completely: thin, round lights that sit level with the paving or press flat into the soil edge, glowing as simple bright dots you can step beside — or even on — without noticing.
Solar discs are the simplest install in this whole roundup; press them in and you're done. Set them 3 to 4 feet apart along one edge, or flank the path's start and end where direction changes. Their light is directional and modest, so they read as punctuation rather than illumination — perfect for marking a route that's already helped by a porch light. Choose metal-rimmed discs for drive-adjacent paths, since plastic rims crack under the occasional tire. A quick rinse restores the solar top; grime is the discs' only real enemy.
Suggested budget range: $25 – $65.
18. Tiny Accent Spotlights Hidden in the Border Plants
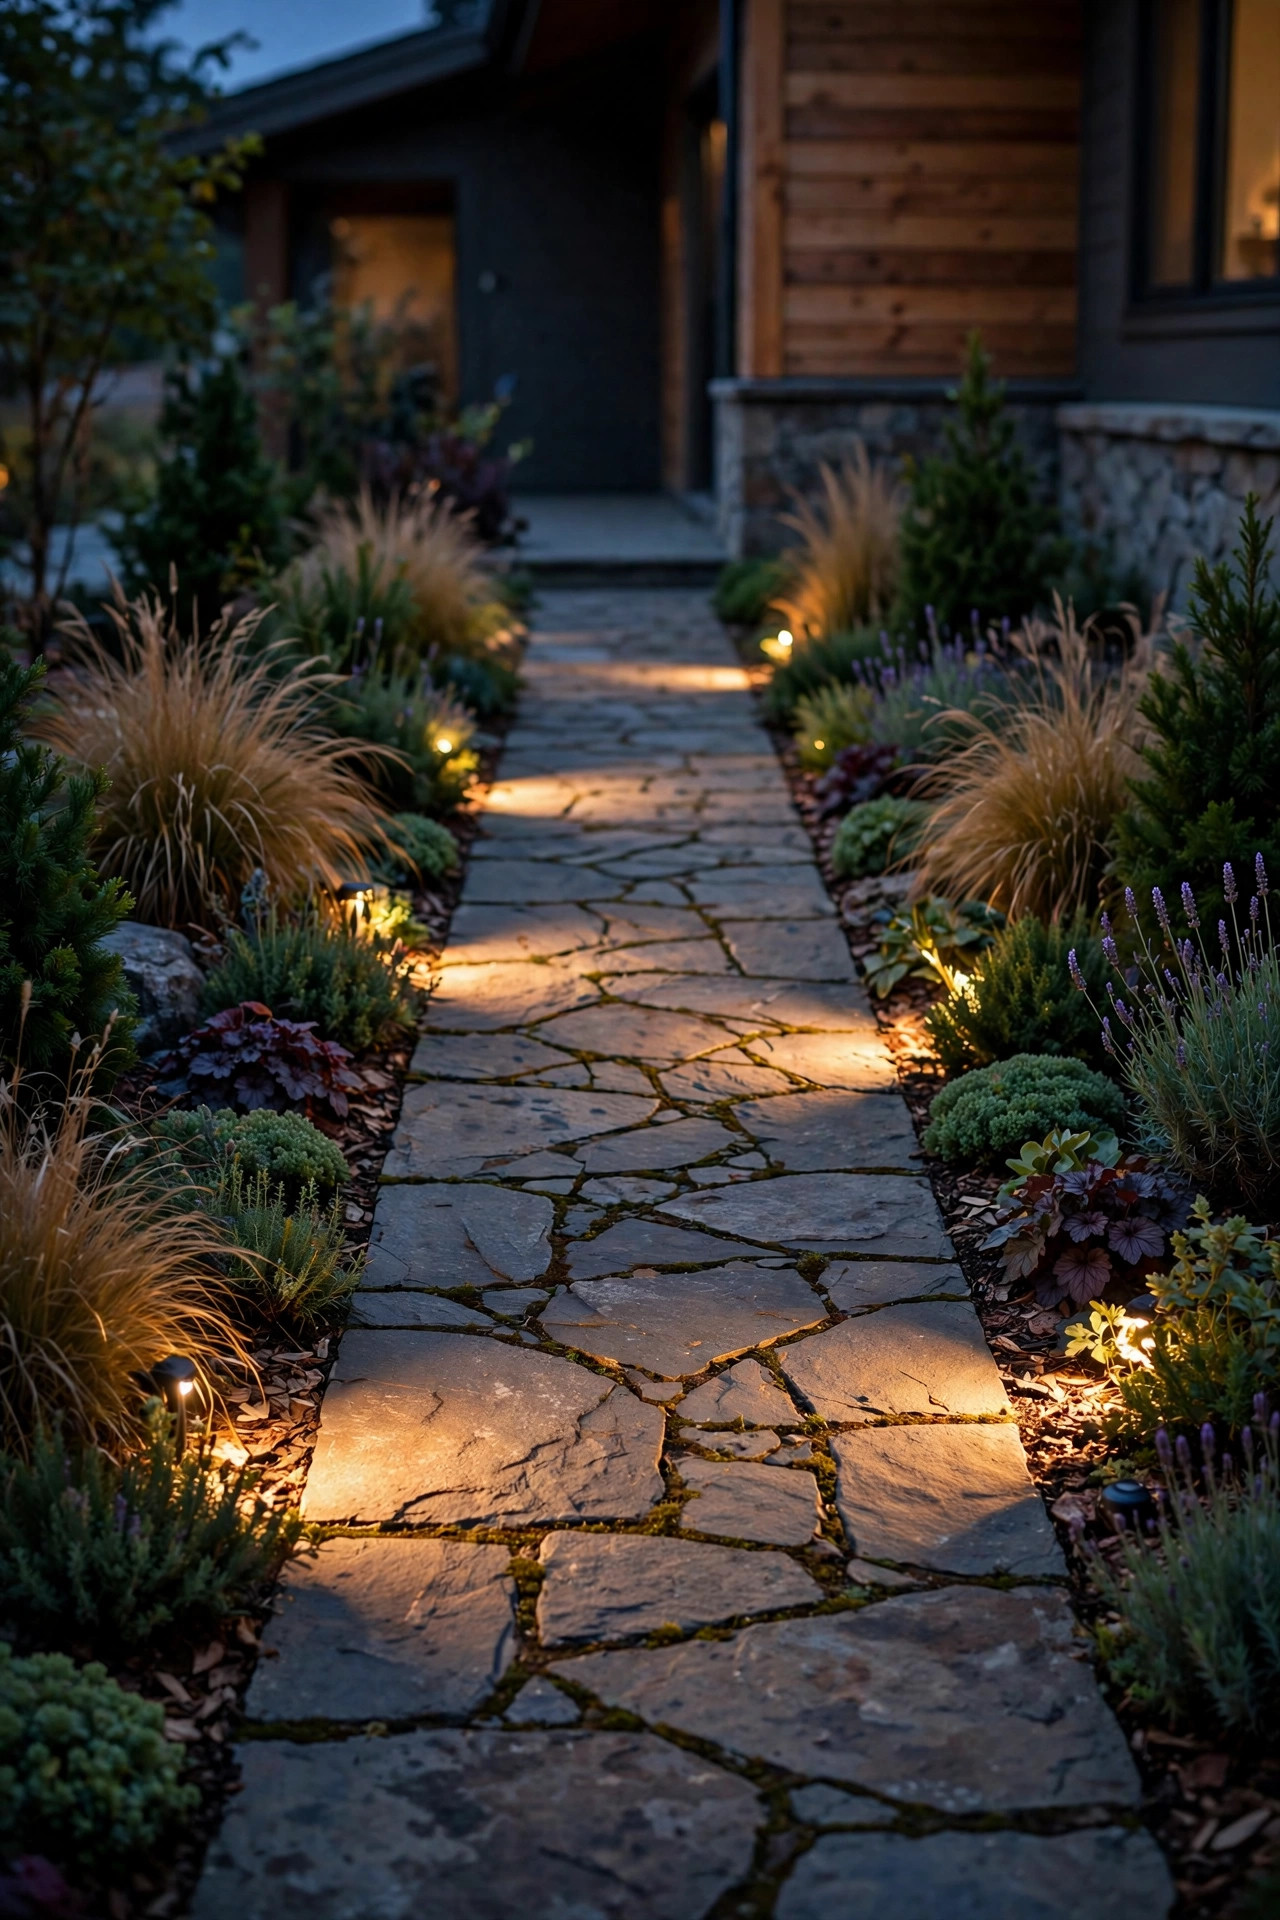
Here's a layering trick I use constantly: instead of lighting a narrow path with path lights, light it with the garden. Small accent spotlights tucked into the planting bed, aimed low across the paving, rake light sideways over the surface. Every bump and edge casts a tiny shadow, so the route reads clearly — and the fixtures disappear into the foliage entirely.
One spotlight every 6 to 8 feet, alternating sides, gives a woven pattern of light and shade that's far more interesting than a uniform row. Keep beams low and narrow (around 30 degrees) so light stays off knees and out of eyes. Low-voltage spots on short stakes are ideal; push them deep so only the head peeks from the leaves. This approach suits narrow walkway lighting ideas for planted, cottage-style entries best — the path borrows the garden's beauty instead of competing with it.
Suggested budget range: $80 – $200.
19. A Low-Voltage System Sized for Small Paths
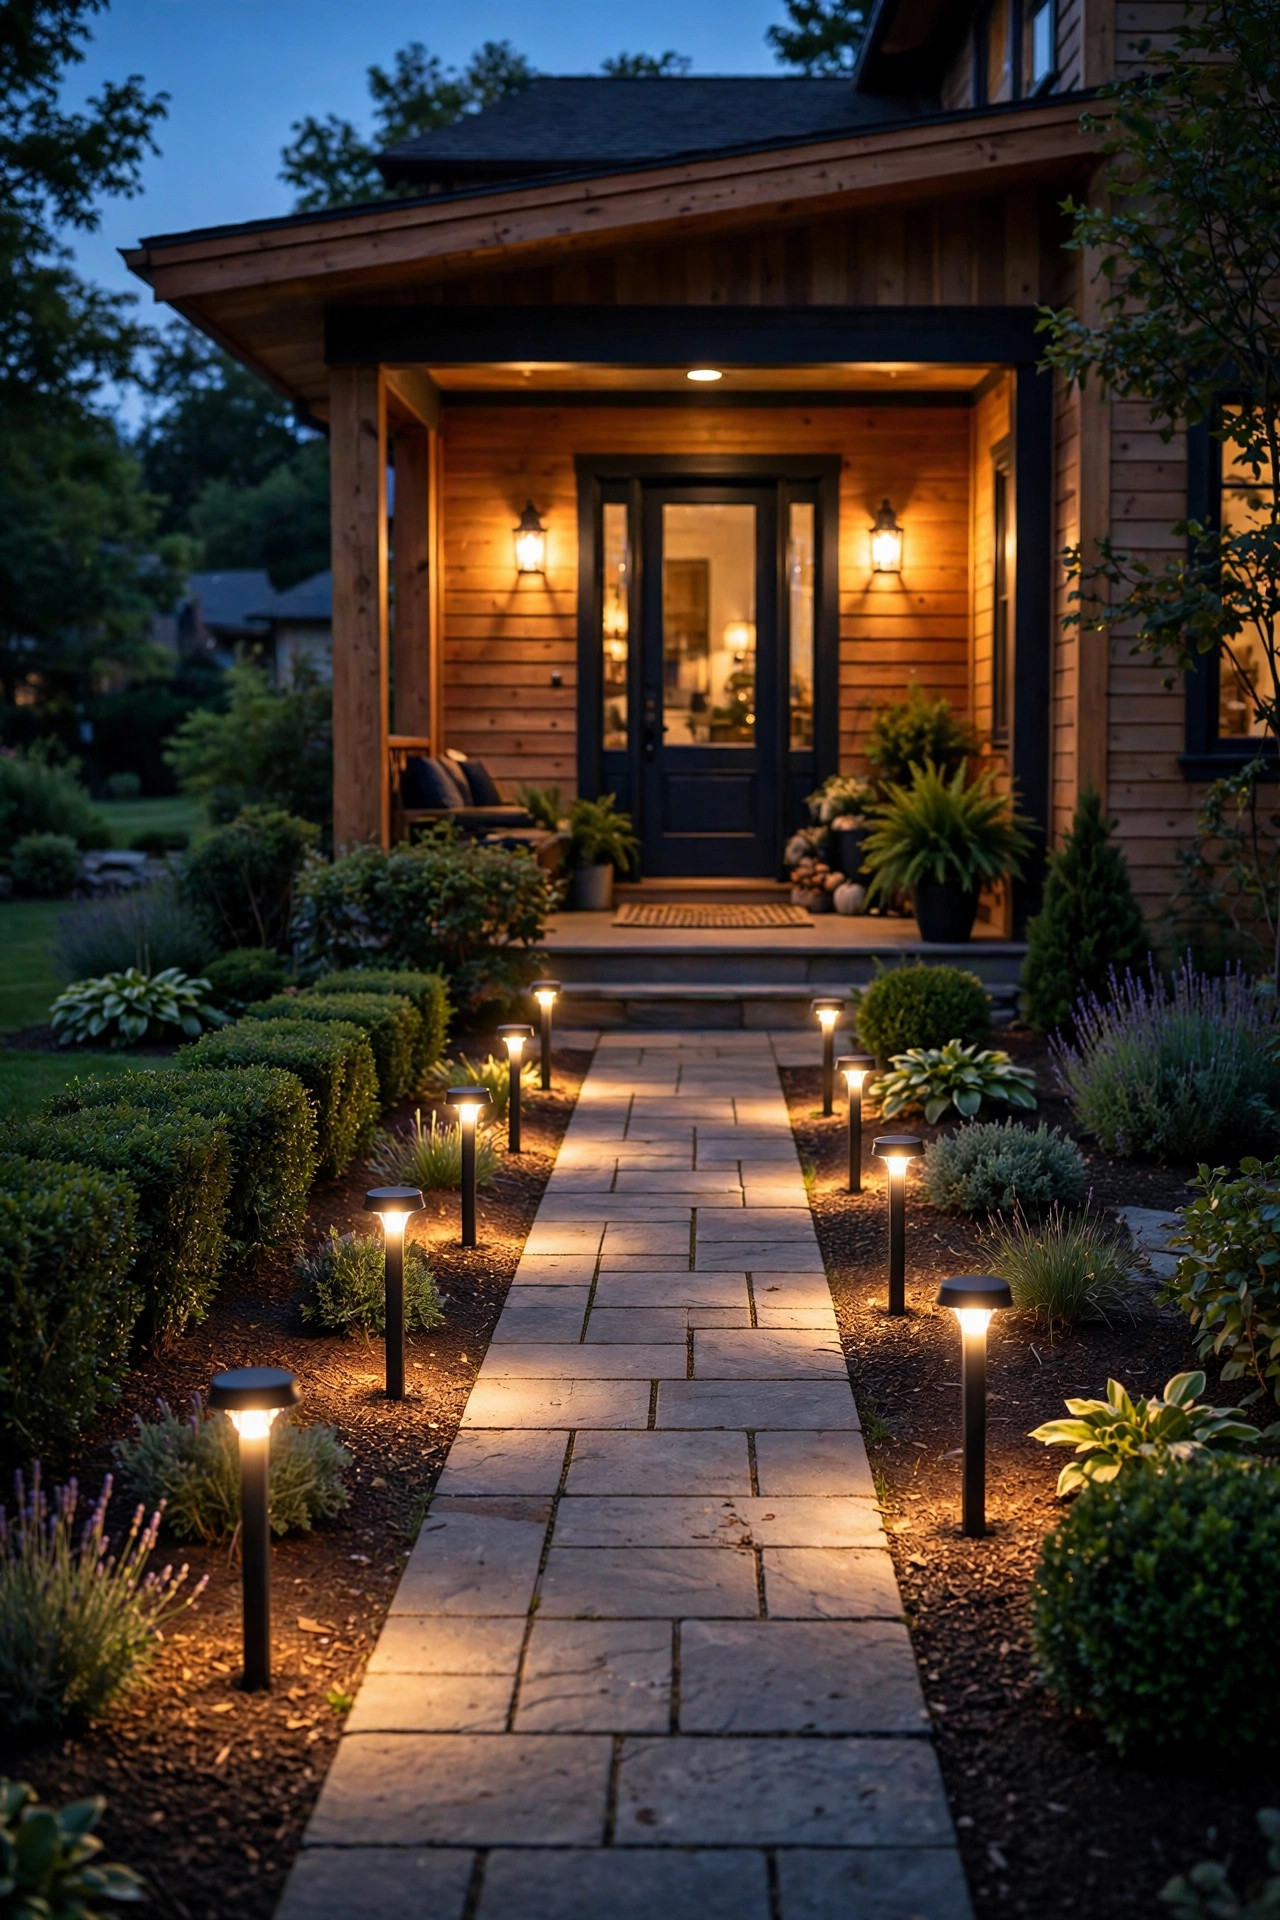
If you're lighting a narrow path once and want it right for a decade, a small low-voltage system is the grown-up answer. A compact 45-to-75-watt transformer runs an entire tight path of efficient LED fixtures, all on one timer, all at a consistent warm brightness that solar can't always match on cloudy weeks.
The planning is simpler than people fear: one cable run along the bed edge, fixtures clipped in where you want them, done in an afternoon. Because the fixtures share a system, you can mix types — a couple of shielded lanterns, a few in-ground wells — and still get one unified look. My full guide to solar path lights is worth a read if you're torn between the two approaches; honestly, the wired system's reliability wins for a main entrance you use every single night. Add a photocell so it simply handles itself year-round.
Suggested budget range: $150 – $350.
20. Copper-Wire Fairy Lights Woven Through Border Planting
For the softest possible touch, weave copper-wire fairy lights through the low shrubs or ornamental grasses edging a narrow path. The wire vanishes among the stems, leaving dozens of tiny warm pinpricks that outline the route like fireflies that decided to stay. No single point is bright, yet the path's whole shape glows.
Outdoor-rated, solar-powered strands are the practical choice — a small panel stakes into a sunny gap in the border. Expect a gentle effect, so treat this as the decorative layer over one functional idea from earlier in the list, like the motion lights at each end. LED-only strands stay cool, which matters where they touch foliage and mulch. In winter, when the perennials die back, the same strand can move to a railing or a small evergreen by the door. It's the cheapest way I know to make a tight little path feel enchanted.
Suggested budget range: $15 – $40.

21. Dusk-to-Dawn Photocell Stakes That Simply Handle It
The last idea is less a fixture than a philosophy: choose stake lights with built-in photocells, and your narrow path lights itself every evening without a single thought from you. Dusk-to-dawn models — solar with light sensors, or low-voltage heads on a photocell transformer — come on at twilight and hold a steady, modest glow until morning.
For a narrow path, modest is the key word: look for gentle outputs around 20 to 50 lumens per stake so the all-night glow stays neighborly and never turns your front yard into a landing strip. Space them 5 to 6 feet apart on one side. The always-on rhythm also quietly signals an occupied, cared-for home, which is a real security plus for a front entrance. Paired with the layering principle from the intro — a guide layer plus one warm accent at the door — a set-and-forget path is the easiest win in this entire list.
Suggested budget range: $35 – $90.
Frequently Asked Questions
How far apart should lights be on a narrow walkway?
For paths under 3 feet wide, I space guide lights 4 to 6 feet apart on one side, or stagger them on alternating sides at the same rhythm. Narrow paths need closer spacing than wide ones because there's less ambient bounce — each fixture's pool of light has to nearly touch the next. If you can see distinct dark gaps from the front door, add a fixture or nudge the spacing tighter.
Are solar lights bright enough for a narrow front path?
For guidance, yes — a quality solar stake at 20 to 50 lumens outlines a tight path beautifully, especially in a dark neighborhood. Where solar struggles is consistency: shaded borders and short winter days cut runtime. If the path is your main entrance and safety is the priority, a small low-voltage wired system gives steadier brightness. Many homes do both — solar in the sunny stretch, wired near the shaded porch.
What color temperature looks best on a front walkway?
Warm white, 2700K to 3000K, every time. It flatters stone, brick and skin tones, makes plantings look green instead of grey, and matches the glow spilling from your windows so the whole entry feels unified. Cool 5000K light on a residential path reads harsh and commercial, and on a narrow path — where fixtures sit close to your guests — that harshness is amplified.
How do I light a narrow path with no outlet nearby?
Go solar, but go smart: choose fixtures with separate or generously sized panels, and place the charging panel in the sunniest nearby spot if the model allows. Battery lanterns and solar motion lights at the path's ends need no outlet at all. If the path gets at least 5 to 6 hours of direct sun on the fixtures themselves, a good solar setup will carry the route comfortably through the night.
Conclusion
A tight path isn't a limitation — it's an invitation to be choosier. Pick small, shielded fixtures, layer a soft guide light with one welcoming accent at the door, and keep everything warm. That's the whole recipe behind every narrow walkway lighting idea here, and it's why the skinniest paths on my street are now the prettiest after dark. Browse more of my outdoor lighting ideas on the site, pick your two favorite layers, and give your front path the evening it deserves.