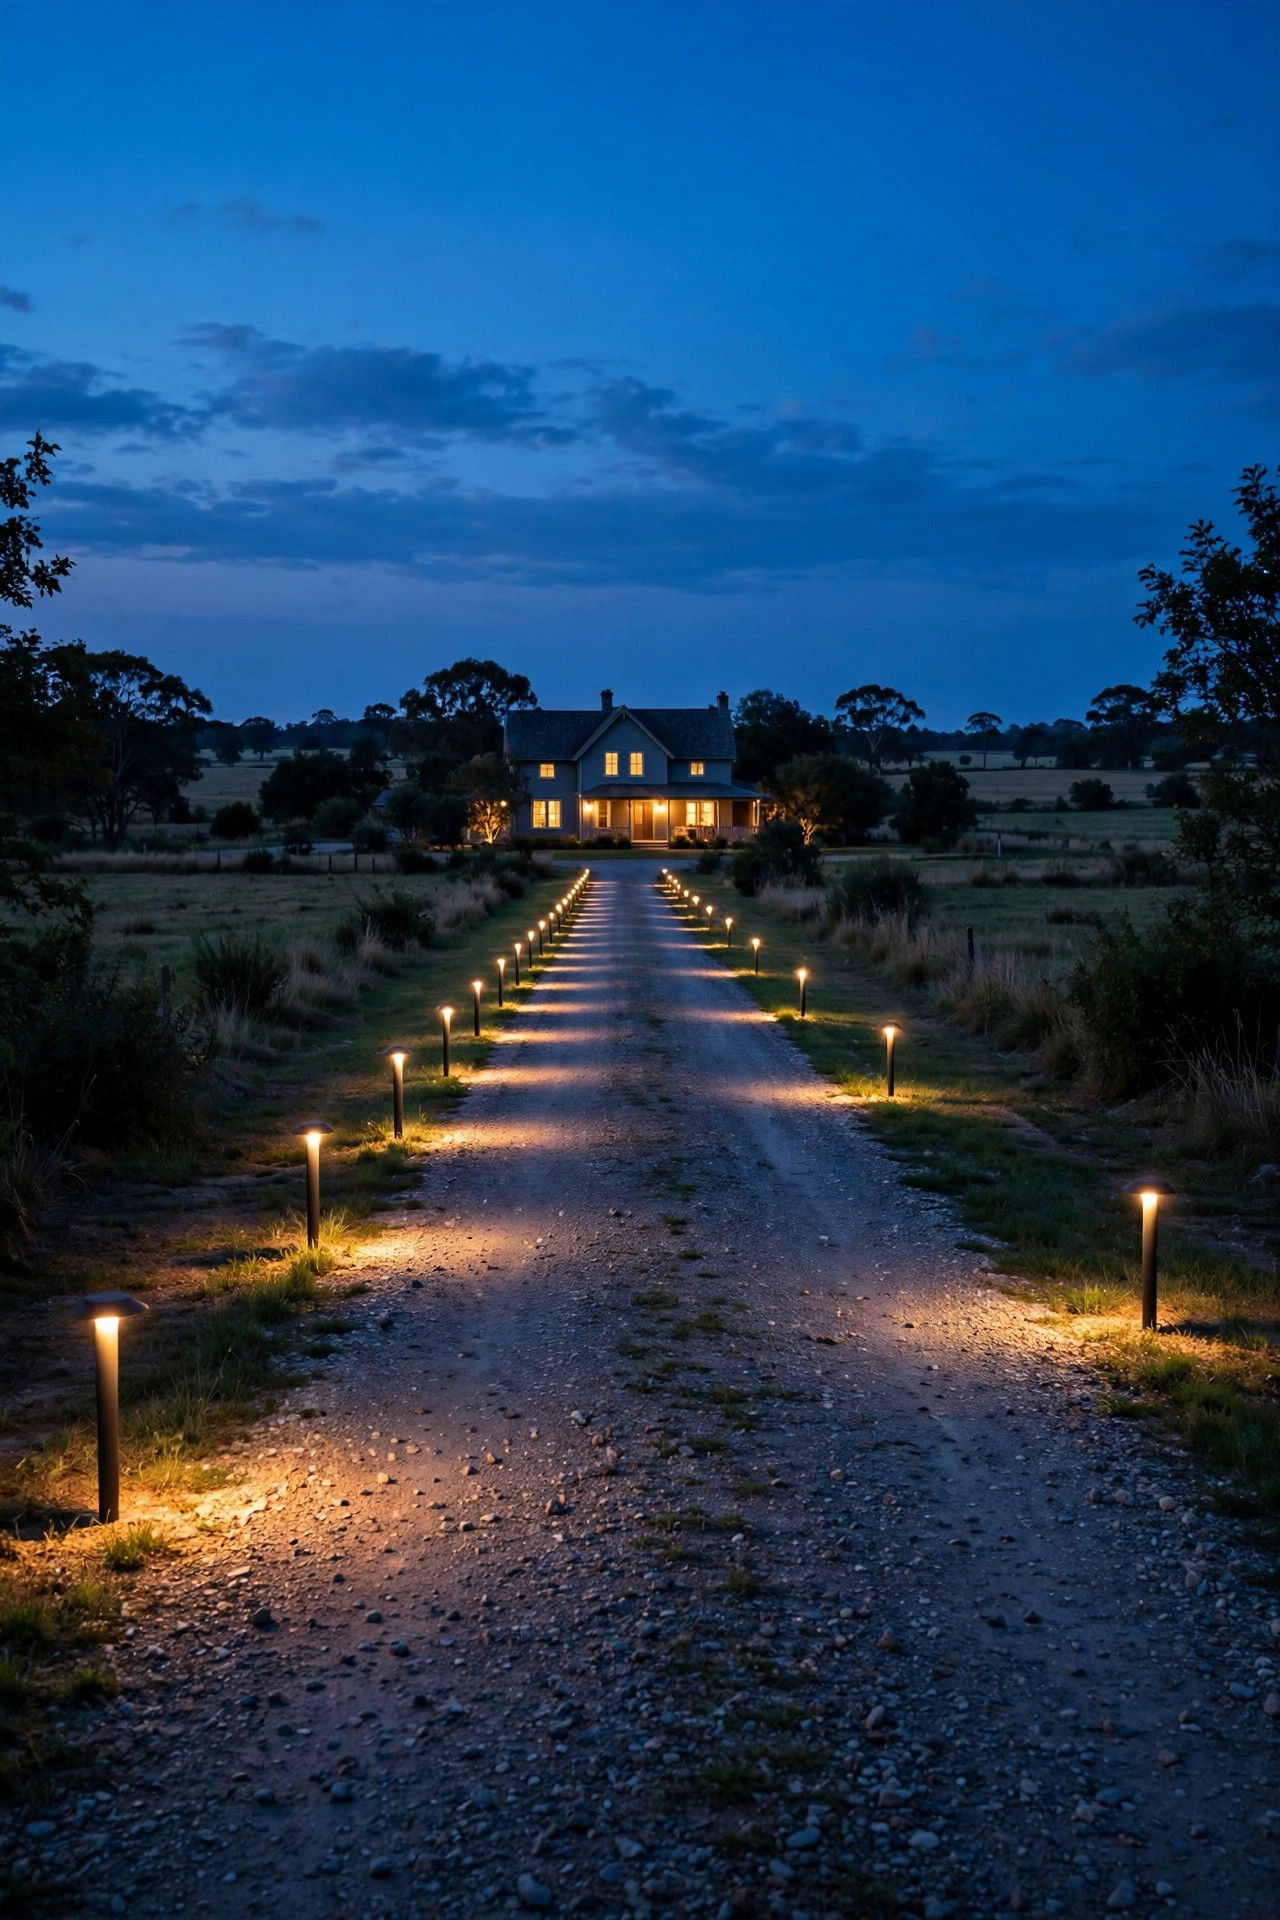
A long driveway gives you privacy, quiet, and that lovely sense of arrival — right up until a guest misses the turn in the rain, a delivery driver backs into the ditch, or you're guiding a trailer down 300 feet of gravel in the dark. The good news: the right long driveway lighting ideas fix all of that while making your property look like the prettiest stop on the road. In my experience, the secret is layering. Start with low guide lights that quietly mark the edges, add a few taller accents at the gate, the trees, and the bends, then finish with real task light where cars park and turn around. Country drives and suburban drives want slightly different flavors — rustic lanterns and split-rail fences out in the county, crisper bollards and lamp posts in the neighborhood — but the bones are exactly the same. Below are 19 ideas that work on drives from 150 to 600 feet, each with honest spacing advice, the wiring or solar reality, and a budget range, so you can plan the project in phases instead of all at once.
1. Staggered Path Lights: The Backbone of Long Driveway Lighting
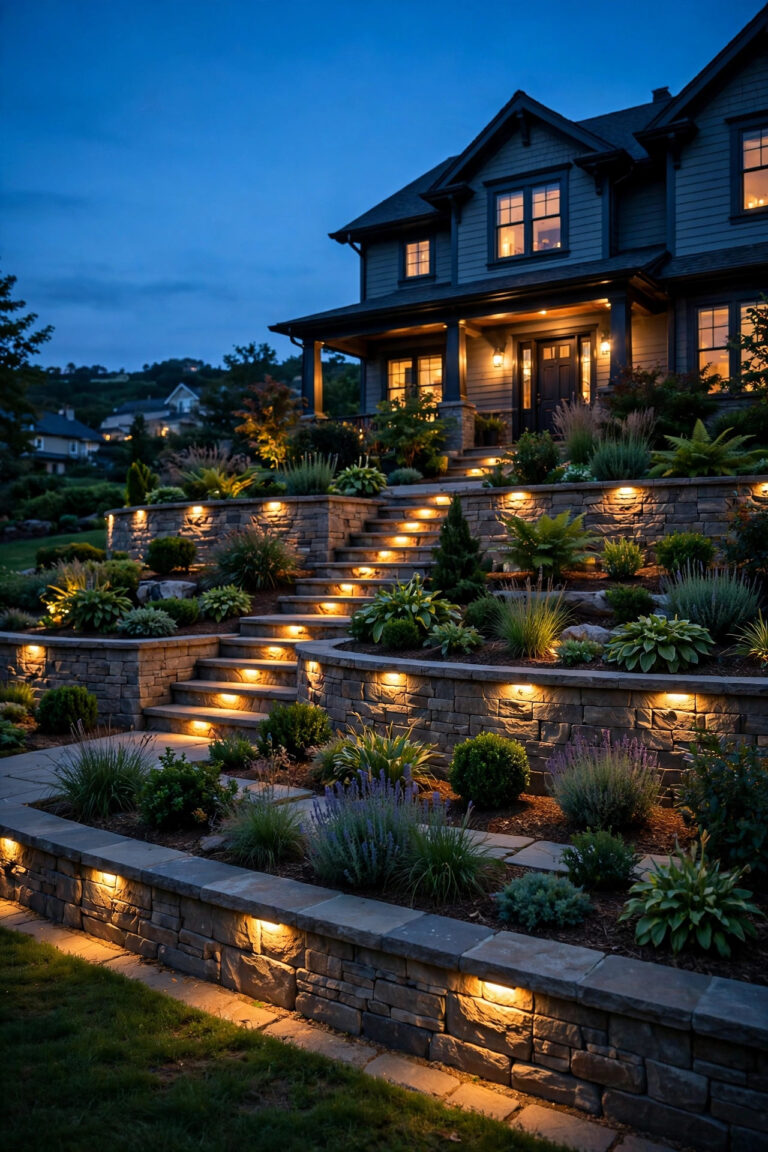
Low-voltage path lights are where I'd start almost any long driveway, because they solve the actual problem: showing drivers where the edges are without flooding the property in light. My favorite layout for drives over 150 feet is a staggered pattern — one light on the left, then one on the right 15 to 20 feet later — rather than matched pairs. Pairs can look like a runway and waste fixtures; staggering gives you the same guidance for roughly a third fewer lights, and the gentle zigzag reads beautifully from the road. Choose shaded or mushroom-style fixtures that throw light down onto the gravel or asphalt instead of out into windshields, and keep everything at 2700K so the pools of light feel warm rather than clinical. Two practical notes from experience. First, long runs suffer voltage drop, so use a heavier 12-gauge cable and split a 300-foot drive into two home-run cables from the transformer instead of one endless loop. Second, walk the drive at night with the lights temporarily staked before you bury a single wire — spacing that looks right at noon always looks different at 9 p.m. Suggested budget range: $450 – $1,400.
2. Solar Stake Lights for Wire-Free Stretches
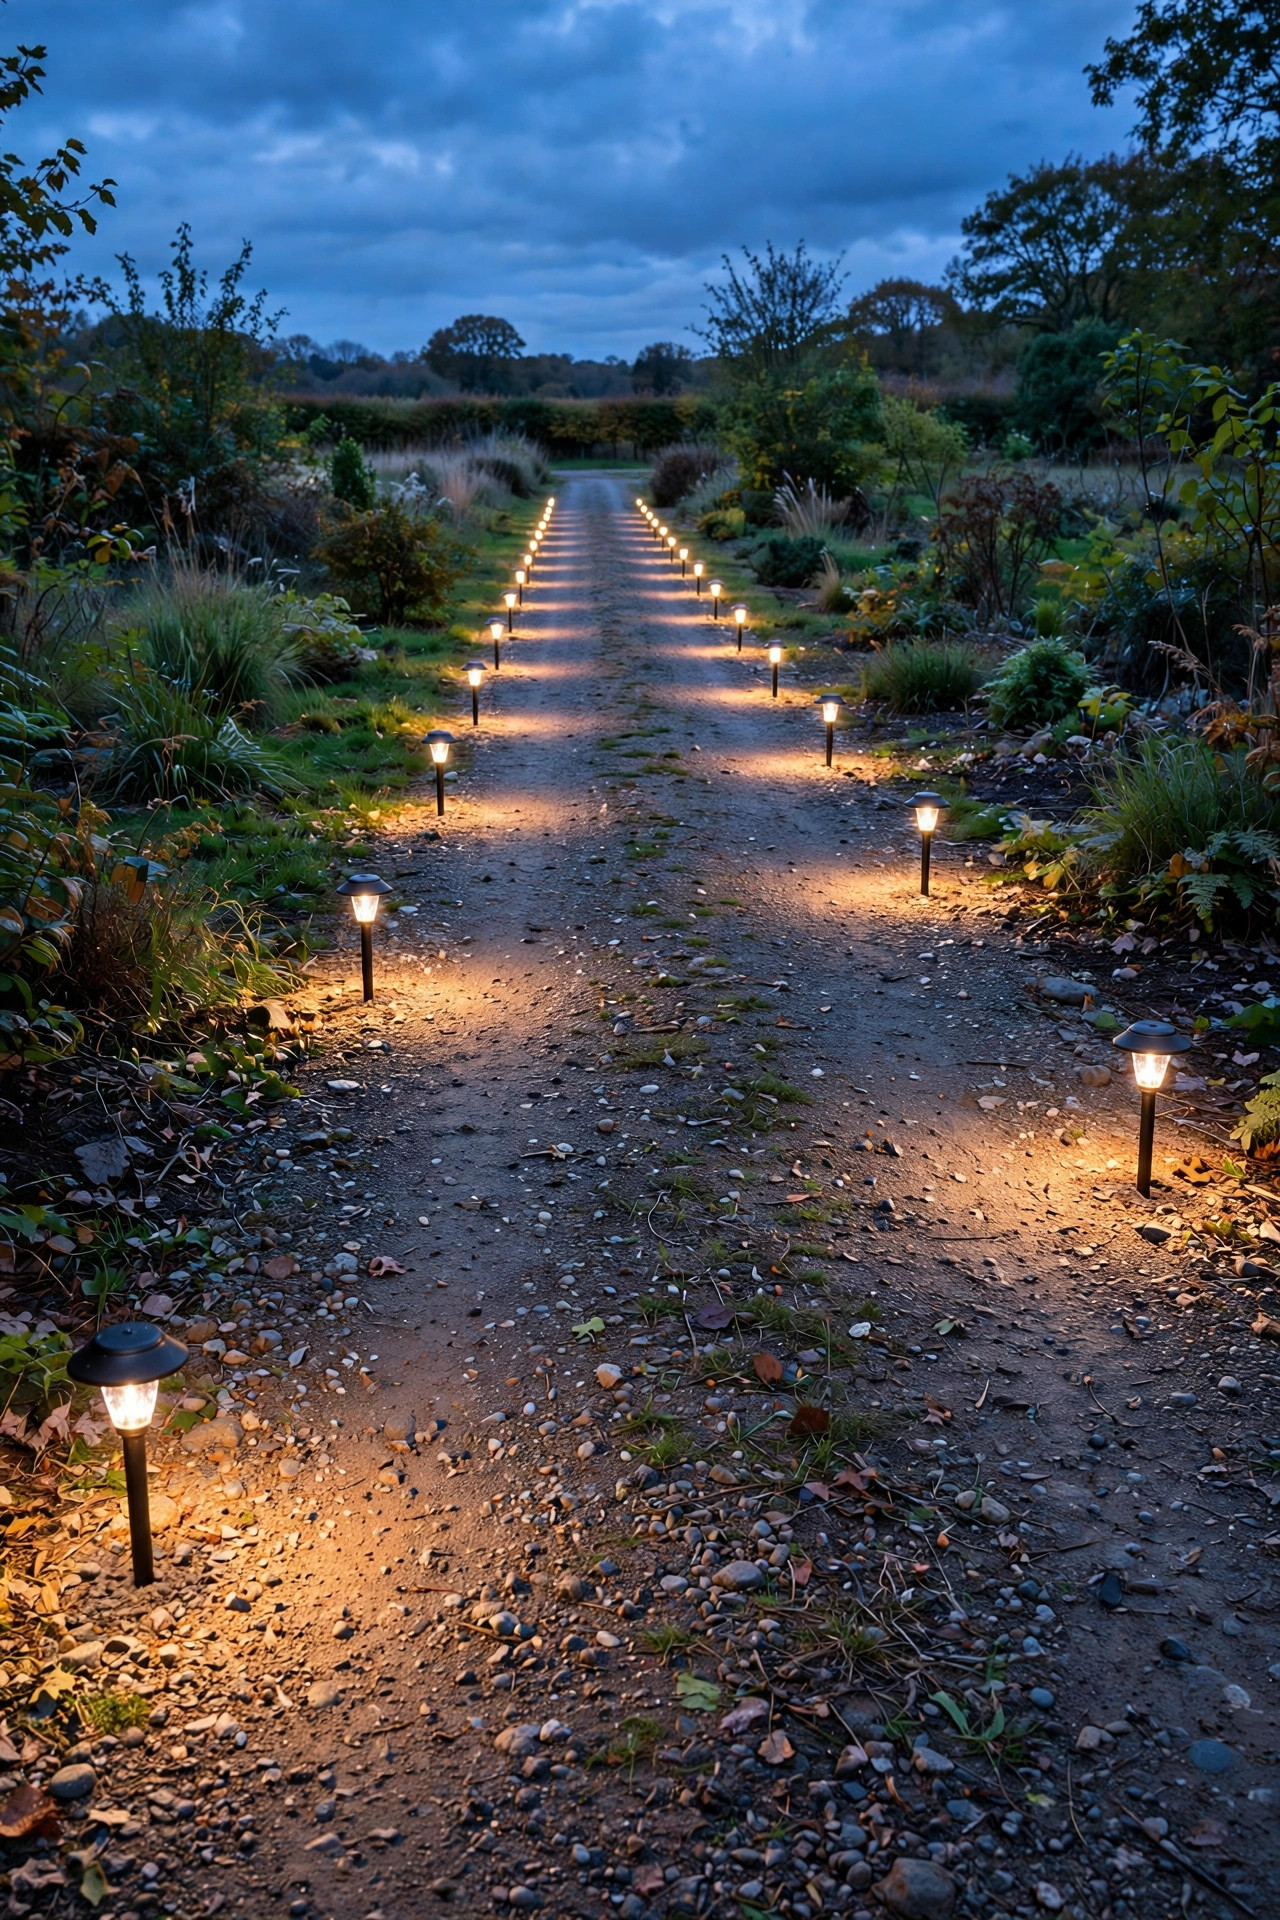
If trenching 250 feet of cable makes your wallet ache, solar stakes are the honest workaround — with a few honest caveats. Modern solar path lights are far better than the dim toys of a decade ago: look for stakes with replaceable rechargeable batteries, a real on/off switch, and a warm-white LED, and expect each one to light a soft pool about 6 to 8 feet across. Space them 10 to 15 feet apart on the sunniest side of the drive. Here's the part nobody mentions: solar only works where the sun actually reaches. A tree-covered country drive that feels shady and private at noon will starve solar fixtures, especially in winter when the sun sits low and the days are short — on those stretches, solar becomes a faint suggestion rather than real guidance. I use solar for the far, open half of a drive and wired lights near the house, where reliability matters most. If you're weighing the two systems for the whole property, my solar vs wired landscape lighting comparison breaks down the real brightness and lifespan differences. One last tip: buy two spares of the exact same model, because designs change yearly and a mismatched replacement sticks out. Suggested budget range: $180 – $600.
3. Bollard Lights for a Clean, Substantial Edge
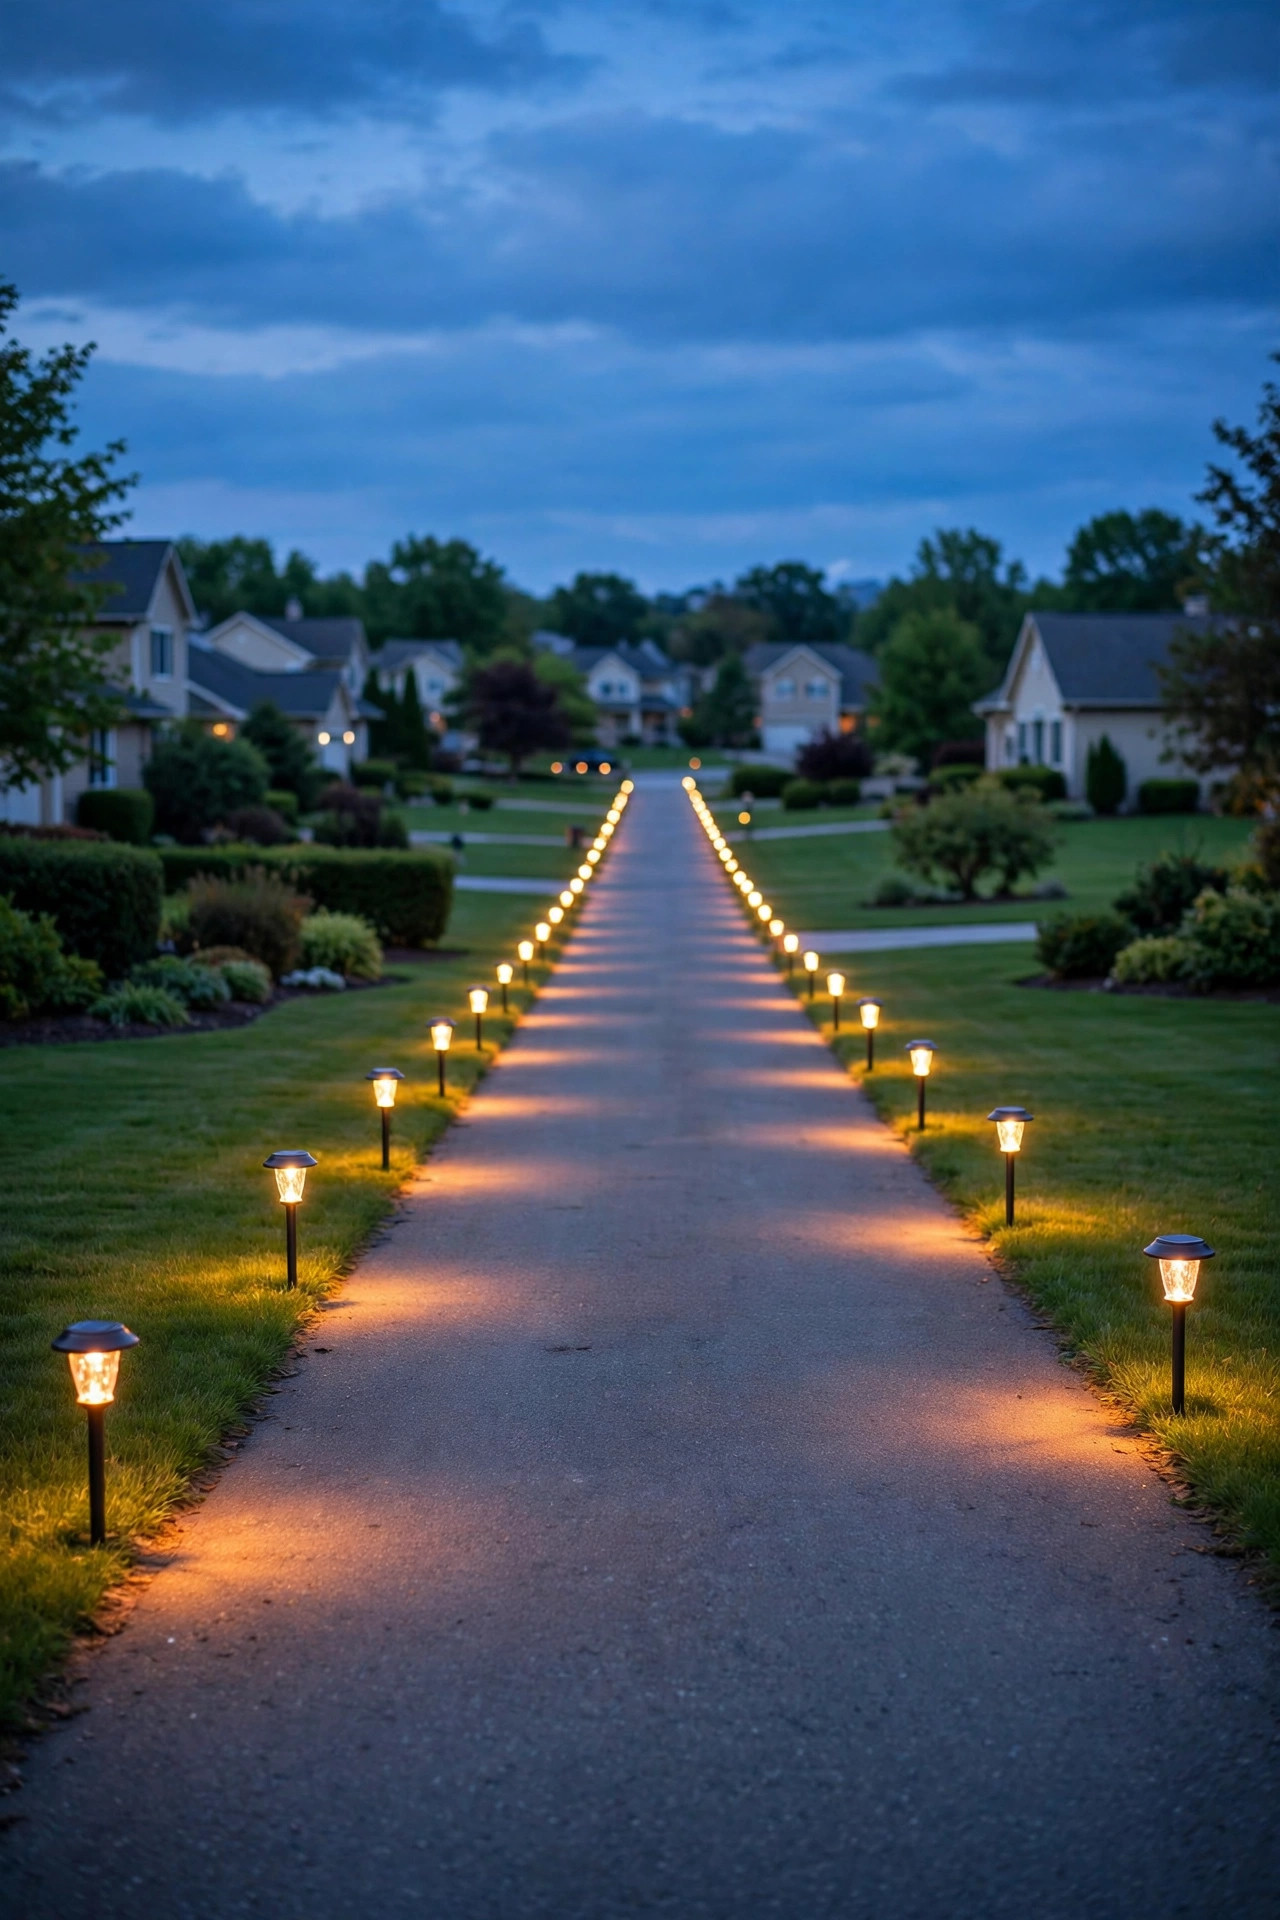
For a suburban drive that wants to look finished rather than merely lit, bollards are hard to beat. These short posts — usually 24 to 36 inches tall — throw a controlled wash of light across the driving surface and read as architecture during the day instead of disappearing like little stake lights. Space them 12 to 18 feet apart along one edge, or stagger them like path lights on a curving drive; on straight runs, a single-side row is plenty and keeps the budget sane. Insist on louvered or downward-shielded optics. A bare glowing bollard at windshield height is glare, not guidance, and your guests will tell you so. Because bollards are substantial, installation matters: set each one on a small concrete footing or a driven ground sleeve so frost heave and the occasional bumper nudge don't leave you with a drunken row by spring. They're wired low-voltage in most residential lines, which suits long runs well. If you want the full rundown on heights, finishes, and spacing math, my guide to driveway bollard lights covers the details. Bollards cost more per fixture than stakes, but on the house-end half of a long drive they deliver the most designed look per dollar. Suggested budget range: $900 – $2,600.

4. A Pair of Lamp Posts Where the Drive Meets the Road
Every long driveway deserves a proper hello at the road. A pair of lamp posts flanking the entrance tells guests "turn here," gives delivery and emergency drivers a landmark after dark, and frames your property like the opening of a story. Choose posts 6½ to 8 feet tall with the lantern head sized generously — small heads on tall posts look stingy from a moving car. Mount them just outside the drive's swing path (mind the snowplow and the widest trailer you ever host), set back a couple of feet from the road edge, and check your county or HOA rules, since some restrict fixtures near the right-of-way. Run them on a photocell or an astronomical timer so they're simply on every evening without you thinking about it. My favorite practical trick: have the electrician add a weatherproof GFCI outlet at the base of one post. It takes ten extra minutes during installation and saves you forever when it's time for holiday wreaths, a work light, or a pump for the pond. Match the lantern style loosely to your house — black carriage-style for traditional homes, cleaner lines for modern ones — and use a warm 2700K filament-style LED bulb. Suggested budget range: $350 – $900.
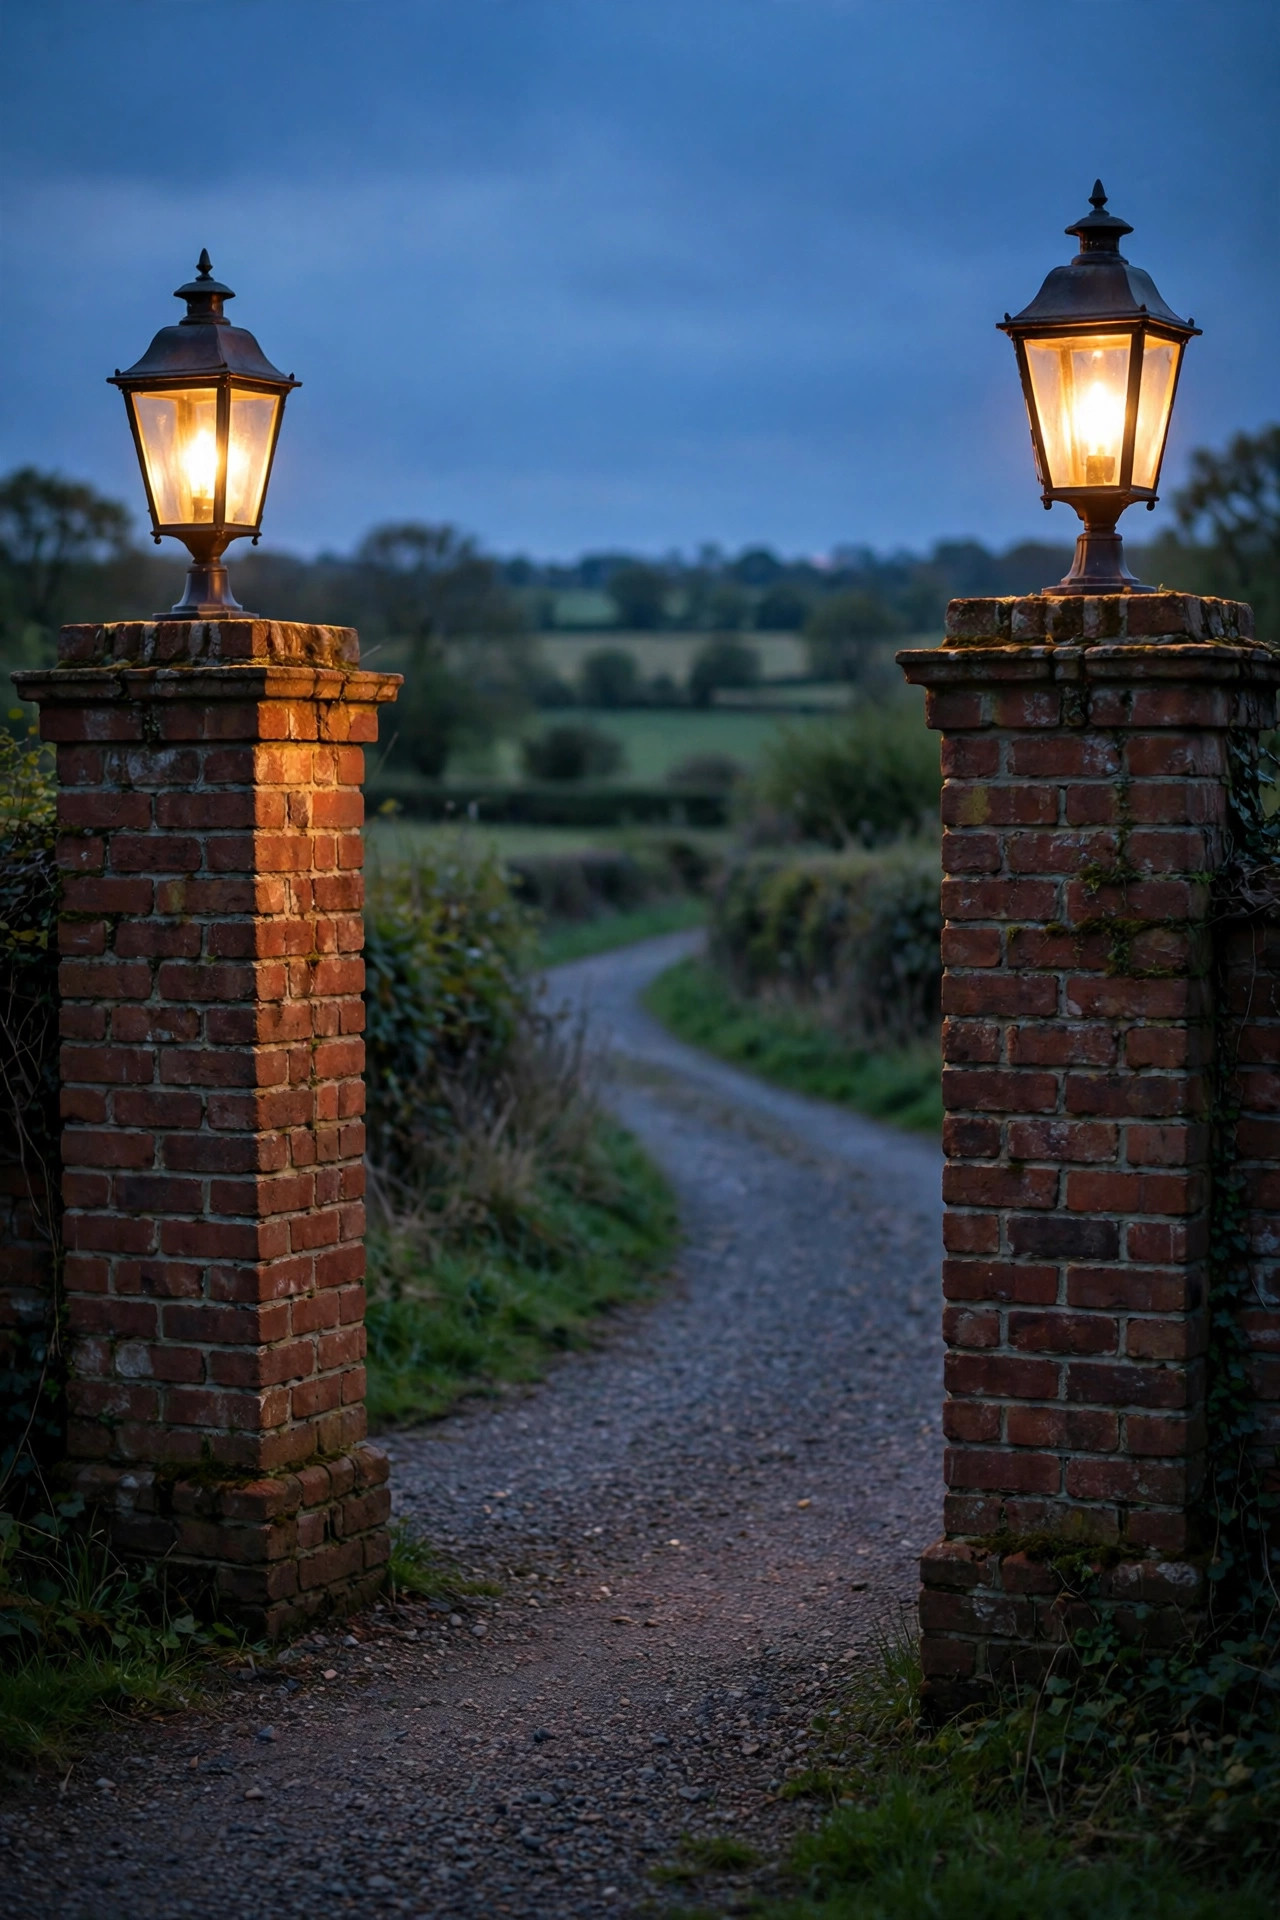
5. Gate Pillar Lanterns With Real Presence
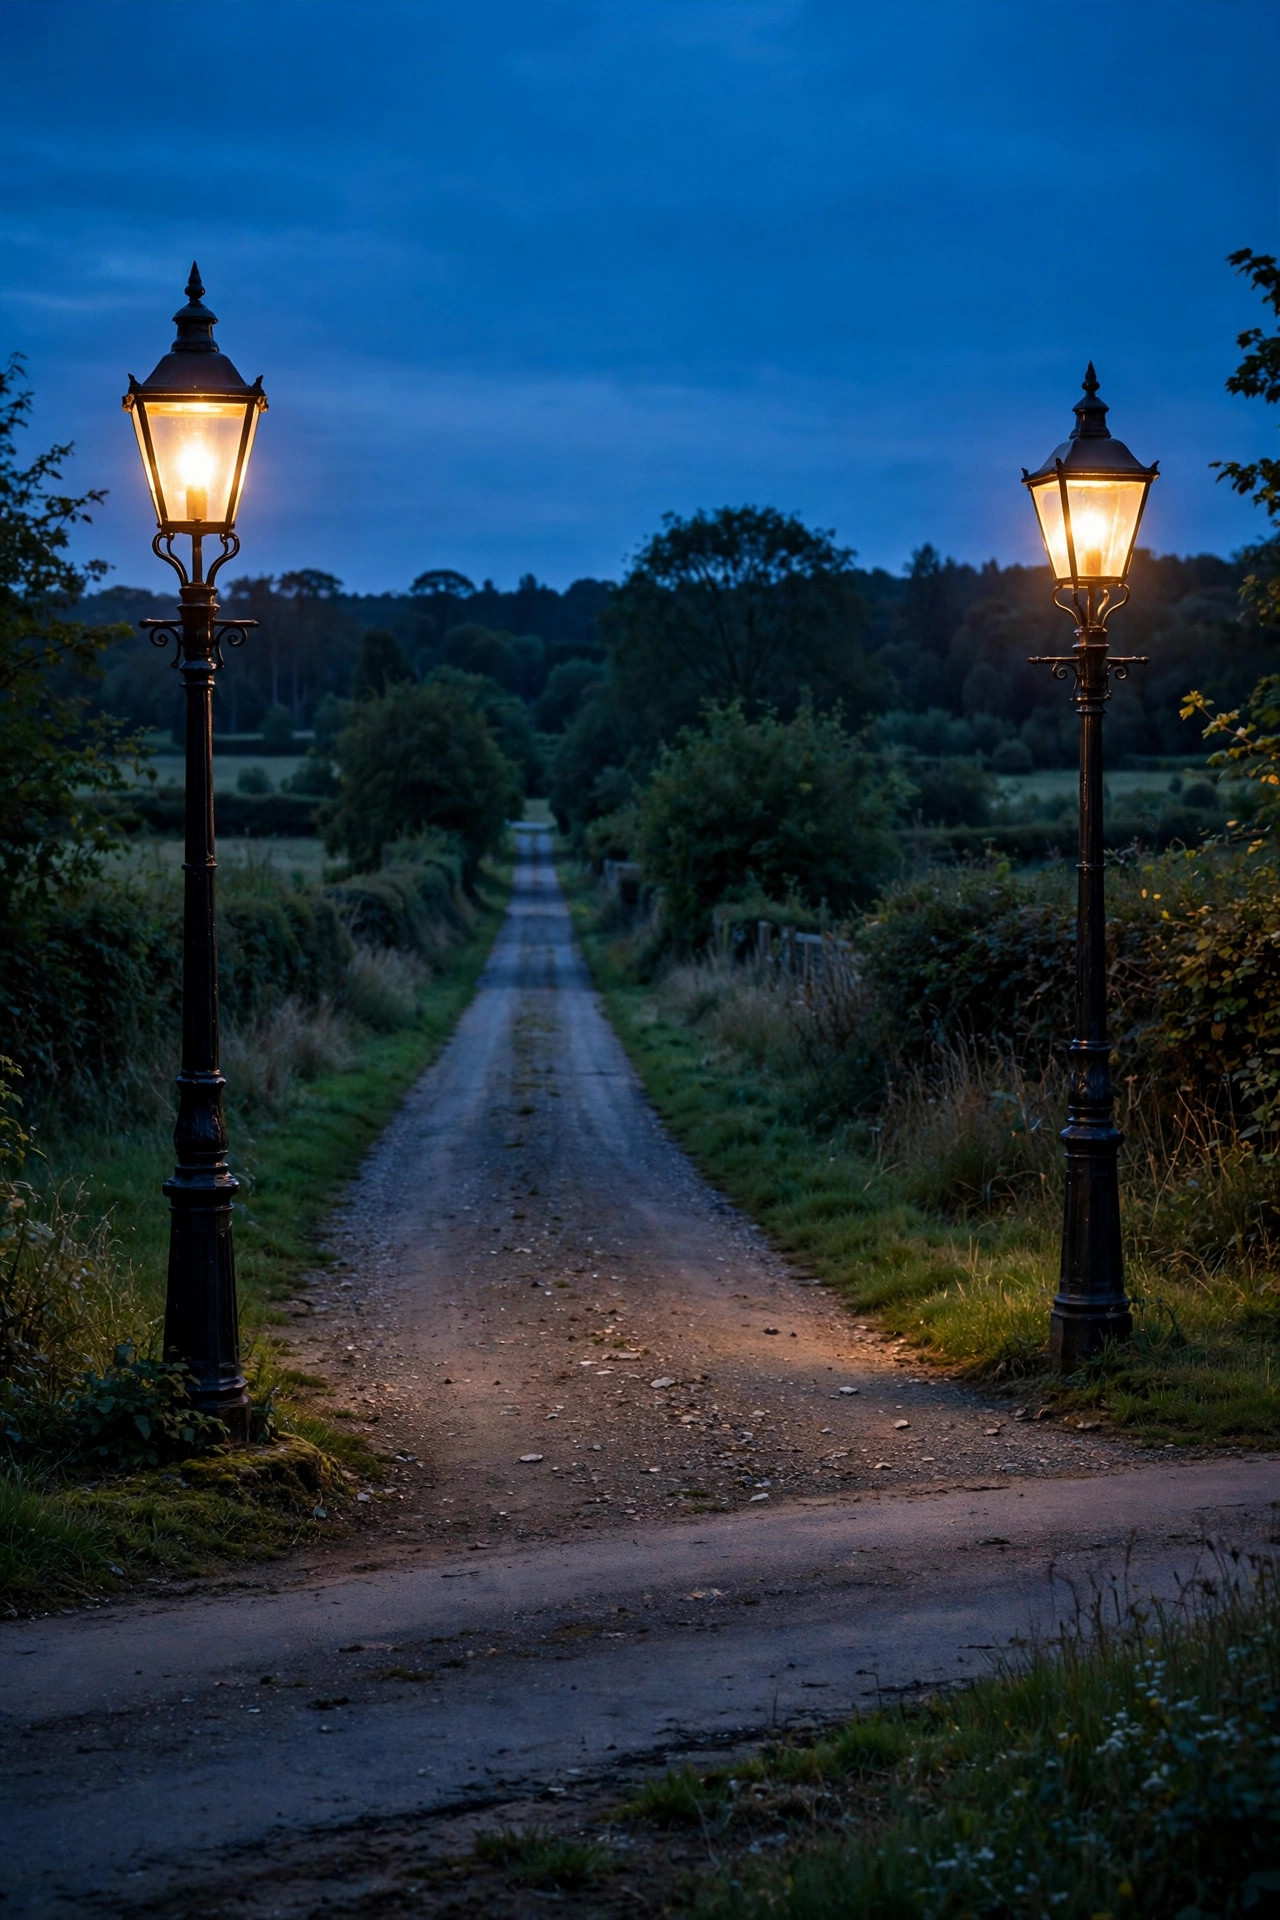
If your drive has a gate — or even just the pillars for one — lantern fixtures on top are the single most handsome upgrade on this whole list. There is something about two warm lanterns on brick or stone pillars that makes an ordinary gravel drive feel like an estate entrance. Scale is everything here: a lantern should be roughly a quarter to a third of the width of the pillar cap to look right, so measure before you order, and when in doubt, go one size up. Wiring is painless if you plan it while the pillars are being built; for existing pillars, solar cap lanterns have gotten genuinely good and install in minutes with no trenching at all. Keep the fixture clear of the gate's swing and the opener arm, and if your gate is automatic, ask the installer to tie the lights into a photocell so they wake up at dusk on their own. Filament-style LED bulbs at 2700K give that warm, gaslight-adjacent glow without the maintenance of actual gas. One caution: bright white bulbs on pillars can glare straight into a driver's eyes at the exact moment they're lining up to enter — warm and shielded wins. Suggested budget range: $220 – $650.
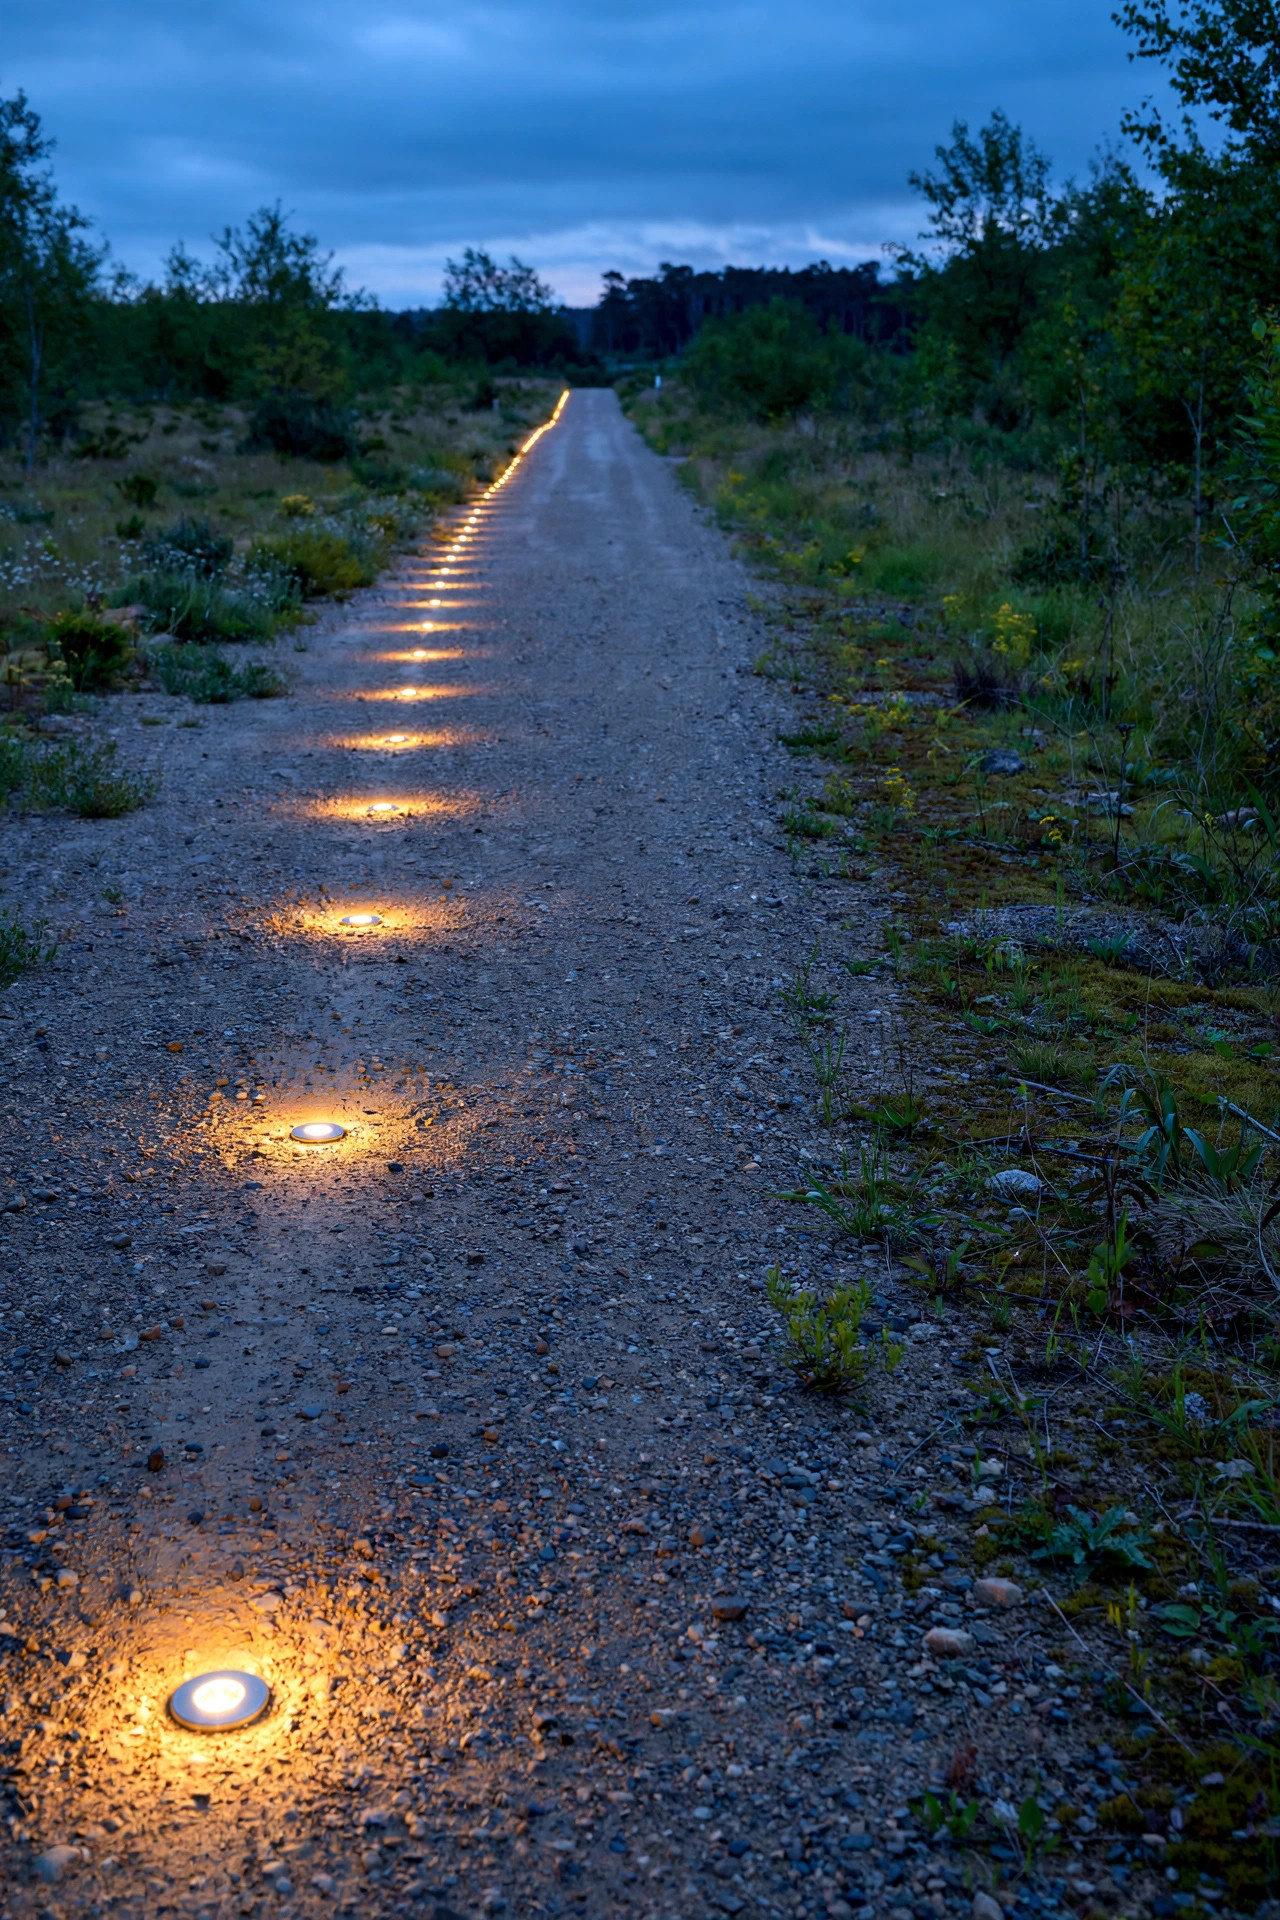
6. Flush In-Ground Markers You Can Mow and Plow Over
In snow country, every fixture along a driveway lives dangerously — one pass of the plow and a season of stake lights becomes confetti. Flush in-ground markers solve that beautifully. These sealed, puck-style lights sit level with the ground in the gravel shoulder or a paved border, so mower decks, plow blades, and tires pass right over them (choose drive-over rated models if any will sit in the driving surface itself). By day they're nearly invisible; by night they're a calm dotted line of warm light that reads clearly from behind the wheel. Space them about 15 feet apart, tightening to 10 feet on curves, and offset them a foot or so outside the tire line so snowmelt and gravel don't bury the lenses. The sealed, gasketed housings matter more here than anywhere else in your system — these lights live in puddles, road salt, and freeze-thaw cycles, so buy the IP67-rated versions and bed them in a few inches of drainage gravel rather than plain soil. Installation is the bulk of the cost, since each marker needs the low-voltage cable daisy-chained along the run, but once they're in, there is genuinely nothing to knock over, trim around, or replace after a storm. Suggested budget range: $500 – $1,500.
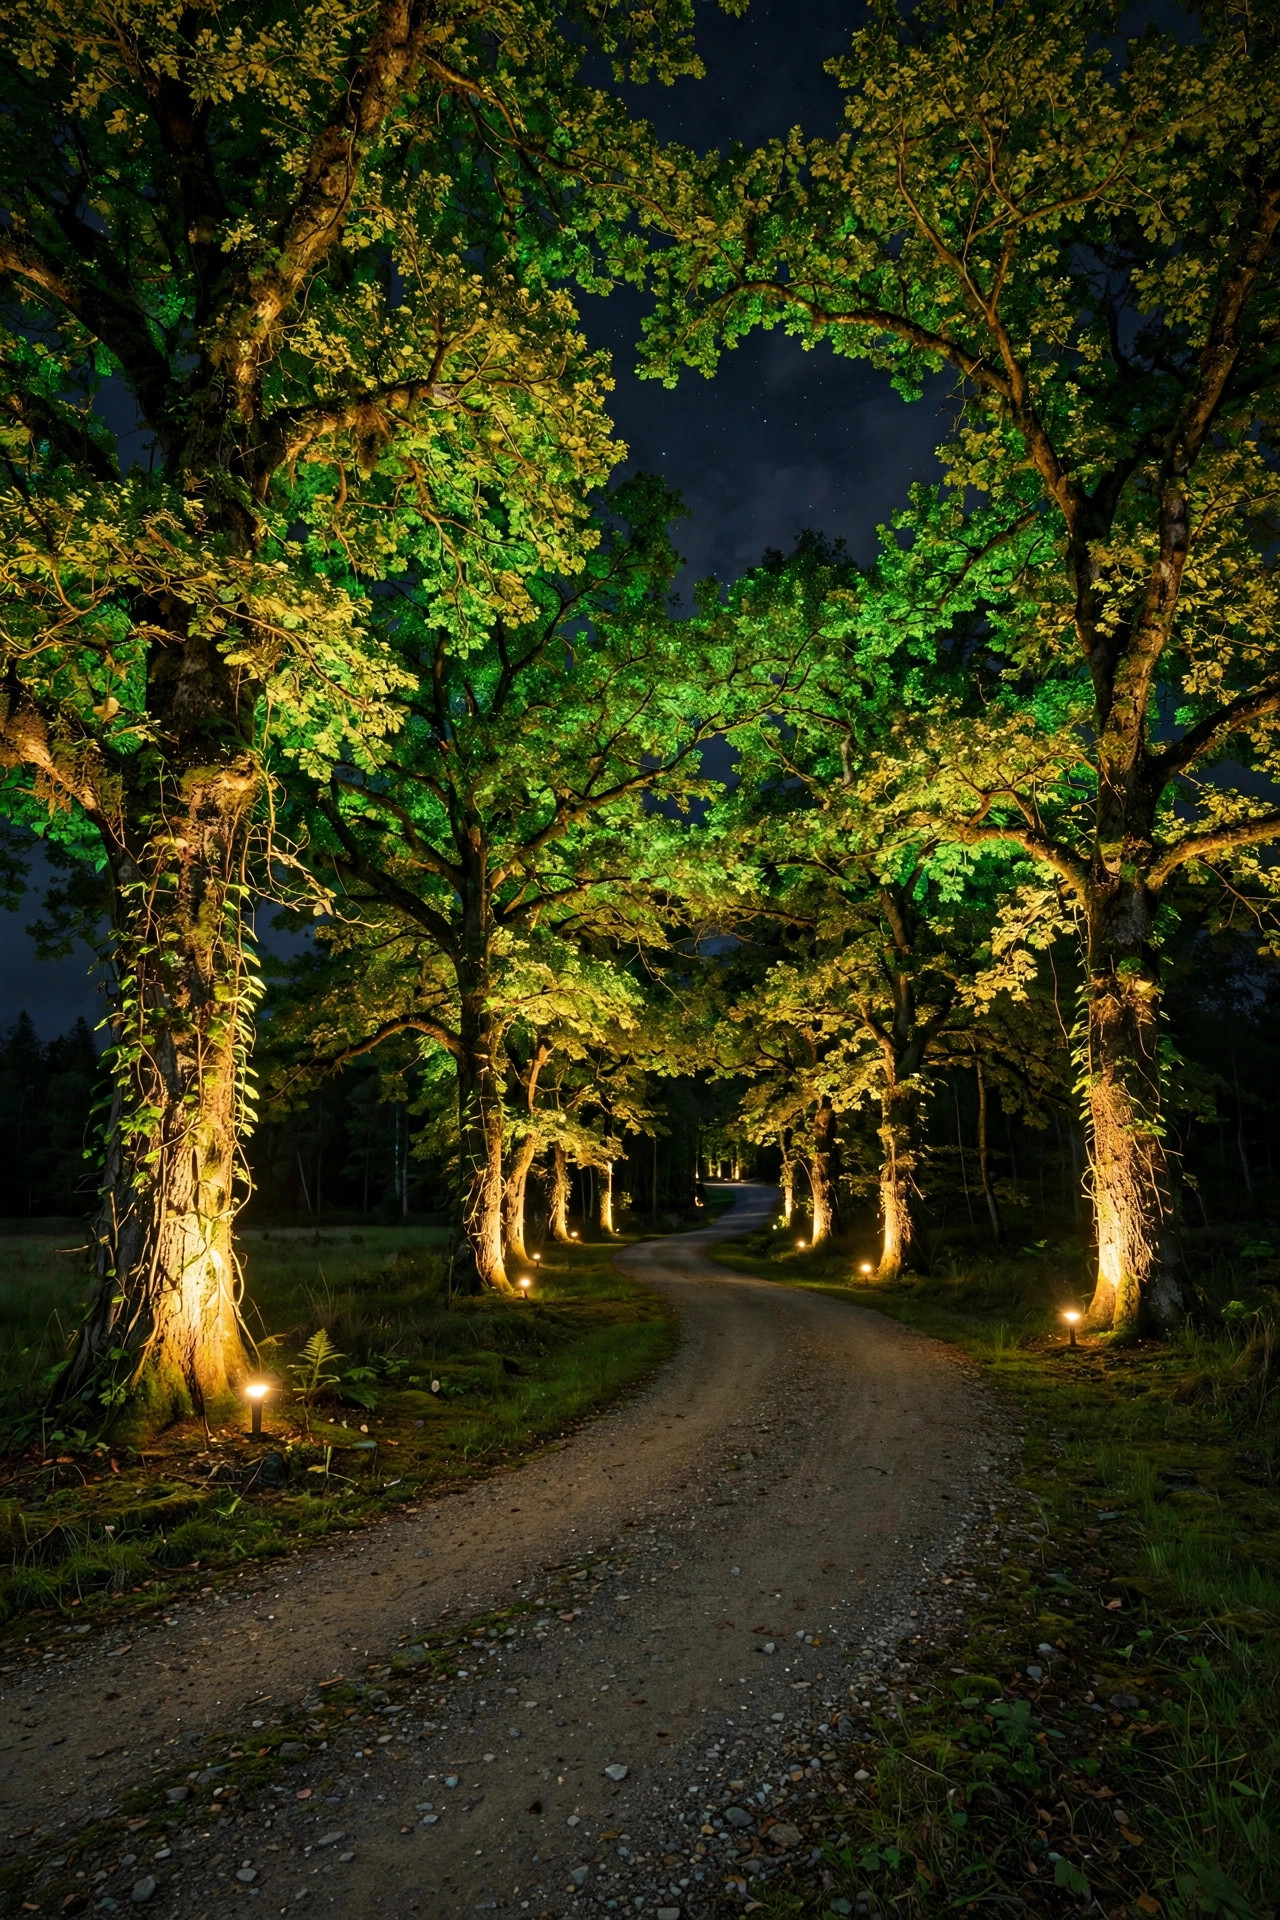
7. Uplight the Trees That Line the Drive
Country drives are so often tree-lined, and lighting those trees turns a chore of a driveway into a cathedral. You don't light every tree — rhythm matters. I pick the specimens: a mature oak at the bend, the pair that forms a natural arch, the lone maple halfway down. One low-voltage bullet uplight per chosen tree, staked on the drive side and aimed up into the canopy, gives you pools of green-gold light that guide the eye down the drive better than any row of markers. Place fixtures 12 to 18 inches out from the trunk with a medium beam, and angle them slightly away from the road so passing drivers see glow, not glare. Leave honest darkness between the lit trees; the contrast is what makes it feel designed instead of decorated. Because these run on the same low-voltage system as your path lights, they're an easy add-on zone — often just a few hundred dollars of fixtures riding a cable that's already going past. Mulch rings hide the fixtures and cable, and a yearly lens wipe keeps the canopy bright. If one tree is truly beloved, two lights crossed from different angles — my favorite trick for front-yard specimens — is worth the small splurge. Suggested budget range: $300 – $950.
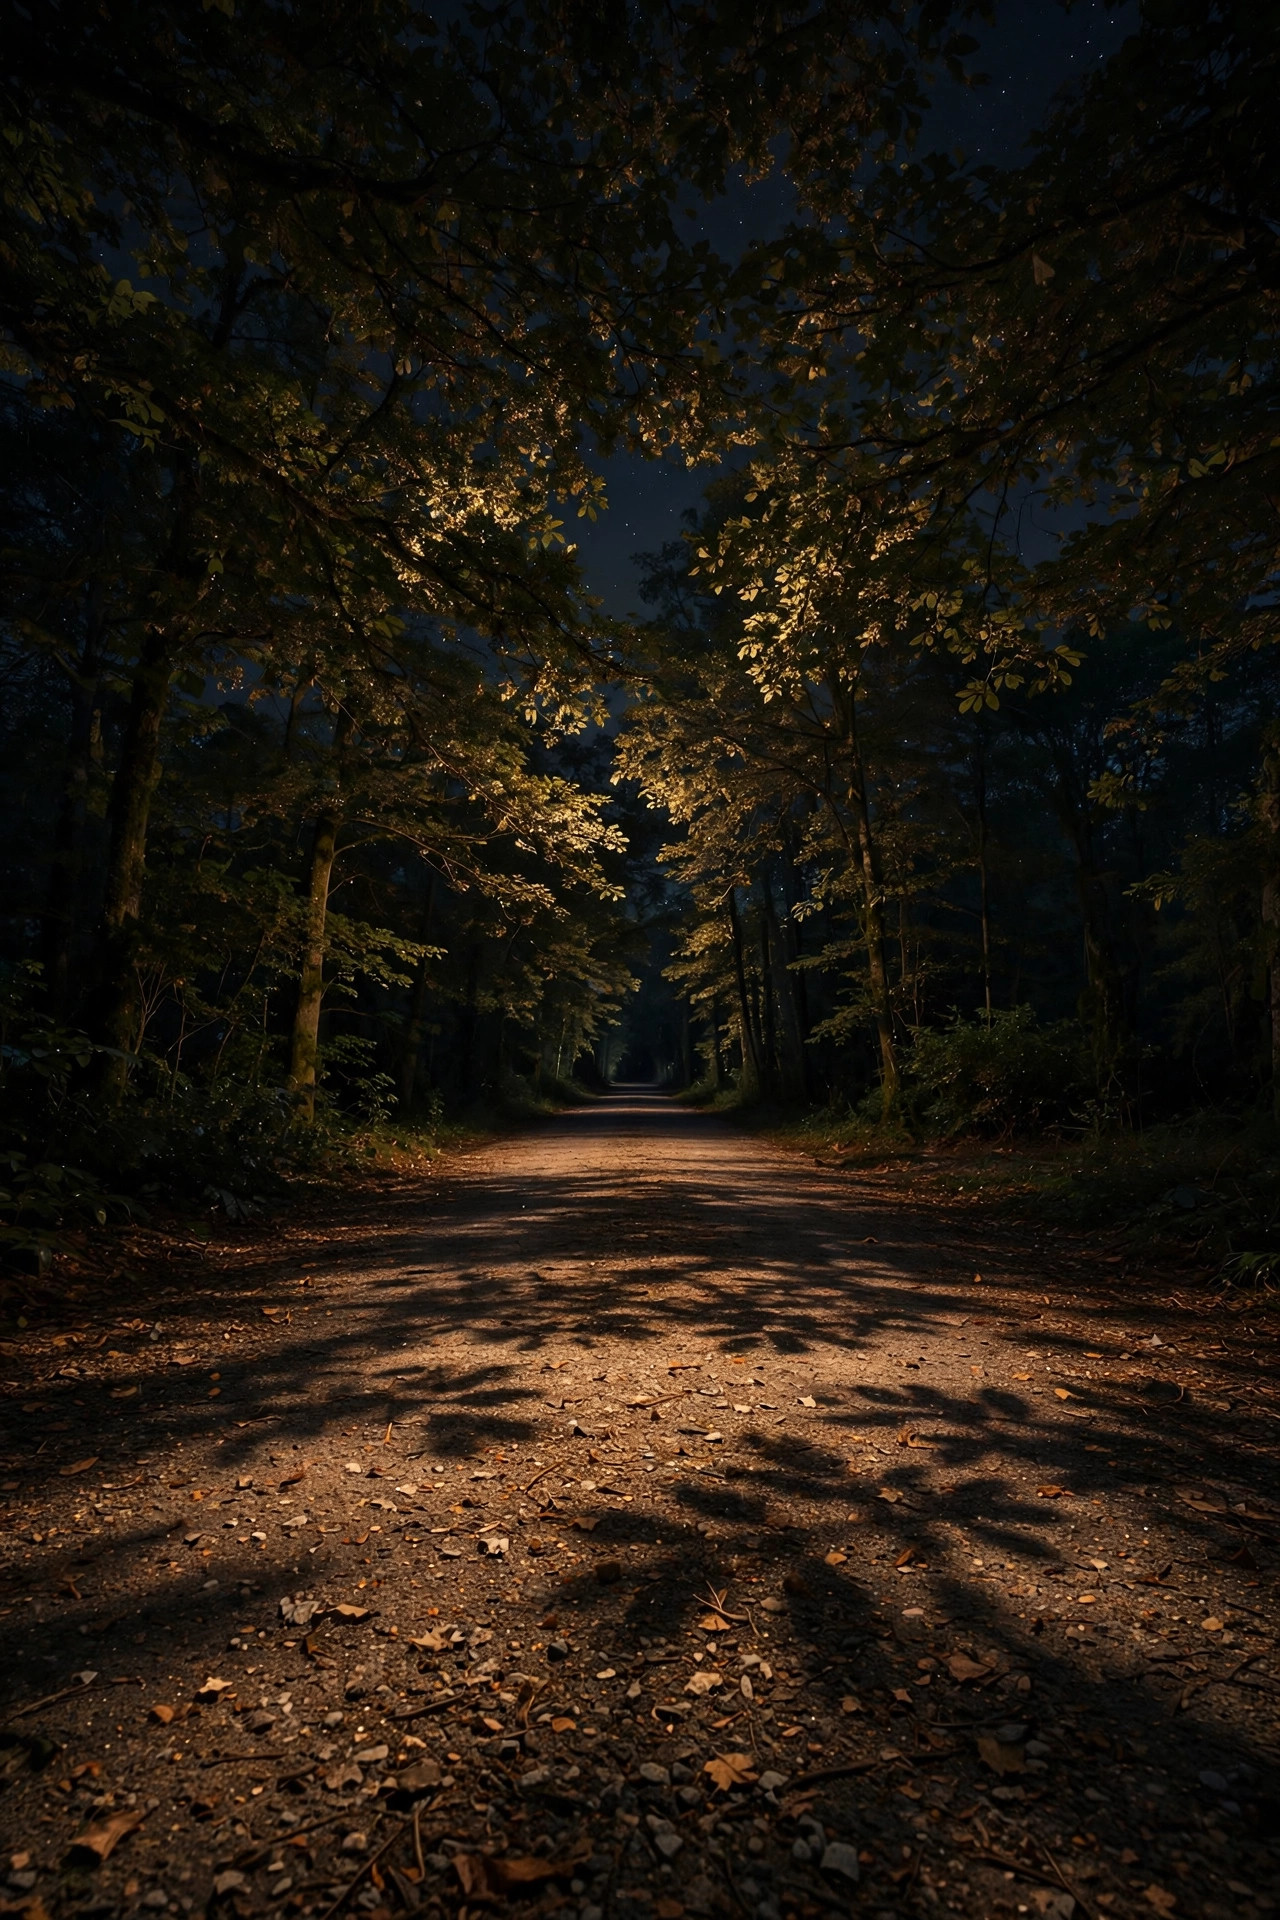
8. Moonlighting: Downlights Hung High in the Trees
Moonlighting is the technique the pros save for their favorite properties: fixtures mounted 20 to 30 feet up in mature trees whose branches overhang the drive, shining down through the leaves so the light arrives dappled and soft, exactly like a full moon. Over a parking court or a wide, tree-covered stretch of drive, nothing else looks this natural — the shadows of branches shift slightly in the breeze, and there's no visible hardware at eye level at all. The practicalities deserve respect. You'll want a tall extension ladder or, honestly, a tree service or lighting pro with a lift for the install, plus fixtures rated for canopy mounting with long leads run discreetly down the far side of the trunk. Aim each light down and slightly outward so the pool lands on the driving surface, never into the eyes of someone driving toward the house. Two or three fixtures can cover a generous court. Maintenance is an annual check rather than a weekly one — these lights live undisturbed for years. It costs more than stake lights, of course, but on the right property it replaces several other fixtures and becomes the thing guests talk about on the way home. Suggested budget range: $400 – $1,100.
9. String Lights Along a Split-Rail Fence
If a split-rail or post-and-board fence runs alongside your drive — and on country properties it so often does — you already own the perfect mounting structure for the friendliest light on this list. Commercial-grade outdoor string lights, swagged gently from post to post, turn the drive's edge into a warm dotted horizon that guests can follow from the road. Use LED filament-style bulbs in shatterproof globes, and buy the heavy-duty style rated for permanent outdoor installation rather than the lightweight patio sets; the cheap ones sag, fade, and fill with water by year two. Keep the swags on the fence line itself rather than over the drive, so tall vehicles and delivery trucks pass freely, and let each swag dip no lower than about 6 feet at its center. For a long fence line, wired strings on a timer are the reliable choice; solar string sets work for the far gate section where power is a nuisance. Honestly, this is more atmosphere than navigation light, so pair it with a few real markers near the house end. But for sheer welcome-home feeling per dollar, fence strings punch far above their price. Suggested budget range: $150 – $450.

10. Shepherd's-Hook Lanterns for Easy Country Charm
For a softer, garden-party version of driveway lighting, I love a row of shepherd's hooks carrying solar lanterns down one side of the drive. It's the least committed idea here — hooks push into the soil in minutes, the lanterns charge themselves, and you can pull the whole row up for mowing, a wedding, or a simple change of heart. Space the hooks 20 to 25 feet apart and vary the heights slightly, between 4 and 5 feet, for an easy, gathered look; matched-perfect spacing reads stiff in a country setting. Choose lanterns with warm-white LEDs and a decent solar panel — the tiny novelty versions glow for an hour and quit. Metal hooks in matte black or aged bronze disappear against grass and gravel; galvanized steel suits a working-farm look. Set expectations kindly: lantern light is a candle's worth of glow, lovely for marking the drive's line on a clear night but not enough to back a trailer by. Pair the hooks with flush markers or path lights near curves and the parking area, and think of the lanterns as the jewelry rather than the workhorse. They also make a charming seasonal canvas — swap in lanterns dressed with autumn leaves or winter greenery as the year turns. Suggested budget range: $200 – $550.

11. Recessed Paver Lights in a Brick or Stone Border
The last fifty feet of a long drive — the apron and parking court by the house — deserve a different treatment from the open run, and if yours is edged in brick or stone pavers, recessed paver lights are the elegant answer. These slim fixtures replace or sit between border pavers and wash a low ribbon of light across the surface, outlining the parking area so precisely that guests park straight without thinking about it. They're drive-over rated and sealed tight, because they live exactly where tires, meltwater, and pressure washers go. The honest catch is timing: paver lights are cheap and simple to add while a border is being laid or relaid, and fiddly to retrofit into a finished one, since each light needs the low-voltage cable threaded beneath the border course. If a paver project is anywhere in your future, buy the lights first and hand them to the mason. Keep the color at 2700K and match the brightness to your other house-end lighting, so the court feels like one composed scene rather than a runway. On a brick apron in front of a carriage-style garage, this is the detail that makes the whole arrival feel custom-built. Suggested budget range: $600 – $1,800.
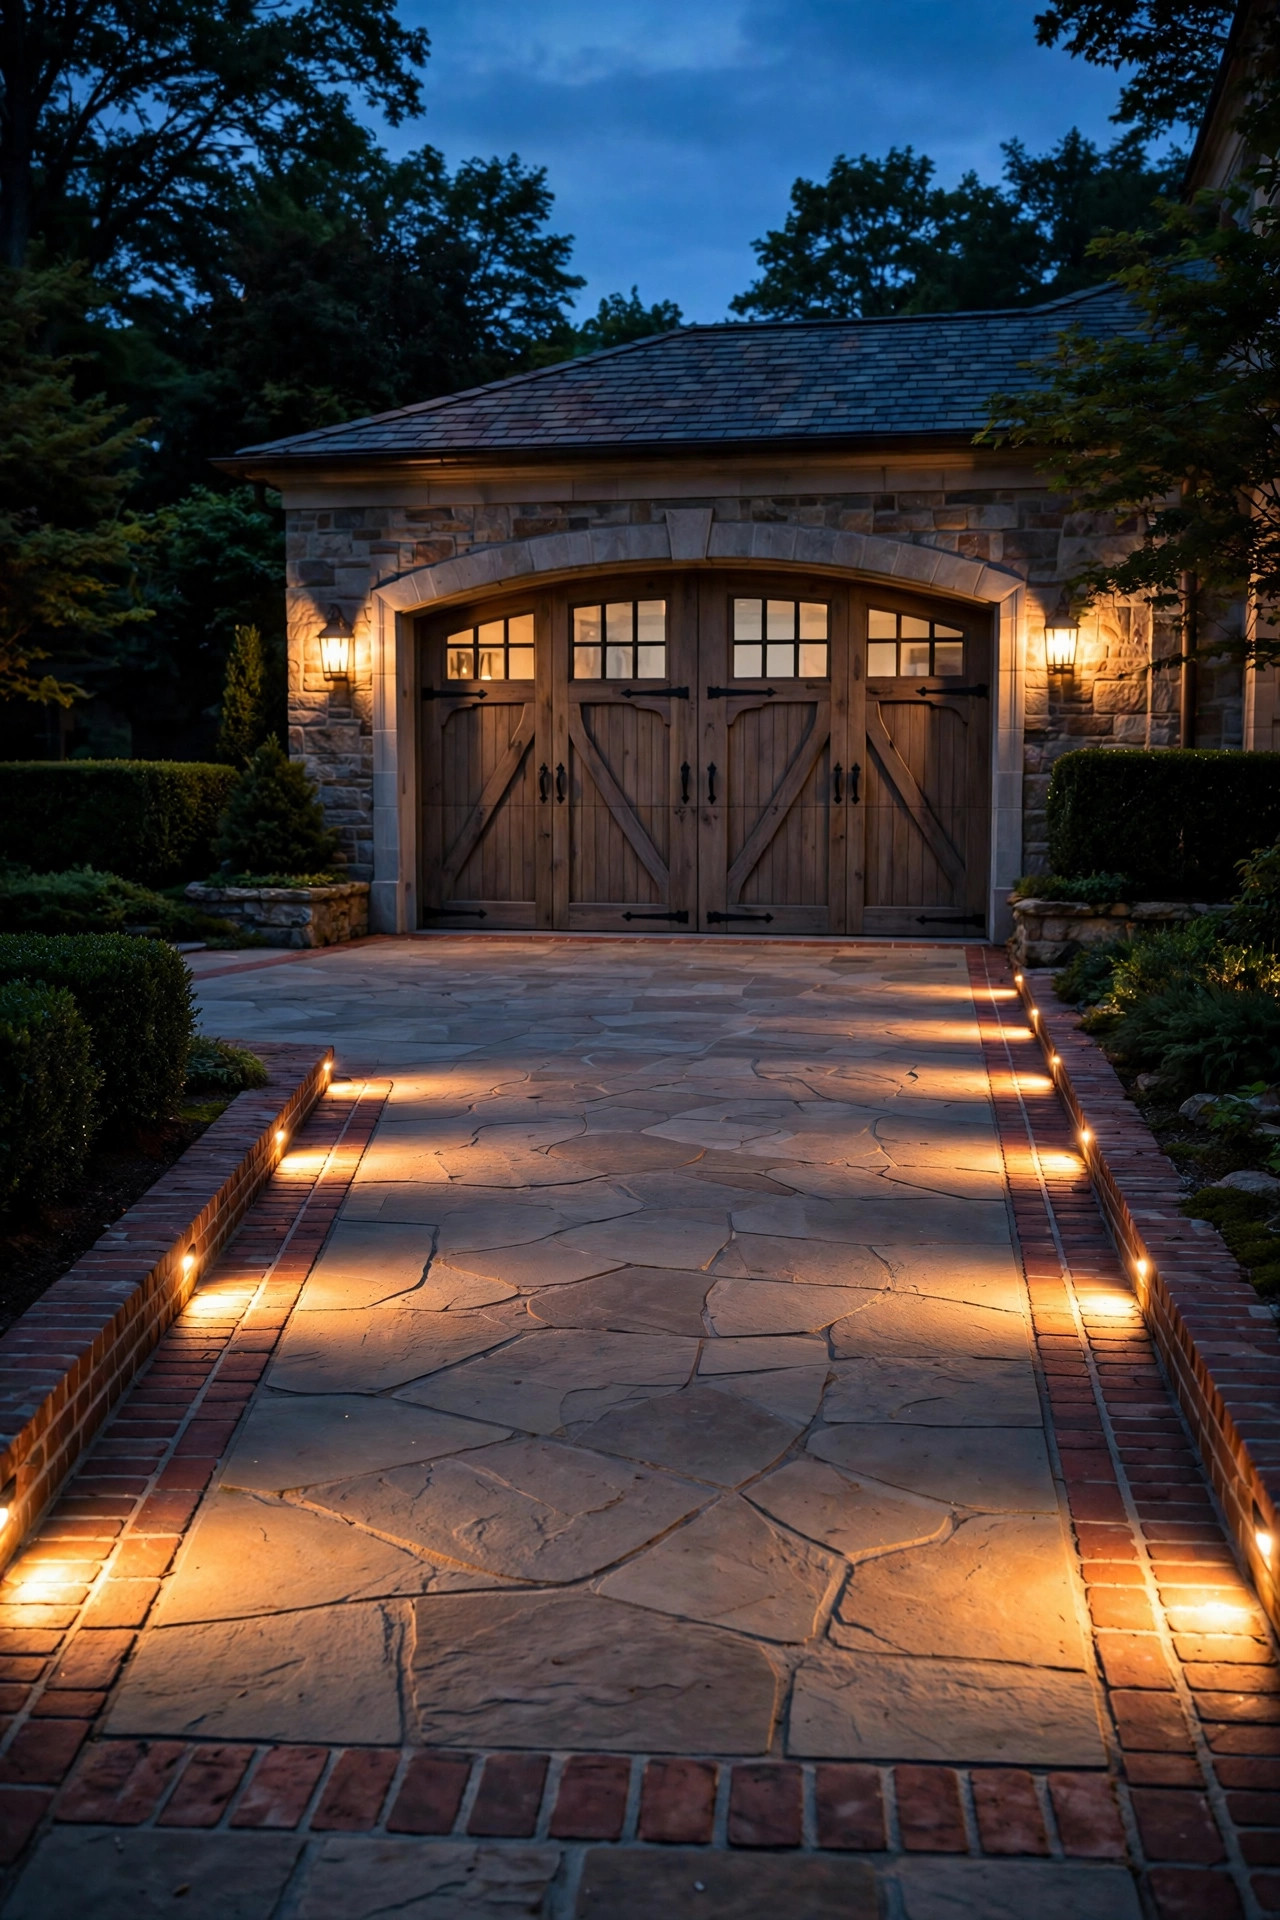
12. Motion-Activated Floods at the Parking Court
Not every light on a long drive should burn all night. At the parking court, where you actually unload groceries, unbuckle kids, and find the door key, what you want is bright light that arrives when you do. A pair of dual-head LED floodlights on the garage or barn eave, wired to motion sensors with a photocell, does exactly that: dark and neighborly at 2 a.m., instantly bright when your car rolls in. Aim the heads down at the parking surface at about a 45-degree angle, and set the sensor to look across the court's entrance rather than straight down the drive, so deer crossing the far run don't trigger it all night. Most modern units let you dial in sensitivity, range (15 to 40 feet is plenty), and how long the light stays on — two to five minutes is the sweet spot. Keep the color temperature at 3000K or warmer; a blast of blue-white light at midnight feels like an interrogation, and it will light up your bedroom windows too. This is also your security layer: unexpected light is the oldest burglar deterrent there is, and it costs almost nothing to run because it's off 99 percent of the night. Suggested budget range: $120 – $380.

13. A Dusk-to-Dawn Barn Light Over the Turnaround
Some drives end in a turnaround or a working court by a barn, workshop, or detached garage, and that space wants one good, honest, all-night light. The classic answer is a gooseneck barn-style fixture — mounted on the building's gable or on a 12- to 16-foot pole — with a built-in photocell so it wakes at dusk and sleeps at dawn without a single thought from you. An LED version sips power: figure a dollar or two a month to run it, which makes it the cheapest security and wayfinding light you'll ever own. Choose a shielded, down-throwing shade rather than a bare yard bulb. The old unshielded dusk-to-dawn lights splash light into the sky, your windows, and your neighbors' pasture; a proper barn shade puts the same lumens on the gravel where they belong and looks a hundred times better doing it. From the driver's seat, this light does quiet double duty all the way down the drive — it's the visible destination, the "aim for that glow" beacon that makes the dark middle stretch feel shorter. Mount it high enough to spread a wide pool (12 feet minimum), and put it on its own switch indoors so you can kill it on stargazing nights. Suggested budget range: $80 – $250.
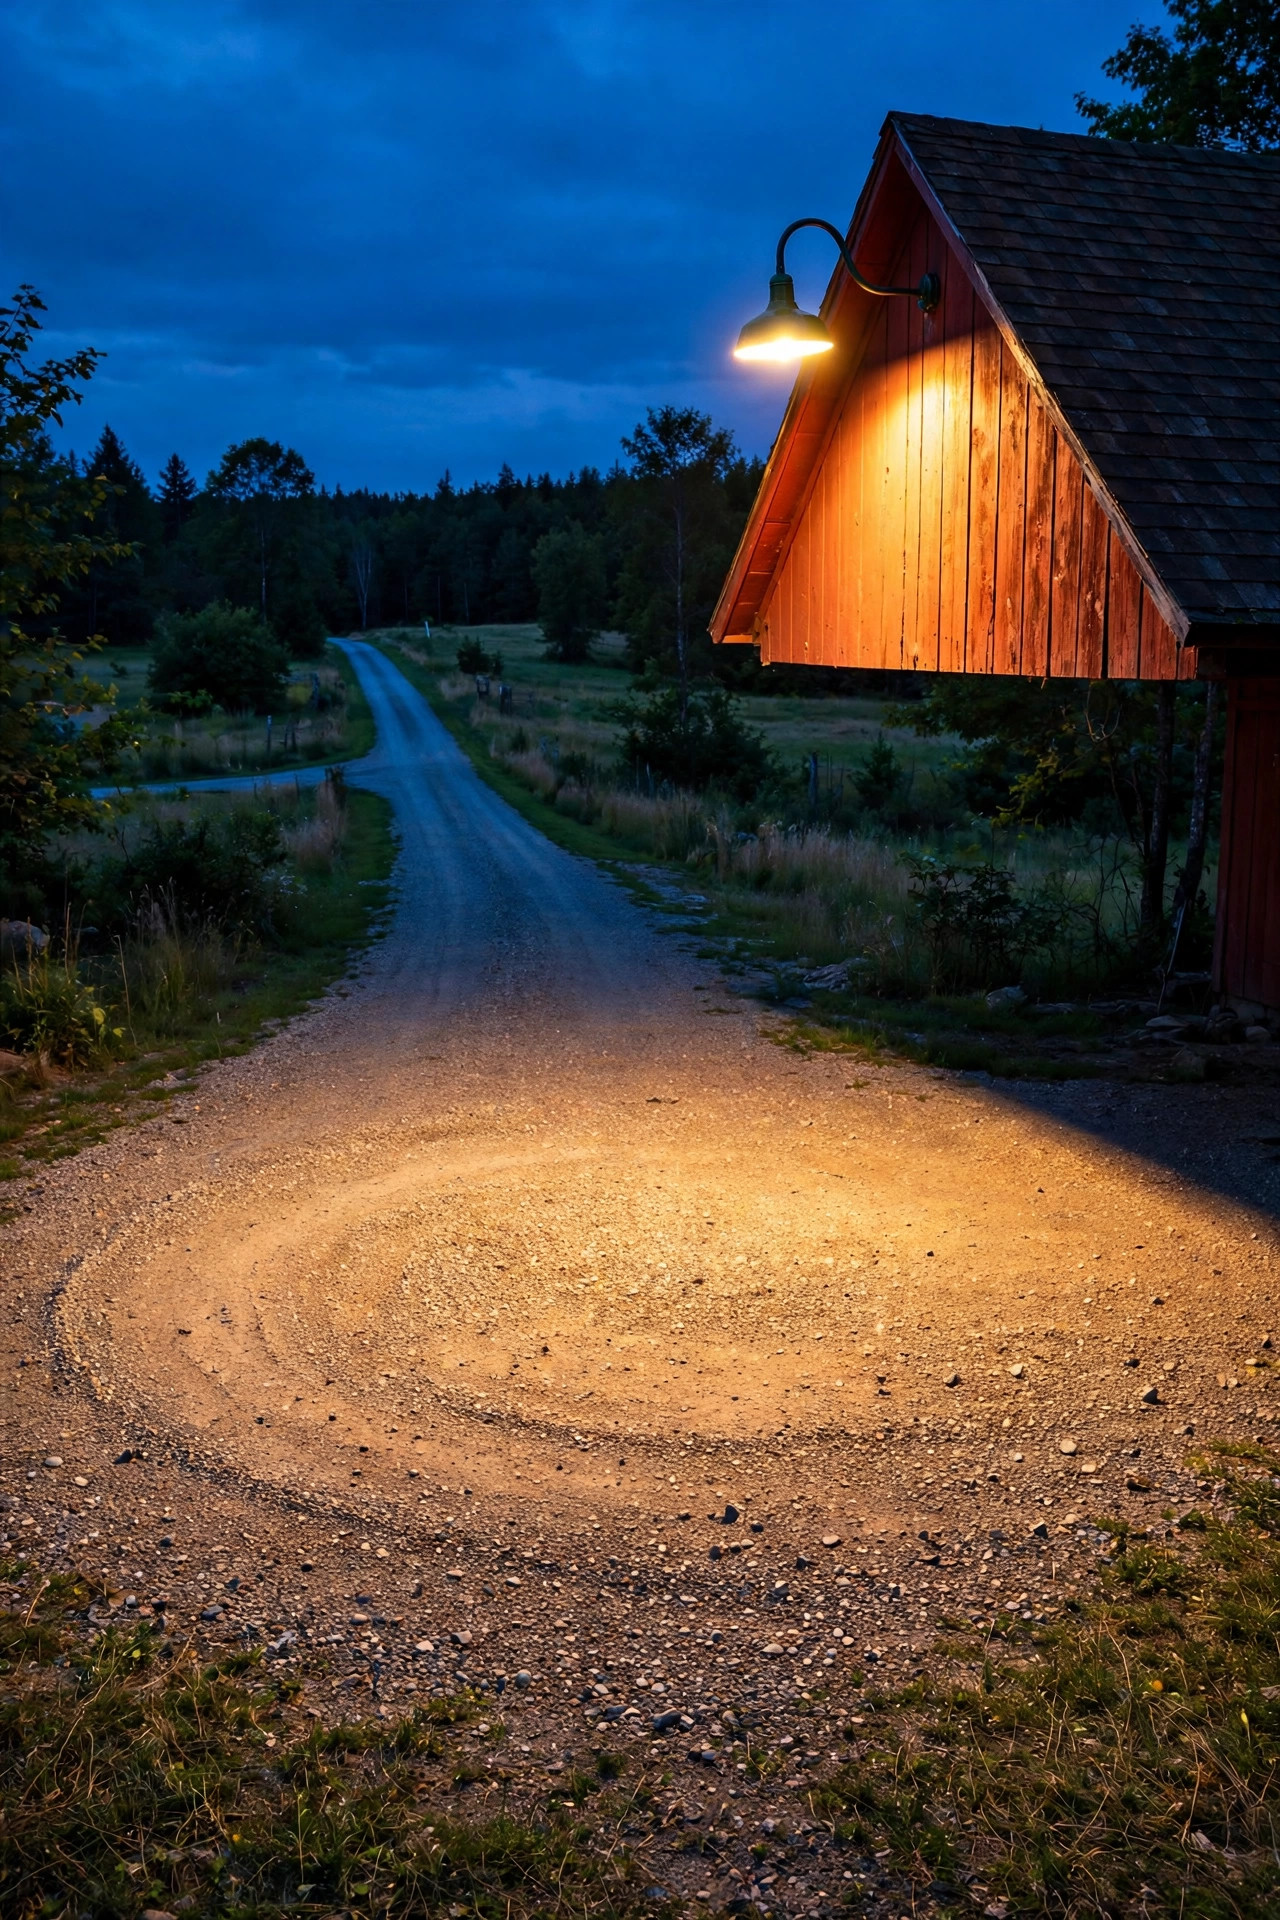
14. Tall Solar Markers That Double as Snow Guides
Up north, the hardest part of a long driveway isn't darkness — it's January, when the drive is a rumor under fourteen inches of snow and the plow driver is guessing where the gravel ends and the lawn begins. Tall solar marker posts are the locals' answer: slim 36- to 48-inch stakes with a reflective band and a small solar cap light, planted along both edges before the ground freezes. By day the reflective band catches headlights and plow lights; by night the caps add a faint, steady glow that traces the drive's true line even in falling snow. Space them 15 to 20 feet apart on straights and half that on curves and at the culvert crossing — the exact spots where plows and guests drift wide. Fiberglass shafts flex instead of snapping when a blade kisses them, which will happen, and that forgiveness is the whole point. In spring, pull them, hose them off, and store them in the garage rafters; a decent set lasts five or more seasons. They cost so little that I consider them consumable infrastructure, like a mailbox flag — and one saved lawn-regrading bill pays for a decade of them. Suggested budget range: $90 – $260.

15. A Lit Address Monument Guests Can Actually Find
Here's an unglamorous truth: on a long rural or suburban drive, the most important light might be the one on your house numbers. Guests slow down, squint, and miss the turn; delivery drivers give up; and in an emergency, minutes get spent hunting for the right mailbox. A lit address monument fixes it permanently — a low stone, brick, or timber pillar at the road carrying large numerals with a small solar or wired light washing across them. Make the numbers at least 4 to 6 inches tall and high-contrast against their background (brushed metal or white on dark stone reads best), and light them from above with a shielded fixture so the glow rakes across the numerals instead of glaring into drivers' eyes. Solar number plaques are the easy retrofit; a wired monument light on the same photocell as your entrance lamp posts is the polished version. Do check your county's rules before building in the right-of-way — many require the structure to sit on your side of the property line and be breakaway if struck. It's a weekend project with an outsized payoff: every single arrival, delivery, and just-in-case moment gets easier, forever. Suggested budget range: $150 – $700.

16. Smart Zones and Timers for Long Driveway Lighting
A 400-foot driveway lit as one single circuit is a driveway you'll either leave on all night (wasteful) or off all night (pointless). Zoning is the grown-up answer: divide the run into two or three separately controlled sections and let each behave the way it's actually used. The entrance zone — lamp posts and the address light — runs on an astronomical timer from dusk to about 11 p.m., when the last guests realistically arrive. The middle run of markers can sit on a shorter schedule, while the house-end zone ties to a smart transformer or smart outdoor plug, so you can bring the whole arrival scene up from your phone as you turn onto your road — the modern version of someone flicking the porch light on for you. Zoning also solves an electrical reality: low-voltage cable loses voltage over distance, so two smaller transformers, one near the house and one mid-drive or at the gate, keep the far lights as bright as the near ones instead of fading to a sad orange. If you're planning a system from scratch, sketch the zones before you buy a single fixture — it changes what you purchase, how much cable you need, and where it all goes. This budget covers the controllers, timers, and the second transformer, on top of the fixtures themselves. Suggested budget range: $250 – $800.

17. A Hidden LED Strip Under the Fence Rail
For a drive bordered by a board fence, here's the subtle, modern-country trick I keep coming back to: an outdoor LED strip tucked into an aluminum channel under the fence's top rail, throwing a continuous soft line of light along the drive's edge. No dotted fixtures, no visible hardware — just one calm ribbon of warm light that makes the whole boundary legible at a glance. It reads especially well on the house-end half of a drive, where it can hand off to your patio and garden lighting in the same 2700K temperature. The technical notes matter with strips. Buy IP65-or-better outdoor strip and a proper channel with a diffuser; the diffuser is what turns a row of visible dots into that smooth line of light. Long runs need power injected every 16 to 32 feet, because strips lose brightness along their length even faster than cable does — plan small junction points at the fence posts. Keep the strip on the drive side of the rail, shielded from direct view, so drivers see the glow on the ground rather than the source itself. It's not enough light to park by on its own, but as the guidance layer beneath taller accents, it's quietly gorgeous. Suggested budget range: $180 – $520.

18. Extra Light Exactly Where the Drive Bends
Ask anyone who plows, delivers, or has simply lived with a long drive where cars actually leave the gravel, and they'll point at the same places: the blind bend, the culvert crossing, the spot where the drive dips and the far edge vanishes. Generic even spacing wastes light on the safe straights and starves exactly these spots. So walk your drive at night — better, drive it slowly in the rain — and mark every place the edge disappears from the driver's seat. Then give each of those spots a small cluster of two or three brighter markers instead of one, tightened to 8- or 10-foot spacing through the hazard, with a band of reflective tape on any culvert headwall, gate post, or boulder that lives near the tire line. This is also where slightly taller fixtures earn their keep: an 18-inch marker that clears summer grass and the first snow is worth two short ones buried in both. It isn't the prettiest line item on the list, but it's the one that prevents the 11 p.m. phone call, the torn-up lawn edge, and the tow truck. Cheap insurance, honestly — and once the hazards are lit, the rest of the drive can stay as soft and sparse as you like. Suggested budget range: $140 – $420.
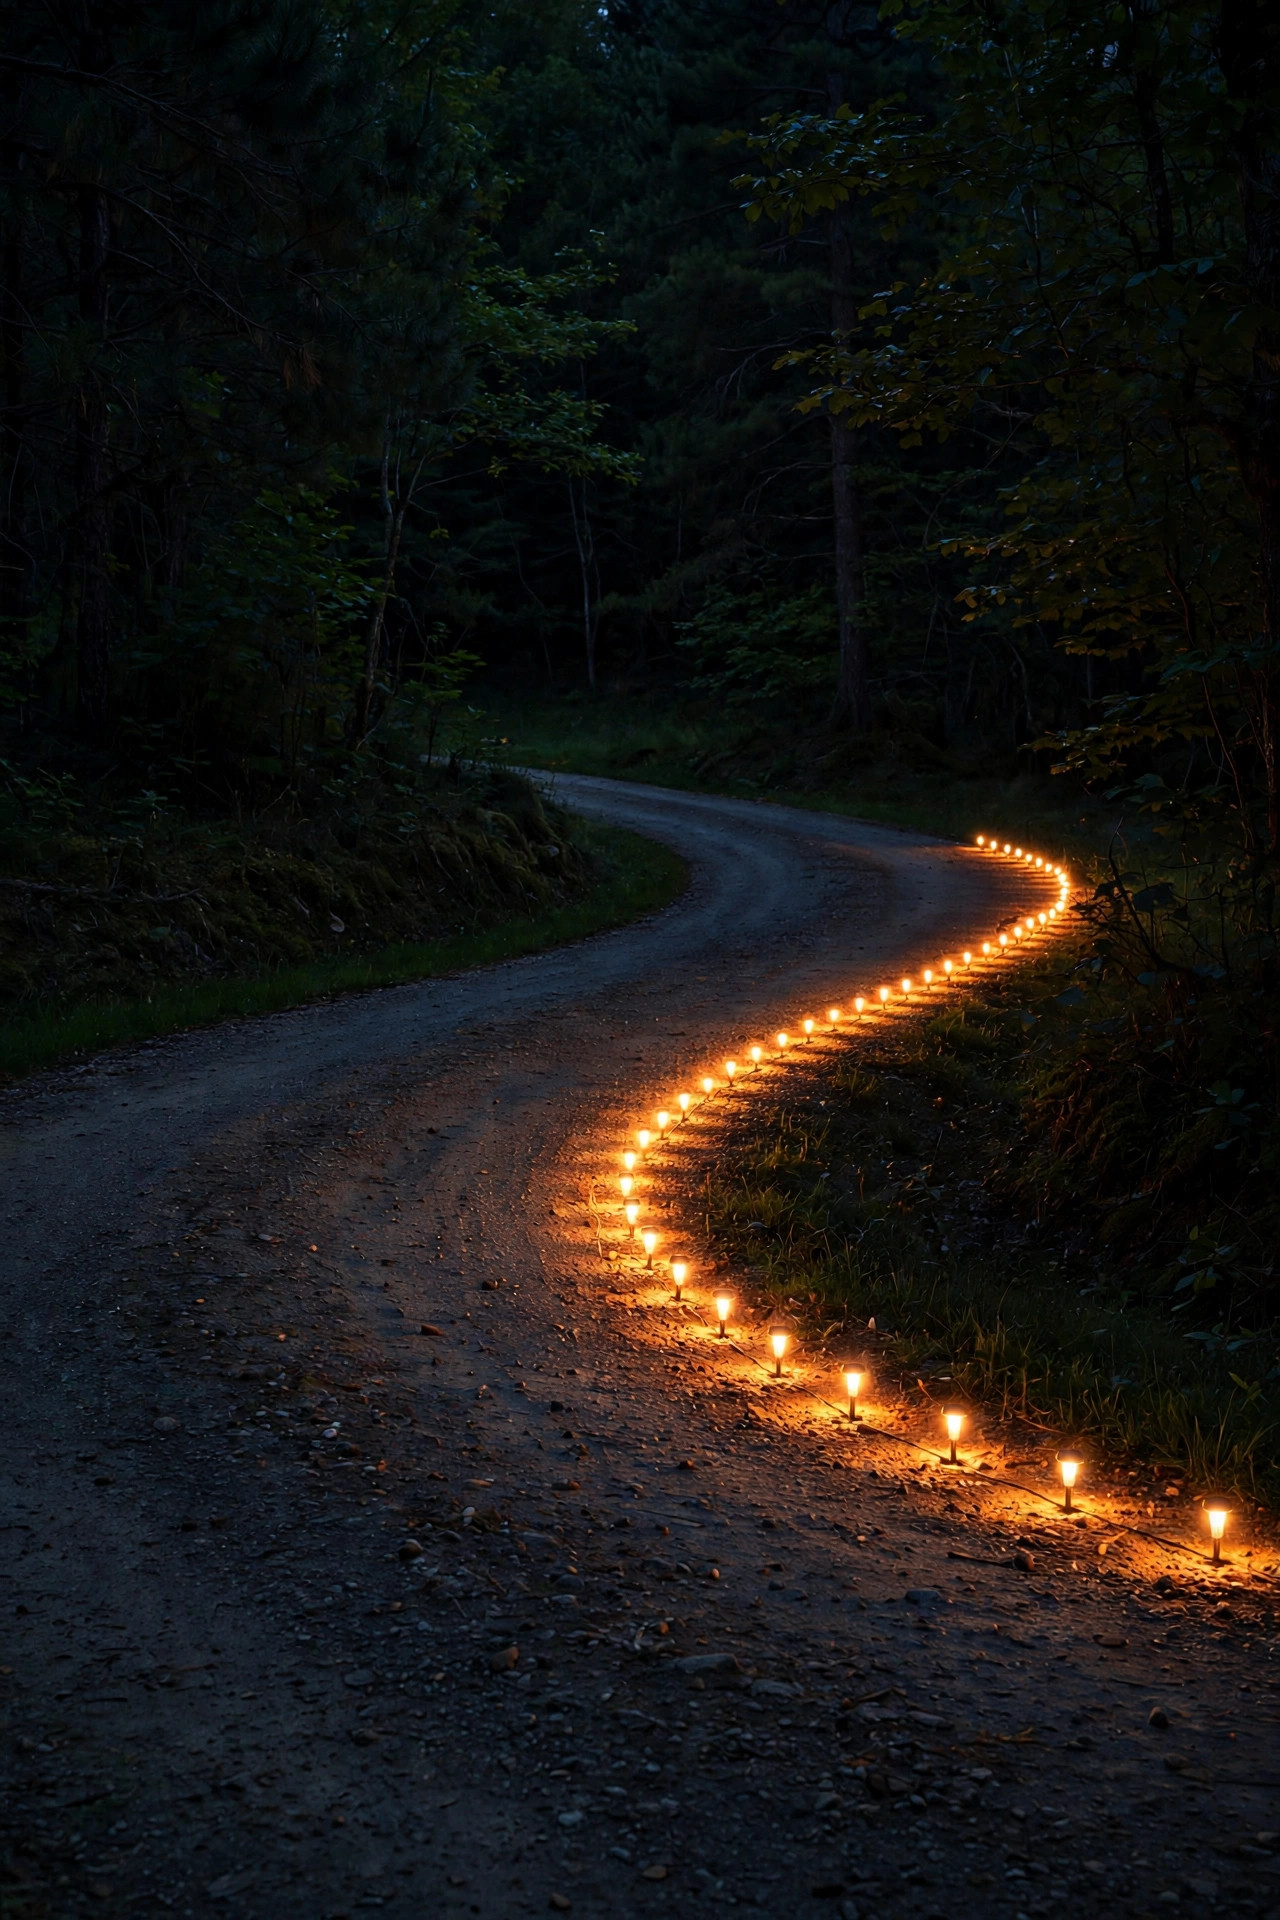
19. Put It Together: A Three-Layer Plan for a 300-Foot Drive
Let me pull it together the way I'd actually phase a 300-foot drive, because nineteen ideas is a menu, not a shopping list. Layer one is guidance: flush markers or staggered path lights every 15 to 20 feet, one consistent warm color, nothing fancy — this layer alone makes the drive usable and safe. Layer two is arrival: the lamp posts and lit address at the road, plus lantern light at the gate or the front court, so both ends of the journey feel intentional. Layer three is beauty and task: uplights on the two or three best trees, the barn light over the turnaround, and motion floods where you park. Installed in that order across two seasons, the project never feels like one giant bill, and each phase stands on its own if you pause. Whatever order you choose, keep three promises to yourself: one color temperature everywhere (2700K to 3000K), every fixture shielded from drivers' eyes, and a night walk-through before any cable gets buried. Do that, and your long driveway will look less like a project and more like the house simply grew a beautiful driveway. For shorter-drive versions of many of these looks, my main roundup of driveway lighting ideas is worth a browse. This range covers a phased, whole-drive version of the layers above, done mostly DIY. Suggested budget range: $1,800 – $4,500.
Frequently Asked Questions
How far apart should lights be spaced on a long driveway?
For low-voltage path lights and flush markers, 15 to 20 feet apart in a staggered pattern is the sweet spot — close enough that the pools of light nearly touch, far enough that you're not buying twice the fixtures you need. Tighten the spacing to 8 to 12 feet on curves, at culvert crossings, and anywhere the edge disappears from the driver's seat, and feel free to stretch it on long, straight, open runs.
Is solar or wired better for a long driveway?
Wired low-voltage wins for the main run: it's brighter, consistent in December, and unaffected by tree shade. Solar earns its place on the far, sunny stretches where trenching cable is expensive or impractical, and for single fixtures like address plaques and snow markers. Most long drives end up a hybrid — wired near the house and at the entrance, solar filling the middle — and that's exactly what I recommend.
How much does it cost to light a 300-foot driveway?
A solar-only DIY setup runs about $200 to $600 and takes a weekend. A full low-voltage system with path lights, a couple of accents, and entrance posts typically lands between $1,500 and $4,000 in materials if you install it yourself. Hiring a pro for the same scope usually runs $4,000 to $9,000 or more, depending on fixture quality, trenching distance, and how much of the beauty layer you include.
What color temperature is best for driveway lights?
Warm white, 2700K to 3000K, is the range that flatters gravel, brick, foliage, and faces — and it reads as "home" rather than "parking lot." Whatever you choose, use the same temperature for every fixture on the drive; a mix of warm path lights and blue-white floods looks accidental. Avoid 5000K daylight bulbs outdoors: they glare, they bother neighbors, and they flatten every color they touch.
Conclusion
Lighting a long driveway isn't about making it bright — it's about making it legible. A driver should be able to read the edges, the bends, and the arrival point at a glance, and everything beyond that is beauty. Pick two or three of these long driveway lighting ideas to start: edge markers for guidance, one handsome accent at the entrance, and honest task light where you park. Keep the color temperature consistent at 2700K to 3000K, phase the rest in over a season or two, and your drive will feel welcoming instead of worrisome every single night. If you're still sketching the plan, browse my other driveway and landscape lighting guides here on the site for spacing charts, transformer sizing, and more front-yard inspiration.