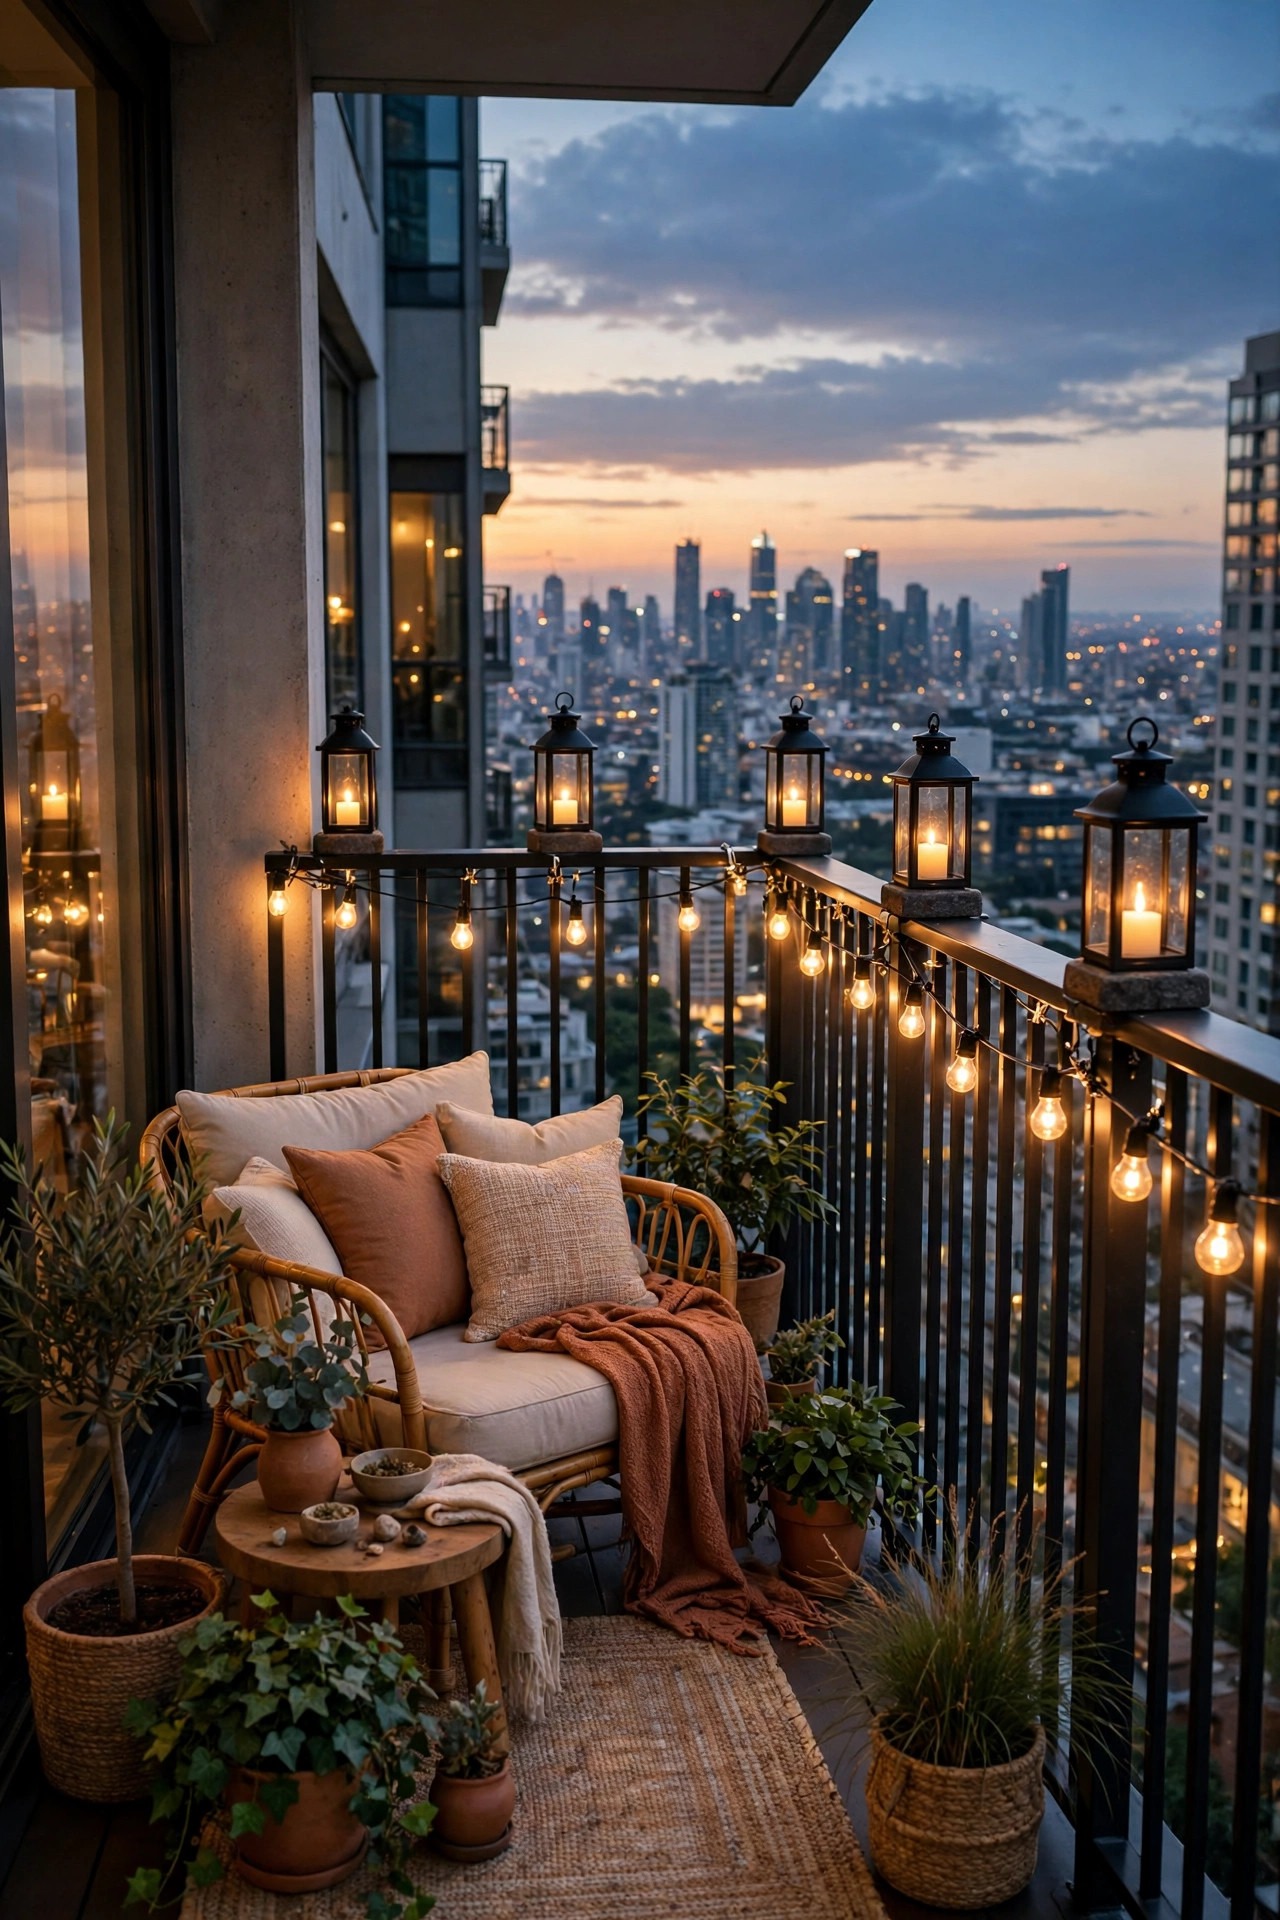
Moving into a high-rise taught me something nobody warns you about: the wind up here plays by different rules. A gentle evening breeze at street level becomes a gusty, swirling draft on the twentieth floor, and it will happily rip down string lights, topple lanterns, and rattle anything that is not properly secured. That is exactly why high rise balcony lighting ideas need a different playbook than ground-level patios. In my experience, the secret is layering with security in mind: a fixed overhead layer that cannot swing or sail away, a warm eye-level layer with real weight behind it, and a low ground layer tucked into the calm pockets where the wind barely reaches. Every fixture below is chosen because it clamps, clips, sticks, weighs itself down, or hugs a surface, so your balcony glows instead of clattering. I will walk you through the wind audit I always do first, the heavy lanterns and rail lights I trust, and the little tricks, like a zip tie at every socket and sand in every base, that keep everything glowing through gust season.
1. Start Your High Rise Balcony Lighting Ideas With a Wind Audit
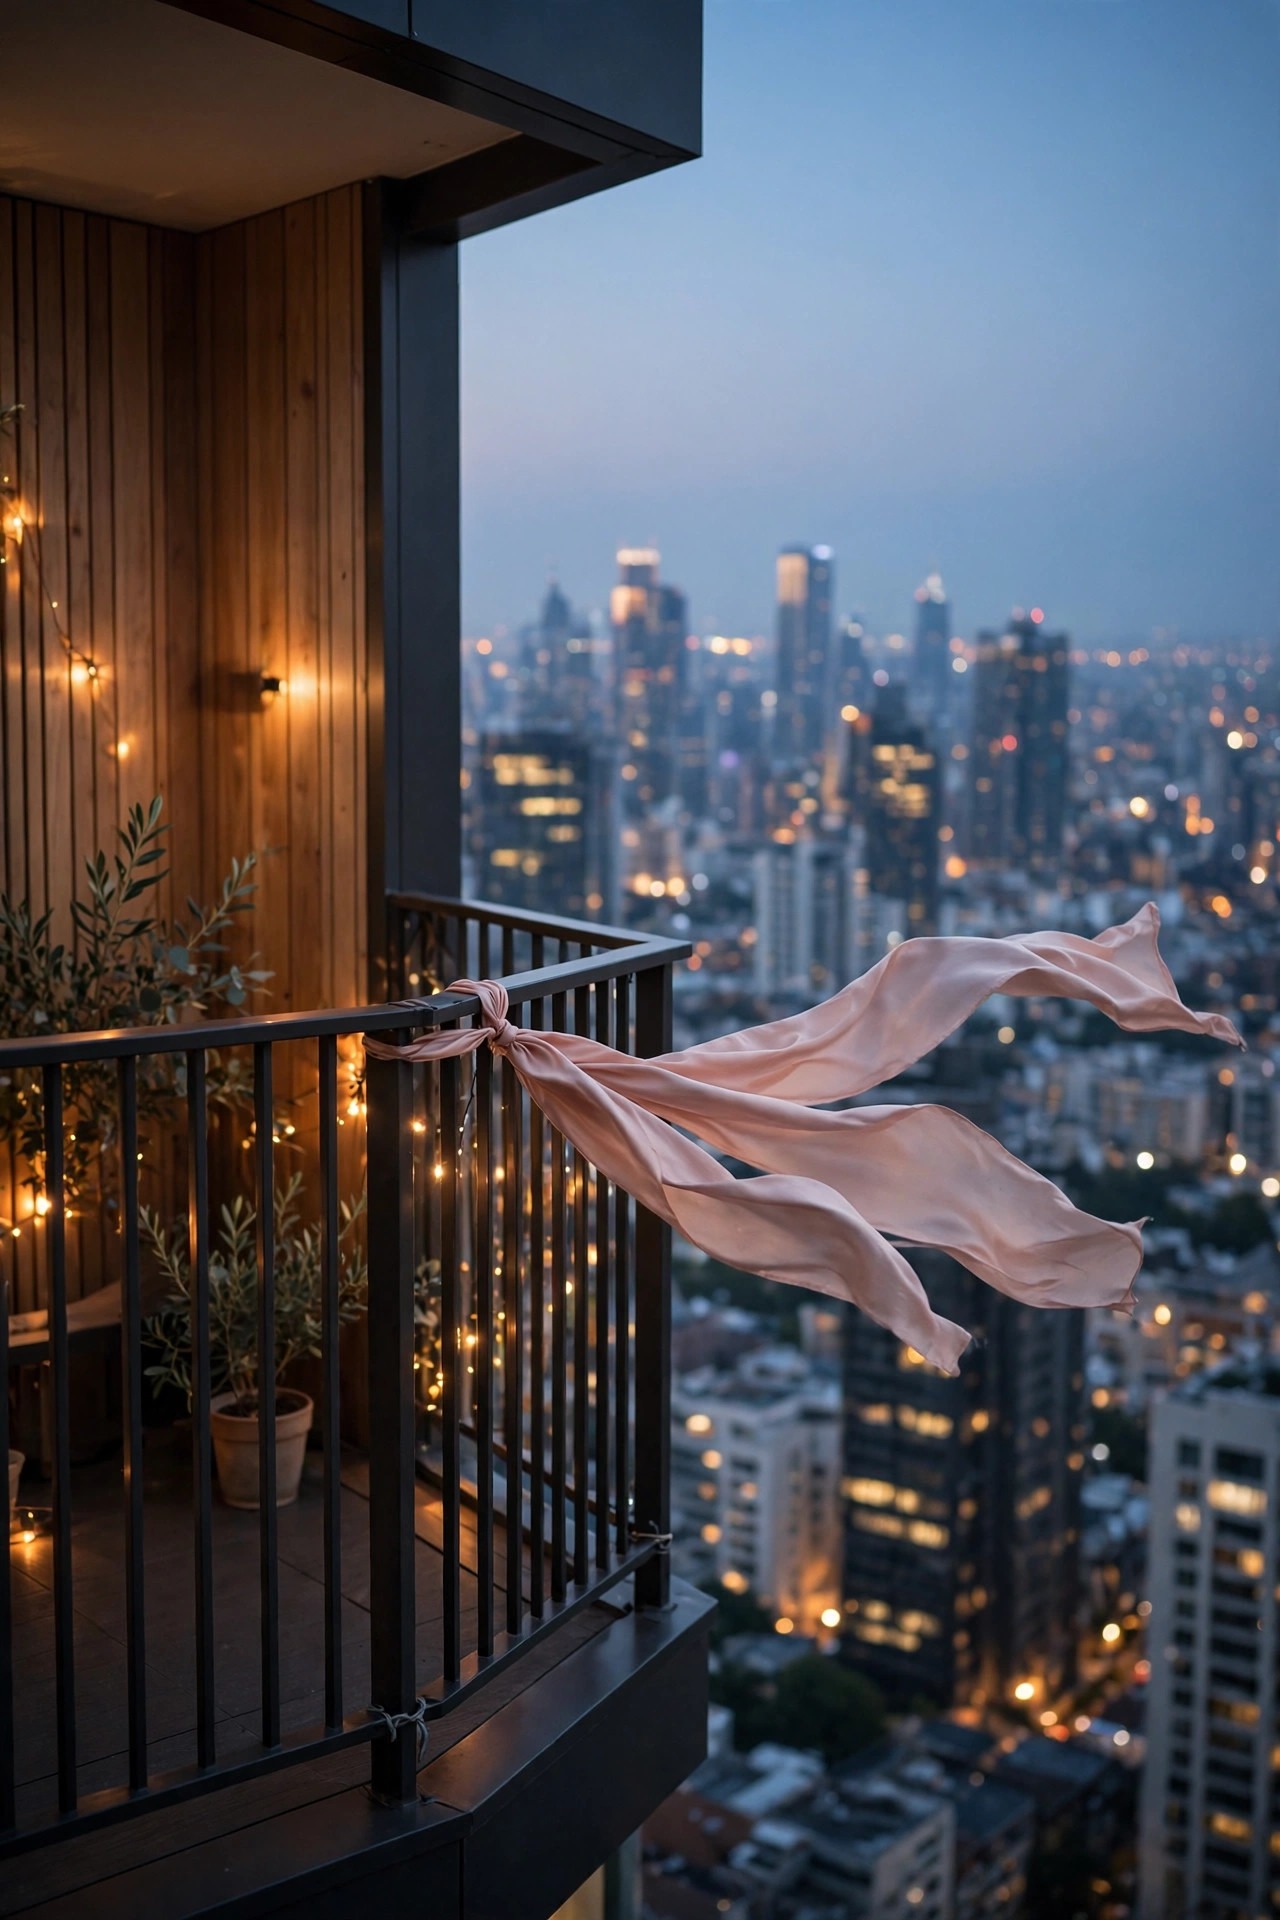
Before I buy a single fixture, I spend two evenings just watching how the wind moves across my balcony, and honestly, it saves me more money than any sale. High-rise wind is not steady like a breeze in a backyard; it curls around the building corners, accelerates along the railing, and leaves one or two strangely calm pockets, usually right against the wall by the sliding door. Stand outside at dusk with a cup of coffee and notice where a napkin would fly, where leaves and dust collect (that is your still zone), and which corner rattles the door. This audit tells you where each layer of light can safely live: secure fixtures can brave the railing, but delicate pieces belong in the calm pocket. While you are out there, measure your railing height and top-rail width, count the balusters, and check your building rules about clamps, adhesives, and drilling, because every tower has its own list. Snap photos of the dark corners, too. Ten minutes of observation now means every dollar later goes to fixtures that will still be glowing, and still be attached, after the first real gust front rolls through.
Suggested budget range: $0 – $20.
2. Choose Heavy Lanterns With Sand-Filled Bases
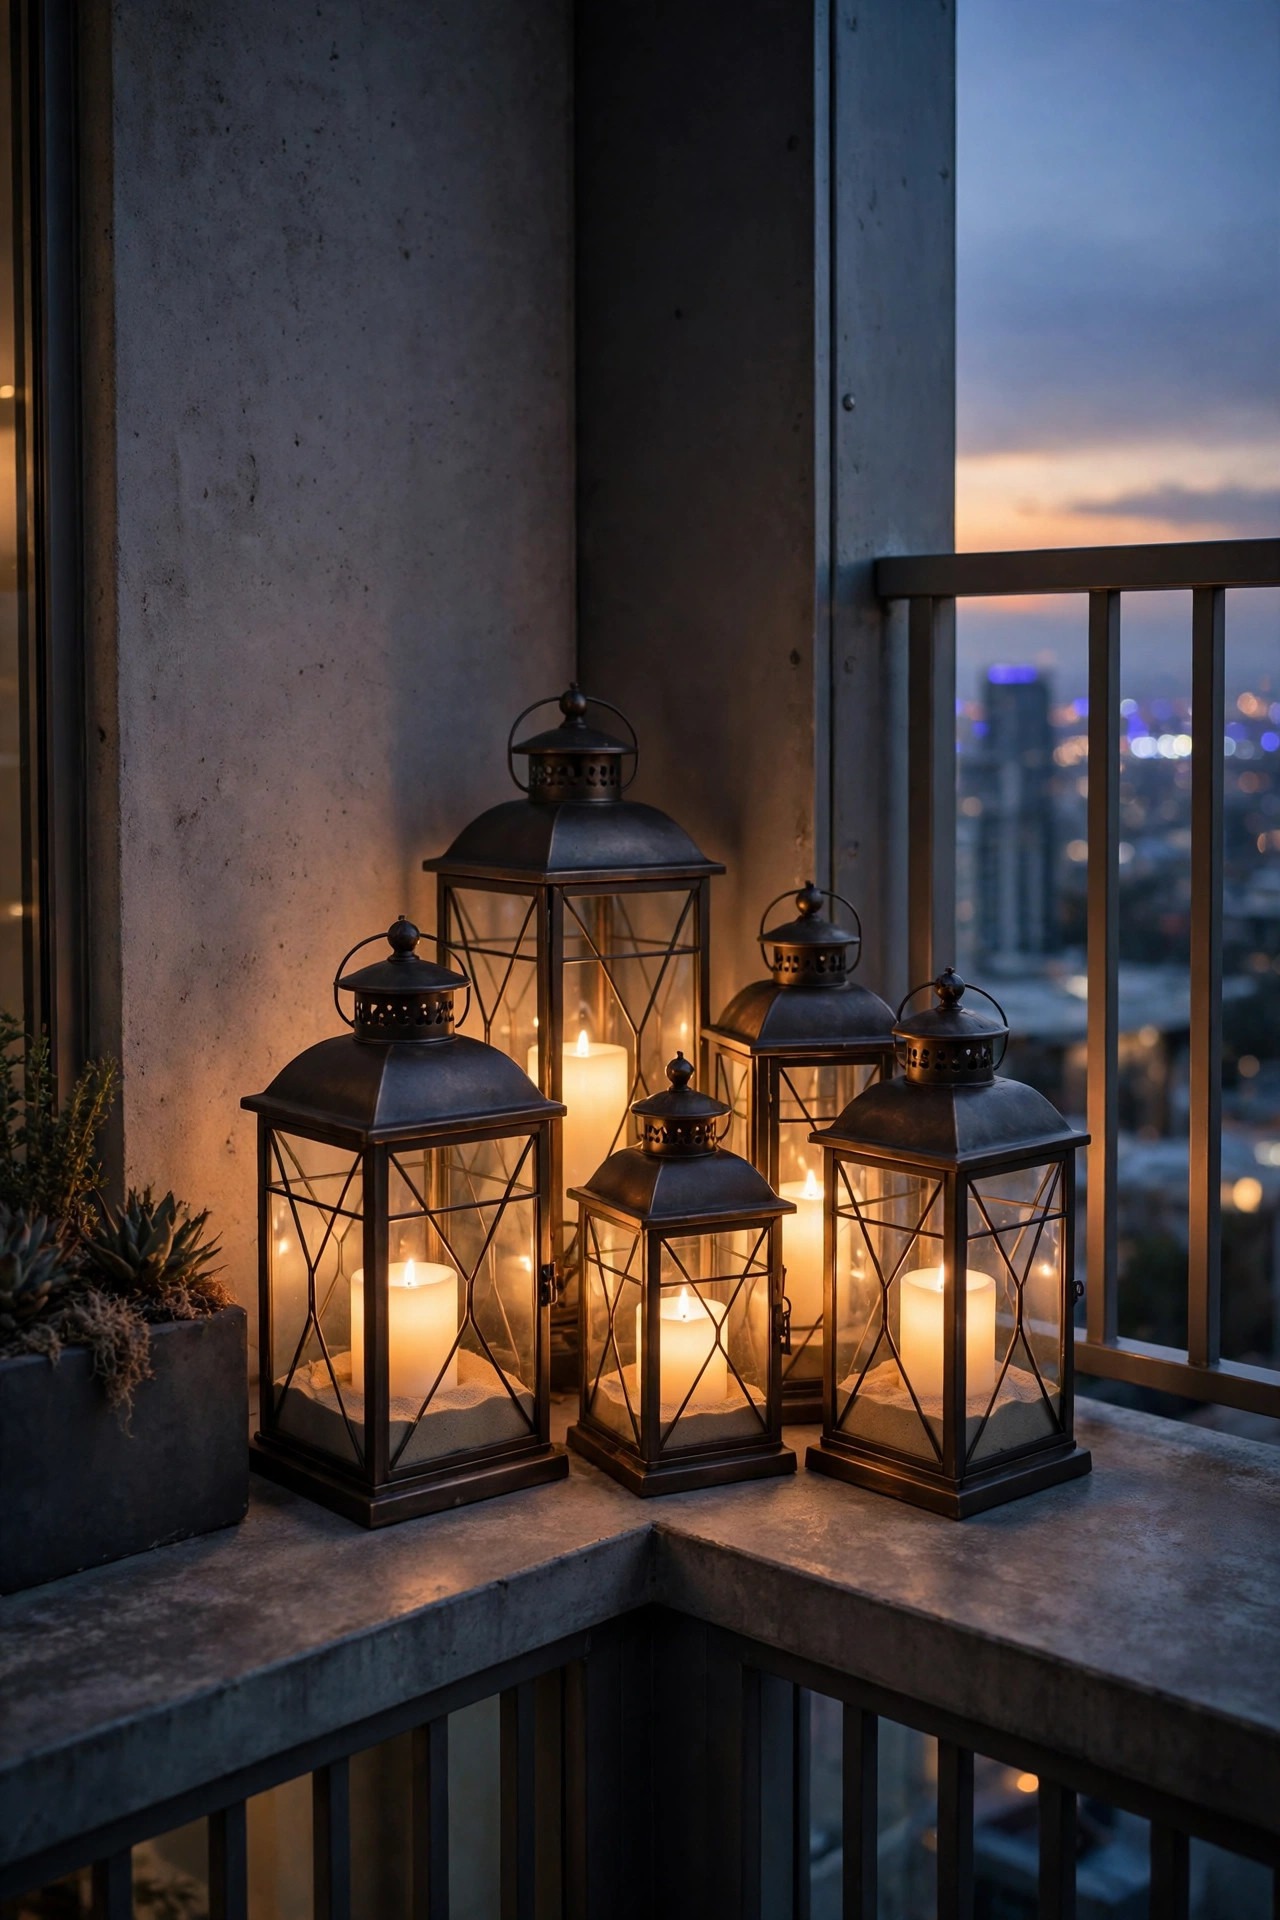
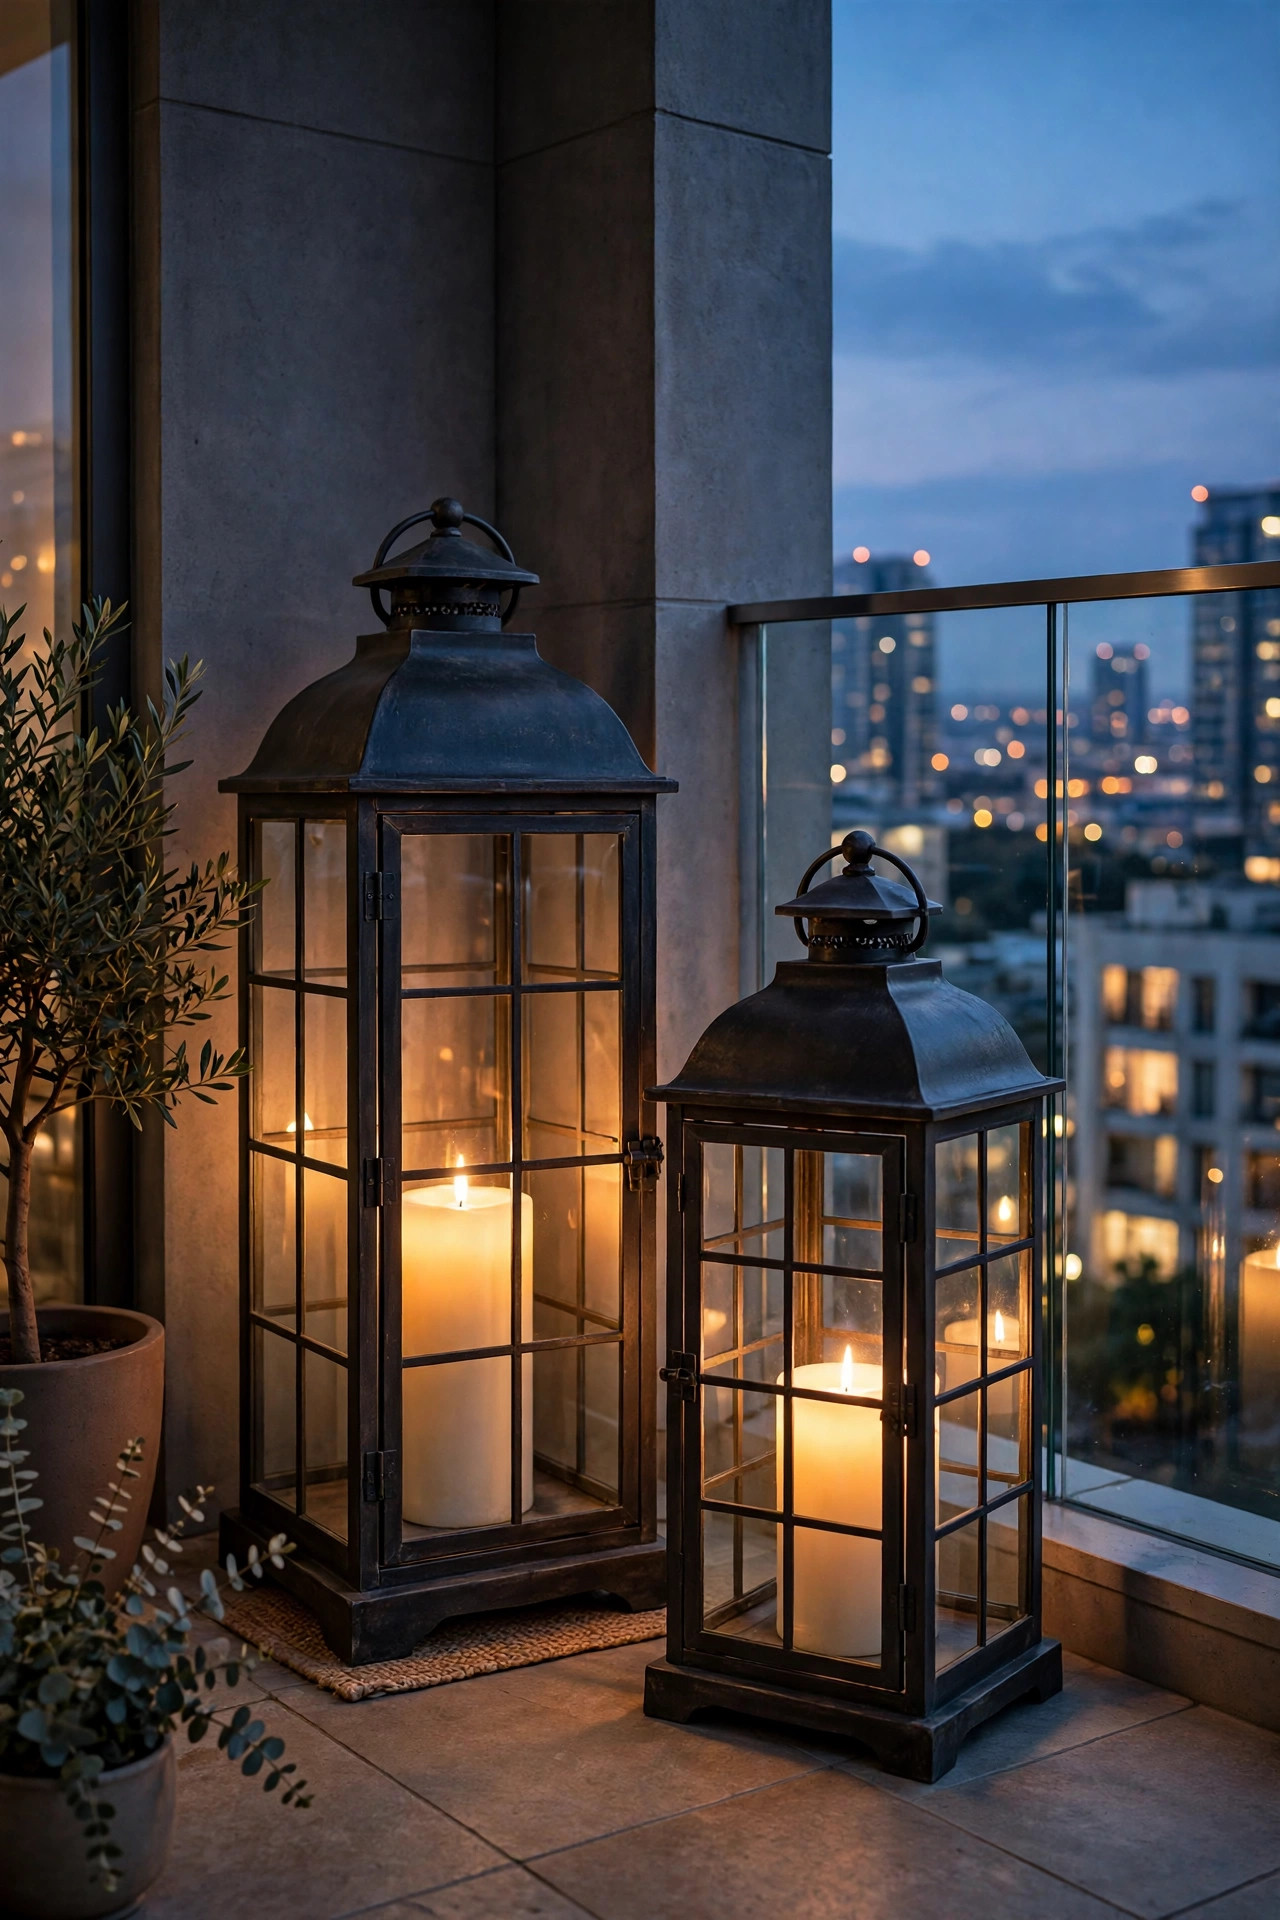
My workhorse up here is the humble lantern, but only the heavy kind. Look for metal lanterns with thick glass panels and a base you can fill; I add a cup or two of play sand or a layer of decorative stones inside each one, which drops the center of gravity and makes the whole thing surprisingly hard to tip. A good filled lantern weighs four to six pounds, and in my experience that is the difference between a lantern that rides out a gusty night and one you find on its side in the morning. Cluster two or three at slightly different heights in the calm corner near the wall, and put flameless LED candles inside rather than real flames, which the wind would snuff out in seconds anyway. The glass panels shield the fake flame from drafts, so the flicker stays lazy and realistic instead of strobing. Keep lanterns at least a foot from the railing edge, never balanced on the rail itself, and if a storm warning rolls in, do what I do: carry the whole cluster inside in one trip. Simple, heavy, and honest, this is the layer I trust most when the forecast turns.
Suggested budget range: $25 – $70.
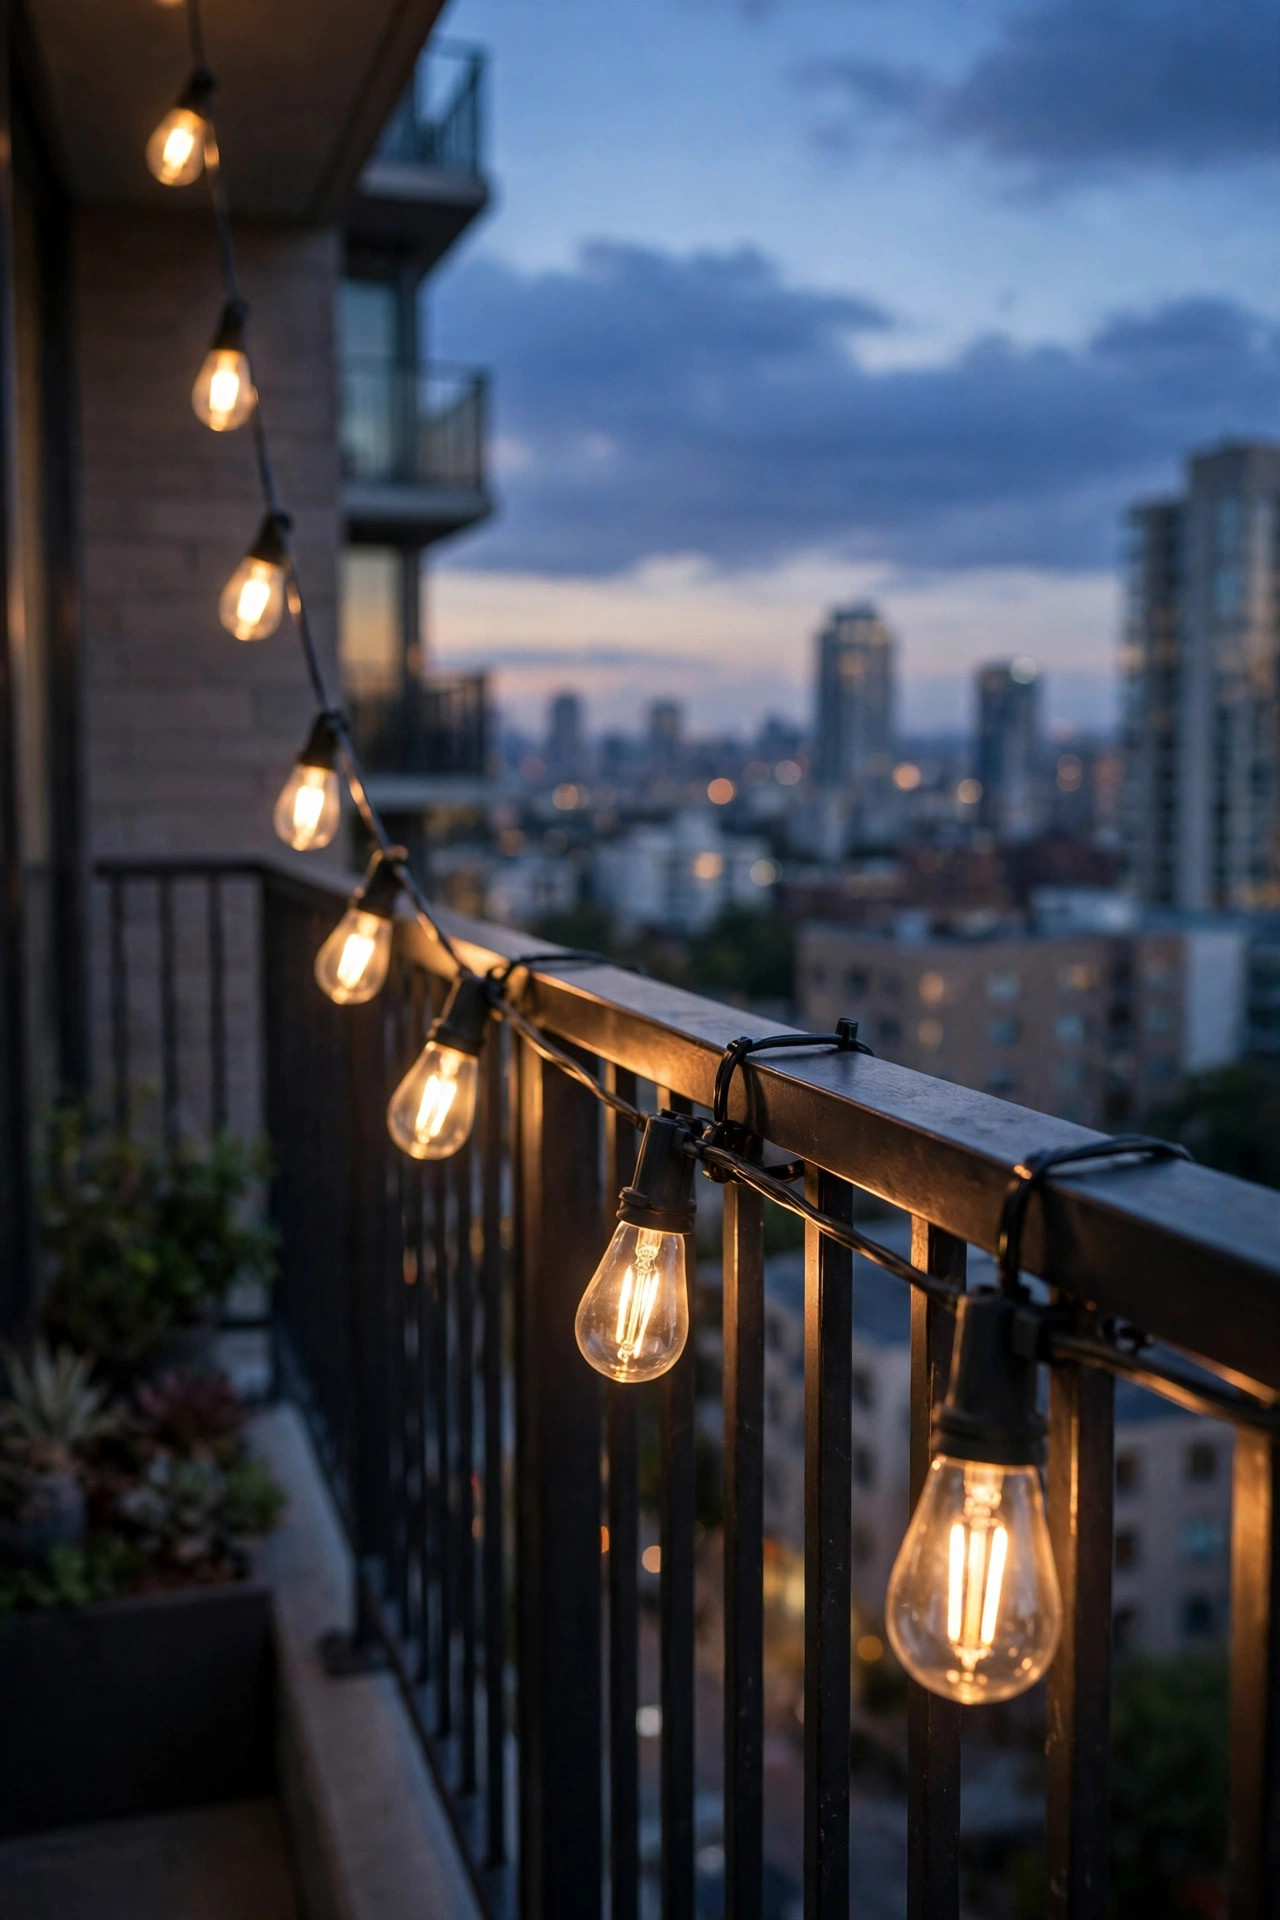
3. Clamp String Lights to the Railing With Zip Ties at Every Socket
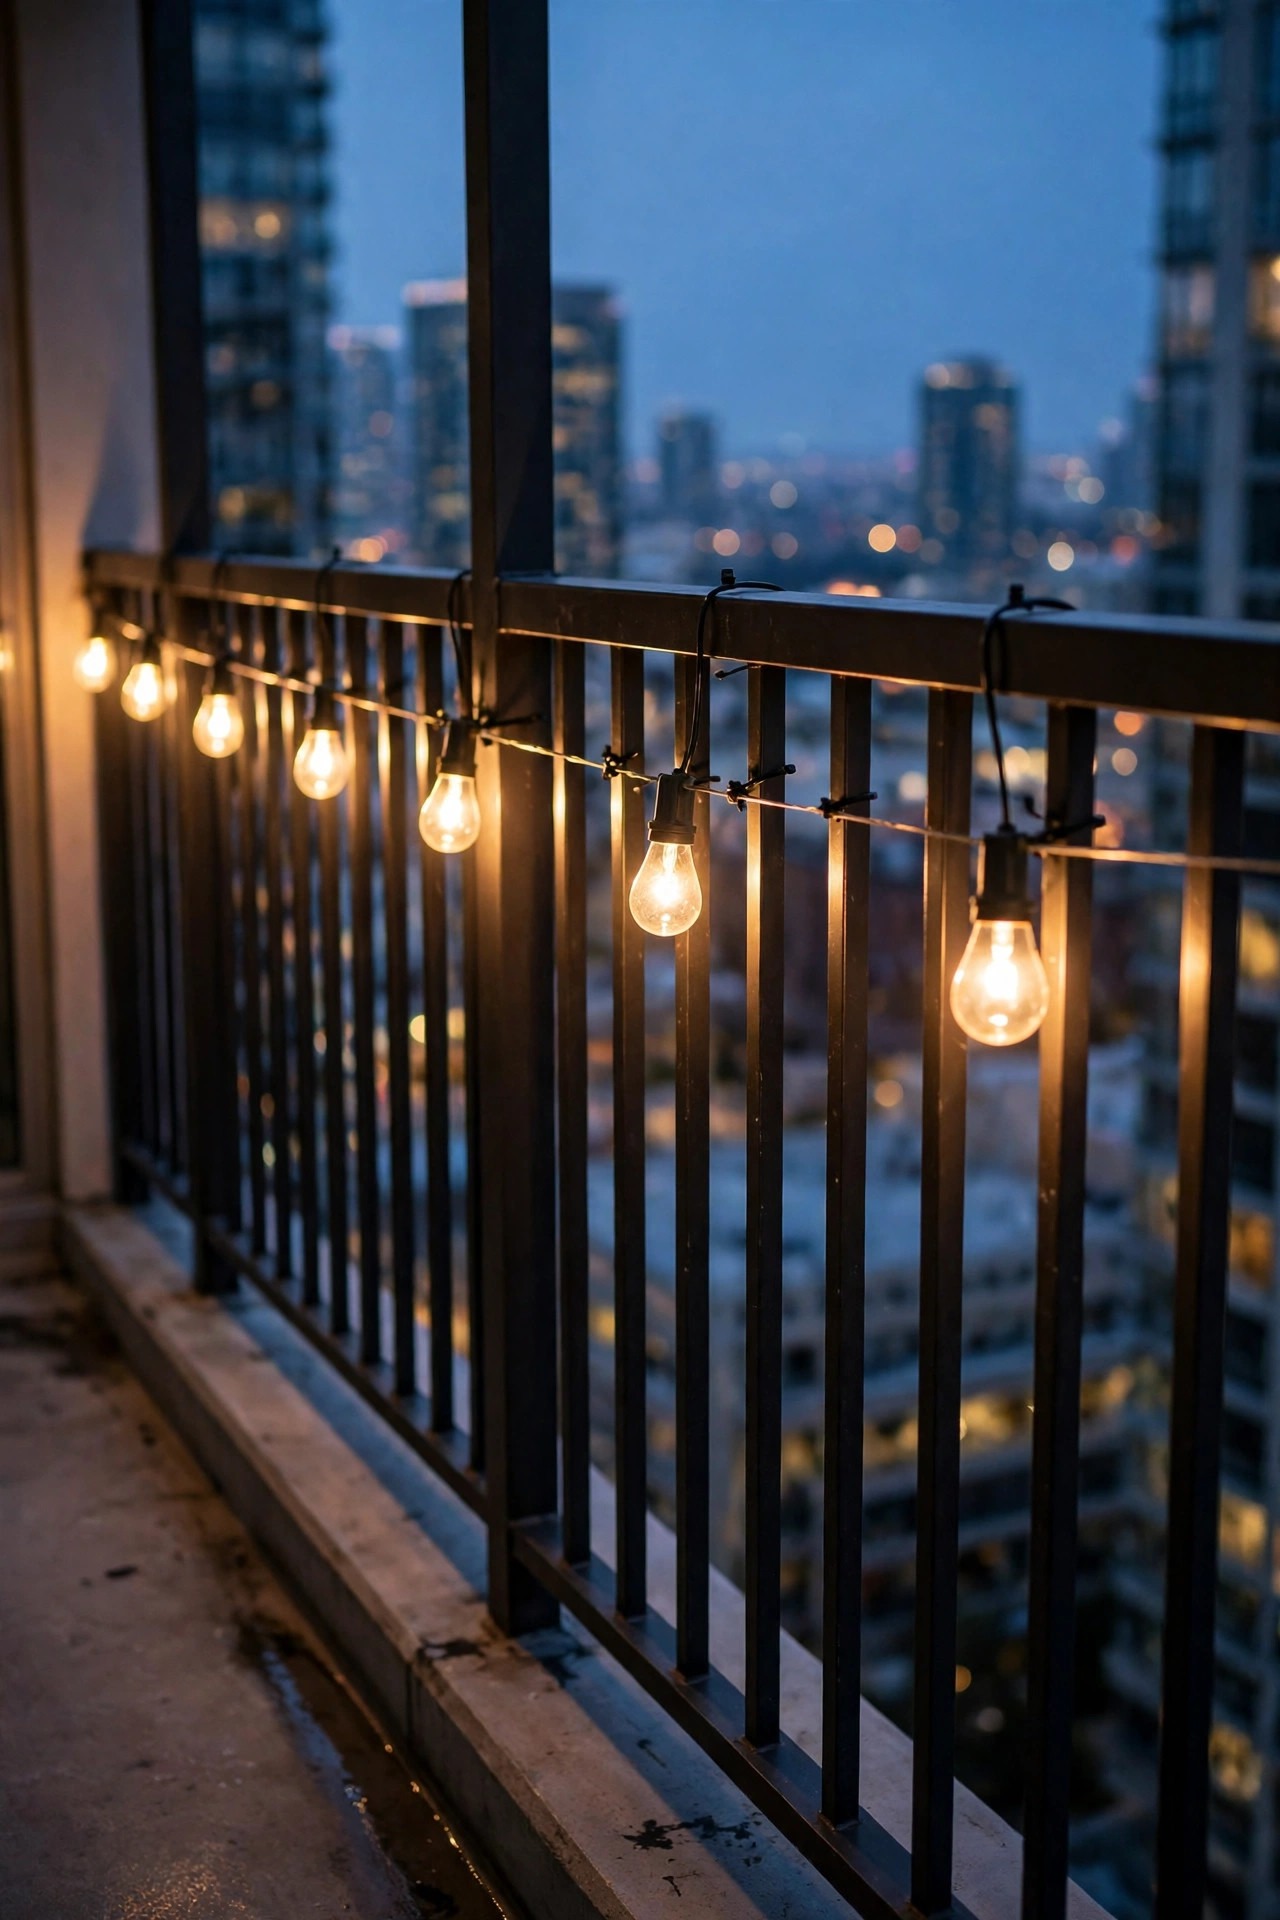
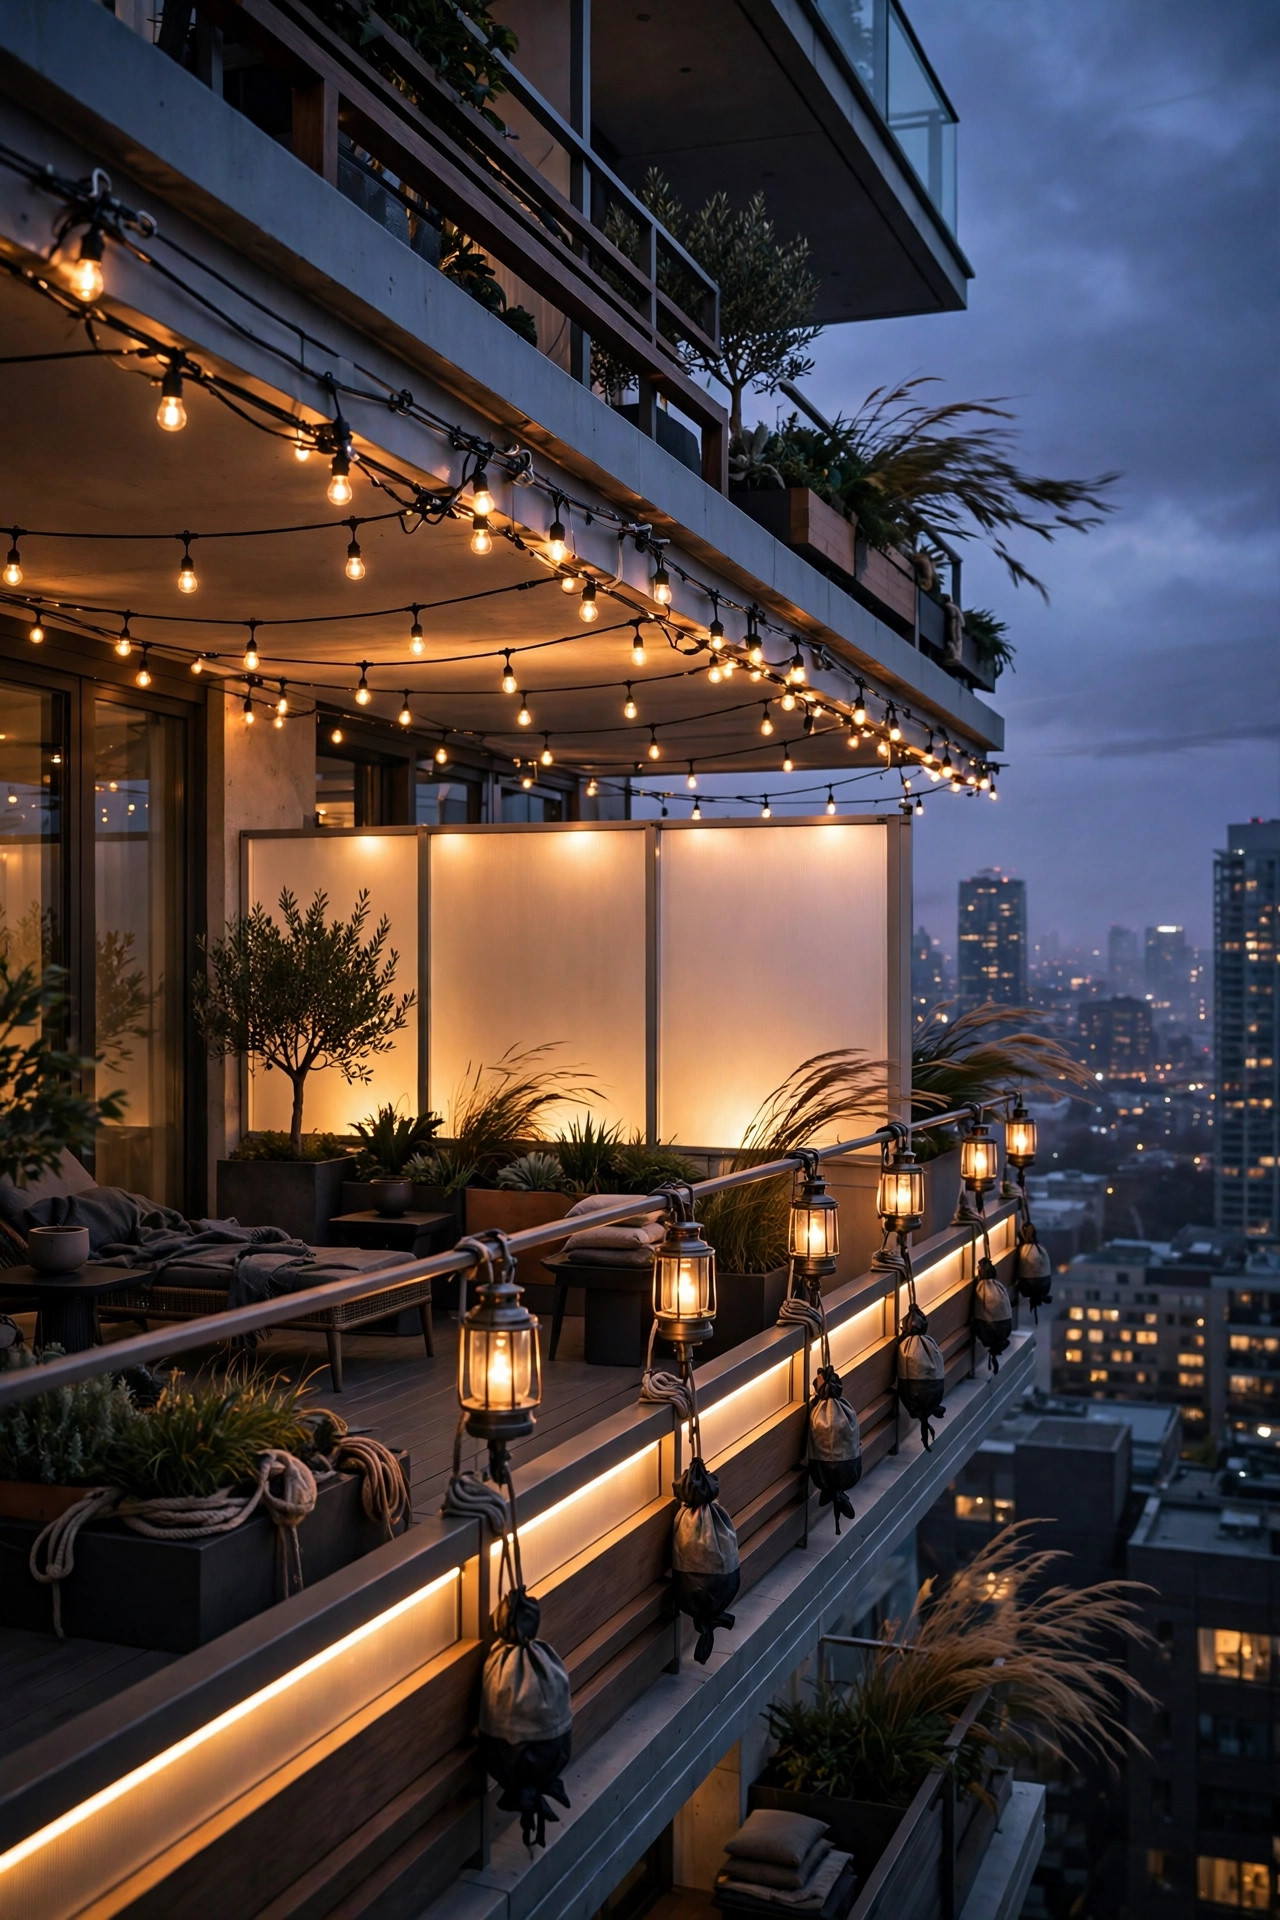
String lights are the first thing most of us hang and the first thing the wind tries to steal, so the trick is giving them nowhere to move. I run a length of thin galvanized guide wire along the inside of the railing first, pulled taut between two screw eyes or sturdy rail clamps, and then I zip tie every single bulb socket to that wire. Not every third socket, every one. A run secured that way cannot swing, slap the railing, or work a bulb loose, and honestly it looks tidier too, with the line of bulbs sitting straight instead of sagging. Keep individual runs short, around 10 to 15 feet between anchor points, and avoid the classic free swag across open space, because up high that swag acts like a sail. If your balcony faces the prevailing wind, mount the wire on the inside face of the railing so the rail itself breaks the worst gusts before they reach the bulbs. My full notes on rail layouts live in my guide to balcony railing lighting ideas, including the clamp styles that will not scratch painted rails. Use outdoor-rated LED strands only, and plug into a GFCI outlet.
Suggested budget range: $20 – $60.
4. Clip Solar Rail Lights Flat Along the Top Rail
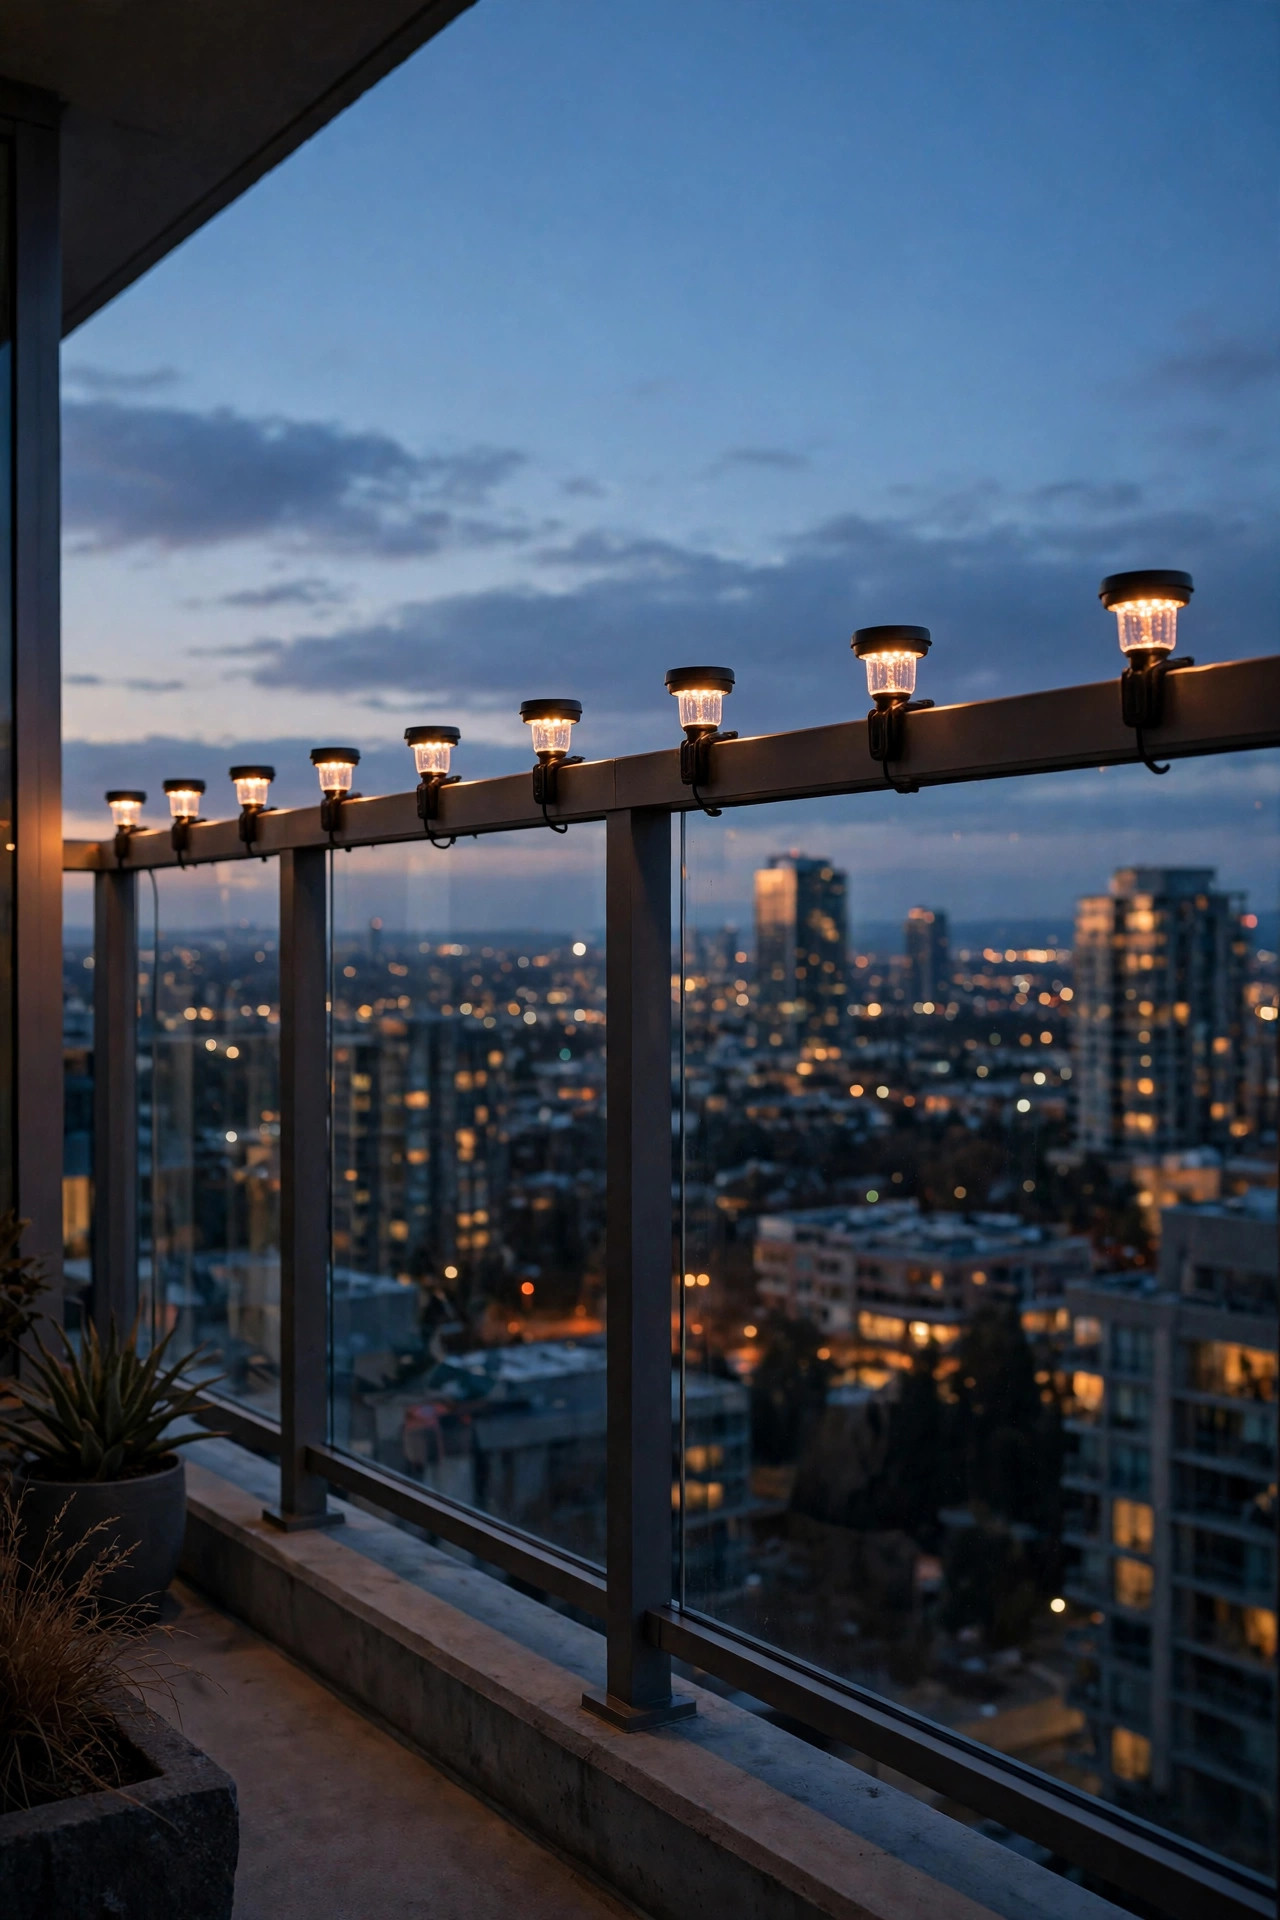
For the top rail itself, I love solar lights that clamp on and sit perfectly flat, because a fixture the wind cannot grab is a fixture the wind cannot move. These little units grip the rail with an adjustable screw clamp, some are sized for standard 2×4 and 2×6 rails, and the solar panel faces straight up to catch unobstructed sky, which is the one thing a high-rise balcony has in abundance. Space them every 2 to 3 feet along the rail and they read as a calm dotted line of light that defines the whole edge of the balcony. In my experience they charge better up high than they ever did in a shaded yard, and most switch themselves on at dusk and run six to eight hours. Choose warm white, 2700K to 3000K, so the line of light feels cozy instead of like runway markers, and look for an IP65 rating so wind-driven rain cannot creep in. One maintenance habit matters: wipe the panels with a damp cloth every few weeks, because wind deposits a fine film of dust up here that slowly dims the charge.
Suggested budget range: $20 – $50.
5. Use Hurricane Lanterns to Shield the Glow
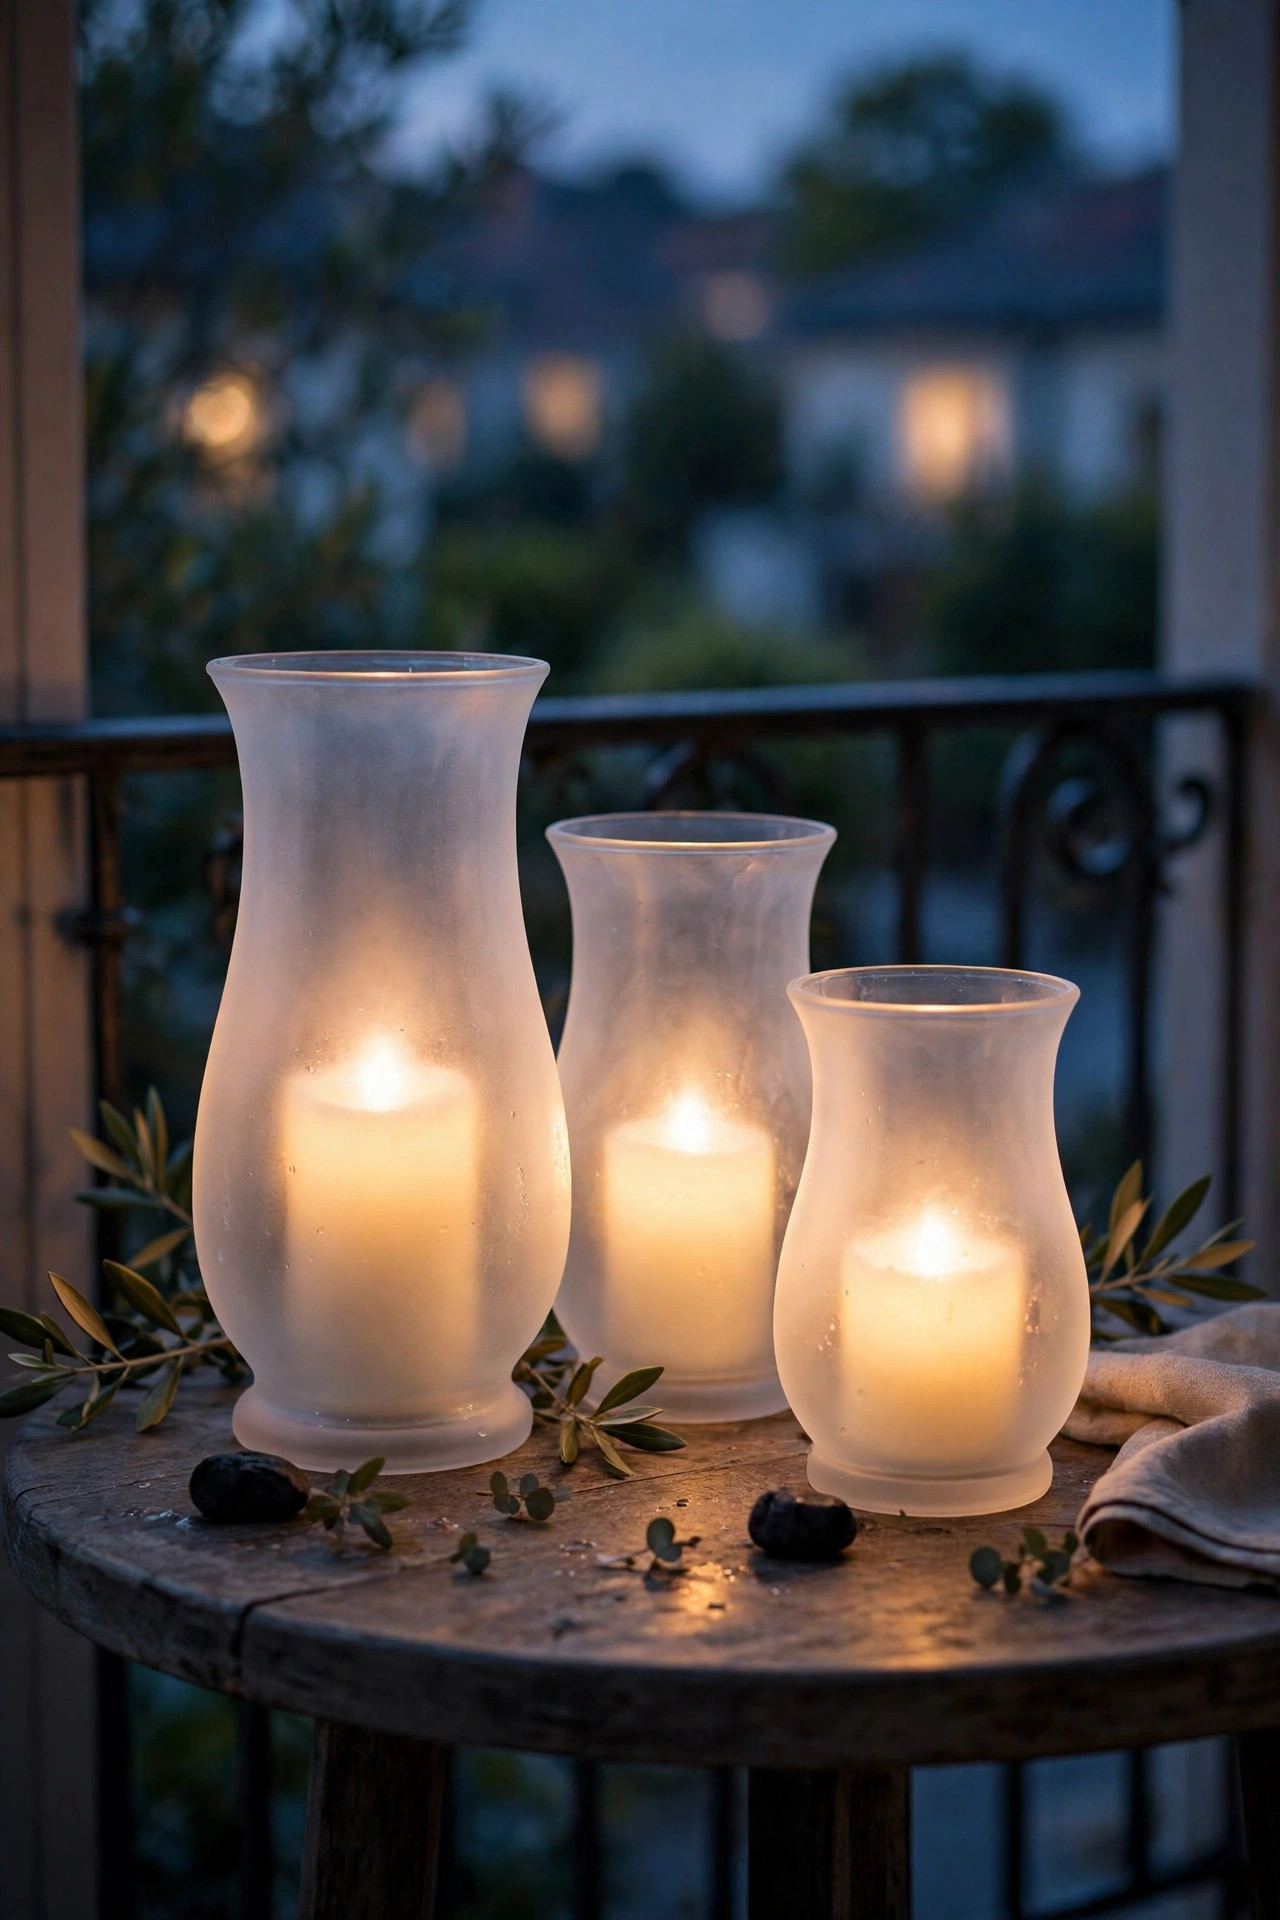
There is a reason hurricane lanterns have that tall glass chimney, and on a breezy balcony it earns its keep. The cylinder of glass wraps the candle in still air, so an LED flame inside glows with a slow, believable flicker instead of guttering every time a gust curls over the railing. Just as important, all that glass makes the lantern reassuringly heavy, especially the chunkier styles with a weighted metal base. I group three on a heavy serving tray, tall, medium, and small, and set the tray on the floor in the calm pocket by the wall, where the wind shadow is strongest. Trapping them on a tray also means one grab moves the whole cluster indoors when a real storm blows in. Stick with flameless candles inside, always; a real flame in a hurricane glass can survive a breeze, but a tipped lantern twenty floors up is a risk I am not willing to take, and most buildings ban open flames on balconies anyway. Between uses, a quick wipe of the glass keeps the glow clear and golden rather than hazy.
Suggested budget range: $15 – $45.

6. Tuck an LED Strip Under the Handrail
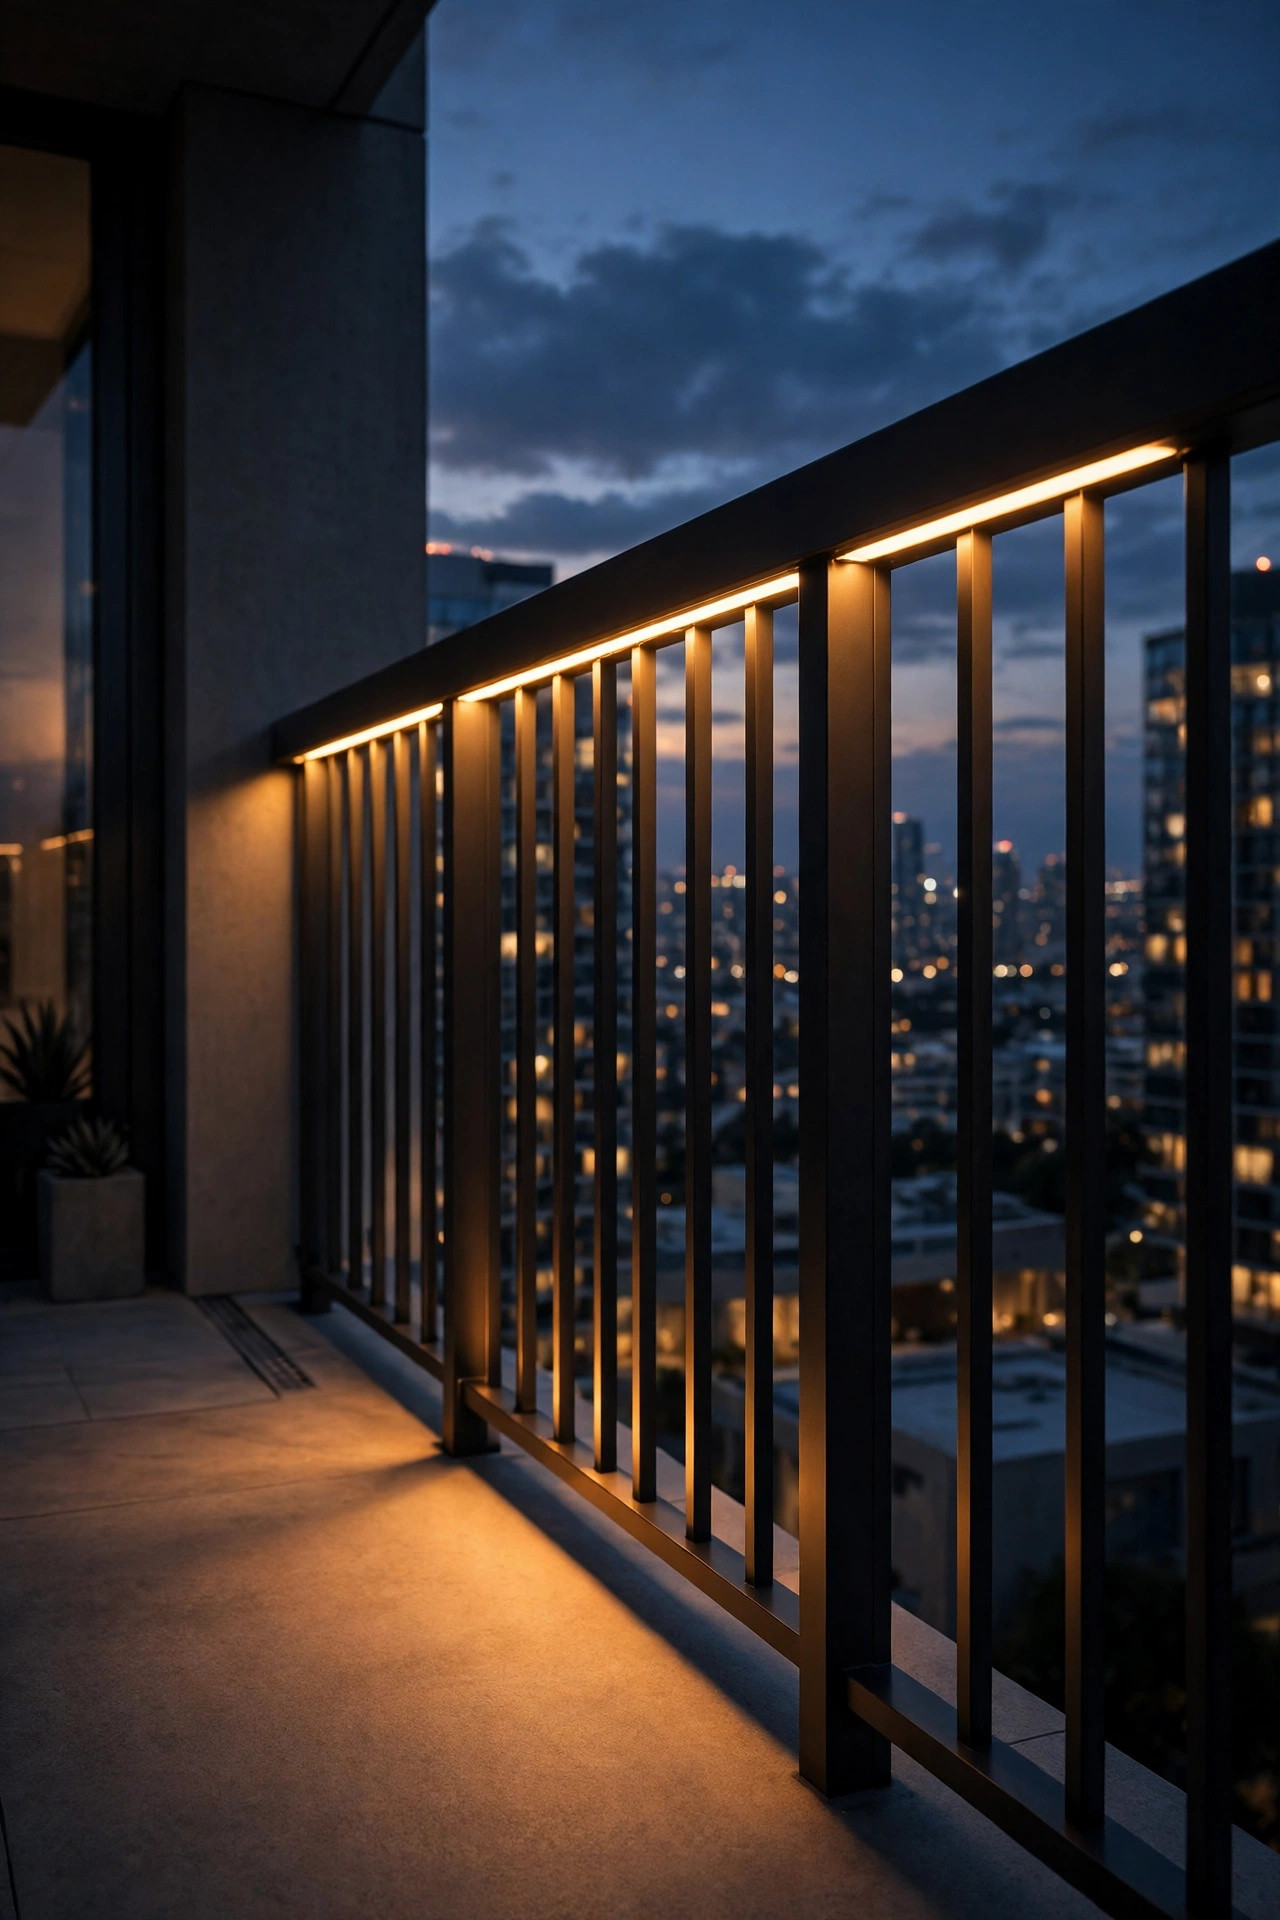
If wind is your enemy, the smartest fixtures are the ones with no profile at all, and an LED strip tucked under the handrail is exactly that. The strip glues flat to the underside of the top rail, ideally backed up with small mounting clips every 18 inches so the adhesive is never the only thing holding on, and it washes the balcony floor and balusters with a soft indirect glow. Nothing dangles, nothing swings, and there is simply nothing for a gust to catch. I always recommend an outdoor-rated, fully silicone-coated strip, since wind on a high-rise drives rain sideways into places you would swear stay dry. Battery-powered and USB-powered versions suit renters who cannot touch wiring, while a plug-in strip on a timer suits owners. Run the power lead tight along the rail post and secure it with clips too, because a loose cable flapping in the wind will worry the connector loose over a season. The light itself is surprisingly generous: one strip under a standard 12-foot rail lights the whole walking line of a small balcony without a single visible bulb.
Suggested budget range: $15 – $40.
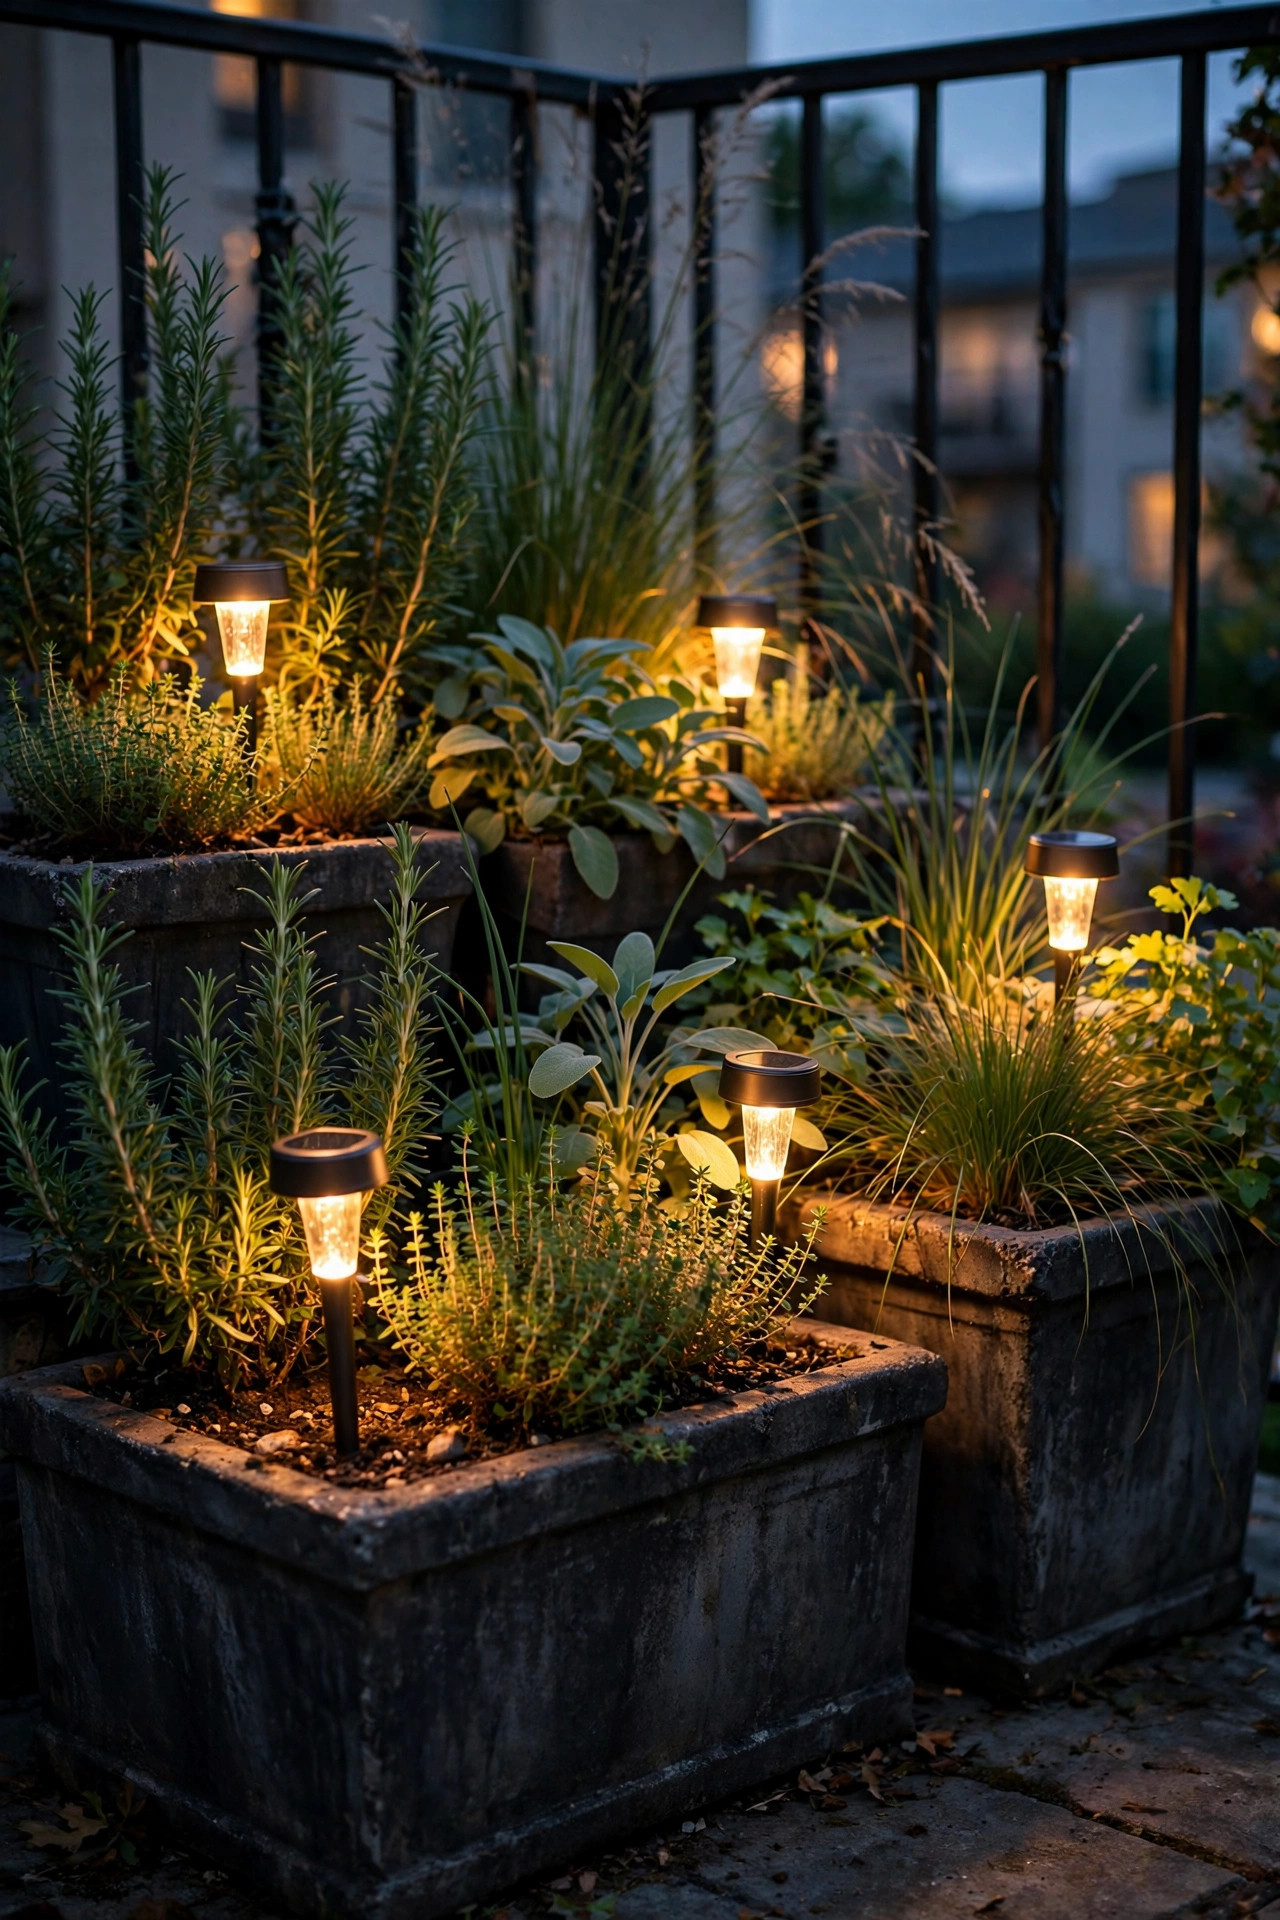
7. Push Solar Stakes Deep Into Your Heaviest Planters
Apartment gardeners already know the planter trick, but it is worth stating plainly: a solar stake light pushed deep into a big, heavy planter is anchored by twenty pounds of soil, and the wind can barely reach it down there. Choose your largest pots, the 14-inch-and-up planters that live against the wall, and push each stake in until only 8 to 12 inches show above the soil. Keeping the exposed stem short matters, because a tall thin stake gives the wind leverage, the same way a long wrench gives you leverage on a bolt. The glow pools over the foliage and makes the planting itself look lit from within, which I find prettier than any fixture. Herbs and grasses take this light especially well, and a row of three planters along the wall reads as one designed layer. For planting combinations that glow back, my notes on balcony garden lighting ideas cover which leaves reflect warm light best. After heavy rain, push the stakes back down and firm the soil; saturated soil lets them lean, and a thirty-second reset keeps the row looking intentional.
Suggested budget range: $20 – $55.
8. Mount Sconces Flush Against the Wall
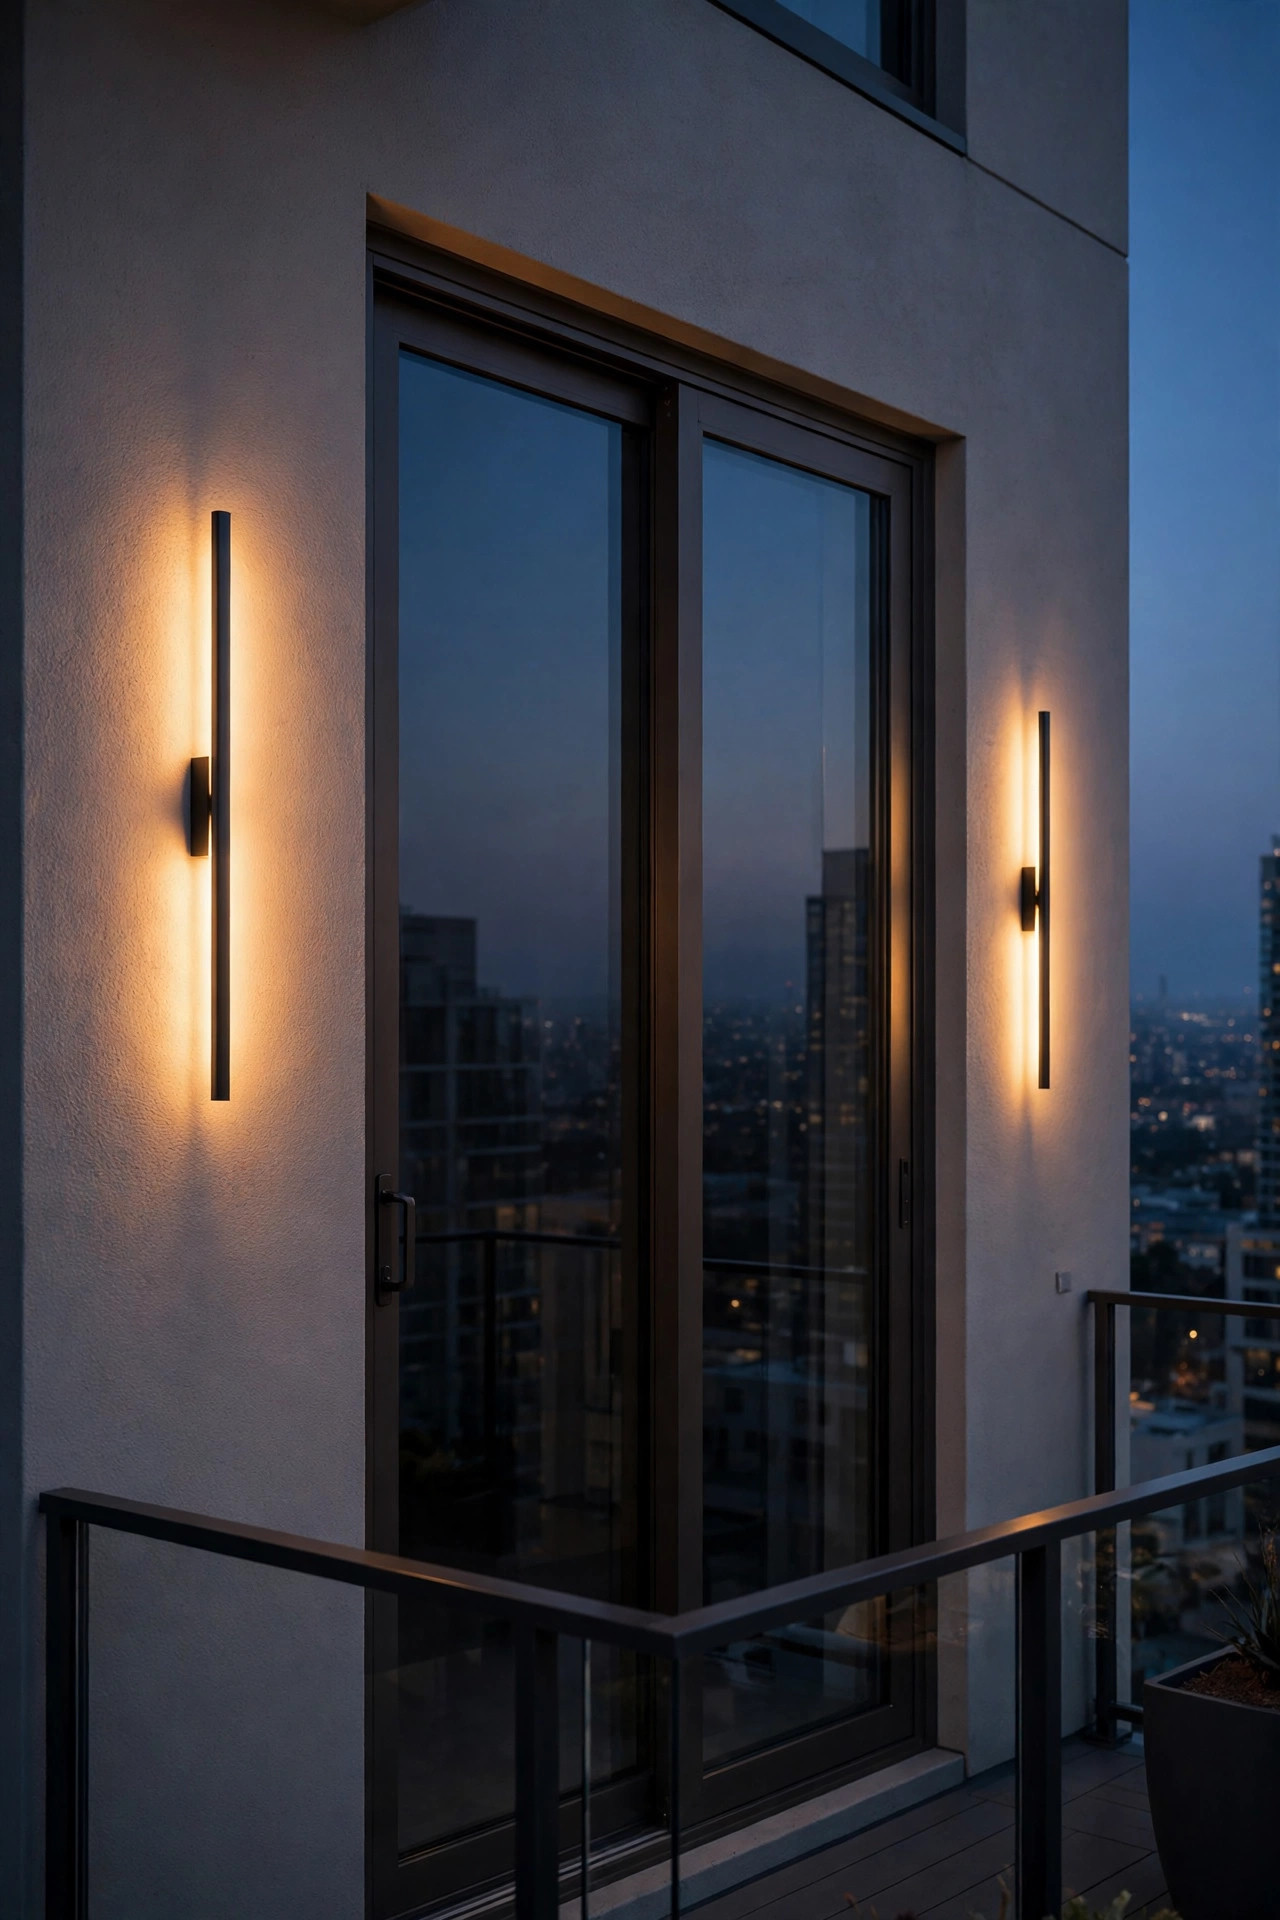
A sconce mounted flat against the wall beside the door might be the most windproof light of all, because the building itself is its anchor. If you own your unit and the building allows it, a hardwired or plug-in sconce screwed into masonry is not going anywhere in any storm. Renters are not left out: modern battery sconces mount on heavy-duty outdoor adhesive pads rated for several pounds, and mine have survived two gusty seasons without so much as a wobble, though I do give them a firm tug test every spring. Position a pair flanking the sliding door at about six feet up, or a single one centered over it, and aim for fixtures with the bulb tucked behind a shade or diffuser so the light washes the wall instead of glaring into your eyes while you stargaze. Warm white, 2700K, keeps the wall glow golden. This is also the friendliest layer for reading chairs, since the light lands at seated eye level without a bare bulb anywhere in view. Whatever the mount, keep the fixture profile slim; deep, projecting lanterns catch more wind than the flat styles.
Suggested budget range: $25 – $80.
9. Rig a Fairy Light Curtain Like a Sail, With Tie Points Everywhere
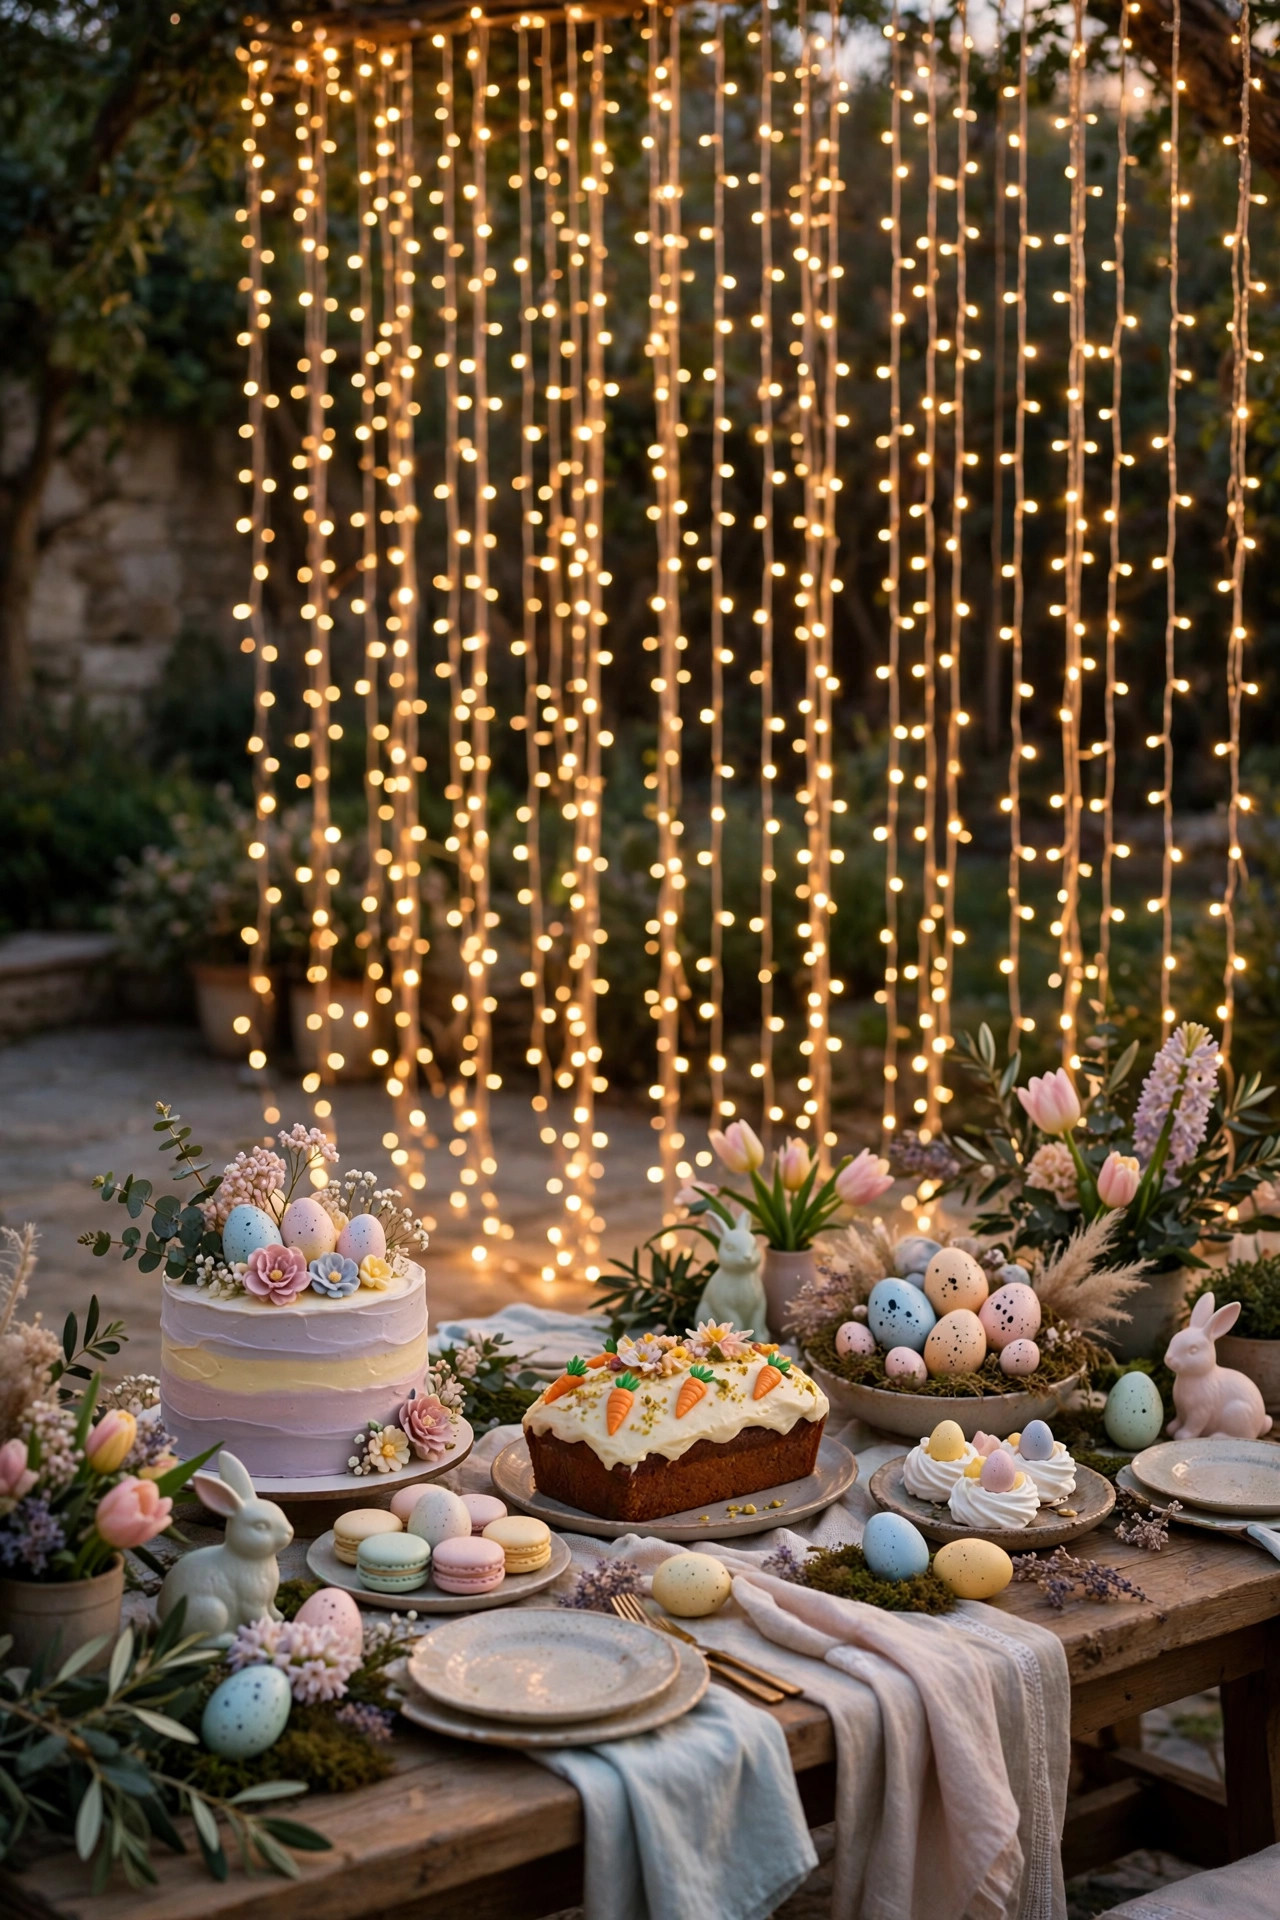
A fairy light curtain wants to become a tangled kite in high-rise wind, unless you treat it like a sail and rig it properly. The fix is tie points, and lots of them. I hang the curtain from the top rail, then secure every vertical strand to the balusters or to a light mesh panel with small clear zip ties or twist ties every 12 inches, top, middle, and bottom, so the whole curtain moves as one flat, calm panel instead of twenty loose strings. Copper-wire strands are ideal here because they are feather-light and the wire itself holds a shape. The effect is a wall of tiny warm stars behind your seating, and because each strand is pinned, a gust just makes the panel shiver slightly instead of whipping. If your balcony has a glass railing, run the curtain along the wall behind the chairs instead, fixed to adhesive hooks in a neat grid. Solar and battery curtains avoid the outlet question entirely, and a model with a built-in timer means the wall of light switches itself on at dusk even on evenings when it is too breezy to sit out and enjoy it in person.
Suggested budget range: $15 – $35.
10. Go Flameless Everywhere, No Real Flames at Height
Let me be direct, because this one is about safety as much as looks: real candles and high-rise balconies do not mix. The wind either murders the flame every ninety seconds or, worse, leans it toward a cushion, a paper napkin, or a dry plant, and a candle knocked over by a gust twenty floors up is a genuine emergency, not ambiance. Most condo and apartment buildings ban open flames on balconies for exactly this reason. The good news is that flameless LED candles have become genuinely convincing, with moving wicks, warm tones in the 2200K to 2700K range, and timers that run them five hours a night on one set of batteries. Choose the resin or plastic outdoor versions rather than real wax, which softens in summer sun and attracts dust, and group them inside your weighted lanterns and hurricane glasses so the wind has nothing light to chase. I keep a few loose ones for the table inside glass cylinders, always on a heavy tray. You get the flicker, the ritual, and the glow, and you never once have to cup your hand around a match up here.
Suggested budget range: $15 – $40.
11. Choose Shatterproof Plastic Bulbs for Every Strand
One gust-driven accident taught me this lesson: when string lights do slap against a metal railing, and sooner or later they will, glass bulbs shatter, and on a high-rise that means shards on your floor and possibly drifting down to the balconies and sidewalk below. That is a hard no. Every strand I hang now uses shatterproof plastic LED bulbs in the classic filament style, which bounce instead of breaking and weigh so little that a secured run barely notices the wind. They also sip power and stay cool to the touch, so they are safe around the fairy-light curtains and fabric screens elsewhere on this list. Look for bulbs rated for outdoor use with sealed sockets, and if a strand you love came with glass bulbs, swap the bulbs, not the strand; replacements are sold in every common base and shape. While you are at it, inspect each socket for the little rubber gasket that keeps wind-driven rain out of the connection. My rule of thumb is simple: if a fixture could break into sharp pieces when the railing wins an argument, it does not live on my balcony.
Suggested budget range: $20 – $50.
12. Add a Motion-Sensor Light by the Door
The corner by the balcony door is the darkest spot on most high-rise balconies, and it is exactly where you fumble with keys, a watering can, or the latch on a storage box. A small motion-sensor light mounted flat on the wall or door frame solves it, and because it hugs the surface, the wind has absolutely nothing to work on. Solar models stick on with adhesive pads or a couple of screws, charge from that big open sky all day, and pop on for twenty to thirty seconds when you step out. Battery models work just as well on shaded north-facing balconies where solar panels underperform. I recommend a warm-white sensor light rather than the harsh blue-white security style; you want to see the door handle, not interrogate it. Angle the sensor slightly downward so it catches you at the threshold instead of triggering on every pigeon that lands on the rail. These little lights also earn their keep during storms, giving you a quick, hands-free look at whether everything on the balcony is riding out the gusts where you left it.
Suggested budget range: $15 – $35.

13. Build a Lit Windbreak on the Windward Side
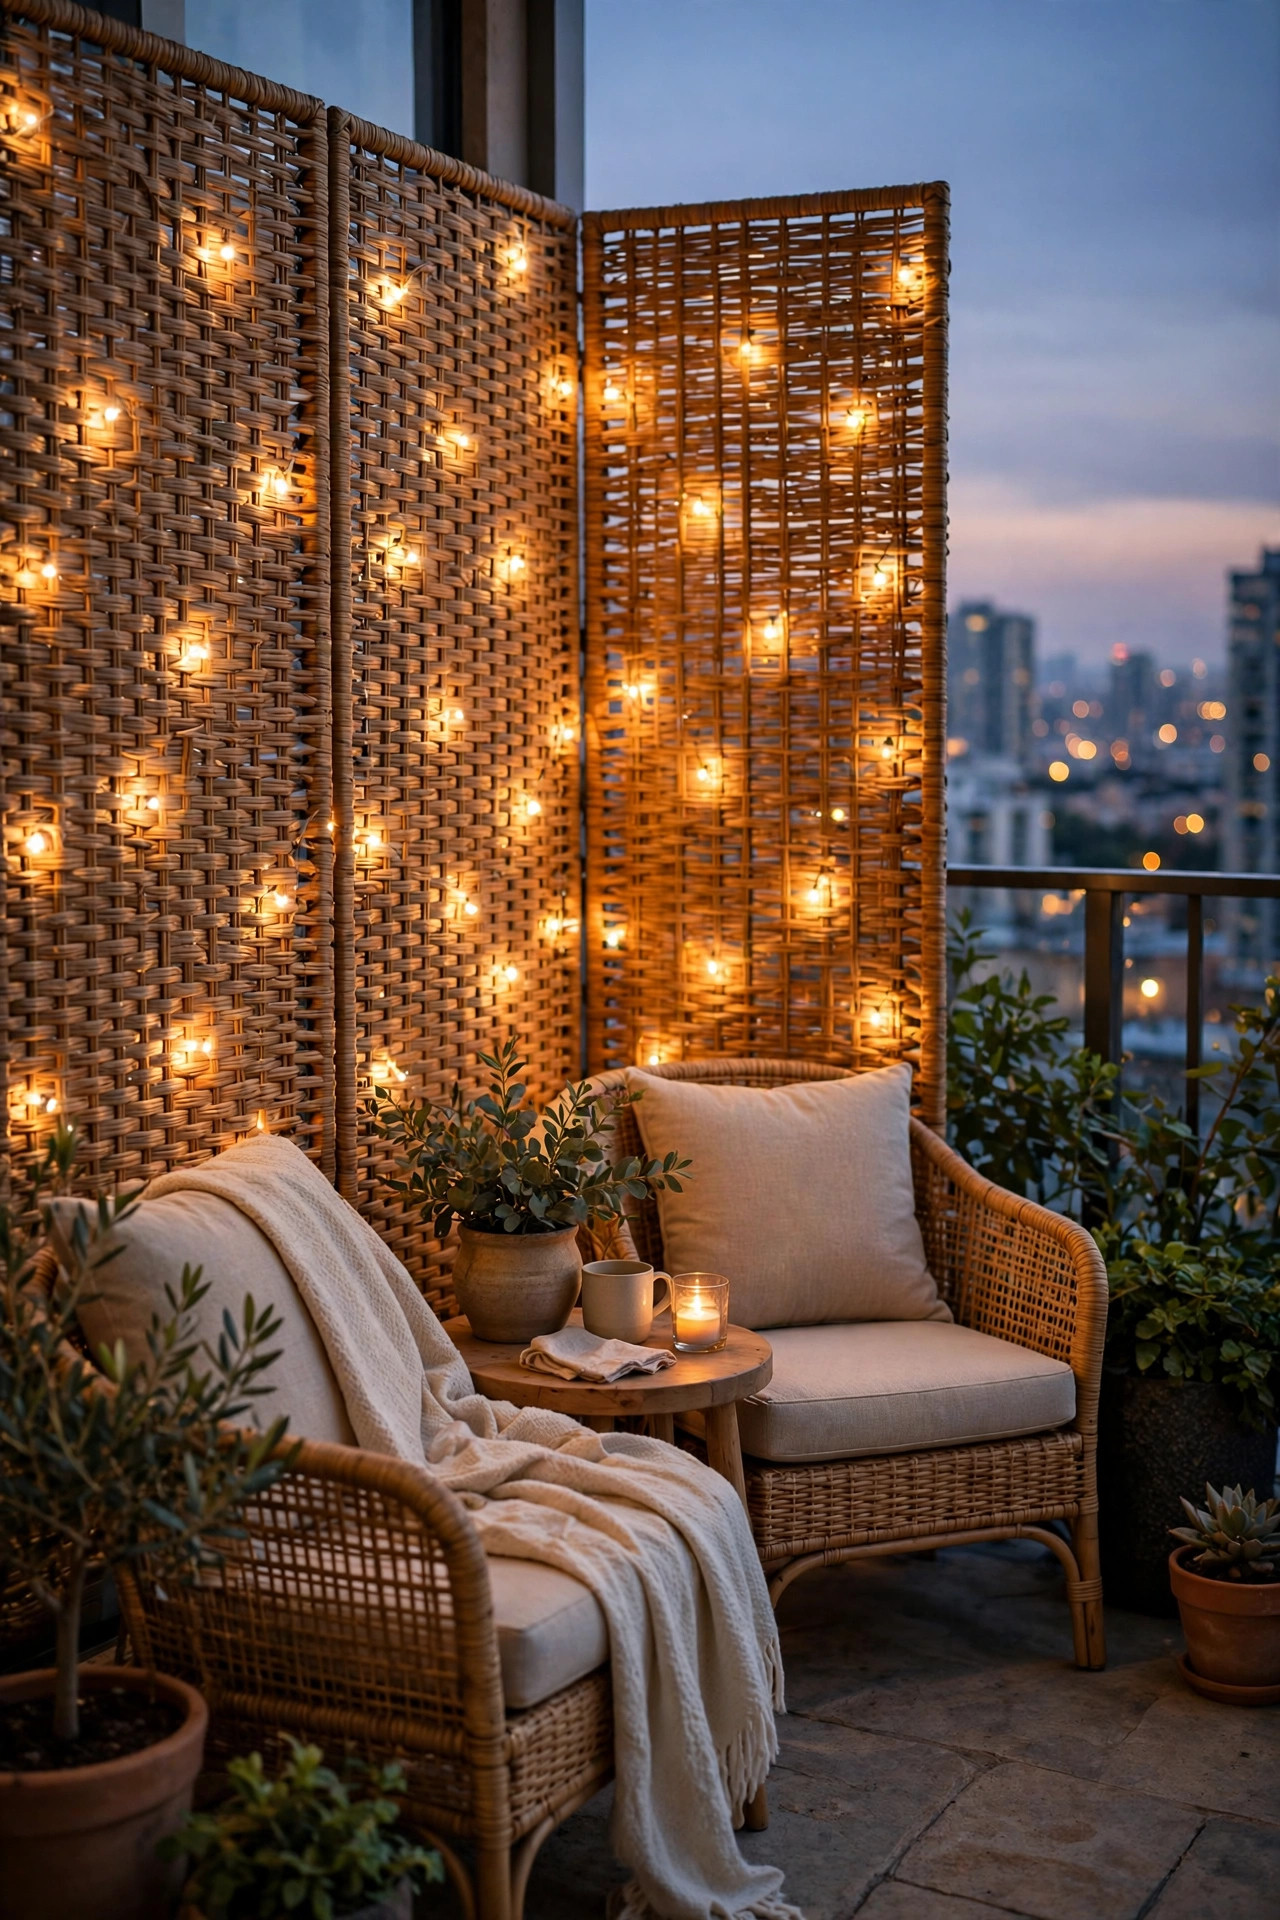
Sometimes the smartest lighting move is not a light at all, but a windbreak that makes a calm zone where your other lights can live. A tension-mounted privacy screen, a slatted panel, or a heavy outdoor curtain on the windward side of the balcony can cut the gusts reaching your seating corner dramatically, and every fixture behind it instantly becomes more secure and more pleasant. Once the screen is up, light it: weave a strand of copper-wire fairy lights through a slatted panel, clip small solar lights along the top edge, or uplight the curtain panel from a weighted floor lantern at its base so the fabric itself glows. The screen becomes a luminous backdrop instead of a dark wall, and the chairs in front of it are suddenly the best seat in the home. My roundup of balcony privacy lighting ideas goes deeper on screens that do double duty. Make sure the screen itself is rated and anchored for high-rise wind, fixed at top and bottom; a poorly secured screen is worse than none, and building rules often have a say here too.
Suggested budget range: $40 – $120.
14. Put Every Layer on Timers So the Glow Survives Windy Nights
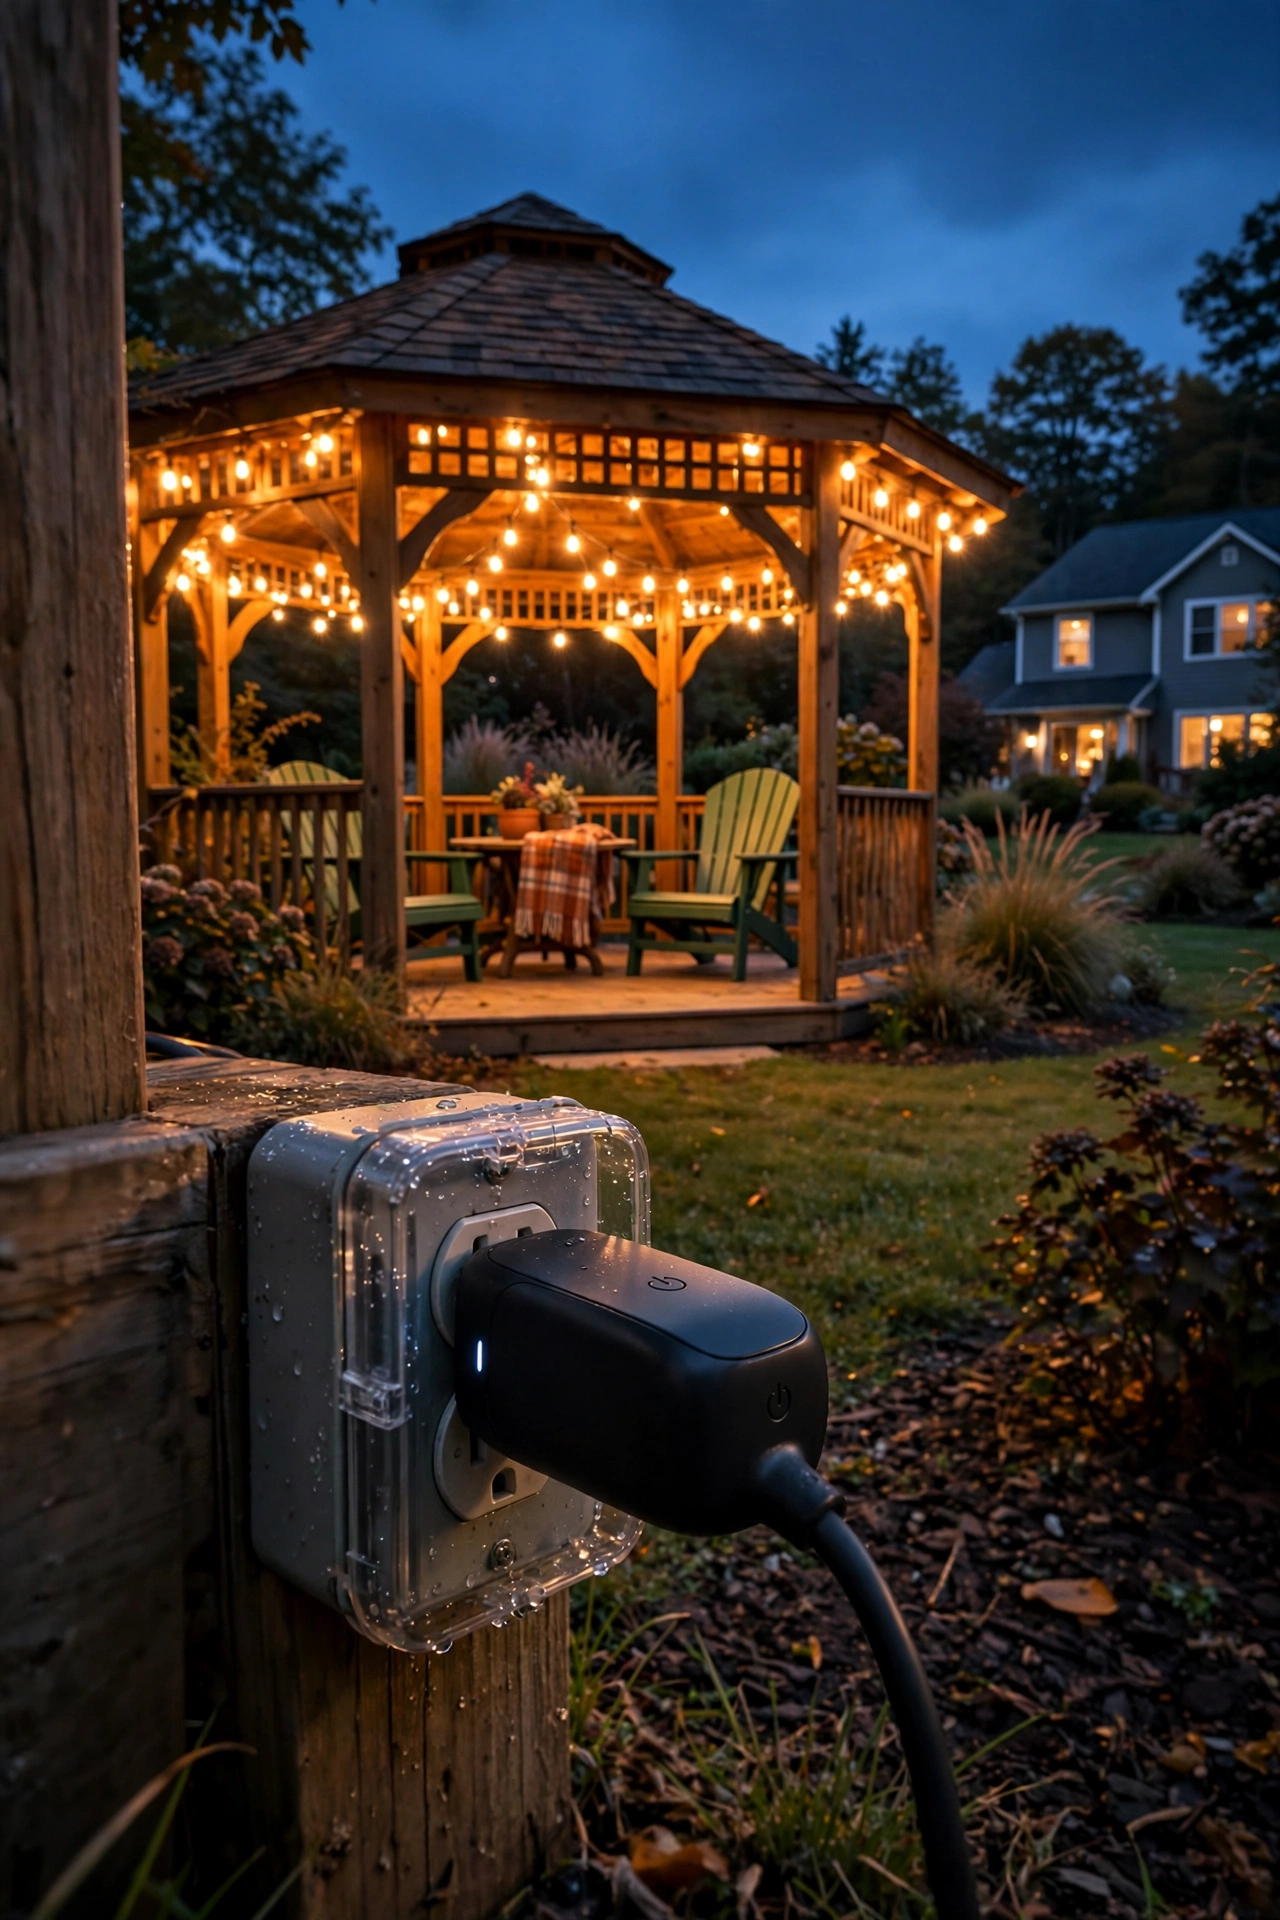
Half the evenings on a high-rise, the sunset is glorious and the wind is rude, and those are the nights I most appreciate having every light on a timer. Astronomical timers and smart plugs learn the sunset for your zip code and switch the plug-in layers on at dusk and off at bedtime, all season, without you braving the balcony to flip anything. Battery and solar fixtures increasingly come with built-in timer modes, five or six hours on at the same time each night, so set those once in spring and forget them. From the sofa, the balcony still glows like a lantern against the city, even if the chairs stay empty, and honestly that view is half the joy of living up here. Timers also solve the neighbor question: lights that reliably turn off at 10 or 11 p.m. keep the peace in a tower where fifty balconies face each other. I keep one manual override in the mix, a remote for the sconces, for the nights when the wind drops, the air turns soft, and the balcony calls you out after all.
Suggested budget range: $10 – $35.
15. Pick a Table Lamp With a Base Like a Doorstop
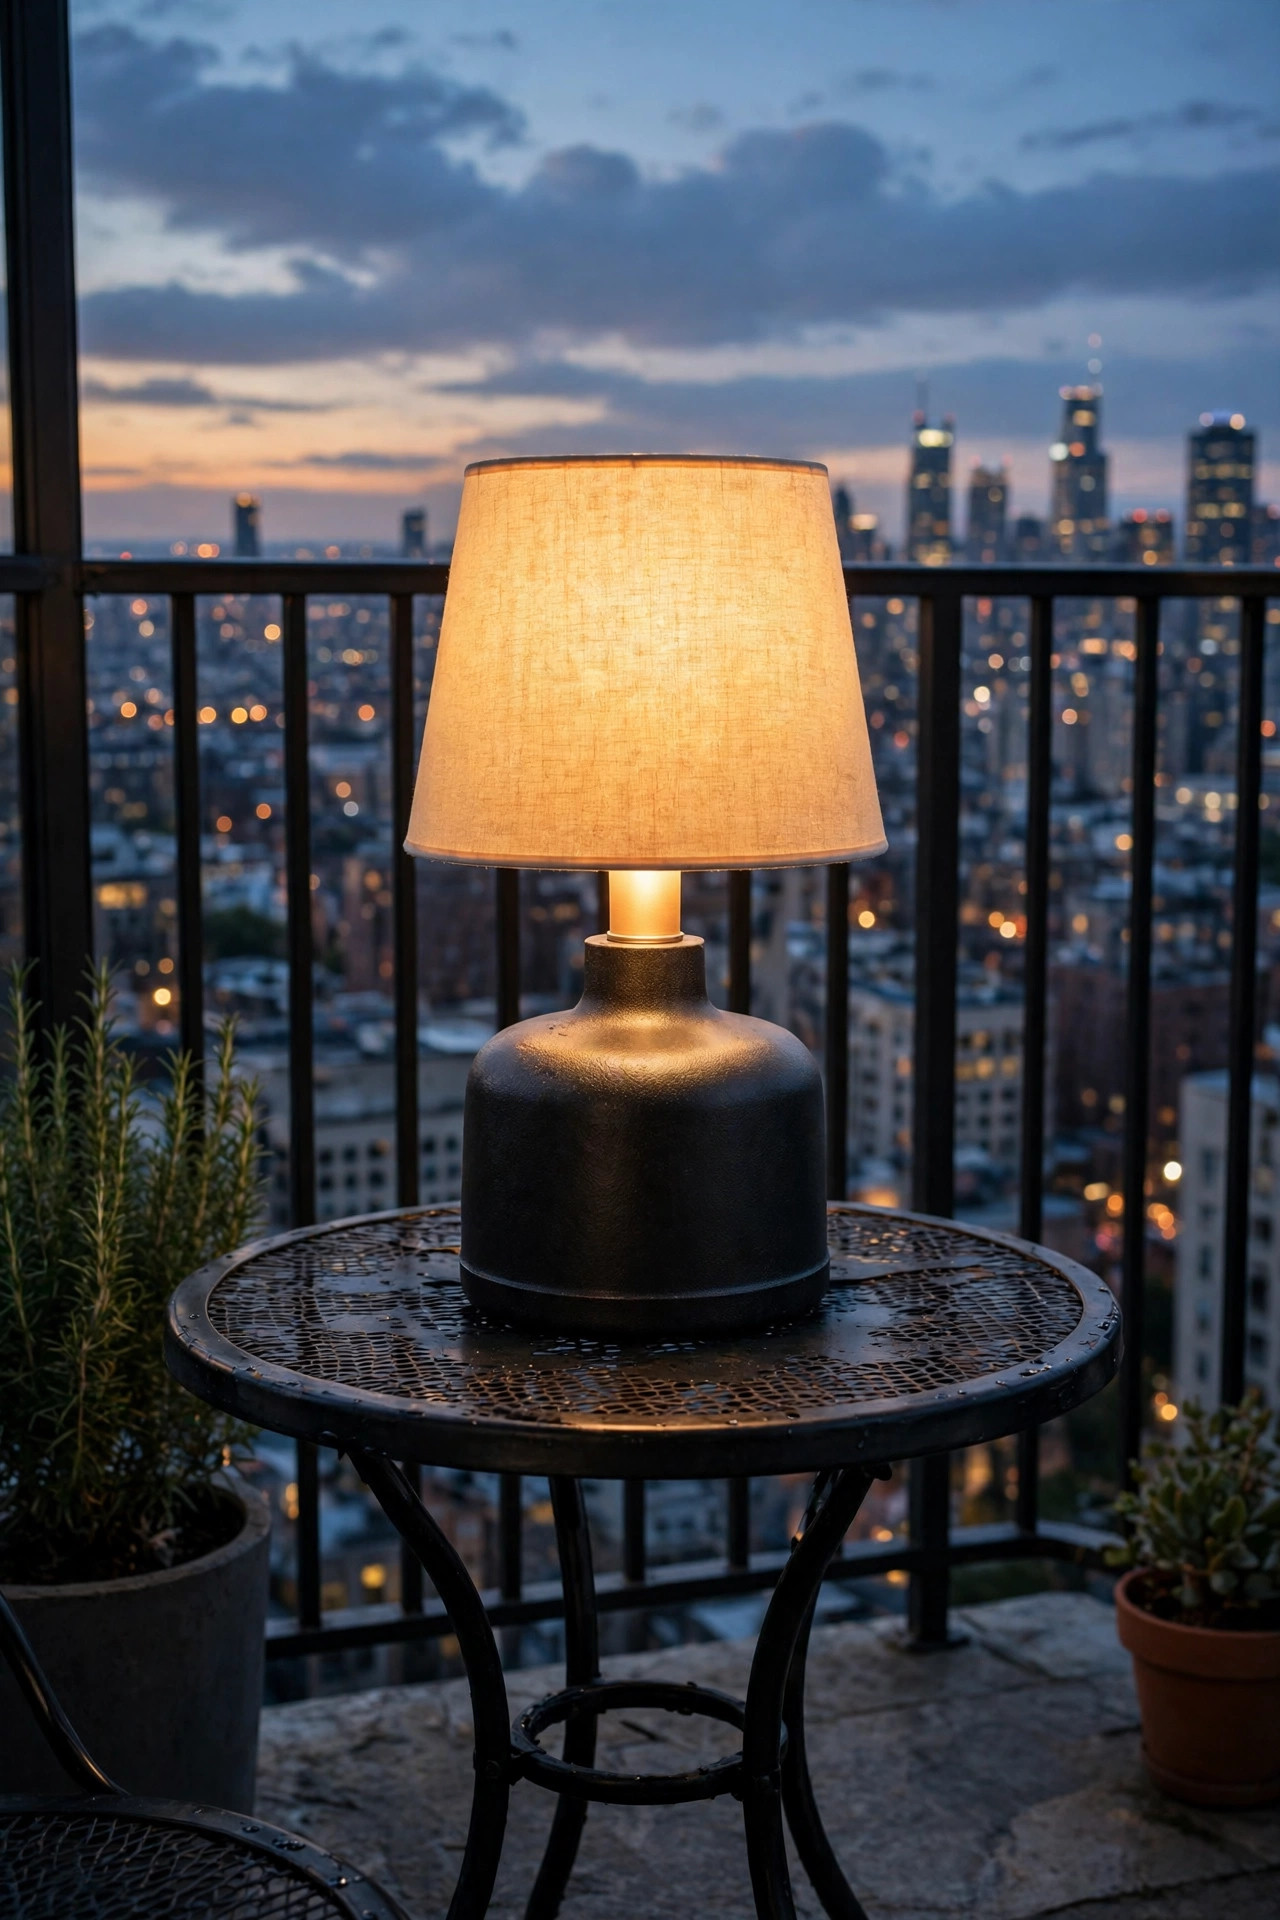
A table lamp on a balcony sounds like madness until you meet the outdoor kind: rechargeable, sealed against rain, and built over a base heavy enough to double as a doorstop. That low, weighty base is the whole secret, because a lamp whose center of gravity sits two inches off the table does not care about gusts that would send a paper lantern into the next zip code. I park mine in the center of the bistro table, never near the edge, and it gives the kind of warm, shaded, eye-level pool of light that makes dinner outside feel like a little restaurant. Cordless matters up here, too; there is no cable for the wind to worry at, and on the wildest nights the whole lamp simply comes inside and lights the kitchen counter instead. Look for a dimmer with at least two settings, since full brightness is for finding a dropped earring and low is for everything else. If your table is small, one lamp is plenty; this layer is about glow, not square footage, and it layers beautifully over the rail lights behind it.
Suggested budget range: $30 – $75.
16. Claim the Calm Corner With Oversized Floor Lanterns
Every high-rise balcony, no matter how wind-scoured, has one dead-calm triangle: the inside corner where the wall meets the railing return, right beside the door. Airflow skips that pocket almost entirely, and I found mine by watching where a dropped tissue landed and simply stayed. That corner is prime real estate for floor lanterns, the bigger, more dramatic pieces that would be risky anywhere else. I keep two oversized lanterns there, their weight low and their backs nearly touching the wall, with flameless pillar candles inside on timers. Because the pocket is calm, I can also get away with a small stack of lighter accents, like a little ceramic stool with a candle on top, that would never survive the railing side. Light from this corner grazes across the floor and catches the legs of the furniture, which makes the whole balcony feel grounded and bigger at night. Test your own corner on a gusty afternoon before you commit: tie a ribbon to the railing corner and watch. Where the ribbon hangs boring and still, your lanterns will live happily ever after.
Suggested budget range: $20 – $60.
17. Bring Your High Rise Balcony Lighting Ideas Together With a Tug Test
Once the pieces are in place, the last step is a dress rehearsal on a genuinely gusty evening, because your balcony will grade your work honestly. Start with the calm corner: windbreak behind the chairs, weighted lanterns glowing, the table lamp low. Then walk the layers in order, the overhead strip under the rail washing the floor, clamped string lights sitting straight and still, solar rail caps dotted along the top rail, and give every single fixture the tug test, a firm pull and a shake, harder than you think it needs. Anything that shifts gets another zip tie, a clip, or a move into the calm pocket. These high rise balcony lighting ideas all follow one principle, and it is the same layering I use in a backyard, just with a security check added: fixed light overhead, weighted light at eye level, anchored light low, nothing loose, nothing glass, nothing left to chance. Then pour something warm, step back inside if the gusts are showing off, and enjoy the sight of your little lit balcony holding its glow against the whole windy sky. It will still be glowing, exactly where you left it, in the morning.
Suggested budget range: $0 – $30.
Frequently Asked Questions
What type of lights are safest on a windy high-rise balcony?
The safest fixtures are the ones the wind cannot move: flush-mounted sconces, lights clamped or clipped to the railing, LED strips stuck flat under the handrail, and genuinely heavy lanterns with wide, weighted bases. Avoid anything tall, light, and freestanding, skip glass bulbs in favor of shatterproof plastic, and use flameless candles instead of real flames. If you can tug a fixture and it shifts, it needs another anchor point before the next gusty night.
How do I stop string lights from blowing around on a high-rise balcony?
Run a taut guide wire along the inside face of the railing and zip tie every bulb socket to it, not just a few. Keep runs short, around 10 to 15 feet between anchor points, and skip the loose decorative swag across open space, because up high it acts like a sail. Mounting the run on the inside of the railing also lets the rail itself block the worst gusts before they reach the bulbs.
Do solar lights get enough charge on a high-rise balcony?
Usually yes, and often better than in a yard, because nothing shades the sky up there. South- and west-facing balconies charge fastest, and most rail lights and solar stakes run six to eight hours on a full day of sun. Keep the panels wiped clean, since wind deposits a fine dust film at height, and if your balcony faces north or sits in the shadow of a taller tower, choose battery-powered fixtures with timers instead.
Can I use real candles or tiki torches on a high-rise balcony?
I strongly recommend against it. Wind either blows the flame out constantly or leans it toward cushions, napkins, and dry plants, and a tipped candle at height is a serious hazard. Many condo and apartment buildings ban open flames on balconies outright, so check your building rules. Modern flameless LED candles give you the same warm flicker with none of the risk, and they survive gusts that would kill a real flame in seconds.
Conclusion
Living twenty floors up should not mean giving up the glow; it just means every lumen has to be earned with a clamp, a zip tie, or a few pounds of sand. Start with your wind audit, anchor the layers one at a time, and let the calm corner prove the concept before you light the railing. Done right, high rise balcony lighting ideas turn the windiest seat in the building into the coziest one. Browse the rest of the balcony and outdoor lighting ideas here on the site for your next layer, and I will see you out there at dusk, provided the ribbon on my railing is hanging still.