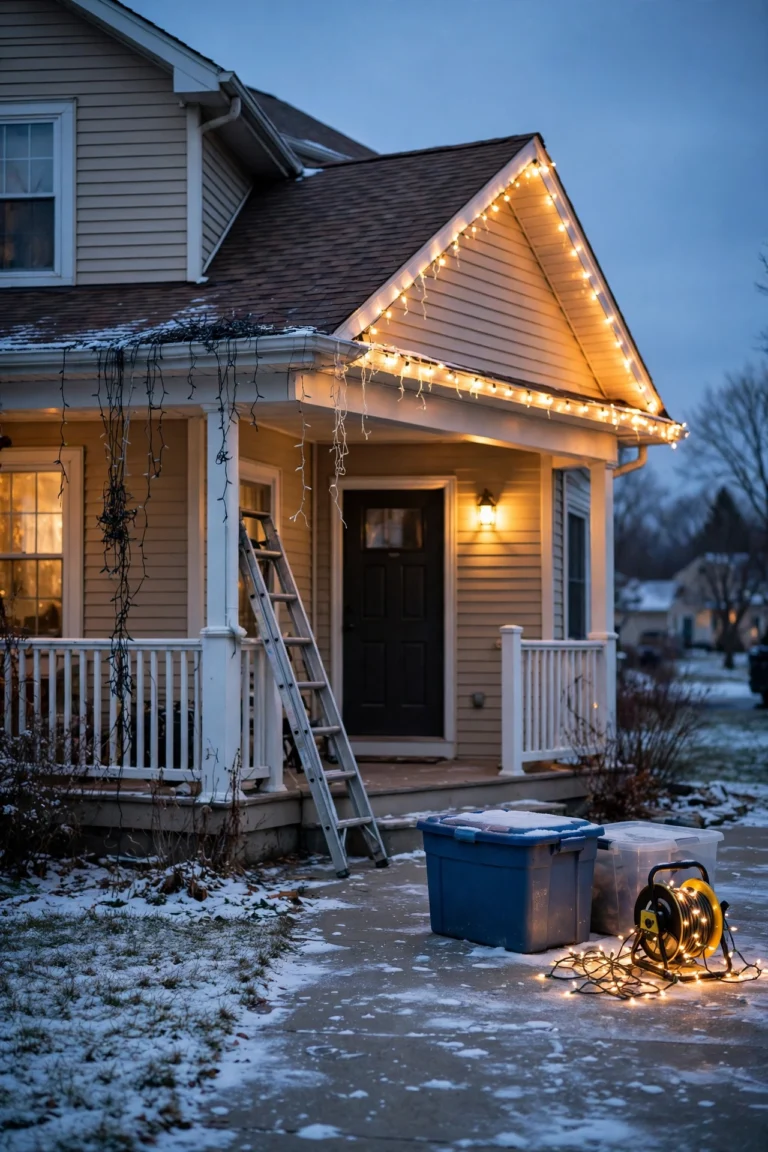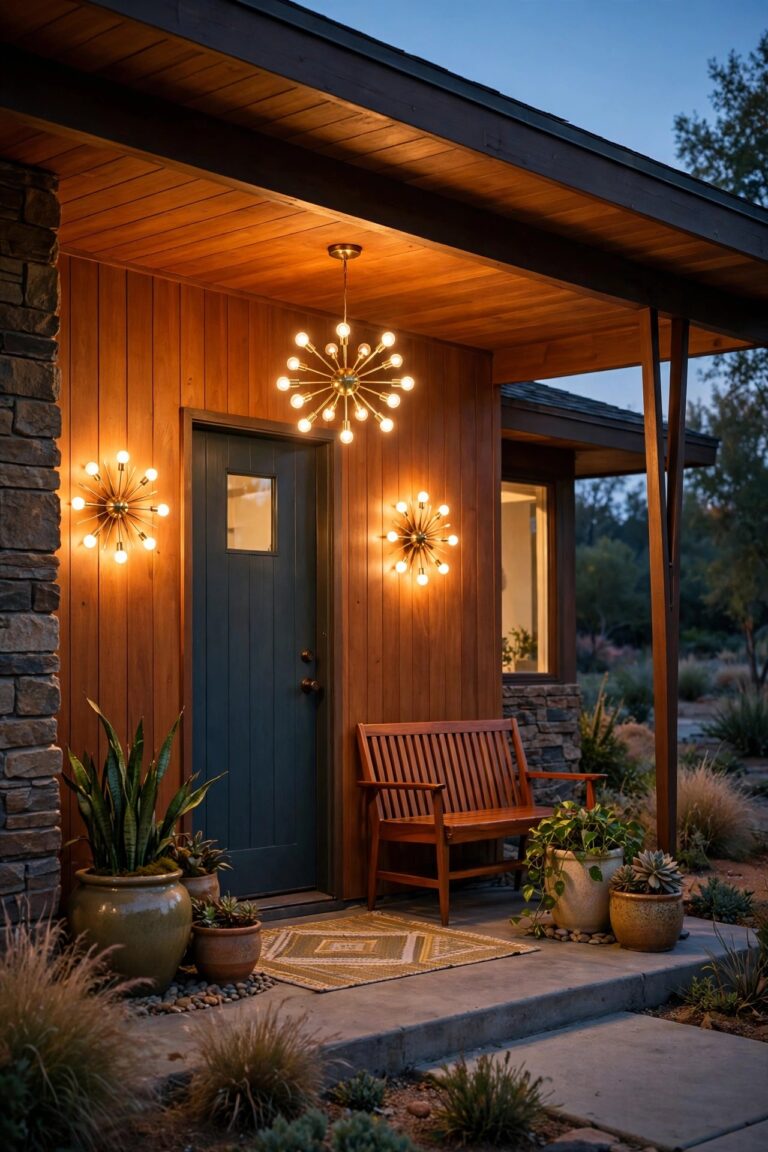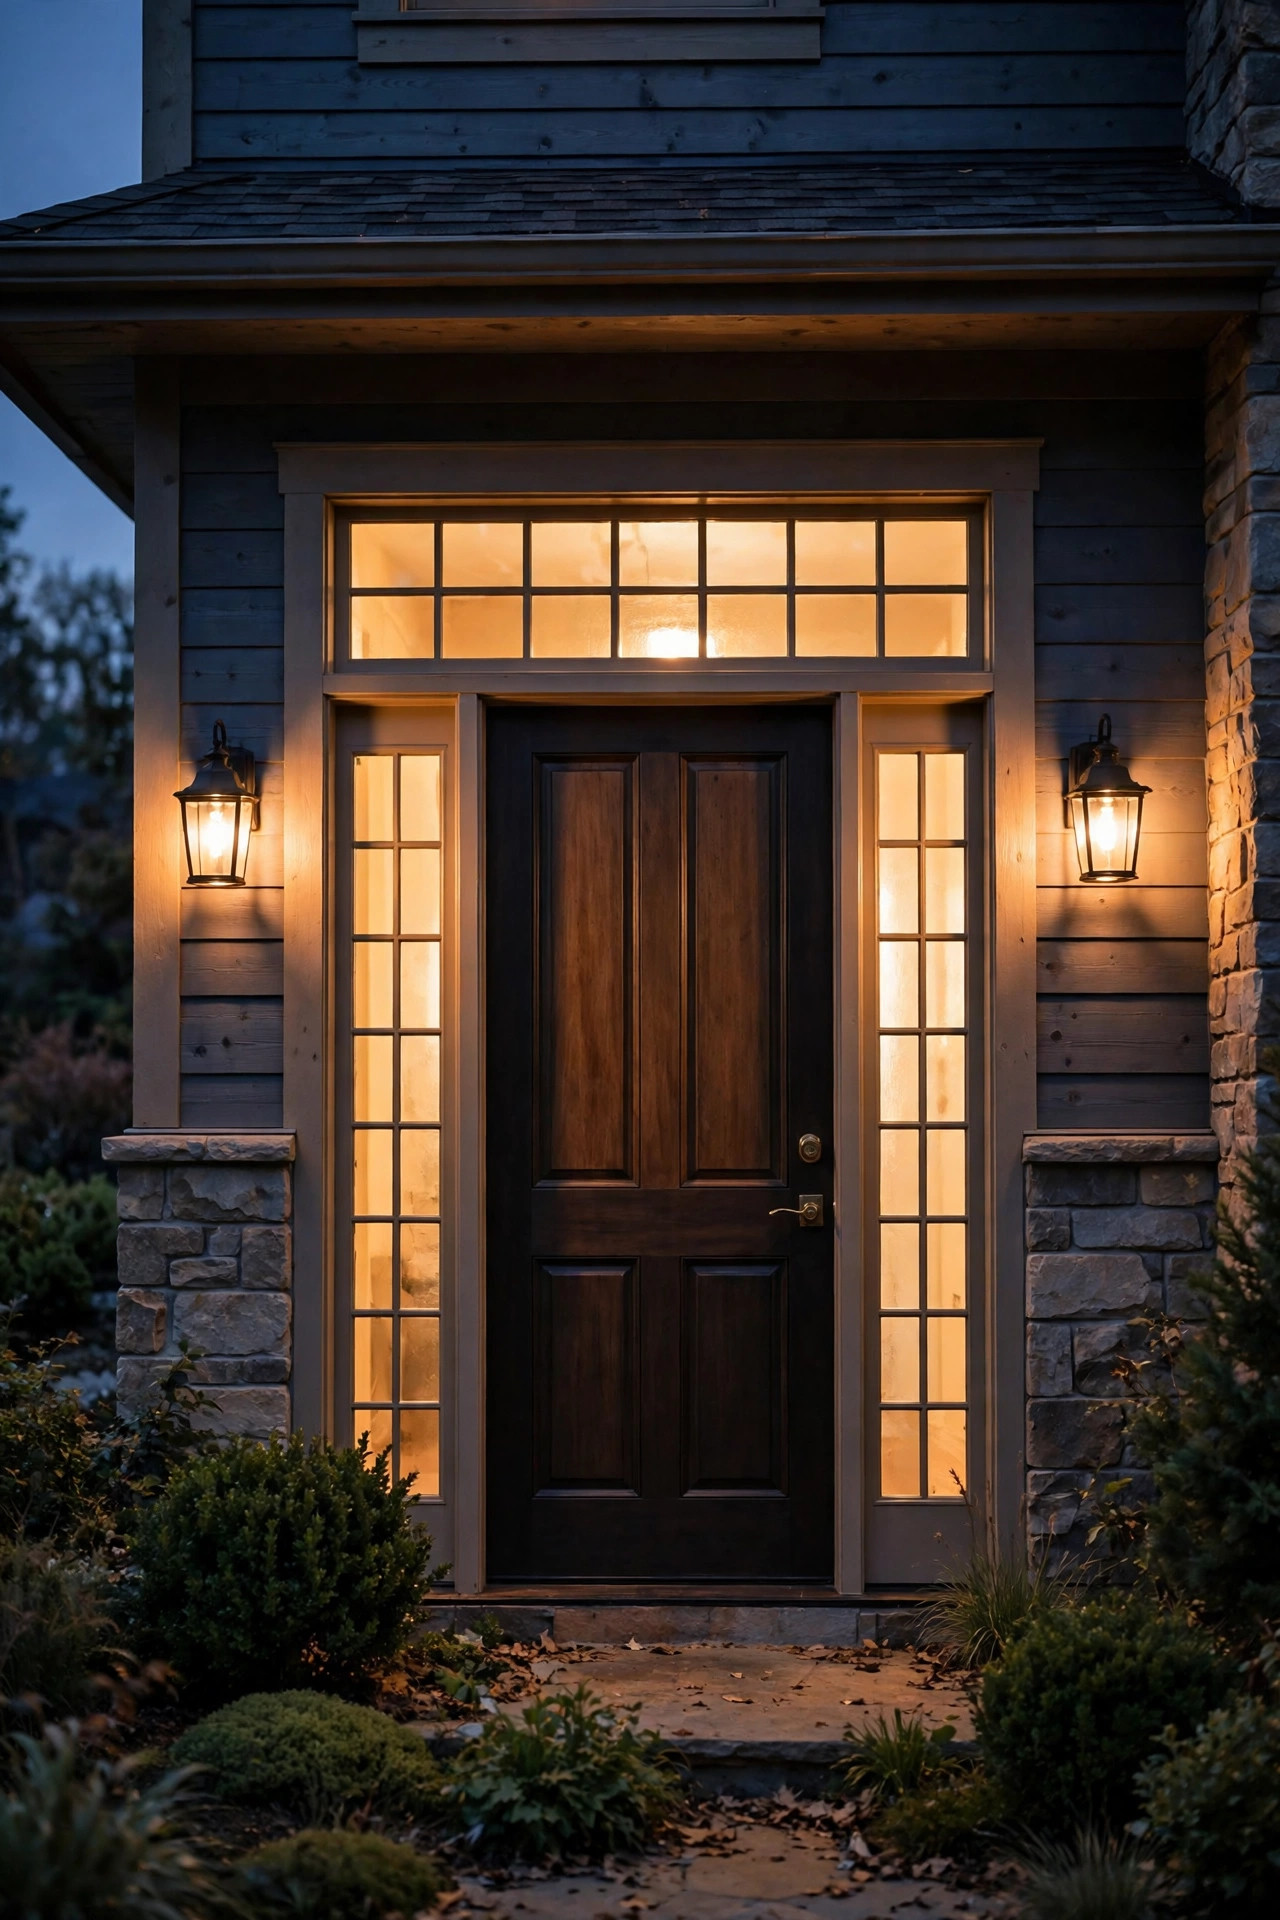
If your front door has sidelights — those narrow glass panels flanking the door — or a transom window arched above it, you are sitting on the prettiest lighting opportunity in your whole entry. Most of us treat that glass as plain architecture, but good sidelight and transom lighting turns it into a lantern: the glass itself starts to glow, the door becomes the focal point of the facade, and guests feel welcomed before they ever knock. In my experience, the secret is layering. A fixture beside the door, a soft wash of light through the glass, and a gentle highlight up top will always beat one bright porch light blasting down. This post walks you through 17 ideas, from slim sconces that fit tight spaces to hidden LED strips and interior backlighting tricks, with honest budgets and the measurements I use. If you want the bigger picture first, my roundup of entryway lighting ideas that welcome guests pairs beautifully with everything below.
1. Flank the Sidelights With Slim Vertical Sconces
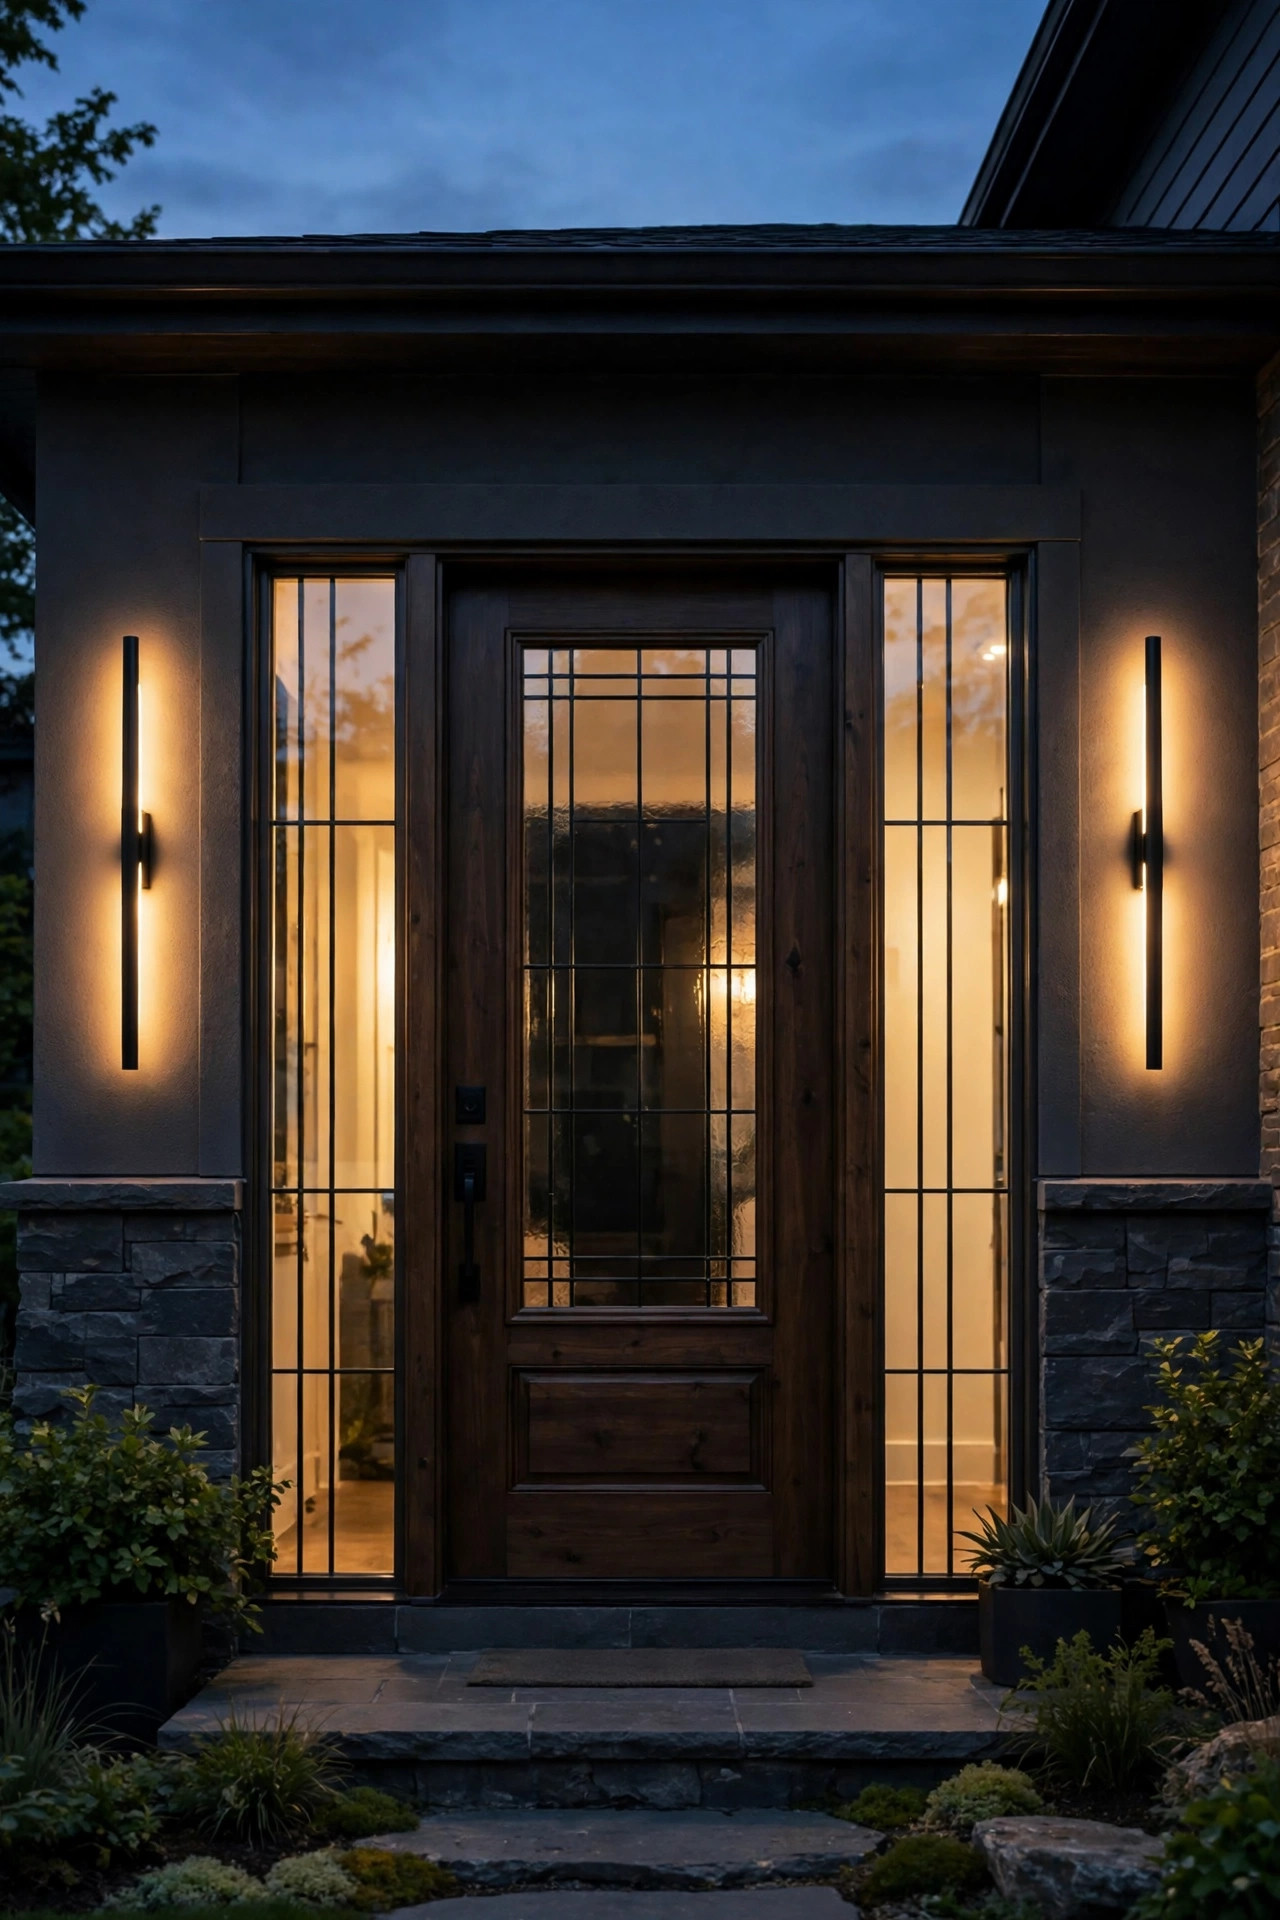
When sidelights eat up most of the wall beside your door, a standard chunky lantern simply will not fit — and honestly, it crowds the glass. My favorite solution is a pair of slim vertical sconces, the long tube or narrow lantern style, mounted on whatever trim or wall space remains outside each sidelight. They echo the tall shape of the glass and frame the whole entry like bookends. Aim for fixtures 12 to 18 inches tall and no more than 4 to 5 inches wide, and mount the center of each light about 66 inches from the porch floor, which puts the glow right at eye level. Choose 2700K LED bulbs in the 200 to 400 lumen range per side — enough to be welcoming, never interrogation-bright. On a single-sidelight door, one sconce on the outer edge still works; just bump it to 500 lumens so the entry does not look lopsided. Make sure anything you choose is wet-location rated, and if your wall space is truly too tight, my guide to sconce pairs for front doors covers the spacing math in detail.
Suggested budget range: $90 – $260.
2. Backlight Frosted Sidelights for a Soft Lantern Glow
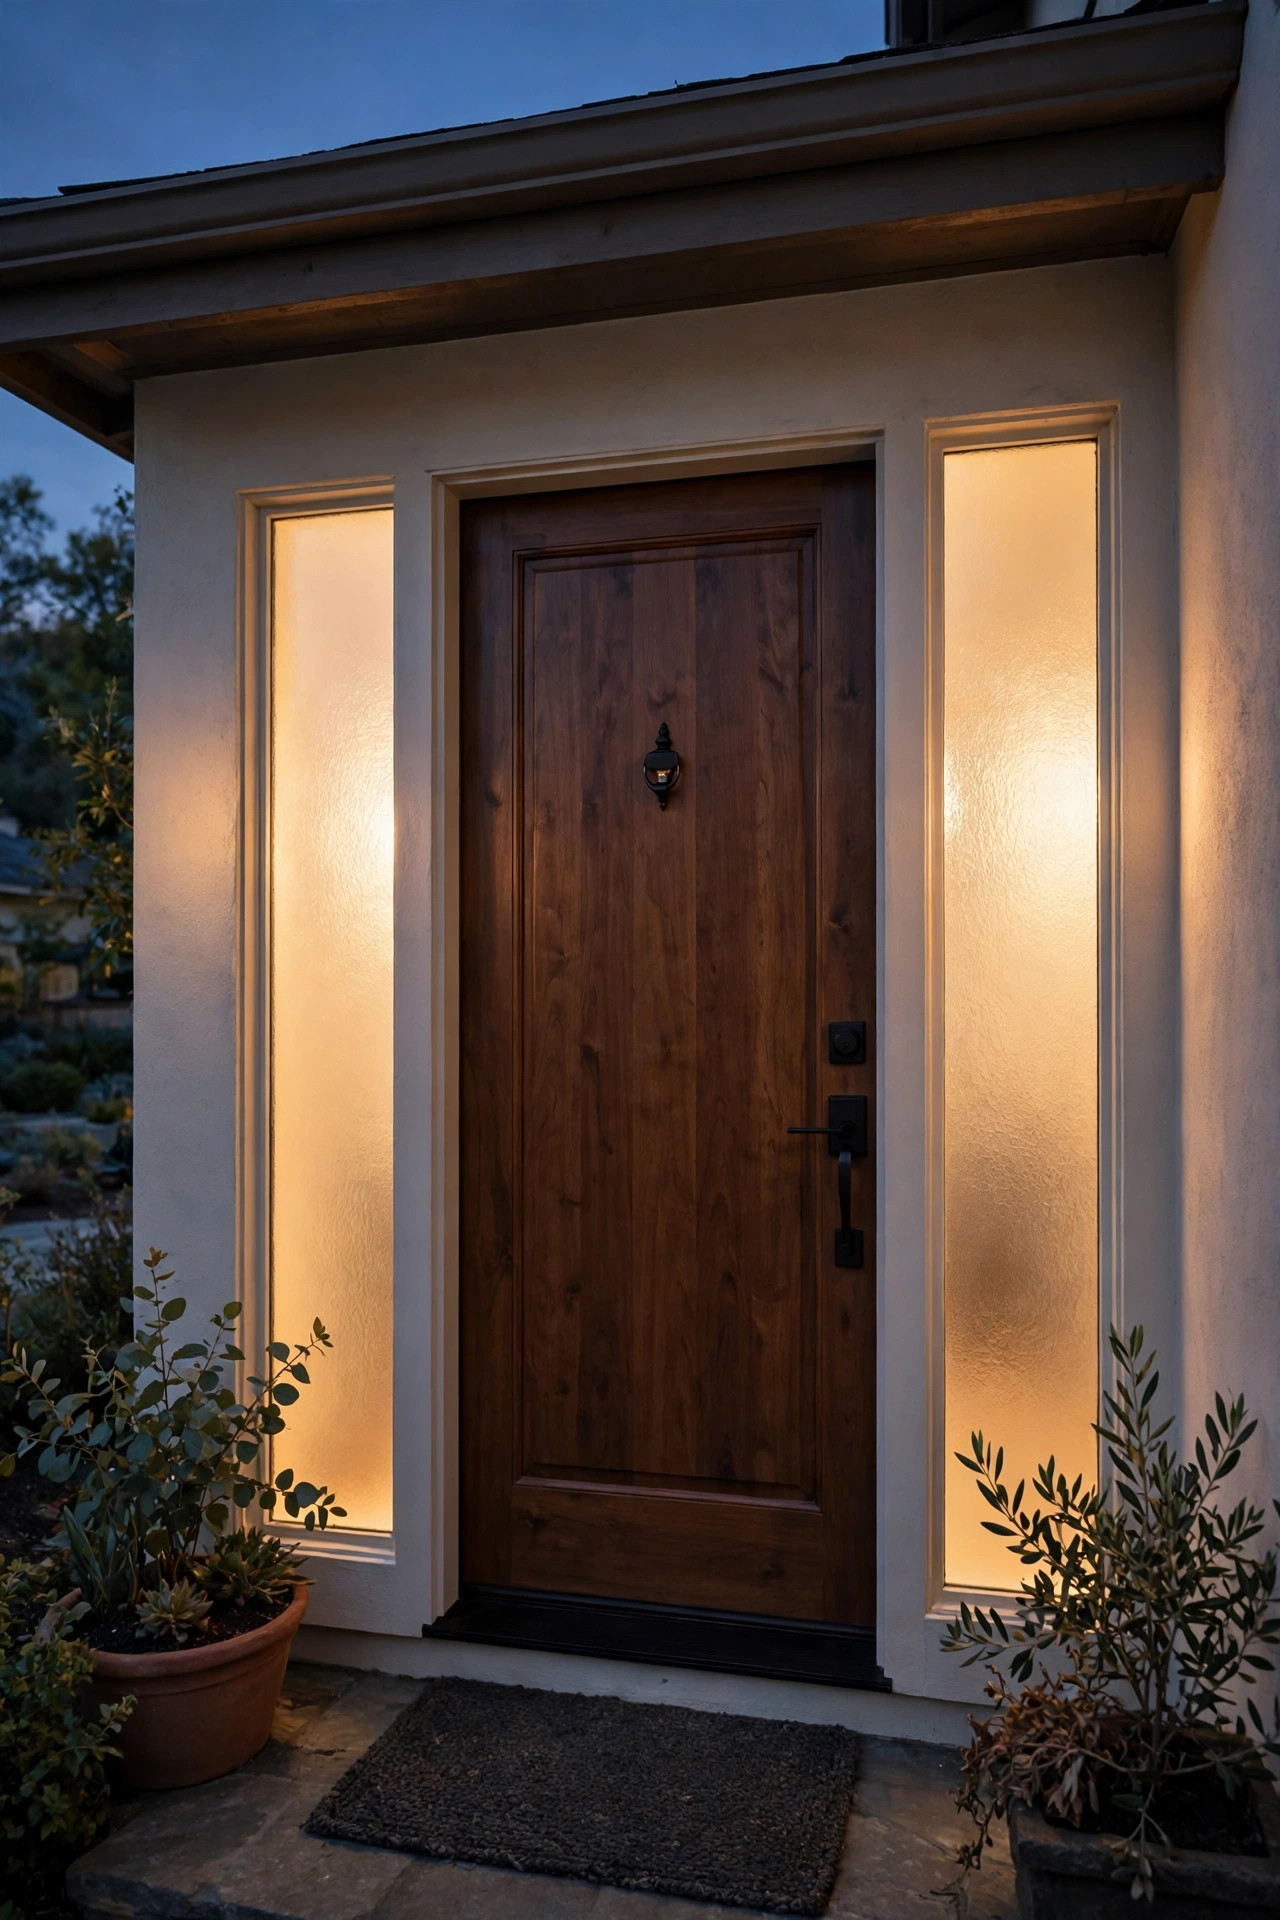
This is the trick that gets the most compliments on my own street: instead of lighting the sidelights from outside, light them from inside so the glass itself becomes the fixture. If your sidelights are frosted, seeded, or reeded glass, place a warm light source a few inches behind them indoors — a short LED strip on the interior trim, a small table lamp on an entry console, or a low-profile light bar along the floor trim. The textured glass diffuses the light beautifully and the whole panel glows like rice paper. Keep the source 3 to 6 inches back from the glass; too close and you will see a hot spot, too far and the glow fades. A 2700K strip at about 300 lumens per panel is plenty. One caution from experience: use LED only, since older halogen or incandescent bulbs get hot enough to stress glass and nearby curtains. On clear-glass sidelights this still works if you add a sheer curtain or privacy film first — more on that in idea five.
Suggested budget range: $35 – $110.
3. Hide an LED Strip in the Transom Frame for Seamless Sidelight and Transom Lighting
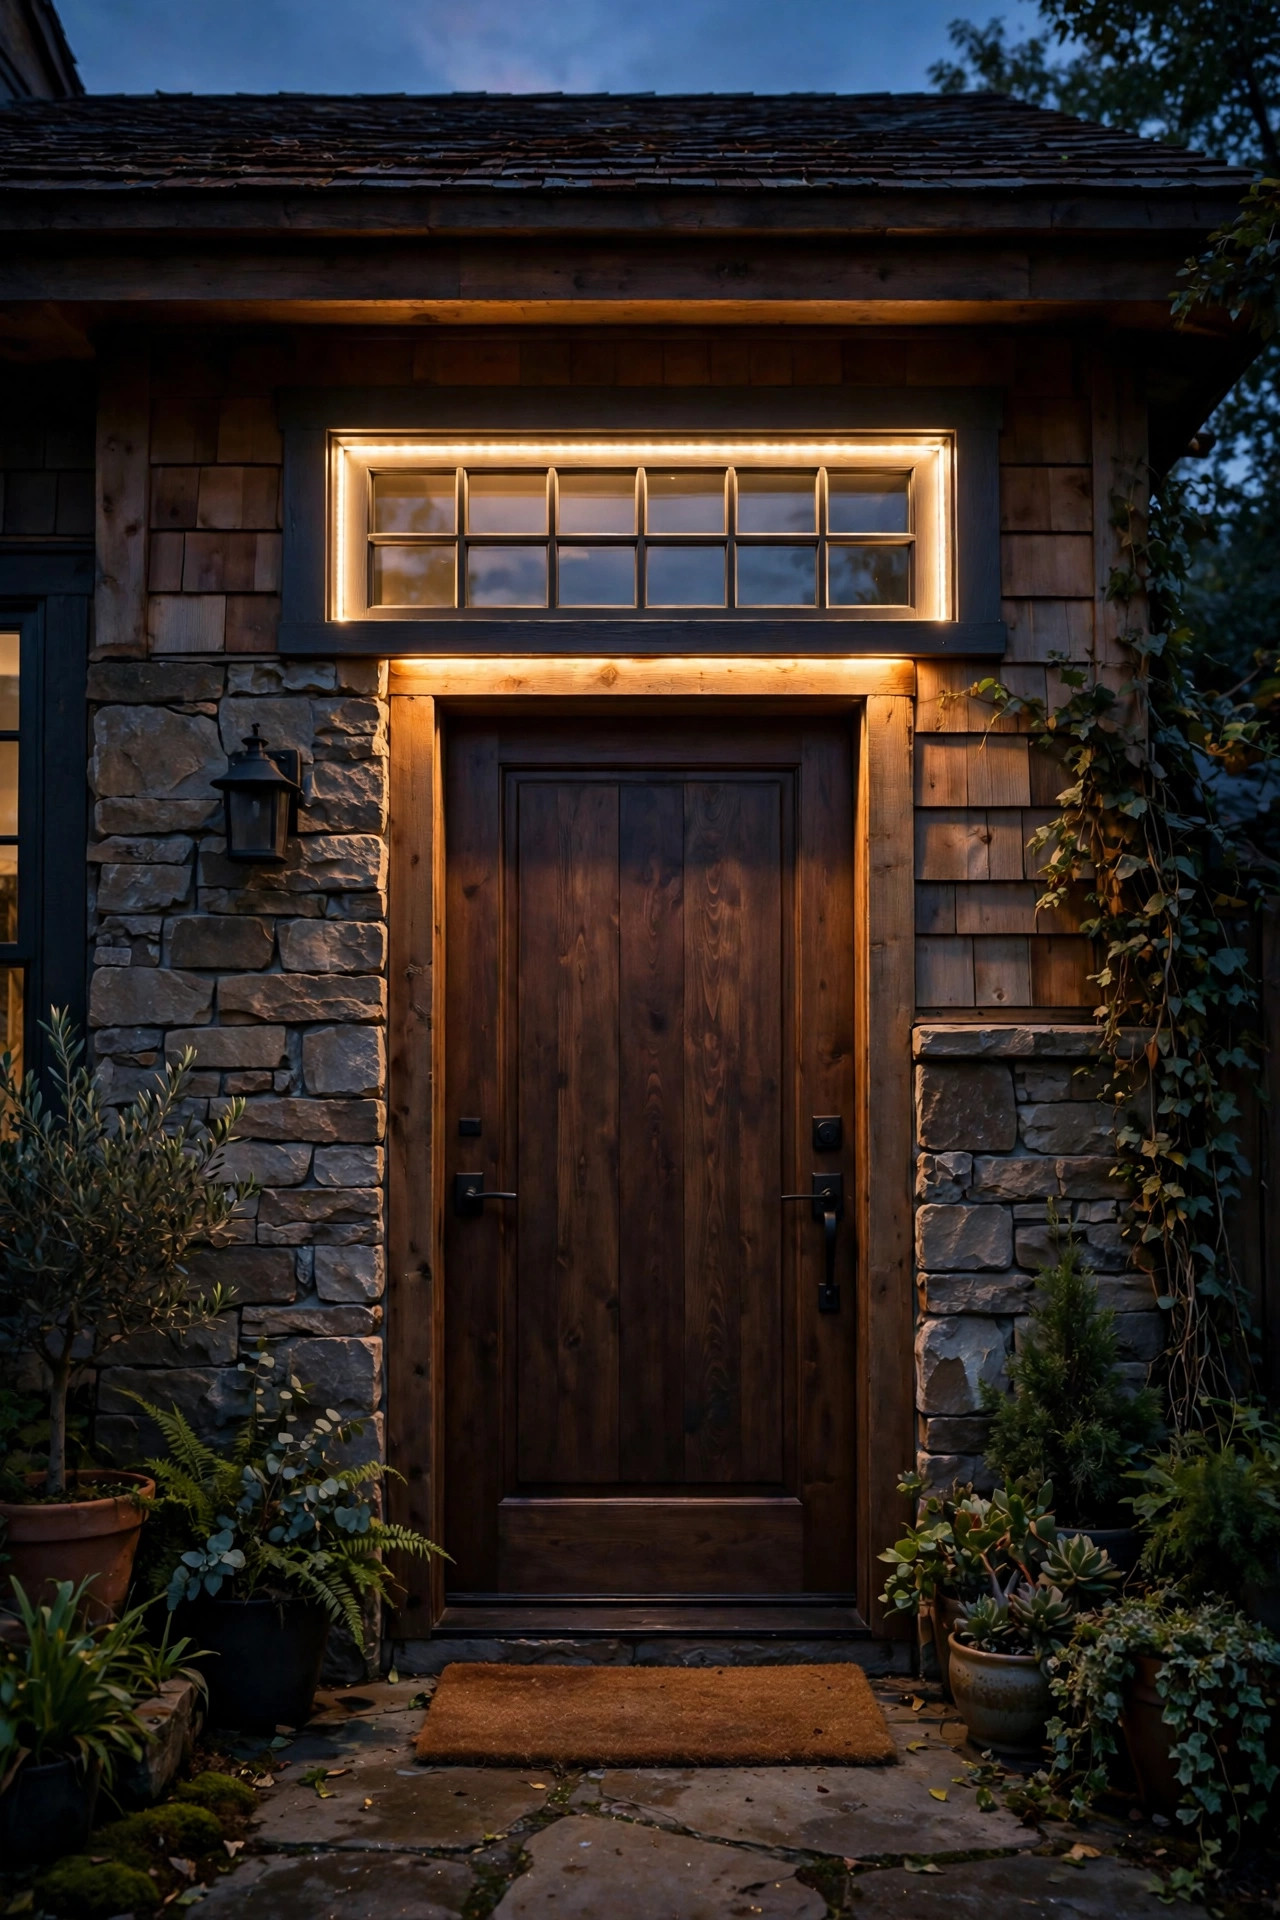
A transom window is basically a wide, shallow stage above your door, and a hidden LED strip makes it glow without a single visible fixture. Tuck a flexible LED strip into the bottom interior frame of the transom, facing upward, so light washes across the glass and the hardware disappears into the trim. Outdoors, the effect reads as a soft halo crowning the door — pure sidelight and transom lighting magic with zero visual clutter. Use a 2700K strip with a diffuser channel if the strip might be visible through the glass from the street; bare diodes can show as a dotted line. Most transoms run 30 to 48 inches wide, so a 3-foot strip segment is usually enough, and a plug-in driver with a smart plug lets you schedule it. Keep the strip on the interior side whenever possible — it stays dry, lasts longer, and avoids exterior wiring entirely. If your transom glass is clear, aim the strip at a frosted film or the ceiling side of the frame to soften the beam.
Suggested budget range: $30 – $85.
4. Add a Mini Picture Light Above the Transom
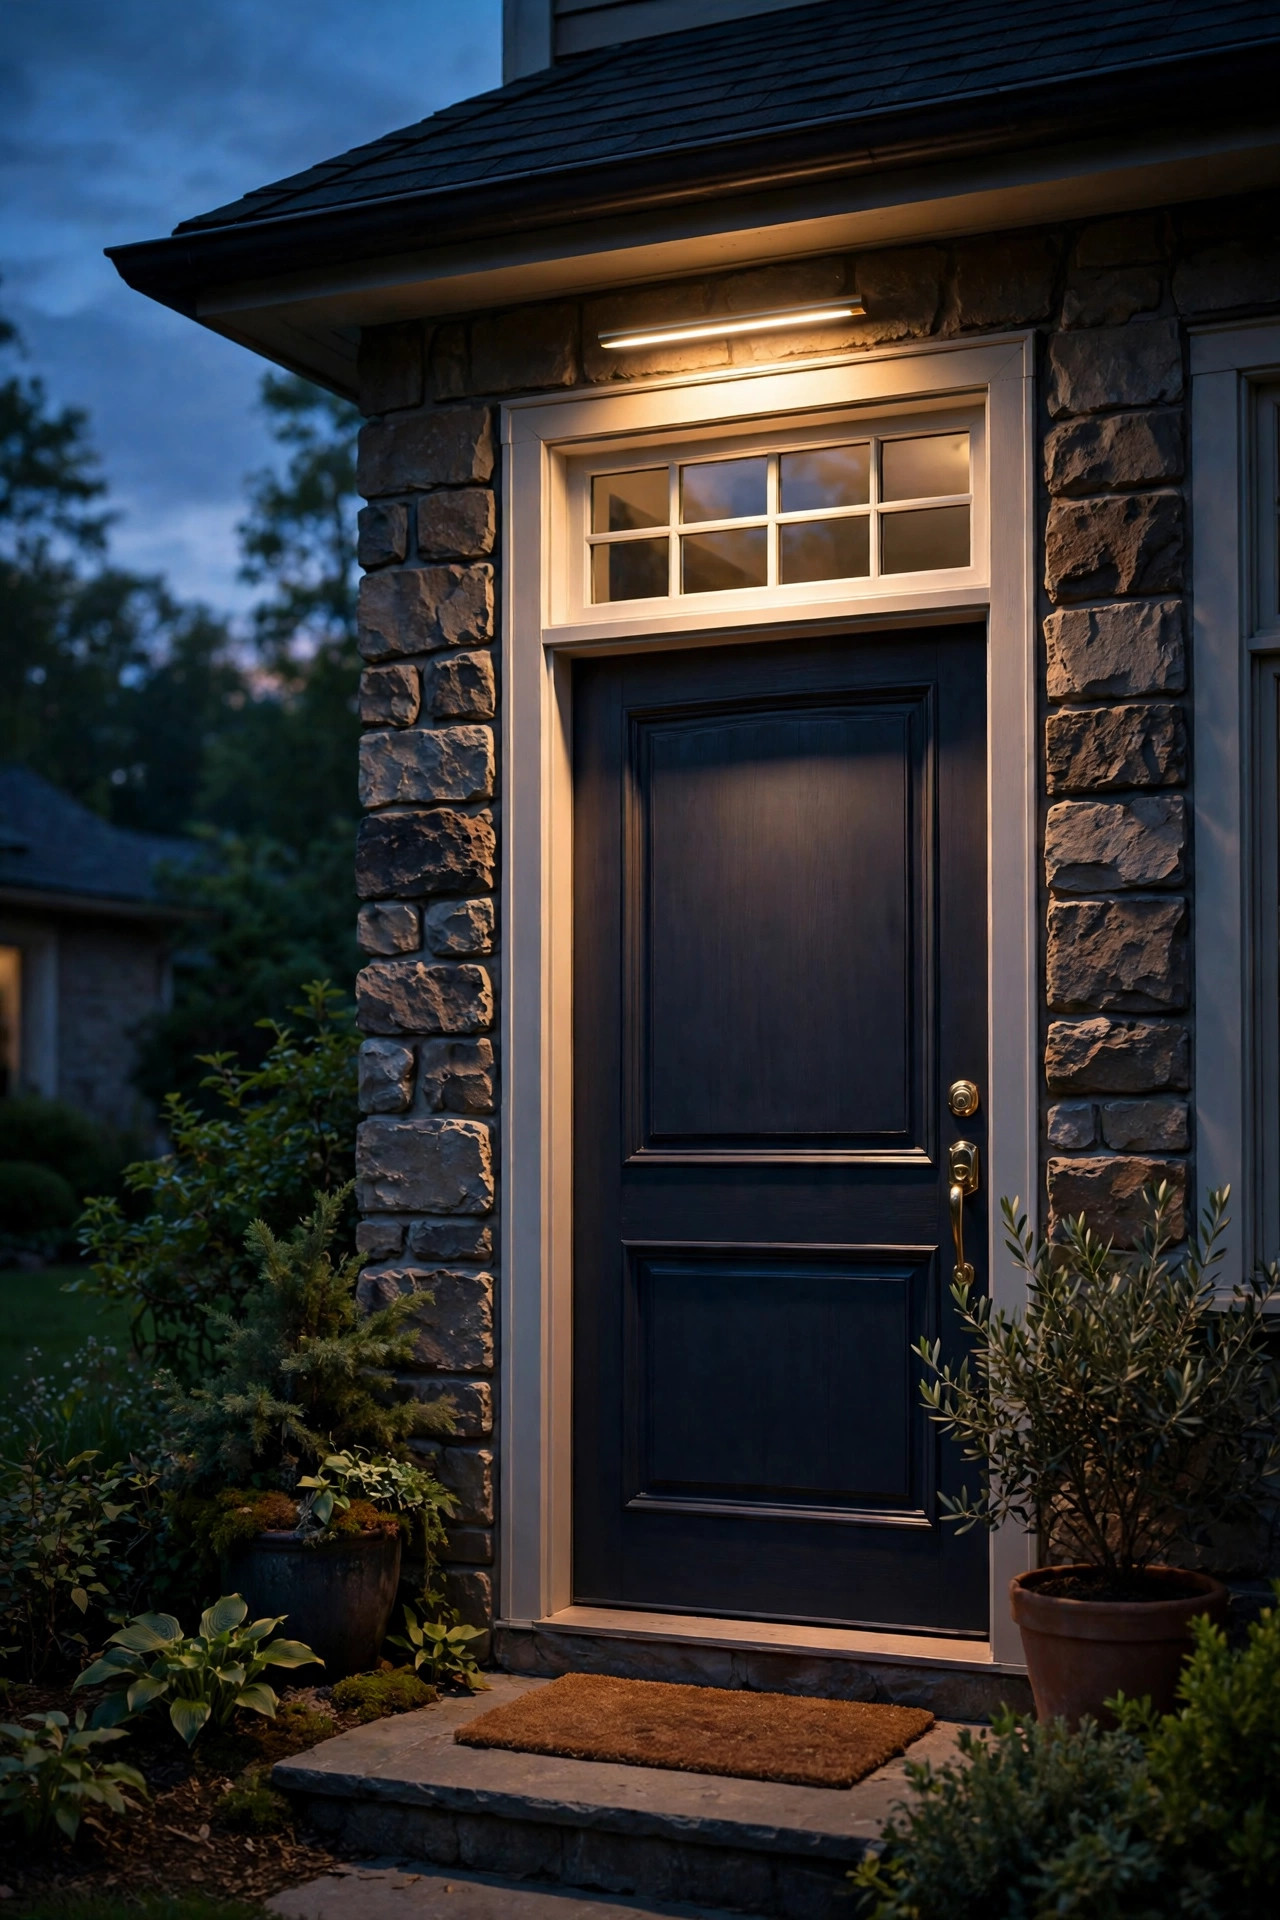
Picture lights are not just for gallery walls. A slim brass, black, or bronze picture light mounted on the trim directly above your transom casts a gentle wash down over the glass and door below, highlighting the architecture the way museums highlight art. It is a particularly lovely move on historic homes, Craftsman entries, and any door with pretty divided-lite transom glass you want to show off. Choose a fixture 16 to 24 inches wide — roughly two-thirds the width of the transom — and angle the head so the beam grazes rather than blasts. Hardwired versions look cleanest, but battery and plug-in models with remote controls have gotten genuinely good and save an electrician visit. Keep bulb temperature at 2700K so the wash blends with your other entry lighting instead of sitting on top of it. In my experience this one fixture does more for nighttime curb appeal per dollar than almost anything else on a traditional facade.
Suggested budget range: $60 – $190.
5. Layer Privacy Film With Backlight on Clear Sidelights
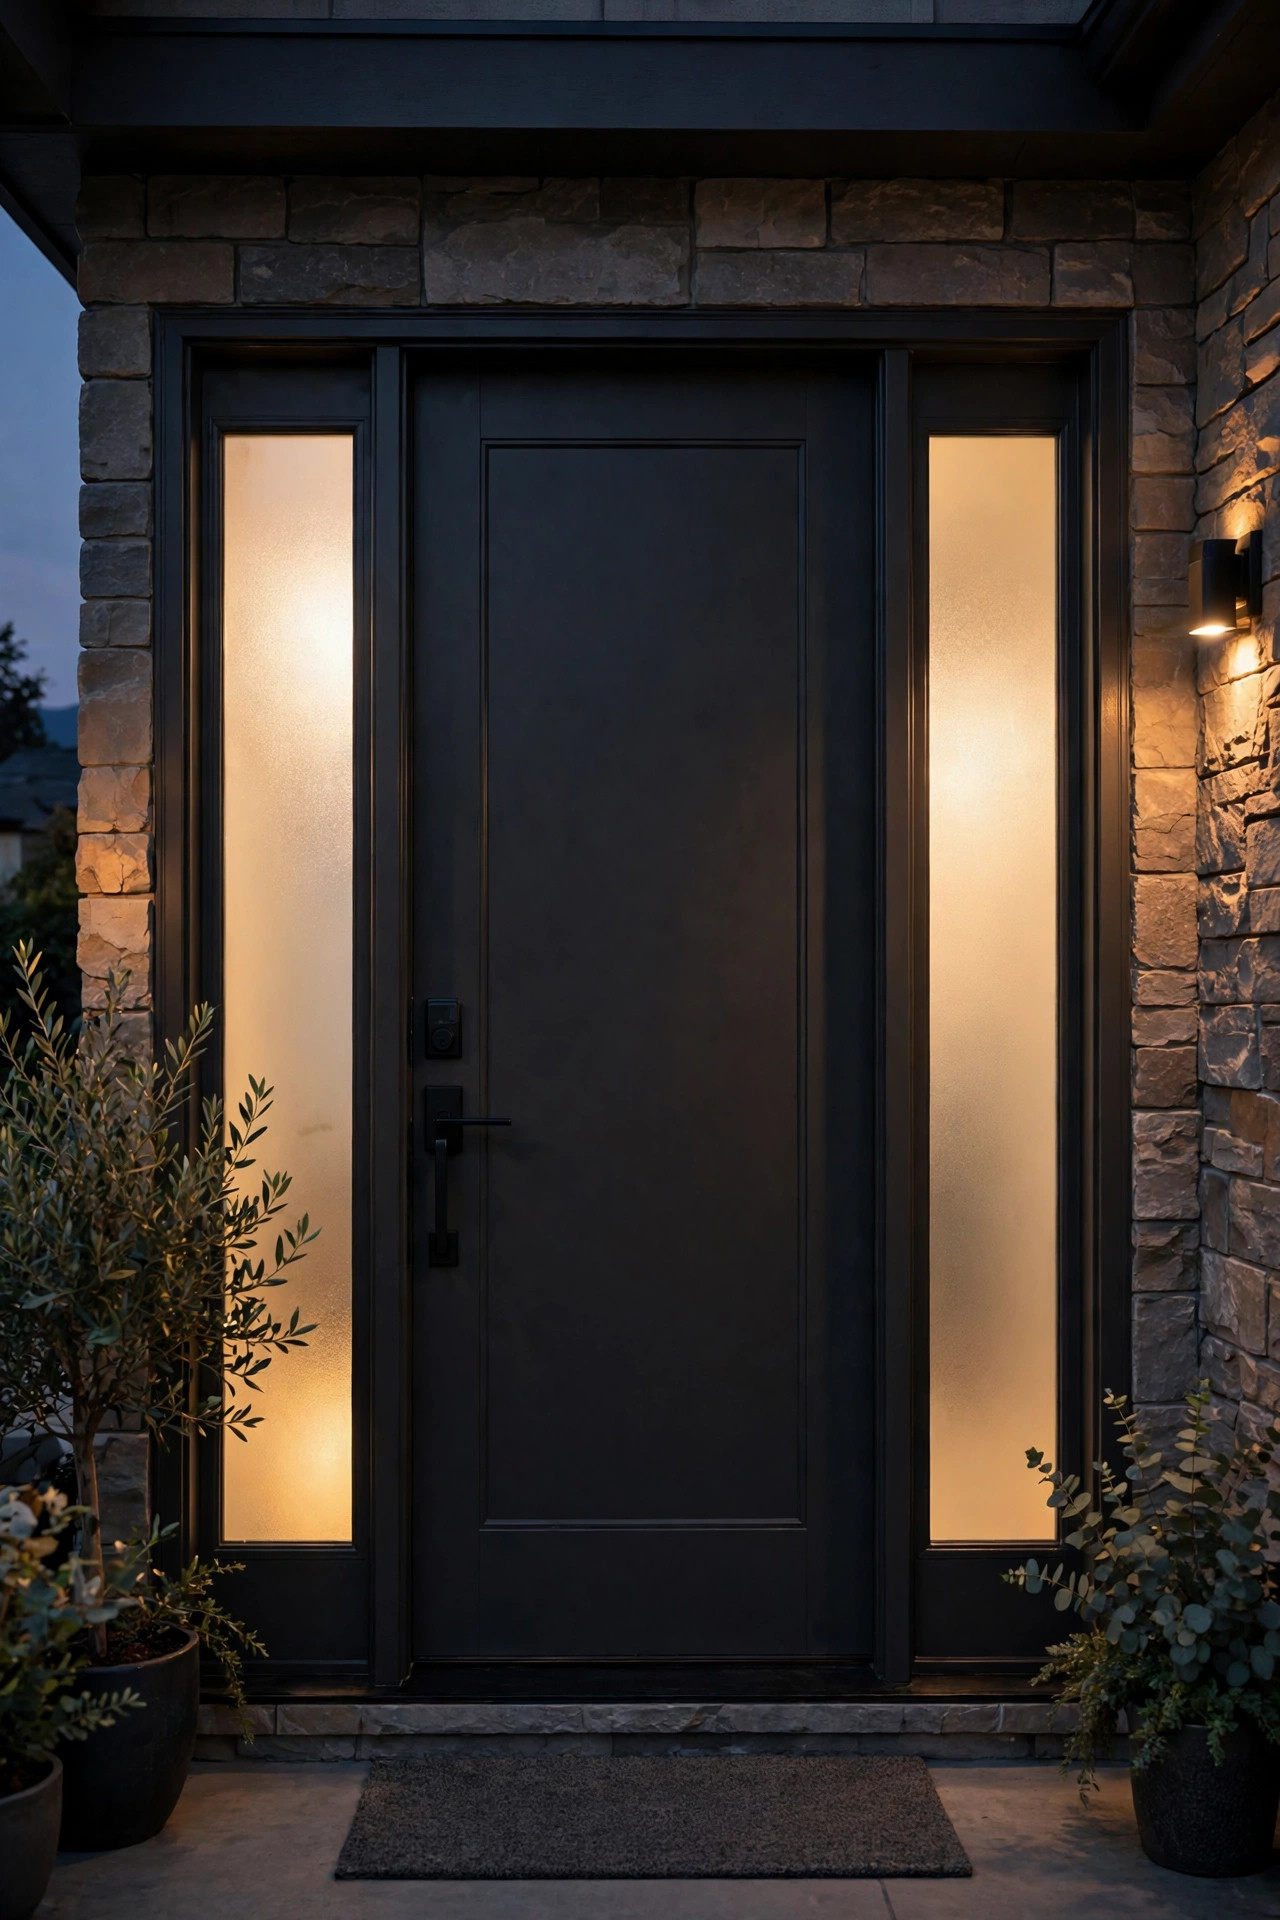
Plenty of sidelights are plain clear glass, which means backlighting them the usual way just shows off your foyer — and your silhouette — to the whole street. The fix is a static-cling privacy film in a frosted, reeded, or subtle stained-glass pattern, applied to the interior face of the glass in about twenty minutes with soapy water and a squeegee. The film diffuses any light behind it, blocks the view in, and honestly upgrades the look of plain glass even in daylight. Pair it with idea two's interior strip or lamp and the panels glow like expensive textured glass. Because the film is static cling, renters and commitment-phobes can peel it off cleanly later. One safety note I always give: keep film away from any heat-producing bulb — LED only, which you should be using anyway — and leave a small unfrosted peep strip at eye level if you like checking who is at the door before opening it.
Suggested budget range: $25 – $70.
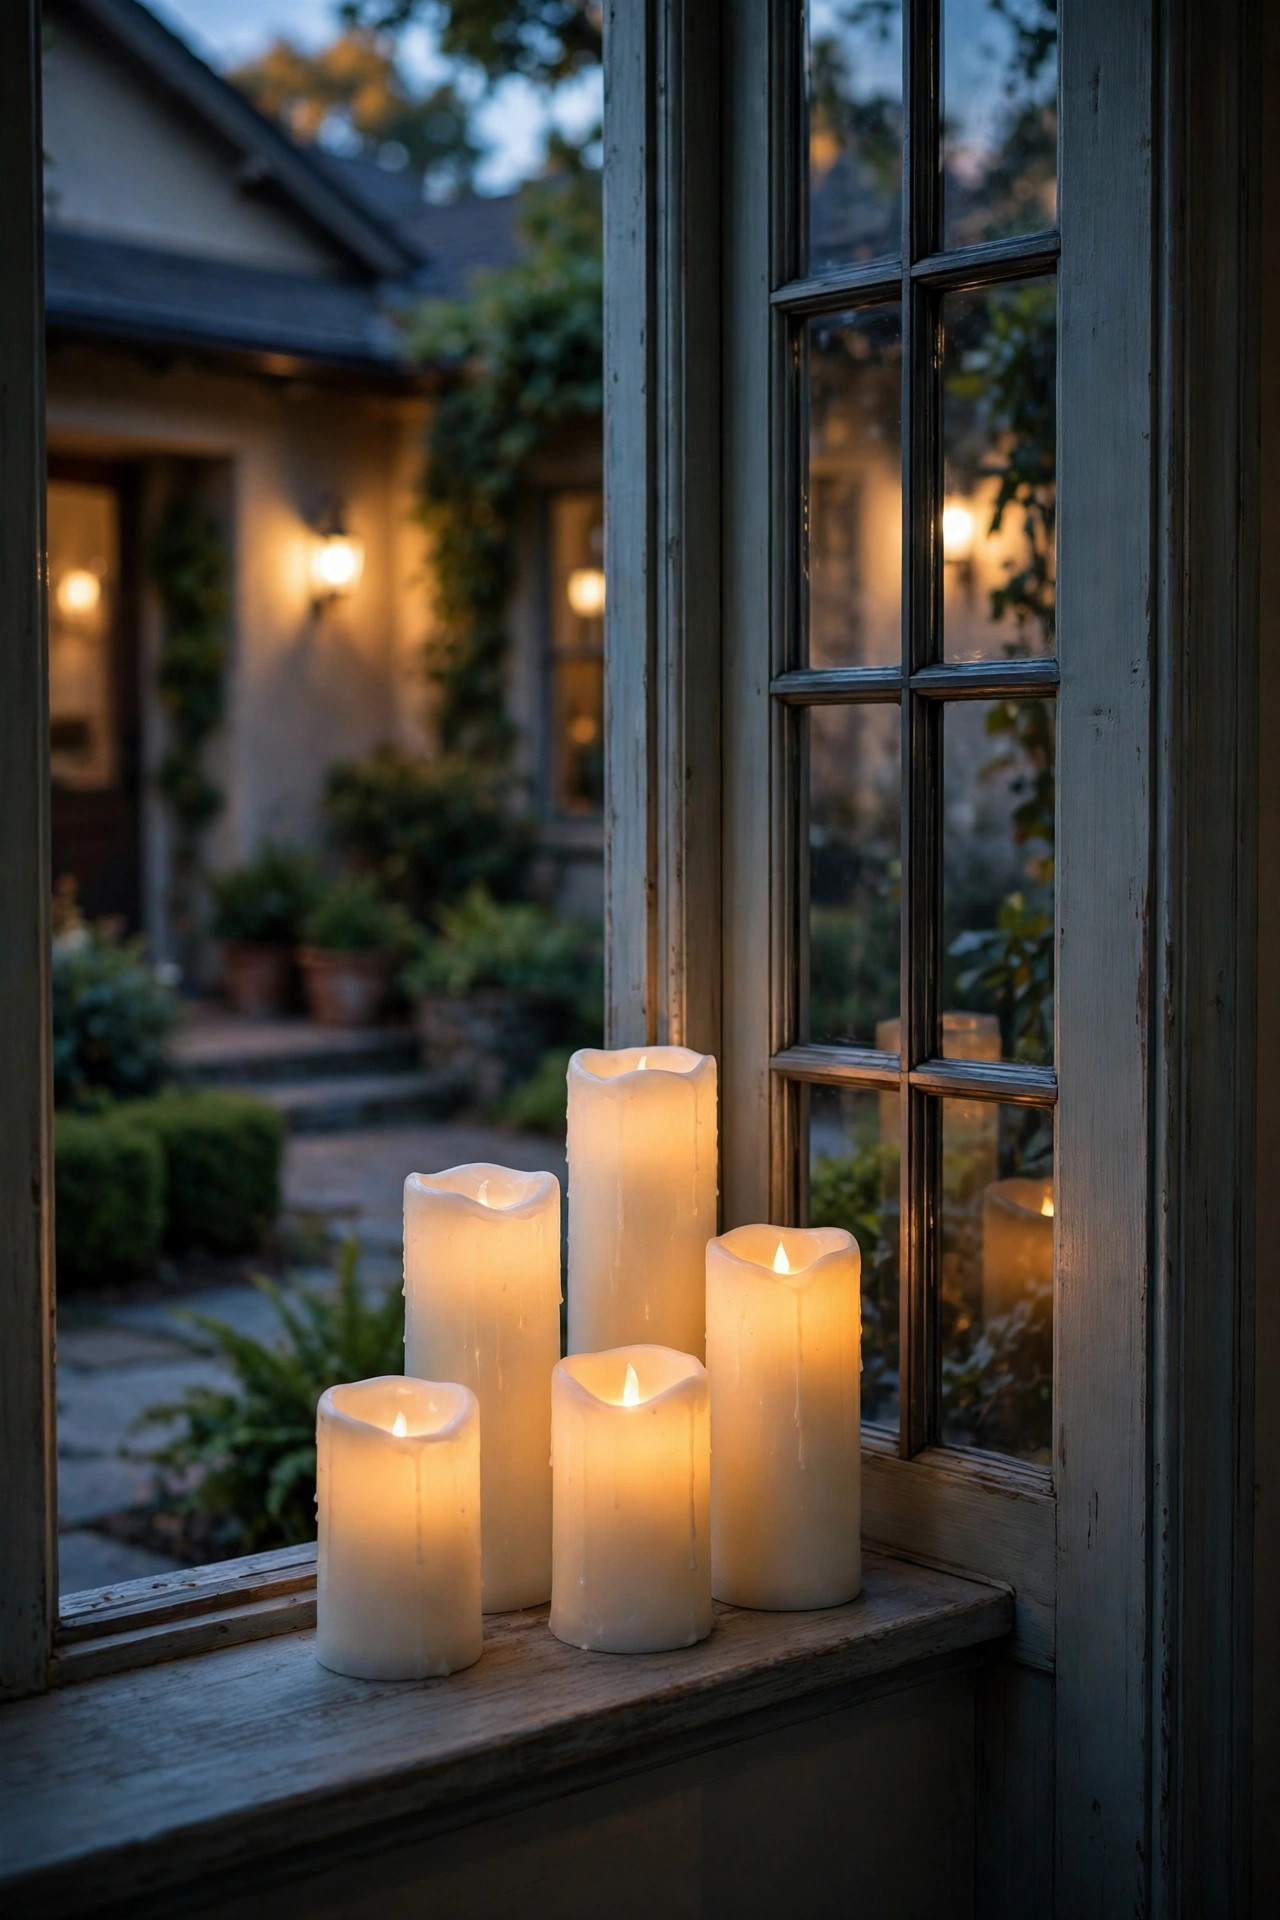
6. Line Flameless Candles Along the Interior Sidelight Sill
For the coziest, lowest-effort glow on this list, set a row of flameless LED candles on the interior sill at the base of each sidelight. Through frosted or clear glass, those flickering points of light read as pure hygge from the sidewalk — like the house is permanently ready for a holiday evening. Use candles 3 to 5 inches tall with a realistic flicker and a built-in timer, most of which run a 5-hours-on, 19-hours-off cycle so you set them once in October and forget them until spring. Real wax pillars look the classiest through glass. Keep them a couple of inches back from the glass so the flames do not smear into one blob, and vary the heights slightly — a 3, 4, and 5 inch trio per panel looks styled rather than lined up. Battery life on the timer cycle is typically two to three months, so rechargeable versions pay for themselves quickly.
Suggested budget range: $20 – $55.
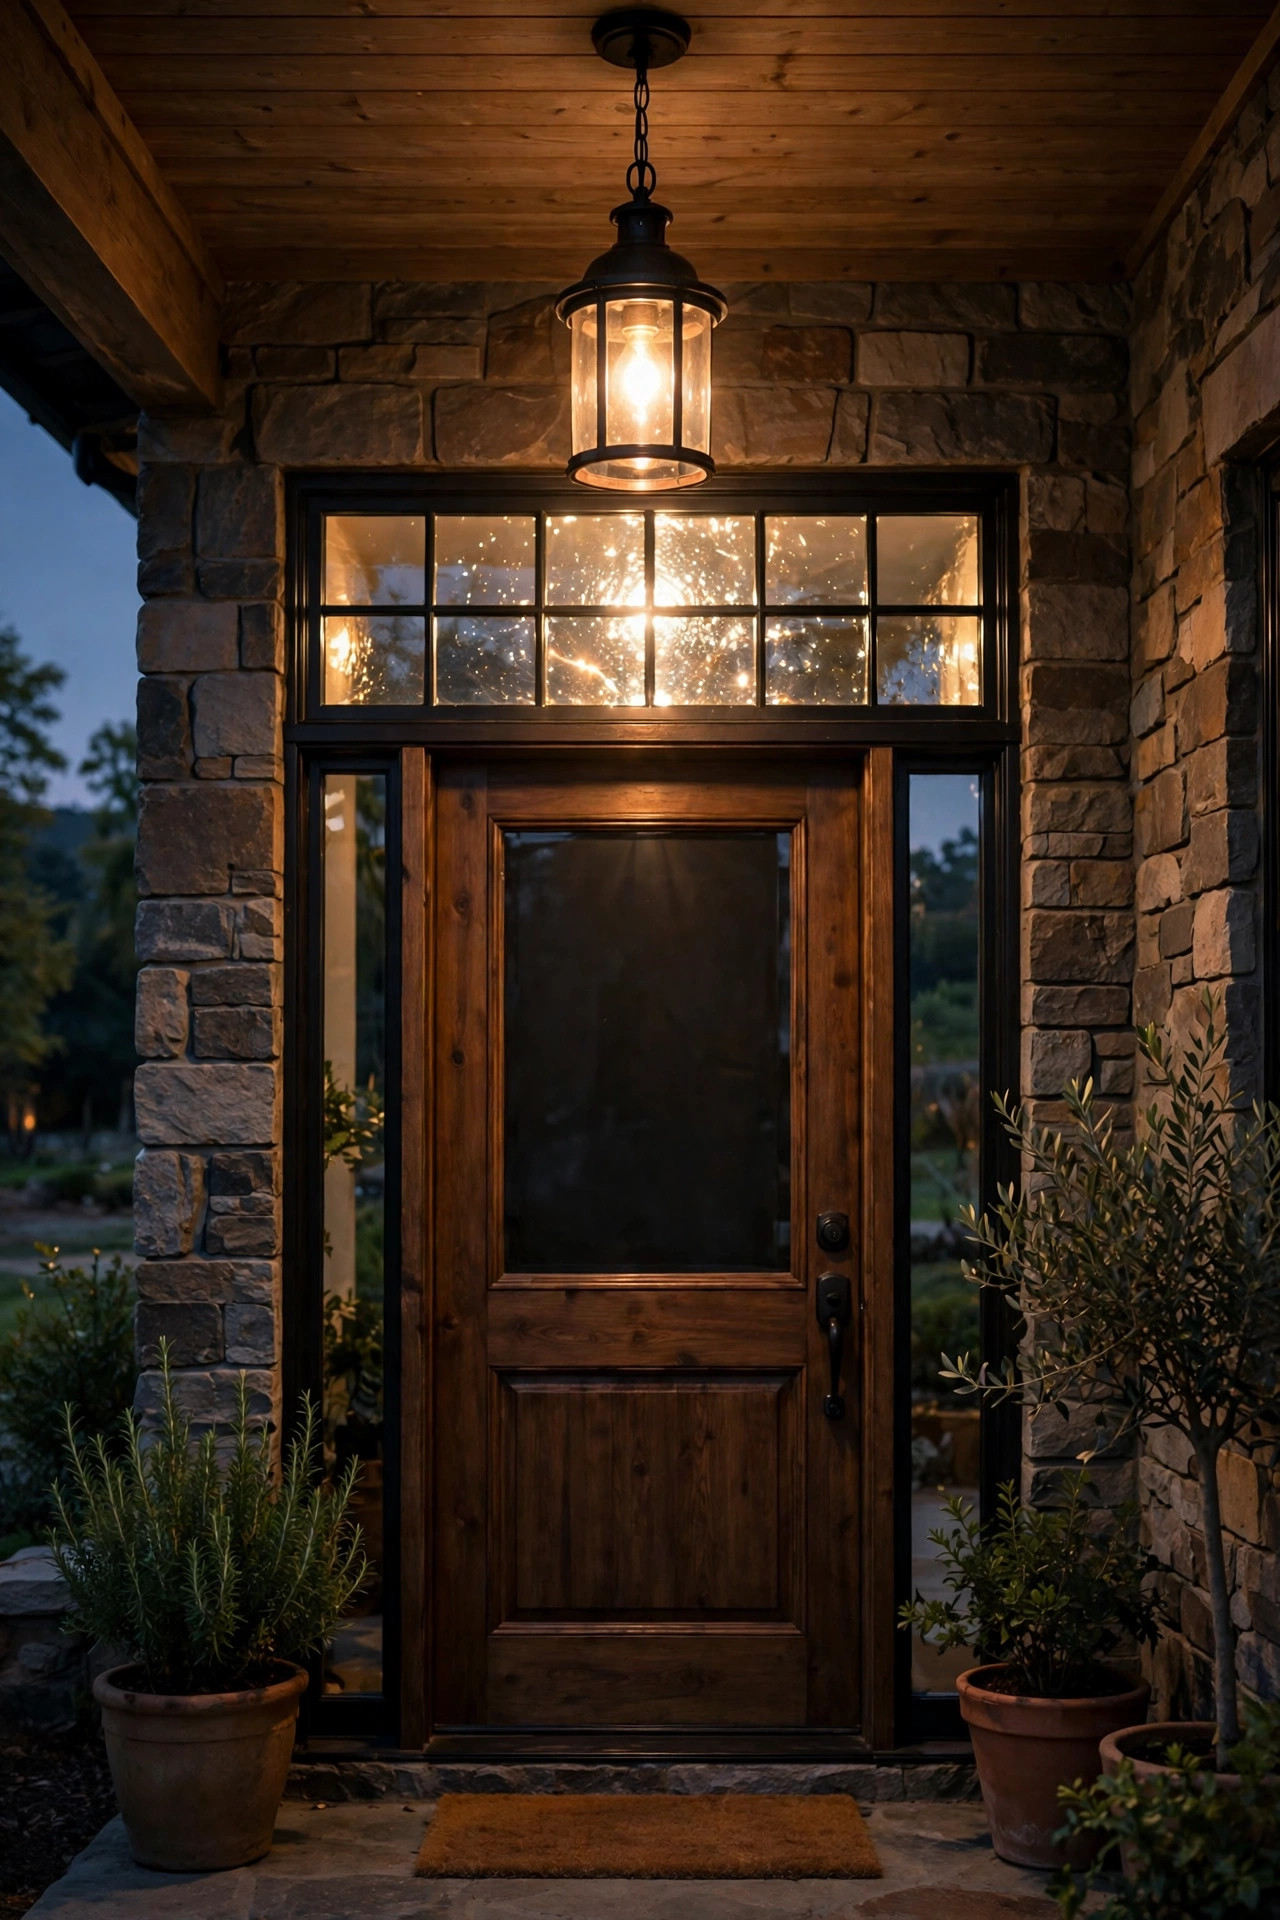
7. Wash the Whole Entry With a Centered Pendant Above the Transom Line
If your porch has a ceiling or covered portico, a single pendant hung on the centerline of the door does something sconces cannot: it lights the transom from the front, so the glass sparkles instead of going dark and mirror-like. Position the pendant so its bottom sits 7 feet above the porch floor at minimum — a little higher if your door has that tall transom — and center it on the door's vertical axis so the reflection balances across both sidelights. An exposed LED filament bulb in a clear or seeded glass shade at 2700K gives you that jewelry-like sparkle; frosted shades give a softer, more modern wash. Scale matters here: for a standard 36-inch door with two sidelights, a pendant 12 to 16 inches wide looks proportional. Put it on a dimmer if you can. In my experience this is the fixture guests photograph, so it is worth choosing one you genuinely love looking at.
Suggested budget range: $110 – $320.
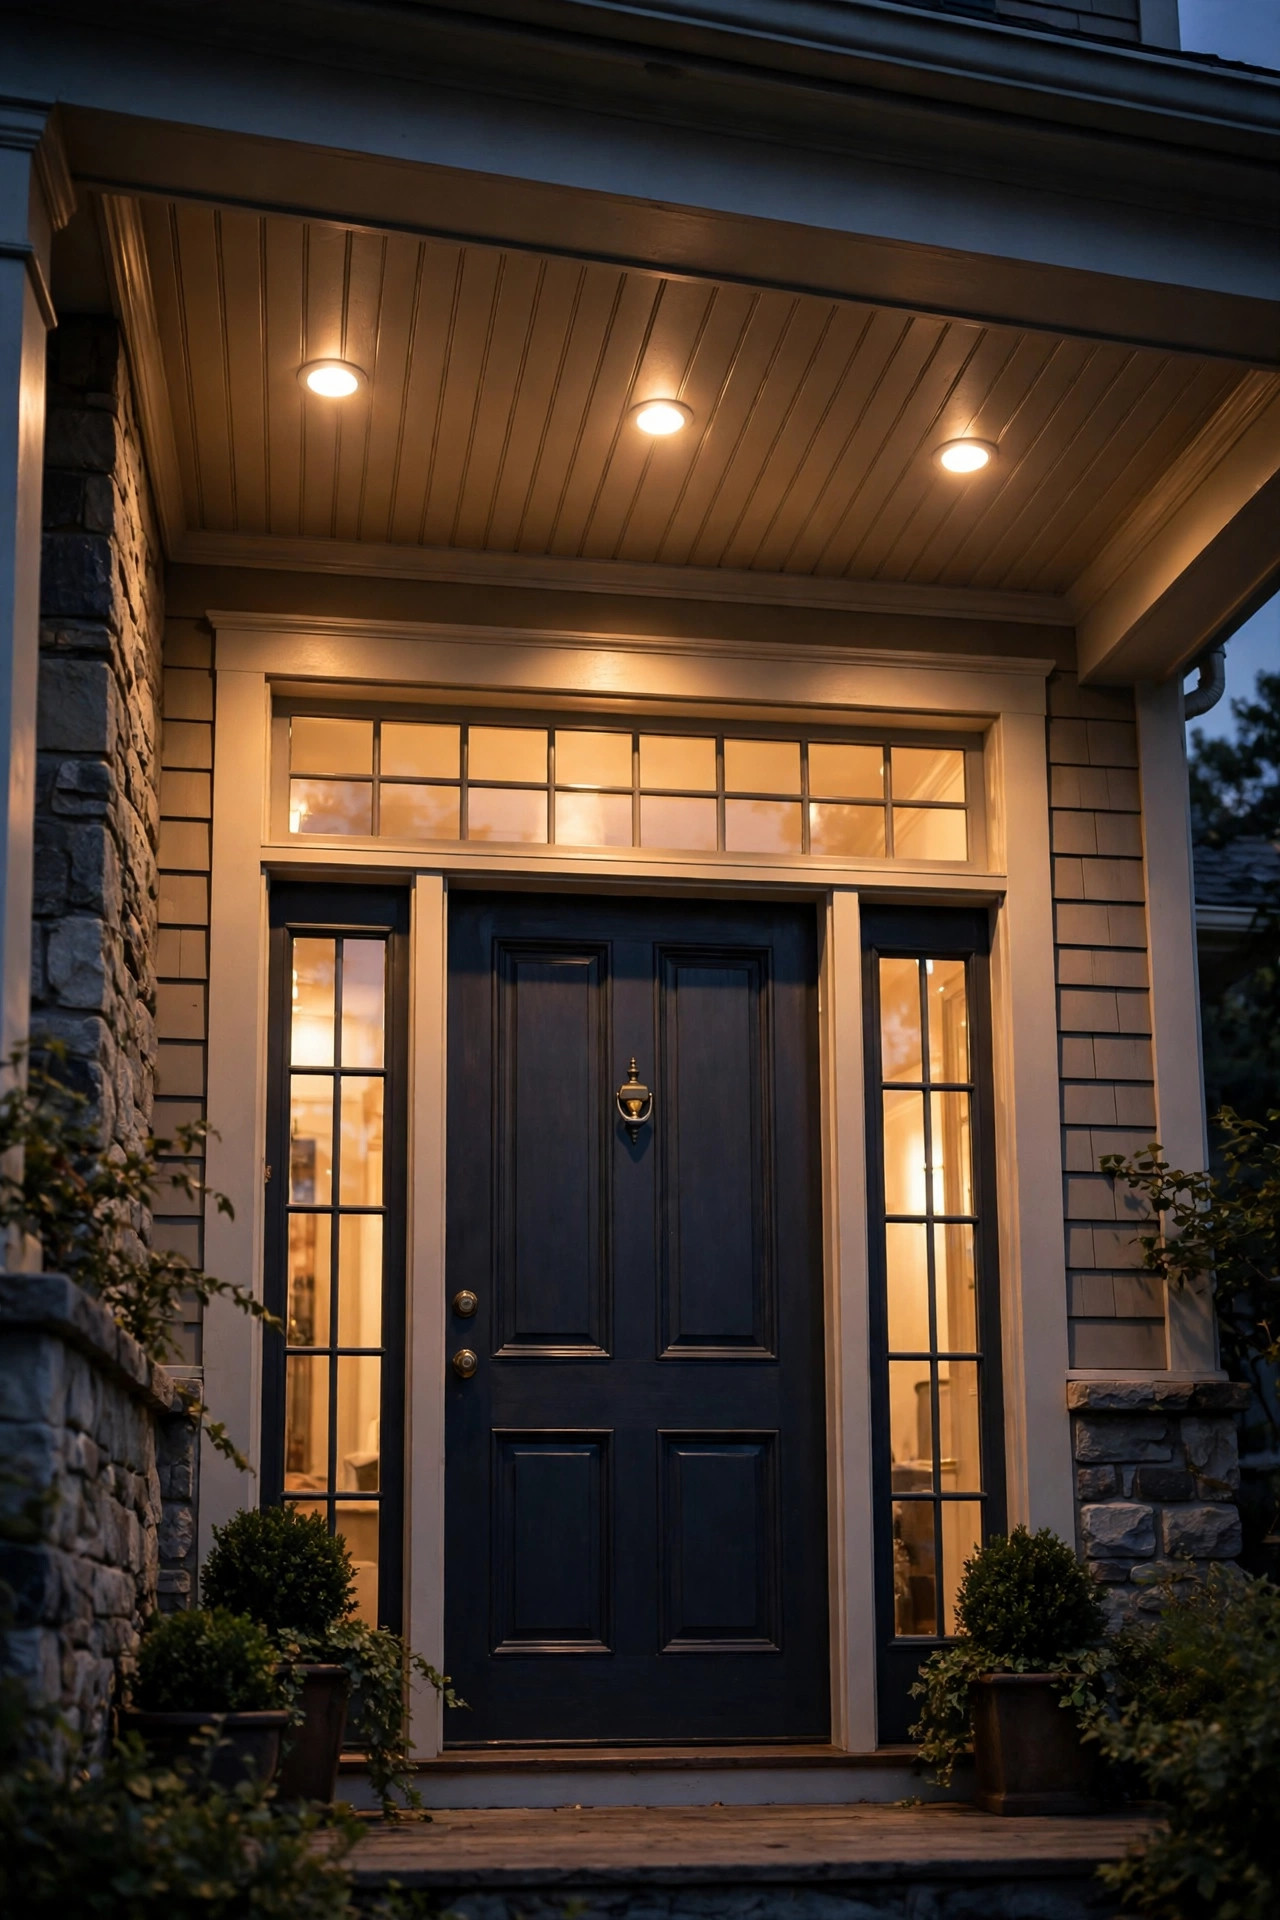
8. Aim Recessed Porch Ceiling Lights Down at the Glass
Recessed can lights or slim LED downlights in a porch ceiling are the quiet achievers of entry lighting, and aimed thoughtfully they make sidelights and transoms shimmer. The positioning is everything: place fixtures 18 to 24 inches out from the wall, spaced to align with each sidelight and the center of the transom, so the beams graze down the glass and trim instead of pooling uselessly on the porch floor. Choose narrow 30 to 40 degree beam angles at 2700K — grazing beams show off textured and seeded glass beautifully. This is one of the few projects on the list where I suggest hiring an electrician unless you are experienced, since you are cutting into a ceiling and tying into a switched circuit; budget accordingly. The payoff is real, though: no visible fixtures at all, just architecture that glows. Pair with dimmers so you can run them at 40 percent most nights and full brightness when guests arrive.
Suggested budget range: $180 – $450.
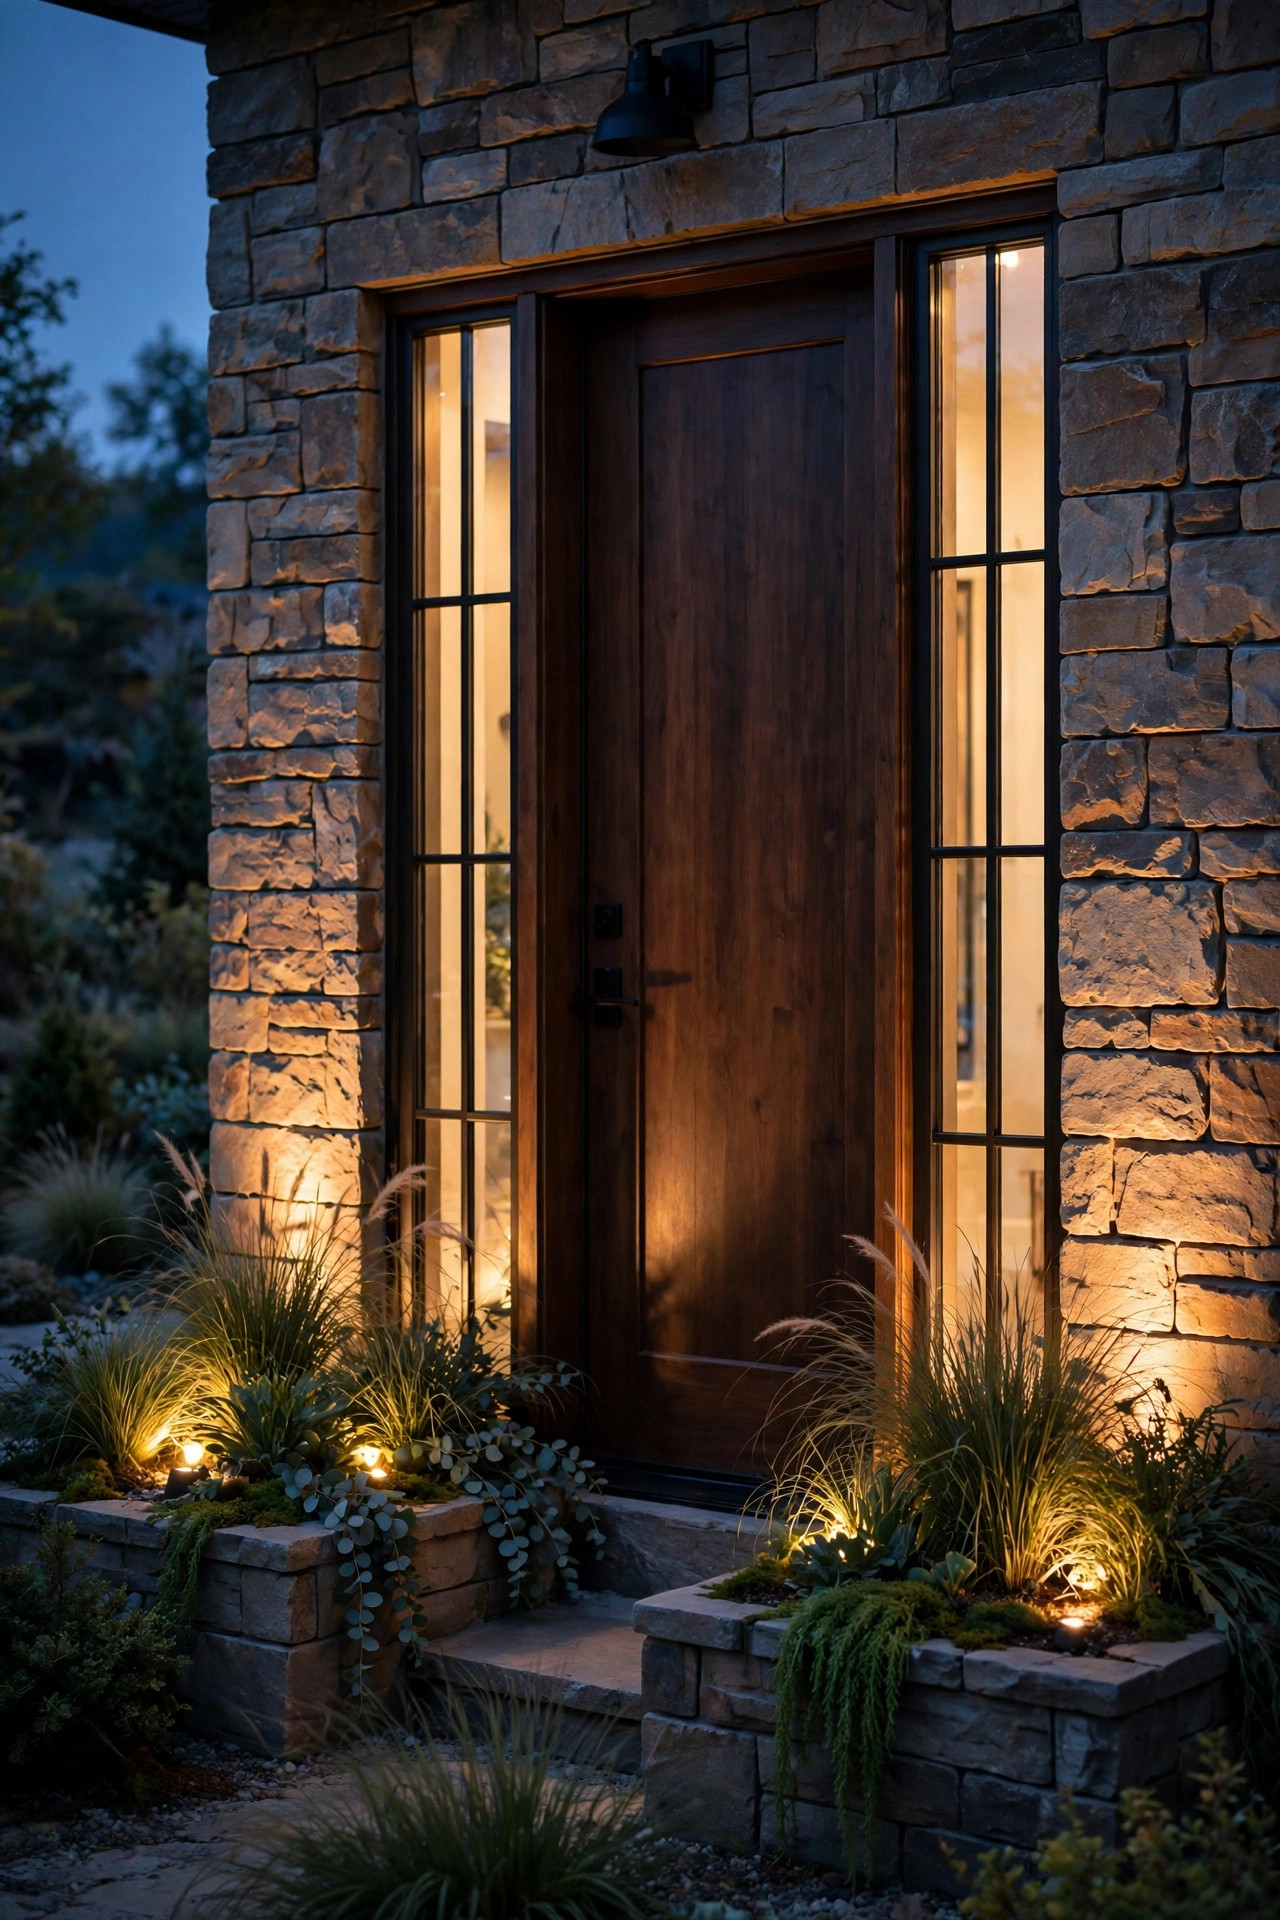
9. Uplight the Entry From Planters Flanking the Door
Sometimes the most flattering light comes from below. Tuck a small adjustable uplight into each of the planters or urns flanking your door and angle it up across the sidelight glass and trim. The low angle creates gentle drama, throws beautiful shadows from the plantings, and catches the edges of the transom if you widen the beam. Low-voltage landscape spotlights are ideal here — a 3 to 5 watt LED with a 45 degree beam at 2700K — because you can bury the cable in the planter and run it off your existing landscape transformer. Keep the fixture itself hidden behind foliage or at the back of the pot so visitors see the glow, not the hardware. One honest warning: uplights aimed too steeply will glare straight into guests' eyes as they approach, so tilt, test after dark, and tilt again. I like the beam kissing the glass at about a 30 degree angle.
Suggested budget range: $45 – $130.
10. Match Bulb Color Across Every Fixture for One Seamless Glow
This idea costs almost nothing and fixes the most common entry mistake I see: three fixtures around one door glowing three different colors — bluish sconces, yellow porch light, orange interior lamp bleeding through the sidelights. The human eye reads that mismatch as "something's off" even when nobody can name it. The fix is a bulb audit. Pick one color temperature — 2700K is my default for entries because it flatters brick, wood, and skin tones — and replace every visible bulb around the door to match, including the interior foyer light that shines through the glass. Then check brightness balance: sconces around 200 to 400 lumens each, pendant 500 to 800, and any backlighting dimmer still. Matching CRI above 90 helps wood doors look rich instead of muddy. Do this before buying a single new fixture; honestly, half the "my entry looks cheap" problems I am asked about turn out to be a $12 bulb problem.
Suggested budget range: $15 – $60.
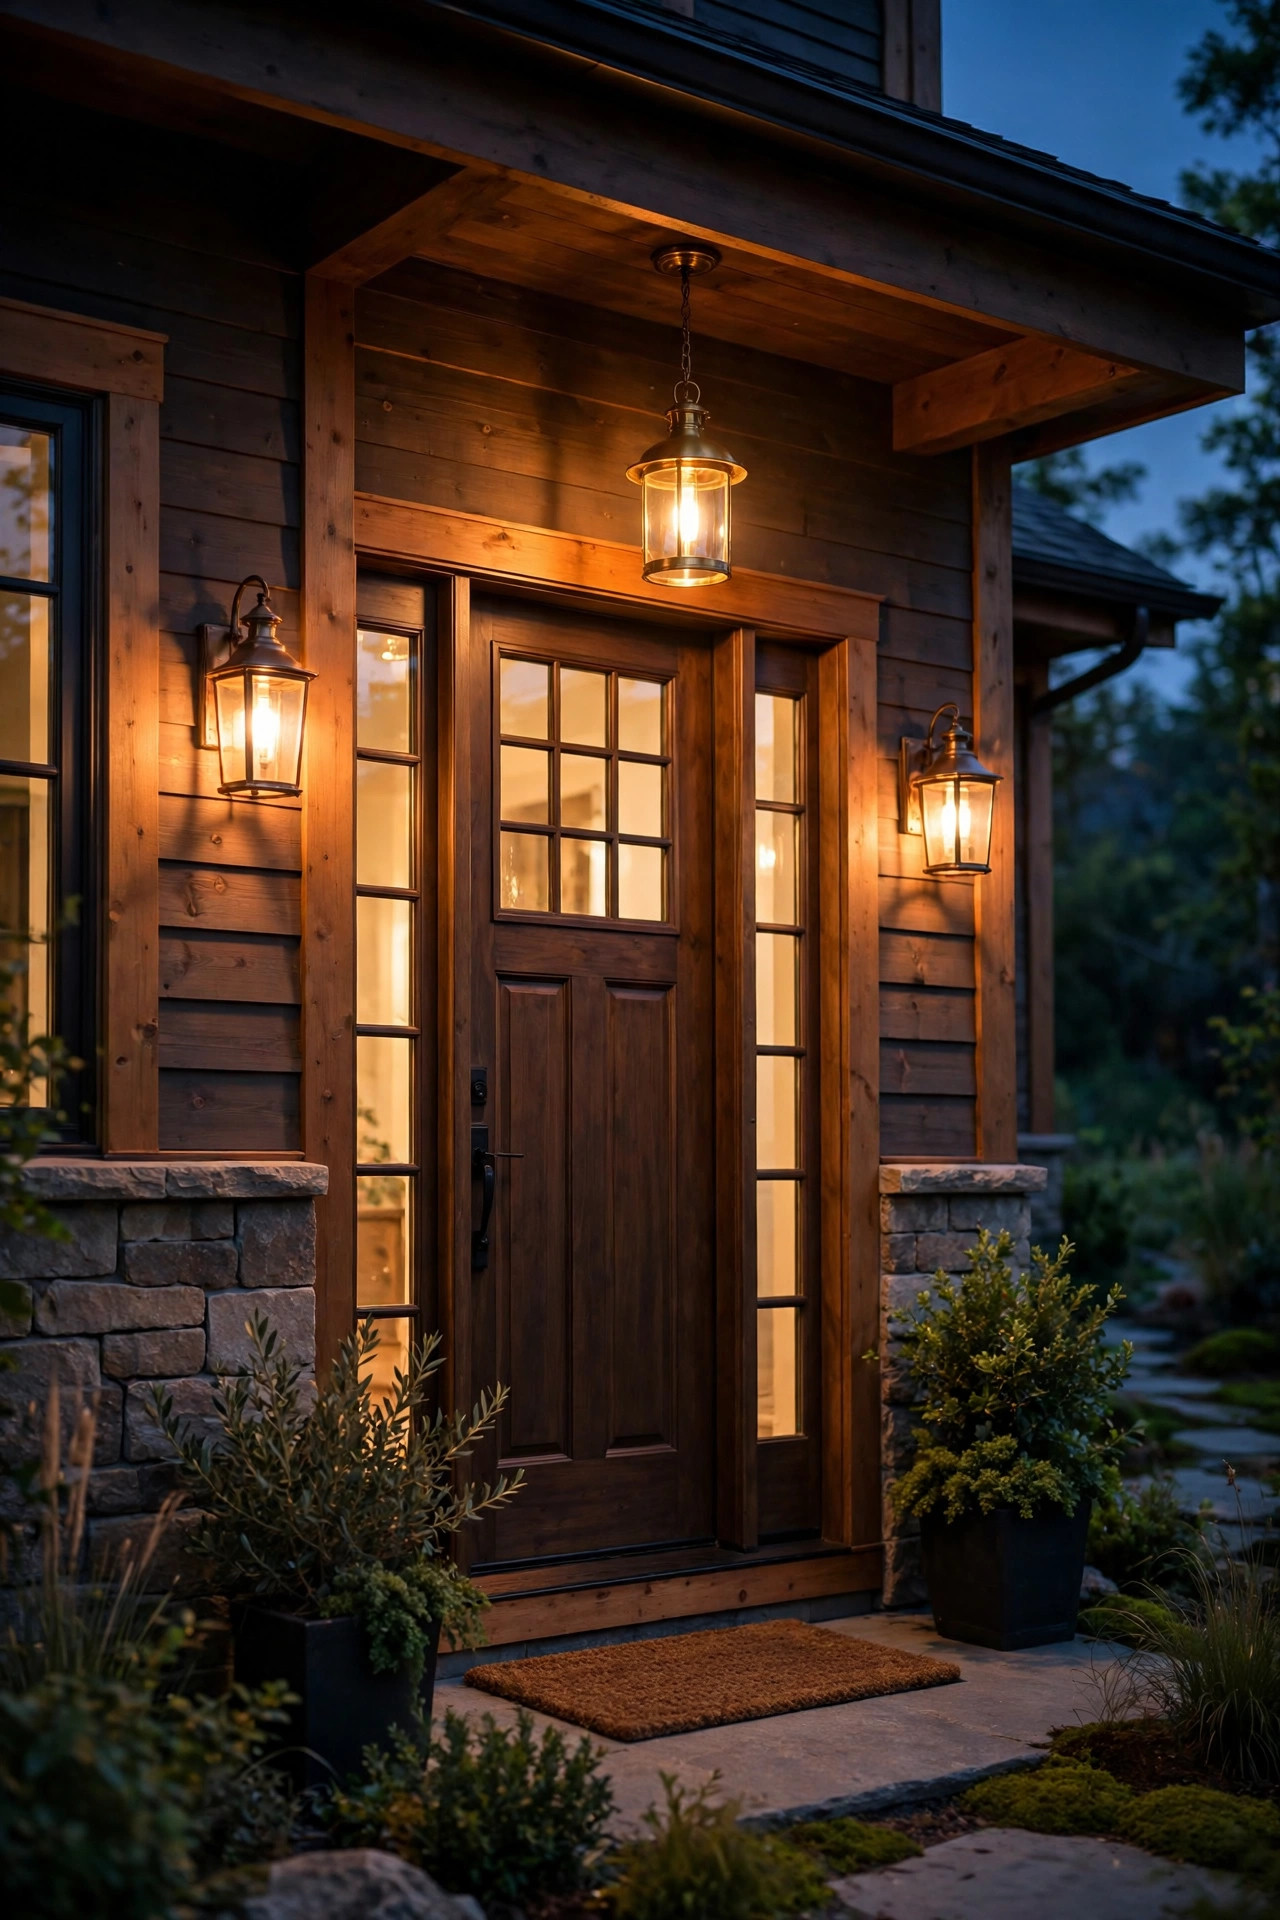
11. Frame the Transom With a Micro-Light Garland for the Season
A transom's rectangular or arched frame is practically begging for a seasonal outline. Drape a copper-wire micro-light garland — the tiny fairy-light style on flexible wire, often bundled with faux eucalyptus or pine — along the interior frame of the transom, and the window becomes a glowing picture frame above your door. Through the glass it reads festive but tasteful, especially at Thanksgiving and Christmas, and because the wire is nearly invisible you can leave a plain version up year-round. Battery packs with 6-hour timers hide neatly in the corner of the frame; plug-in versions work if you have an outlet nearby. Keep lights on the interior side so weather never touches them, and remember the standing safety rule: LED only, and nothing flammable pressed against even an LED strand for months on end — a half-inch of breathing room is plenty. Swap the greenery with the seasons and the transom stays interesting all year.
Suggested budget range: $20 – $50.
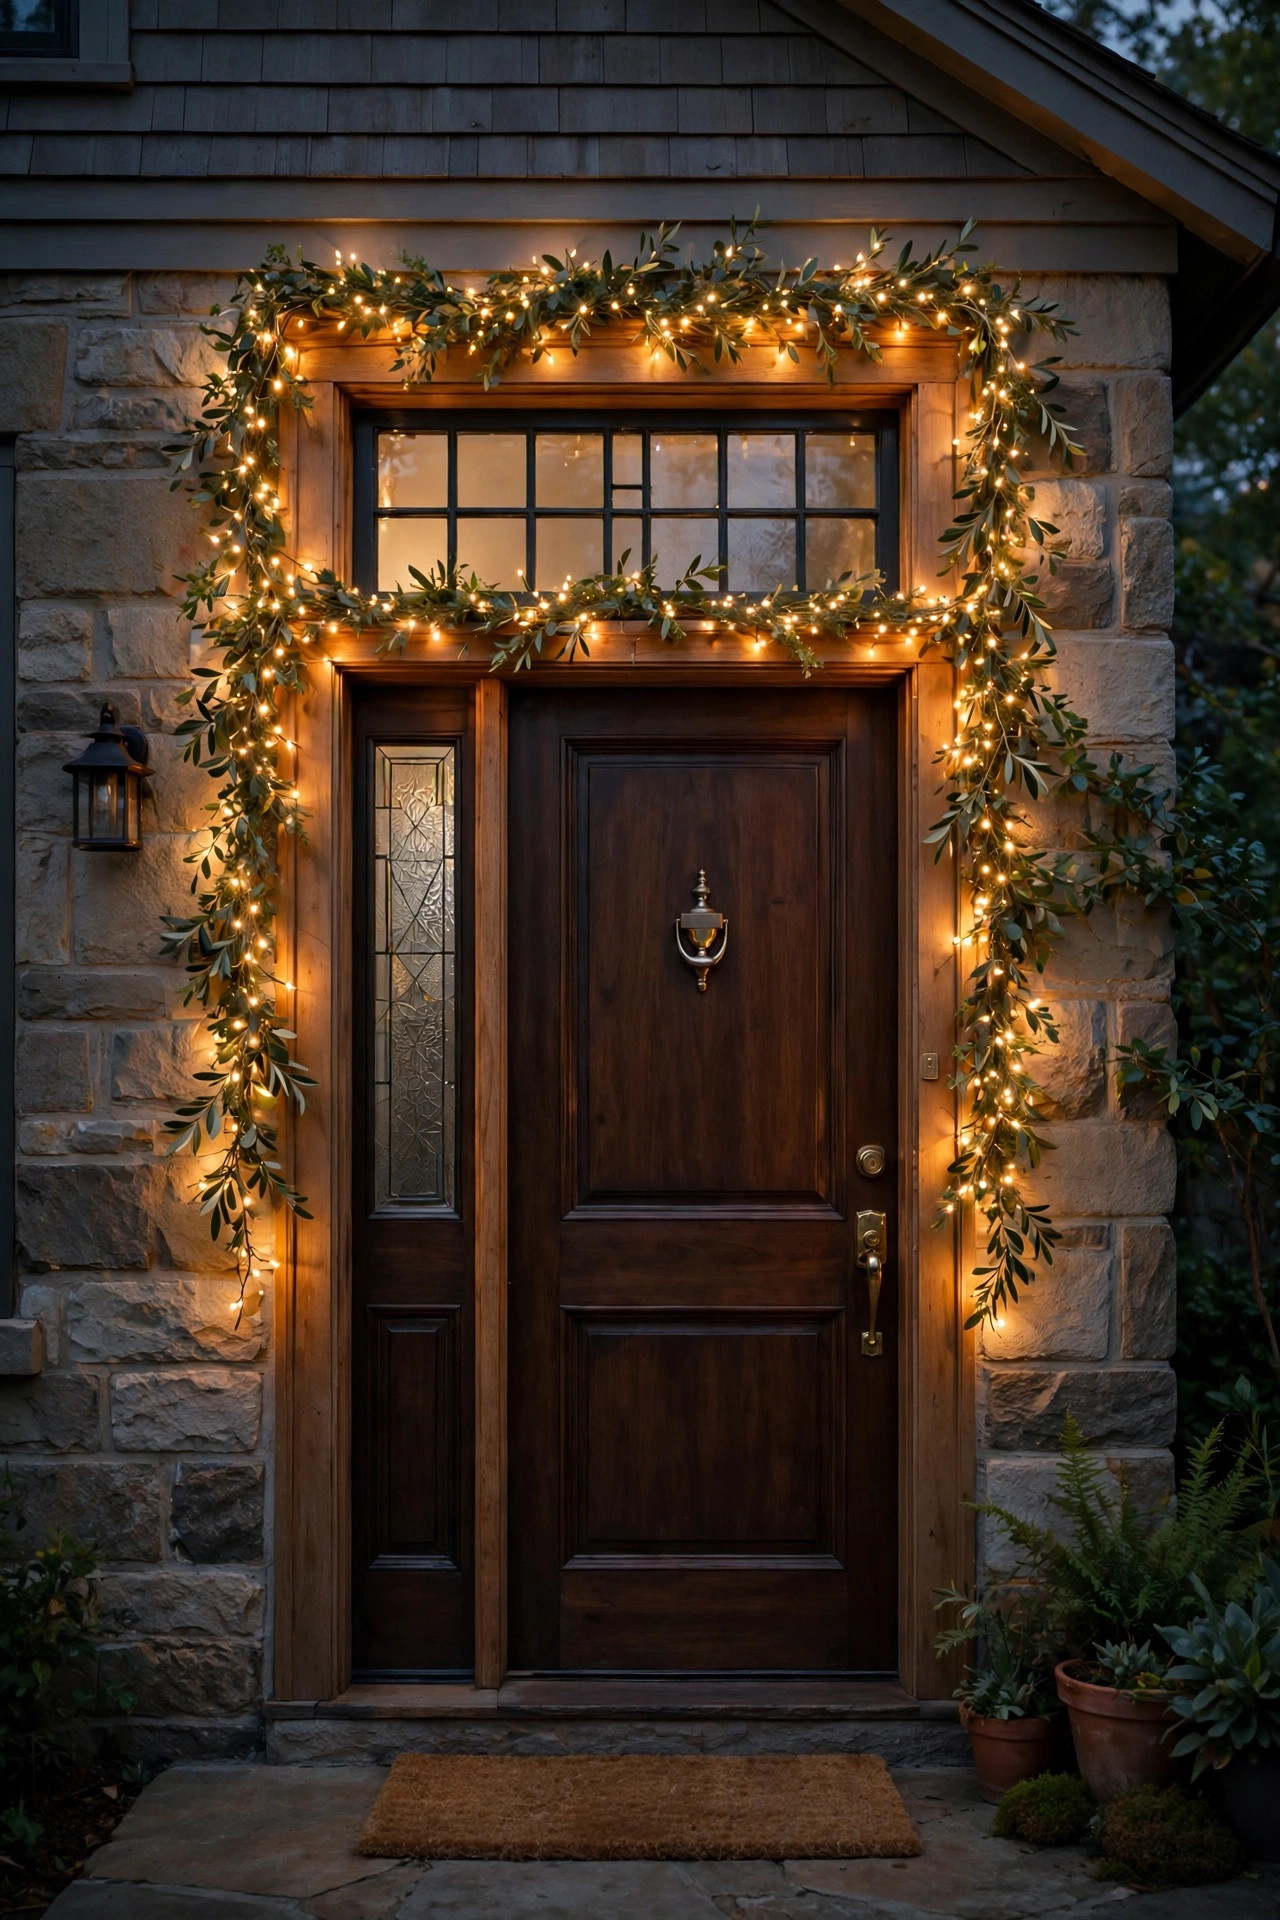
12. Put the Entry on a Smart Dimmer and Schedule It Like a Pro
Beautiful fixtures still look wrong if they blaze at full power at 3 a.m. or sit dark when guests arrive at dusk. A smart dimmer or smart bulbs in your sidelight and transom fixtures let you choreograph the entry: on at sunset at 70 percent, warmer and dimmer after 10 p.m., off at midnight, with a motion-triggered brighten if your system supports it. Most smart bulbs now offer a tunable white range so you can slide from 2700K down to a candle-like 2200K late at night — gorgeous through sidelight glass. If your fixtures are hardwired and the bulbs are not replaceable, a smart wall switch achieves the same scheduling. Prefer not to add another app? A simple astronomical timer or the fixtures in my roundup of dusk-to-dawn outdoor lights handle the on-off part automatically. Either way, automation is what makes layered lighting effortless instead of one more chore.
Suggested budget range: $40 – $140.
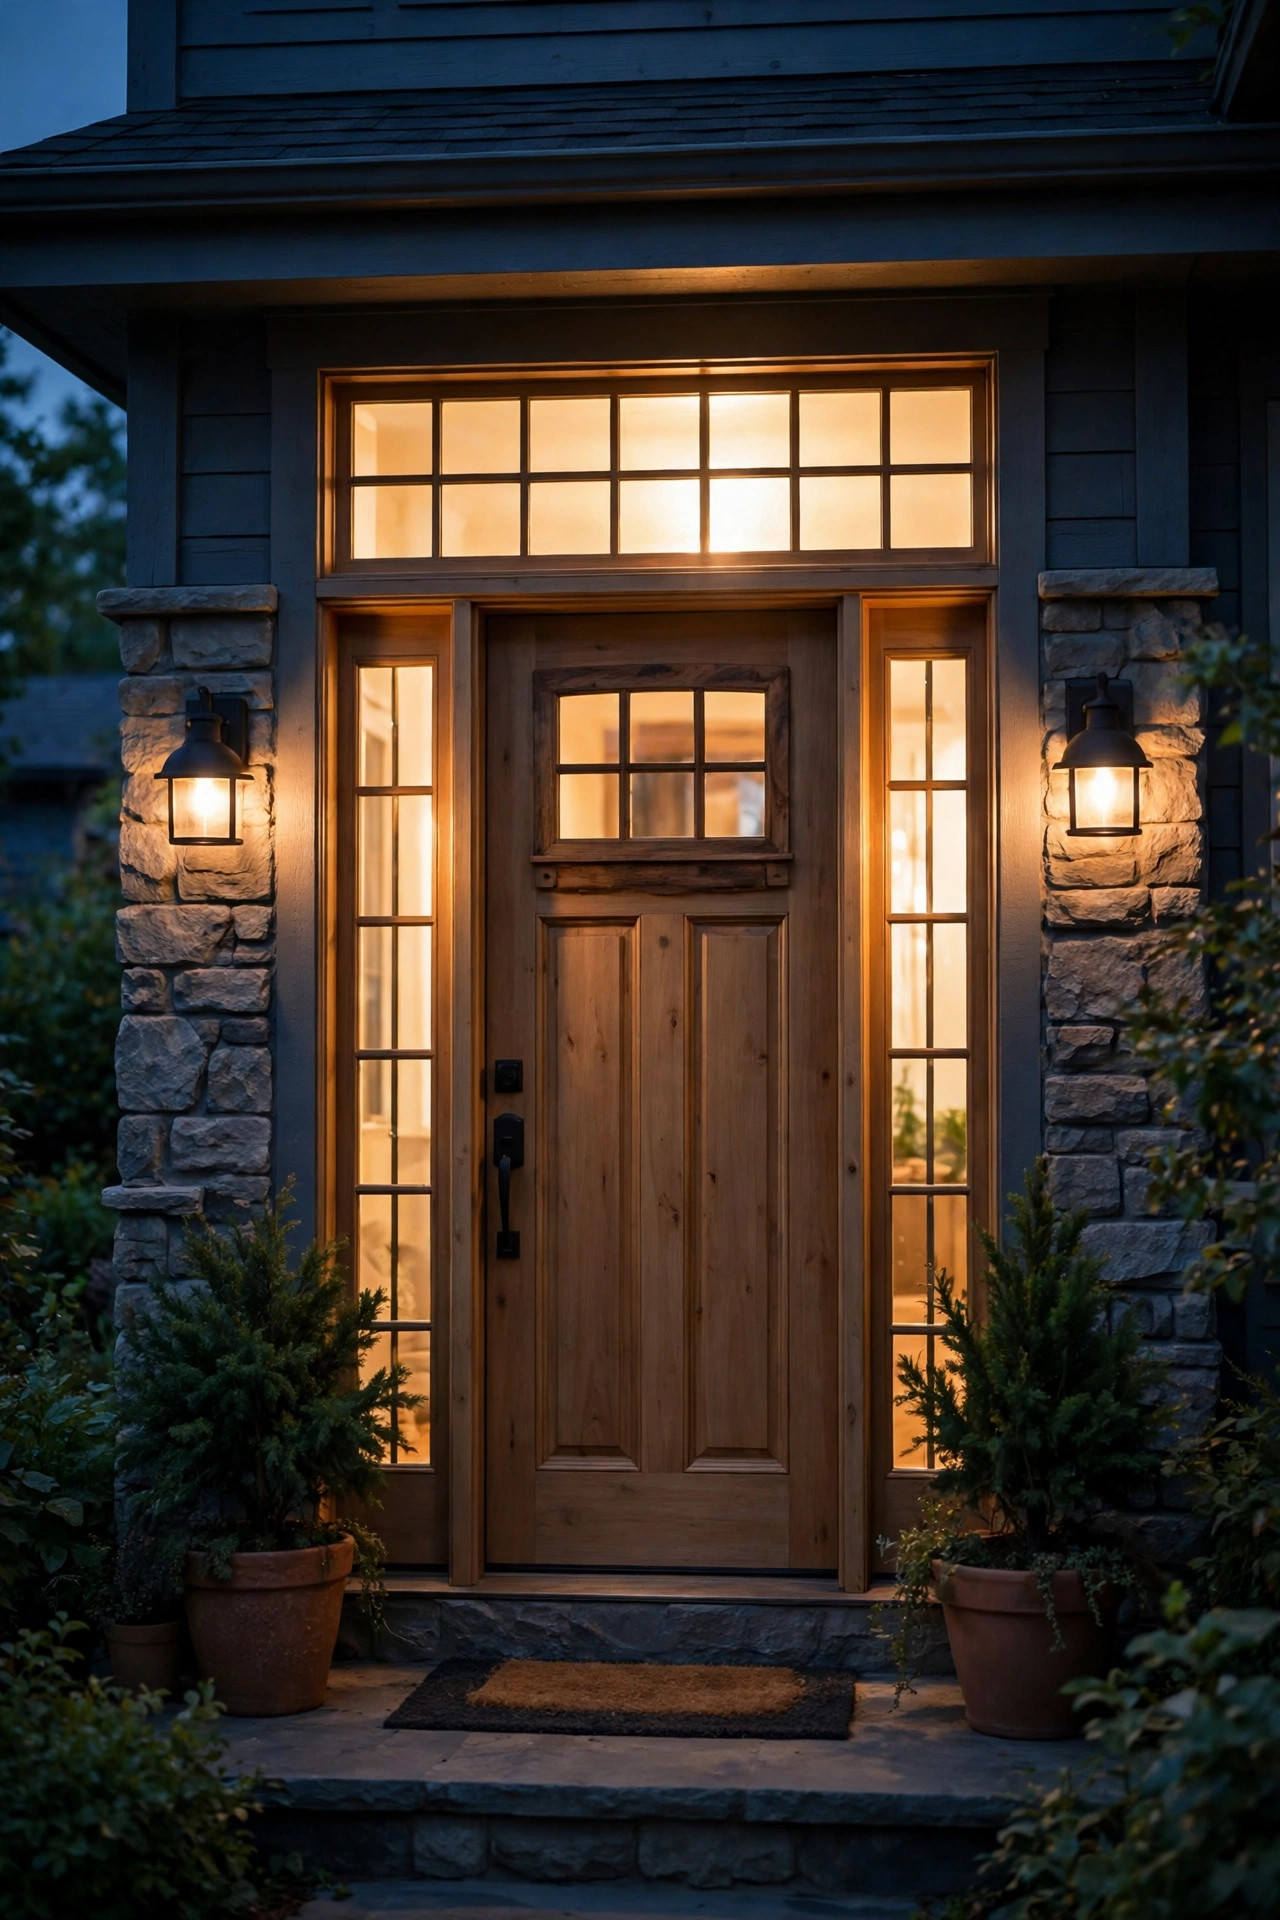
13. Try Edge-Lit Acrylic Panels Behind Clear Sidelights
Here is a trick borrowed from modern sign-making that looks stunning on contemporary homes. A sheet of frosted acrylic, cut to fit inside each sidelight frame, lit from one edge by a slim LED strip, spreads light perfectly evenly across the whole panel — no hot spots, no visible bulbs, just a uniform luminous rectangle framing your door. Sign-supply and plastics shops will cut panels to your measurements, typically 1/4 inch thick, and the strip hides inside a shallow channel routed or built into the trim. During the day the panels give you privacy; at night they become the light. It is the priciest idea on this list and the most DIY-ambitious, so measure twice and test your strip brightness before final assembly — around 250 to 350 lumens per panel reads elegant rather than commercial. On modern and mid-century doors especially, honestly, this rivals custom architectural glass for a fraction of the cost.
Suggested budget range: $120 – $300.
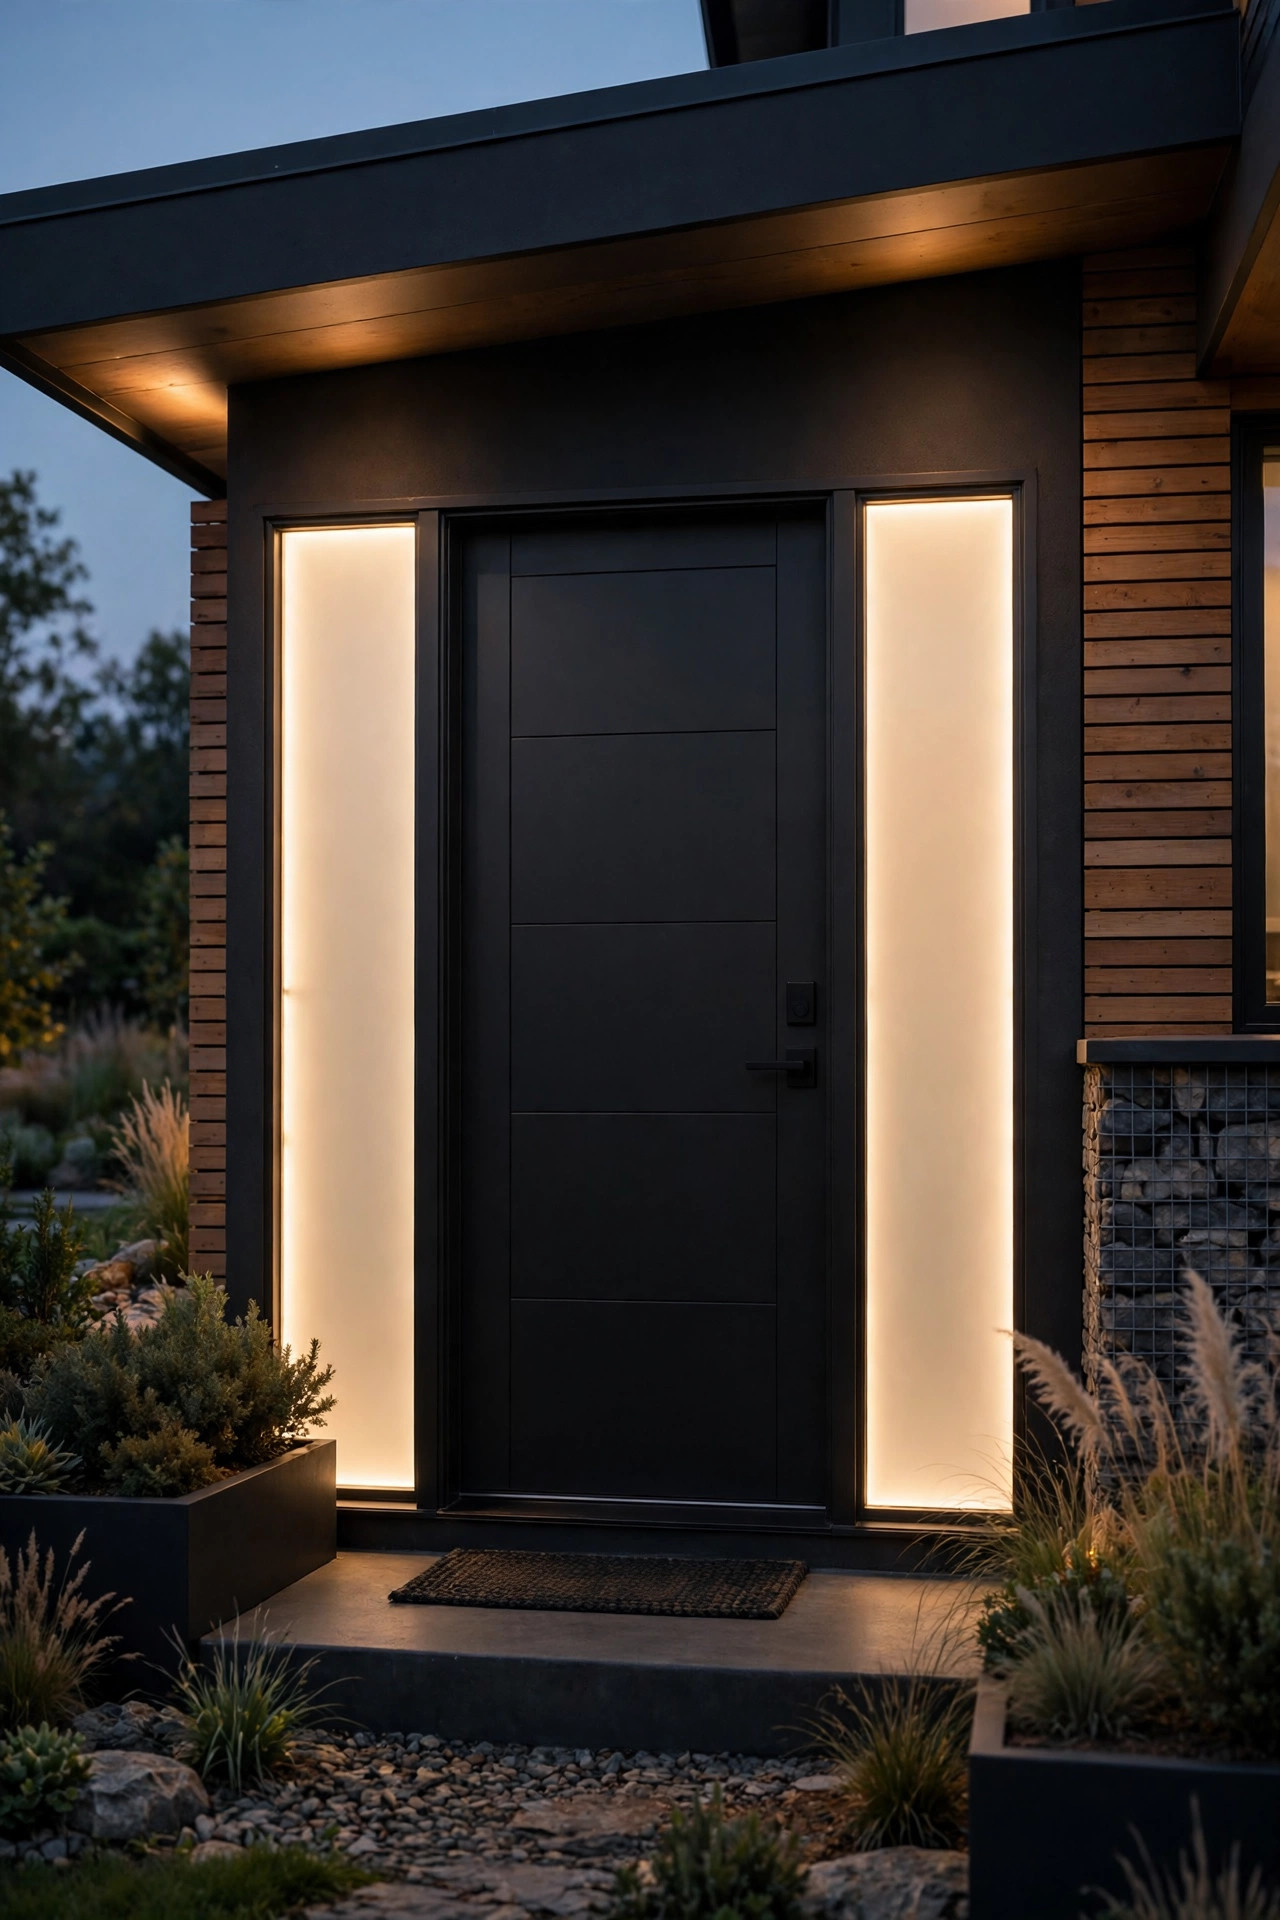
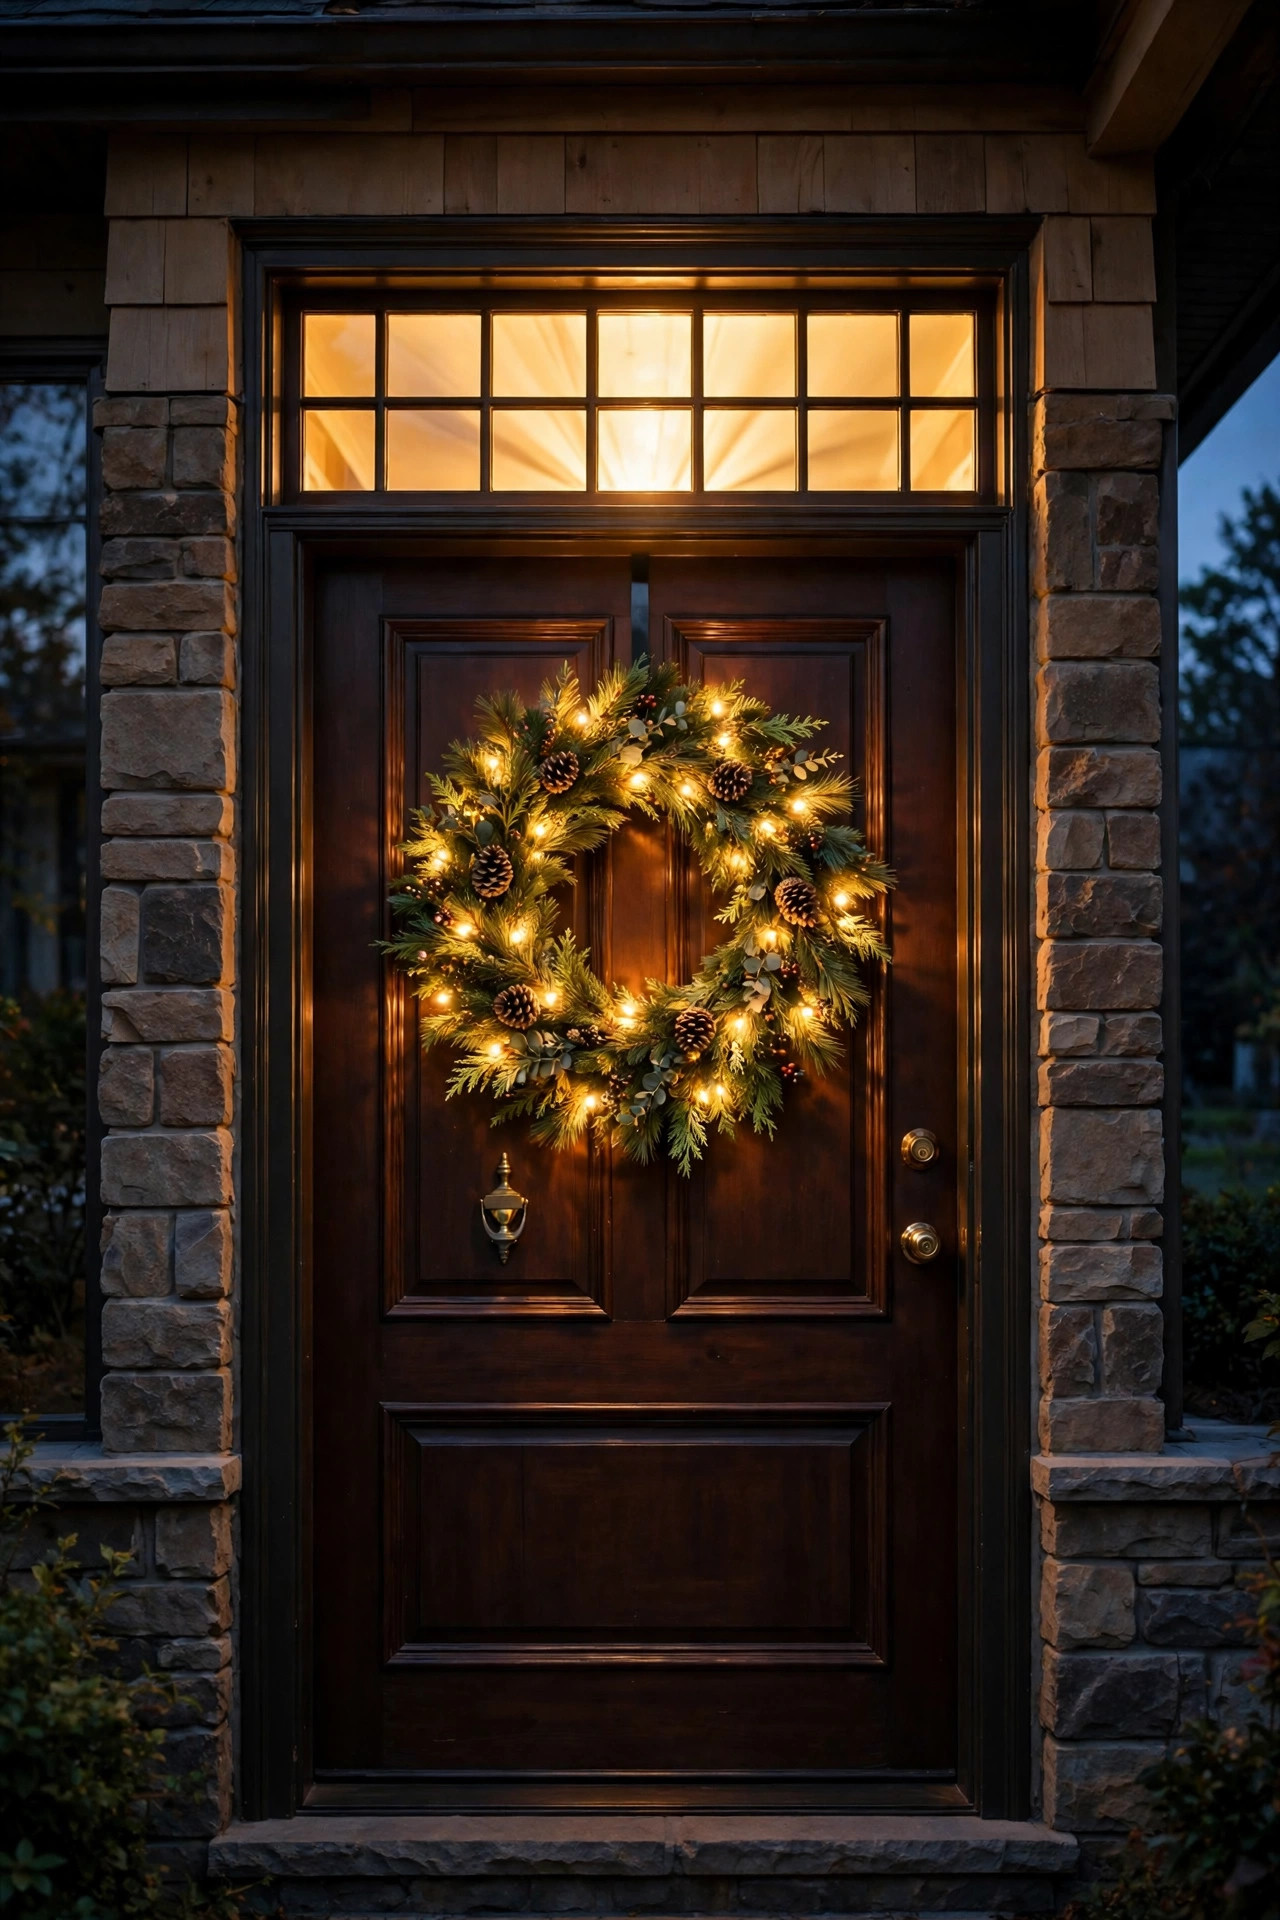
14. Hang a Wreath With Built-In Lights Centered on the Transom Axis
A lit wreath is entry décor 101, but placement is what ties it to your sidelight and transom scheme: hang it centered on the door at eye level, directly below the transom, and its glow bridges the glass above and the sidelights beside it into one composition. A 22 to 26 inch pre-lit wreath with warm micro-LEDs and a battery timer pack is the sweet spot for a standard door — big enough to register from the street, small enough not to cover the sidelights. Match its light color to your fixtures; most pre-lit wreaths run warm white, which plays nicely with 2700K schemes. If your transom is arched, echo it with a smaller matching swag on the transom ledge inside. Keep the battery pack tucked at the bottom back of the wreath where weather and eyes cannot reach it, and bring the whole thing indoors during driving rain if your porch is exposed. Small move, big cohesion.
Suggested budget range: $35 – $95.
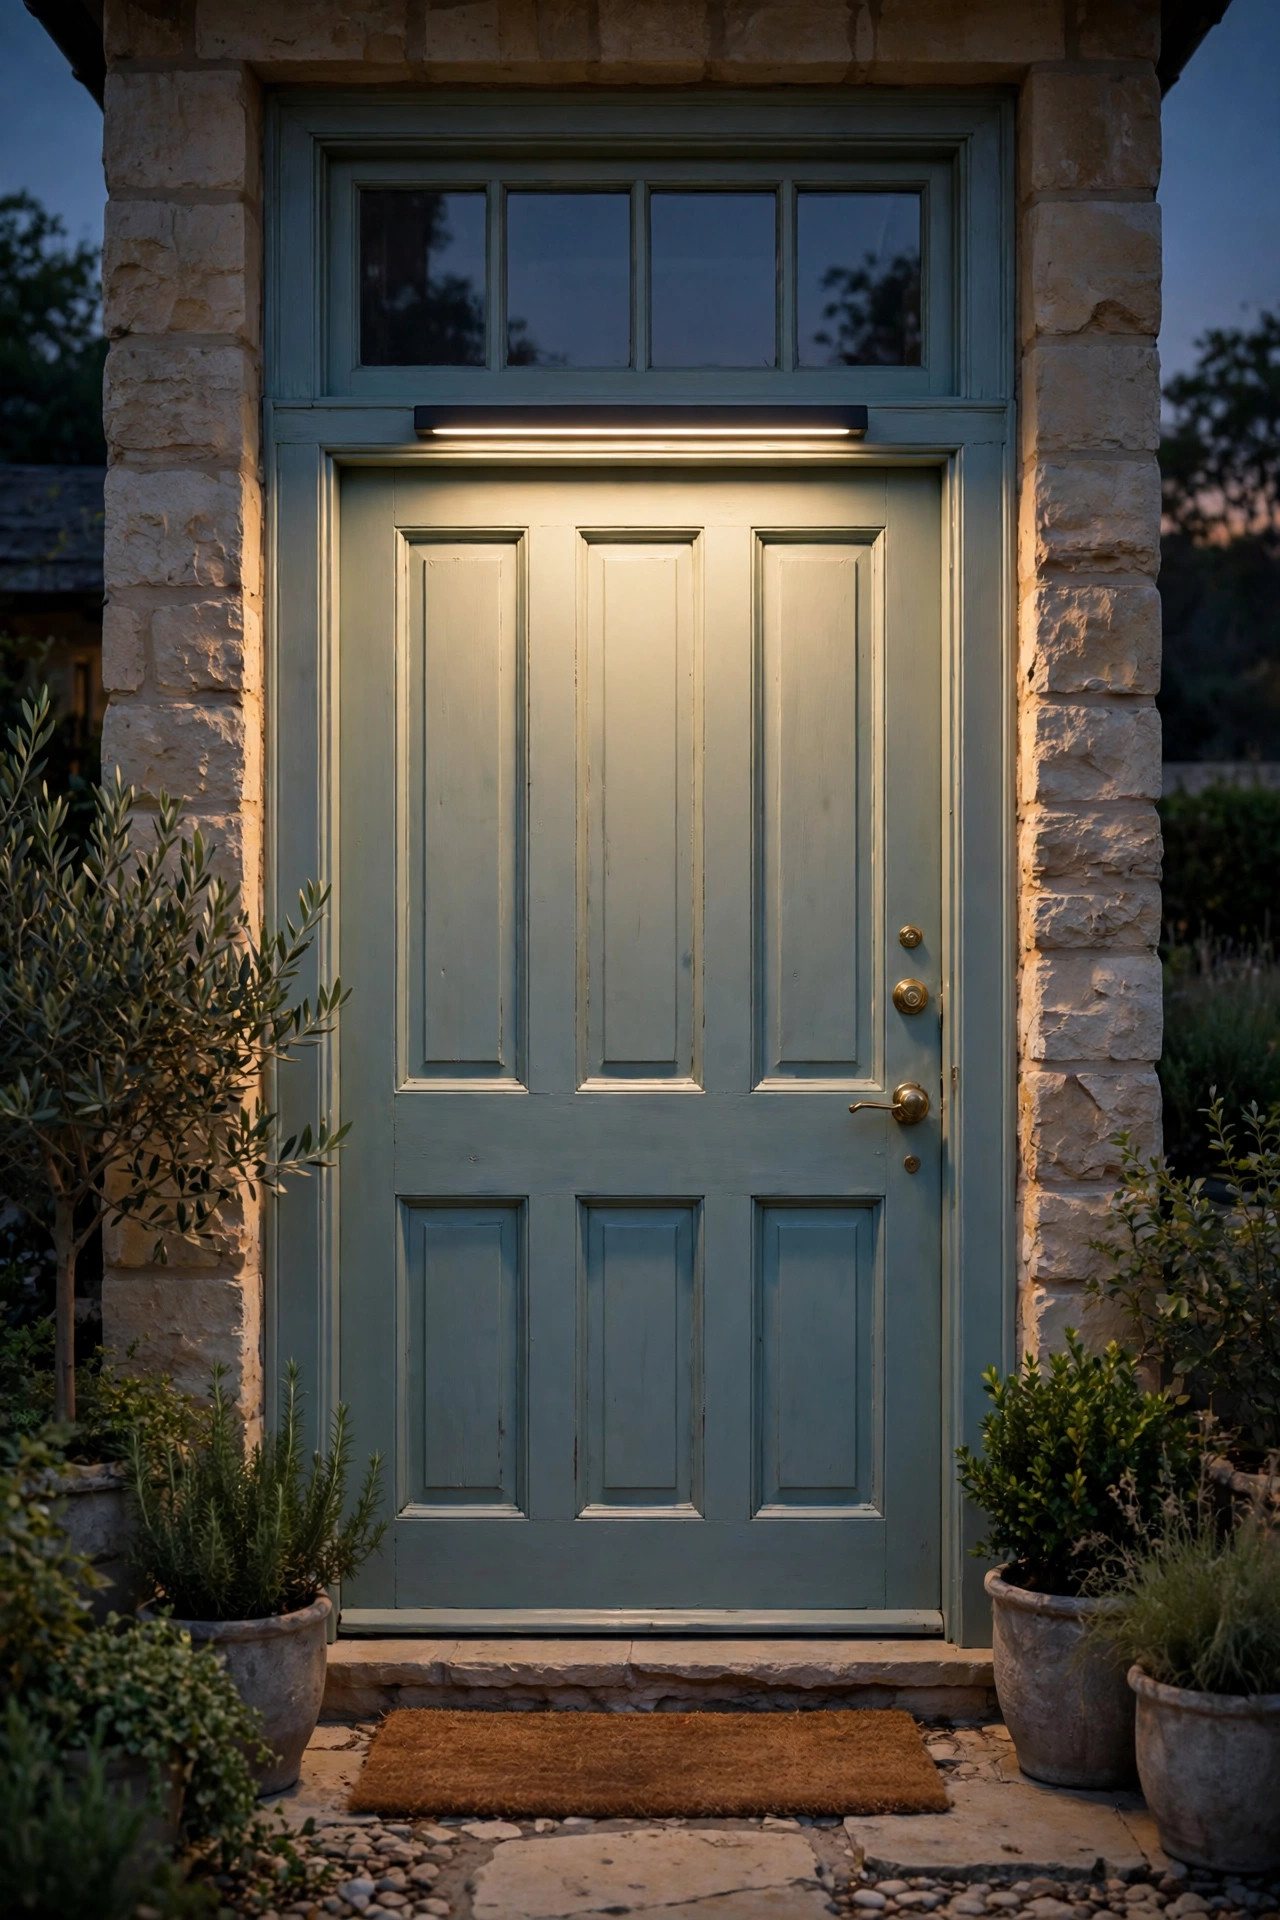
15. Add a Slim Under-Transom Shelf Light to Highlight the Door Itself
On entries where a wooden ledge or trim piece separates the transom from the door, a slim under-cabinet style light bar tucked beneath that ledge washes the door itself in a soft curtain of light. It is the same trick kitchens use under cabinets, and outdoors it makes wood grain, a painted door color, and your hardware look expensive. Choose a wet-rated or interior-facing bar 18 to 30 inches long at 2700K, mounted so the fixture hides behind the trim lip and only the wash shows. This pairs beautifully with dark or boldly painted doors — black, deep green, navy — where sconce light alone leaves the door's center in shadow. Wiring is the only fussy part; a rechargeable battery bar with a motion sensor sidesteps it entirely and gives you a gentle brighten as guests approach, which doubles as a subtle security cue. Expect to recharge a busy entry's bar every month or two.
Suggested budget range: $30 – $90.
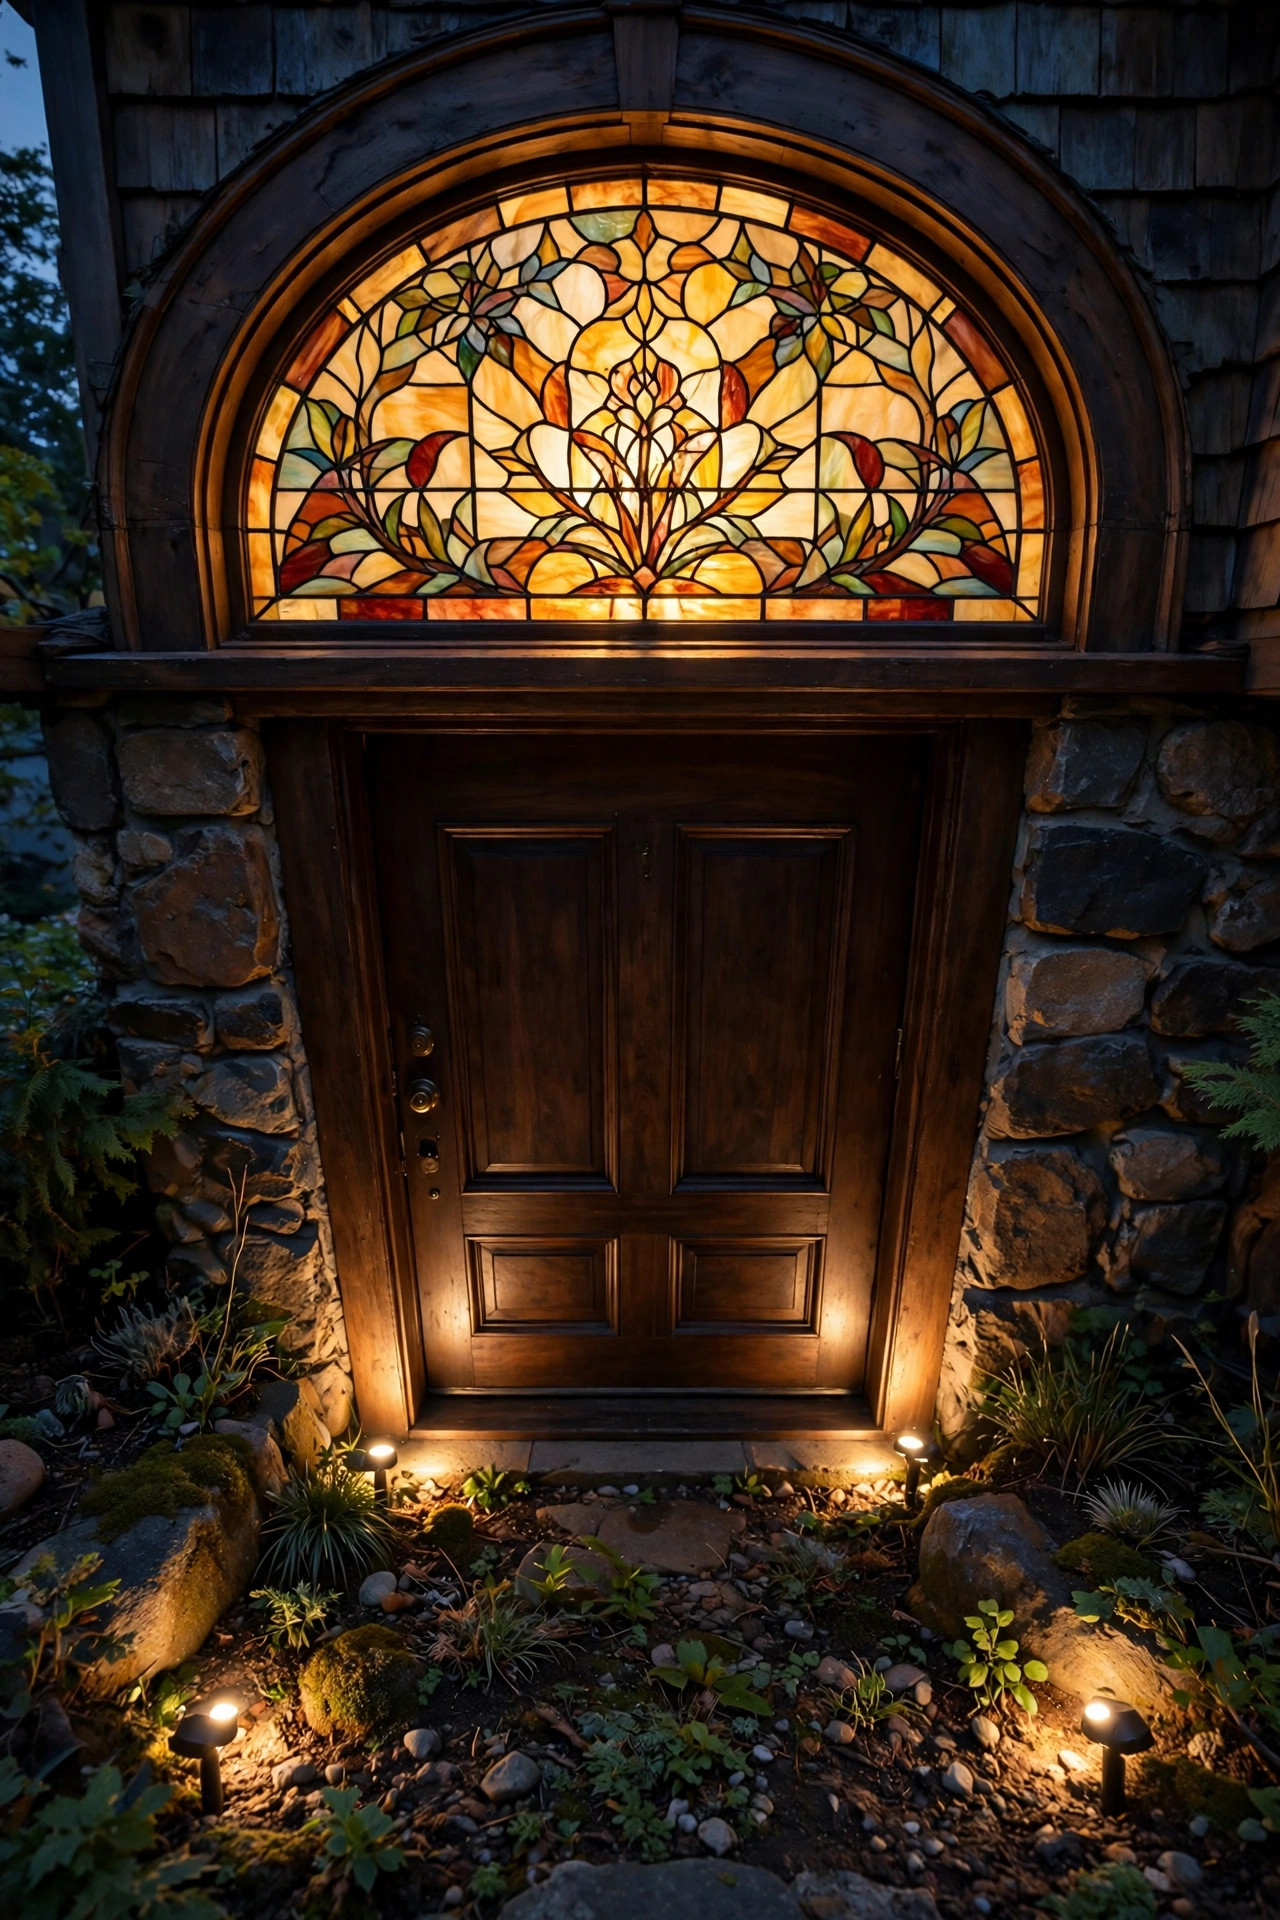
16. Spotlight a Statement Transom With a Ground-Level Accent Light
If your transom is genuinely special — stained glass, a house number etched into it, a beautiful arched divided-lite — treat it like artwork and give it its own accent light. A single narrow-beam landscape spotlight placed in the planting bed 4 to 6 feet out from the door, aimed up at the transom, makes that glass glow against the night facade while the sidelights stay softer. Keep the beam tight, around 15 to 25 degrees, and the output modest, 200 to 300 lumens, so you highlight rather than flood. This is a classic landscape-lighting move scaled down to one feature, and it works best when everything else around the door is dimmer — accent lighting needs darkness to contrast against. Shield the fixture with a glare guard or foliage so approaching guests never stare into the source. In my experience, one well-aimed accent beats five random fixtures every time.
Suggested budget range: $40 – $120.
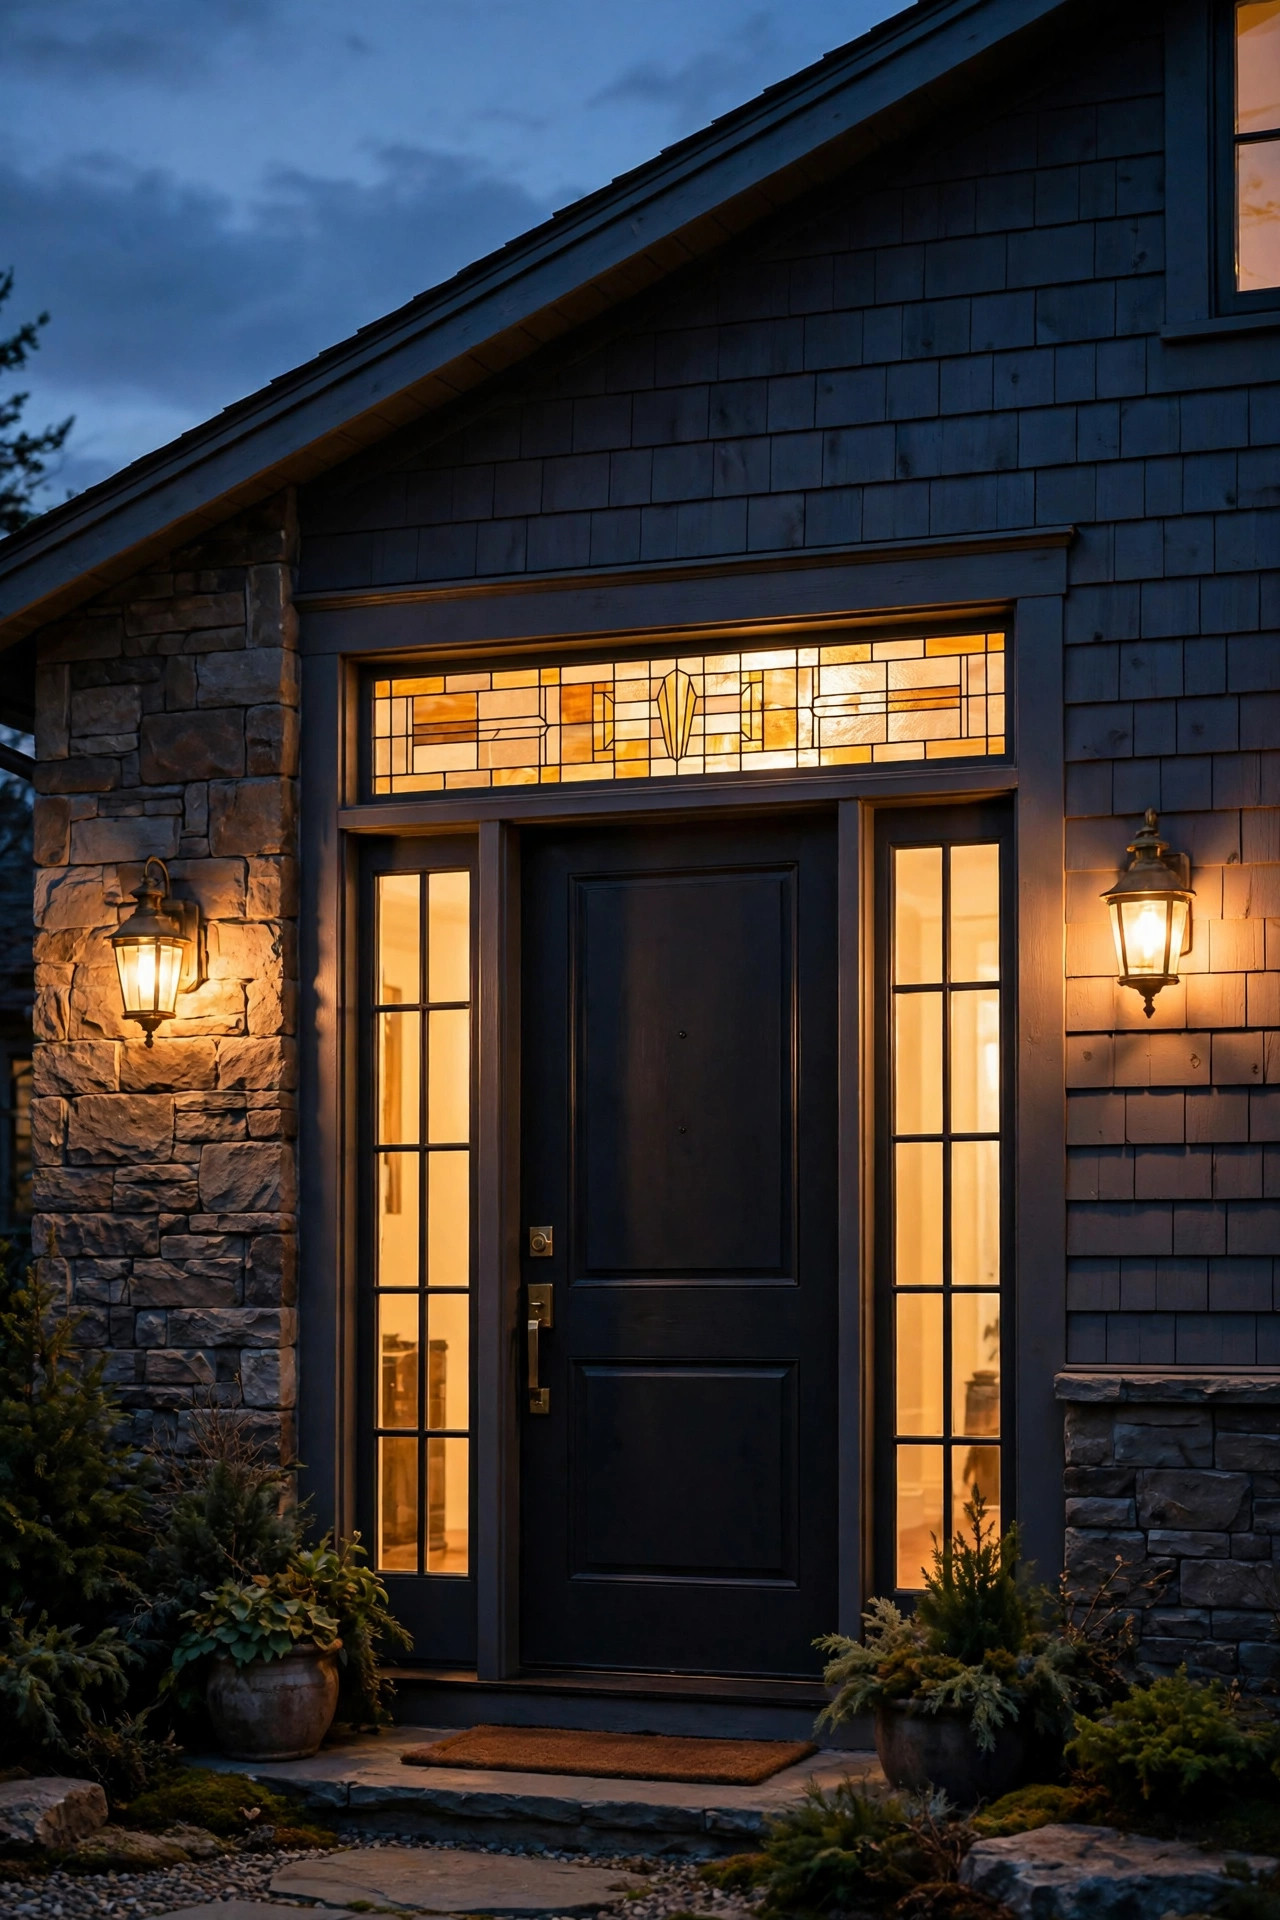
17. Layer It All: The Complete Sidelight and Transom Lighting Formula
My favorite entries never rely on one idea from this list — they combine three layers, and sidelight and transom lighting is where layering shines brightest. Here is the formula I install most: sconces or a pendant for the main fixture layer, backlighting through the sidelight glass for the glow layer, and one accent — a transom strip, picture light, or accent spot — for the highlight layer. Put each layer on its own control if you can, even if that just means smart bulbs in different groups, so you can run glow-only for quiet evenings and all three layers for guests. Keep every layer at 2700K, keep the accent layer brightest and the glass glow about half as bright, and you will land that magazine-entry look without any single fixture working hard. Start with whichever layer your budget allows this season and add the others over time — the glass glow, idea two, is where I would begin, since it transforms the entry for under $100.
Suggested budget range: $150 – $500.
Frequently Asked Questions
What color temperature is best for sidelight and transom lighting?
Warm white, 2700K, is the sweet spot for almost every entry. It flatters wood doors, brick, and skin tones, and it makes frosted sidelight glass glow a soft amber rather than a clinical blue-white. If you like an even cozier, candlelit feel late at night, tunable bulbs that slide down to 2200K are lovely. The one rule that matters more than the exact number: match every bulb around the door, inside and out, so the whole composition reads as one light.
Can I light sidelights from inside the house safely?
Yes — and it is often the easiest route, since interior lighting needs no weatherproofing and no exterior wiring. Use LED sources only, keep them a few inches away from the glass and any curtains or privacy film, and never place a heat-producing halogen or incandescent bulb against glass. Battery tea lights, flameless candles, and plug-in LED strips are all safe, low-heat options. Just remember the light works both ways: a brightly lit foyer behind clear glass is on display, so frosted film or sheers help.
How bright should the lighting around my front door be?
Aim for a total of about 800 to 1,500 lumens spread across the entry, divided among layers rather than blasted from one fixture. A typical recipe: 200 to 400 lumens per sconce, 500 to 800 from a pendant or main fixture, and 250 to 350 per backlit sidelight panel. Glass diffuses light, so backlit panels can run dimmer than you expect and still read clearly from the street. When in doubt, buy dimmable and start low — entries almost always look better slightly under-lit.
Do I need an electrician for these projects?
For plug-in, battery, solar, and interior ideas — no. Hardwired sconces, recessed porch lights, and new circuits are where an electrician earns their fee, especially since exterior work needs GFCI protection and wet-location fixtures. Swapping an existing fixture one-for-one is a common DIY job if you are comfortable turning off the breaker and testing for power, but adding new boxes or ceiling cuts is pro territory in my book. Expect an electrician to charge roughly $150 to $400 for a straightforward fixture installation.
Conclusion
Great sidelight and transom lighting is really just respect for the glass you already have: give it a fixture to frame it, a glow to shine through it, and a highlight to crown it, and your front door turns into the warmest welcome on the street. Start small if you like — matched 2700K bulbs and a set of flameless candles will change the feel of your entry this weekend — then add a transom strip or backlit panels when you are ready for the full effect. Browse the rest of my entry and porch ideas here on the site for the path lights, string lights, and seasonal touches that carry the look across your whole front yard. Your door deserves its moment after dark.