Intro
A sloped front yard used to make me sigh — until I realized tiers are a gift. Flat yards get one plane of light; a terraced garden gives you three or four, stacked like theater balconies, and honestly? Nothing on my street stops evening walkers like a hillside that glows level by level. If you've been hunting for terraced front yard lighting ideas that work with your retaining walls instead of fighting them, you're in exactly the right place.
In my experience, the secret is layering — the same philosophy I use on flat ground, just multiplied by height. Every tier needs its own low layer of light at foot level, a mid layer that washes the wall face, and one or two sparkle points up high. Treat each level like its own little room and the whole slope suddenly reads as designed, not accidental.
Below are my 21 favorite ways to do it, from five-minute solar fixes to a proper low-voltage weekend project, with honest budgets on every single one.
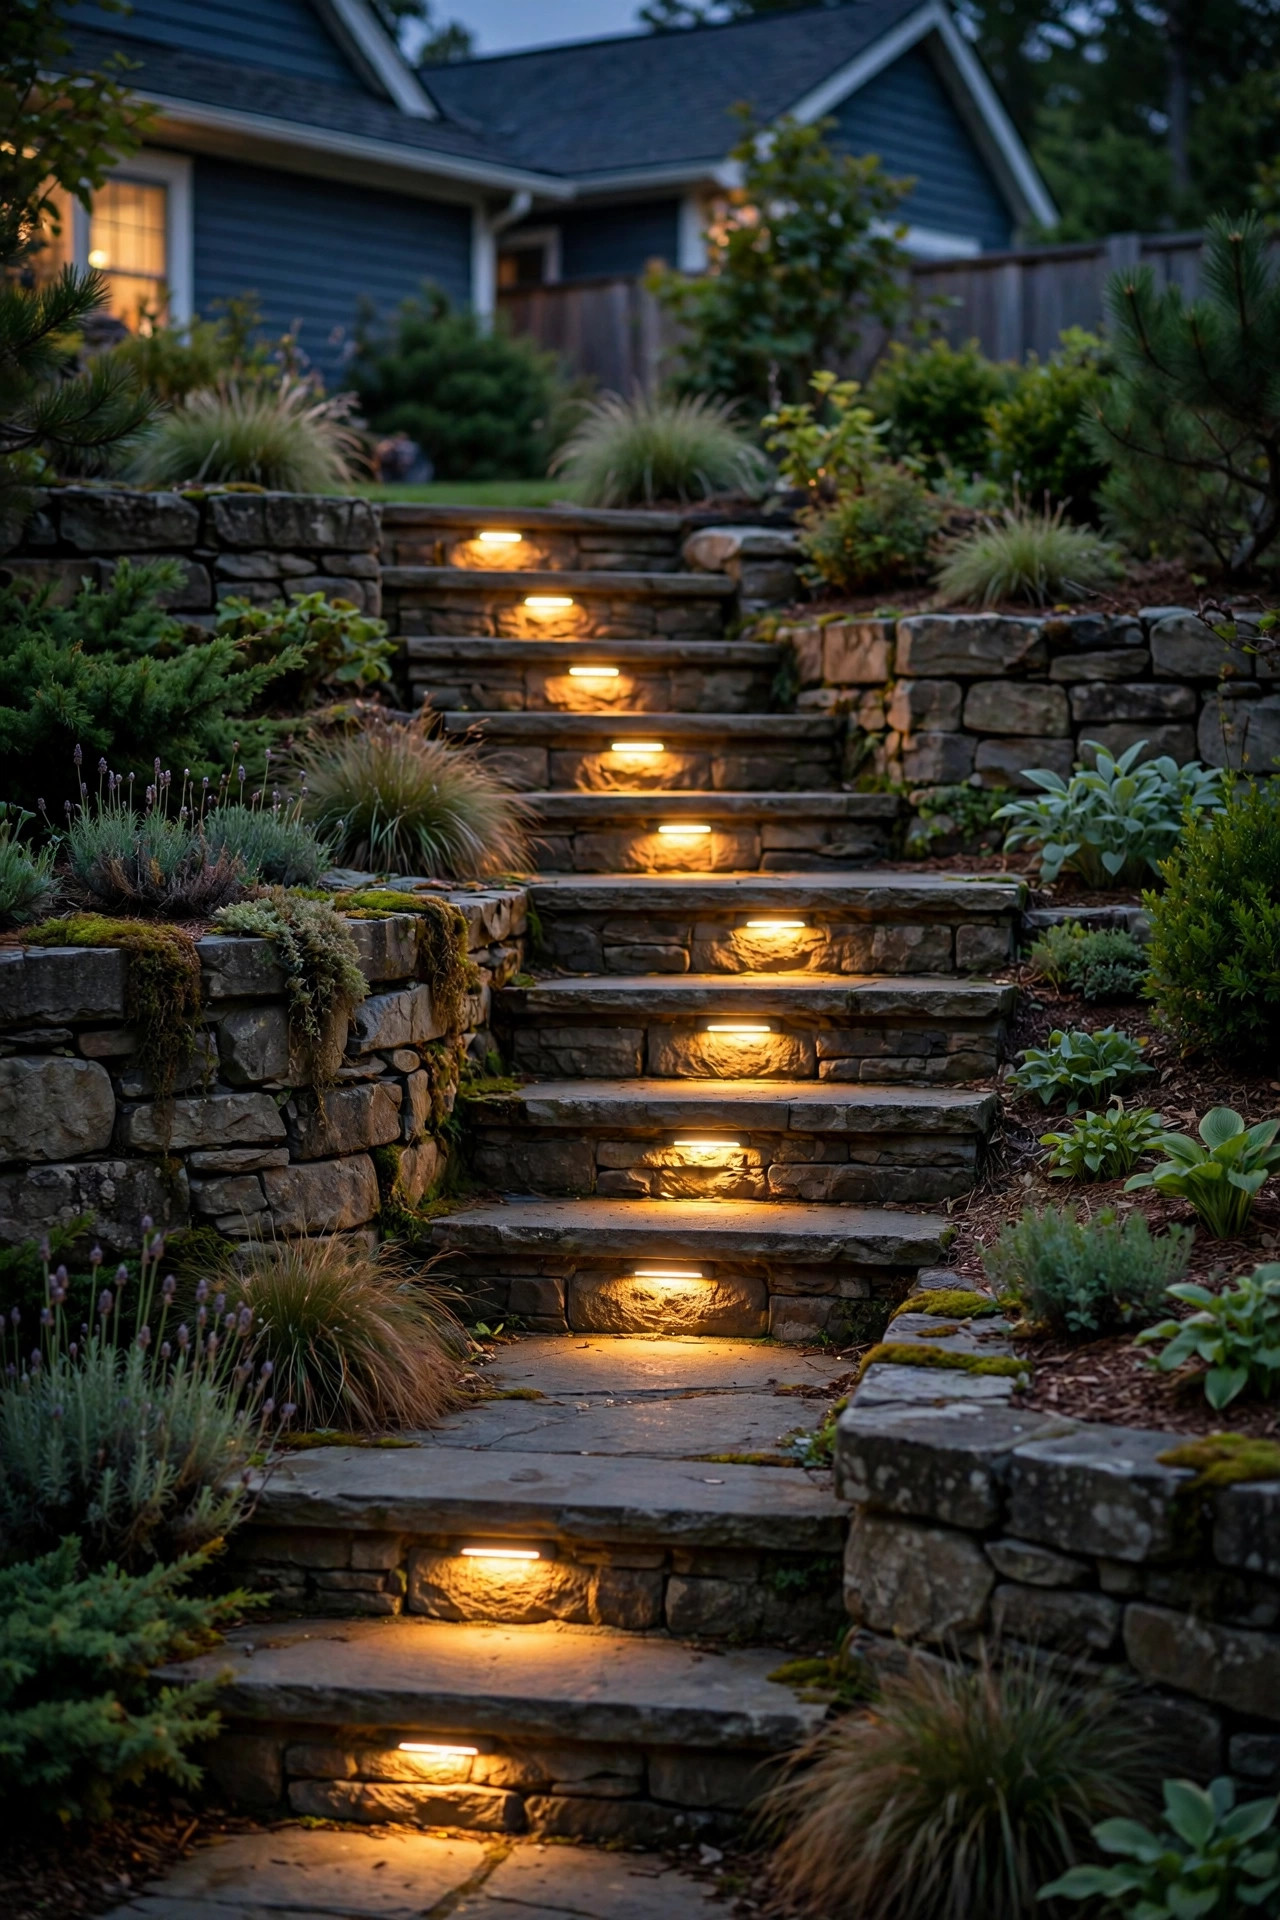
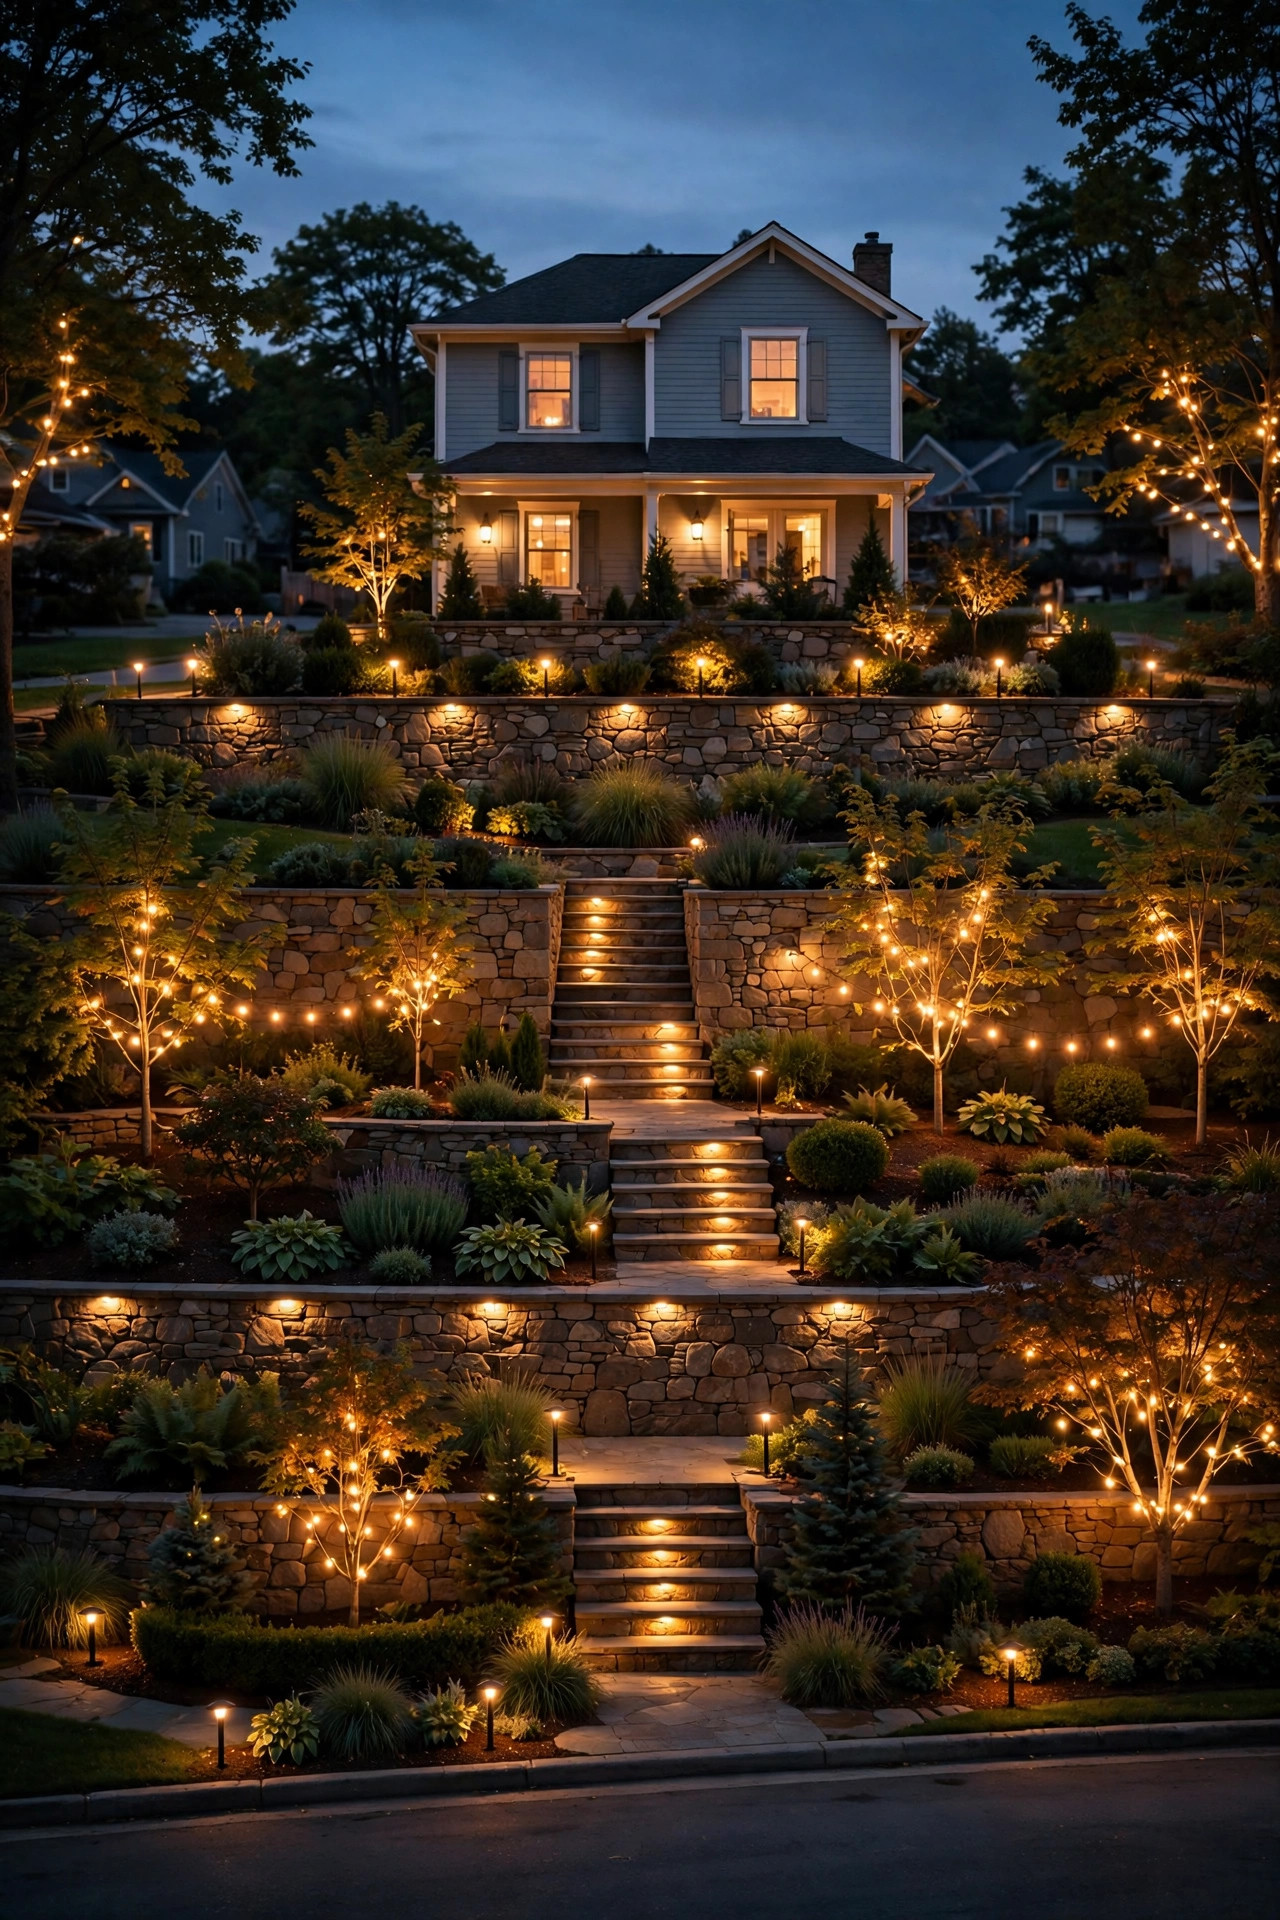
1. Recessed Step Lights in Every Stair Riser
Stairs between tiers are where guests actually walk, so this is the first idea I install and the last one I'd skip. Recessed LED step lights mount right into the riser face — or into the retaining wall beside each tread — and wash the step below with a soft pool of light. Aim for one fixture per step on narrow stairs, or every other step on wide ones, and keep them at 2700K so the stone or concrete reads warm, not institutional.
The low-voltage versions wire in a simple daisy chain along the wall, and because they're recessed, there's nothing to trip over or knock loose with a string trimmer. If your stairs are already built, surface-mount "eyelid" style fixtures give you 90% of the look with a much easier retrofit. Always use fixtures rated for direct burial or wet locations, and seal every splice in a gel-filled connector — stair runs live in the dampest part of the yard.
Suggested budget range: $120 – $350.
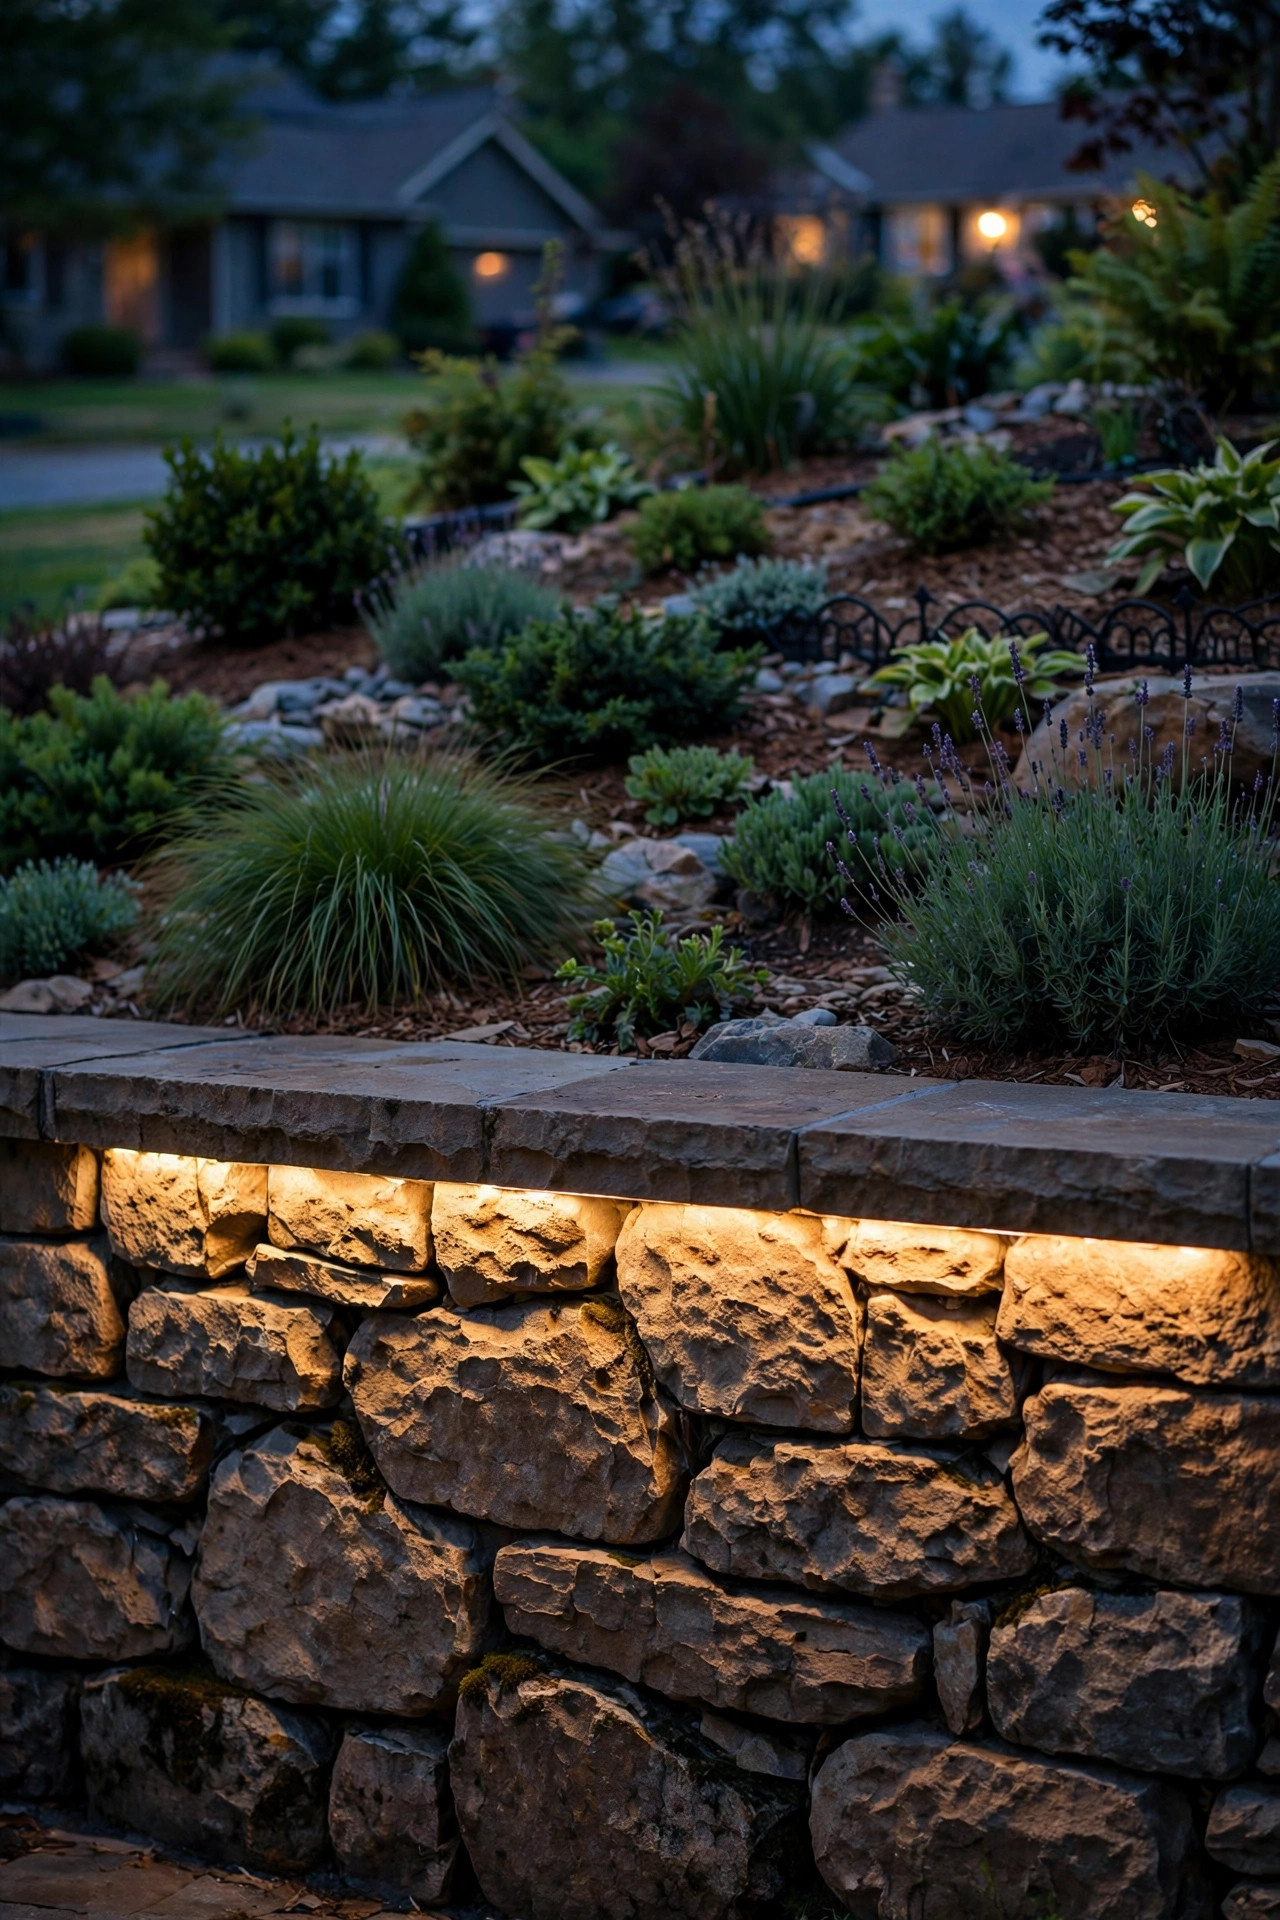
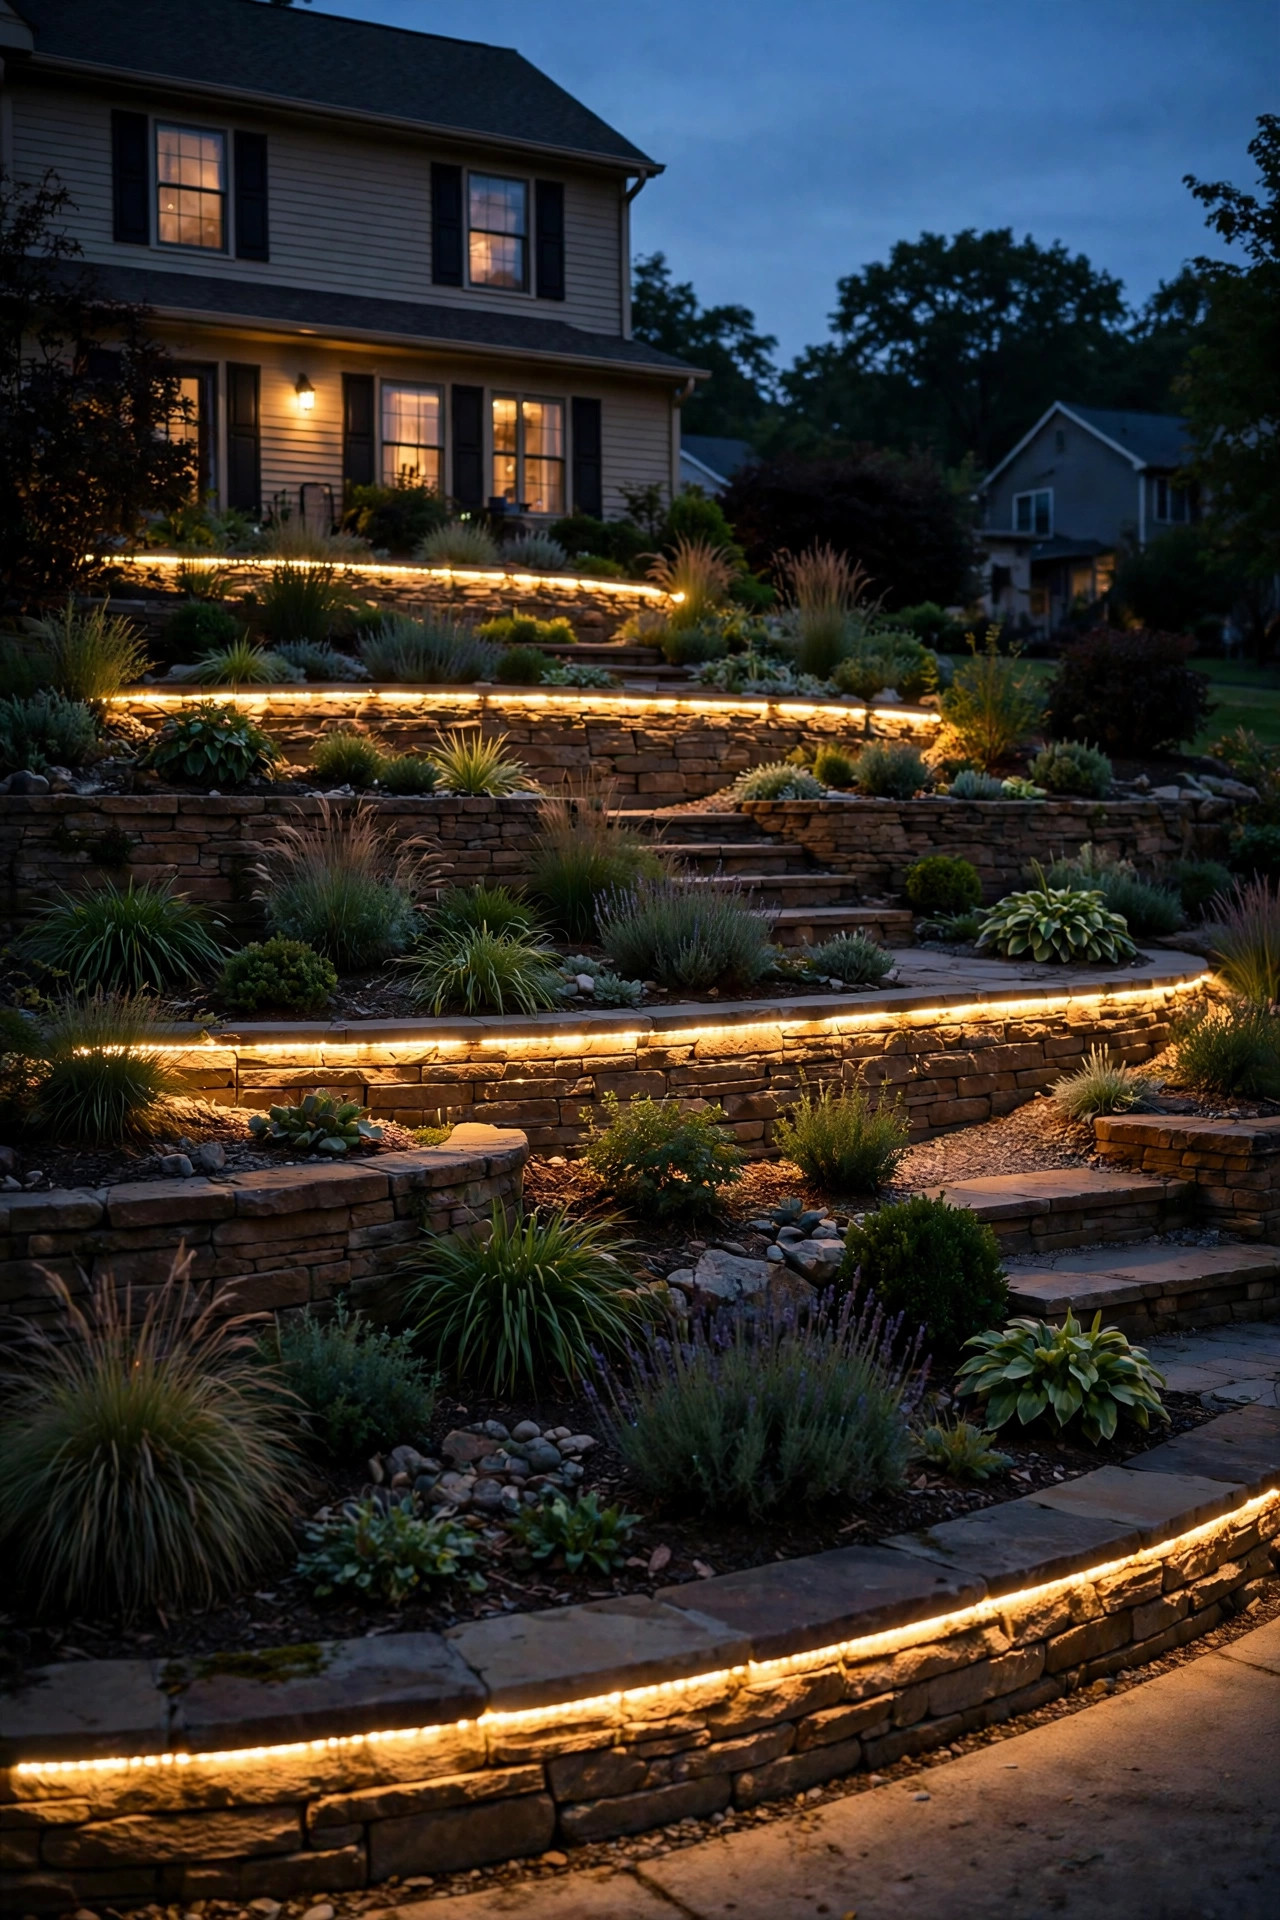
2. LED Strip Lights Tucked Under Retaining Wall Caps
This is the trick that makes neighbors knock on my door. Run an outdoor-rated LED strip in a shallow channel under the capstone overhang of each retaining wall, and the whole wall face below washes in an even, shadowless glow — while the light source itself stays completely invisible. It makes a heavy wall look like it's floating.
Use IP65 or IP67 strip, 2700K, and mount it in an aluminum channel with a frosted diffuser so you get a smooth ribbon of light instead of dotted reflections. A bead of clear silicone at the ends keeps moisture out. Low-voltage strip on a dimmer is my preference for long walls; solar strip exists but rarely has the punch for more than a few feet. Keep the transformer somewhere reachable — under a deck or behind a shrub — and put the run on a timer so the walls light themselves at dusk.
Suggested budget range: $80 – $240.
3. Graze the Retaining Wall Face to Show Off the Stone
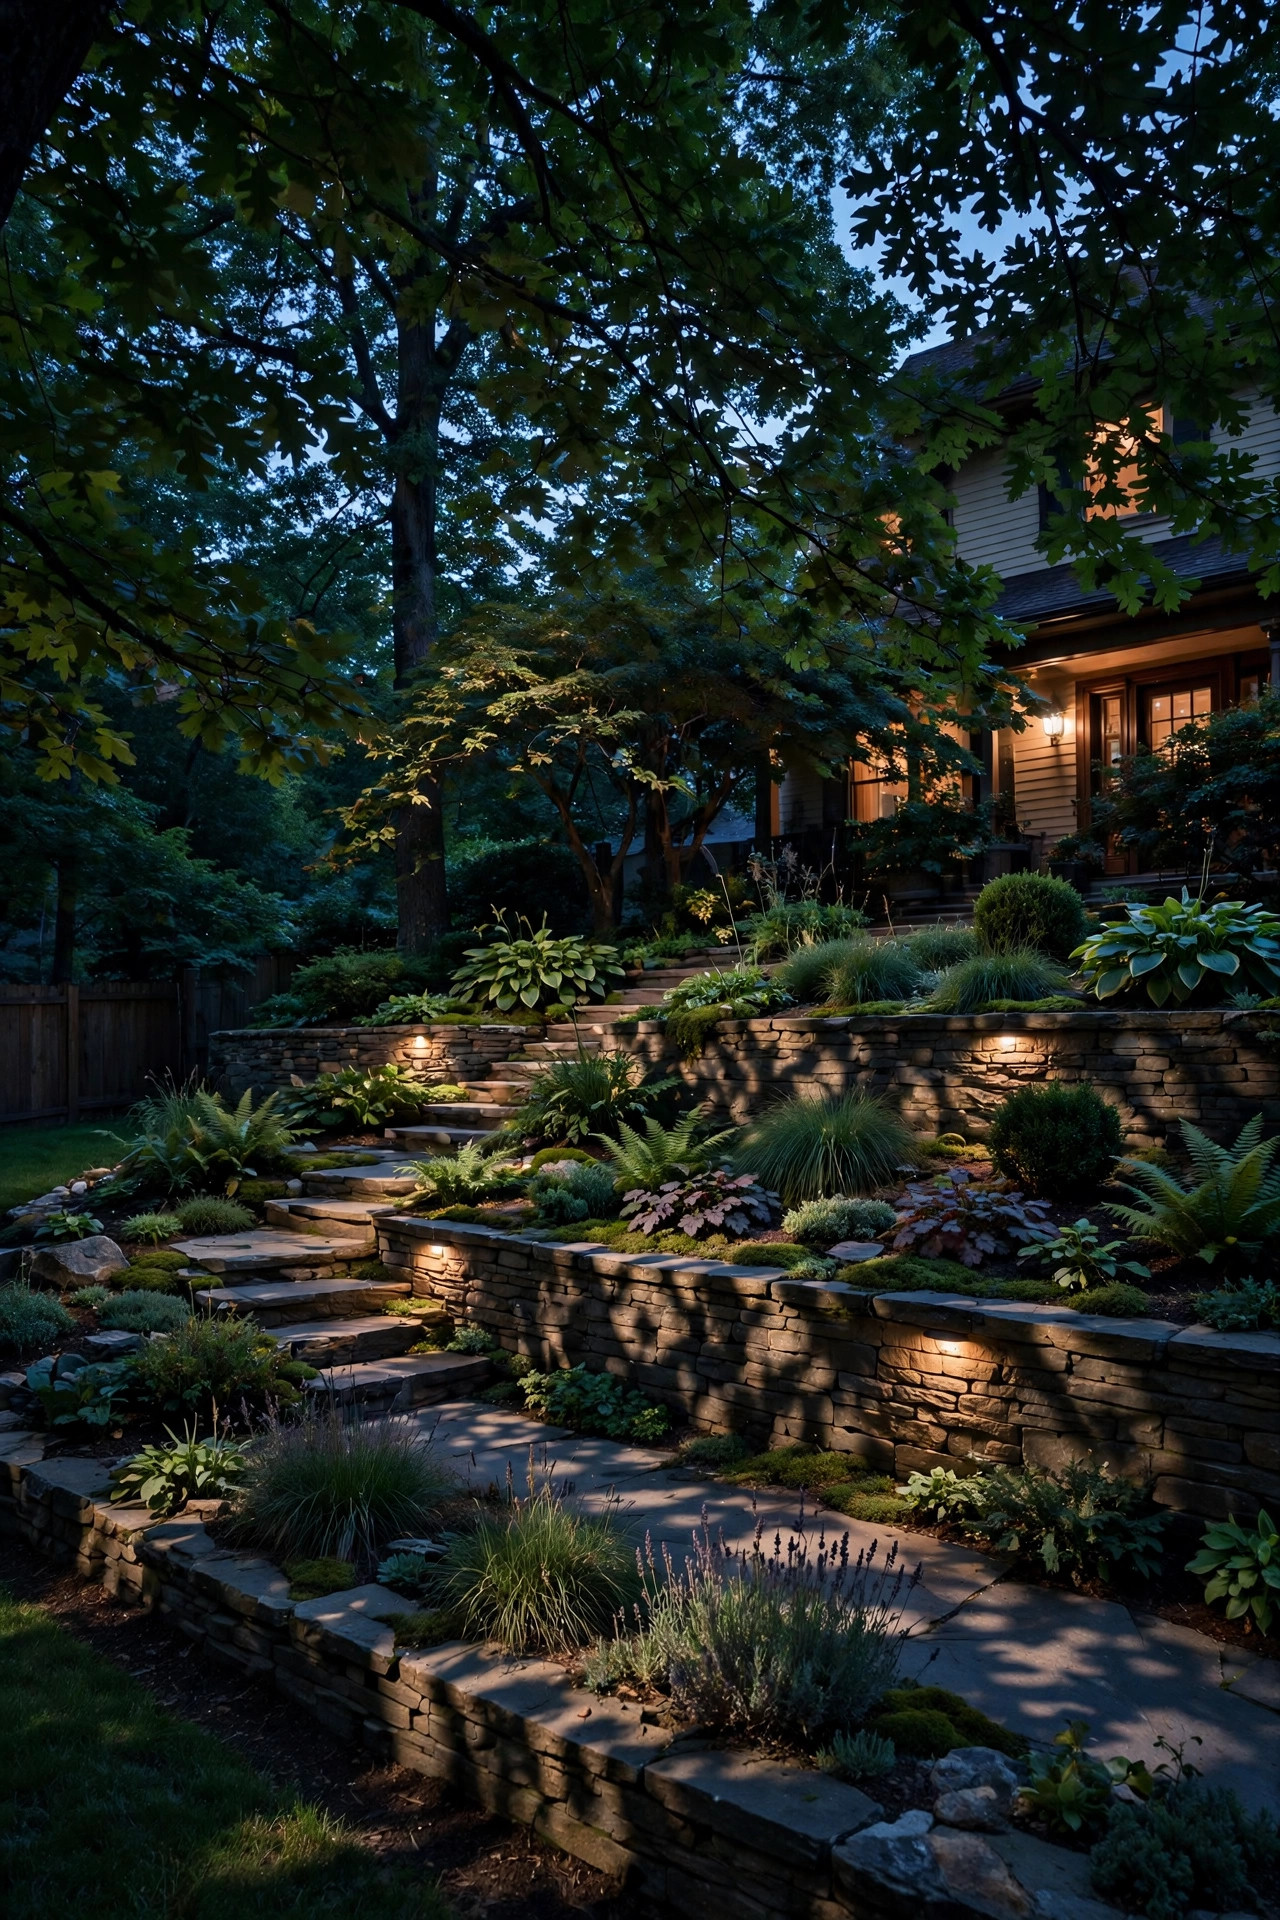
If your retaining walls are stacked stone, textured block, or rough timber, grazing is the technique that shows them off. Place a narrow-beam spotlight or well light just 2 to 4 inches from the base of the wall, aimed straight up, and the beam rakes across every bump and shadow line. The texture practically doubles after dark.
Space fixtures 4 to 6 feet apart along the wall and overlap the beams slightly so you don't get zebra stripes. I go deeper on technique in my wall washing and grazing guide if you want the full beam-angle math. One caution: grazing exaggerates flaws too, so if a wall is crumbling or stained, choose a wash from further back instead (idea 11 covers that softer look). For sound, handsome walls, though, nothing beats the drama of a good graze.
Suggested budget range: $90 – $260.

4. Stagger Solar Path Lights Along Each Tier
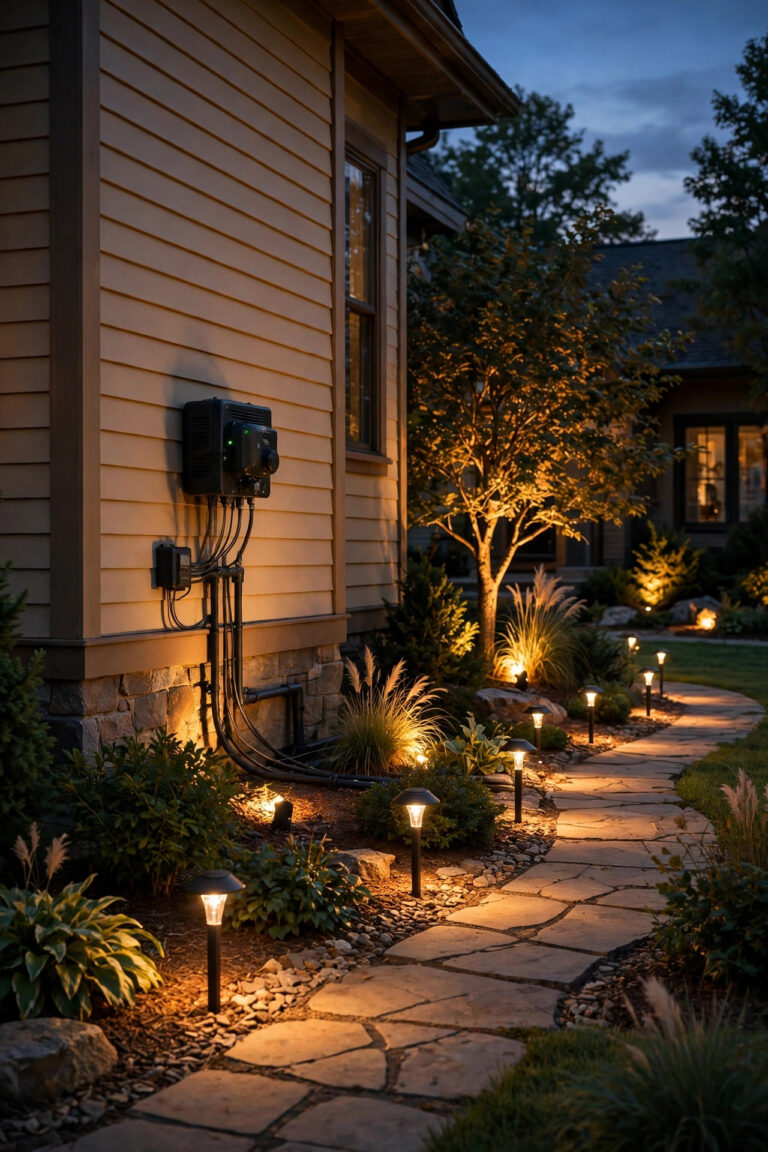
Every terrace has a walking line — along the front edge, beside the beds, up the side path — and it deserves its own gentle rhythm of light. Solar path lights are the zero-effort way to mark those lines: stake them 5 to 7 feet apart, stagger them so they alternate sides of the path where it curves, and let each tier develop its own little constellation.
Choose stakes with a real glass lens and a replaceable battery; the all-plastic dollar-store versions yellow within a season. On terraces, I prefer slightly taller stakes (18 to 24 inches) because the plantings are layered and short fixtures get swallowed by June. Since these are solar, placement follows the sun, not just the design — a tier shaded by the house after 2 p.m. needs fixtures along its sunny edge. For more layout patterns, my walkway lighting ideas cover spacing math in detail.
Suggested budget range: $40 – $130.

5. Moonlight the Terraces From One Tall Tree
If you're lucky enough to have a mature tree above or beside your terraces, moonlighting gives you the most natural-looking light of all: a soft, dappled wash from high in the canopy, as if the moon were always full over your yard. Mount two or three downlights 20 to 30 feet up, fitted with glare shields and slightly blue-white 3000K lamps to mimic moonlight, and angle them so their pools overlap across two or three tiers.
The effect on a slope is gorgeous because the light falls unevenly — bright on the top tier, filtered by branches onto the lower ones, with leaf shadows dancing across the walls. This is a job for an arborist or a confident DIYer with a proper ladder setup; fixtures get wired down the trunk in a discreet conduit. Keep the beams off the street and out of neighbors' windows — on a hill, high lights travel far.
Suggested budget range: $300 – $800.
6. Give Every Tier One Spotlight "Hero" Plant
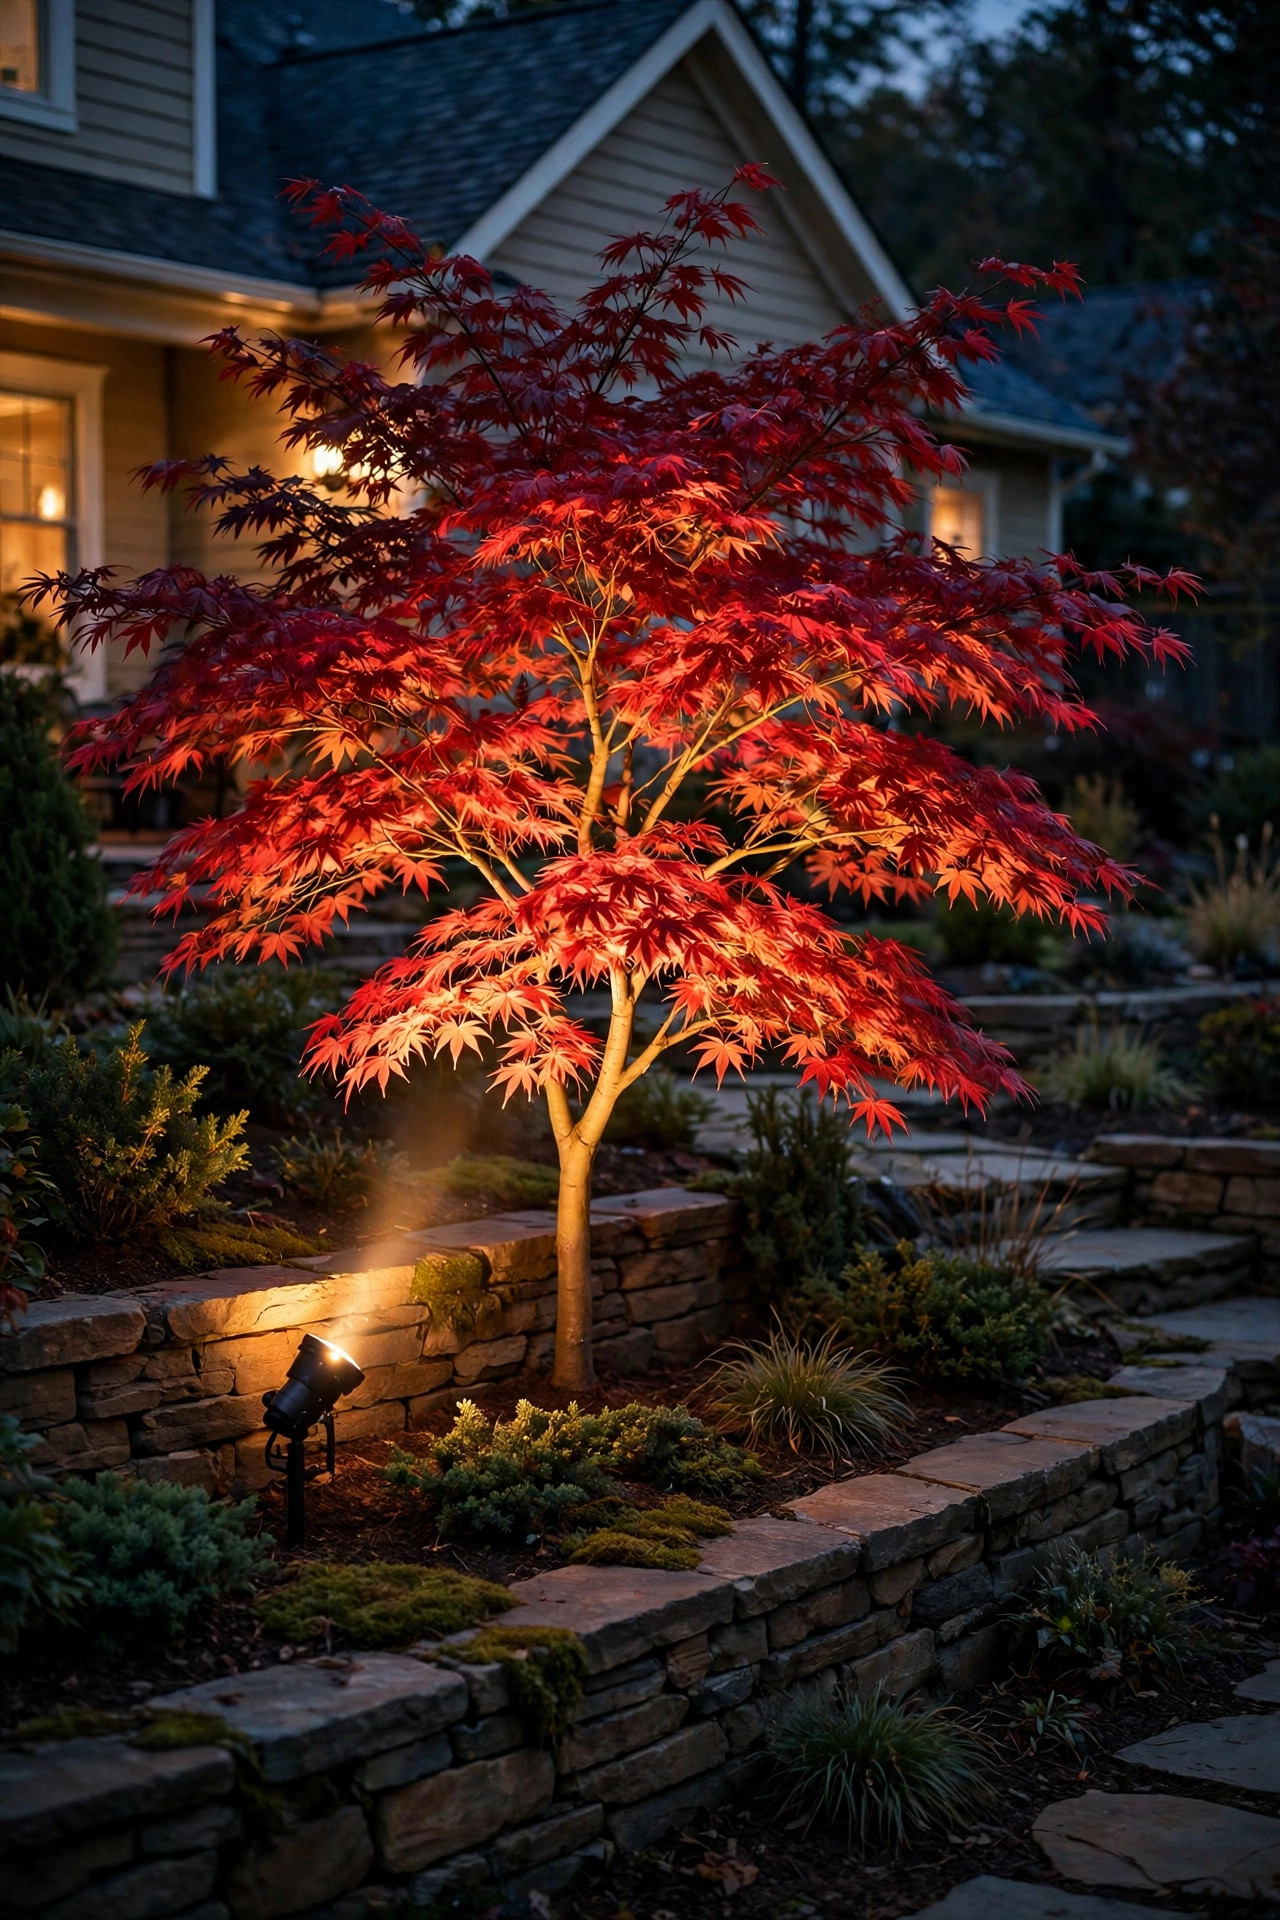
Here's a composition rule I never break: each terrace gets exactly one star. A sculptural Japanese maple, a cluster of ornamental grasses, a spiky yucca — pick the best plant on each level and give it a dedicated spotlight, slightly brighter than everything around it. The eye then travels tier to tier, star to star, straight up to your front door.
A single adjustable bullet light with a 36-degree beam does the job for most shrubs; small trees want two fixtures crossing at 45-degree angles so the canopy doesn't flatten. Stake the fixture 12 to 18 inches from the trunk or crown, and use a honeycomb glare guard if the light sits anywhere near the walking line. Resist the urge to spotlight everything — on a terraced yard, restraint is what separates "designed" from "airport runway."
Suggested budget range: $45 – $150.
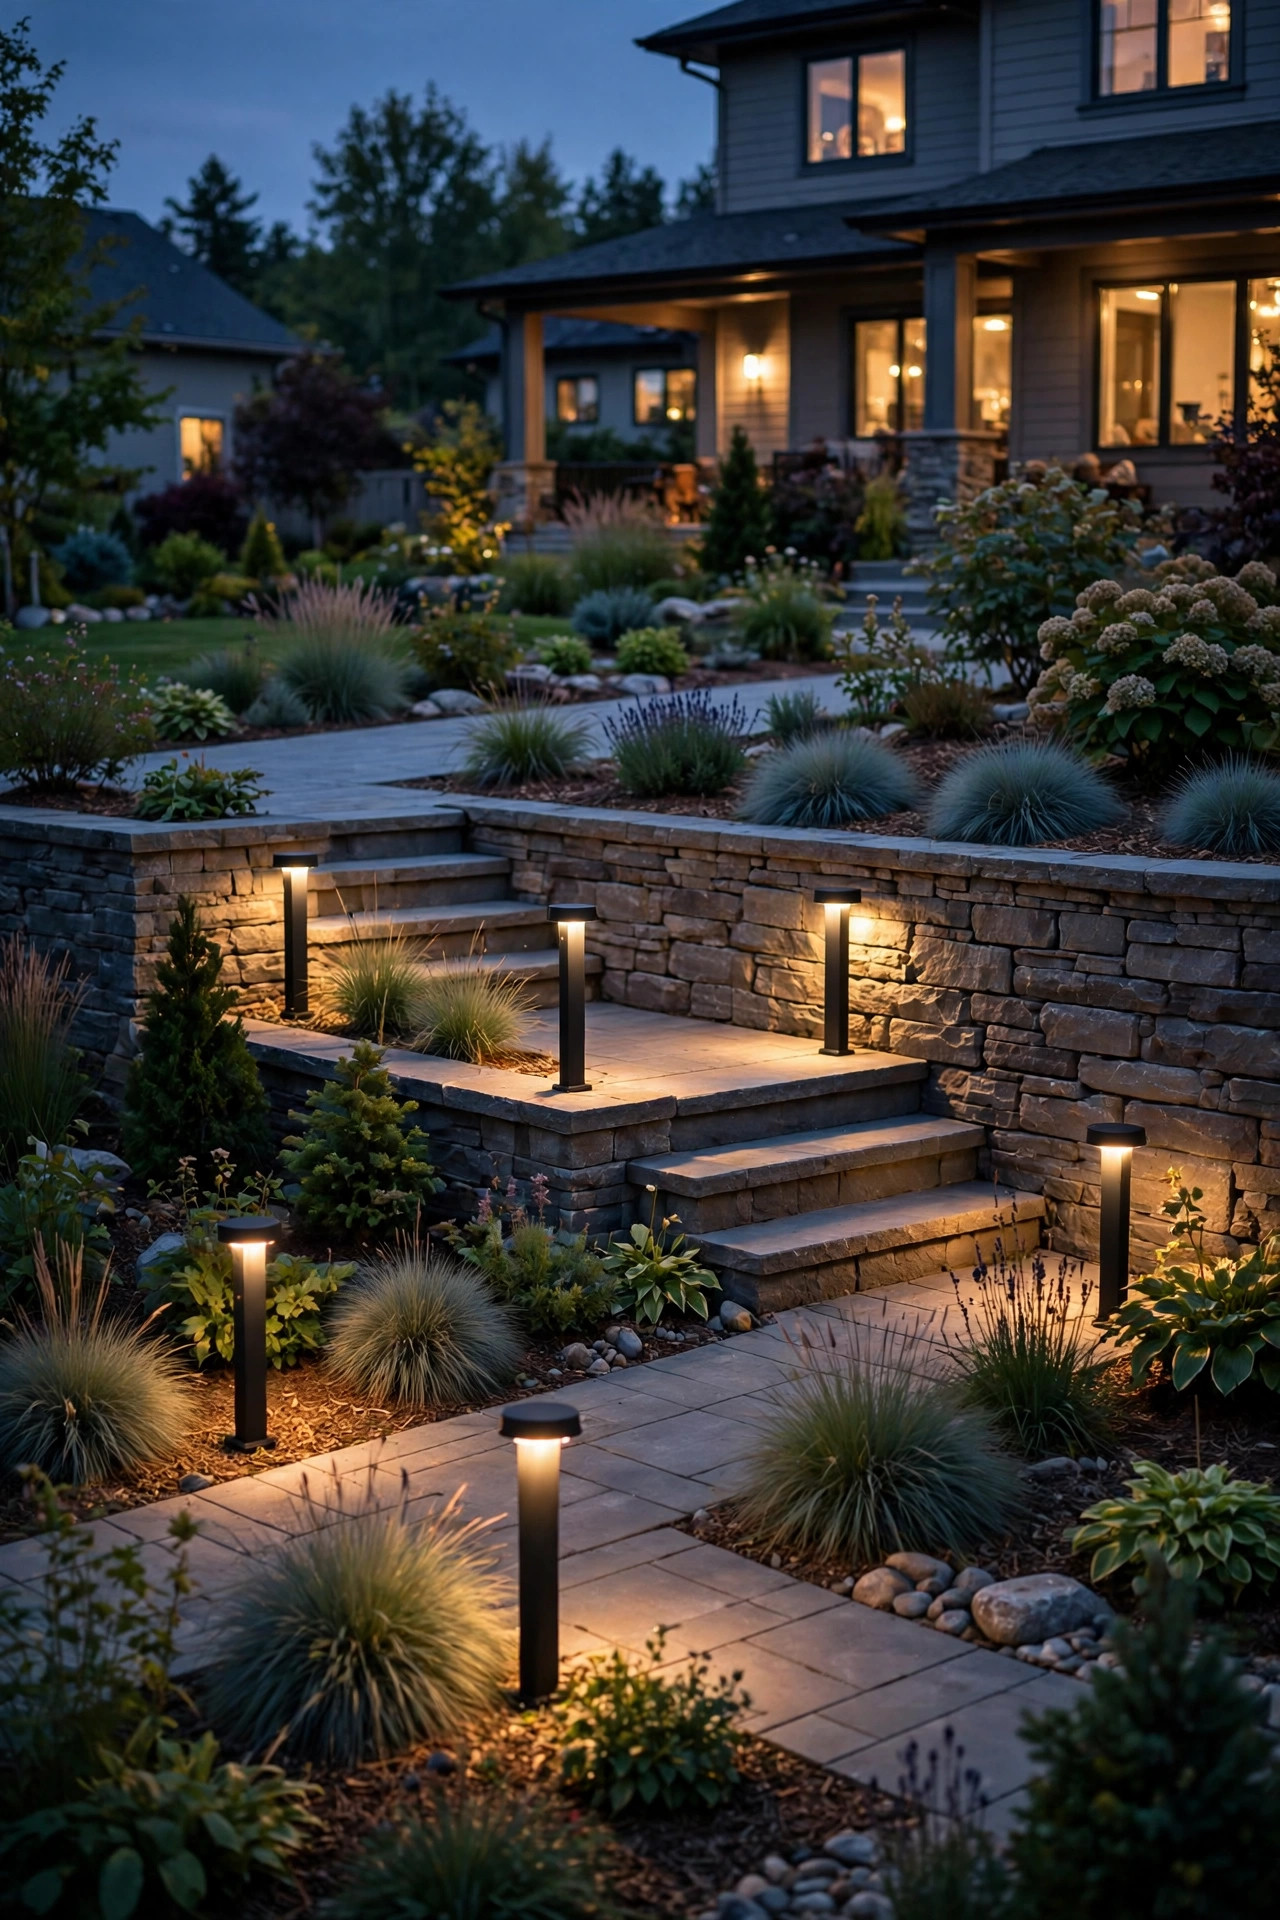
7. Bollard Lights at Landings and Tier Changes
Wherever a path changes level — a landing, a single step down, the corner where the walkway turns — a short bollard light earns its keep twice: it marks the hazard and it anchors the design. Bollards throw a wide, low circle of light exactly where feet land, with none of the glare of a fixture at eye level.
Modern slim bollards (18 to 30 inches tall) suit contemporary homes; lantern-top versions flatter traditional and craftsman styles. Space them at decision points only — every landing and turn — rather than in a marching line. Low-voltage bollards are sturdier and steadier than solar for this job, and most have replaceable LED modules so a failure doesn't mean replacing the whole fixture. Set them back 6 inches from the path edge so mower decks and snow shovels pass without clipping them all winter.
Suggested budget range: $110 – $320.
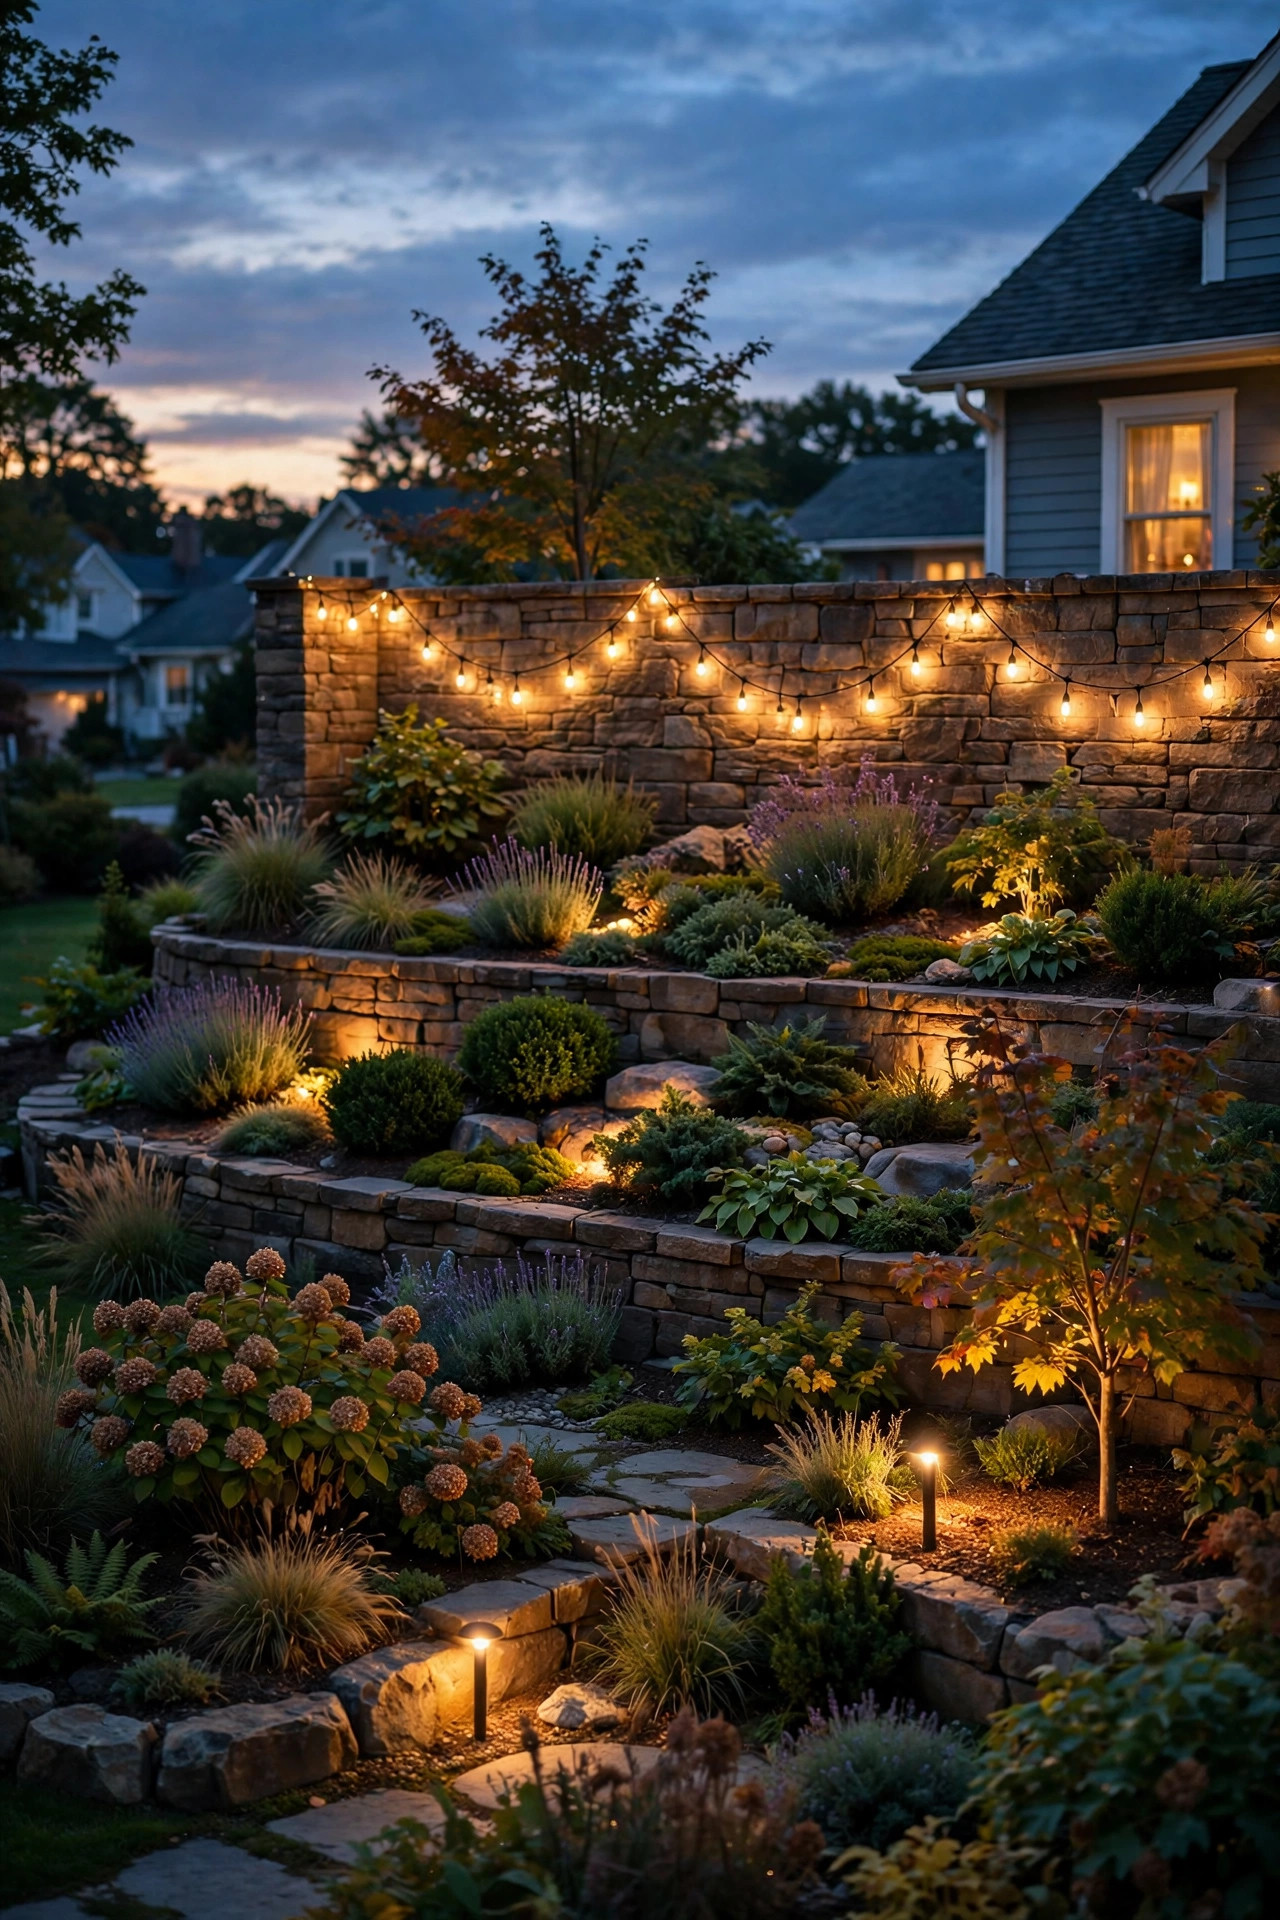
8. String Lights Along the Top Terrace Edge
The top terrace is usually the one closest to the house — and the one you see from your front windows — so give it the celebration treatment. A run of outdoor string lights along the top retaining wall or the railing above it adds instant festivity and a lovely reflected glow down the slope. Use commercial-grade strands with suspended sockets, and anchor them to screw hooks set into the wall or posts every 8 to 10 feet so they hang in soft, even swags.
Warm-white LED filament bulbs are my pick: they sip power, stay cool near foliage, and won't shatter if a gust knocks them against stone. Keep the swag gentle — a 6 to 10 inch dip between hooks reads elegant, while deep catenary droops read "dormant party." On a timer set to dusk-to-11 p.m., they feel like an event that happens just for you every evening.
Suggested budget range: $50 – $160.
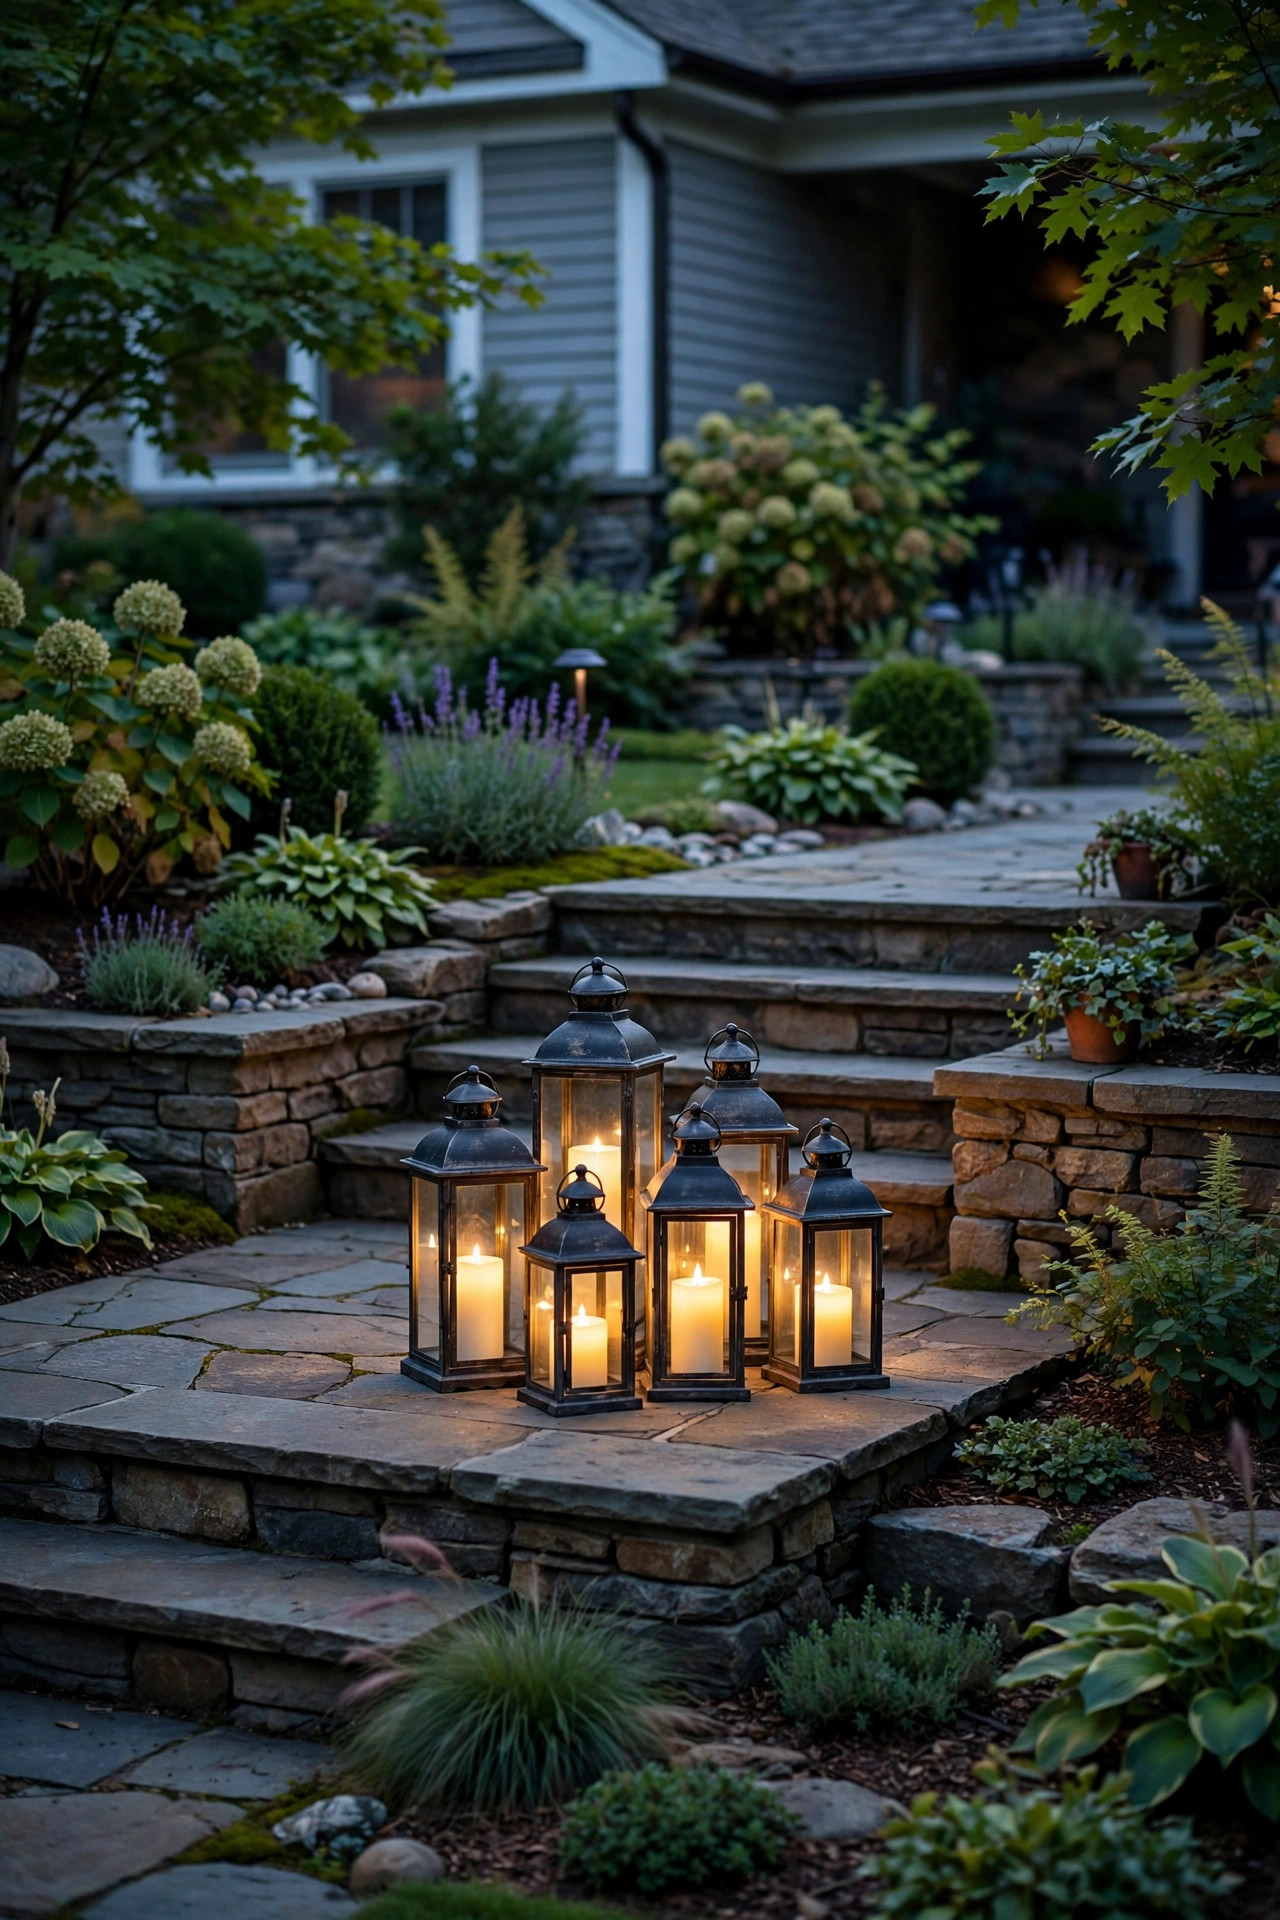
9. Lanterns Clustered on Wide Stair Landings
If your terraces are joined by generous landings, treat each landing like a tiny foyer: a cluster of two or three lanterns in graduated heights, tucked against the wall corner where they won't catch a foot. Flameless LED candles inside give you the flicker without the fire risk — real flames on a walkway make me nervous, full stop.
Metal lanterns with glass panels weather best; bring the candles in during hard freezes to save the batteries. I group in odd numbers, vary the heights by at least 4 inches, and add one seasonal filler — pinecones now, shells in summer — inside the largest lantern. Because lanterns sit at ankle height, they double as gentle step markers between the "official" fixtures. Battery sets with a built-in 6-hour timer mean they light themselves at the same time every night, no apps required.
Suggested budget range: $35 – $110.
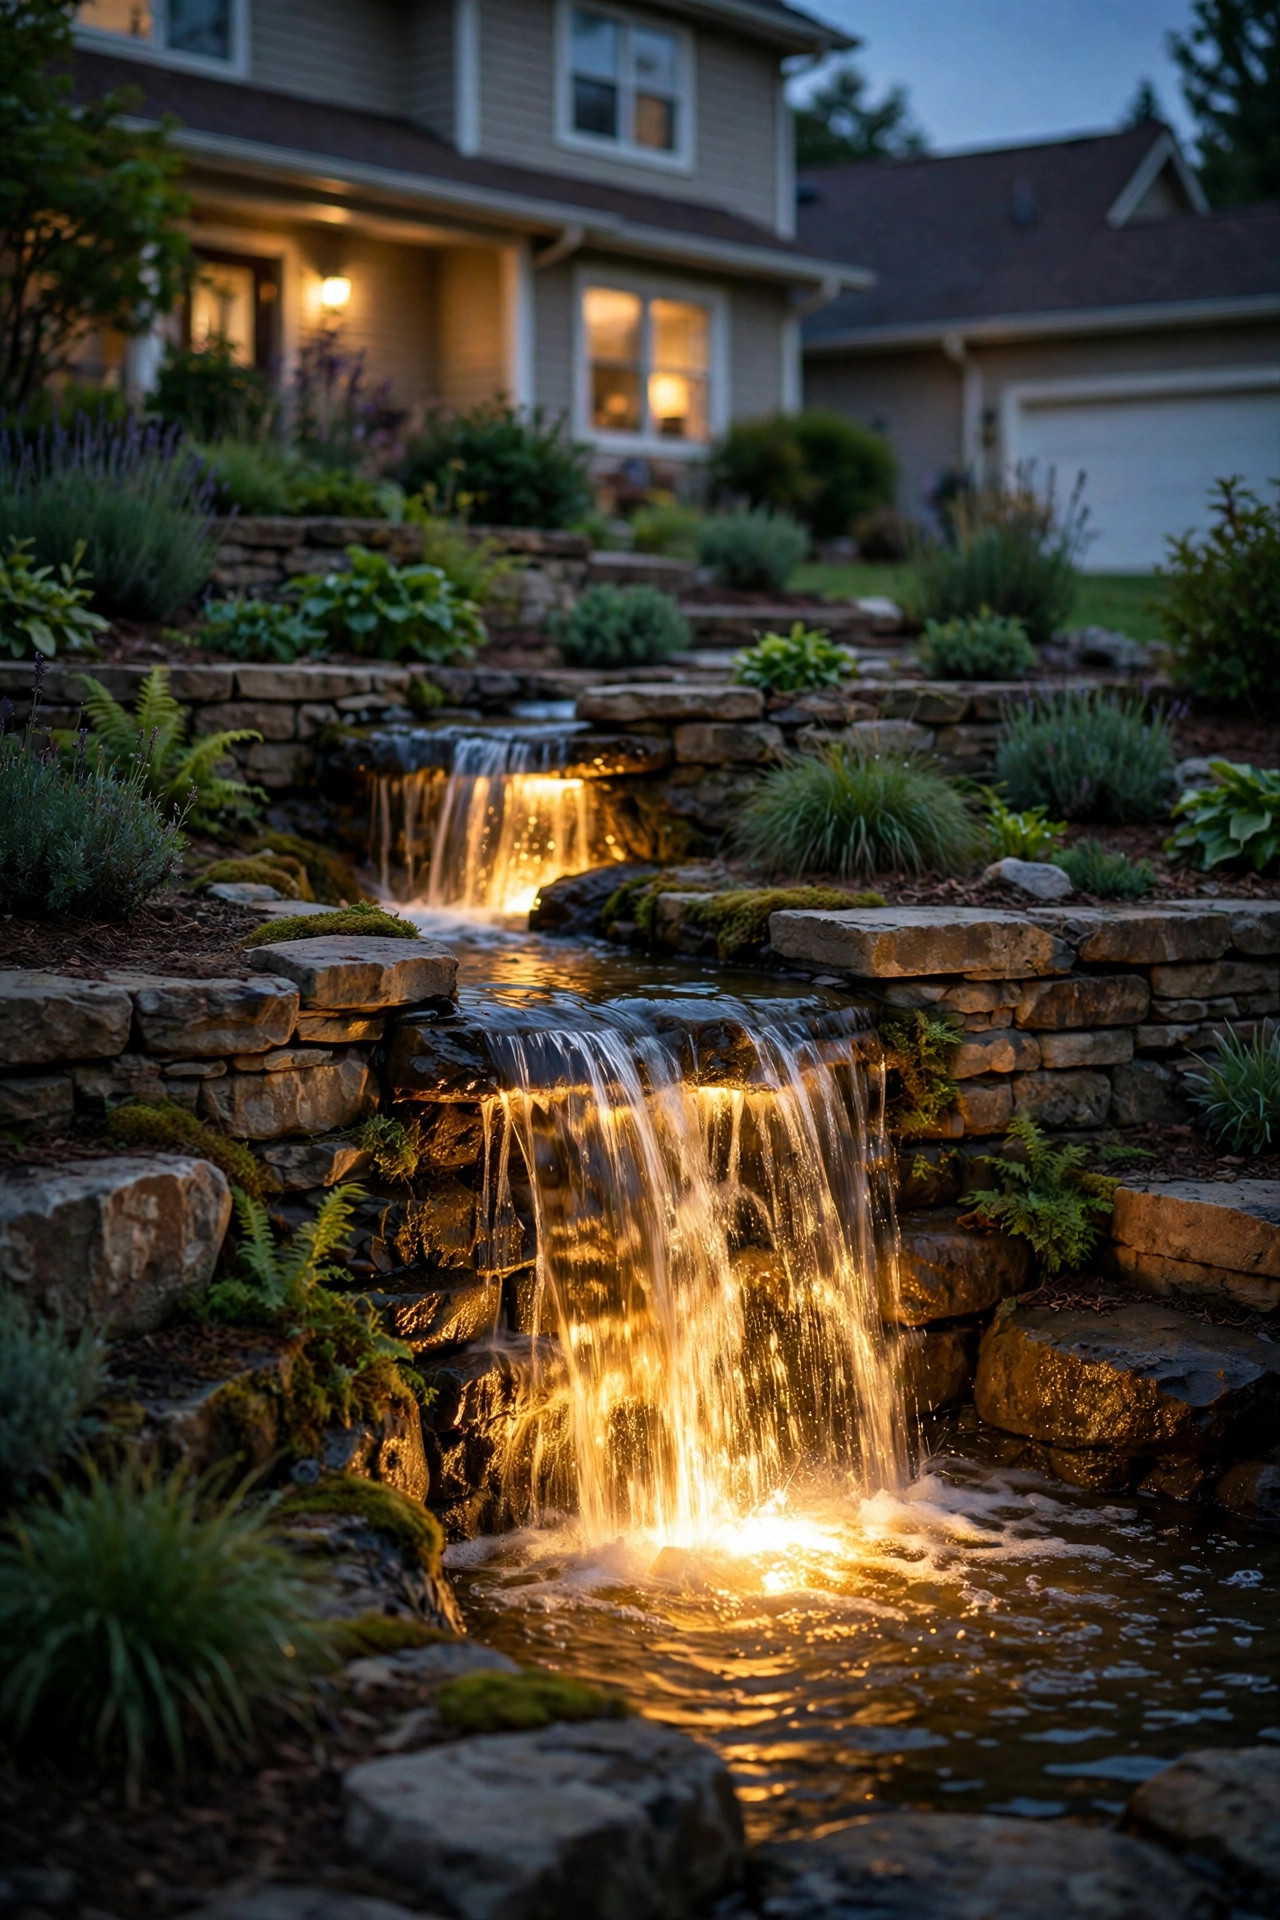
10. Light a Cascade or Water Feature Between Levels
Terraced yards have a secret advantage: gravity. A small recirculating cascade spilling from one tier to the next is the most charming feature you can add, and a single submersible LED turns it into liquid light after dark. Place the fixture low, aimed up through the falling water from behind the drop, and the stream sparkles like it's lit from inside.
Submersible lights must be IP68-rated and run on low voltage with the transformer well away from the water — no exceptions, and plug into a GFCI outlet. If a full cascade sounds like too much, a bubbling urn or a small spillway bowl on one tier gives you 80% of the magic for a fraction of the plumbing. Keep a spare pump filter on hand; moving water and garden debris are forever frenemies, and a clogged trickle lit beautifully is still a clogged trickle.
Suggested budget range: $150 – $600.
11. Downlight the Whole Slope From the House or a Tall Post
When walls are plain, stained, or just not worth grazing, flip the direction: wash the terraces from above. Two wide-beam floodlights mounted under the eaves, on a tall post at the top of the slope, or on the house wall can drape the entire hillside in soft, even light — the terraced equivalent of a ceiling fixture.
Aim is everything here. Angle the beams down at roughly 45 degrees so pools land on the tiers, never straight out toward the street where they'll blind drivers already squinting up your hill. Shielded fixtures with barn-style hoods keep the light polite. This is also the security-minded option: a gently lit slope shows every level clearly without the harsh interrogation-room glare of a bare floodlight. Pair it with the low layers from ideas 1 and 4, because downlight alone can flatten all those lovely levels into one bright ramp.
Suggested budget range: $90 – $280.

12. Accent Lights for Boulders and Rock Gardens
Terraces and rocks belong together — many of us inherited boulders from the excavation, and gardeners buy them on purpose for the tiered beds. Either way, a single small uplight aimed at a character boulder turns dead weight into sculpture. Graze across the rock's face at a low angle so its fissures and lichen cast long, dramatic shadows.
Hide the fixture behind a smaller stone or tuck it into ajuga at the boulder's base, 6 to 10 inches out. Warm light flatters granite and sandstone; if your rock is pale limestone, 3000K keeps it from going blue-grey. A cluster of three rocks lit as one group looks more natural than dotting every stone — pick the arrangement nearest the path or the one visible from the street and let the rest stay mysteriously dark. Darkness, used deliberately, is half of any good design.
Suggested budget range: $40 – $120.

13. Edge Every Planting Bed With a Low Ribbon of Light
Each terrace bed has a front edge, and tracing that edge with light is what makes the tiers read as tiers from the street. Miniature LED hardscape lights tucked under the wall cap, or a line of low mushroom fixtures just inside the bed, draw a bright horizon line at the top of every level — suddenly the whole staircase of gardens is outlined in gold.
Hardscape strip fixtures (the flat 6 to 12 inch bars made for retaining walls) are the tidy pro choice and install with the wall build or retrofit under caps with construction adhesive. Space them 3 to 4 feet apart for a continuous ribbon. If your walls are timber rather than block, small puck downlights screwed under the top timber do the same job. This edge lighting pairs beautifully with the wall graze in idea 3 — together they frame the wall top and bottom like a picture.
Suggested budget range: $100 – $300.
14. Weave Fairy Lights Through Slope Plantings
Between the official fixtures, a terraced slope wants a little mischief. Copper-wire fairy lights woven through the shrubs planted on the banks — spreading junipers, cotoneaster, low ornamental grasses — make whole drifts of planting sparkle like frost that glows. The wire disappears by day; by night, the slope itself seems to twinkle.
Solar fairy strands are perfect here because slope plantings are often far from an outlet, and the panels can sit at the sunny top of the bank while the strands drape below. Use two or three strands per large shrub and resist wrapping trunks tightly — loose figure-eights through the outer branches look airier and come off easily at pruning time. Keep them LED-only and never near anything flammable (they run cool, but habits matter). Come January, this is also my favorite cure for the post-holiday lighting blues.
Suggested budget range: $25 – $80.

15. A Welcoming Post Light at the Street-Level Entry
Terraced yards start at the sidewalk, often a full flight below the front door — and that first step sets the tone. A lantern-style post light where the path leaves the sidewalk says "the welcome starts here," gives guests their bearings, and anchors the lowest tier with a vertical exclamation point.
Choose a post 5 to 6 feet tall overall with the lantern at eye level, in a finish that echoes your door hardware, and match the bulb temperature to everything uphill (2700K, always, in my yard). A photocell or smart bulb means it greets the mail carrier at 5 p.m. in December without your lifting a finger. Set the post in a small concrete footing — slope-edge soil creeps, and a leaning lantern light is the saddest sight in landscape lighting. Plant a low evergreen at its base to soften the silhouette.
Suggested budget range: $130 – $380.

16. Uplight the Trees Planted on Each Terrace
Small ornamental trees are the crown jewels of terraced planting — a redbud on tier two, a dwarf maple on tier three — and uplighting lets them perform after dark, when the slope below them falls quiet. One well light or bullet fixture per tree, set a foot from the trunk and aimed into the canopy, doubles the tree's presence and throws lace-like shadows onto the wall behind it.
On a slope, mind the sightlines: a fixture that's politely hidden from the flat path may glare straight into the eyes of someone standing on the tier below. Glare shields and a test viewing from downhill (do this at night, in person) are non-negotiable. Wire runs should cross walls through sleeves or conduits, never pinched under capstones where they'll chafe. As the tree grows, widen the beam or add a second fixture — plan the conduit with slack so future-you isn't re-trenching a finished hillside.
Suggested budget range: $60 – $180.

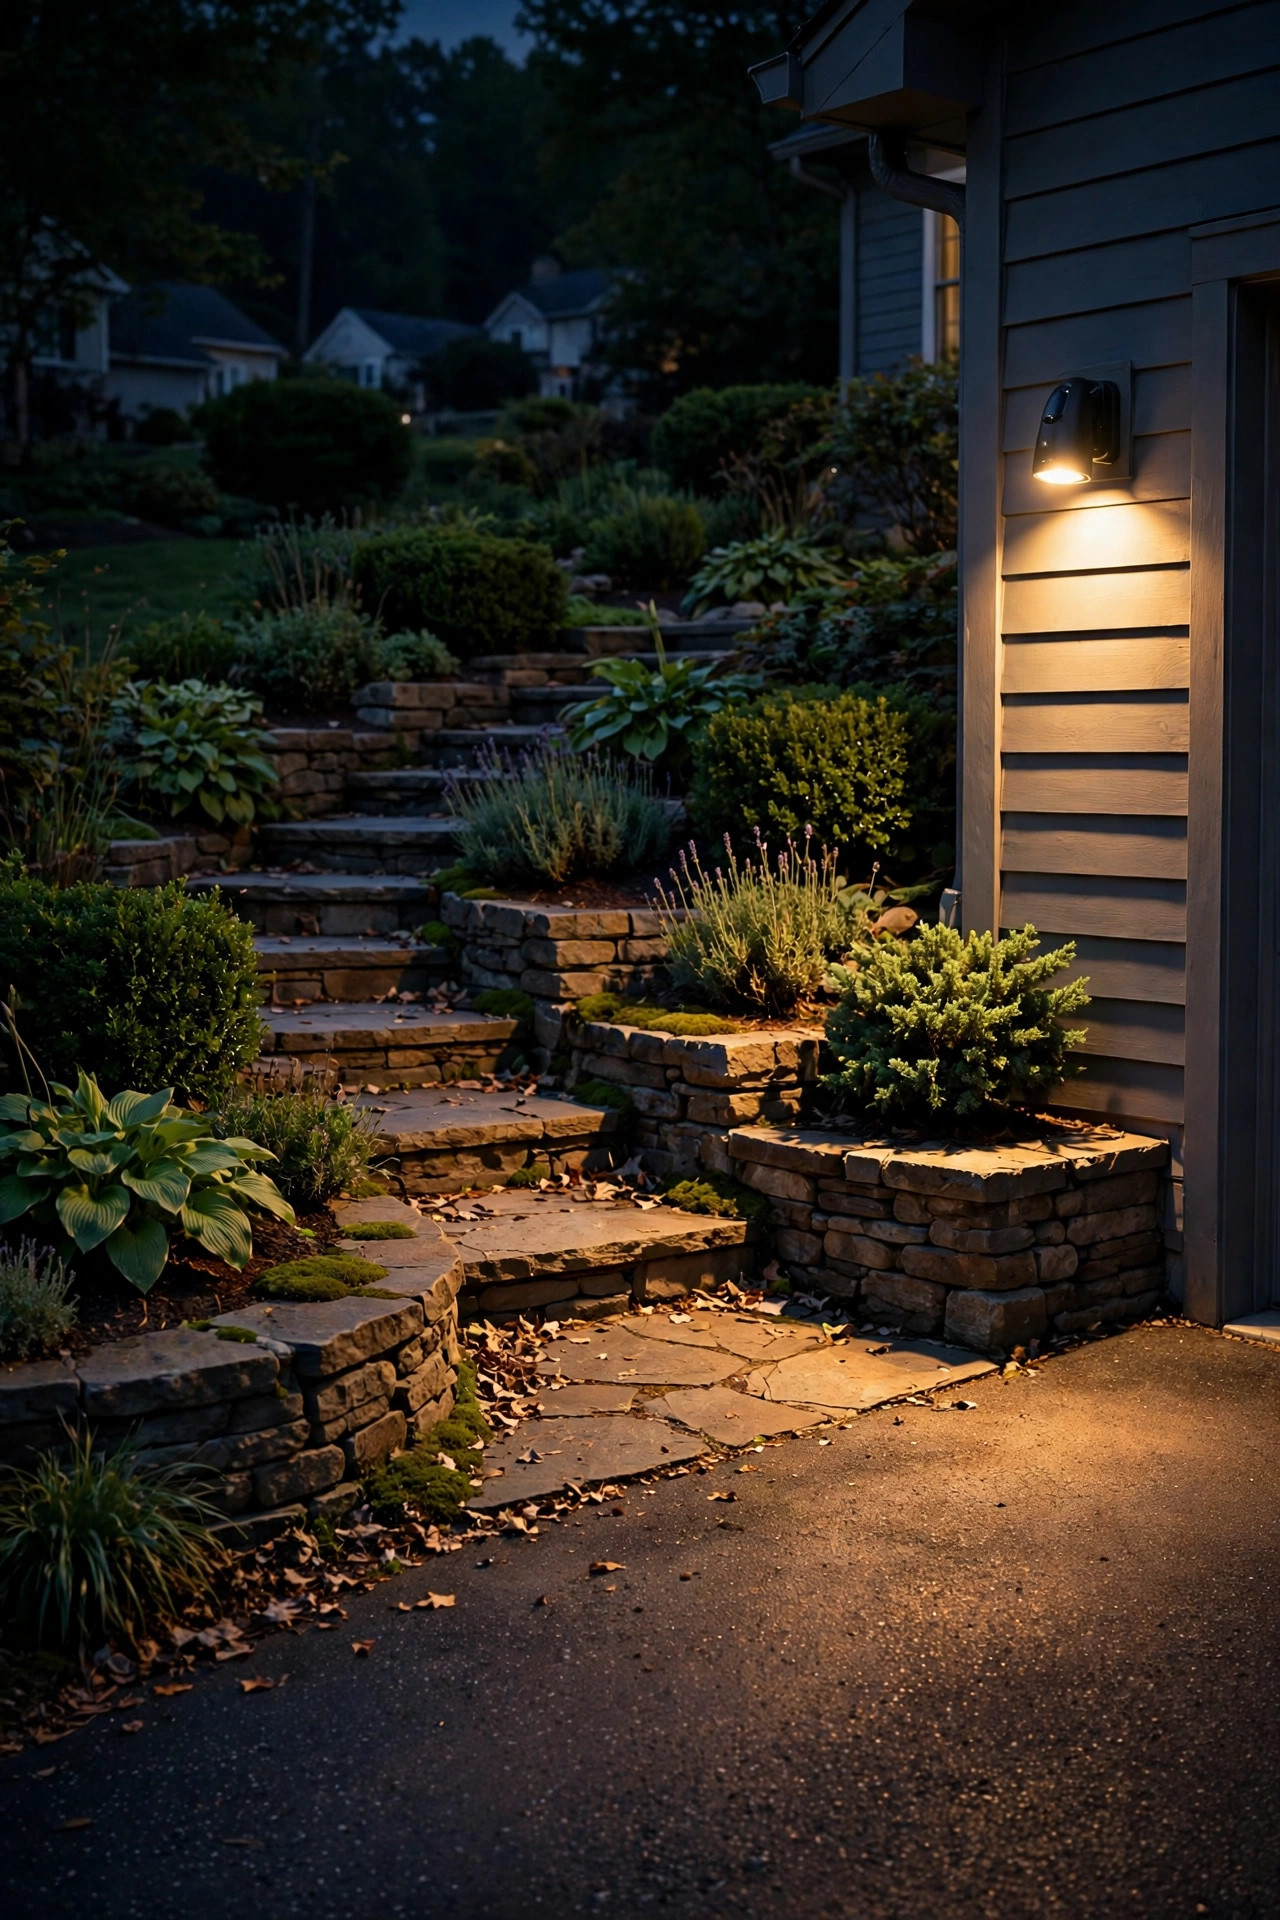
17. Motion-Sensor Lights Where the Path Meets the Driveway
Every terraced yard has one awkward corner — where the front path meets the driveway, the side gate, or the steps down to the garage — that sits dark because it's nobody's design feature. A motion-sensor light there is pure practicality: it pops on for late arrivals, package deliveries, and anyone who shouldn't be wandering your slope at 2 a.m.
Solar motion lights have gotten genuinely good, with wide 120-degree sensors and adjustable heads, and they spare you wiring the farthest corner of the yard. Mount them 6 to 8 feet up on a wall corner or post, aimed along the walking line rather than across it, so they trigger on approach. Set the duration short — 30 to 60 seconds — and the sensitivity low enough that the neighbor's cat doesn't host a nightly light show. Warm-white keeps it neighborly instead of interrogation-bright.
Suggested budget range: $30 – $100.
18. Pick One Warm Color Temperature for All Levels
Here's the mistake I see on more hillsides than any other: a patchwork of bulb colors — cool blue-white solar stakes from one sale, warm sconces from another — that makes a beautiful yard look like a parking lot collage. On a terraced yard the effect is multiplied, because you see every level at once.
Commit to one temperature for everything visible in a single glance: 2700K warm white is my hillside standard, soft as candlelight and kind to stone, timber, and foliage alike. If your home is very modern, 3000K is the crispest I'd go. The spec that matters when shopping is the Kelvin number printed on the box — match it across brands and fixture types, and buy one or two spare bulbs/fixtures now, while the exact model is on shelves. Once you've seen a whole hillside glow in one warm tone, mismatched bulbs will bother you forever — ask me how I know.
Suggested budget range: $20 – $90.
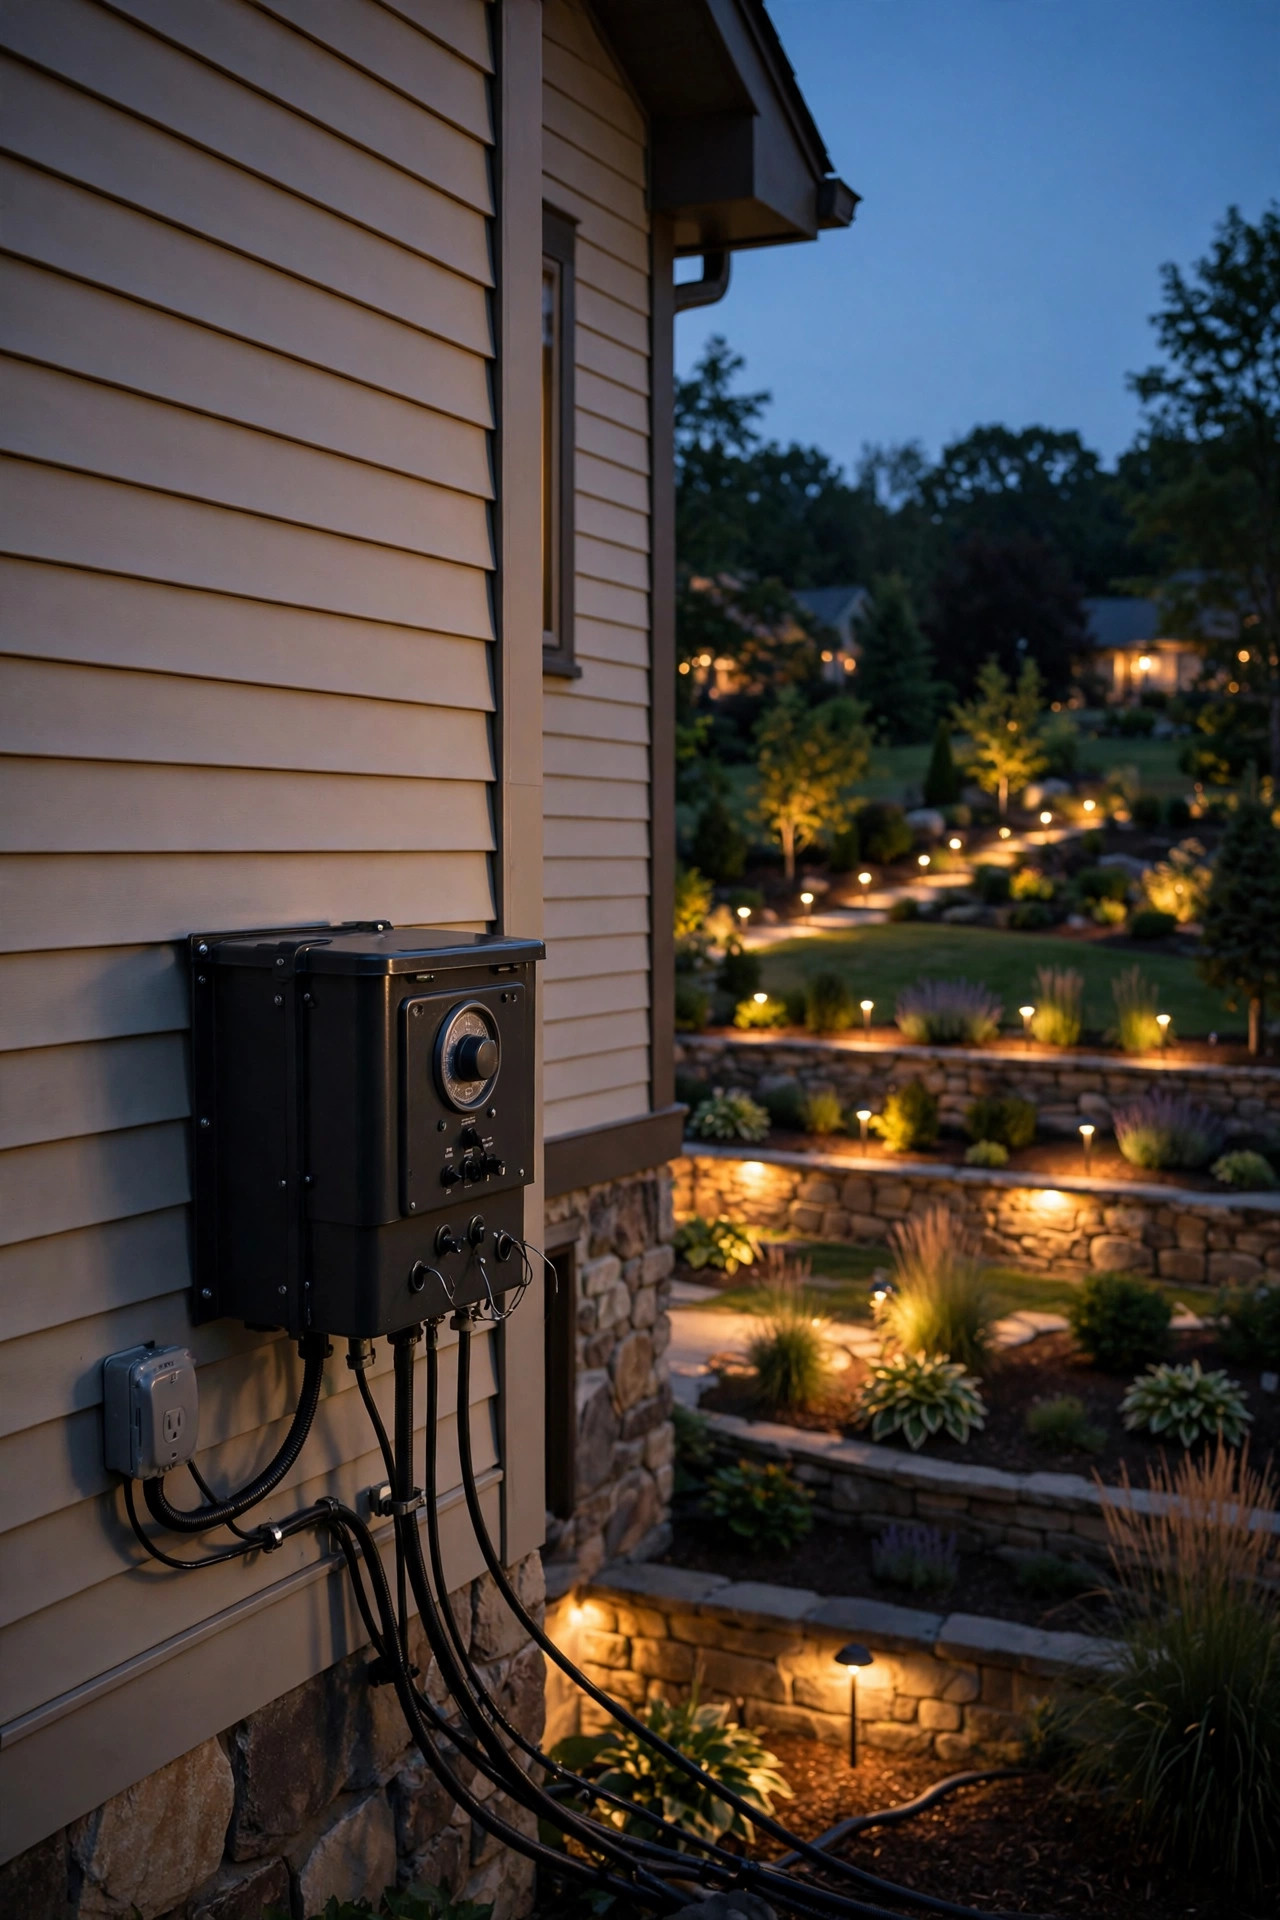
19. Run Each Tier on Its Own Zone and Timer
A terraced yard wired as one giant circuit is a headache waiting to happen — one fault darkens the whole hill, and you can't dim the party tier without killing the stair lights. Zone it instead: one transformer output (or smart plug) for steps and path safety lights, one for wall washes and accents, one for the pretty extras like string and fairy lights.
Safety lighting goes on at dusk via photocell and stays till dawn; accents can clock out at 11 p.m. and save their LEDs and your electric bill. Zoning also makes troubleshooting mercifully simple — when a zone goes dark you know which third of the hill to inspect. This is the same layered thinking I use indoors, just with weatherproofing; if you want the broader framework, my guide to layered landscape lighting walks through building zones on any yard, flat or terraced.
Suggested budget range: $70 – $220.
20. Line the Top Wall With Planters That Glow
The top retaining wall — the one at house level — often ends in a bare strip of soil or gravel that nobody loves. Claim it with a row of substantial planters and light them from within: a solar stake tucked into each pot, a fairy strand woven through the plantings, or one uplight per planter from the wall's base. The planters become a glowing parapet that frames your front door view.
Choose pots at least 16 inches wide — small pots on a big wall read as clutter — and repeat one plant palette (I do grasses plus trailing sweet potato vine) so the row reads as architecture, not a yard sale. Solar is the practical power source up here since top walls are often outlet-poor, but run one low-voltage line during any wall work and future-you will weep with gratitude. In winter, swap the plantings for cut evergreen boughs and keep the glow going.
Suggested budget range: $85 – $260.

21. Swap the Accents With the Seasons
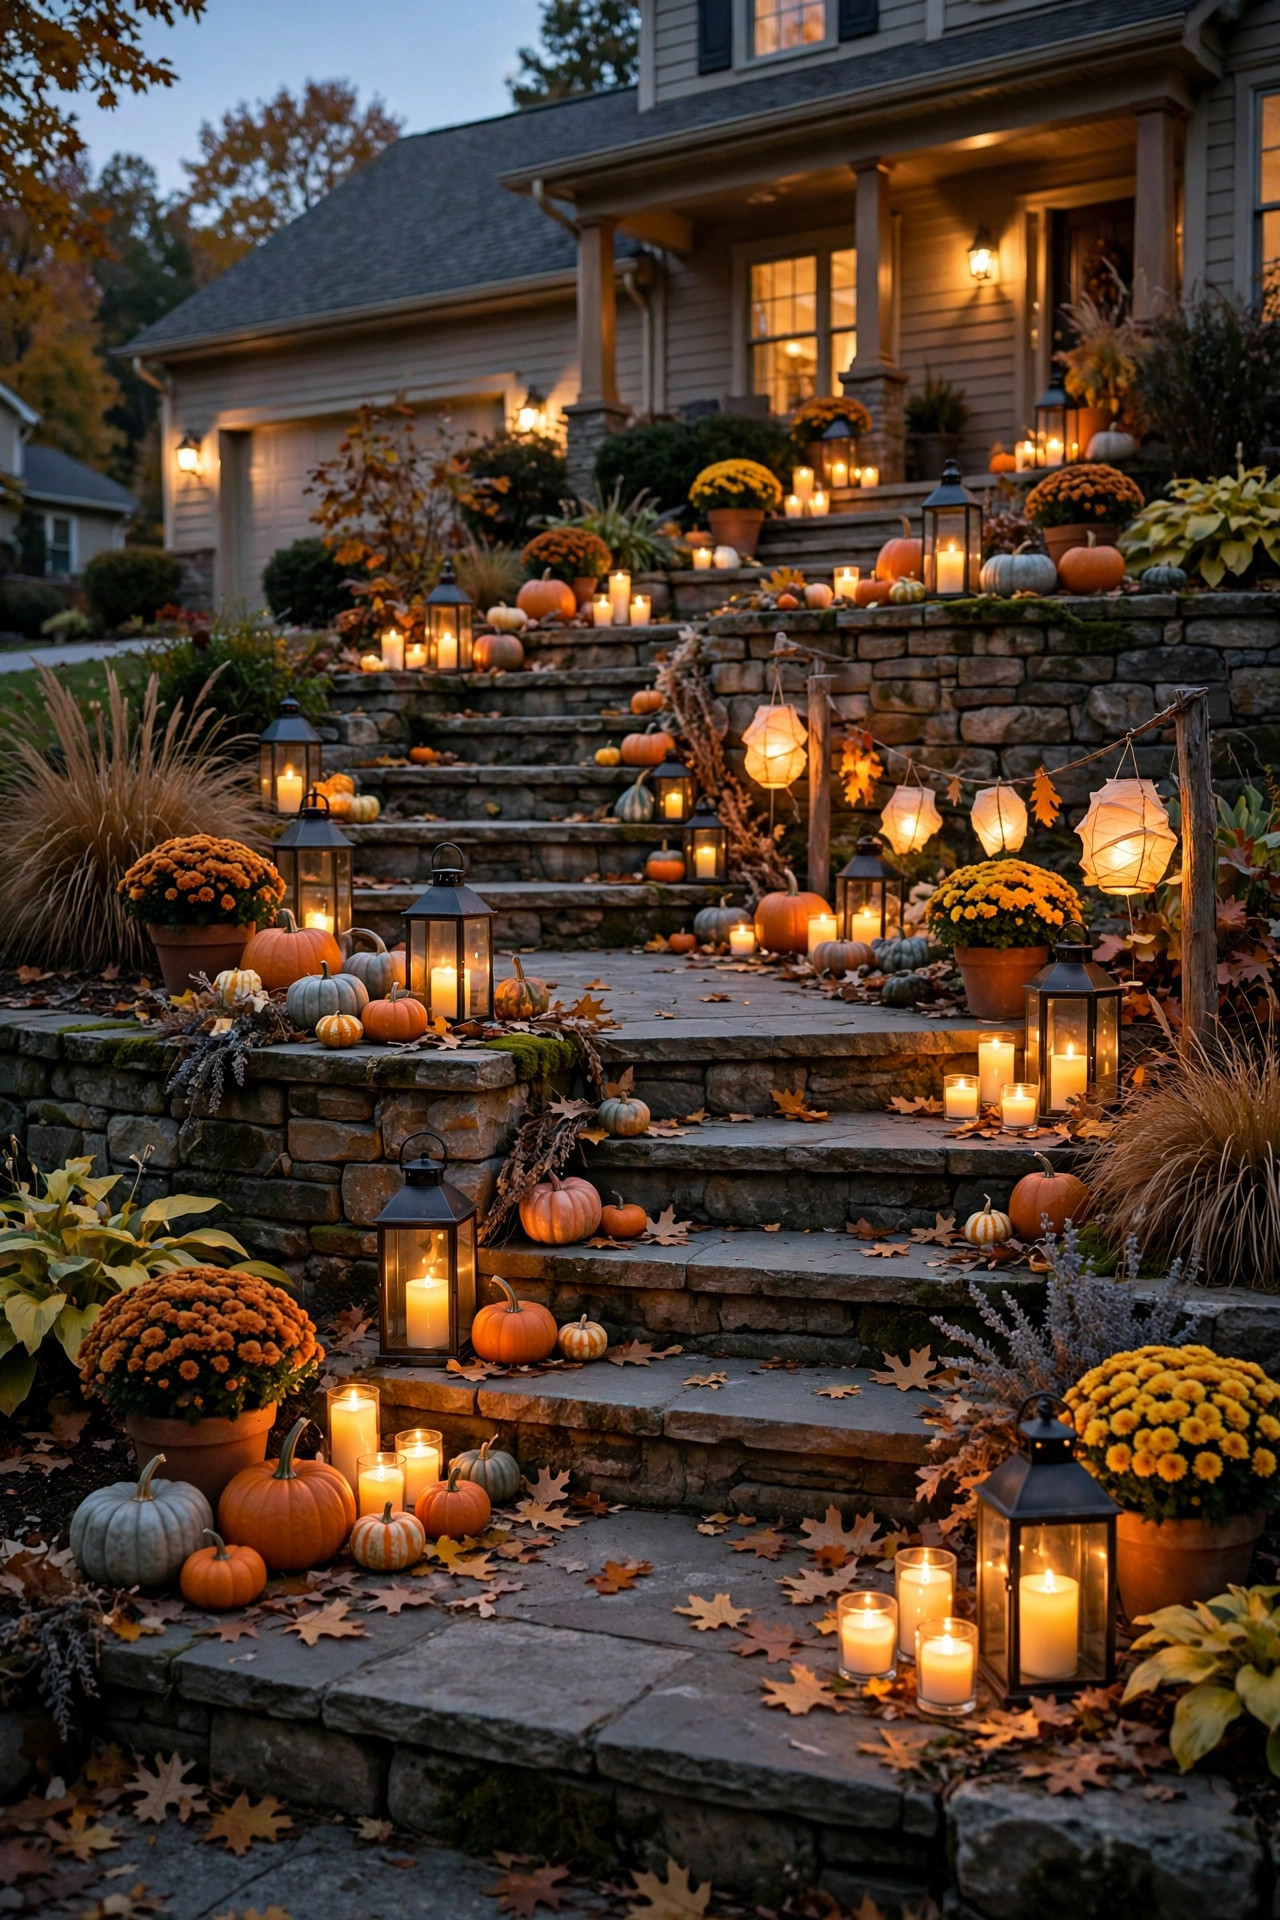
The finishing touch that keeps a terraced yard feeling alive: treat the levels like shelves and restyle the light seasonally. Fall gets flameless candles in hurricanes on every landing and amber fairy lights in the planters; winter gets evergreen swags with warm strands along the top wall; spring and summer swap in lanterns and the string lights come back out.
Because the bones — steps, wall washes, path lights — never change, each refresh takes an hour, not a weekend, and the yard never looks tired. Store the seasonal pieces in one labeled bin per season in the garage. My honest advice: photograph your favorite arrangement each year, because by next October you will absolutely forget which landing got the tall lanterns, and past-you took that photo for a reason.
Suggested budget range: $30 – $120.
Frequently Asked Questions
How many lights does a terraced front yard actually need?
Fewer than you'd think, but in more places. A three-tier yard typically does beautifully with 18 to 28 fixtures: step or path lights for safety on every level, one wall treatment (graze, wash, or cap strip) per retaining wall, and two or three accent spotlights per tier. Count fixtures per tier rather than for the whole yard and you'll naturally layer instead of over-lighting the bottom and forgetting the top.
Is solar or low-voltage better for retaining walls?
Low-voltage, and it's not close for anything built into or mounted on the wall itself — cap strips, hardscape bars, and recessed step lights need the steady output and dimming control that wired power gives. Solar shines for the flexible layers: path stakes, fairy lights, and planters, where running wire is awkward. Most terraced yards I design end up hybrid, and there's no shame in that game at all.
What color temperature looks best on stone retaining walls?
2700K warm white, almost always. It brings out the honey and rust tones in natural stone, makes concrete block look warmer and less industrial, and flatters timber too. Cooler 4000K+ light turns most stone grey-blue and reads commercial. If your home's siding is very cool-toned and modern, 3000K is as far as I'd push it.
How much does it cost to light a tiered front yard?
A solar-and-battery refresh of an existing terraced yard can land between $200 and $500. A full low-voltage design with wall washes, step lights, and zoned transformers typically runs $900 to $2,500 in materials for a DIY install, and two to three times that with a professional crew. The tiers add trenching and wire, but the fixtures themselves cost the same as any flat yard.
Conclusion
Terraced front yard lighting ideas all come back to one principle: light each level like it matters, because from the street, every level is on stage. Start with safe stairs, give the retaining walls a wash or a graze that honors their texture, crown each tier with one glowing hero, and tie it together with a single warm color temperature and zoned timers. Do those things and your "difficult slope" becomes the yard the whole street slows down for. Browse the rest of our outdoor lighting ideas here on the site, pick your favorite tier to start with, and let's make that hillside glow.