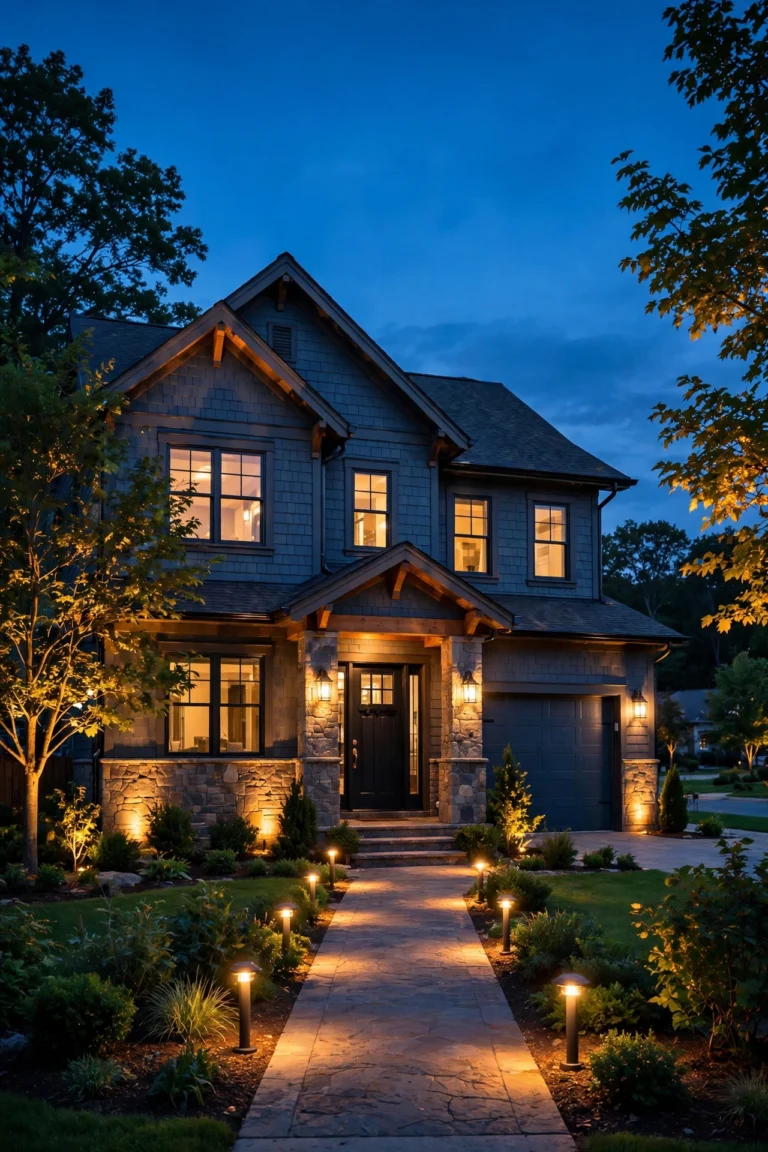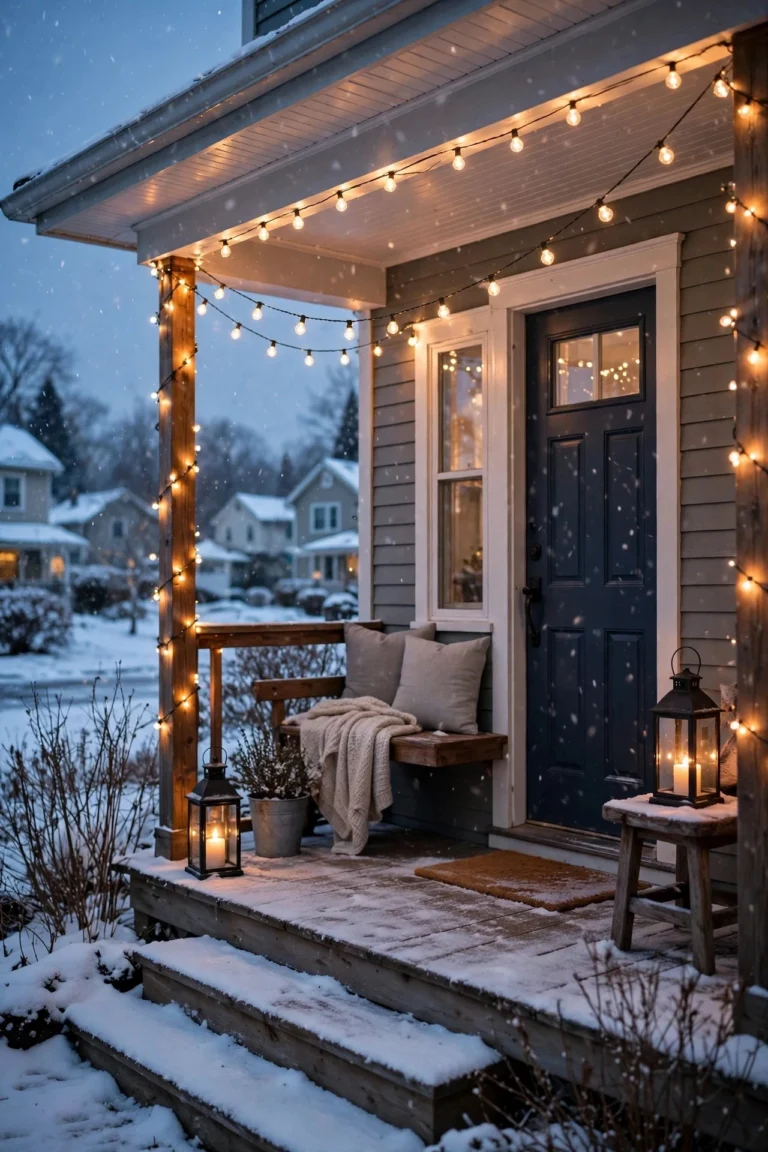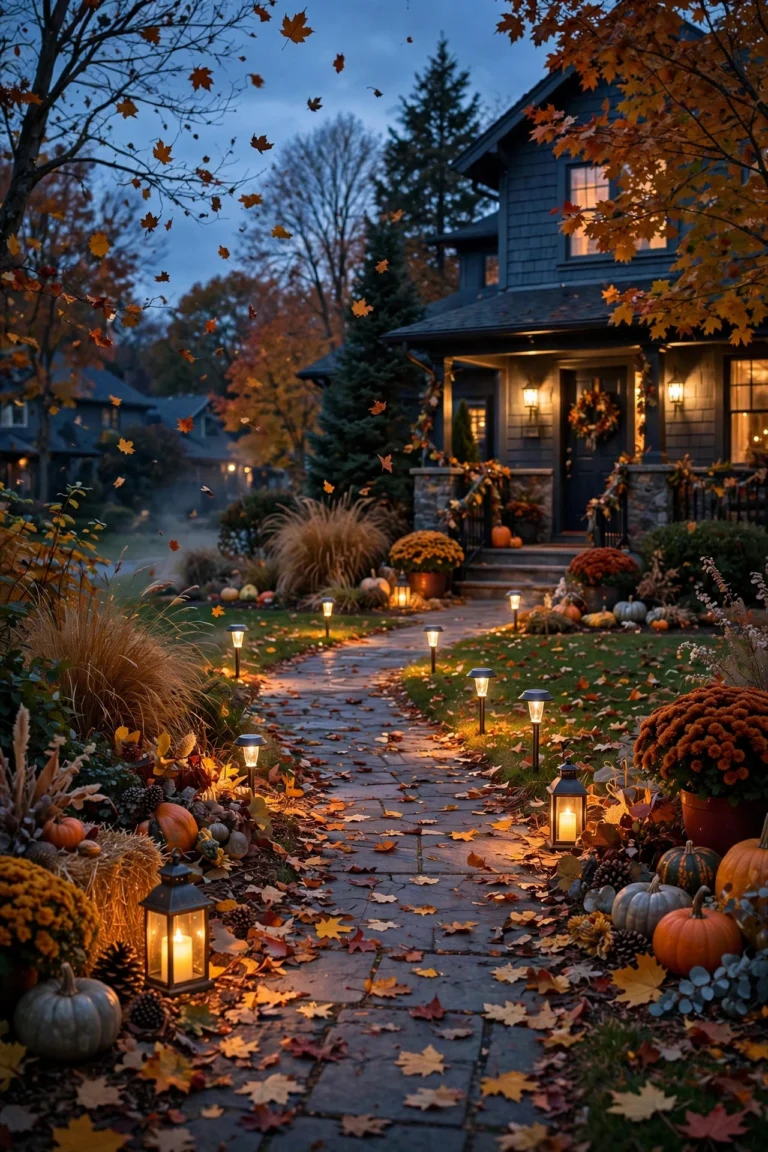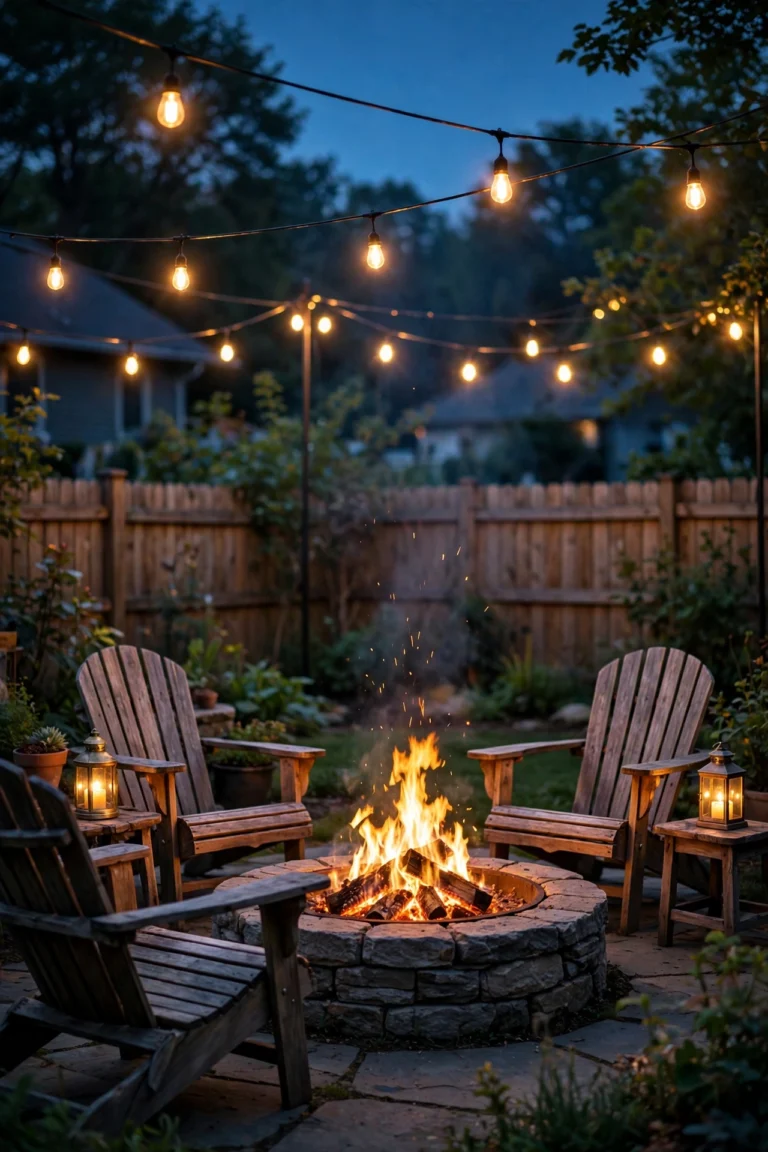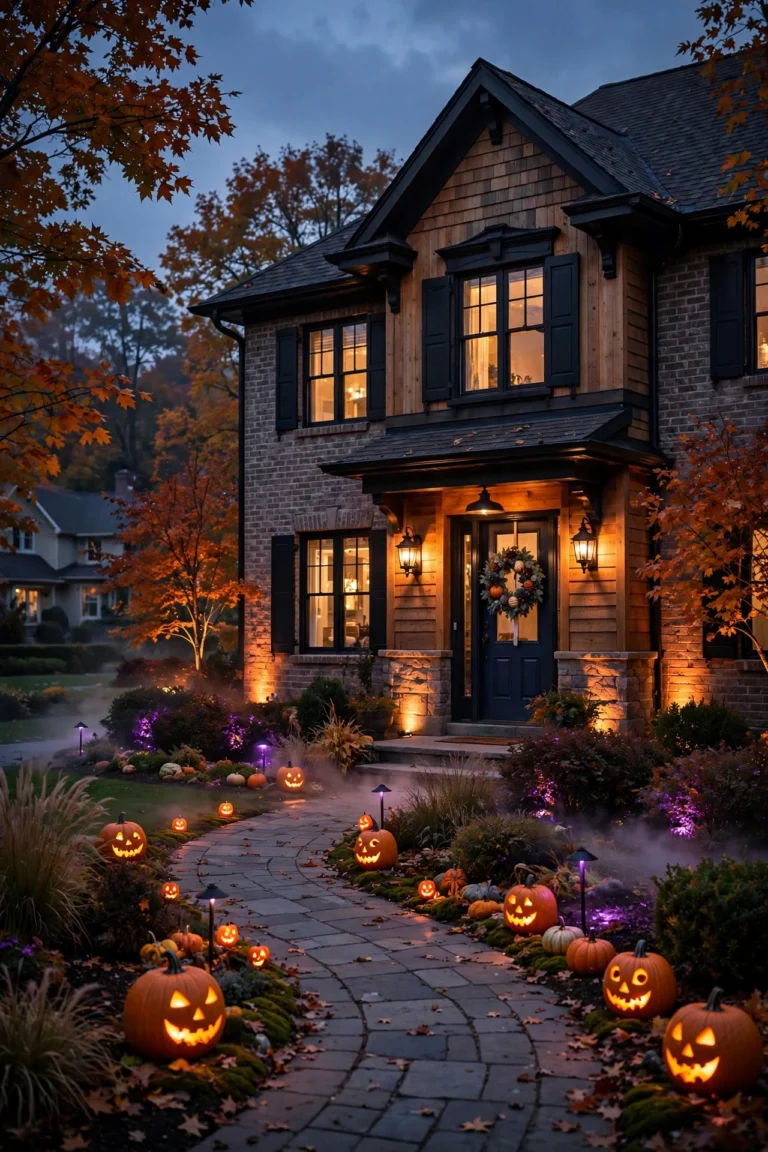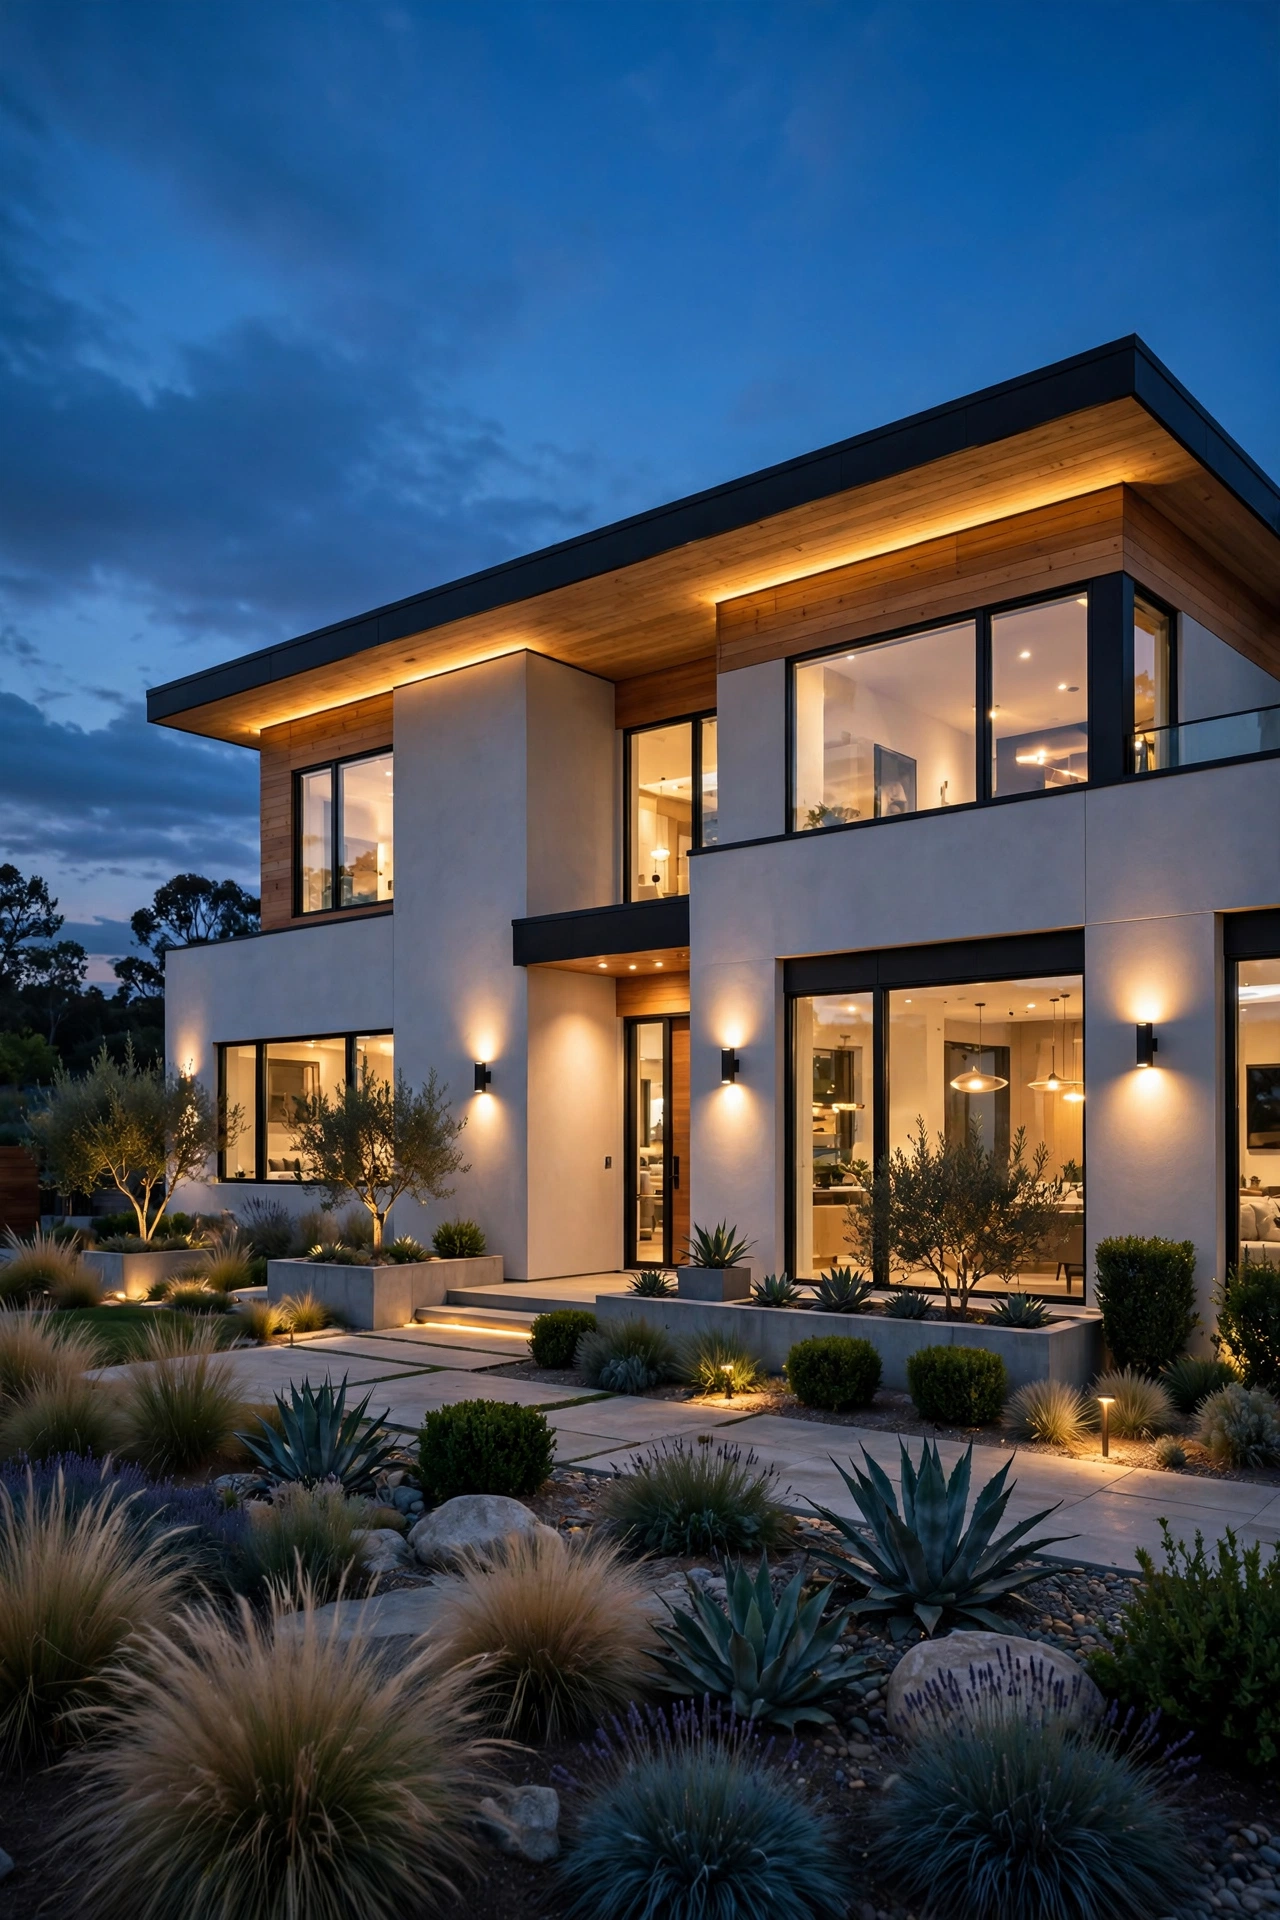
If there's one thing I've learned from years of tweaking my own exterior lighting, it's this: modern outdoor lighting ideas don't need to be dramatic to be stunning. They need to be intentional. The modern look isn't about more fixtures — it's about fewer, slimmer, smarter ones placed exactly where they matter.
In my experience, most homes go wrong with outdoor lighting in one of two ways. Either they're stuck with a single builder-grade porch light that flattens everything, or they went overboard with mismatched fixtures that fight each other after dark. The sweet spot? Clean lines, hidden sources, warm light. When done right, modern exterior lighting makes your house look like it was designed by an architect instead of assembled by a contractor — and honestly, it's one of the highest-impact upgrades you can make for the money.
In this post, I'm walking you through 23 ideas that deliver that sleek, polished look: slim bar sconces, recessed step lights, geometric bollards, invisible LED strips, and clever tricks like backlit house numbers and wall-washed facades. Every idea includes real placement measurements, bulb and color-temperature guidance, and honest budget ranges so you can plan with confidence. Let's get into it.
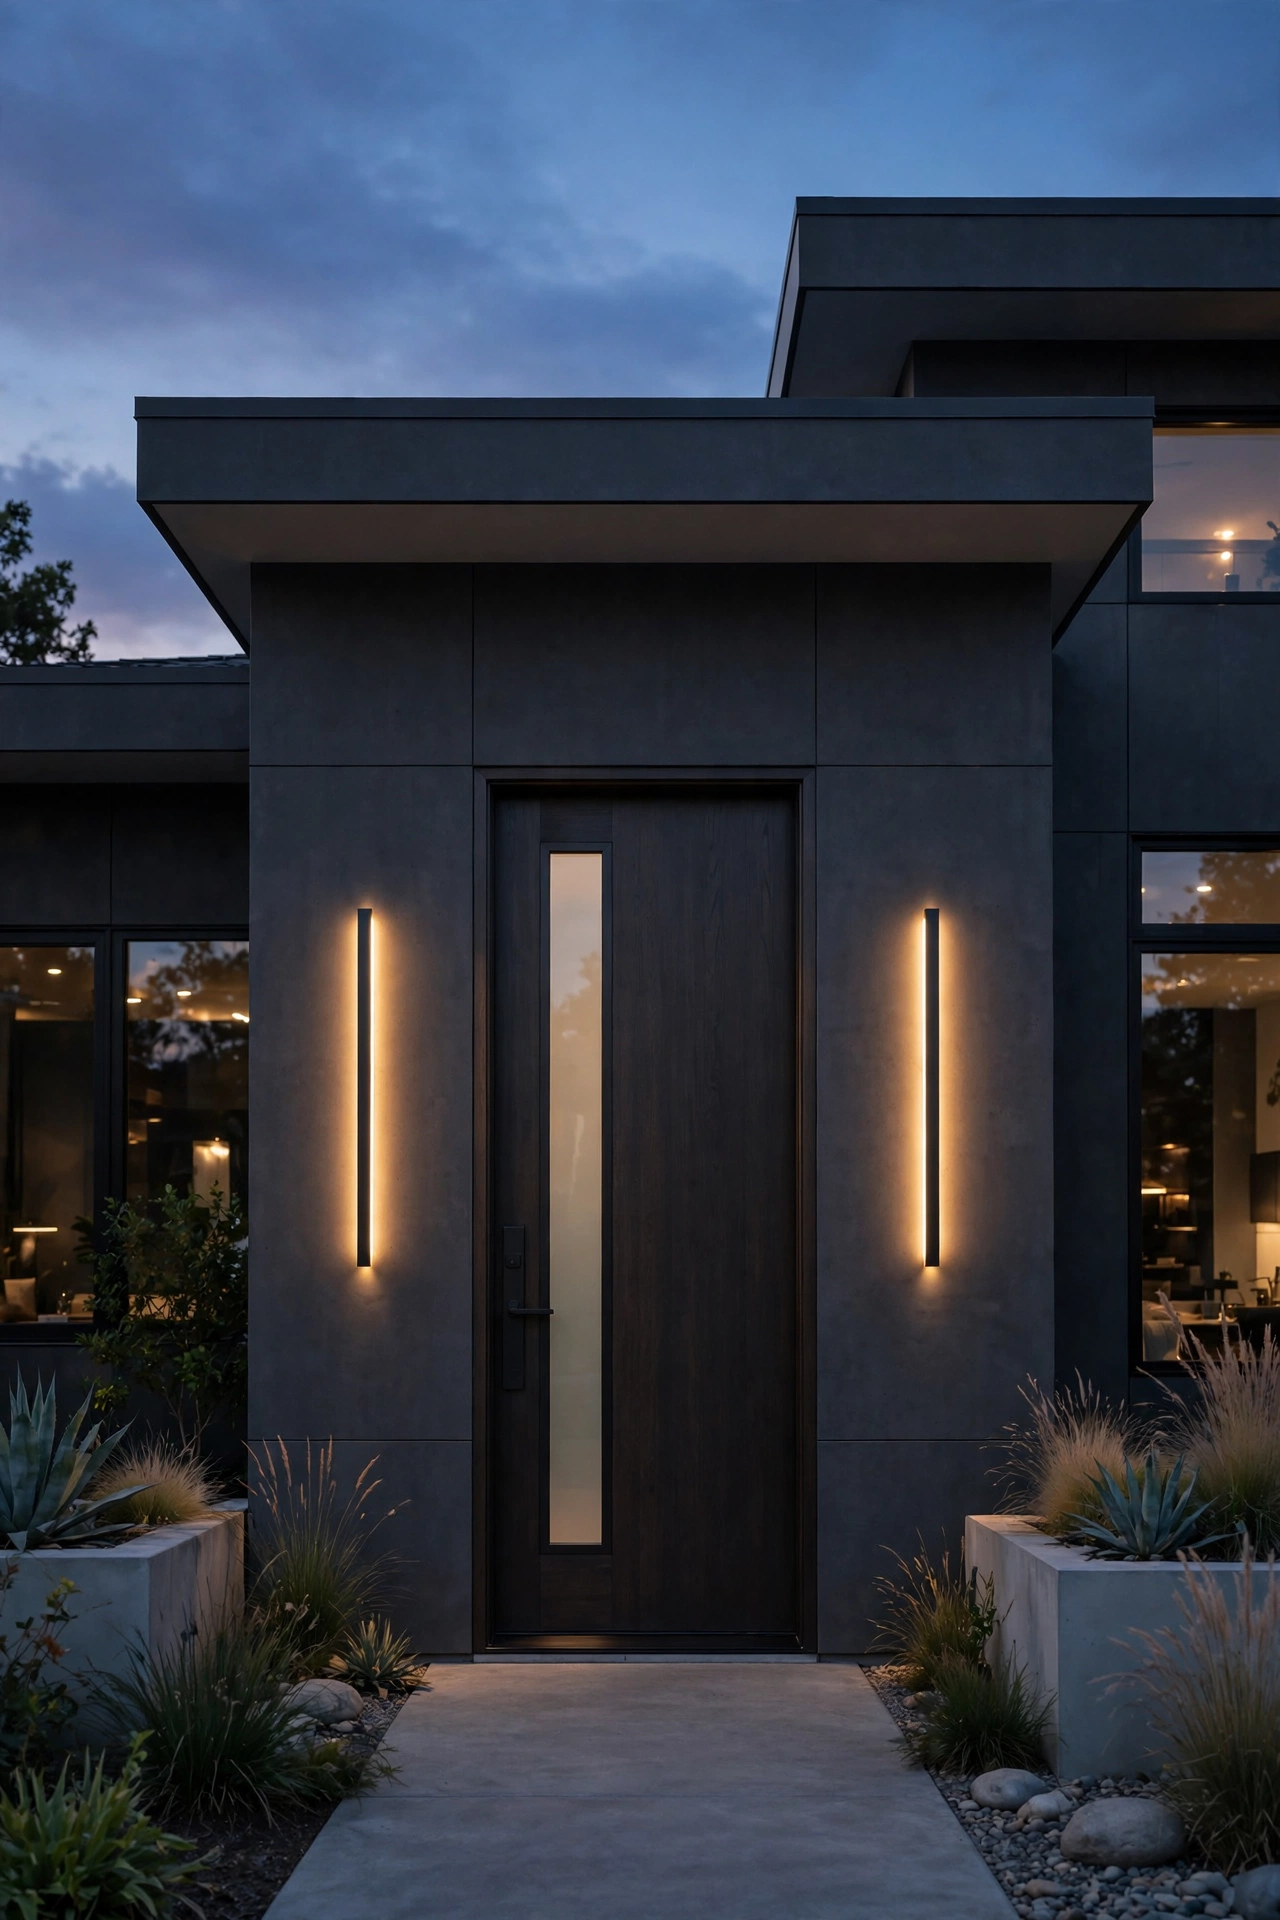
1. Slim Bar Sconces Flanking Your Front Door
Nothing says "modern" faster than a pair of tall, slim sconces on either side of the front door. I'm talking about those vertical bar fixtures — usually 18 to 30 inches tall but only 3 to 4 inches wide — that throw light up and down in clean columns. In my experience, mounting them 60 to 66 inches off the ground (measured to the center of the fixture) gives the most flattering glow, and spacing them 6 to 8 inches from the door frame keeps the light tight against the facade instead of spilling sideways.
Choose fixtures with a matte black or dark bronze finish and frosted diffusers — clear glass with visible bulbs reads busy at night. For bulbs, go with integrated LED around 2700K to 3000K; the cooler 4000K+ range tends to look sterile and washes out warm-toned siding. Look for an IP65 rating so they're truly sealed against rain and dust, and make sure they're rated for damp or wet locations depending on how exposed your entry is.
The styling payoff is huge: two slim columns of light frame the door like a picture frame and instantly modernize even a traditional house. If you want more entry wall-light inspiration, browse these outdoor wall lantern ideas for variations on the theme. Put both sconces on a dusk-to-dawn photocell or a smart timer so they switch themselves on — one less thing to remember.
Suggested budget range: $120 – $400.
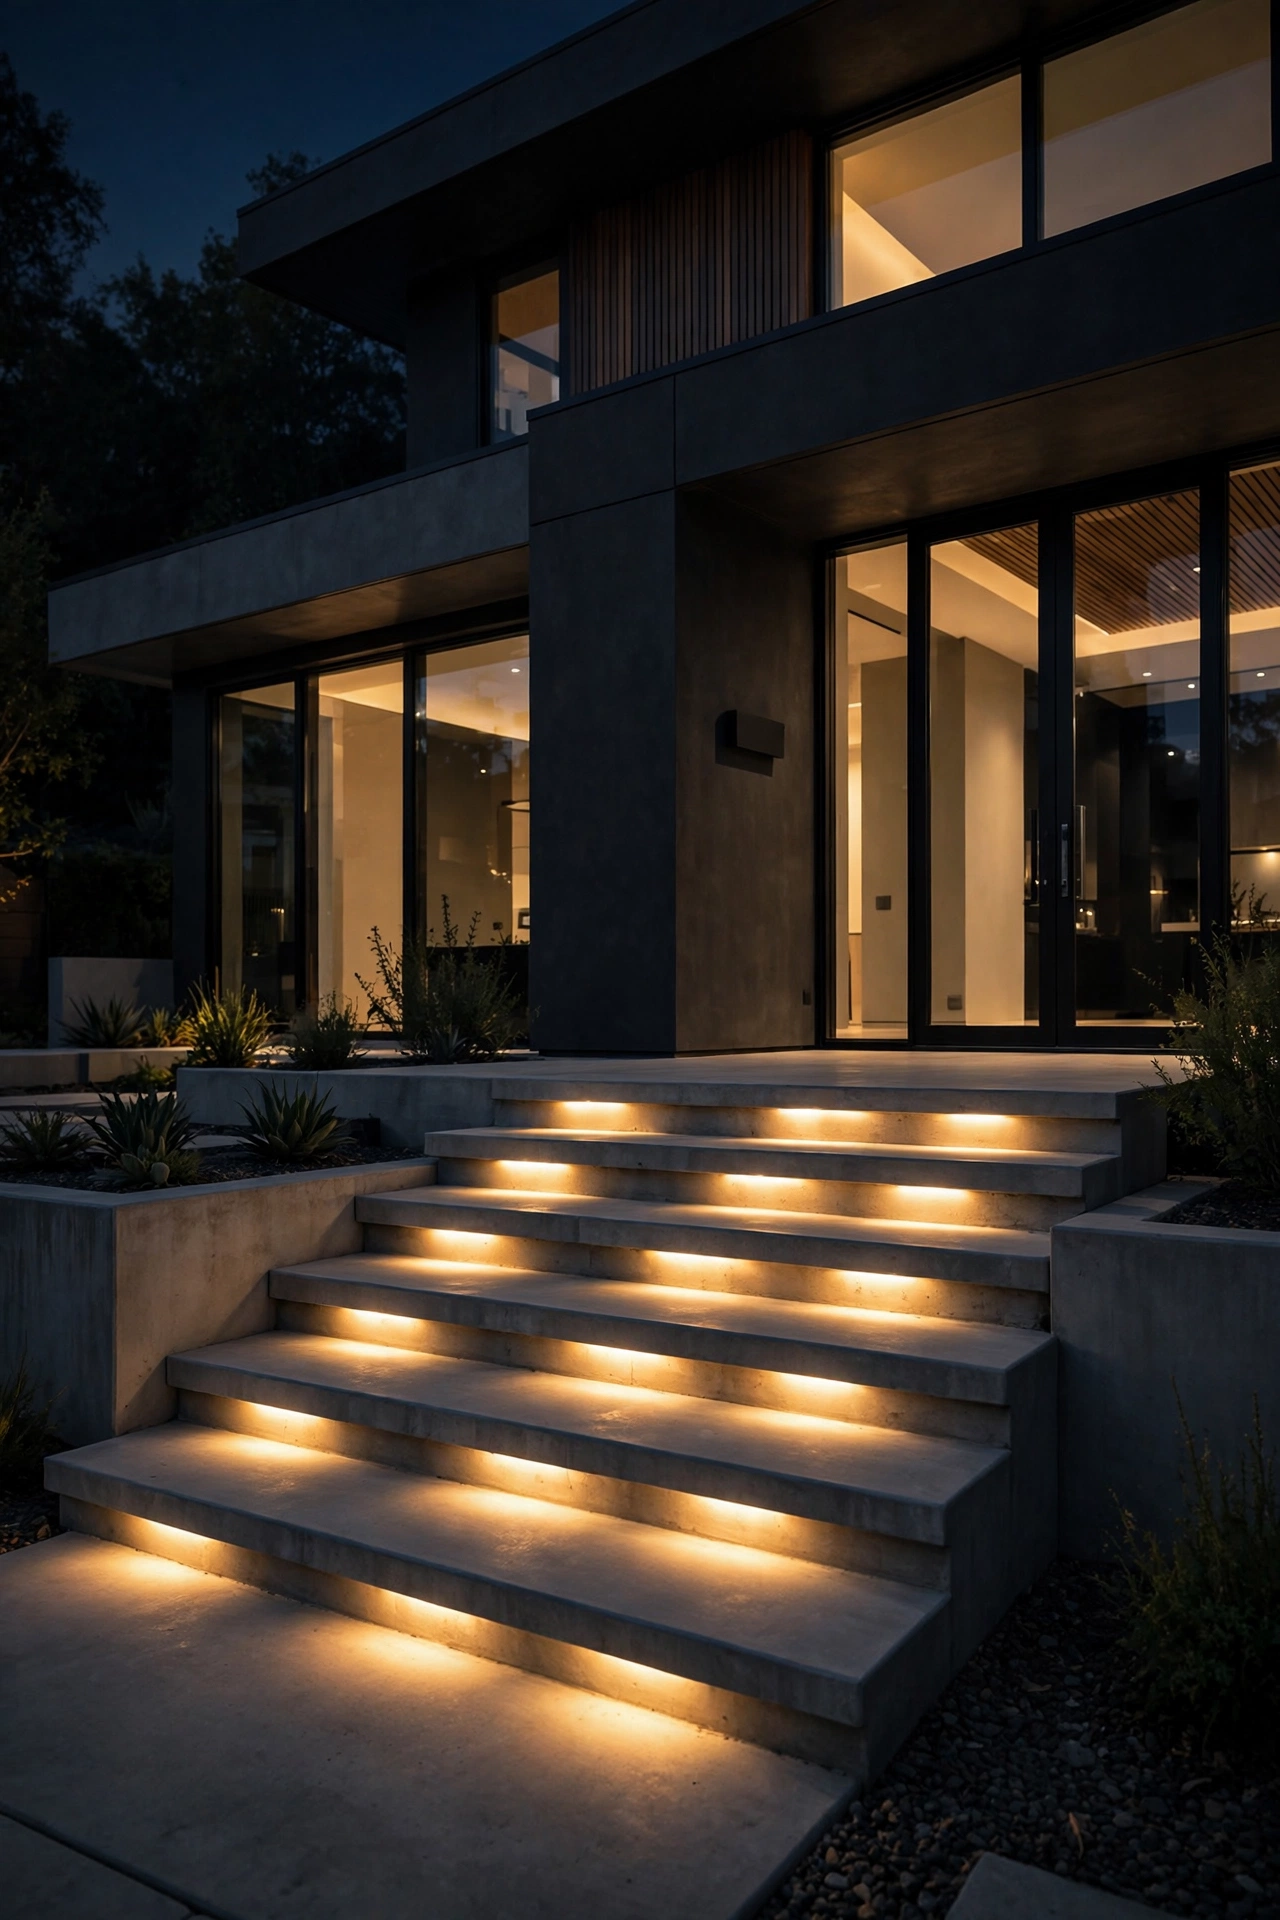
2. Recessed Step Lights Built Into Risers
Recessed step lights are the quiet heroes of modern exteriors — you barely see the fixture, but every tread edge glows with a soft line of light. In my experience, the cleanest version is a low-profile LED step light recessed directly into the riser (the vertical face of each step), centered on every step or every other step for longer runs. For a standard 4-foot-wide stair, one centered fixture per riser is plenty; wider stairs (6 feet or more) look better with two, spaced about 2 feet from each edge.
Mount them low on the riser — about 4 to 6 inches above the tread below — so the beam washes downward and lights the step surface without glaring into anyone's eyes. Choose fixtures with a louvered or shielded lens (sometimes called "eyelid" style) so you get zero upward light, which keeps the modern, minimal look and avoids annoying your neighbors. Warm white 2700K is the sweet spot, and since these are constantly touched by shoes and weather, don't go below an IP67 rating.
Safety-wise, this is one of the best upgrades you can make: lit stairs dramatically reduce trip risk, and building codes in many areas actually appreciate (if not require) stair illumination. Wire them to a timer or photocell so they run dusk to dawn automatically. You'll wonder how you ever navigated the steps in the dark.
Suggested budget range: $150 – $600.
3. LED Strips Tucked Under the Eaves
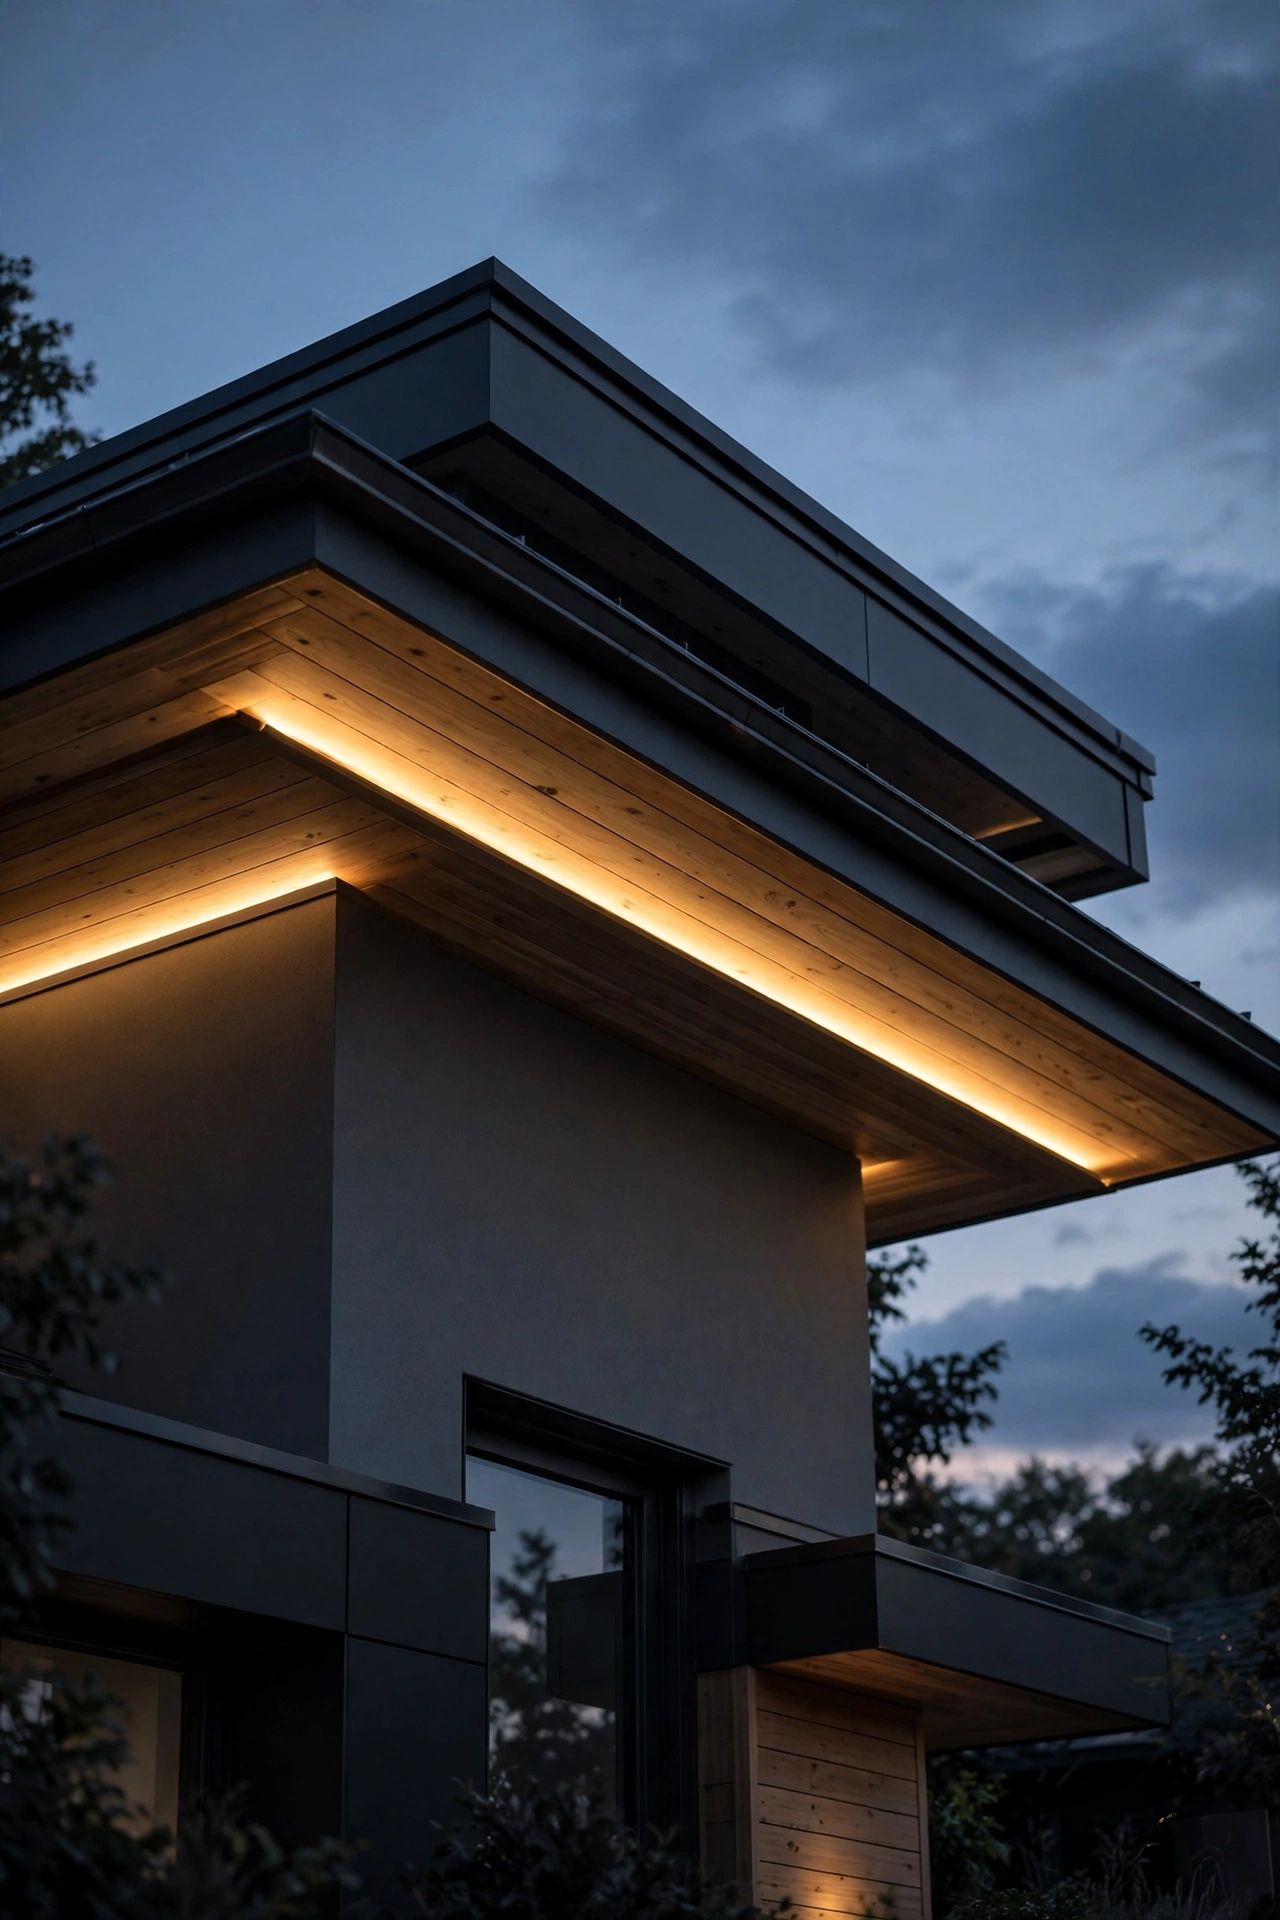
Here's the trick that makes modern homes look like they're floating at night: a continuous LED strip hidden in the soffit, aimed down at the wall. The light grazes the facade with zero visible fixtures — just a clean band of warmth wrapping the house. In my experience, mounting the strip 2 to 4 inches back from the fascia edge gives the smoothest wash without hot spots, and high-density strips (60+ LEDs per foot) prevent that dotted look that cheapens the effect.
Use outdoor-rated (IP65 or better) silicone-coated strips in 2700K or 3000K, and don't skip the aluminum channel with a frosted diffuser — bare strips look streaky and the channel protects them from UV and moisture. A 24-volt system is the way to go for long runs; 12-volt strips lose brightness over distance, which shows up as fading at the far end of the house. Plug the transformer into a GFCI-protected outlet in the attic or garage, sized at least 20 percent above your total wattage.
If you're comparing fixture styles for the rest of the house, check out these modern exterior house lights for coordinated options. The effect pairs beautifully with slim sconces — wall washing from above, accent light from the sides. Put it all on one smart switch and the whole house comes alive with a single tap.
Suggested budget range: $200 – $800.
4. Geometric Bollards Lining the Walkway
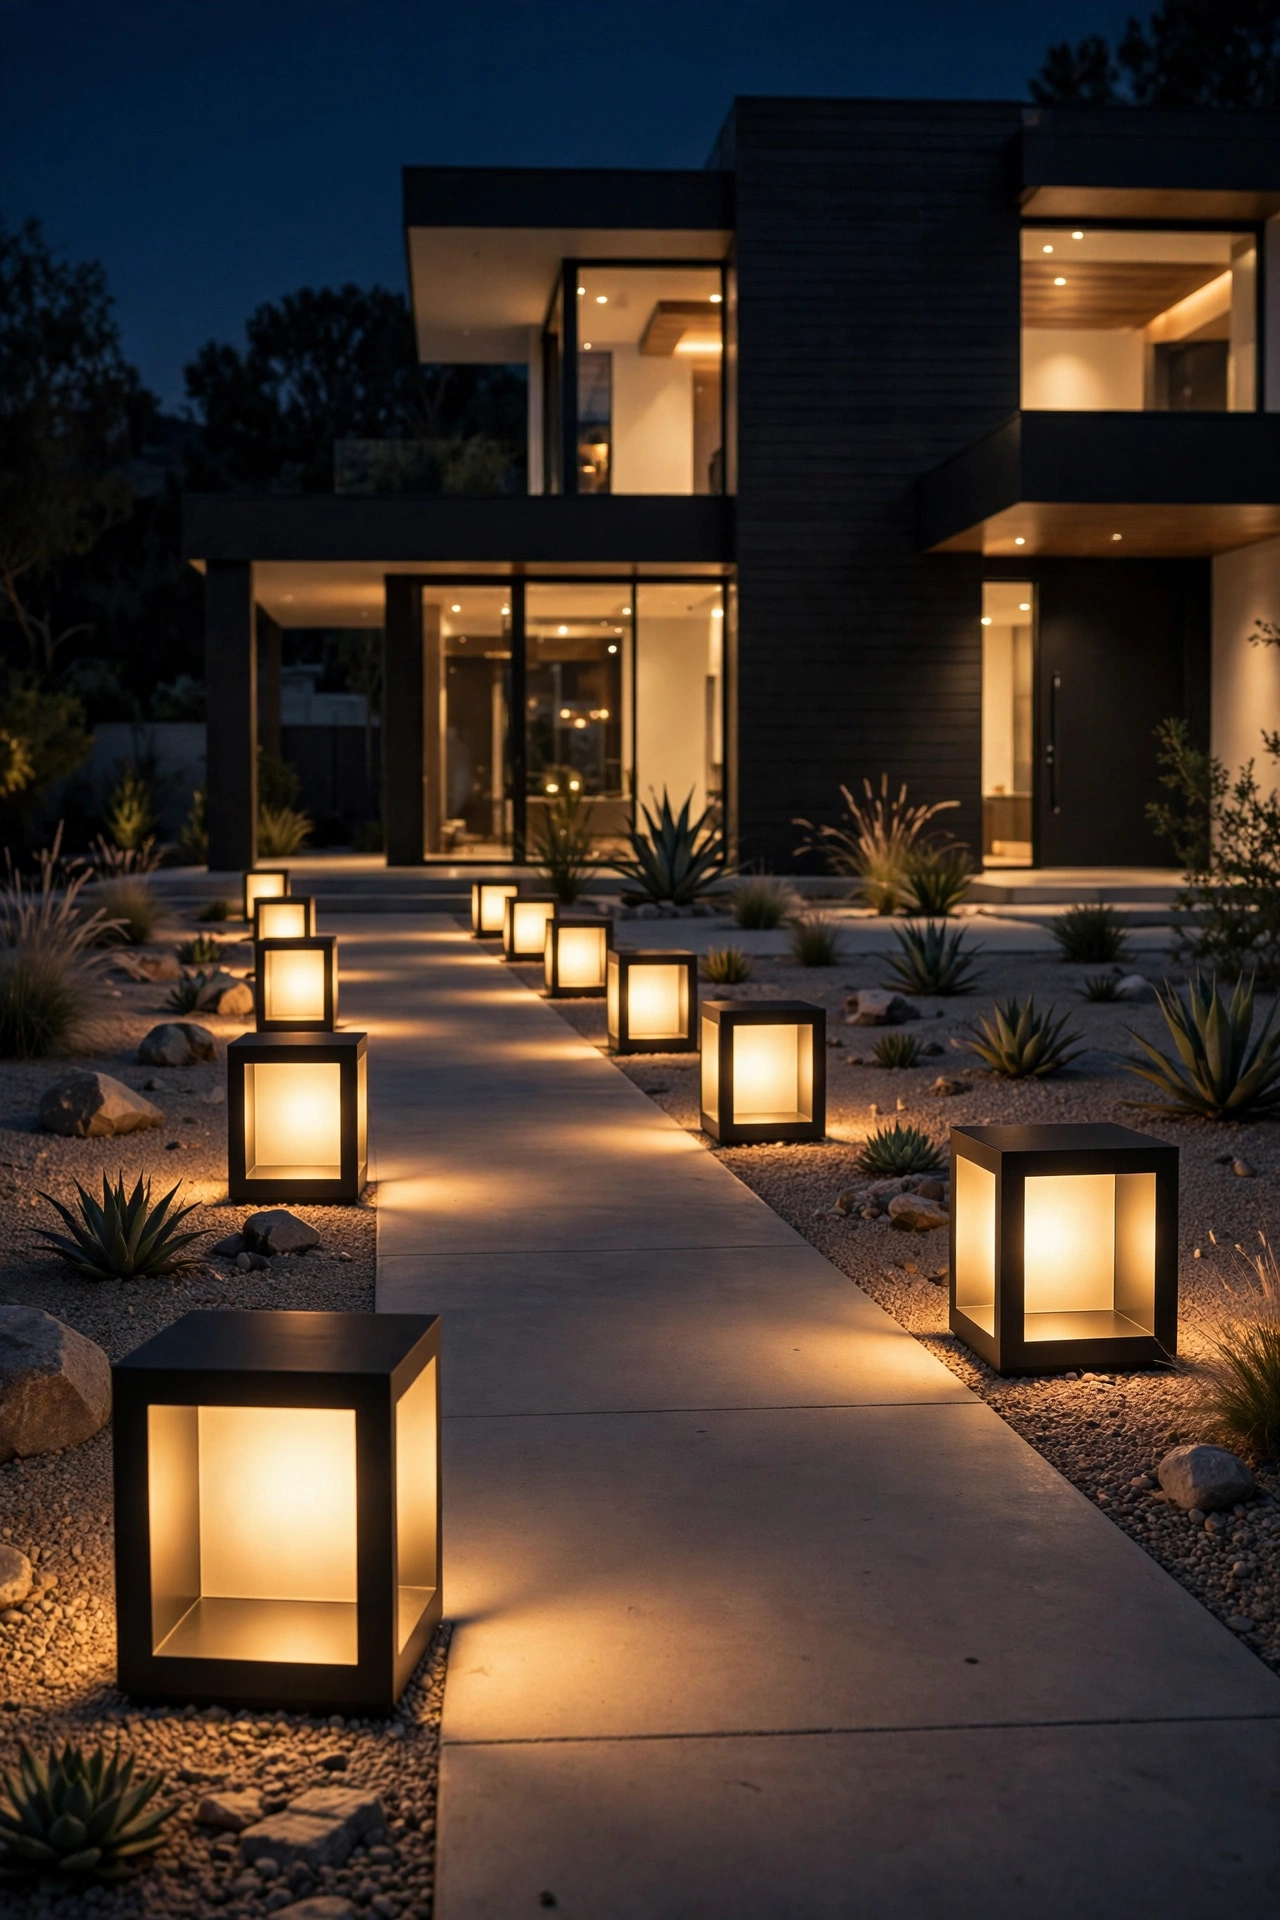
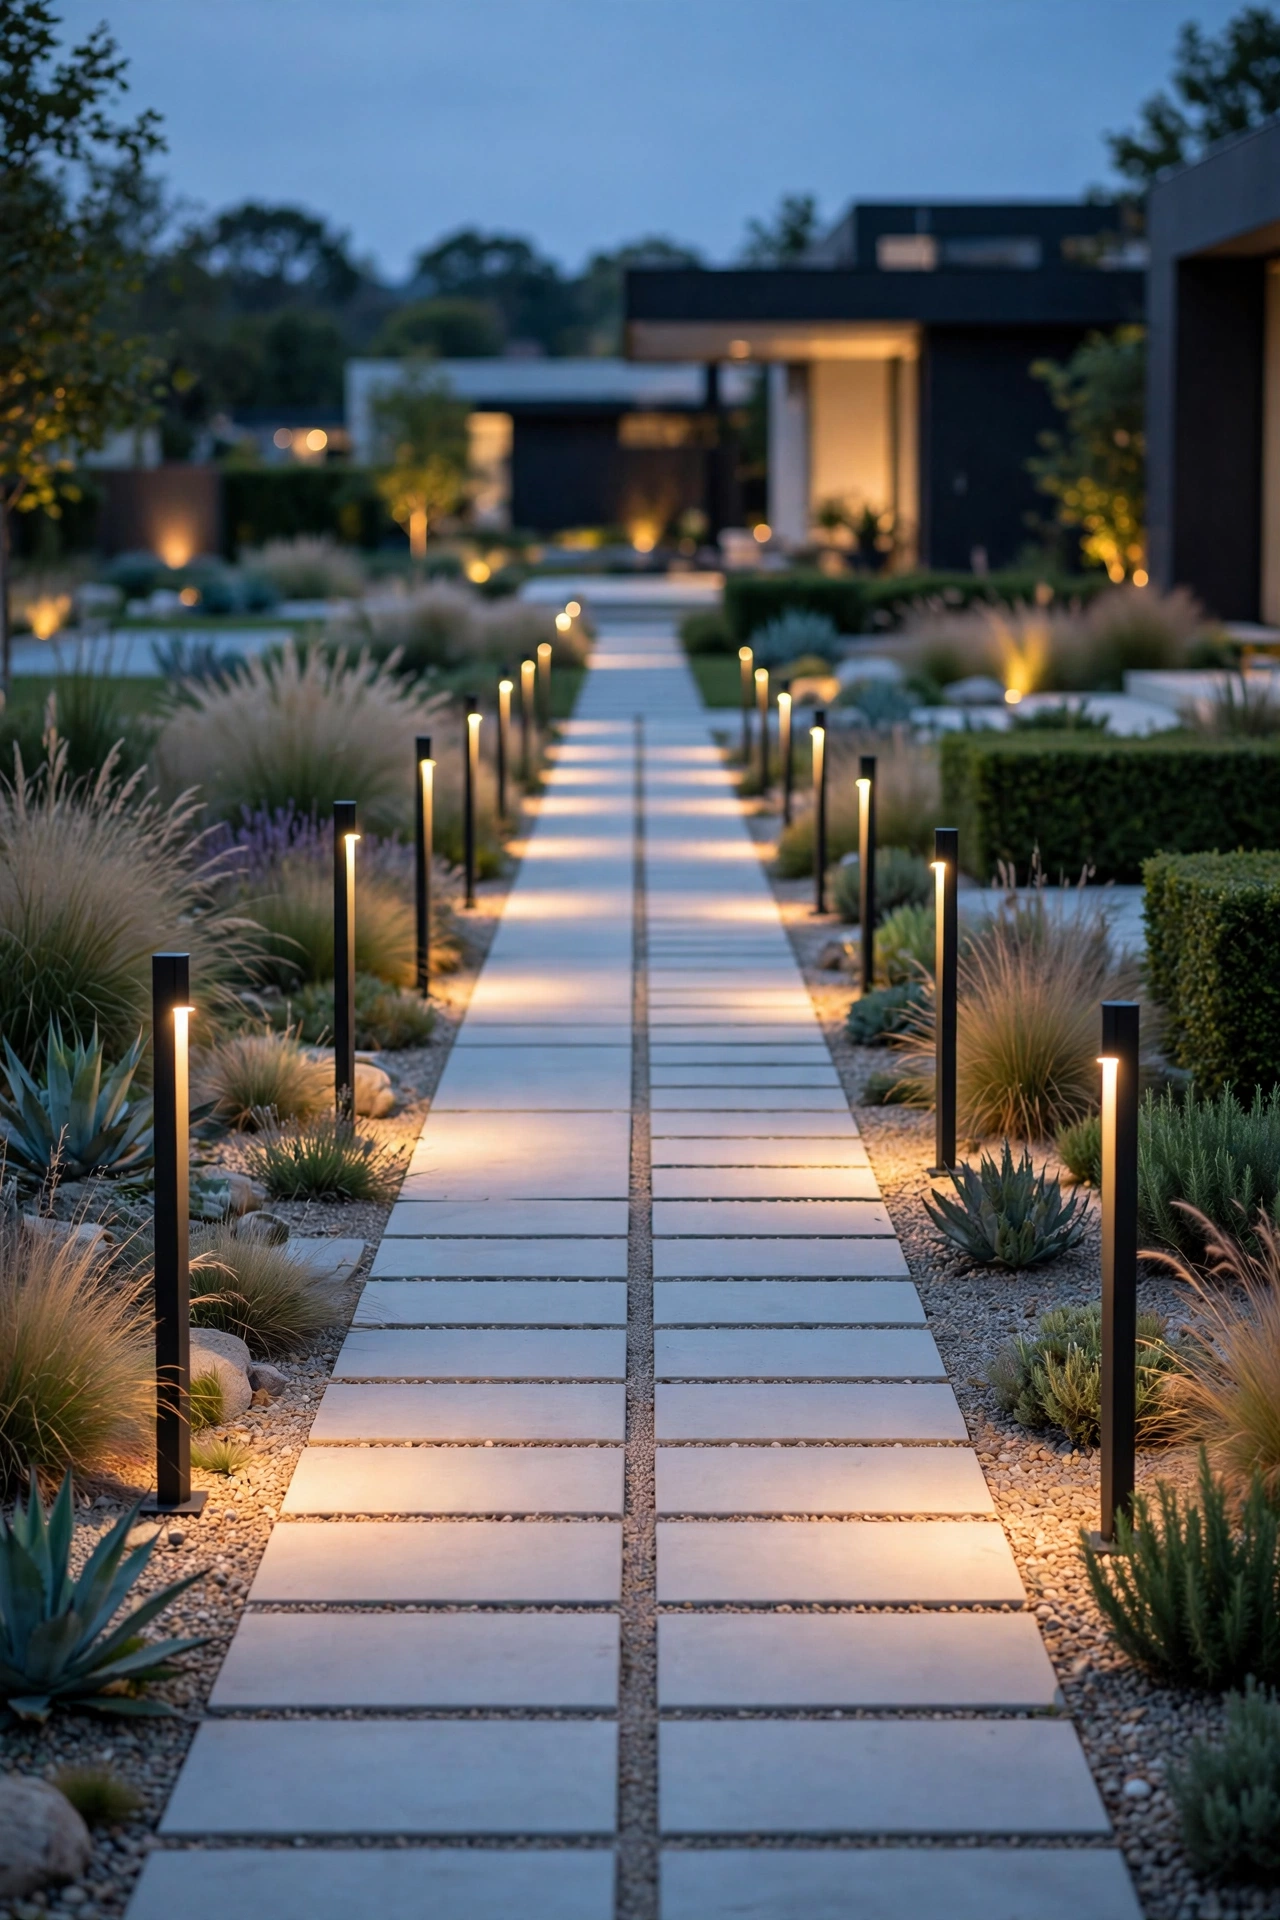
Bollards are the backbone of a modern landscape — little light towers that mark the path without cluttering it. The geometric styles I'm obsessed with right now are slim square columns, 24 to 36 inches tall, with a matte black or concrete finish and a frosted lens that throws light 360 degrees or in a downward cone. In my experience, spacing them 6 to 8 feet apart on alternating sides of the walkway looks intentional and rhythmic; lining them up military-style on both sides reads fussy.
For a typical 30-foot front walk, four to five bollards do the job. Choose integrated LED at 2700K with a wide beam so the light pools overlap slightly on the path — you want a continuous ribbon of light, not polka dots. Keep bollards at least 18 inches off the walkway edge so lawn mowers and snow shovels don't destroy them, and hardwire them on low-voltage (12V) cable buried 6 inches deep in conduit — much easier and safer than line voltage for DIY.
Honestly? Bollards photograph incredibly well and give instant "designed landscape" energy for not a lot of money. Add them to a low-voltage transformer with a built-in timer, and consider dedicating them to a separate zone so you can dim the landscape lights while keeping the entry bright.
Suggested budget range: $180 – $700.
5. Recessed Uplights in Planters
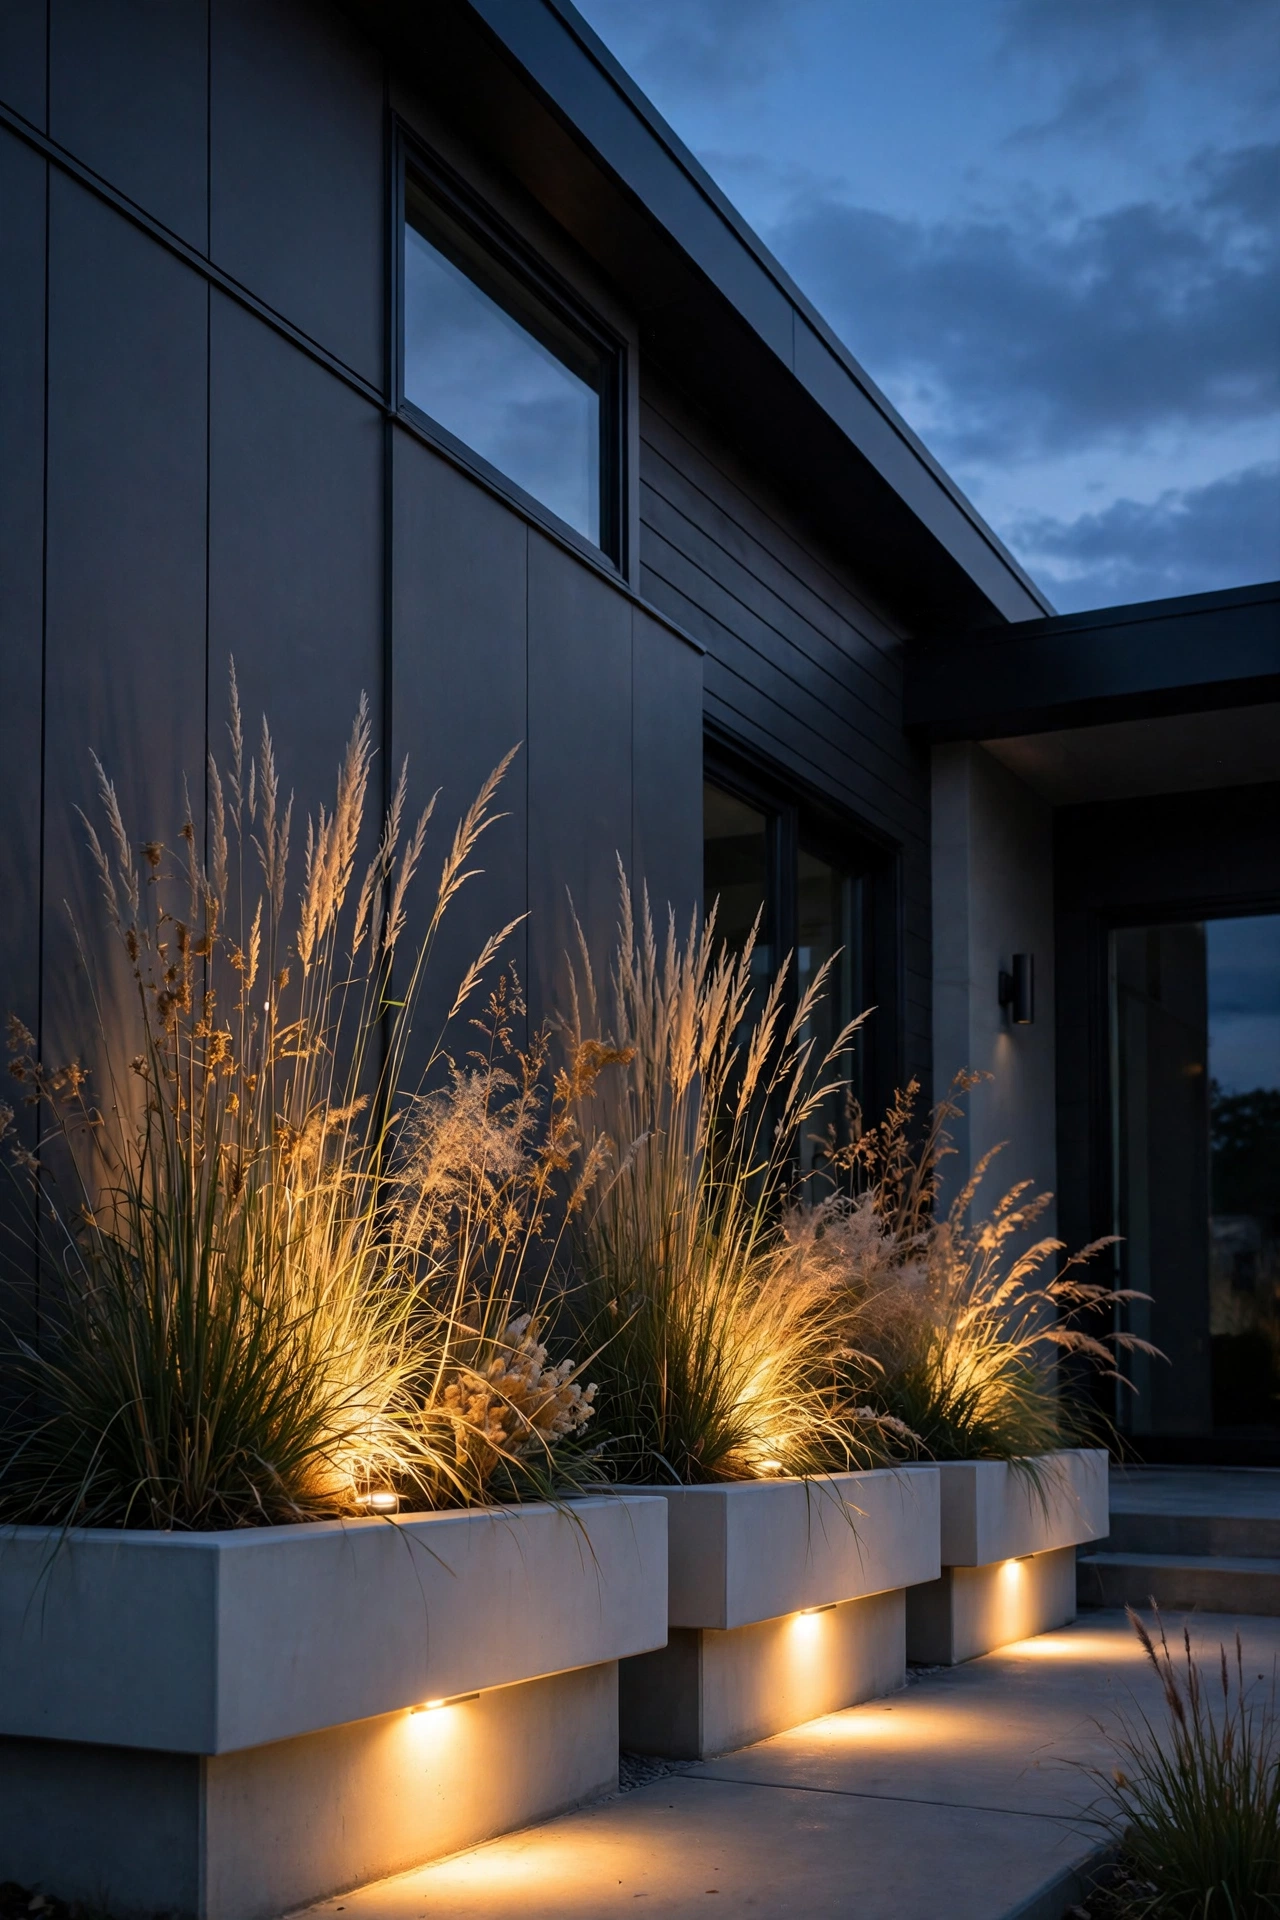
Planters with built-in uplights are one of my favorite modern tricks because the light comes from exactly where you'd never expect it. Set one or two small recessed well lights inside each large planter, aimed up at the plant's foliage, and the whole arrangement glows from within like a lantern. In my experience, a 3-inch well light set about 6 inches from the plant's base gives the most dramatic trunk-and-canopy effect on ornamental trees; for grasses and perennials, one centered fixture per planter is plenty.
Use fully submersible-rated fixtures (IP68) since they'll sit in soil and get watered constantly — standard well lights corrode fast in this application. Warm 2700K flatters green foliage best; cooler temperatures make plants look sickly. Go for 35- to 45-degree beam angles to keep the light tight on the plant instead of bleeding onto the house or into the sky (light pollution is the enemy of the sleek look).
Wire these on the same low-voltage circuit as your other landscape lights, and bury the connections in weatherproof wire nuts above the soil line inside the planter — standing water plus cheap connections equals dead fixtures within a year. The result is pure magic: ordinary planters transformed into glowing sculptures every single evening.
Suggested budget range: $100 – $450.
6. Linear LED Strip Under Deck Railings
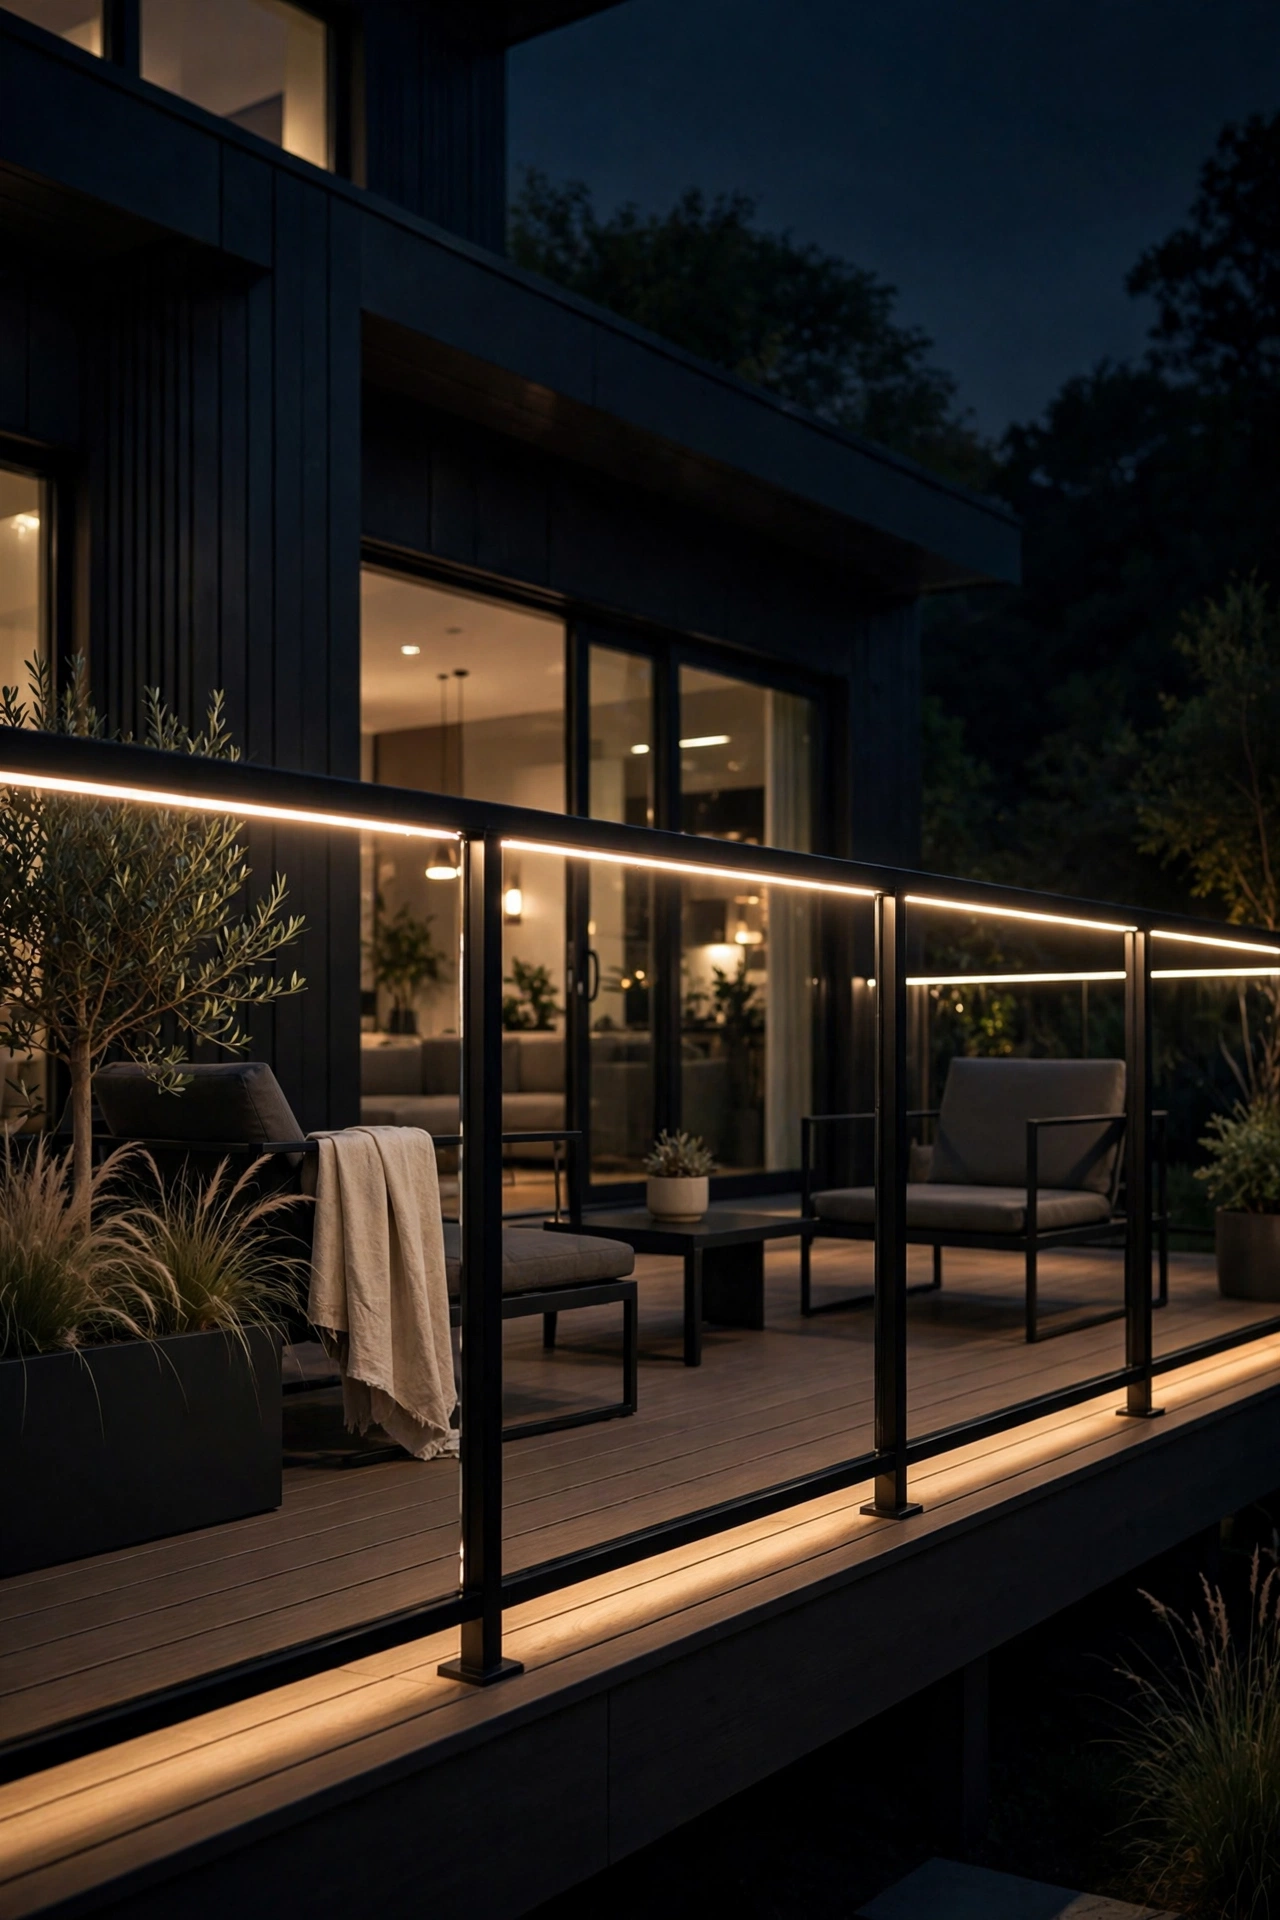
If you have a deck or raised patio, the underside of the top rail is begging for a hidden LED strip. The light spills down the railing pickets or glass panels and washes the deck floor with a soft glow — no visible fixtures, no glare, just atmosphere. In my experience, this single upgrade does more for a modern deck than any other lighting move, and it's completely DIY-friendly if you can handle basic wiring.
Mount an outdoor-rated IP65 strip in an aluminum channel with a frosted diffuser directly under the top rail, set back about an inch from the front edge so it's invisible from standing height. Stick with 2700K for that cozy evening vibe — this is entertaining space, not a security checkpoint. A 24-volt system handles the long perimeter runs typical of decks without voltage drop, and route the wire down through a railing post to a transformer plugged into a GFCI outlet.
The styling trick is restraint: the railing strip alone is enough ambient light for most decks. Pair it with one or two downlights aimed at the dining table and you're done — resist the urge to add string lights or lanterns on top, because mixing styles is what kills the modern look. Smart dimmers make this unbeatable for setting the mood from the couch.
Suggested budget range: $120 – $500.
7. Wall-Washing Spotlights That Sculpt the Facade
Wall washing is the technique behind every expensive-looking modern house photo: narrow spotlights positioned low and aimed up at a steep angle so the light rakes across the siding, stucco, or stone and reveals every bit of texture. In my experience, placing small LED spotlights 18 to 24 inches from the wall with a 30- to 60-degree beam angle gives the most even wash — too close and you get hot spots, too far and the light dies out.
Use fully shielded, aimable well lights or bullet fixtures in dark finishes so the hardware disappears into the landscaping by day. For a typical two-story facade, space the fixtures 4 to 6 feet apart; single-story homes need tighter spacing since the beam has less wall to climb. Warm 2700K to 3000K flatters stone and wood siding beautifully, while painted or stucco exteriors can handle 3000K without looking cold.
One important safety and neighbor note: aim every fixture precisely and add glare shields so no beam shoots past the roofline or into anyone's windows. Light trespass is the fastest way to turn a sleek upgrade into a neighborhood complaint. Wire these on a photocell with a timer cutoff — facade lighting that shuts off at 11 p.m. looks refined instead of wasteful.
Suggested budget range: $250 – $900.
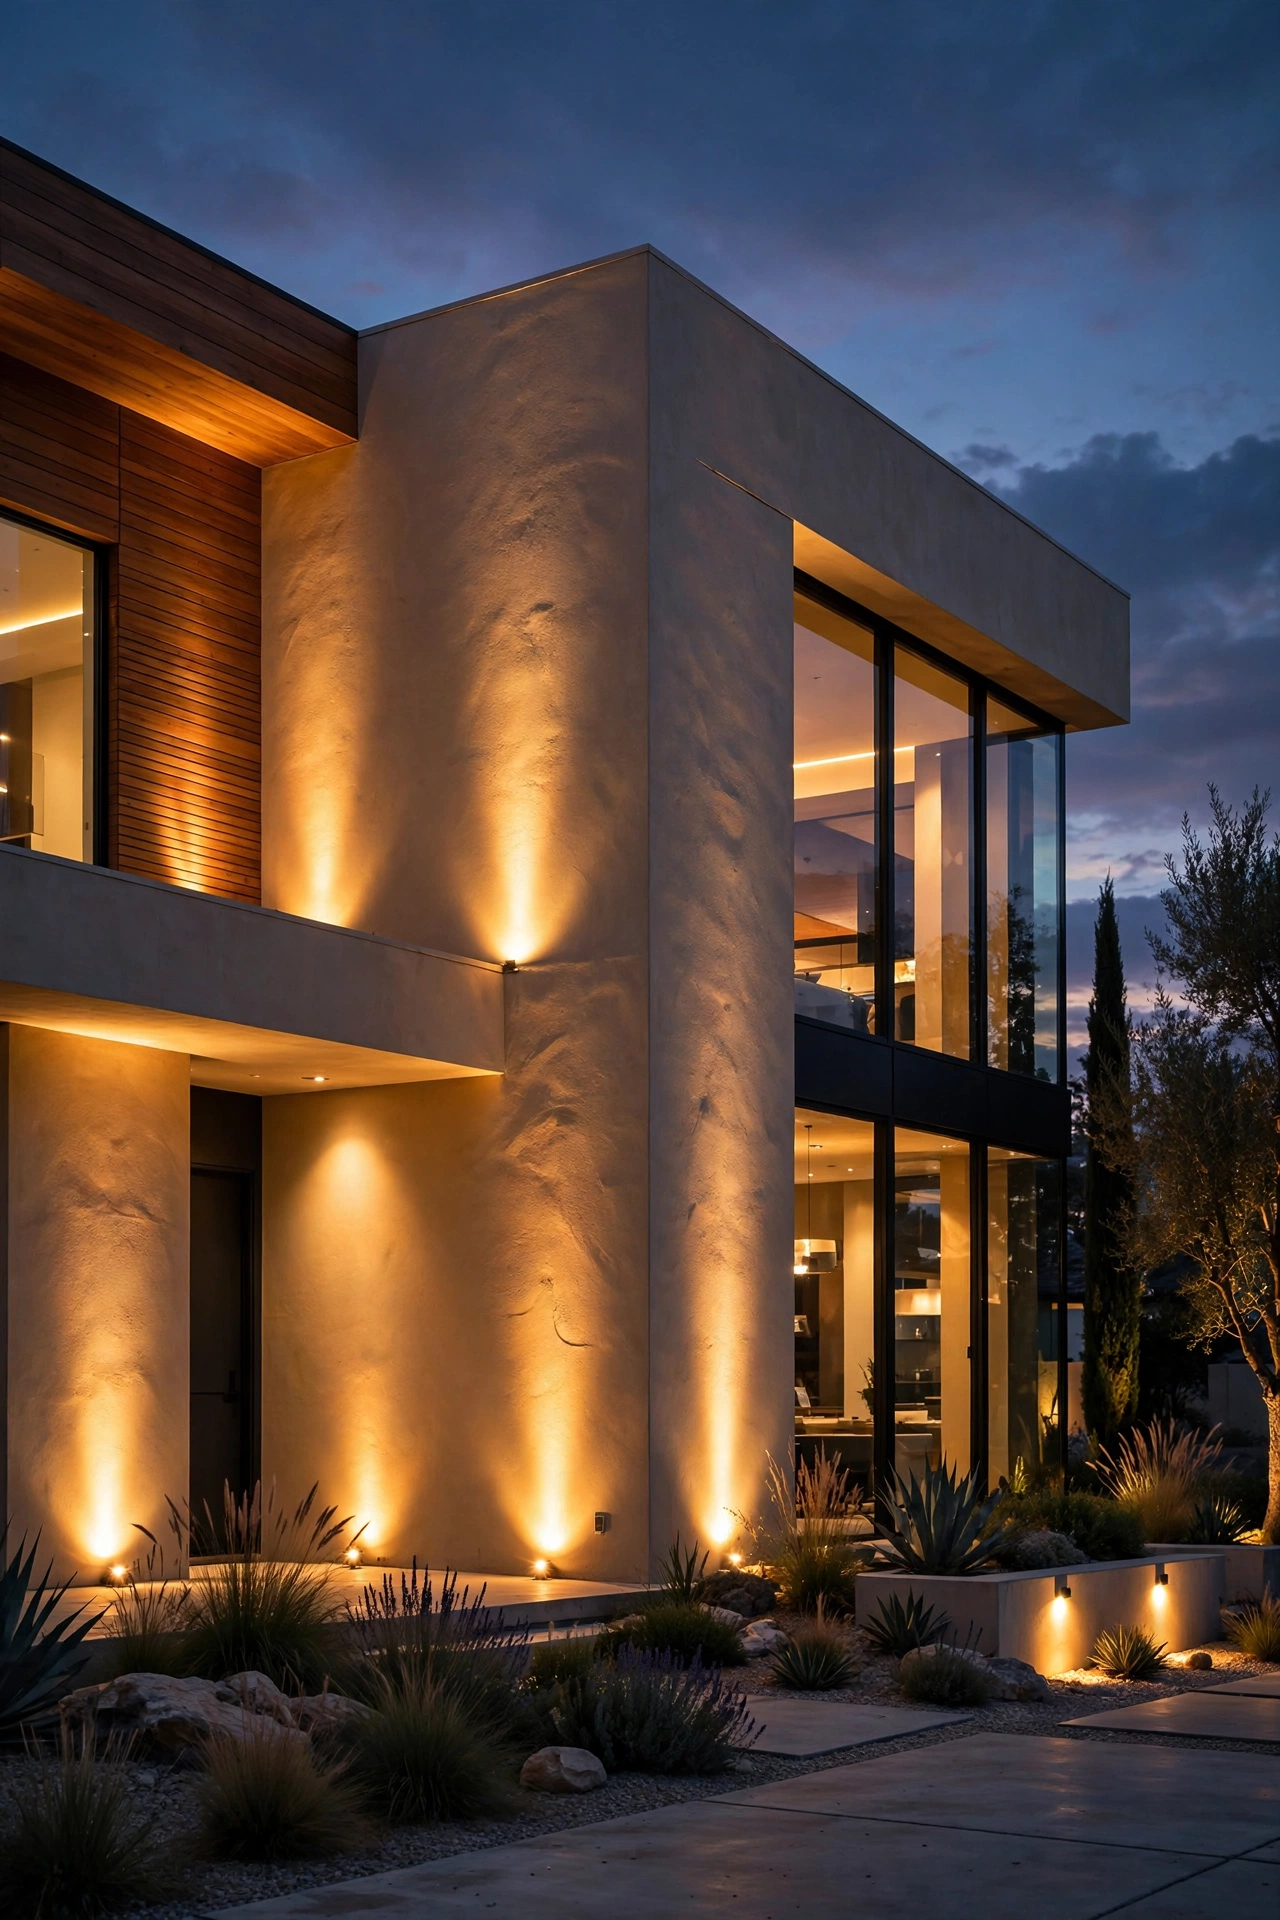
8. Modern Post Lights on Columns and Gateposts
Gateposts and porch columns are natural anchor points for modern lighting — a slim fixture on top reads like a period at the end of an architectural sentence. The contemporary versions I love are minimal cubes, short cylinders, or flat-topped squares in matte black, usually 8 to 14 inches tall, with frosted glass that glows evenly instead of exposing a glaring bulb. In my experience, one per post top is all you need; doubling up on a single post looks cluttered.
Choose integrated LED at 2700K, and look for fixtures rated IP65 with a wet-location listing since post tops take the full brunt of rain. If your posts are brick or stone, hardwired line-voltage fixtures are standard — but for wood or vinyl fence posts, low-voltage 12V options are much easier to retrofit without an electrician. Mount with stainless steel hardware to prevent rust streaks down your posts.
The styling payoff is symmetry: matching post lights on both gateposts create a crisp frame for the whole property, and they pull double duty as wayfinding markers for guests arriving after dark. Add them to your smart lighting system on a dusk-to-dawn schedule and they'll greet you home every evening without a second thought.
Suggested budget range: $80 – $350.
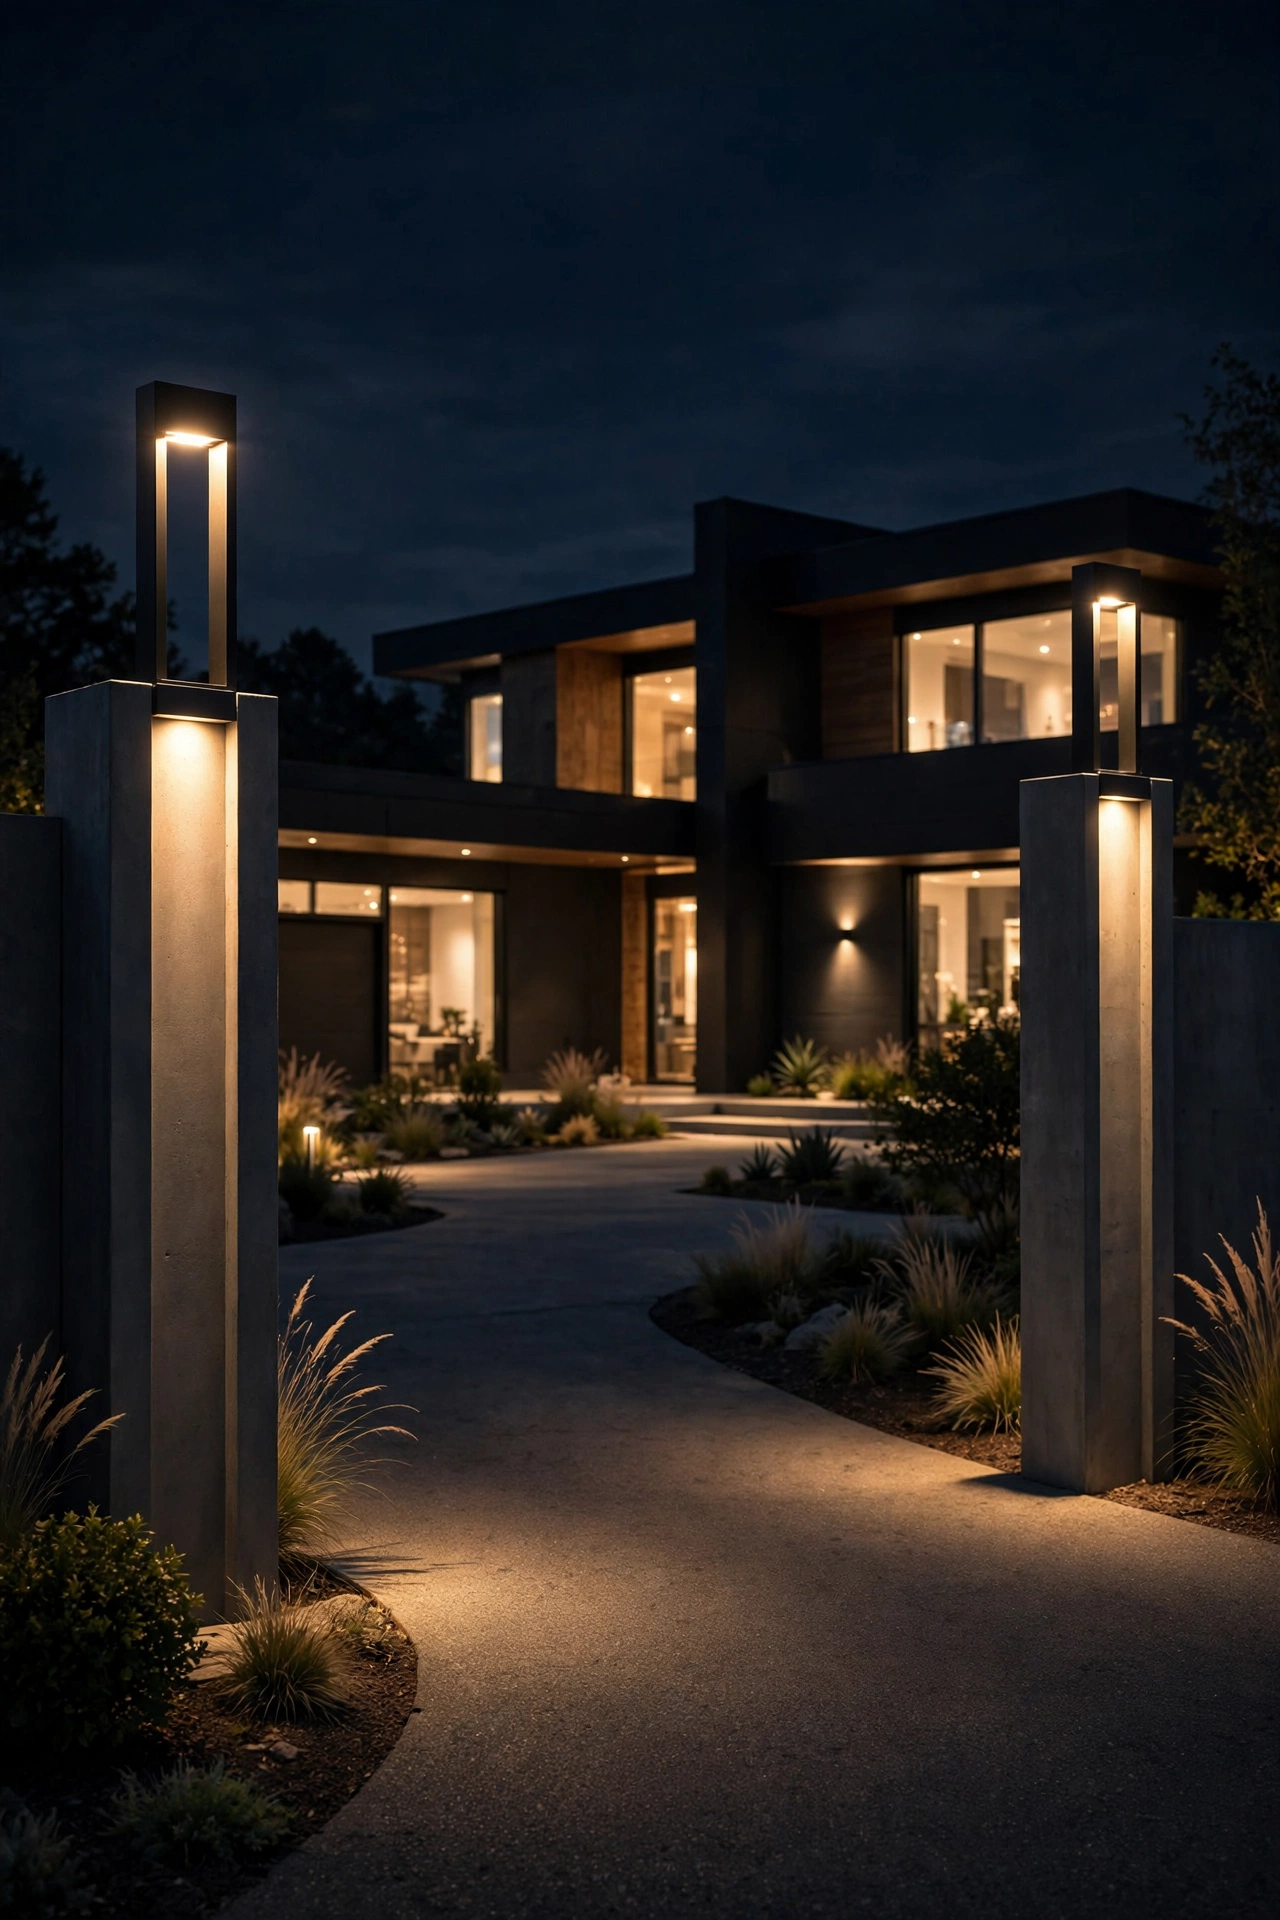
9. Roofline and Gutter Glow: Modern Outdoor Lighting Ideas That Define the Silhouette
Permanent roofline lighting has gone seriously high-end — forget the holiday-light channels of years past. The modern approach is a discreet aluminum track tucked under the gutter or along the fascia, holding a continuous LED strip that traces your home's silhouette in a clean line of light. In my experience, this looks best on homes with interesting rooflines — gables, dormers, and flat-roof parapets all benefit from having their geometry outlined.
Install the track flush against the fascia so the strip is invisible by day, and use a high-density IP67 strip (60+ LEDs per foot) with a frosted diffuser to keep the line perfectly smooth. Warm 2700K is the year-round sweet spot; some systems let you shift to 3000K for a crisper modern feel. Size the transformer at 24 volts with at least 20 percent headroom over your calculated wattage, and house it in the attic or garage on a GFCI circuit.
Safety first: any work at the roofline means a stable ladder, a buddy, and no wet conditions — or just hire an electrician for the install and enjoy the result. Put the system on an astronomical timer that follows sunset year-round, and honestly? Your house will be the best-looking one on the street every single night of the year.
Suggested budget range: $400 – $1,500.
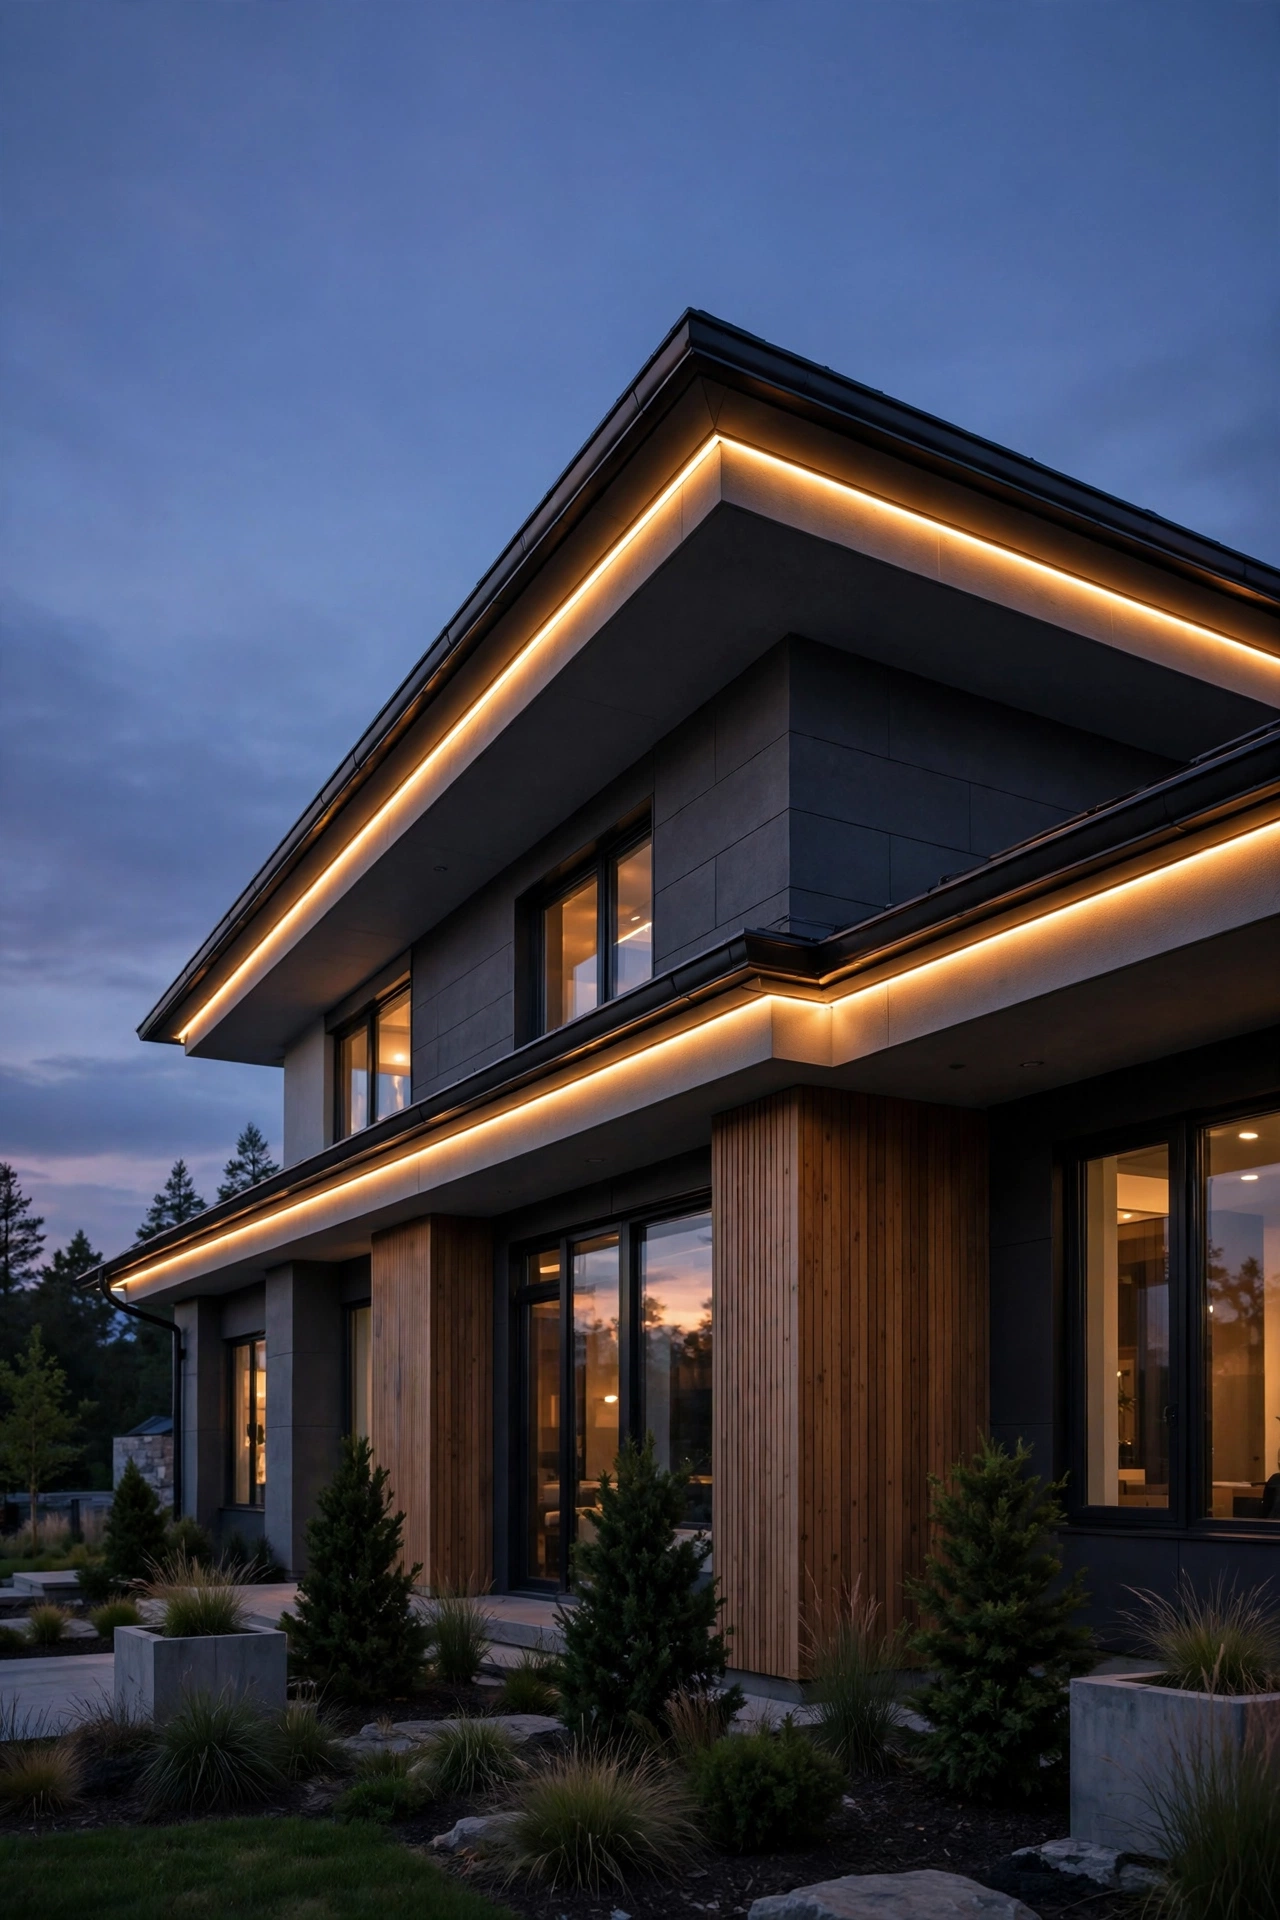
10. Recessed Porch Ceiling Downlights
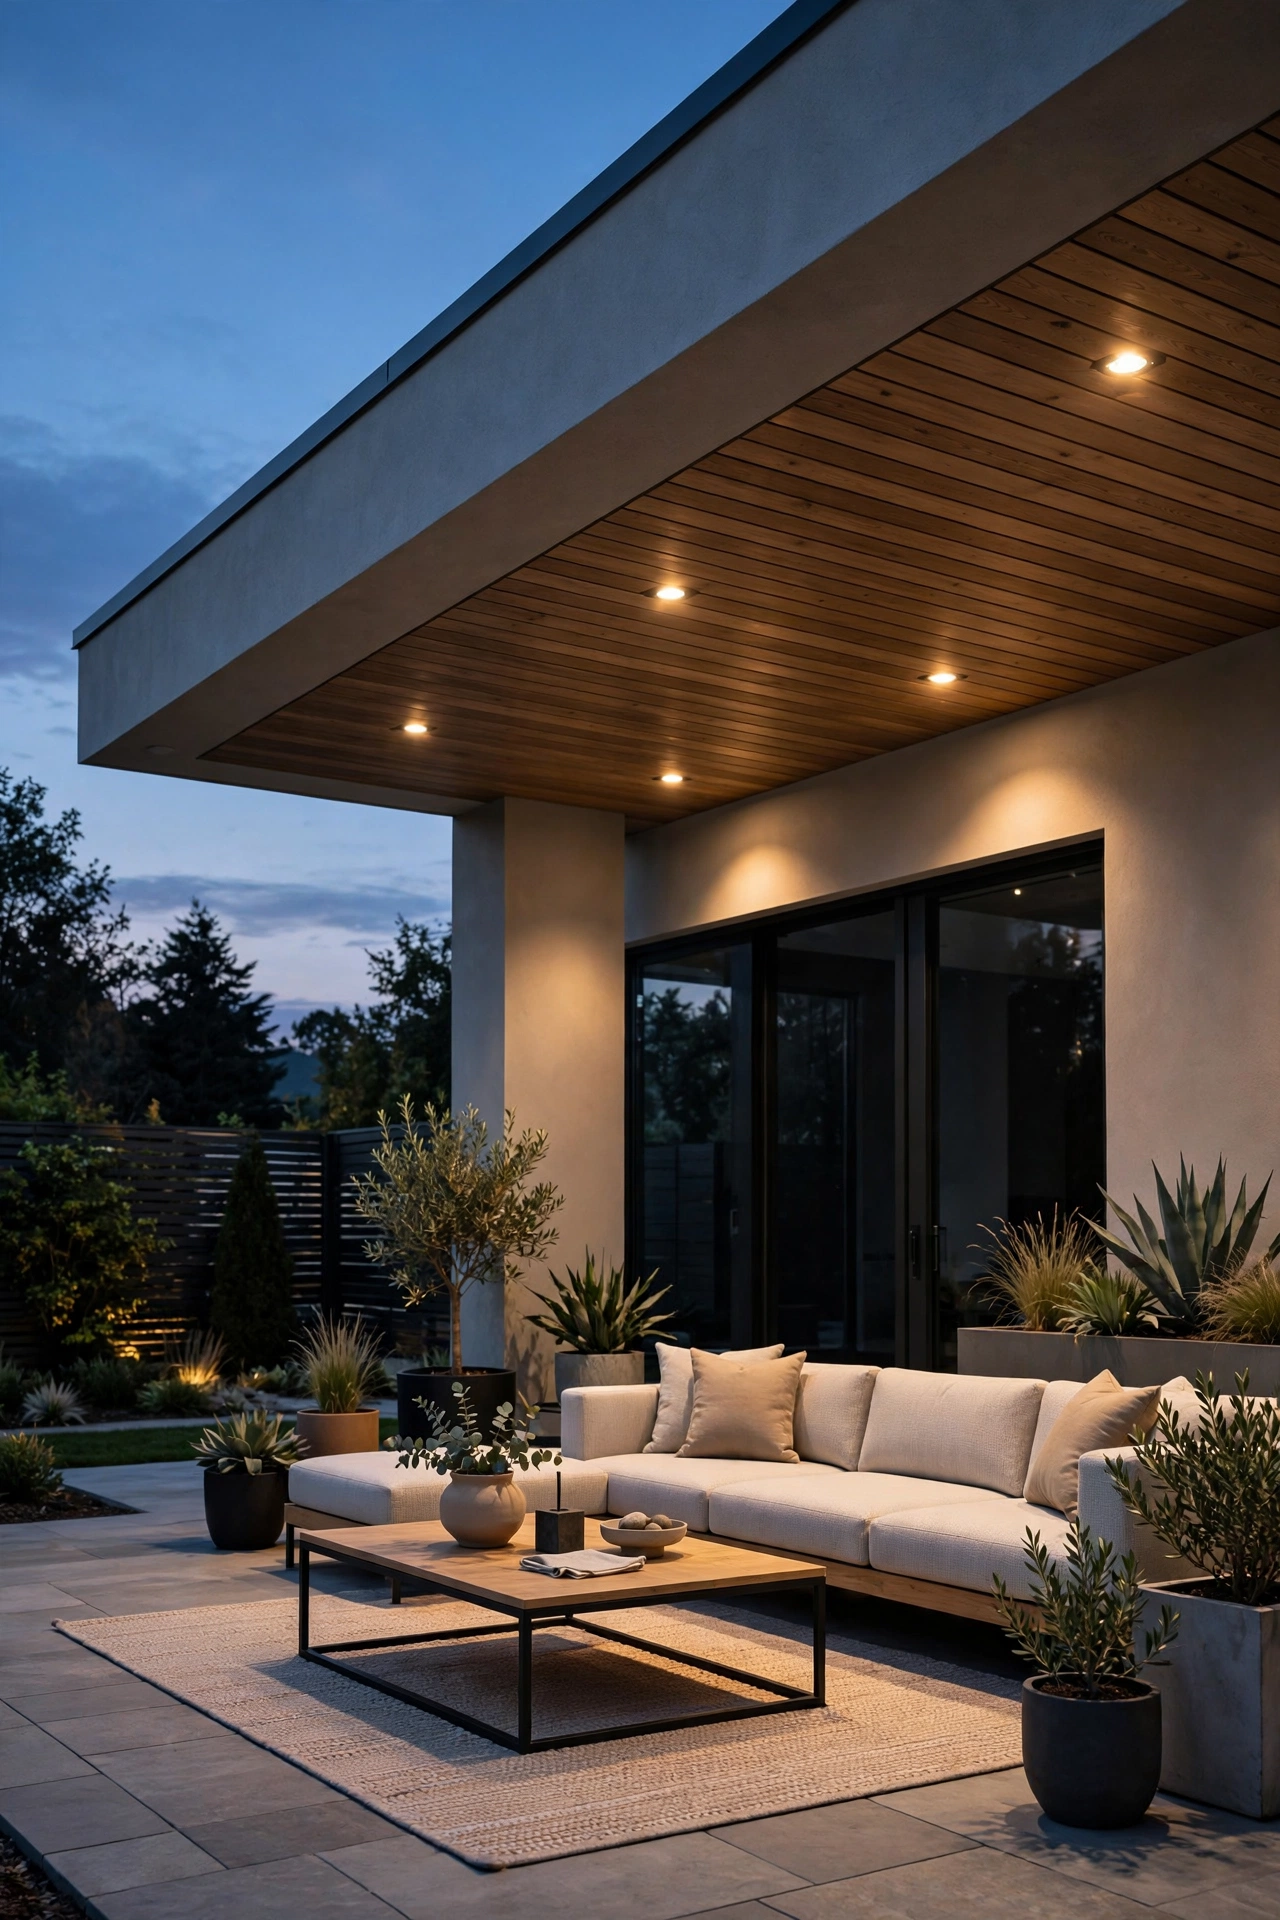
Recessed can lights in a porch or entry overhang are the ultimate minimalist move — all light, no fixture. When they're off, you see nothing but a clean ceiling; when they're on, you get perfect pools of welcoming light. In my experience, spacing 4-inch cans 4 to 5 feet apart in a grid (or a simple row for narrow porches) gives beautifully even coverage, and mounting them at least 12 inches from the wall keeps the light from creating harsh scallops.
Use wet-rated housings even on covered porches — wind-driven rain finds its way into everything — and IC-rated cans if there's insulation above. Go with 2700K, 90+ CRI LED trims so skin tones and your front door color look rich and natural; cheap low-CRI bulbs make everything look flat and gray. A 35- to 40-degree beam angle keeps the light pools tight and intentional rather than a muddy flood.
Put them on a dimmer and a motion sensor: full brightness when you arrive home, gently dimmed for ambiance after. And please keep the trim rings flush — protruding trims collect bugs and dust and ruin the seamless look. This is a job for an electrician if you don't already have cans, since it involves ceiling wiring, but the finished effect is worth every penny.
Suggested budget range: $300 – $1,000.
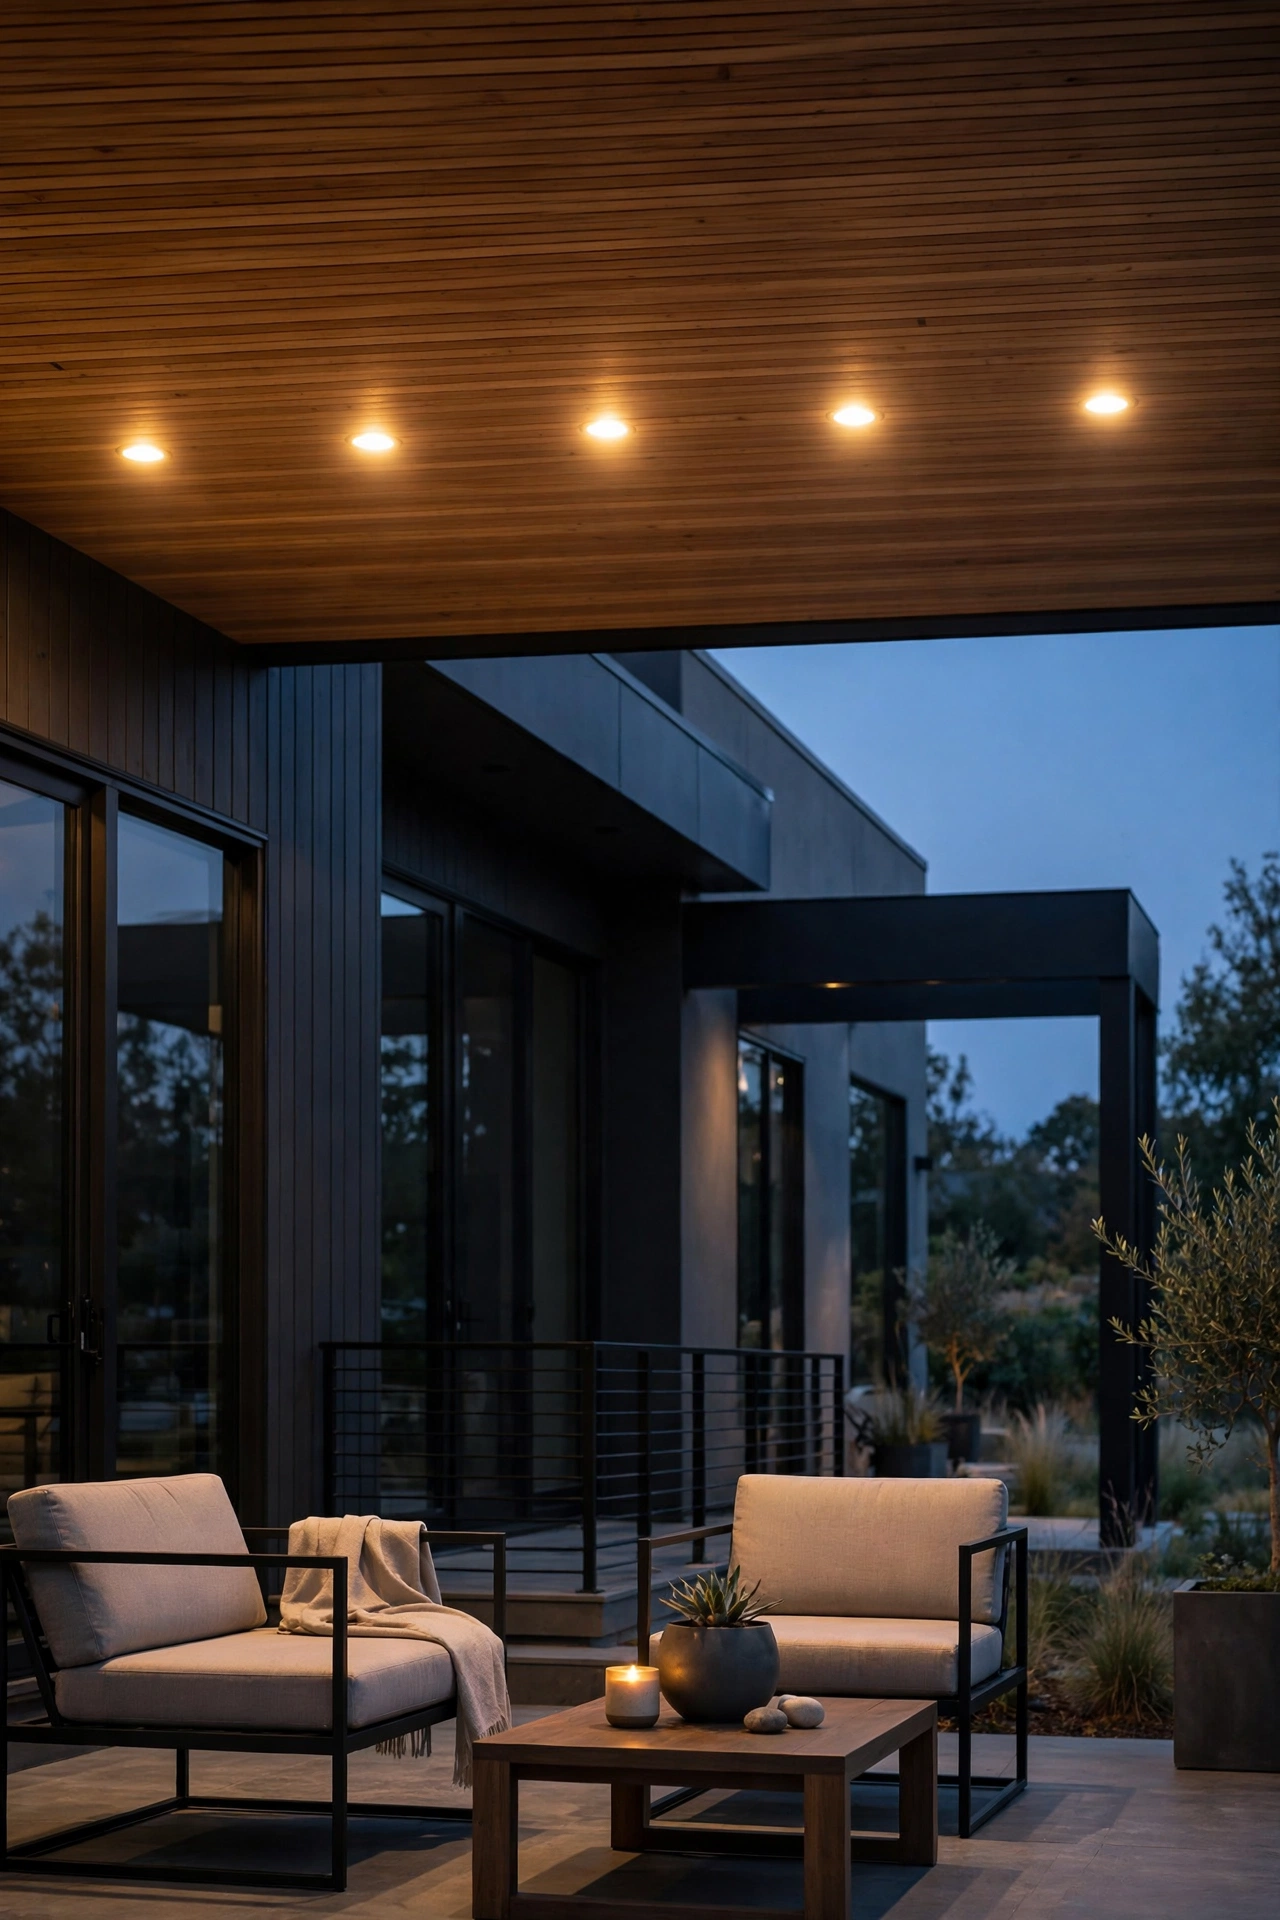
11. Fence Post Light Caps With Clean Lines
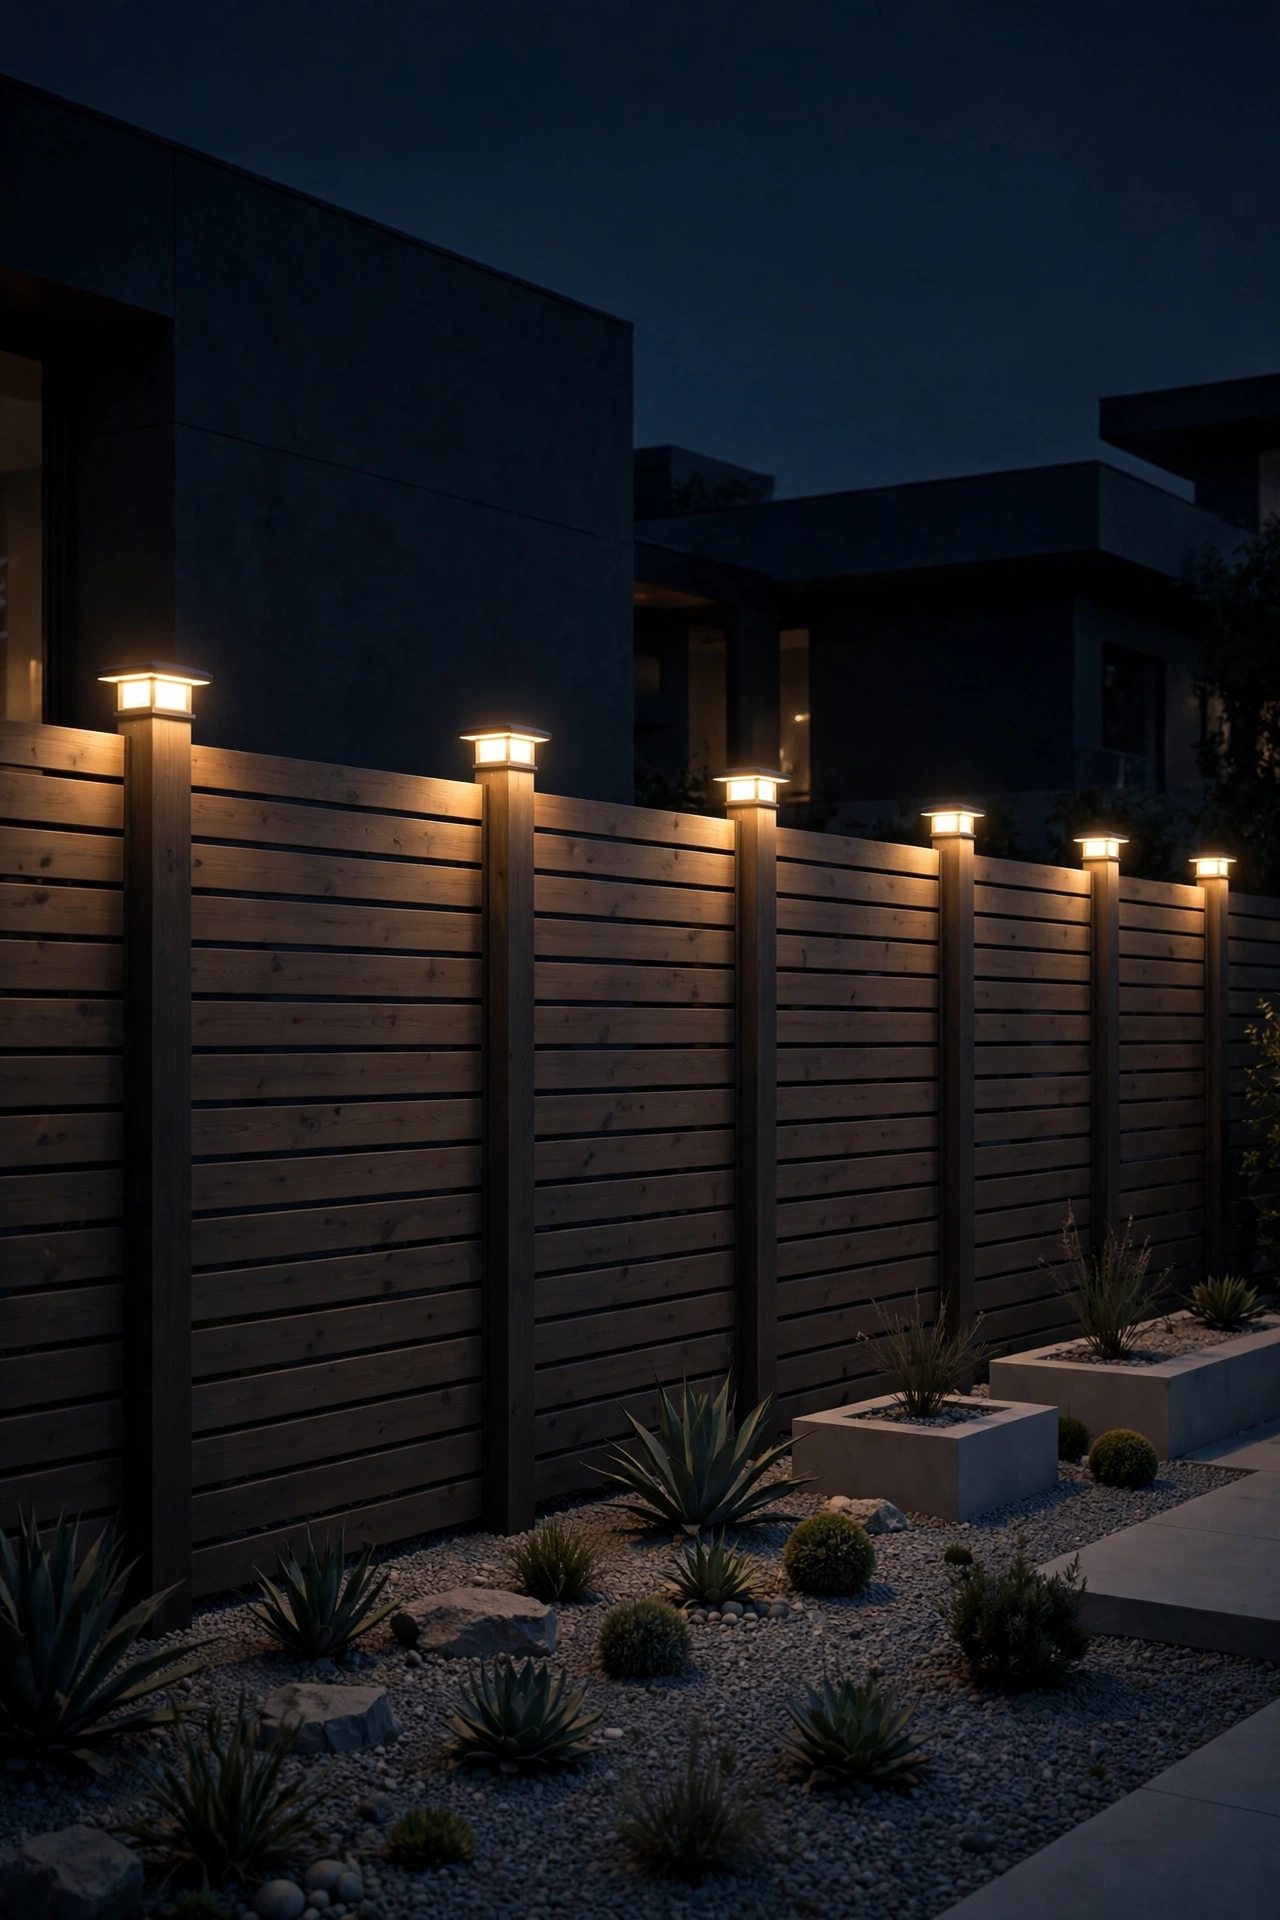
Your fence is probably the most underused lighting real estate on your property. Flat, low-profile light caps on each fence post turn a plain boundary into a glowing architectural feature — and the modern versions are beautifully restrained: slim square caps in matte black or dark bronze with frosted lenses, just 2 to 3 inches tall. In my experience, capping every post on the visible runs (front and side yards) with 2700K LEDs creates a rhythm of light that makes even a basic fence look custom.
Solar caps are the easy button here — no wiring, pop them on and done — but I'll be honest: cheap solar caps fade by midnight and die within two seasons. If you want this to actually last, invest in quality solar caps with replaceable batteries, or go low-voltage wired for true dusk-to-dawn reliability. Either way, look for IP65 ratings and polycarbonate (not acrylic) lenses, which resist UV yellowing.
Spacing is already decided for you — every post, every 6 to 8 feet — which makes this one of the simplest modern upgrades to plan. The result reads as intentional design rather than decoration, and it dramatically improves the view from inside the house too: your fence line becomes a glowing frame around the whole yard.
Suggested budget range: $100 – $500.
12. A Statement Pendant Over the Patio Door
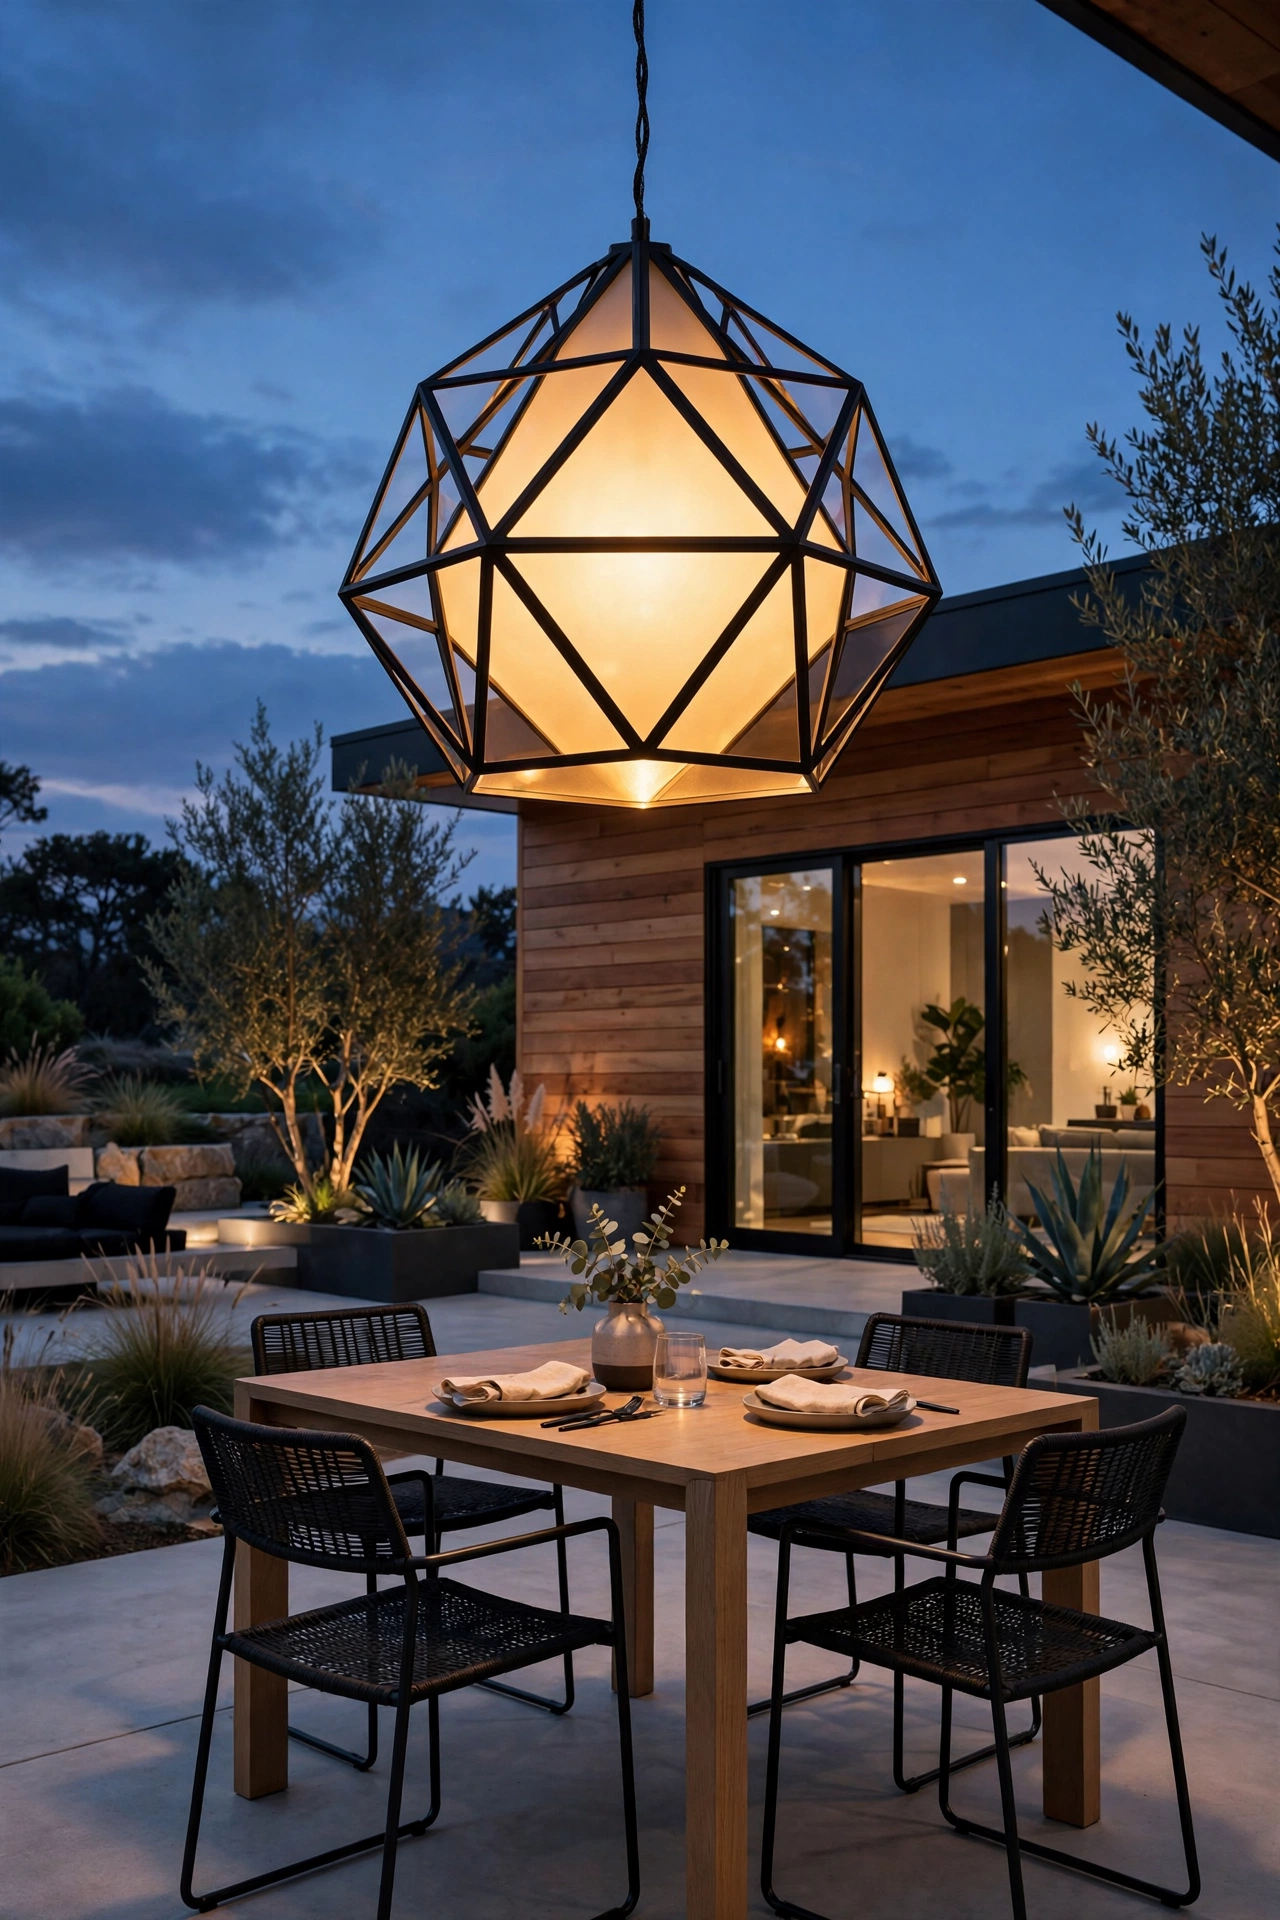
Modern doesn't have to mean cold, and a single sculptural pendant over the patio door or seating area proves it. Think a large geometric drum, an elongated teardrop, or a cluster of slim cylinders in matte black or brushed metal — something with presence that reads as intentional art by day and glows beautifully at night. In my experience, hanging it 7 to 8 feet above the floor (about 30 to 36 inches above a dining table if it's over one) keeps sightlines open while giving that jewel-box focal point.
Size matters: the pendant should be roughly one-third the width of the door or table it hangs over — too small and it looks lost, too large and it dominates. Use a dimmable 2700K LED bulb with a warm filament style for that inviting glow, and make sure the fixture is rated for damp locations at minimum since patios catch humidity even when covered. A heavier pendant needs a proper ceiling mount rated for its weight — never hang a statement fixture from a flimsy junction box.
Style it solo. One pendant, one statement — this is the modern rule. Resist the urge to add matching sconces nearby; let the pendant be the star and keep everything else hidden or recessed. On a dimmer, it goes from functional dining light to late-night lounge glow in seconds.
Suggested budget range: $150 – $600.
13. In-Ground Well Lights Along the Driveway
Driveways are tricky — you need real visibility for cars and guests, but typical floodlights kill the modern vibe instantly. The sleek answer is in-ground well lights set flush with the driveway edge: tiny, invisible by day, and they cast soft pools of light that define the driveway's boundaries after dark. In my experience, spacing them 8 to 10 feet apart on both edges of the driveway gives confident, even guidance without looking like a runway.
Use drive-over-rated fixtures (these have reinforced housings and tempered glass) set into the soil or hardscape right at the driveway's edge, with the lens perfectly flush — anything protruding will catch a tire or a snow shovel. Warm 2700K at low wattage (3 to 5 watts each) is plenty; this is about definition, not illumination. Full cutoff lenses keep every photon aimed where it belongs: on the driveway edge, not in drivers' eyes.
Hardwire these on low-voltage cable in conduit, and bury connections in weatherproof boxes above the water line — driveway edges collect runoff, and flooded splices are the number one killer of well lights. Add them to your smart system on a dusk-to-dawn schedule and every arrival home feels like pulling into a boutique hotel.
Suggested budget range: $250 – $800.

14. Slim Linear Bollards for Garden Beds
Different from the walkway bollards earlier, these are the minimalist's garden accent: ultra-slim linear bollards — sometimes just 2 inches wide — that disappear into planting beds and cast a precise blade of light across ornamental grasses, groundcover, or sculpture. In my experience, grouping them in odd numbers (three or five) within a single bed reads like landscape art; scattering singles around the yard reads like accidents.
Keep them short — 12 to 18 inches tall — so they stay hidden in the foliage by day and only reveal themselves as light after dark. A narrow 15- to 30-degree beam aimed across the bed creates dramatic texture on grasses and bark; wider beams wash groundcover evenly. Stick with 2700K so the planting looks lush rather than clinical, and choose fixtures with adjustable heads so you can fine-tune the aim as plants grow.
These run on standard low-voltage landscape cable, which makes them easy to add to an existing transformer — just stay within its wattage limit. Bury cable 6 inches deep and keep all connections in weatherproof wire nuts above the mulch line. Honestly, this is one of those ideas that guests always ask about, and nobody believes how affordable it is.
Suggested budget range: $120 – $450.
15. Backlit House Numbers: Modern Outdoor Lighting Ideas With Day-and-Night Payoff
Backlit house numbers are peak modern curb appeal — crisp, floating digits that glow like signage on a boutique hotel. The setup is simple: individual numbers mounted on standoffs 1 to 2 inches off the wall (or on a slim backplate), with LEDs behind them that create a halo effect. In my experience, 5- to 6-inch-tall numbers are readable from the street without looking oversized, and matte black or brushed stainless finishes pair perfectly with modern facades.
Mount them near the front door or garage at eye level (about 5 feet off the ground), on a section of wall that's visible from the street — test the sightline from your car at night before drilling. Use integrated 2700K to 3000K LEDs rated IP65, and wire them to the same photocell as your entry lights so they switch on automatically at dusk. Delivery drivers and emergency responders will thank you, because glowing numbers are genuinely easier to spot than any unlit alternative.
Safety bonus that's often overlooked: clearly visible house numbers at night measurably help first responders find you faster. This is one of the few lighting upgrades that's both a style statement and a genuine safety feature — and at this price point, it's honestly a no-brainer for any modern exterior.
Suggested budget range: $60 – $250.

16. Recessed Deck Floor Lights
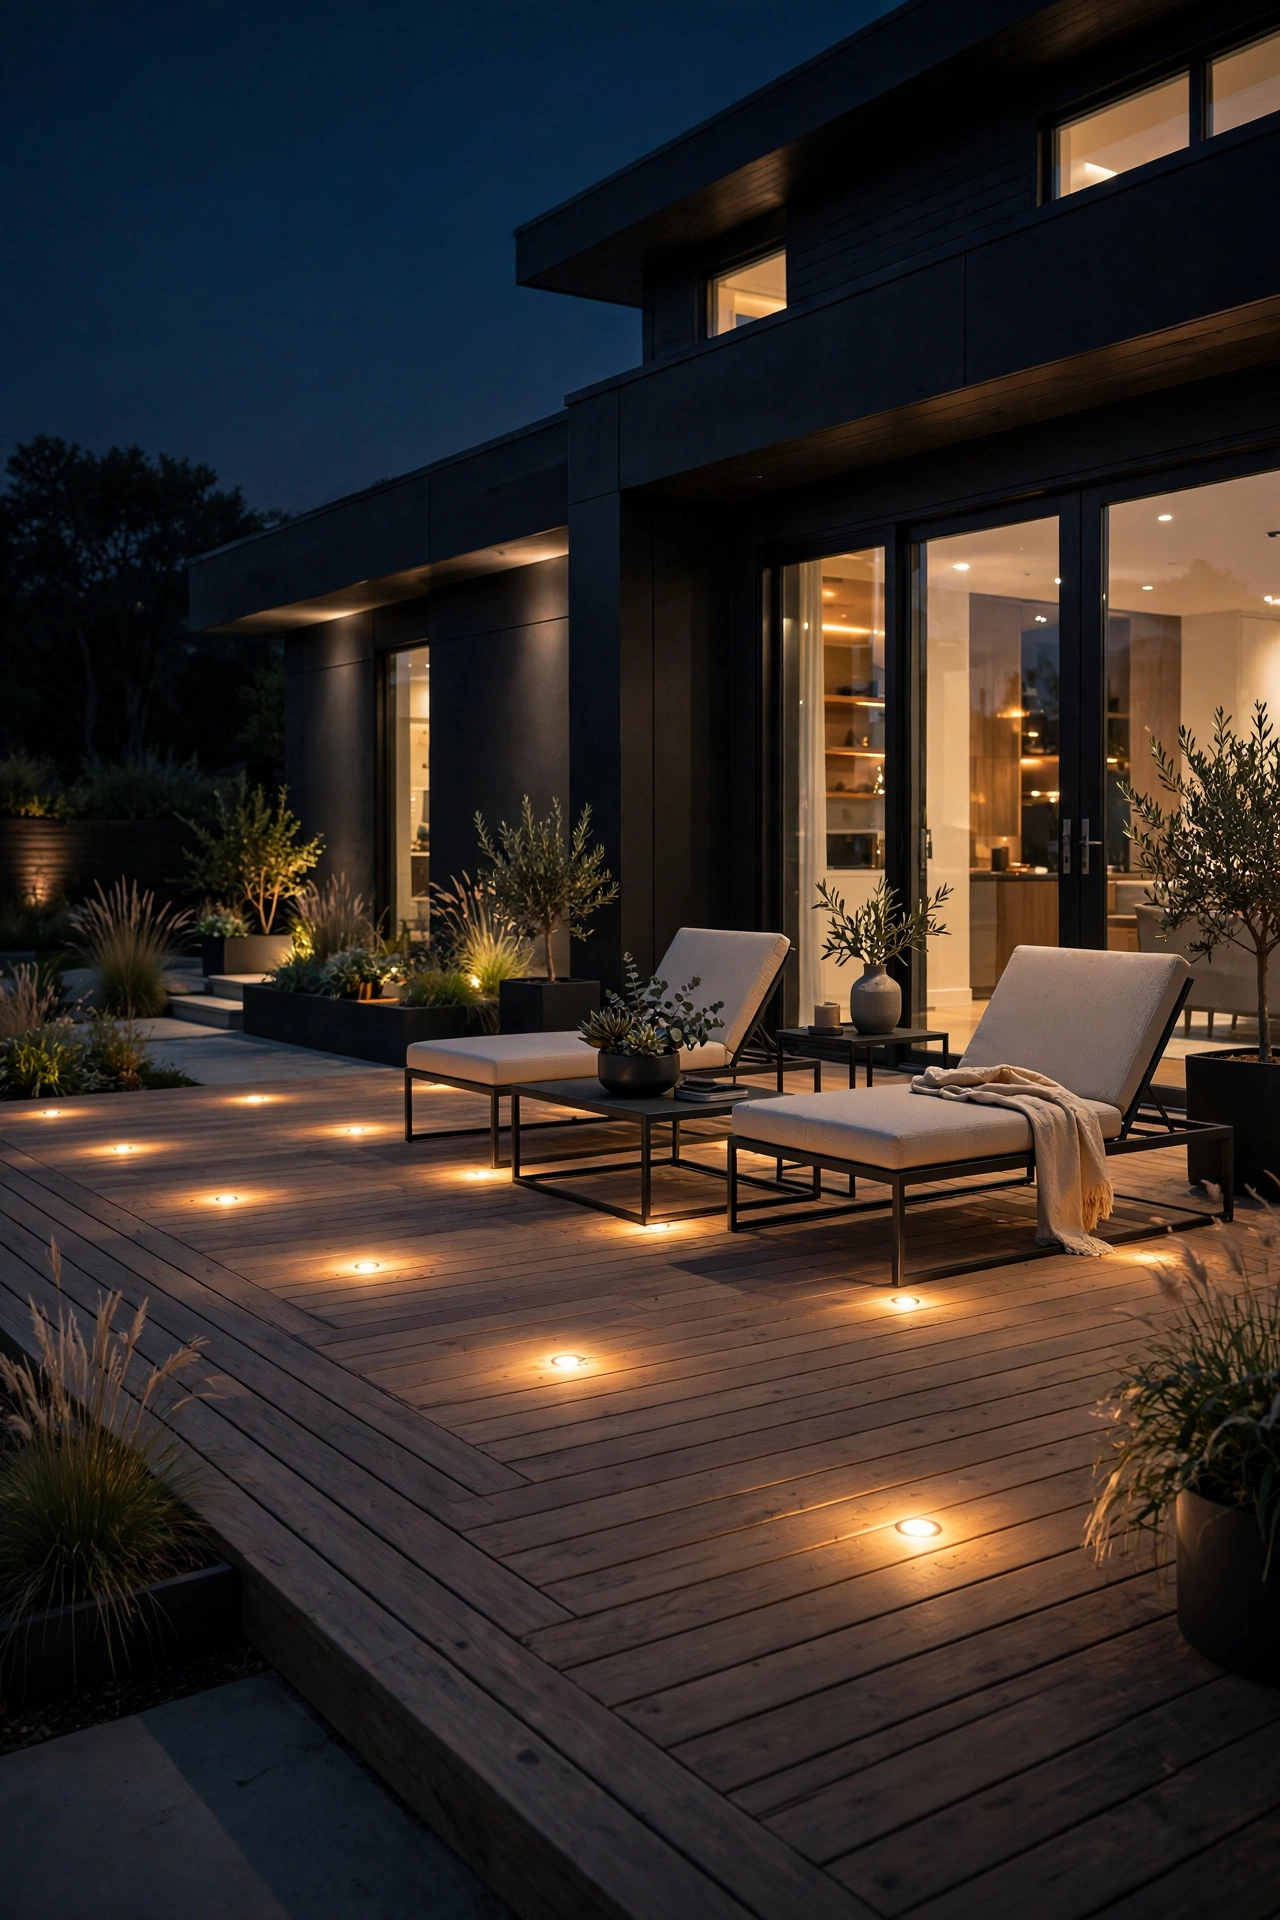
Taking the recessed idea to the deck floor: small flush-mounted lights set directly into the decking boards, marking the deck's perimeter or highlighting steps and level changes. By day they're nearly invisible — just tiny dark dots in the wood or composite. At night they draw a perfect glowing outline of your outdoor living space. In my experience, spacing them 4 to 6 feet apart along the deck edge creates a clean, continuous feel without overdoing it.
Choose fixtures specifically rated for deck installation with load-bearing housings (people will step on these), and make sure they're fully sealed — IP67 minimum — since deck floors collect rain and snowmelt. Warm 2700K at very low wattage (1 to 3 watts each) is all you need; these are markers, not work lights. Install them during the deck build if possible, because retrofitting means lifting boards — doable, but much easier with a contractor already on site.
The safety payoff is real: flush floor lights eliminate the "where does the deck end?" guessing game on dark nights, which matters a lot if your deck is raised. Wire them on the same low-voltage circuit as your other deck lighting with a single smart timer, and the whole deck comes on as one coordinated scene.
Suggested budget range: $150 – $550.
17. LED Strips Under Floating Benches
Built-in benches are a staple of modern patios, and hiding an LED strip underneath the seat overhang is the detail that takes them from nice to unforgettable. The bench appears to float on a cushion of light — a trick straight out of high-end landscape design that you can absolutely pull off at home. In my experience, mounting the strip 1 to 2 inches back from the front edge of the seat, aimed straight down, gives the cleanest floating effect with no visible hardware.
Use an IP65 outdoor strip in 2700K with an aluminum channel and frosted diffuser — the diffuser is non-negotiable here, since guests sit inches away and bare LED dots would be painfully visible. A 24-volt system keeps brightness consistent around the full bench perimeter, and tuck the transformer into a weatherproof box nearby on a GFCI circuit. Keep all wiring above potential puddle level; under-bench areas trap moisture.
This pairs beautifully with the deck railing strip from idea 6 — together they create a layered, architectural glow across the whole patio. Add both to one smart dimmer zone and you can take the seating area from dinner-party bright to late-night lounge with a single slider. Honestly, guests will think you hired a lighting designer.
Suggested budget range: $80 – $300.
18. Architectural Uplighting for Statement Trees
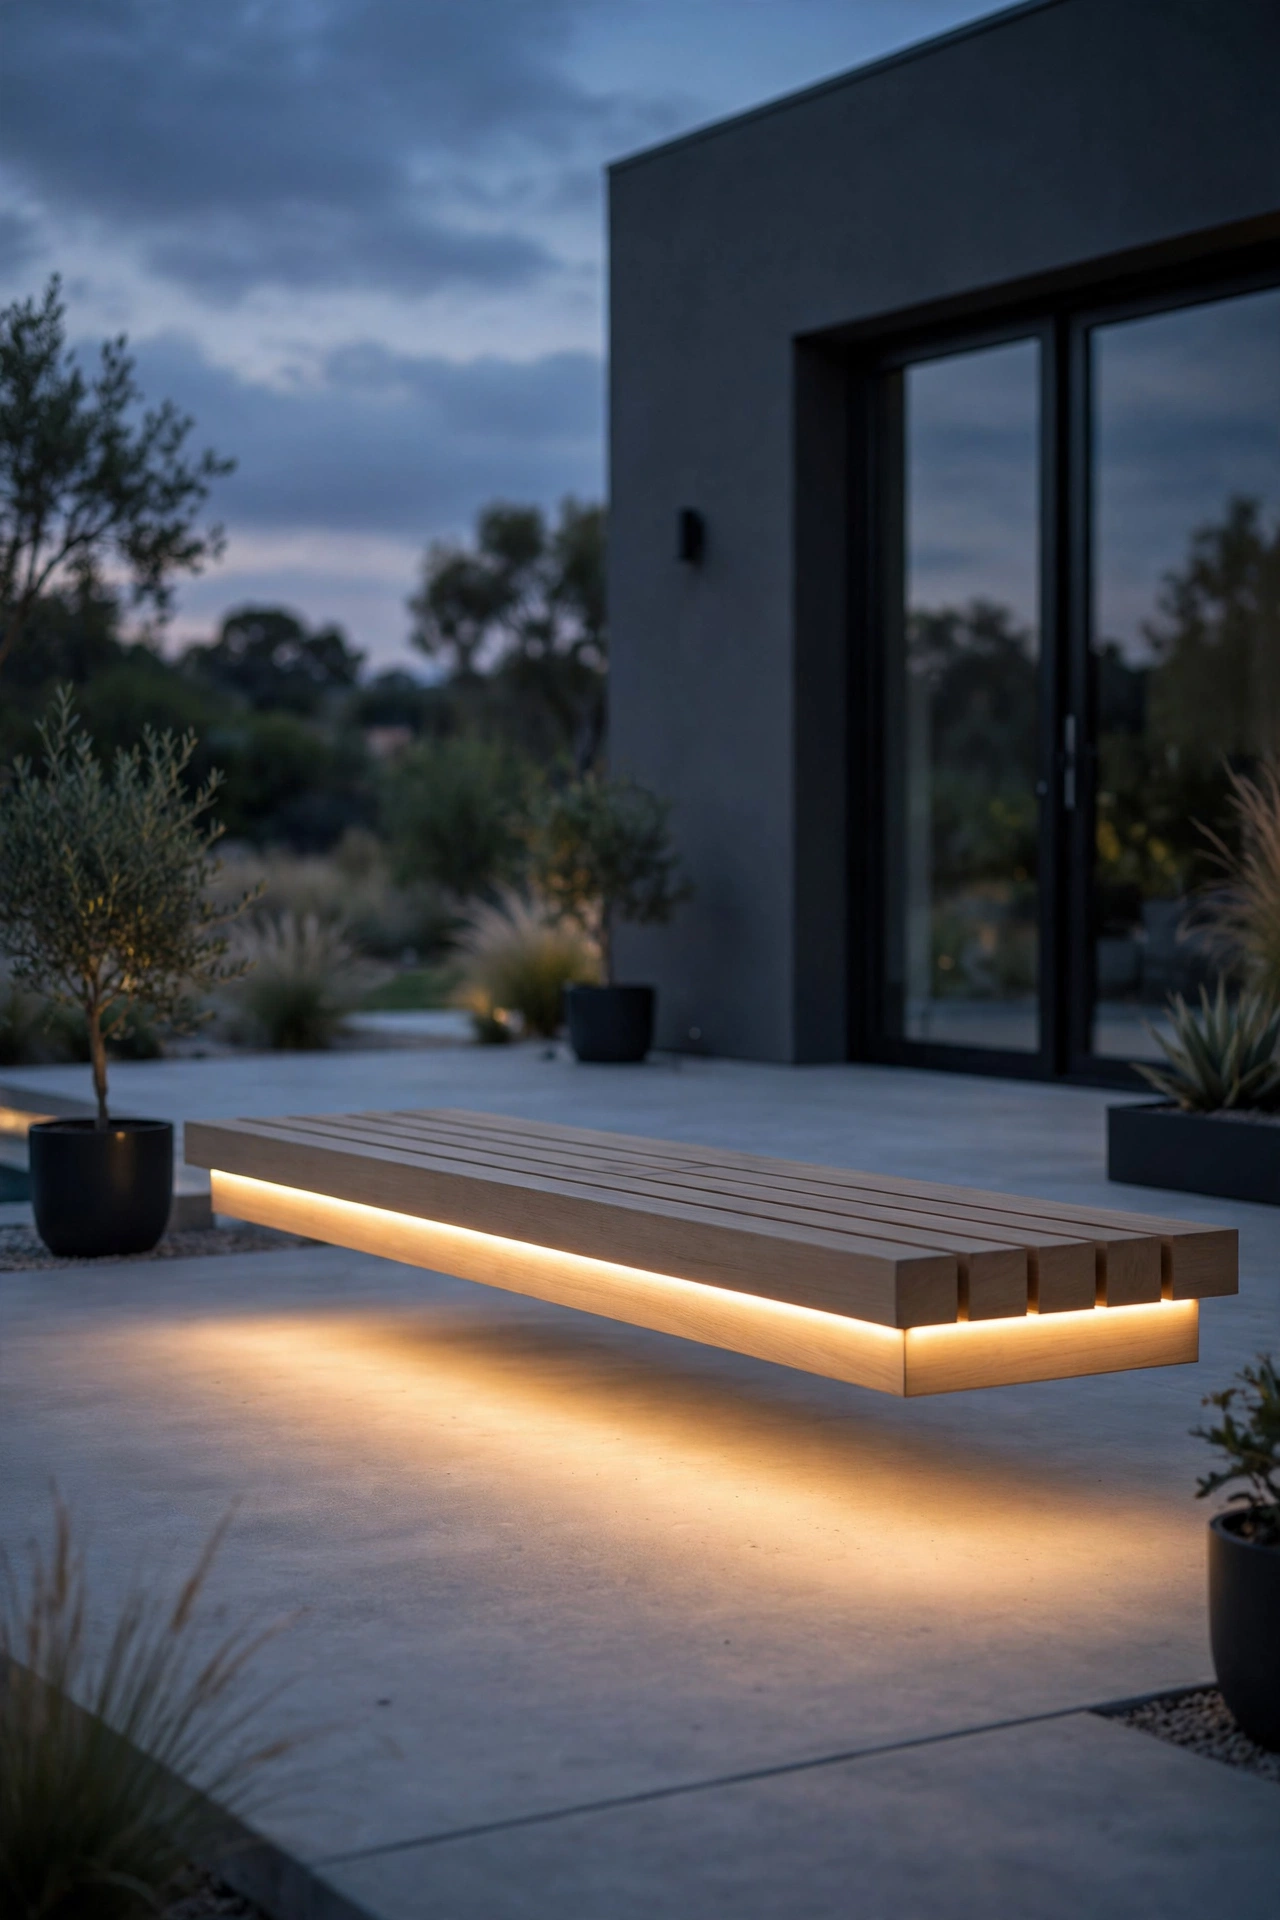
One perfectly lit tree does more for a modern landscape than a dozen scattered fixtures. The technique: a single (or occasionally a pair of) well-placed uplight aimed into the canopy of a specimen tree — a sculptural Japanese maple, a multi-trunk birch, or an ornamental evergreen. In my experience, positioning the fixture 3 to 5 feet from the trunk and aiming at the branching structure (not straight up the trunk) creates that dramatic, gallery-like silhouette that defines high-end modern yards.
Use an aimable LED well or bullet light with a 35- to 60-degree beam — narrow enough to sculpt, wide enough to fill the canopy. Warm 2700K makes bark and leaves glow richly; avoid cool white, which makes trees look ghostly. A fixture with a shroud or glare guard is essential so the lens itself stays hidden from every viewing angle — you should see light on the tree, never the source.
Plant the fixture with the lens just above grade and mulch around it for a clean look, and re-aim twice a year as the canopy grows and seasons change — a five-minute job that keeps the effect perfect. Put it on a timer that runs from dusk to around 11 p.m. for that curated, intentional feel rather than all-night blaze.
Suggested budget range: $90 – $350.
19. Compact Square Motion-Sensor Security Light
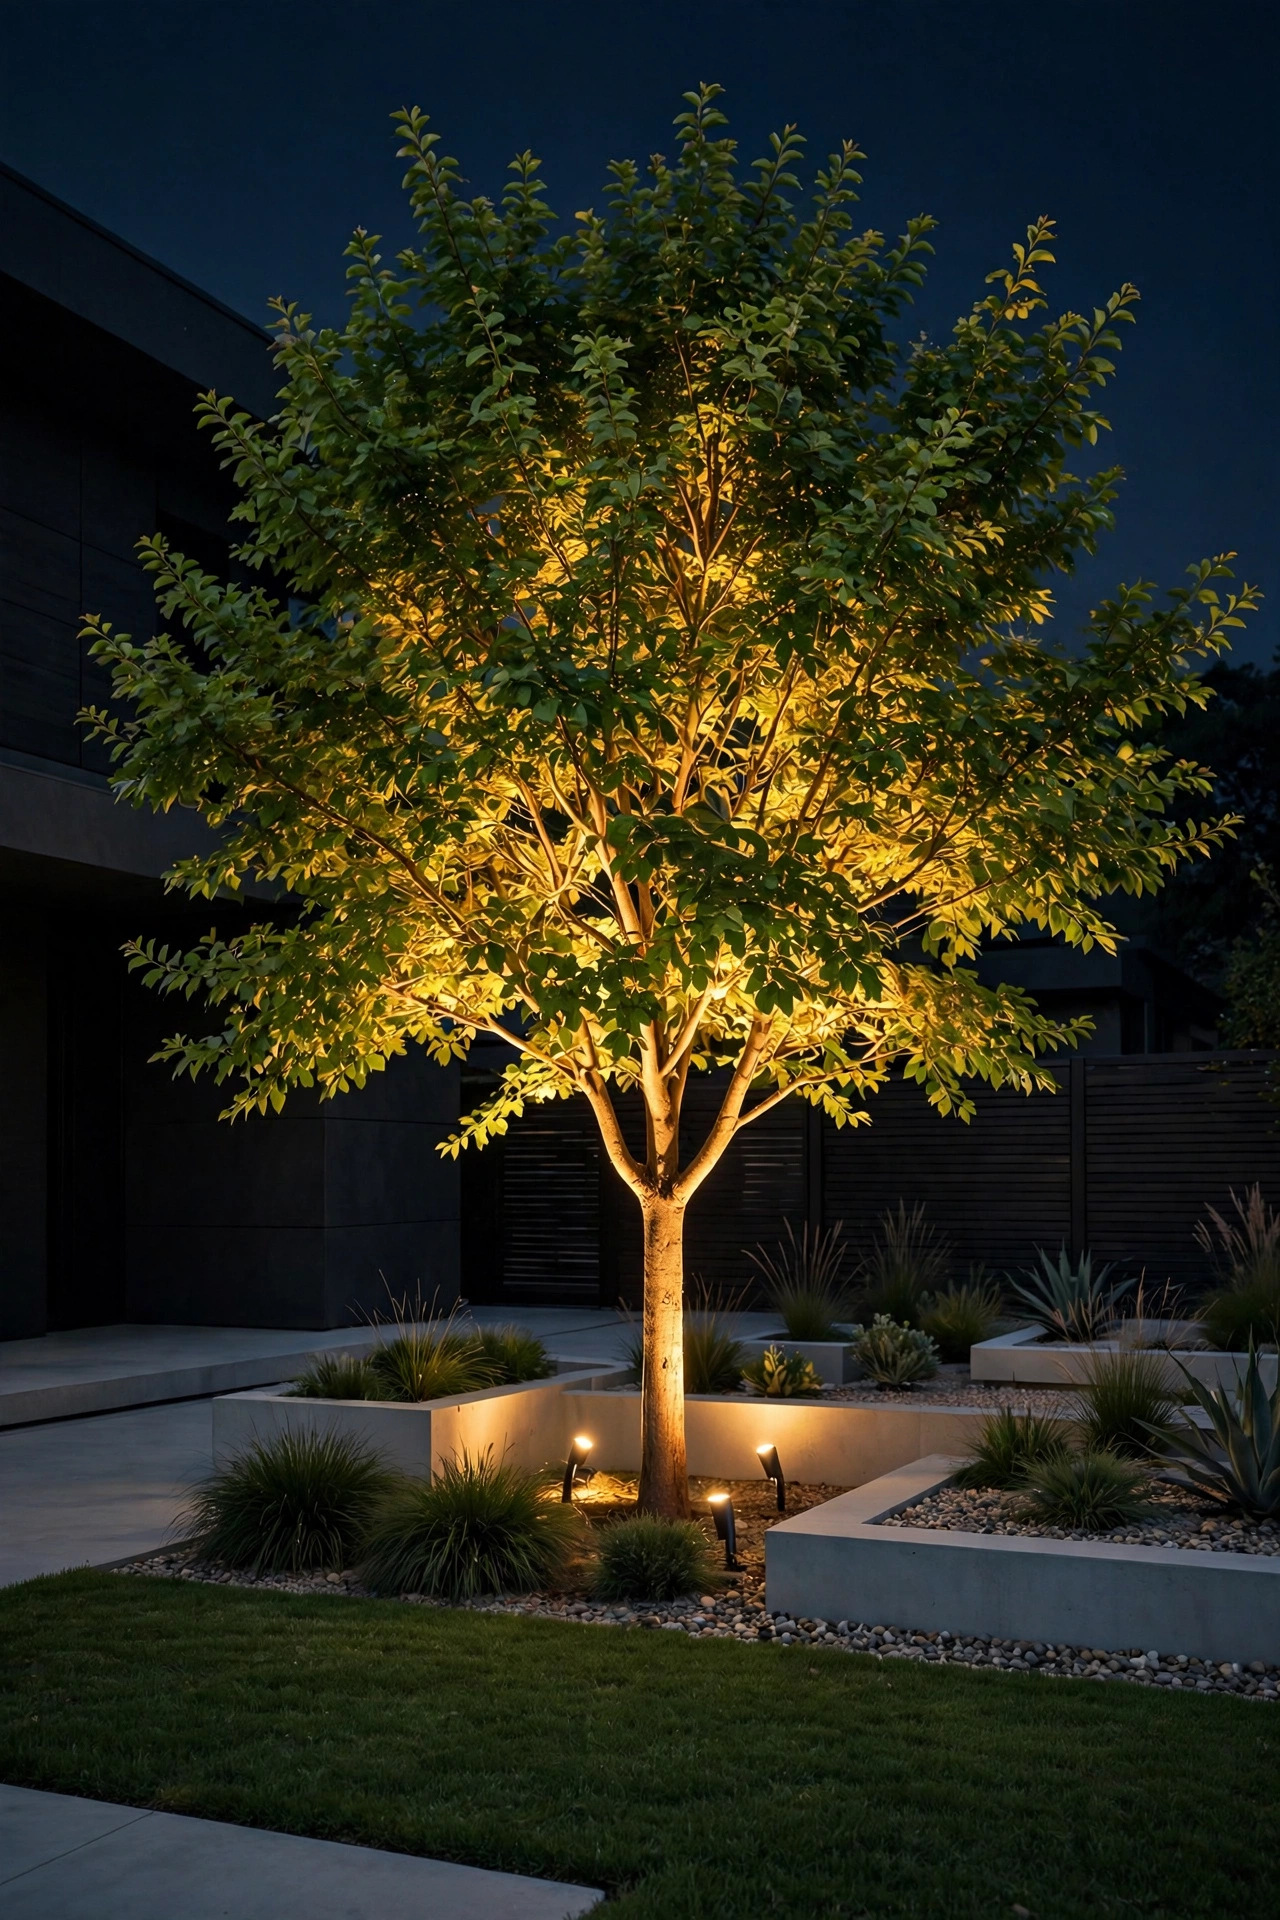
Security lighting and modern aesthetics usually fight — but the new generation of compact square motion floods finally plays nice. These are small (4 to 6 inches square), flat-faced fixtures in matte black that mount tight to the wall and practically disappear by day. In my experience, mounting them 8 to 10 feet up on garage corners, side entries, and dark yard corners gives excellent coverage without the ugly twin-head look of old security lights.
Look for adjustable motion sensitivity and a dusk-to-dawn photocell so it only arms after dark — nothing says "dated" like a security light blazing at noon. Set the timer to 1 to 5 minutes so it shuts off quickly, and choose 3000K rather than harsh 5000K; you get perfectly good security visibility without making your yard feel like a prison yard. Aim the head down and away from neighboring windows, and add the fixture to a smart system if you want phone alerts when it triggers.
The modern trick is restraint: two or three well-placed compact floods beat six glaring ones every time. Keep the security lighting visually separate from your ambiance lighting — different zones, different schedules — and your modern exterior stays sleek while staying safe.
Suggested budget range: $40 – $150.
20. LED Strip Along the Fence Top Rail
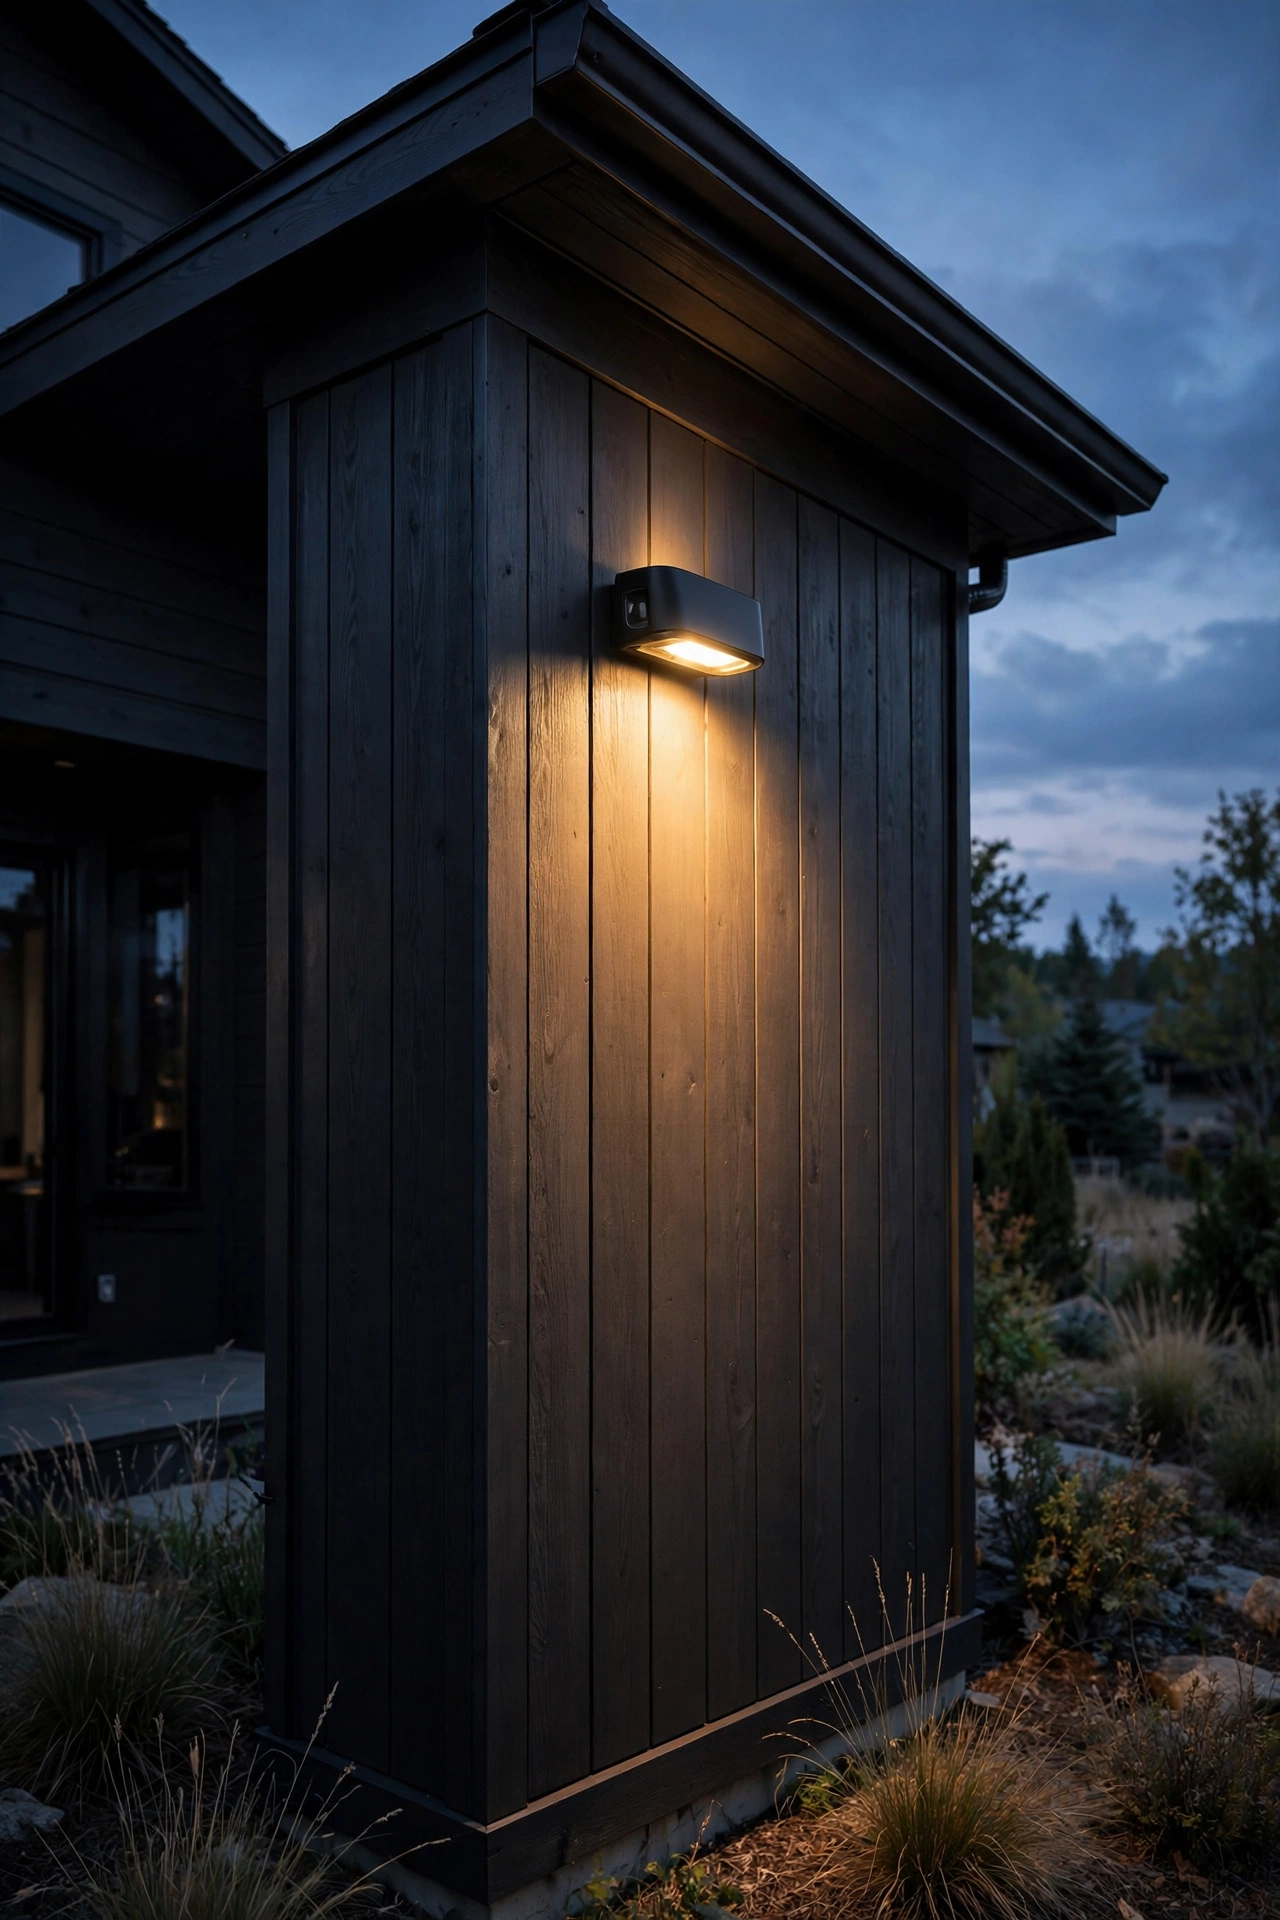
Similar to the deck railing trick but scaled up: a continuous LED strip mounted under the top rail of a modern horizontal-slat fence, washing the entire fence face with soft light. The effect is stunning — your fence becomes a glowing wall that defines the whole property line after dark. In my experience, this works best on horizontal slat or board-on-board fences where the wash catches the wood grain and creates beautiful texture; it looks odd on chain link or picket styles, so skip those.
Mount an IP67 strip in a slim aluminum channel under the top rail, set back an inch so it's invisible from the yard. High-density 2700K strip with a frosted diffuser keeps the wash perfectly even across long runs — and runs can be long, so plan on a 24-volt system with power injection or multiple transformers for anything over about 30 feet to prevent fading at the far end. Secure the channel with stainless screws to prevent sagging over time.
Weatherproofing is critical on a fence: choose UV-resistant silicone coatings and seal all end caps and connections with dielectric grease. Put it on a smart schedule with your other landscape lighting and your entire backyard gets a warm architectural frame every evening — it honestly doubles the perceived size of the yard at night.
Suggested budget range: $250 – $900.

21. Grazing Light Across Textured Walls
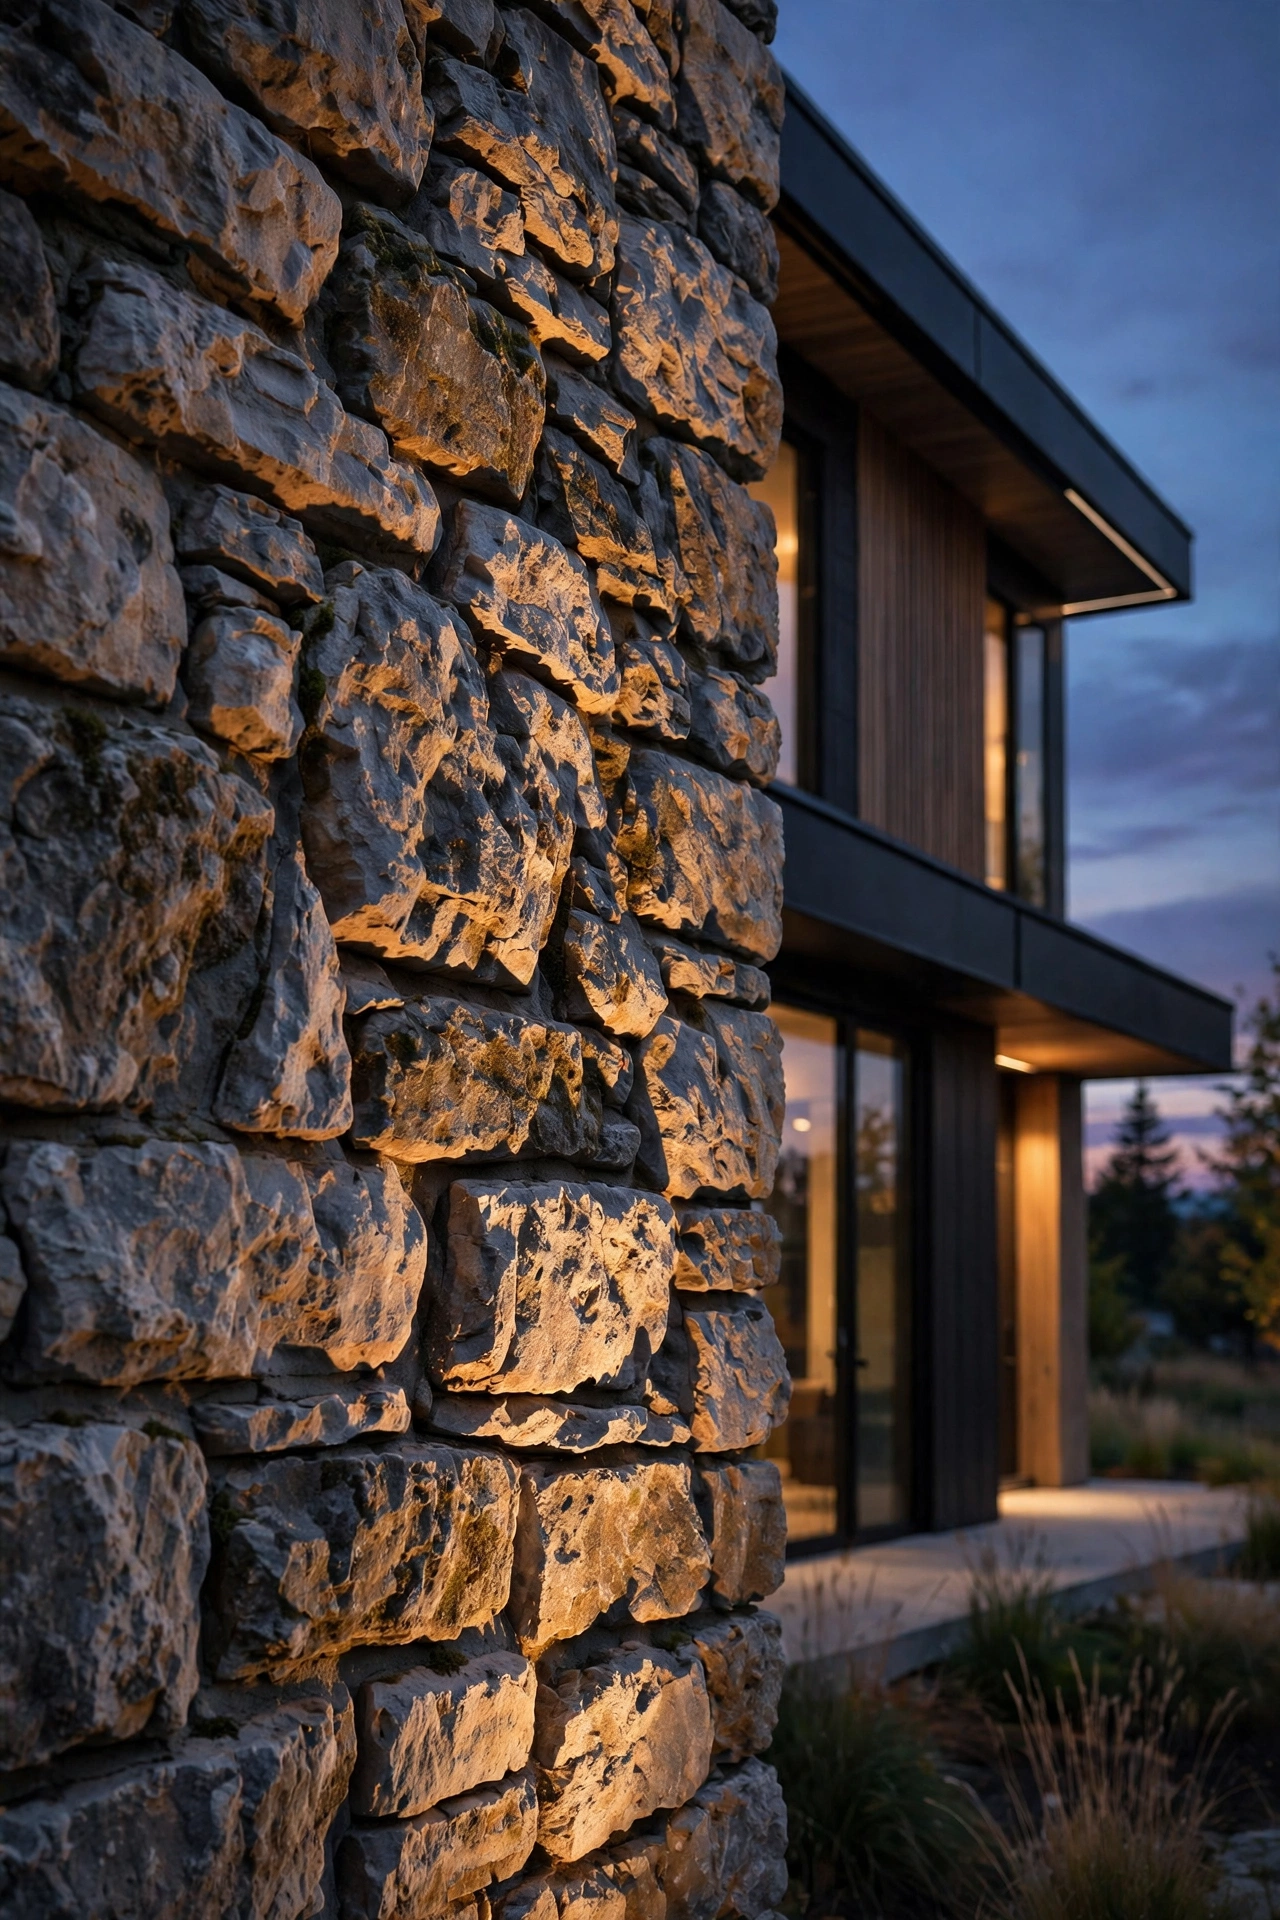
If your home has stone, brick, board-formed concrete, or slatted wood, grazing light is your secret weapon. Unlike wall washing (which smooths things out), grazing places narrow-beam fixtures very close to the surface — 6 to 12 inches away — so every ridge, groove, and texture casts tiny shadows and the material comes alive. In my experience, this is the single most flattering technique for natural stone and wood siding, and it looks unmistakably high-end.
Use small adjustable LED spots or recessed soffit lights with a tight 15- to 25-degree beam, positioned just off the wall's face. For ground-mounted grazing, set bullet fixtures 6 to 10 inches from the wall in a mulched bed so the hardware stays hidden; for soffit-mounted versions, recess the cans 8 to 12 inches from the wall. Warm 2700K deepens stone tones and wood grain beautifully.
The caution here: grazing is dramatic, so use it on one feature wall or architectural element, not the entire house — more than one grazed surface at a time looks busy and loses the modern restraint. And keep beams tight and shielded so no light escapes upward; texture drama should never become sky glow. One perfectly grazed wall beats four mediocre ones, every time.
Suggested budget range: $150 – $600.
22. Smart Color-Tunable Downlights for Flexibility
Here's the modern luxury play: smart downlights that shift color temperature from candle-warm 2200K to crisp 4000K on demand. Hosting a summer dinner? Dial in 2700K for warmth. Need to see clearly while grilling or finding the dog? Bump to 3500K for task light. In my experience, tunability is the feature people don't know they want until they have it — then they can't imagine going back to fixed-temperature fixtures.
Install them as recessed soffit or porch downlights (4- to 6-inch wet-rated housings) or as landscape spots, spaced the same as their fixed counterparts — 4 to 6 feet apart for facade work, 4 to 5 feet for porches. Look for 90+ CRI so colors stay true at every temperature setting, and confirm the fixtures play nice with your smart home platform before buying — mixing ecosystems is the fastest way to a frustrating setup. A hub-based system is generally more reliable than Wi-Fi-only for outdoor runs.
Keep the default schedule at 2700K dusk-to-dawn so the house always looks warm and intentional, and save the cooler settings for manual moments. Resist the rainbow: color-changing party modes have their place indoors, but on a modern exterior, disciplined warm-to-neutral tuning is what keeps the sleek look.
Suggested budget range: $300 – $1,200.
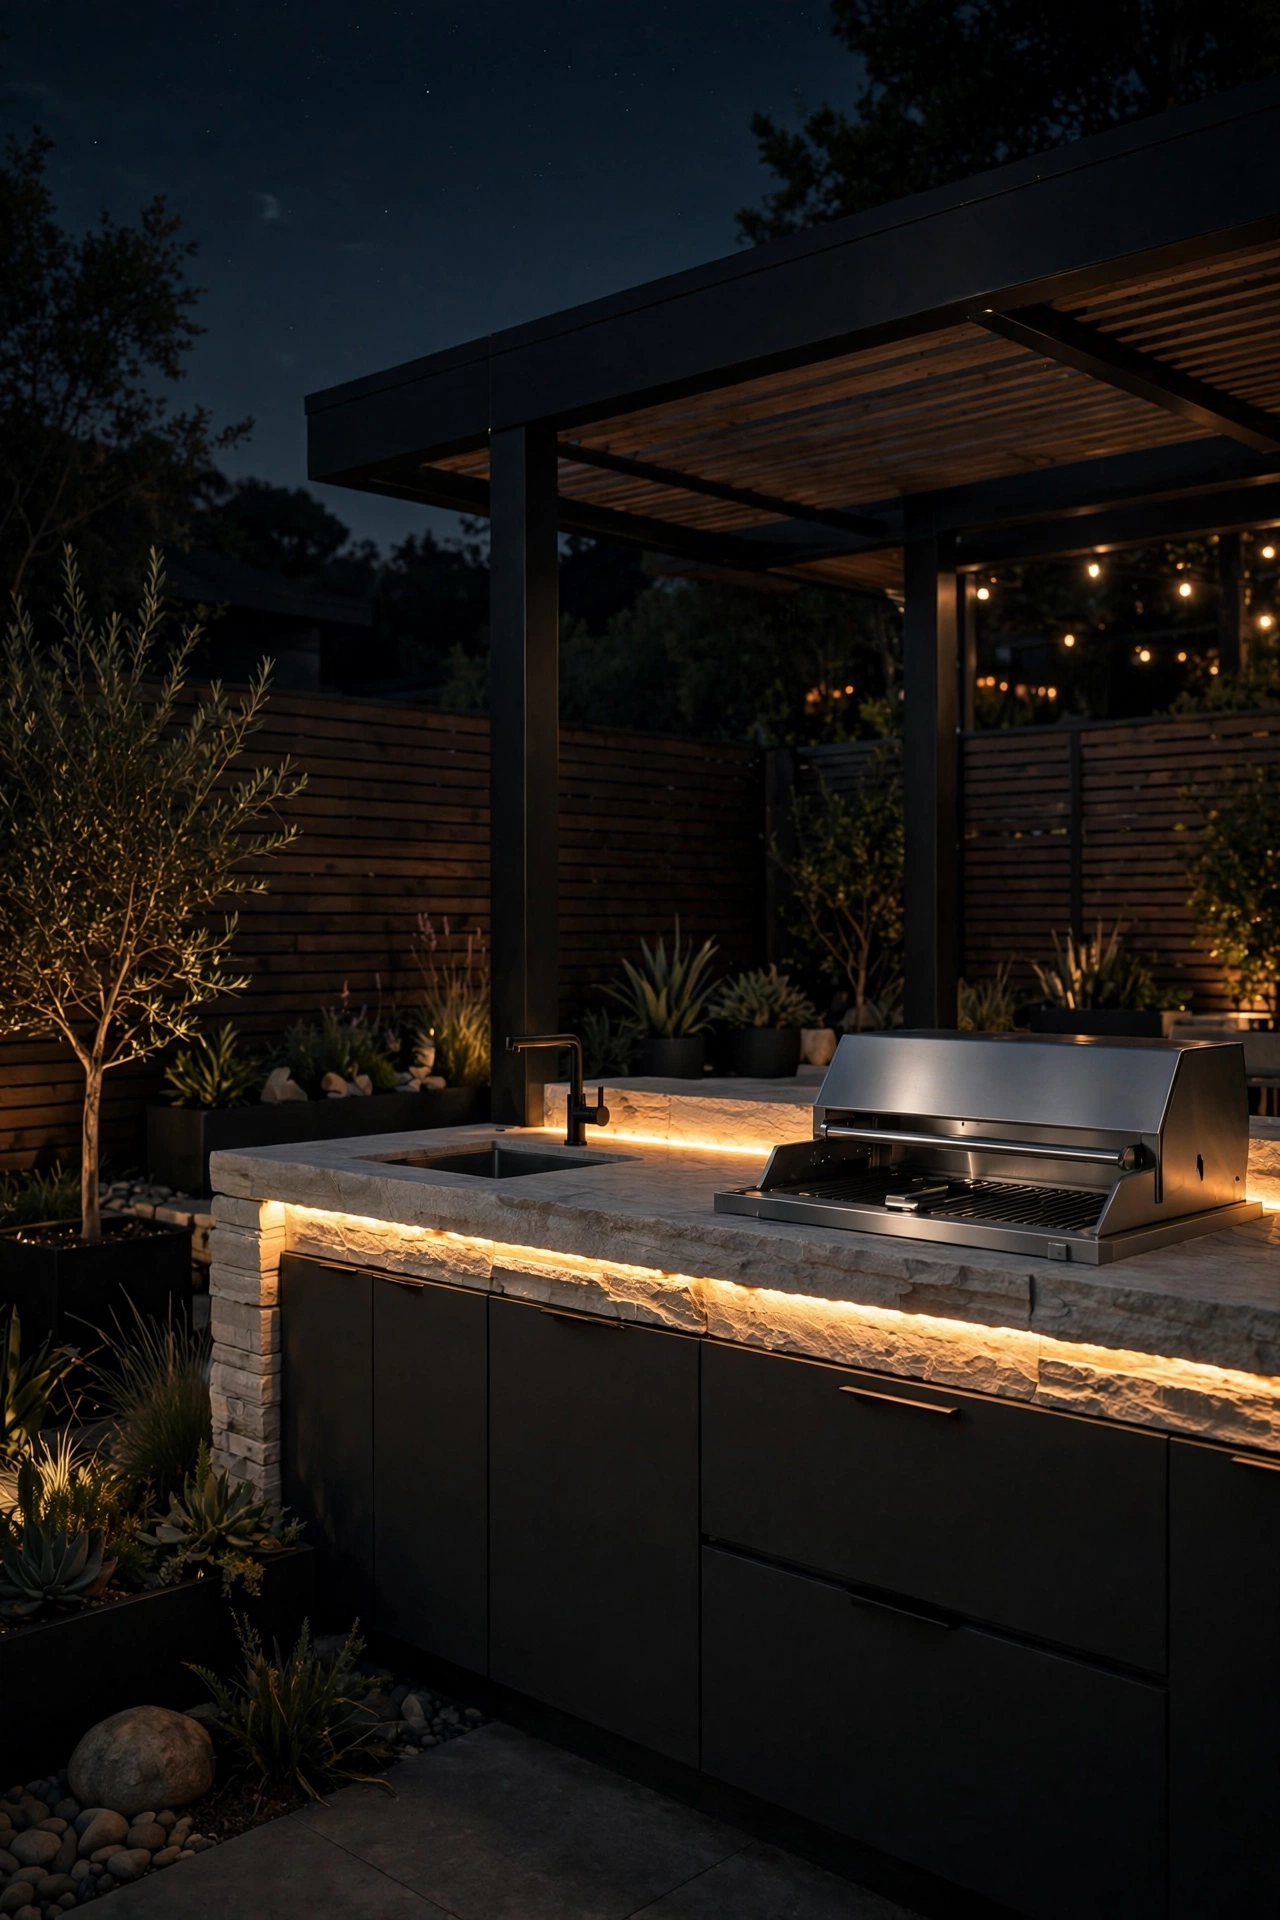
23. Under-Counter Glow for the Outdoor Kitchen: Modern Outdoor Lighting Ideas for Entertainers
Outdoor kitchens are the ultimate modern entertaining space, and under-counter lighting is what makes them feel finished after dark. A hidden LED strip beneath the countertop overhang washes the cabinet faces (or the patio floor below) with a soft glow that makes the whole kitchen look like it floats. In my experience, mounting the strip 1 to 2 inches back from the counter edge in a slim aluminum channel with a frosted diffuser gives a perfectly even line with no visible dots — and it doubles as genuinely useful task-adjacent light.
Use IP67-rated 2700K to 3000K strip since outdoor kitchens take serious splashes and steam, and run it on a 24-volt system off a GFCI-protected circuit — this is a wet environment, so electrical safety is non-negotiable and the work belongs to an electrician if you're not comfortable with it. Add a simple dimmer or smart control so you can crank it up for food prep and drop it low for cocktail hour.
Pair the under-counter glow with one recessed downlight over the grill zone and you're done — the modern rule of layered but restrained lighting applies here too. If you're still refining the bigger picture, these minimalist lighting principles tie the whole sleek exterior together. Honestly, a lit outdoor kitchen becomes the gravitational center of every evening gathering.
Suggested budget range: $120 – $450.
Frequently Asked Questions
What color temperature is best for modern outdoor lighting?
In my experience, 2700K to 3000K warm white is the sweet spot for modern exteriors. It flatters wood, stone, and landscaping, feels welcoming, and reads as "designed" rather than "industrial." Reserve 3500K to 4000K for task areas like grilling stations or workshops where you genuinely need clarity — and even there, I'd keep it as an accent, not the whole scheme. Anything above 4000K outdoors almost always looks harsh and cheapens an otherwise sleek design.
Are solar lights good enough for a modern look, or do I need wired?
Honestly? For a truly modern look, wired (low-voltage) wins. Solar fixtures have gotten better, but they still dim through the night, vary with the weather, and rarely offer the slim, minimal profiles that define modern design. I use solar only for fence post caps and spots where running wire is genuinely impractical. For sconces, strips, bollards, and anything architectural, low-voltage 12V or 24V systems give consistent brightness, reliable dusk-to-dawn performance, and far more fixture choices.
How much does it cost to light a modern home exterior?
For a typical single-family home, expect $800 to $3,000 for a solid DIY low-voltage setup (transformer, cable, and 8 to 15 fixtures), and $2,500 to $8,000+ with professional installation of recessed, roofline, or hardwired fixtures. The ideas in this post span $40 to $1,500 each, so you can phase the project — start with the entry and walkway, then add facade and landscape layers over time. Running costs are tiny: a full LED system typically adds just a few dollars a month to your electric bill.
Do I need an electrician, or can I DIY modern outdoor lighting?
Low-voltage (12V/24V) landscape lighting — bollards, spots, well lights, strips — is very DIY-friendly and safe to install yourself with basic tools. Anything line-voltage (120V), hardwired into your home's electrical system, or involving roofline work, recessed ceiling cans, or outdoor kitchen circuits should go to a licensed electrician. When in doubt, hire the pro: the sleek look depends on clean, safe wiring, and mistakes with 120V outdoors are genuinely dangerous.
Conclusion
The through-line of all these modern outdoor lighting ideas is simple: less fixture, more intention. Slim sconces instead of chunky lanterns. Hidden strips instead of visible hardware. Warm, layered light that reveals your home's architecture instead of flattening it.
You don't need all 23 to transform your exterior — honestly, three or four well-chosen ideas (lit entry, defined walkway, one architectural accent, and a glowing outdoor living space) will completely change how your home feels after dark. Start with the layer that matters most to you, get the color temperature right (2700K, trust me), and build from there. Then pour yourself something cold, step out front at dusk, and enjoy the sleekest-looking house on the block — because you made it that way. Browse the site's lighting guides for your next project whenever you're ready.