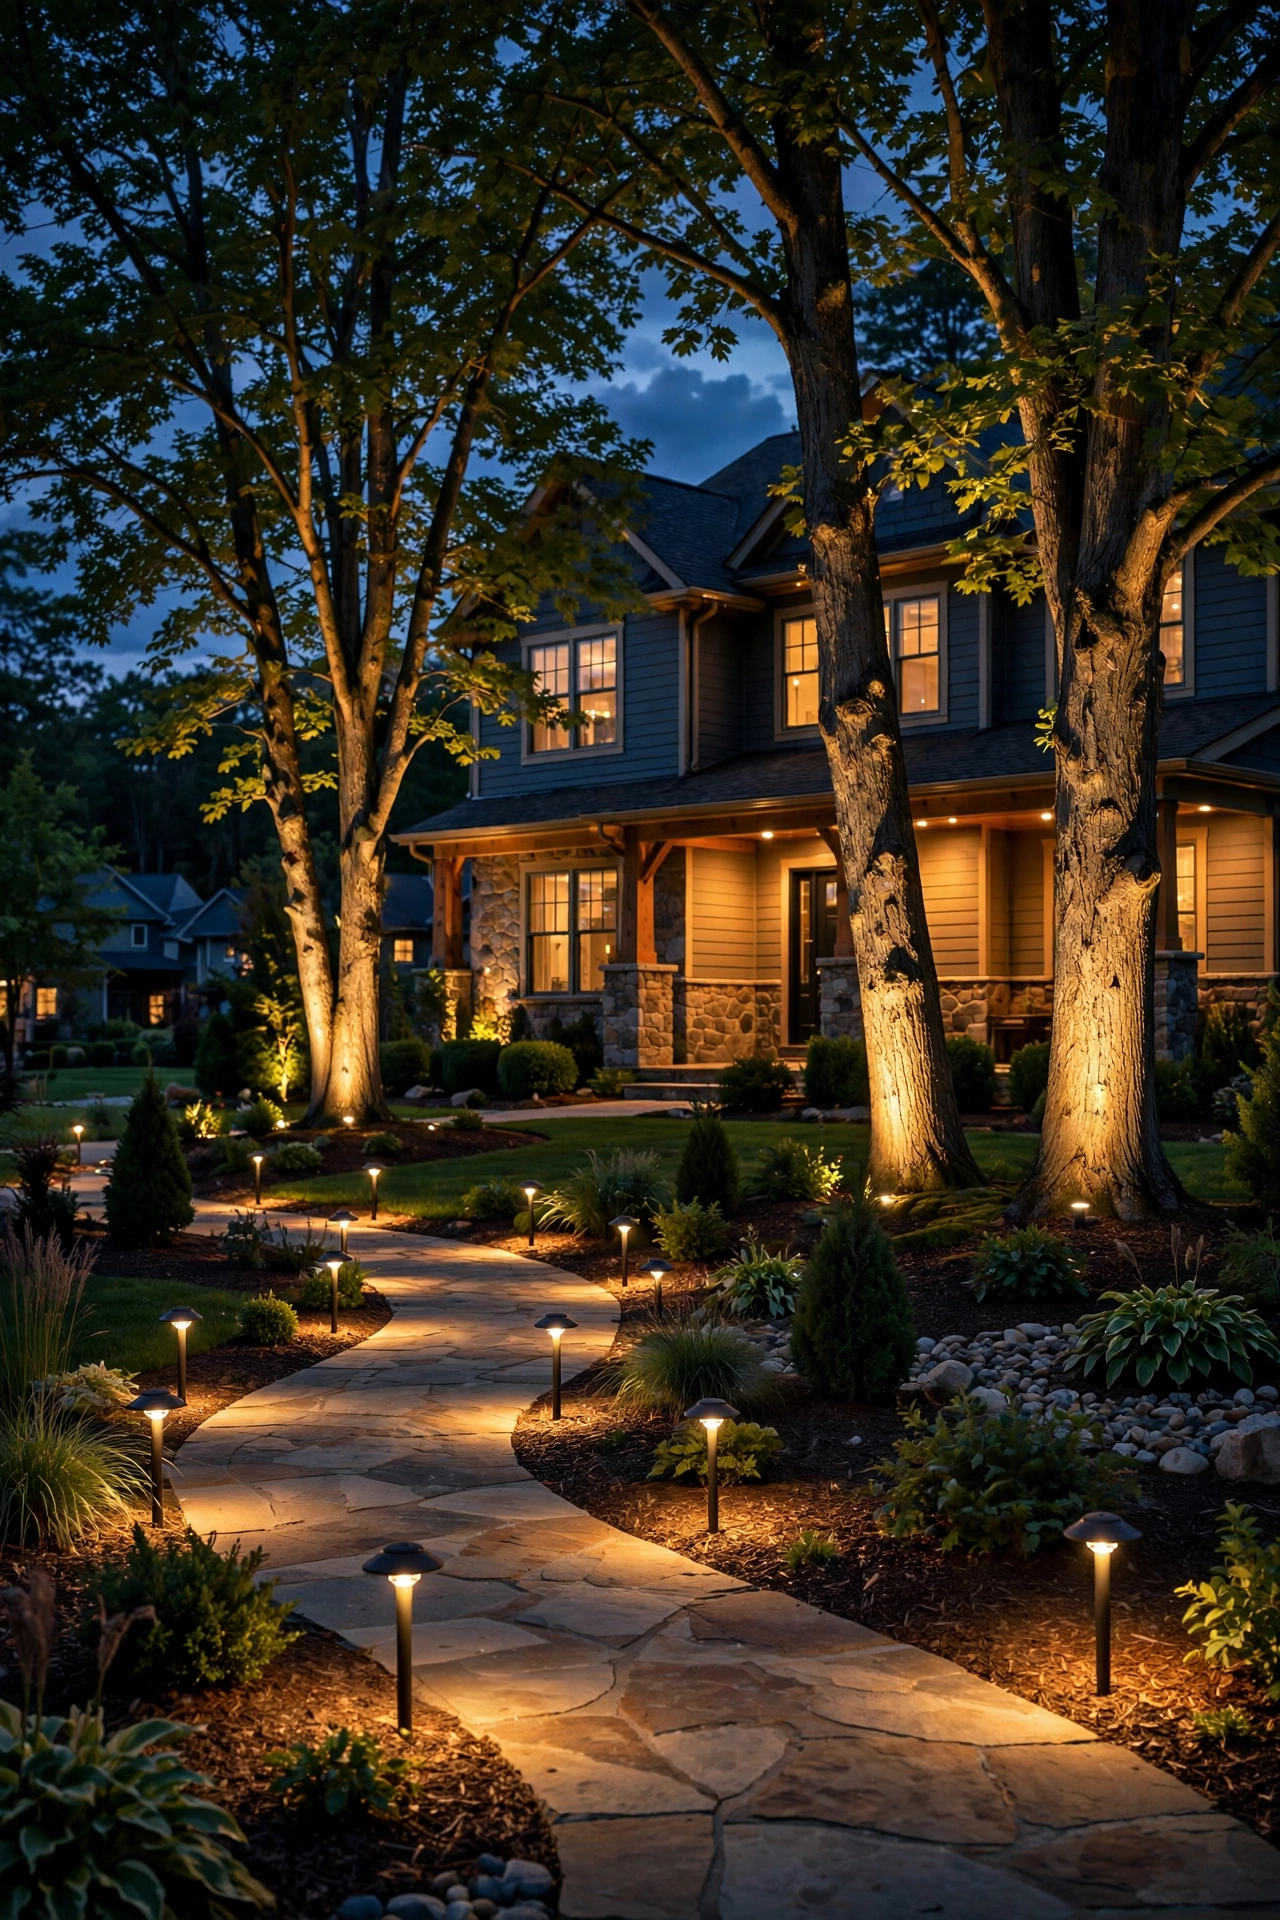
There's a reason some houses look magical after dark while others just look… spotted with lights. Honestly? It's rarely about nicer fixtures. It's about planning. Professional landscape lighting designers never think in terms of "a few lights along the walkway." They think in landscape lighting zones — distinct layers of light, each with its own job, its own fixtures, and its own brightness.
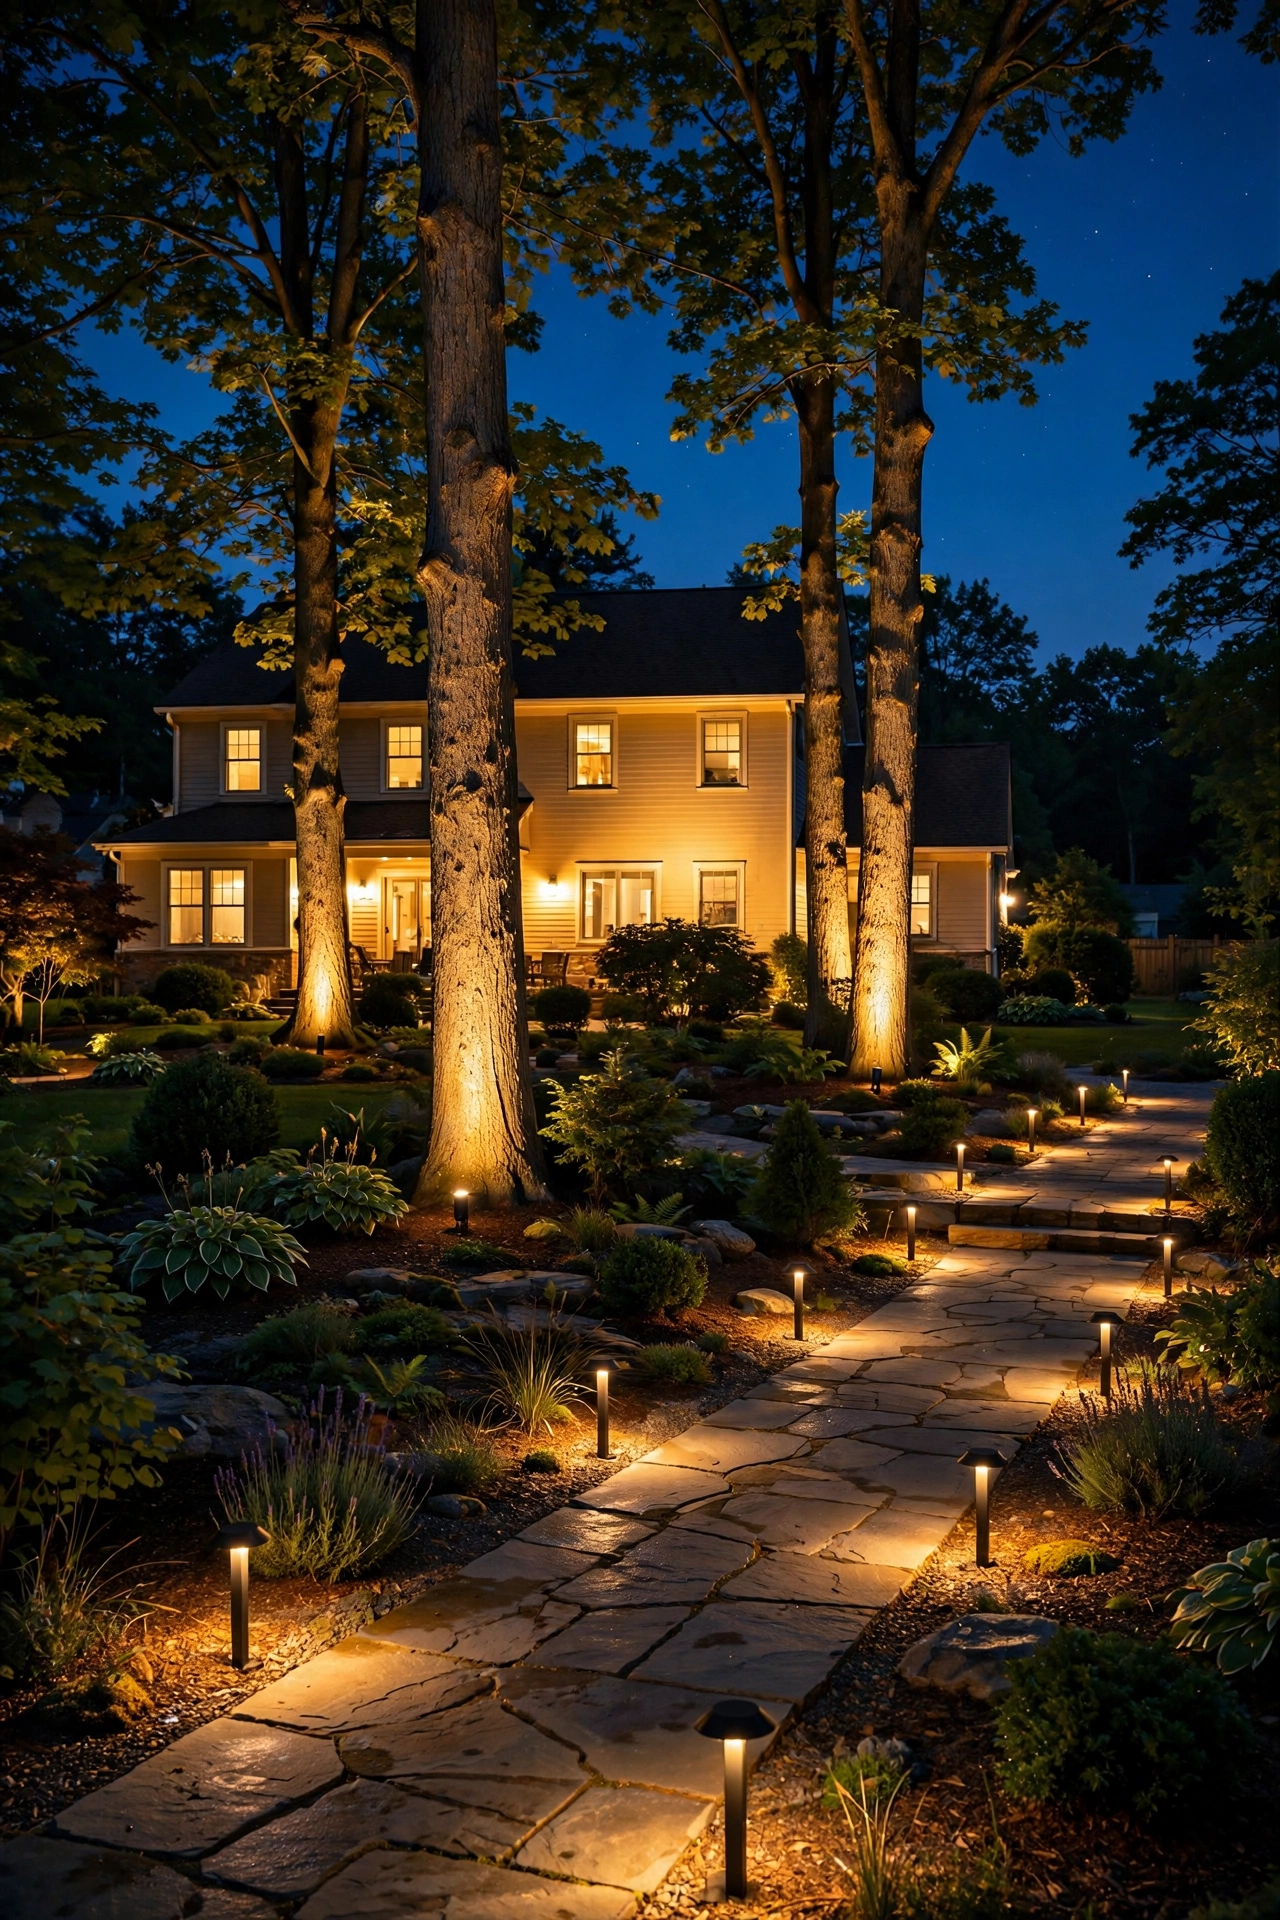
Once I learned this framework, my own yard went from a random collection of solar stakes to something that genuinely stops people on the sidewalk. The difference is that magical layered glow: soft pools of light guiding you up the path, a dramatic oak tree lit from below, the house itself wrapped in a warm, even wash. Each zone does one thing beautifully, and together they feel effortless.
In this guide, I'll show you exactly how the pros do it: what the three landscape lighting zones are (path, accent, and wash), which fixtures belong in each, the real spacing and brightness rules, how to wire and control them separately, and what it all costs in 2026. By the end, you'll be able to sketch your own zone plan on a napkin — and know it will work.
The Short Answer
Pros divide outdoor lighting into three zones: path lighting guides footsteps safely along walkways with low, evenly spaced fixtures; accent lighting draws the eye to focal points like trees and architecture with dramatic uplighting; and wash lighting floods wide areas — walls, hedges, fences — with soft, even light for backdrop. Each zone gets its own fixtures, brightness level, and ideally its own timer circuit, so the layers blend into one cohesive, inviting nighttime scene instead of a jumble of bright spots.
What Are Landscape Lighting Zones, Exactly?
Think of your yard at night like a stage. A stage has footlights, spotlights, and backdrop washes — each doing something different, all working together. Your landscape works the same way. A "zone" is simply an area of your property where light has one clear purpose, and you design around that purpose instead of scattering fixtures wherever there's an outlet.
Landscape lighting zones are the planning language professionals use to stop guessing. When you define zones, every decision gets easier: brightness, spacing, fixture style, even your budget. You're not asking "where should I put lights?" anymore. You're asking "what does the path zone need here?" — a question with an actual answer.
Here's why this matters more than most people realize. Light behaves differently depending on its job. Path light should be gentle and downward — you're creating small overlapping pools of visibility, not interrogating the lawn. Accent light should be punchy and directional — you're sculpting a tree trunk or a stone pillar with shadows, and shadows need contrast to exist. Wash light should be broad and forgiving — you're erasing the darkness across a whole wall so the house doesn't look like a floating face.
In my experience, the biggest mistake homeowners make is buying one type of fixture in bulk — say, twelve identical solar stakes — and dotting them around everywhere. That's not three zones; that's one zone repeated twelve times, and it reads as flat and forgettable. Three zones, each with the right fixture for its job, is what creates that deep, layered, expensive-looking glow. The good news? You don't need a degree in lighting design. You just need to learn the three zones and respect what each one wants.
The Path Zone: Your Guiding Layer
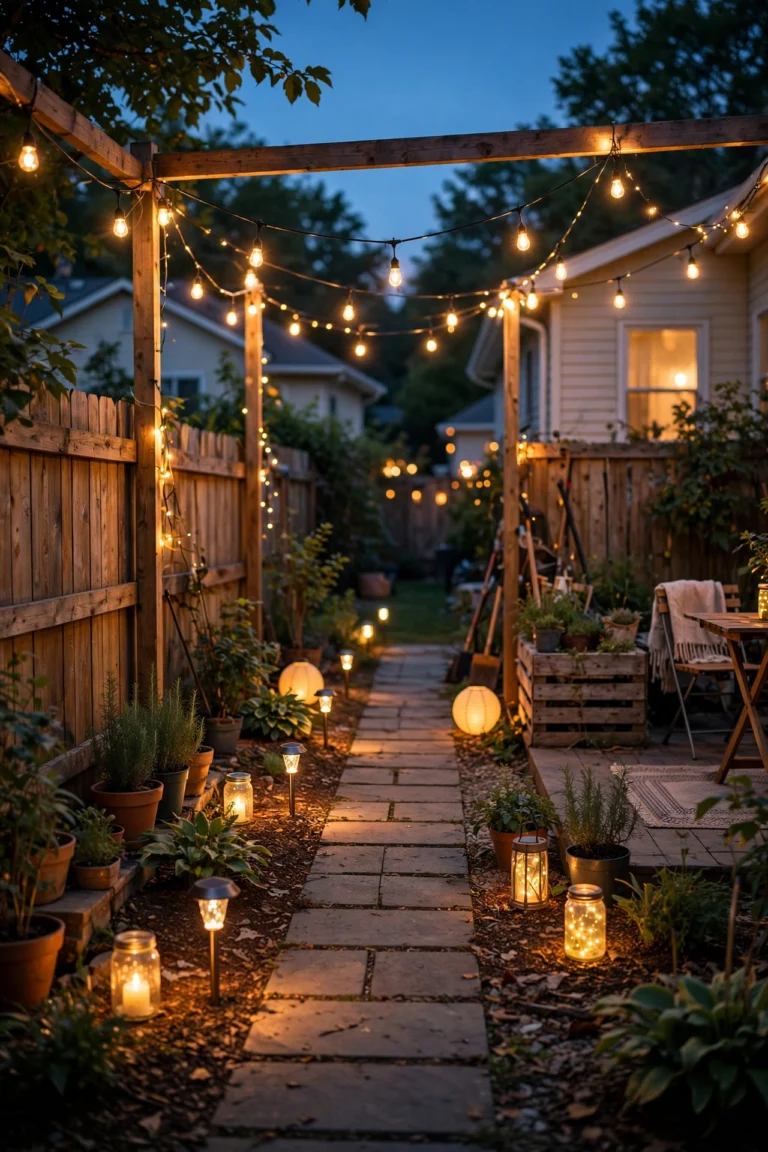
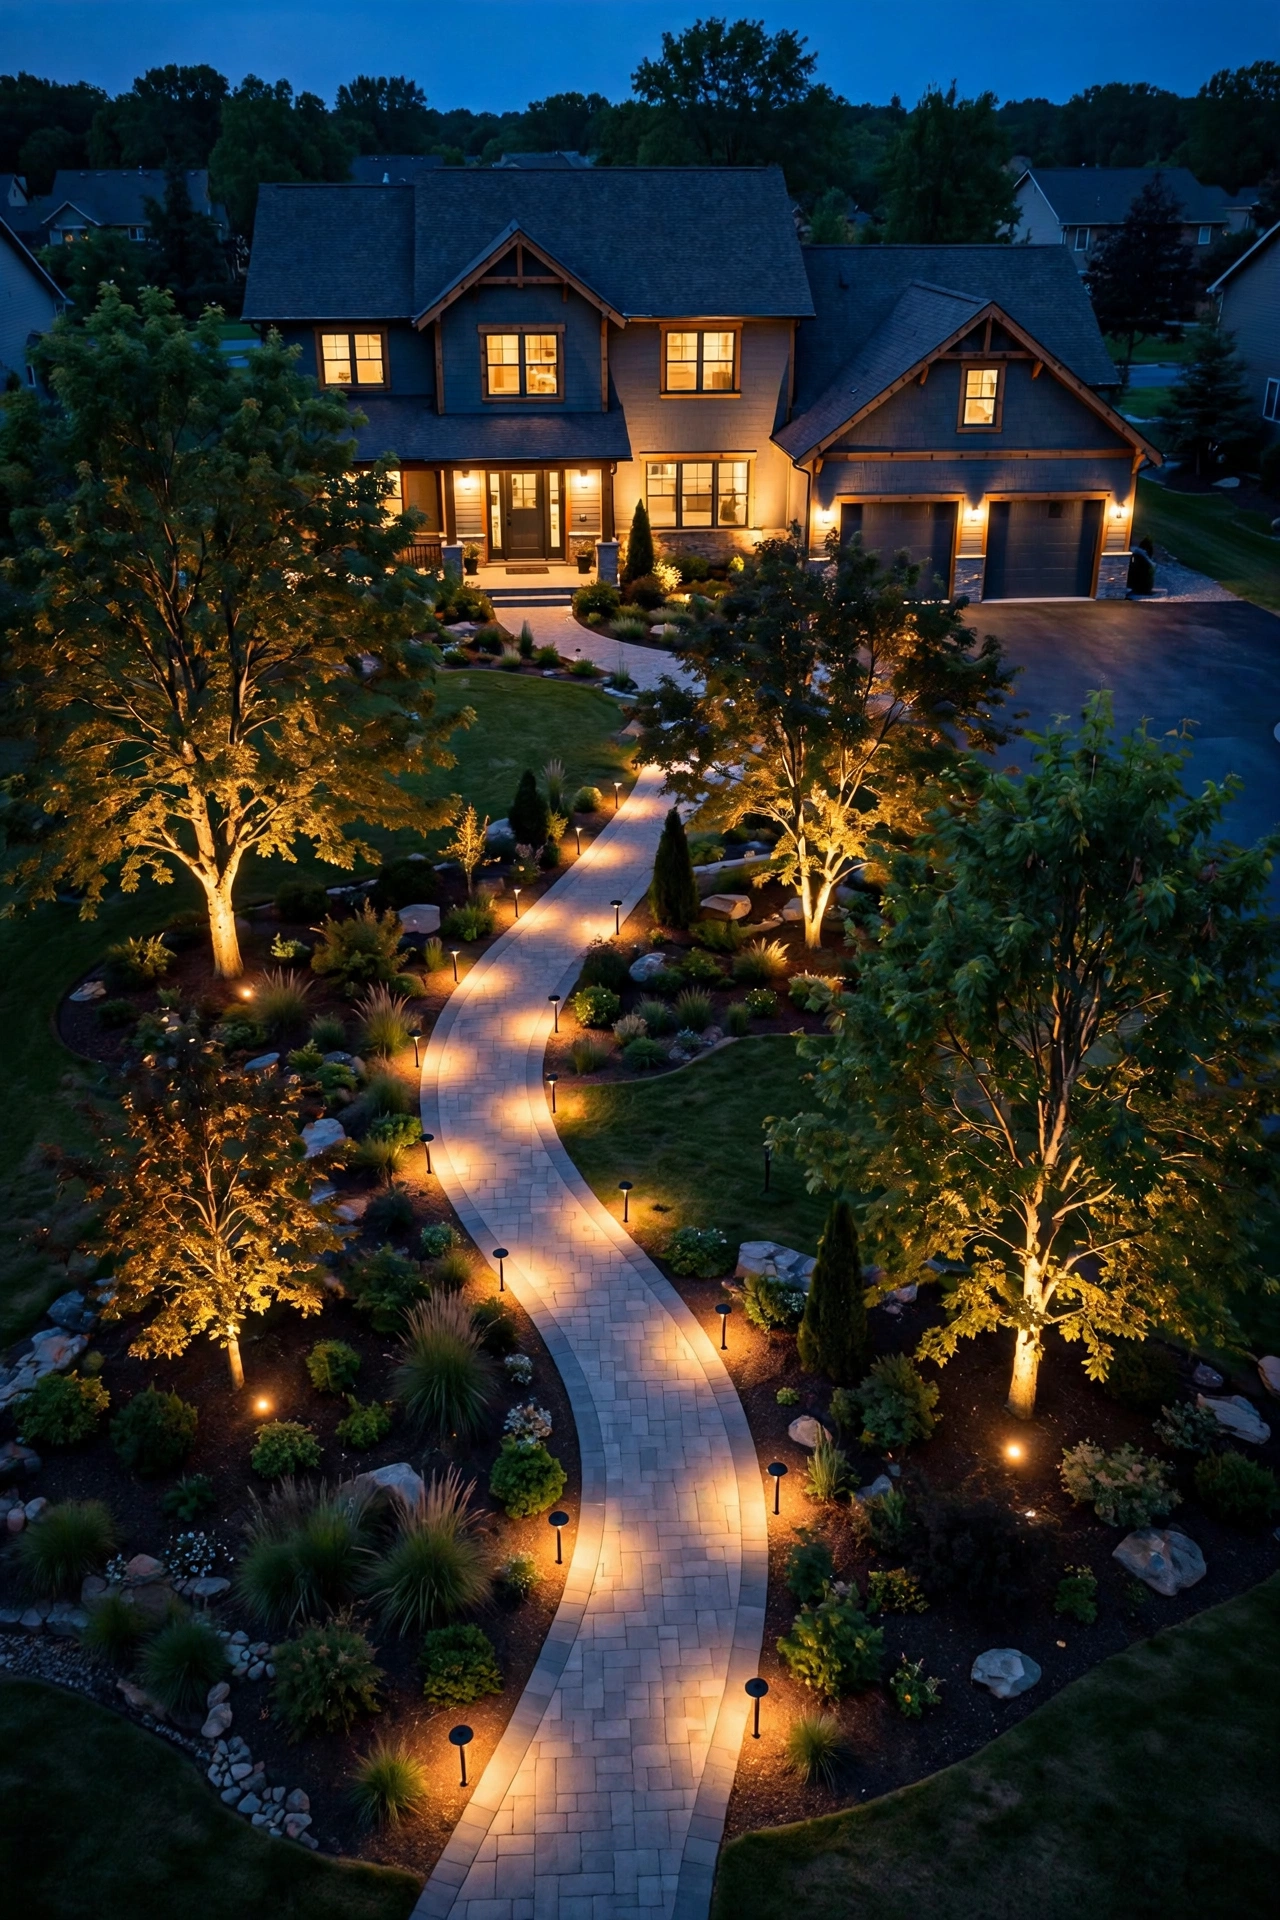
The path zone is the foundation of the whole plan. Its job is purely practical with a whisper of charm: guide feet safely from the street to the front door, around the patio, and down the side yard — without turning your walkway into a runway.
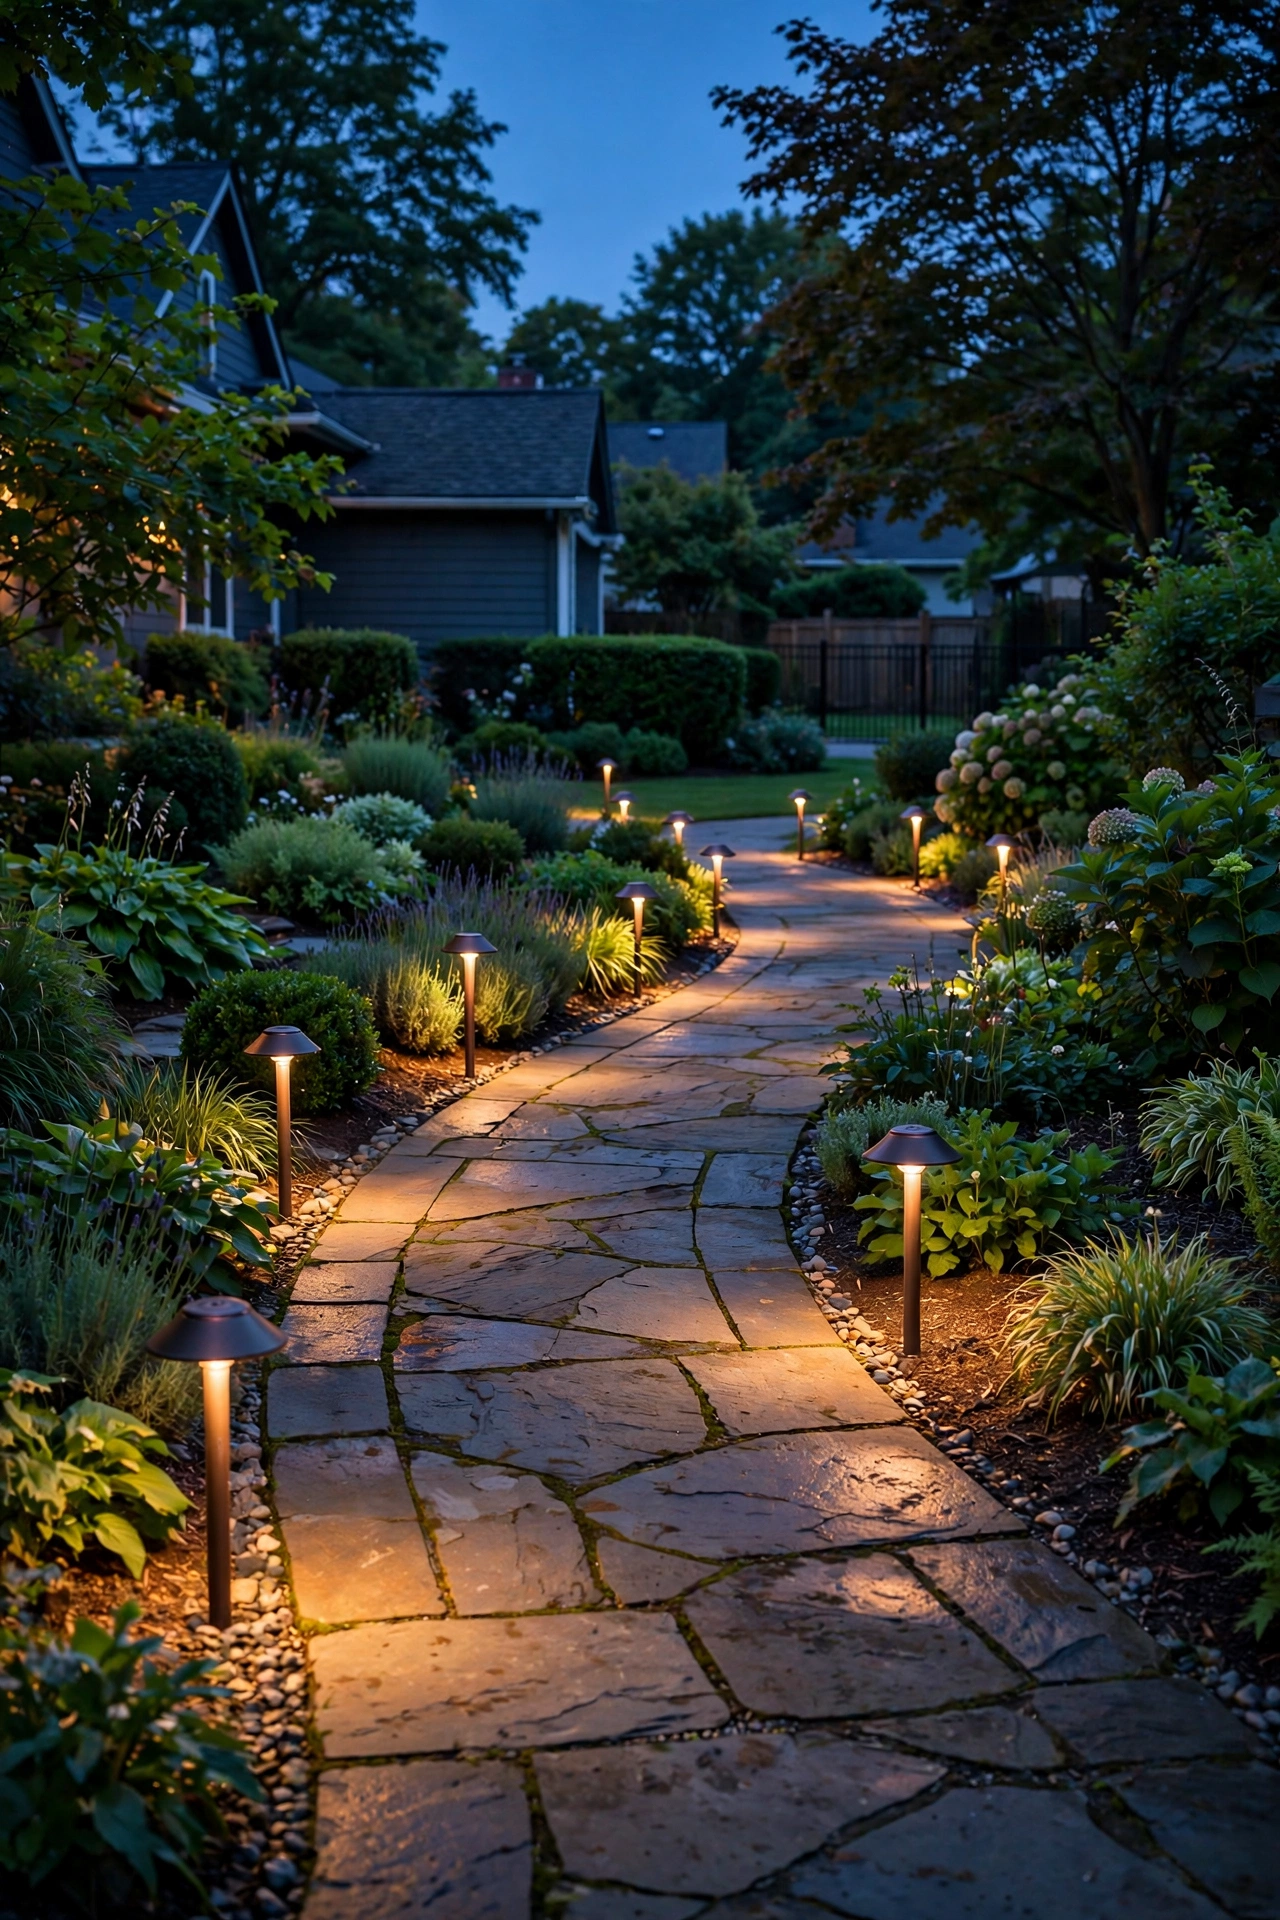
What belongs here: short bollard or hat-style path lights, low-profile fixtures that throw light downward in a soft circle. Step lights and deck post-cap lights count as path zone too — anything whose job is "show me where to walk." If you want a deeper dive on fixture styles, I have a full walkthrough in my guide to low-voltage path lights.
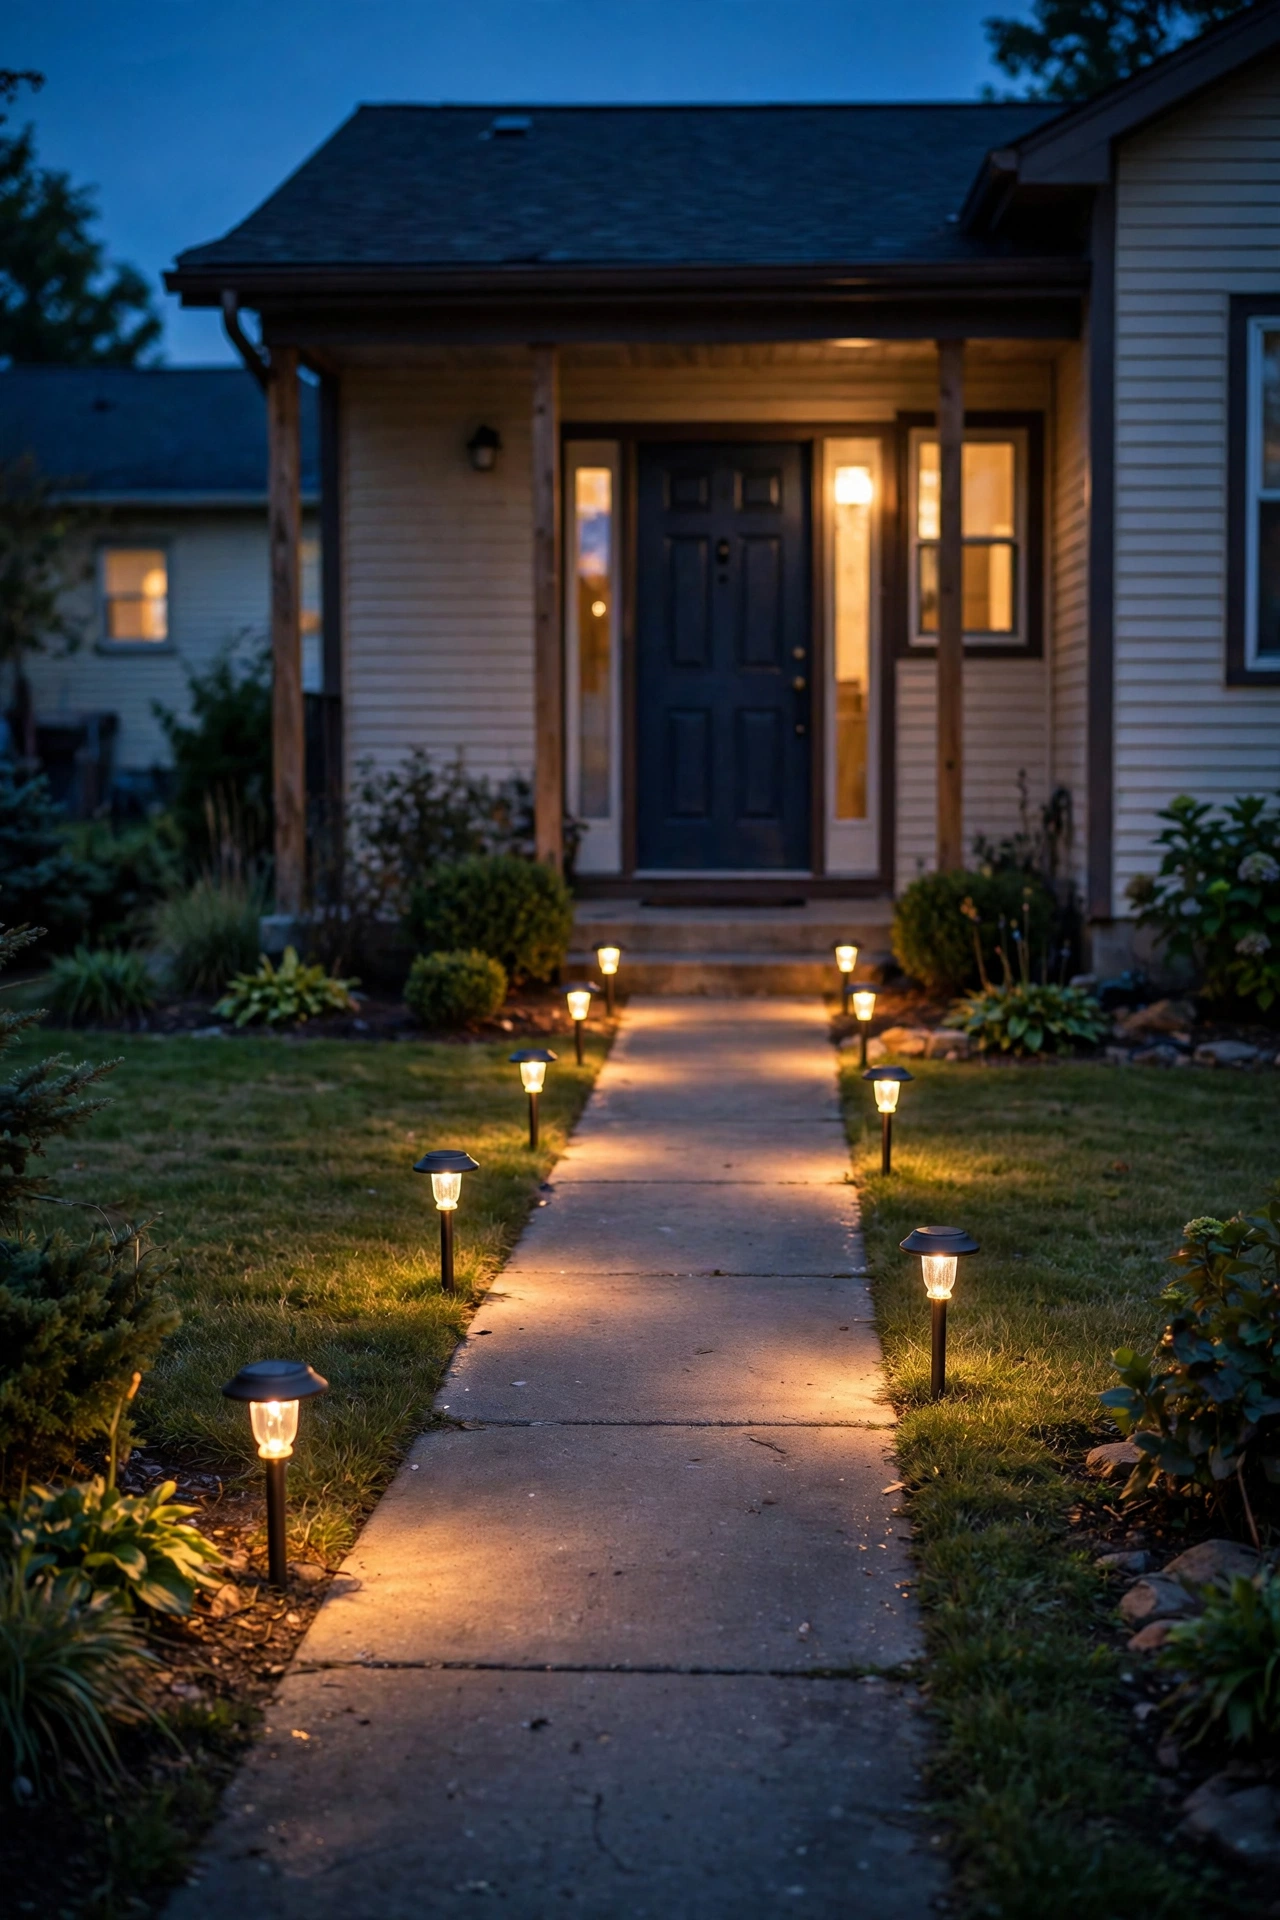
The placement rules: space fixtures 6 to 8 feet apart, and — this is the part most people get wrong — stagger them on alternating sides of the walkway. A straight military row on both sides looks like an airport taxiway; alternating sides creates a natural zigzag rhythm that feels organic. Keep the light pools overlapping just slightly so there are no dark gaps where a step or edge could hide.
Brightness and height: path fixtures should sit 14 to 24 inches tall, with bulbs around 60 to 100 lumens. Honestly? Go dimmer than you think. Your eyes adjust to darkness in minutes, and an overly bright path zone makes everything beyond it look pitch black by contrast. Warm white, 2700K to 3000K, always — cool white on a garden path feels like a parking lot.
Where people mess this up: lighting only the front walk. Your path zone should cover the route from the driveway to the front door, any steps (light every change in elevation — that's a safety issue, not a style choice), the side path to the backyard, and the patio perimeter. Walk your property at night with a flashlight before you plan anything; your feet will tell you where the zone needs to go.
The Accent Zone: Where the Drama Lives
If the path zone is the friendly guide, the accent zone is the show-off — and I mean that in the best way. This is the layer that makes guests say "wow." Accent lighting is a focused, directional beam aimed at one specific thing: a beautiful tree, a stone column, a fountain, a piece of sculpture, the peak of your gable.
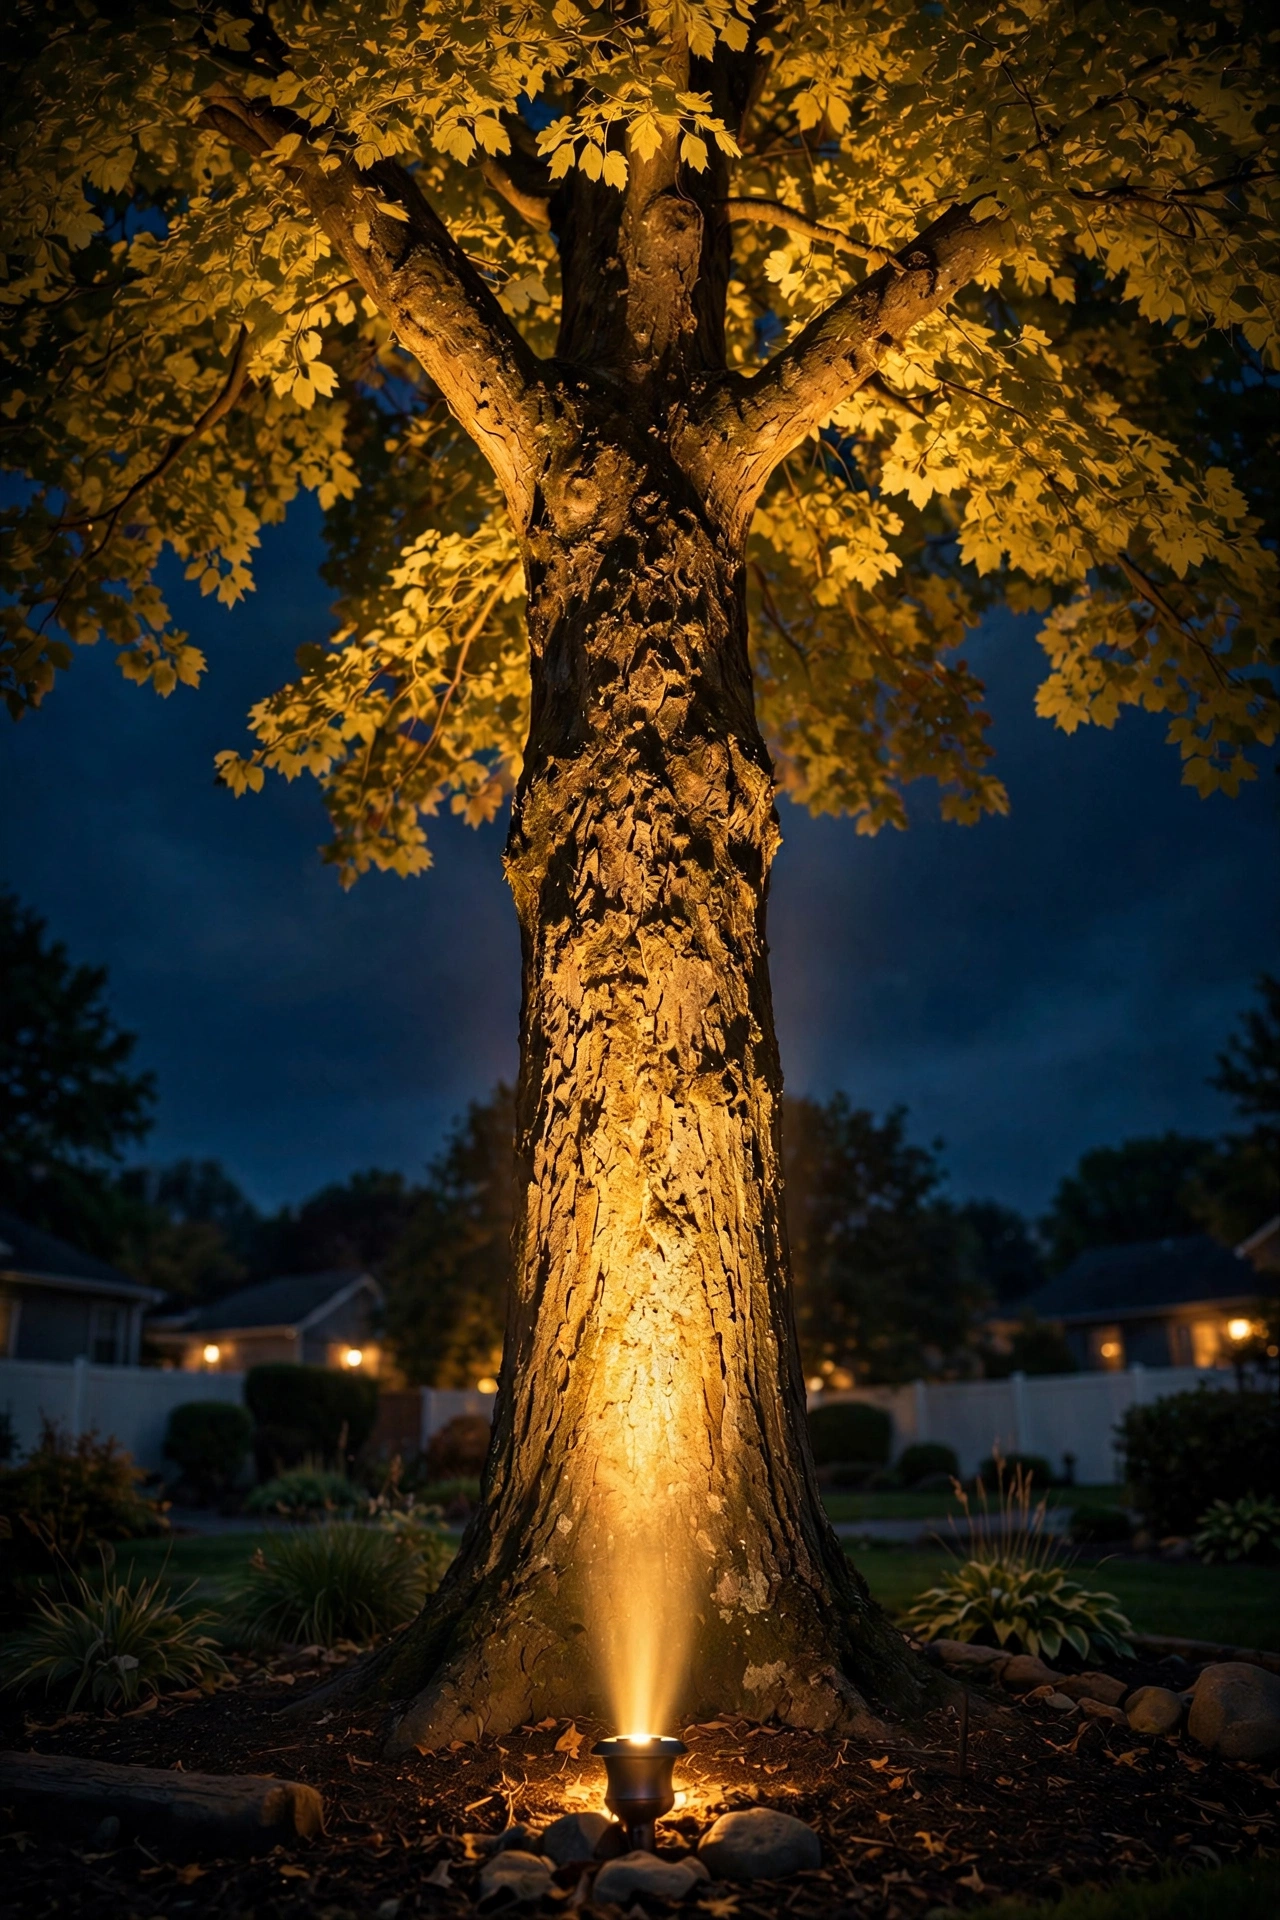
What belongs here: uplights (also called bullet lights) staked into the ground and aimed upward, and in-ground well lights that sit flush with the soil and beam straight up. My tree uplighting guide goes deep on technique if trees are your main feature.
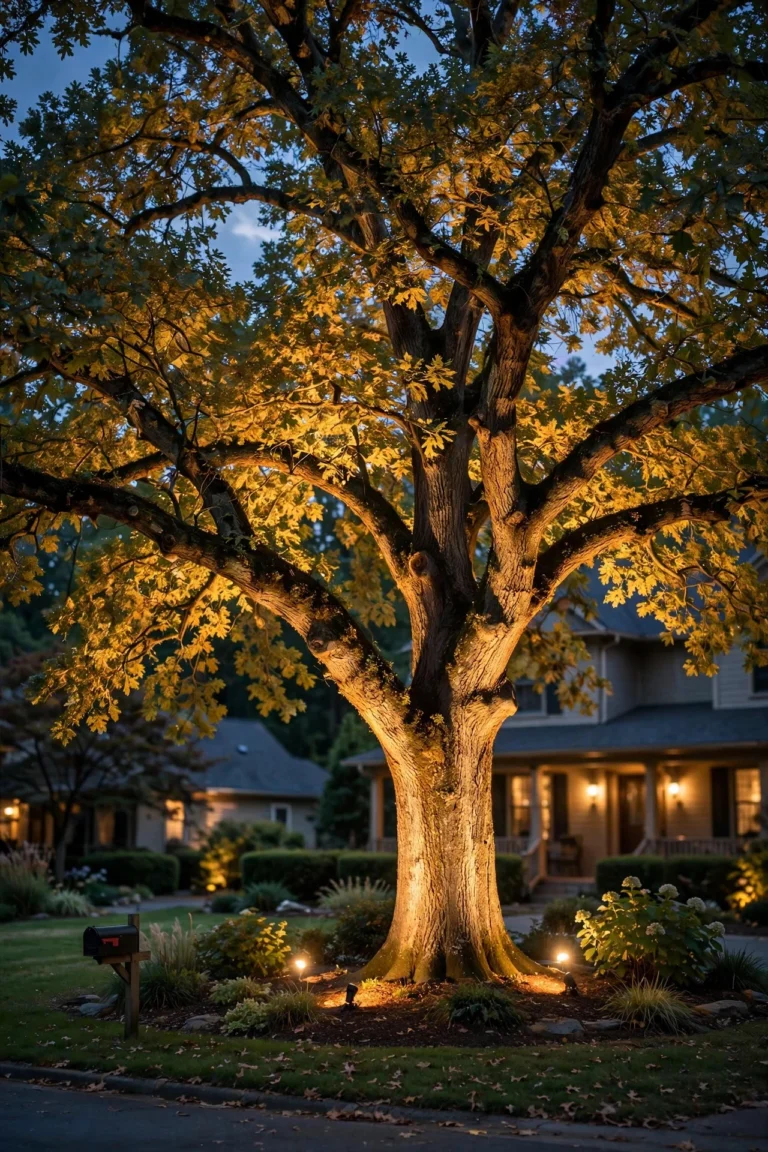
The technique that matters most: position the fixture close to the base of your target — typically 2 to 3 feet away for trees, closer for shorter features — and aim up at a slight angle so the light grazes the surface. "Grazing" is the magic word in accent lighting: when light rakes across bark, stone, or brick at an angle, every texture pops. A maple's bark at night, grazed by a warm uplight, looks like carved sculpture. Aimed straight up from directly underneath, the same tree looks flat.
Brightness and beam control: accent fixtures typically run 150 to 300 lumens — noticeably brighter than path lights, because drama requires contrast. Most quality uplights have adjustable heads or interchangeable lenses so you can narrow the beam for a tall column or widen it for a spreading oak. Rule of thumb I always recommend: use one fixture for features under 8 feet tall, two for medium trees (cross-lighting from two angles kills harsh shadows), and three for anything over 25 feet.
What to accent and what to skip: choose one or two hero features per view — the big tree, the front gable, the water feature. Accenting everything is the same as accenting nothing. And here's my honest take: skip the small stuff. A two-foot ornamental grass doesn't need a dedicated uplight; it will catch glow from the path zone just fine.
The Wash Zone: The Warm Backdrop
The wash zone is the layer nobody names but everybody feels. It's the broad, even light spread across wide surfaces — the front of your house, a long hedge row, a retaining wall, a fence line. While accent lighting creates drama and path lighting creates guidance, wash lighting creates *presence*. It's what makes the house itself look alive at night instead of like a dark shape behind lit trees.
What belongs here: flood lights with wide beam spreads (90 to 120 degrees), and dedicated wall-wash fixtures that project a smooth, even sheet of light. Wall-mounted sconces count too — they wash the wall behind and below them. For wide-area guidance, flood light placement has its own set of rules worth reading.
The technique: mount wash fixtures 2 to 3 feet out from the surface, spaced 8 to 12 feet apart, and aim them so the beams overlap by about a third. That overlap is what eliminates the scalloped "hot spot" pattern — you know, those obvious bright circles with dark gaps between them that scream "cheap floodlights." For textured surfaces like brick or stone, mount closer and aim at a shallow angle to create grazing that shows off the texture.
Brightness: wash fixtures run brighter than the other zones — typically 500 to 1,500 lumens per fixture — because they're covering big areas. But total brightness per square foot stays low; you're going for moonlight-soft, not stadium. And keep the color temperature consistent with the rest of the system at 2700K to 3000K. One mismatched 5000K flood blasting the garage will wreck the whole layered effect faster than anything else.
The underused hero: washing a hedge row or a long fence. A dark backyard boundary makes a yard feel small at night; a softly washed hedge or fence pushes the perceived edge outward and makes the whole property feel twice as big. It's one of the cheapest high-impact moves in landscape lighting.

How the Three Zones Overlap and Layer
Here's where the professional plan comes together — and where DIY plans usually fall apart. The three zones aren't three separate lighting systems. They're three layers of one composition, and they need to overlap, relate to each other, and share a consistent color and intensity language.
Overlap is intentional. Your accent uplights will spill some light onto the nearby path zone — that's fine, even beautiful. Your wash on the house facade will bleed gently onto the foundation plantings below. The goal is no hard edges: light should fade from one zone into the next, not stop at an invisible line. When I plan, I sketch the zones as overlapping circles on paper, not fenced-off territories.
Hierarchy keeps it readable. The eye needs a pecking order. In my experience, the most successful plans follow a 3:2:1-ish ratio of visual weight: the wash zone carries the broad ambient glow (the quiet base), the accent zone provides the bright focal moments (the exclamation points), and the path zone sits softly between them (the connective tissue). If every zone screams at the same volume, the eye doesn't know where to land.
Color temperature is the glue. Run everything — path, accent, wash — at the same warm white, 2700K to 3000K. Mixed color temperatures are the single fastest way to make a layered plan look accidental. The one exception is moonlighting (lights mounted high in trees shining down), which sometimes works at a slightly cooler temperature to mimic real moonlight — but that's an advanced move for later.
Walk the view from the street. The final check is always the same: stand at the curb, or wherever people actually look at your house from, and see the composition as one picture. You should see the path drawing you in, the accents pulling your eye to the heroes, and the wash wrapping the whole thing in warmth. If any single fixture draws your attention to itself — if you notice the light instead of what it's lighting — that zone needs toning down.
Placement Rules and Measurements for Each Landscape Lighting Zone
Every zone has numbers, and the pros lean on them. These aren't arbitrary — they're derived from how far light actually travels and how the human eye reads brightness at night. Print this section, honestly.
Path zone: fixtures 6 to 8 feet apart, staggered side to side, with each fixture's light pool overlapping the next by a foot or two. Light every elevation change — steps get a fixture or a step light at each landing. Height 14 to 24 inches, 60 to 100 lumens, warm 2700K–3000K.
Accent zone: fixture 2 to 3 feet from the base of the target, aimed up at a 15 to 30-degree tilt so the beam grazes the surface. Small features (under 8 feet): one fixture. Medium trees: two fixtures, 60 to 90 degrees apart. Large trees (25 feet+): three fixtures spaced around the trunk. 150 to 300 lumens each.
Wash zone: fixtures 2 to 3 feet out from the surface, 8 to 12 feet apart, with beams overlapping about a third. Aim for even coverage with no scalloped hot spots. 500 to 1,500 lumens per fixture depending on the size of the surface.
Here's the whole cheat sheet in one place:
| Zone | Fixture types | Typical brightness | Spacing | Best for |
|---|---|---|---|---|
| Path | Bollard/path lights, step lights, deck post caps | 60–100 lumens | 6–8 ft apart, staggered | Walkways, driveways, steps, patio edges |
| Accent | Bullet uplights, in-ground well lights | 150–300 lumens | 2–3 ft from feature base | Trees, columns, sculptures, gables |
| Wash | Wide floods, wall-wash fixtures, sconces | 500–1,500 lumens | 8–12 ft apart, 2–3 ft from surface | Facades, hedges, fences, retaining walls |
Tape these numbers to your sketch. Seriously — measure with a tape, not your eye. Distances at night are deceiving, and "about here" is how you end up with a dark gap right at the bottom step. In my experience, the one-hour planning session with a tape measure and graph paper saves more money than any coupon ever will, because every fixture you place right the first time is one you don't rebuy or relocate.
Wiring and Transformer Planning by Zone
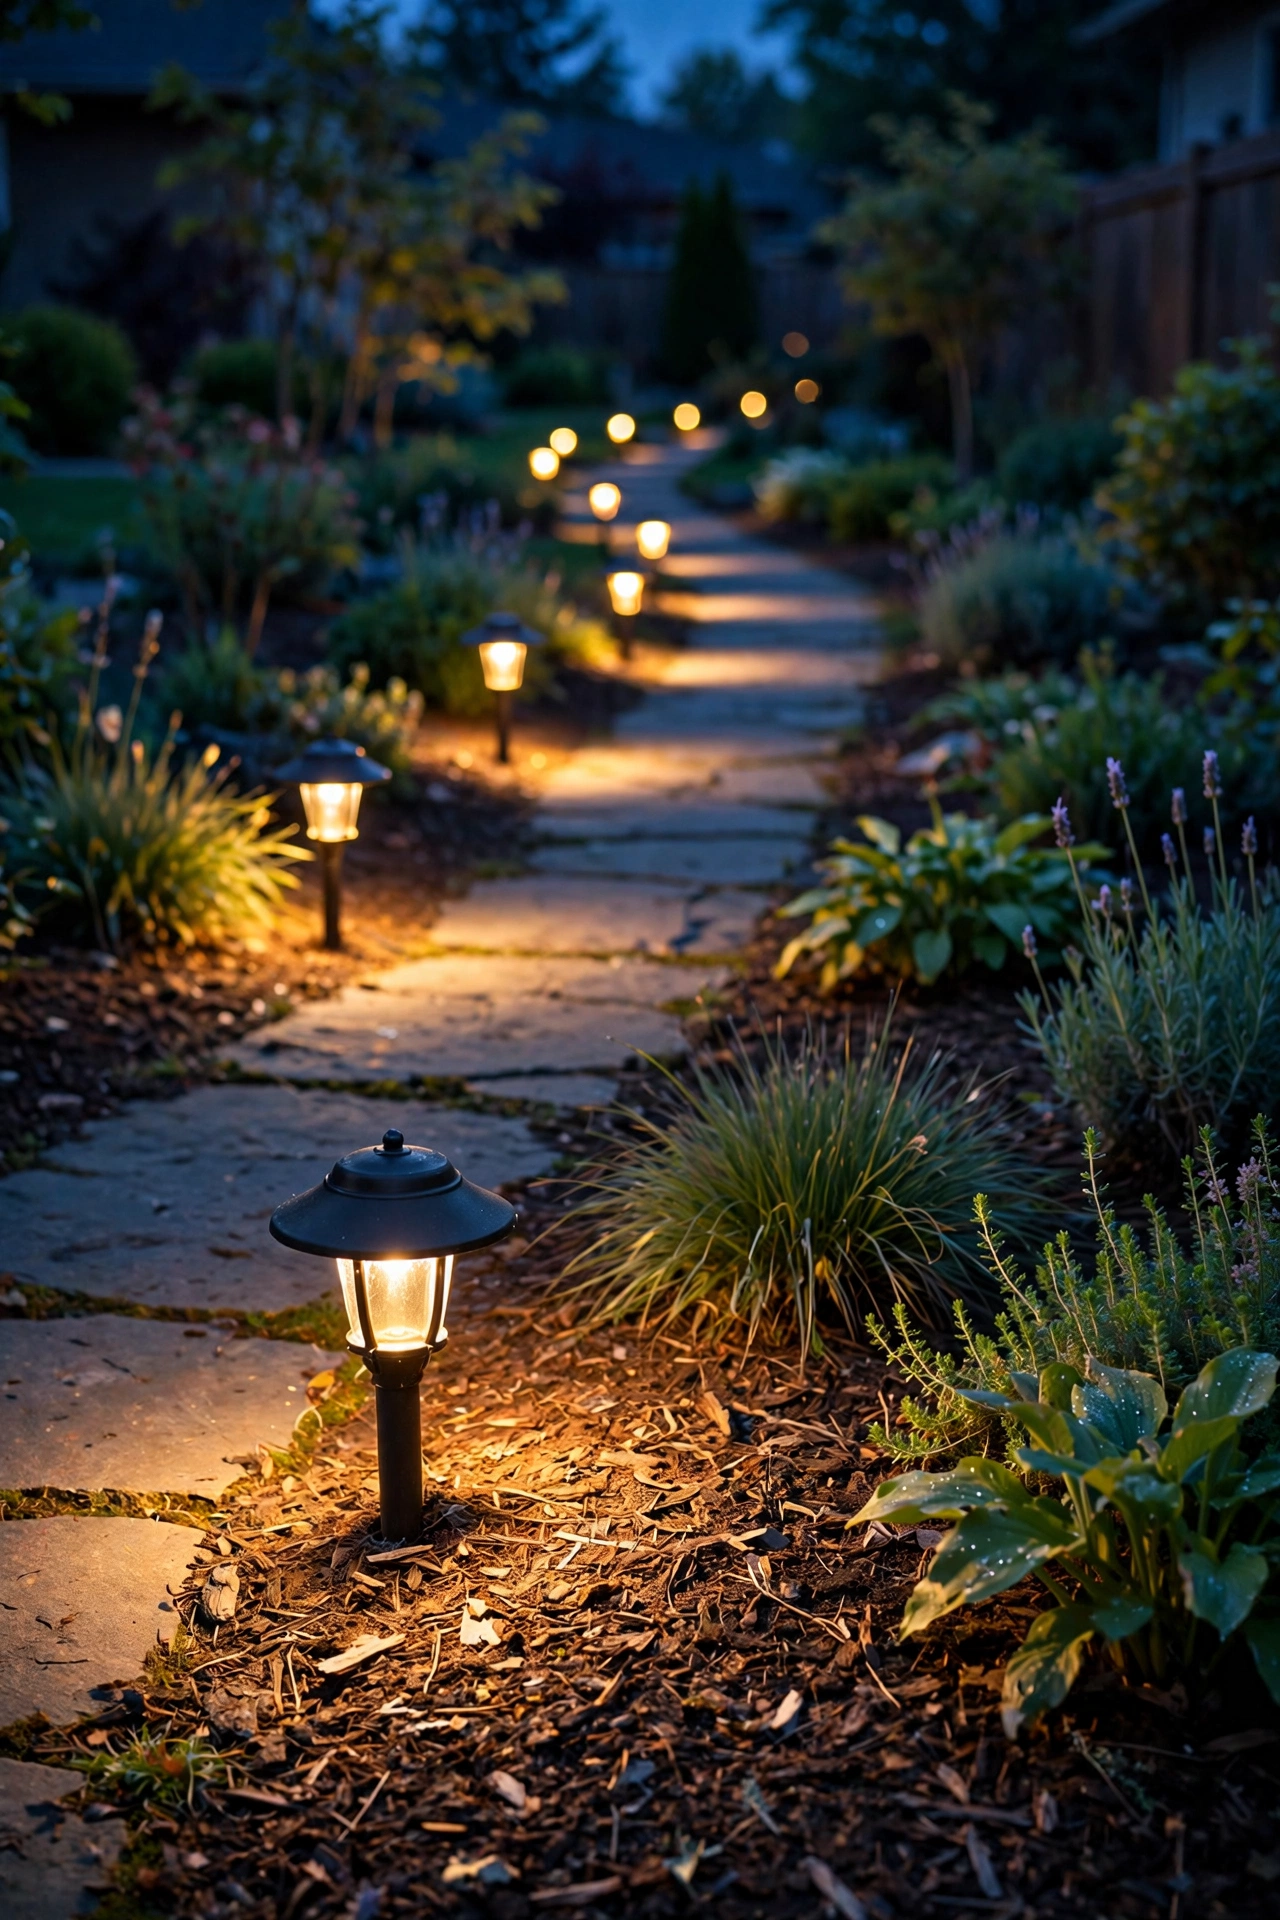
Here's the part that separates a plan that works for ten years from one that flickers out by summer: the wiring. Zones aren't just a design idea — they're how you organize the actual electrical system. And the good news is that nearly all residential landscape lighting runs on safe, DIY-friendly low-voltage (12-volt) cable.
Size the transformer to the zones. Add up the wattage of every fixture in every zone, then choose a transformer rated at least 25 percent above that total. A typical plan — say, 8 path lights at 3 watts, 4 accent uplights at 5 watts, and 2 wash floods at 10 watts — draws 64 watts, so a 100-watt transformer gives you comfortable headroom. Always leave room: you will add fixtures next year. Everyone does.
Wire zones on separate runs. Run one cable line per zone (or per side of the yard) back toward the transformer rather than daisy-chaining everything into one long string. The reason is voltage drop: on a long single run, the last fixtures get noticeably dimmer than the first. Separate runs of 12-gauge low-voltage cable, each under about 100 feet, keep every zone glowing evenly. Bury cable roughly 6 inches deep — and call 811 before you dig, every time, even for a shallow trench.
Put each zone on its own tap or controller. This is the pro move that makes the whole zone concept sing electrically: when each zone is wired as its own circuit, you can dim or schedule them independently. Maybe the path zone runs dusk to dawn for safety, while the accent and wash zones run on an evening timer and shut off at midnight. That kind of independent control is only possible if you planned the zones into the wiring from day one.
The math check before you buy: list every fixture by zone, multiply count by wattage, add them up. If you're over your transformer's rating, you're buying flicker and early burnout. I always recommend sketching the wiring plan right on top of the zone sketch — one drawing, three zones, cable runs in a different color for each.
Controls and Timers Per Zone
Once the zones are wired separately, controlling them separately is where the magic — and the energy savings — really happens. Running all three zones at full blast from dusk to dawn is the amateur move. Pros choreograph the zones across the evening.
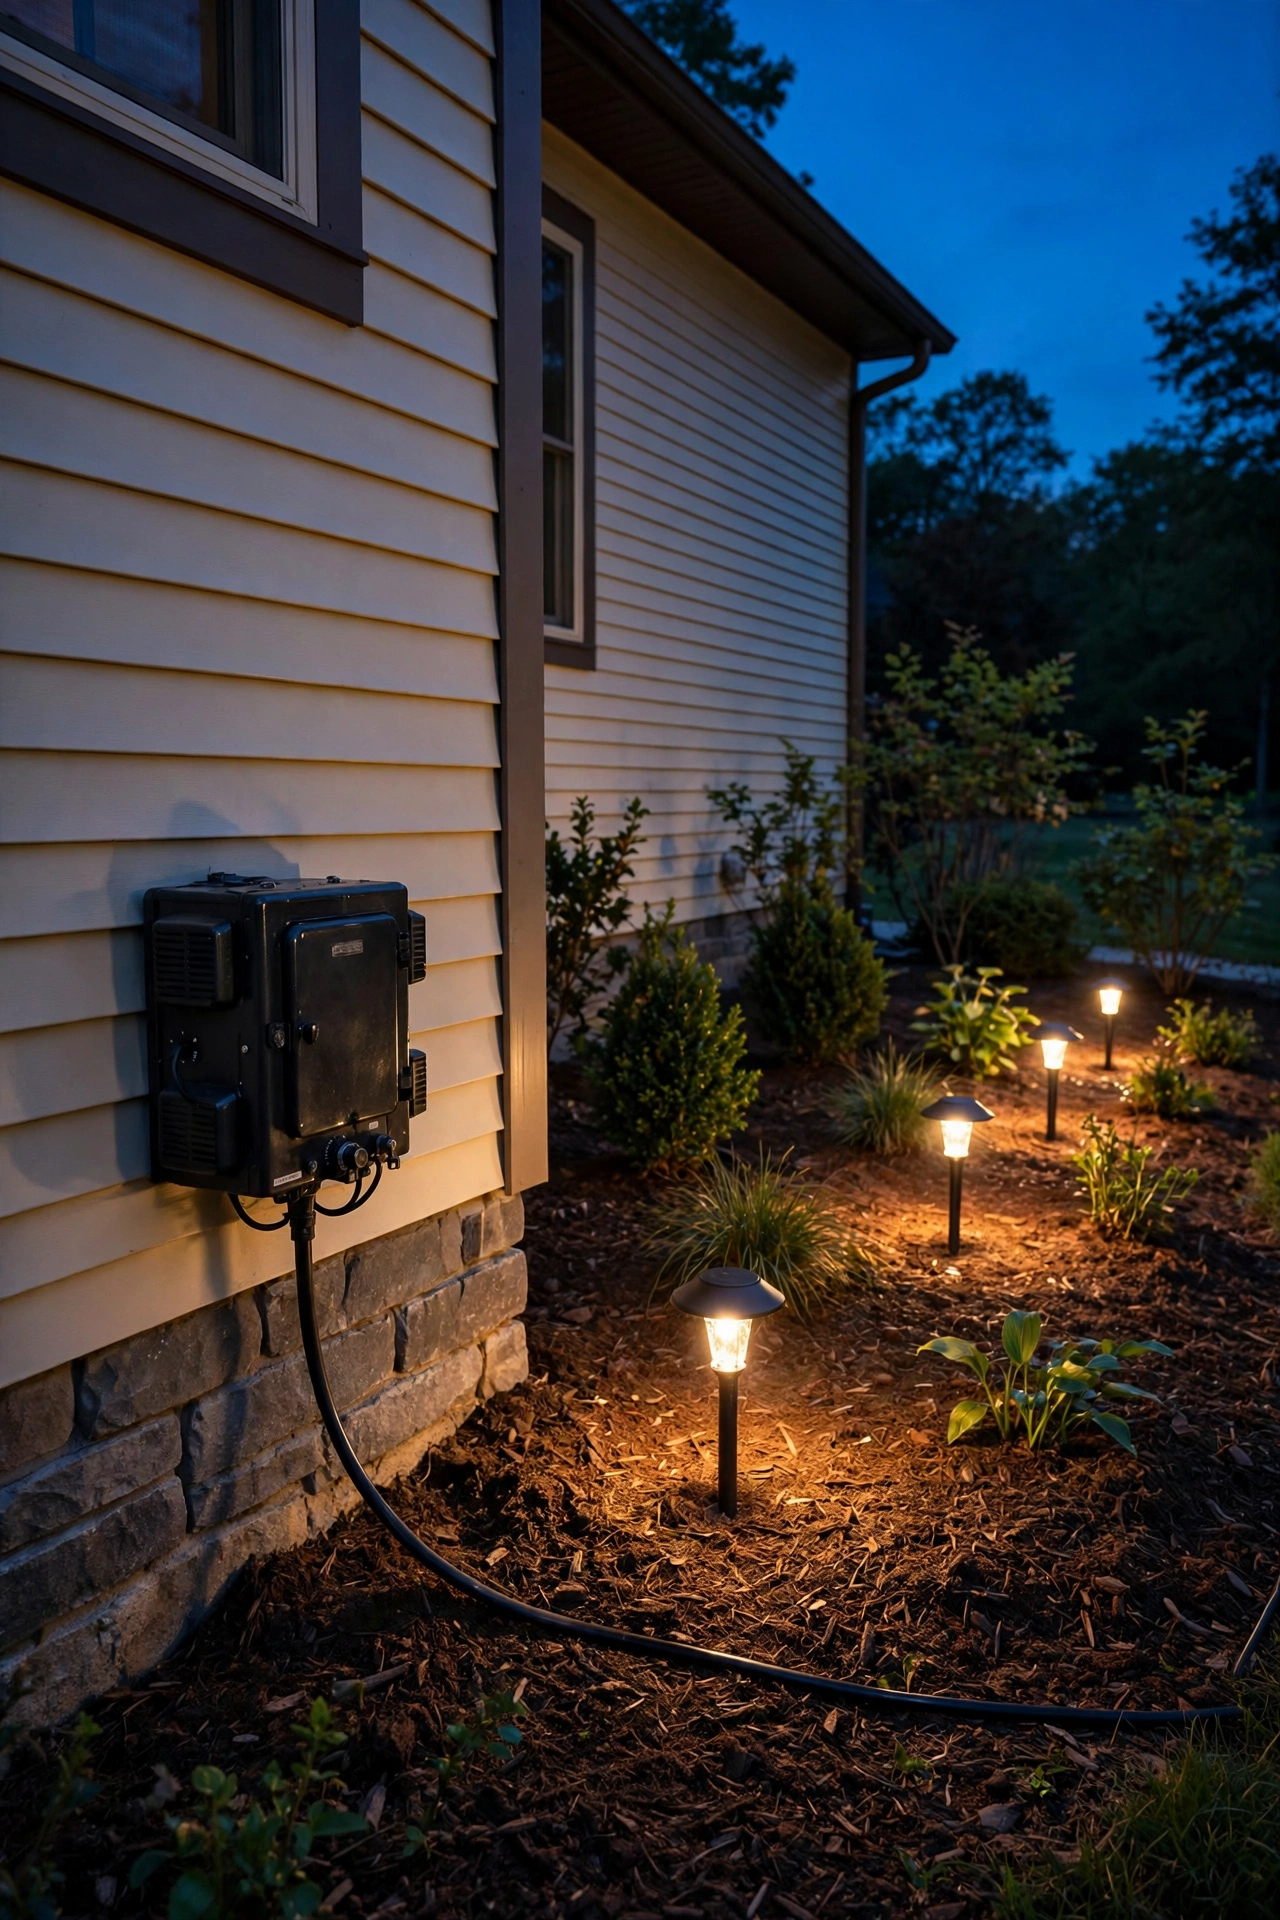
The baseline setup: every zone should run on an astronomic timer or a dusk-to-dawn photocell — never a plain on/off switch you have to remember. An astronomic timer adjusts to sunset automatically through the year, so your lights come on at the right time in June and December without you touching anything.
Zone-by-zone scheduling (what I actually do): the path zone runs dusk to dawn — it's a safety layer, and it sips power. The wash zone runs dusk to about 11 p.m. — it makes the house look gorgeous for the evening, then stands down. The accent zone runs dusk to midnight on a slightly dimmer setting — the trees still look sculpted for anyone coming home late, but you're not burning lumens at 3 a.m. when nobody's looking.
Smart controls make this easy. Most modern low-voltage systems accept Wi-Fi or Bluetooth zone controllers that let you set per-zone schedules and brightness from your phone. I always recommend dimmable fixtures across all three zones — even a 20 percent dim-down on the accent zone after 10 p.m. can halve its energy use with zero visible difference from the street. Motion sensors belong in the path zone only; motion-triggered floods blasting the wash zone every time a cat walks by will have your neighbors writing letters.
One remote, three moods. Think of it as scenes: "evening" (all zones on, full presence), "late night" (path only, safety), "entertaining" (path + accent up a touch, wash dimmed for patio ambiance). That's professional-grade control, and on a modern system it costs about the same as a decent timer setup did five years ago.
What It Costs in 2026
Let me be straight with you: landscape lighting costs scale with how many fixtures you're buying and whether you dig the trenches yourself. Here's the honest range for a typical three-zone plan on an average suburban front yard.
DIY (you do the planning, buying, and trenching): $400 to $1,200 for a starter system. That covers a 150-watt transformer ($80–$150), a spool of 12-gauge cable ($60–$100), and 8 to 12 LED fixtures at $25 to $60 each. Path lights are the cheapest fixture; well lights and good uplights sit at the higher end. This is the budget where zones matter most — spending $800 across three zones beats $800 spent on one zone every time.
Pro-installed: $200 to $500 per fixture installed, all-in. A full three-zone front-and-back plan with 15 to 25 fixtures typically lands between $3,500 and $8,000, depending on your region and trench complexity. Pros cost more because they do the voltage-drop math, bury everything properly, and guarantee the result — which, for a whole-yard layered plan, is worth pricing out at least once.
Running costs (the part people forget to ask about): LEDs make this almost trivially cheap. Take a 12-fixture plan averaging 5 watts per fixture: that's 60 watts. Run 8 hours a night: 480 watt-hours, or 0.48 kWh per day. At the US average of about $0.16 per kWh, that's roughly $0.08 a day — about $28 a year for a gorgeous lit yard. The zone scheduling I described above (wash and accent off after 11) can cut that nearly in half.
Where to spend and where to save: spend on the transformer and cable — undersized electricals are the number one cause of system failure. Save on fixtures by phasing: do the path zone this spring and add accent and wash next season. Zones make phasing natural, because each one is a complete, working layer on its own.
5 Mistakes That Ruin the Effect
I've walked enough yards at night — mine included, in the early days — to recognize these instantly. Every one of them is a zone problem in disguise.
1. One fixture type everywhere. Twelve identical stakes around the whole property is one zone pretending to be three. Path, accent, and wash need different fixtures, different heights, and different brightness. Match the fixture to the zone's job.
2. Brightness arms race. Brighter is not better — it's just brighter. A 500-lumen blast on a walkway makes the accent zone behind it look dim by contrast and destroys the layered effect. Respect the hierarchy: path softest, accent punchiest, wash broad. When in doubt, dim it down.
3. Ignoring the dark gaps. A path light every 15 feet leaves pools of darkness between them — and darkness between bright spots looks worse than no light at all. Overlapping pools, every time. Walk the path at night during planning and mark every shadow that could hide a step.
4. Mixing color temperatures. One leftover 5000K flood from the old security setup will poison an entire warm-white plan. Audit every existing fixture when you zone your yard, and replace or remove anything that isn't 2700K–3000K. Consistency is the whole game.
5. Lighting the neighbor's bedroom. Wash fixtures aimed even slightly wrong spill across property lines and into windows. Aim wash beams downward onto your own surfaces, use shields and louvres where needed, and check from the neighbor's side. Good zone planning is also good neighbor planning.
6. Forgetting the plan exists. People add a fixture here, a string light there, and three years later the zones are mush. Keep your zone sketch. When you add anything new, ask which zone it serves — if it serves none, it doesn't go in.

Safety and Electrical Basics
Landscape lighting is one of the safest electrical projects a homeowner can tackle, but "safe" and "casual" aren't the same thing. These are the non-negotiables.
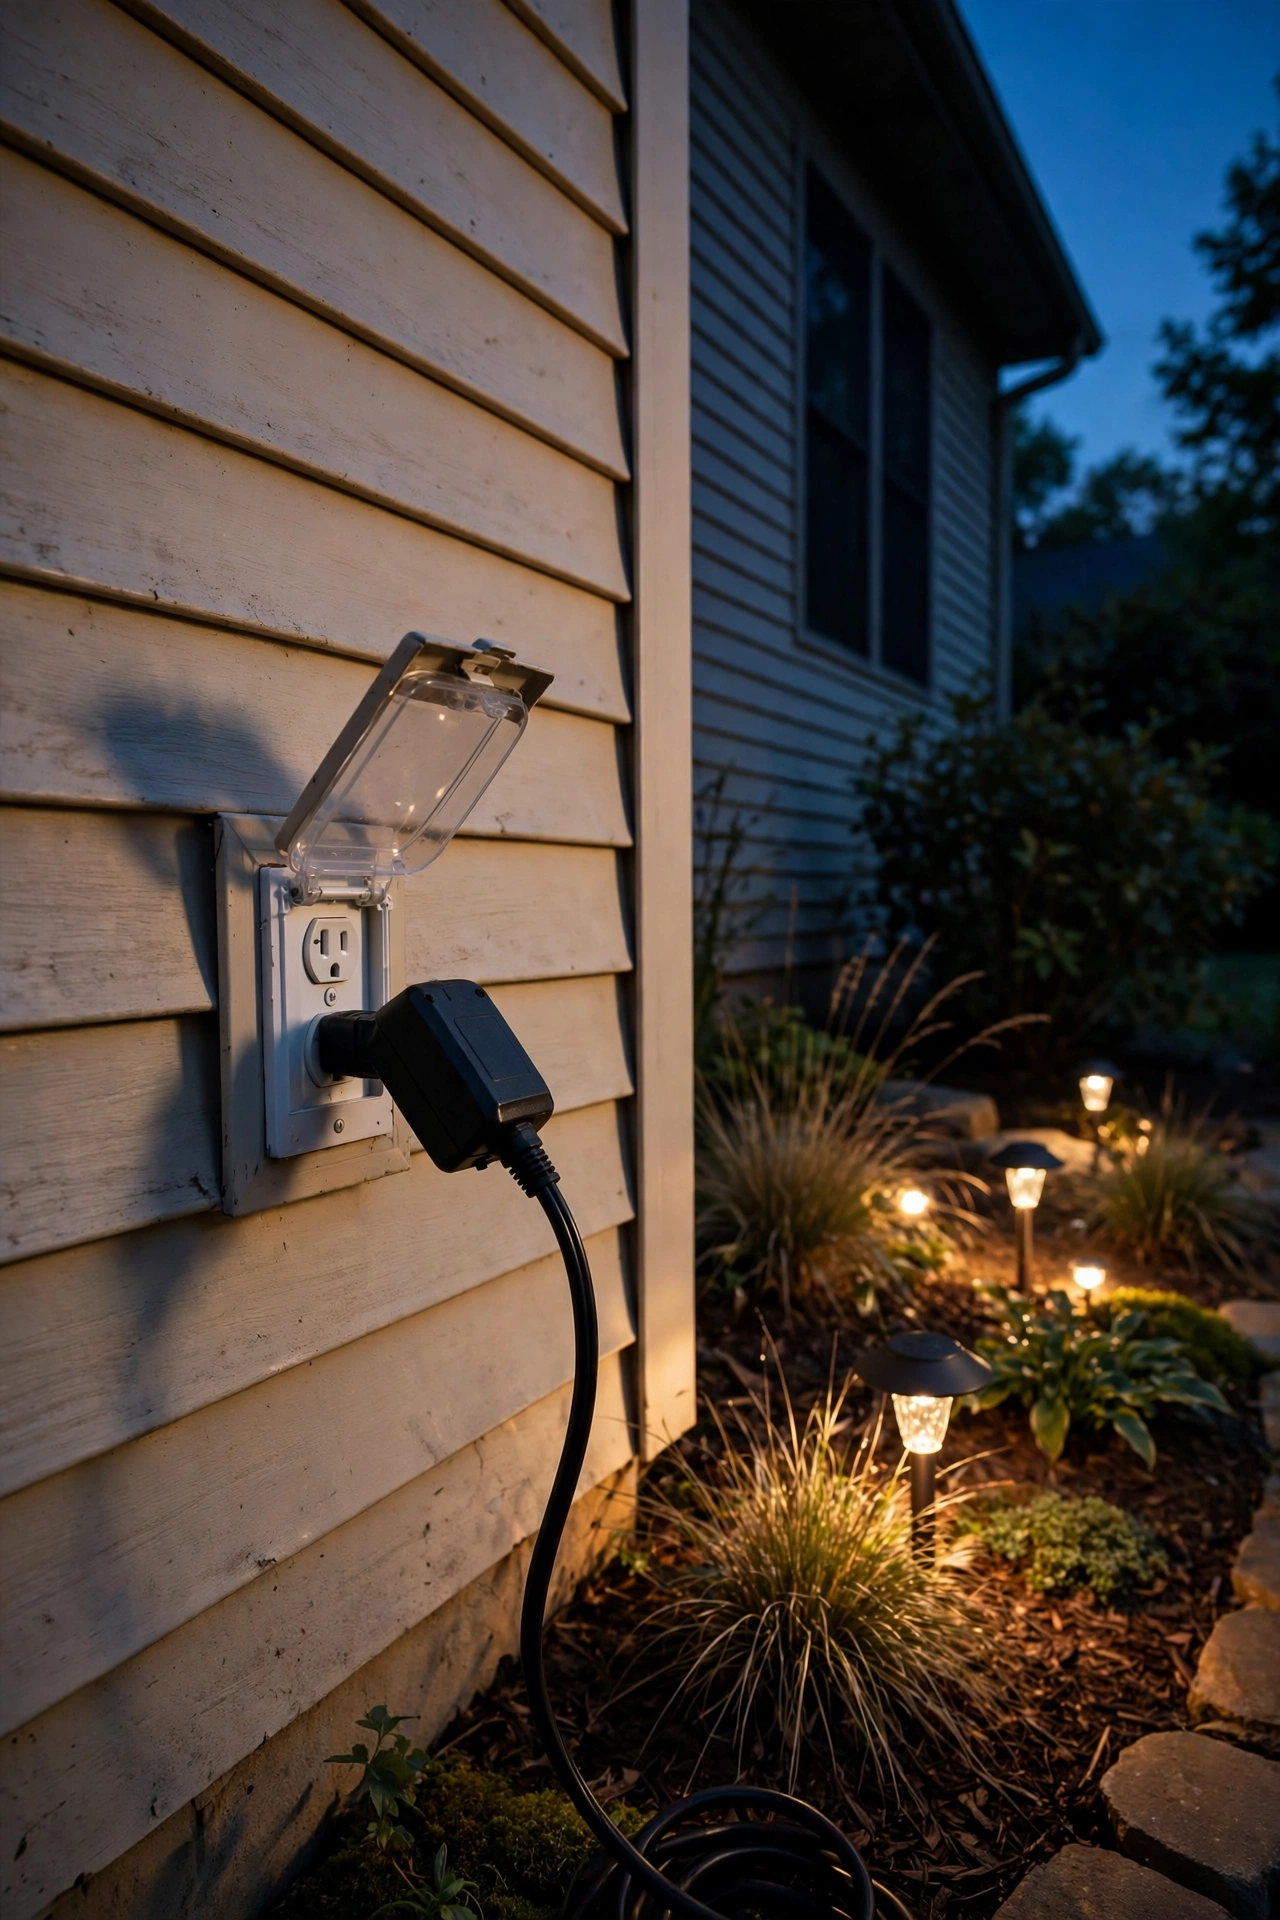
Low voltage doesn't mean no rules. Most systems run at 12 volts, which won't shock you, but the transformer plugs into a 120-volt outlet — and that outlet must be GFCI-protected and weather-rated with an in-use cover. If your nearest outdoor outlet isn't GFCI, fix that before anything else. It's a $15 part and the single most important safety item in the whole project.
Outdoor ratings only, everywhere. Every fixture, cable, connector, and timer in your zones must be rated for outdoor wet locations — look for IP65 or better on fixtures and direct-burial-rated cable. Indoor-rated anything, spliced with wire nuts and buried, is how you get corrosion, shorts, and dead zones by year two. Use waterproof grease-filled connectors for every splice; they're a few dollars and they prevent 90 percent of field failures.
LED only near anything flammable. This is my hard rule: mulch, dry leaves, wooden decks, and planting beds get LED fixtures only. LEDs run cool; old halogen landscape bulbs ran hot enough to scorch mulch. If you're inheriting an older system, swap any remaining halogen or incandescent bulbs for LED retrofits before you do anything else — you'll cut wattage by 75 percent and remove the fire risk in one move.
Dig safely, bury properly. Cable goes about 6 inches deep in a shallow trench, and you call 811 (the national "call before you dig" line) before breaking ground — yes, even for 6 inches, because gas and cable lines don't always sit where you expect. Keep fixtures clear of sprinkler heads, and give uplights in planting beds a little mulch-free ring so debris doesn't pile against the lens.
When to call a pro: if you need a new outdoor outlet installed, if any part of your plan touches 120-volt wiring, or if your transformer location is far from power and requires new circuitry — that's electrician territory. The 12-volt zone wiring is yours; the 120-volt supply is theirs.
Seasonal and Maintenance Tips for Your Zones
A zoned system is easier to maintain than a random collection of lights, because each zone has a checklist. Twice a year — once in early spring, once in fall — walk your zones and spend twenty minutes on this.
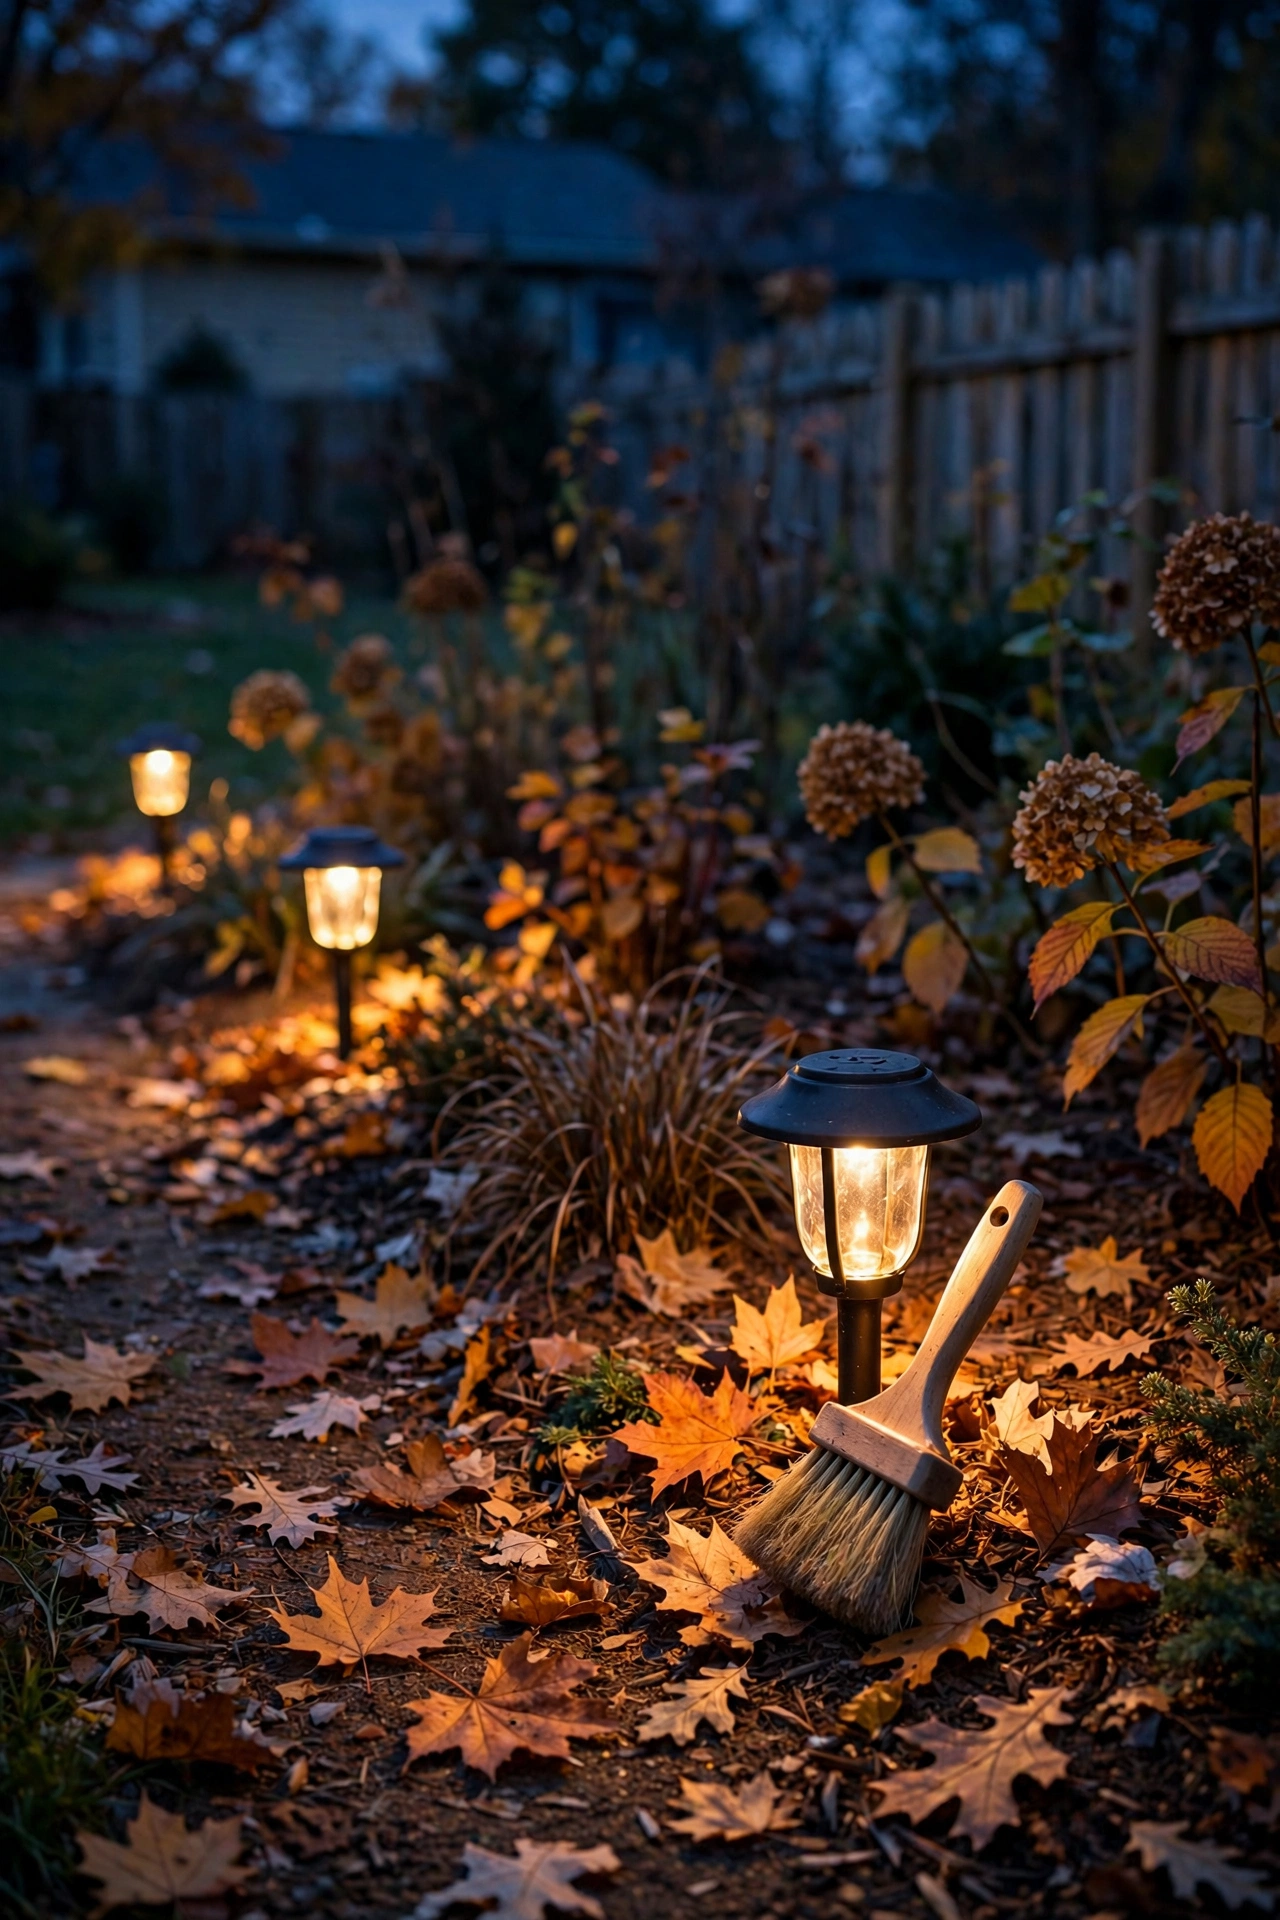
Spring check: clear winter debris from every fixture lens (dirty lenses can cut output by half — I measured it once, I was shocked). Re-aim any accent uplights that frost heave or mowing bumped off target. Check that path-zone fixtures are still upright and evenly spaced after the snow melt. Trim any plant growth that's crept over path lights or into wash beams — a hedge that grew 8 inches over summer can swallow a wall wash whole.
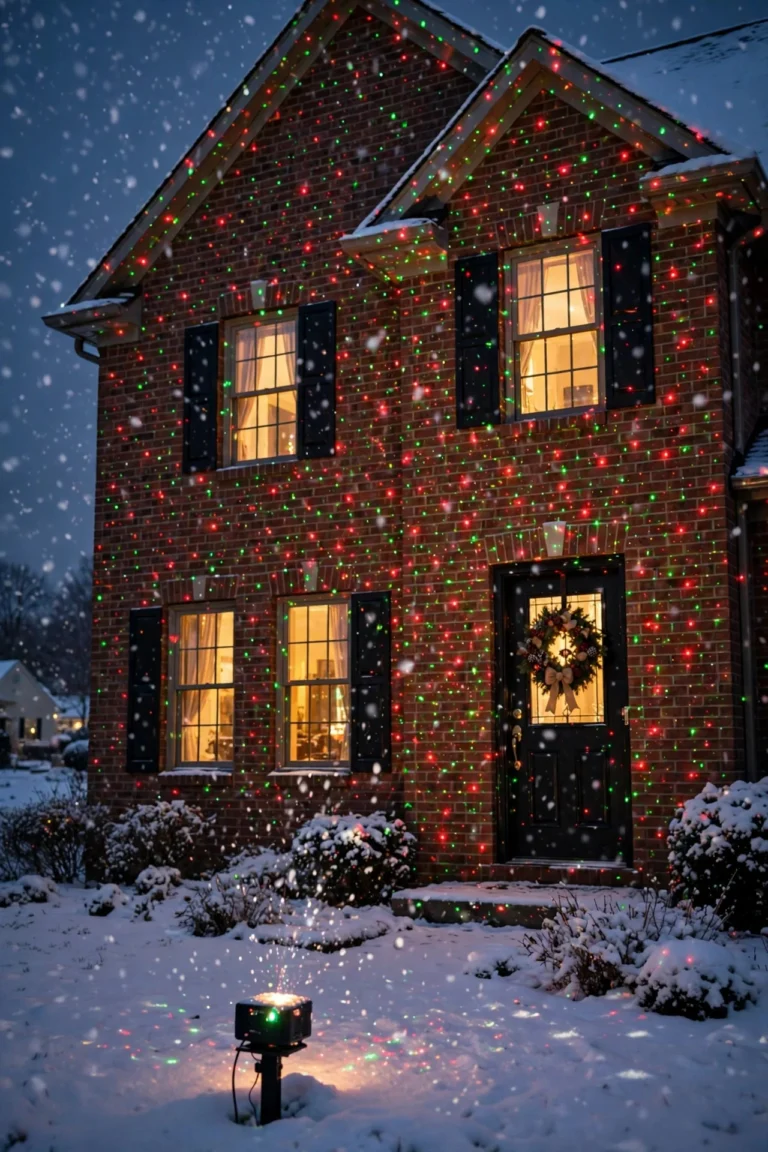
Fall check: adjust timers as days shorten — this is where astronomic timers earn their keep, since they track sunset automatically. Clean lenses again before the holidays. Walk the path zone specifically for leaf coverage; a drift of wet leaves over a path light is both a light blocker and a slip hazard. If you decorate for the holidays, keep seasonal lights on their own circuit — don't let a Christmas projector become a permanent fourth zone.
The five-minute monthly habit: from your usual viewing spot (porch, street, wherever), just look. You're checking for one dead fixture throwing the whole zone off balance — in a layered plan, one dark accent uplight makes the whole composition lean. LEDs last 25,000 to 50,000 hours, so failures are rare, but a corroded connector will take a fixture down long before the diode does. That monthly glance is the cheapest maintenance in homeownership.
Frequently Asked Questions
How many landscape lighting zones do I actually need?
Three is the professional standard — path, accent, and wash — and it covers nearly every residential property beautifully. Larger estates sometimes add a fourth zone for special features like pools, water features, or sports courts, but for a typical front and back yard, three zones done well will outperform five zones done halfway. Start with three; subdivide later if a specific area truly needs its own schedule.
Can I mix different fixture brands across zones?
Yes, absolutely — brands don't matter, but color temperature and voltage do. You can mix any fixtures as long as everything is 12-volt low-voltage and the same warm white (2700K–3000K). What you can't mix is color temperatures or voltages within one plan. Honestly, mixing fixture styles across zones is often good design: sleek bollards for the path zone, classic brass uplights for accents, discreet floods for washing.
How much does a three-zone landscape lighting plan cost?
DIY, expect $400 to $1,200 for a starter 8-to-12-fixture system covering all three zones. Professionally installed, budget $200 to $500 per fixture, with full front-and-back three-zone plans typically landing between $3,500 and $8,000. Running costs are tiny either way — a 12-fixture LED plan costs roughly $25 to $30 a year to run. Phase the build if budget is tight: path zone first, then accent, then wash.
Is landscape lighting a DIY project or should I hire a pro?
The 12-volt zone wiring is very DIY-friendly — no permits in most areas, no shock risk, and forgiving of beginner mistakes. What pros bring is design: fixture selection, voltage-drop calculations, and that layered look that comes from experience. My honest recommendation: DIY the path zone to learn the ropes, then decide. If the accent and wash zones feel intimidating — uplight aiming and facade washing have a real learning curve — get quotes for those two zones specifically.
Why do some of my landscape lights look dimmer than others?
Nine times out of ten, it's voltage drop on a long daisy-chained cable run — the fixtures farthest from the transformer get less power and glow dimmer. The fix is rewiring by zone: separate shorter cable runs back toward the transformer, 12-gauge wire, each under about 100 feet. The other common cause is a dirty lens or a failing connector, so clean and check connections before you rewire anything.
The Layered Look Is a Plan, Not a Purchase
Here's what I want you to take away from all of this: landscape lighting zones aren't a product or a trend — they're simply how professionals think, and now you can think that way too. Path for guidance, accent for drama, wash for backdrop. Different fixtures, different brightness, different spacing — wired and scheduled as their own layers, all speaking the same warm-white language.
Start with a sketch and a tape measure. Walk your property at night, mark your heroes and your hazards, and zone it on paper before you buy a single fixture. Then build it in phases if you need to — the beauty of zones is that each one works on its own while you save for the next. Do that, and a year from now you'll stand at the end of your driveway at dusk, look back at your glowing, layered home, and wonder why everyone doesn't do it this way. For more ideas to layer in, browse our backyard lighting ideas and start dreaming up your next zone.