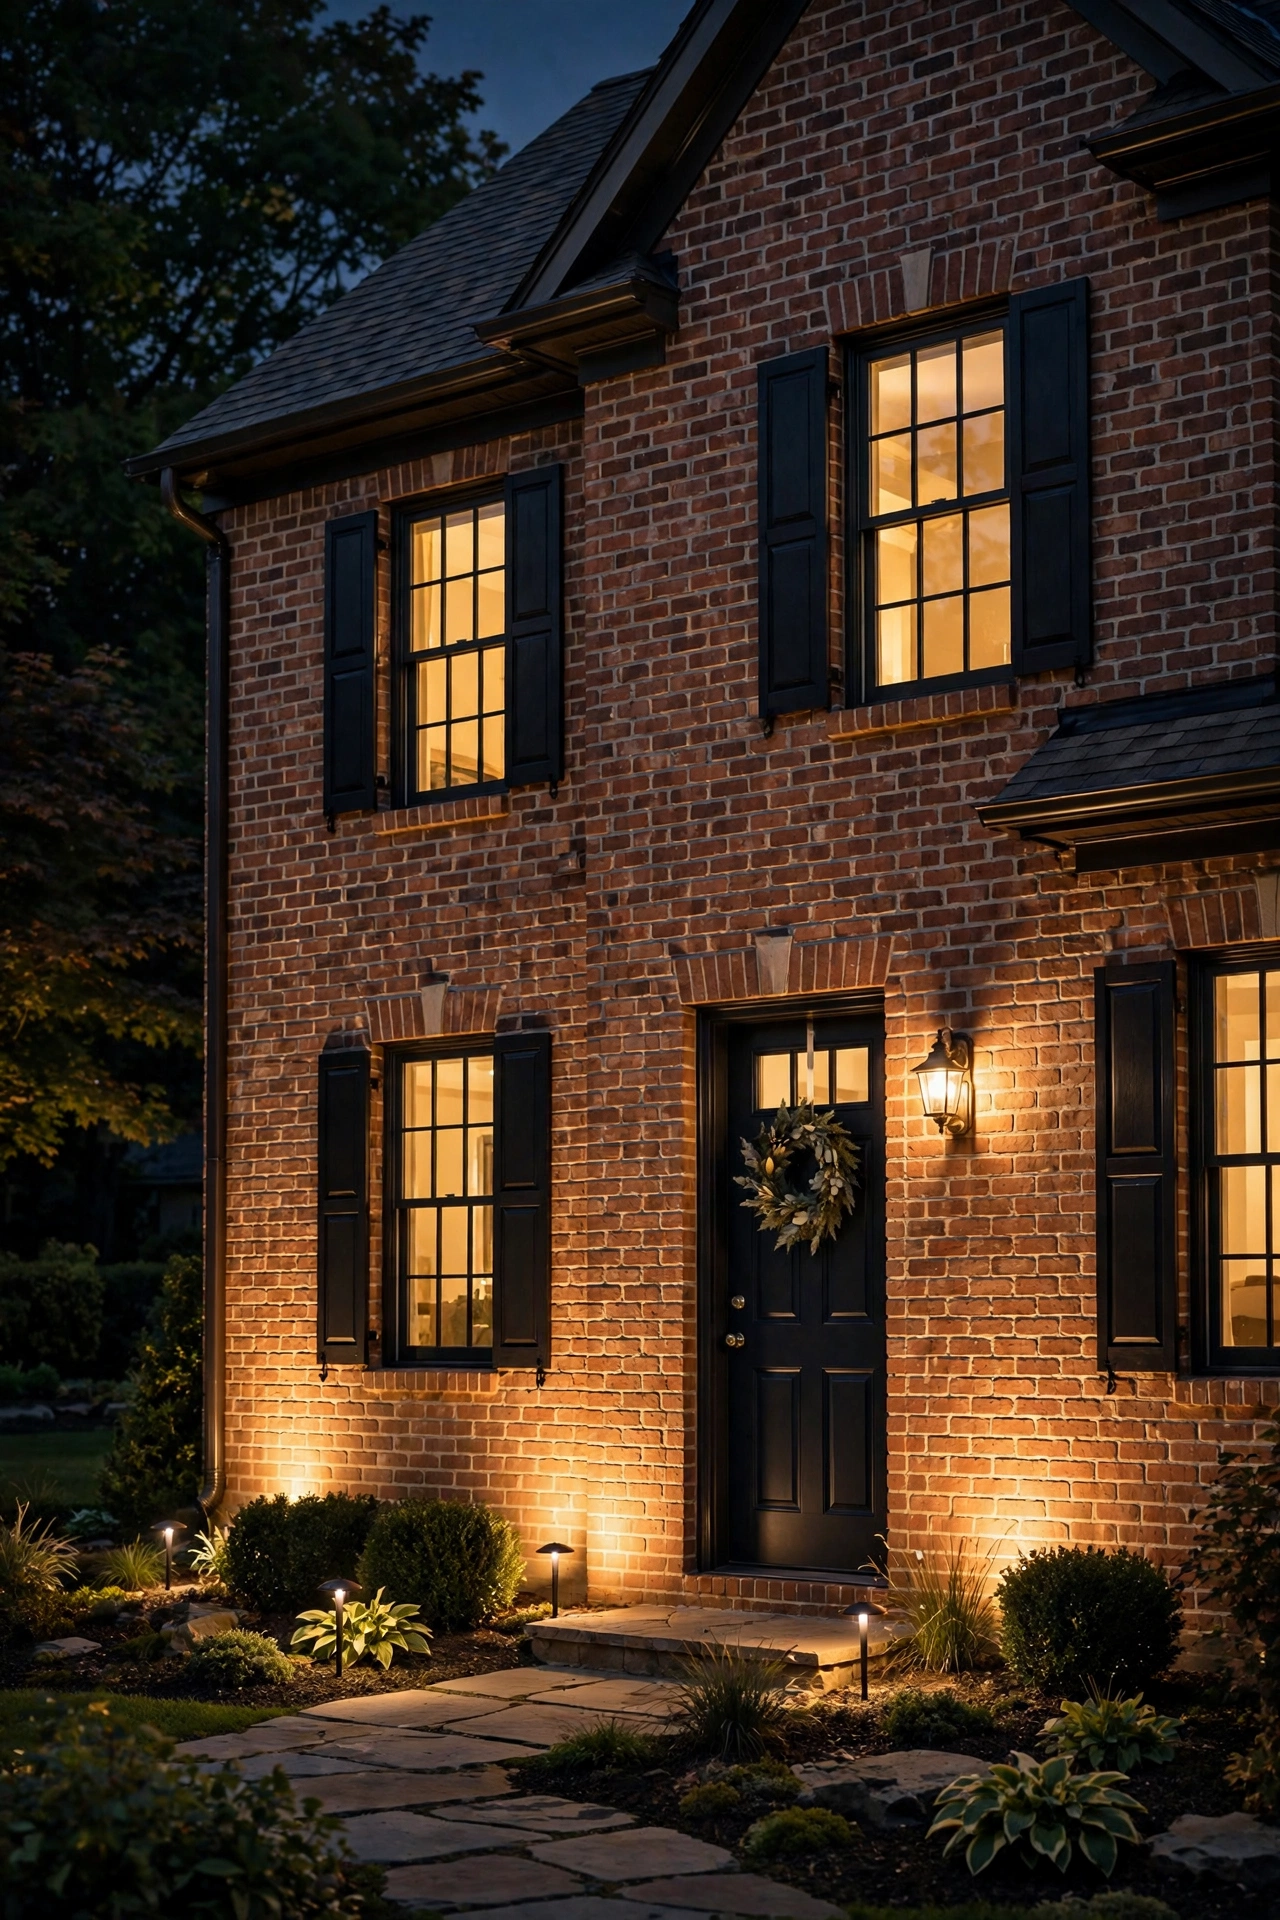
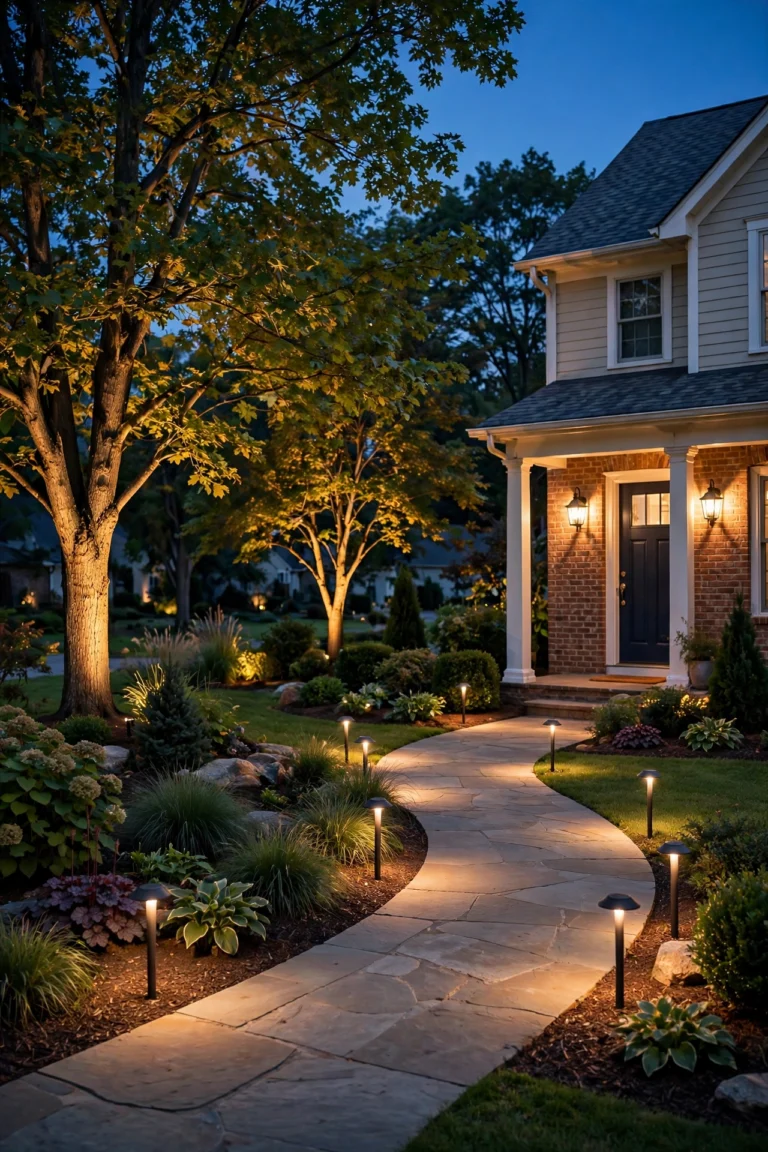
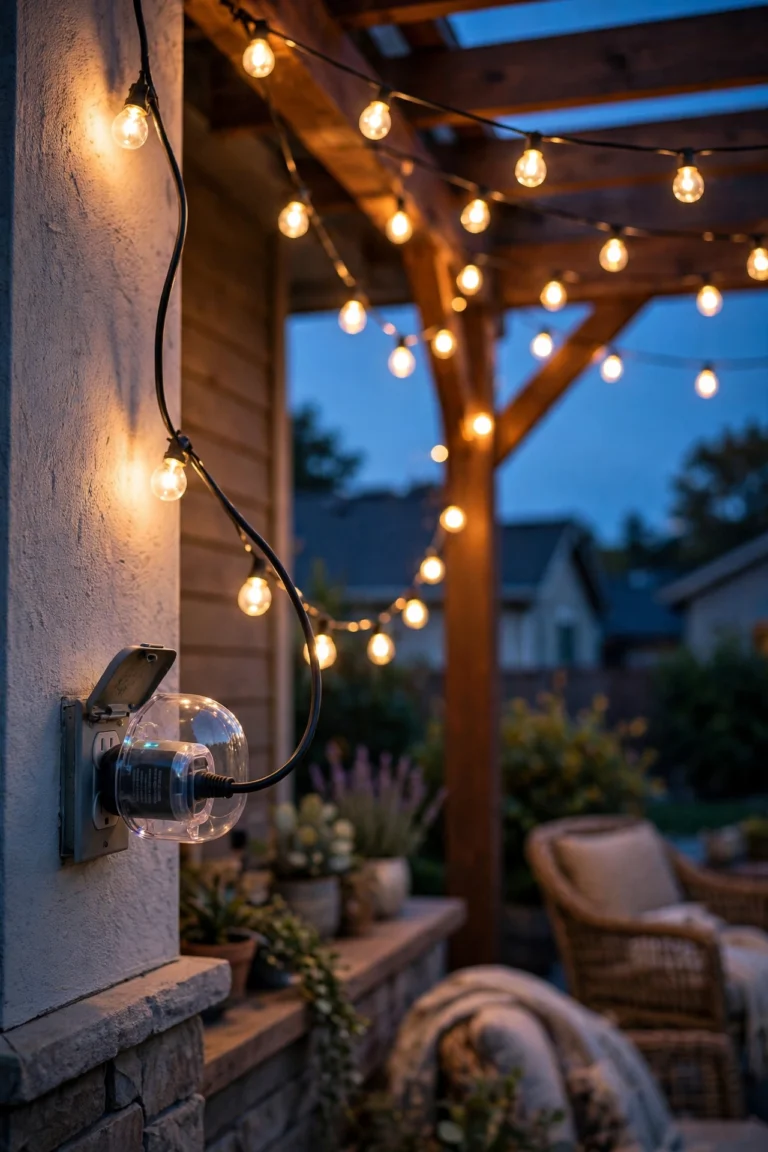
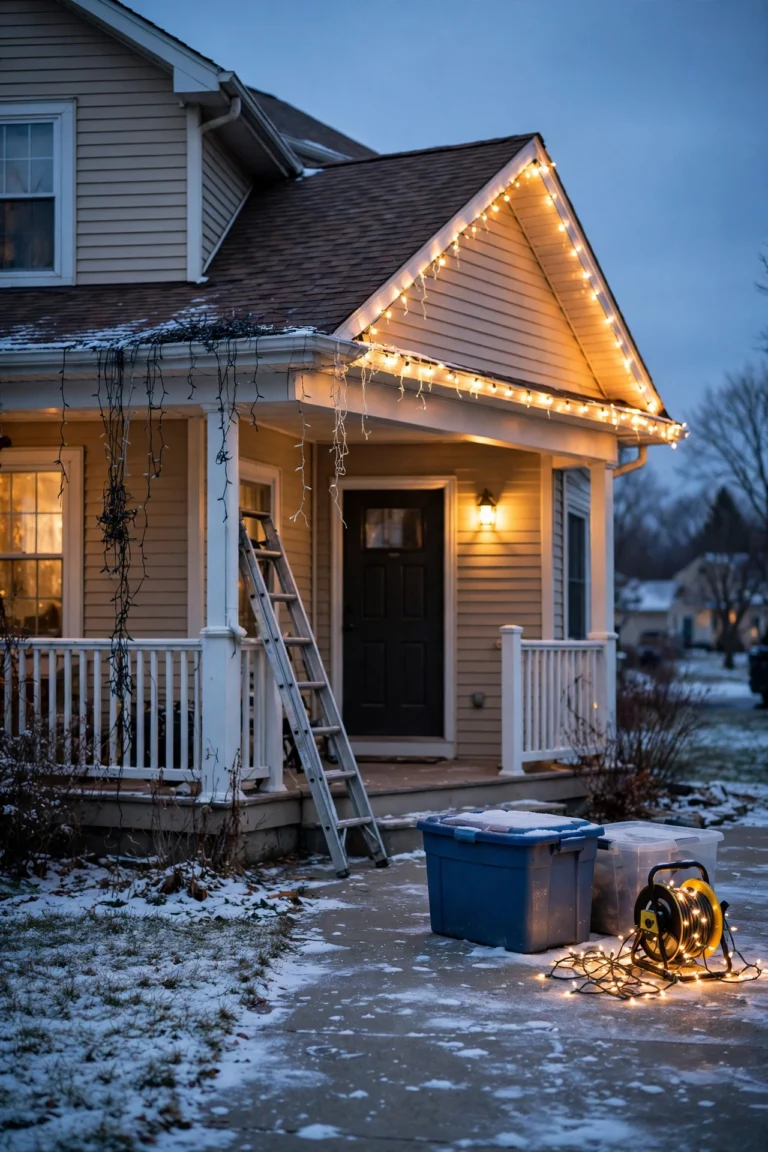
Have you ever driven down your own street at night and noticed that one house — the one that seems to glow, its brick warm and alive, looking like it costs a million dollars even if it doesn't? Then you pull into your own driveway and your house is just… a dark box. Flat. A little sad. That's not a more expensive house winning, honestly. That's lighting. Your home already has beautiful texture — the brick, the stone, the siding — it just disappears the moment the sun goes down, and wall washing exterior lighting is the technique that brings it back.
The idea is simple: low-voltage fixtures on the ground a few feet from the house, aimed gently up the wall, so the whole facade blooms into a soft, even glow. No harsh spotlights, no spooky shadows — just your house looking its best from dusk until you switch it off. In my experience, it's the biggest nighttime curb-appeal transformation for the least money and effort.
By the end of this guide, you'll know what wall washing is (and how it differs from grazing and uplighting), which fixtures suit which textures, the simple placement math that prevents hot spots, how to pick beam angles and color temperature, what the project costs in 2026, the mistakes that ruin the effect, and how to keep everything glowing for years. Let's make your house the one that glows.
The Short Answer
Wall washing is a landscape lighting technique where fixtures placed 2 to 4 feet from a house wall aim wide, soft beams upward to create an even, gentle glow across the facade. The core recipe: use low-voltage LED well lights or bullet spots with wide flood beam angles (35–60 degrees), space them 6 to 10 feet apart, set them back about one-third of the wall's height, stick to warm 2700K–3000K color temperature, and aim for evenness rather than brightness. Done right, textured surfaces like brick and stone look warm and dimensional instead of flat and dark.
What Wall Washing Exterior Lighting Actually Is (and What It Isn't)
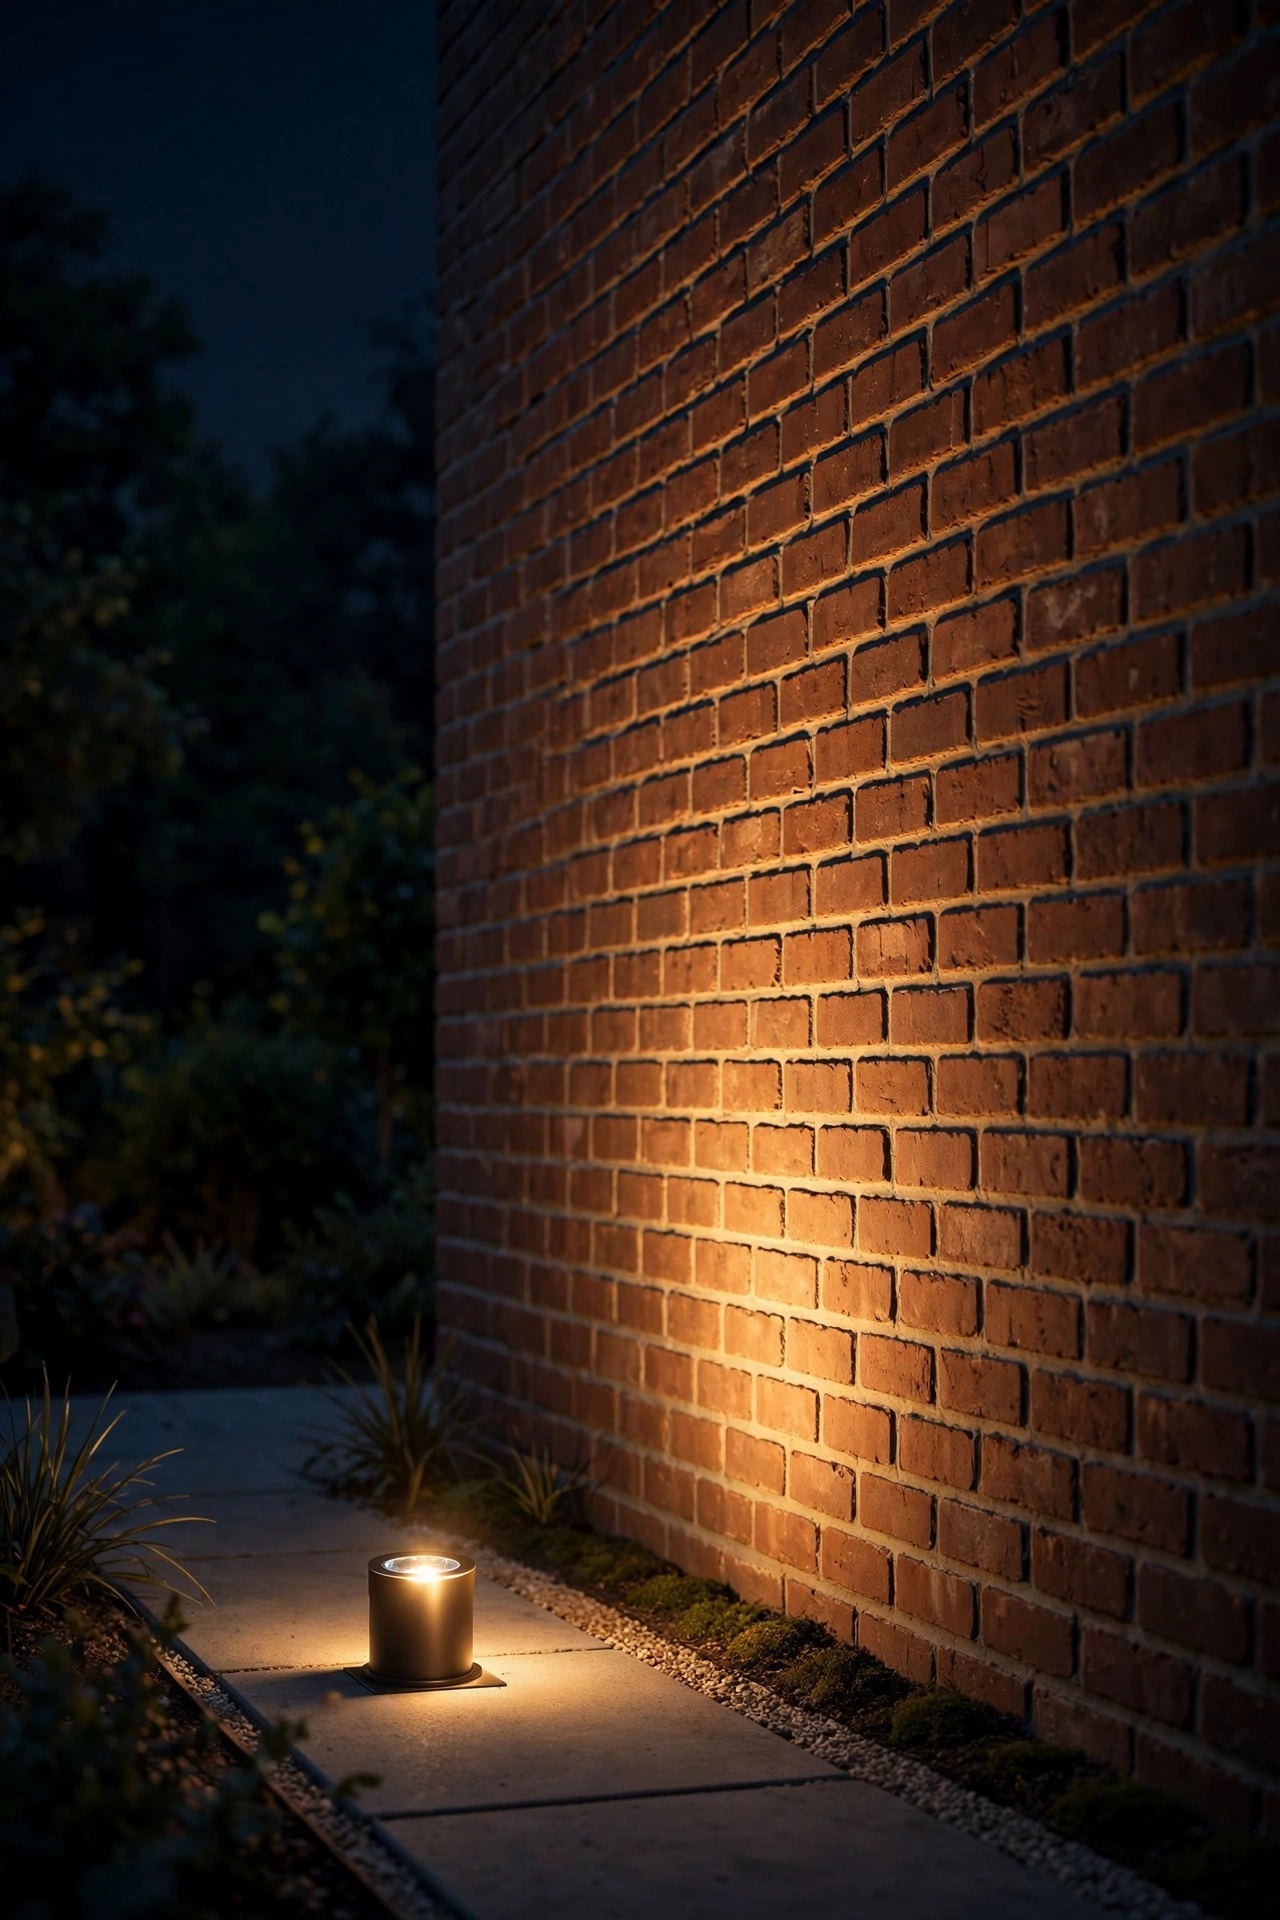
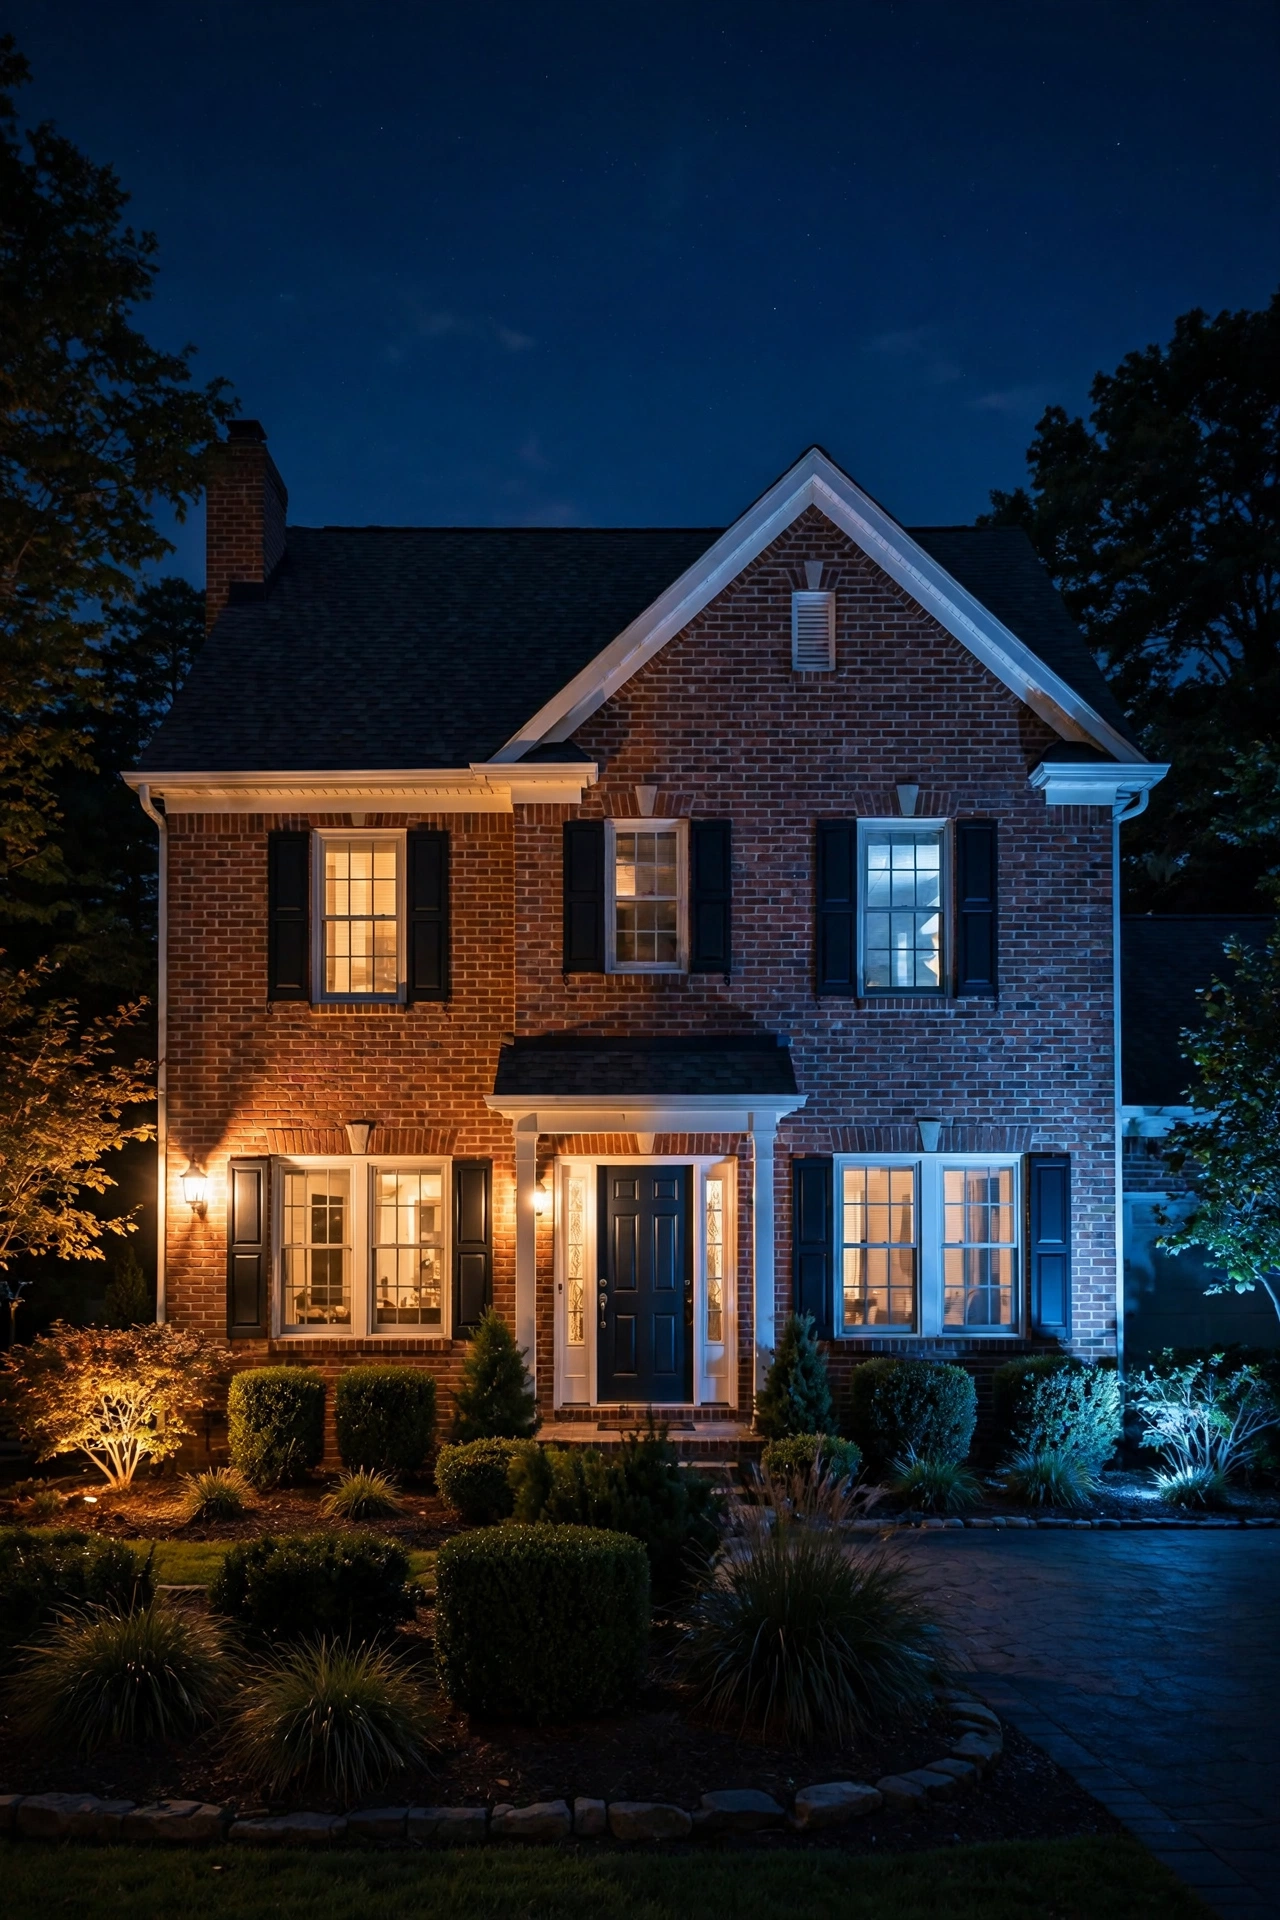
Here's the plain-English version. Wall washing is what happens when light hits a wall evenly enough that you stop noticing the fixtures and start noticing the wall itself. The light grazes up the surface softly and uniformly, so the whole facade reads as one continuous, warm surface instead of a patchwork of bright spots and dark gaps. Think of a museum gallery — the way artwork is lit so the whole piece glows without a visible source of light glaring at you. That same idea, applied to your house.
What it isn't: it isn't a single floodlight blasted from the corner of the driveway. It isn't those harsh blue-white security spotlights that make a house look like a car dealership. And it isn't downlighting from soffits, which is lovely for porches but doesn't do much for a whole facade. Real wall washing uses multiple low, gentle fixtures working together, each one contributing a soft pool of light that blends into its neighbor's pool. The result should look almost natural — like your house is catching the last of the sunset, held still for a few hours every evening.
Wall Washing vs. Grazing vs. Uplighting: What's the Real Difference?
These three get tangled up constantly, so let's untangle them, because choosing wrong is the number-one reason a lighting plan disappoints. They're all upward-facing outdoor light, but they do completely different jobs.
Wall washing is the soft one. Fixtures sit a few feet from the wall, throw wide beams, and produce an even, gentle glow across a broad surface. It flatters everything evenly and hides imperfections. If you want your whole house to look warm and welcoming, this is your technique.
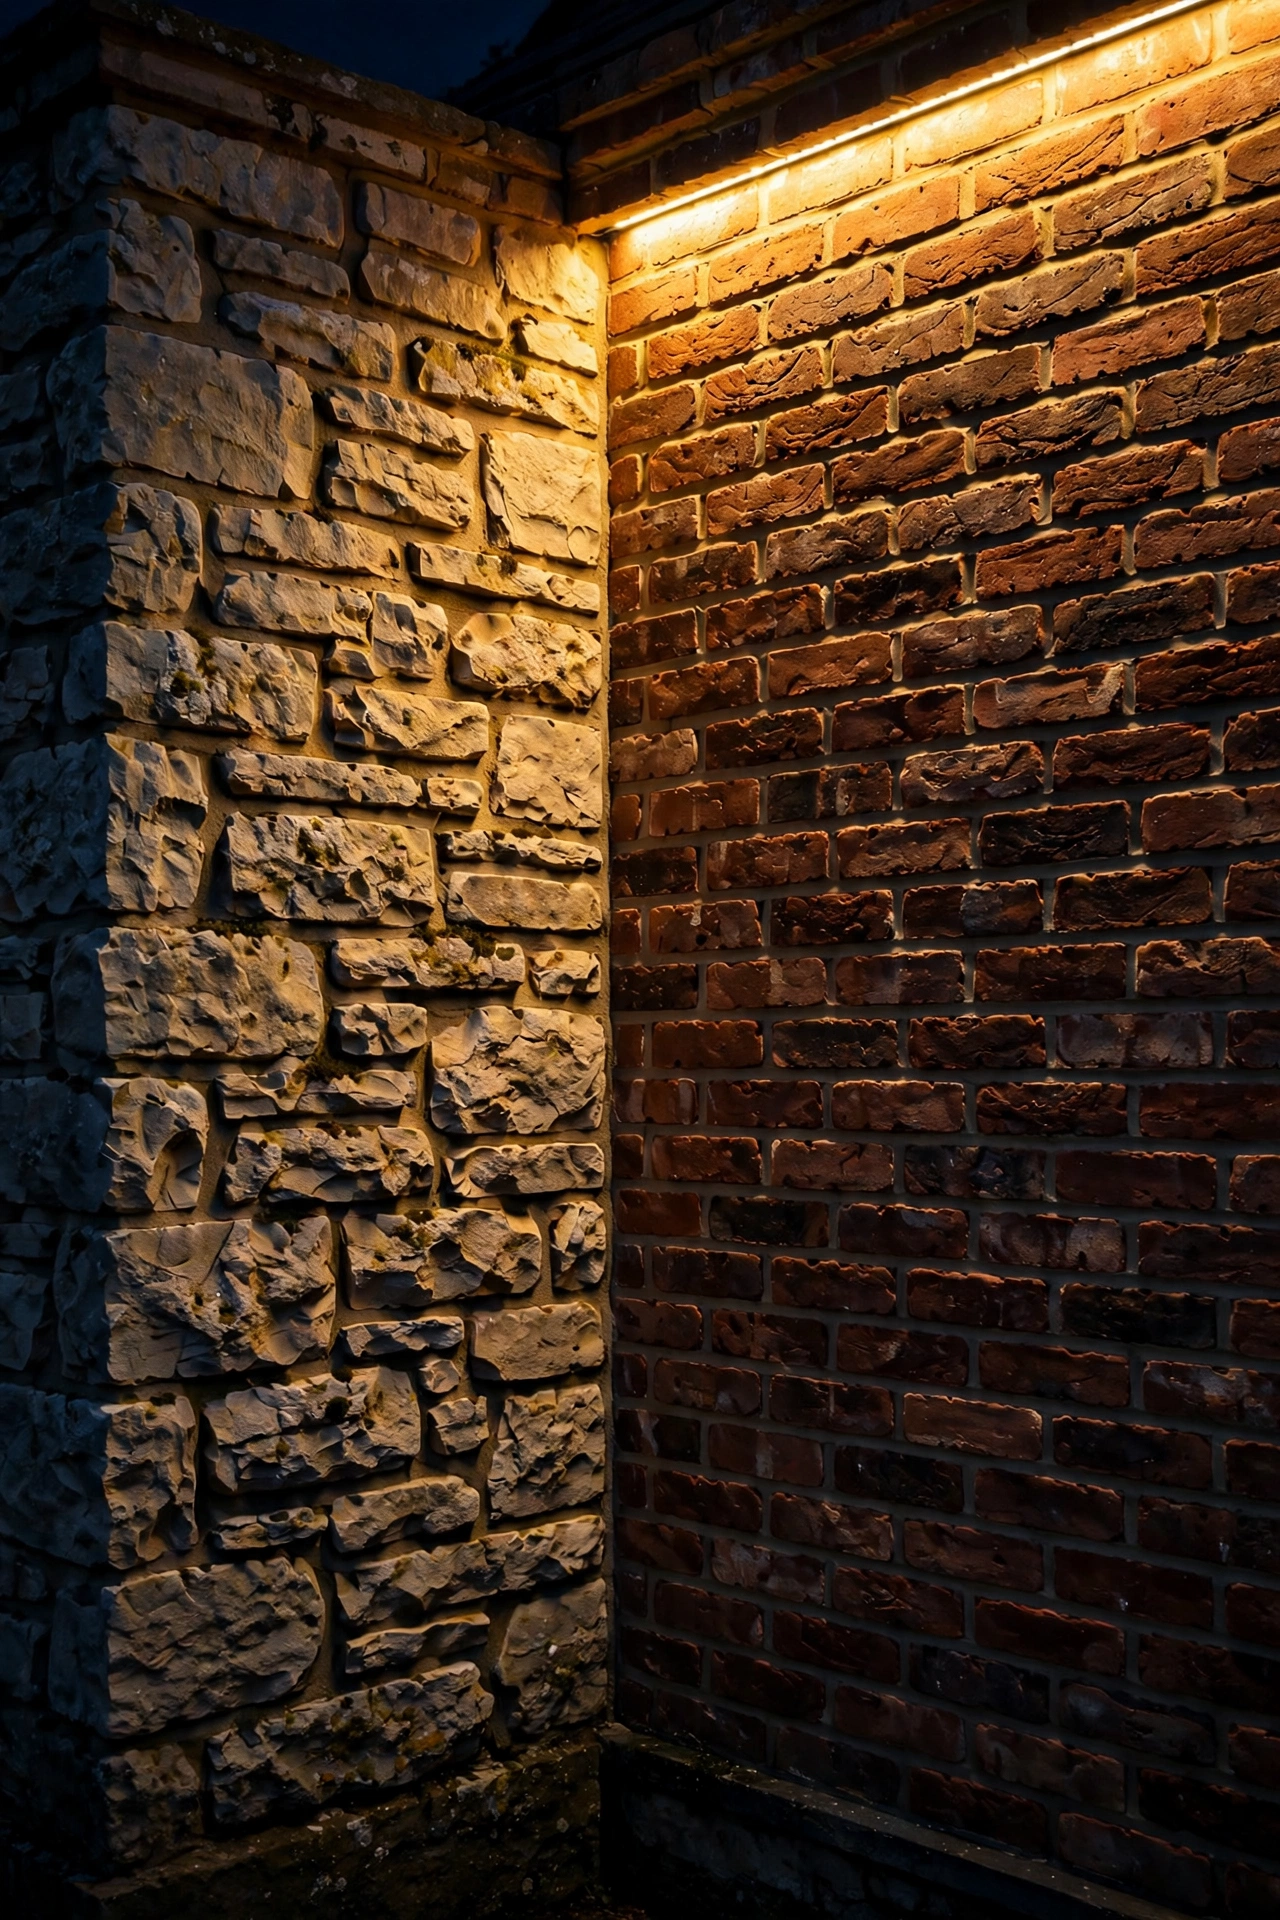
Grazing is wall washing's dramatic cousin. Here the fixture sits almost against the wall — sometimes just 6 to 12 inches away — with a narrow, intense beam that rakes across the surface at a sharp angle. Instead of smoothing texture, grazing exaggerates it. Every ridge in a stone wall throws a shadow. Every mortar line in brick pops. It's gorgeous on real stone, rough brick, or stacked rock, and absolutely brutal on anything with flaws — because it will spotlight every one of them. I'll dig into the grazing-versus-washing decision in detail later, but the quick rule: graze stone you love, wash everything else.
Uplighting is the pointed one. A narrow beam aimed straight up at a specific feature — a tree canopy, a column, a piece of sculpture, the peak of a gable. It's a spotlight with a job. Uplights can be part of a facade plan (that chimney stack or that pair of columns flanking the garage), but a row of narrow-beam uplights across a whole wall reads as a series of hot spots, not a wash. That's the classic amateur mistake: buying uplighting fixtures, lining them up like soldiers, and wondering why the house looks striped.
Honestly? Most beautiful homes use all three, in layers. A wash across the main facade, a graze on the stone entry, an uplight on the big oak. But if you're starting with one technique, make it washing — it's the most forgiving, the hardest to mess up, and the one that transforms the whole house at once.
How Light Interacts With Texture: Brick, Stone, Stucco, and Siding
Not every surface responds to wall washing the same way — the whole technique exists because light loves texture, but some textures are better dance partners than others.
Brick is the star. Real clay brick has just enough surface variation — the slight roughness of the face, the recessed mortar lines — to catch a soft wash beautifully. Warm light on red or brown brick at night looks rich, almost edible. Lighter brick (cream, tan, buff) reflects more light, so it washes brighter with fewer fixtures; dark brick absorbs more, so you may need slightly closer spacing. Painted brick washes beautifully too, and honestly, a soft wash is the kindest possible light for painted masonry — it glows evenly without highlighting the paint's texture.
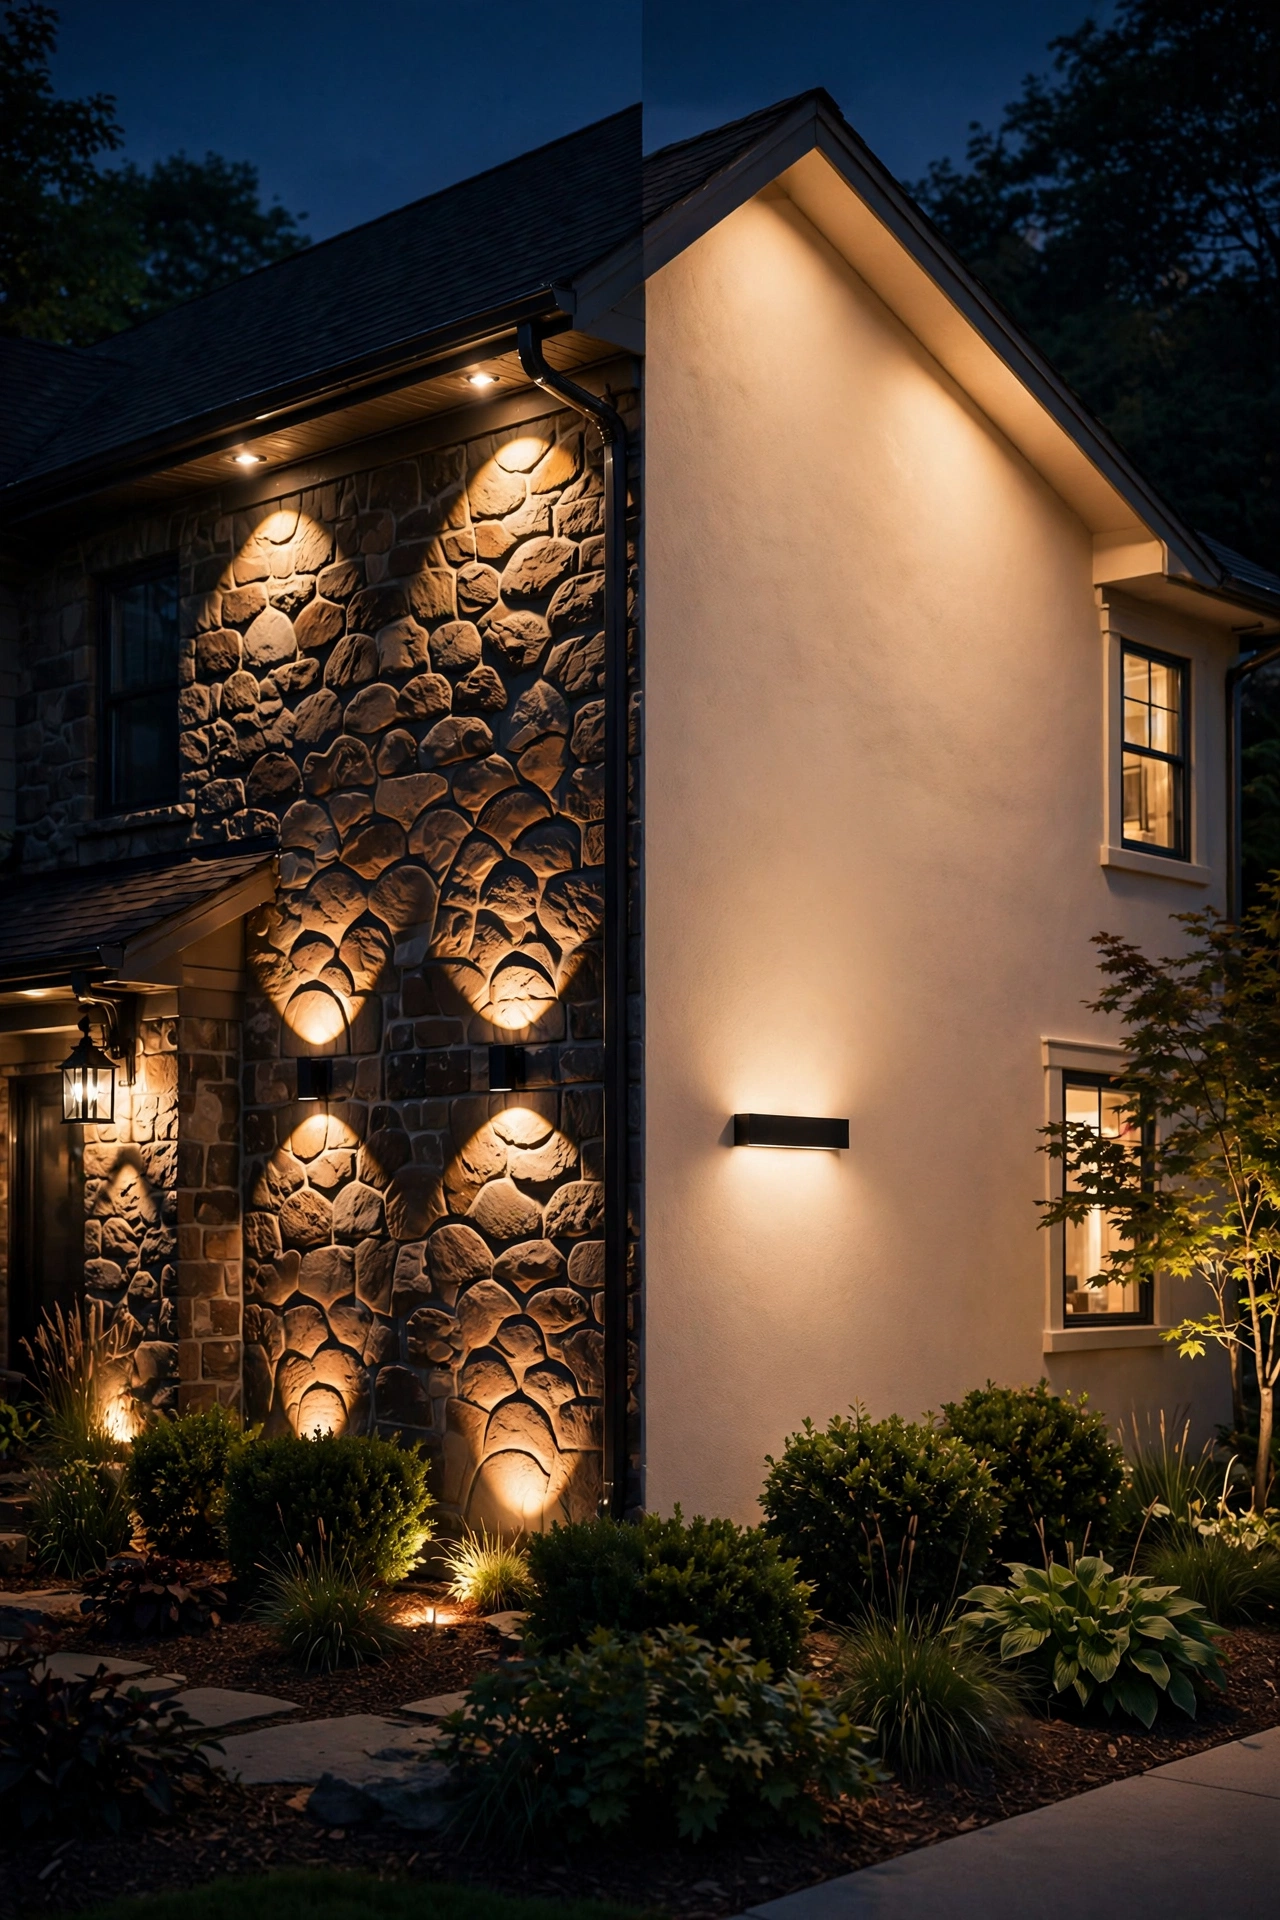
Natural stone is the show-off. Flagstone, fieldstone, ledgestone — a wash brings out the color variation between stones that goes invisible at night. Each stone reads as its own little gem. If your stone has deep relief (stacked stone veneer, river rock), consider grazing instead or mixing one graze fixture with washes, because those deep shadows are half the charm. But a gentle wash across smoother-cut stone is pure elegance.
Stucco and smooth plaster are the tricky middle. Smooth surfaces wash very evenly — almost too evenly. With no texture to catch the light, a wash on plain stucco can read a bit flat, like a glowing beige billboard. It still looks a thousand times better than darkness, but think about layering — a wash for the base glow plus an uplight on a tree in front to cast soft, moving shadows across the surface. Shadows are stucco's best friend.
Siding — vinyl, fiber cement, wood — is the cautionary tale. Yes, you can wall wash siding, and people do it all the time. But flat siding is the least textured surface a house can have, so the wash reads as a smooth gradient — pretty, but it also reveals every warp, buckle, and uneven lap. Board-and-batten is the exception: those vertical battens catch light and shadow beautifully. Horizontal lap siding washes okay but can look stripey depending on fixture spacing. My rule: if your siding is older or wavy, keep the wash gentle and the fixtures a little farther back — distance is the great forgiver.
Wall Washing Fixture Types, Compared Honestly
You have four realistic options for wall washing a house, and they differ mostly in visibility, cost, and how much digging you feel like doing. Here's the honest breakdown.
| Fixture type | Typical cost per fixture | Install effort | Best for |
|---|---|---|---|
| In-ground well lights | $60–$120 | Medium (dig, bury housing) | The cleanest look — invisible by day, dramatic by night. Best for front facades where you don't want visible hardware. |
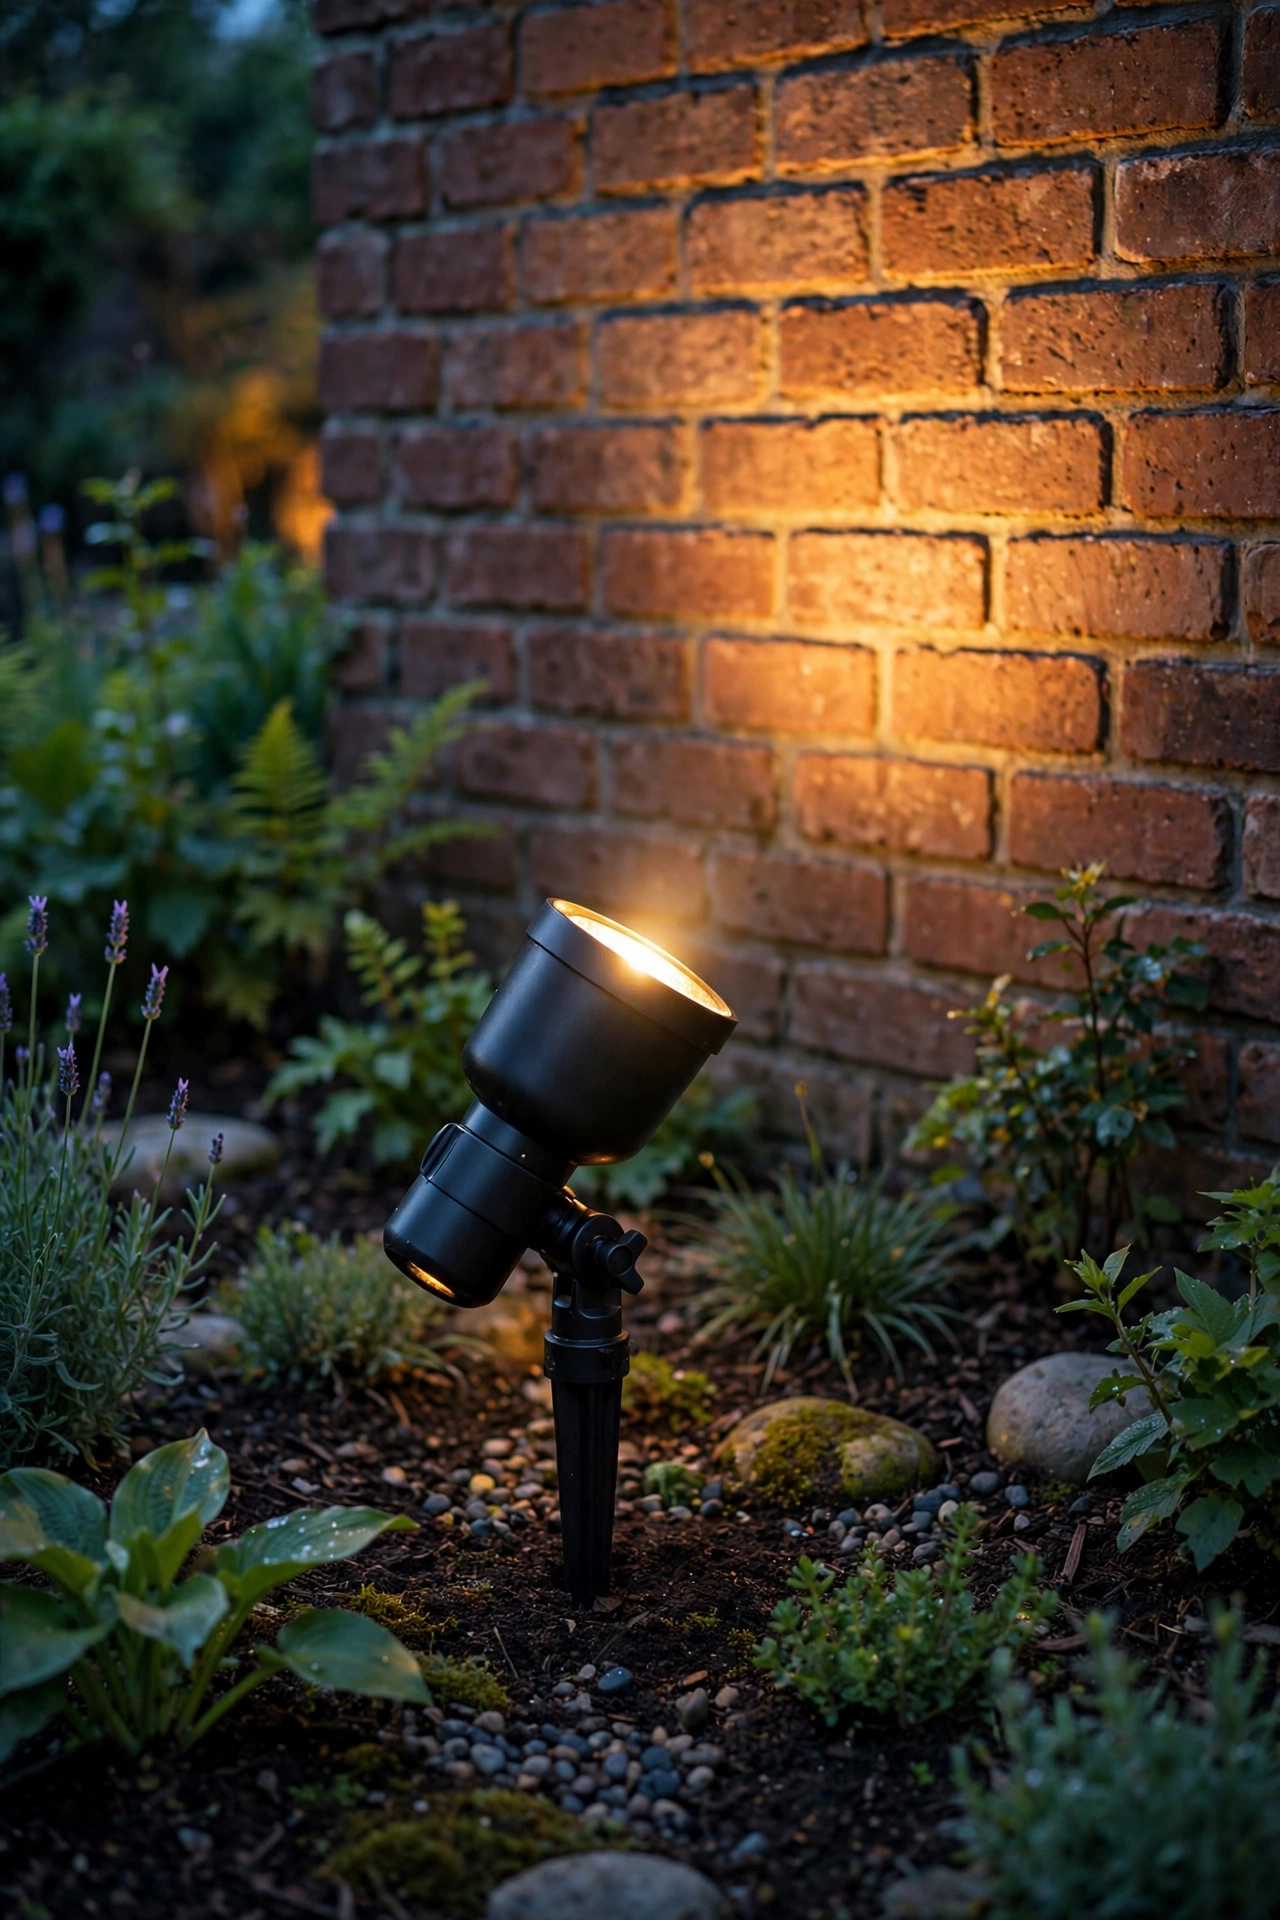
| Bullet / spot lights on stakes | $40–$90 | Easy (push stake in, aim, adjust) | Beginners and renters of their own plan — fully adjustable, easy to reposition until the wash is perfect. |
| Linear LED wall washers (bar lights) | $80–$180 | Medium (mounting + wiring) | Long, flat walls and modern homes — one bar replaces several spots for a seamless wash. Needs a mounting surface or bracket. |
| Deck / column-mounted floods | $50–$110 | Easy–medium | Mounting on porch columns or posts to wash adjacent walls; great when you can't dig (patios, rock beds). |
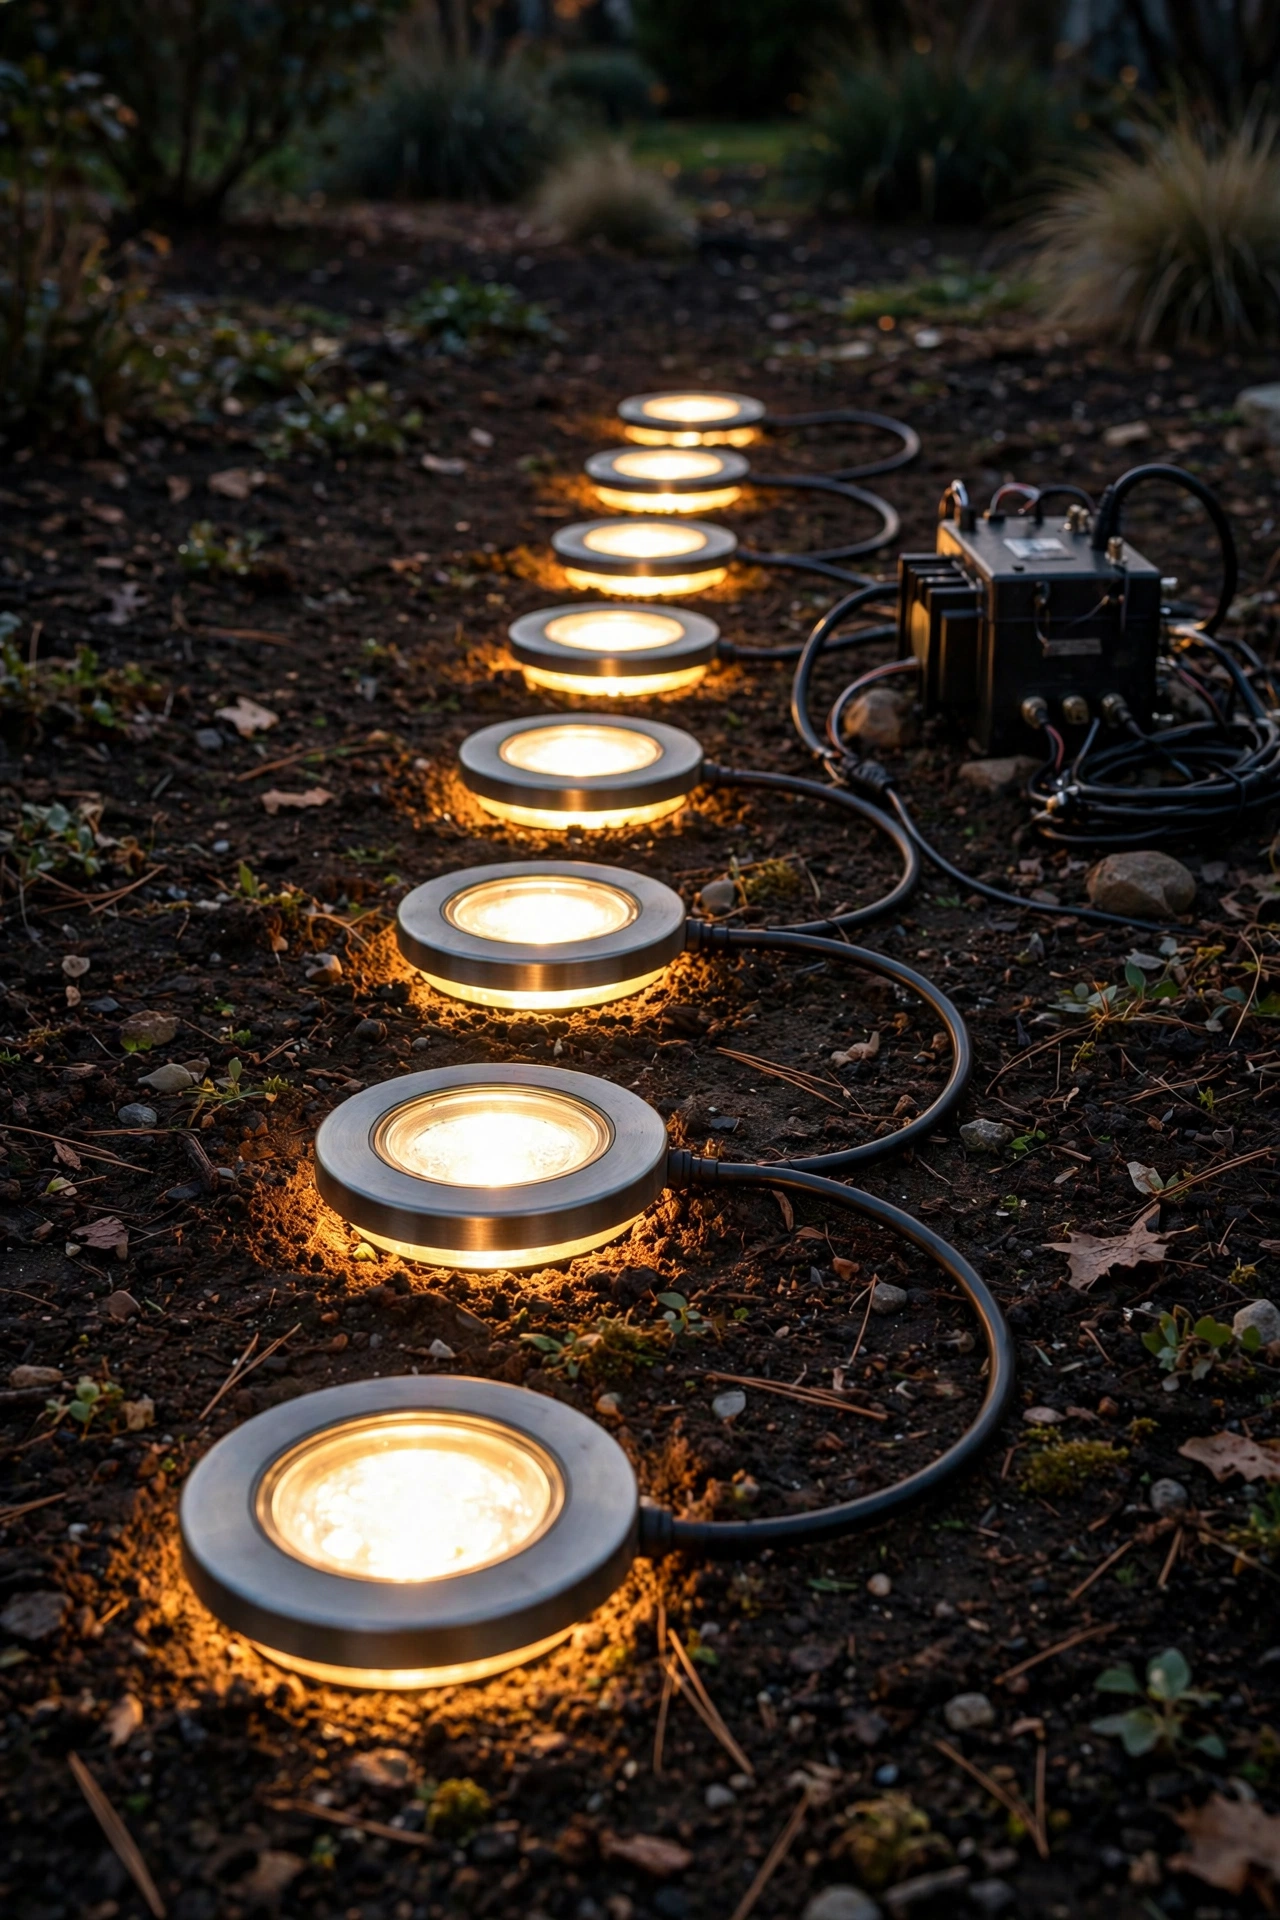
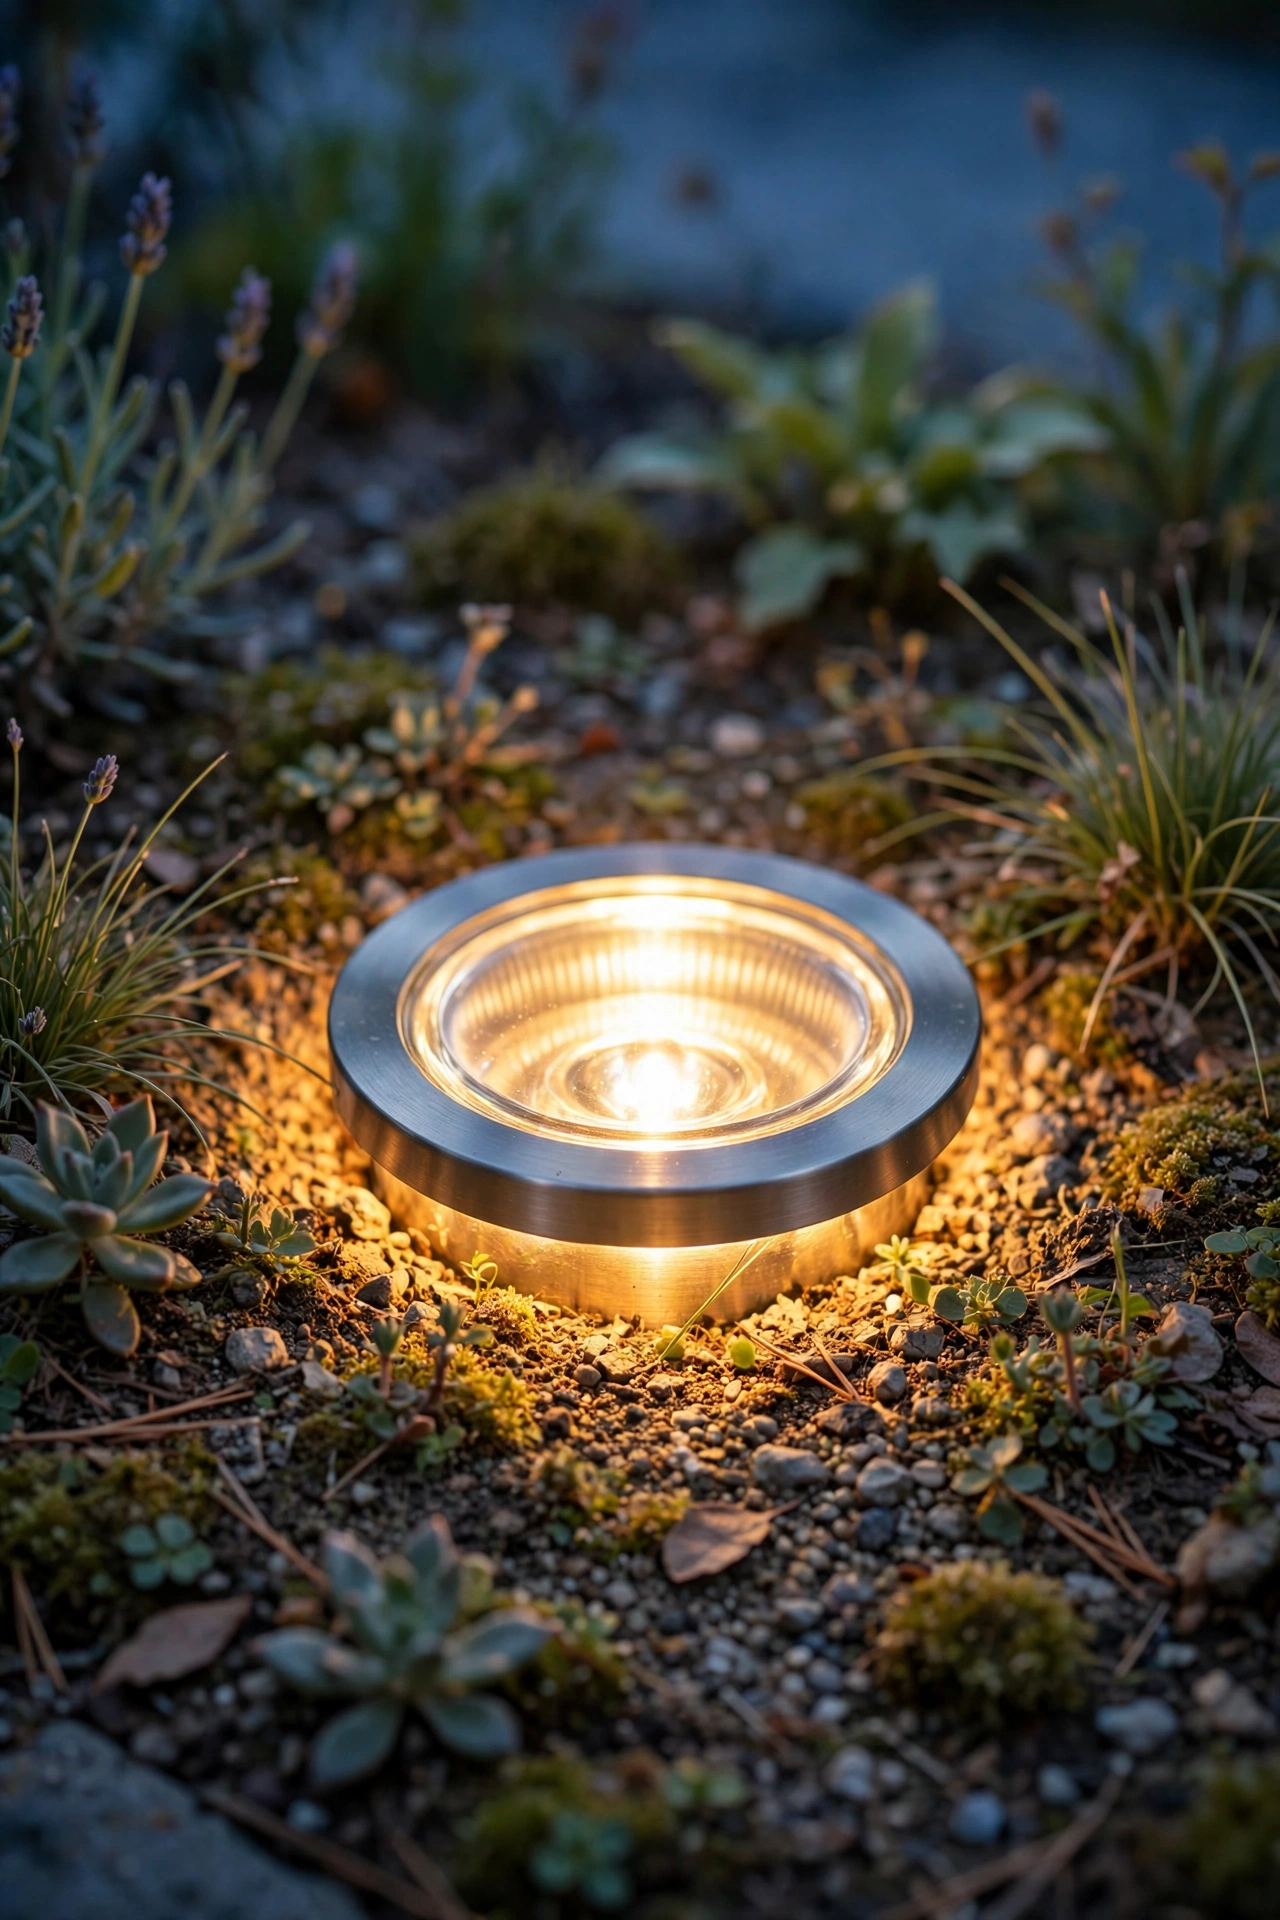
Well lights are my top recommendation for most houses, and in my experience they're what professionals reach for first on a front facade. The fixture body buries flush in the ground — all you see by day is a small round grate, and by night the light seems to rise out of the landscaping itself. The tradeoff is commitment: once it's buried, repositioning means digging. Get your placement right before you backfill (the evening walkthrough method below exists precisely for this).
Bullet spots on stakes are the forgiving option. They're cheaper, you can move them endlessly, and they tilt to any angle. The downside is purely aesthetic — you see little black fixtures in the mulch by day, though in a planted bed they vanish. If this is your first lighting project, start here. You can always upgrade to well lights later once you know exactly where the sweet spots are.
Linear wall washers are the specialist's tool — long bars with a row of LEDs designed to throw an extremely even sheet of light. On a long, flat modern facade they produce the most seamless wash of anything. But they're overkill on a fussy colonial with windows every eight feet, and mounting them means brackets or a channel, which adds work.
Column or post-mounted floods solve the can't-dig problem. If your facade sits behind a concrete patio, a rock bed, or just soil full of roots and regret, mounting small floods on porch columns or fence posts and aiming them at the wall works beautifully. This pairs wonderfully with architectural details like front door sconce pairs — the sconces handle the entry, the floods handle the facade, and the whole front reads as one composed scene.
Whatever you choose, go LED, low-voltage (12V), outdoor-rated. No exceptions in 2026 — halogen is dead for this application, and I'll say more about why in the FAQ.
Placement Math: Setback, Spacing, and the One-Third Rule
Here's where the magic actually happens, and it's simpler than the internet makes it look. Two numbers control everything: how far the fixture sits from the wall (setback), and how far apart the fixtures sit from each other (spacing).
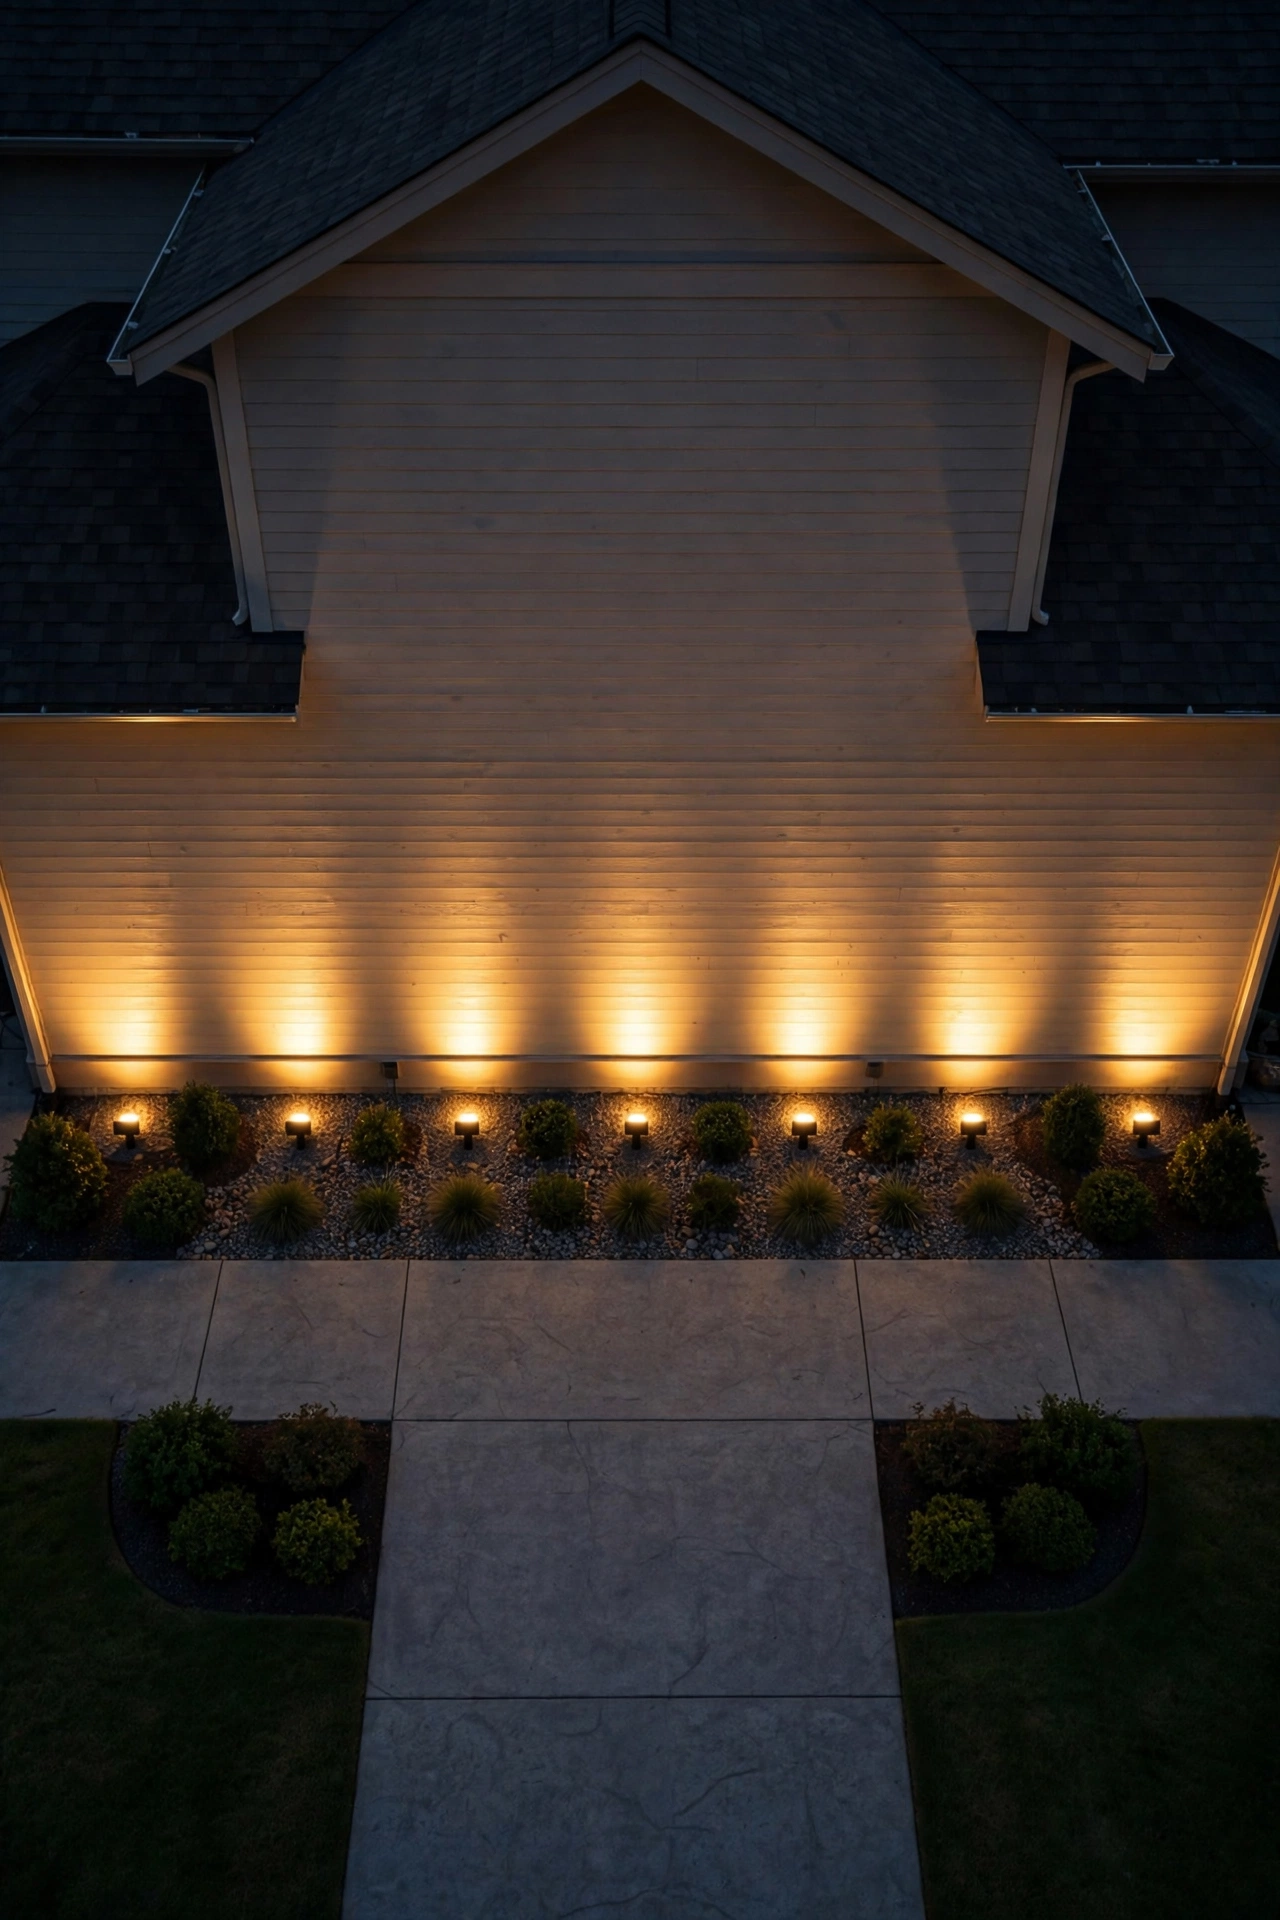
The one-third rule: set each fixture back from the wall by roughly one-third of the wall's height. For a typical 9-foot first-story wall, that's about 3 feet of setback. For a two-story wash up to 18 feet, about 6 feet back. This ratio is the reason washes look even: it gives the beam room to spread before it hits the wall, so the light arrives soft instead of concentrated. Push fixtures right against the foundation and you get the dreaded "hot spot at the bottom, darkness at the top" — the single most common DIY failure.
Spacing: fixtures should sit 6 to 10 feet apart, with the goal that each fixture's pool of light overlaps its neighbor's by about a third. Think of it like painting a wall with a roller — you overlap strokes so there are no dry stripes. Too far apart and you get scallops (those upside-down U-shaped bright patches with dark gaps between them, like a string of pearls). Too close together and you're just burning money on fixtures you didn't need.
Height coverage: one row of ground fixtures realistically washes 10 to 14 feet of wall with good evenness. Washing a full two-story facade from the ground is possible but the top gets dimmer — which is fine, since a gentle fade toward the roofline looks natural. If you want the second story equally bright, that's a job for fixtures mounted higher, and at that point you're edging into professional-design territory.
The window problem: aim between windows, not at them. Light blasting directly into a window creates glare inside the house and does nothing for the facade. A fixture centered under a window is fine — the window becomes a dark, handsome rectangle in the glow. A fixture firing into the glass is a bug, not a feature.
Corners and ends: place your outermost fixtures a couple of feet in from the corners rather than right at the edge — light spilling past the corner onto the side of the house looks sloppy. And on the sides of the house, you usually need far less washing; the front facade does the heavy lifting for curb appeal.
Do a quick count for your house: measure the facade width in feet, divide by 8 (a middle-of-the-road spacing), and round up. A 40-foot-wide ranch needs about 5 fixtures. A 30-foot colonial front needs about 4. That's your shopping list.
Beam Angles and Color Temperature: Getting the Glow Right
Two settings separate the houses that glow from the houses that glare: how wide the beam is, and how warm the light is.
Beam angle is your spread control. For wall washing, you want wide flood beams — 35 to 60 degrees. Narrow spots (15–25 degrees) are for uplighting trees and columns; use them on a wall and you'll paint stripes. The wider the beam, the softer the wash and the fewer fixtures you need — a 60-degree flood at 3 feet of setback covers roughly 7 feet of wall width. Many good LED fixtures come with interchangeable lenses or an adjustable beam, which is worth paying a little extra for, because it lets you tune the wash after everything's installed instead of guessing beforehand.
Color temperature is the soul of the whole project. Stick to warm white: 2700K to 3000K, no exceptions for a house facade. This is the range that makes brick look like brick, stone look like stone, and siding look expensive. It's the color of candlelight and late sunset — the light humans have found cozy for all of recorded history. In my experience, this is also where most DIY washes go wrong: someone grabs 4000K or 5000K "daylight" fixtures because they look brighter in the store, and the house ends up looking like a dental office. Cool light flattens warm materials and turns a home's facade clinical. If you already own cool-white fixtures, swap the bulbs or the fixtures themselves — this single change transforms the result more than any placement trick.
Brightness (lumens): restraint wins. For washing, 200 to 400 lumens per fixture is plenty — you're painting with light, not interrogating the wall. Dark brick and stone can take the higher end; light-colored siding needs the lower end or it blows out to pure white. If your fixtures are dimmable (worth it), start at full and dial back until the texture glows without glare. If you squint, it's too bright.
CRI matters more than people think. Color Rendering Index measures how faithfully light shows true colors. Cheap LEDs at CRI 70 make brick look muddy and gray. Look for CRI 80 or higher on the box — ideally 90 — and your materials will read true.
Step-by-Step: The Evening Walkthrough Method
Reading about placement is one thing; nailing it is another. Here's the method I always recommend, and it works whether you're using $40 stake lights or $120 well lights. The whole thing takes one evening.
Step 1 — Lay it out in daylight. Mark planned positions with small flags or upside-down flowerpots. Use the math from the last section: setback at one-third of wall height, spacing 6 to 10 feet apart, centered between windows, pulled in from corners.
Step 2 — Wait for real dark. Not dusk — full dark, at least 45 minutes after sunset. Your eyes need to be dark-adapted or you'll misjudge brightness badly. Turn off the porch light and any other competing lights while you aim.
Step 3 — Place and power one fixture at a time. Start with the center fixture. Step back to the street and look. You're checking the shape of the pool of light — a soft, even oval, brightest in the middle and feathering at the edges. Adjust the tilt: steeper pushes light higher; shallower keeps it low and wide.
Step 4 — Add fixtures one by one, checking the blend. Each new pool should overlap the last by about a third. Stand at the curb between each addition. Scallops mean too far apart; hot spots mean too close to the wall; dark gaps mean add a fixture or widen the beam.
Step 5 — Check from inside. Go indoors and look out the front windows. Any fixture blasting glare into a bedroom or living room gets shifted or re-aimed. This is the step everyone skips and regrets.
Step 6 — Live with it for three nights before you bury anything. Leave well-light fixtures sitting on the ground, wired but unburied, for a few evenings. You'll notice things on night two that you missed on night one — a neighbor's sightline, a shadow from a shrub you forgot. Only backfill when you're genuinely happy.
Step 7 — Set the timer and walk away. Put the system on a photocell or timer — dusk to 11 p.m. is the sweet spot: all evening ambiance, no all-night light pollution. Then enjoy your house.
Grazing for Drama vs. Washing for Softness: When to Pick Each
I touched on this earlier, but it deserves its own section because it's the most consequential aesthetic choice in the whole project — and the one where trusting your gut about your own house matters most.
Choose washing when: your surface is relatively smooth or you want a calm, welcoming look. Painted brick, smooth stucco, fiber-cement siding, board-and-batten, light-colored stone — these all love a wash. Washing is also the right call for the main body of the house when you want the architecture to read as a whole rather than as a texture study. It's forgiving, it's elegant, and it never looks like it's trying too hard.
Choose grazing when: you have genuine, deep texture that deserves to be shown off — rough-cut stone, stacked ledgestone, handmade-look brick with heavy relief, rough-sawn cedar. Grazing turns texture into theater: every ridge catches light, every recess goes dark, and the wall becomes almost three-dimensional at night. A grazed stone chimney or entry wall is one of the most striking effects in residential lighting, full stop.
The practical differences: grazing fixtures sit 6 to 12 inches from the wall (versus 2 to 4 feet for washing), use narrower beams (15–30 degrees versus 35–60), and demand near-perfect fixture alignment — a crooked graze fixture is obvious in a way a crooked wash fixture never is. Grazing is also crueler: it will highlight every flaw, every patch, every uneven mortar joint. Never graze a wall you have mixed feelings about.
The layered answer — my actual recommendation: wash the main facade for that soft, whole-house glow, and graze one feature — the stone entry surround, the chimney, a brick accent wall — for drama. The contrast between the calm wash and the one dramatic grazed moment is what makes a lighting plan look designed rather than decorated. It also keeps costs sane, since you're only buying a couple of narrow-beam fixtures for the graze.
One more honest note: if you're unsure which your wall wants, mock it up. Prop a single bullet light 8 inches from the wall one night and 3 feet back the next night. Photograph both from the street. Your eyes will tell you in about five seconds which one your house prefers.
What Wall Washing Costs in 2026
Let's talk real numbers, because this is one of the rare home upgrades where the DIY version is genuinely excellent and the professional version is genuinely worth considering. Both are cheaper than you'd think.
The DIY route: $250–$700 for a typical front facade. The math is simple. Four to six LED bullet spots or well lights at $40–$120 each ($160–$$600), a low-voltage transformer at $60–$150 (size it for your total wattage plus 20% headroom), plus low-voltage cable, connectors, and a timer or photocell ($40–$80). A 40-foot ranch needing five fixtures lands around $400–$500 all-in. No electrician required — low-voltage landscape wiring is homeowner-friendly, the cable just buries a few inches deep, and there are a hundred video tutorials for the wiring basics.
The professional route: $1,500–$4,000 for design plus installation. A lighting designer or landscape lighting contractor charges for what you can't easily buy: an eye for the plan, commercial-grade fixtures with better optics and longer warranties, clean wire runs, and a transformer sized and placed properly. For a straightforward front facade, expect $1,500–$2,500. For a larger home with layered washing, grazing accents, and tree uplights folded into one plan, $3,000–$4,000 is realistic. In my experience, the pro premium is most worth it on two-story homes and tricky lots — anywhere the placement math gets complicated.
Running costs are almost nothing. A five-fixture LED wash drawing 25 watts total, running 5 hours a night, uses about 3.75 kWh a month — roughly 50 to 75 cents on an average US electric bill. LED fixtures last 25,000 to 50,000 hours — a decade or more of evening use — so the "replace the bulbs" era is effectively over.
The value question: landscape lighting consistently ranks among the highest-ROI curb appeal upgrades, and a washed facade photographs dramatically better for listings. But honestly? The real return is pulling into your driveway every night and loving what you see. That's worth $400.
7 Wall Washing Exterior Lighting Mistakes That Ruin the Effect
I've seen every one of these in the wild, and every one is fixable. Run through this list before you finalize anything.
1. Hot spots from fixtures parked too close. The classic. A fixture 12 inches from the wall creates a blazing circle at the bottom and darkness above. Remember the one-third rule — distance is what makes a wash a wash.
2. The scallop necklace. Fixtures spaced too far apart leave those upside-down-U bright patches with dark gaps between them, like a string of pearls across your facade. Overlap each pool of light by a third and the scallops disappear.
3. Cool-white color temperature. 4000K+ light on a brick house looks like a parking garage. Warm 2700K–3000K, always. This mistake is visible from the street in about two seconds.
4. Blasting the neighbor's windows. Light doesn't stop at your property line. A fixture aimed carelessly — or a wash on a side wall facing the neighbor's bedroom — makes you that house. Aim away from neighboring windows, keep side-yard washing minimal, and use shields or glare guards where needed.
5. Lighting the bushes instead of the house. Fixtures placed behind shrubs throw dramatic plant shadows across your beautiful wash. Either place fixtures in front of the planting bed or trim back anything between the fixture and the wall. Check this at night — daytime placement lies to you.
6. One brightness everywhere. A facade washed at full blast from foundation to roofline looks flat and a little aggressive. Let the light fall off naturally toward the top, or dim the upper reach. The most beautiful washes have a gentle gradient — bright and warm at eye level, softening as they rise.
7. Forgetting the off switch. A wash running all night wastes energy, annoys neighbors, and washes out the stars. Put the system on a timer or photocell — dusk to 11 p.m. covers every evening you'd actually be outside enjoying it. Your electric bill, your neighbors, and the night sky will thank you.
Safety and Electrical Basics
Good news first: low-voltage landscape lighting is one of the safest electrical projects a homeowner can take on. Twelve volts won't shock you the way household current can, which is why it's DIY-friendly. But "low voltage" isn't "no rules," so here's the non-negotiable list.
Outdoor ratings are mandatory. Every fixture, connector, and cable must be rated for outdoor/wet locations. Look for the UL or ETL listing mark on the box — if it doesn't have one, don't bury it in your yard. Fixtures should be IP65 or better (dust-tight and protected against water jets); anything sitting in a low spot that puddles should be IP67.
GFCI protection for the transformer. Your low-voltage transformer plugs into a standard outdoor outlet, and that outlet must be GFCI-protected — it's code in most places and plain common sense everywhere. If your outdoor outlet isn't GFCI, swap it or have an electrician swap it before you plug in a transformer. This is a $15 part and the most important safety item in the whole project.
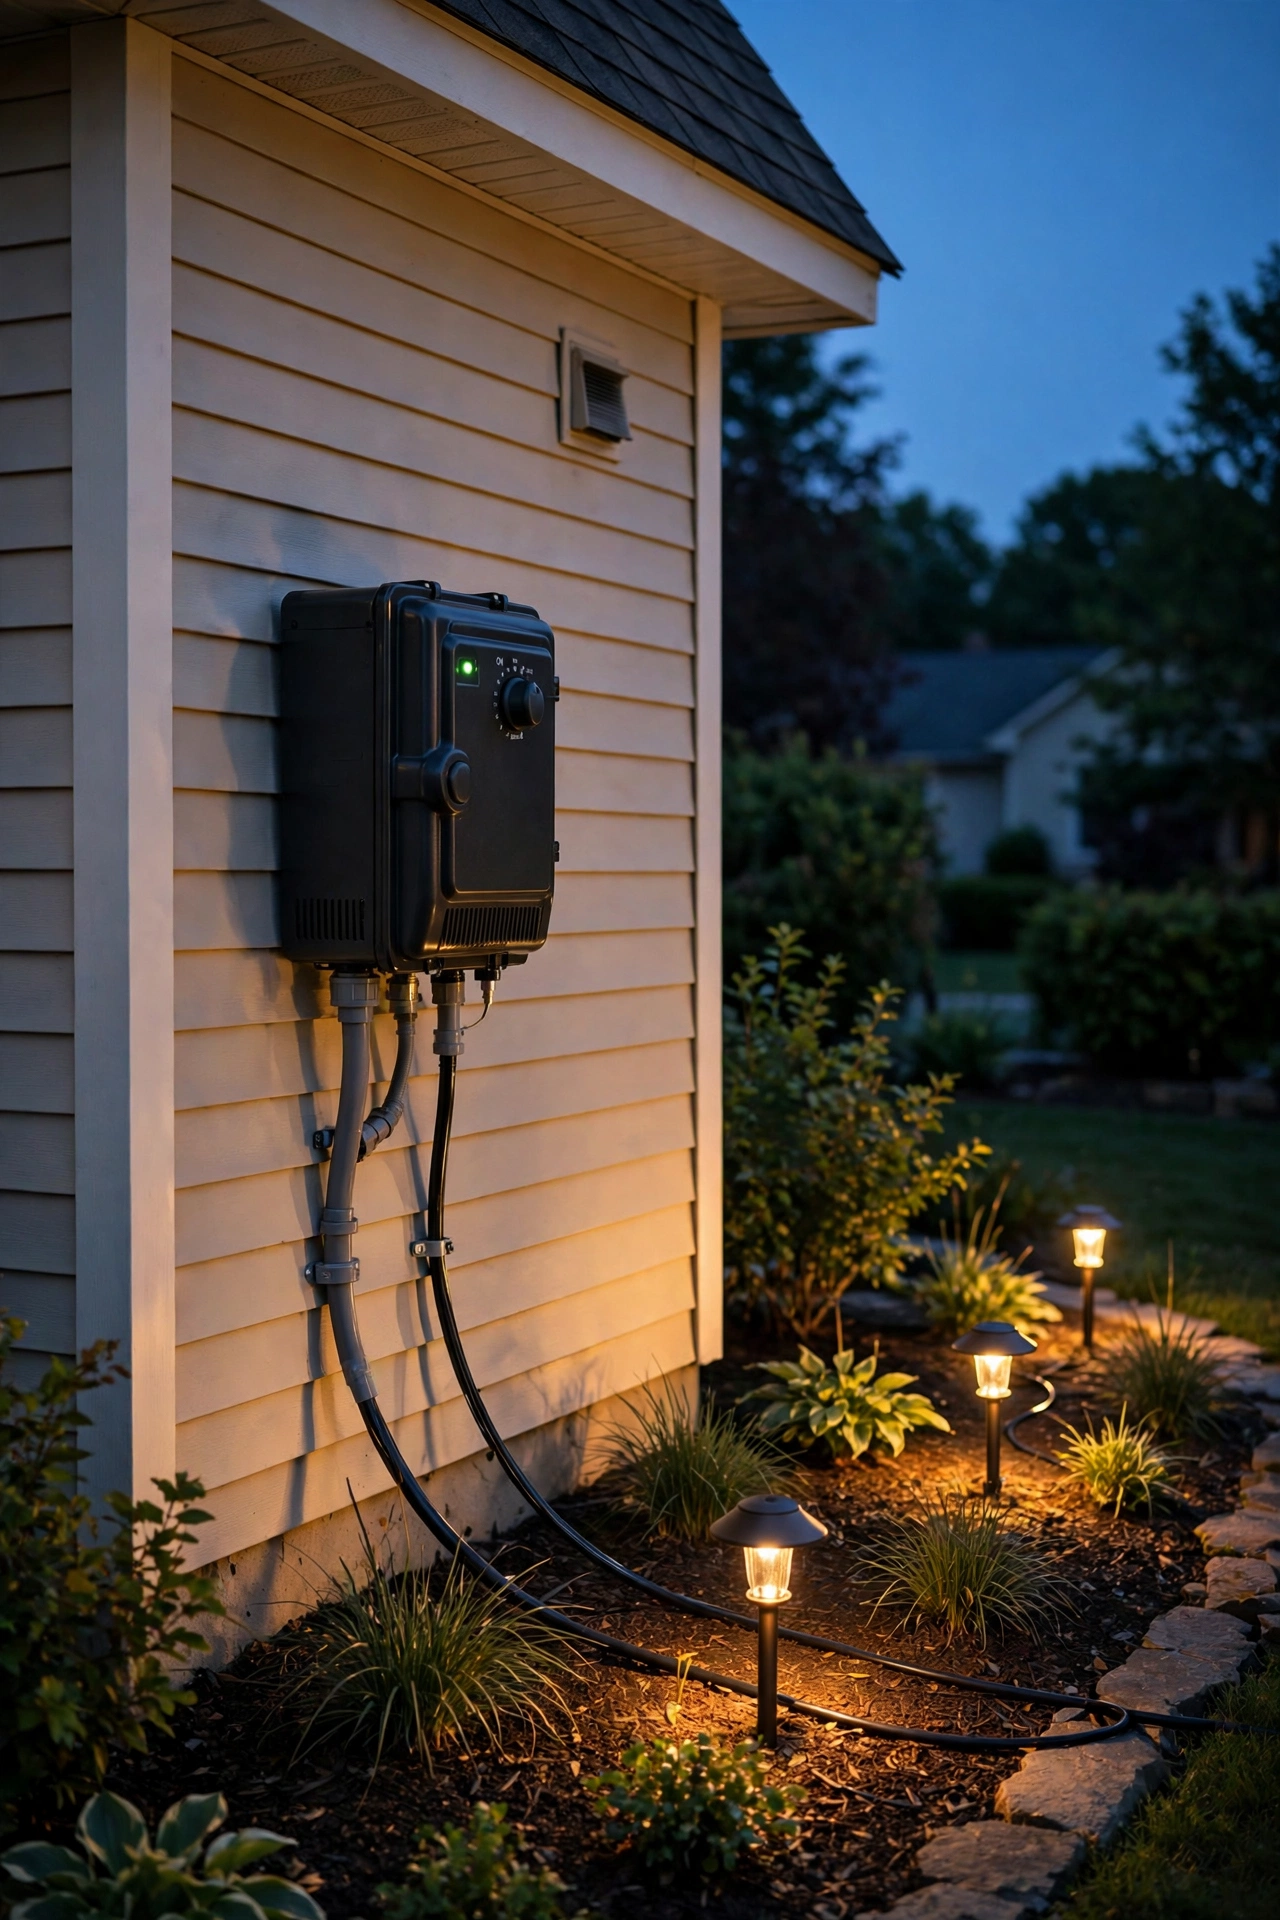
Transformer sizing and placement. Add up the wattage of all your fixtures, then buy a transformer rated for at least 20% more — running one at max capacity shortens its life. Mount it on the house wall near the outlet, at least a foot off the ground. Keep wire runs short; very long runs cause voltage drop, which makes the last fixture in the chain dimmer than the first. If a run must exceed 50 feet, use heavier 12-gauge cable instead of 14.
Cable burial and connections. Low-voltage cable only needs to sit a few inches under mulch or soil — but don't lay it on the surface where mowers will find it. Use waterproof, grease-filled wire connectors for every splice, never indoor wire nuts. And call 811 before you dig, even for shallow trenches. It's free, and "I was only digging six inches" is not a defense against a gas line.
LED-only near anything flammable. Old halogen landscape lights ran hot enough to scorch mulch and melt siding — one of the real hazards of the old technology. LEDs run cool, which is a genuine safety upgrade, not just an efficiency one. If you're inheriting old halogen fixtures from a previous owner, replace them with LED before you do anything else.
When to call an electrician: if you need a new outdoor outlet, if your panel needs a new circuit, or if any part of the plan involves 120V wiring beyond plugging in a transformer. The low-voltage side is yours; the line-voltage side is theirs. No shame in that split — it's exactly how the pros do it too.
Keeping the Glow Alive: Simple Maintenance
Here's the lovely secret about a well-built LED wash: there's almost nothing to do. But "almost nothing" isn't "nothing," and twenty minutes twice a year keeps the effect looking brand new.
Spring and fall walkthrough. Twice a year, walk the fixture line at night. Shrubs grow — a bush that was a foot tall at install time is now throwing a shadow across your wash. Trim back anything encroaching on the beam path, and check that fixtures haven't tilted after freeze-thaw cycles.
Clean the lenses. Dust, pollen, sprinkler mineral deposits, and the occasional spider condo all dim a fixture over time. A quick wipe with a damp cloth restores full output — you'd be surprised how much brightness a season of grime steals. If sprinklers hit the fixtures, adjust the heads; mineral crust on a lens is the slow killer of washes.
Check connections yearly. Pop open a couple of wire connectors and look for corrosion — green, crusty, or loose means redo the splice with a fresh waterproof connector. One corroded connection can dim every fixture downstream of it, and it's a five-minute fix if you catch it early.
The 10-year horizon. Quality LED fixtures last 25,000–50,000 hours — the LEDs will likely outlive your interest in the fixtures. What actually ages is the housing: finishes fade, stakes loosen, gaskets dry out. Budget for a fixture refresh every decade or so. For less than a dollar a month in electricity and twenty minutes of maintenance twice a year, this is the lowest-maintenance glow-up in home improvement.
Frequently Asked Questions
How far from the wall should wall washing lights be placed?
The standard rule is one-third of the wall's height: about 3 feet back for a 9-foot first-story wall, about 6 feet back for an 18-foot two-story wash. Closer than that, you get hot spots at the bottom and darkness at the top; much farther, and the light spreads too thin to read as a wash. Space fixtures 6 to 10 feet apart so their pools of light overlap by about a third — that overlap is what eliminates scalloping.
Can you wall wash vinyl or fiber-cement siding?
Yes, but with realistic expectations. Smooth siding is the least textured surface on a house, so a wash reads as a smooth gradient of light rather than the rich texture-play you get on brick or stone. It still looks dramatically better than a dark facade. Keep fixtures a little farther back than the one-third rule suggests — distance forgives waviness — and use lower brightness so the siding doesn't blow out to pure white. Board-and-batten siding is the exception; its vertical battens catch a wash beautifully.
LED vs. halogen for wall washing — does it still matter in 2026?
LED won this fight years ago and it's not close. LEDs use roughly 80% less energy, run cool enough to sit near mulch and siding safely (halogens ran hot enough to scorch), and last 25,000+ hours versus about 2,000 for halogen. If you've inherited old halogen landscape lights, replacing them with LED is the highest-value upgrade you can make.
Will wall washing bother my neighbors?
It can if you're careless, but a well-planned wash shouldn't. Aim fixtures at your own walls, keep side washes minimal or shielded, add glare guards where a fixture's lens is visible from next door, and put everything on a timer that shuts off by 11 p.m. When in doubt, walk over after dark, stand in their yard, and look — thirty seconds of neighborliness prevents years of side-eye.
What does one wall washing fixture cost, installed?
For DIY, $40–$120 per fixture depending on type — bullet spots on stakes at the low end, in-ground well lights and linear washers at the high end — plus a shared transformer ($60–$150) and cable. Professionally installed, figure $250–$500 per fixture all-in, which covers commercial-grade hardware, design, wiring, and labor. Most front facades need 4 to 6 fixtures, so a typical DIY project lands around $400–$500 total and a pro job around $1,500–$2,500.
Conclusion
Wall washing exterior lighting is that rare project that's simple to understand, affordable to execute, and genuinely transformative once it's done. The whole recipe fits in a sentence: warm 2700K–3000K LED fixtures, set back one-third of the wall's height, spaced so their beams overlap, aimed on a dark evening, and shut off by eleven. Do that, and the flat dark box you pull up to becomes the house that glows — brick warm, stone alive, architecture finally visible after sunset.
Pair your new wash with the right entry lighting — a front door sconce pair or classic outdoor wall lanterns — browse our lighting ideas, and start planning the evening version of your home.