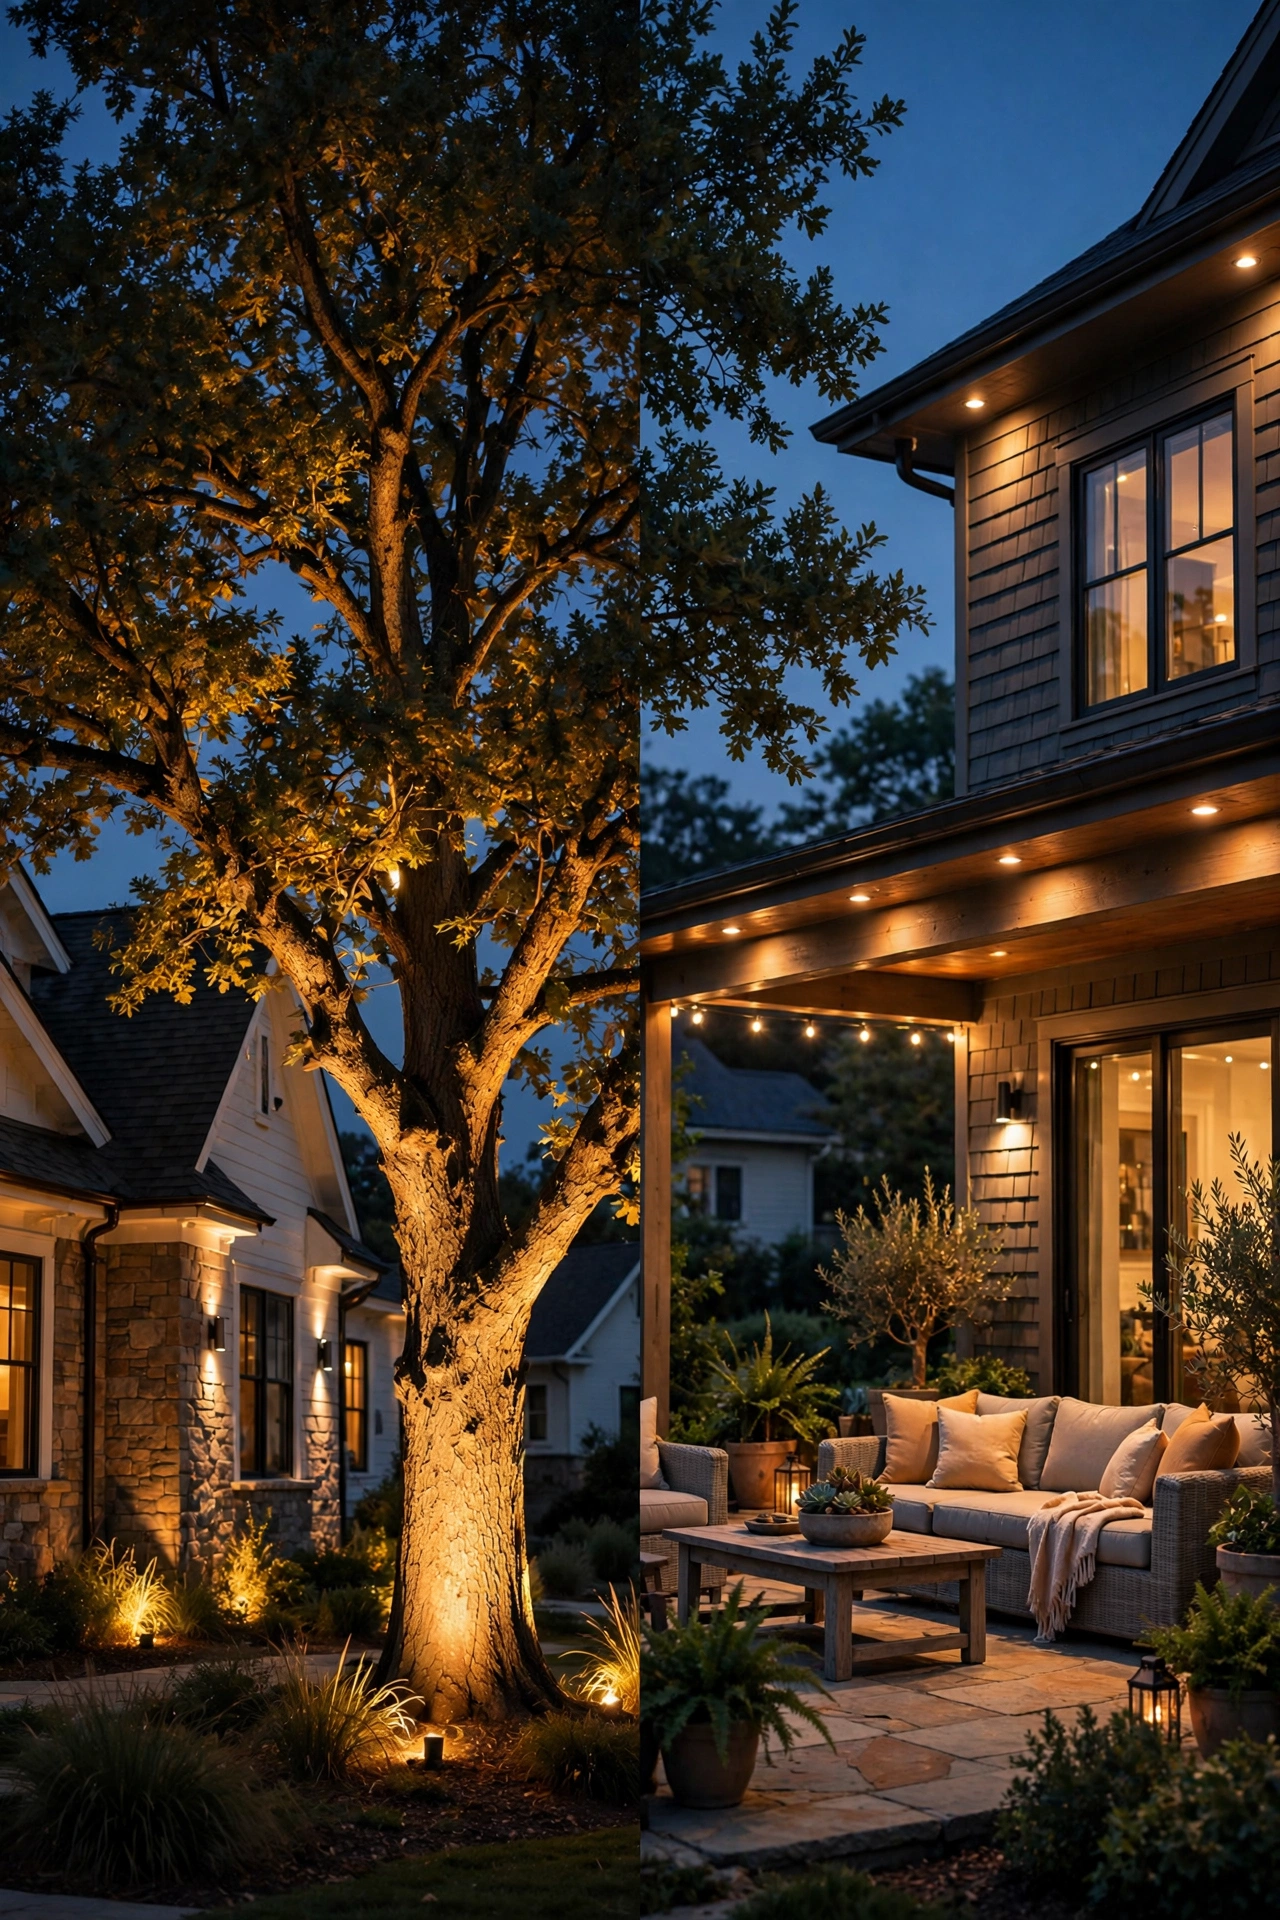
Stand in your yard after dark and look around. Chances are the scene is either pitch black or lit by one lonely porch bulb throwing a harsh glare — neither does your home any favors. The difference between a yard that glows like a magazine cover and one that just looks… lit… usually comes down to one simple choice: uplighting vs downlighting, and knowing when each one earns its place.
In my experience, most people pick a fixture type before they even know what they want the light to *do*. They buy a box of stake lights, scatter them around the flower beds, and wonder why the yard looks flat. The secret is direction. Light that points up creates drama, height, and texture. Light that points down creates safety, usability, and that soft, moonlit feeling that makes a patio somewhere you actually want to sit after 9 p.m.
By the end of this guide, you'll know exactly how uplighting and downlighting work, which fixture types to buy, how many you need and where to put them, what it'll cost you in 2026, and the mistakes that make the whole thing look amateur. Let's get your yard glowing the right way.
The Short Answer
Uplighting points light upward from the ground to highlight trees, facades, columns, and focal points — it's your drama and curb-appeal light. Downlighting points light downward from above (trees, eaves, soffits, pergolas) to create soft, even pools of light for paths, patios, and seating areas — it's your safety and usability light. Use uplighting to show off what looks good, downlighting to make spaces you actually walk and sit in safe and welcoming. Most beautiful landscapes use both: uplights for the trees and architecture, downlights for the paths and gathering spots.
How Uplighting Works (and What It Does Best)
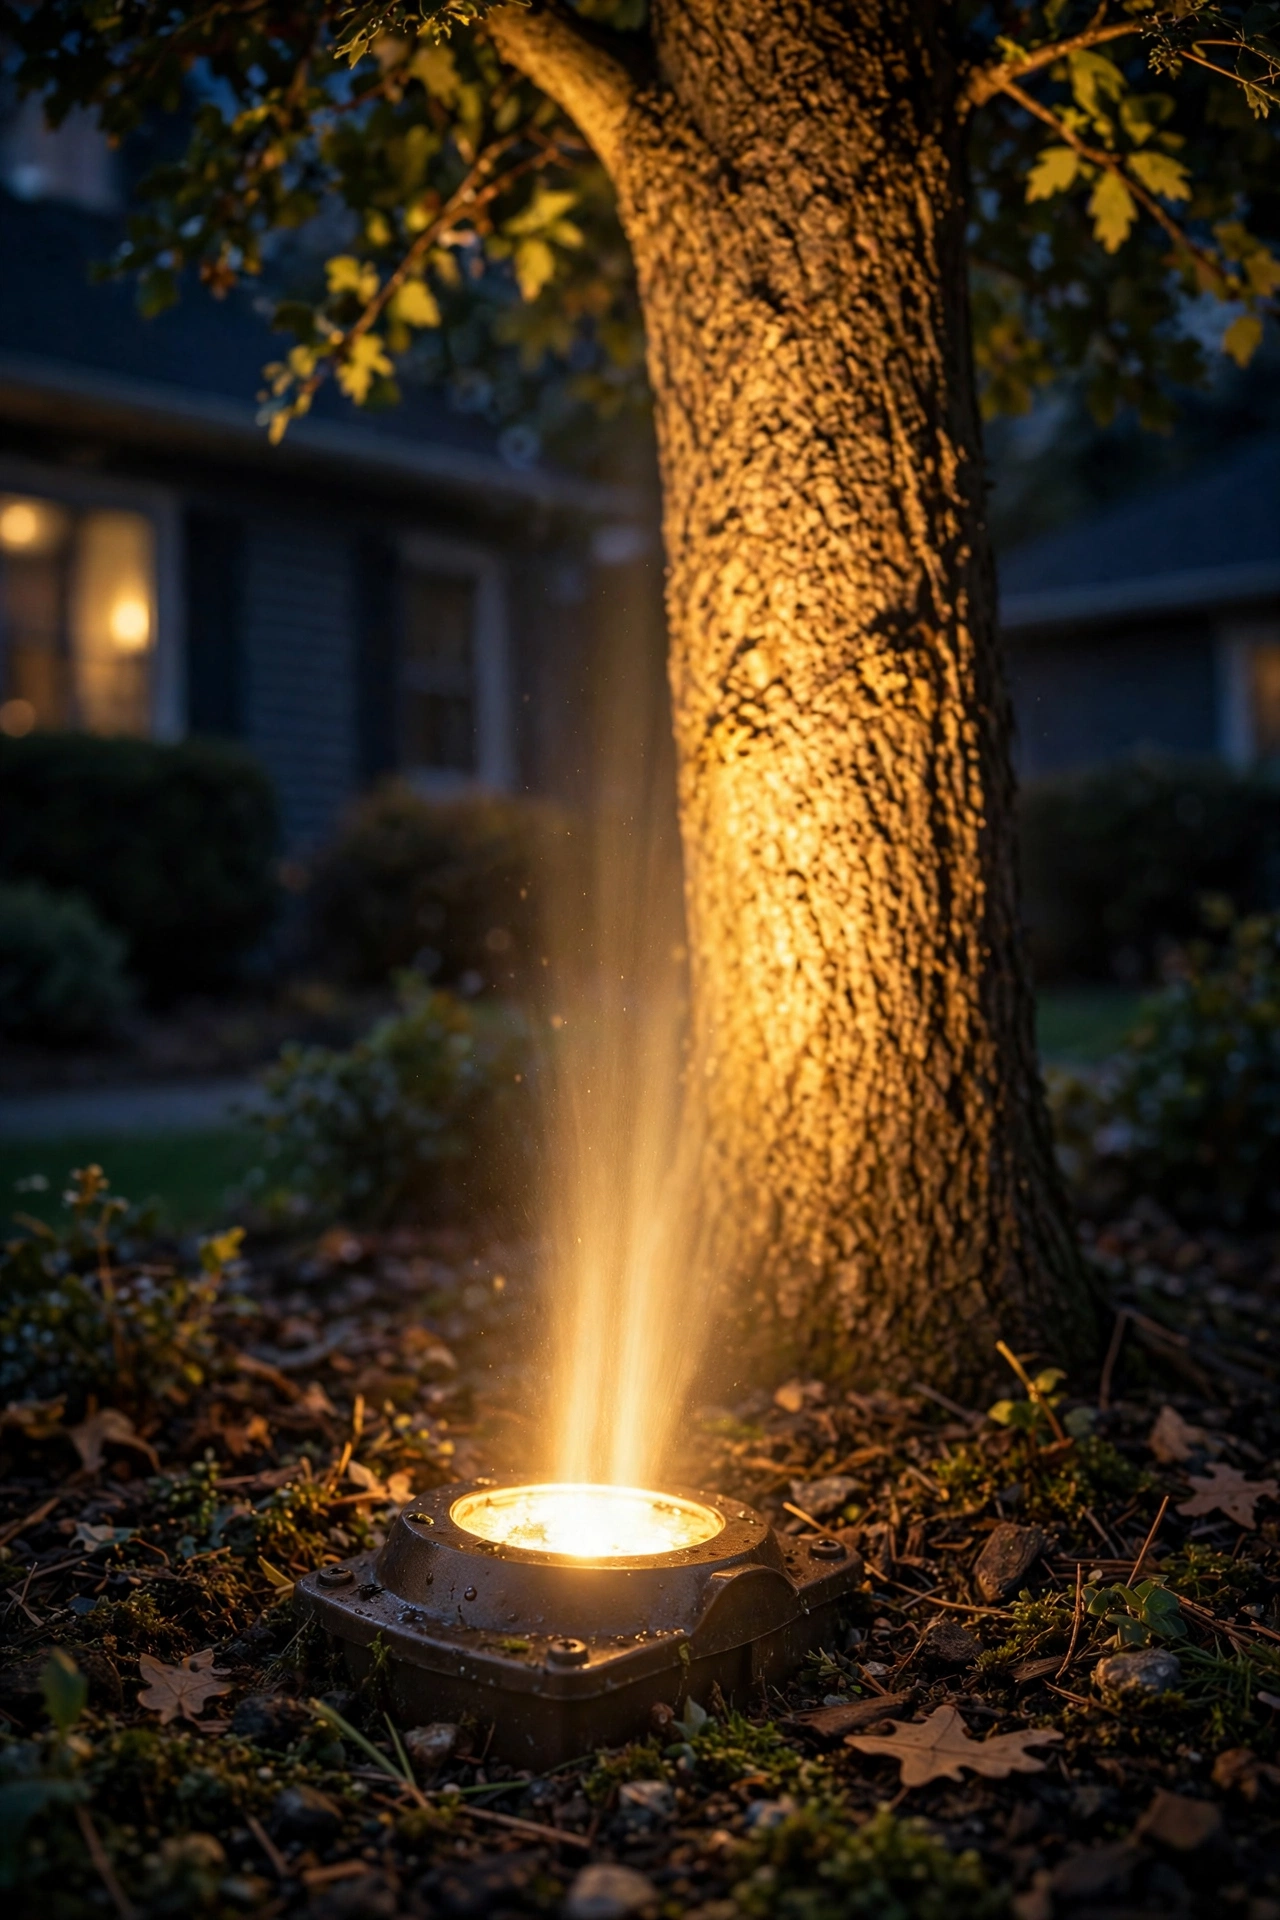
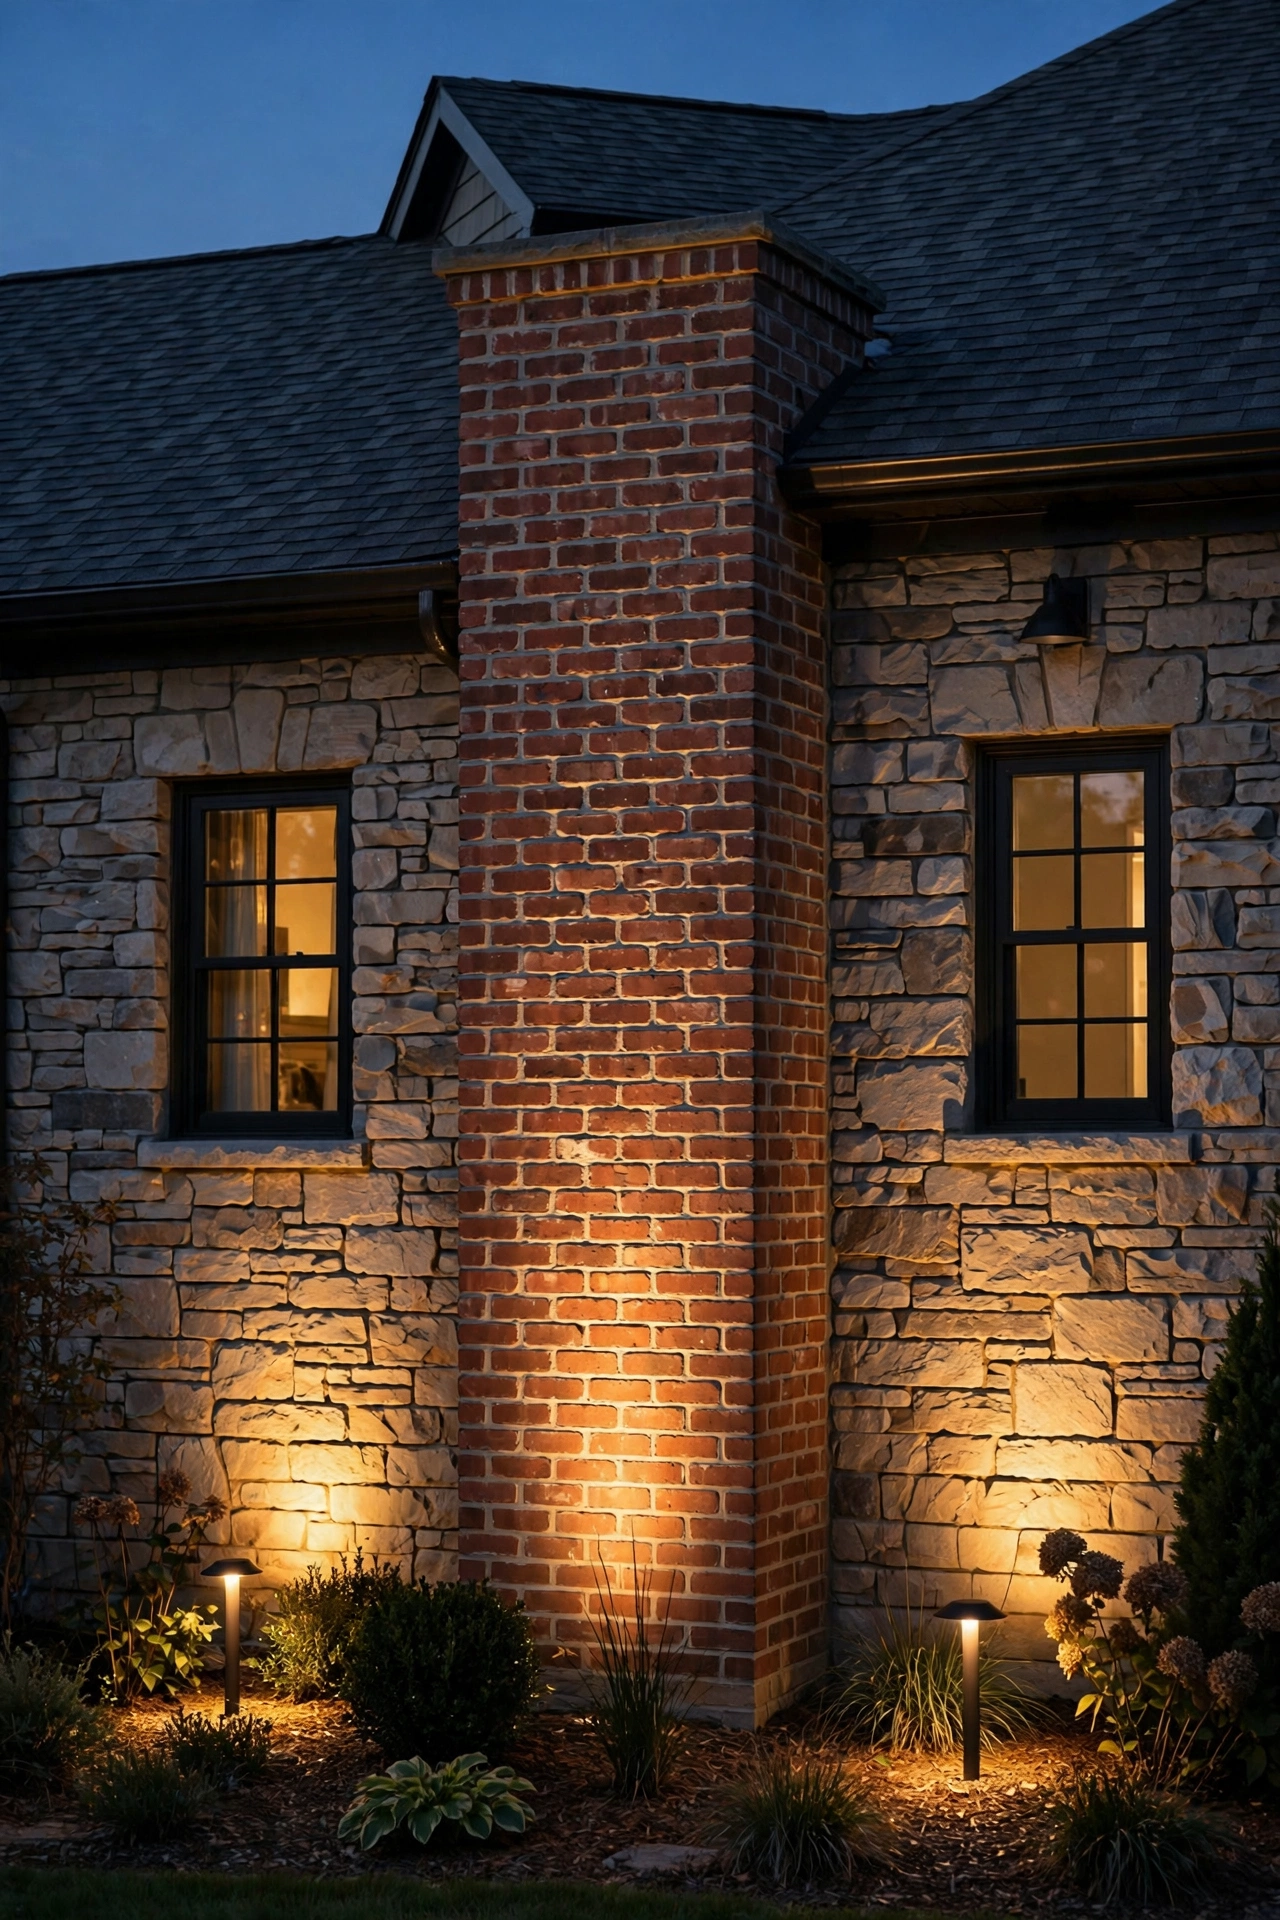
Uplighting is the showman of landscape lighting. Fixtures sit at or near ground level — staked into mulch, tucked into planting beds, or buried flush with the lawn — and throw a beam of light upward onto something worth looking at. That upward direction is doing two things at once: it grabs your eye because lit vertical surfaces stand out against the night sky, and it reveals texture you never see in daylight. The bark of an old oak, the stonework of a chimney, the fluted columns of a porch — all of them look richer and taller when washed from below.
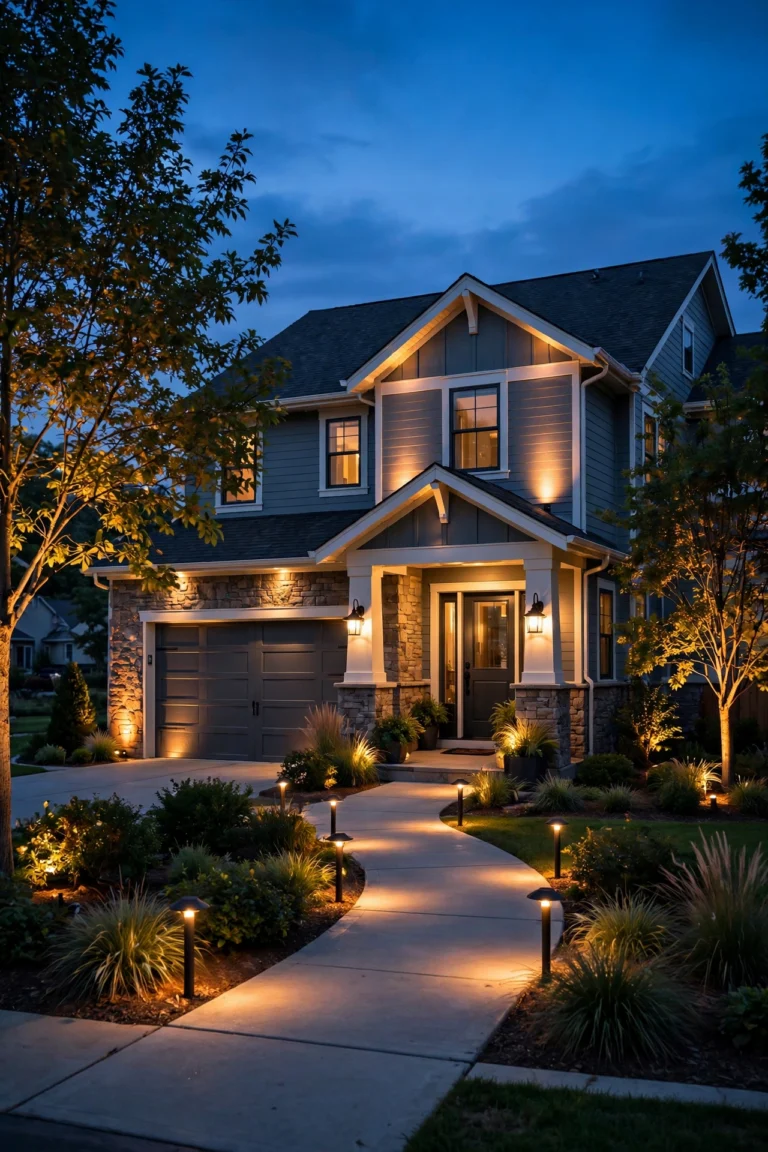
What makes uplighting so flattering is how forgiving it is. A single well-placed fixture can transform a tree from a dark blob into the anchor of your entire front yard. Facades come alive too: grazing light up a brick or stone wall makes every course pop, and lighting two flanking columns turns an ordinary entry into something that feels intentional and expensive. Honestly, if curb appeal is your main goal, uplighting gives you the most visual payoff per fixture of anything in landscape lighting.
It's not just pretty, either. Uplights on the corners of a house or along a facade make a property look occupied and cared for, which is its own quiet form of security. The catch — and we'll get into this in the mistakes section — is that uplighting aimed at nothing looks aimless, and fixtures left tilted at the wrong angle throw glare right into your guests' eyes. Direction matters more than brightness, every single time.
How Downlighting Works (and What It Does Best)
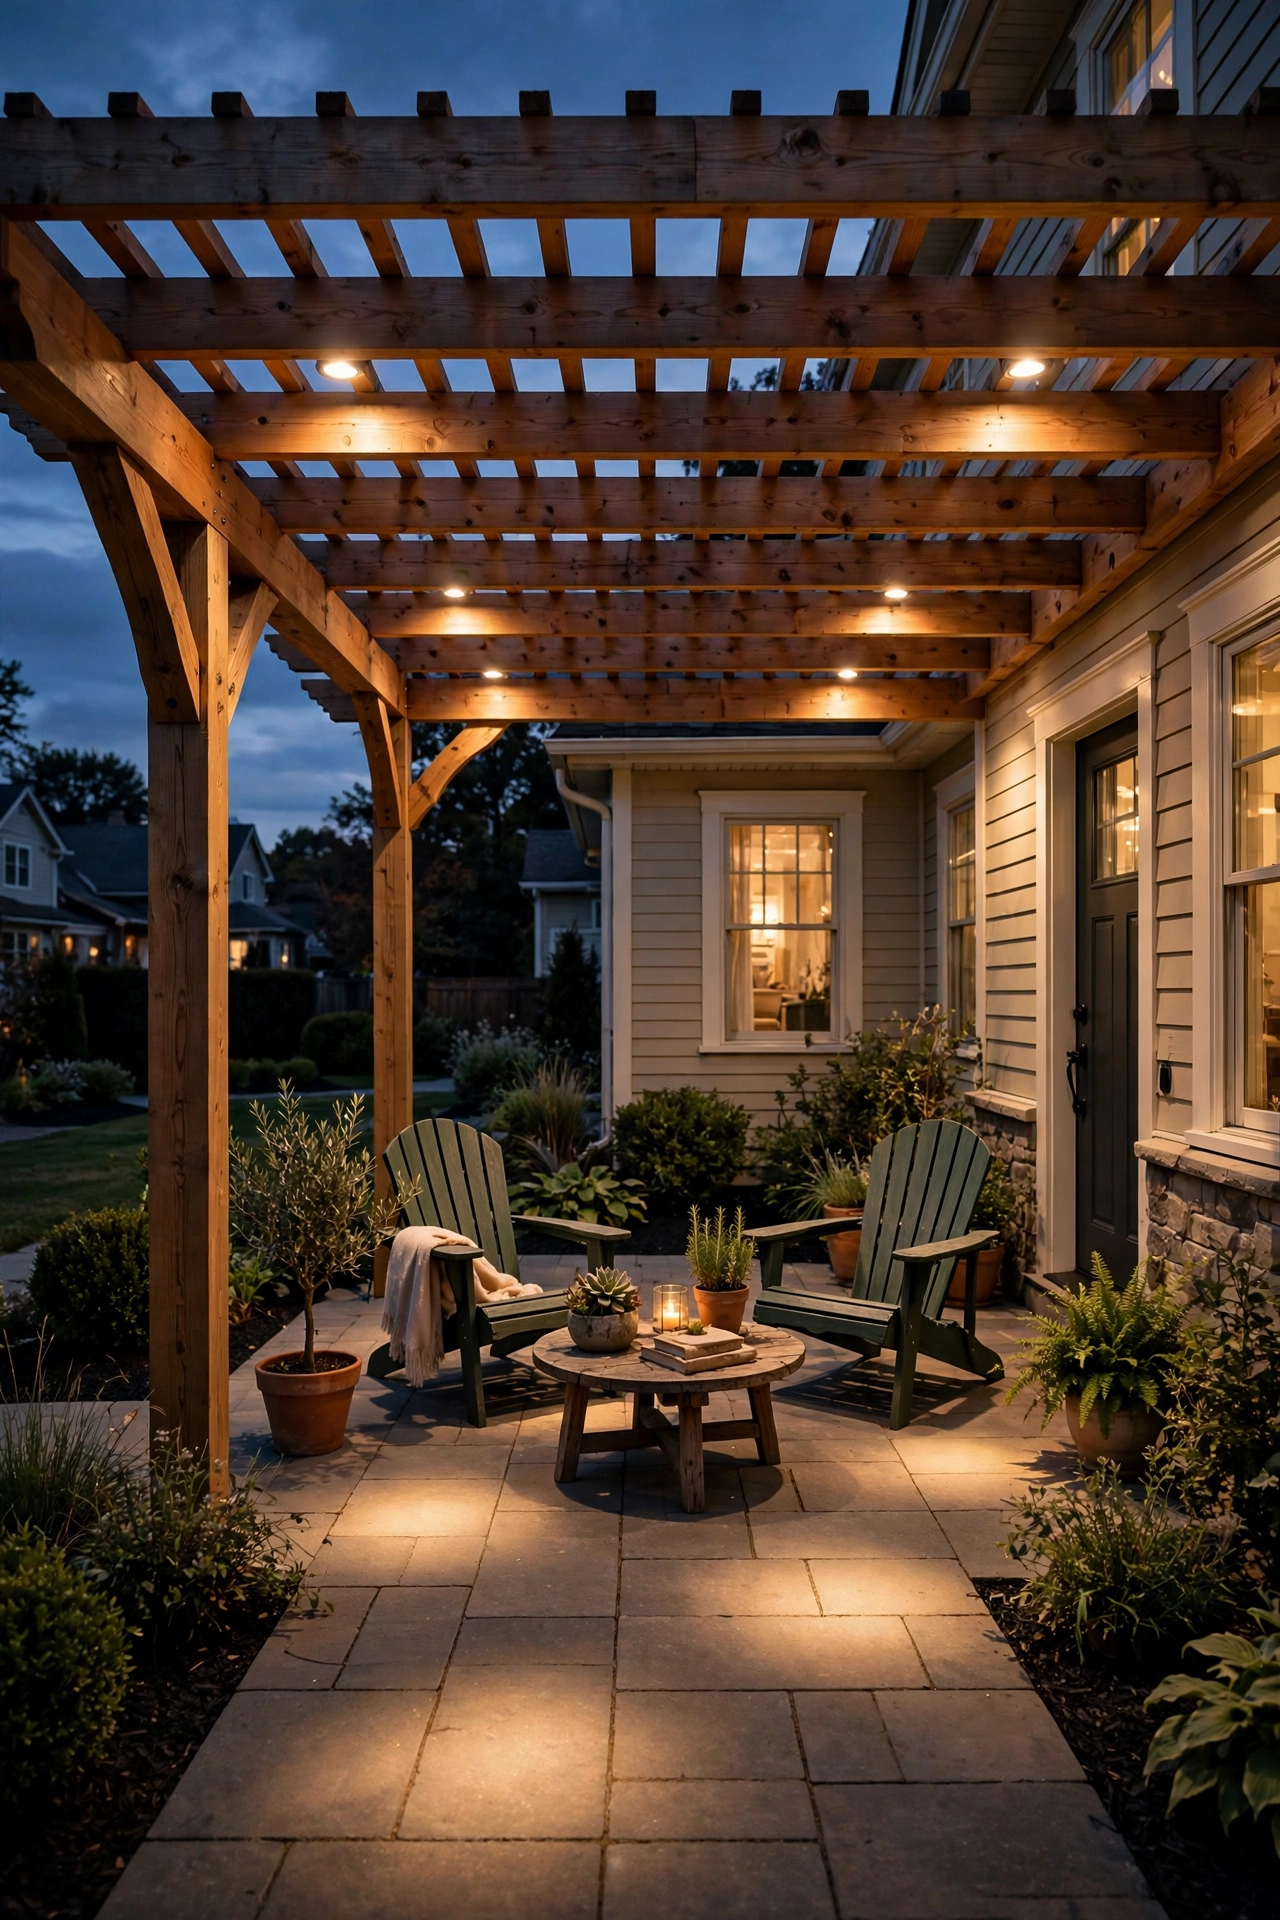
Downlighting is the quiet workhorse. Fixtures mounted overhead — in tree branches, under eaves and soffits, on pergolas, arbors, or deck rails — cast light downward in soft, natural-looking pools. Done well, it mimics moonlight: gentle, even, and easy on the eyes. It's the light that lets you actually *use* your outdoor spaces after dark instead of just admiring them from the window.
The magic of downlighting is that it lights surfaces rather than objects. A path becomes visible and safe. A patio becomes a place for dinner. Steps stop being a tripping hazard. Because the light source is hidden above eye level, there's almost no glare — you see the effect (a warm pool of light on the walkway) without seeing the fixture that's making it. That low-glare quality is why downlighting is the go-to choice around seating areas and dining spaces, where bright beams bouncing off faces would ruin the mood.
The best downlighting in my experience is the kind you barely notice. Mounted high in a mature tree — a technique pros call "moonlighting" — a fixture 18 to 20 feet up sends dappled light filtering through the leaves, throwing soft shadows that move gently in the breeze. It's the single most romantic lighting effect you can get outdoors, and it's all downlighting. The trade-off is installation: getting fixtures up into trees or onto a roofline takes more effort (and often a ladder you'd rather not climb) than staking a light into mulch.
Uplighting vs Downlighting: The Fixture Types Compared Honestly
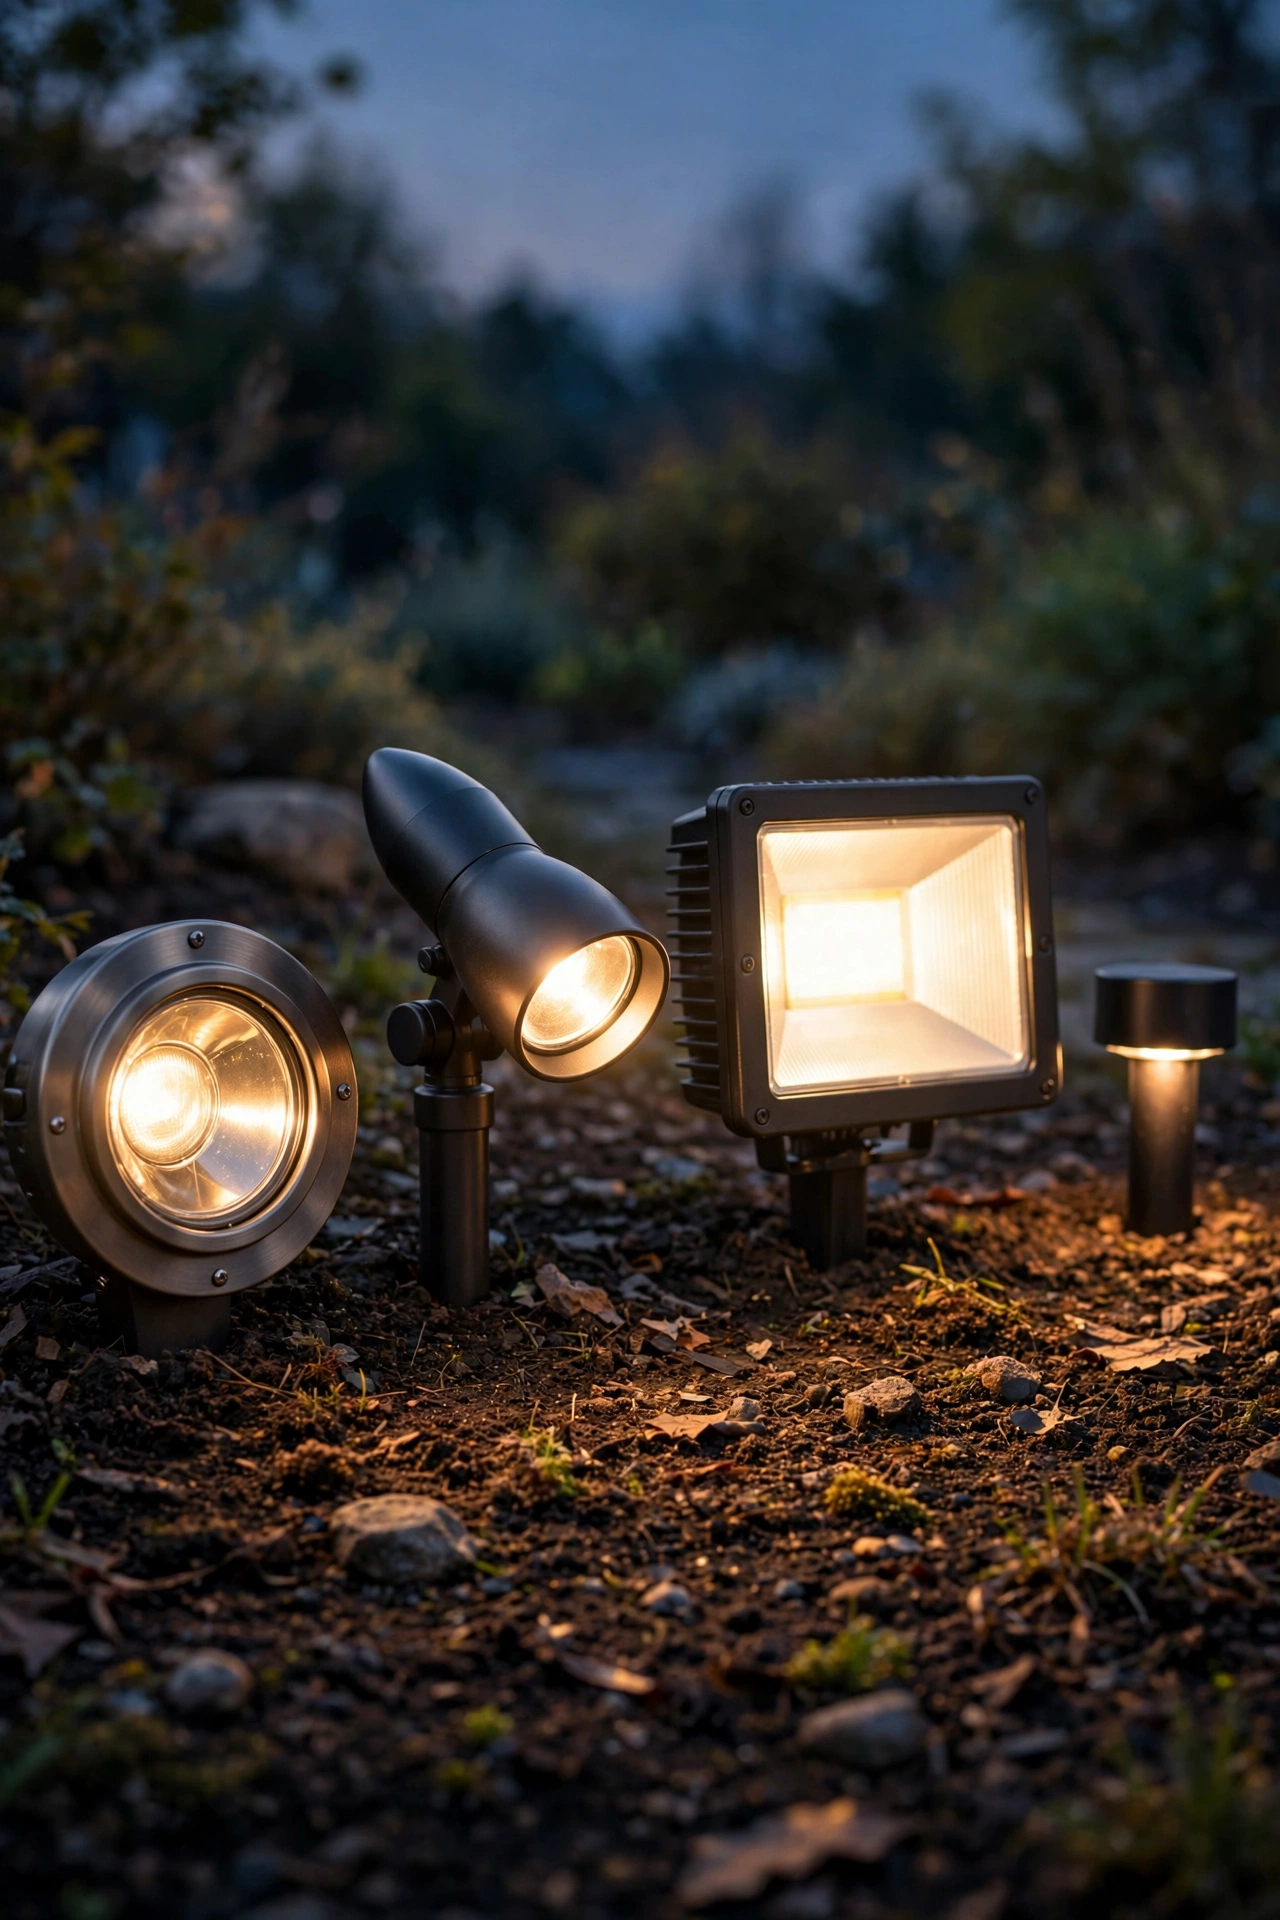
Before we get into placement, let's sort out what you're actually buying. Here's how the main fixture types stack up on cost, effort, and best use.
| Fixture type | Light direction | Typical cost per fixture | Install effort | Best for |
|---|---|---|---|---|
| Well lights (buried) | Up | $40–$90 | Medium (digging) | Tree trunks, facades, columns; invisible by day |
| Bullet/spot lights (staked) | Up | $25–$70 | Easy (stake in) | Trees, shrubs, architectural details, flags |
| Flood lights | Up or out | $30–$80 | Easy–medium | Wide facades, large trees, general wash |
| Downlight fixtures (tree-mounted) | Down | $50–$110 | Hard (ladder/climb) | Moonlighting through canopies, garden beds |
| Soffit/eave downlights | Down | $35–$75 each (wired) | Medium (electrical) | Patios, entries, porches, driveways |
| Hardscape/paver lights | Down/out | $45–$100 | Hard (built-in) | Steps, retaining walls, seating walls |
A few honest notes on this table. Well lights cost more and take more digging, but they're the pro choice around trees and lawns because there's nothing to trip over or mow around — they sit flush with the ground. Bullet lights are the easiest entry point and the most versatile, but they can look cluttered if you use too many, and the stakes loosen over time in soft soil. Flood lights are powerful and cheap per lumen, but they're blunt instruments — great for washing a big blank wall, terrible near windows where they'll blast light inside the house. Tree-mounted downlights give the most beautiful effect in all of outdoor lighting and also the most installation hassle; if you're not comfortable 20 feet up a ladder, this is a job for a pro or a very tall friend.
Soffit downlights are worth calling out separately: if you have an overhang, entry porch, or covered patio, adding recessed or surface-mounted downlights there is one of the highest-value upgrades you can make. They light the exact spots people walk and gather, they're wired into the house so there's no transformer to fuss with, and they look completely intentional. For more on pairing these with fixtures on the wall itself, browse some outdoor wall lantern ideas to layer entry lighting the way designers do.
Where Uplighting Shines: Trees, Facades, and Focal Points
Let's get specific, because "highlight focal points" is the kind of advice that helps nobody. Here's where uplighting genuinely earns its money.
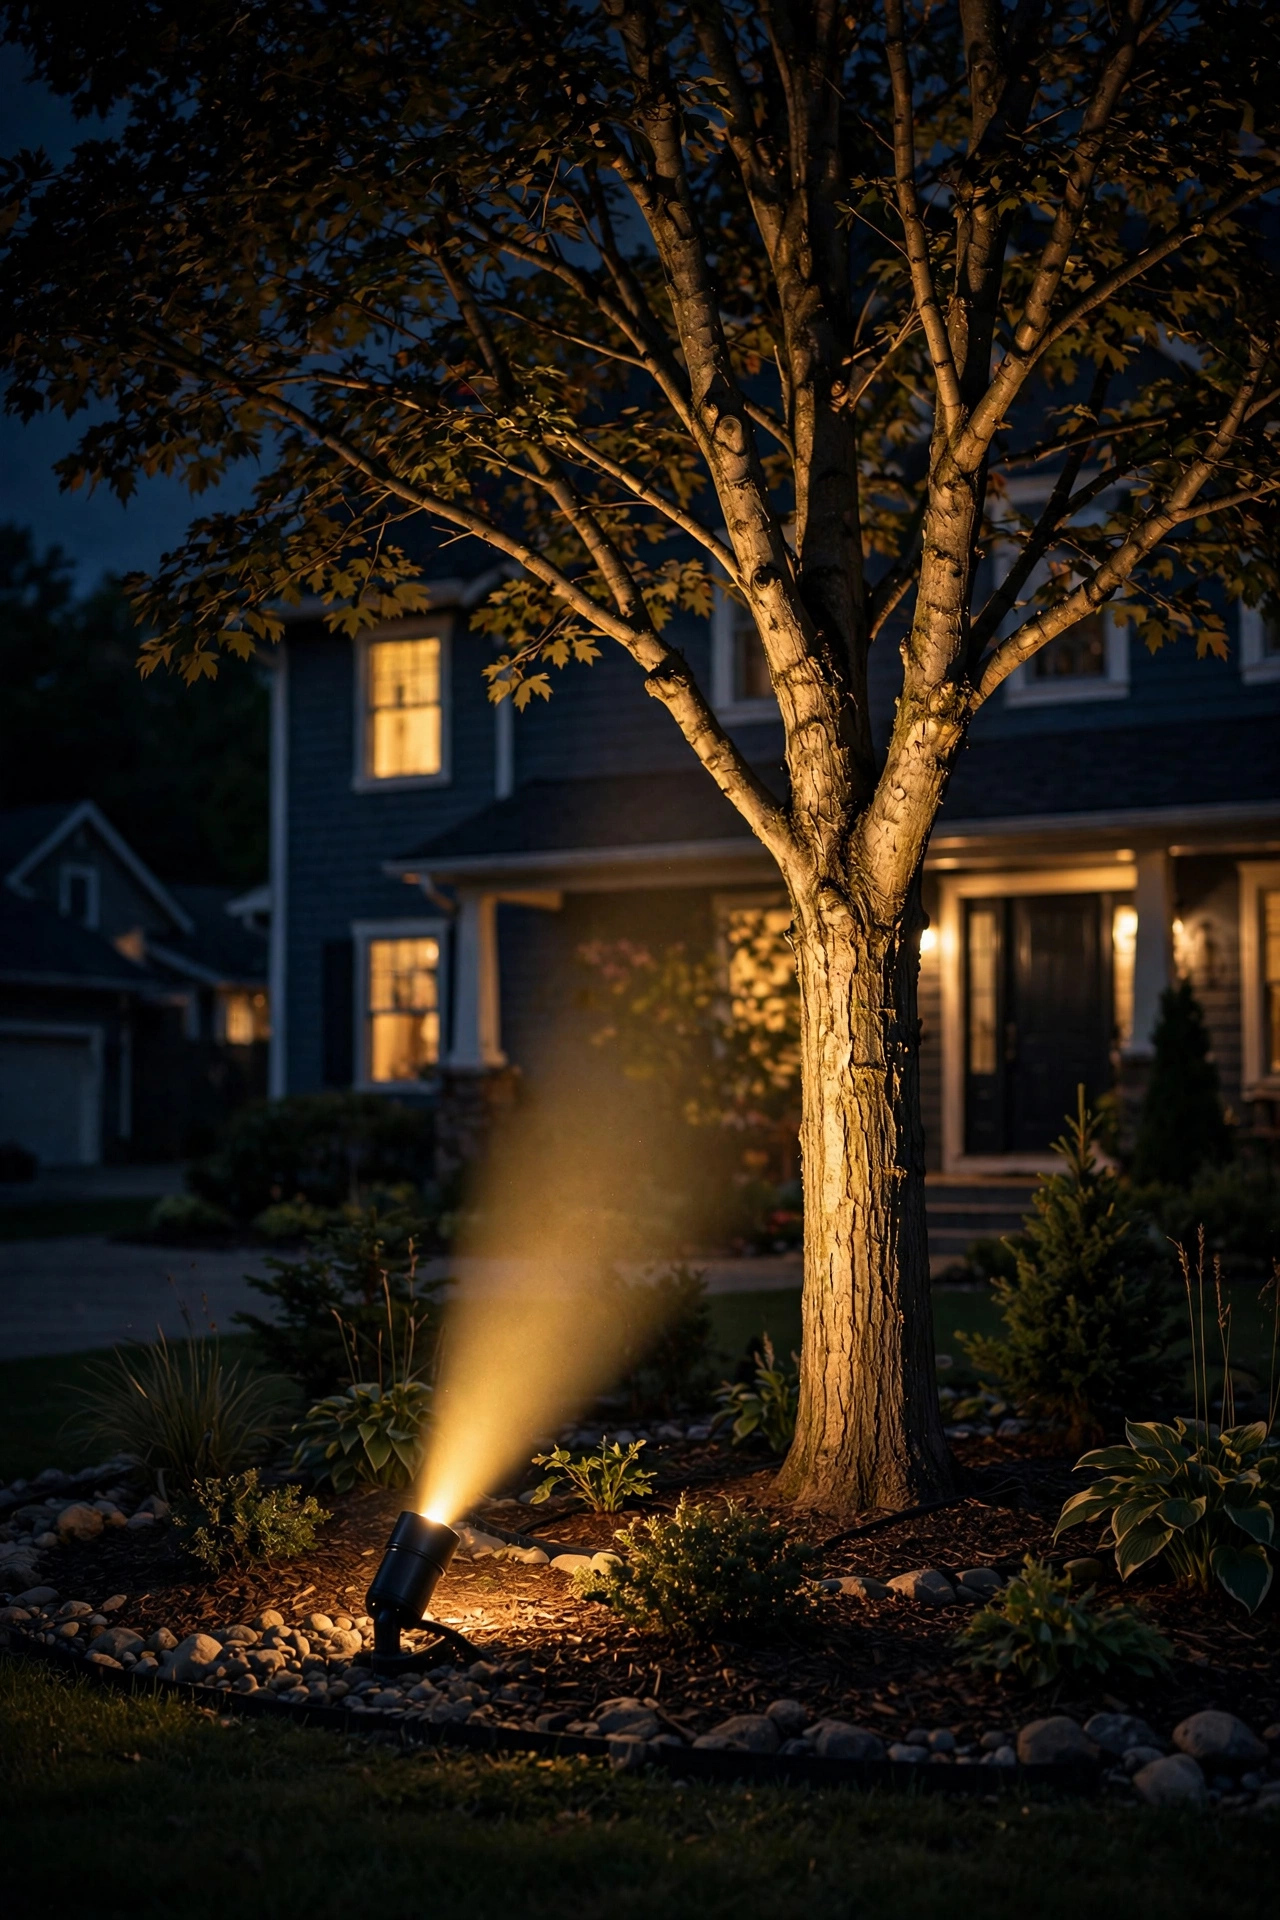
Trees: The number-one use for uplighting, and it deserves the reputation. Place one fixture 12 to 18 inches from the base of a tree, aimed up into the canopy. Deciduous trees with open branching structures (maples, oaks, crape myrtles) look spectacular because the light catches every branch layer. For evergreens, position two fixtures on opposite sides to avoid a flat, one-sided look. Multi-trunk trees — river birch, Japanese maple — are uplighting superstars; the light raking across several trunks creates depth that photographs beautifully.
Facades: Uplighting a house wall works best when there's texture to reveal: brick, stone, stucco, board-and-batten siding. Set fixtures 8 to 12 inches from the wall, spaced 6 to 10 feet apart, and let the beams overlap slightly for an even wash. Smooth vinyl siding is the one material I'd skip — grazing light across it mostly just shows every imperfection, and honestly it can look a little flat.
Columns, pillars, and entryways: Two fixtures flanking a column, aimed straight up, is the classic move for a reason. It frames the entry, makes the porch feel grand, and photographs like a dream for real estate listings. Mailbox posts, address plaques on stone piers, garden statues, and water features all take uplighting beautifully too.
Flags and specimen plants: If you fly a flag, code and good practice both say it should be lit at night — a bullet light aimed up at it is the standard solution. Large ornamental grasses, agave, and sculptural shrubs also look striking uplit, especially when the light catches their edges against a dark background.
The common thread: uplighting is for things that look good when seen. If it's worth looking at, light it from below.
Where Downlighting Shines: Paths, Patios, and Everyday Safety
If uplighting is for looking, downlighting is for living. Here's where it belongs.
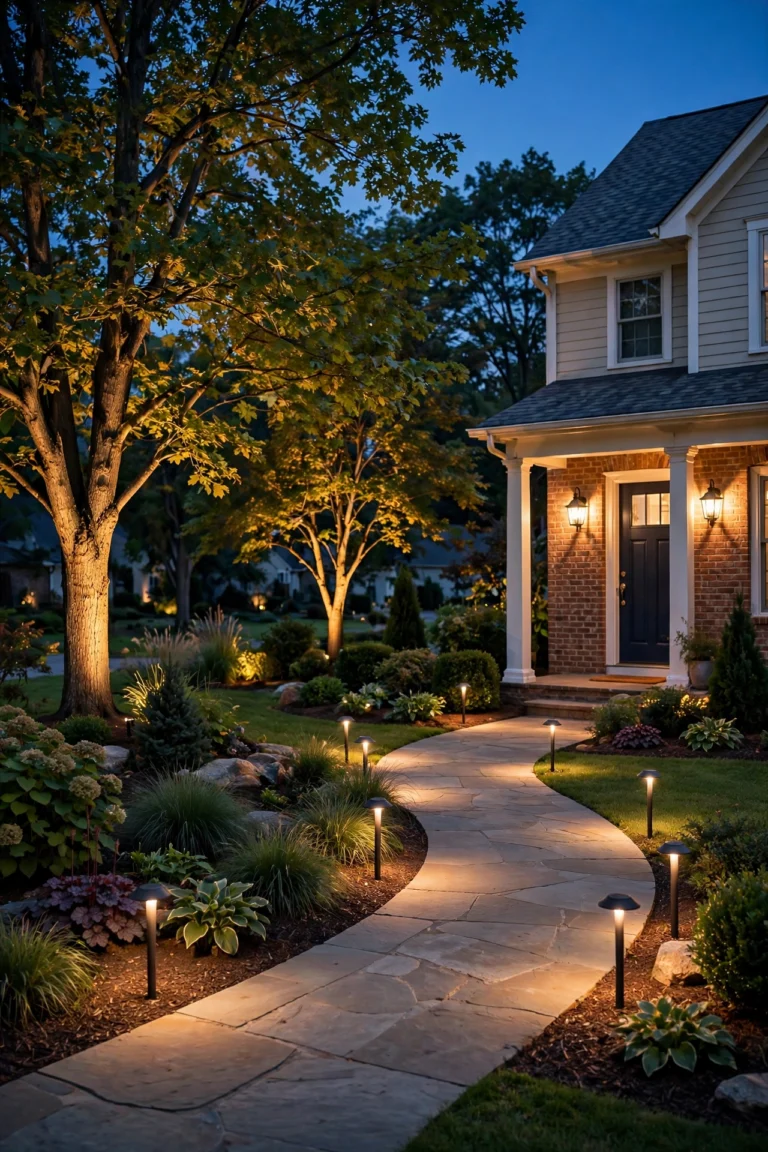
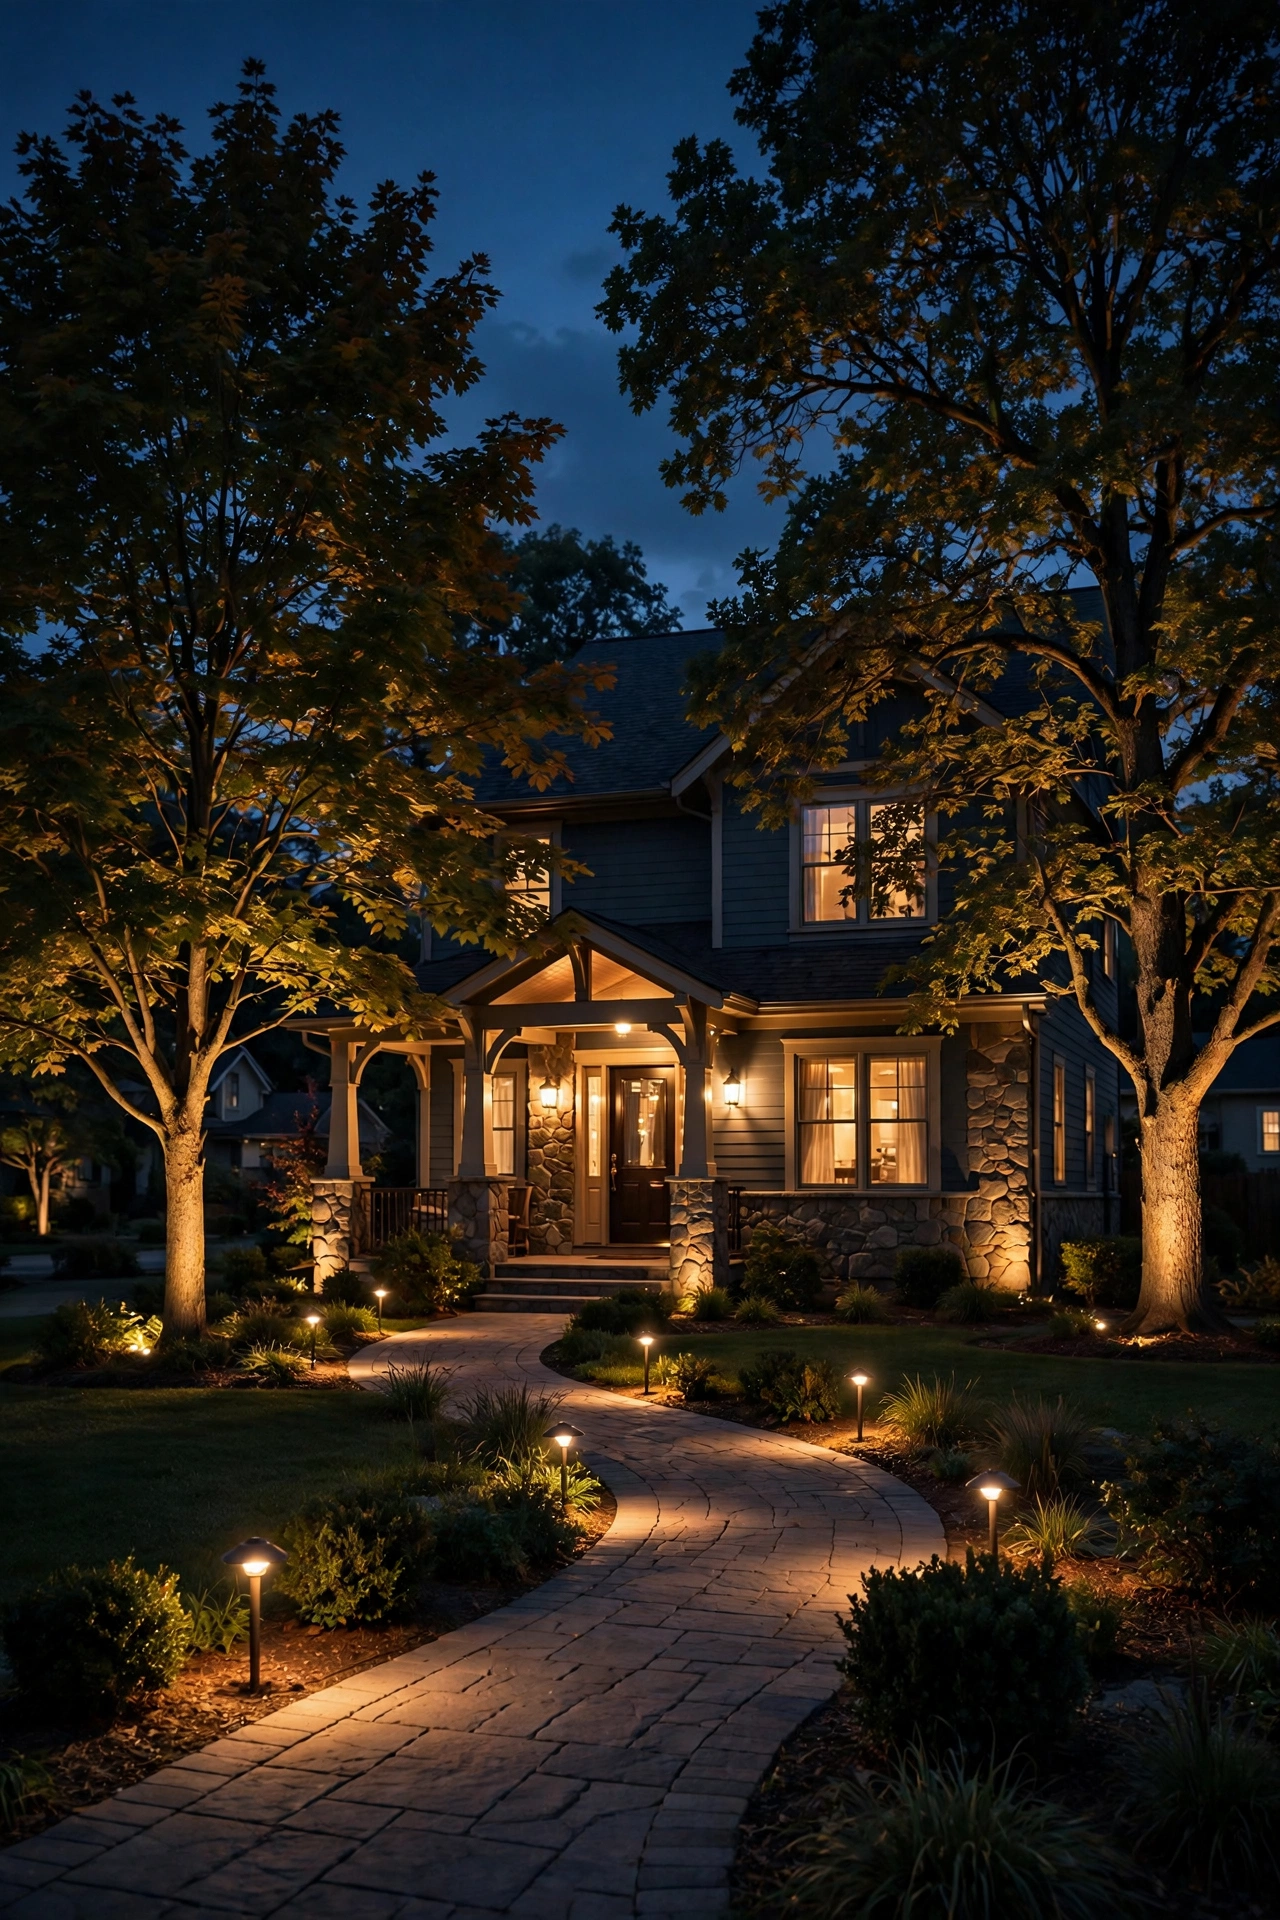
Paths and walkways: This is downlighting's home turf. While dedicated path lights (short bollard-style fixtures that shine down and outward) are the classic choice, overhead downlighting from a nearby tree or eave does the same job more elegantly. Either way, the goal is overlapping pools of light every 6 to 8 feet so there are no dark gaps where a guest might misstep. If you're planning a walkway project, my guide to low voltage path lights walks through spacing, brightness, and layout in detail.
Patios, decks, and seating areas: Overhead downlighting from a pergola, arbor, or tree is the single best way to light a gathering space. It puts light on the table and the faces around it without the glare of a bare bulb, and it makes the space feel defined — like an outdoor room rather than a dark slab. Soffit lights under a covered patio roof do the same job; space them 6 to 8 feet apart for even coverage.
Steps and grade changes: Anywhere the ground level shifts, downlighting isn't optional — it's safety. Hardscape lights built into stair risers or seating walls wash each step in light so edges are visible. A single downlight mounted on a post or wall above a short flight of steps prevents the "is there another step?" stumble that every guest seems to attempt.
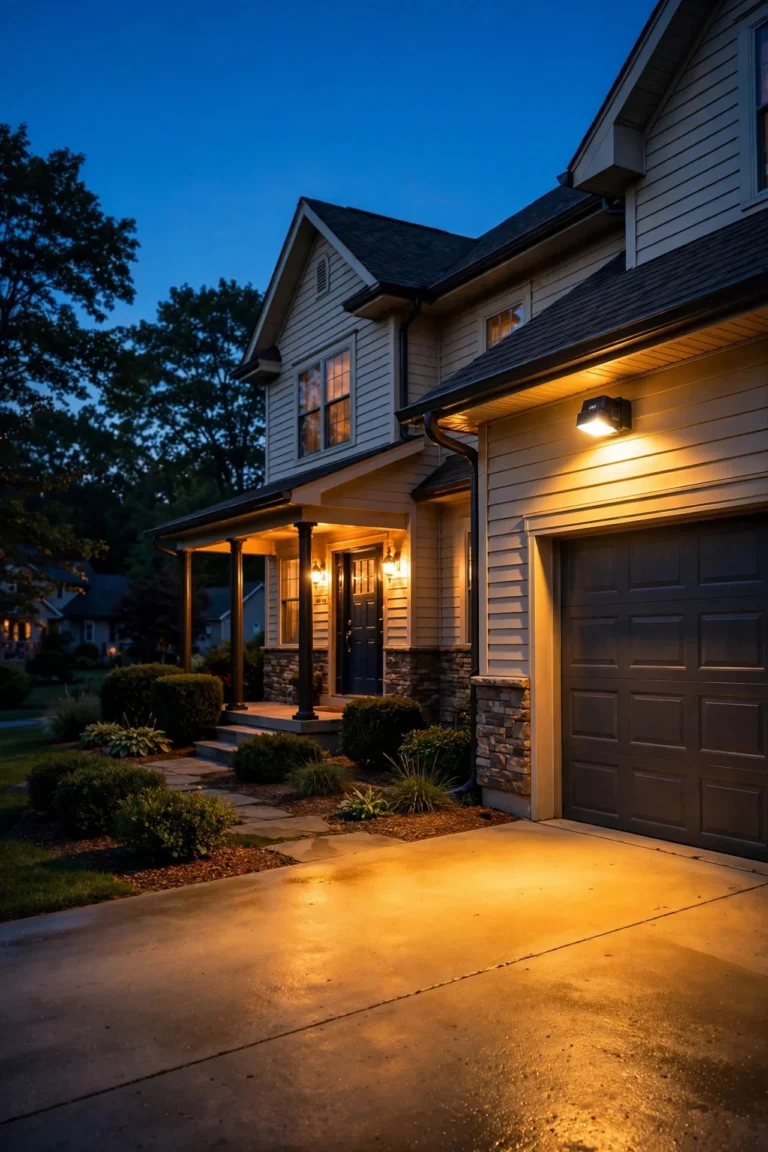
Driveways and entries: Downlights under eaves or on garage-mounted fixtures light the ground where people walk from car to door. This is functional light first, pretty second — and that's exactly right.
Outdoor kitchens and grills: If you cook outside after dark, a downlight above the grill or prep area is one of those small things that makes a huge difference. Task lighting, outdoors.
The common thread: downlighting is for surfaces people walk on, sit at, and use. If someone could trip, spill, or squint there, light it from above.

Can You Combine Both? Layering Like a Designer
Short answer: yes — and you should. The most beautiful outdoor lighting I've ever seen uses both, deliberately. This is the "layering" idea I come back to in every post, and the uplighting vs downlighting question is really a layering question in disguise.
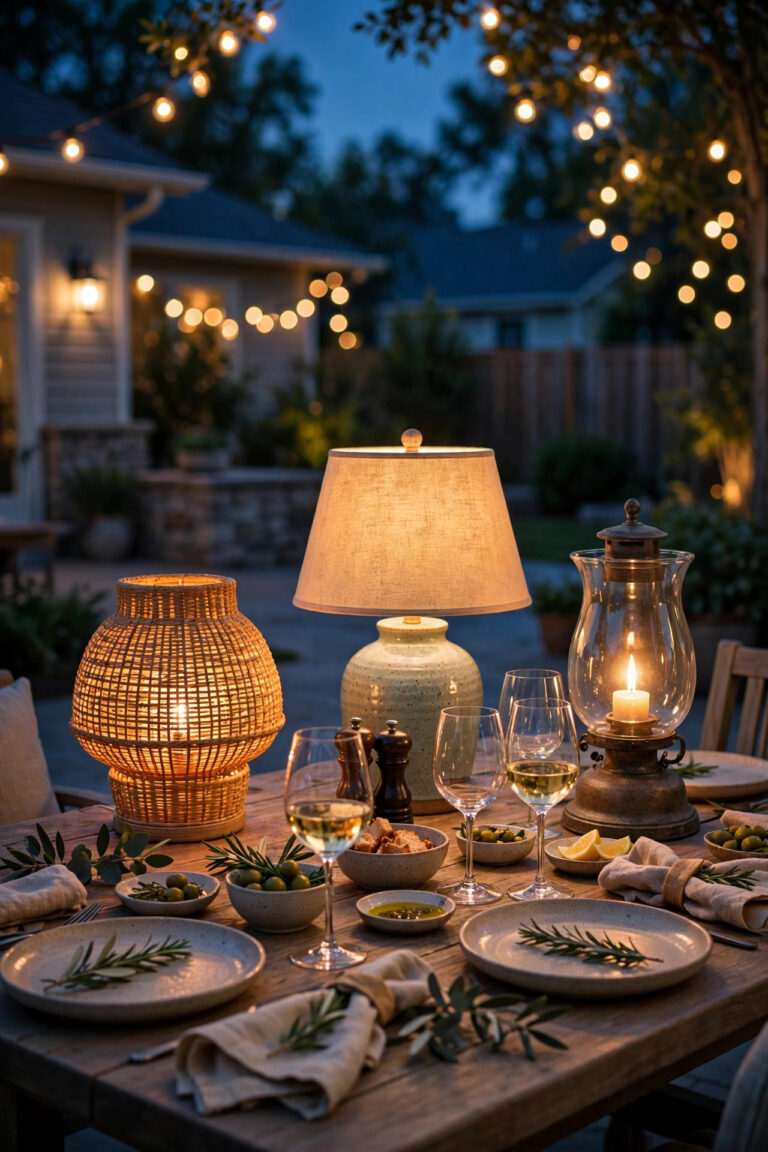
Think of it in three layers. The uplight layer handles the vertical drama: trees, the facade, columns, the specimen Japanese maple that cost more than your first car. The downlight layer handles the horizontal usability: paths, patios, steps, the grill. The accent layer — string lights, lanterns, candles — adds the sparkle and warmth that makes it feel like a home rather than a showroom.
Here's a concrete example for a typical front yard: two uplights on the big oak, a wash of uplights across the brick facade, path lights down both sides of the walkway, a downlight under the porch eave by the front door, and a lantern flanking the entry. Nothing fights, everything has a job. The uplights make the house look stunning from the street; the downlights make it safe to actually walk up to the door.
The one rule that keeps layering from turning into chaos: keep your color temperature consistent. Mixing 2700K warm fixtures with 5000K cool ones is the fastest way to make a yard look like a parking lot. Pick warm white (2700–3000K) for everything and stick with it. Your eye will thank you, and the whole composition will feel intentional even with a dozen fixtures running.
How Many Fixtures You Need and Where to Put Them
This is where most DIY plans go sideways — too many fixtures crammed together, or three lonely lights trying to cover an acre. Here are the spacing rules I actually use.
Uplighting placement rules:
– Trees: 1 fixture for small ornamentals (under 15 ft), 2 for medium trees (15–30 ft) placed on opposite sides, 3 for large specimen trees, spaced evenly around the trunk. Setback: 12–18 inches from the trunk for narrow beams, up to 2–3 feet for wider washes.
– Facades: Fixtures 8–12 inches from the wall, spaced 6–10 feet apart so beams overlap slightly. For a two-story wall, use fixtures with enough punch to reach — look for higher lumen output rather than adding more fixtures.
– Columns: One fixture per side (two total), 6–12 inches from the base, aimed straight up the column face.
Downlighting placement rules:
– Paths: Pools of light every 6–8 feet with slight overlap — no dark gaps. On a straight 40-foot walkway, that's 5–6 fixtures.
– Patios: Overhead downlights (pergola, tree, or soffit) spaced 6–8 feet apart. A 12×16-foot patio needs 4–6 downlights for comfortable, even light.
– Steps: One light per 3–4 steps, or continuous hardscape lighting along the riser.
Beam angles — the part everyone skips:
– Narrow (15–30°): Tall narrow trees, flagpoles, single columns. Punches light high with a tight cone.
– Medium (35–45°): The all-rounder. Most trees, most facade sections, most focal points. When in doubt, start here.
– Wide (50–60°+): Broad facades, wide canopies, general washes. Covers a lot of area with softer intensity.
Setback distances in plain English: The farther the fixture sits from the target, the wider and softer the light. Close = dramatic and intense with visible texture. Far = gentle and even. For a 20-foot tree, a fixture 2 feet from the trunk with a 35° beam will light the trunk and lower canopy; the same fixture 4 feet back with a 60° beam will wash the whole canopy softly. There's no single right answer — it depends on the effect you want — but never place an uplight so close that the first three feet are blindingly bright and everything above is dark.
A good rule of thumb for the whole yard: start with fewer fixtures than you think you need. You can always add one more light; removing that harsh, over-lit look is much harder once everything's wired.
Step-by-Step: Aiming Your Fixtures Like a Pro
Buying the right fixtures is half the battle; aiming them is the other half. Here's the process I use, and honestly, it's the step most people skip entirely.
Step 1: Wait for full dark. Don't aim fixtures at dusk — the ambient light lies to you. Wait until it's properly dark, ideally on a night without a bright moon washing everything out.
Step 2: Start with one fixture at a time. Turn on a single uplight, look at what it does, then adjust. If you power up all twelve at once, you'll never know which one is causing that weird hot spot.
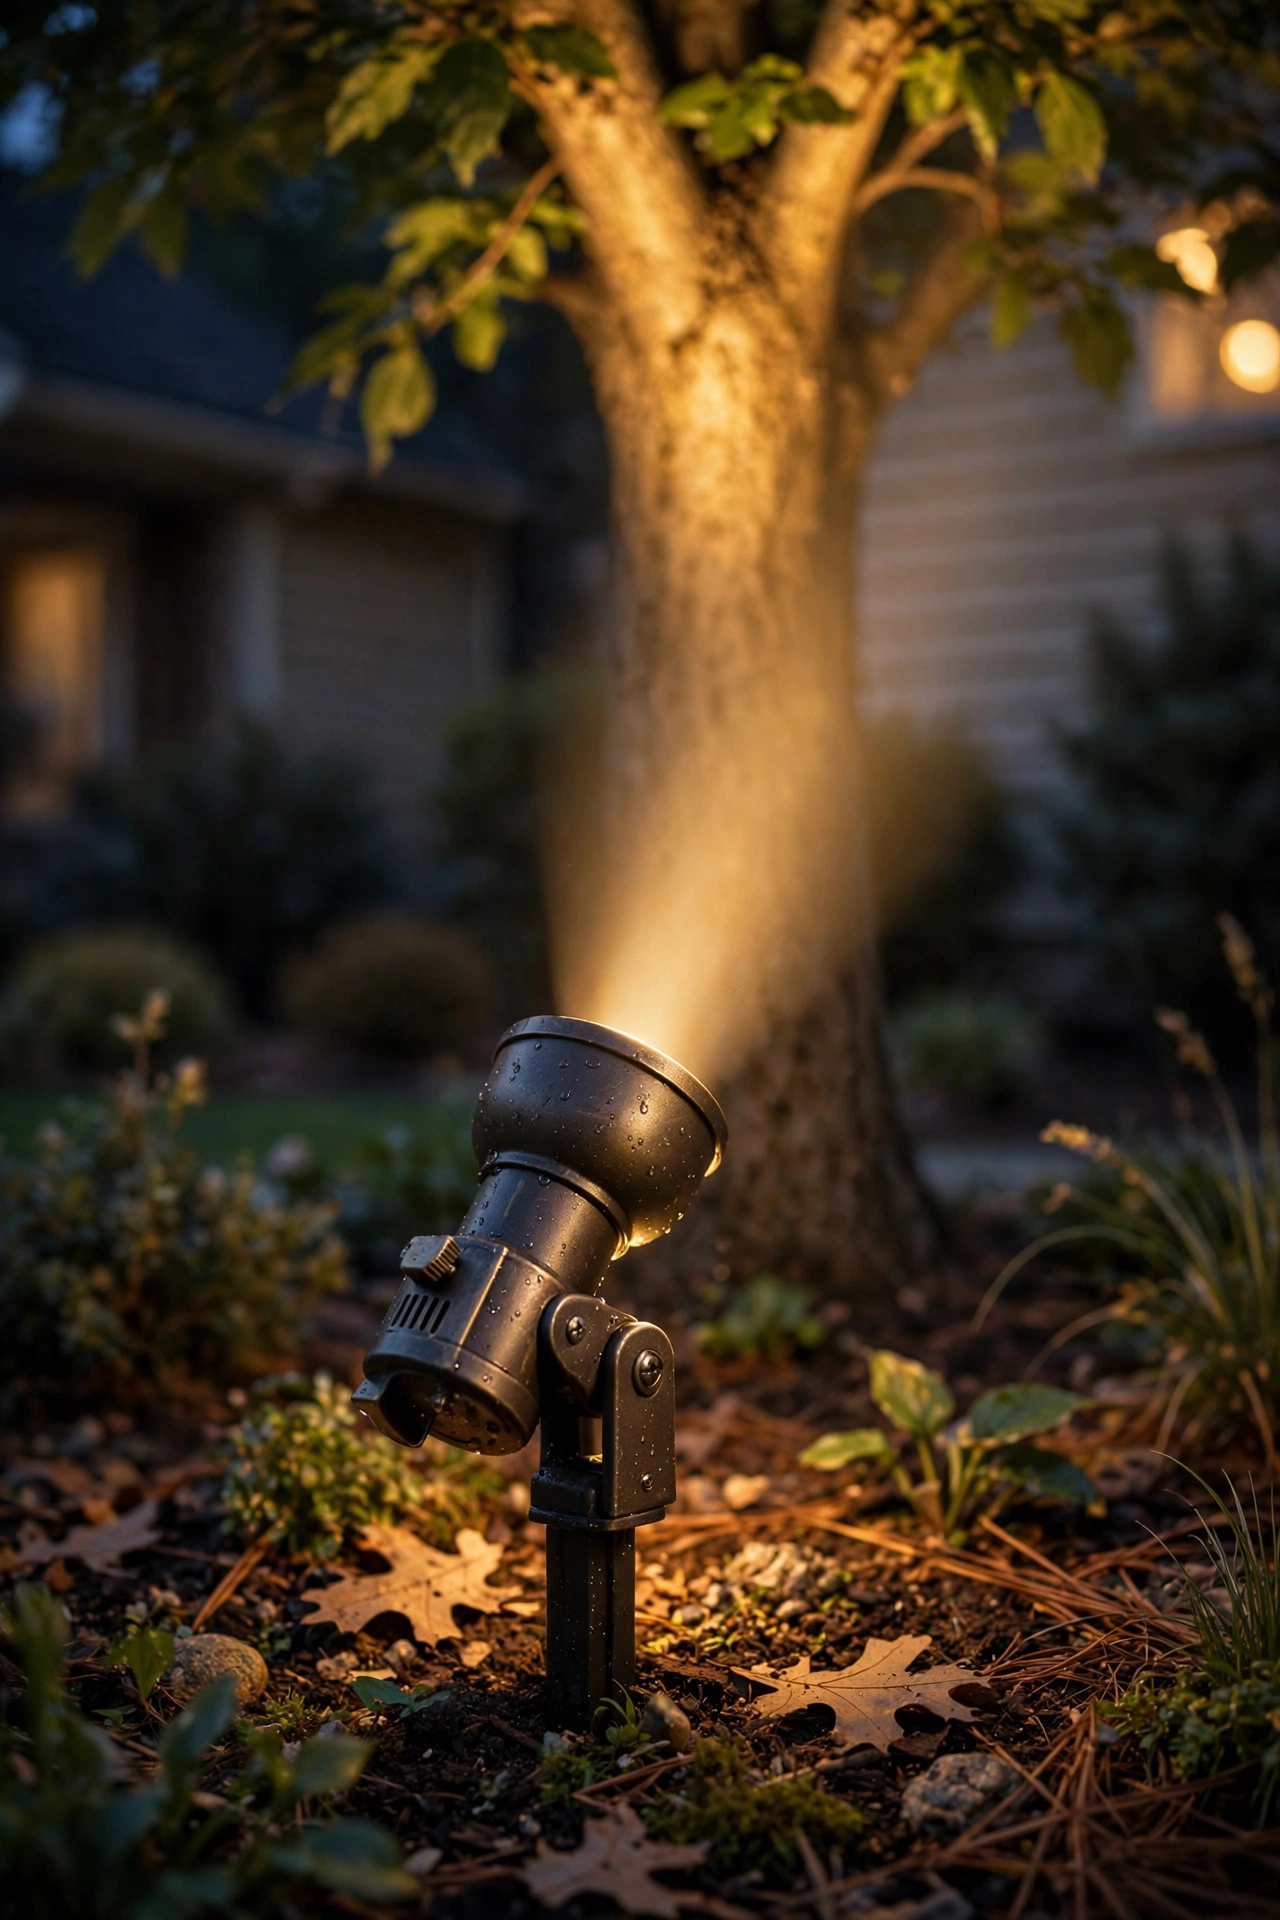
Step 3: Set the angle before you stake it. For uplights, start with the fixture tilted about 10–15 degrees off vertical, aimed slightly outward from the target rather than straight up the face. Straight-up aiming creates a harsh bright column at the bottom; a slight outward tilt spreads the beam and softens the base.
Step 4: Check for glare from the viewing positions. Walk to the street, the sidewalk, the front door — everywhere people will actually look from. If you can see the bare bulb or LED face from any of those spots, the fixture needs a shroud, a glare guard, or repositioning. This is the number-one amateur giveaway: visible light sources.
Step 5: Aim downlights to overlap, not spotlight. Tree-mounted downlights should be angled so their pools overlap by about a third on the ground. You're going for a continuous carpet of light, not isolated spotlights with dark rings between them.
Step 6: Live with it for a week, then fine-tune. Soil settles, stakes shift, and your eyes adjust. Walk the yard a few nights in a row and tweak anything that bugs you. The pros do a "night aim" visit after every install for exactly this reason.
Step 7: Trim the landscaping around fixtures. A shrub that grows six inches can swallow a well light whole. When you aim, picture the planting at full summer growth, not the tidy spring version.
The whole process takes an evening, a bit of patience, and honestly a glass of something nice while you walk the yard. It's the difference between lighting that looks installed and lighting that looks *designed*.
What It Costs in 2026
Let's talk real numbers, because vague "it depends" answers help nobody. These are honest 2026 ranges for a typical suburban yard.
DIY low-voltage kits (uplighting): A starter set of 6–8 bullet or well lights with a transformer runs $150–$350. Individual quality fixtures run $25–$90 each as shown in the table above. A solid DIY uplighting setup for a front yard — say 8–10 fixtures plus a 300-watt transformer — lands around $400–$800 in materials.
DIY downlighting: Tree-mounted downlight fixtures cost $50–$110 each, and you'll need weatherproof cable run up the trunk (use cable rated for it, and leave slack for growth). Budget $300–$600 for a moonlighting setup on one large tree. Soffit downlights, if you're comfortable with basic electrical or hiring an electrician for a half day, run $35–$75 per fixture plus $200–$400 in electrician time.
Professional installation: A pro-designed system with 10–15 fixtures typically costs $2,500–$6,000 installed, depending on your region and how much trenching and tree work is involved. High-end designs with 20+ fixtures, premium brass or copper housings, and smart controls can run $8,000–$15,000. You're paying for the design eye and the night-aiming as much as the hardware.
Running costs — the pleasant surprise: This is where LED changed everything. A typical 5-watt LED landscape fixture running 6 hours a night uses about 11 kWh per year. At the US average of roughly $0.17 per kWh, that's under $2 per fixture per year. A 12-fixture system costs around $20–$25 a year to run — less than a pizza. Even if you run them dusk-to-dawn (say 10 hours), you're looking at maybe $40 a year. The old 20-watt halogen days, when a single fixture could cost $15+ a year to run, are long gone.
The real cost is the transformer and wire. Don't cheap out here: an undersized transformer that you outgrow in a year is money wasted. Buy a transformer rated for about 25% more wattage than your current plan needs, so adding two more fixtures later doesn't mean replacing the heart of the system.

7 Mistakes That Ruin the Effect
I've seen every one of these in real yards, including — I'll admit — my own early attempts.
1. Lighting everything equally. When every tree, every wall section, and every shrub gets the same brightness, nothing stands out. Pick heroes (1–3 focal points get the brightest light) and let the rest be supporting players. Contrast is what makes lighting look designed.
2. Visible glare. If guests can see the actual bulb from the patio or the street, the fixture is wrong — wrong angle, missing shroud, or just too bright. You should see the *effect* of light, not the *source*.
3. Mixing color temperatures. A 2700K warm uplight next to a 5000K cool downlight looks like a mistake because it is one. Buy all fixtures in the same temperature (2700–3000K for residential warmth) and check the spec sheet, not just the box art.
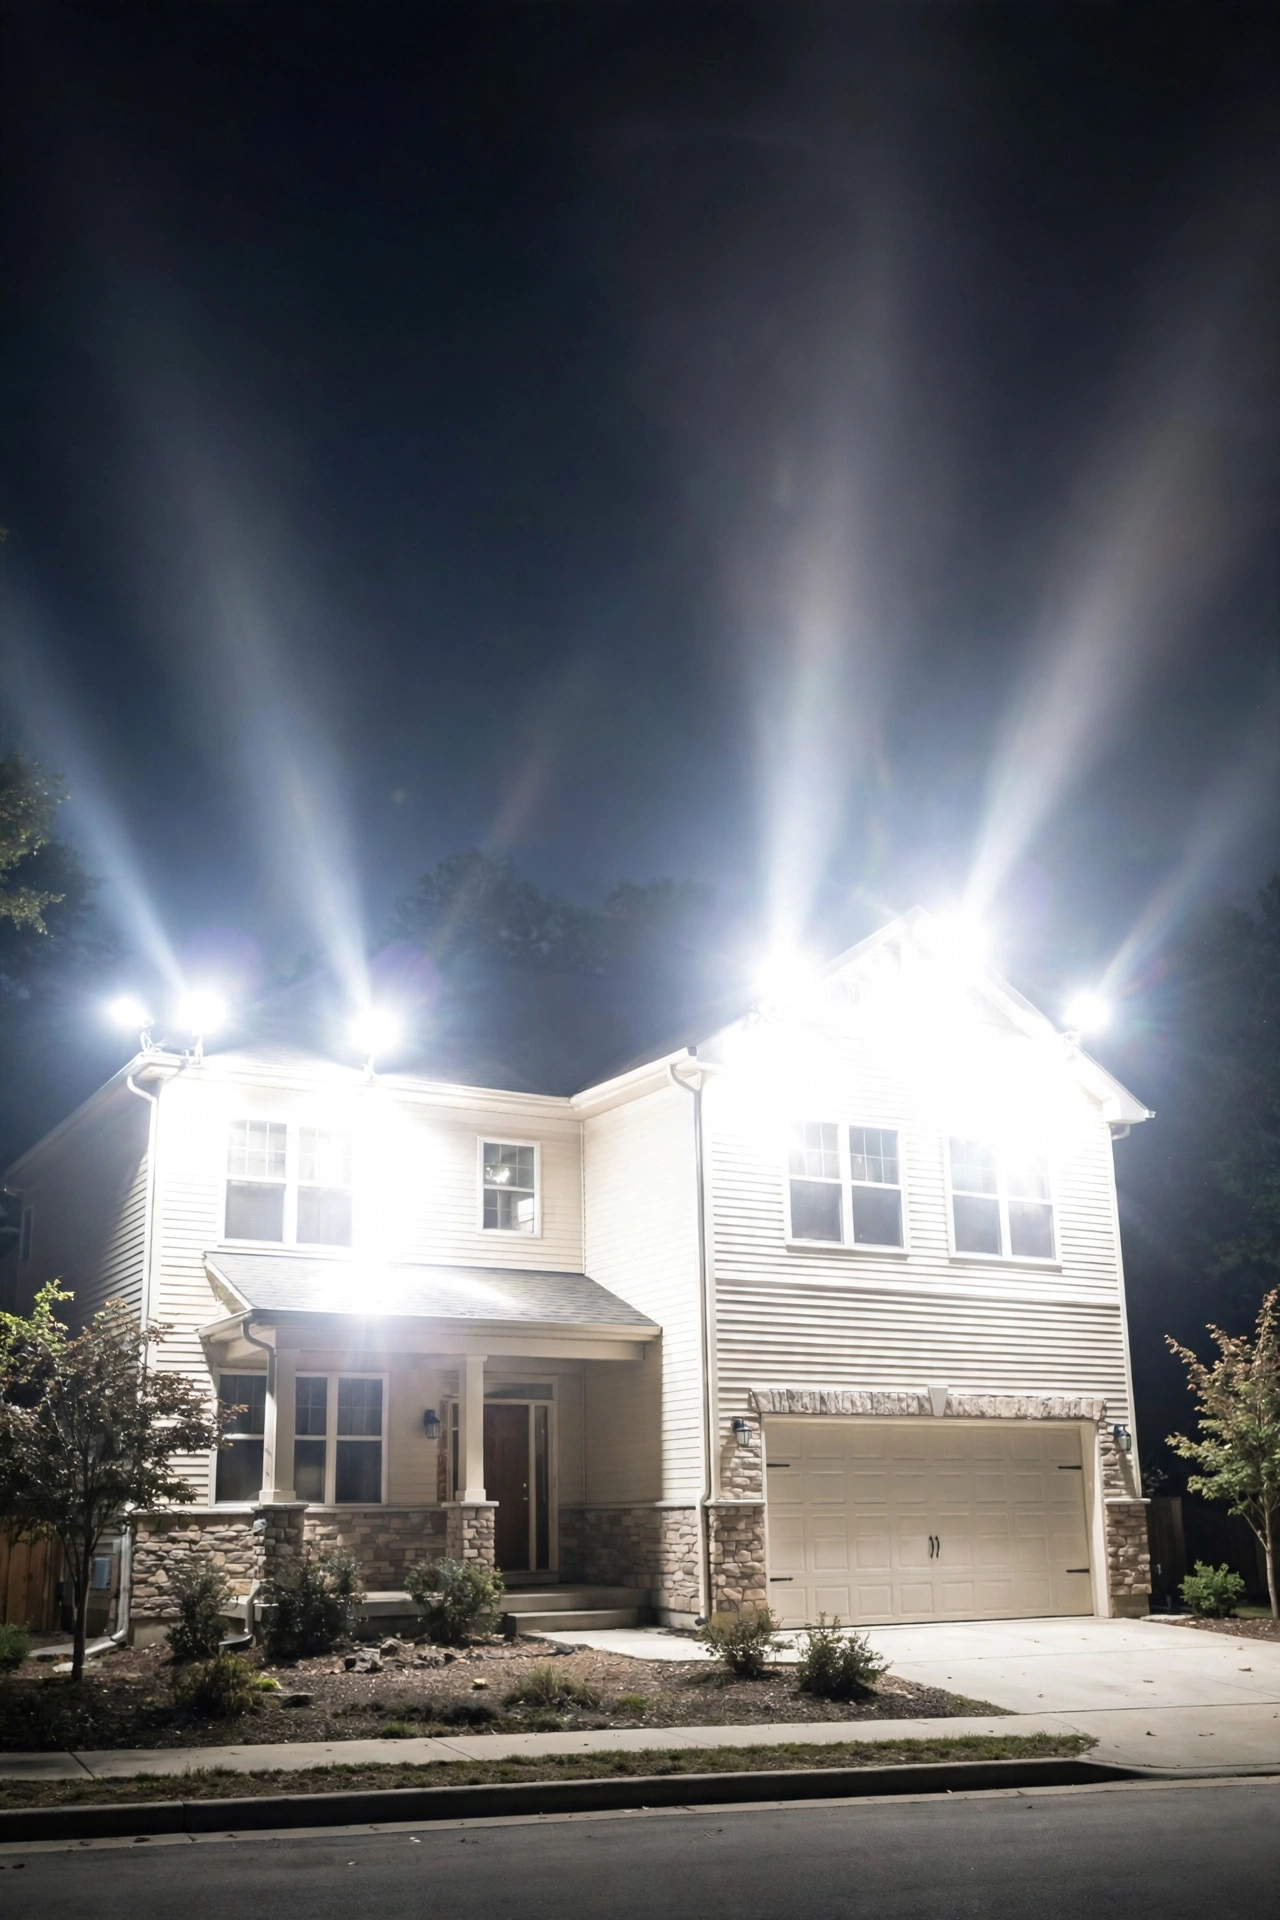
4. Uplighting with no target. A beam shooting into the empty sky isn't dramatic — it's light pollution, and in many neighborhoods it's a code issue. Every uplight should terminate on something: a canopy, a wall, a flag.
5. Over-lighting the facade. Blasting the whole front of the house at full brightness makes it look like a fast-food restaurant, not a home. Light the interesting parts — the entry, the texture, the columns — and let the rest fall into soft shadow.
6. Forgetting the neighbors. Light trespass is real, and it's the fastest way to start a feud. Aim fixtures away from neighboring windows, use shrouds and glare guards, and consider that your beautiful uplight might be shining straight into someone's bedroom.
7. Setting it and forgetting it. Fixtures tilt, mulch buries well lights, plants grow over bullet lights, lenses get dirty. A system that looked perfect in May can look sad by September. A quick seasonal check (more on that below) prevents the slow decline.
Safety and Electrical Basics
Outdoor lighting is very DIY-friendly, but electricity plus weather deserves respect. Here's what actually matters.
Low voltage is the DIY sweet spot. Most landscape lighting runs on 12-volt low-voltage systems, which are dramatically safer than line voltage and legal for homeowners to install in most areas. The transformer steps your household 120V down to 12V; everything past the transformer is low-voltage cable you can bury a few inches deep without conduit.
GFCI protection is non-negotiable. The outlet feeding your transformer must be GFCI-protected (those outlets with the test/reset buttons). If yours isn't, have an electrician swap it — it's a small job and it's the thing that protects you if water ever gets where it shouldn't.
Outdoor ratings — read the label. Fixtures and transformers must be rated for outdoor/wet locations. Look for "suitable for wet locations" on the listing, not just "damp." Cable should be direct-burial rated (usually marked for underground low-voltage use). Indoor extension cords and indoor-rated fixtures have no business in a planting bed, ever.
Transformers: size and placement. Mount the transformer on the house near the GFCI outlet, ideally in a spot that's accessible but not an eyesore — behind a shrub or on the side of the house works. Size it for your total fixture wattage plus 25% headroom, as mentioned above. Keep cable runs as short as practical; very long runs cause voltage drop, which makes the last fixture in the line dimmer than the first. If a run has to be long, use heavier-gauge cable (12-gauge instead of 16).
Tree-mounted fixtures need slack. Trees grow. Leave a generous loop of cable at every tree-mounted fixture and use mounting methods that don't strangle the trunk — straps or screws designed for the purpose, never nails driven deep. Check them yearly.
When to call an electrician: anything involving 120V wiring (new outlets, soffit lights tied into house circuits), anything on the roof, and anything you're unsure about. Low-voltage fixture placement is a great DIY project; household electrical is not the place to learn by trial and error.
Maintenance and Seasonal Tips
A landscape lighting system is not a install-and-forget appliance — but the maintenance is honestly minimal if you build it into your seasonal routine.
Spring: The big reset. Re-aim any fixtures that shifted over winter (frost heave moves stakes). Clear mulch and debris off well-light lenses. Trim back anything that grew over fixtures last fall. Check for chewed or damaged cable — critters love the stuff. This is also the time to adjust timers as days lengthen.
Summer: Mostly about growth management. Fast-growing shrubs can swallow a bullet light in weeks; keep a few inches of clearance around every fixture face. Wipe lenses monthly if you have hard water from irrigation — mineral deposits dim output fast. Check tree-mounted downlights for cable tension as trunks put on growth.
Fall: Adjust timers again as days shorten — this is when your system earns its keep, with darkness arriving before dinner. Clear fallen leaves off well lights and out of fixture housings. If you're in a snow zone, mark the location of flush-mounted well lights so the snowblower doesn't find them for you.
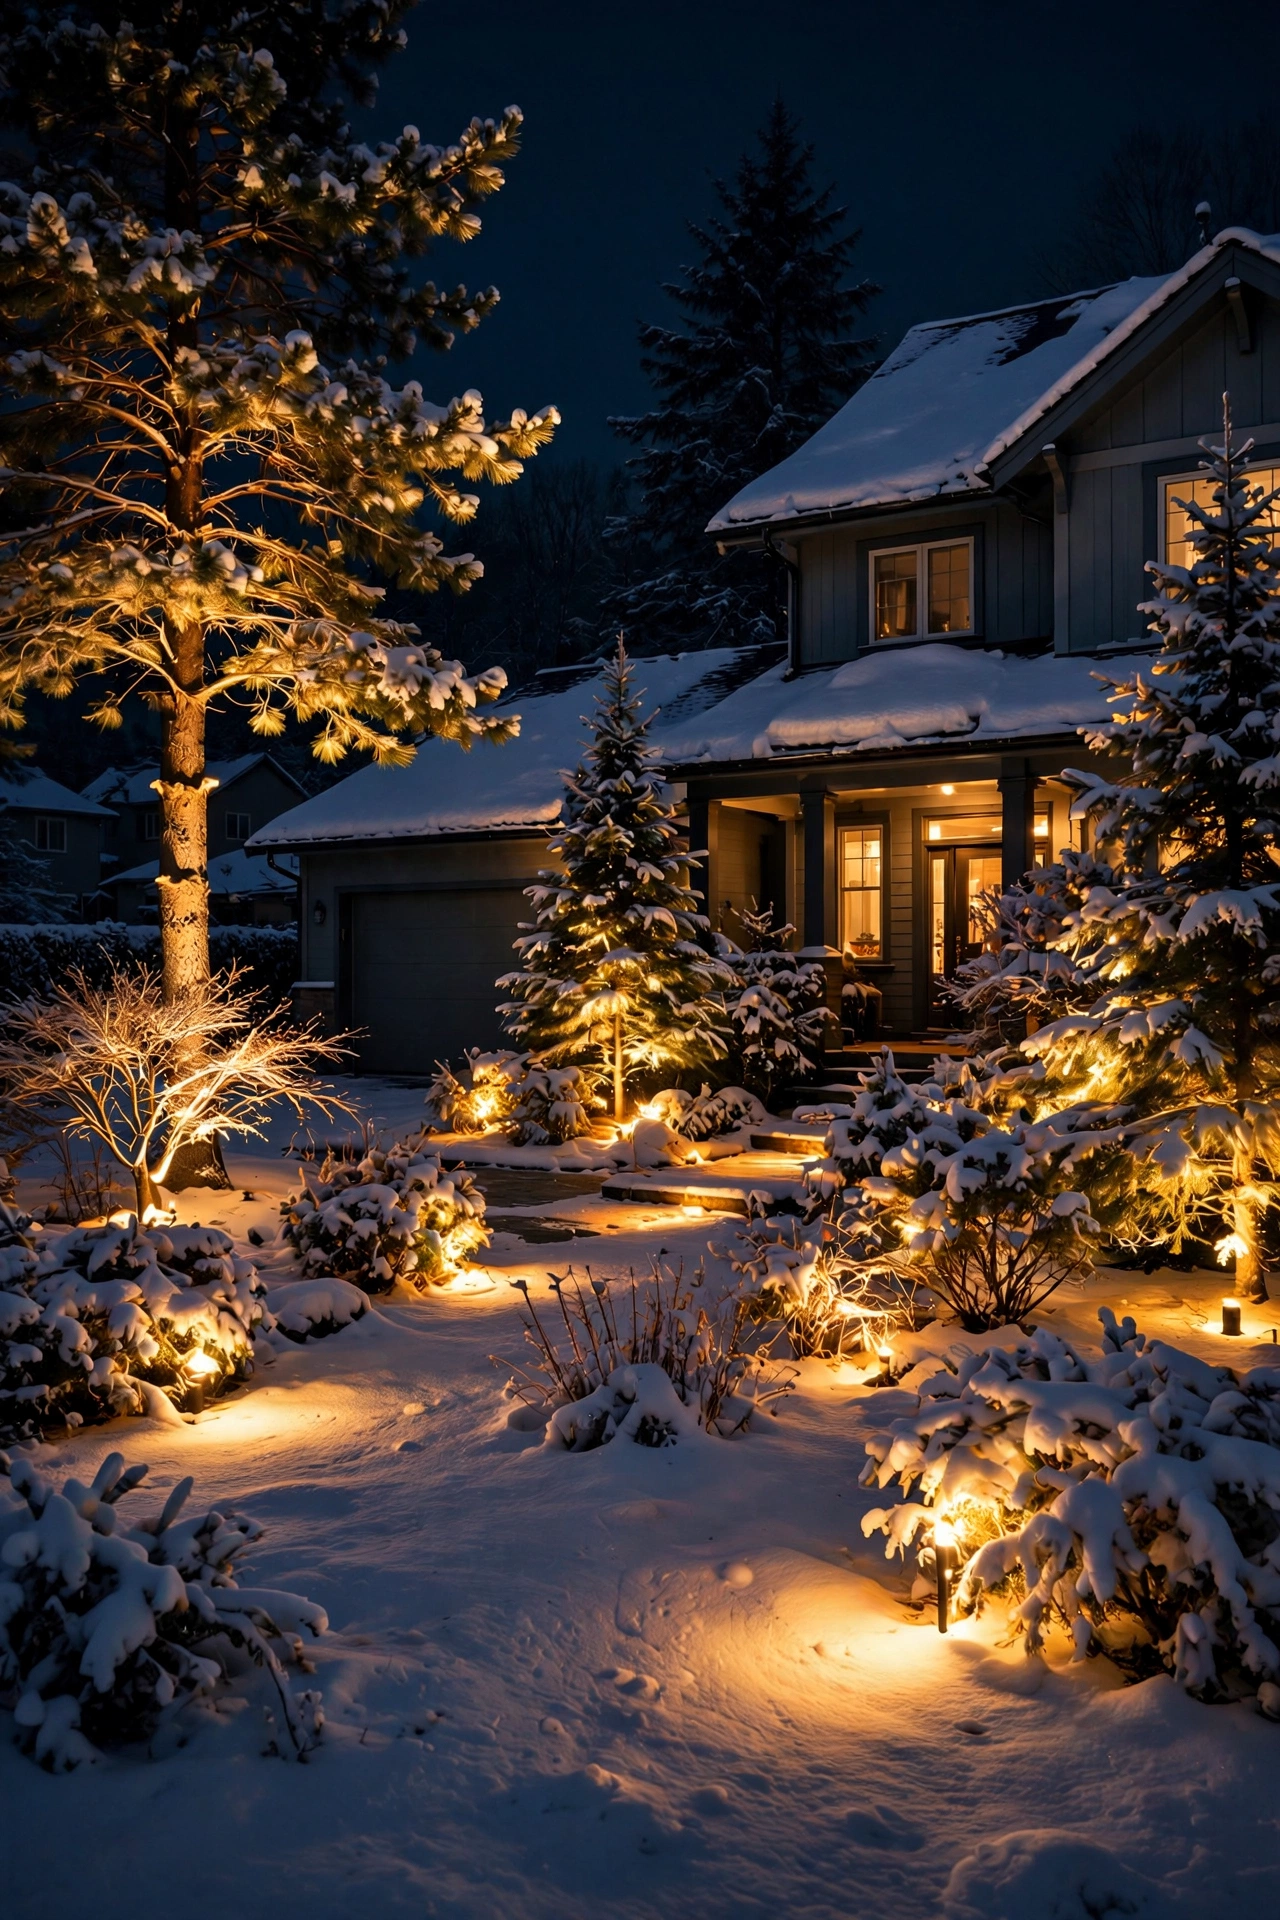
Winter: LED fixtures handle cold beautifully (unlike old halogens, they actually like it). If you're in a region with real winter, consider how snow transforms your lighting — uplights reflecting off snow create a gorgeous glow, and it's worth a dedicated look. For seasonal inspiration, my winter landscape lighting ideas cover making the most of the darkest months.
Year-round: Keep a couple of spare bulbs/fixtures on hand if your system uses replaceable lamps. Integrated-LED fixtures last 25,000–50,000 hours (that's 10+ years of nightly use), but drivers can fail — buy from manufacturers with real warranties, not just the cheapest option on the shelf.
Frequently Asked Questions
Which is better for trees — uplighting or downlighting?
Honestly? Both, for different reasons. Uplighting is the classic choice for trees because it shows off the trunk and branch structure and makes the tree a glowing focal point visible from the street. Downlighting (moonlighting) from high in the canopy is the more magical effect — dappled light filtering through leaves onto the ground below. If you can only pick one, uplight the trees in the front yard for curb appeal and moonlight the big tree over the patio where you actually sit. Many of my favorite yards do exactly that split.
Can you combine uplighting and downlighting in the same yard?
Absolutely — the best landscapes do. Use uplighting for vertical features you want to show off (trees, facades, columns) and downlighting for horizontal surfaces people use (paths, patios, steps). The keys to making the combination work are consistent color temperature across all fixtures (2700–3000K warm white everywhere) and making sure the two systems don't fight — downlight pools shouldn't wash out the drama of an uplit tree, and uplights shouldn't glare into the seating area your downlights are softly lighting.
What beam angle should I choose for uplights and downlights?
For uplights: narrow beams (15–30°) for tall narrow targets like flagpoles and single columns; medium beams (35–45°) as the all-rounder for most trees and facade sections; wide beams (50–60°+) for broad walls and big canopies. For downlights, medium to wide beams (40–60°) work best since the goal is soft overlapping pools rather than tight spots. If you're buying your first set and feeling overwhelmed, medium beam angle fixtures are the safest all-purpose choice.
Do uplights and downlights attract bugs?
Any outdoor light attracts some insects, but warm-white LEDs (2700–3000K) attract far fewer than cool-white or old halogen/fluorescent lights, which emit more of the blue and UV wavelengths bugs love. Downlights tend to bother people less simply because the fixtures are overhead and away from seating. Practical tips: keep lights a few feet back from doorways and dining areas, use warm color temperatures, and put fixtures on timers or motion sensors so they're not burning (and bug-collecting) all night long.
How much does it cost to install uplighting vs downlighting?
DIY uplighting is the cheaper entry point: $400–$800 in materials for a solid front-yard setup of 8–10 low-voltage fixtures plus a transformer. DIY downlighting costs a bit more per fixture ($50–$110 for tree-mounted moonlighting fixtures) and the installation is harder — budget $300–$600 for one tree, or $200–$400 in electrician time plus fixtures for wired soffit downlights. Professionally installed, expect $2,500–$6,000 for a 10–15 fixture mixed system. Running costs are tiny either way: roughly $2 per LED fixture per year.
Conclusion
So, uplighting vs downlighting — which wins? Neither, and that's the whole point. Uplighting gives you the drama: glowing trees, textured facades, and a house that looks stunning from the curb. Downlighting gives you the livability: safe paths, welcoming patios, and that soft moonlit feeling that keeps you outside long after sunset. The yards that stop people in their tracks use both, each doing the job it was made for, all in the same warm color temperature.
Start with what bothers you most about your yard after dark. If it's invisible from the street, add uplights. If you can't use the patio past 8 p.m., add downlights. Then layer from there — a few fixtures at a time, aimed carefully, checked from every angle. If this got you thinking about the rest of your outdoor lighting plan, browse more lighting ideas on the site — your yard's best nights are ahead of it.