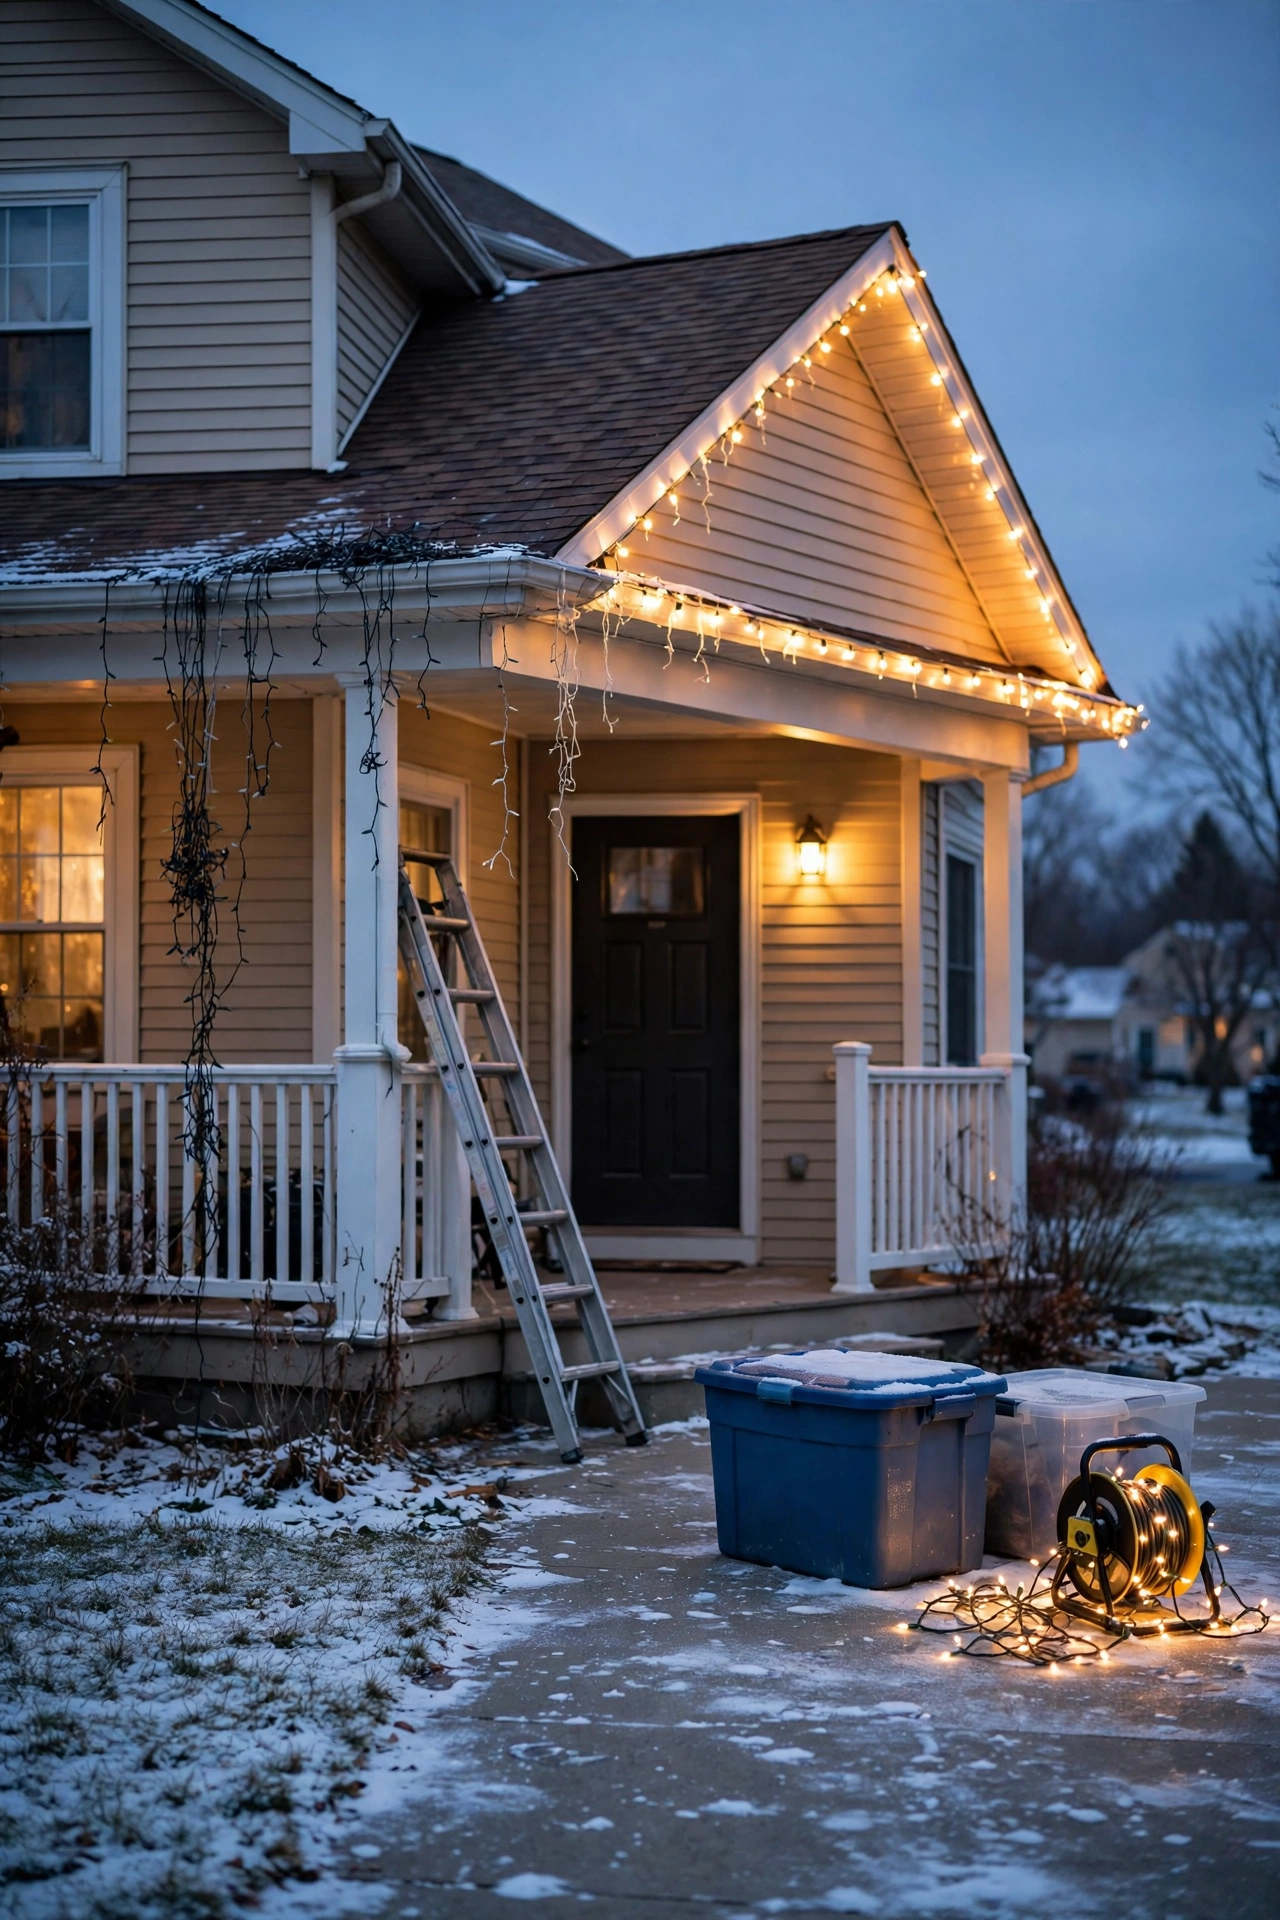
There's a particular January feeling I know too well: standing in the driveway, coffee going cold, staring up at the roofline where those gorgeous Christmas lights still twinkle — and dreading the whole thing. Not because takedown is hard, but because every January of my decorating life, the lights I tossed into a box "temporarily" became a fused, knotted brick of wire by November. If you're searching for how to store outdoor christmas lights so you don't face that same tangle next season, you're in the right place.
In my experience, the difference between a 20-minute hang next December and a two-hour untangling nightmare comes down to about 30 extra minutes of care in January — while everything is already down and in your hands. This guide walks you through my full system: what supplies actually help (and which "hacks" don't), how to take lights down in reverse order with zones labeled, how to wrap string lights, net lights, icicles, and C9 bulbs so they come out clean, how to test strands before storage, and where to keep everything so moisture and cold don't shorten their life.
By the end, you'll have a January routine that takes one afternoon and saves you an entire headache next holiday season. Honestly? It's the most satisfying chore of the year — future-you will be so grateful.
The Short Answer
To store outdoor Christmas lights without tangles, take them down in reverse order of how you hung them, label each strand's zone with masking tape, and wind each strand individually around a cord reel or a sturdy piece of cardboard — never toss multiple strands loose into one box. Test every strand before storing so you know exactly what needs repair. Keep everything in a dry, cool spot off the floor, ideally in a sealed plastic bin with clips, timers, and cords bagged separately. That small routine is the whole secret: labeled, wound, tested, and dry.
Why Storing Outdoor Christmas Lights Always Goes Wrong
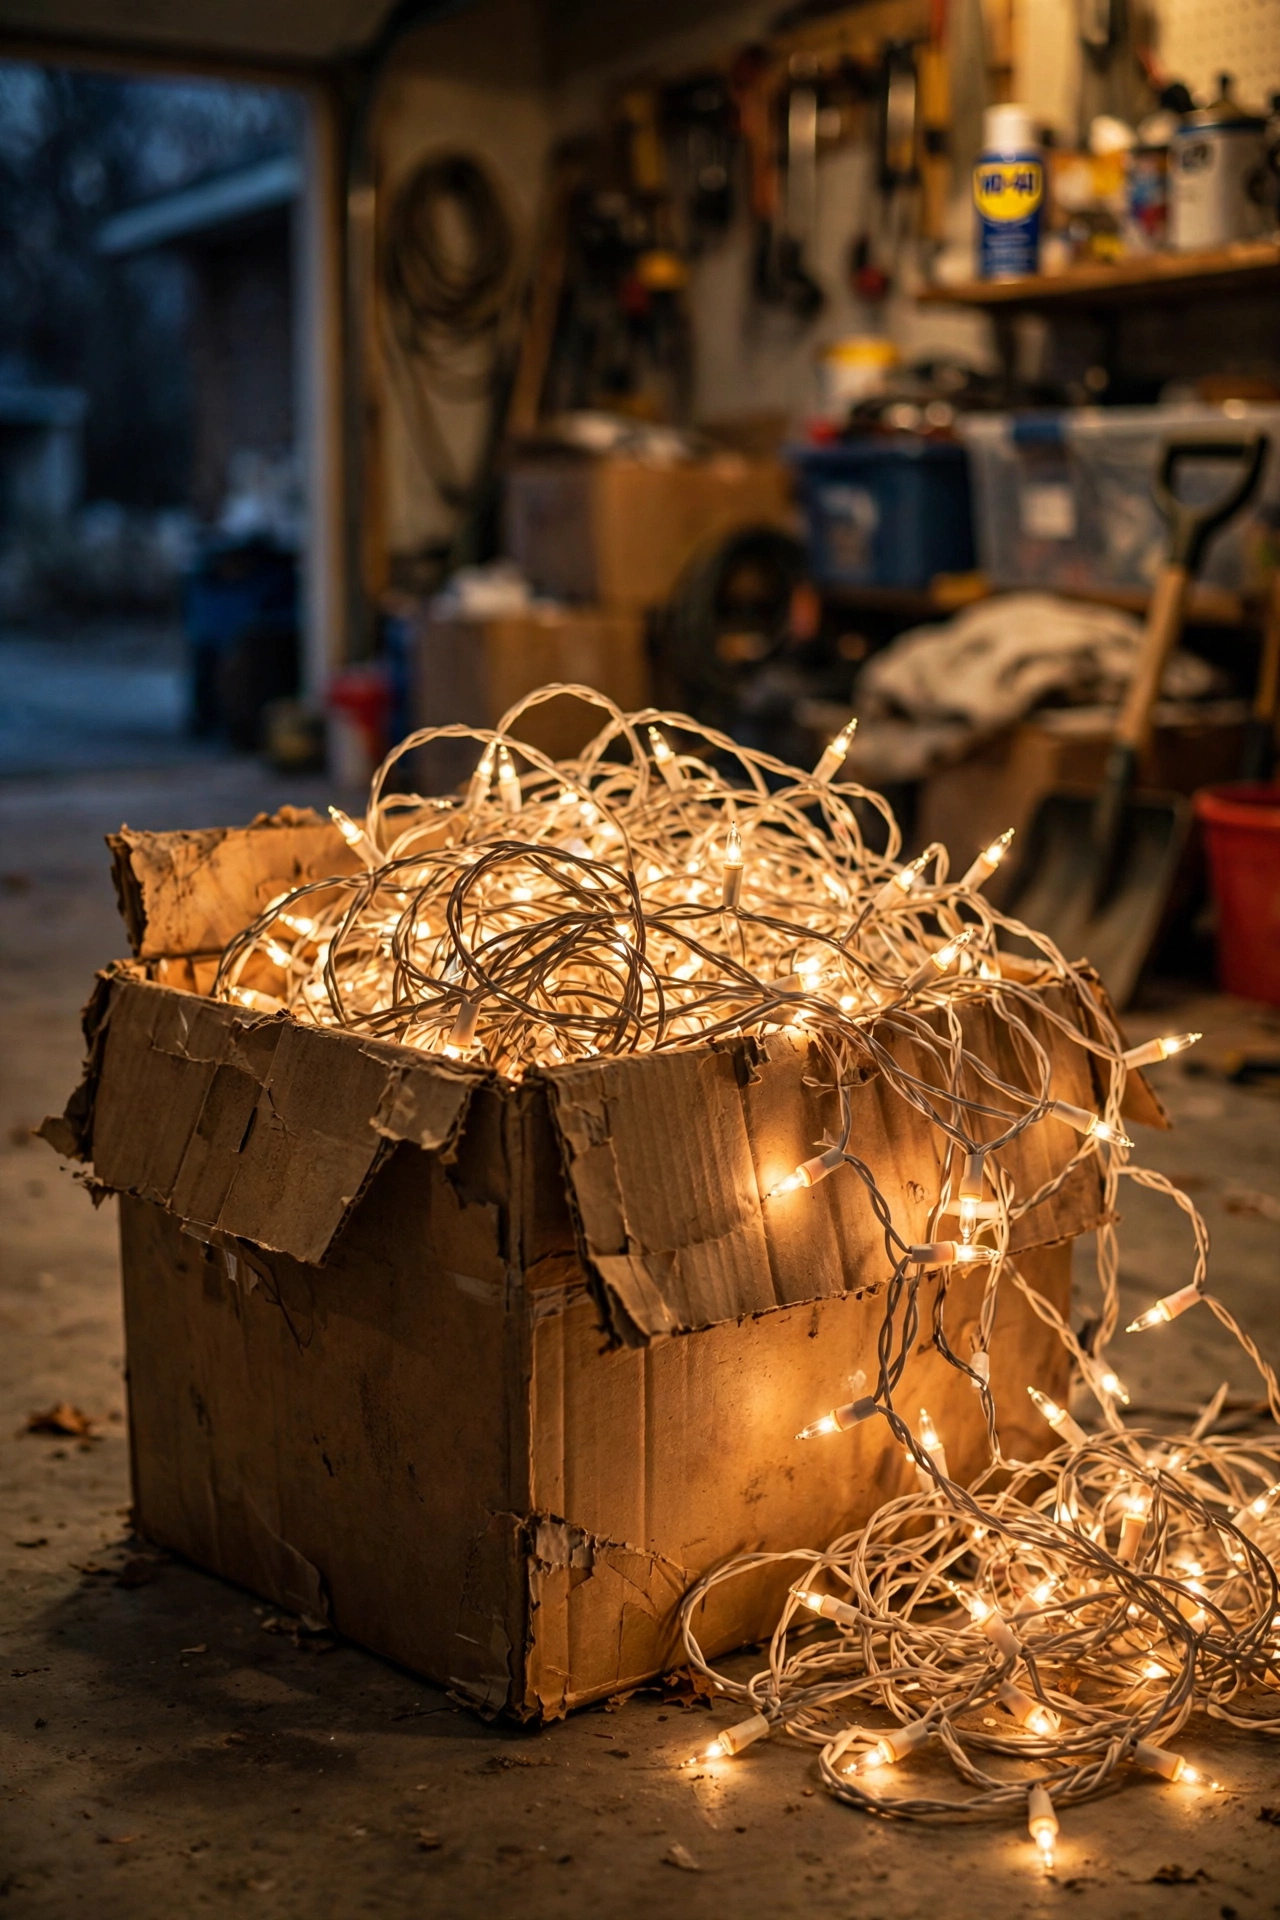
Tangles aren't your fault — they're physics. A Christmas light strand is a long, flexible cord with dozens of snag points (every bulb, every clip, every plug) attached to it. Coil that into a box with two or three other strands and every one of those snag points becomes a hook grabbing a neighbor. Warmth from being powered up keeps the wire pliable in December; once it cools in a cold garage, the bends set like memory foam and lock the knots in place. That's why the same ball of lights you shoved in the box "just for now" is nearly impossible to untie eleven months later.
The other culprit is the stuff mixed in with them. In my experience, most light boxes aren't just lights — they're lights plus a tangle of extension cords, plus loose gutter clips, plus a timer with its own cord, all fermenting together in the dark. Each extra item doubles the chaos.
Honestly? The fix isn't a fancier gadget. It's treating each strand as its own unit: separated, wound, and labeled. I always recommend thinking of your strands the way you'd think of necklaces — you would never dump a drawer of necklaces into a bowl and expect them to survive. Wind each one on something (a reel, cardboard, even a sturdy paper-towel tube), secure the ends with a twist tie or velcro strap, and tape a little label noting where it lived: "front gutter, left," "porch rail," "oak tree trunk."
Once you accept that one-strand-per-wrap is the rule, everything else in this guide is just making that rule easy to follow. The tangle problem disappears not because you bought a magic device, but because you stopped giving the wires a chance to meet.
What You'll Need: Reels, Bins, Bags, and Labels
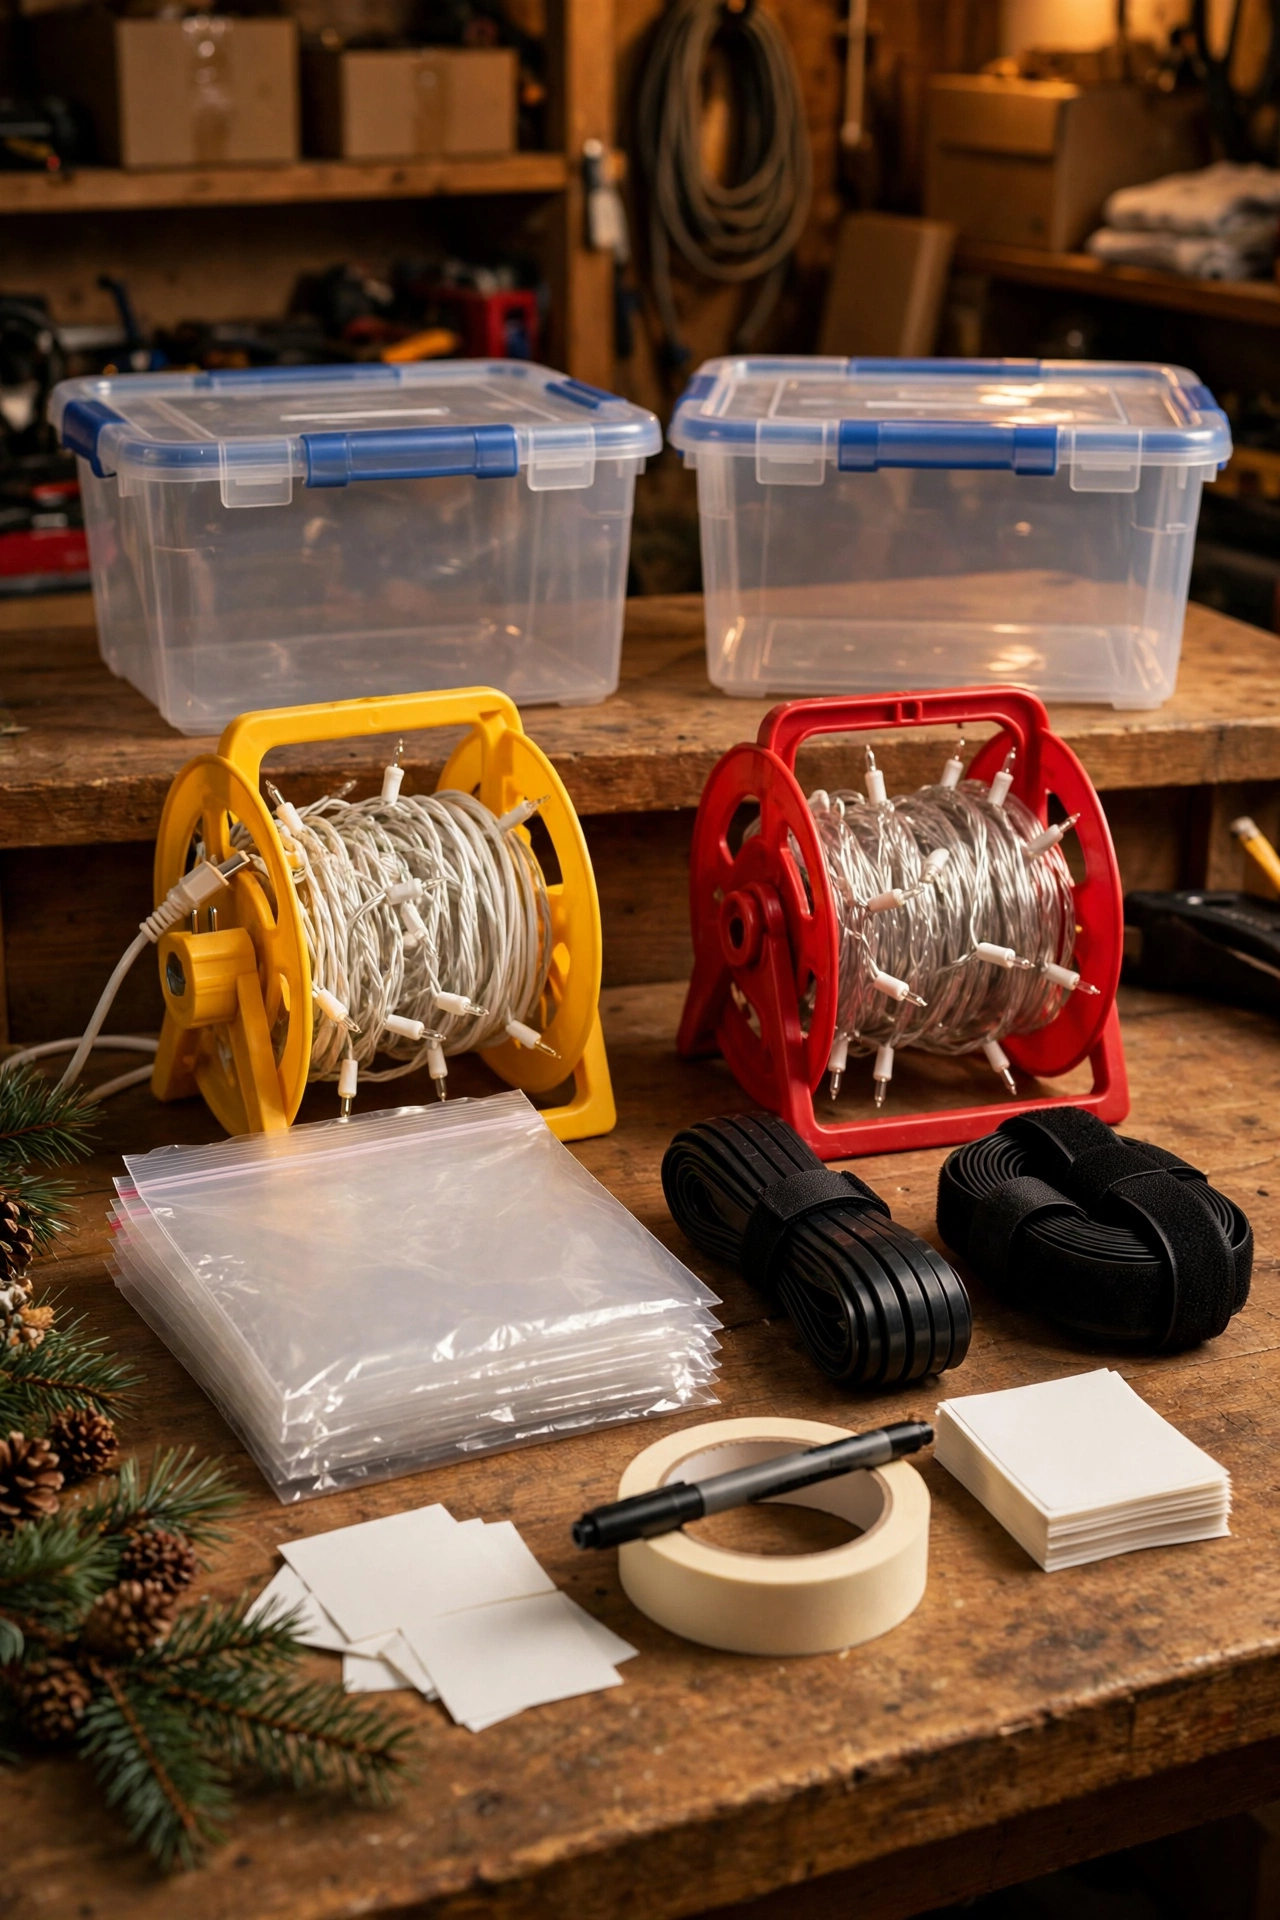
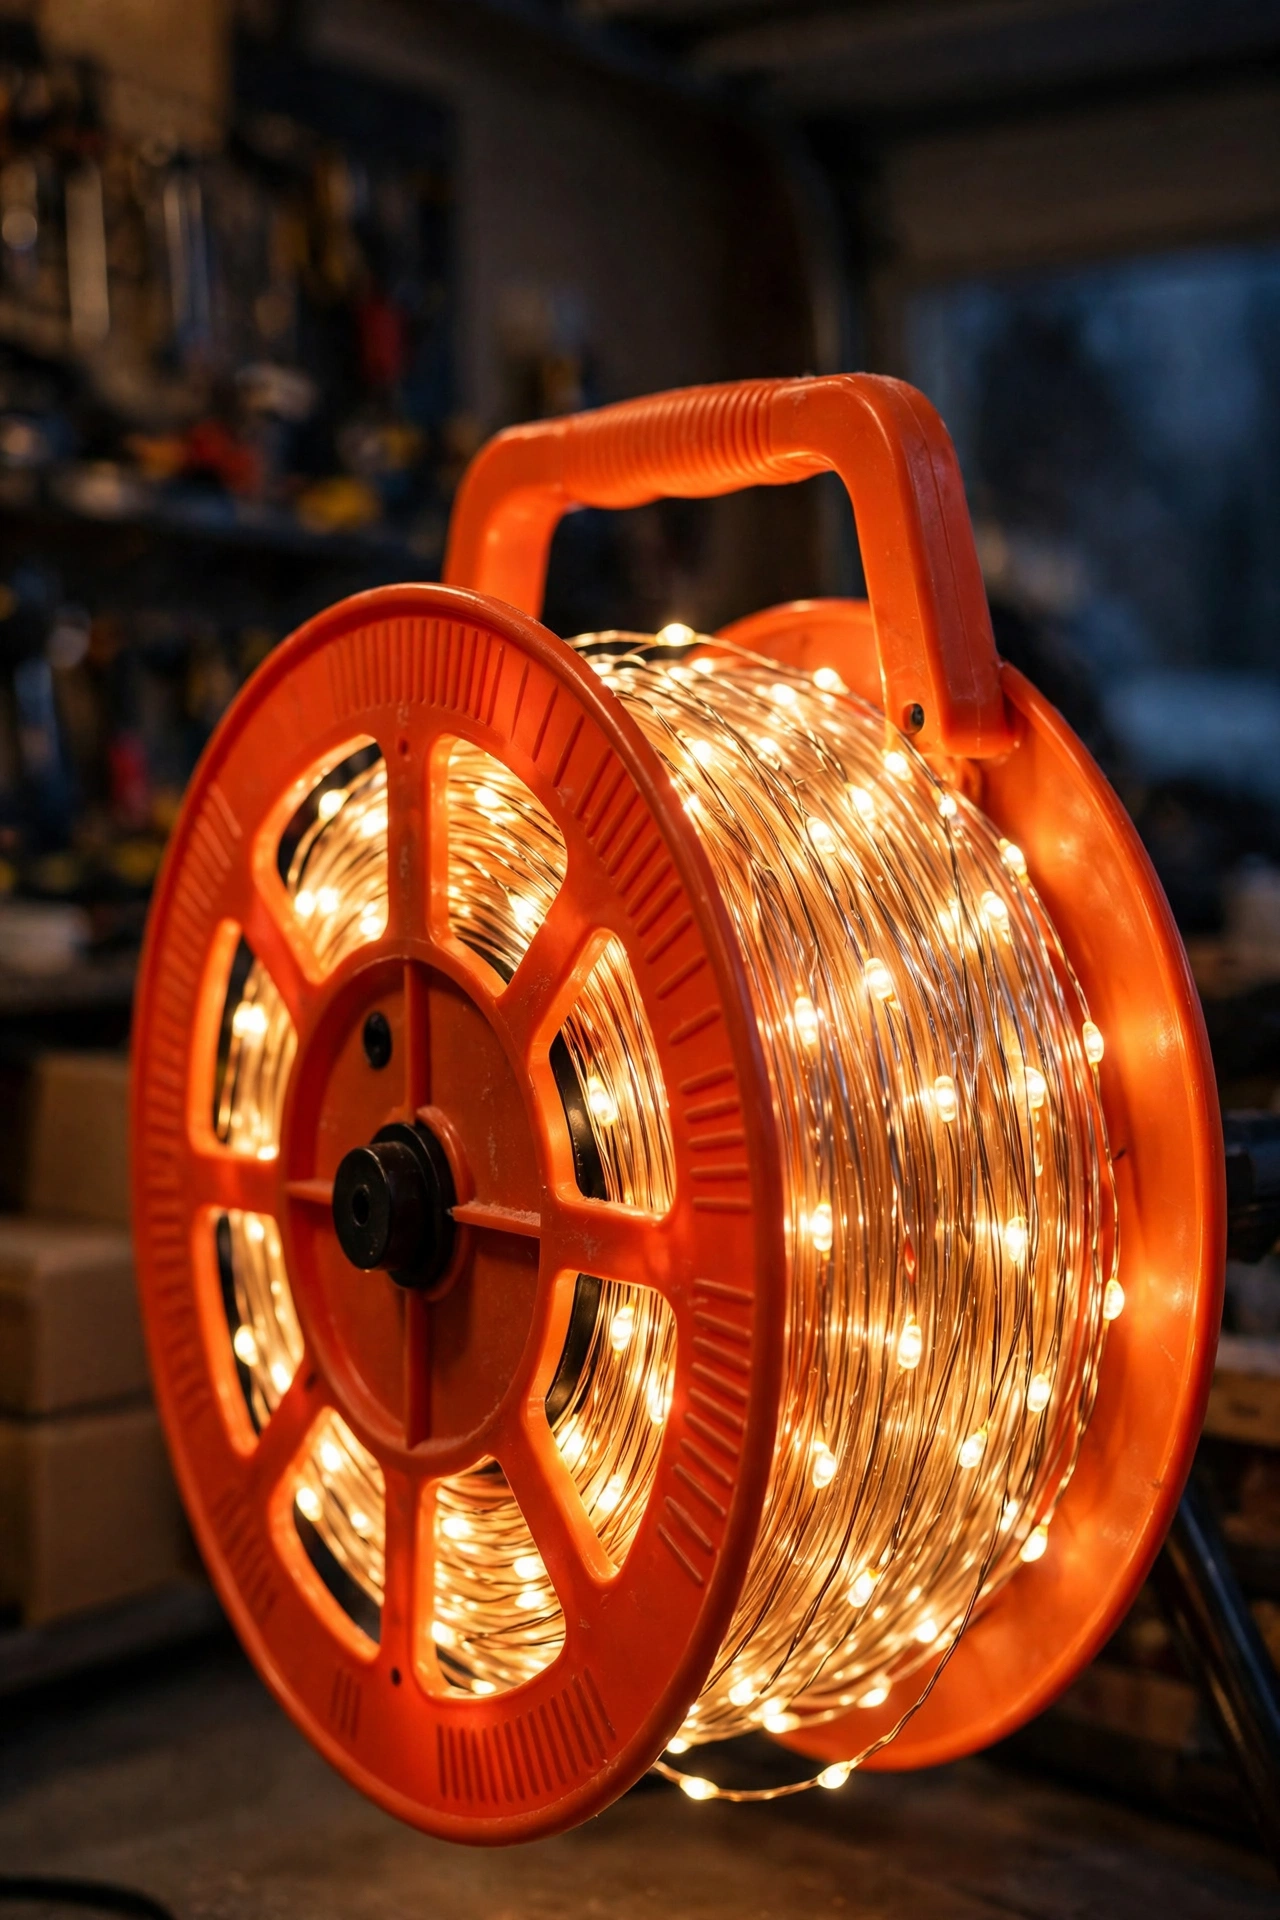
You don't need a cart full of products. My whole system runs on a short list, and most of it costs less than a pizza. In my experience, the supply that matters most is the humble cord reel — a plastic spool with a handle that you wind each strand around. They typically cost $5–$12 apiece, and for an average house display (say 8–12 strands) you'll want a handful of them. If you'd rather not spend anything, stiff cardboard cut into 12-inch rectangles works surprisingly well — just wind the strand in a figure-eight pattern and tape the ends.
Beyond the reels, here's my full kit:
– Masking tape and a marker for labeling each strand's zone ("front gutter," "garland left"). This is the single highest-value step per dollar.
– Velcro cable ties or twist ties to secure wound strands. A pack of 50 velcro ties runs about $7–$10 and lasts for years.
– One-gallon zip bags for clips, stakes, and small timers — label these too.
– A lidded plastic storage bin or two, 18–27 gallons. Budget around $12–$25 per bin; they protect against moisture, mice, and dust far better than cardboard boxes, which I always recommend retiring from light duty.
– Silica gel packets (the kind that come in shoe boxes — save them) tossed in the bin to absorb humidity.
Total honest cost for a full setup: roughly $40–$80 if you're starting from scratch, or nearly free if you raid your cardboard recycling and tape drawer. And every piece is reusable for a decade.
One thing I always recommend skipping: those giant storage bags marketed as holding "all your lights in one" without any winding system. They solve the space problem and guarantee the tangle problem. A bag is only useful when it's holding items that are already wound and tied — which brings us to comparing the methods honestly.
Storage Methods, Compared Honestly
Every storage method works if the strand is wound and separated — and every method fails if it isn't. That said, they differ a lot in cost, effort, and how they hold up over years in the garage. Here's how I rate the four common options, based on years of trying all of them.
| Method | Typical Cost | Effort | Best For |
|---|---|---|---|
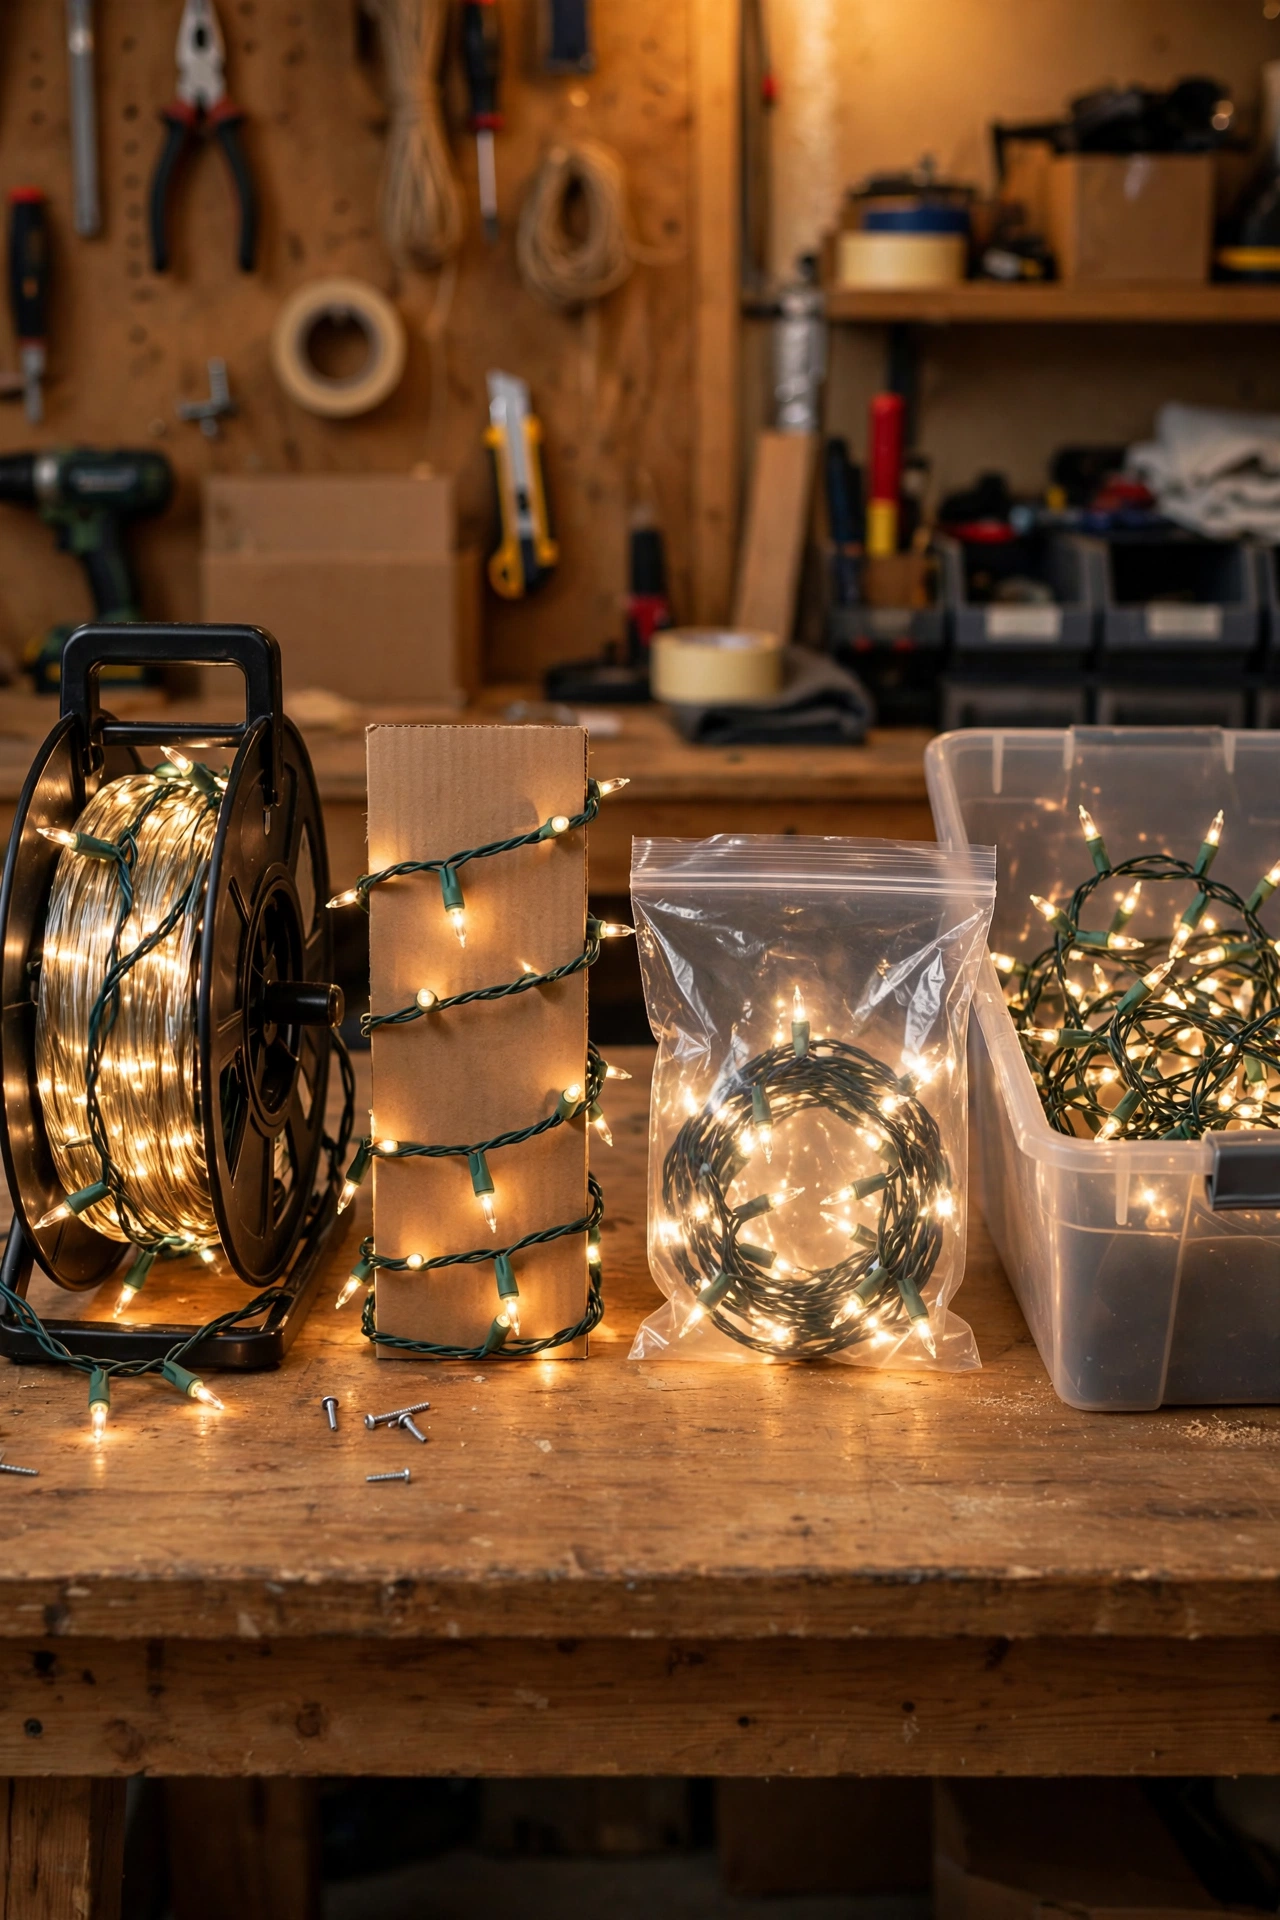
| Cord reel (plastic spool) | $5–$12 each | Low — wind, clip, done | String lights and icicles you reuse yearly; fastest method |
| Cardboard wrap (DIY) | Free | Medium — cut, wrap, tape each time | Tight budgets; works fine if strands are separated and labeled |
| Zippered storage bag | $8–$15 | Medium — only safe for pre-wound strands | Net lights or pre-lit garlands folded flat; keeps dust off |
| Hard plastic bin | $12–$25 | Low — drop wound strands in | Whole-system storage; the outer shell for reels, bags, and labeled cords |
In my experience, the winning combination is reels or cardboard wraps *inside* one or two plastic bins. The reel or cardboard does the tangle-preventing; the bin does the moisture-and-mice preventing. Skip the bags-as-only-storage approach — a big empty bag with loose strands is just a fabric box, and it will tangle just as thoroughly.
Honestly? If money is tight, cardboard wins on value: free, effective, and you can write the zone label directly on it. The reels are worth it if you have more than about six strands, because the time savings add up fast in January when your fingers are cold.
Step-by-Step: The Reverse-Order Takedown
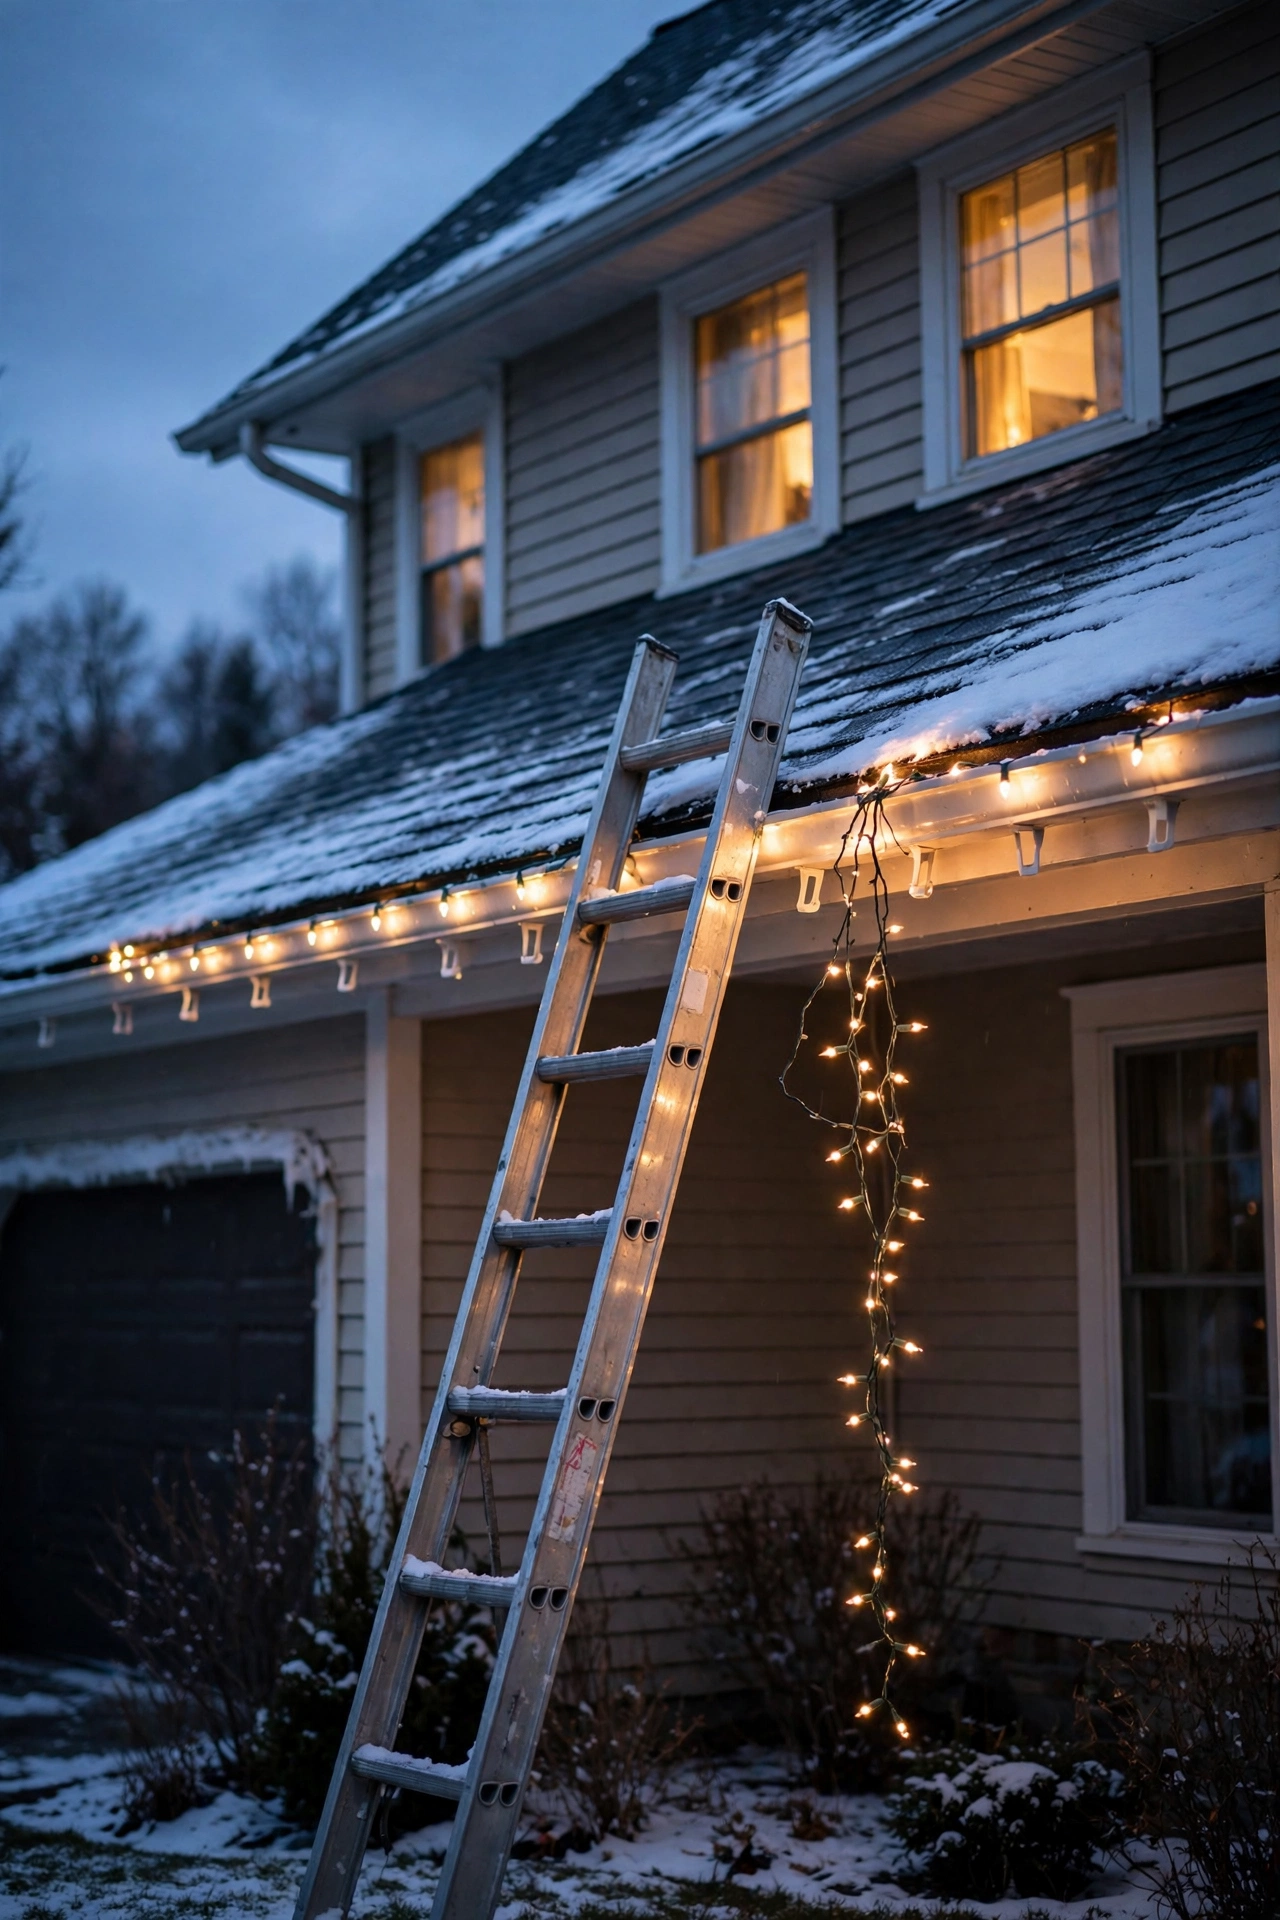
The best takedown starts before you touch a single clip. Pick a dry day — ideally above freezing — and give yourself a full afternoon, not a rushed hour before dark. Here's the method I use every January:
1. Photograph the display first. Walk around and take a few wide shots on your phone. Next December, these photos are worth gold — you'll remember exactly which strand ran where and how many feet each section needed.
2. Power everything down and unplug. Start at the outlets and work outward. Coil each extension cord separately as you free it; don't drape them over your shoulder "for now."
3. Remove timers and controllers first. These are the fiddly, expensive bits. Bag each one in its own zip bag, label it ("front-yard timer"), and set it aside — they're the most forgettable and most annoying to replace.
4. Take down in reverse order of installation. The last strand you hung comes down first. This matters more than it sounds: working backward means you're never wrestling a fresh strand through a still-hung display.
5. Label as you go. Before a strand leaves its spot, wrap a strip of masking tape around the plug end and write the zone: "front gutter left," "porch railing," "mailbox." When you're on a ladder in the cold, future-you's handwriting standards can be loose — but write *something*.
6. Wind each strand immediately. Don't set strands in a pile to "wind later." Wind as you descend — onto the reel, the cardboard, whatever you're using — while the strand is still warm and pliable from the day's light.
7. Collect clips and stakes into bags. As each zone comes down, drop its clips into the matching zip bag. A strand labeled "front gutter" pairs with a bag labeled "front gutter clips."
In my experience, step 6 is where people fail: the pile of "I'll wind these inside" becomes the permanent tangle. Wind it while it's in your hands. Your total time is barely longer, and your November self will thank you with actual tears of gratitude.
How to Wrap String Lights So They Stay Tangle-Free
String lights — the classic mini lights and LED strings — are the easiest to store correctly and the easiest to ruin. The golden rule: wind them around something, and never wind two strands together.
Start at the plug end (not the middle, not the tail) and wrap the strand in loose, even loops around your reel or cardboard. Keep the loops relaxed — pulling them drum-tight stresses the wire at each bend and can crack older insulation over time. When you reach the end, secure both the plug and tail ends with a velcro tie so nothing unspools in the bin.
If you're using the cardboard method, cut a rectangle about 12 inches long with a notch cut into each short end. Hook the plug into one notch, wrap the strand in a gentle figure-eight around the notches, and hook the tail into the other. The figure-eight matters — it neutralizes the strand's natural twist, so it unwinds clean next year instead of springing into a coil the moment you let go. Write the zone right on the cardboard with a marker.
One more trick I always recommend: once wound, give the strand a quick visual once-over before it goes in the bin. Look for cracked sockets, frayed wire, or a section that looks pinched where a clip bit too hard. A 10-second look now saves a 20-minute diagnosis in December. (I'll cover full testing below.)
Then the wound strand goes in the bin — and here's the discipline part — standing upright or laid flat in a single layer if you can manage it. Stacking four wound strands per bin is fine. What isn't fine is stuffing a fifth loose one on top "just for now."
How to Store Net Lights Without Wrecking Them
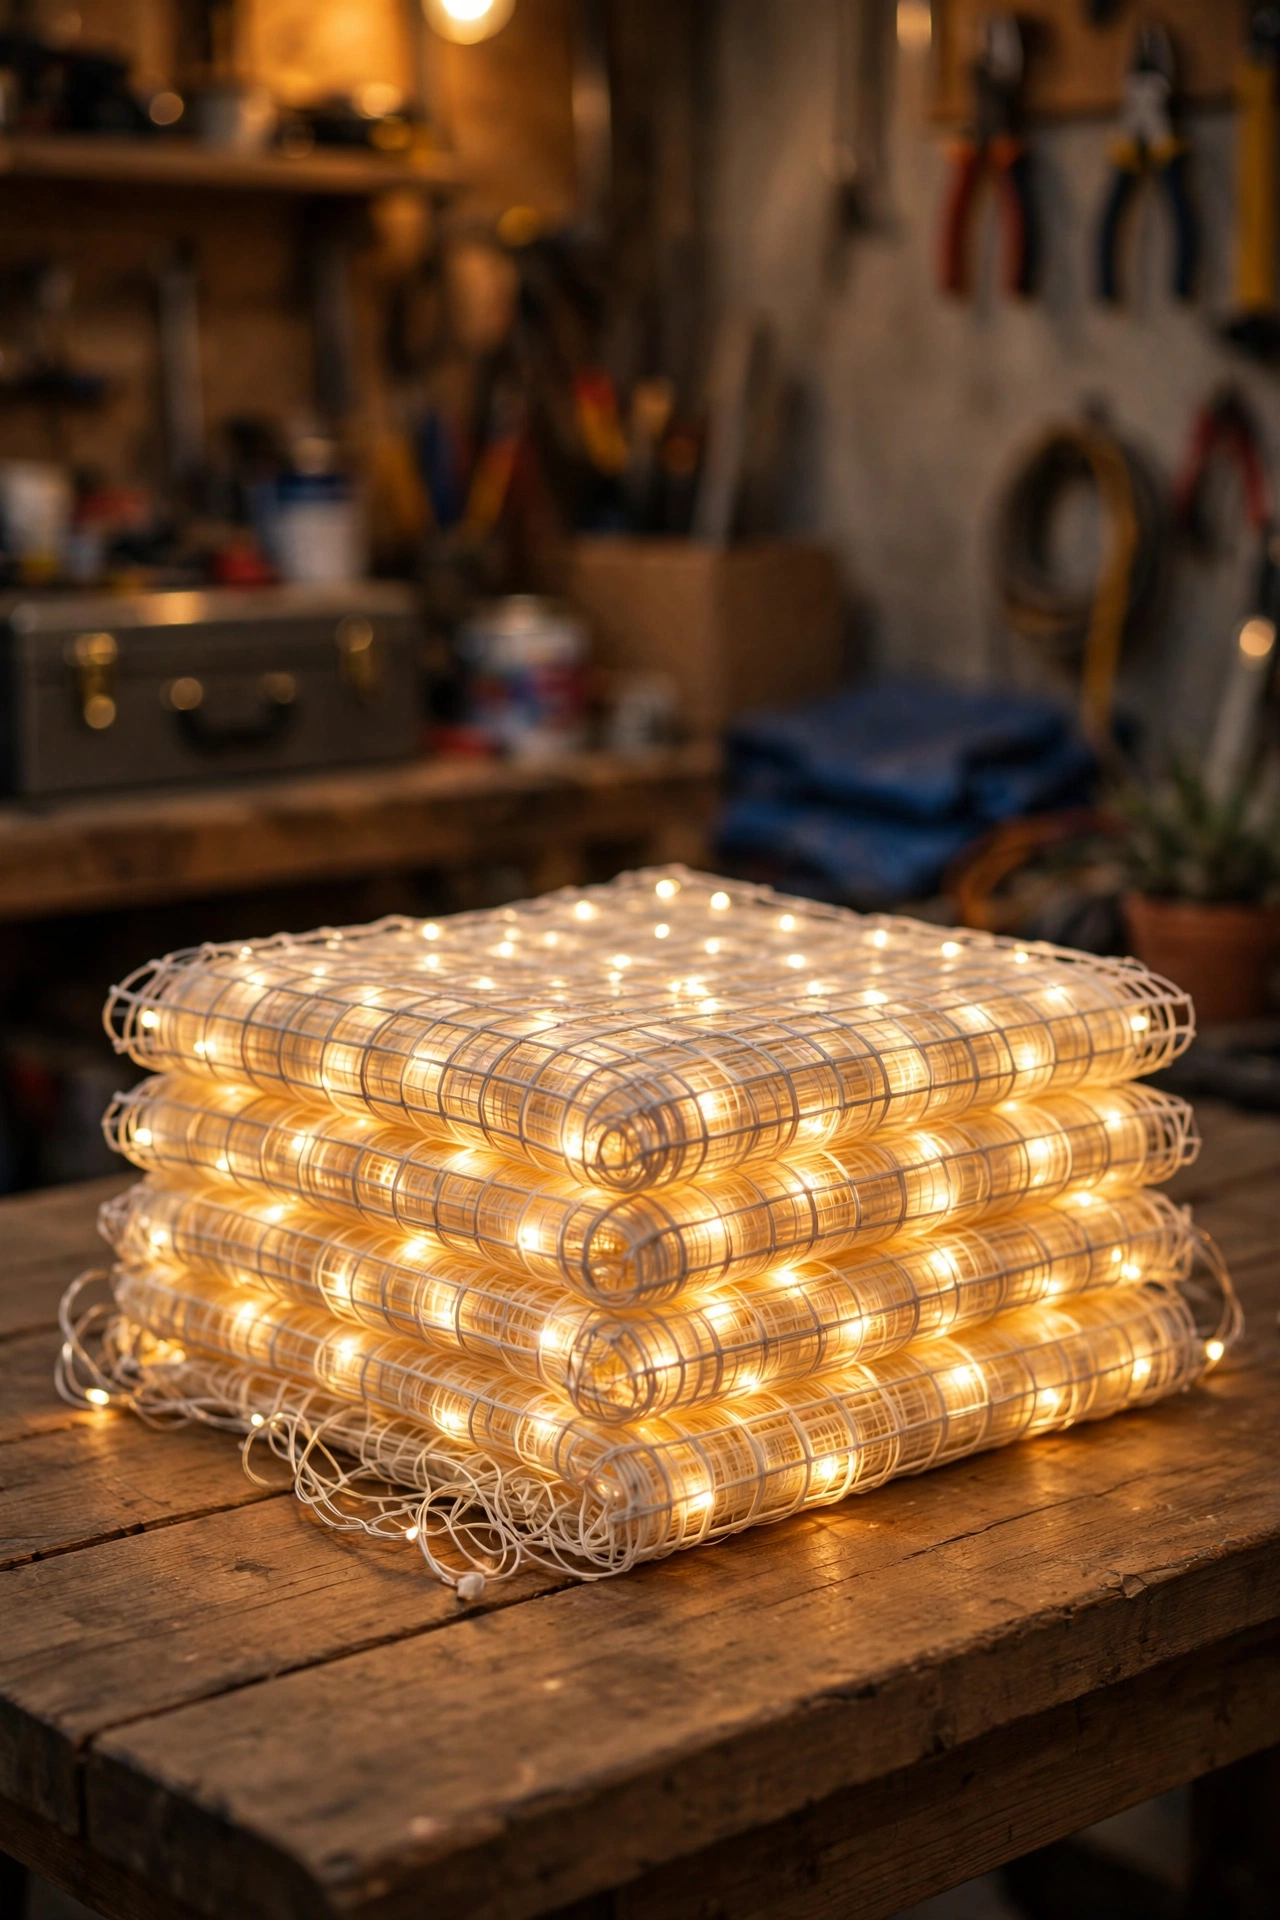
Net lights are wonderful on bushes and terrible to store, because their grid structure catches on itself like nothing else. In my experience, the flat-fold method is the only one that works: treat a net light the way you'd fold a fitted sheet — with patience, and flat.
Unplug the net and lay it out on the lawn or driveway, lights facing up. Starting from one edge, fold the net in thirds like a letter, keeping each fold flat and even. Then roll the folded strip loosely — not tightly — into a cylinder and slide it into a zippered storage bag or wrap it in a large piece of tissue or old bedsheet. The fabric layer between folds is the secret: it stops the bulbs from snagging the grid when you unroll next year.
Label the bag with both the zone and the net's size — "front hedge, 6×4 ft." Nets look identical once folded, and nothing is more maddening than unrolling three bags to find the right one. If the net has a plug with multiple prongs or a built-in timer box, tape that to the outside of the bag so it doesn't migrate.
Resist the urge to cram a net into a too-small bag. Compression is what breaks bulb sockets on nets — the grid is flexible, but the sockets at each intersection are not. If the bag barely zips, get a bigger bag or wrap it in a sheet instead. Honestly? A pillowcase is a perfect net-light bag: breathable, the right size, and free. Just tie the top and pin a label to it.
Wrapping Icicle Strands and Drapes
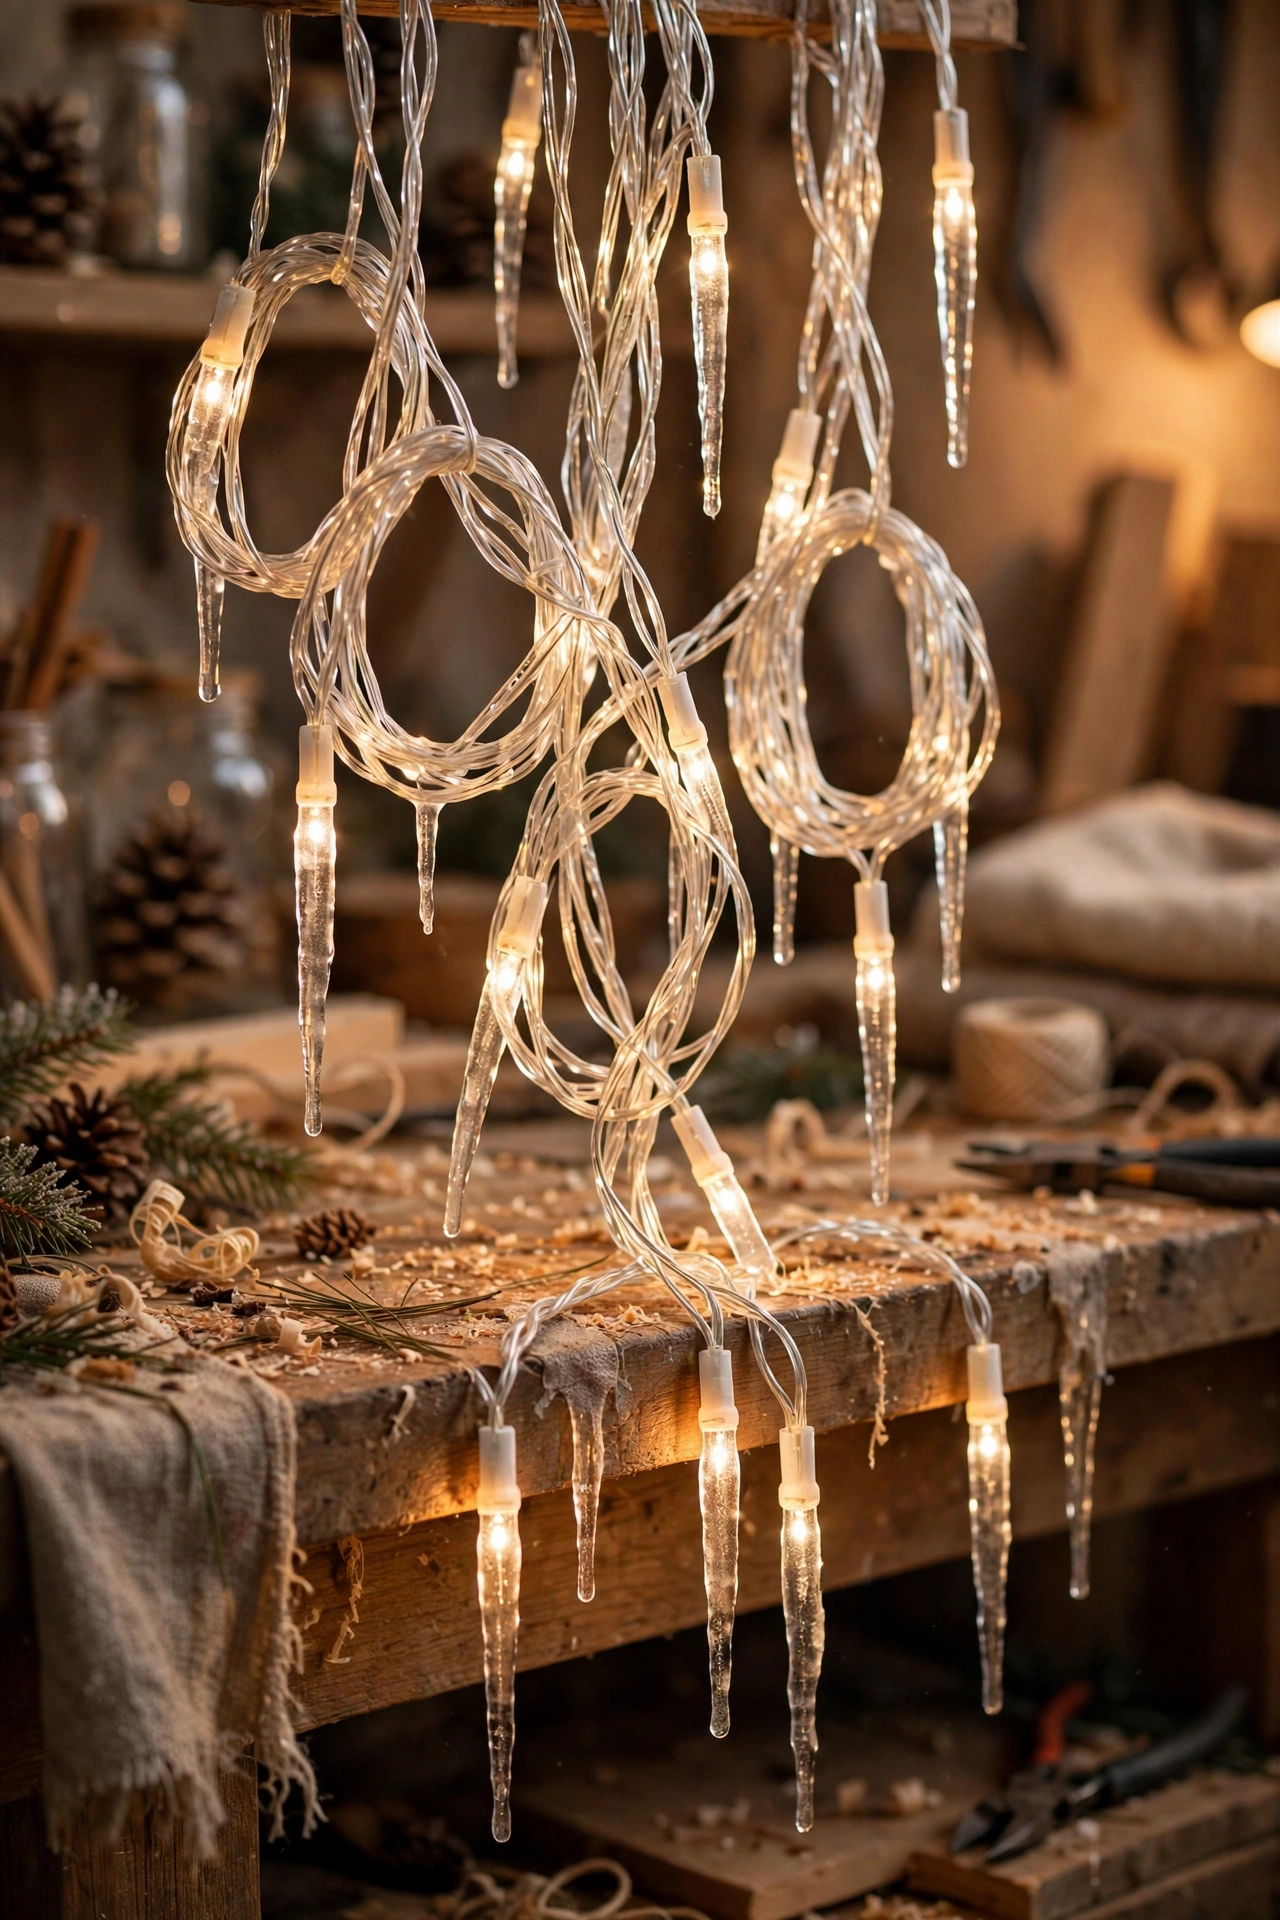
Icicle lights tangle differently than string lights — it's not the wire that knots, it's the hanging drops snagging each other and the neighboring strands. The fix is to keep each strand flat and separated while you wind.
Work from a ladder or step stool if the strand is long, and bring it down section by section rather than yanking the whole thing free at once — yanking is how drops tear off and how the strand stretches. As you lower each section, lay it straight along the ground or over your arm in smooth, parallel passes rather than coiling it. Think of how a fire hose is laid flat, not how a garden hose is coiled.
For winding, a reel works but a flat wrap is better: fold the strand back and forth in loose 2-foot passes — like folding a long ribbon — and secure the middle with two velcro ties. The drops hang in the same direction on each pass, which keeps them from hooking each other. Then slide the folded strand into a storage bag or lay it in the bin on top of your wound string lights.
Write the label on the bag: "garage icicles, 20 ft" or wherever they lived. Icicle strands are also the ones most worth measuring before you store — knowing the footage saves you from buying short next year.
A quick inspection note: icicle strands take the worst weather beating of any type (wind whip, ice weight). Check each drop for cracked plastic as you fold. One cracked drop is a cosmetic issue; a strand full of them is your signal to catch the January sales for a replacement, which we'll get to.
C9 Bulbs: Remove, Wrap, and Label
Big-bulb C9 strands are the divas of the light world — gorgeous on the roofline, fussy in storage. Their sockets are chunky, the bulbs are glass (or glass-look), and the wire is heavy. In my experience, the correct January routine for C9s has three steps: remove the bulbs, wrap the wire, and keep the two separate.
Removing the bulbs sounds tedious, but it takes about ten minutes per strand and it prevents the number-one C9 casualty: bulbs crushed against each other in the bin. Gently unscrew each bulb and drop it into a divided container — an egg carton, a tackle box, or a bulb organizer. Label the container with the strand color and count ("warm white C9, 25 ct"). For any bulbs that are truly dead or blackened at the base, toss them now; there's no point storing a corpse.
Wrap the empty wire on a reel or cardboard just like string lights. Empty C9 wire winds beautifully because there are no bulbs to snag. Label it to match the bulbs: "front gutter C9 wire" pairs with "front gutter C9 bulbs."
Here's a trick I always recommend: put a single spare bulb in each bulb container, labeled "spare." When one blows next December, you won't be digging through bins — you'll know exactly where the matching spare lives.
Keep C9 bulbs out of extreme cold if you can. Glass and plastic housings handle garage winters fine, but repeated freeze-thaw in a damp spot can crack the seals. Up on a shelf, in a sealed bin, they'll be happy as clams until November.

How to Test Your Outdoor Christmas Lights Before Storing Them
This is the step everyone skips, and it's the one that turns storage from a chore into a strategy. Testing in January — while you remember the display and the sales are hot — means December-you starts the season with a known-good inventory instead of a box of question marks.
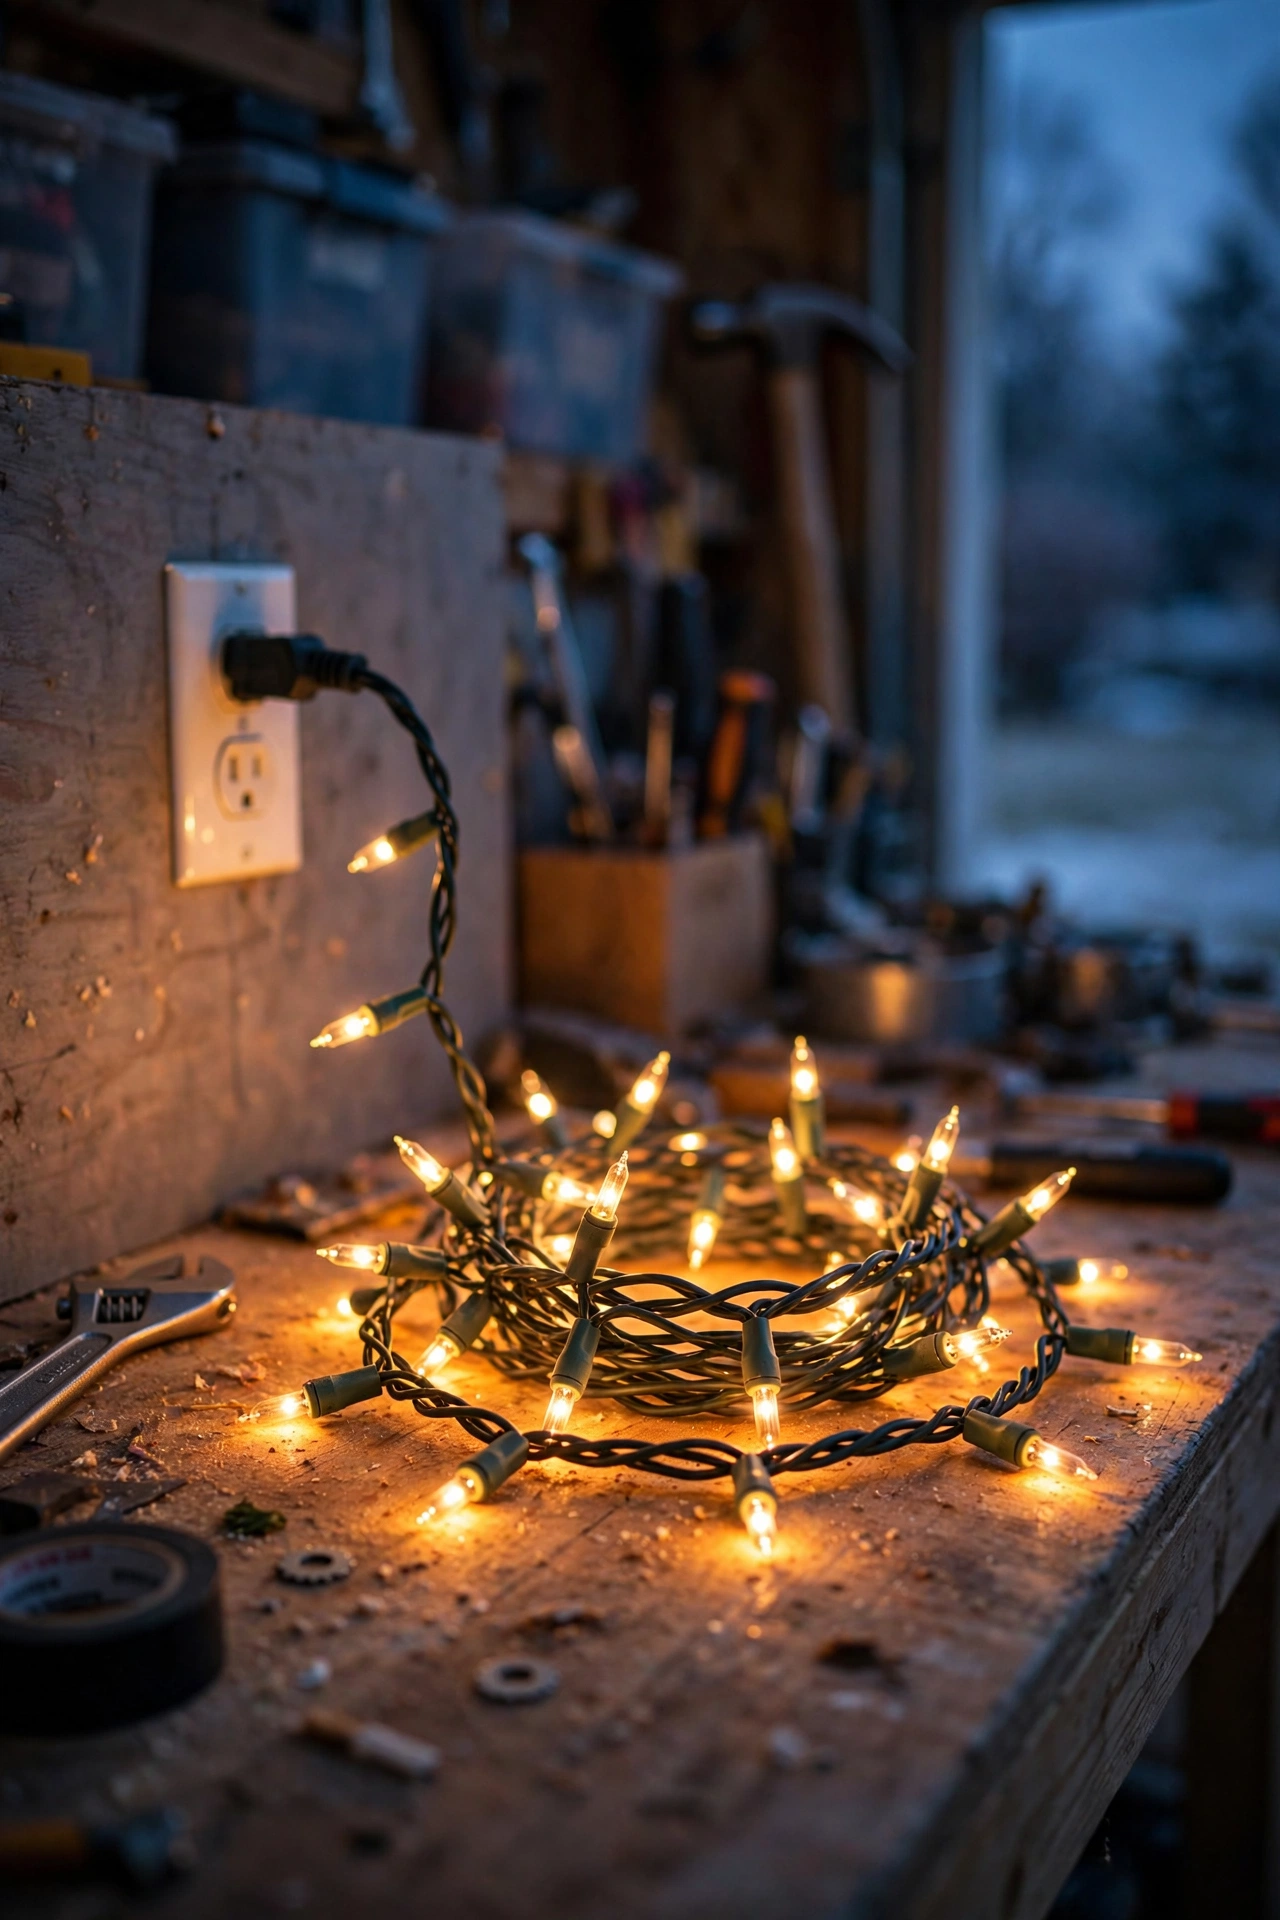
For each strand, before it gets wound and binned: plug it in and look at every bulb. Mark dead or dim bulbs with a tiny piece of tape on the socket so you can find them later. For LED strands, remember that one dead LED doesn't kill the whole strand the way an old incandescent would — but a dim or flickering section usually means the strand is on its last legs. If more than a few bulbs are out on a single strand, that strand is a replace candidate, not a repair candidate.
While you're at it, run this quick checklist per strand:
– Frayed or chewed wire? Mice love garage-stored cords. Any bare copper showing means the strand goes in the trash — never store a damaged strand "to deal with later." Electrical damage doesn't heal.
– Cracked sockets or brittle insulation? Bend a socket gently. If the plastic cracks or flakes, the strand's UV life is over.
– Plug intact? Check both prongs and the fuse compartment (most outdoor strands have a little sliding fuse door in the plug). Note dead fuses for the January shopping list.
I keep a simple list on my phone — "needs 2 C9 warm white, 1 icicle 20ft, 3 fuses" — and shop it during the sales. Ten minutes of testing now replaces an entire panicked hardware-store run on the first weekend of December. Our lighting troubleshooting guide can help if a strand is acting up and you're not sure whether it's worth saving.
The Ideal Storage Spot: Dry, Cool, and Off the Floor
Where you store matters almost as much as how. The three enemies of stored Christmas lights are moisture, extreme heat, and pests — and the typical garage floor in winter delivers all three at once.
The sweet spot is a dry space that stays between roughly 40°F and 80°F year-round: a basement shelf, a climate-controlled garage cabinet, or a spare closet. If your only option is the garage or shed, that's fine — just get the bins up off the concrete floor. Concrete wicks moisture and gets cold enough to make wire insulation brittle over a long winter. A simple wire shelf, a couple of 2x4s, or even a wooden pallet keeps bins 6 inches off the ground, which makes a real difference.
Always use lidded bins rather than open cardboard boxes. Cardboard absorbs humidity, invites mice (they will nest in your icicle strands — I've learned this the hard way), and collapses if anything leaks nearby. A sealed plastic bin with a couple of silica gel packets inside keeps humidity in check even in a damp garage.
Keep the bins away from the water heater, the furnace, and anywhere the sun beats through a window — sustained heat degrades wire insulation and fades colored bulbs. And don't stack anything heavy on top of the light bins; crushed strands are how you get cracked sockets by spring.
Honestly? The shelf-in-the-garage setup is what most of us have, and it works perfectly with lidded bins and a little elevation. You don't need a climate-controlled storage unit — you just need to avoid the floor, the furnace, and the cardboard box.

Organizing Clips, Timers, and Extension Cords
Lights get all the attention, but the accessories are what actually go missing. I can't count the Januarys I spent buying new gutter clips because last year's were somewhere in a mystery bag. The system is simple: bag by zone, label everything, store cords wound separately.
Wind each extension cord on its own — a figure-eight around your hand and elbow, or on a reel if you have a spare — and secure it with a velcro tie. Write the length on a piece of tape on the plug end: "25 ft outdoor," "50 ft outdoor." You'll use these year-round for yard work, so knowing the length at a glance is genuinely useful beyond the holidays.
Timers and smart plugs go in their own zip bag with their instructions if you still have them (snap a photo of the instruction sheet if you don't). Label it "timers" and keep it with the lights, not in a random electronics drawer — in December you'll look for it with the lights, so store it with the lights.
Clips and stakes get zone-labeled bags, as I mentioned: one bag per zone, matching the strand labels. Suction-cup window clips, gutter hooks, adhesive clips — keep like with like, because mixing them means digging through a handful of sharp plastic every time you need six gutter hooks.
In my experience, one "accessories" bin holding all these labeled bags is the finishing touch. Open one bin, and everything — lights, clips, timers, cords — is there and labeled. That's the whole January payoff in one box.
Repair, Replace, or Reuse? The January Decision
Once everything is tested, sorted, and wound, you'll have a clear picture: some strands are perfect, some need a fuse or a bulb, and some are done. January is the ideal moment to make those calls, because you're looking at the evidence — not guessing from memory in November.
My rule of thumb: if a strand needs more than about 15 minutes of repair or more than a quarter of its bulbs replaced, it's a replace, not a repair. LED strands have gotten so affordable that nursing a dying one rarely pencils out — your time in December is worth more than the $12 you saved in January.
Repair: dead fuses, one or two dead bulbs, a loose plug cover. Quick fixes, worth doing now while you're in the zone.
Replace: brittle insulation, multiple cracked sockets, flickering sections, chewed wire. These are safety issues, not cosmetic ones — damaged wire doesn't belong on your roofline, period.
Reuse: anything that tested clean. These go in the bin with confidence.
Make the shopping list while the evidence is fresh: exact bulb counts, strand lengths, fuse types. I always recommend taking a photo of the packaging of any strand you're replacing — the model numbers make January online shopping (and December in-store shopping) so much easier.
And here's the beautiful part: because you labeled everything by zone, your list naturally organizes itself. "Front gutter: replace 1 C9 strand, 25 ct warm white" is a shopping list and an installation plan in one. When the sales hit, you'll buy exactly what you need — nothing more, nothing sitting in a drawer unopened next year.
Shop the January Sales Like a Planner
Here's the part of the January routine that actually saves real money: the after-Christmas sales. Starting the day after Christmas and running through January, outdoor lights typically drop 50–75% as stores clear seasonal inventory. The trick is shopping with your tested, labeled list — not browsing.
Shop from the list you made during testing: exact strand types, bulb counts, lengths, fuse sizes. Because you know precisely what died, you buy replacements instead of duplicates. In my experience, this is where the whole system pays for itself — a planned January haul of two replacement strands and a bag of fuses might cost $25–$40 on sale versus triple that in November.
A few planner tips: buy one spare strand of your most-used type, even if nothing died. A matching spare in the bin is worth its weight in gold when a strand fails mid-December and the exact style is sold out. Stick to warm white in the same color temperature as your existing display (2700K-ish for classic warmth) so the spare blends in — a 5000K daylight-white replacement strand next to warm white ones looks like a mistake.
Check online too, not just the big-box clearance aisles: post-holiday inventory often lingers into late January at deep discounts. And set a calendar reminder for early December to pull the bins down and do one final plug-in test — even well-stored lights deserve a victory lap before they go back up. For next year's display inspiration, our roundup of outdoor Christmas light ideas is a good place to start planning the fun part.
Frequently Asked Questions
Can I just leave my Christmas lights up year-round?
You can, but I don't recommend it for standard holiday strands. UV exposure, rain, and heat degrade wire insulation and fade bulbs, so a strand left up year-round often lasts one season instead of three or four. It also looks tired by August — sun-bleached wire and half-dead bulbs are nobody's idea of curb appeal. The exception is permanent outdoor Christmas lights, which are designed for year-round mounting with UV-stable channels and replaceable pucks. If you love the look enough to keep it up, that's the right product for the job — not your holiday strands, which will reward an hour of January takedown with years of extra life.
How long do LED strands last in storage?
Far longer than they last in use. A quality LED strand is rated for roughly 25,000–50,000 hours of lit time, but storage doesn't consume that rating — time in a dry, cool bin barely ages them at all. In my experience, properly stored LED strands easily last 5–7 seasons, and often more. What shortens their life is moisture, heat, and physical damage in storage — cracked sockets from being crushed, chewed wire from mice, corrosion from humidity. Store them wound, dry, and off the floor, and the LEDs themselves will outlast your interest in the color scheme.
What's the best temperature for storing Christmas lights?
Aim for a stable 40°F to 80°F — basically, any dry indoor-ish space that doesn't freeze hard or bake. Cold alone isn't the enemy; repeated freeze-thaw cycles and damp cold are. An unheated garage shelf is fine in most climates as long as the bins are lidded, elevated off concrete, and out of direct sun. Avoid attics that hit 120°F+ in summer — sustained heat softens wire insulation and can warp plastic sockets. If your garage swings wildly, the basement or a closet is worth the shelf space.
How do I untangle a strand that's already a mess?
Don't pull — pulling tightens knots. Lay the strand on a flat surface and work from the plug end, gently loosening one loop at a time and feeding slack back through each knot. For a truly fused ball, find the tail end and patiently thread it back through the loops, reversing how it got tangled. In my experience, 15 patient minutes beats an hour of yanking. Once it's free, wind it on a reel immediately so it never happens again. If a strand is so knotted that wire is kinked or insulation is damaged, retire it — a strand you had to fight that hard is telling you something.
Should I remove the bulbs before storing C9 lights?
If they're the big C9 style with removable bulbs, yes — I always recommend it. Unscrew each bulb into a divided container and wrap the empty wire separately. It takes about ten minutes per strand and prevents the most common C9 casualty: bulbs crushed against each other in the bin. For mini lights and sealed LED strings, leave the bulbs in — they're designed to stay put, and removing them risks damaging the sockets. Net lights and icicles stay as-is too, folded flat and separated.
Conclusion
Learning how to store outdoor christmas lights properly is one of those small skills that pays you back every single December. The whole system is just four habits: take them down in reverse order, label every zone, wind each strand on its own, and keep everything dry and off the floor. Do that for one January afternoon, and next year's setup starts with a bin of known-good, tangle-free lights instead of a box of mysteries.
Honestly? This is my favorite kind of home project — the kind where future-you gets all the credit for past-you's half hour of care. So pour the coffee, grab the masking tape, and give those strands the send-off they deserve. And when you're ready to plan next year's display, browse our outdoor Christmas lighting ideas for fresh inspiration — because the best part of storing lights well is getting to hang them again.