Intro
There's a fine line between a yard that gives trick-or-treaters delicious goosebumps and one that looks like a clearance aisle exploded — and lighting decides which side you land on. These halloween outdoor lighting ideas are all about eerie elegance: deep amber glows, moonlit silhouettes, fog caught in beams of orange light. Spooky, not tacky. That's the whole philosophy here, and it's easier than you think to pull off.
I always recommend thinking in layers, the same way I do for every season. Start with a wash of light on the house, add mid-level accents — windows, trees, porch — and finish with low ground details guiding the eye exactly where you want it. Three layers minimum; five and your yard looks like a movie set. Every idea below includes the concrete details I wish someone had told me the first time: bulb types, spacing, timer settings, and safety around kids, pets, and dry October leaves.
If you haven't seen my fall porch lighting ideas roundup yet, it's a lovely warm-up — consider this the spooky sequel. Pour some cider and let's haunt your yard beautifully.
1. Amber Facade Uplighting — The Easiest Halloween Outdoor Lighting Idea
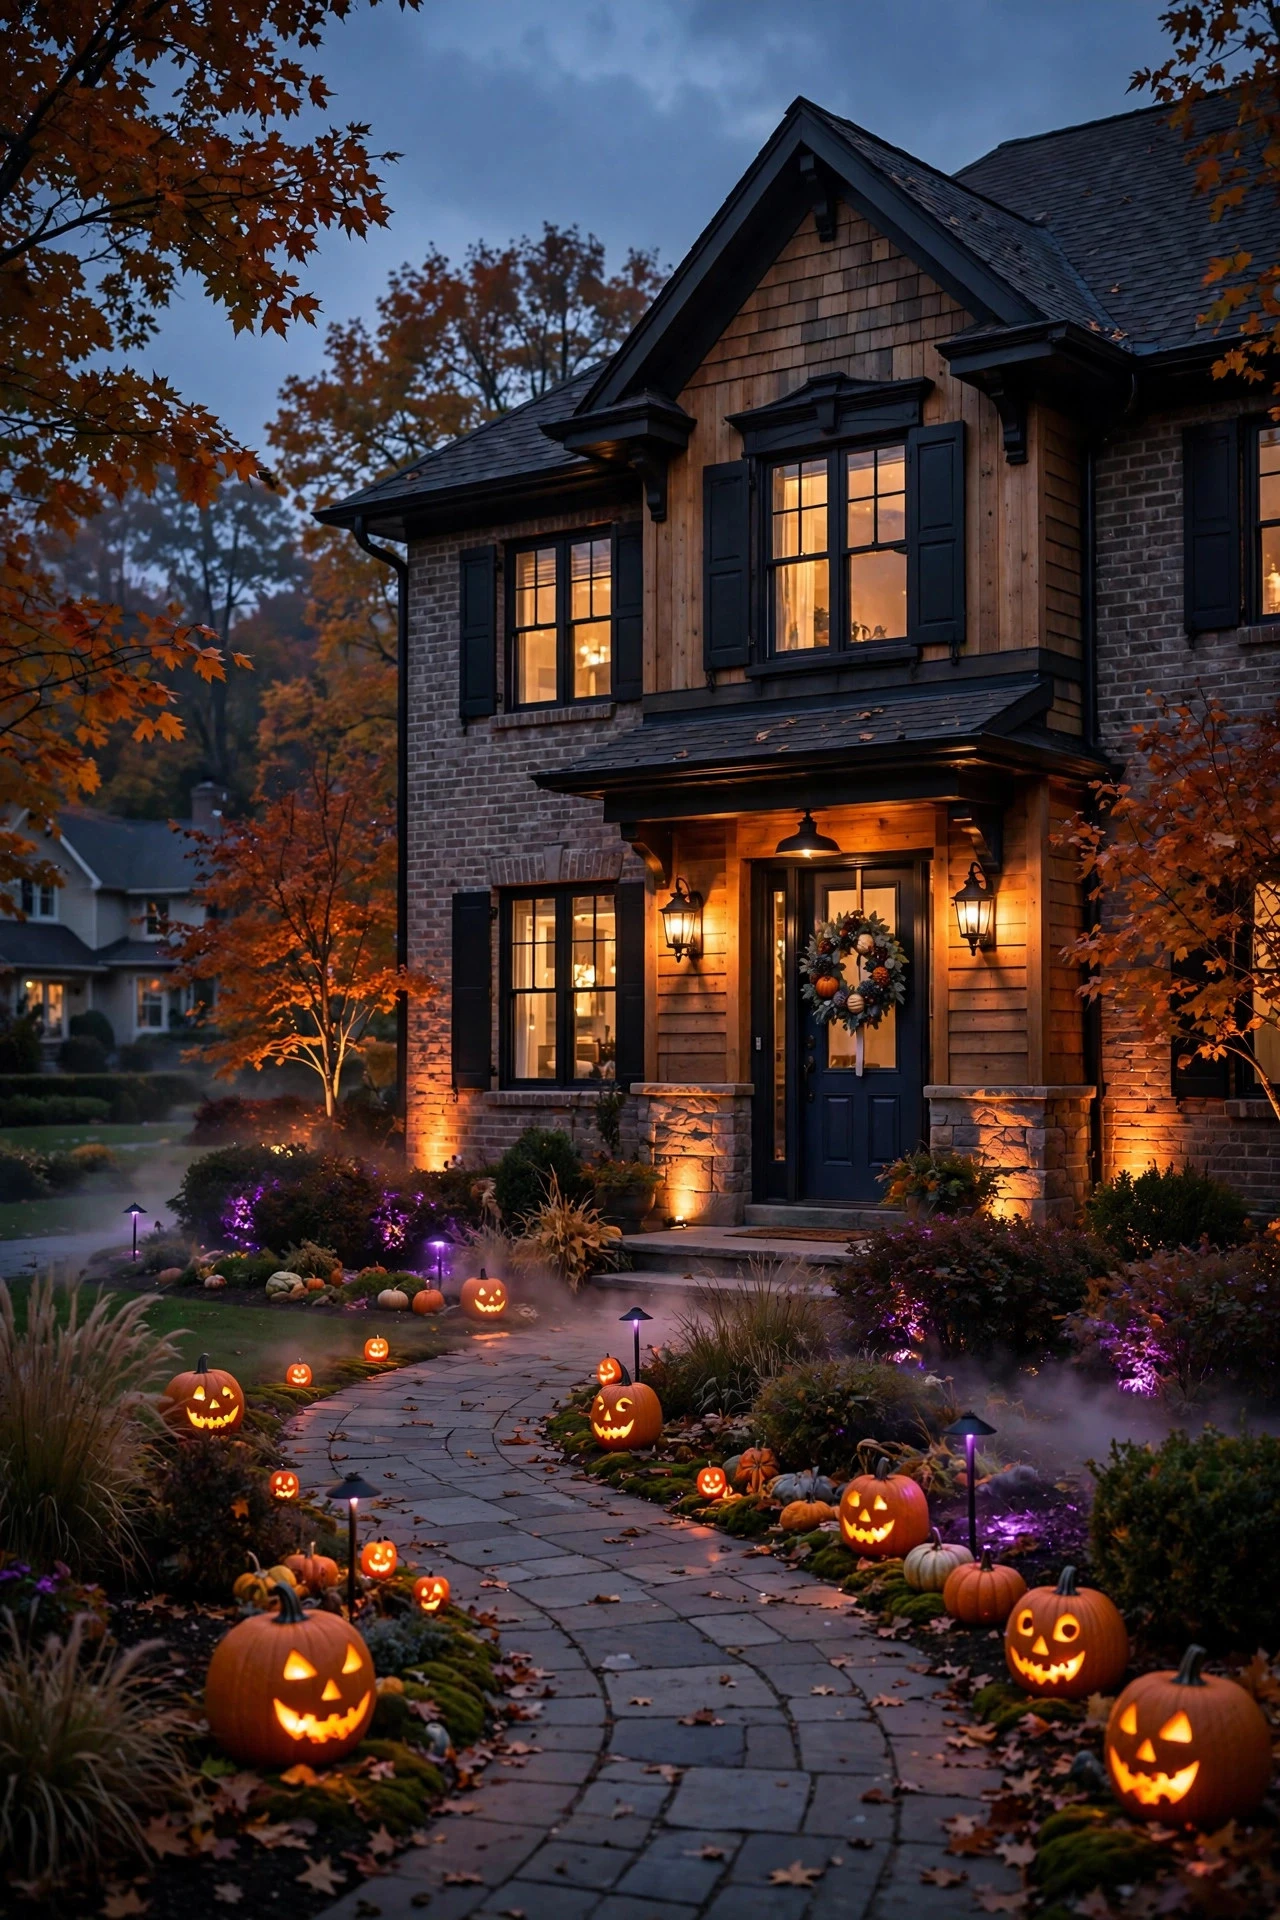
If you only do one thing from this whole list, make it this one. Honestly? Amber uplighting is the secret behind every elegant haunted house you've ever slowed down to stare at. A few well-placed amber or orange LED spotlights washing up the front of your home turn ordinary brick, siding, or stone into something straight out of a gothic novel — and setup takes about twenty minutes.
Here's the how-to: get outdoor-rated LED spotlights, the 10-to-15-watt ground-stake kind with an amber or golden-orange glow (look for bulbs labeled "amber" or "orange" rather than deep red, which reads harsh and cheap from the street). Place them 3 to 5 feet out from the foundation, one for every 8 to 10 feet of facade, and aim each beam upward at roughly a 30-degree angle so the light grazes the surface instead of blasting it. Put them on a simple outdoor timer running dusk to 11 p.m. — that covers the whole trick-or-treat window, and since each LED draws about as much power as a nightlight, your electric bill barely notices.
Styling tip: amber looks richest against light siding and white trim; on dark brick, choose a slightly brighter golden-orange so the house doesn't swallow the light. Safety first: keep dried corn stalks, faux cobwebs, and leaf piles at least 3 feet from the fixtures, and use LED only near decorations — LEDs run cool, which is exactly what you want around autumn decor.
Suggested budget range: $40 – $120.
2. Purple-and-Green Trim Accents
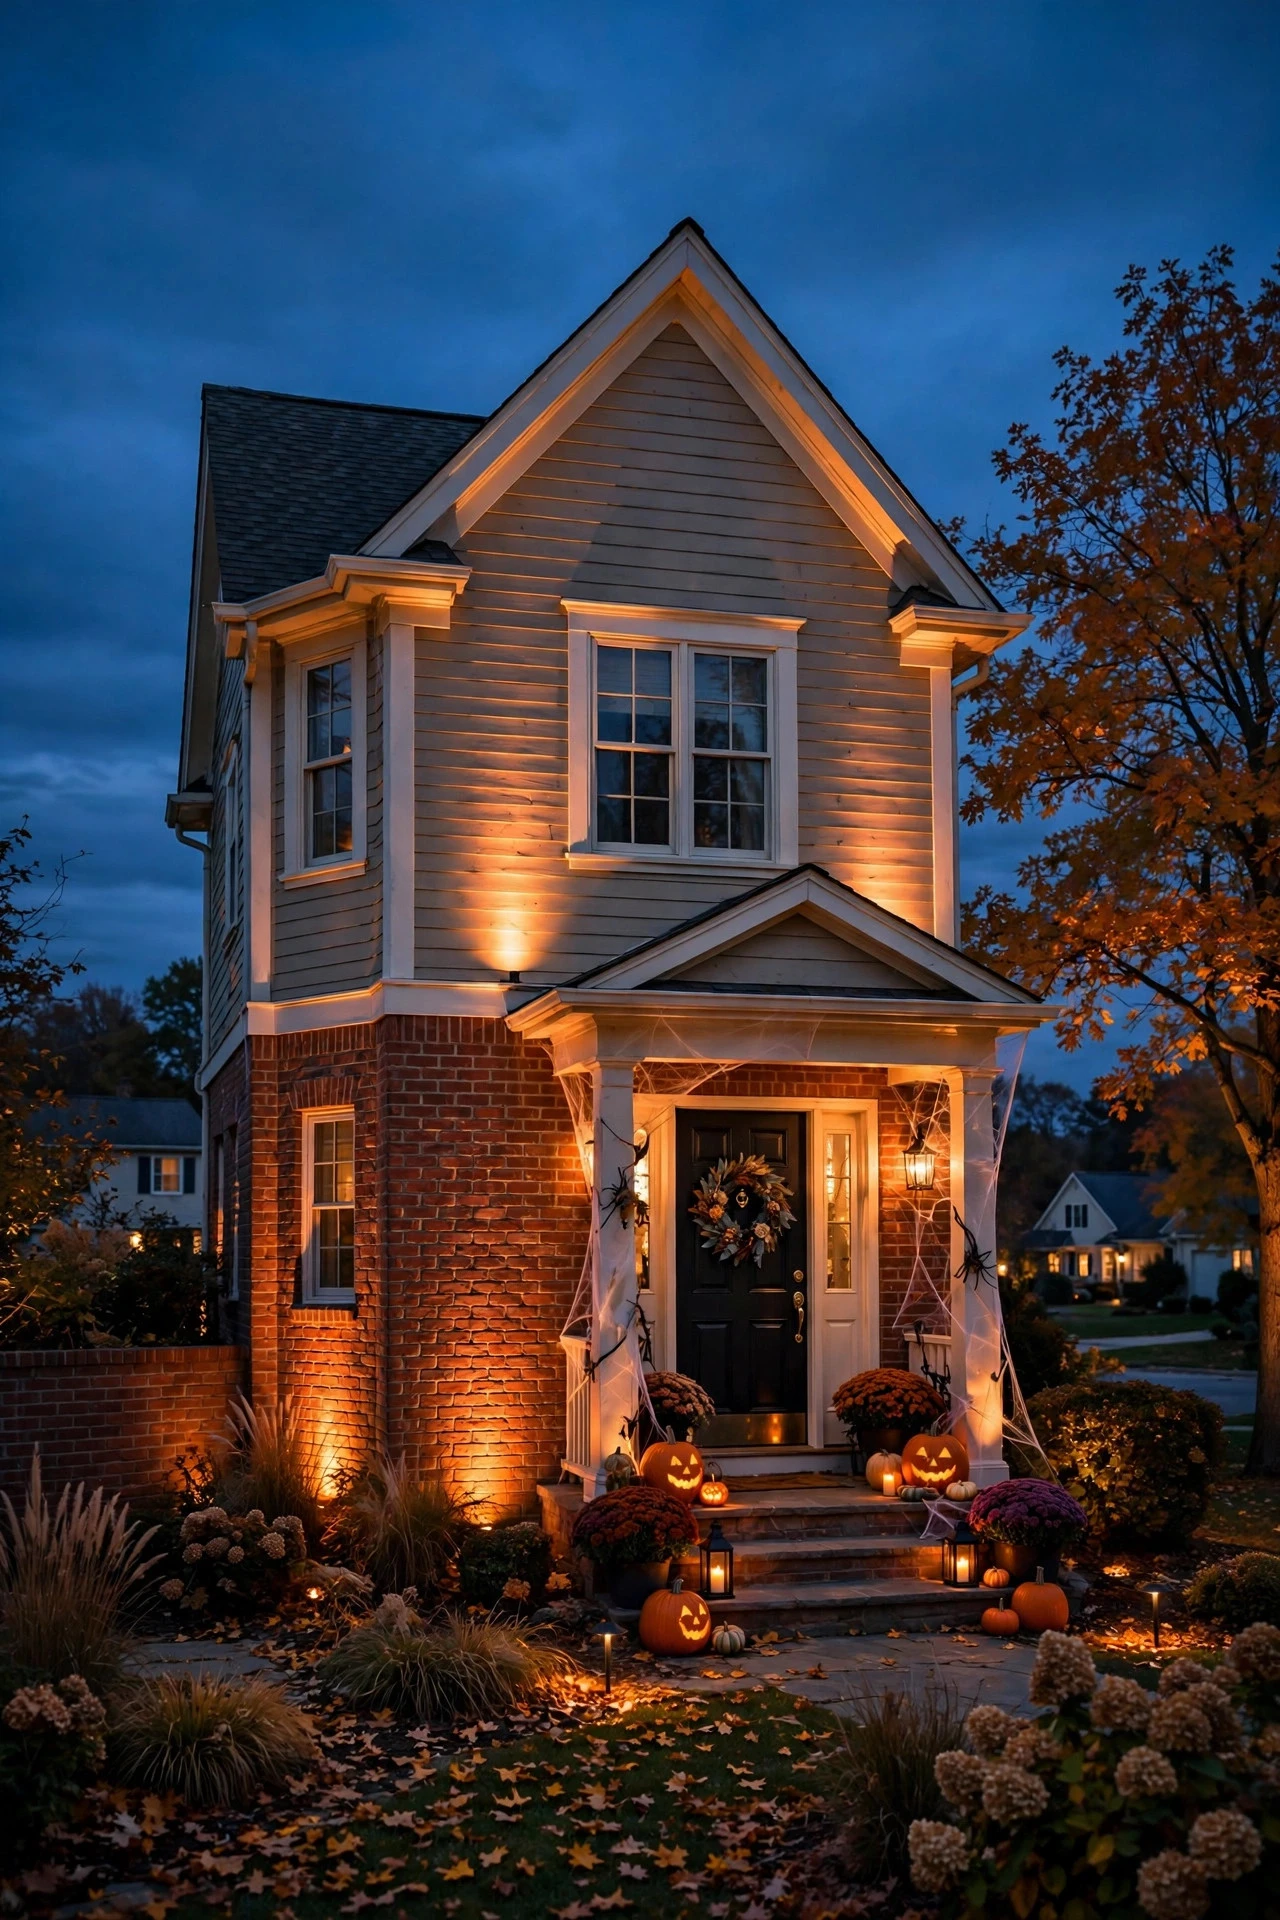
Orange gets all the glory in October, but purple and green are the colors that make a house feel genuinely haunted rather than just festive. I love using these two together as a quiet architectural accent — tracing the roofline, the porch railing, or the outline of a gable with deep purple light, then adding touches of eerie green in the shrubs or under the eaves.
The simplest approach is a strand or two of outdoor-rated LED string lights in purple and green, clipped along the fascia with plastic gutter clips (never nails — they pierce shingles and void warranties). Space clips every 12 to 18 inches so the strand hangs in a clean line rather than sagging into scallops. For a more refined look, use LED strip lights in aluminum channels along the top of the porch railing for a smooth, diffused line instead of visible dots. Set everything on a dusk-to-dawn timer, and if your strips or strings are the color-changing smart kind, program a scene in advance: purple base with green accents is my go-to Halloween combo.
The tasteful trick here is restraint. Light the trim in purple and green, but keep the porch itself warm white — that contrast is what reads "elegant haunted," and it keeps your entry welcoming for little kids. Weatherproofing note: every connection should be IP44 or better — wrap joints in weatherproof tape or use connectors with rubber gaskets.
Suggested budget range: $35 – $110.
3. Glowing Jack-o'-Lantern Pathway
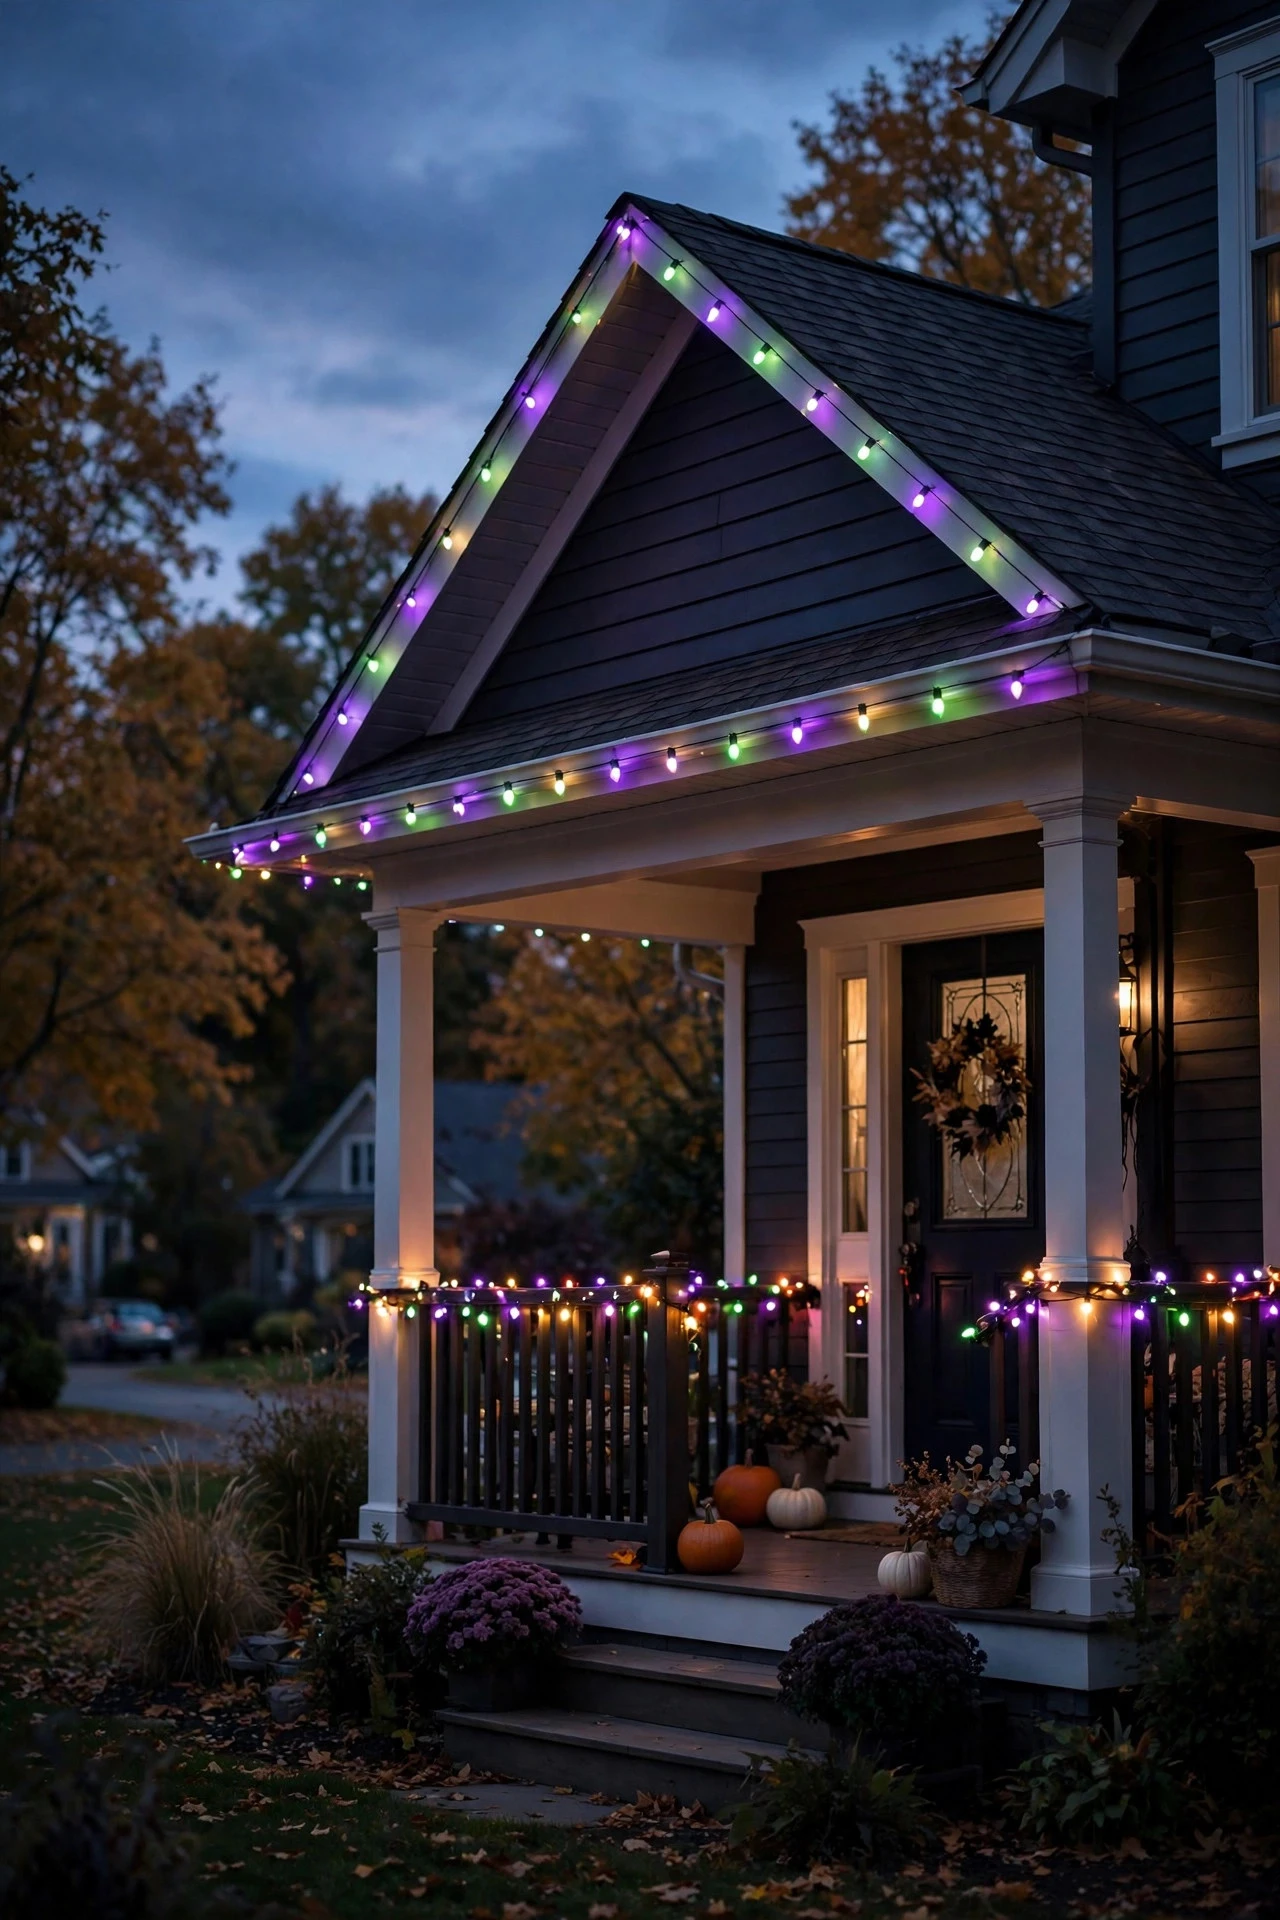
Nothing says Halloween like a walkway lined with grinning pumpkins — and lit properly, it's pure magic. The trick to keeping it tasteful (rather than a pumpkin explosion) is repetition and spacing: identical or near-identical lanterns, evenly spaced, leading the eye straight to your door like a runway.
Real carved pumpkins are gorgeous but fussy — they wilt within days in warm weather. In my experience, the best compromise is a row of faux pumpkins in graduated sizes with built-in LED lights, or real pumpkins hollowed and fitted with warm-white or orange LED tea lights (the flickering kind look convincingly candlelit). Space them 2 to 3 feet apart along both edges of the walkway, alternating sizes for rhythm. Sink each one on a small ground stake or nestle it into mulch so wind can't roll them into the path. To help real pumpkins survive the season, elevate them on little risers or upside-down pots so the bottoms don't rot on wet ground.
Set the whole row on one timer so they pop on together at dusk; nothing kills the effect like half the pumpkins dark. For real pumpkins with LEDs inside, keep them out of sprinkler range and bring them under cover during heavy rain — water pooling inside the pumpkin will short out even "waterproof" tea lights eventually. LED only inside real pumpkins, always: a real flame in a dried-out pumpkin next to a walkway full of kids is a risk you never need to take.
Suggested budget range: $25 – $85.
4. Fog-Machine Uplighting for the Misty Graveyard Glow
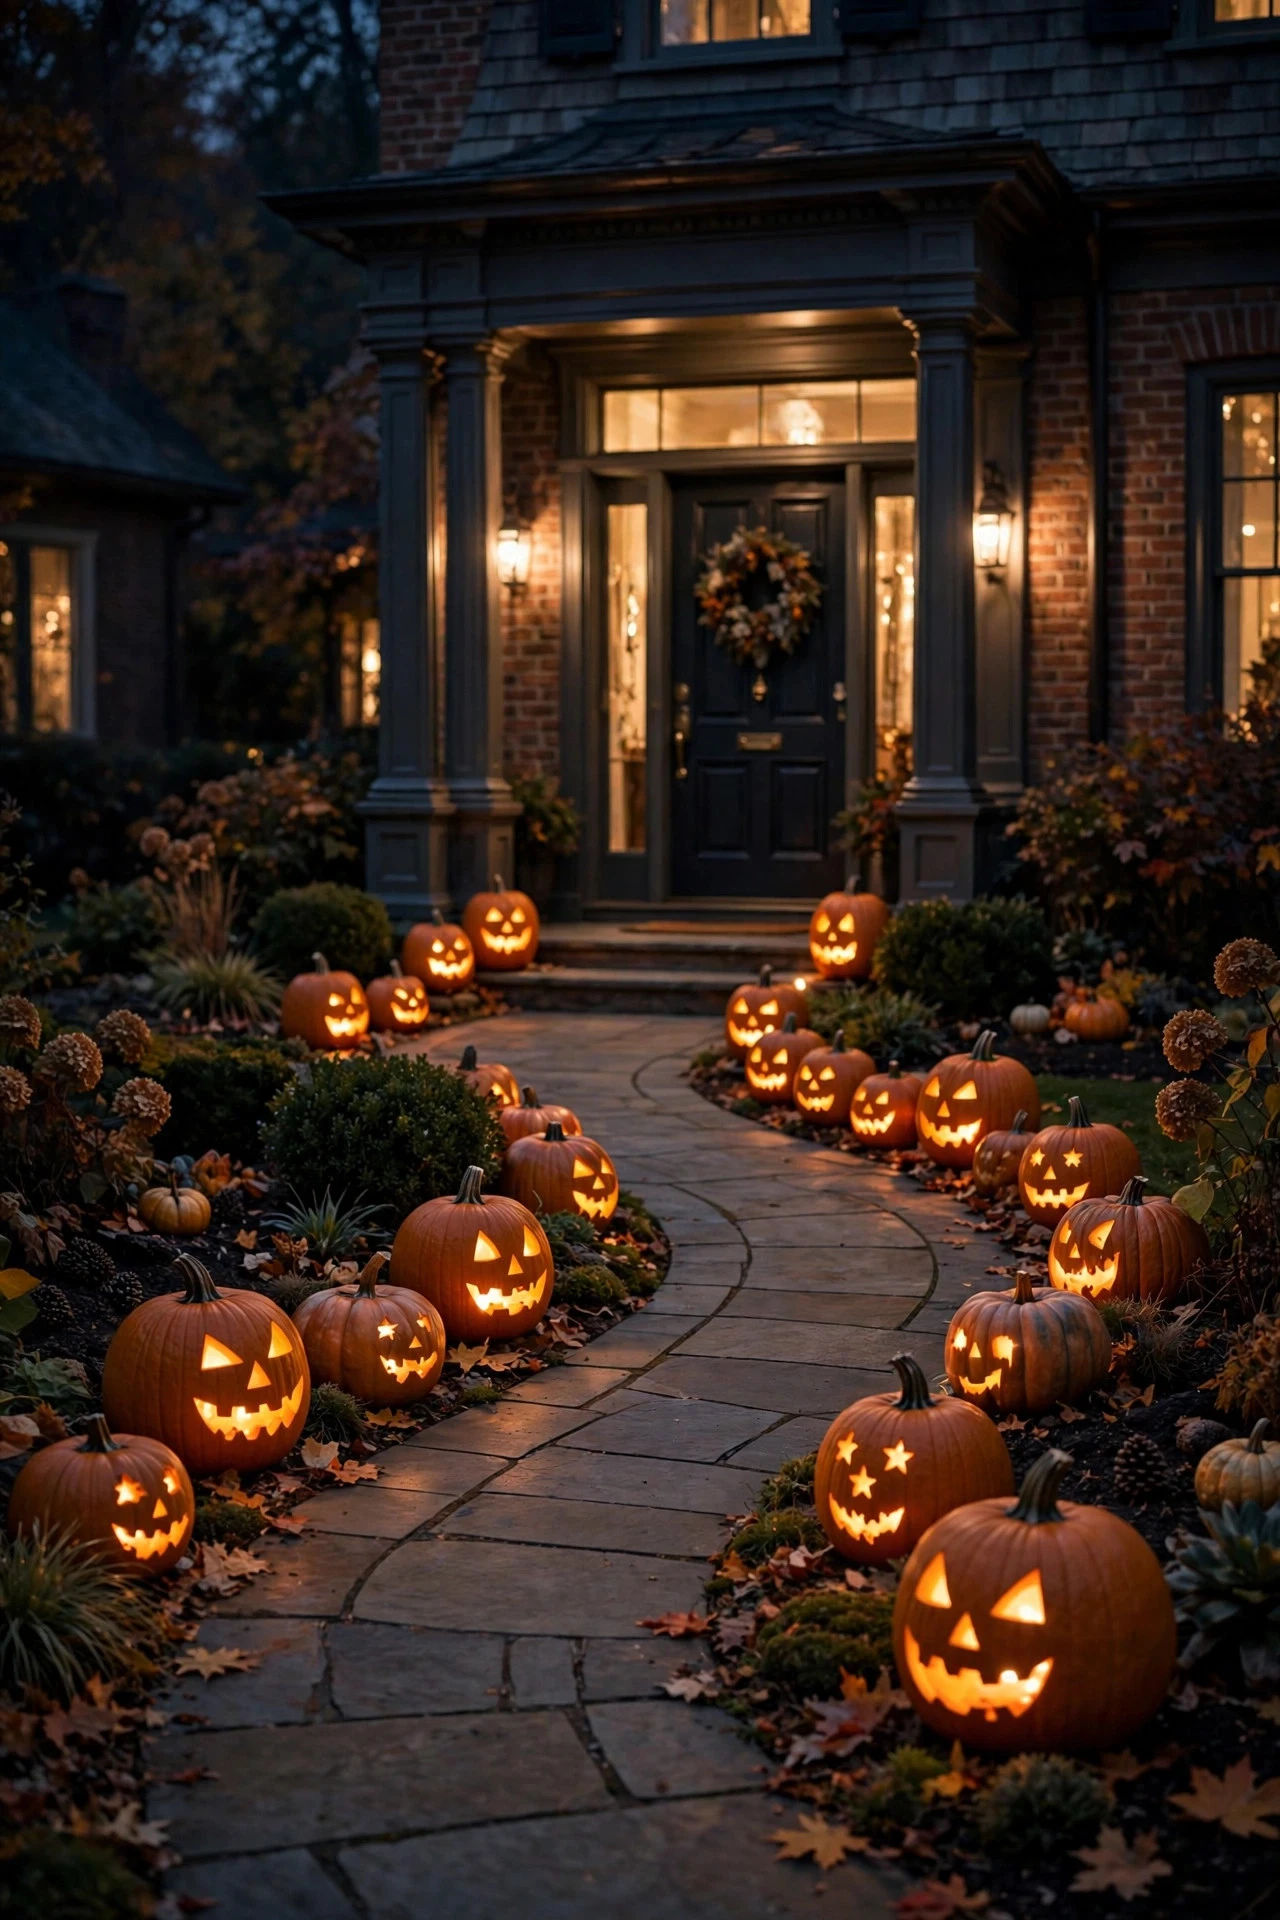
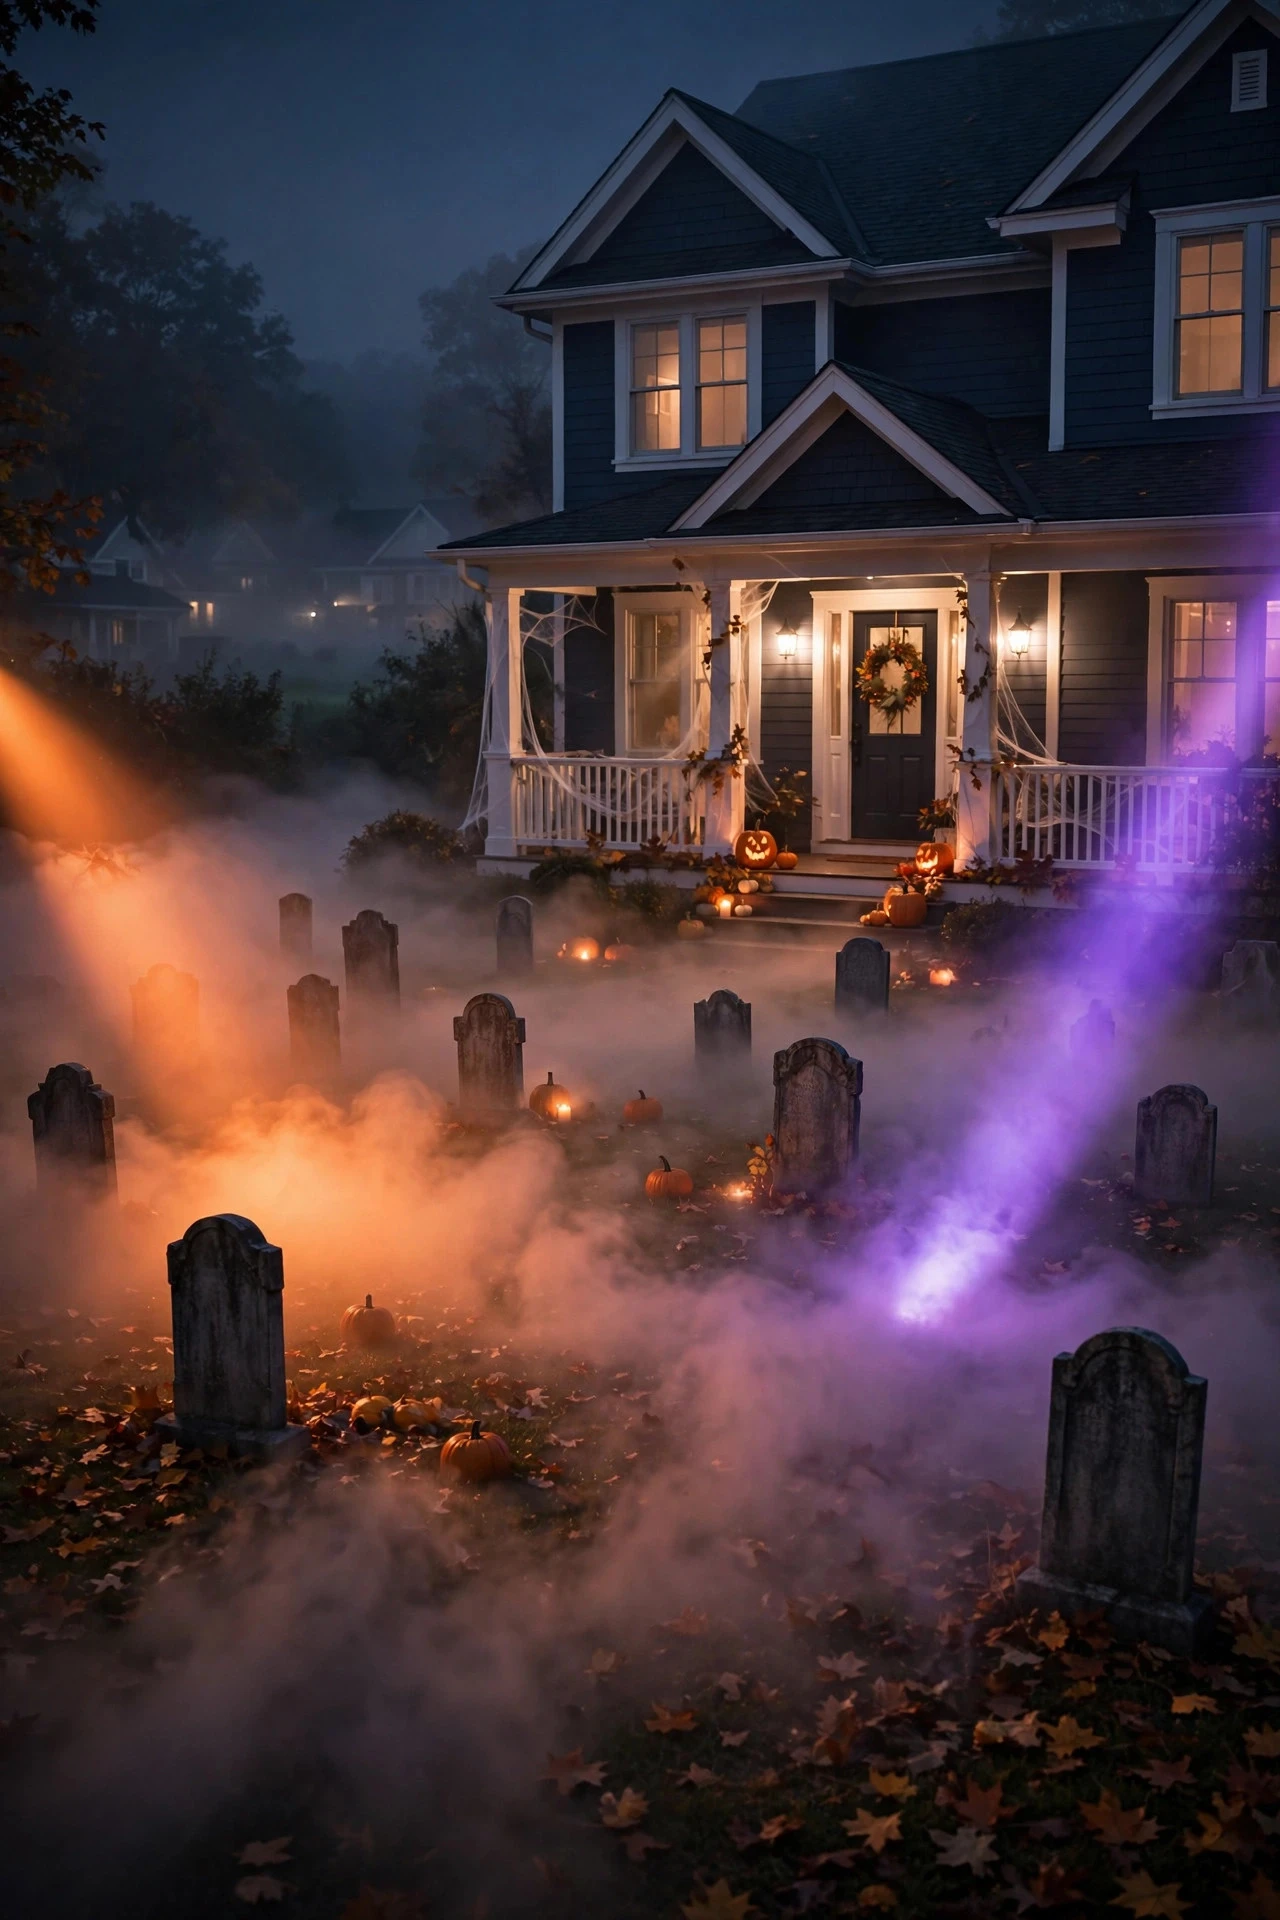
Fog on its own is just… fog. Fog caught in a beam of colored light is a haunted-movie set. This is one of my favorite dramatic tricks, and it's shockingly simple: position a small outdoor fog machine low in the yard, then aim one or two orange or purple LED spotlights horizontally through the fog plume from a few feet away.
Placement matters enormously here. Put the fog machine 6 to 8 feet in front of whatever backdrop you want to dramatize — a fence line, a cluster of tombstone props, a bare tree — and aim the spotlight from a low angle across the machine's output so the beam rakes through the fog sideways. You'll want the light about 10 to 12 feet from the fog source; too close and you get a blown-out white blob, too far and the effect fades. Run the fog machine on its interval setting (a 30-second burst every 2 to 3 minutes is plenty) and keep the spotlights on steady. Wind is the enemy of fog — on breezy nights, tuck the machine behind a shrub as a windbreak and choose a "heavy" or "long-lasting" fog fluid so the mist hangs.
Safety notes are non-negotiable with this one: keep the machine on a dry, stable surface, never block its vents, and run power through an outdoor-rated extension cord plugged into a GFCI outlet. Fog fluid gets slippery as it settles — keep the plume aimed away from walkways, steps, and anywhere trick-or-treaters walk.
Suggested budget range: $60 – $160.
5. Haunted Silhouette Projection: A Halloween Outdoor Lighting Idea with Real Drama
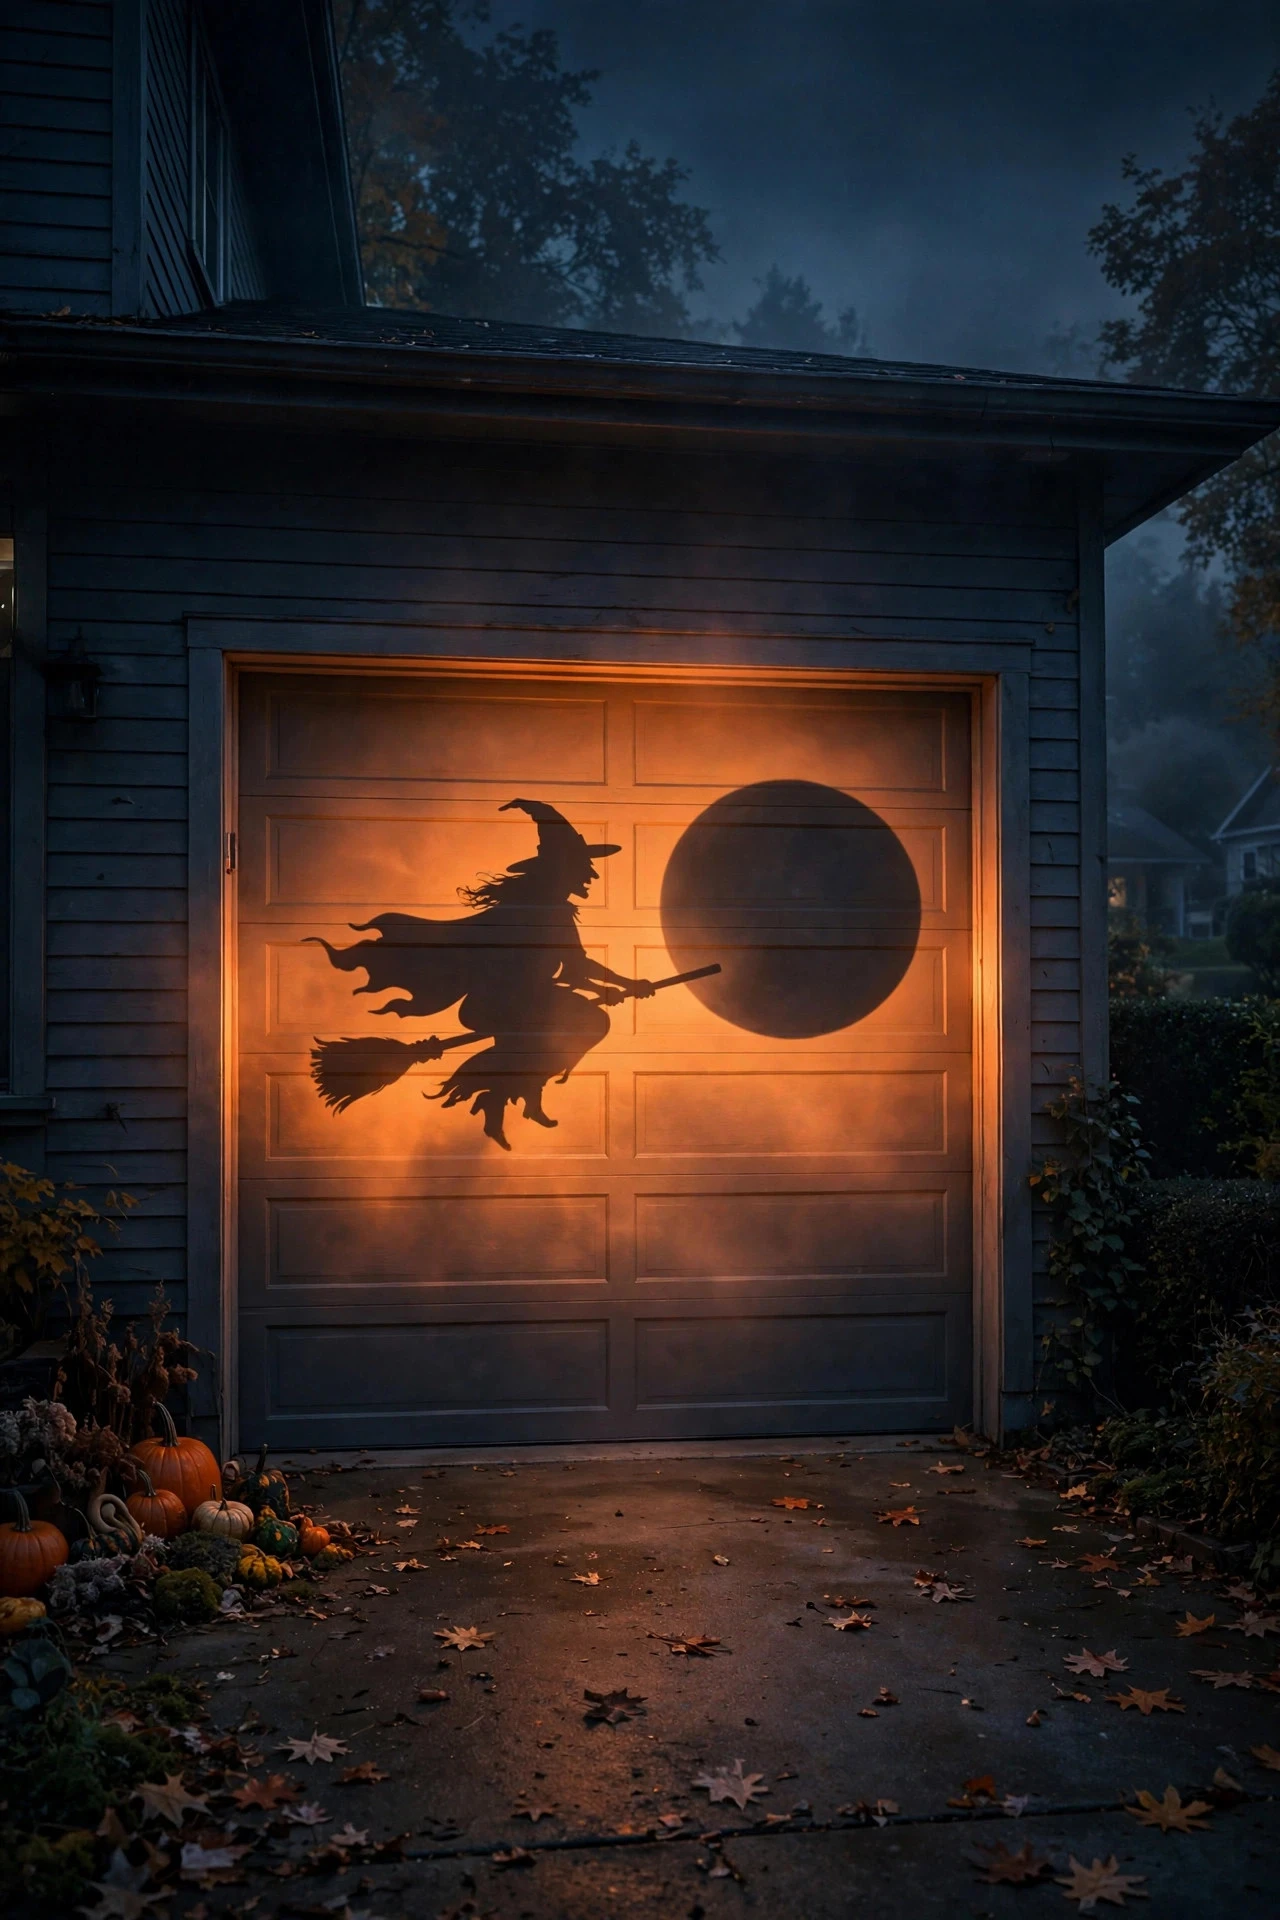
One projector, one blank wall or garage door, and suddenly your house has a haunted silhouette — witches gliding past the moon, bare branches swaying, a ghost drifting across the gable. This is the highest-impact-per-dollar idea on the list, and it covers a huge surface with a single fixture.
You'll want an outdoor-rated LED projector with at least 2,000 lumens for a visible image in a suburban neighborhood (darker lots can get away with 1,500). Mount it on a tripod or stake 10 to 15 feet from the projection surface — a garage door, blank siding, or a taut white sheet stretched between porch posts. My favorite renter trick: a 9-by-12-foot painter's drop cloth, clamped tight, makes a perfect screen. Use the largest flat area you can find and keep ambient light low nearby — dim your porch sconces so the projection reads clearly. For the technical side — brightness, throw distance, placement math — see my guide to outdoor light projector ideas; the numbers are identical, just swap snowflakes for ghosts.
Choose slow, atmospheric scenes over frantic ones: a full moon with drifting clouds, swaying dead trees, a witch crossing every minute or so. Styling tip: project onto one surface and let the rest of the yard stay dark — one glowing wall against shadows is far more haunting than competing images. Weatherproofing: even "outdoor" projectors hate direct rain, so tuck the unit under an eave or porch overhang and run the cord to a covered GFCI outlet.
Suggested budget range: $50 – $150.
6. Spooky Tree Wraps in Orange and Purple
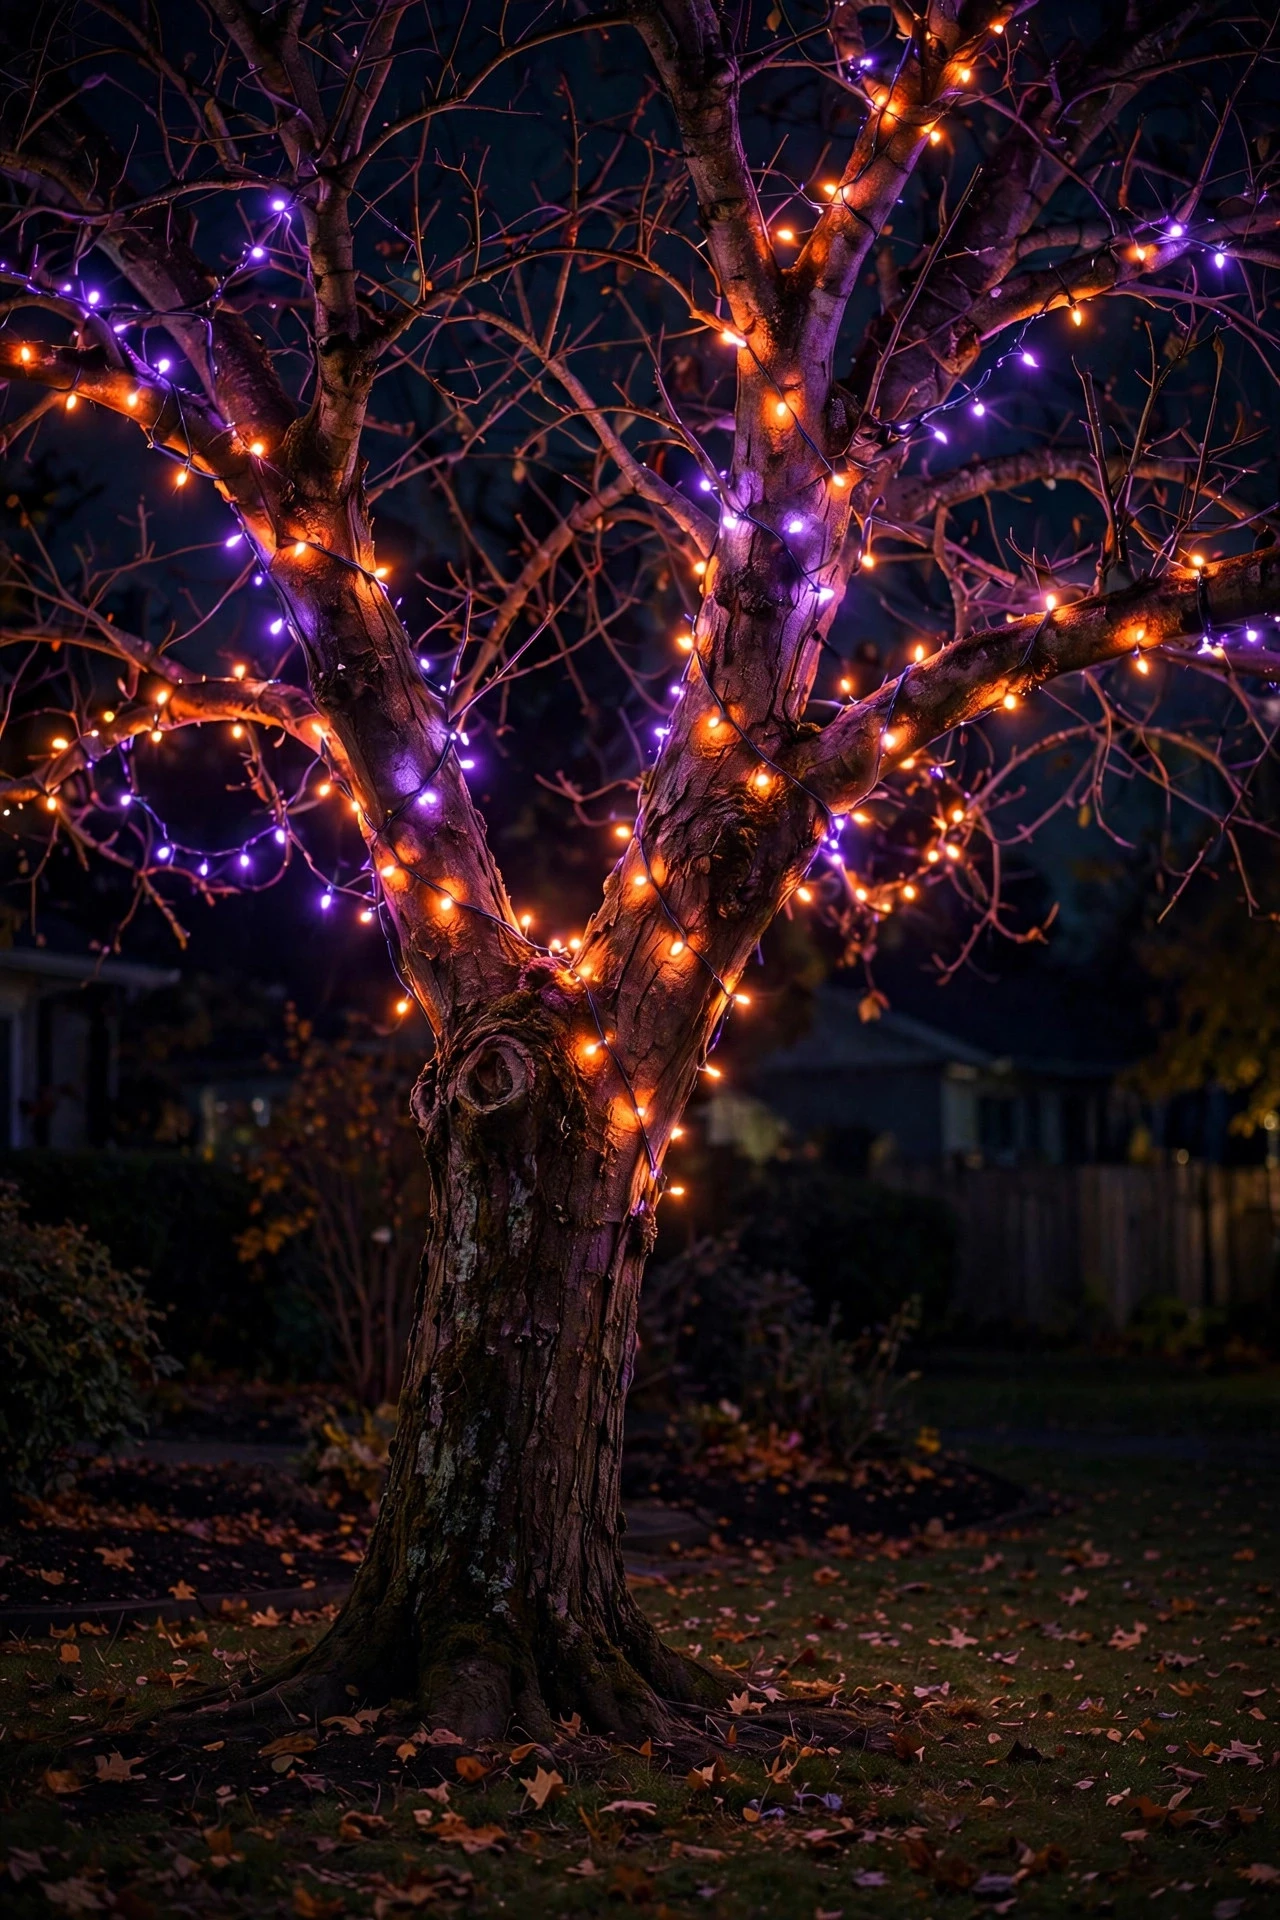
A bare or leafy tree wrapped in lights becomes instant Halloween architecture — those twisting branches catch colored light the way nothing else in your yard can. I wrap at least one tree every October, and it never fails to get compliments.
Start with the trunk: spiral a strand of orange LED string lights upward in a loose helix, spacing the wraps 4 to 6 inches apart, then run a second strand of purple out along two or three of the main lower branches. For a 12-to-18-inch trunk, plan roughly 100 lights per 8 feet of height — a 66-foot strand covers one medium trunk plus a few branches. Weave strands through the branches rather than just wrapping, so light comes from inside the canopy and branches throw dramatic shadows. Secure the wire every foot or so with soft garden ties — never staples or nails, which wound the tree and invite disease. Set them on a dusk timer; with smart strings, try a slow orange-to-purple fade every few minutes for a living, breathing feel.
Styling tip: wrap one hero tree as the yard's focal point rather than lighting every tree — one dramatic silhouette beats five half-hearted ones. Safety and tree health: check wraps after windstorms so wire doesn't cut into bark, and remove the lights within a few weeks of the season so the growing tree doesn't swallow them. LED strings stay cool, so they're safe against foliage and dry bark.
Suggested budget range: $30 – $90.
7. Motion-Sensor Startle Spots
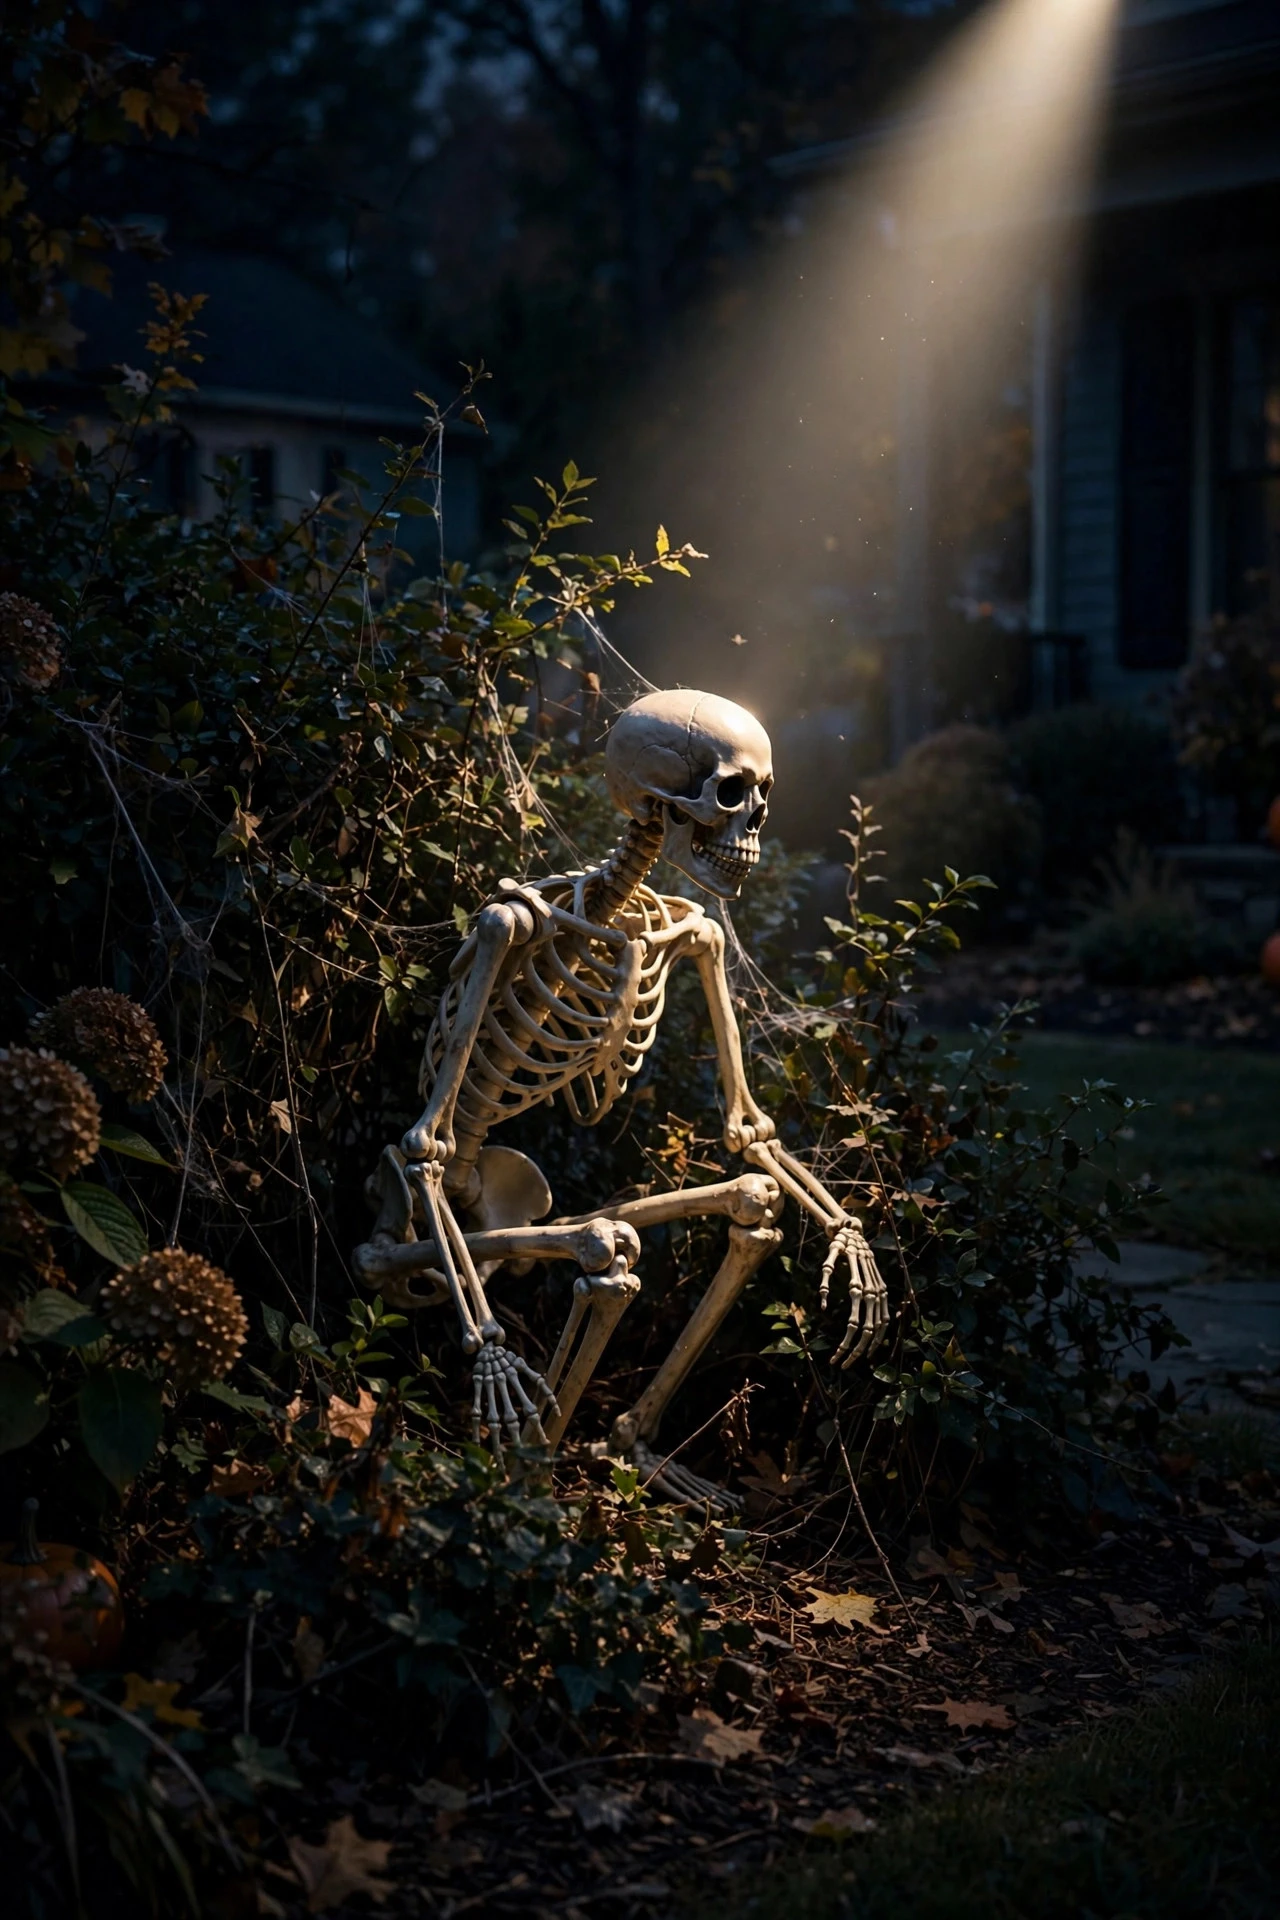
Here's where the "spooky" really earns its keep. A motion-sensor spotlight hidden in the dark near your walkway — one that snaps on the moment someone passes — startles even adults who know it's coming. The key word is hidden: the scare works because the light source is invisible until it fires.
Use a pair of small battery-powered motion-sensor LED spotlights aimed across the walkway — at a skeleton in the bushes, a bare tree, or a fog bank. Mount them 1 to 2 feet off the ground behind shrubs or pumpkins, angled so the beam rakes sideways across the path rather than blinding visitors head-on. Set sensitivity to medium and range to 10 to 15 feet so passing cars don't trigger it. Angle the sensor head slightly downward to reduce false triggers from swaying branches. My guide to motion-sensor outdoor lights covers wiring these into everyday security lighting after the season — the same fixtures do double duty.
The tasteful version: aim the light at a prop, not at faces. A skeleton that lights up dramatically as kids approach is delightful; a spotlight straight into a toddler's eyes is not. Keep the beams at waist height or below, use warm amber or orange rather than harsh white, and add a small sign if your sensor startles easily-spooked little ones. Safety: secure the stakes firmly so excited kids can't knock them over, and keep cords (if hardwired) buried or taped flat across the lawn.
Suggested budget range: $25 – $75.
8. Flameless Candle Lanterns on Steps and in Windows
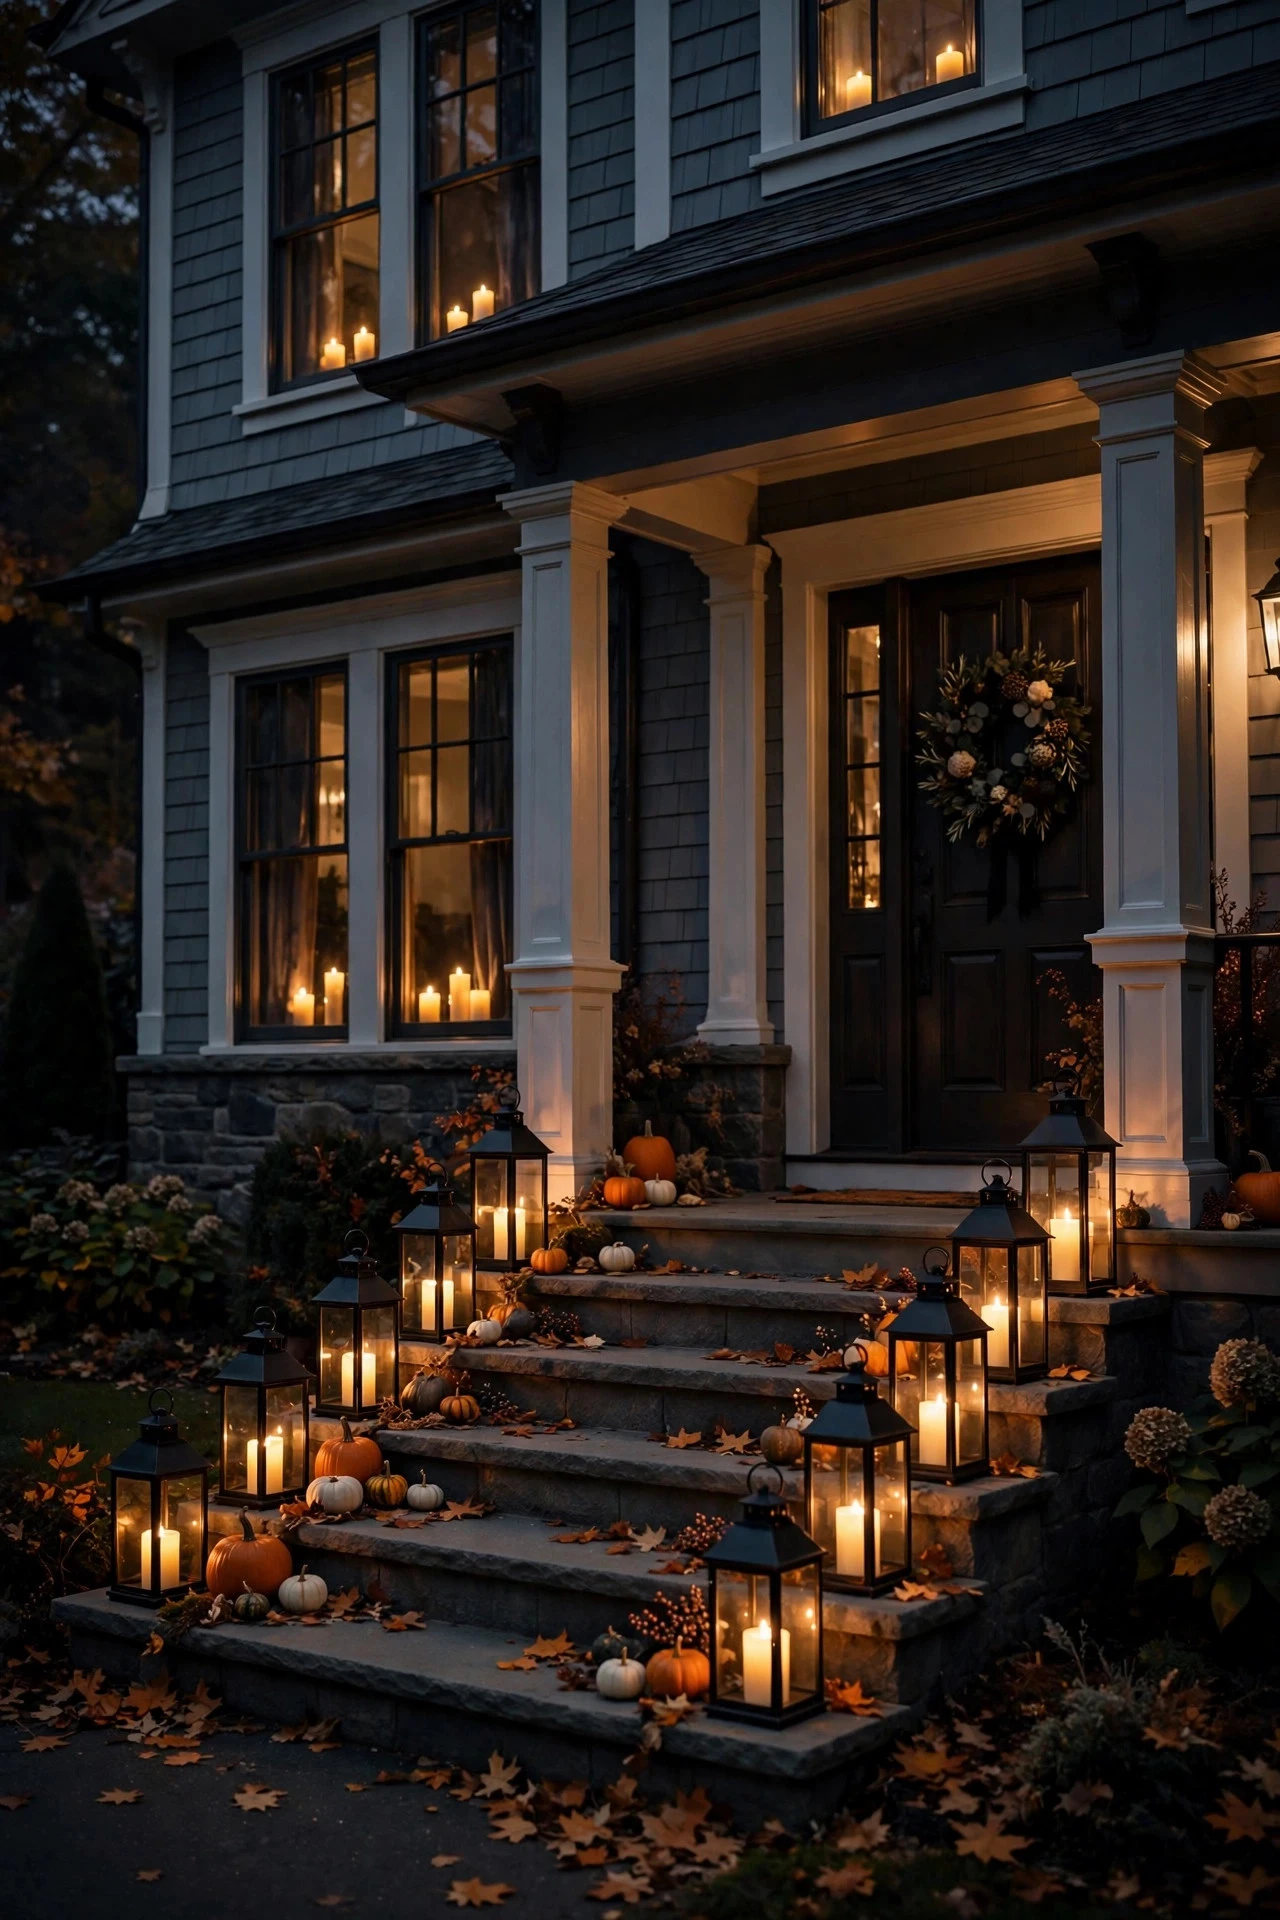
Some of my favorite Halloween atmosphere comes from the quietest light: a flickering candle glow in every window and along the steps. Real candles in windows are a classic, but with curtains nearby and kids at the door, flameless LED candles are the move — and the good ones genuinely fool people from the street.
For windows, place one flameless pillar candle per window, centered and set back 6 to 8 inches from the glass, on a little stack of books or a box so it sits at the same height in every window. Uniformity is everything here — a whole facade of evenly spaced, gently flickering candles looks intentional and haunting; scattered random candles look like you forgot to finish. On the steps, group lanterns in odd numbers (three per side is my sweet spot) with one taller lantern as the anchor and two shorter ones beside it. Choose lanterns with real glass panels rather than plastic — the glass throws a warmer, more authentic flicker, and it survives October rain. Look for candles and lanterns with built-in dusk sensors or 6-hour timers so the whole display lights itself at sunset.
Styling tip: use warm amber flicker LEDs (around 1800–2200K) for an old-house, gaslight feel — cool white ruins the vintage illusion instantly. Safety: even flameless candles should be LED-only around dried wreaths, fabric ghosts, and straw; and if you use lanterns with real glass, make sure they're stable enough that a bumped step won't send them tumbling.
Suggested budget range: $30 – $100.
9. Witch-and-Ghost Window Silhouettes
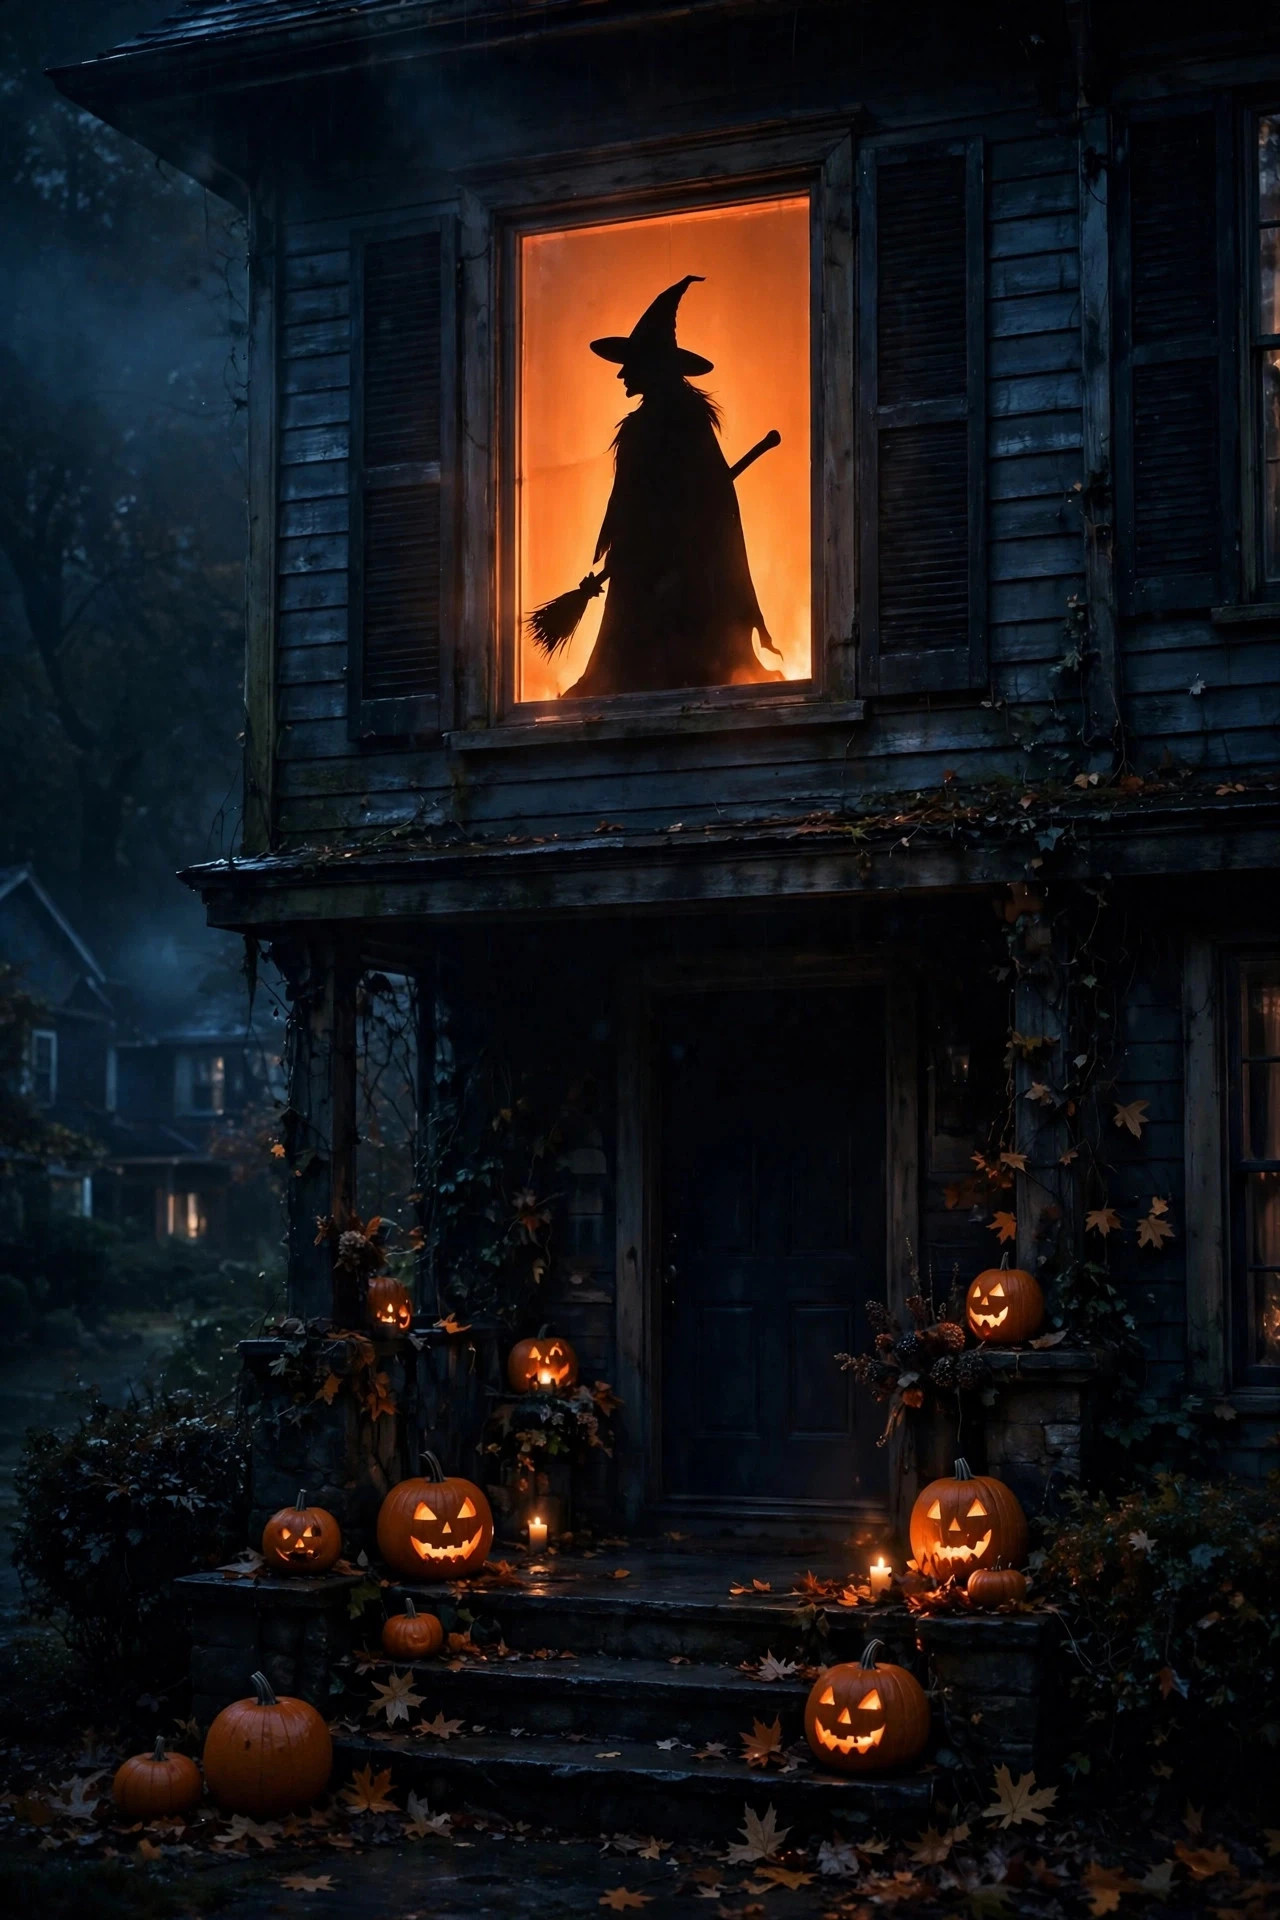
This one is pure Halloween theater and costs almost nothing: black silhouettes in the windows, lit from behind so they glow like shadow puppets. Witches on broomsticks, a cat arching its back, a ghost drifting past — from the street it looks like something is moving inside your house, and kids go absolutely wild for it.
Cut silhouettes from black poster board or matte craft paper and tape them to the inside of the glass. Then light the room behind: one lamp with a warm bulb 3 to 4 feet behind the window washes the pane in soft glow, and the black shapes read crisp against it. For extra eeriness, use an orange or purple LED bulb in that lamp — the whole window glows Halloween color with the silhouette floating in it. One lit window per facade is plenty; two at most. The restraint is what makes it read "haunted mansion" instead of "craft store display." If you want motion, hang the silhouette from a thread taped to the top of the window frame — passing air from a vent or a tiny fan makes the witch sway almost imperceptibly.
Timing tip: these look best after full dark, so tie the room lamp to the same dusk timer as your outdoor lights. Safety: keep the lamp well clear of curtains and the paper silhouettes — LEDs run cool, but incandescent bulbs near paper are a genuine fire risk, so LED bulbs only for this trick.
Suggested budget range: $10 – $30.
10. Color-Changing Smart String Lights
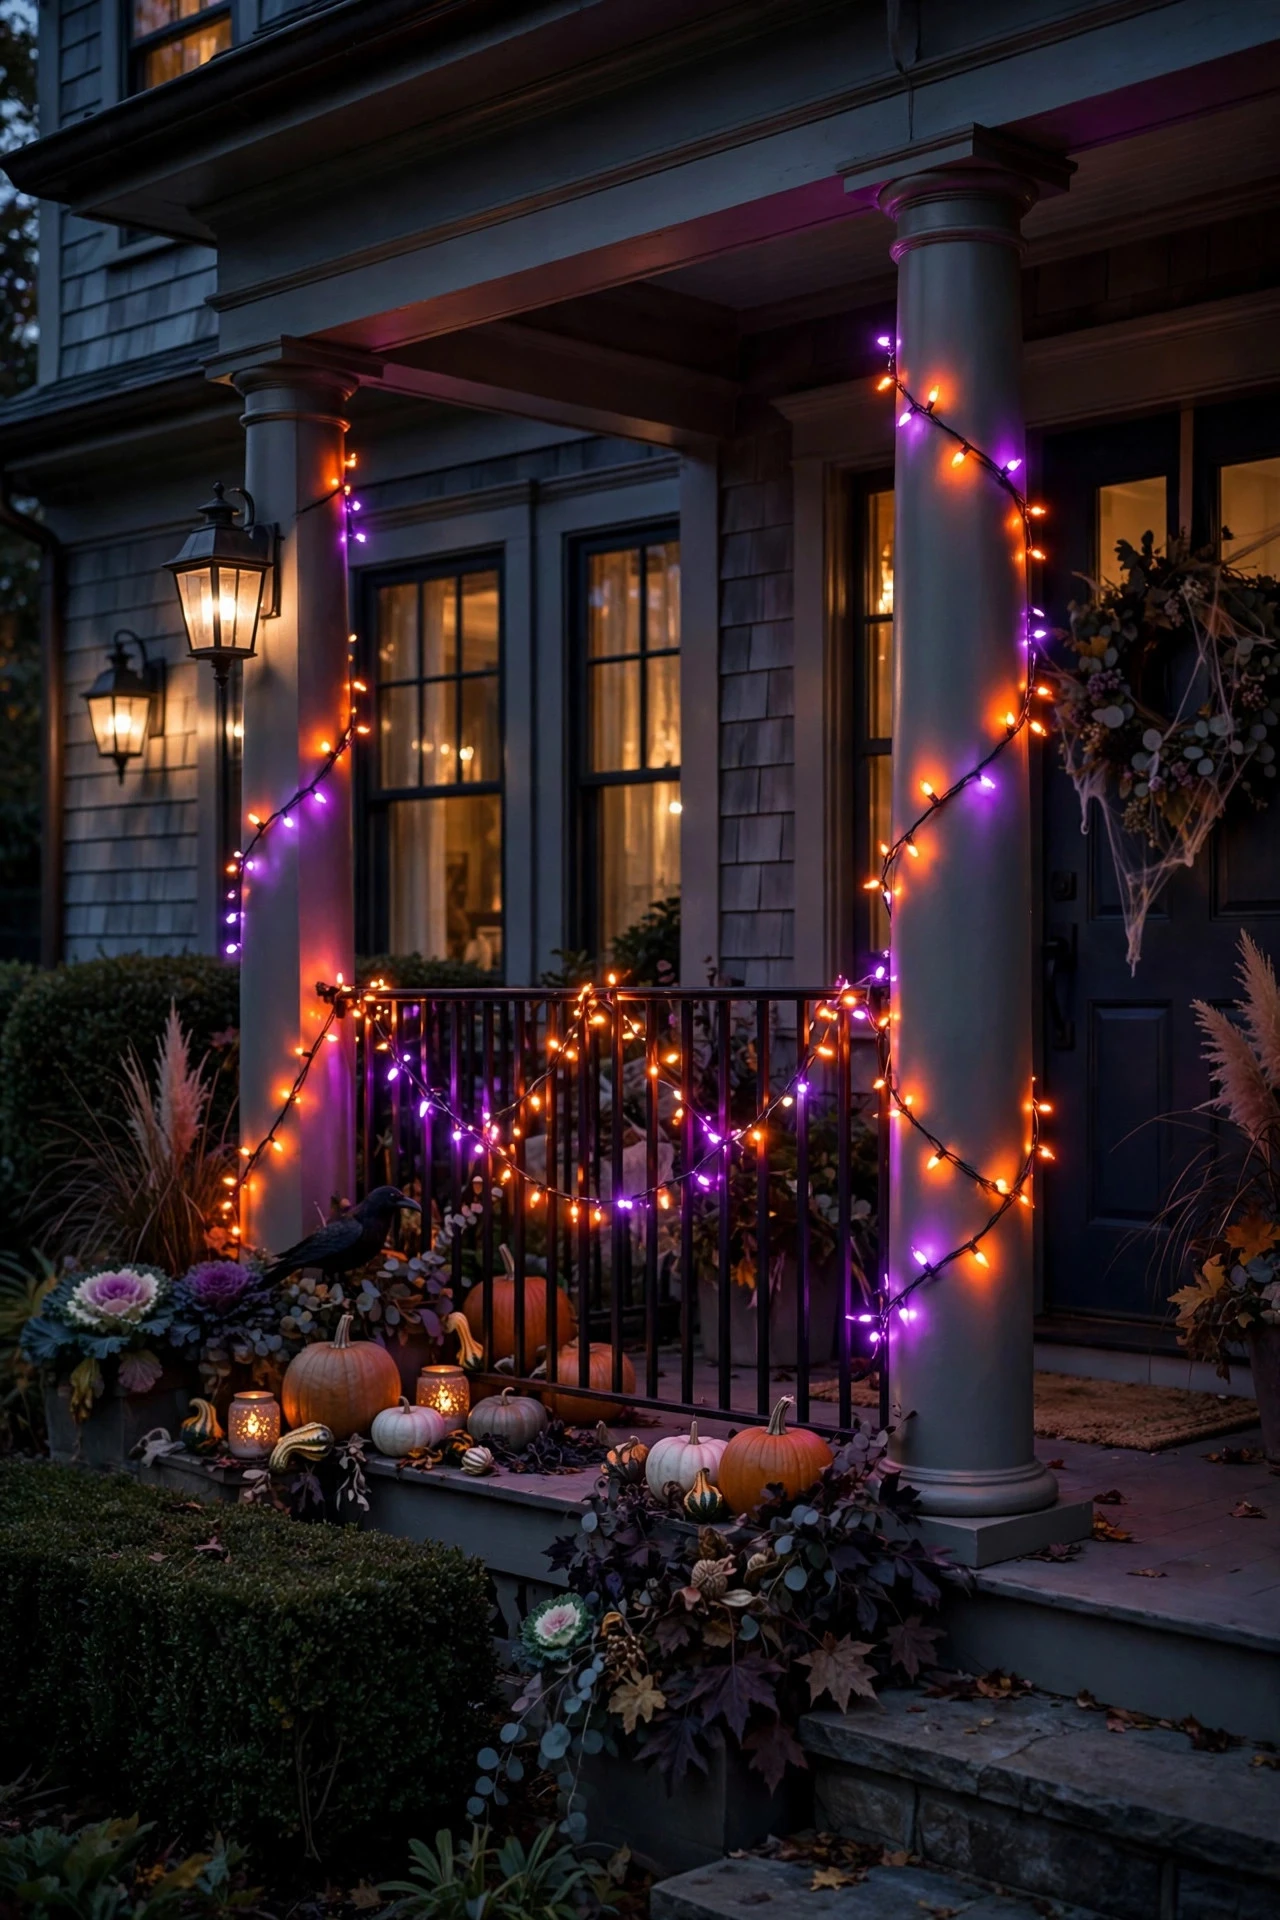
If you'd rather not buy a whole new set of lights for one holiday, smart color-changing string lights are your answer. Hang them once — along the porch railing, the fence, or the eaves — and reprogram them for every season: orange and purple for Halloween, warm white for Thanksgiving, red and green for December. One installation, endless holidays.
For Halloween, hang a 48-to-66-foot strand along the porch railing or eave line using removable adhesive clips or gutter clips spaced every 12 inches; sagging strands are the number-one thing that makes string lights look sloppy, so keep the line taut. In the app, build a Halloween scene in advance: I use a base of deep orange with every fifth bulb purple, or a slow alternating fade between the two. Set the schedule to run dusk until 10:30 or 11 p.m. nightly — smart lights make this a two-minute setup, and you can schedule the whole season in one sitting. Most smart strings are IP65-rated, so October rain is no problem, but the power adapter and any extension connections are usually not — tuck those under the eave or into a weatherproof connection box.
Styling tip: because you can dim them, run smart strings at 70 to 80 percent brightness for Halloween. Slightly dimmed color reads moody and cinematic; full-blast color reads like a nightclub. Cost-wise, one good smart strand replaces three sets of single-color lights over the year, which makes the higher upfront price very reasonable.
Suggested budget range: $45 – $130.
11. Spider-Web Lights in the Shrubs
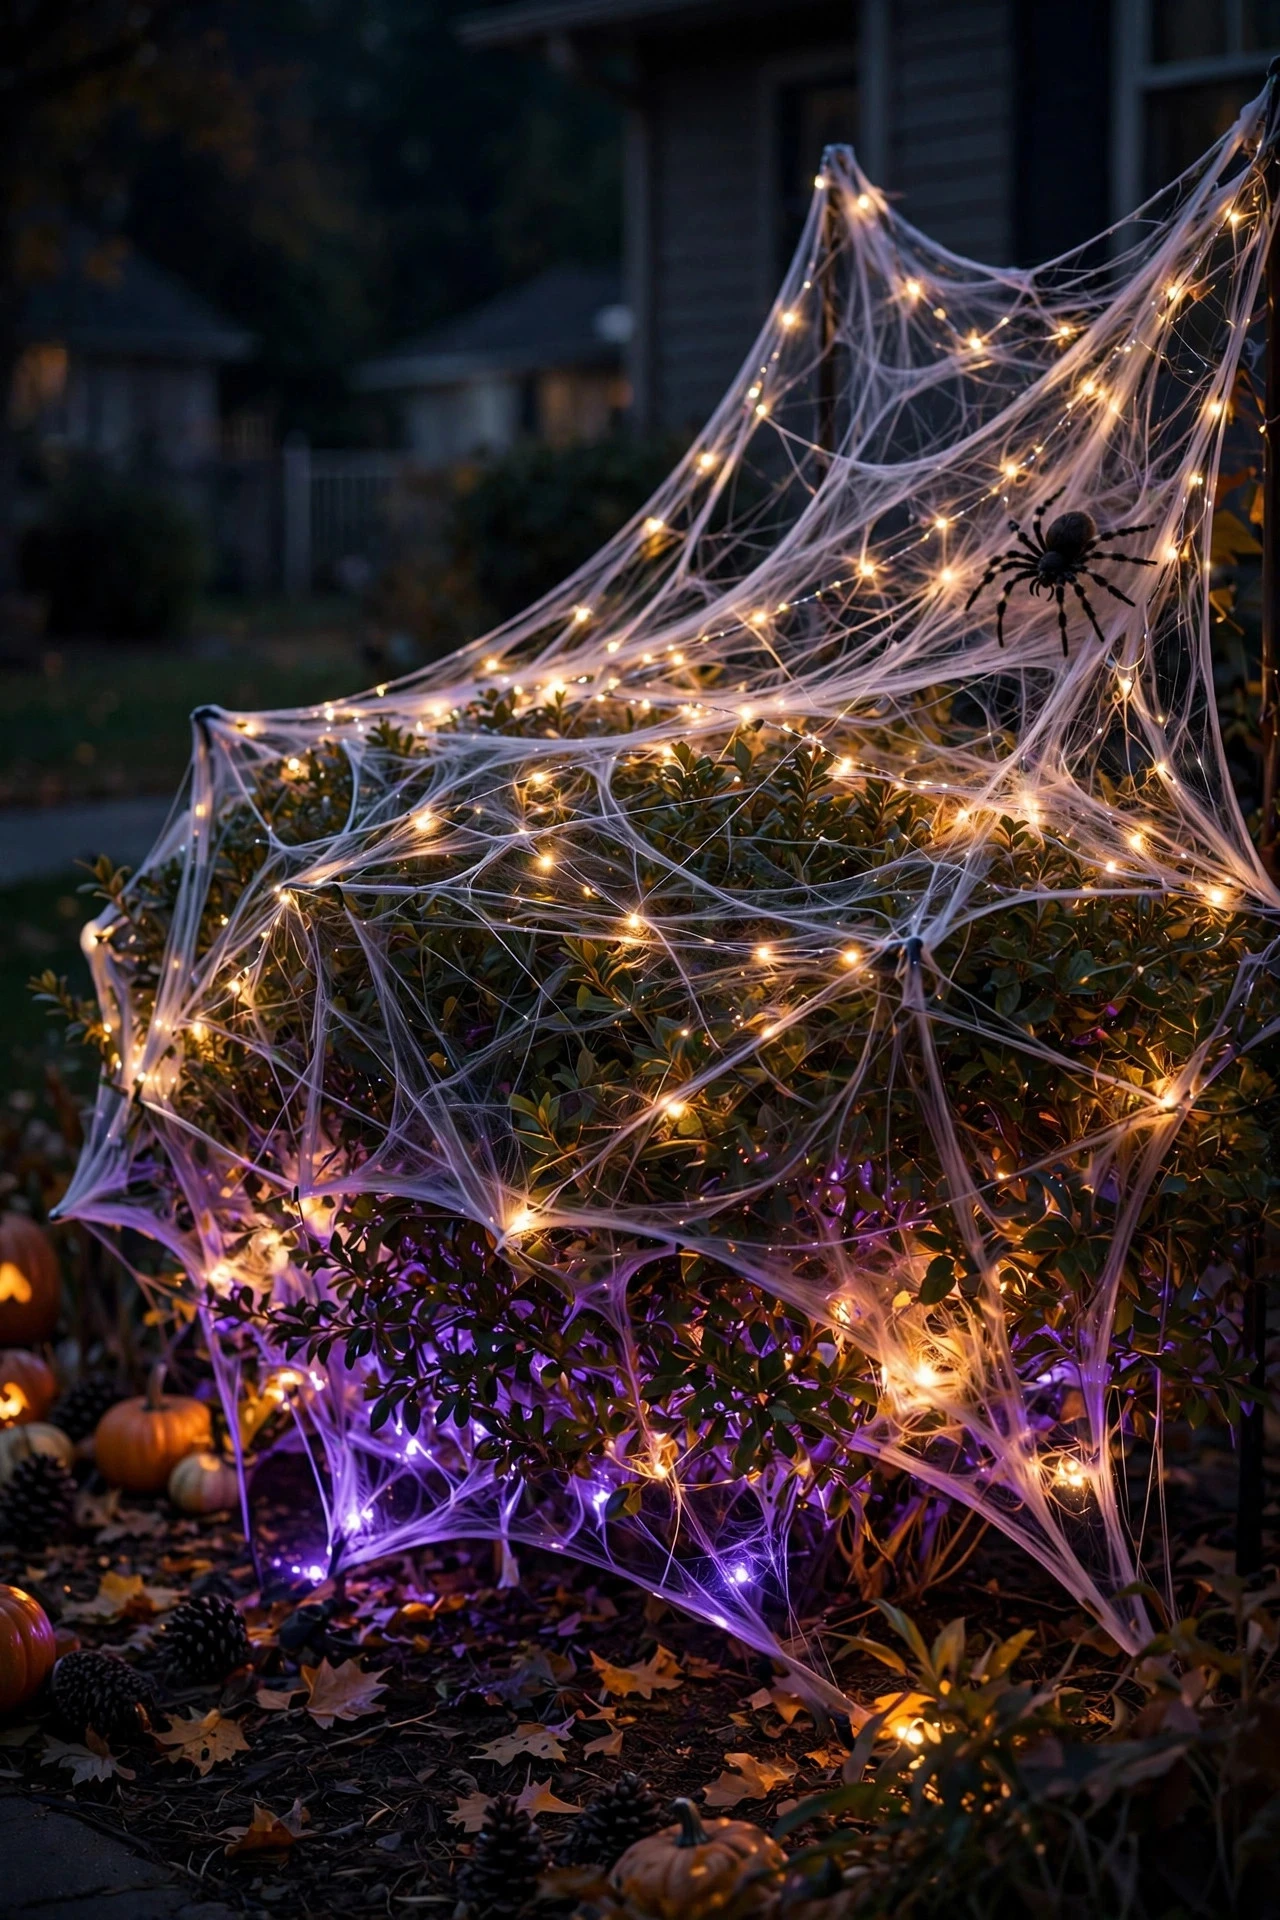
Giant faux spider webs stretched across bushes are a Halloween staple — but wrapped with lights, they go from party-store decoration to genuinely beautiful. The web catches the light along every strand, and from the curb it shimmers like something out of a fantasy film.
Stretch one large web (the 6-foot or larger kind) over a rounded shrub or between two porch posts, pulling the anchor points tight so the web lies flat and even — a saggy web looks sad, a taut one looks architectural. Then weave a 20-to-35-foot strand of warm-white or pale-purple micro fairy lights through it, following the web's radial lines from the center outward. Tuck a big faux spider at one anchor point and light it with a single tiny LED pin spot from above so it throws a long, dramatic shadow across the web. Two webs maximum per yard, in my experience — one hero web is striking; four is a haunted house queue. Set them on the same dusk timer as the rest of your display.
Weatherproofing matters here because webs are light and catch wind: use outdoor-rated fairy lights (IP44 minimum), anchor the web's corners with garden staples or zip ties to the shrub's interior branches, and take the whole thing down before the first hard frost — frozen webs turn brittle and shed microplastics into the soil. LED-only near the web material, which is flammable by nature.
Suggested budget range: $20 – $55.
12. Pumpkin Lantern Columns by the Front Door
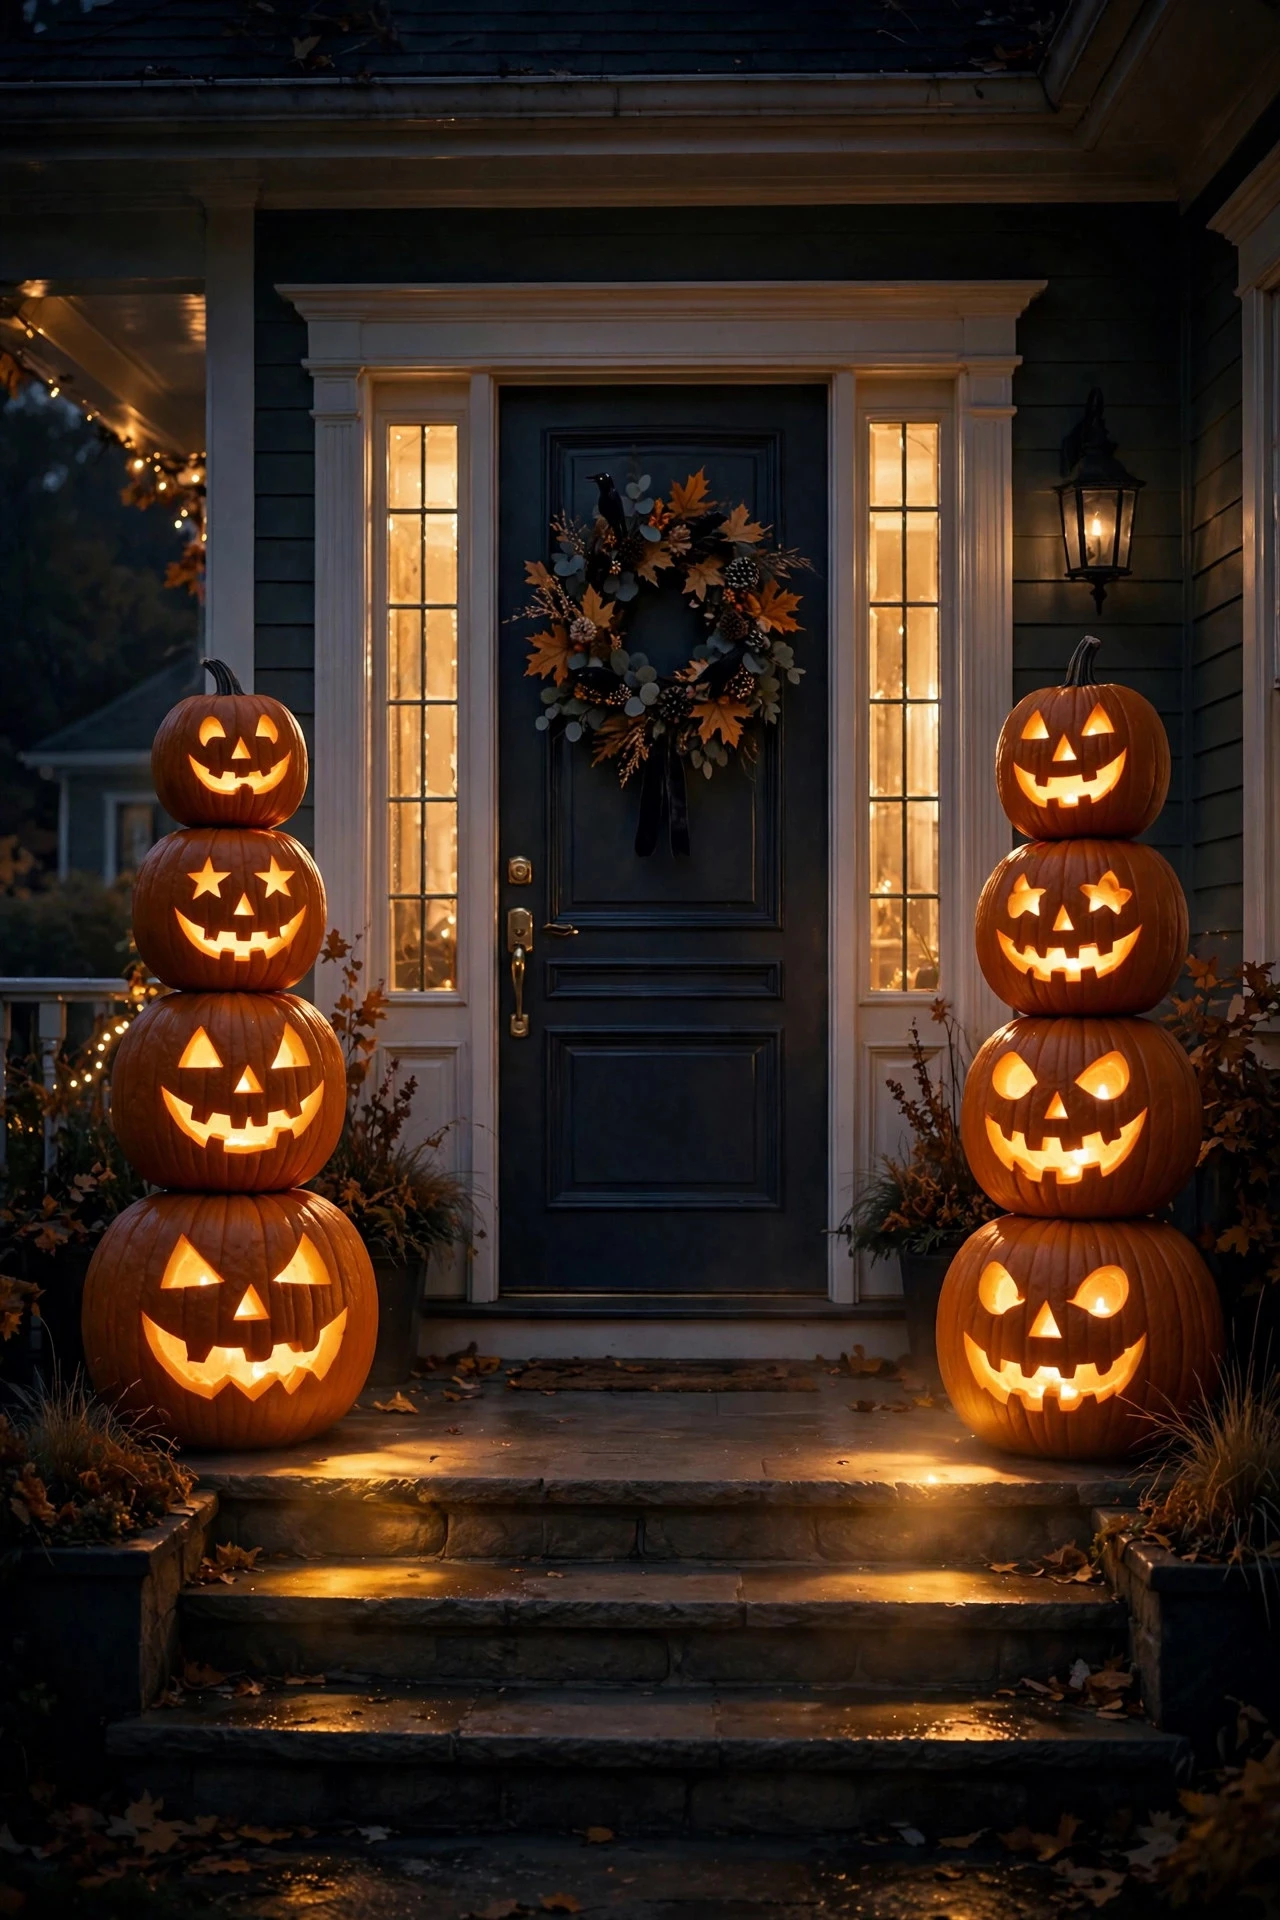
Flanking the front door with matching lantern columns is a trick I borrow from high-end event styling, and it gives Halloween night a red-carpet feel. Two identical stacks of glowing pumpkins or lanterns, one on each side of the door, frame the entry like a movie premiere — except the premiere is haunted.
Build each column from three pumpkins (real or faux) in graduated sizes — large on the bottom, medium, small on top — hollowed and fitted with orange or warm-white LED lights inside. Skip the carved faces if you like: plain glowing pumpkins in graduated stacks look modern and elegant. For total weatherproof simplicity, use faux pumpkins with built-in LEDs and stack them on a sturdy planter or crate so the column reaches 3 to 4 feet tall — tall enough to read from the street. Wire both columns to one timer so they light simultaneously. Place them 2 to 3 feet from the door on each side, clear of the swing of the door and the path of trick-or-treaters.
Styling tip: echo the column color in one other element — an orange-lit wreath on the door, or amber uplights on the facade — so the entry feels designed rather than decorated. Safety: real pumpkins get slippery and heavy as they decay, so check stacked real pumpkins every couple of days and retire any that soften; LED lights only inside, never real candles in a stack.
Suggested budget range: $35 – $95.
13. The Moon-Through-the-Branches Effect
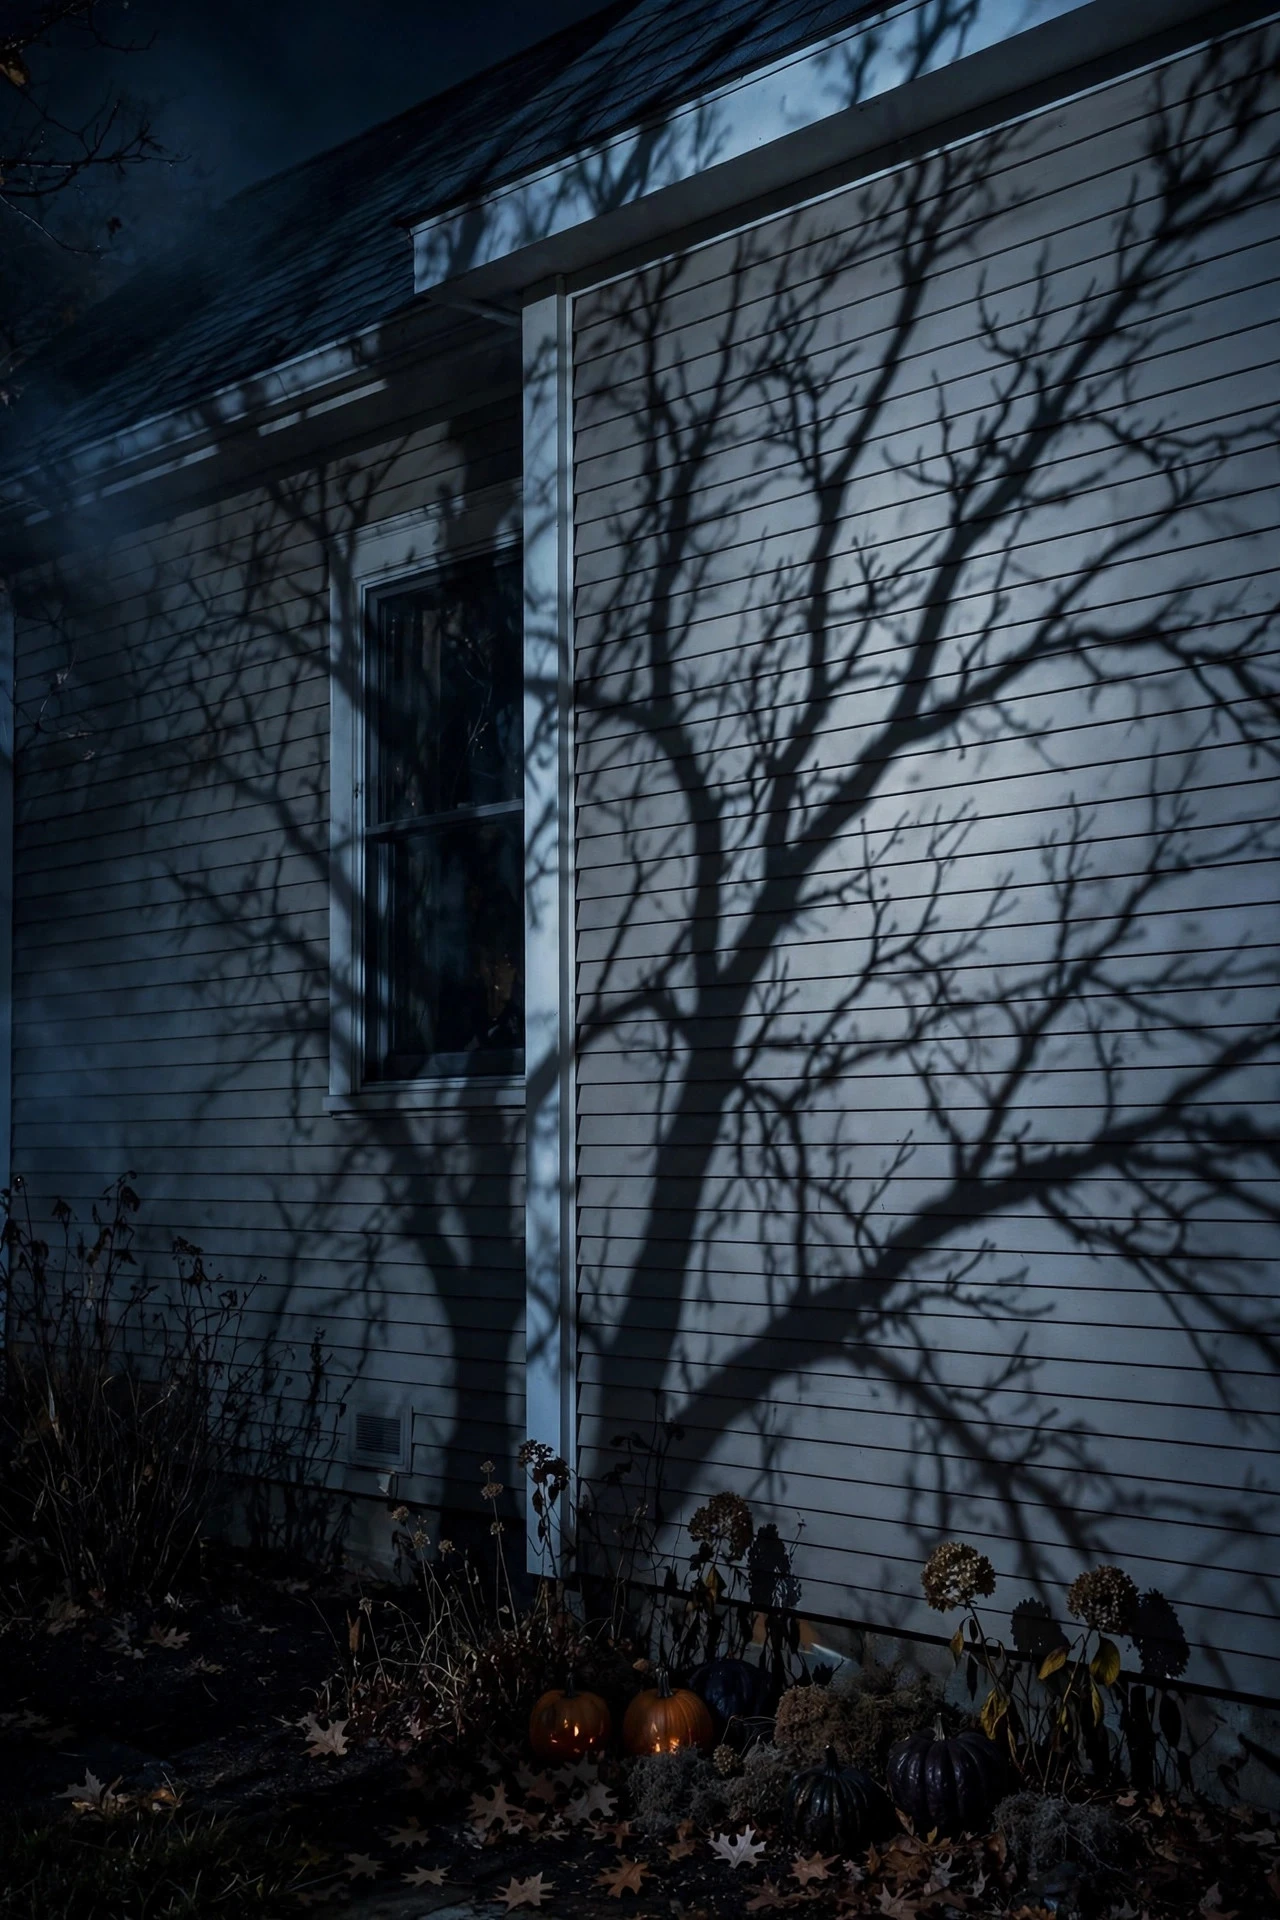
One of the most cinematic Halloween looks costs a single spotlight: a cool-white beam fired up through bare branches so the tree throws a giant, tangled shadow across your house or lawn. It looks like moonlight filtered through a haunted forest, and it needs no decorations at all.
Place one outdoor LED spotlight on the ground 8 to 12 feet from the tree, on the opposite side from where you want the shadow to fall, and aim it up through the branch structure at a steep 60-to-70-degree angle. The branches between the light and the house do the work — their shadows stretch and distort across the siding like something from a silent horror film. Use a cool-white or pale-blue LED (5000–6500K) for a moonlit feel; this is the one place in a Halloween display where cool tones beat warm ones. A narrow 15-to-25-degree beam angle keeps the light tight and dramatic rather than washing out the whole yard. Set it on your dusk timer, and position it where foot traffic can't kick it — behind a shrub or a pumpkin works perfectly.
This pairs beautifully with idea #1: run the amber facade wash on most of the house and the moon-branch effect on one side yard or gable for contrast. Safety note: check the shadow play from the street before Halloween night — bare-branch shadows are gorgeous, but make sure the spotlight itself is shielded from drivers' eyes with a small glare guard or by tucking it behind landscaping.
Suggested budget range: $20 – $60.
14. Floating Ghost Orbs
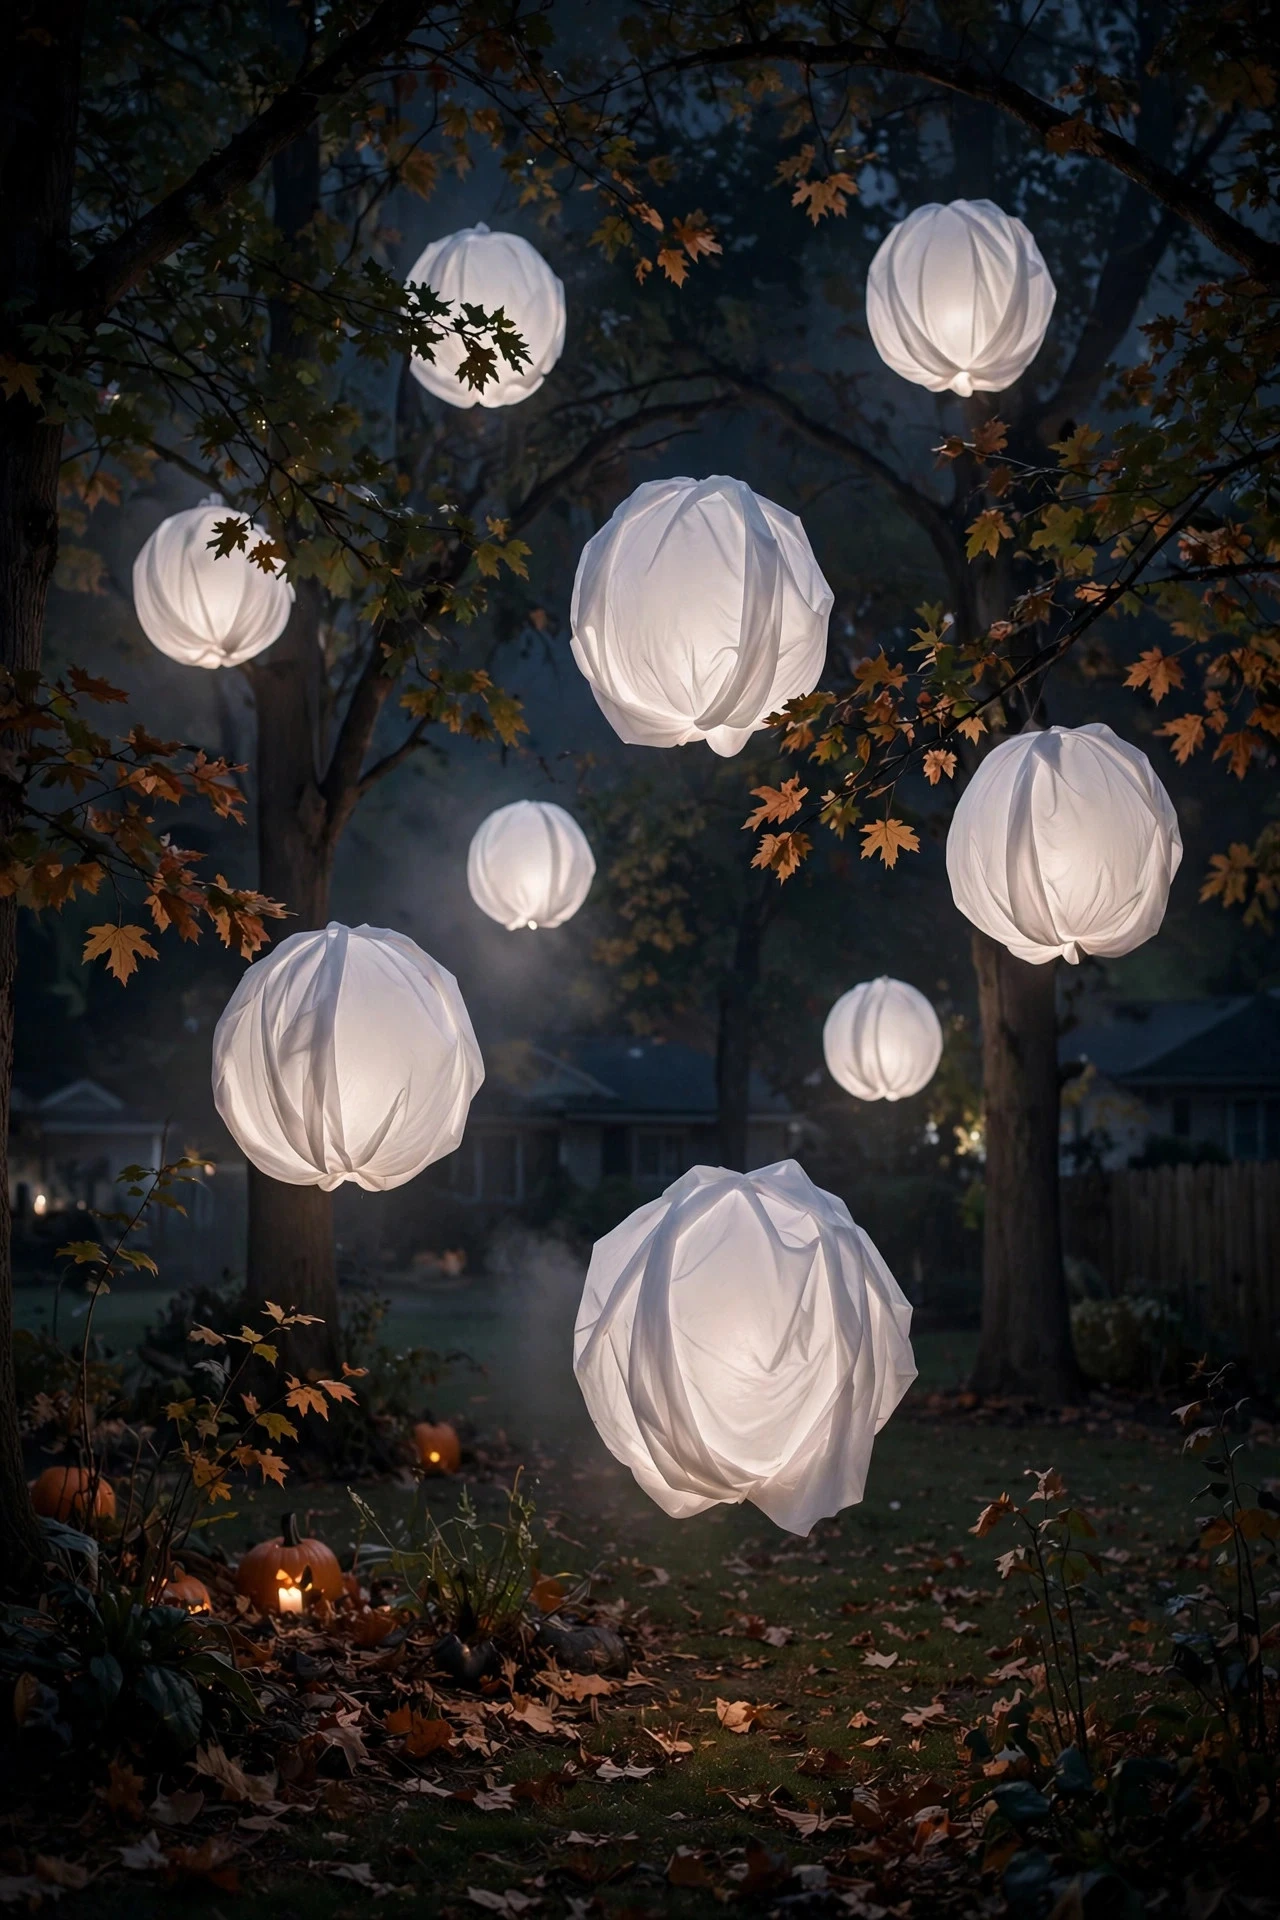
Little glowing orbs drifting among the trees or over the porch are one of those ideas that makes people slow their cars down. They're easy, cheap, and deeply eerie — like will-o'-the-wisps decided to visit your yard.
The classic version: drape white cheesecloth or sheer white fabric over small glowing LED orbs or balloon lights, gather the fabric at the top, and hang each ghost 4 to 6 feet off the ground from tree branches or porch beams with clear fishing line. From ten feet away in the dark, they genuinely look like they're floating — the line disappears and the fabric drifts in the breeze. Use warm-white or pale-green LEDs inside (green gives them a genuinely spectral cast), one light per ghost, and hang them in loose clusters of three to five at varying heights rather than in a straight line. Battery-operated orbs with built-in timers are ideal here — no cords dangling through the air. Space clusters 6 to 8 feet apart so each group reads as its own little haunting.
Styling tip: hang a few at kid eye-level near the walkway (4 feet) and the rest higher in the trees (8 to 12 feet) — the mix of near and far ghosts creates real depth. Safety: hang them well clear of walkways so tall visitors don't walk into them, secure knots tightly so October winds don't send ghosts sailing into the neighbor's yard, and use LED only — no real candles in fabric, ever.
Suggested budget range: $25 – $70.
15. Blood-Red Step and Railing Lights
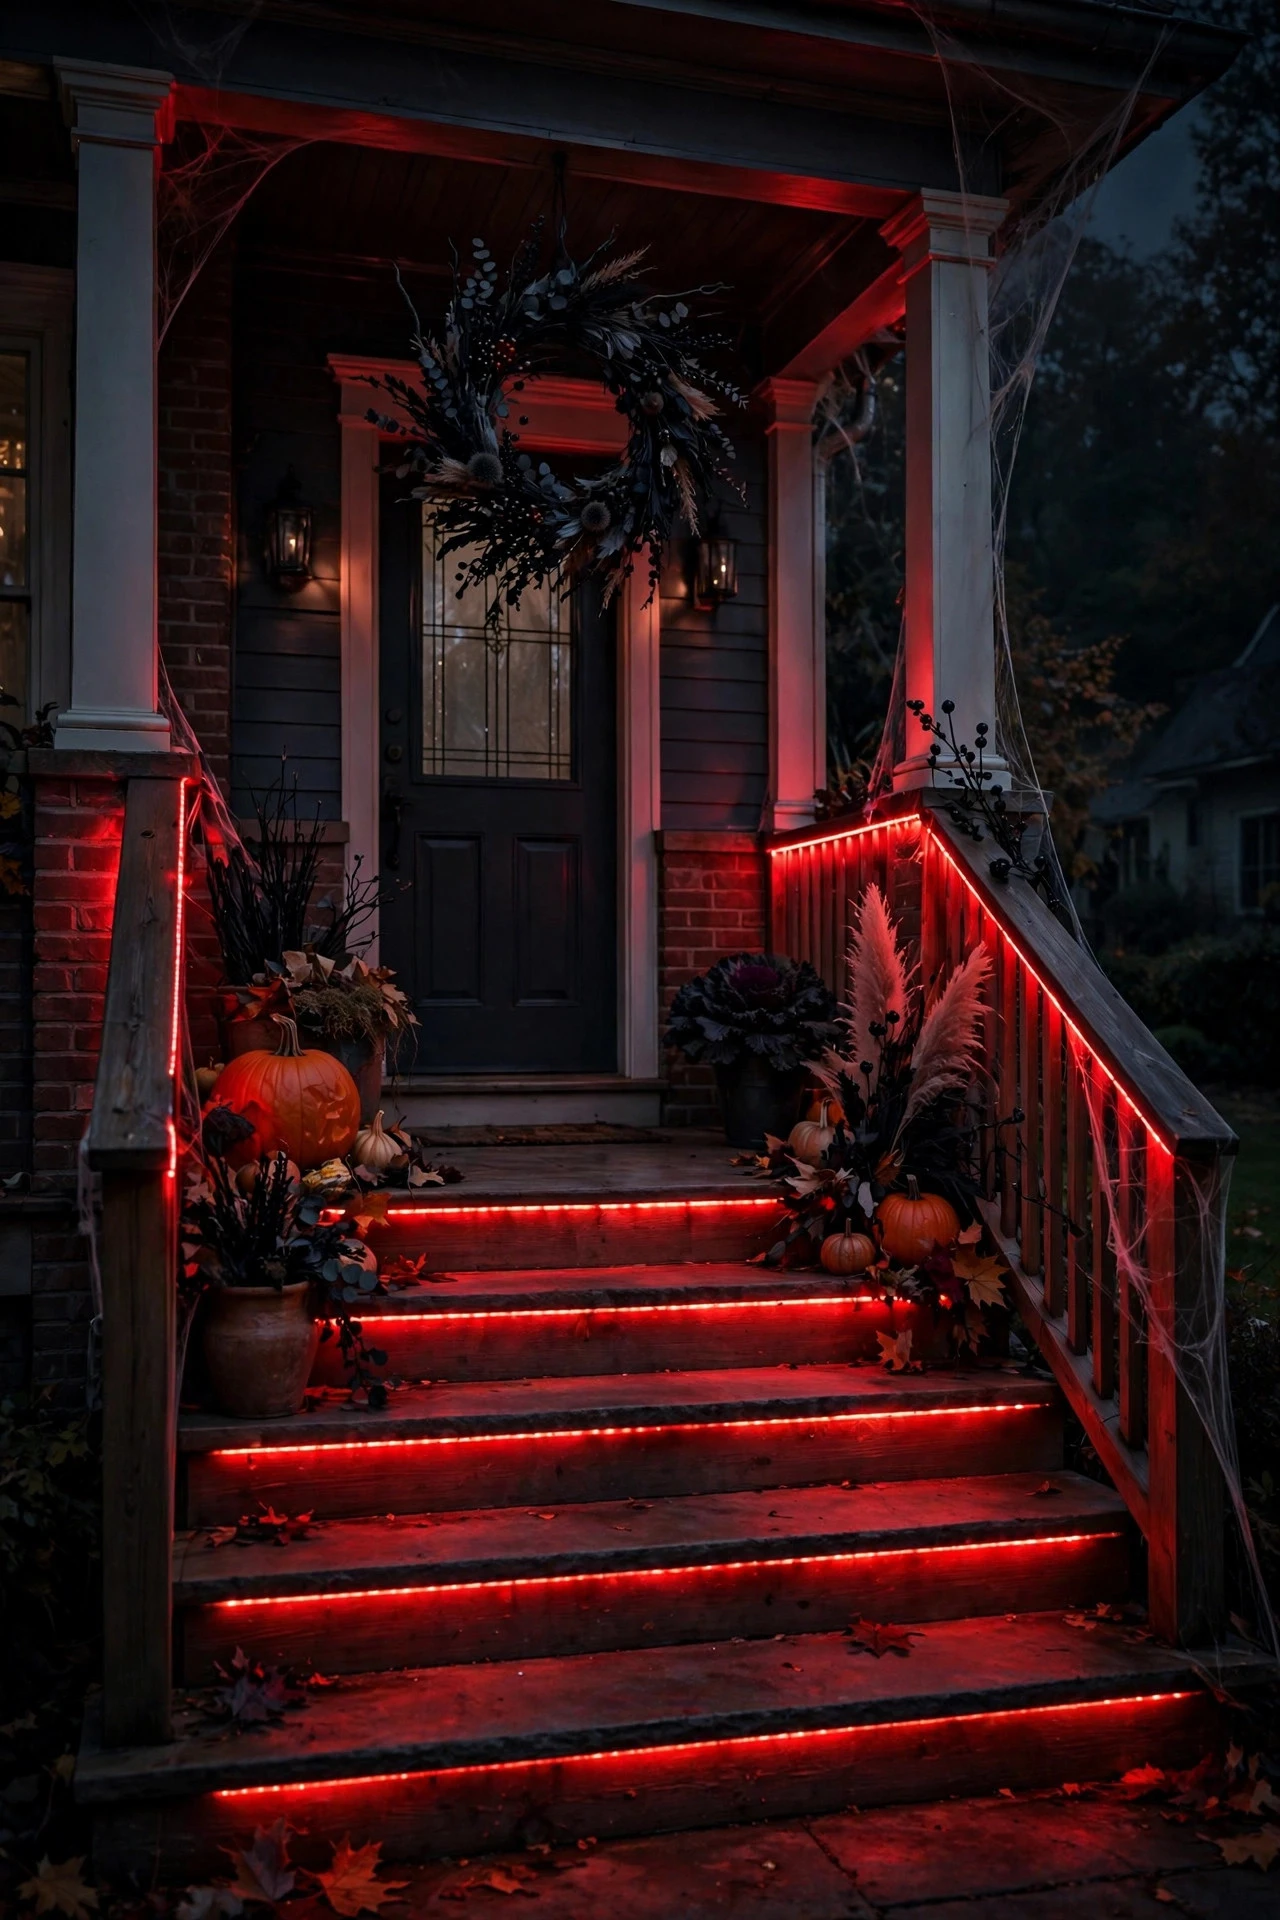
Red light is the most dramatic color you can put on a house, and used sparingly — just the steps, just the railing — it's absolutely chilling in the best way. Think vampire's staircase, not crime scene: a controlled ribbon of deep red guiding visitors up to your door.
The refined way to do it is LED strip lighting in red, mounted under the lip of each stair tread or along the underside of the porch railing so the fixture itself is invisible and only the glow shows. Measure your runs, cut the strips at the marked cut lines, and mount them in slim aluminum channels for a clean, diffused line — bare LED dots look cheap, diffused lines look expensive. Wire the strips to a single low-voltage transformer (12V systems are DIY-friendly and safe) and set the whole run on a dusk timer. Keep the red confined to the architecture: red steps plus a warm-white or amber porch is haunting; red everything is overwhelming. For a subtler variant, use the strips only on the risers of the steps so each tread glows from below as visitors climb.
Weatherproofing: use IP65-rated strips for anything exposed to rain, and seal all cut ends and connections with silicone end caps and weatherproof connectors. Safety: 12V low-voltage is safe to install yourself, but the transformer must plug into a GFCI-protected outdoor outlet, and all low-voltage connections should be above splash height — at least 6 inches off the ground.
Suggested budget range: $40 – $110.
16. Tombstone Row with Low Ground Lights
A little graveyard vignette is Halloween tradition, but lighting is what separates the charming from the cheesy. Low, ground-level lights raking across a row of tombstone props create long shadows and a genuine sense of unease — this is horror-movie lighting 101, and it works in a front yard just as well as on a soundstage.
Arrange five to seven tombstone props in a loose cluster in a side bed or along the fence, varying their heights and tilting a few at angles — perfect symmetry kills the effect. Then place two or three small LED well lights or stake spotlights at ground level, 2 to 3 feet in front of the stones, aimed low across them so the light rakes sideways and throws long, distorted shadows behind. Orange or greenish-white LEDs work best; avoid pure white, which looks like a construction site. Bury the fixtures so just the lens peeks above the mulch — invisible sources, visible drama. Run them on your dusk timer, and add a thin layer of fog (see idea #4) drifting through on Halloween night itself for the full effect.
Keep the display compact — a 6-by-8-foot bed is plenty — and keep every prop and fixture at least 3 feet inside your property line so nothing crowds the sidewalk. Safety: stake tombstones firmly so wind can't topple them onto the walkway, keep all fixtures and cords out of foot-traffic areas, and choose props with rounded edges if little kids will be tromping through.
Suggested budget range: $45 – $120.

17. Glowing Apothecary Jars on the Porch
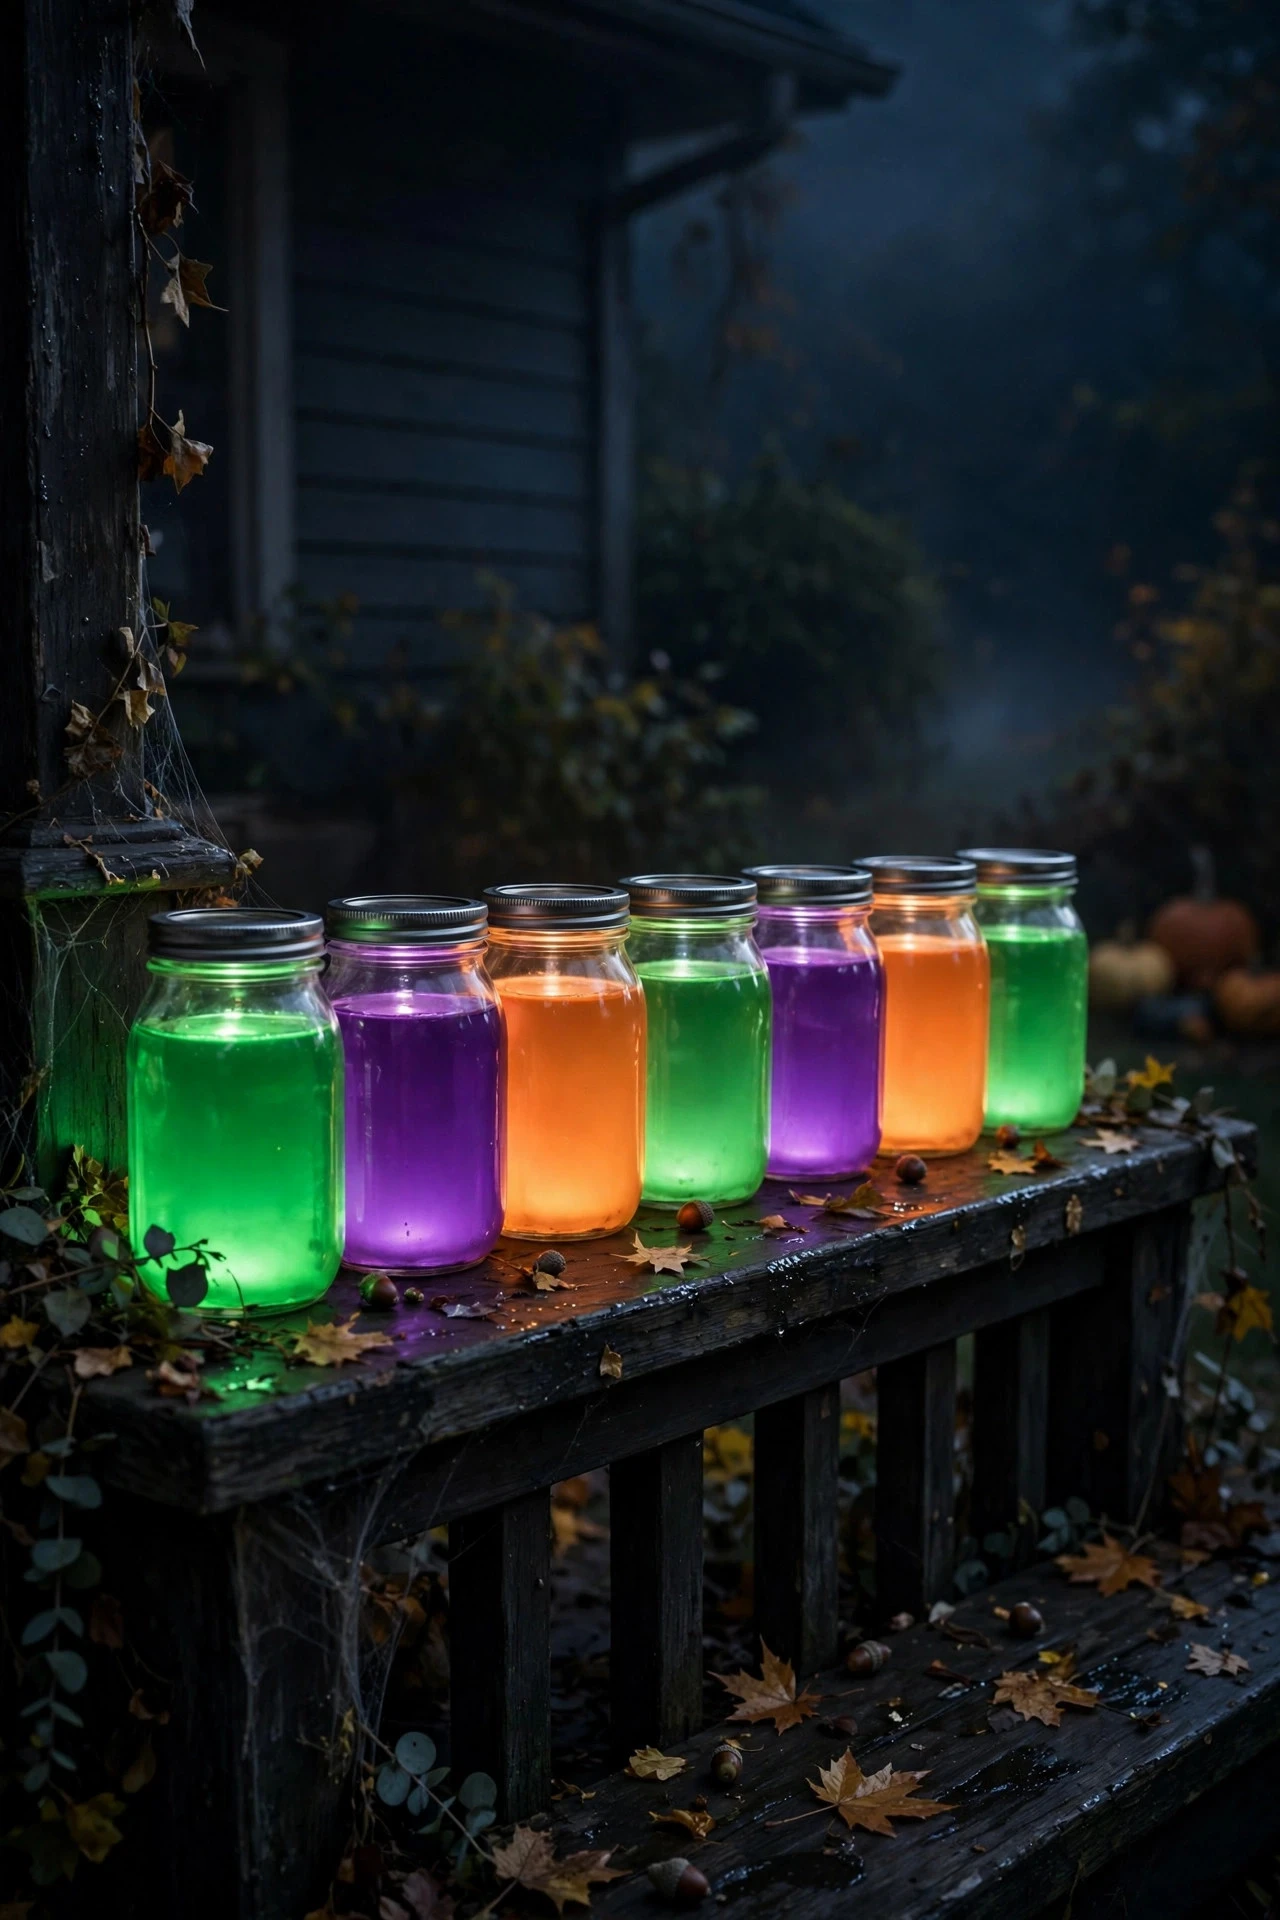
This is my favorite small-scale idea for porches: a collection of glass jars filled with colored water and lit from within, like a witch's apothecary shelf. It's crafty, it's cheap, and the colored glow on a dark porch is genuinely enchanting.
Fill a half-dozen mason jars with water tinted by a few drops of food coloring — deep purple, toxic green, blood orange — and drop a waterproof LED tea light into each. The water diffuses the light into a rich, even glow that looks like bottled potion. Cluster them on the porch steps, along the railing, or on a small side table by the door, grouping in odd numbers and varying the jar heights for a collected-over-time feel. Battery-operated puck lights with timers are perfect here — set them once and the whole apothecary lights itself at dusk. For extra credit, tie little paper labels around the necks with twine: "Eye of Newt," "Witch Hazel," "Moonwater."
Styling tip: keep the porch's main lighting warm white or amber and let the jars be the color pops — the contrast makes both look better. Weatherproofing is easy since the lights are sealed inside glass, but bring the jars in during heavy storms — colored water plus a tipped jar equals a stained porch. Safety: glass jars on steps can get knocked, so cluster them against the house wall or railing rather than at step edges, and use LED only — no real flames near the paper labels.
Suggested budget range: $15 – $40.
18. Blacklight Entry: A Halloween Outdoor Lighting Idea for Small Porches
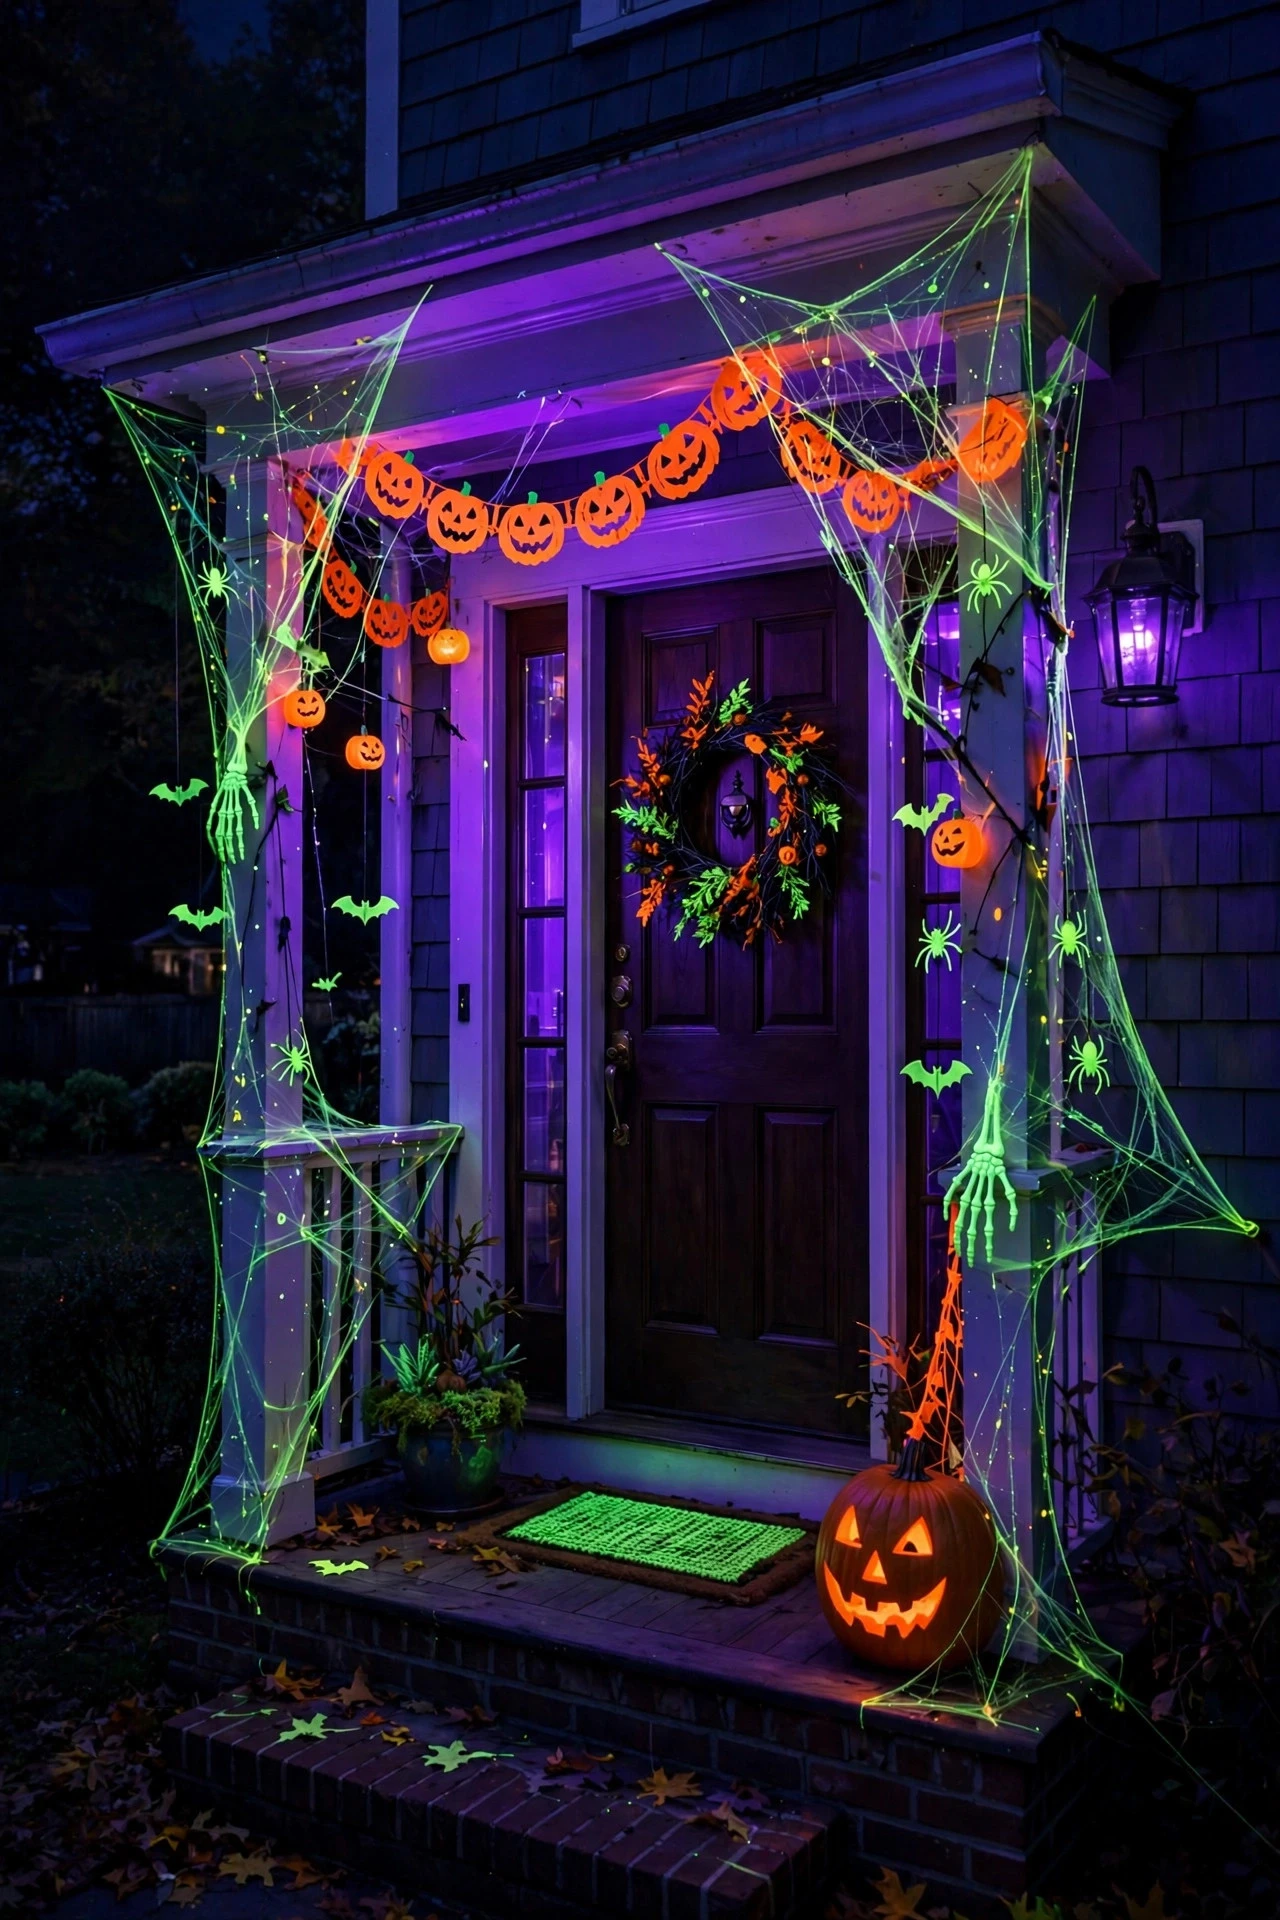
If your porch is small — an apartment entry, a townhouse stoop, a narrow landing — blacklight is your secret weapon. A single UV blacklight fixture makes whites glow electric purple-white, turns neon decorations radioactive, and transforms a tiny space into something otherworldly with almost no effort.
Mount one outdoor-rated UV LED floodlight (20 to 30 watts is plenty for a small porch) above the door or on the wall opposite, aimed to wash the entry area. Then decorate with intention: white pumpkins, white cobwebs, light-colored costumes on a dress form, and neon or fluorescent accents will all fluoresce dramatically under UV. The effect is strongest when the blacklight is the dominant source — dim or switch off your usual porch sconce so the UV can do its work. A dusk-to-11-p.m. timer keeps it on for the trick-or-treat rush without running all night. Because UV light is invisible to the eye, the lit objects appear to glow from within — genuinely one of the strangest, coolest effects in this whole list.
Practical notes: UV LEDs use very little power and run cool, but buy a fixture actually rated for outdoor use — indoor blacklights corrode fast in October damp. And a word of taste: one blacklight zone is a delight; blacklighting your entire house is a haunted-house queue. Safety: keep the fixture out of direct eye-level sightlines where possible, and don't stare directly into UV LEDs for extended periods.
Suggested budget range: $30 – $80.
19. Stair-Riser Pumpkin Totems
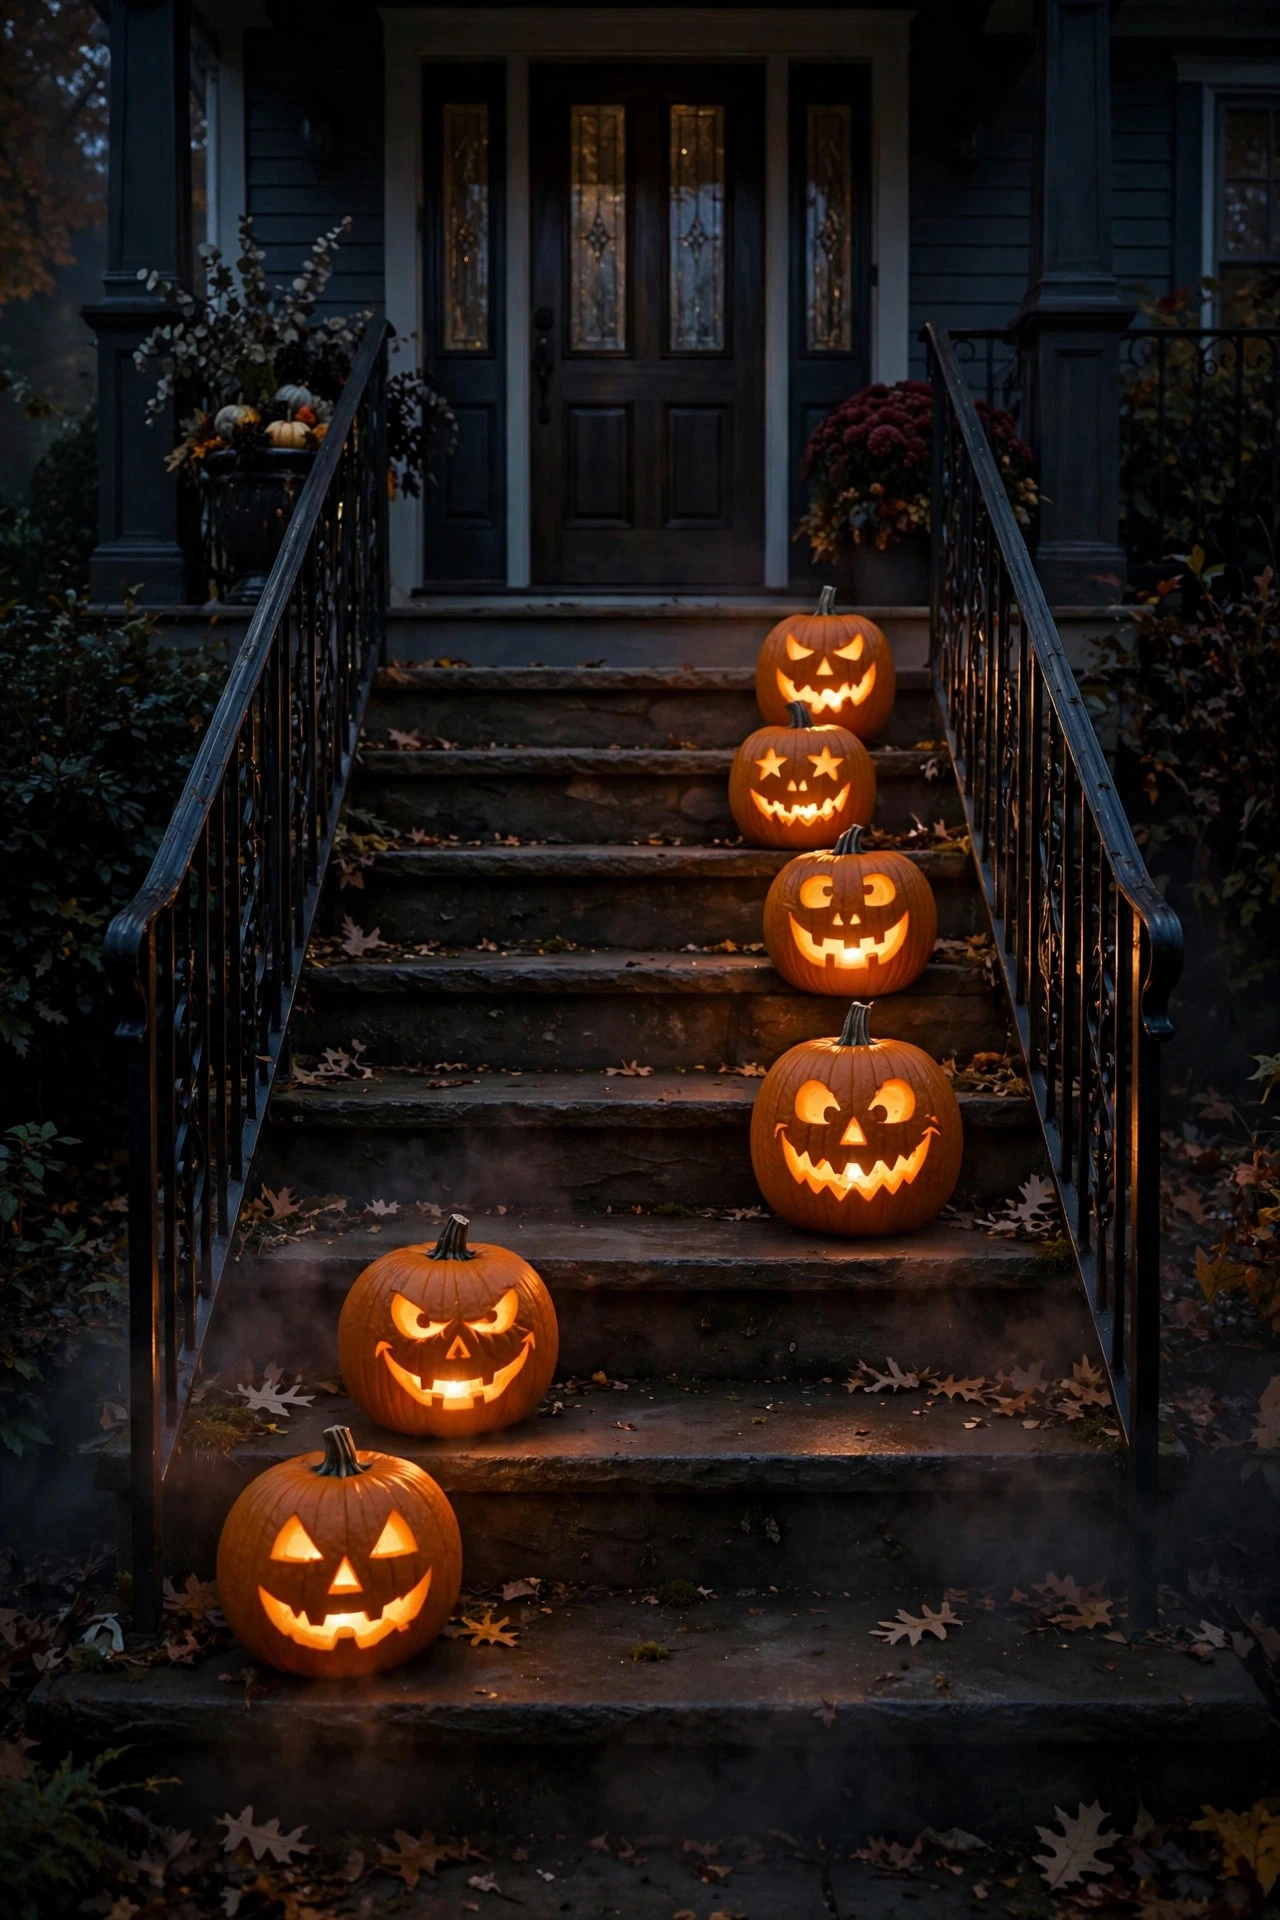
If you have porch steps, you have a ready-made gallery: one glowing pumpkin per riser, climbing the staircase like a totem. It's rhythmic, it's symmetrical, and from the street the whole staircase looks like it's breathing orange light.
Use small to medium pumpkins — real ones hollowed with LED tea lights inside, or faux pumpkins with built-in LEDs — one centered on each step riser or tucked into each stair corner. Real pumpkins carved with simple faces (triangles and jagged grins photograph best) look fantastic here, but plain uncarved pumpkins with LEDs inside give a cleaner, more modern glow — choose one style and repeat it for all the steps. Set them back 4 to 6 inches from the tread edge so little feet can't kick them, and keep the walking lane clear: pumpkins live on the outer corners, feet stay in the middle. A single timer controls the whole staircase; add a strand of orange fairy lights woven along the railing above to tie the composition together.
For real pumpkins, carve them no more than 2 to 3 days before Halloween night so they're fresh for the big evening, and set each on a small saucer or lid to protect your steps from pumpkin juice. LED lights only inside carved pumpkins — a real candle flame plus a dried pumpkin plus a staircase full of costumed kids is a combination I never recommend. After Halloween, the uncarved ones go straight to the compost or the pie plate.
Suggested budget range: $20 – $60.
20. Haunted Pergola or Patio Canopy
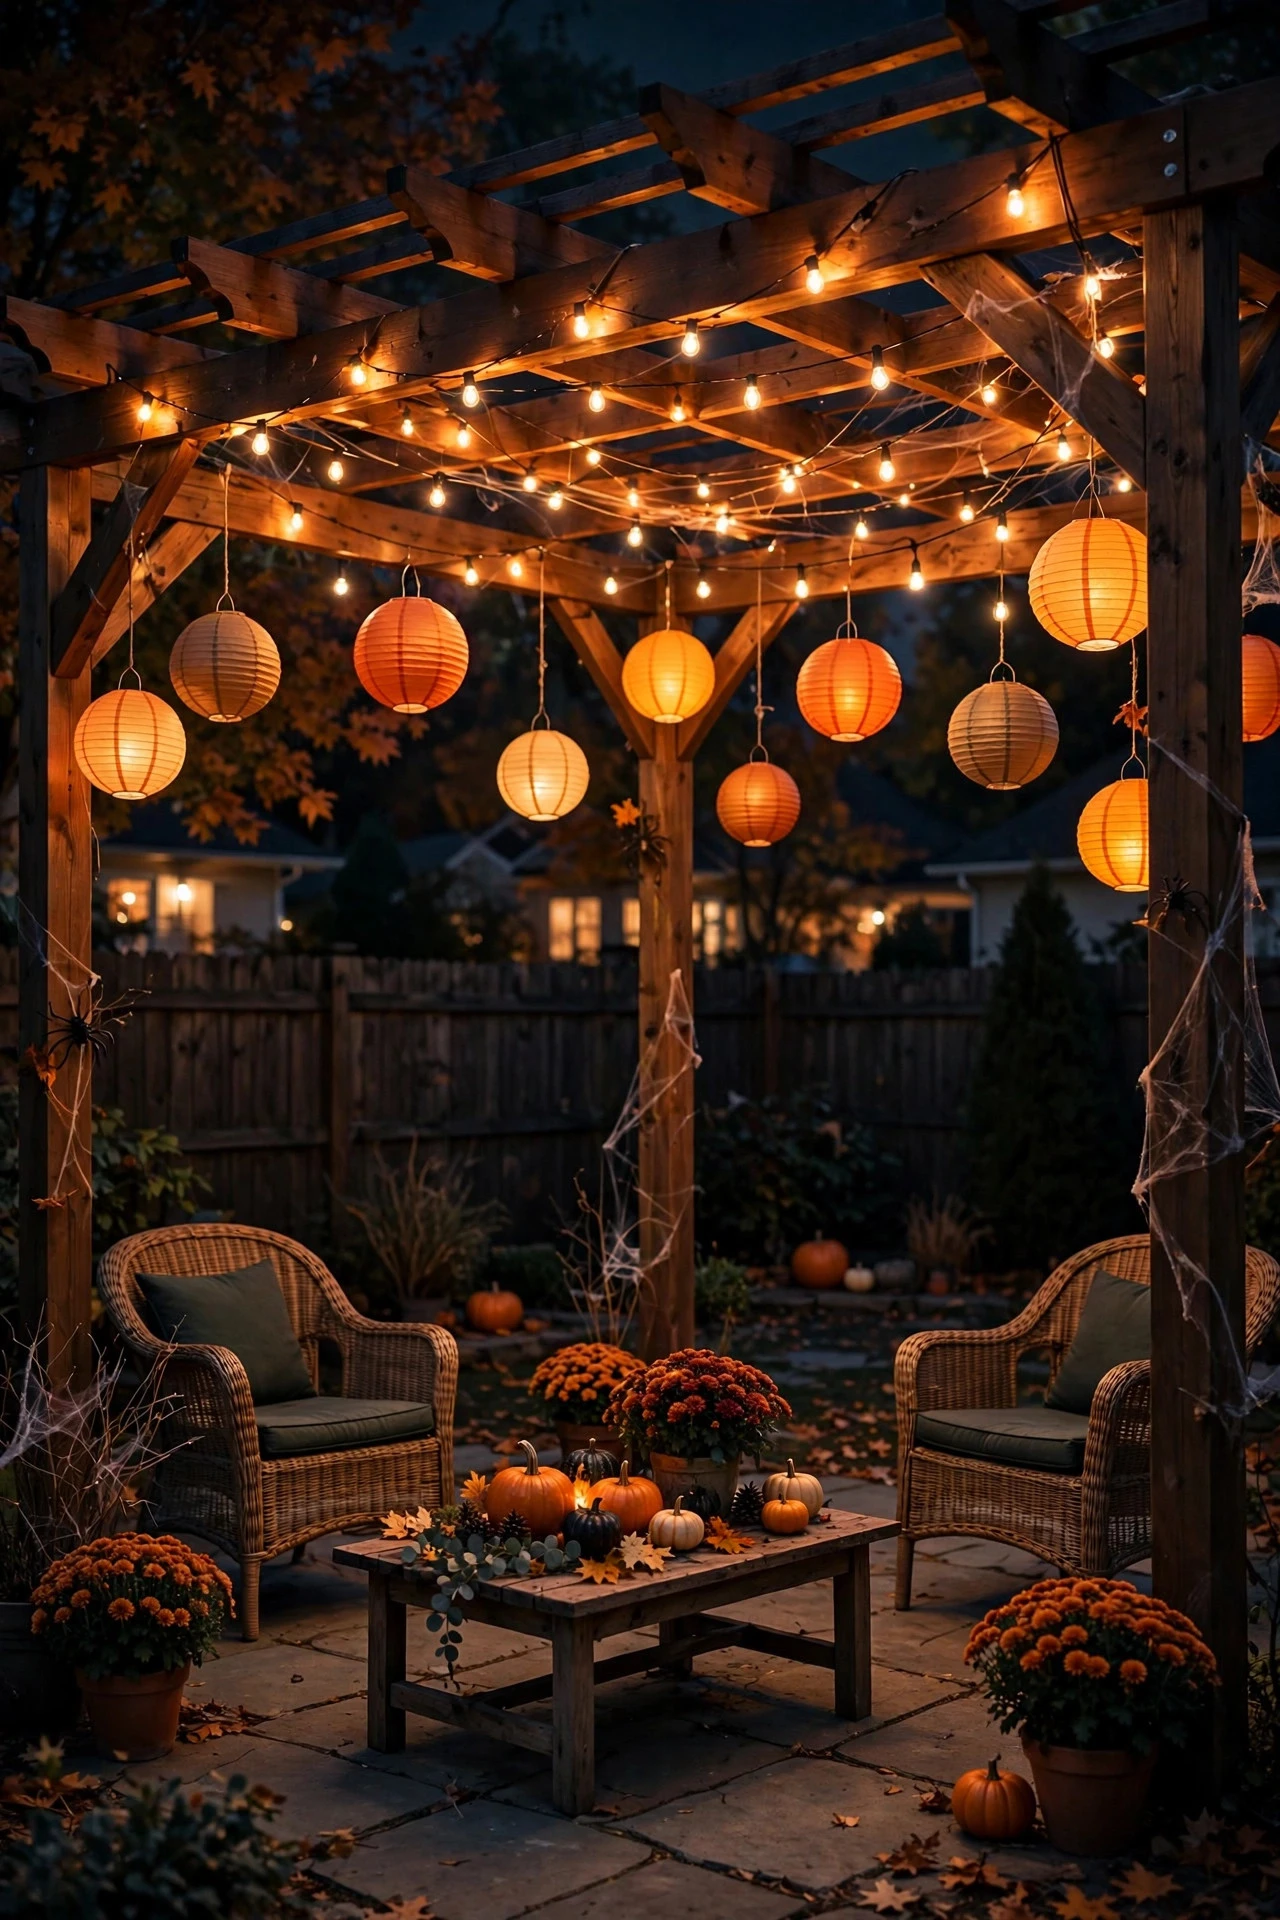
If you have a pergola, gazebo, or covered patio, you have a ready-made haunted ballroom — all it needs is a ceiling of lights. Draped strands overhead turn an ordinary patio into the kind of space where you'd half expect ghosts to be slow-dancing.
Drape two to three strands across the pergola beams in loose swags, dipping 12 to 18 inches between attachment points — that curve is what makes draped lights look romantic instead of sloppy. Use orange and purple strands together, or warm-white strands with a few orange paper lanterns (the round LED-lit kind, not real flame) hung at varying heights among them. Space the hanging lanterns 2 to 3 feet apart and vary their drop lengths by 6 to 12 inches for a natural, floating feel. Secure everything to the beams with screw-in cup hooks or heavy-duty zip ties rated for outdoor use — October winds will test every weak attachment point. Put the whole canopy on a dusk timer, and if your strands are smart, program a slow orange-to-purple fade for the season.
Styling tip: add sheer black or dark-purple fabric draped between a few of the beams — cheesecloth or inexpensive tulle works — so the fabric catches the light and drifts in the breeze. It reads as haunted elegance, not Halloween store. Safety: keep all draped lights and fabric at least 7 feet above any seating or walking area so tall guests don't snag them, and use LED only near fabric.
Suggested budget range: $50 – $140.
21. Lantern Skeleton Greeters
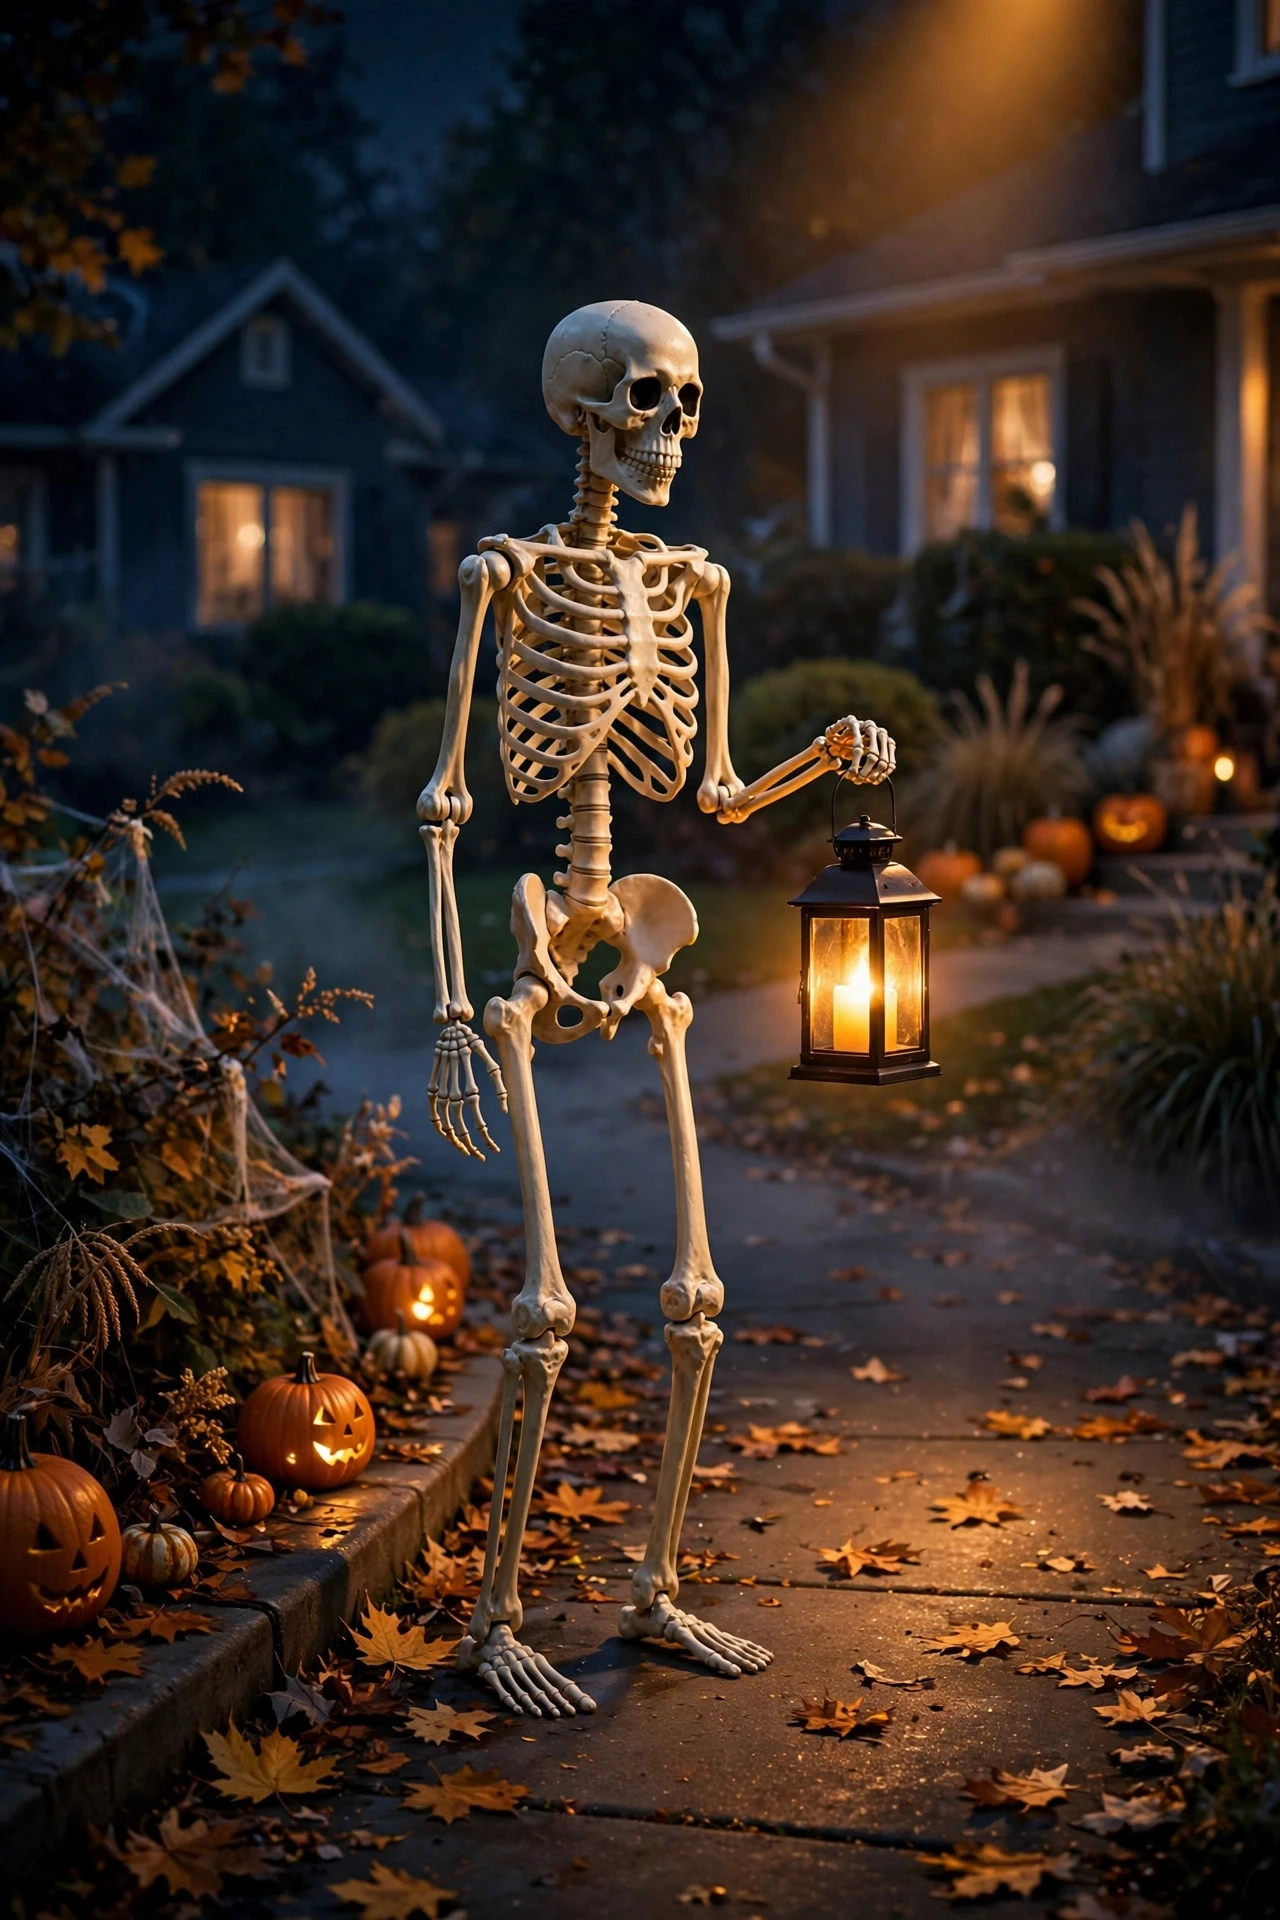
A skeleton holding a lantern is Halloween's most charming cliché — and lit well, it earns the cliché. The trick is treating it like a portrait: one dramatic light source, a dark background, and the skeleton as your subject.
Pose a life-size skeleton near the walkway or mailbox — seated on a hay bale, leaning on a fence post, or guarding the porch steps — lantern in hand or at its feet. Light it with one amber or orange LED spotlight 4 to 6 feet away, aimed from a low side angle — side-lighting carves out ribs and skull in a way front-lighting never will. Keep the background dark — no competing lights within 10 feet — so the skeleton pops like a museum exhibit. A flickering LED lantern in the skeleton's hand adds a second, smaller light source at a different height, which is exactly the kind of layering that makes a vignette feel alive. Run the spotlight on your dusk timer; battery lanterns with built-in timers handle themselves.
Styling tip: dress the scene minimally — a hay bale, a few pumpkins, maybe a crow prop. The skeleton is the star; everything else is the stage. Safety: stake or weigh down the skeleton so wind can't topple it into the walkway (a bag of sand behind a hay bale works wonders), keep the spotlight's cord buried or taped flat, and position the whole scene at least 3 feet back from the walking path.
Suggested budget range: $40 – $110.
22. Gentle Fade Timers — No Strobes, Ever
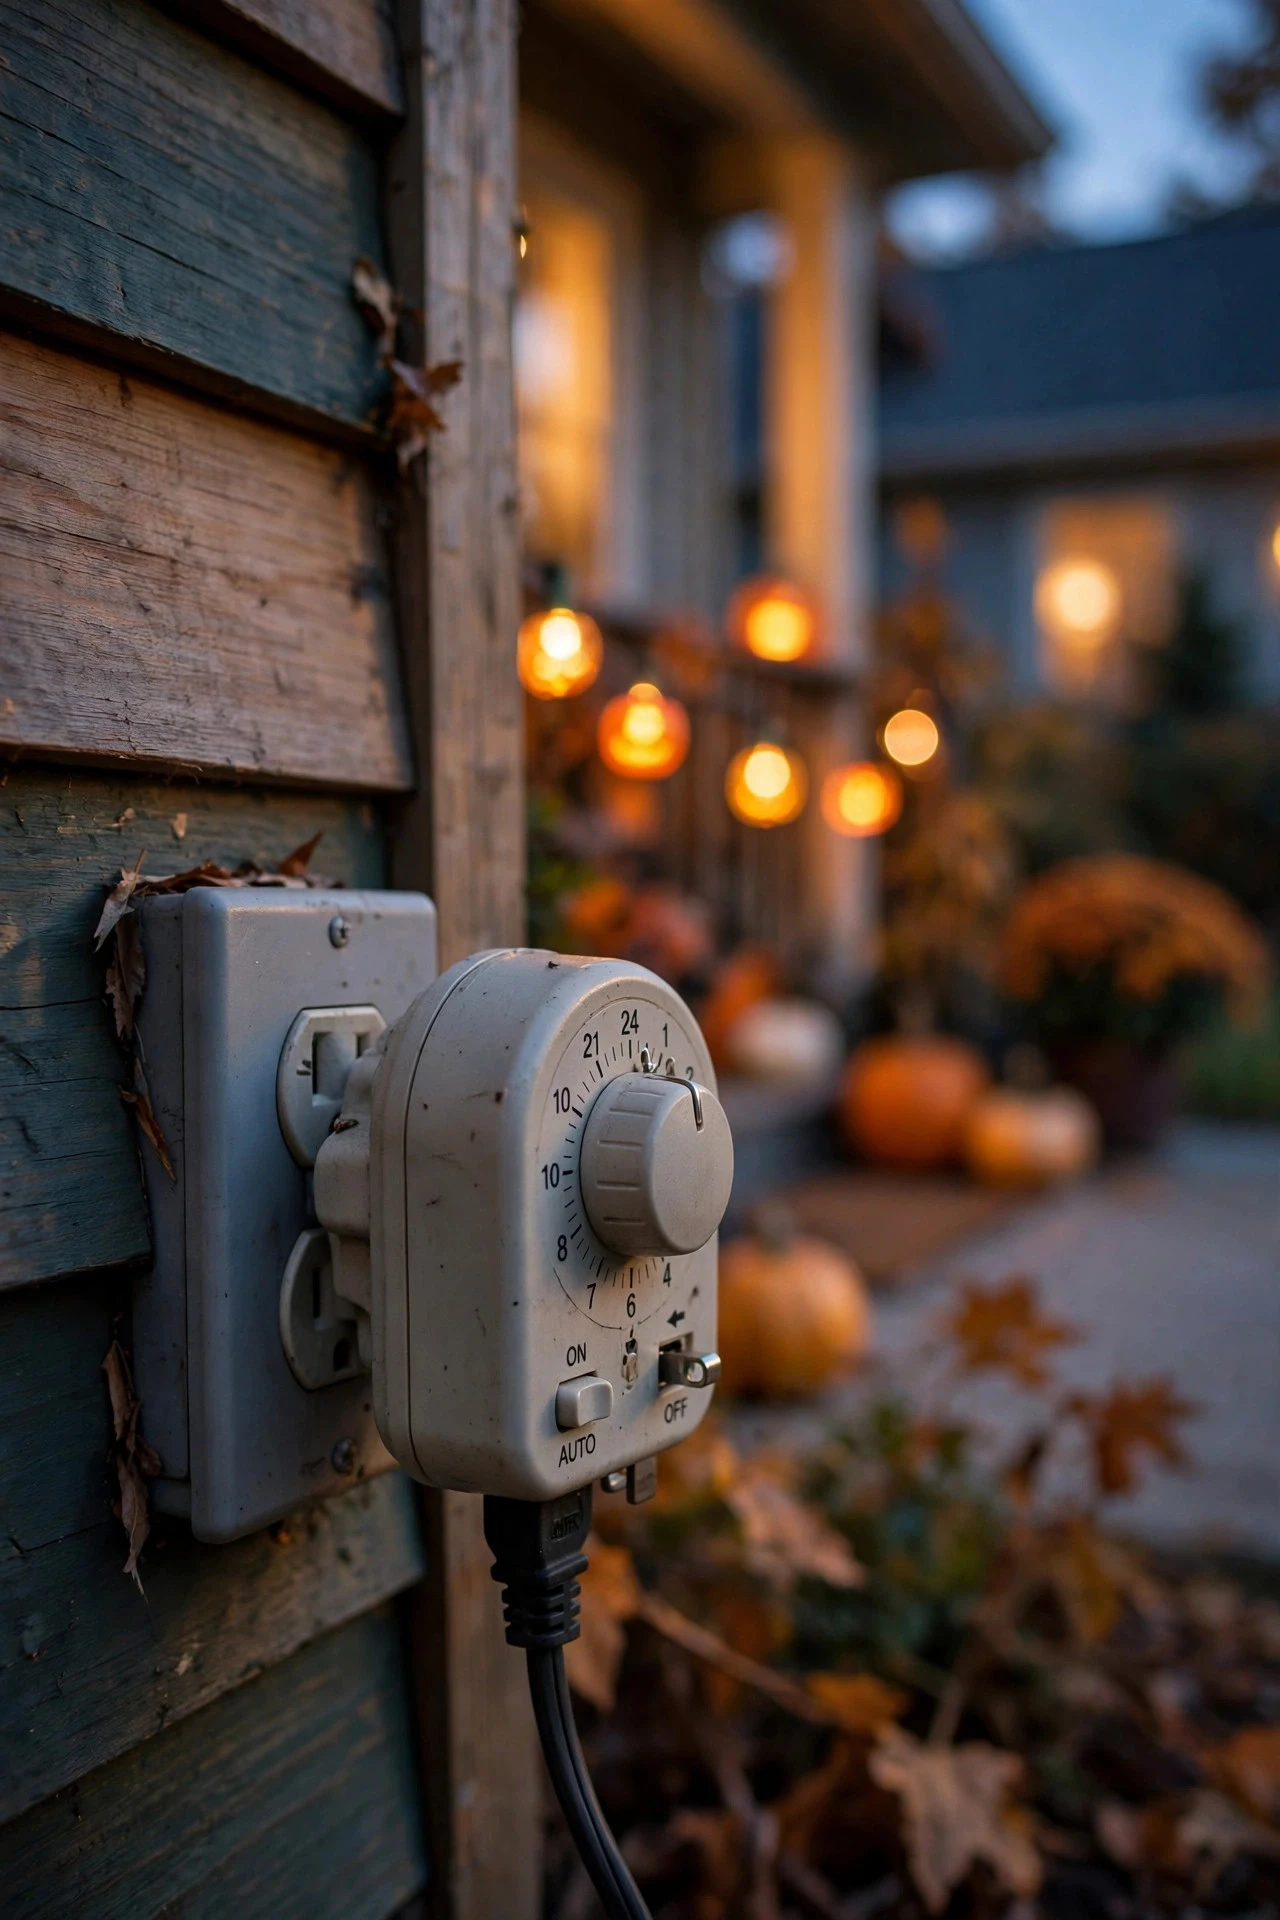
Here's an idea that's really a rule: put your Halloween lights on timers with gentle fades, and skip the strobe effects entirely. Nothing cheapens a display faster than frantic flashing, and strobes are genuinely unpleasant — even dangerous — for neighbors with epilepsy, migraines, or sensory sensitivities. Elegant haunts glow, pulse, and fade; they never flicker like a broken sign.
If you're using smart lights, program slow transitions: a 10-second fade between orange and purple, or a gentle breathing pulse on a single color. For non-smart setups, a simple dusk-to-11-p.m. timer is honestly enough — steady, reliable light that switches itself on and off reads as intentional and cared-for. I run three timer zones: the facade wash and pathway lights on dusk-to-11, the fun accent stuff (fog, projection) on dusk-to-10, and a single warm porch light on dusk-to-dawn for safety. Staggering the shutoff times means the display winds down gracefully instead of snapping dark all at once. Mechanical timers cost under $15 and work fine; digital or smart timers give you the fade effects and cost a bit more.
The payoff is real: neighbors compliment the house instead of complaining about it, and your electric bill stays sane because nothing runs all night. Steady light is also safer — trick-or-treaters navigate steps and curbs far better under constant illumination than under flashing effects.
Suggested budget range: $10 – $45.
23. Candlelit Luminaries to the Trick-or-Treat Bowl
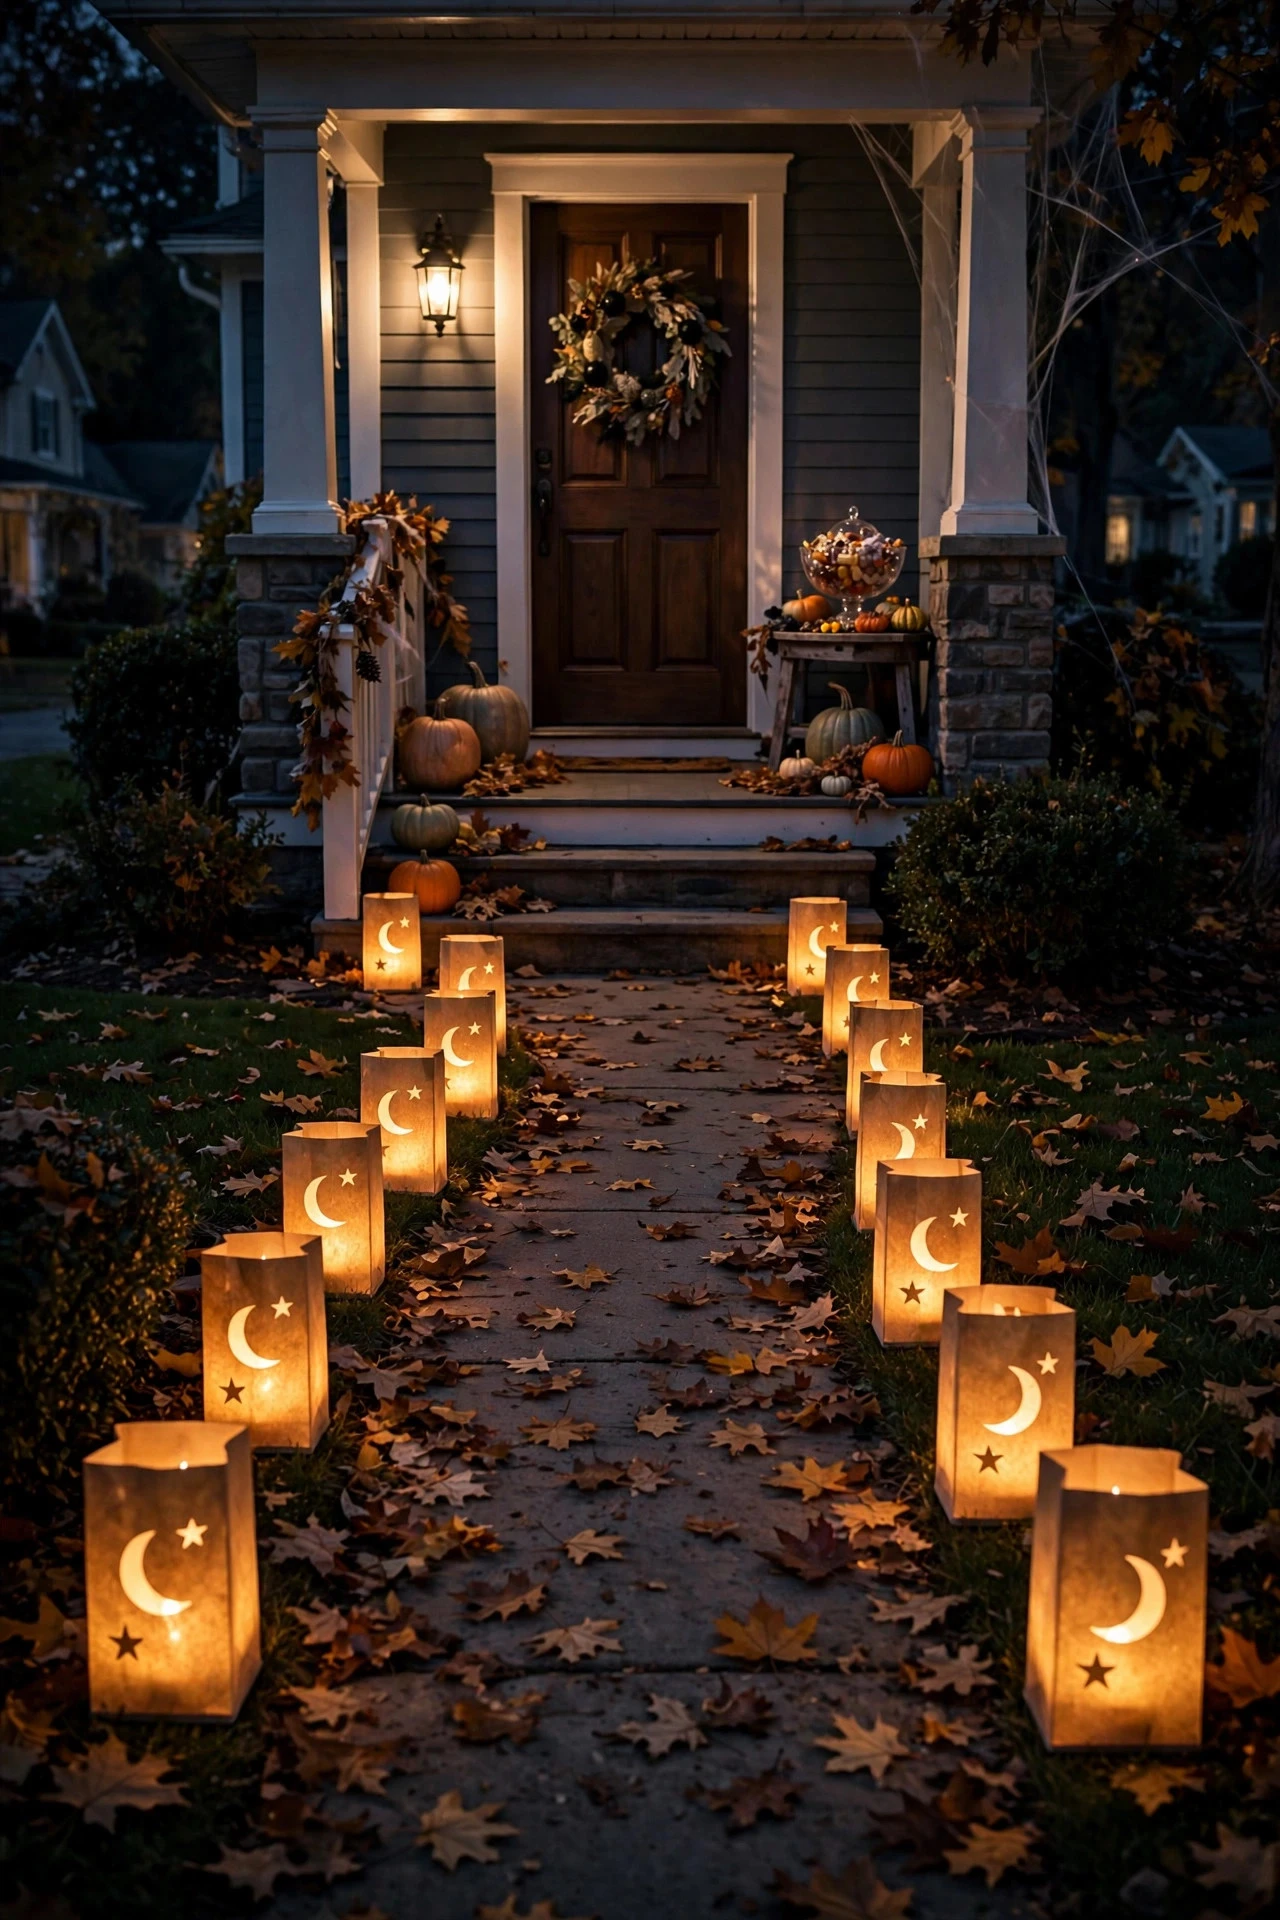
End the journey where the candy lives: a final row of luminaries guiding trick-or-treaters from the walkway to the treat bowl on your porch. It's the exclamation point on the whole display — and it makes your house the one kids remember.
The classic luminary is a paper bag with sand and an LED tea light — but paper and October weather are a gamble, so I use reusable frosted-plastic luminary bags that look identical when lit. Line them along both sides of the final 6 to 10 feet of walkway leading to the porch, spacing them 2 to 3 feet apart, and cluster three around the treat bowl itself like a little shrine to candy. Warm-white LEDs give the most candle-authentic glow; orange LEDs lean harder into the theme. Set them on the same timer as your pathway lights so the whole route lights as one.
This is also your curb-appeal moment for the neighbors: a house with a lit path to the door feels welcoming even when it's haunted. Keep the luminaries 6 to 8 inches back from the walkway edge so bags, costumes, and excited feet don't kick them over, and weight each with a full 2 inches of sand — October gusts love lightweight luminaries. LED only, always — real flames in paper bags on a night full of children in flowing costumes is a hard no.
Suggested budget range: $20 – $50.
Frequently Asked Questions
How do I make my Halloween lights look classy instead of tacky?
Restraint and repetition are everything. Pick two or three colors maximum — orange and purple with warm-white accents is my go-to palette — and repeat them across the whole yard instead of introducing new colors at every feature. Light in layers (house wash, mid-level accents, ground details) rather than scattering random decorations, keep light sources hidden so you see glow rather than fixtures, and give the display one clear focal point. In my experience, the houses that look expensive are the ones where everything matches, not the ones with the most stuff.
Are orange and purple Halloween lights safe to leave on all night?
LED Halloween lights are very safe to run all evening — they use minimal power and stay cool to the touch, which is why I recommend LED-only for every idea in this post. That said, I still put everything on timers shutting off between 10 and 11 p.m. rather than running dusk-to-dawn: it saves electricity, it's kinder to neighbors and nocturnal wildlife, and honestly, nobody needs a haunted yard glowing at 3 a.m. Make sure every fixture and connection is rated for outdoor use (IP44 or better) and plugged into GFCI-protected outlets.
Should I use solar or plug-in lights for Halloween outdoor lighting?
For a short seasonal display, plug-in or battery lights usually win. Solar stake lights are convenient, but October's shorter days and cloudier weather mean they often fade by 9 or 10 p.m. — right when trick-or-treaters are out. Plug-in lights on a timer give you full brightness all evening, every evening. My rule: use plug-in for the important stuff (facade wash, pathway, porch), battery-operated for accents and hard-to-reach spots (ghosts in trees, apothecary jars), and solar only as a supplement where running a cord is impractical.
When should I put up and take down Halloween outdoor lights?
Most neighborhoods expect Halloween displays to go up in the first or second week of October and come down within a few days after the 31st — leaving them up into mid-November reads as forgotten rather than festive. I put my lights up the first weekend of October (it takes one relaxed afternoon) and run them nightly through Halloween. Take everything down the first weekend of November, while you're still in the decorating spirit — your future self, staring at tangled lights in December, will thank you.
Conclusion
The secret to great halloween outdoor lighting ideas was never about buying more stuff — it's about layering light the way a filmmaker lights a scene. A warm amber wash on the house, a few dramatic accents at eye level, and a glowing path guiding visitors to your door: that's the whole formula, and it works whether you do three ideas from this list or all twenty-three. Pick the ones that fit your yard, your budget, and your tolerance for startled trick-or-treaters, and put them on timers so the magic happens by itself every evening.
If you loved this spooky-season take on layering, you'll enjoy browsing more of my outdoor lighting ideas for every season — there's always another evening worth glowing for. Happy haunting, and may your candy bowl stay full until the last trick-or-treater.