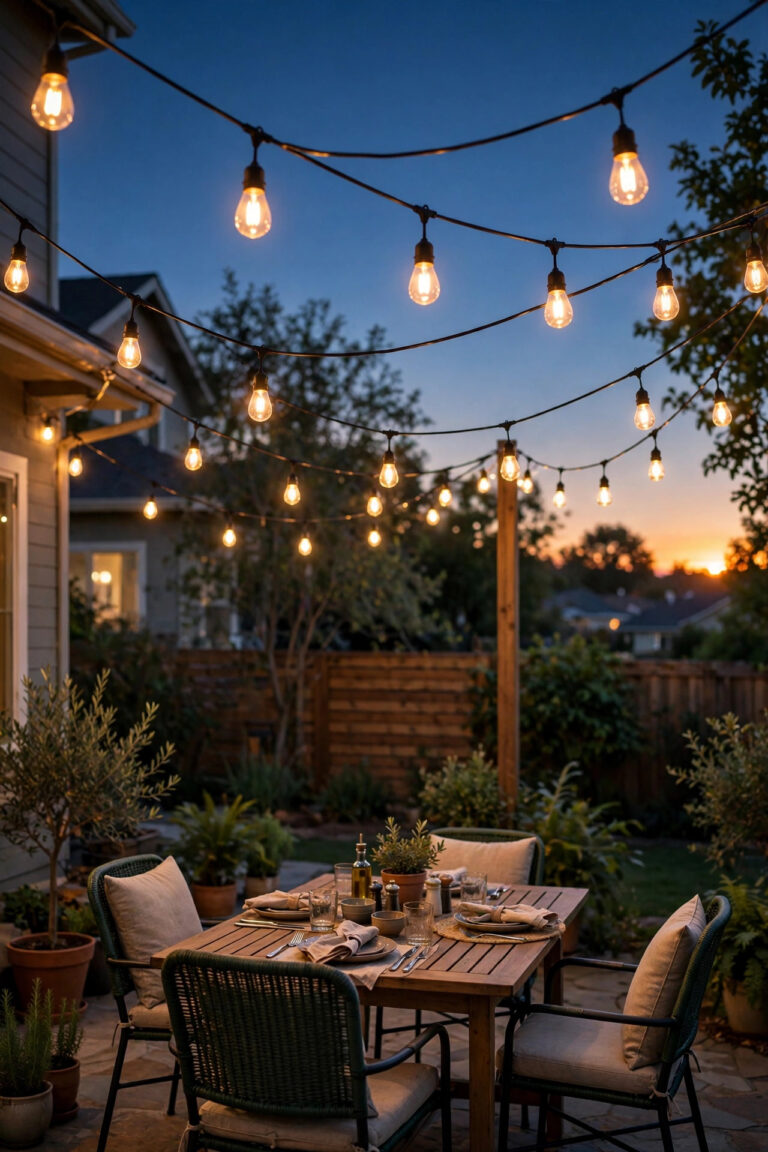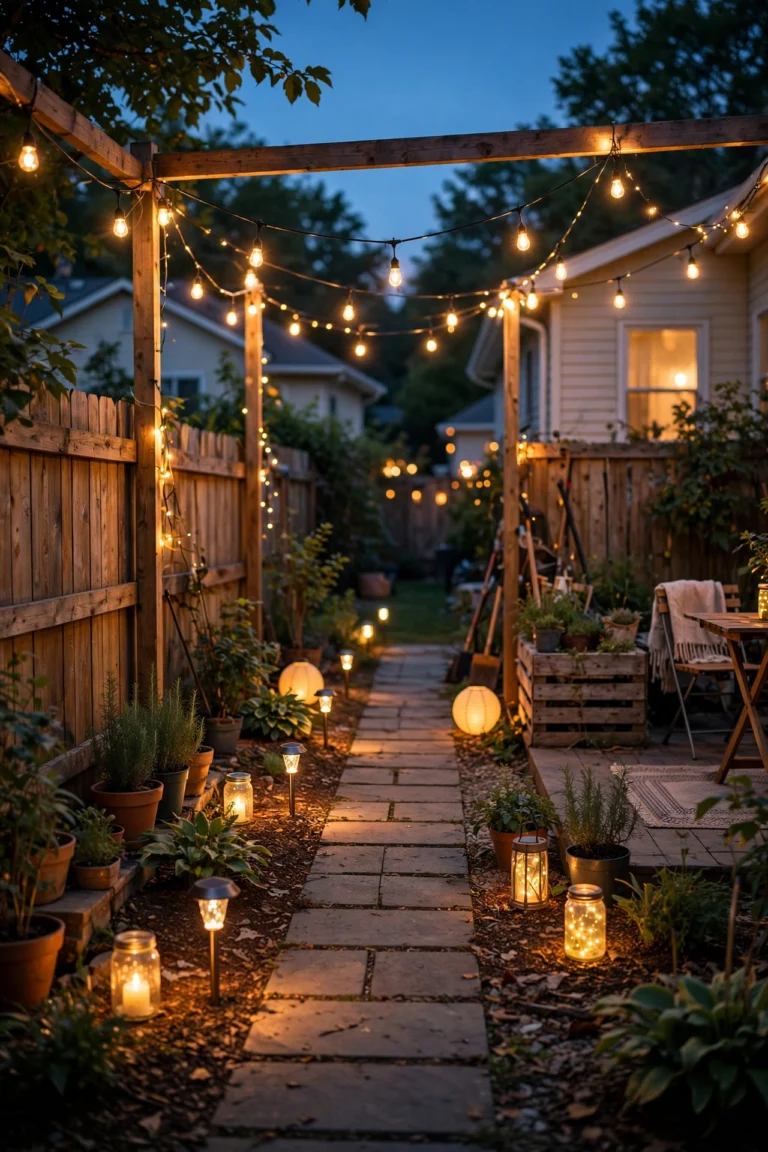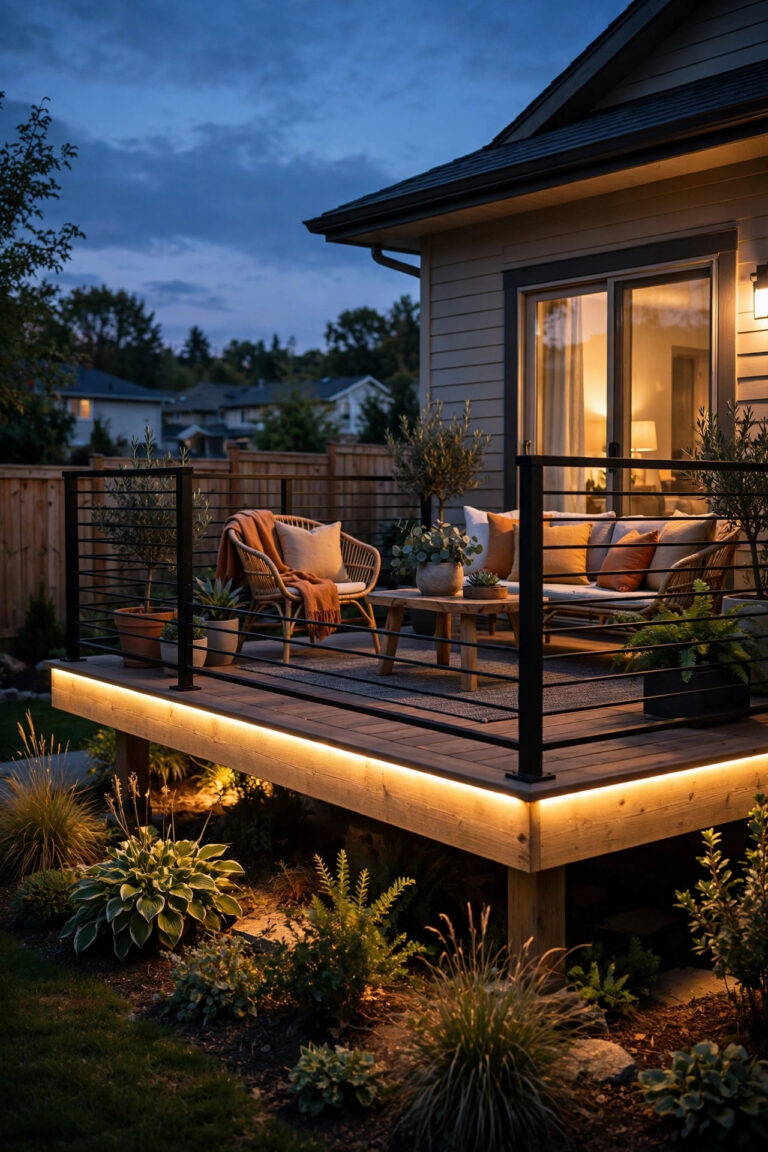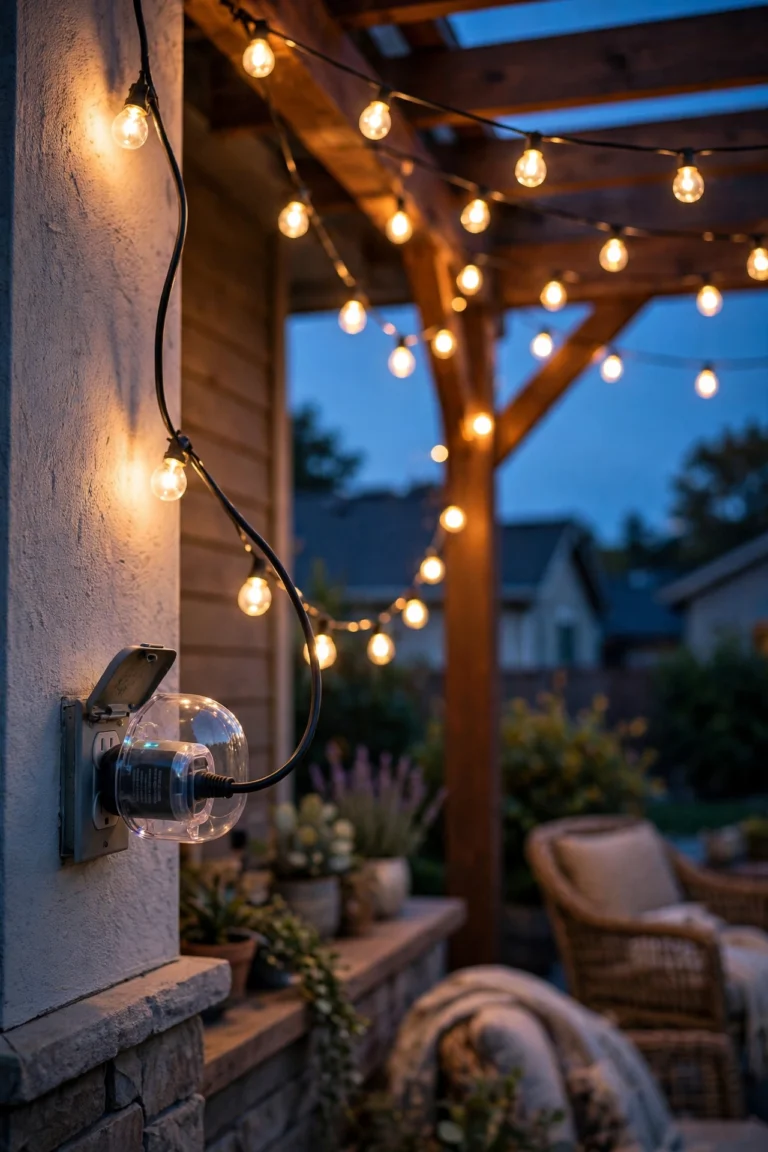
Nothing transforms a house after dark quite like the right outdoor wall lantern ideas. In my experience, most of us pick fixtures the way we pick paint swatches — standing in a store aisle, squinting at tiny display models — and then wonder why they look lost or out of place once they're actually mounted. Here's what I always tell friends: think in layers. Your wall lanterns are the jewelry, but the entry itself is the outfit — the door color, the trim, the planters, the house numbers all need to work together before a single lantern glows at dusk.
This list covers 21 outdoor wall lantern ideas across every major home style, from colonial and craftsman to modern and Mediterranean, plus all the lantern types — classic sconces, flush mounts, hanging lanterns, post lanterns, solar and motion-sensor versions. For each one you'll get concrete placement measurements, bulb and color temperature guidance, styling tips, safety notes, and an honest budget range so you can plan the whole project in one sitting.
1. Classic Coach Outdoor Wall Lantern Ideas for a Colonial Entry
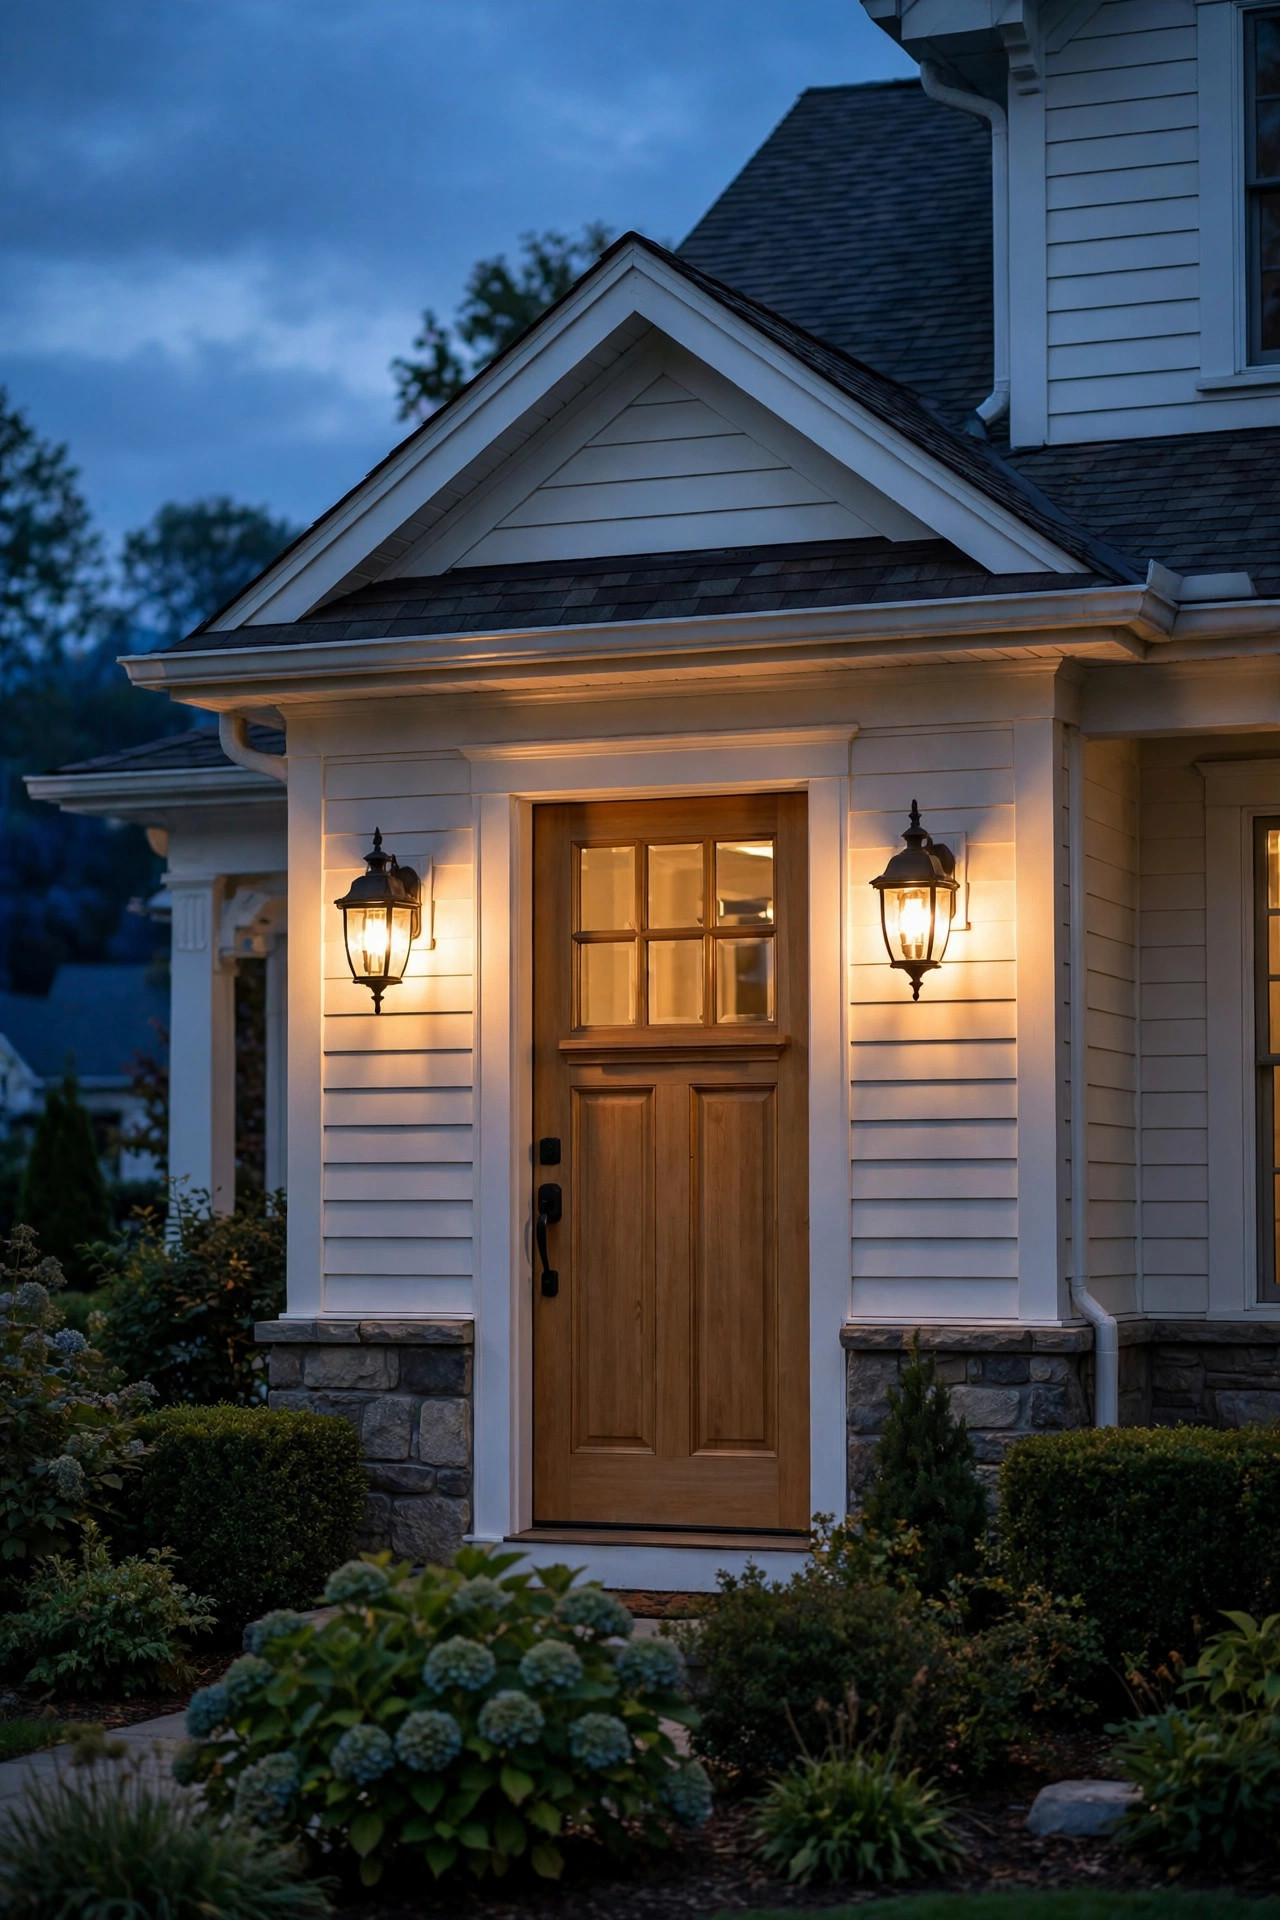
If your home has symmetrical windows, shutters, and a centered front door, congratulations — you have the easiest house style to light. Classic coach lanterns with clear glass panes and a simple black frame are basically the colonial's birthright. I recommend sizing the lantern to the door: the fixture should be roughly one-quarter to one-third the height of the door (so for a standard 80-inch door, look for 20- to 26-inch lanterns). Mount a matching pair on either side of the door, centered about 6 inches out from the trim and with the bulb center around 66 inches off the ground.
Use warm white LED filament bulbs at 2700K — they read as candlelight and make brick and clapboard look incredible. Put the pair on a timer or dusk-to-dawn photocell so they click on automatically every evening. One safety note: make sure the fixtures are UL-listed for wet locations (not just damp) if they're exposed to driving rain, and never use real flame candles inside an enclosed glass lantern mounted on siding — LED flameless candles give the flicker without the fire risk.
Suggested budget range: $80 – $300 for the pair.

2. Craftsman-Style Tapered Lanterns with Amber Glass
Craftsman homes deserve fixtures with heft and honest materials — think tapered frames in oil-rubbed bronze or aged copper with seeded or amber art glass. The amber tint is the secret: it warms everything it touches and echoes the warm wood tones of craftsman trim and porch columns. Mount them flanking the front door, but also consider a single lantern on the porch column or gable peak — craftsman architecture loves a little repetition.
Scale matters here. Craftsman porches are usually deep, so a dinky 12-inch lantern disappears. Go for 18- to 24-inch fixtures with a wide tapered body. If the house has stone wainscoting or a brick chimney, the warm amber glow bouncing off masonry is pure magic. Use dimmable LED bulbs so you can drop the brightness for late evenings, and set them on a smart timer that follows sunset year-round. Weatherproofing tip: copper and bronze finishes patina naturally, which is the point — but check that mounting screws are stainless so they don't streak the siding with rust.
Suggested budget range: $90 – $350 for the pair.

3. Sleek Cylinder Outdoor Wall Lantern Ideas for a Modern Facade
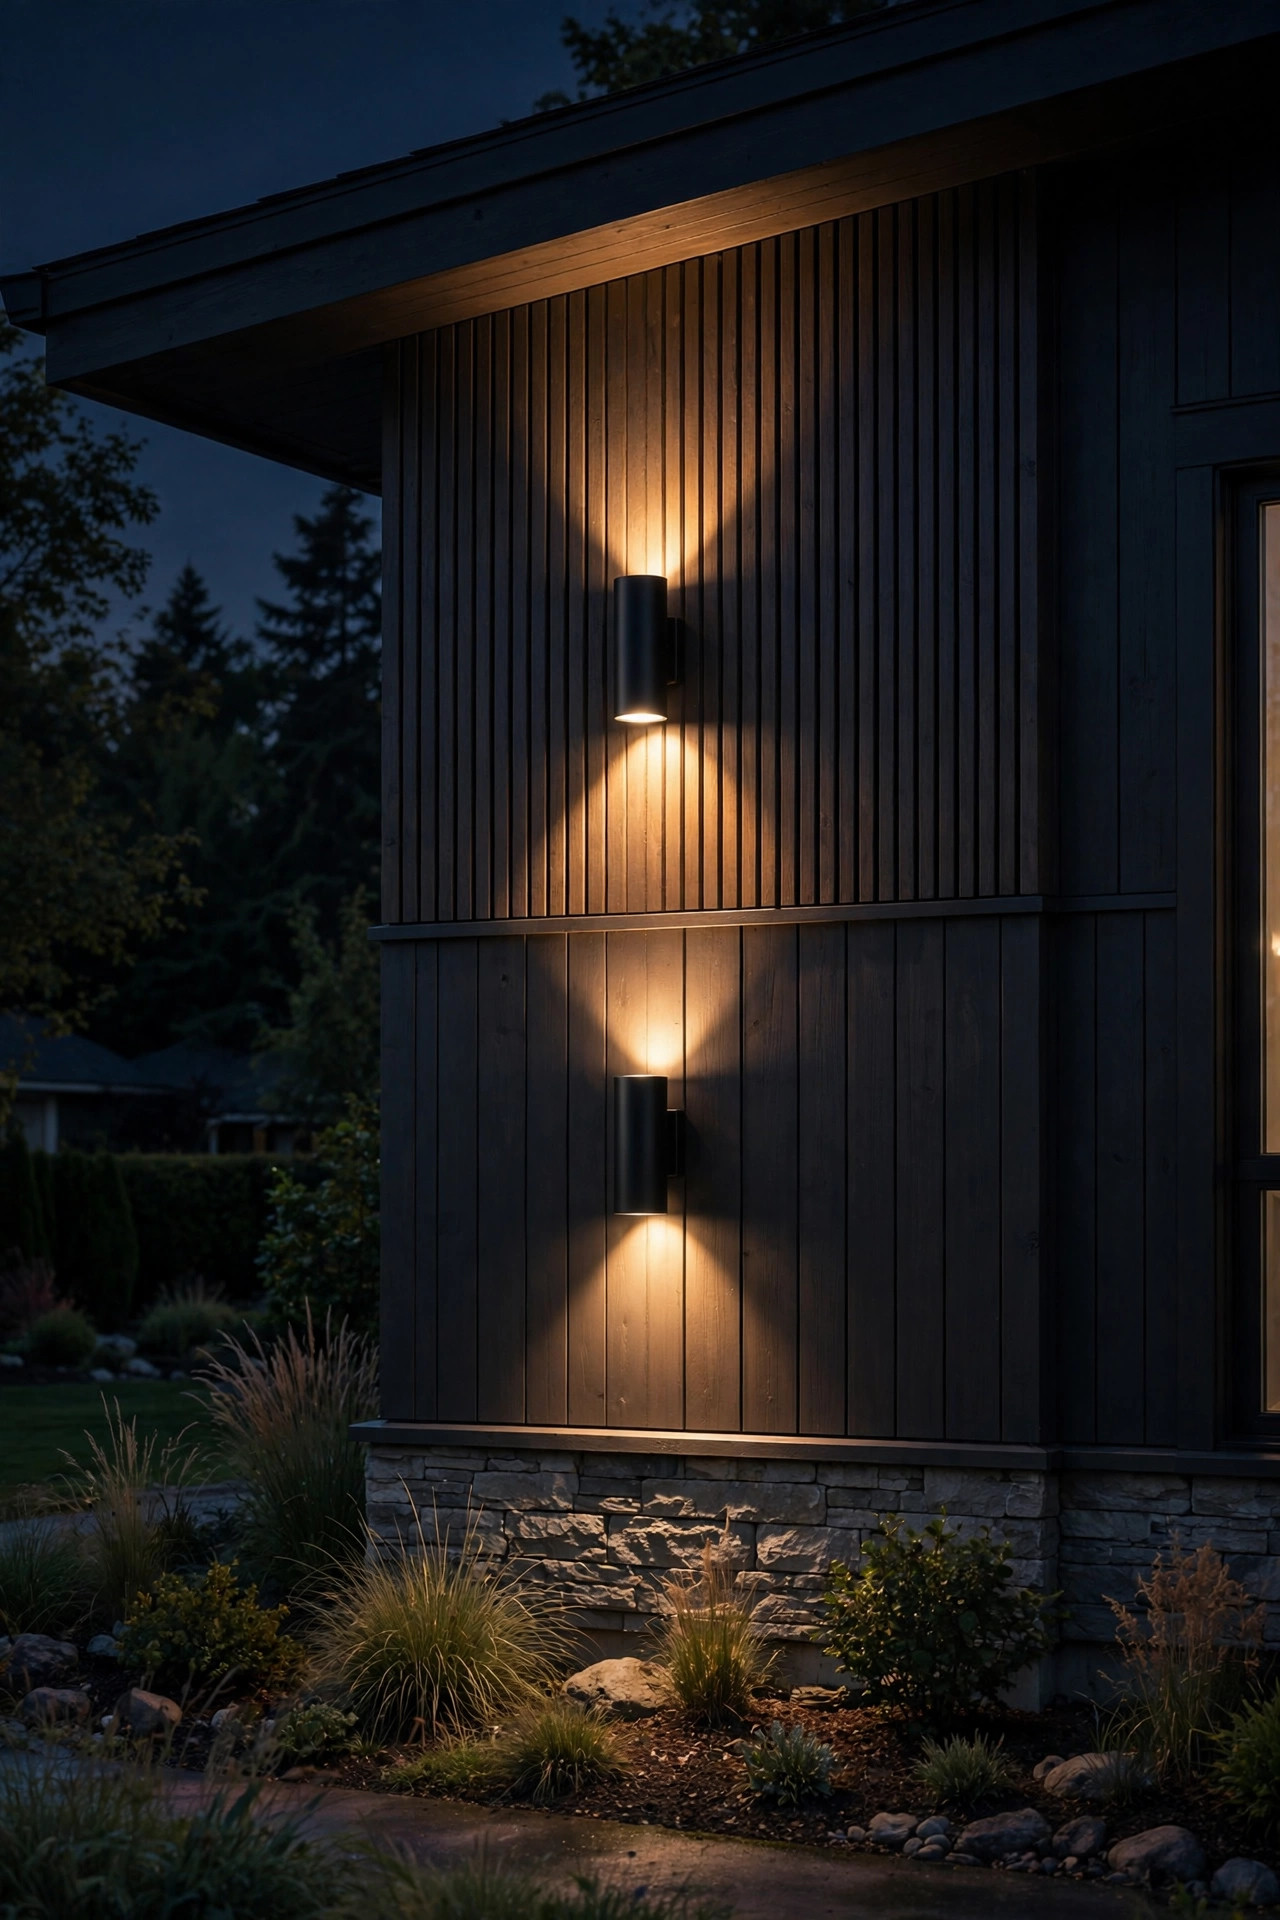
Modern homes want lanterns that read as sculpture, not decoration. Matte black or brushed nickel cylinders — single tubes that wash light up and down the wall — are my go-to for contemporary facades, and they happen to be some of the most flattering outdoor wall lantern ideas for stucco, board-formed concrete, or horizontal siding. The up-down light washes texture dramatically and makes a flat facade look dimensional at night.
Mount them higher than you'd think: the fixture's center around 72 inches lets the upward beam play across the wall plane. Space multiple cylinders 8 to 10 feet apart along a garage wall or walkway for a rhythmic glow. Use 3000K LEDs — a touch cooler than traditional homes take, because it keeps modern exteriors looking crisp rather than yellow. Many cylinder fixtures are "dark-sky friendly" with no light spilling upward, which your neighbors (and local ordinances) will appreciate. Check your city's outdoor lighting codes before installing — some areas restrict uplighting, and the spec sheet will tell you if a fixture complies.
Suggested budget range: $70 – $260 each.
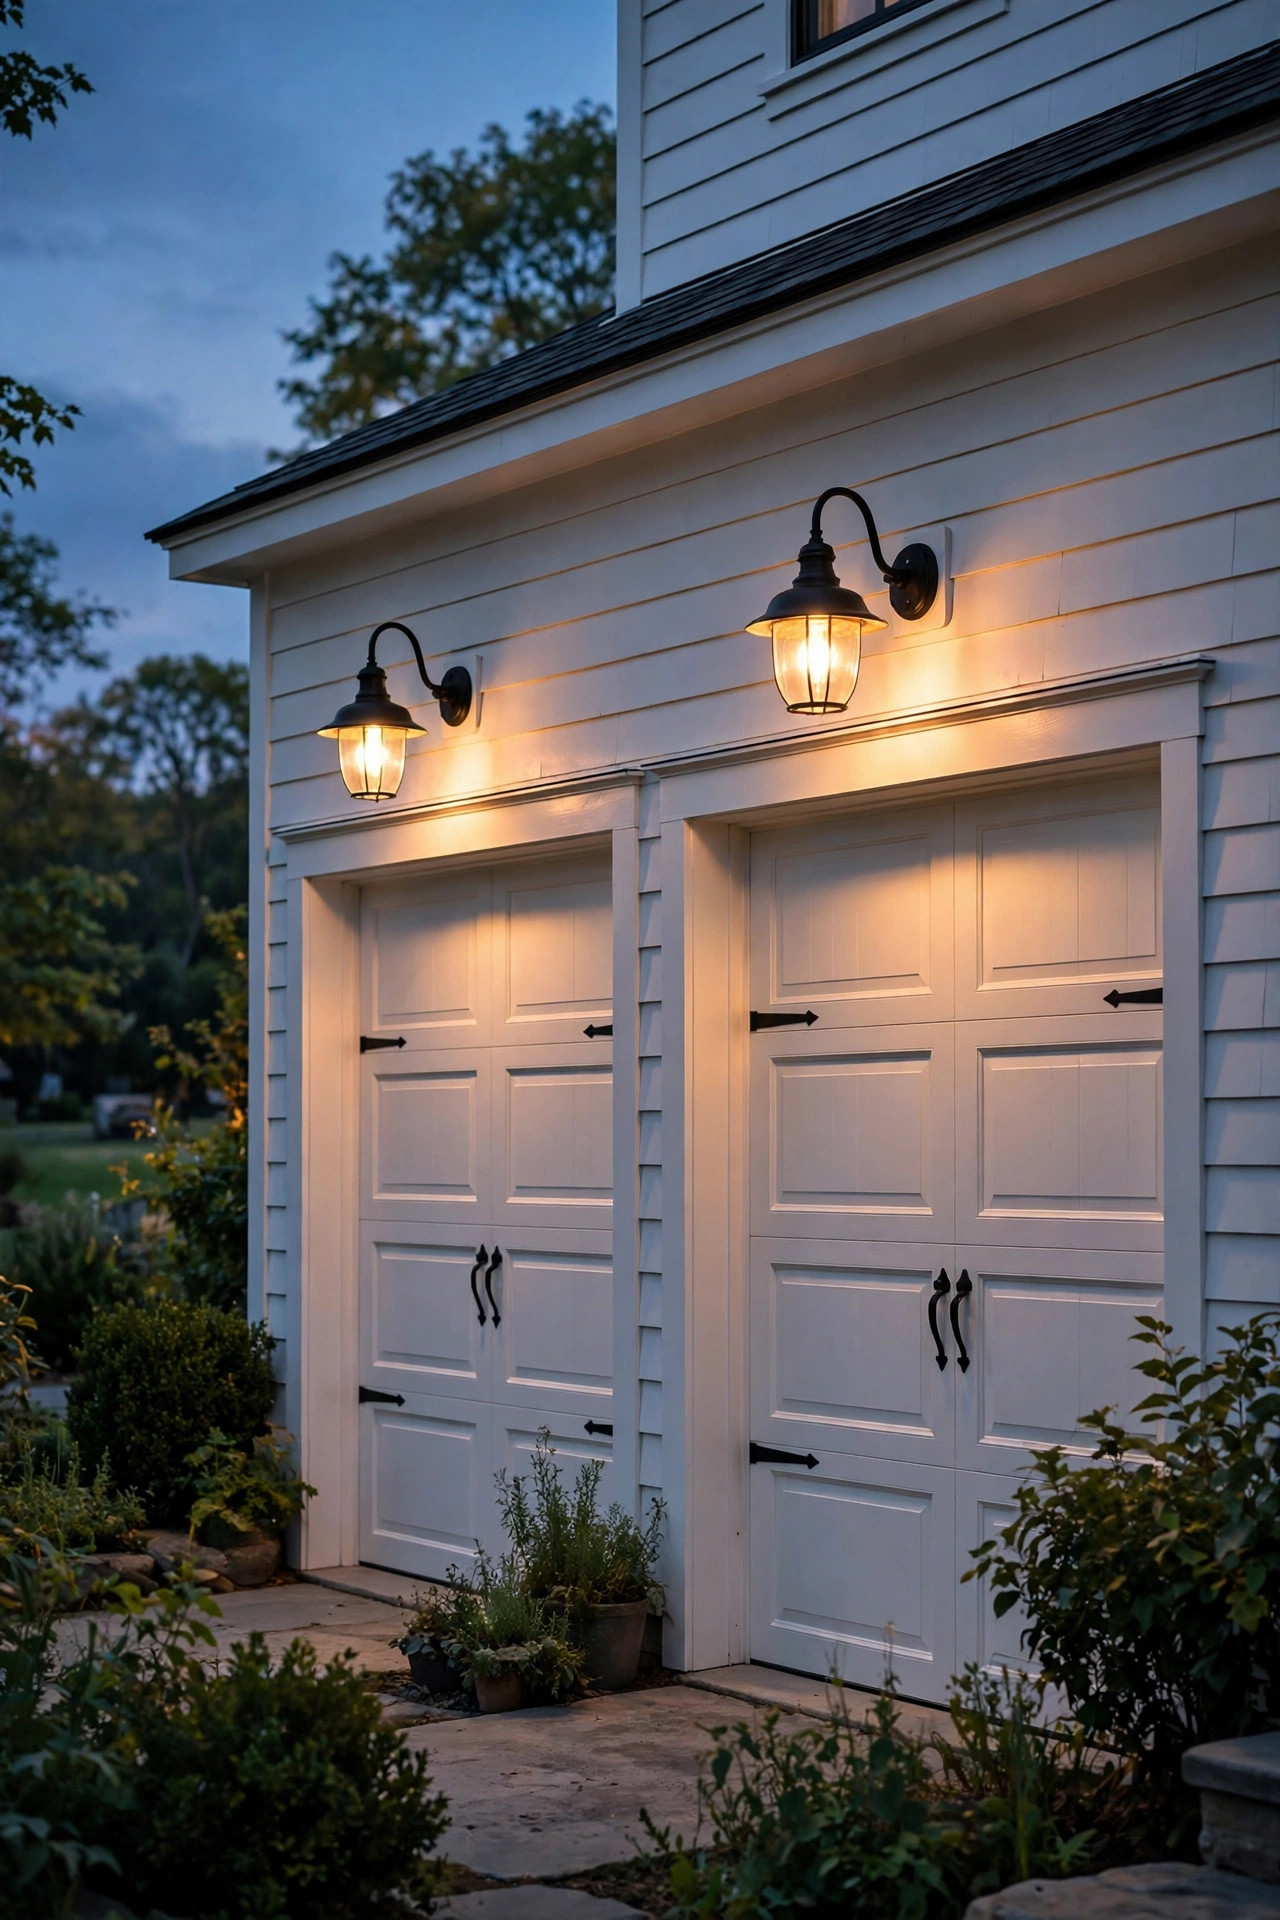
4. Rustic Farmhouse Gooseneck Lanterns Over the Garage
Nothing says modern farmhouse like a gooseneck lantern — that curved arm throwing a cone of light down over a garage door or barn-style entry. I love these over garage doors because the downward cone puts light exactly where you park and unload groceries, instead of blasting the street. Mount one above each garage bay, centered, with the shade bottom about 12 to 18 inches above the door trim.
Farmhouse style leans on contrast: black goosenecks on white board-and-batten is the classic, but galvanized or aged zinc finishes look beautiful on weathered wood or stone. Choose fixtures with a wide shade (10 to 14 inches across) so the light pool is generous. Since these are task lights as much as decor, go a little brighter — 800 to 1,100 lumens each, still warm at 2700K. Put them on a motion sensor so they snap on when you pull in, or on a photocell for all-evening glow. Make sure the wiring is tucked into the soffit or wall properly — this is a job for an electrician if you're replacing a fixture box in a new position. For more on the actual wiring steps, see this guide to installing exterior wall lights.
Suggested budget range: $100 – $320 for two.
5. Ranch-Style Crossbar Lanterns for Long Low Facades
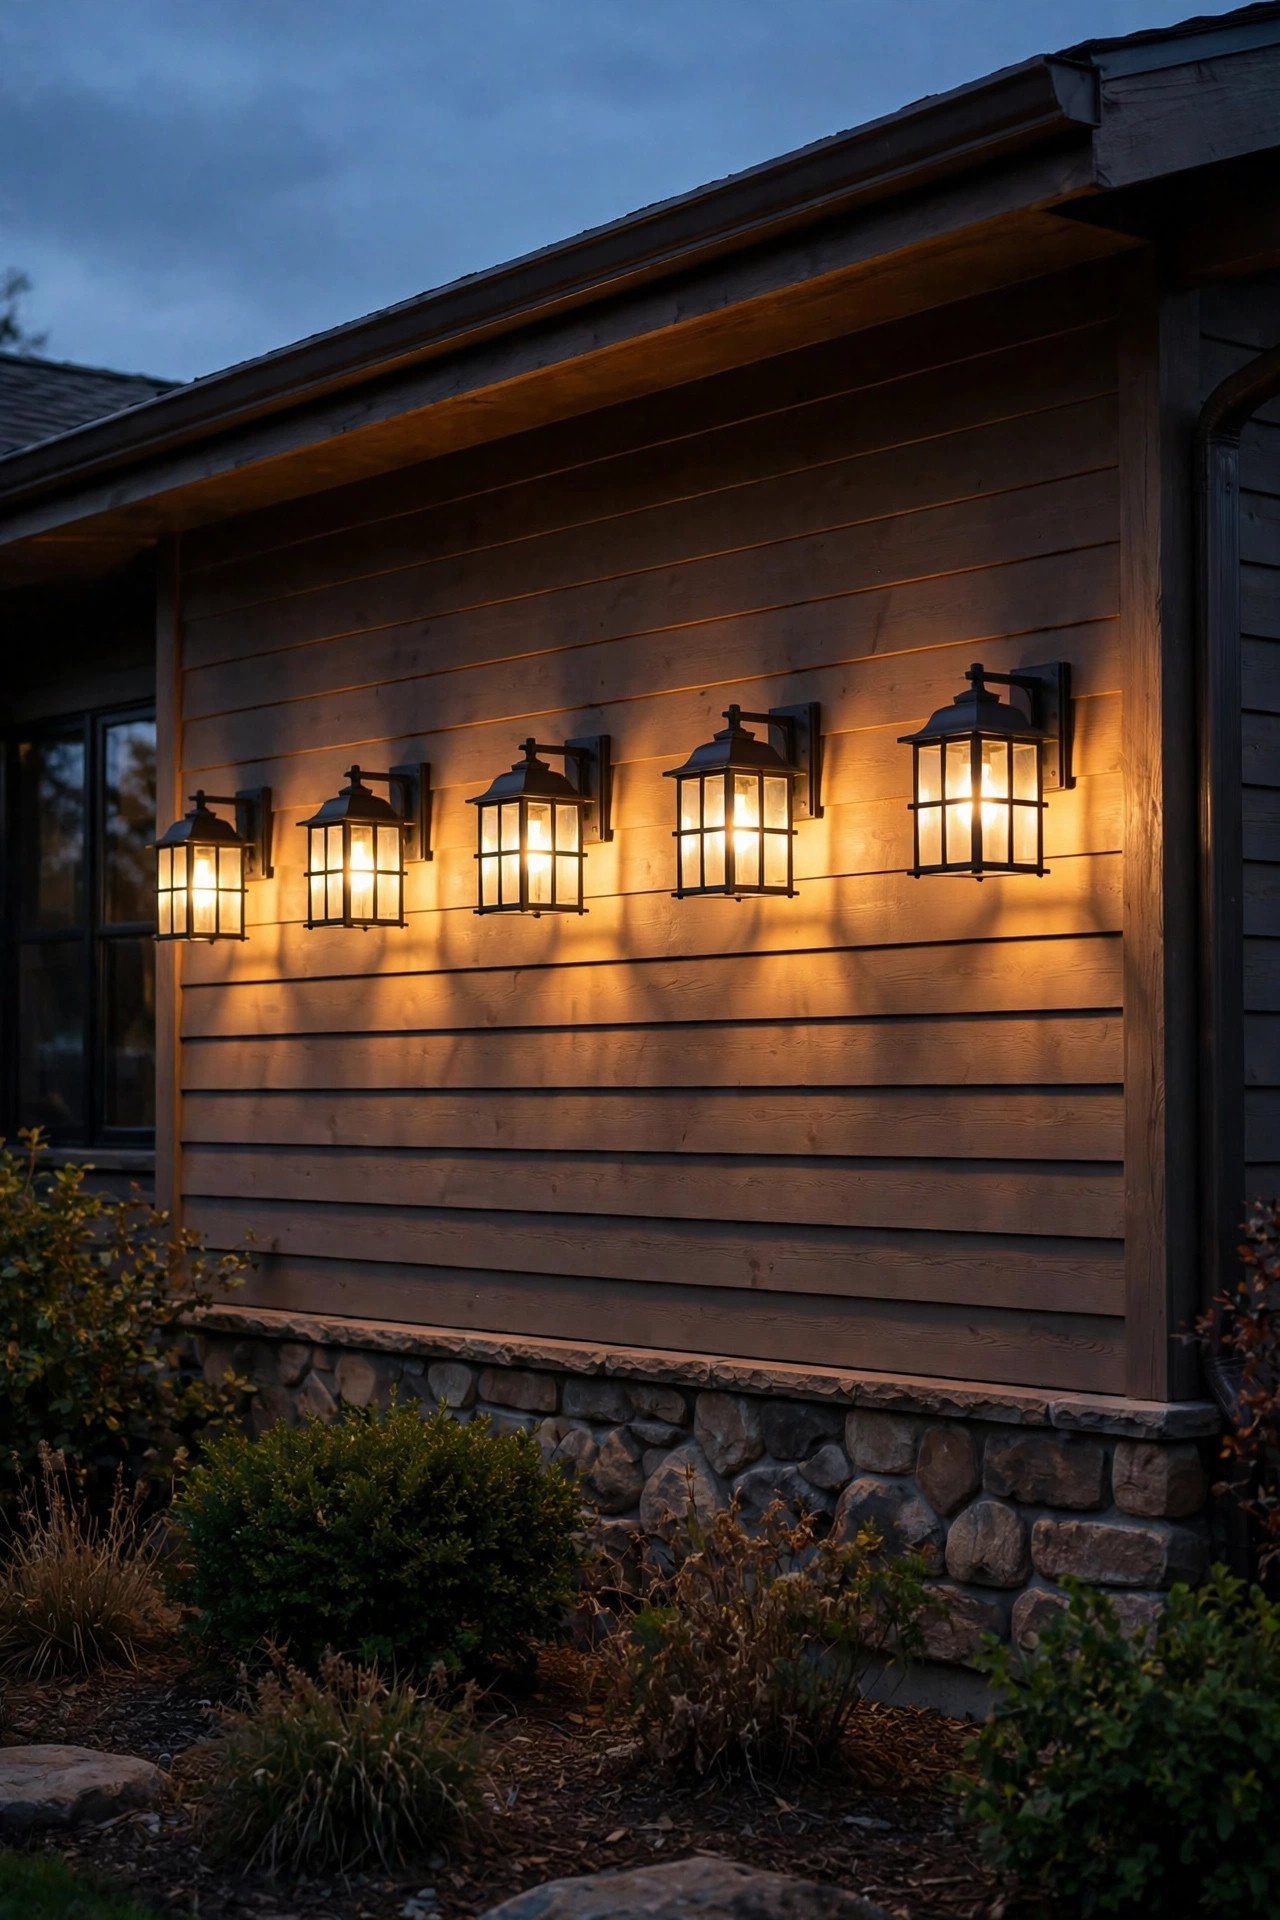
Ranch homes are long and low, which means a single pair of door lanterns leaves the rest of the facade dark. The fix: repeat a simple crossbar or barn-style lantern along the front — flanking the door, at the garage, and at any jogs in the facade. Repetition is what makes a sprawling ranch feel intentional instead of lit by accident. Space repeating lanterns 10 to 12 feet apart, keeping them all at the same mounting height (bulb center around 66 inches) so the line reads clean.
Crossbar lanterns — the ones with the X or cross detail on the glass — are a natural ranch fit because they echo the geometry of mid-century ranch details. Black or dark bronze finishes work on brick, stone, or any siding color. Since you're buying more fixtures, this is where per-fixture budget matters: look for solid construction but skip hand-forged artisan prices. Put the whole run on one timer circuit so they switch together. Safety check: ranch homes often have shallow eaves, so confirm every fixture is wet-rated and that junction boxes have weatherproof covers with proper gaskets.
Suggested budget range: $150 – $500 for three to four.
6. Mediterranean Wrought-Iron Scroll Lanterns
Mediterranean and Spanish-style homes practically demand wrought iron — those curved scrolls and seeded glass panels feel like they were forged for stucco walls and terracotta tile. Look for lanterns with hand-applied scrollwork and slightly irregular glass; the imperfections are what make the light pattern dance on the wall. These fixtures look best in a warm bronze or rust-brown finish that echoes the roof tile.
Mount them flanking arched doors and windows — the arch plus the scroll lantern is a combination that never misses. For courtyards, place lanterns at each corner of the patio wall at 8-foot intervals so the whole space glows. Use warm 2700K LED Edison-style bulbs; the visible filament through seeded glass is half the charm. Because these fixtures are often heavy, anchor into studs or masonry with proper lag bolts and anchors — drywall anchors are a hard no. If your stucco is over foam insulation, use long anchors that bite into the sheathing behind it.
Suggested budget range: $120 – $450 for the pair.

7. Cozy Cottage Carriage Lanterns with Curved Tops
Cottage style is all about charm, and the curved-top carriage lantern is charm in fixture form. These look like the lamps from a storybook lane — gently arched tops, divided glass panes, usually in black or verdigris copper. They're the perfect scale for smaller homes: a 14- to 18-inch carriage lantern flanks a cottage door beautifully without overwhelming it.
Here's a trick I love for cottages: hang one carriage lantern on a decorative bracket beside the door and tuck a matching solar version (idea 16) into the garden bed below. The layered heights — door-level plus garden-level — make a tiny entry feel designed. Keep bulbs warm (2700K) and modest in brightness (400 to 600 lumens); cottage entries are intimate, not commercial. If your cottage has a picket fence or arbor, echo the lantern style with a small post lantern at the gate for a coordinated arrival sequence.
Suggested budget range: $60 – $220 for the pair.

8. Tudor Revival Lanterns with Leaded Glass
Tudor homes — steep gables, half-timbering, brick and stucco — want lanterns with old-world weight. Think chunky black iron frames with leaded or seeded glass, sometimes with a little crown detail on top. These pair beautifully with the medieval character of Tudor architecture; a slim modern fixture would look like a typo on this house.
Placement is a little different for Tudors: mount lanterns on the brick or stone piers that often flank the entry, not just on the wall. The piers are usually the visual anchor of the entry, and lighting them lights the architecture. Center the fixture on the pier face at about 60 inches — slightly lower reads better on chunky piers. Use dimmable warm LEDs and consider a photocell timer, since Tudor entries often sit in shadow even at dusk. Masonry mounting requires masonry anchors and a hammer drill; if you've never drilled brick, this is worth hiring out so you don't crack a brick face.
Suggested budget range: $110 – $400 for the pair.

9. Mid-Century Bullet Lanterns for Atomic Ranch Homes
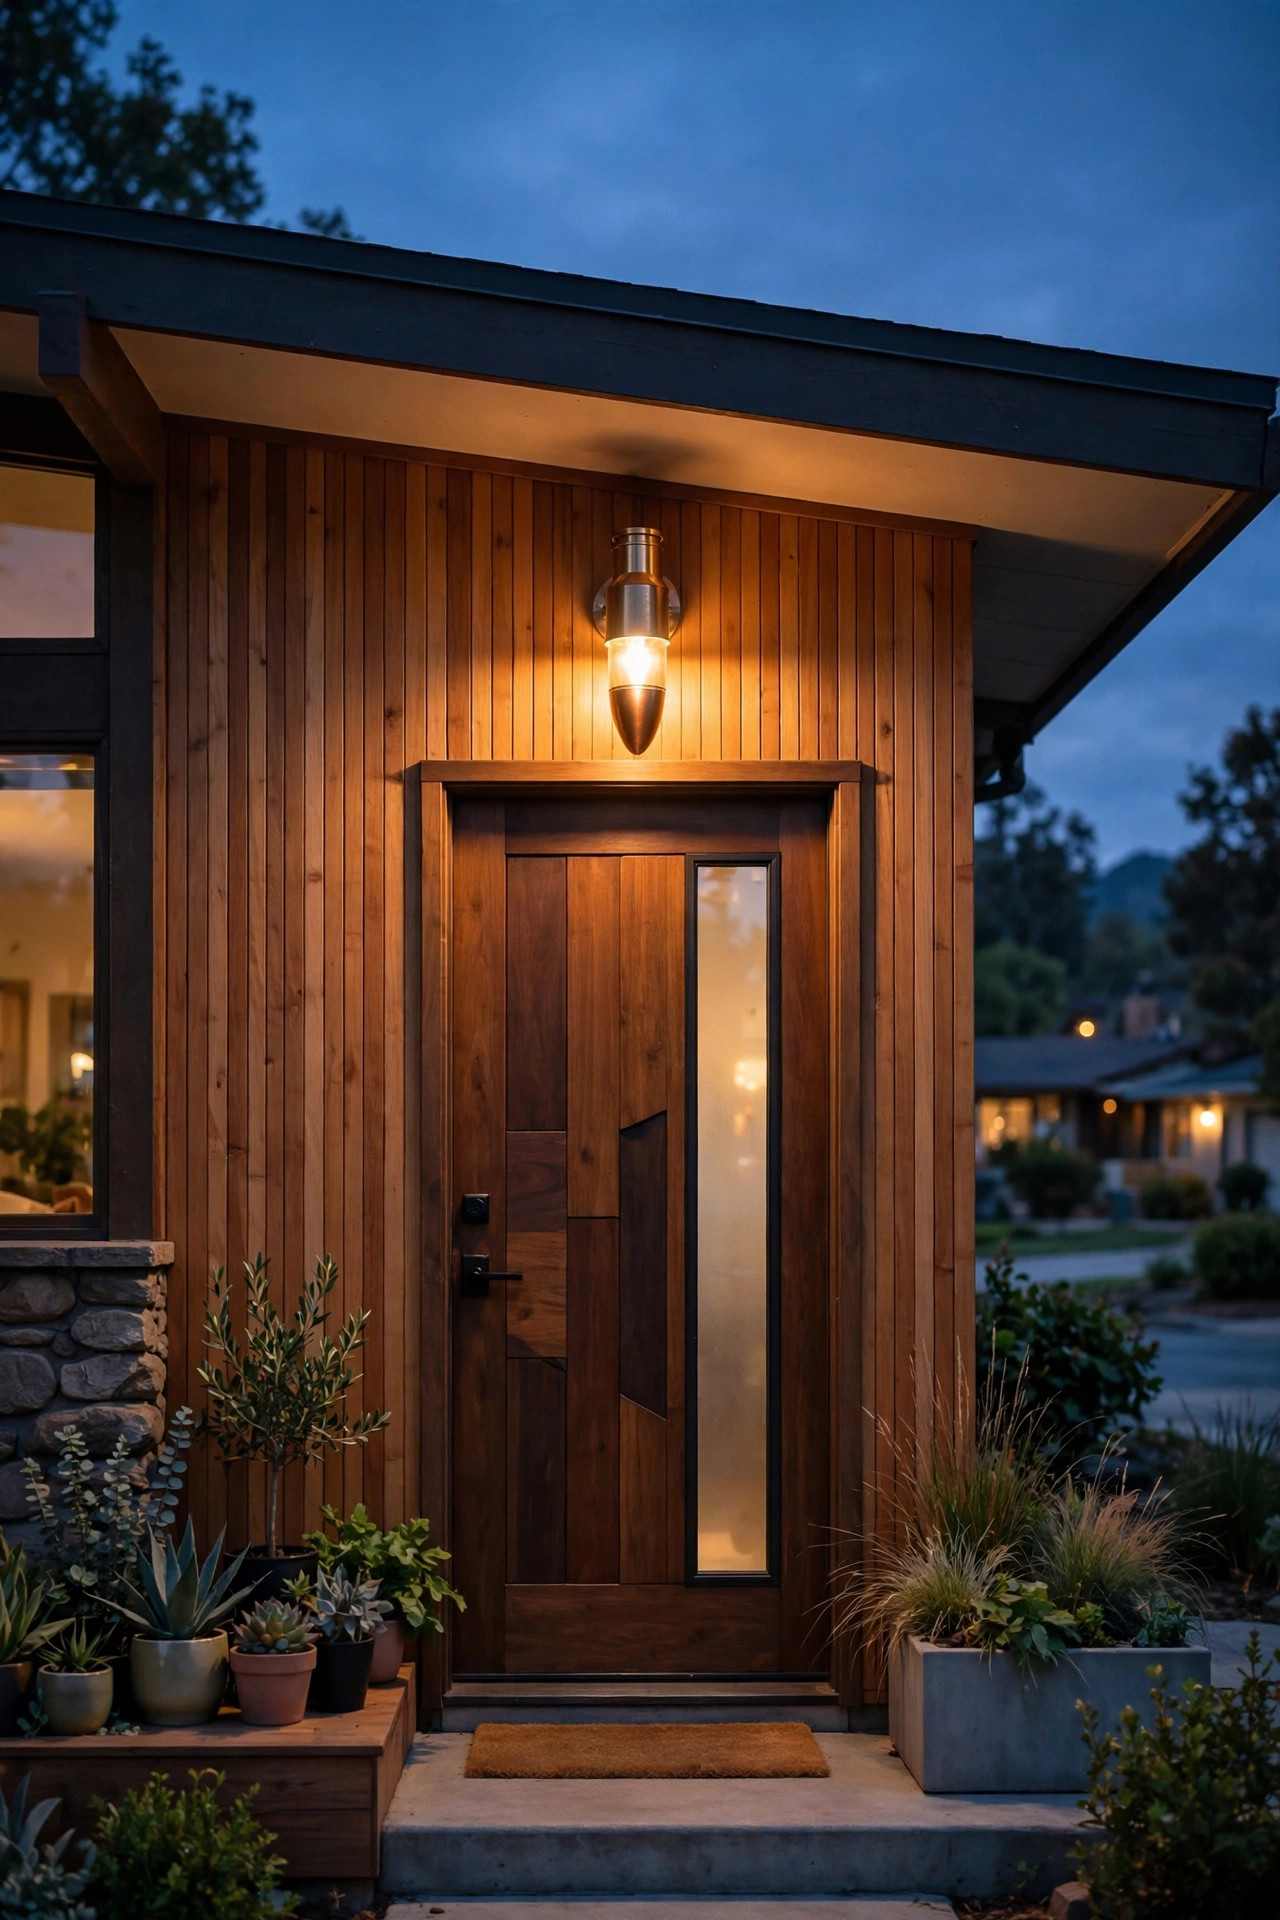
For mid-century modern homes and atomic ranches, the bullet or "missile" lantern is the historically correct choice — a cone-shaped shade that directs light down, mounted on a short arm or directly to the wall. Honestly? Even if your house isn't a true mid-century, these are a great pick for any clean-lined home that wants a retro-but-not-kitschy look. The cone shape is also practical: it throws a tight pool of light at the door without lighting up the whole block.
Mount a single bullet lantern above or beside the door at about 72 inches, and if you have a carport, add one above the parking area — that's the classic mid-century arrangement. Originals were often brass or copper; reproductions in matte black or brushed aluminum are easier to maintain. Use 3000K LED bulbs for that crisp mid-century feel. One caution: many vintage-style bullet fixtures are shallow, so check that an LED bulb actually fits before you buy — some Edison-style LEDs are too long for the shade.
Suggested budget range: $70 – $240 each.
10. Victorian Fancy-Pane Lanterns for Painted Ladies
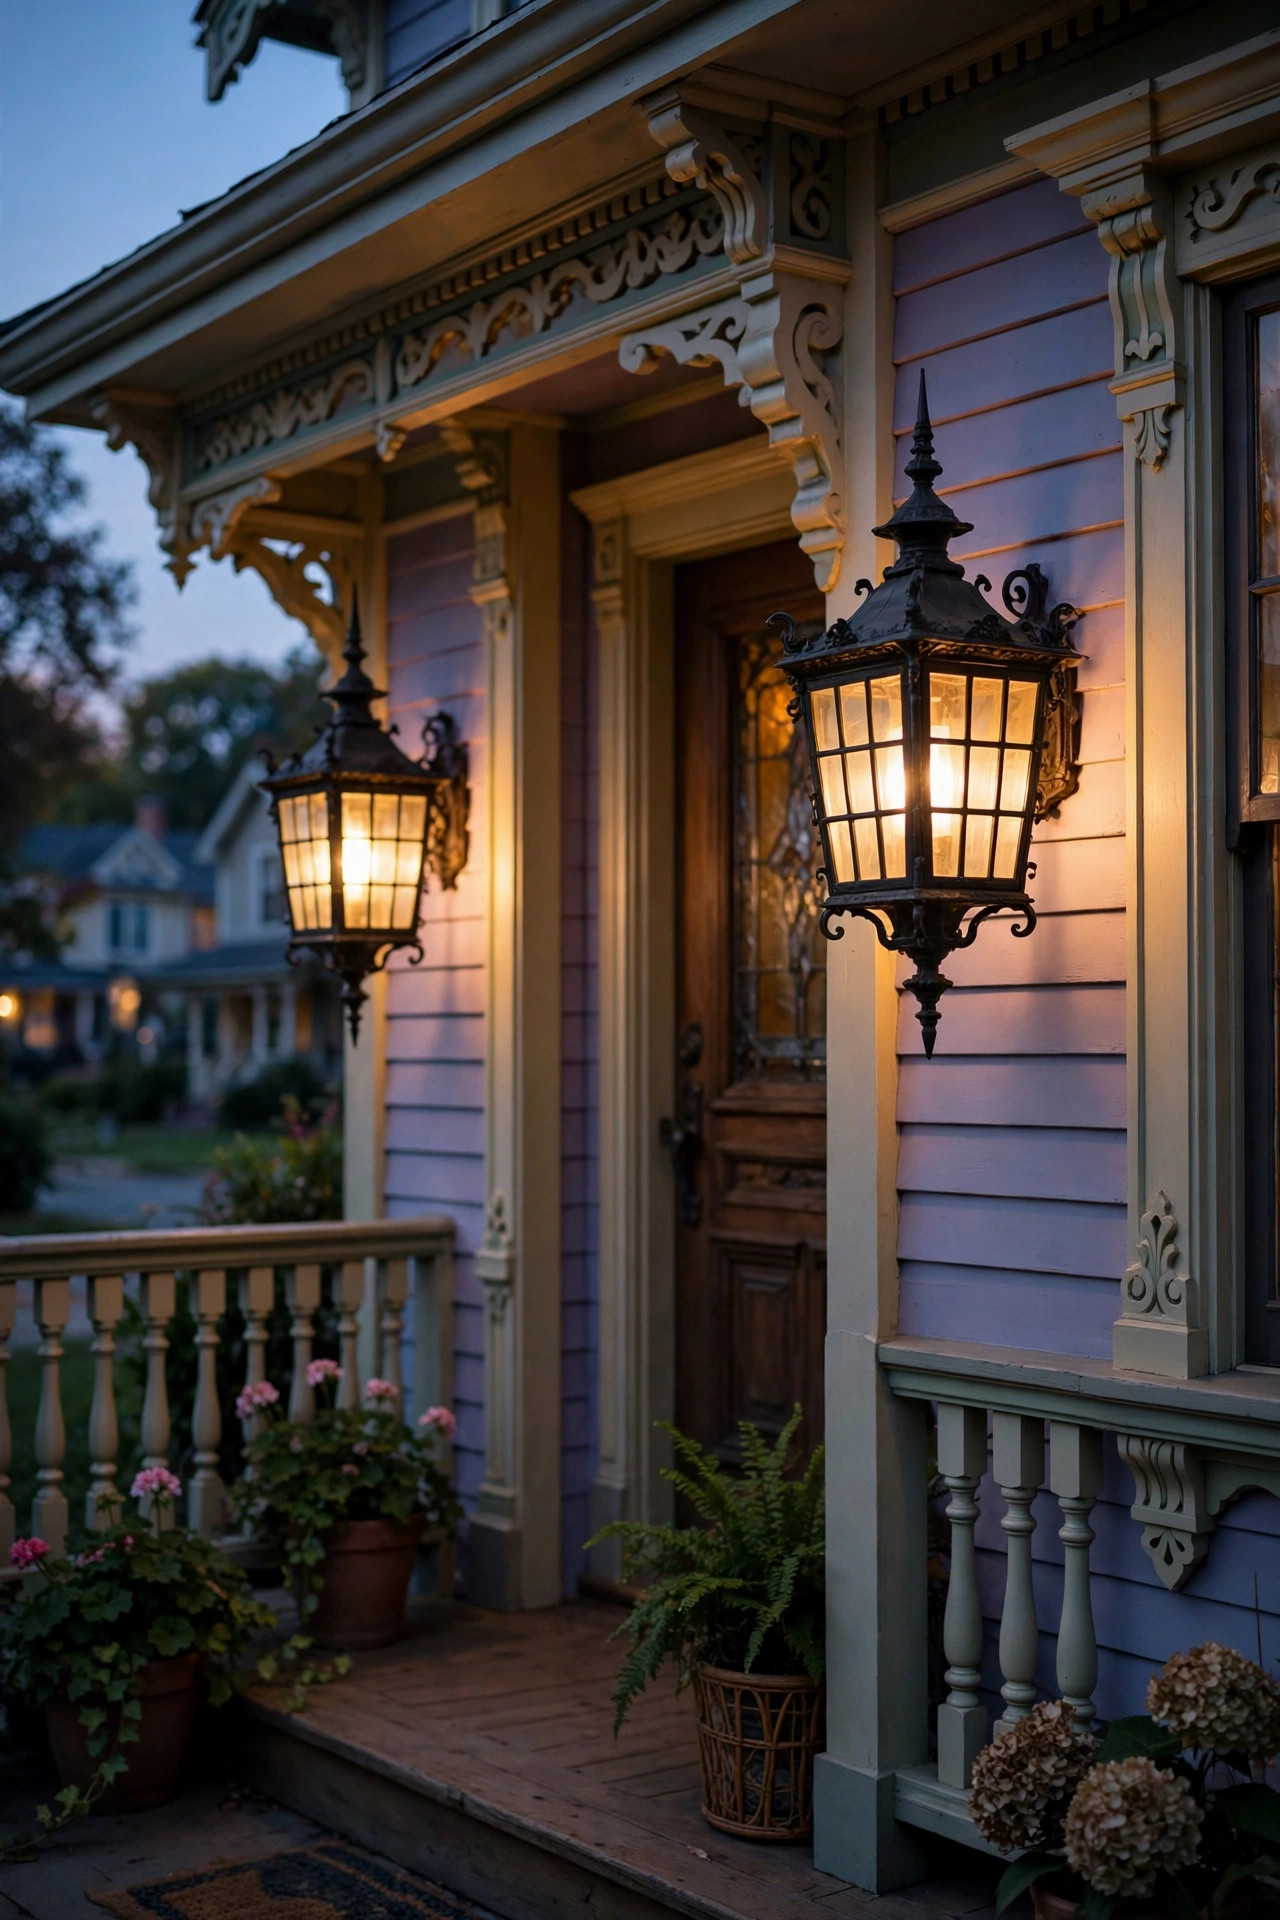
Victorian homes can handle — honestly, they demand — more ornament than any other style. Look for lanterns with divided panes, finial tops, and decorative corner brackets. The rule for Victorians: the fixture should be as fancy as the trim it sits next to. A plain box lantern beside gingerbread trim looks like an apology.
Since Victorian facades are busy, keep the lanterns consistent: one style, repeated at the door, porch corners, and maybe the bay window. Mount flanking pairs at 66 inches, and if you have a wrap porch, add singles on the outer columns spaced 10 to 12 feet apart. Use warm 2700K filament LEDs — the visible filament through divided glass is period-perfect. With older homes, always check the condition of existing junction boxes before swapping fixtures; cloth wiring from the 1920s needs an electrician's eyes, not a DIY swap. And confirm the box is rated for the fixture's weight — heavy iron lanterns need fan-rated or braced boxes.
Suggested budget range: $130 – $480 for the pair.
11. Coastal Shipyard Lanterns for Beach and Lake Houses
Coastal homes — whether it's a New England shingle cottage or a Florida stucco ranch — want lanterns that look like they belong on a ship. Cage lanterns, bulkhead lights, and fixtures with brass or copper finishes nail the nautical look. The finish matters most here: salt air eats cheap metal alive, so choose solid brass, copper, or marine-grade powder-coated aluminum. Honestly, in coastal zones I'd skip "bronze finish" painted steel entirely — it pits within a couple of seasons.
Bulkhead lanterns (the oval or round caged ones) are perfect beside garage doors and outdoor showers. Mount at 66 to 72 inches, and use fixtures with a top shield if you want that classic downward nautical throw. Go warm white (2700K) — cool white on a beach house reads like a gas station. Rinse fixtures with fresh water a couple of times a year to clear salt buildup, and apply a light coat of carnauba wax to brass to slow the patina if you want to keep the shine.
Suggested budget range: $90 – $380 for the pair.

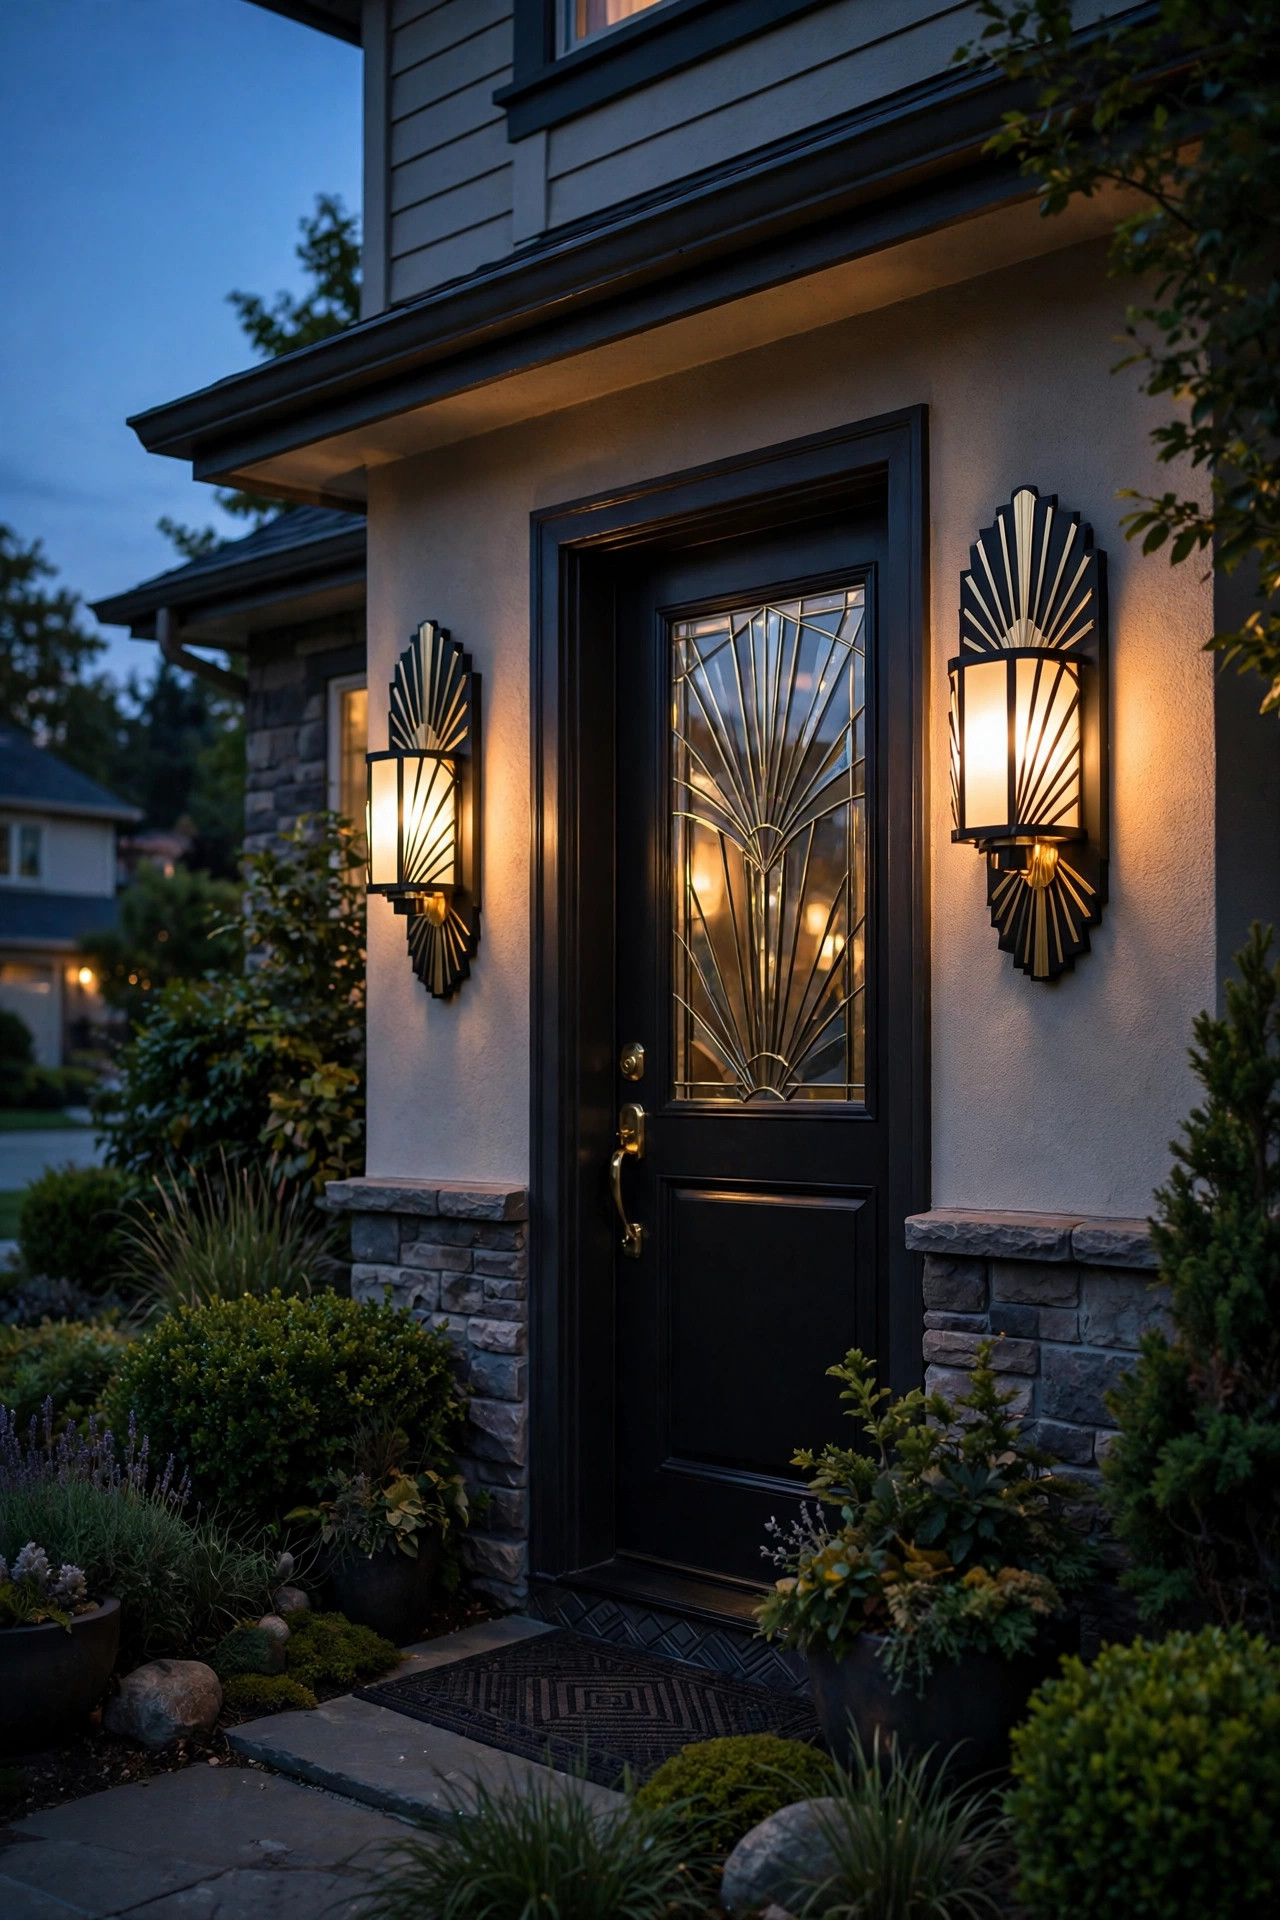
12. Art Deco Geometric Lanterns for a Glam Entry
Art deco homes and glam-style entries want geometry — stepped profiles, fan shapes, frosted glass panels, chrome or polished nickel frames. These lanterns double as jewelry for the facade, so I place them where they'll be admired: flanking the door, and if the budget allows, a second pair flanking the garage or on the porch columns. Deco fixtures often have frosted or milk-glass panels that diffuse light softly, which means they glow rather than beam — beautiful, but plan a second layer (like step lights) for actual path illumination.
Mount at 66 inches, pairs on either side of the door. Because the glass is often frosted, you can use slightly brighter LEDs (600 to 800 lumens) without glare. Deco fixtures look best polished — wipe down chrome and nickel a few times a year so water spots don't dull the finish. If your deco home has black lacquer doors or chrome house numbers, echo those metals in the fixture finish for a pulled-together look.
Suggested budget range: $140 – $520 for the pair.
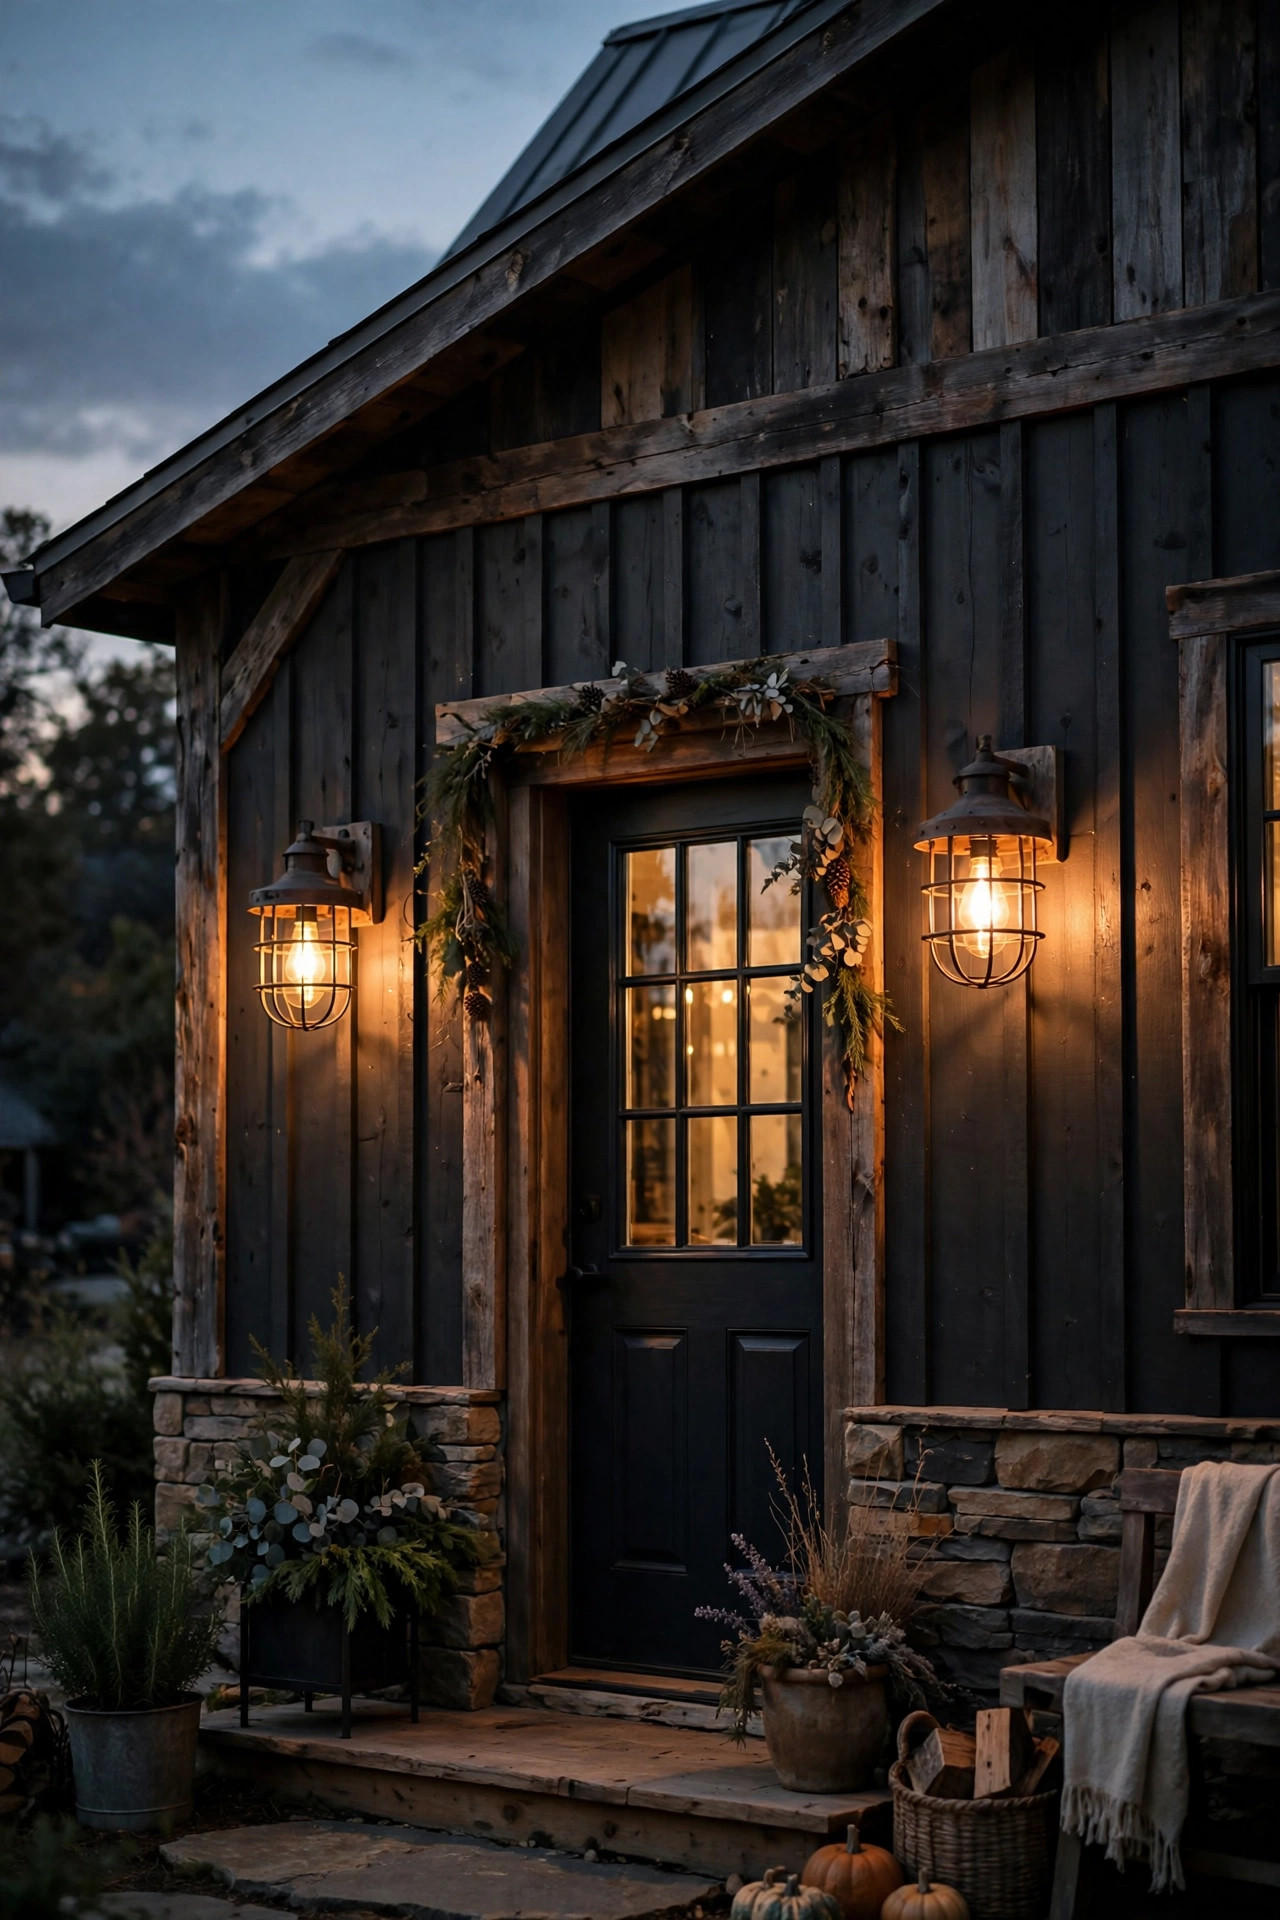
13. Industrial Cage Lanterns for a Loft or Converted Barn Look
Cage lanterns — exposed bulb, wire guard, utilitarian frame — bring an industrial edge that works on converted barns, loft-style homes, and even edgy modern farmhouses. The exposed bulb is the whole point, so choose an LED Edison filament bulb with a visible filament; a plain frosted LED inside a cage looks unfinished. Matte black or galvanized finishes are the go-tos.
Mount them flanking wide barn doors or on either side of a big sliding glass door — the cage style can handle larger scales, so 18- to 24-inch fixtures work here. Keep them at 66 inches and pair with 2700K bulbs for warmth that softens the industrial edge. Safety note: because the bulb is exposed, use only LED bulbs (they run far cooler than incandescent) and choose fixtures with the cage firmly attached — you don't want a curious kid pulling a hot bulb. These are also great on covered porches where rain never touches them, which opens up more finish options.
Suggested budget range: $50 – $200 for the pair.
14. Minimalist Flush-Mount Outdoor Wall Lantern Ideas for Small Entries
Not every entry has room for a grand lantern. For narrow side doors, tight condo entries, or small apartment balconies, flush-mount lanterns — fixtures that sit nearly flat against the wall — are some of the smartest outdoor wall lantern ideas. They give you real light and real style in a profile that projects only 3 to 4 inches, so they never block a door swing or a tight walkway.
Look for flush mounts with a frosted or seeded glass front and a slim frame in black or brushed nickel. Mount one beside the door at 66 inches; if the door is wider than 36 inches, use a pair. Because they're compact, brightness matters more — aim for 600 to 800 lumens so a small fixture still lights the lock and the step. These are often the easiest DIY swap since they use a standard junction box, but always flip the breaker first and test with a non-contact voltage tester. If it's your first fixture swap, measure the existing box before buying — most take a standard single-gang cover, but older homes can surprise you.
Suggested budget range: $40 – $150 each.

15. Oversized Statement Lanterns Beside the Garage
Here's my favorite trick for making a standard suburban home look custom: go oversized on the garage lanterns. Most builders install dinky 10-inch fixtures that vanish against a 16-foot garage door. Swap them for 24- to 30-inch lanterns and the whole facade suddenly looks designed. The rule of thumb: the lantern should be about one-third the height of the garage door, mounted on the piers or wall sections between and beside the doors.
Choose a simple silhouette — coach or box style — because at this scale, the shape reads from the street. Black on light siding, or a bronze that matches the door hardware. Mount with the fixture center around 72 inches so the larger body sits right. These are heavy, so verify the junction box is braced, and hire an electrician if the existing boxes aren't centered where you want them — moving a box means patching siding, and that's a weekend project worth doing right. Put all the garage lanterns on one photocell so the whole facade lights up together at dusk.
Suggested budget range: $160 – $600 for the pair.

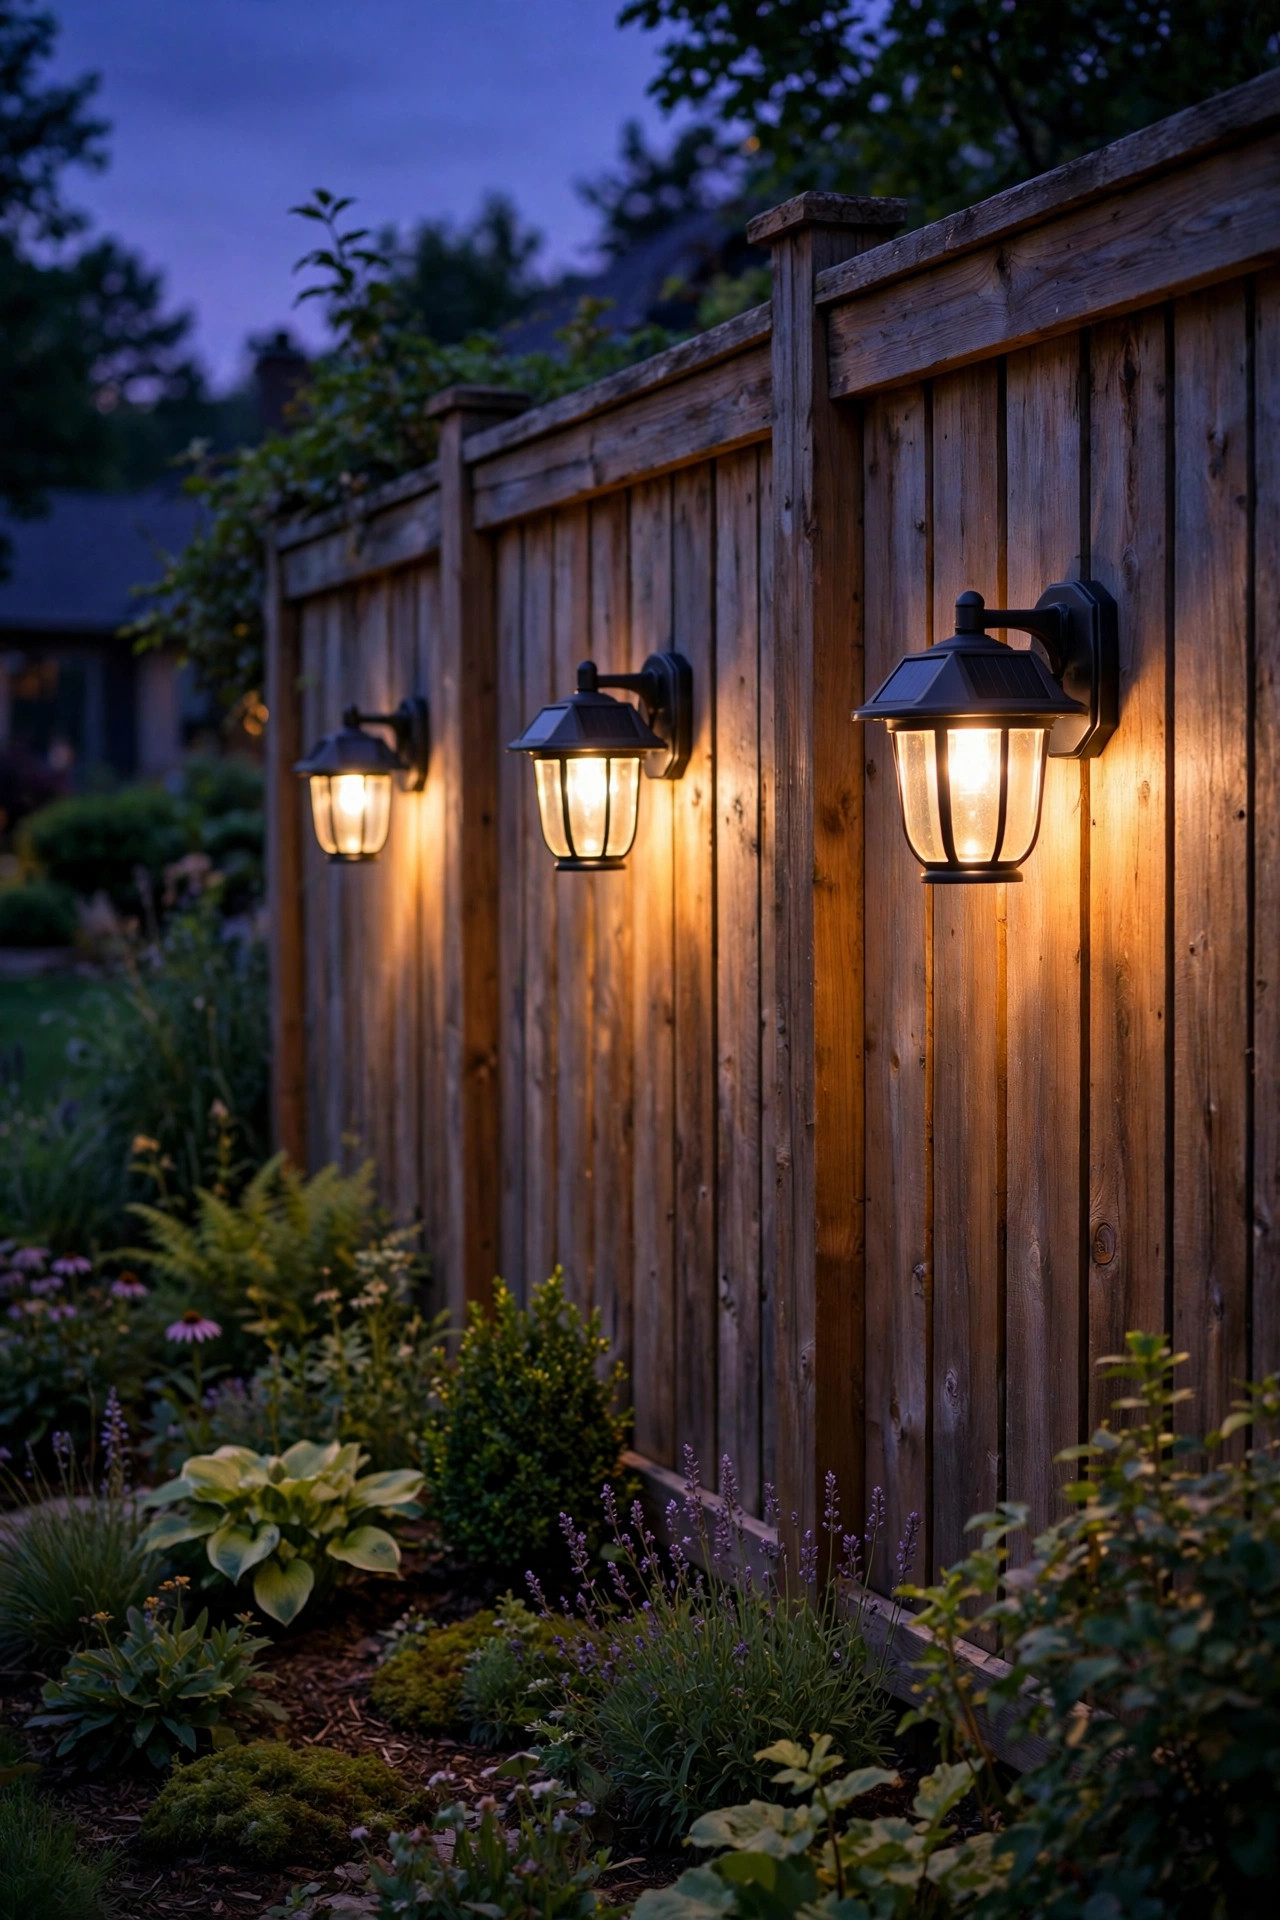
16. Solar-Powered Lantern Sconces for No-Wire Spots
Sometimes you want a lantern where there's simply no wiring — a fence post, a shed, the far side of the garage. Solar lantern sconces have gotten genuinely good in the last few years: look for monocrystalline panels, 200+ lumen output, and batteries rated for at least 8 hours. The trick is panel placement — the panel needs 6 to 8 hours of direct sun, so don't mount a solar lantern on the north side of the house and expect miracles.
These won't replace wired lanterns for your main entry — solar brightness dips on cloudy weeks — but they're perfect as accent layers: flanking a garden gate, lighting a shed door, or adding glow to a fence line. Mount at 60 to 66 inches with the included screws (no electrician needed, which is the whole appeal). Choose warm white (2700–3000K) models and check the IP rating — IP44 minimum for rain exposure. For a deeper comparison of power options, this breakdown of solar exterior house lights covers what actually works long-term.
Suggested budget range: $25 – $90 each.
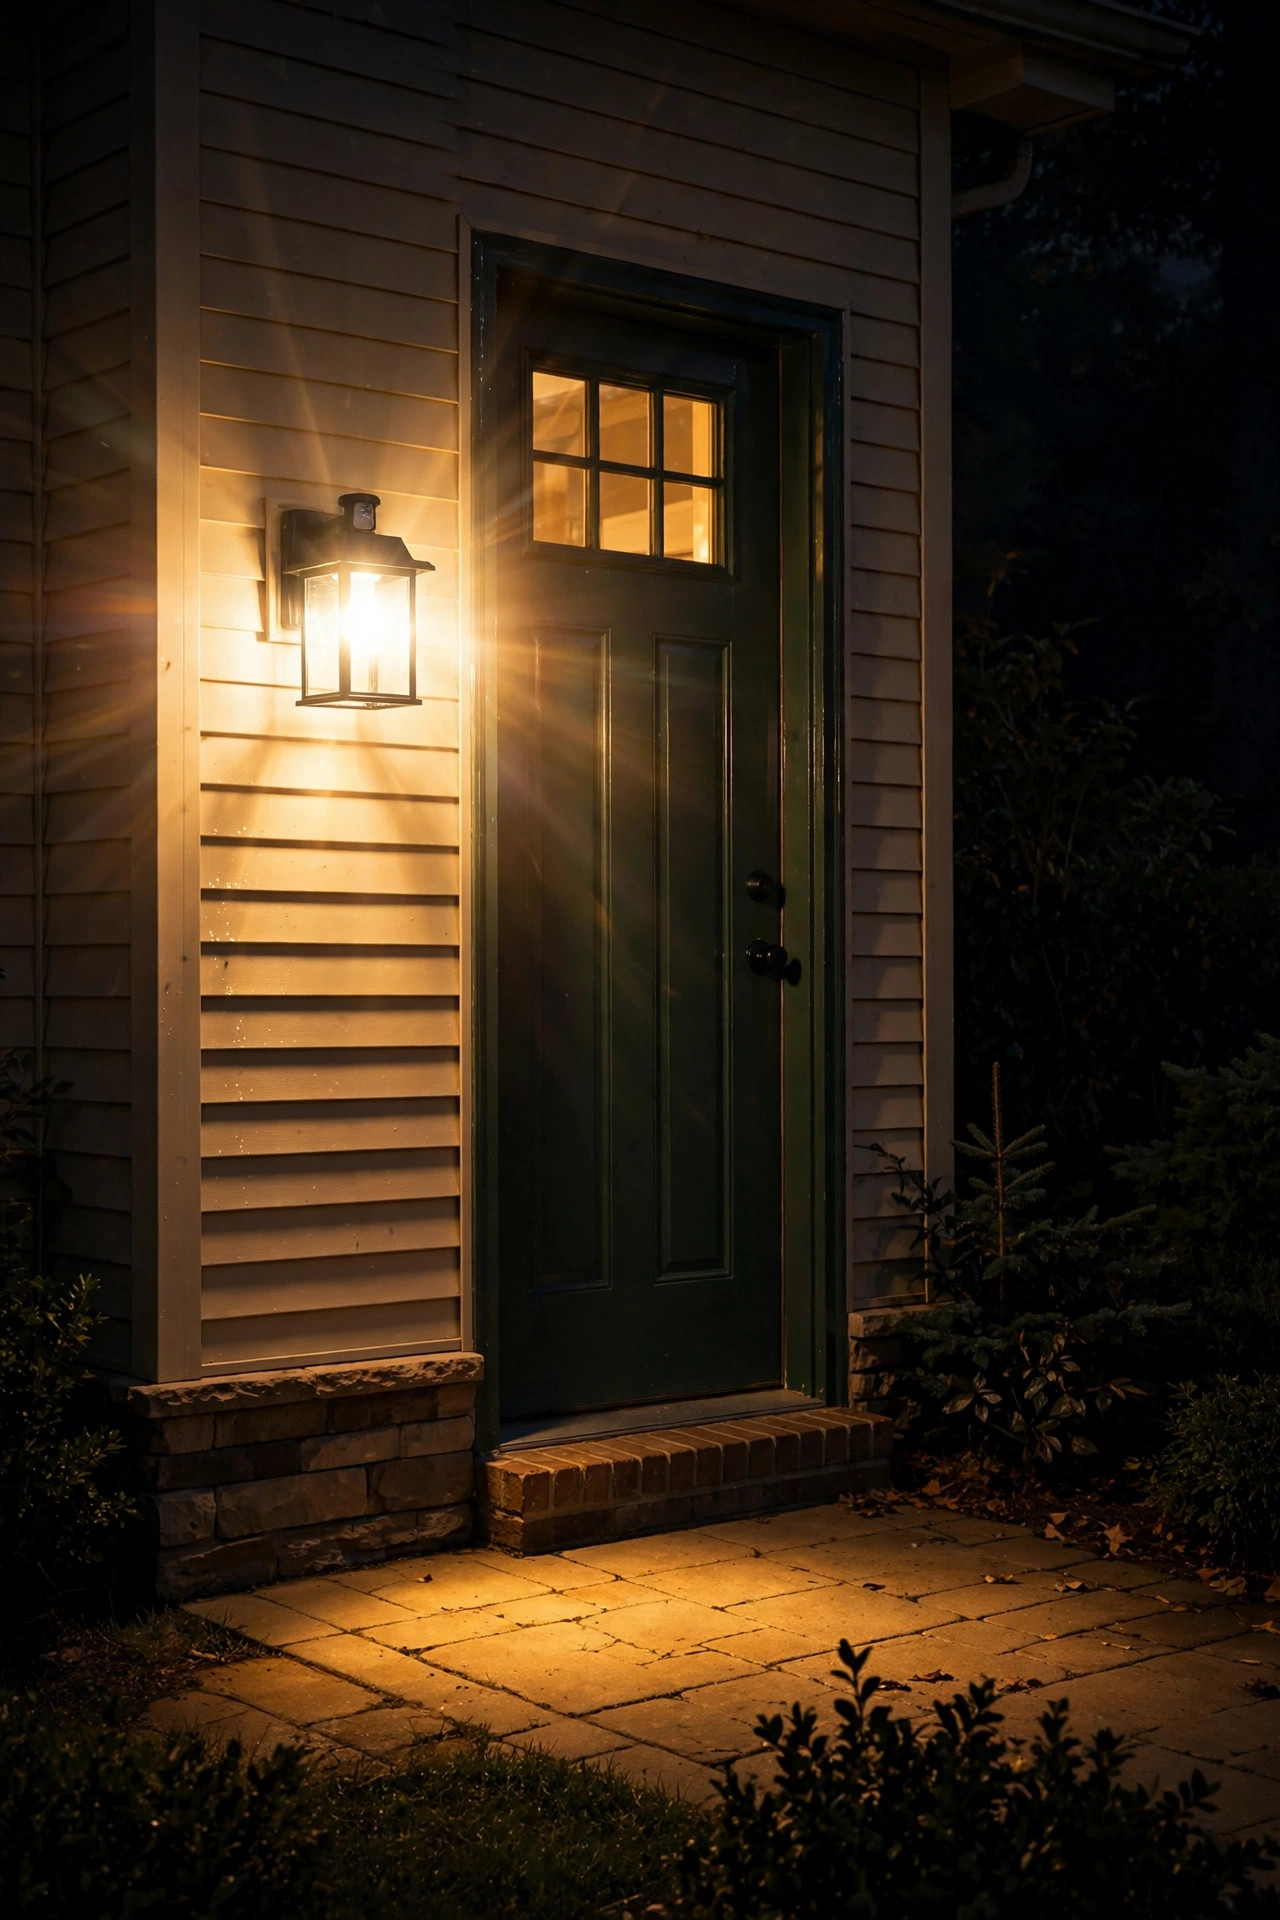
17. Motion-Sensor Lanterns That Double as Security
The hardest-working lantern on this list: a classic-looking wall lantern with a built-in motion sensor. From the street it reads as a charming carriage or coach lantern; functionally, it snaps to full brightness when someone approaches the door. I recommend these for side doors, back doors, and dark corners of the yard where you want light on demand rather than all evening.
Mount at 8 to 10 feet high for the best sensor coverage — higher than decorative lanterns, because the sensor needs a clear view of the approach. Aim the sensor head at the walkway, not the street, so passing cars don't trigger it every five minutes. Set the timer to 5 to 10 minutes and the sensitivity to medium to start; you can fine-tune from there. Keep the bulb warm (2700K) — a 5000K security floodlight look ruins the whole point of a lantern. For placement strategy and sensor settings, see these motion sensor lighting ideas.
Suggested budget range: $60 – $180 each.
18. Hanging Porch Lanterns on Chains for Deep Porches
Deep front porches — 8 feet or more — swallow wall-mounted light before it reaches the steps. The classic solution is a hanging lantern on a chain, suspended from the porch ceiling. It drops the light source into the middle of the porch where you actually need it, and a gently swaying lantern is one of the most welcoming sights in home lighting.
Hang the lantern so its bottom sits 7 to 7.5 feet above the porch floor — high enough to walk under comfortably, low enough to light faces and steps. Use a chain (not a fixed stem) so you can adjust the drop, and add a swag hook if the ceiling joist isn't centered over the door. For porches wider than 12 feet, hang two lanterns spaced evenly instead of one in the middle. Choose damp-rated fixtures for covered porches (wet-rated if the porch is very exposed), and use LED bulbs — enclosed hanging lanterns trap heat, and LEDs run cool. In windy areas, pick a heavier fixture or a shorter chain so it doesn't swing into the door.
Suggested budget range: $70 – $300 each, plus $15 for a chain kit.

19. Post Lanterns That Extend the Look Down the Walkway
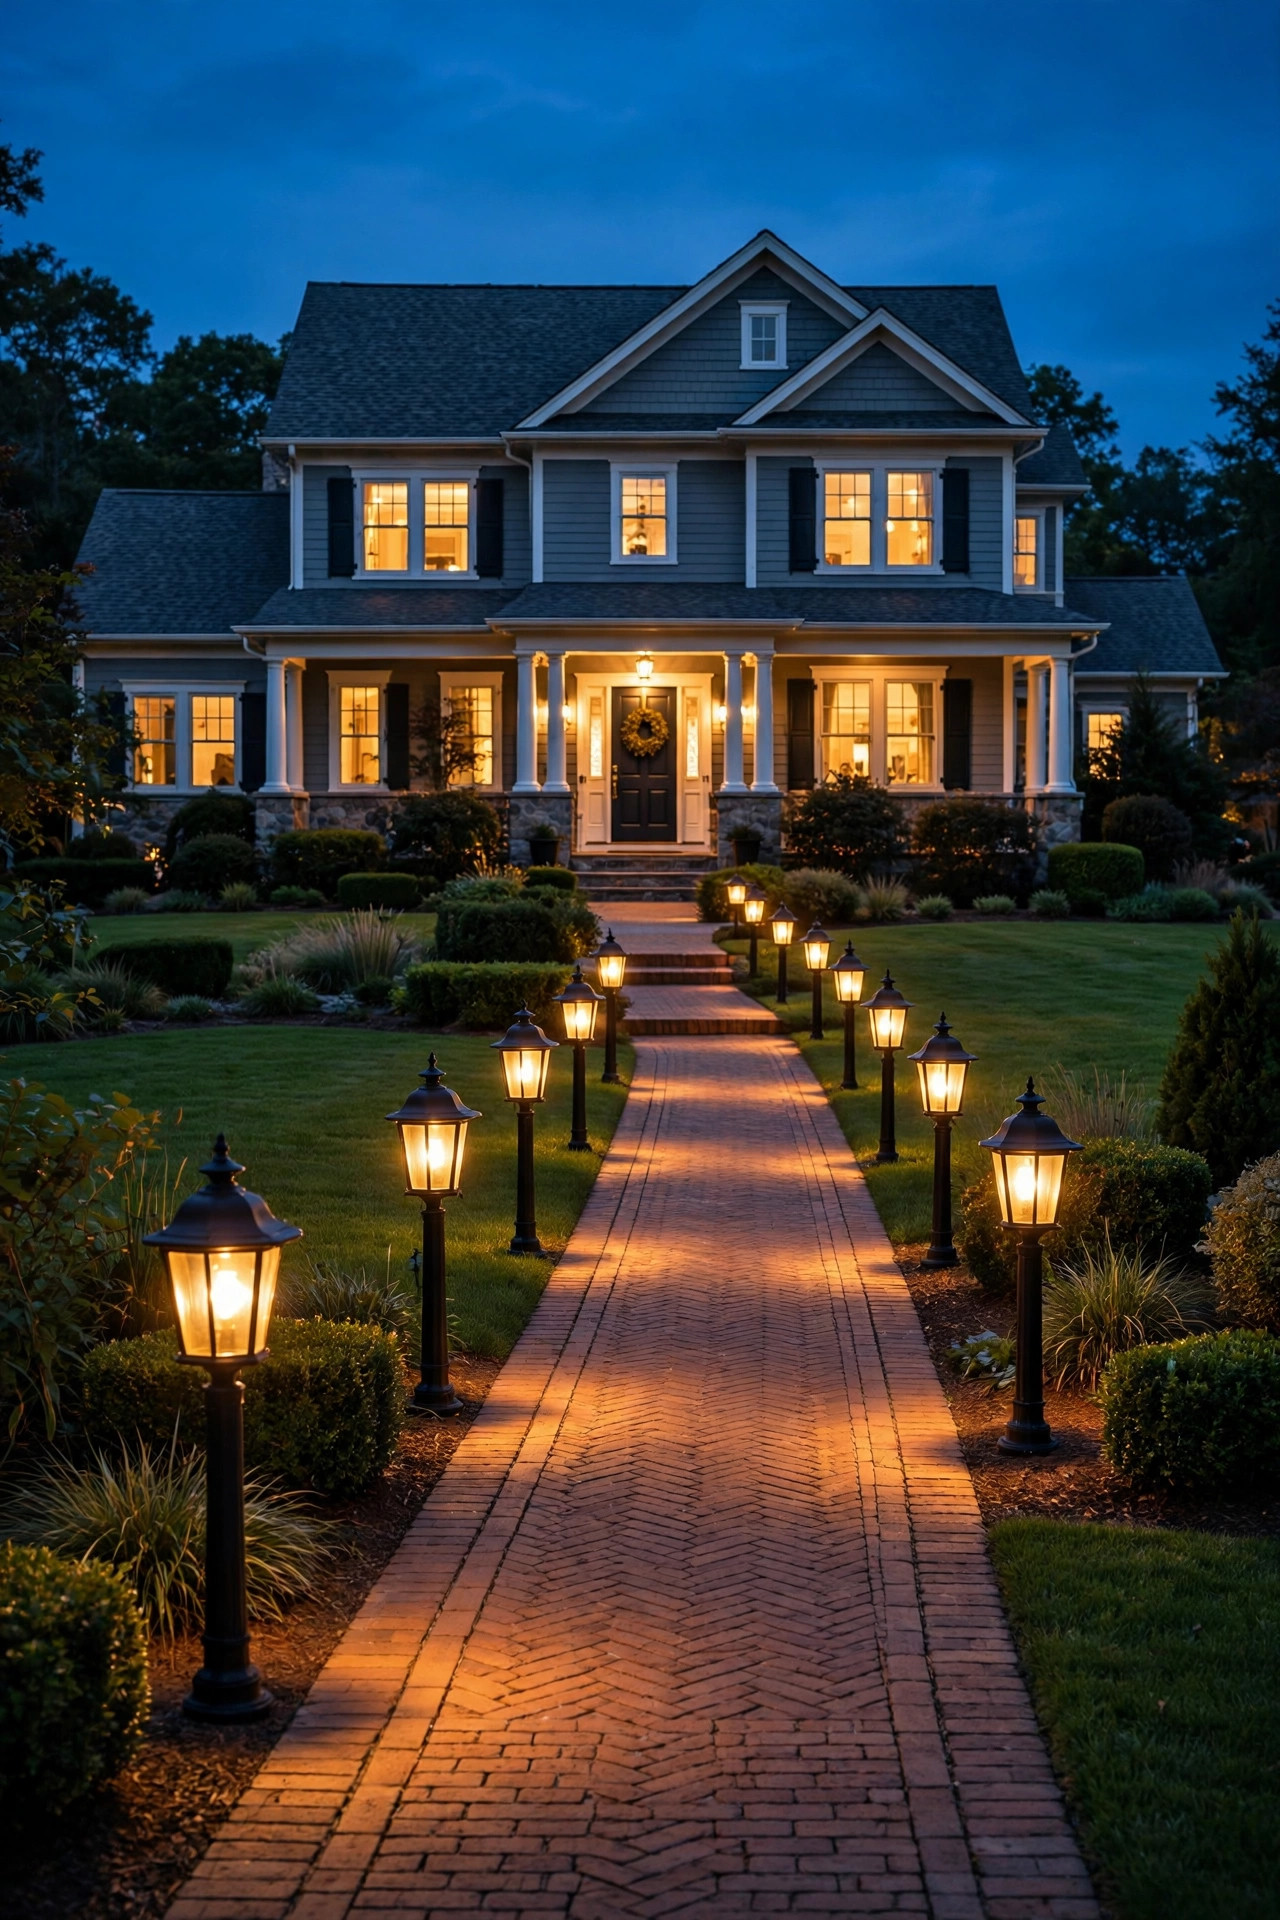
Wall lanterns shouldn't stop at the walls. A matching post lantern (or two) at the end of the walkway or flanking the driveway entrance extends your lighting design into the landscape and creates a beautiful arrival sequence: post lantern, path lights, wall lanterns, door. Choose a post lantern in the same family as your wall fixtures — same finish, same glass, same silhouette — so it reads as one system.
Standard post height is 6 to 7 feet including the fixture; mount the lantern head so the bulb sits about 6 feet off the ground. If you're running power to a new post, that's trenching and conduit work — budget $200 to $400 for an electrician to run the line, or choose a solar post lantern for a wire-free version. Space walkway posts 8 to 10 feet apart on alternating sides so the path reads as a rhythm, not a runway. Make sure posts are set in concrete 24 inches deep so they survive frost heave and the occasional bump from the mower.
Suggested budget range: $80 – $300 per post lantern, plus install.
20. Double-Head Lantern Sconces for Wide Doors and Double Entries
Double doors, wide sidelight entries, and big picture windows beside the door all create the same problem: a single pair of lanterns looks undersized. Double-head sconces — one wall plate, two lantern heads — solve it by doubling the presence without doubling the junction boxes. They're also my favorite fix for entries where there's only one existing electrical box per side and you don't want to cut new ones.
Mount at 66 inches like a standard sconce; the two heads spread the light wider, so they're great for 60- to 72-inch double doors. Keep the style simple — double-head fixtures get busy fast, so a clean coach or box silhouette works best. Match the finish to your door hardware for a coordinated look. Because there are two bulbs, you can run lower-lumen bulbs (400 each) and still get great coverage — and lower lumens mean less glare for guests approaching the door. Wire both heads to the same switch or timer as your other entry lights so everything behaves as one scene.
Suggested budget range: $90 – $320 each.

21. Smart Color-Changing Lanterns for Holidays and Parties
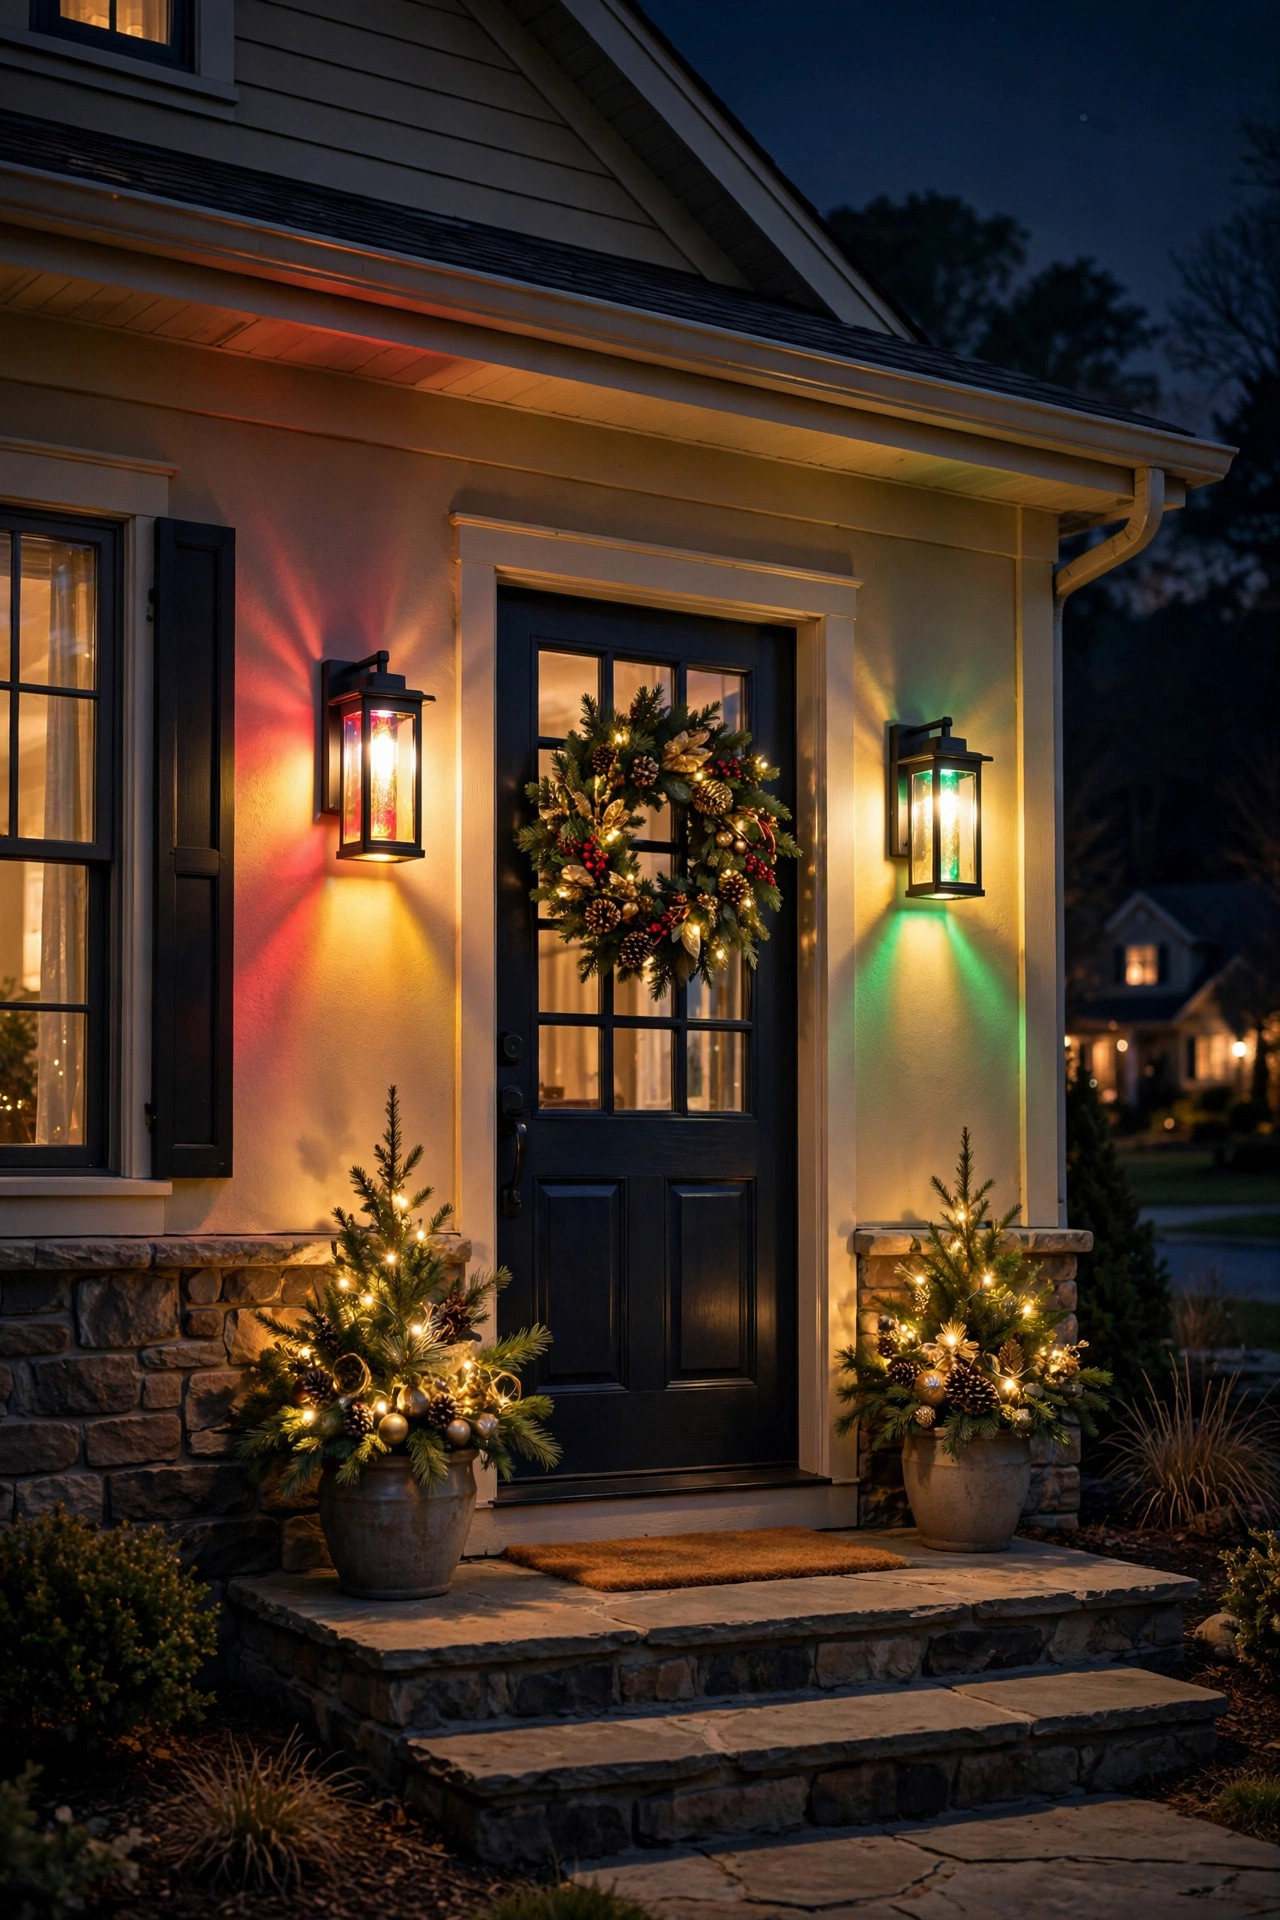
The newest idea on the list, and honestly one of the most fun: smart lanterns with color-changing LEDs. Day to day they glow warm white like any good lantern; come Halloween, Christmas, or a backyard party, you switch them to orange, red-green, or party colors from your phone. If you love decorating for holidays but hate climbing ladders to swap bulbs, this is your fixture.
Look for fixtures with built-in smart LEDs (E26 smart bulbs also work in any standard lantern) that support scheduling, so the porch turns orange automatically on October 1st. Mount and wire exactly like a standard lantern — the smarts are in the bulb, not the box. One practical note: smart bulbs need a decent Wi-Fi signal at the front door; if your router is far, add a mesh node near the entry. And keep a "normal" warm-white default scene saved, because nothing kills curb appeal like forgetting the porch is still set to purple from last weekend's party.
Suggested budget range: $60 – $200 each, including smart bulbs.
Frequently Asked Questions
What color temperature is best for outdoor wall lanterns?
For most homes, 2700K warm white is the sweet spot — it flatters brick, wood, and stone, feels welcoming, and reads as classic rather than commercial. Modern and minimalist homes can go slightly cooler at 3000K for a crisper look. I'd avoid 4000K+ daylight bulbs on residential exteriors; they make even beautiful homes look like parking lots. If you're mixing lantern styles, keep the color temperature consistent across all fixtures so the whole house glows as one.
Can outdoor wall lanterns be installed on any type of siding?
Yes, with the right mounting hardware. Vinyl and fiber-cement siding need a mounting block that gives the fixture a flat surface and keeps water out; brick and stone need masonry anchors and a hammer drill; stucco over foam requires long anchors that reach the sheathing. The one universal rule: every exterior fixture needs a weatherproof junction box with a proper gasket, and the box must be rated for the fixture's weight. When in doubt — especially with old wiring or heavy iron fixtures — hire a licensed electrician.
Solar vs. wired outdoor wall lanterns — which should I choose?
Wired lanterns win for primary entries: they're brighter, reliable in all weather, and work with timers, dimmers, and motion sensors. Solar lanterns win for spots without wiring — fences, sheds, gates, garden walls — where running new electrical would cost hundreds. The honest middle ground most of my readers land on: wired lanterns at the front door and garage, solar lanterns as accent layers in the yard. Just remember solar panels need 6 to 8 hours of direct sun to perform well.
How far apart should outdoor wall lanterns be placed?
Flanking pairs go 6 inches out from the door trim on each side, with the bulb center about 66 inches off the ground. For repeating lanterns along a facade, garage, or porch, space them 8 to 12 feet apart at a consistent mounting height. Post lanterns along a walkway work best 8 to 10 feet apart on alternating sides. The golden rule: consistent height and spacing always looks more expensive than random placement, no matter what the fixtures cost.
Conclusion
The best outdoor wall lantern ideas aren't about finding the single perfect fixture — they're about matching the lantern to the architecture, sizing it generously, and repeating it with intention so the whole house glows as one welcoming scene. Start with your home's style, pick the lantern family that belongs to it, mount everything at a consistent height on a timer or sensor, and keep the light warm. Do that, and your entry will look considered rather than accidental every single evening. When you're ready to keep going, browse more lighting ideas on the site — your porch, patio, and walkway are all waiting for their own glow-up.