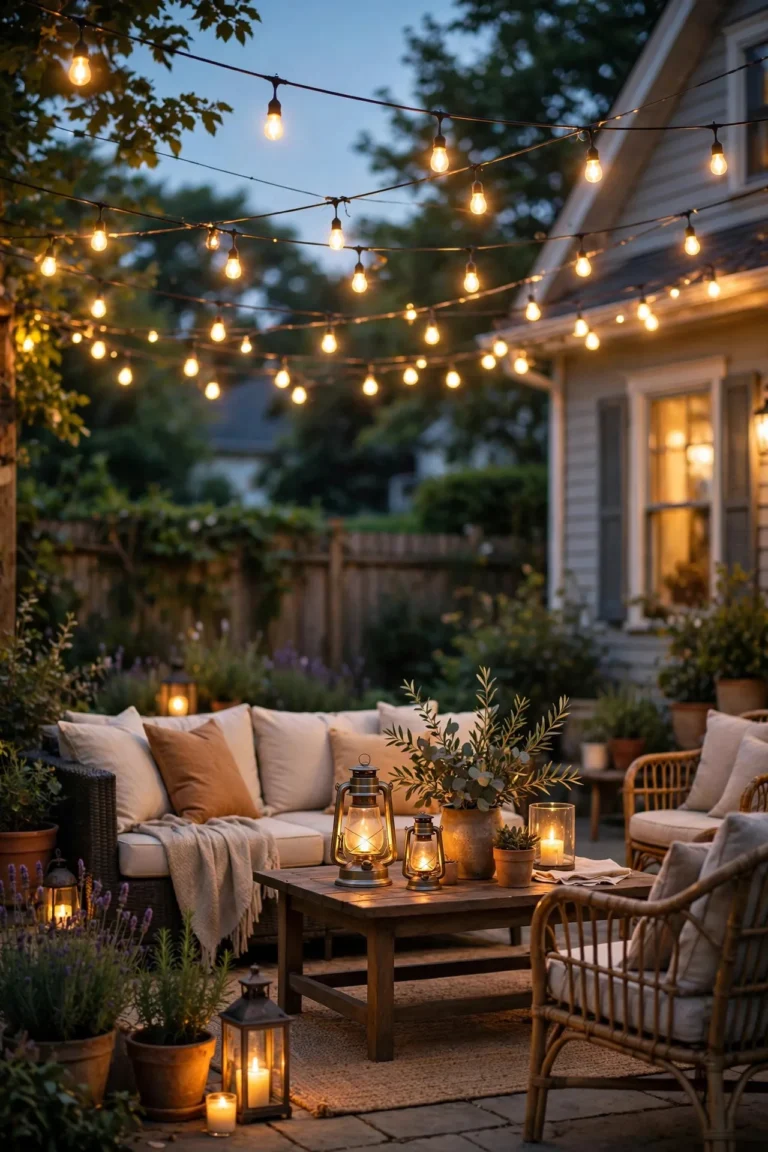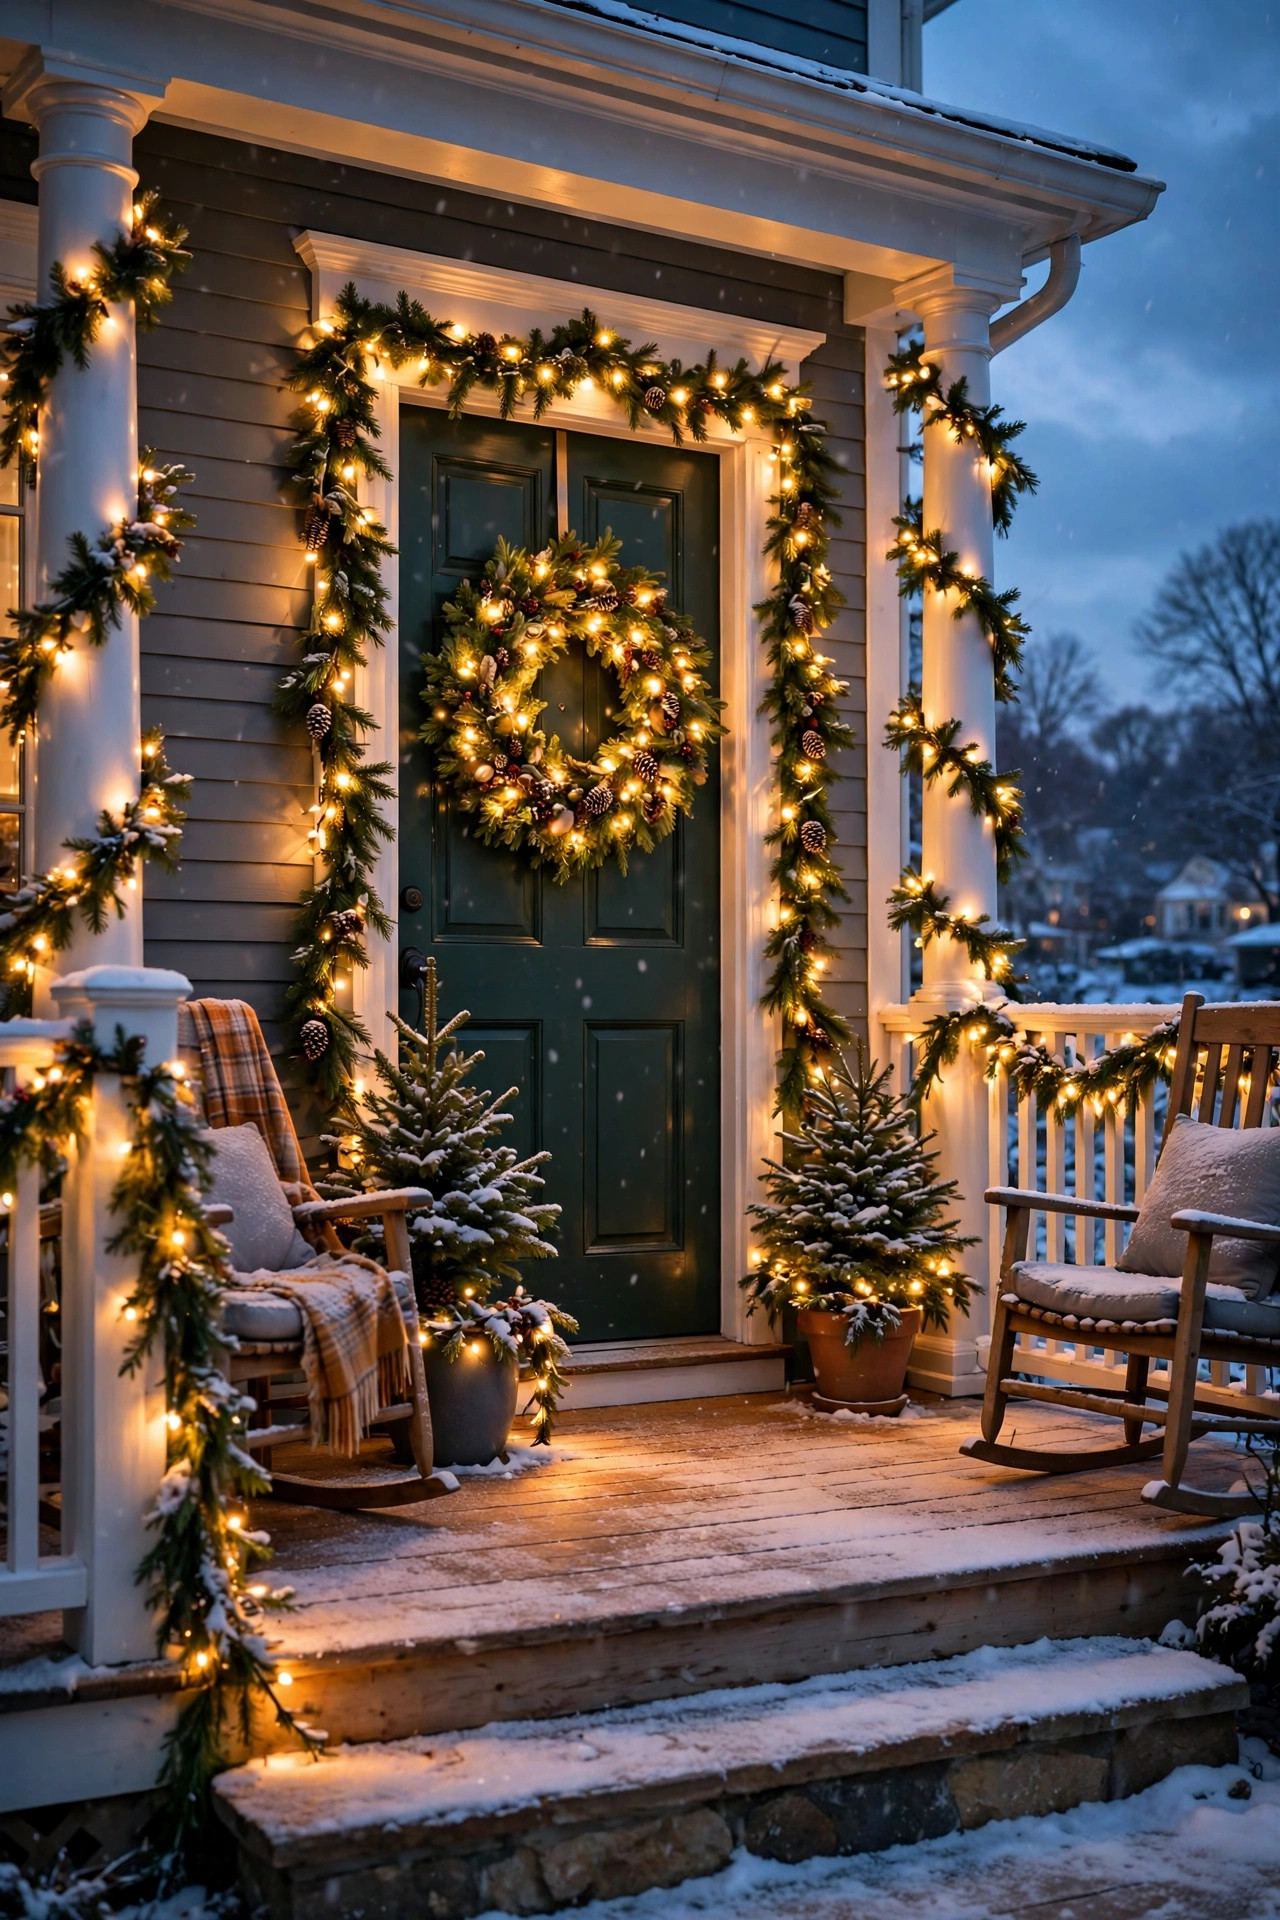
Intro
Every December, there's one decoration that does more heavy lifting than all the rest, and honestly? It's the humble wreath and garland. When I started layering light into my holiday greenery, my whole front entry went from "nice" to "people slow down their cars nice." If you're hunting for pre-lit outdoor Christmas garland and wreath ideas that look expensive but don't require an electrician on speed dial, you're in the right place.
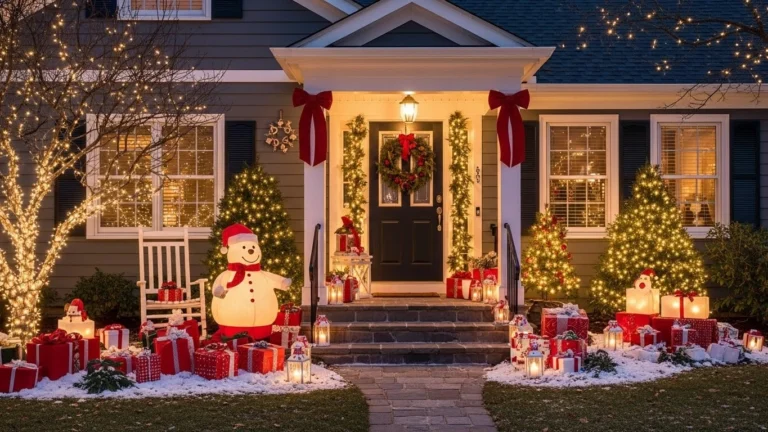
In my experience, the magic formula is layering: a glowing wreath at eye level on the door, a garland swag overhead or along the railing, and a few small lit accents low near the ground. That high-middle-low triangle of warm light is what makes an entry feel deep, festive, and welcoming — even in the middle of a dark December. Pre-lit greenery is the easiest way to get there, because the lights are already woven in at the factory, spaced evenly, and tucked so the wires disappear into the branches.
Below are 25 of my favorite ideas — classic door wreaths, dramatic garland swags, mailbox touches, and a few creative twists I've tested on my own house over the years. Each one is outdoor-rated, beginner-friendly, and built around that cozy 2700K warm-white glow I swear by.
1. The Classic Warm-White Wreath on the Front Door
Every great outdoor Christmas starts with a single glowing wreath on the front door — it's the punctuation mark of the whole display. I hang a 28- to 30-inch pre-lit wreath with 70 or so warm-white mini LEDs already woven through a mixed pine base. At dusk, it casts a soft halo against the door that you can spot from halfway down the street.
Placement details matter more than you'd think. Hang the wreath so its center sits at eye level — about 57 inches from the porch floor. Use an over-the-door wreath hanger rather than nails or screws; it holds up to 10 pounds, doesn't damage anything, and positions the wreath perfectly. If you have a storm door, check the clearance first: you need at least 4 inches of depth between the doors, so choose a slim-profile wreath or hang it on the outer storm door instead.
Most pre-lit wreaths run on 3 AA batteries with a 6-hour daily timer — set it once when you hang it and it'll light up at dusk and switch off around midnight all season. In my experience, lithium batteries handle freezing temperatures far better than alkaline, so use those if your winters dip below freezing. Match the light color to the rest of your display (2700K warm white keeps everything cohesive).
Suggested budget range: $35 – $70.
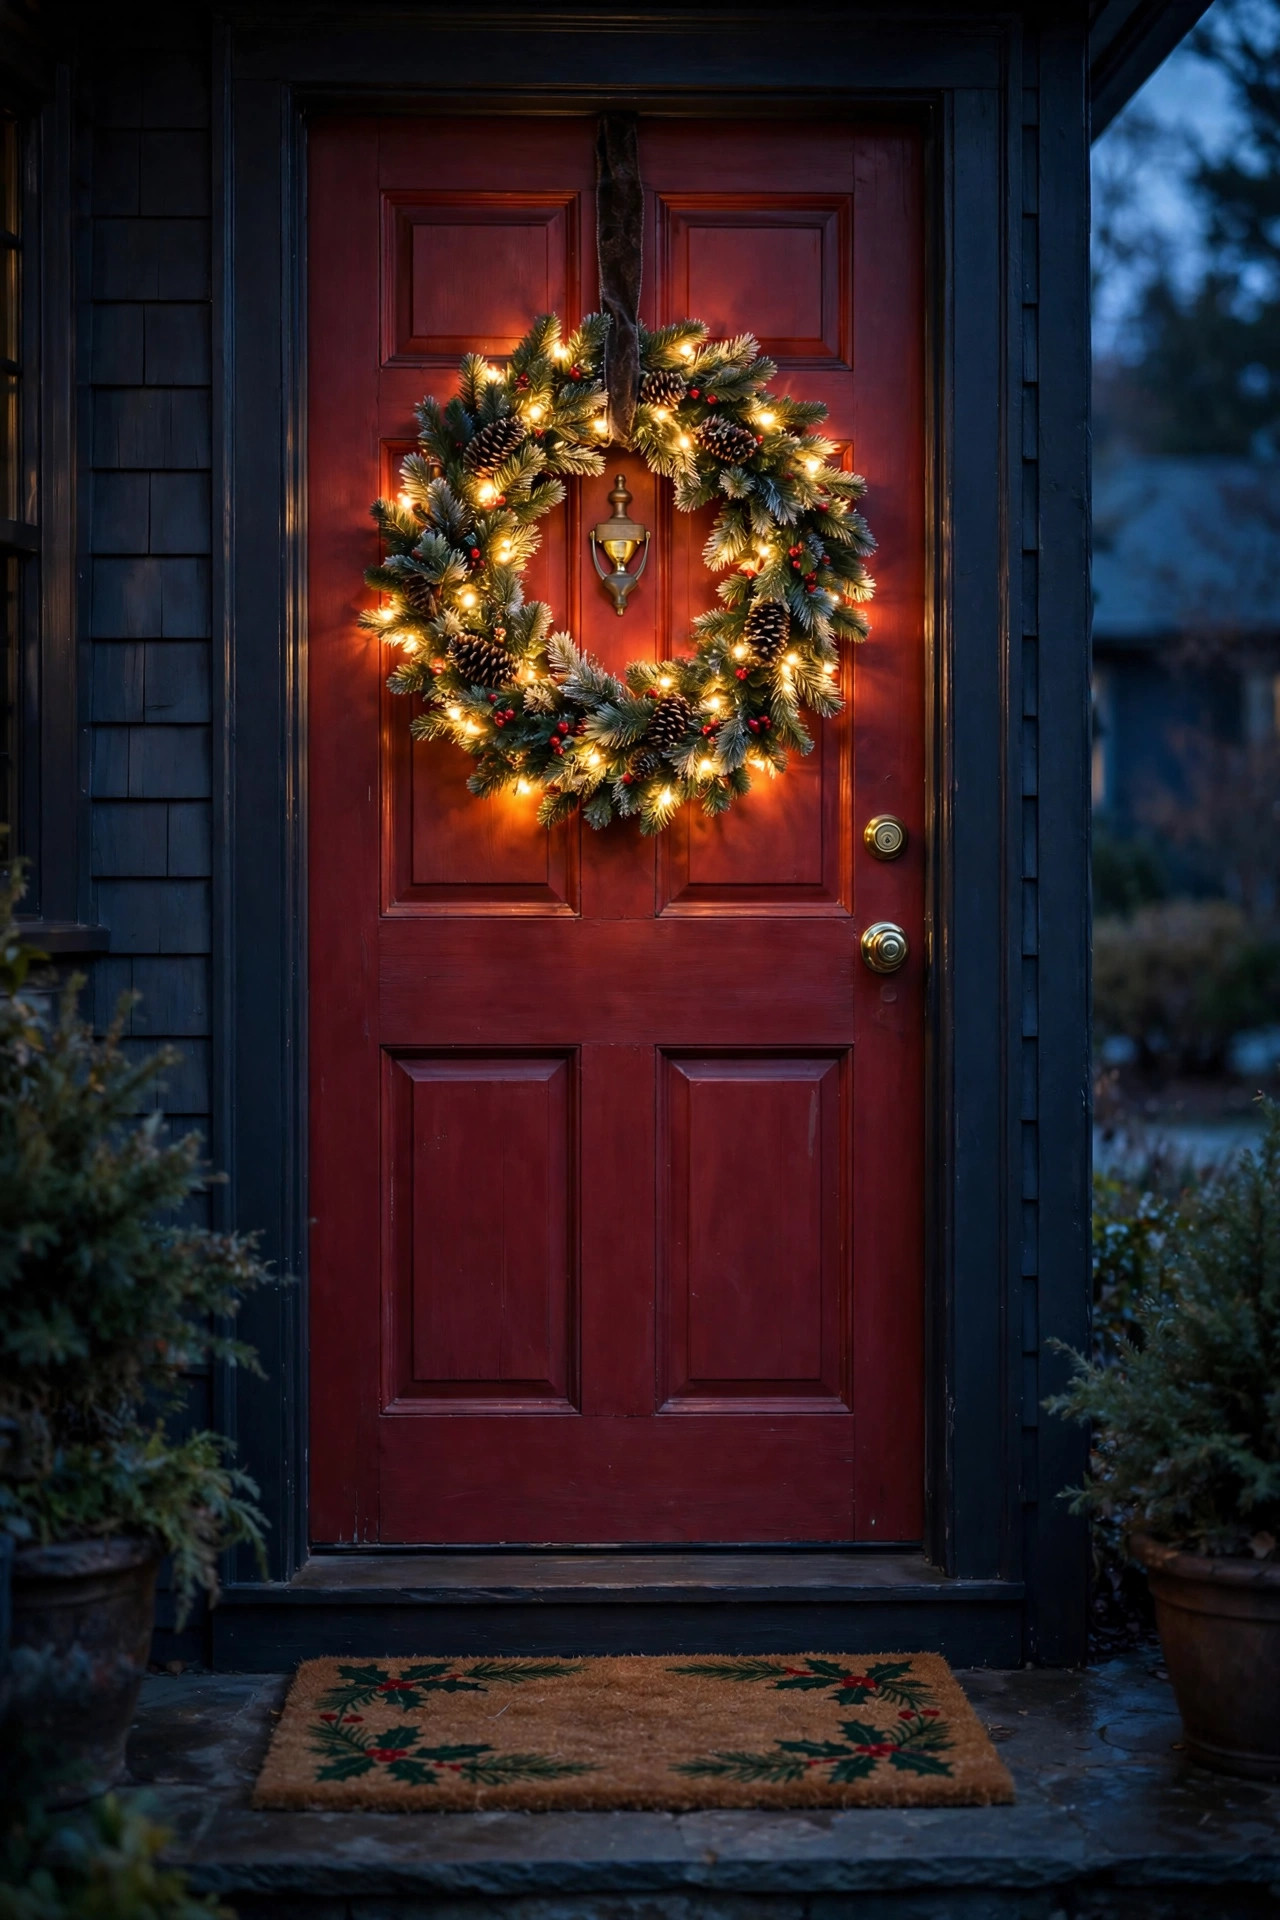
2. The Oversized 48-Inch Statement Wreath
When one standard wreath isn't doing it anymore, go big — a 48-inch pre-lit wreath turns your front door into a full-on holiday moment. I did this two years ago after years of 30-inchers, and the difference was honestly startling: neighbors I barely know stopped to comment. Oversized wreaths with 120–150 LEDs have a presence that photographs beautifully and anchors even a large double-door entry.
The practical stuff: a wreath this size weighs 8 to 12 pounds, so skip the flimsy over-door hangers and use a sturdy wreath hook rated for the weight, or a heavy-duty magnetic hanger if you have a steel door. Plug-in models make more sense at this scale — battery compartments get fiddly with 150 lights — so plan your cord route. Run an outdoor-rated extension cord (green or brown to blend) along the door frame with adhesive cord clips, tucked behind the trim where it's invisible from the street.
Style it with intention: an oversized wreath needs breathing room, so keep the surrounding decor minimal — a simple doormat and one lantern per side is plenty. I always recommend choosing a wreath with mixed foliage (pine, spruce, and a little cedar) so it doesn't look flat, and fluff the branches outward after unboxing for a fuller silhouette.
Suggested budget range: $80 – $160.
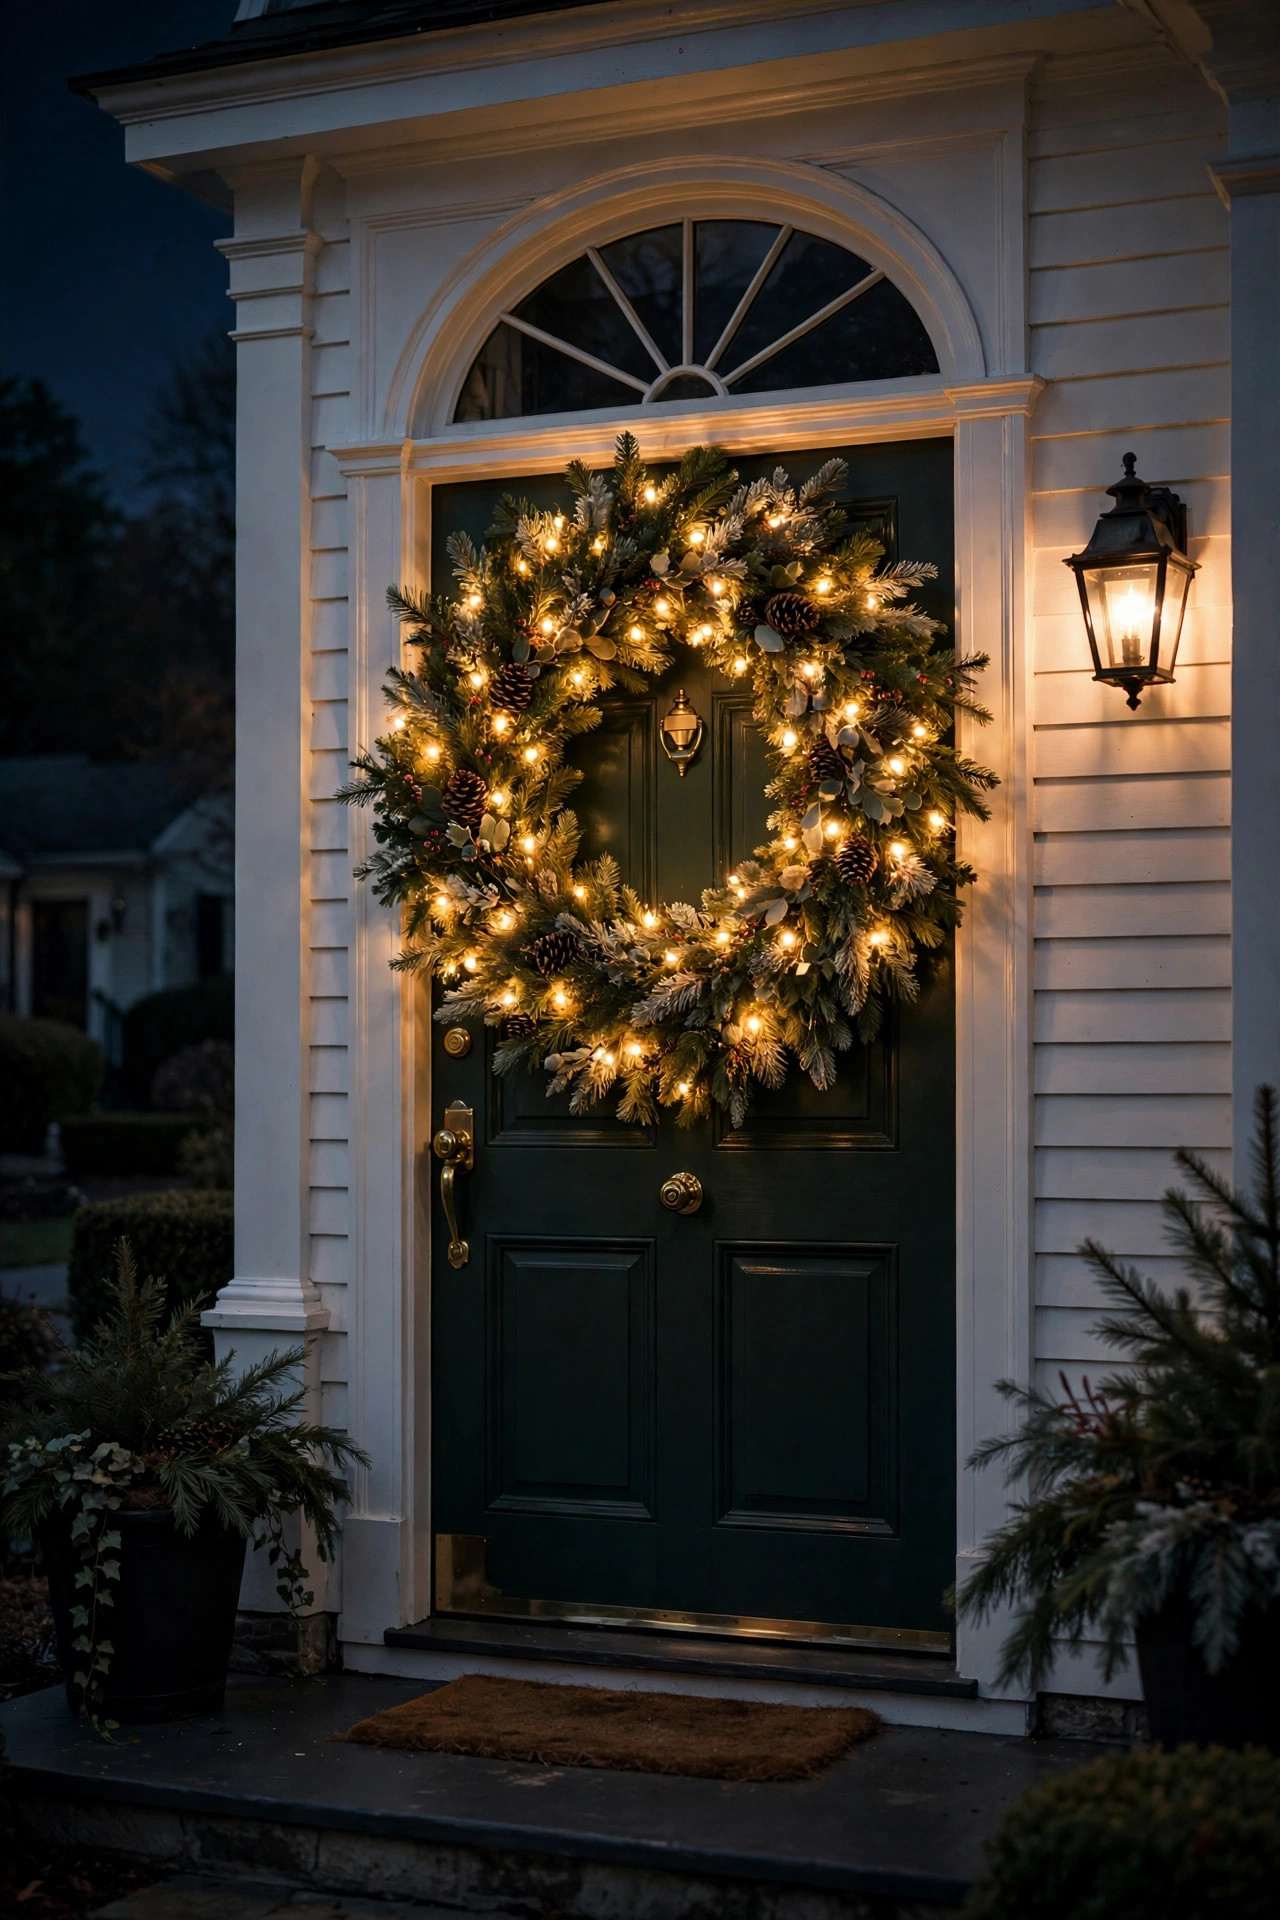
3. Matching Twin Wreaths on Double Doors
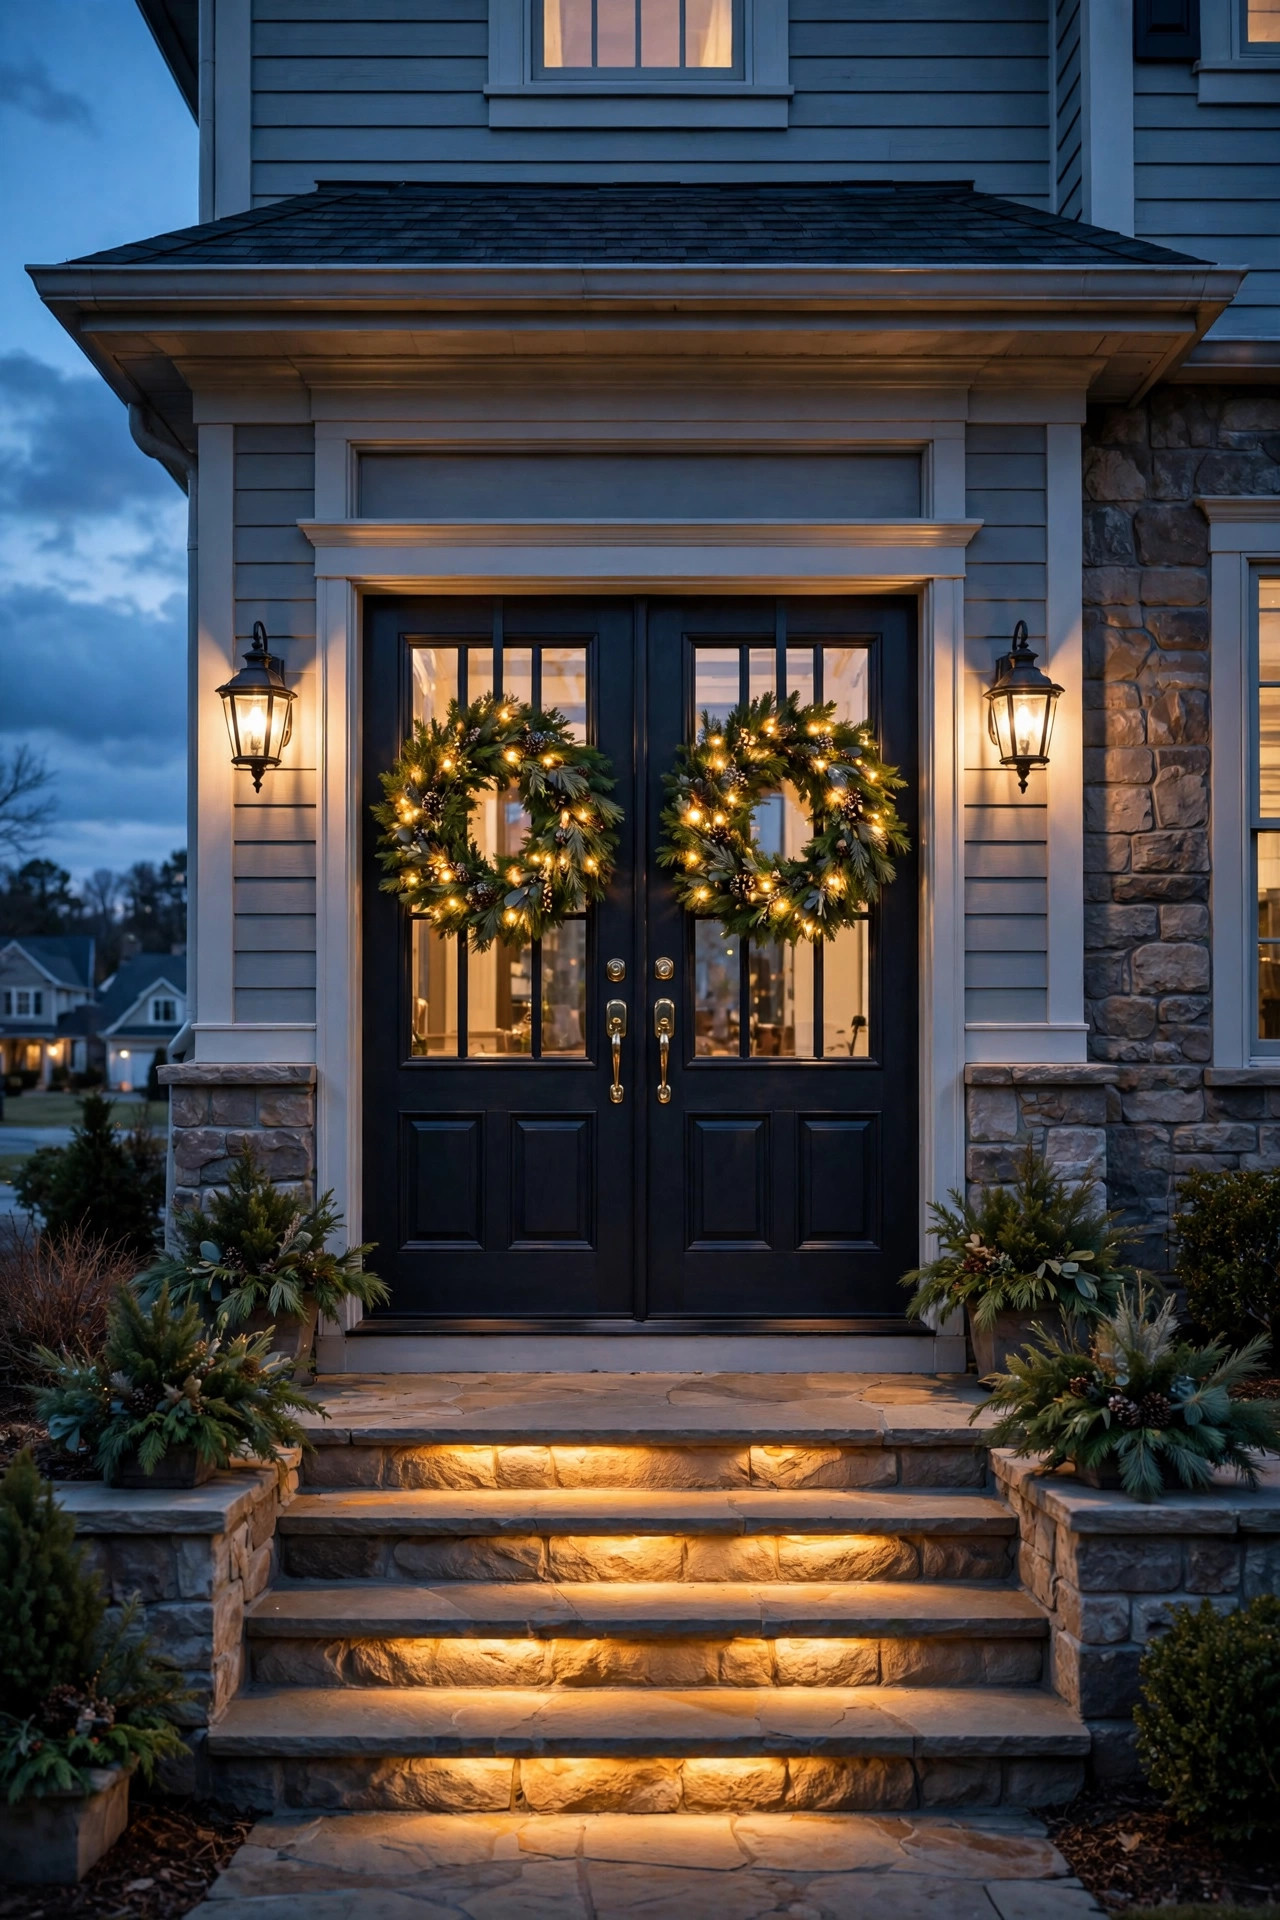
Double doors are a gift — they let you run symmetry, and nothing does symmetry like twin pre-lit wreaths. I hang a matching 24-inch wreath on each door panel, both with the same warm-white LED count (50 lights each), hung at identical heights. The mirrored glow doubles the impact and makes the whole entry feel grand and intentional.
The trick is truly matching them: buy two of the same wreath in the same order, because even small batch differences in foliage color can read as "off" when they're side by side. Hang each with its own slim over-door hanger, and measure from the top of each door so the centers line up exactly — a half inch of difference is visible from the street. If your double doors have a center astragal, center each wreath on its own panel rather than the pair on the middle seam.
Power both from one source if you can: run a single outdoor extension cord behind the door frame and split it with a 3-outlet outdoor tap so both wreaths light on the same timer. Add a small matching bow or a cluster of berries at the bottom of each wreath for a custom touch — just keep both sides identical. This is one of my favorite pairings with my roundup of [35 outdoor Christmas light ideas](https://exteriorhouselighting.com/outdoor-christmas-light-ideas/) if you want to build out the rest of the display around them.
Suggested budget range: $70 – $140.
4. Pre-Lit Garland Swag Over the Front Door
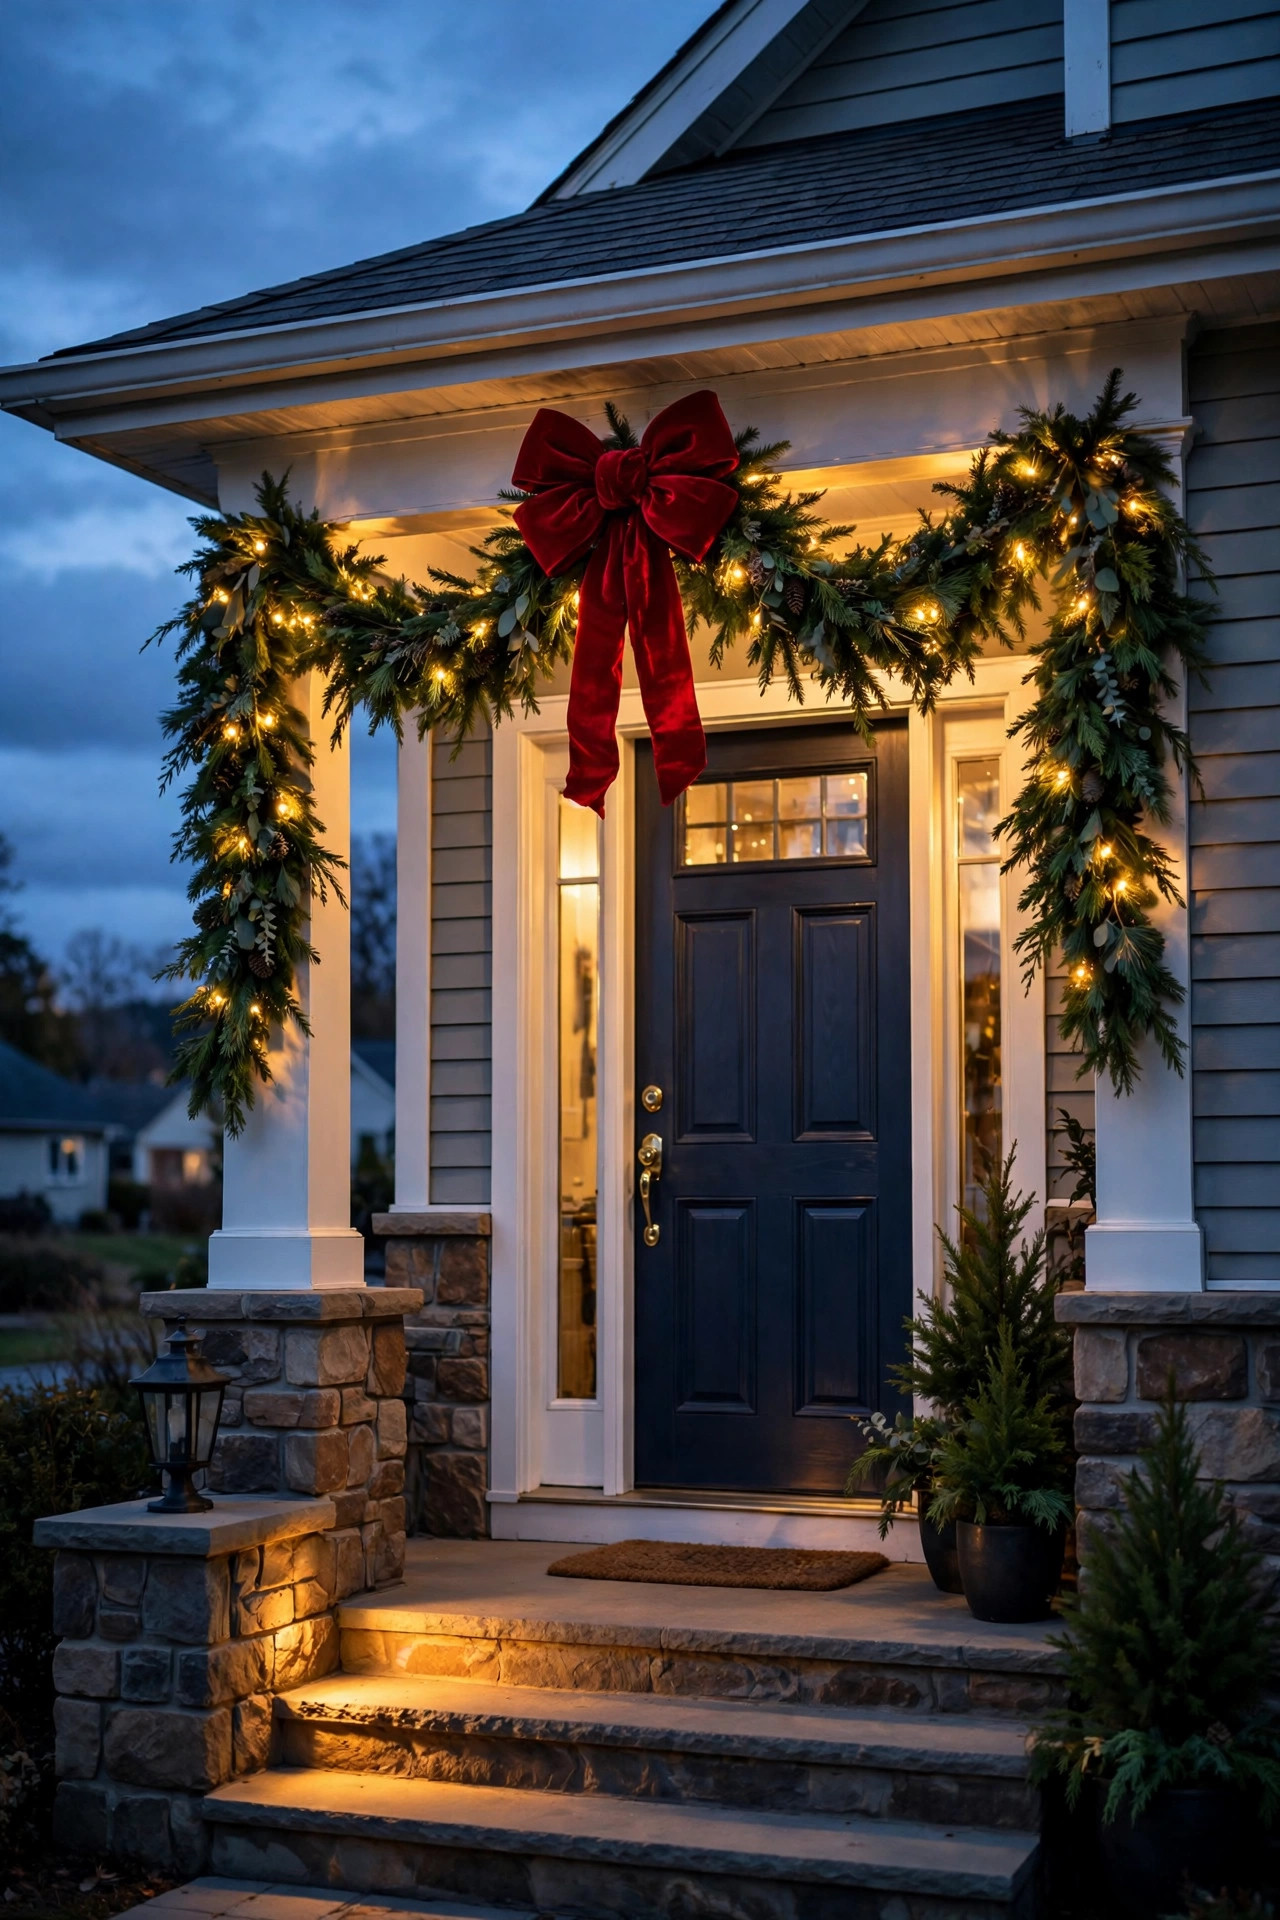
A garland swagged over the front door is the wreath's best friend — it frames the doorway and pulls the eye upward, making even a modest entry feel tall and festive. I use a 9-foot pre-lit garland with 100 warm-white lights, draped in a gentle smile-shaped swag across the top of the door frame and pinned at both ends plus the center for a soft double dip.
Installation is simpler than it looks. Start at one top corner and work across: use clear adhesive hooks rated for outdoor use (the kind that hold 3–5 pounds each), spacing them every 2 feet, and let the garland dip 10 to 12 inches between hooks. That scallop is what makes it look lush instead of flat. Tuck the plug end behind the trim and run it down one side to your outdoor outlet — keep the cord off the walking path and secure it with clips so it doesn't dangle.
Fluffing matters enormously with garlands: spend 15 minutes spreading the branch tips in alternating directions and the garland will look twice as full. In my experience, a mixed-foliage garland (pine with a little fir and berry sprigs) reads richer than single-species. Top the center with a simple wired-ribbon bow and you've got a look that rivals professional decorators.
Suggested budget range: $45 – $95.
5. Pre-Lit Garland Wrapped Around Porch Columns
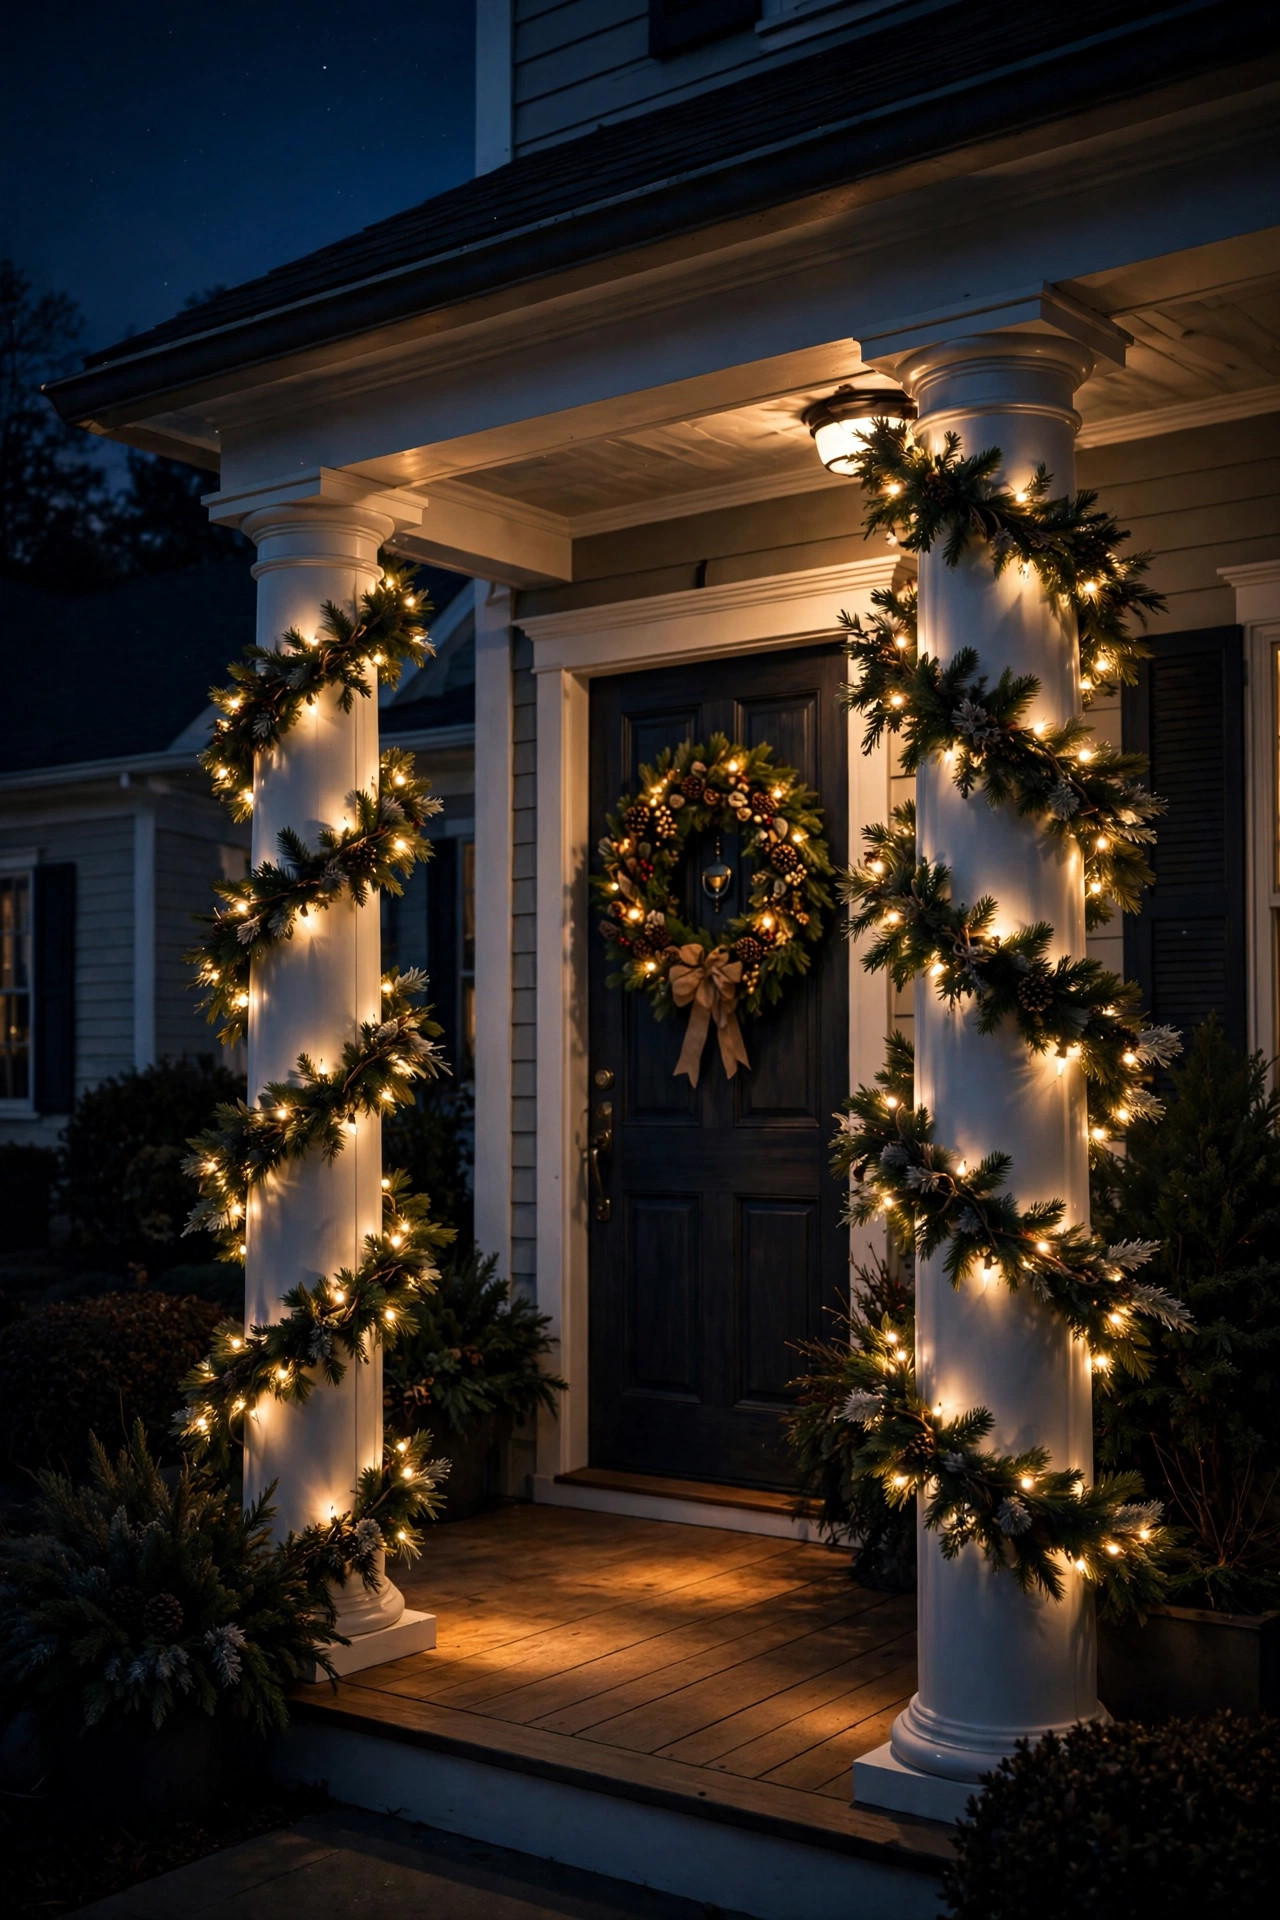
Porch columns are begging to be wrapped — and a pre-lit garland spiraled around each one turns plain posts into glowing pillars. I use 9- to 12-foot pre-lit garlands (100–150 lights each) and spiral them from top to bottom around every column, spacing each turn 6 to 8 inches apart. From the street, the whole porch reads as a wall of warm light.
Here's my method for a clean wrap: start at the top with a green twist tie or zip tie cinched snug, then spiral downward, keeping the tension even and the spacing consistent. Every third turn, add another twist tie on the back side of the column where it won't show. The lights face outward automatically since they're woven through the garland — just rotate the garland as you go so the lit side stays street-facing. For square columns, ease the garland around each corner rather than stretching it; for round columns, the spiral practically falls into place.
Power-wise, daisy-chain the columns: run one outdoor extension cord along the porch floor behind the columns, connecting each garland's plug in series. Set everything on a dusk-to-dawn timer so the pillars ignite every evening without you touching a switch. Finish the base of each column with a small cluster of pinecones or a red bow for a polished look.
Suggested budget range: $60 – $150.
6. Pre-Lit Garland Swagged Along the Porch Railing
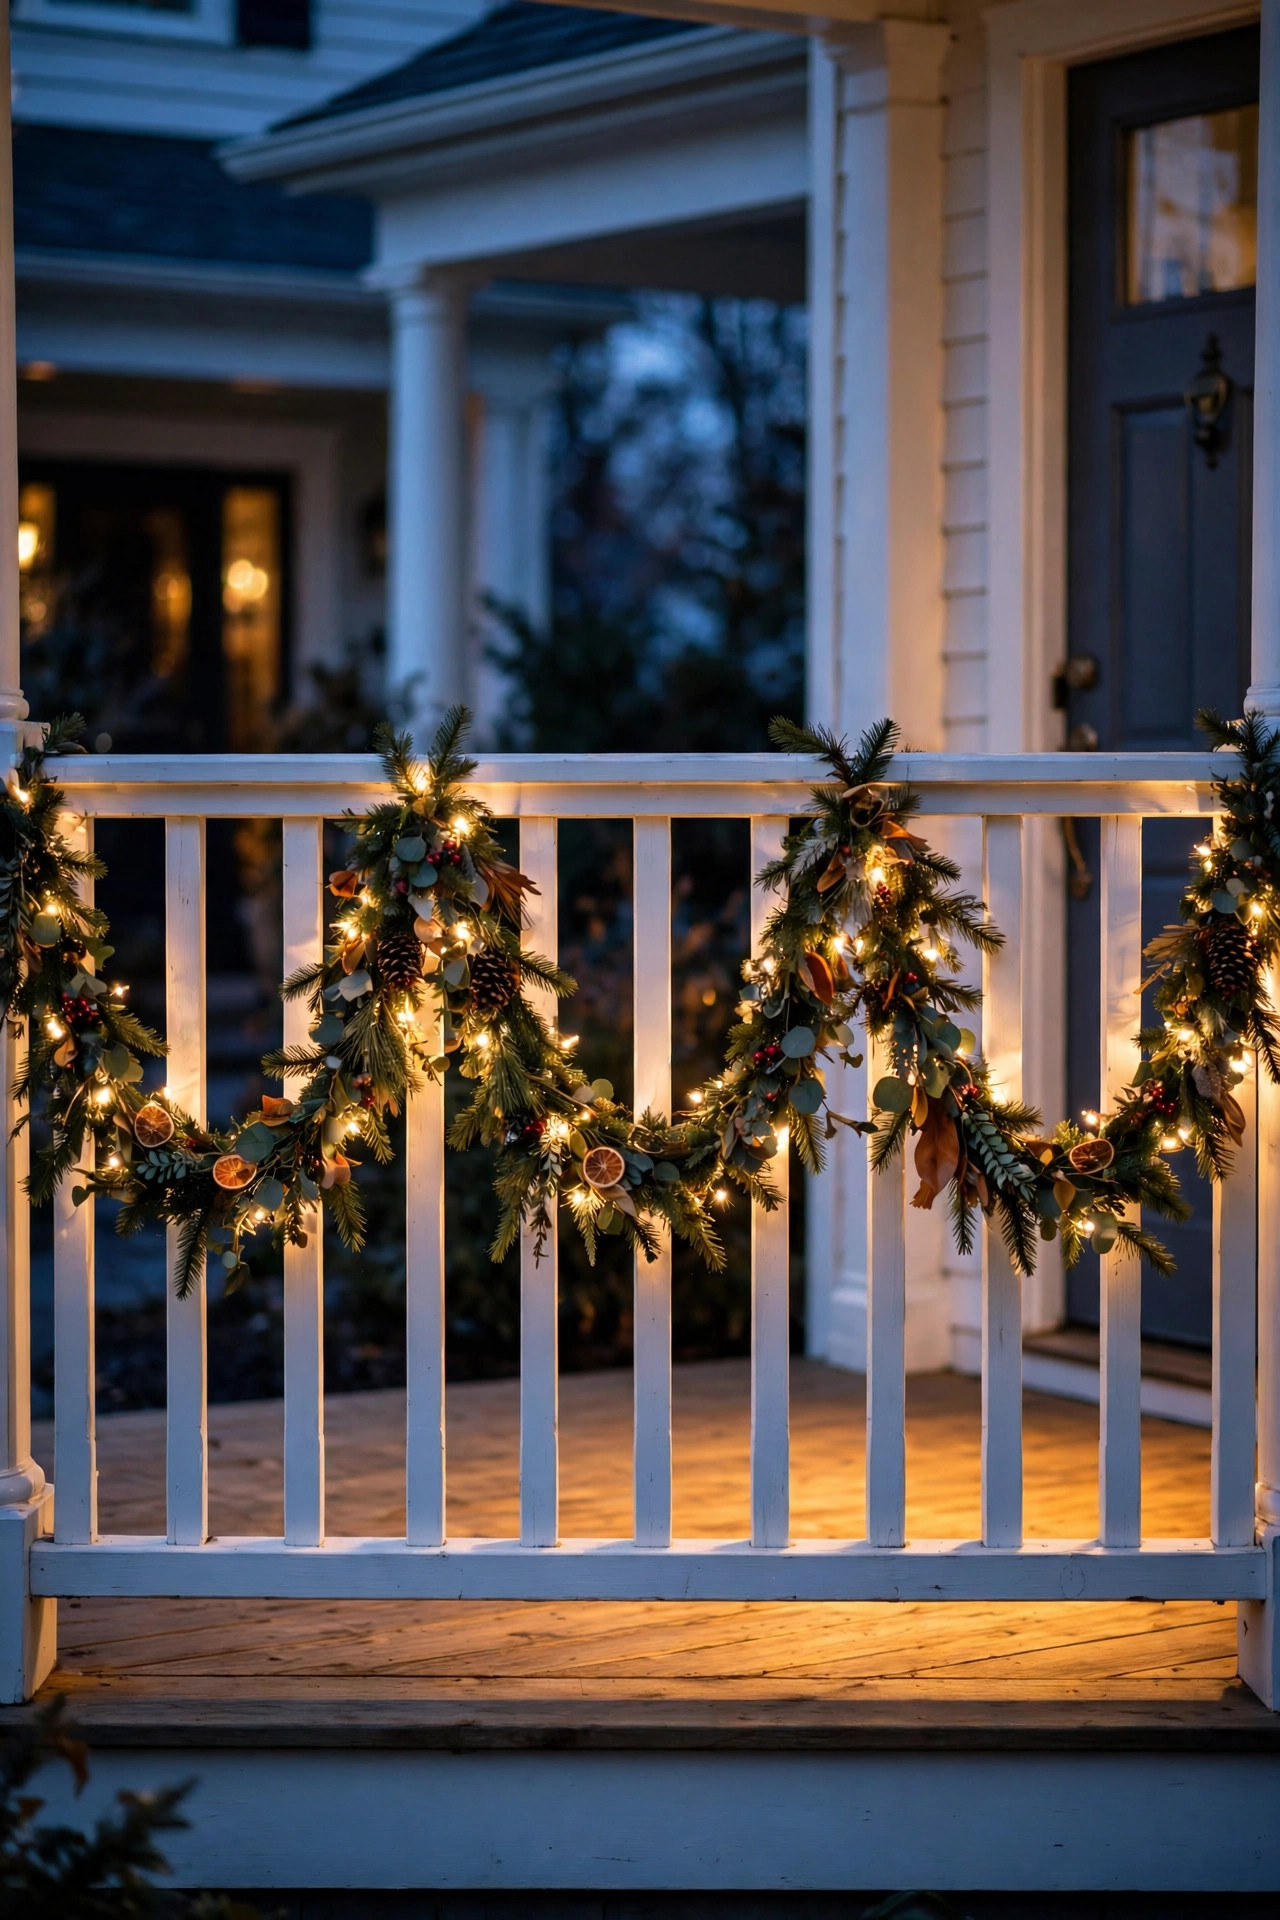
If your porch has a railing, it's practically a display shelf for garland — a pre-lit swag along the top rail gives you a continuous ribbon of light at the perfect viewing height. I swag two 9-foot garlands end to end across my 16-foot railing, joining them with a twist tie and hiding the seam under a big wired bow.
The swag technique: anchor the garland at each post with green floral wire or small zip ties, letting it dip 8 to 10 inches between posts. That scalloped line is the whole look — flat garland reads institutional, swagged garland reads festive. Make sure each anchor point can hold the weight; a 9-foot pre-lit garland weighs about 4 pounds, and wet snow adds more. Check your railing's stability before you load it up.
For power, plug the garlands into an outdoor-rated power strip tucked behind a planter at one end of the porch, and run everything on a single timer. In my experience, railing garlands look best when they're the brightest element on the porch — they sit right at eye level from the street — so don't skimp on light count. Aim for at least 50 lights per 9-foot section. Add red berry picks or small gold ornaments tucked into the garland every couple of feet for sparkle that catches the light.
Suggested budget range: $50 – $120.
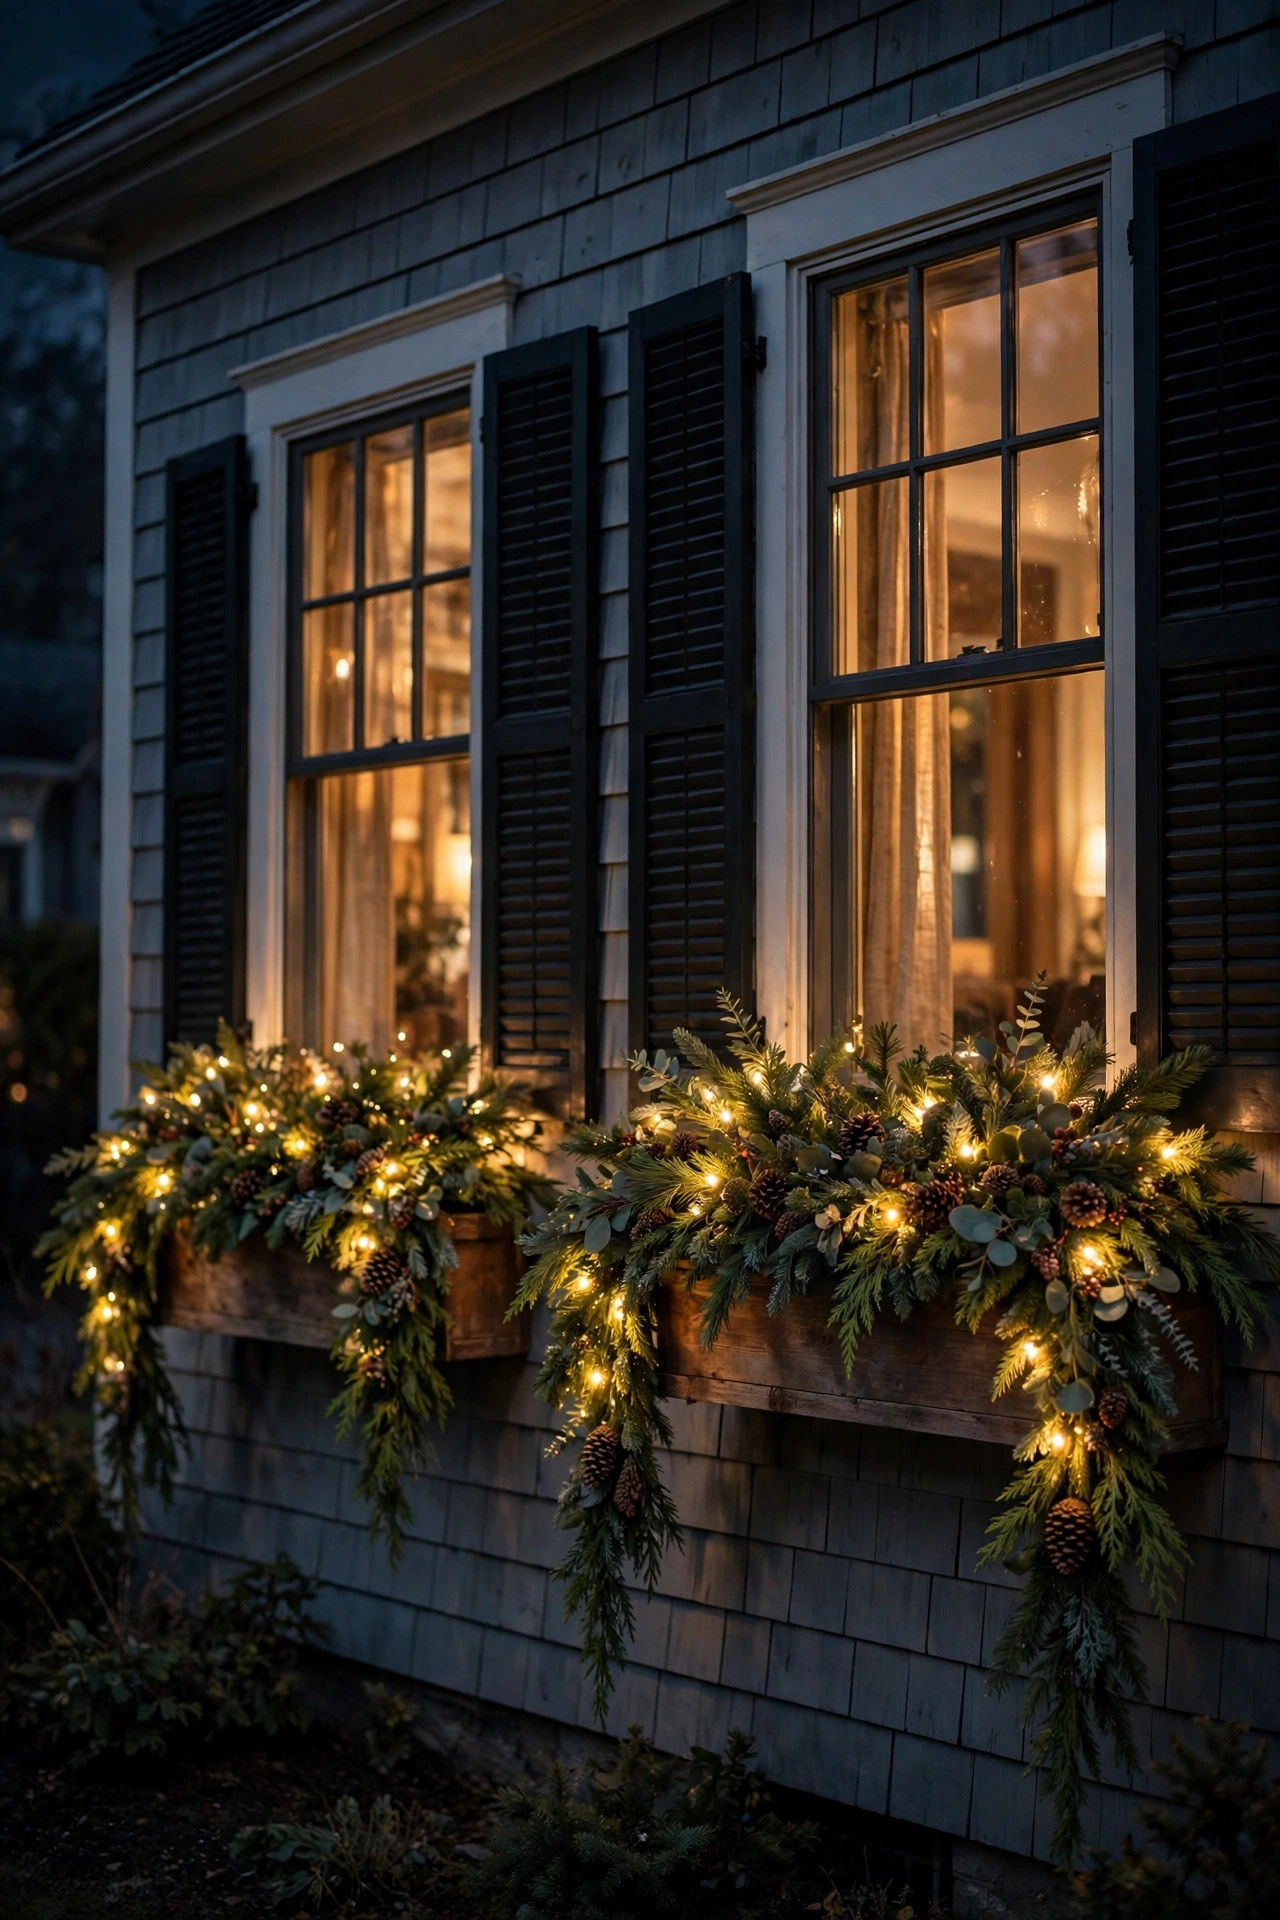
7. Pre-Lit Garland Draped Over Window Boxes
Window boxes are one of the most underused canvases in holiday decorating — a pre-lit garland draped over each one puts twinkling light right where passersby look. I use 6-foot garlands (50 lights each) tucked into my window boxes in front of the evergreen shrubs, letting the lit branches cascade over the front edge like a glowing waterfall.
The layering trick: keep the existing box plantings in place (boxwood or holly survives winter fine) and nestle the garland in front of them, so the greenery supports the garland and hides the plug. Push the garland's end plug down through the soil to the drainage hole, then run a flat outdoor extension cord along the foundation to your nearest outlet. Battery-operated garlands are actually ideal here since each box is small and separate — one 4-AA battery pack per box with a timer function means zero cords to manage.
Styling-wise, I tuck in a few pinecone picks and a cluster of red berries along the front edge of each box, and finish with a small plaid or burlap bow at the center. Keep the garland color temperature consistent with the rest of the house — 2700K warm white everywhere is my rule. This idea works beautifully alongside a wreath on the door, creating that layered high-low glow I always recommend.
Suggested budget range: $30 – $80.
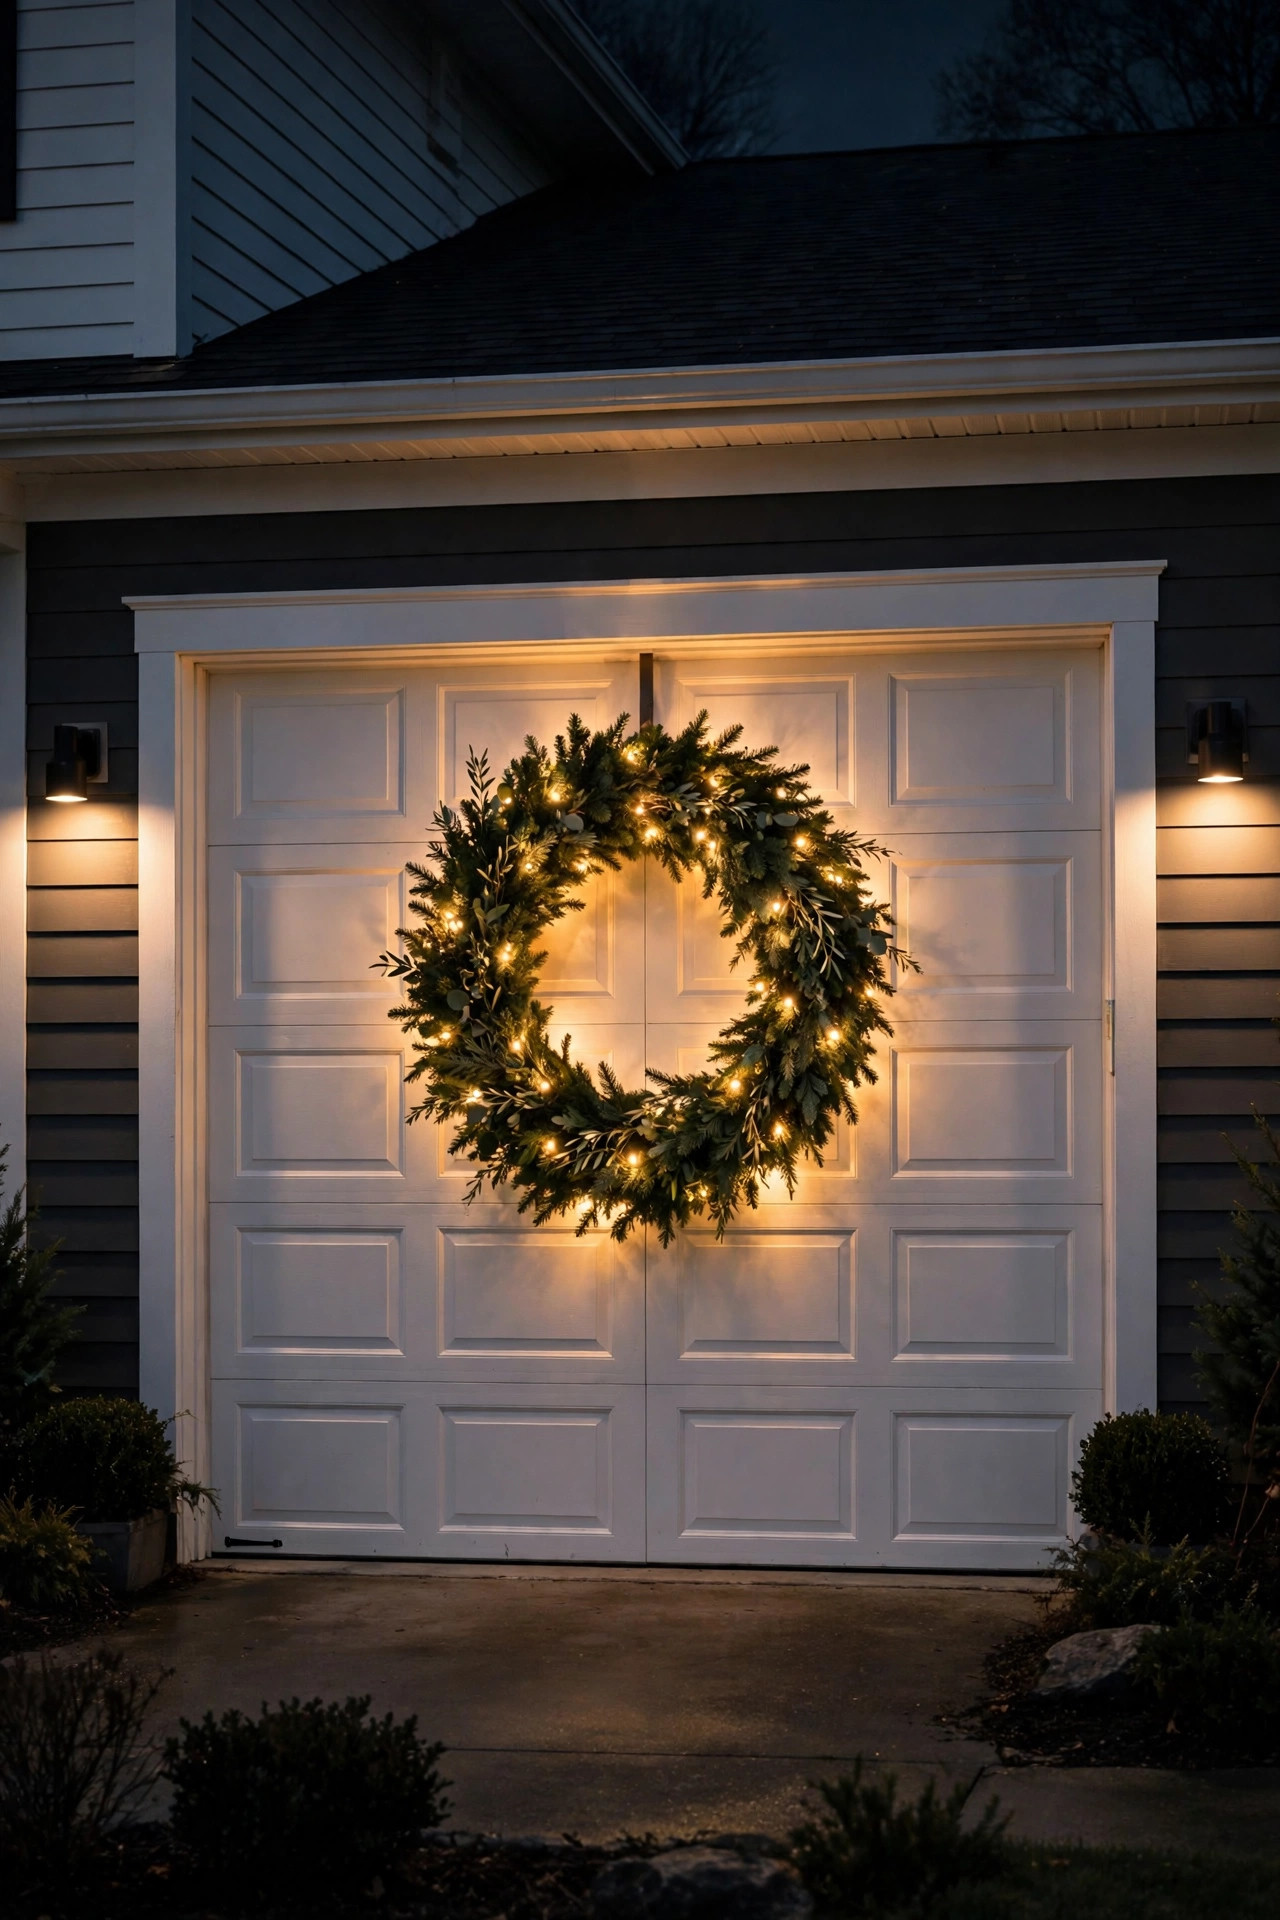
8. Pre-Lit Wreath on the Garage Door
Your garage door is probably the biggest blank surface on the front of your house — and a pre-lit wreath turns it from afterthought to feature. I hang a 30-inch wreath centered on each garage door panel (or one big 36-incher on a single door), and the glow transforms the whole driveway approach at night.
Mounting on a garage door needs the right hardware: use a magnetic wreath hanger rated for at least 10 pounds on steel doors — they grip like a dream and leave zero marks. For non-metal doors, a heavy-duty suction-cup hanger or an adhesive hook rated for the weight works, but test it in cold weather first since adhesives can fail below freezing. Position the wreath in the upper third of the door so it's visible over parked cars.
Safety and practicality notes: make sure the wreath hangs flat and doesn't catch on the door's weather seal when it opens — mount it on the top panel and keep it within the panel's width. Go battery-operated here to avoid cords near a moving door; lithium AAs on a timer will run all season. I love pairing a garage wreath with [minimalist outdoor Christmas decor](https://exteriorhouselighting.com/minimalist-outdoor-christmas-decor/) principles — one glowing wreath on the garage plus a wreath on the front door is elegant restraint done right.
Suggested budget range: $35 – $75.
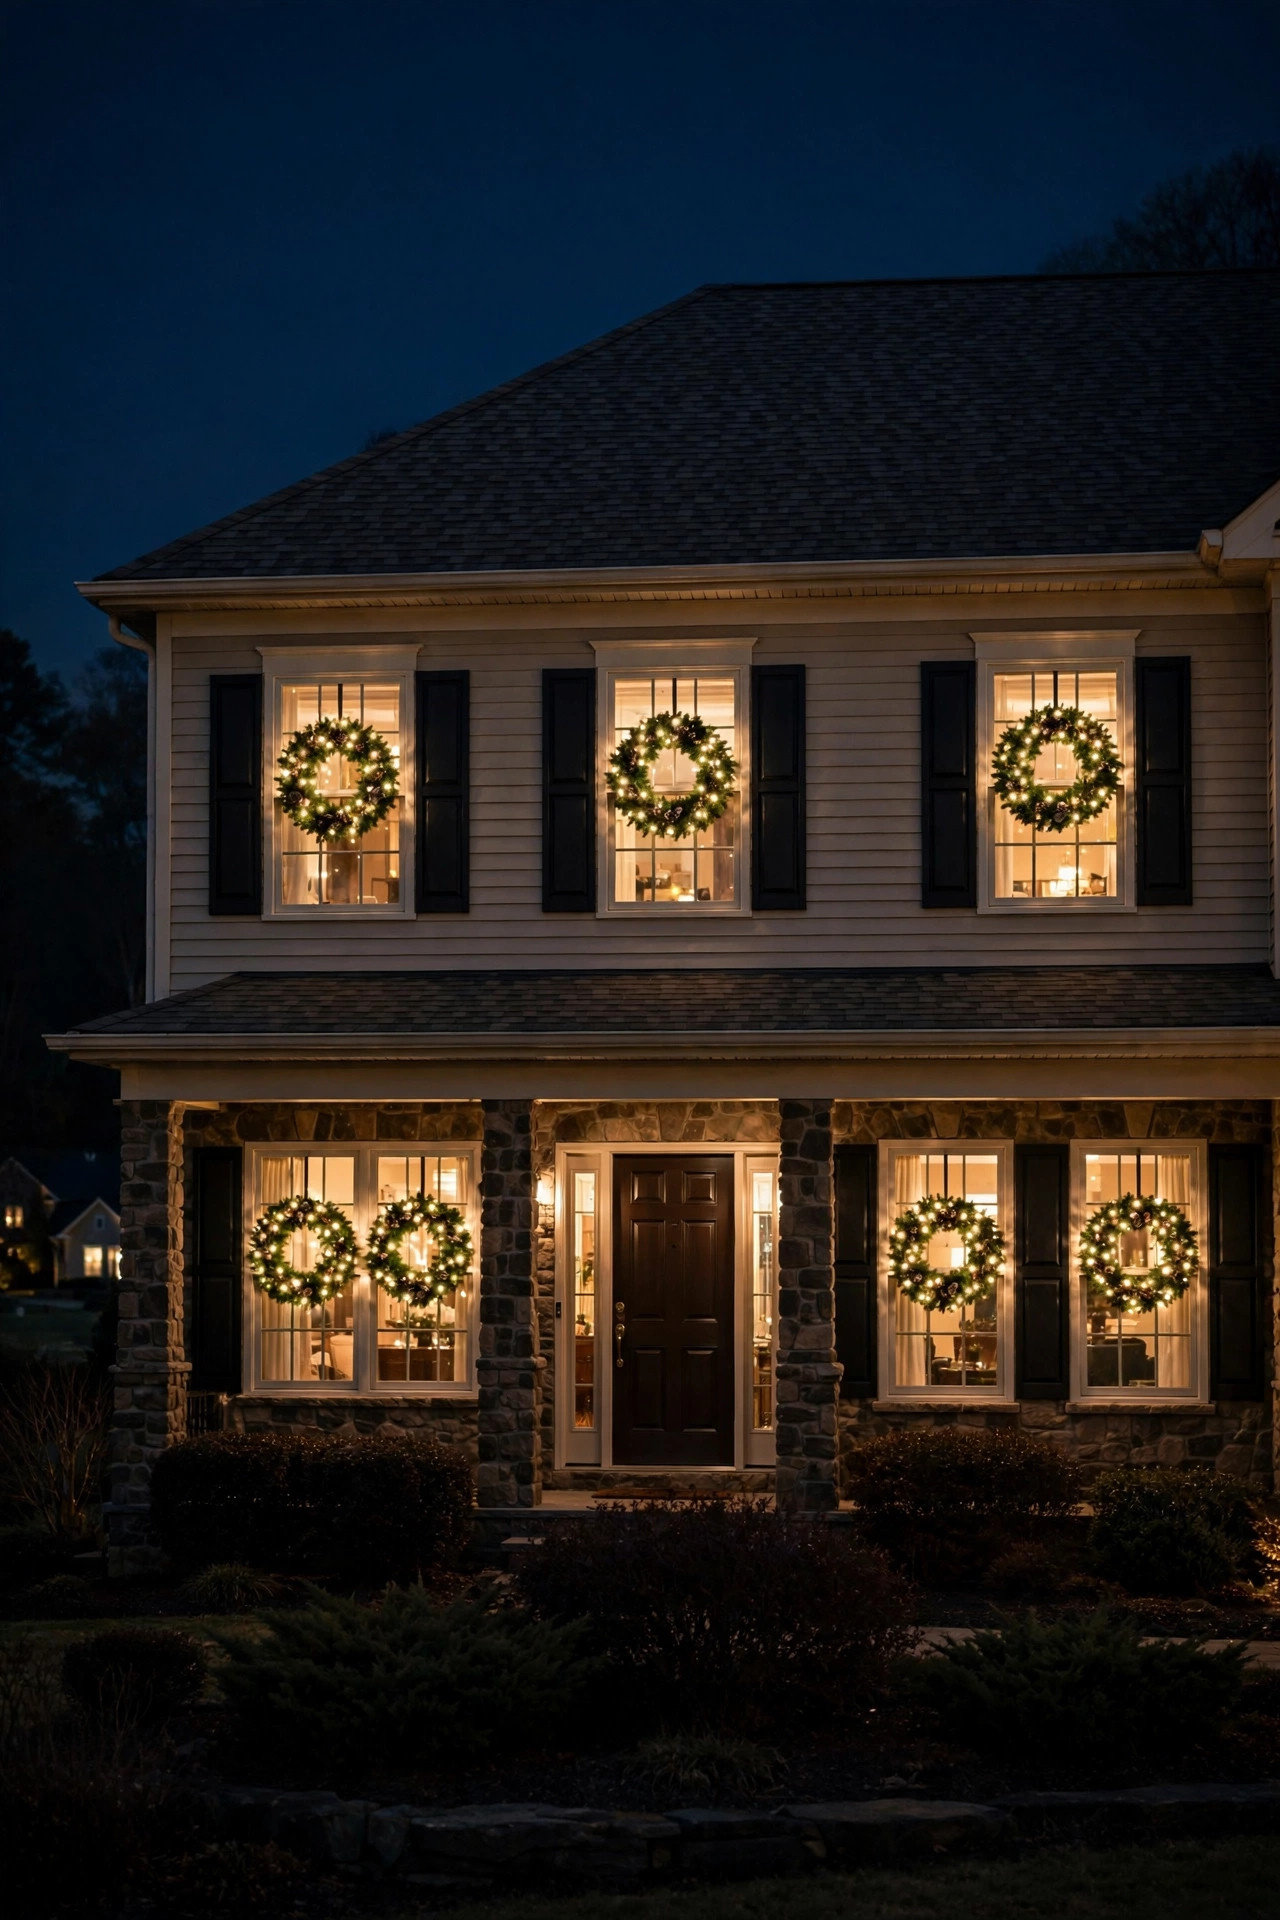
9. A Lit Wreath on Every Front Window
There's a reason classic Christmas cards show every window glowing — a pre-lit wreath on each front window creates a rhythm of light across the whole facade that no single decoration can match. I hang 20- to 24-inch wreaths centered on each of my front windows, each with 40–50 warm-white LEDs, and from the street the house looks like it stepped out of a snow globe.
Hanging them: suction-cup wreath hangers on the glass work brilliantly for windows — use the large 10-pound-rated cups, press them on firmly, and give them 24 hours before hanging the wreath so the seal sets. Alternatively, hang each wreath from the top of the window frame with ribbon looped over the sash for a traditional look. Keep every wreath the same size and style for that storybook repetition.
Battery power is the sane choice here — running cords to six windows is a nightmare. Use matching battery-operated wreaths with synchronized timers (set them all at the same time so they light together at dusk). In my experience, the effect multiplies when the interior windows behind them stay dark or dim — the wreaths become the stars. Add a single battery candle in each windowsill behind the wreath for depth, and your facade will glow in layers.
Suggested budget range: $90 – $200.
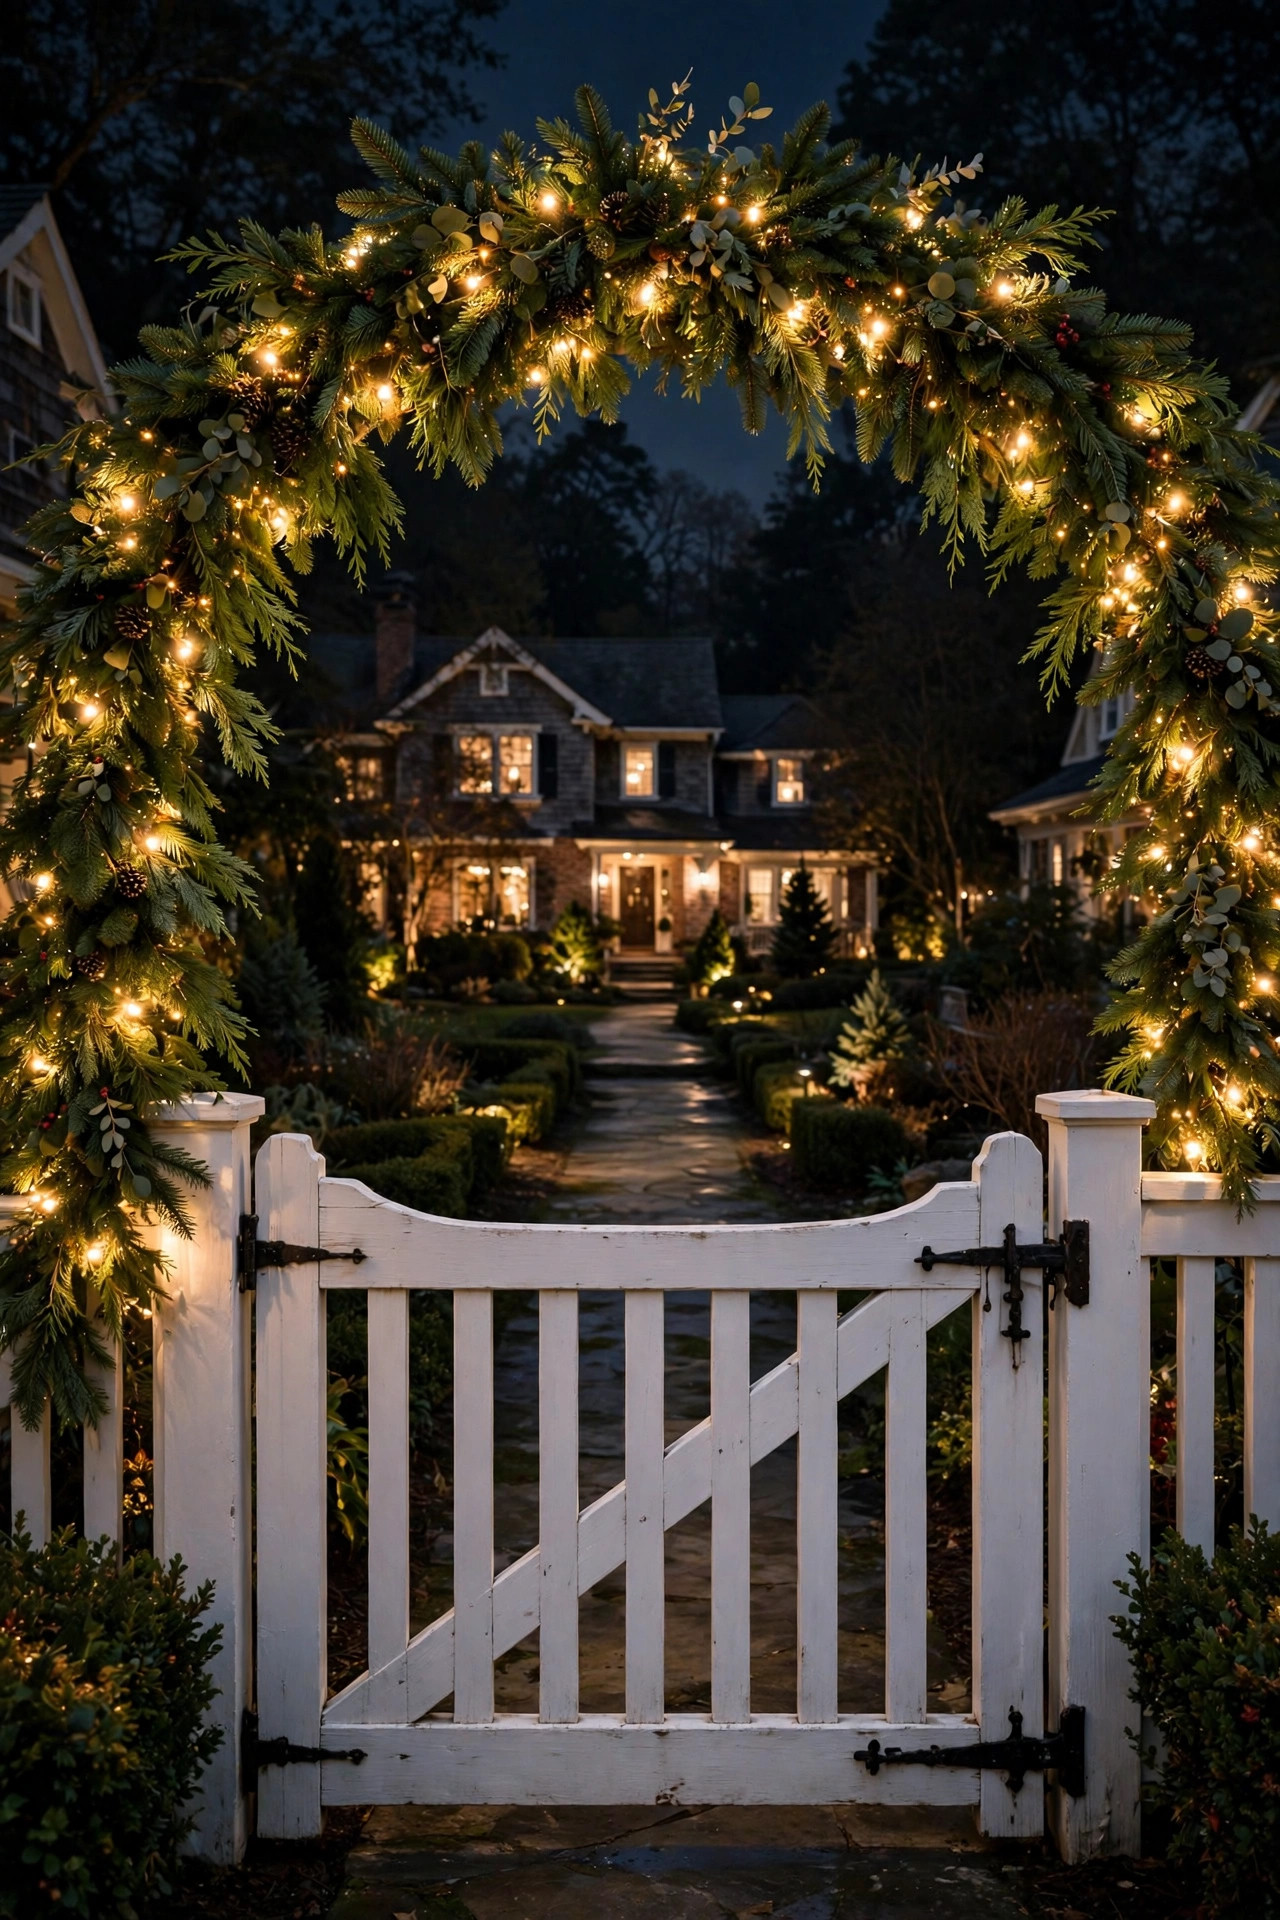
10. Pre-Lit Garland Arch Over the Front Gate
If you have a front gate or walkway arch, draping it in pre-lit garland creates the most magical "enter here" moment on the block. I wrap two 9-foot garlands over my garden gate's arch, letting the ends trail down both posts like glowing curtains. Walking under it at night genuinely feels like entering a holiday movie.
Structure first: the garland adds weight and wind load, so make sure your arch or gate is sturdy — a wobbly trellis will complain under 8 pounds of garland plus ice. Secure the garland at the top center and at intervals down each side with green zip ties, wrapping the ties around the structure rather than just the garland so it can't slide. Let the trailing ends hang 2 to 3 feet down each post and anchor them at the bottom too, so December wind doesn't whip them around.
For power, run an outdoor extension cord along the fence line to the gate — bury it under mulch or pin it to the fence's back side so it's invisible. A dusk-to-dawn sensor plug here is ideal since the gate is far from the house. Finish the top of the arch with a big bow or a cluster of oversized ornaments, and line the walkway with a few lanterns so the arch has a glowing path leading through it.
Suggested budget range: $55 – $130.
11. Pre-Lit Garland Mailbox Swag
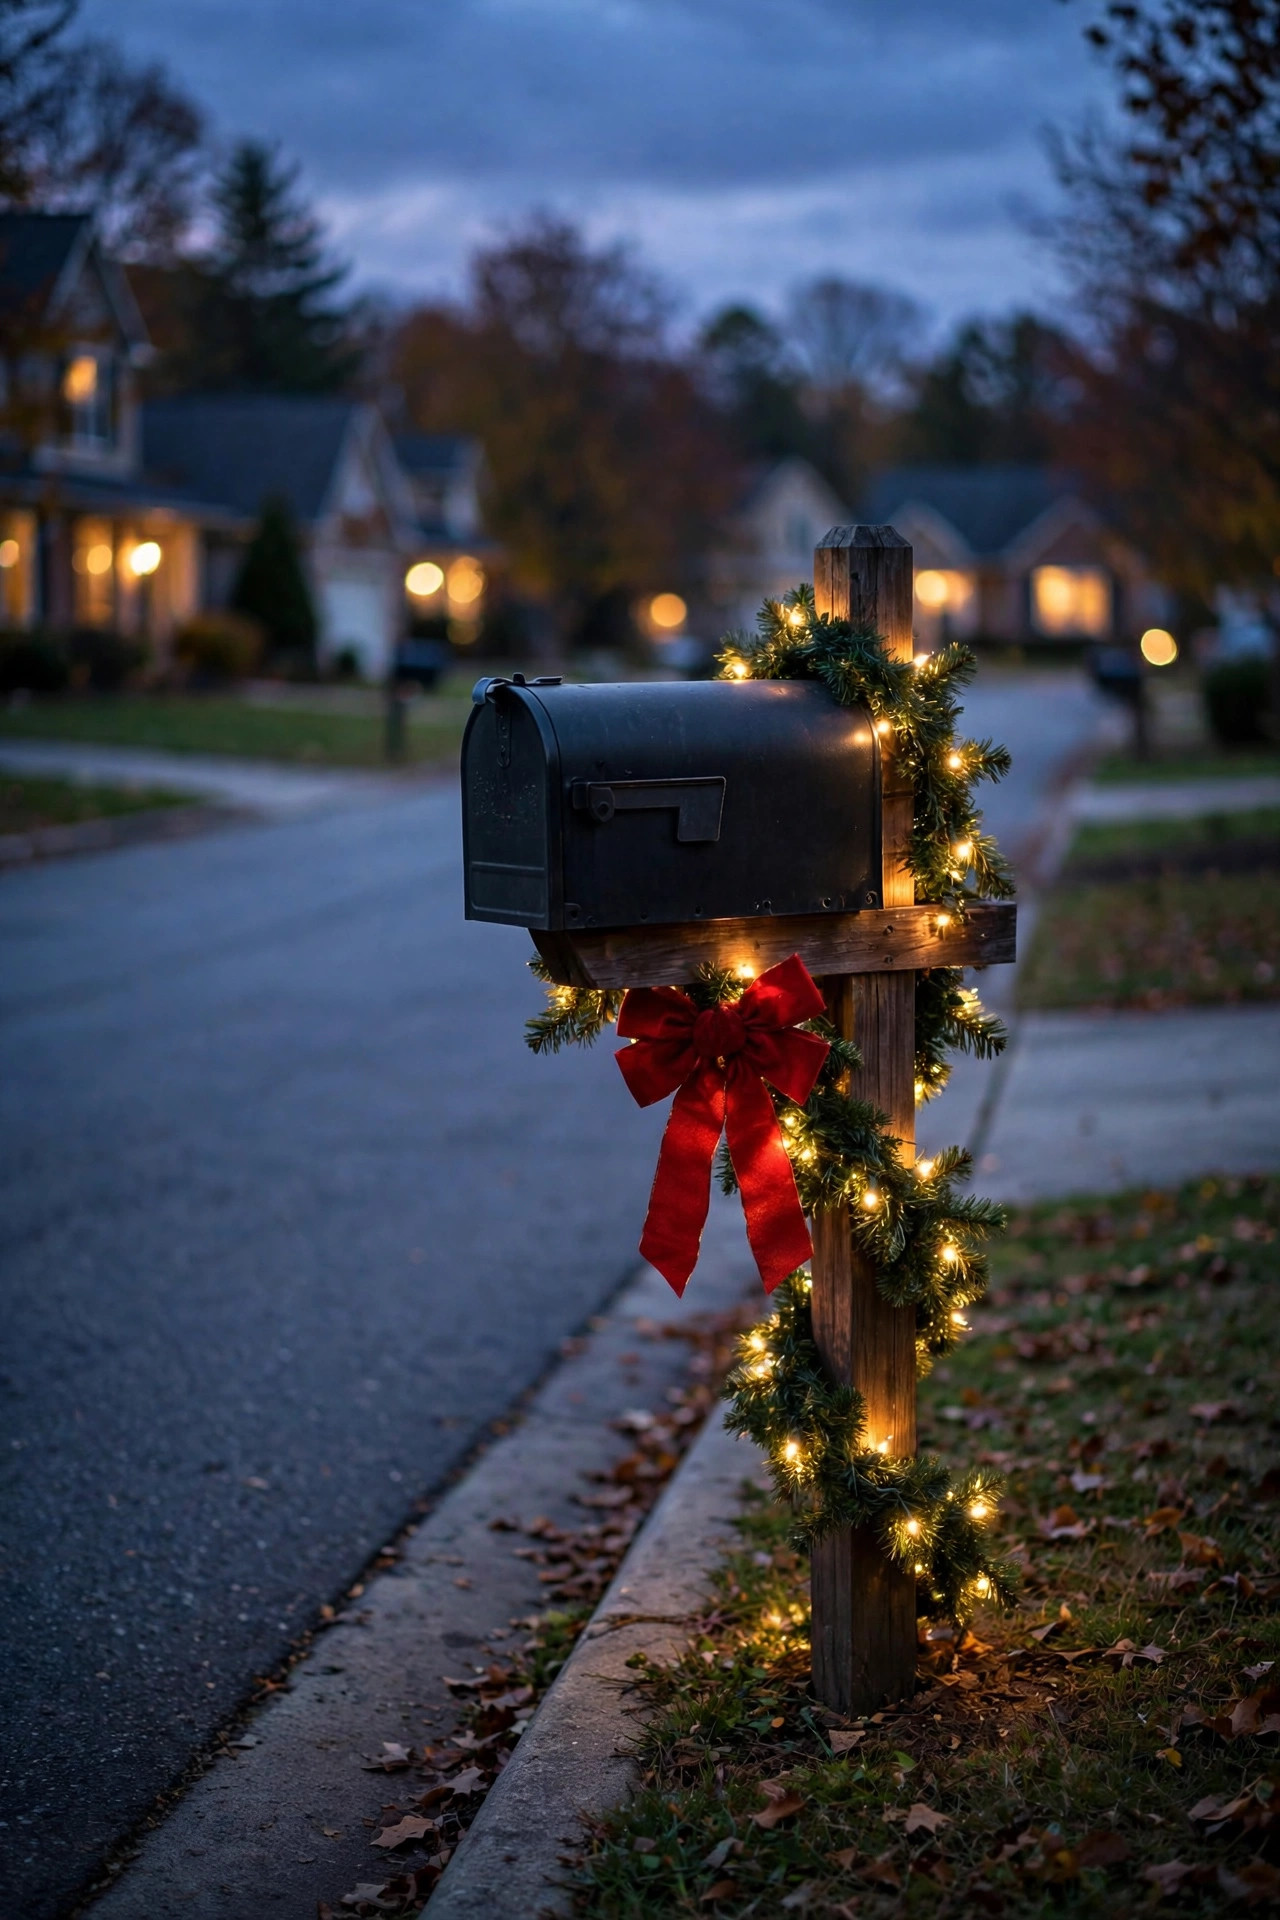
The mailbox is the first thing visitors see — and a pre-lit garland swag makes it the first thing they admire. I wrap a 6-foot garland around my mailbox post in a loose spiral, or drape it in a swag across the top of a standard post-mounted box, and add a bow where the garland meets the box. At night it's a little beacon of welcome at the curb.
Since mailboxes sit far from outlets, battery operation is the way: a 6-foot battery garland with 30–40 LEDs and a built-in timer runs for weeks on one set of lithium AAs. Wrap the battery pack in a small zip-top bag and tuck it under the mailbox or behind the post to shield it from rain and snow — just leave the pack accessible so you can swap batteries mid-season without unwrapping everything.
Keep the swag clear of the mailbox door and the house numbers — your mail carrier and emergency services need those visible. I attach the garland with twist ties rather than anything permanent, and I keep decorations at least 6 inches below the mailbox flag. A few red berry picks tucked into the garland and a weatherproof bow finish the look. This tiny touch punches way above its weight for curb appeal.
Suggested budget range: $20 – $45.
12. Flocked Snowy Pre-Lit Garland for a Winter Wonderland Look
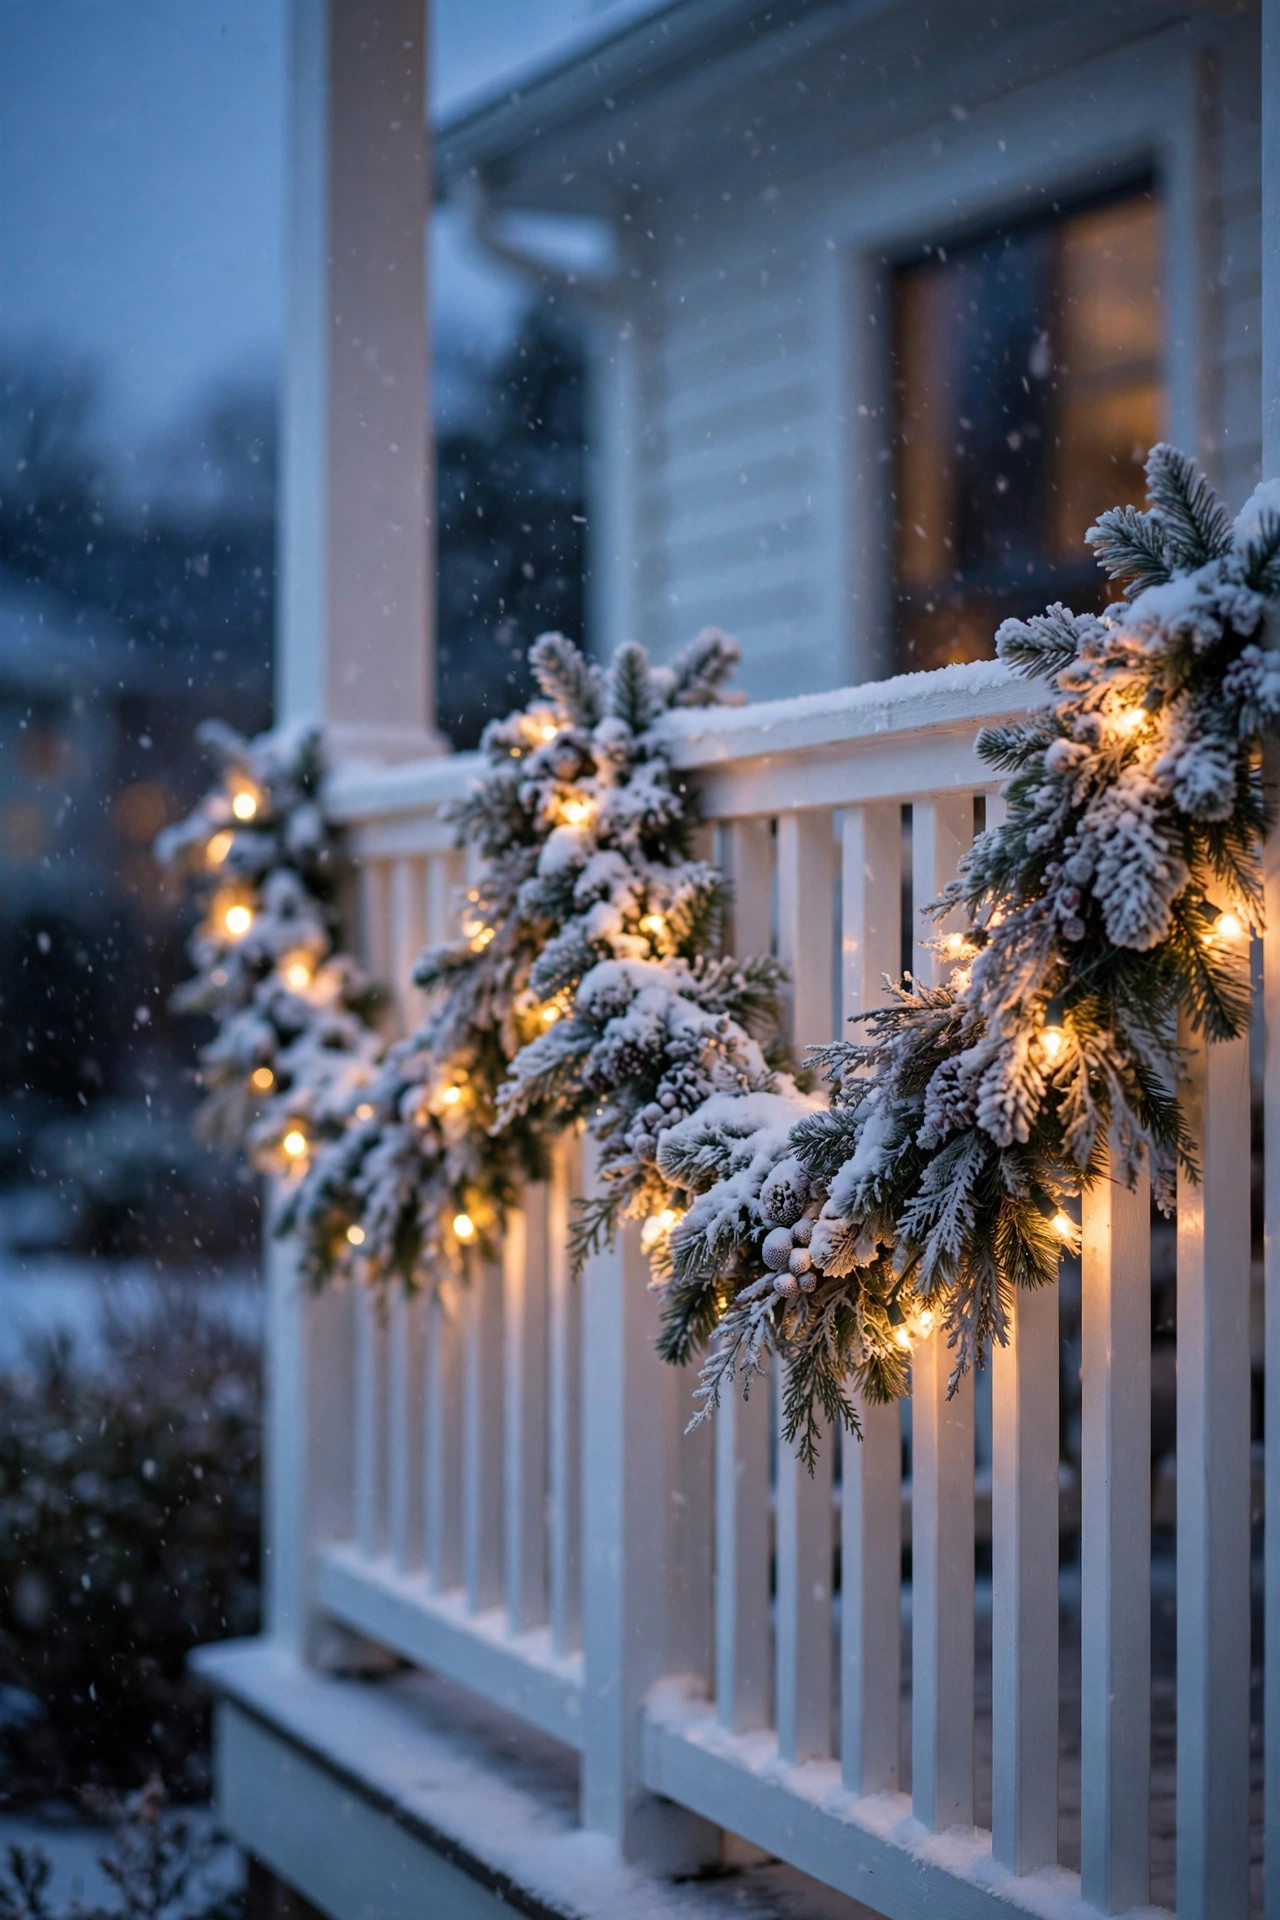
Flocked garland — the kind dusted with artificial snow — gives you a winter wonderland even when the forecast says 55 and rainy. I run 9-foot flocked pre-lit garlands along my porch railing and over the door, and the white-dusted branches catch the warm LED light in a way that looks genuinely frosty at dusk.
A few honest notes about flocking: it sheds, especially the first season. Unbox and fluff flocked garland outdoors (not on your cream carpet), and give it a gentle shake before hanging. Choose garlands where the flocking is on the branch tips rather than caked on thick — heavy flocking looks fake and obscures the lights. The sweet spot is a light dusting that lets the green show through.
Outdoor durability matters: flocking plus rain can get heavy, so hang flocked garlands under cover (porch roofs, eaves) rather than fully exposed. The lights woven through flocked garland read softer and more diffused — gorgeous, but count on needing slightly more lights per foot for the same brightness. Pair flocked garland with a matching flocked wreath on the door for a cohesive snowy scene, and skip the red — whites, silvers, and warm gold accents look best against the snow-dusted branches.
Suggested budget range: $50 – $110.
13. Red-Berry Pre-Lit Garland for Classic Christmas Color
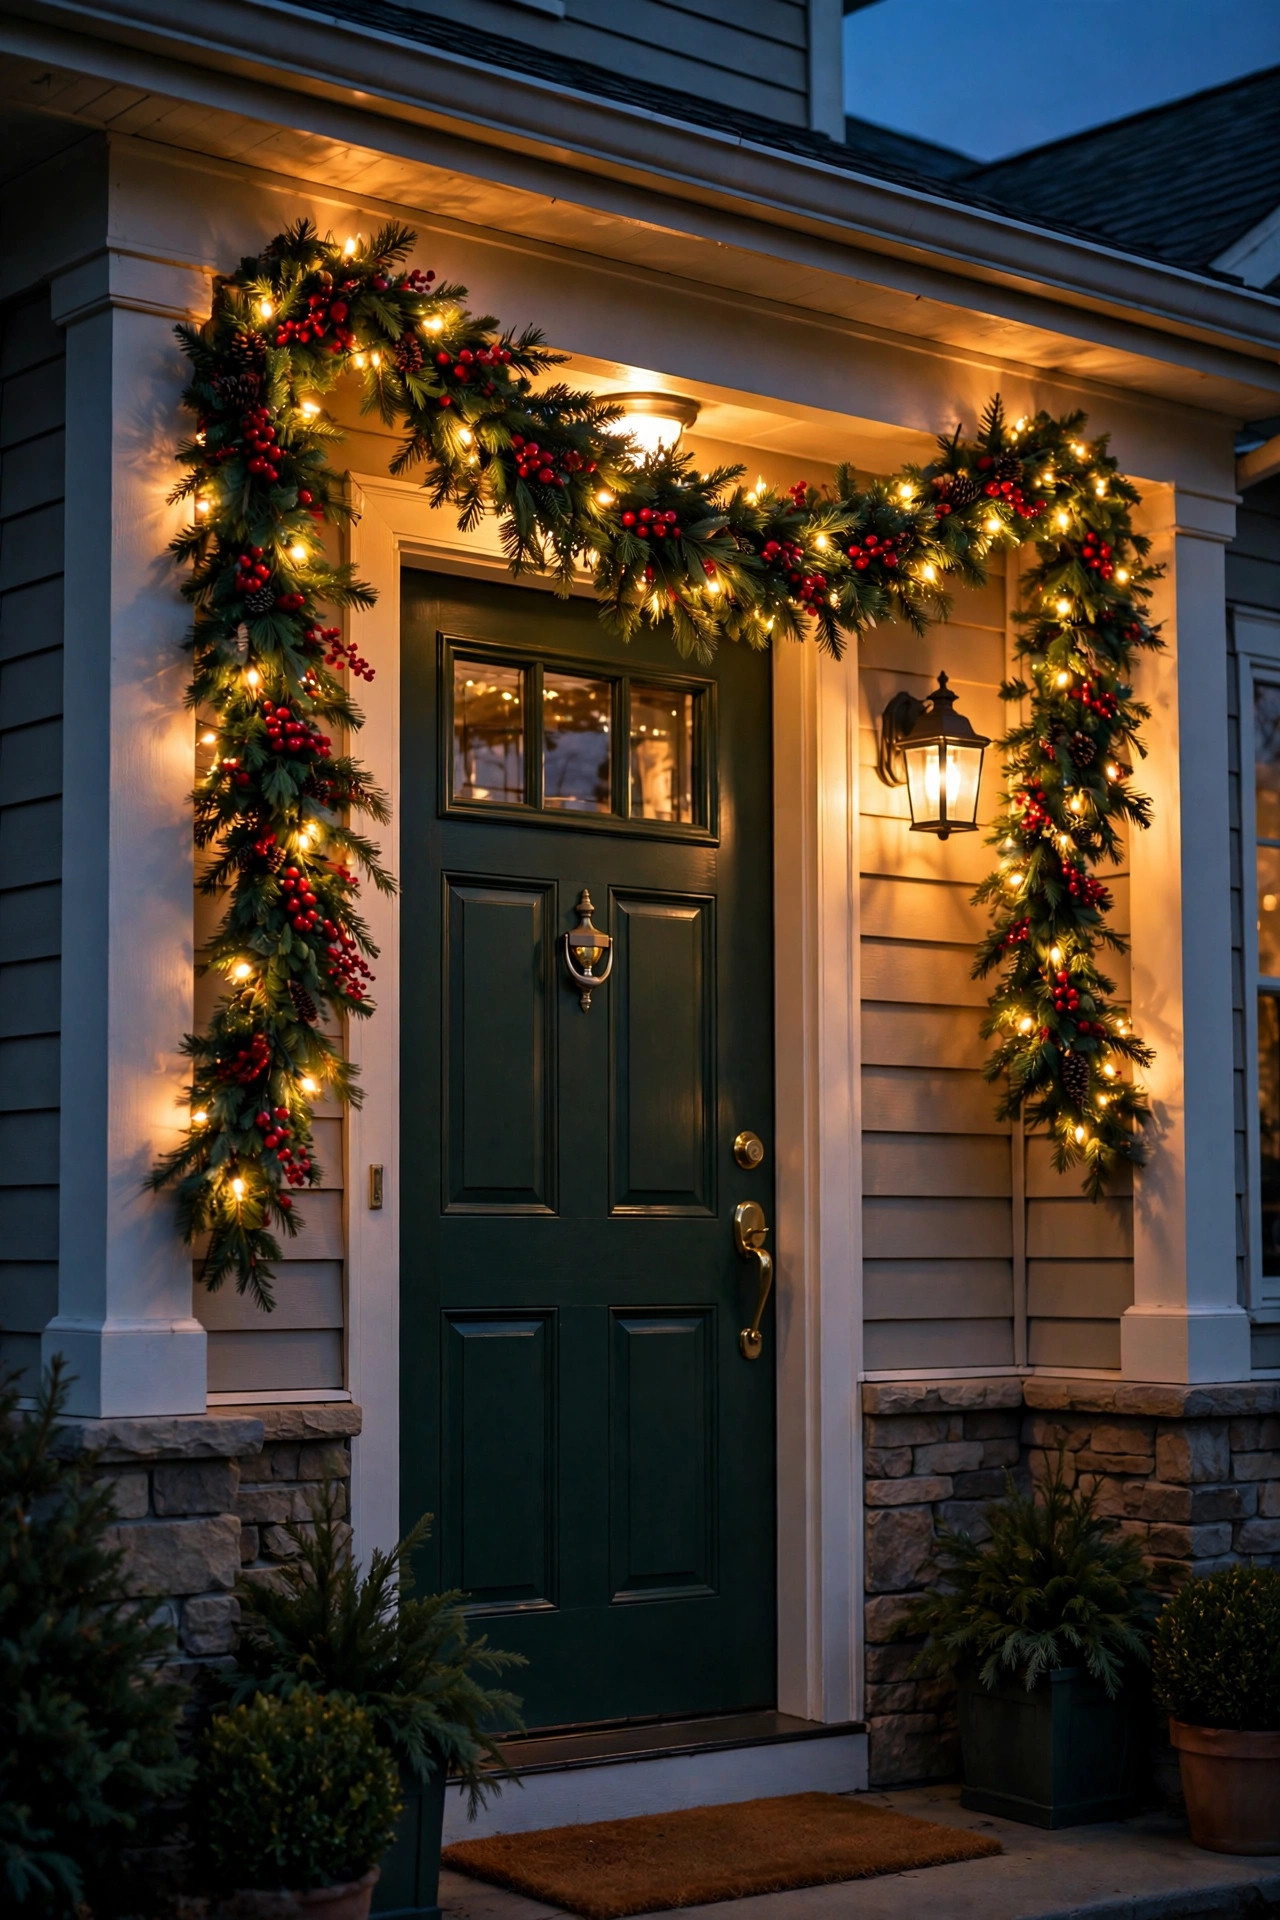
Green garland with red berries is the most classic Christmas combination there is — and the pre-lit version adds a glow that unlit berry garland can't touch. I use 9-foot berry garlands with 70 warm-white lights woven through clusters of faux red berries, draped over the front door and along the railing. The red pops beautifully against the green at dusk, and the lights make the berries glint.
Styling tip from experience: berry garland is already busy, so let it be the star and keep surrounding decor simple. I skip additional ornaments on berry garland — the berries are the ornament. A single natural burlap or plaid bow at the center swag is all the extra it needs. Against dark siding or brick, red-and-green garland reads rich and traditional; against white siding, it pops with contrast.
Durability note: check that the berries are wired securely into the garland, not just glued — glued berries pop off in wind and become litter. Give the garland a firm shake in the store (or right after unboxing) and return it if berries rain down. Like all outdoor greenery, choose one rated for outdoor use with UV-stable berries so the red doesn't fade to pink by New Year's.
Suggested budget range: $40 – $90.
14. Pinecone-and-Burlap Rustic Pre-Lit Garland
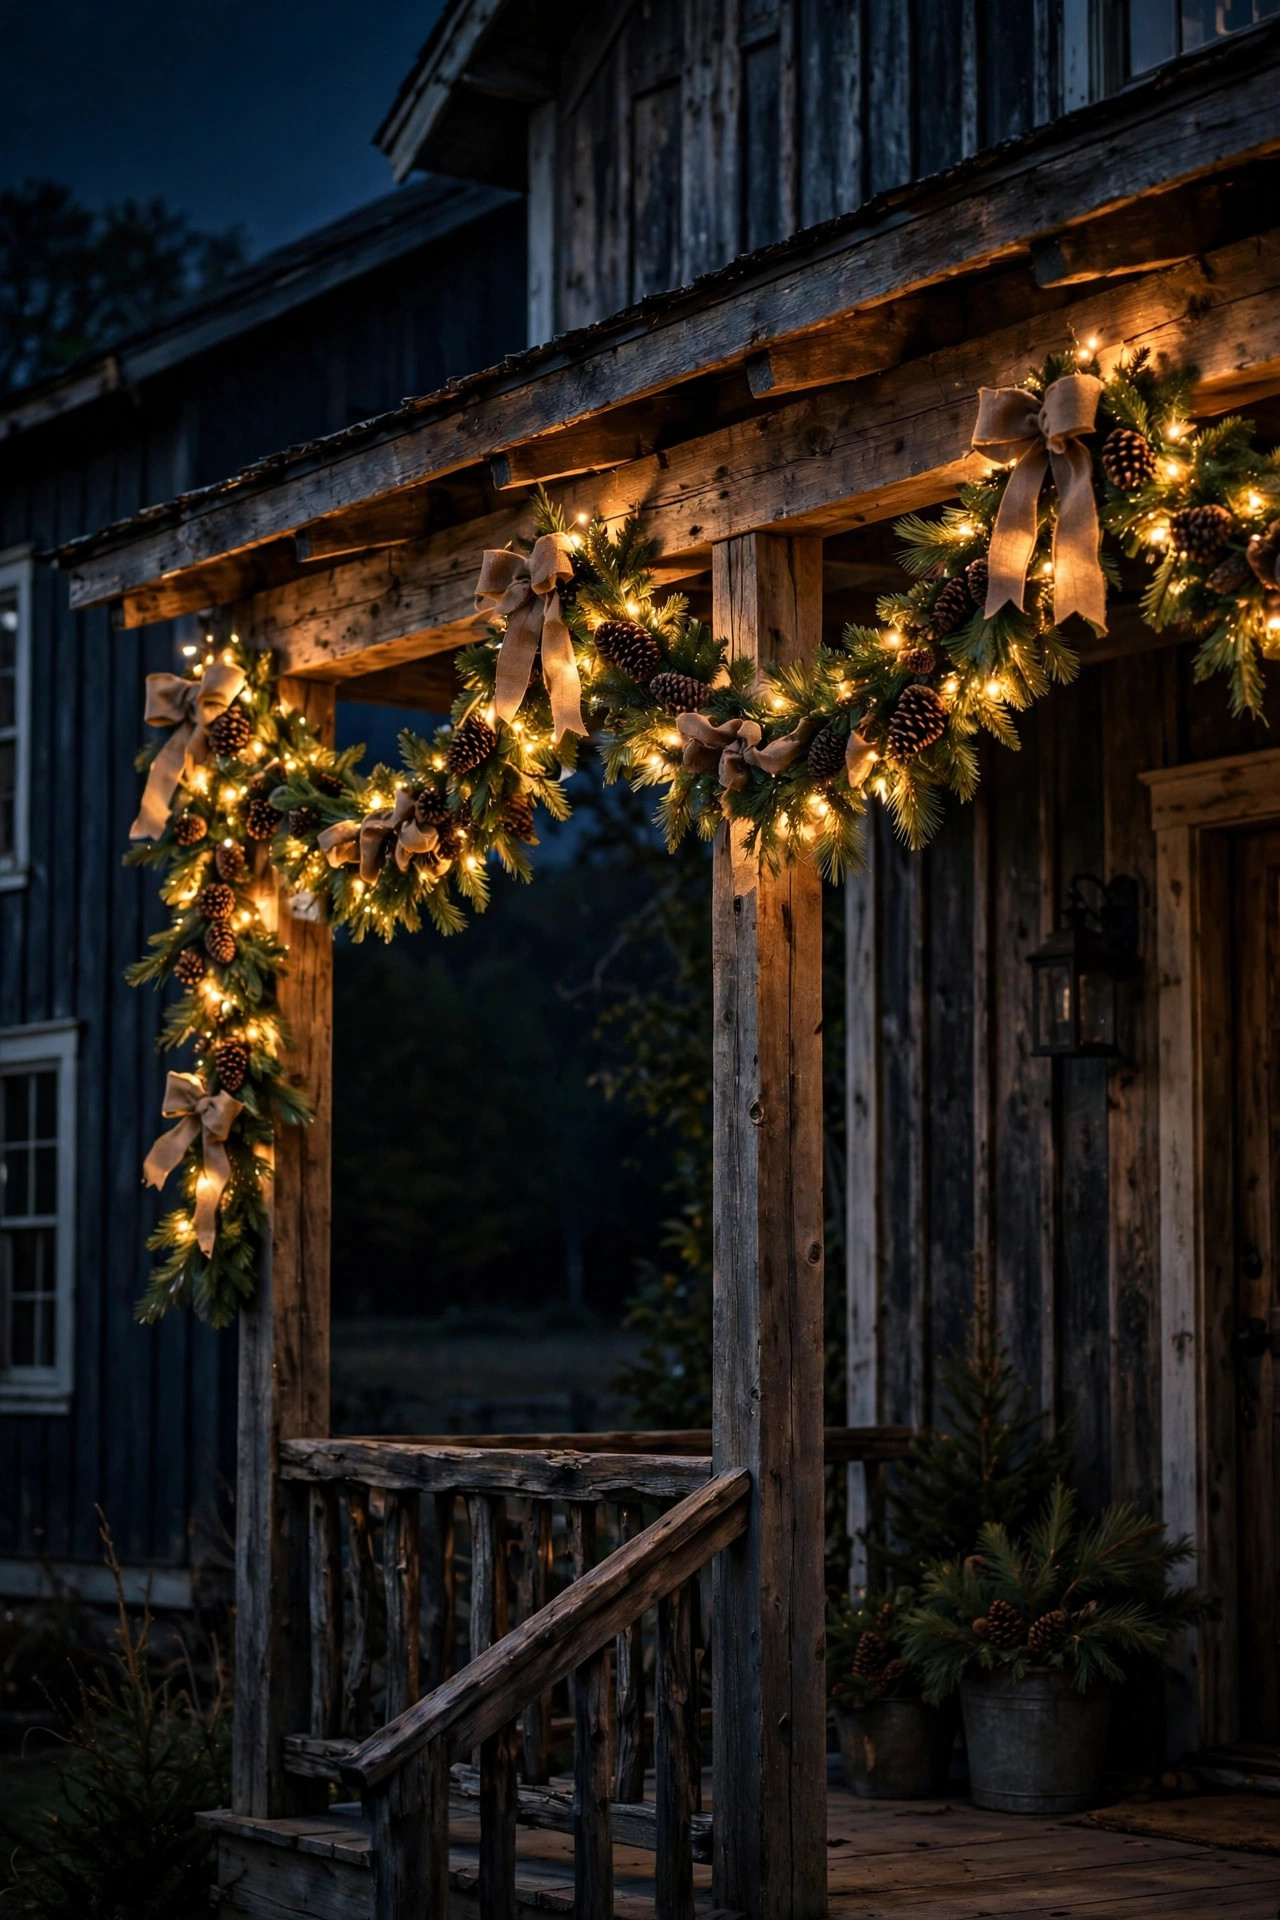
For a cabin-in-the-woods feel, nothing beats pinecones and burlap — and weaving warm lights through them turns rustic into radiant. I hang a 9-foot pinecone garland (real or faux cones wired into a pine base, 60–70 LEDs) across my porch beam, with small burlap bows tied at each swag point. The texture is incredible at dusk: rough bark, papery burlap, and pinpoint lights.
The DIY-friendly angle: you can build this look by starting with a plain pre-lit pine garland and wiring in your own pinecones (gathered or craft-store) with floral wire, plus strips of burlap ribbon. It takes an afternoon and costs half of a pre-decorated garland. If you gather real cones, bake them at 200°F for an hour first to kill any hitchhiking insects — your future self thanks you.
Hang rustic garland where it can be appreciated up close — porch beams, around the door frame, or low along the railing — because the texture is the point. Keep the light count moderate; too many lights wash out the rustic shadows. And pair it with other natural materials: a wooden crate of firewood, a plaid doormat, lanterns with LED candles. This look sings on farmhouses, cabins, and craftsman-style homes.
Suggested budget range: $45 – $100.
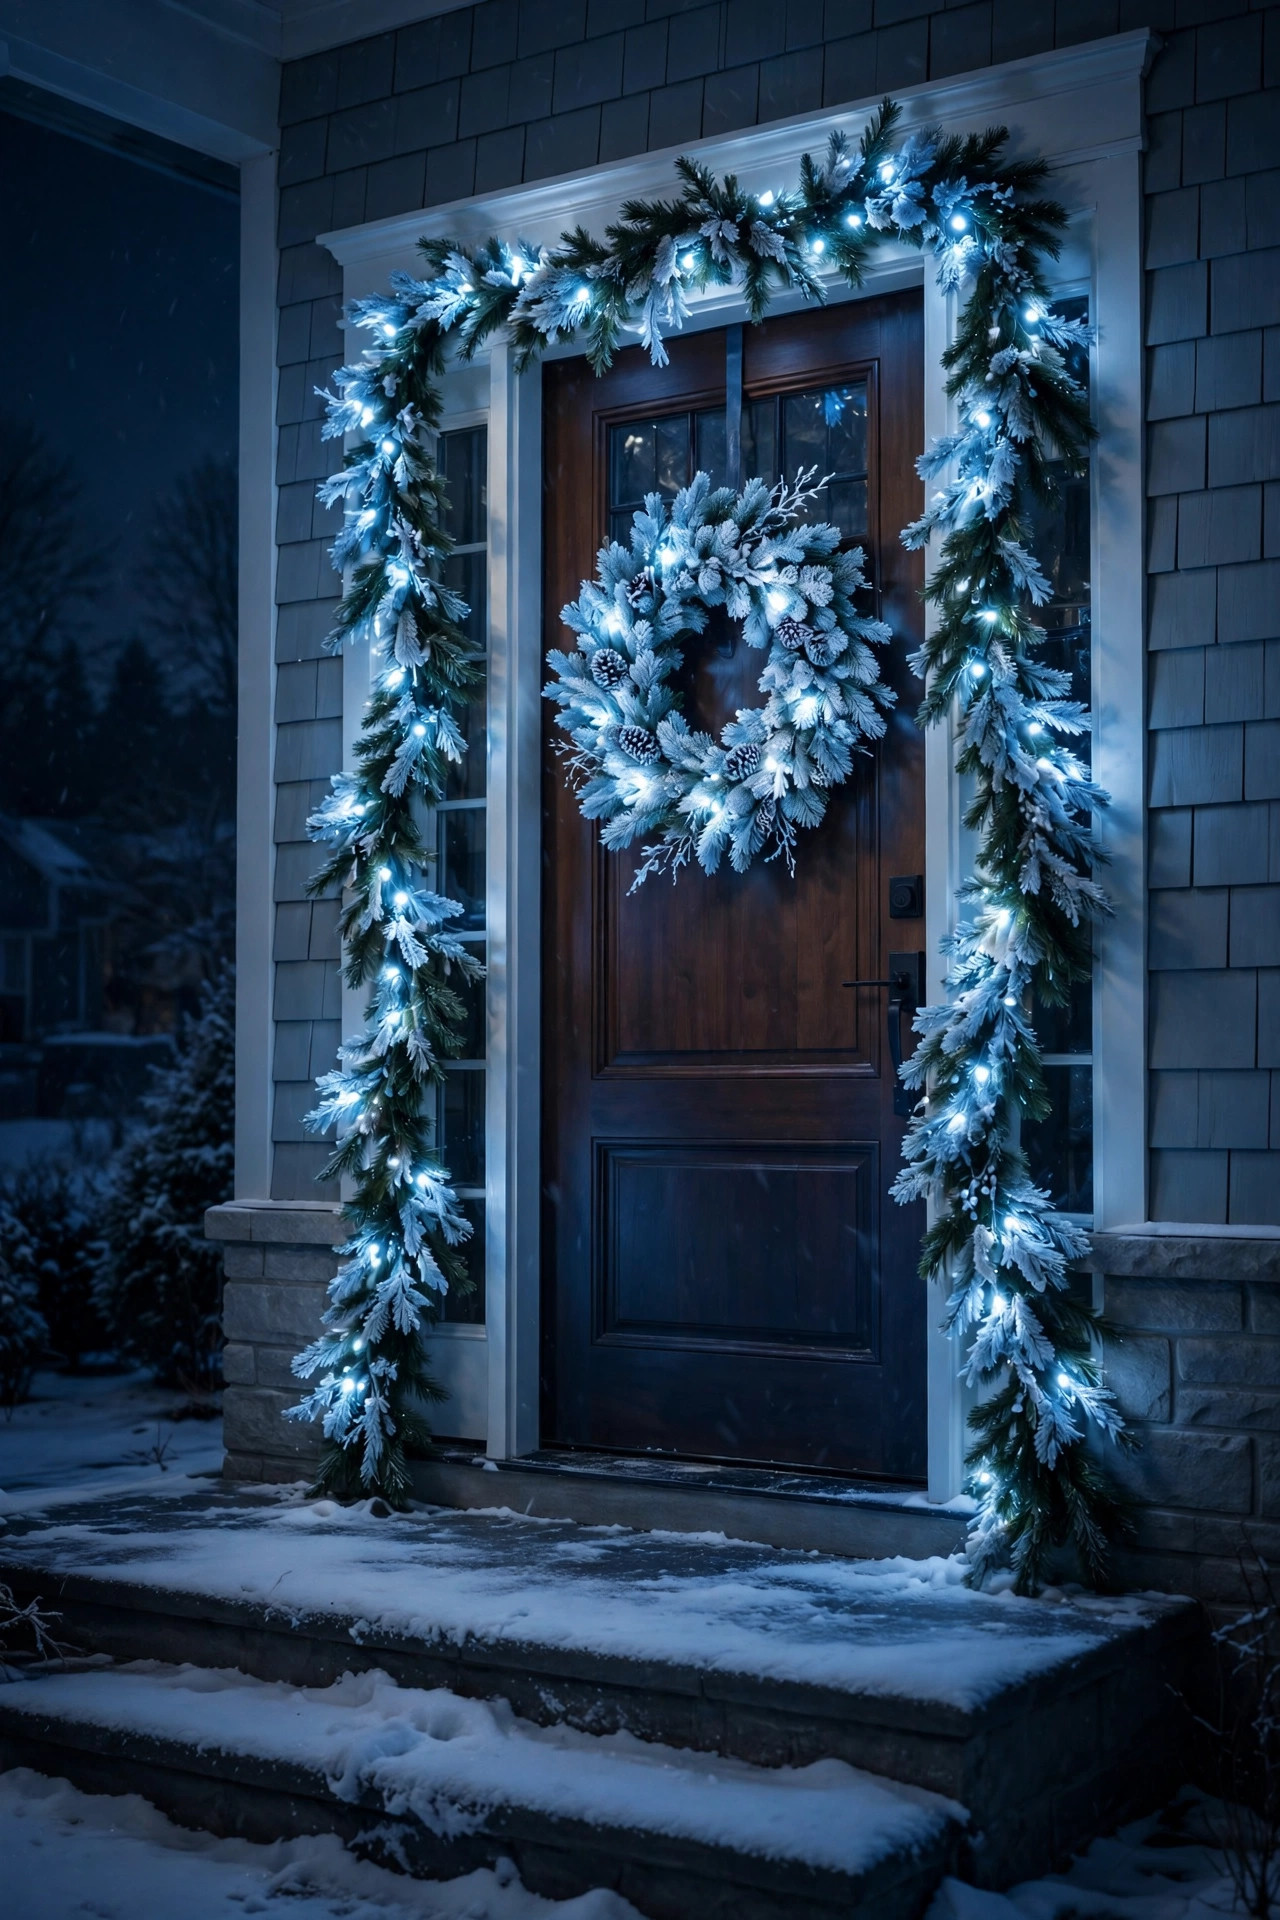
15. Icy Blue-White Pre-Lit Garland and Wreath Combo
Not every Christmas has to be warm and cozy — an icy blue-white palette on garland and wreath looks stunningly elegant, like the whole house was carved from a glacier. I pair a 9-foot blue-white LED garland (cool 5000K lights) swagged over the door with a matching 28-inch wreath, and the effect at night is crisp, modern, and unforgettable.
The key to pulling off cool tones: commit fully. Mixing warm and cool whites in the same display looks like a mistake — go all-in on the icy palette for the garland and wreath, and if you add other lights nearby, keep them cool-toned too. Silver, white, and pale blue accents complement the look; traditional red and gold will clash, so swap them for silver ornaments and white ribbon.
One caution from experience: cool-white light can feel stark on some house colors. It looks phenomenal against dark siding, brick, and stone, but can wash out on already-white houses. Test with one strand at night before committing to the whole display. And keep the light count high — cool LEDs read dimmer to the eye than warm ones, so aim for 70+ lights per 9-foot garland for real presence.
Suggested budget range: $50 – $110.
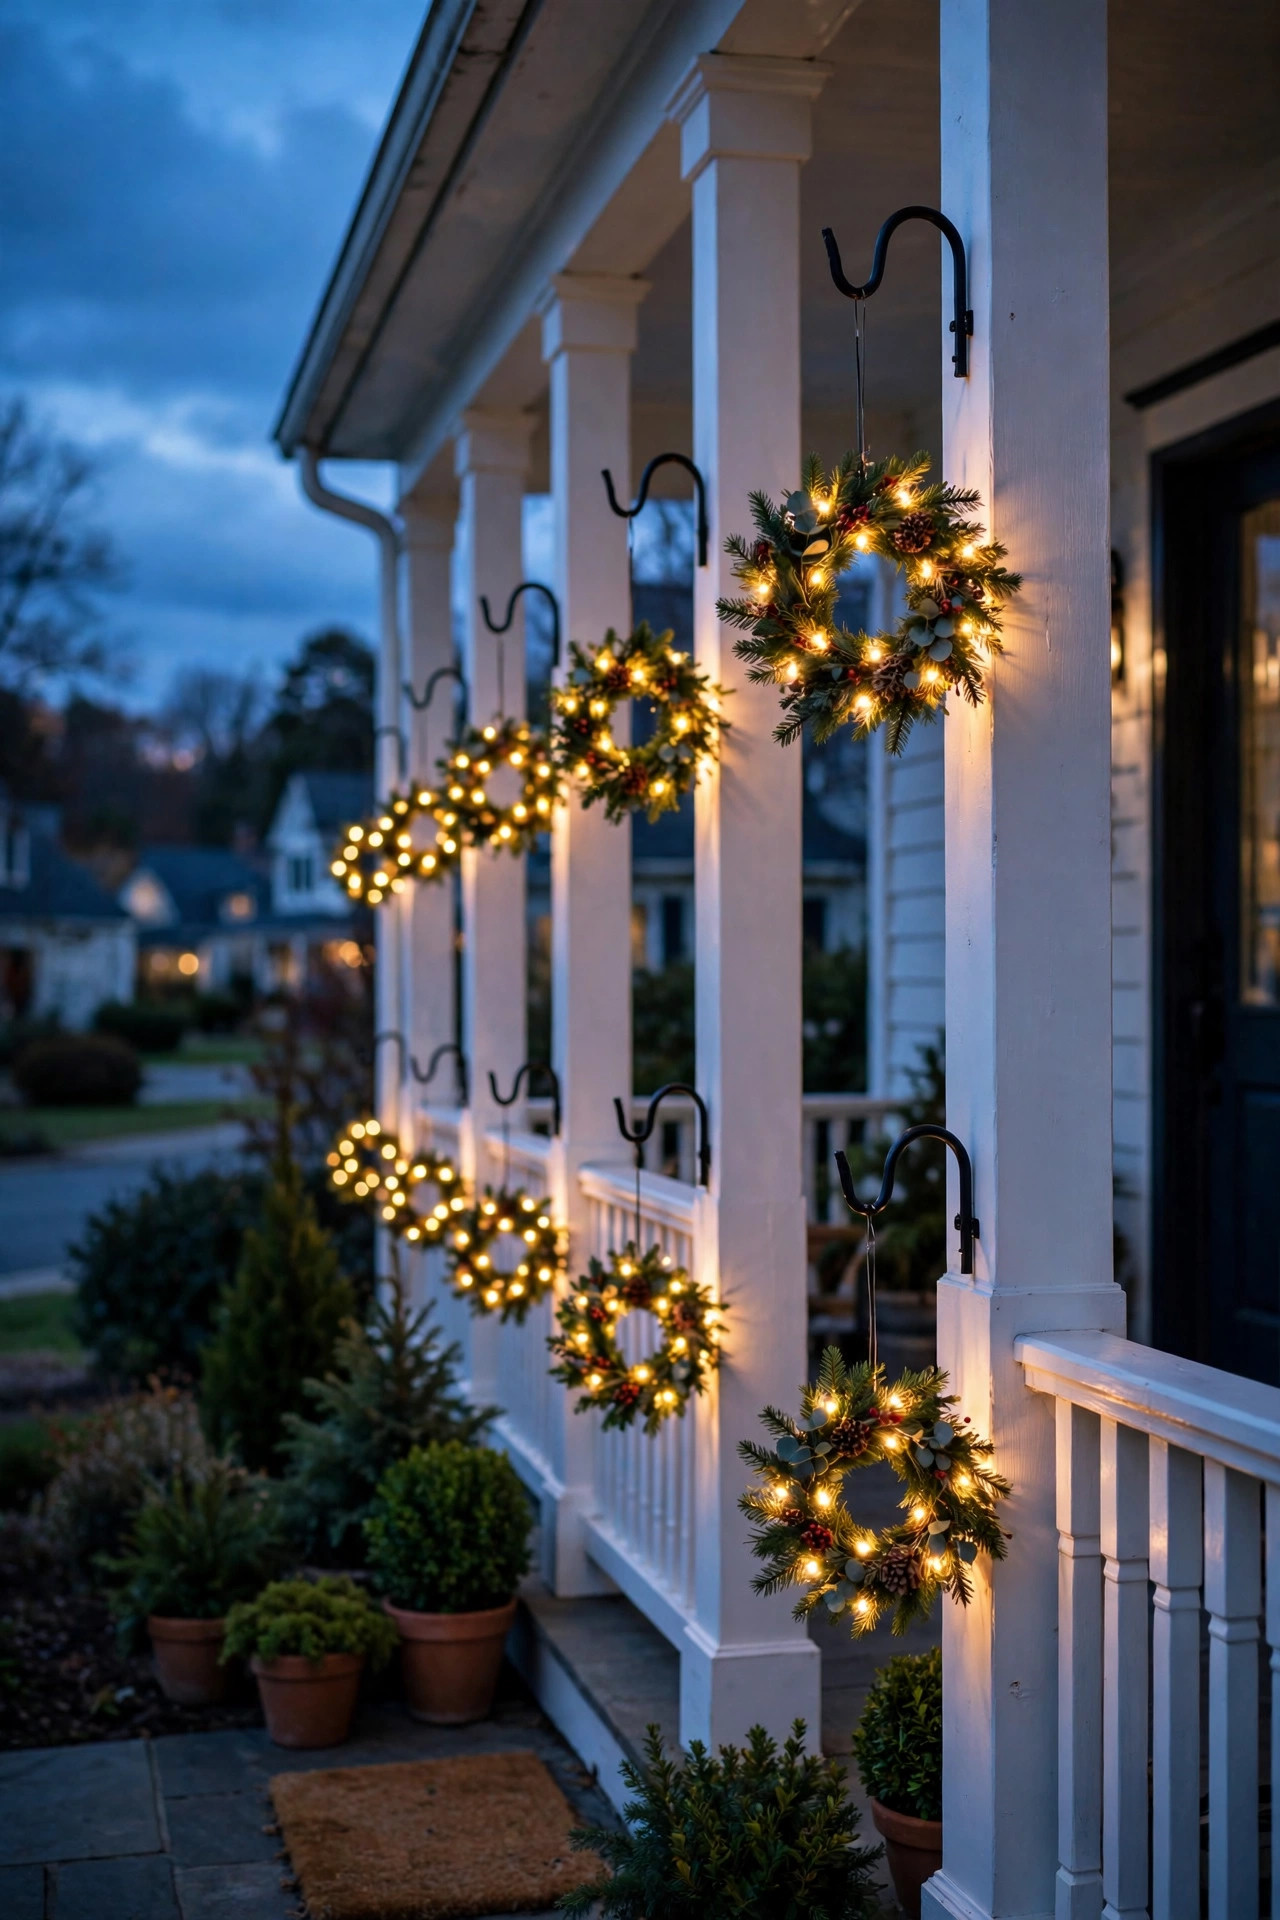
16. Battery Mini-Wreaths on Porch Posts and Lanterns
Sometimes the best ideas are the smallest — 12- to 16-inch battery-operated mini wreaths hung on porch posts, fence posts, and lantern hooks create a sprinkle of light across the whole property. I hang them in pairs flanking the steps, on the mailbox post, and on shepherd's hooks along the walkway, each with 20–30 warm LEDs on a timer.
The beauty of minis is placement freedom: no cords, no outlets, just a nail, hook, or ribbon wherever you want a touch of glow. Look for minis with a built-in 6-hour timer and a discreet battery box that tucks behind the wreath — lithium AAs last the whole season in most climates. At roughly 10 to 15 dollars each, you can scatter a dozen of them for the price of one big garland.
Style them as a set: buy all the minis in the same style (all pine, all berry, all flocked) so the scattered dots of light read as one intentional design rather than random leftovers. I hang mine at consistent heights — centers at 5 feet on posts — for rhythm. Tuck a small bow or a sprig of berries on each one and they look far more expensive than they are. This is my go-to trick for renters and anyone who wants big impact with zero installation.
Suggested budget range: $60 – $150.
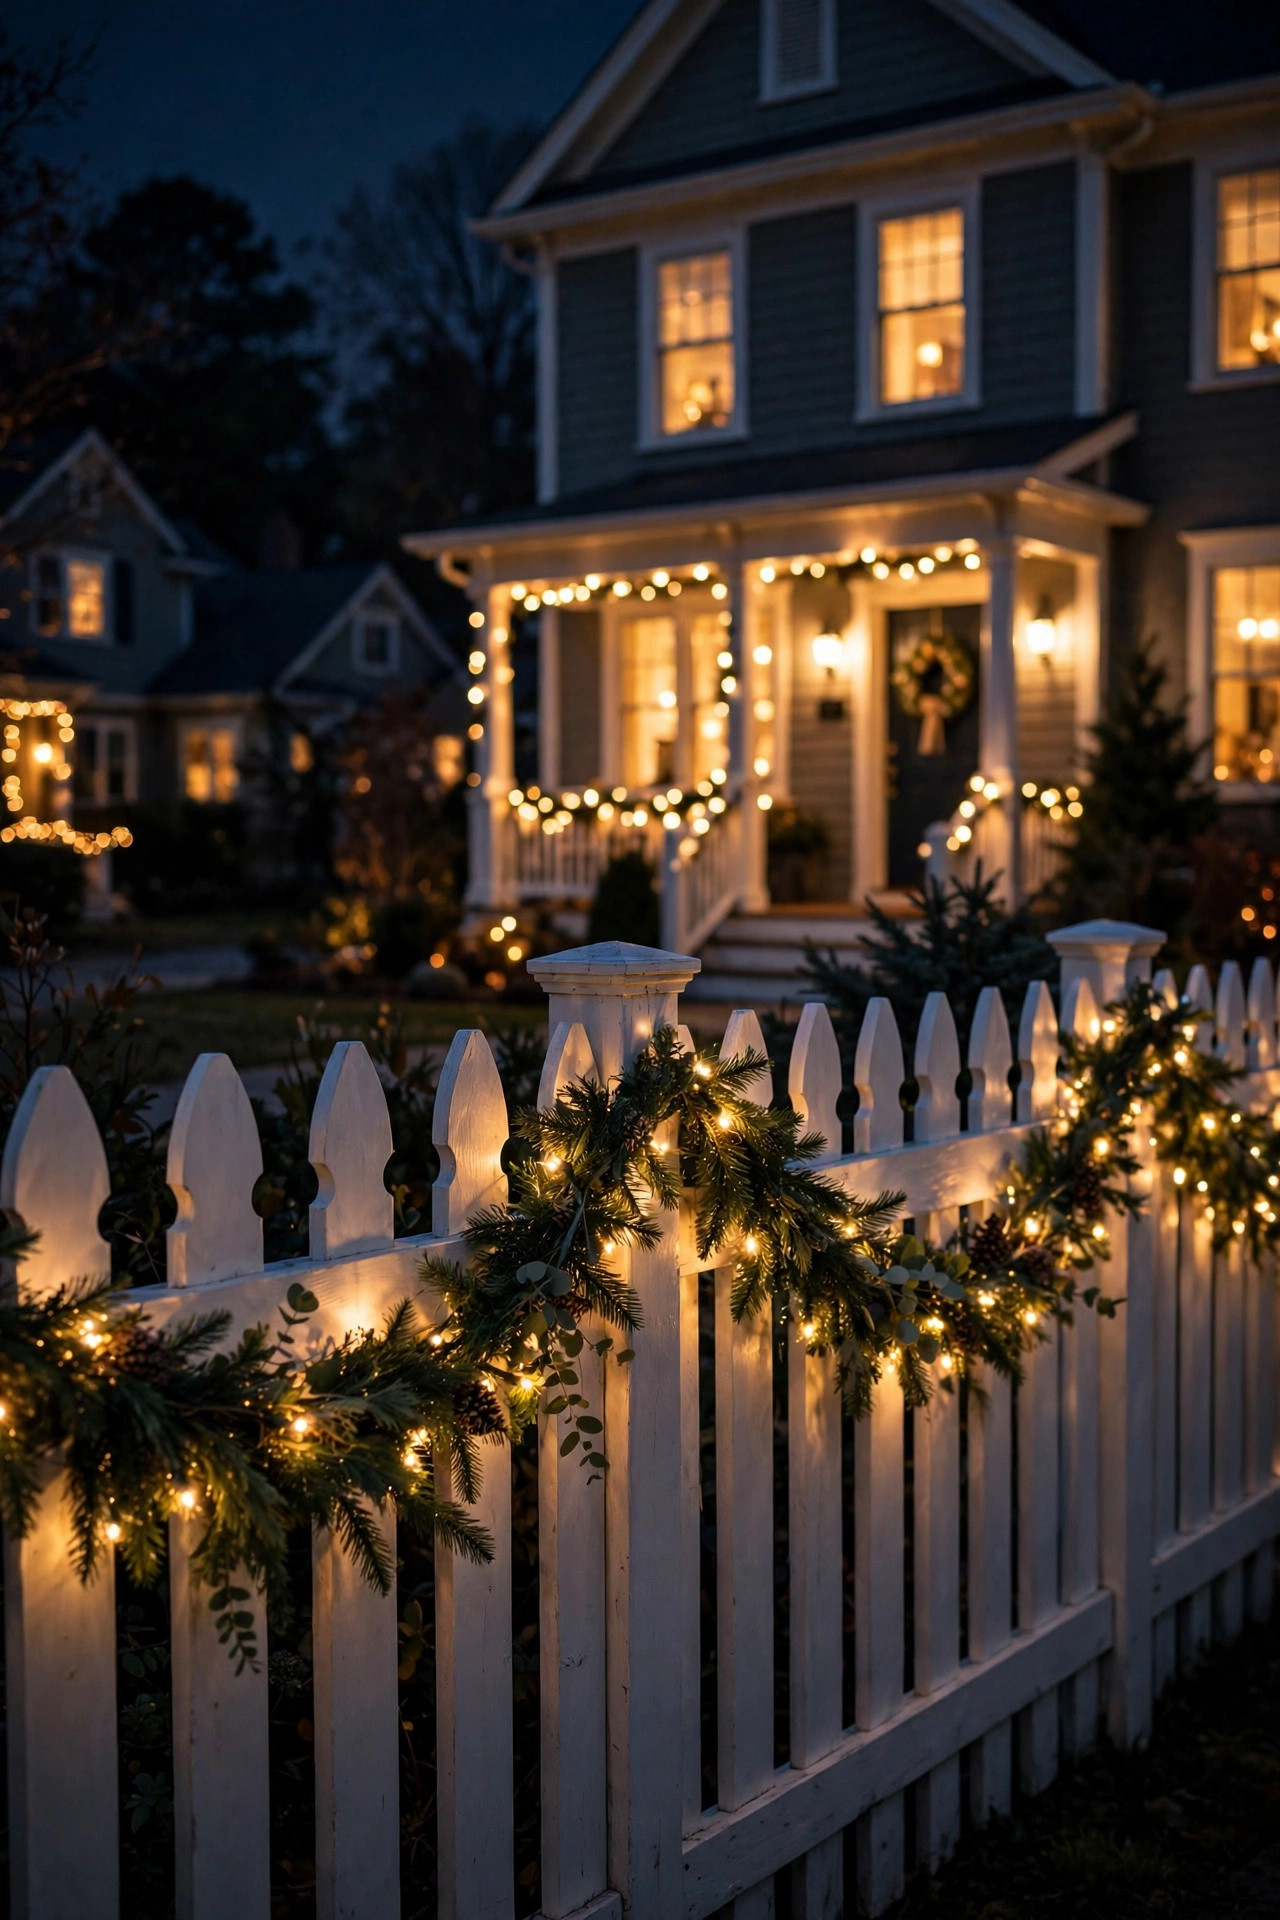
17. Pre-Lit Garland Strung Along the Fence Line
Don't let your fence sit dark — a pre-lit garland strung along the top rail turns your property line into a glowing frame for the whole yard. I run 9-foot garlands end to end along my front fence (about 40 feet total), joined with twist ties and secured to the rail every 4 feet with zip ties. From the street, the fence becomes a ribbon of light that makes the whole property feel decorated.
Power is the main puzzle: fences are far from outlets, so plan a single outdoor extension cord run along the fence's back side, pinned low and hidden by mulch or shrubs. Connect each garland's plug into an outdoor power strip at the midpoint, and run the whole thing on a dusk-to-dawn timer. For very long fences, consider solar-assisted or battery garlands for the far sections — just keep the color temperature consistent (2700K) so the fence reads as one piece.
Wind is the other consideration: a fence catches wind like a sail, so secure the garland firmly and choose garlands with wired branches that won't shred. Check local codes if your fence borders a sidewalk — keep garlands at least 8 feet above walking paths. The payoff is enormous, though: a lit fence makes even a modest house look like a holiday destination.
Suggested budget range: $120 – $280.
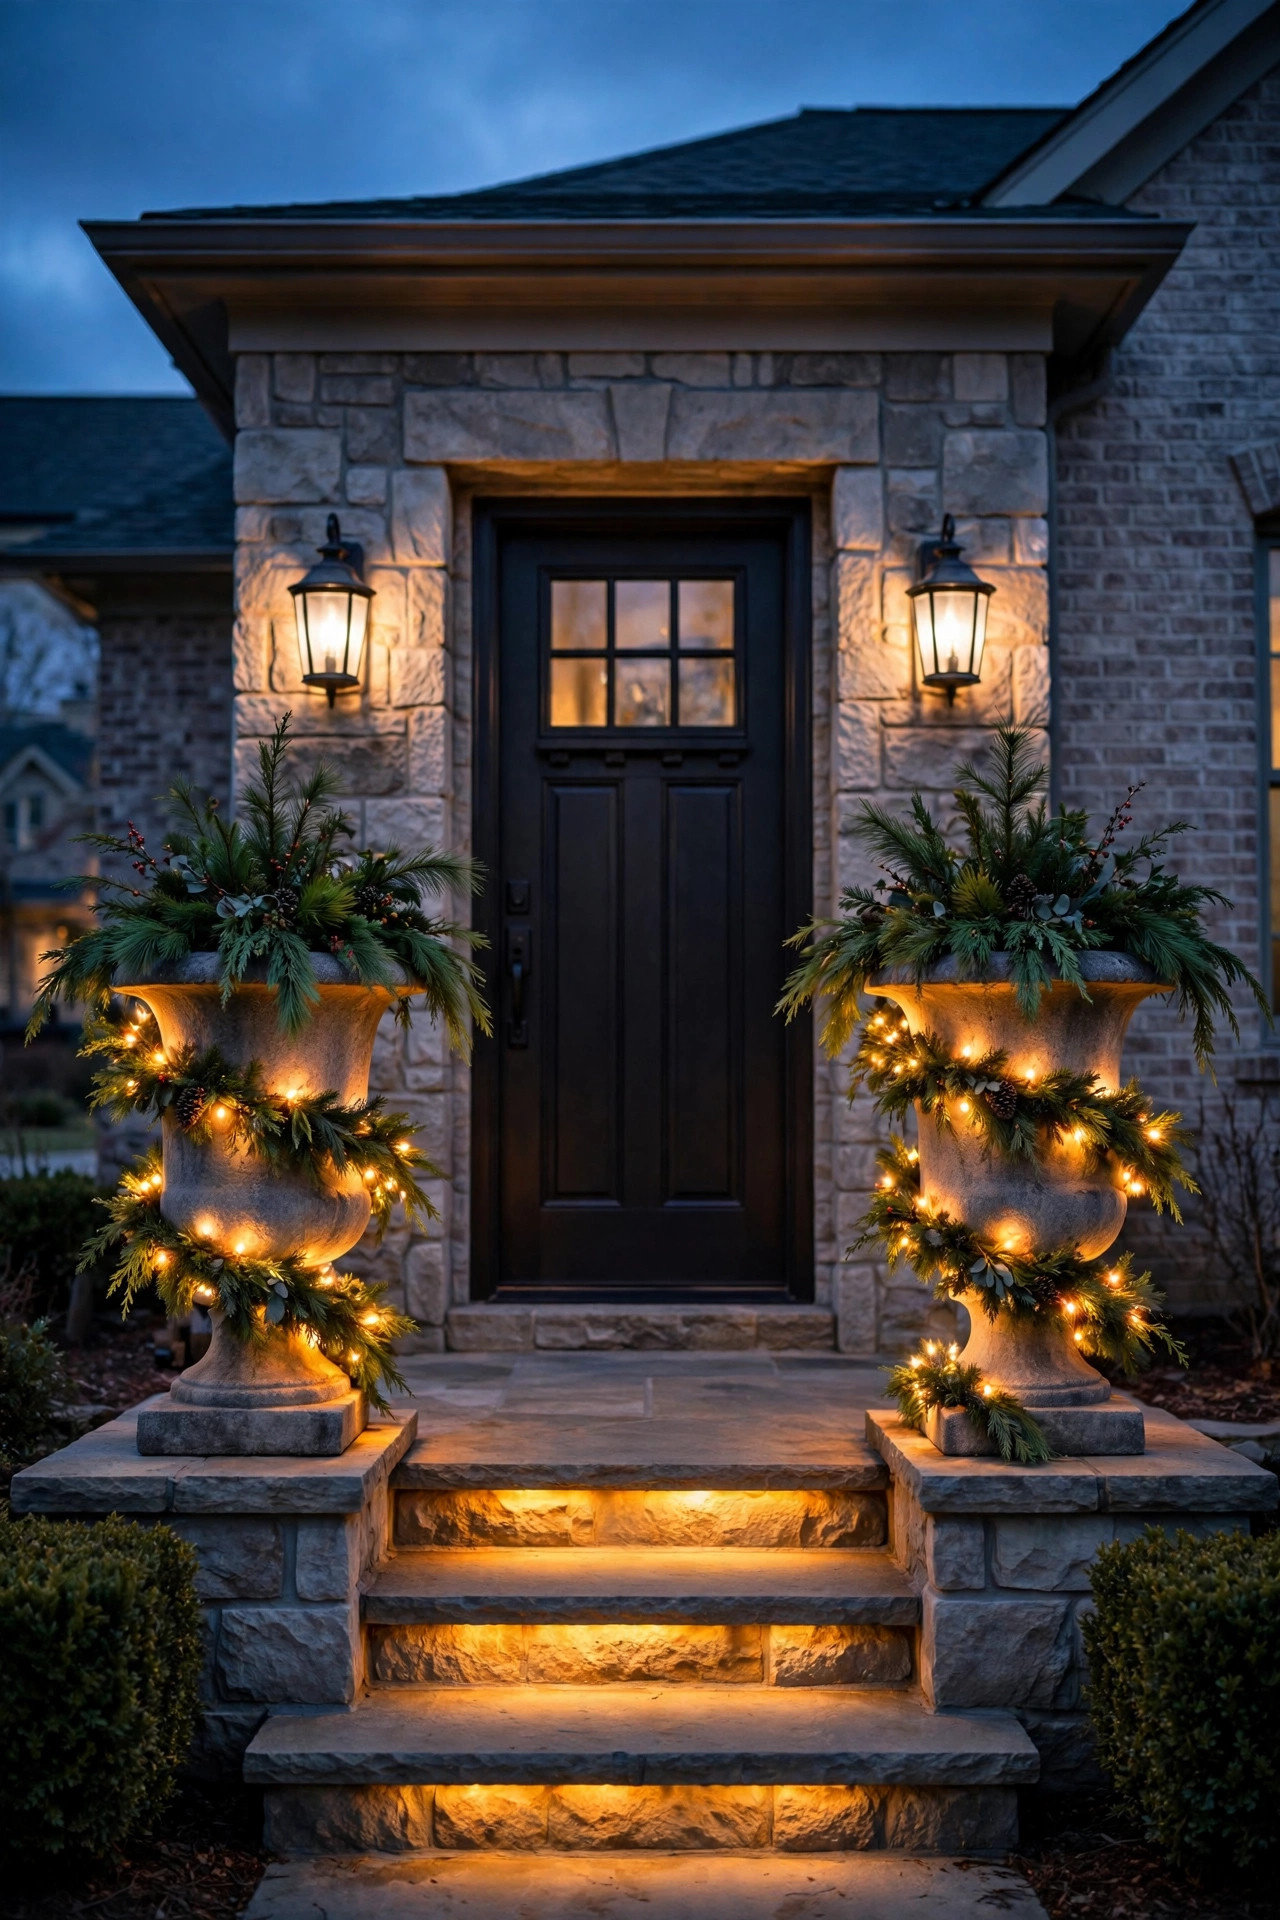
18. Pre-Lit Garland in Urns Flanking the Front Door
Two matching urns flanking the front door are a decorator's secret weapon — and coiling pre-lit garland inside them creates glowing topiary-like forms without the topiary price. I take 9-foot garlands and spiral them upward inside 24-inch urns, starting wide at the base and narrowing toward the top, securing the spiral to a central tomato cage or cone form hidden inside. The result looks like a lit spiral tree.
The mechanics: place a cone-shaped wire form (a tomato cage flipped upside down works perfectly) inside each urn, then spiral the garland around it from bottom to top, using twist ties every foot. Fluff the branches outward so the cone reads full and no wire shows. Two garlands per urn gives a lush look; one reads sparse. Plug both urns into a single timer-controlled outlet, or go battery if the urns are far from the house.
Weight the urns so winter wind can't topple them — a few inches of gravel or sand in the bottom does it. Style the base with pinecones, red berries, or a plaid bow tied around the urn's neck. In my experience, these lit urns are the single most complimented element of my display — they frame the door, glow at eye level, and look like you hired a professional.
Suggested budget range: $80 – $180.
19. Pre-Lit Wreath Paired With Lantern Sconces
A wreath alone is lovely; a wreath flanked by glowing lantern sconces is a vignette. I hang my pre-lit door wreath as usual, then mount (or set) a pair of lanterns with flameless LED candles on either side of the door — on wall hooks, on stands, or on stacked crates. The wreath glows at the center while the lanterns add flickering warmth at the edges, and the three light sources together create real depth.
The layering principle I always recommend: the wreath is your mid-level light, the lanterns add low flickering points, and a porch ceiling light or string lights overhead complete the triangle. Keep all three at the same warm color temperature (2700K) so they harmonize instead of clashing. Set the lantern candles on timers synced with the wreath so everything ignites together at dusk.
For renters or the drill-averse: skip wall-mounted sconces and use freestanding lanterns on either side of the door — the effect is nearly identical with zero holes. Choose lanterns with glass panels (they magnify the LED candlelight beautifully) and look for the flickering-flame style candles rather than steady glow — the movement is what makes them feel alive next to the wreath's steady sparkle.
Suggested budget range: $75 – $170.
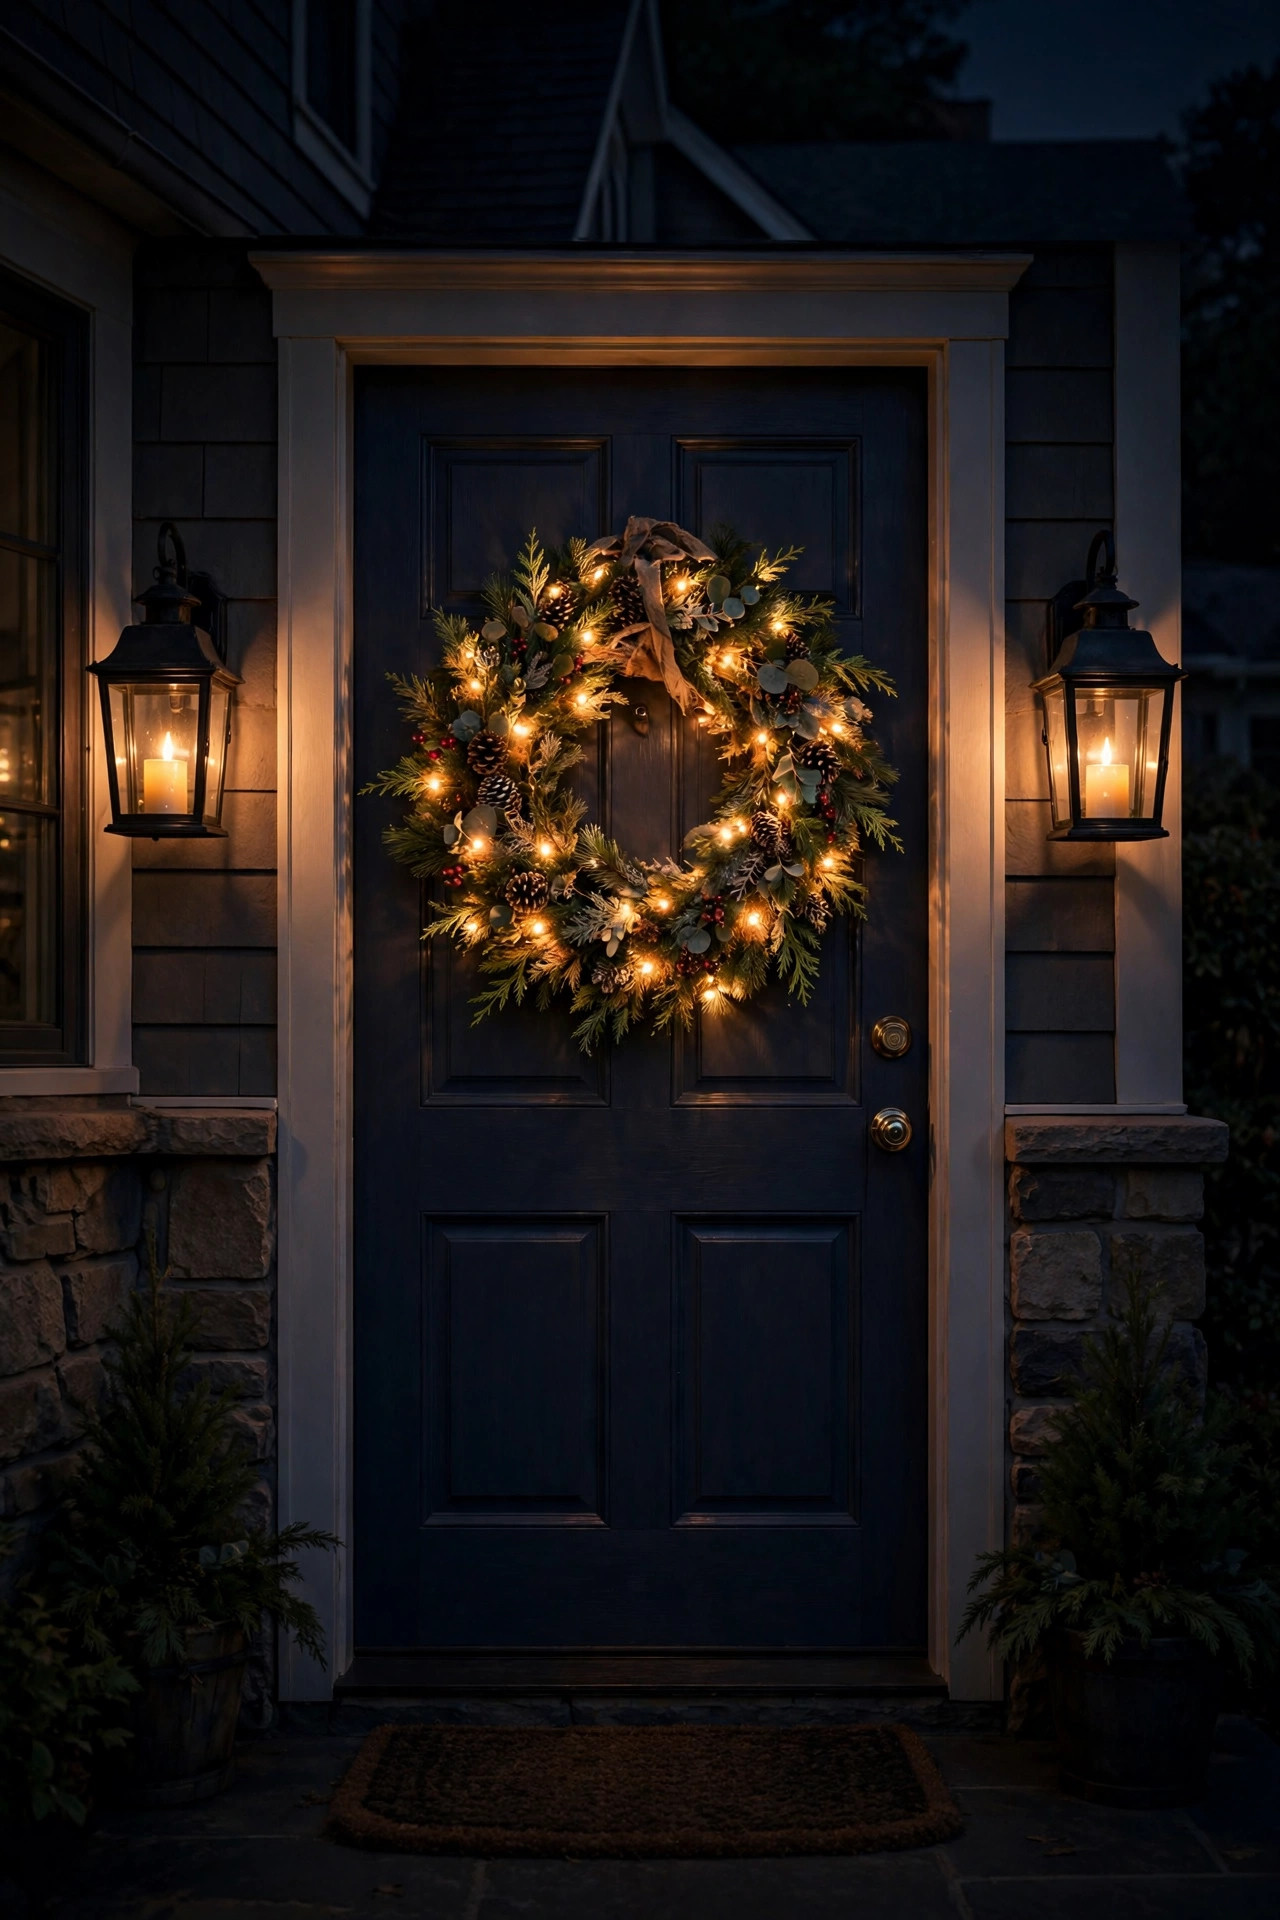
20. Pre-Lit Cedar Garland for Natural Texture and Scent
Cedar garland is the connoisseur's choice — its feathery, layered branches have a softness that pine can't match, and real cedar smells like Christmas itself. I drape 9-foot pre-lit cedar garlands (80–100 warm lights) along my porch railing and over the door, and visitors always comment on the scent before they notice the lights.
Real vs. faux is the big decision: real cedar garland smells incredible and looks lush, but it dries out, drops needles, and lasts 3–4 weeks outdoors. Faux cedar lasts for years and the pre-lit versions have gotten remarkably realistic. My compromise: one real cedar garland right by the front door where the scent greets guests, and faux pre-lit cedar everywhere else for longevity. If you go real, soak it in water for a few hours before hanging and mist it weekly.
Cedar's delicate branches need gentle handling — fluff by lifting and separating layers rather than pulling. The fine texture shows lights beautifully; smaller mini-LEDs woven through cedar create a starry effect that larger bulbs can't match. Pair cedar garland with a simple cedar wreath on the door and eucalyptus sprigs tucked in for a fresh, modern-natural look that stands out from the standard pine crowd.
Suggested budget range: $55 – $130.
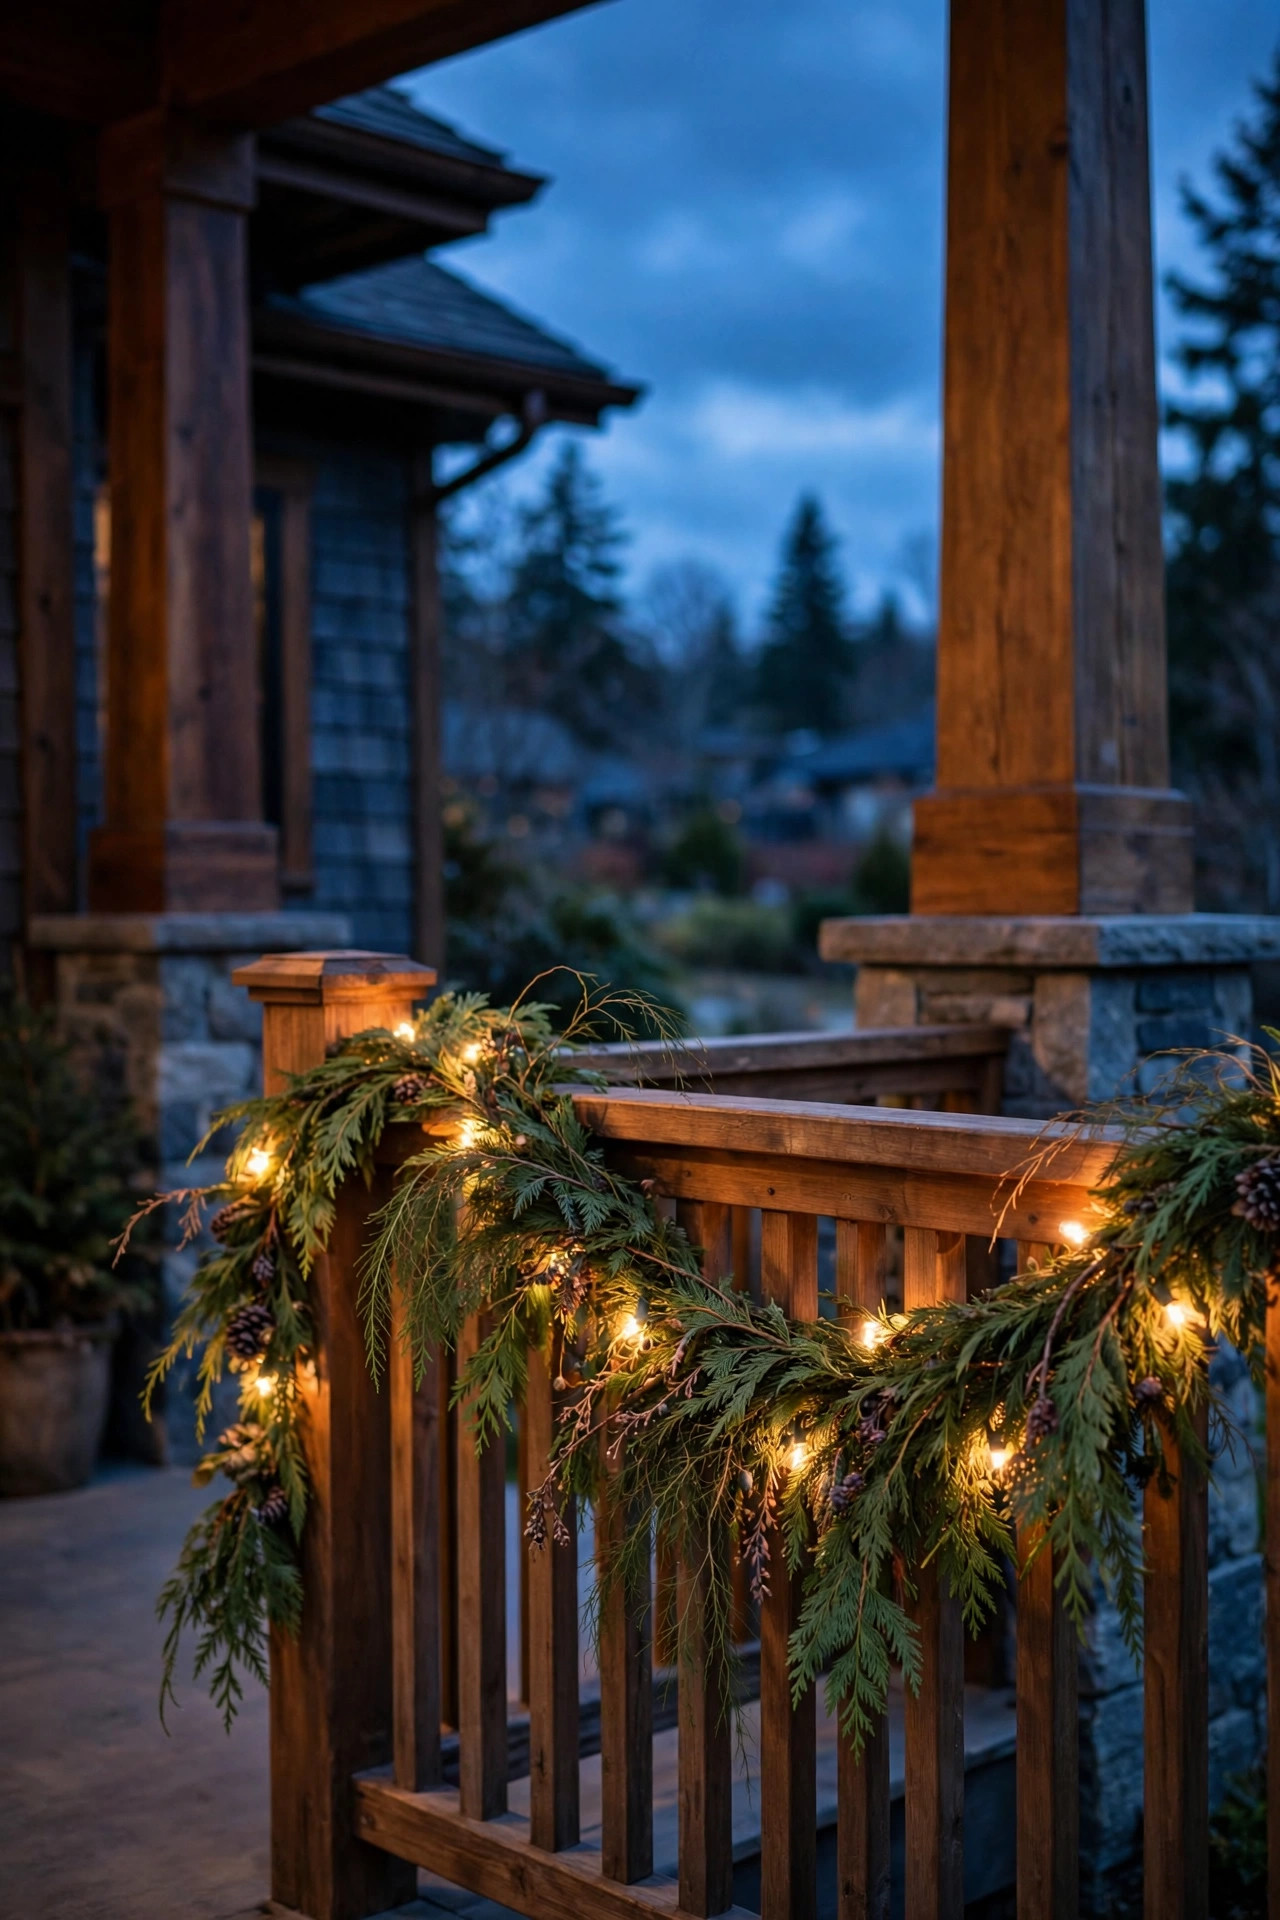
21. Vintage-Style Multicolor Pre-Lit Wreath for Nostalgia
If warm white feels too modern, a multicolor pre-lit wreath brings back the Christmas of childhood — big C7-style bulbs in red, green, blue, gold, and pink glowing against dark green foliage. I hang a 30-inch multicolor wreath on my side door every year, and honestly? It makes me happier than all the elegant warm-white stuff combined.
The key to making multicolor look intentional rather than chaotic: let the wreath be the ONLY multicolor element in that zone. A rainbow wreath surrounded by warm-white garland looks like a mistake; a rainbow wreath with a couple of matching multicolor touches (a string of big-bulb lights on a nearby bush, or multicolor mini-wreaths) looks like a theme. Commit to the nostalgia fully.
Look for wreaths with the larger C7 or C9 style bulbs rather than tiny multicolor minis — the big retro bulbs are what sell the vintage feel. LED versions stay cool and use a fraction of the power of the incandescents we grew up with. This is also a fantastic choice for a kids' entrance or a playroom window — the colors read joyful and welcoming. Pair it with classic red bows and skip the metallics for full retro charm.
Suggested budget range: $40 – $85.
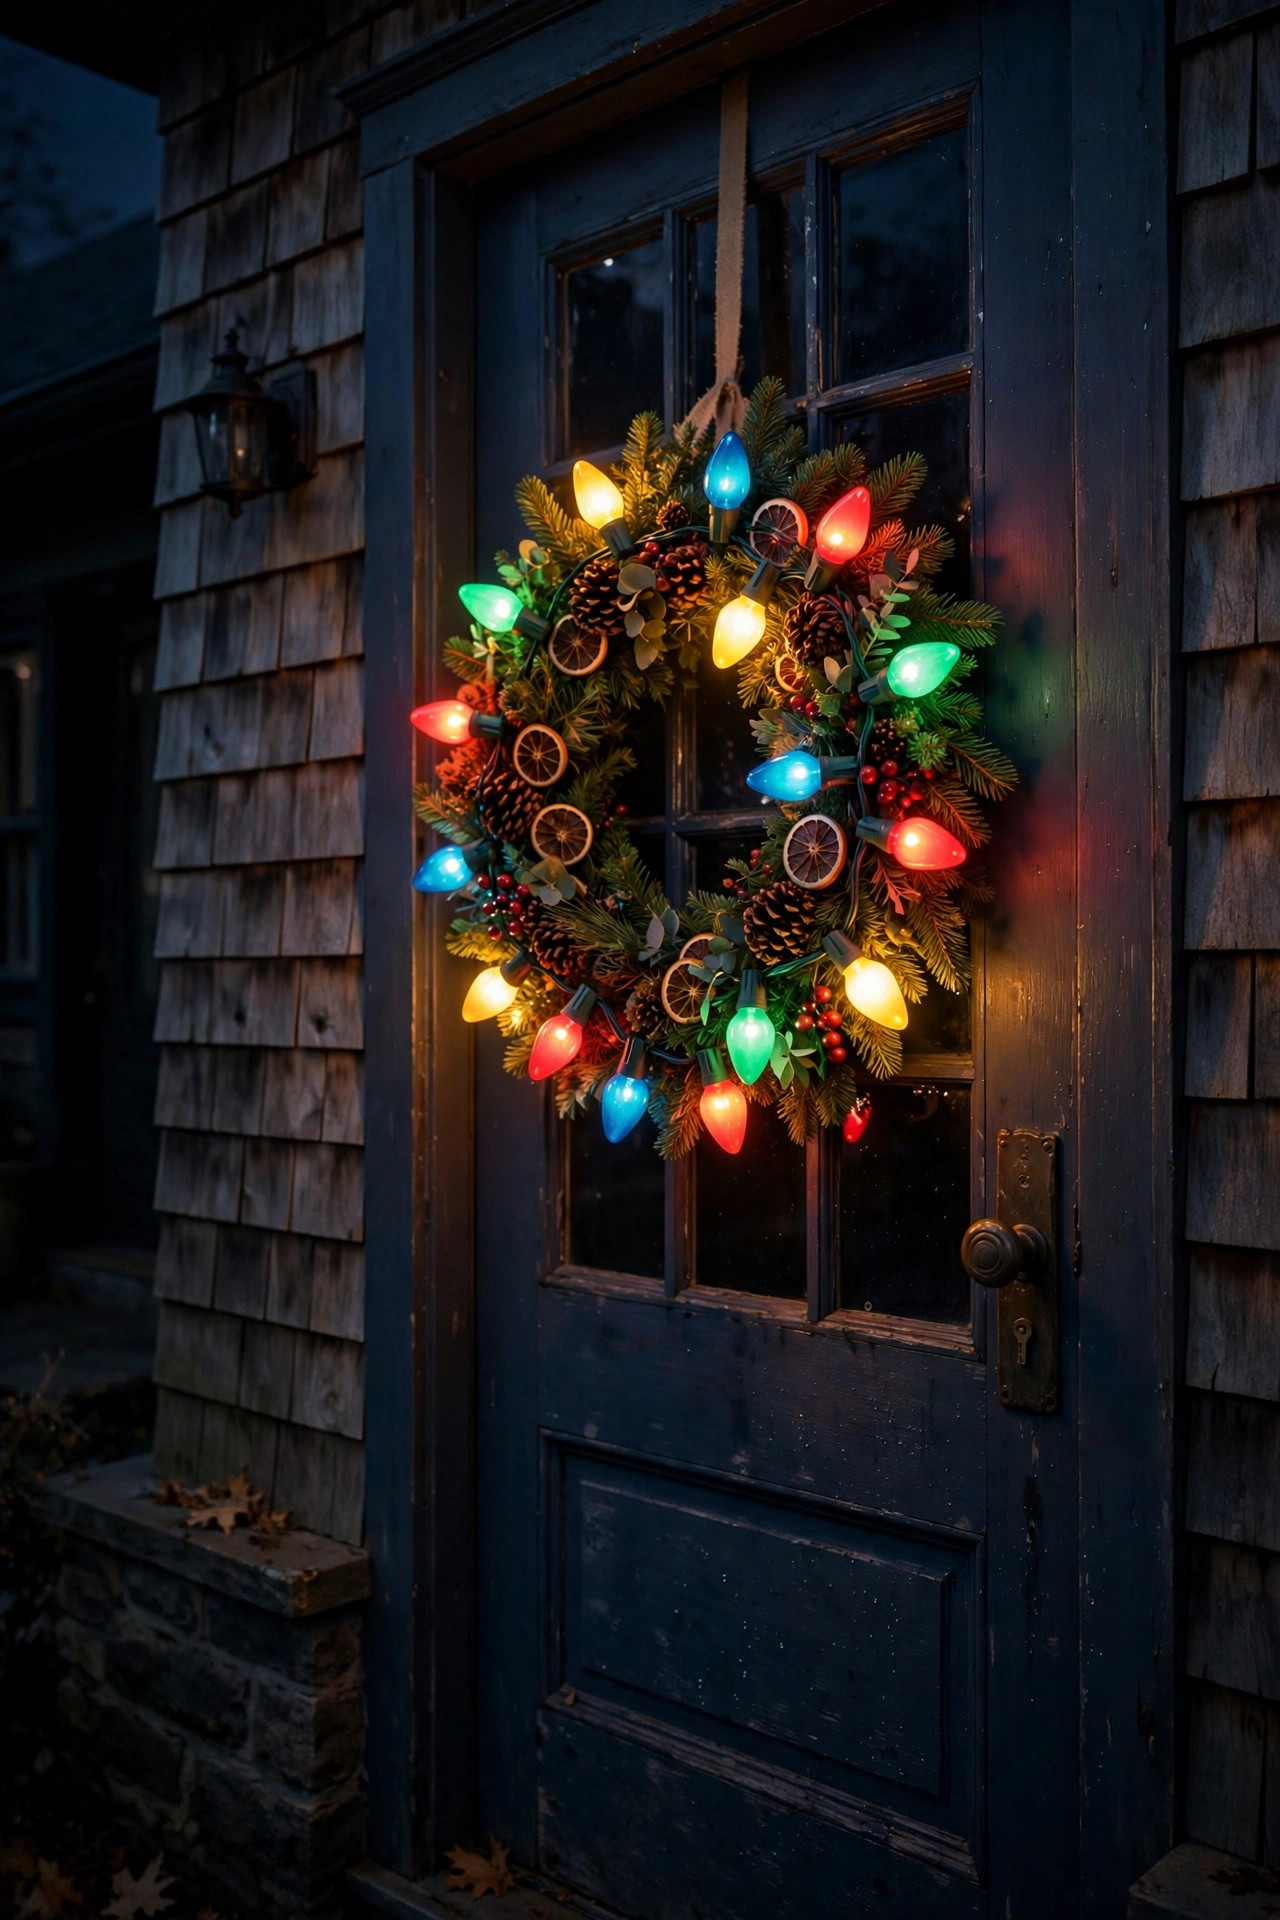
22. Pre-Lit Garland Paired With Icicle Lights on the Roofline
Garland and icicle lights are a power couple — the garland gives you lush greenery at the porch level while icicles add dripping sparkle along the roofline above. I run a 9-foot pre-lit garland swagged along my porch beam, with a strand of warm-white icicle lights clipped to the gutter directly above it. The two layers together make the whole facade glow in depth.
Installation order matters: hang the icicle lights first (gutter clips, one every 12 inches, strand plugged into a timer), then swag the garland below them. Keep the color temperatures matched — warm-white icicles with warm-white garland — or the layers will fight each other. The garland's plug and the icicles' plug can share one outdoor timer via a 3-outlet tap, so both layers ignite at dusk in perfect sync.
The visual trick: the icicles' vertical drops echo the garland's swag dips, creating a rhythm across the whole front of the house. In my experience, this combination photographs better than either element alone — the garland provides the rich green base that makes the icicles' sparkle pop. For more roofline inspiration, my guide to [Christmas light projector ideas](https://exteriorhouselighting.com/christmas-light-projector-ideas/) covers ways to extend the magic even higher.
Suggested budget range: $70 – $150.
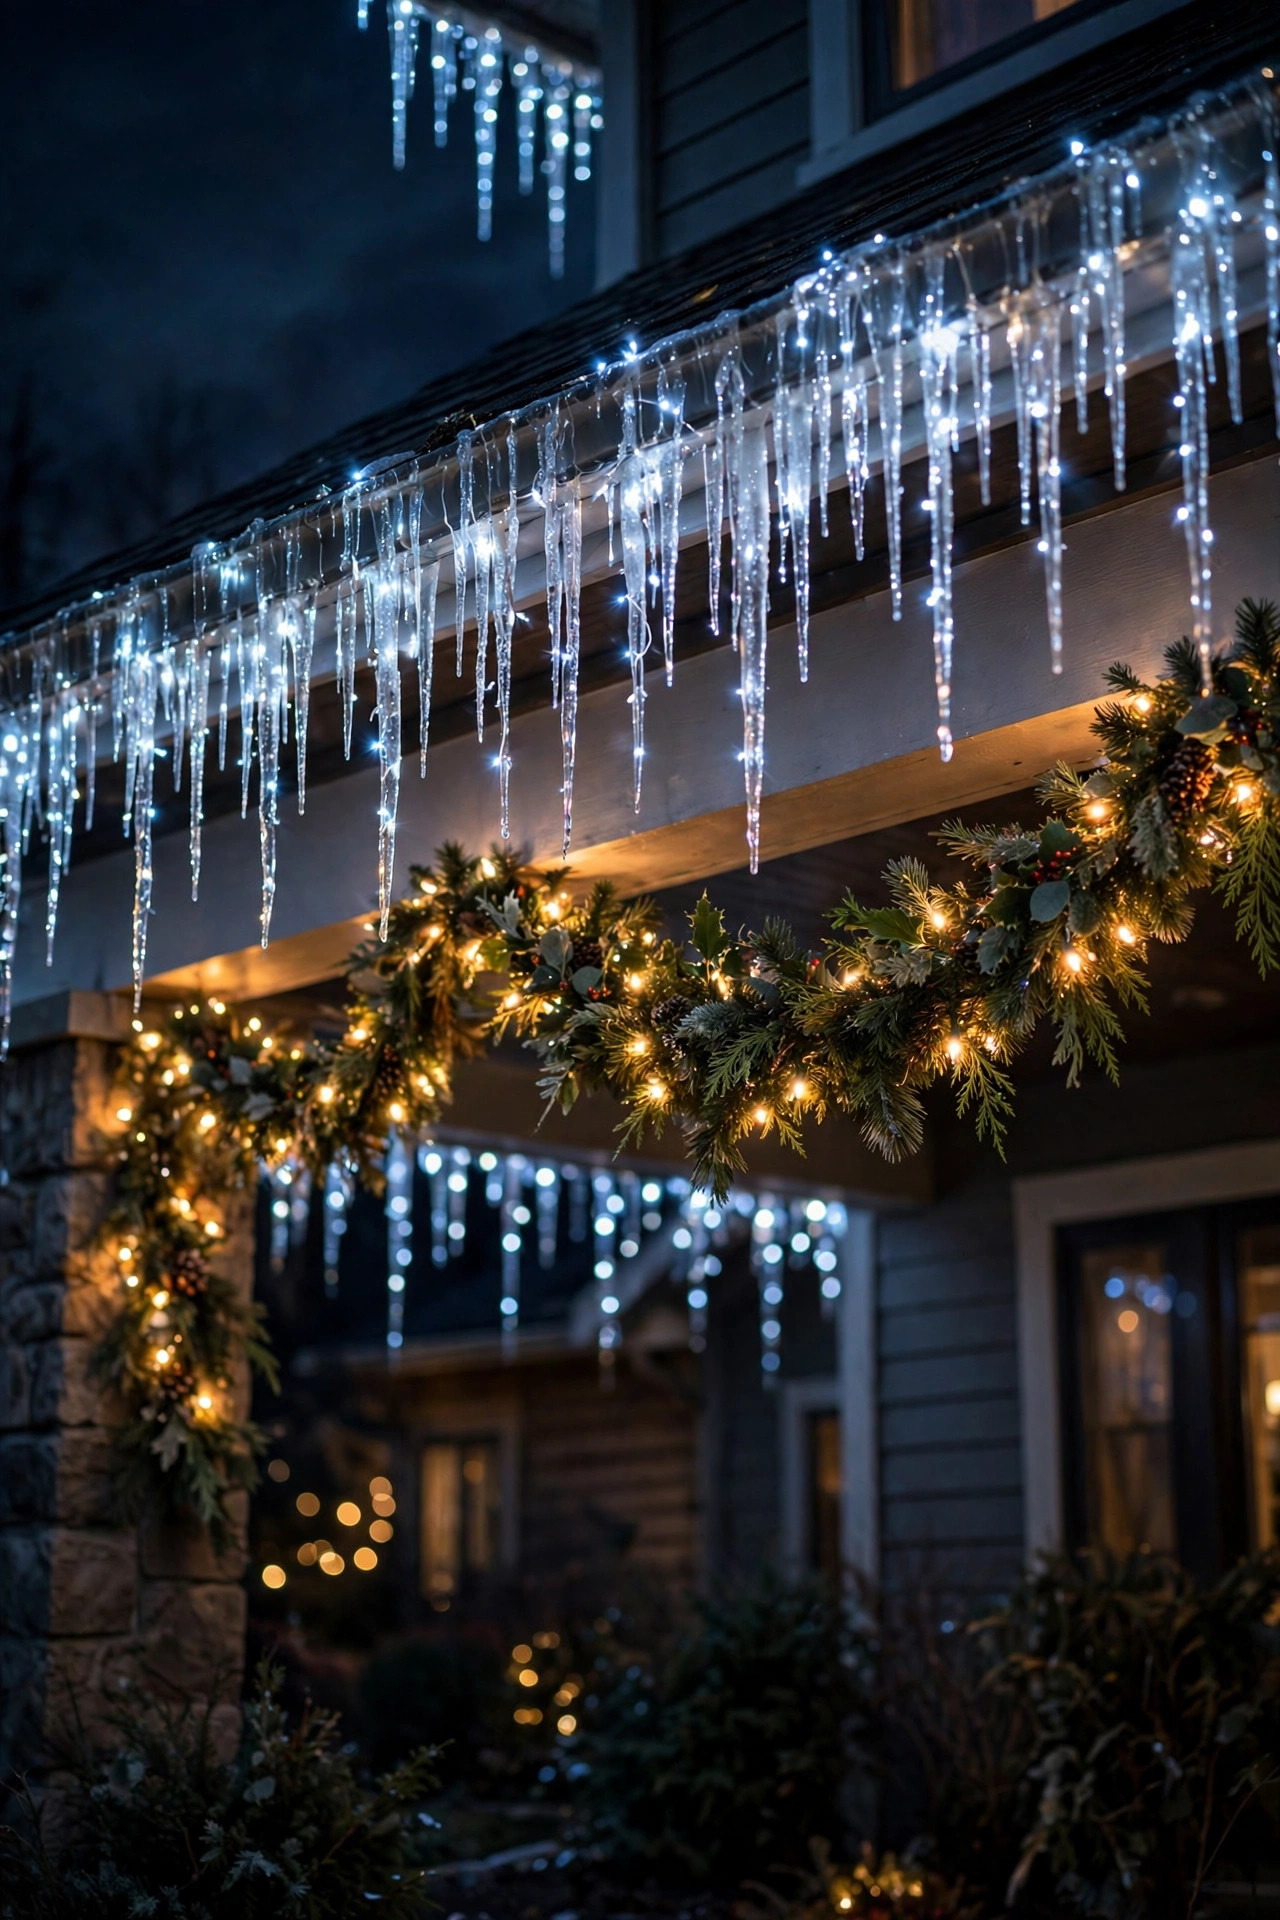
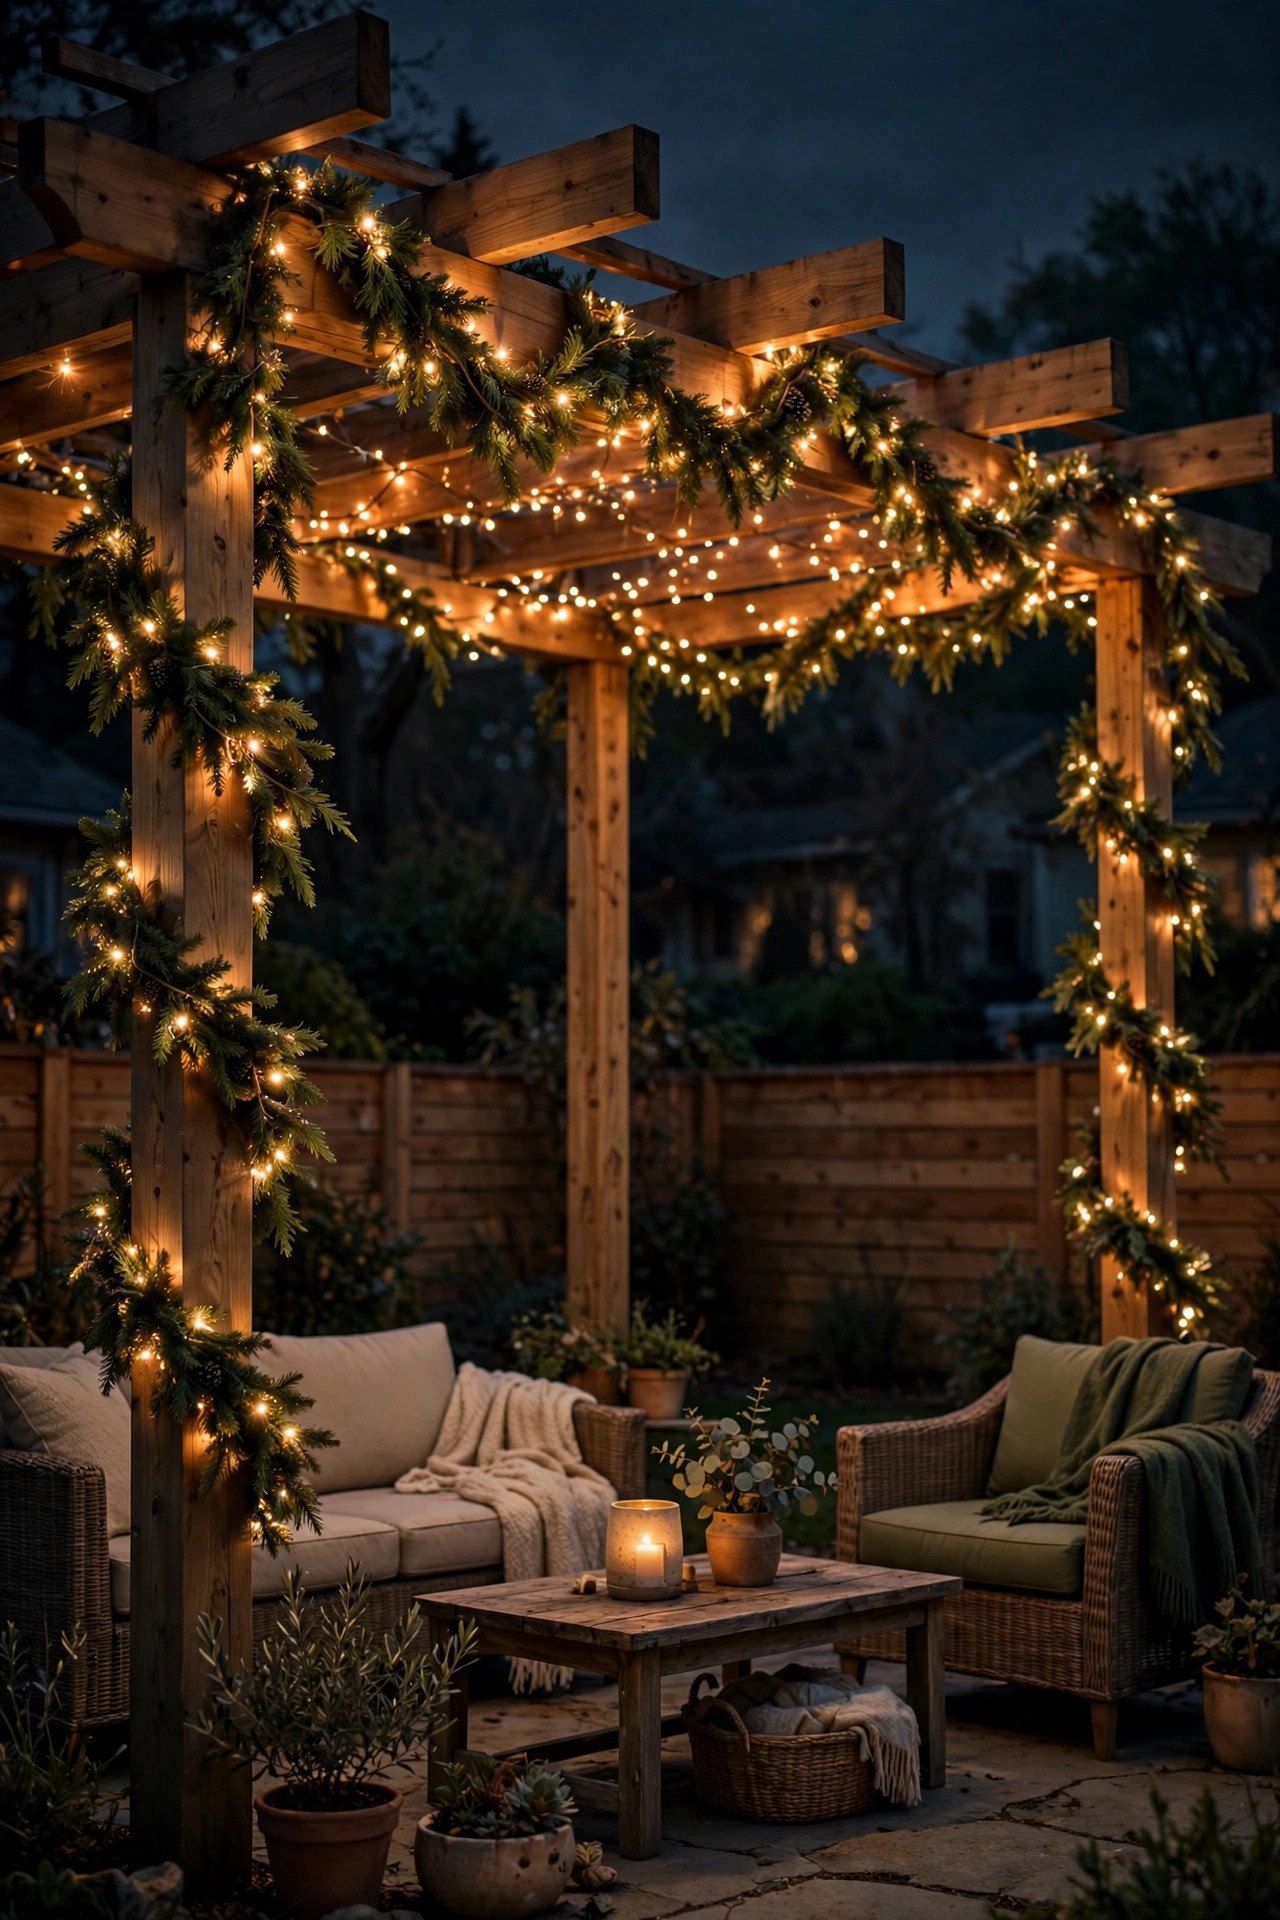
23. Pre-Lit Garland Wrapped Around a Pergola or Porch Beam
A pergola or exposed porch beam is a ready-made frame for garland — wrapping it in pre-lit greenery turns your outdoor structure into a glowing canopy. I spiral 12-foot garlands around each pergola post and swag a 9-footer across the front beam, creating a lit frame you walk under. On a pergola with a seating area beneath, the effect at night is pure magic.
For posts, use the same spiral technique as porch columns: start at top, twist-tie every third turn, keep spacing even. For the beam, swag between anchor points with 10- to 12-inch dips — the deeper swag works on the larger scale of a pergola. Since pergolas are often far from the house, plan power early: a buried outdoor extension cord in conduit to the pergola is the clean permanent solution; a heavy-duty outdoor cord run along the ground works for the season.
Weight and weather: a pergola catches serious wind, so anchor garland firmly and take it down before major ice storms if you can — ice-loaded garland on a pergola is heavy. The reward is worth it, though: a lit pergola becomes an outdoor room after dark, perfect for evening cocoa around the fire pit. Add a few hanging lanterns from the beam for a third layer of light.
Suggested budget range: $100 – $250.
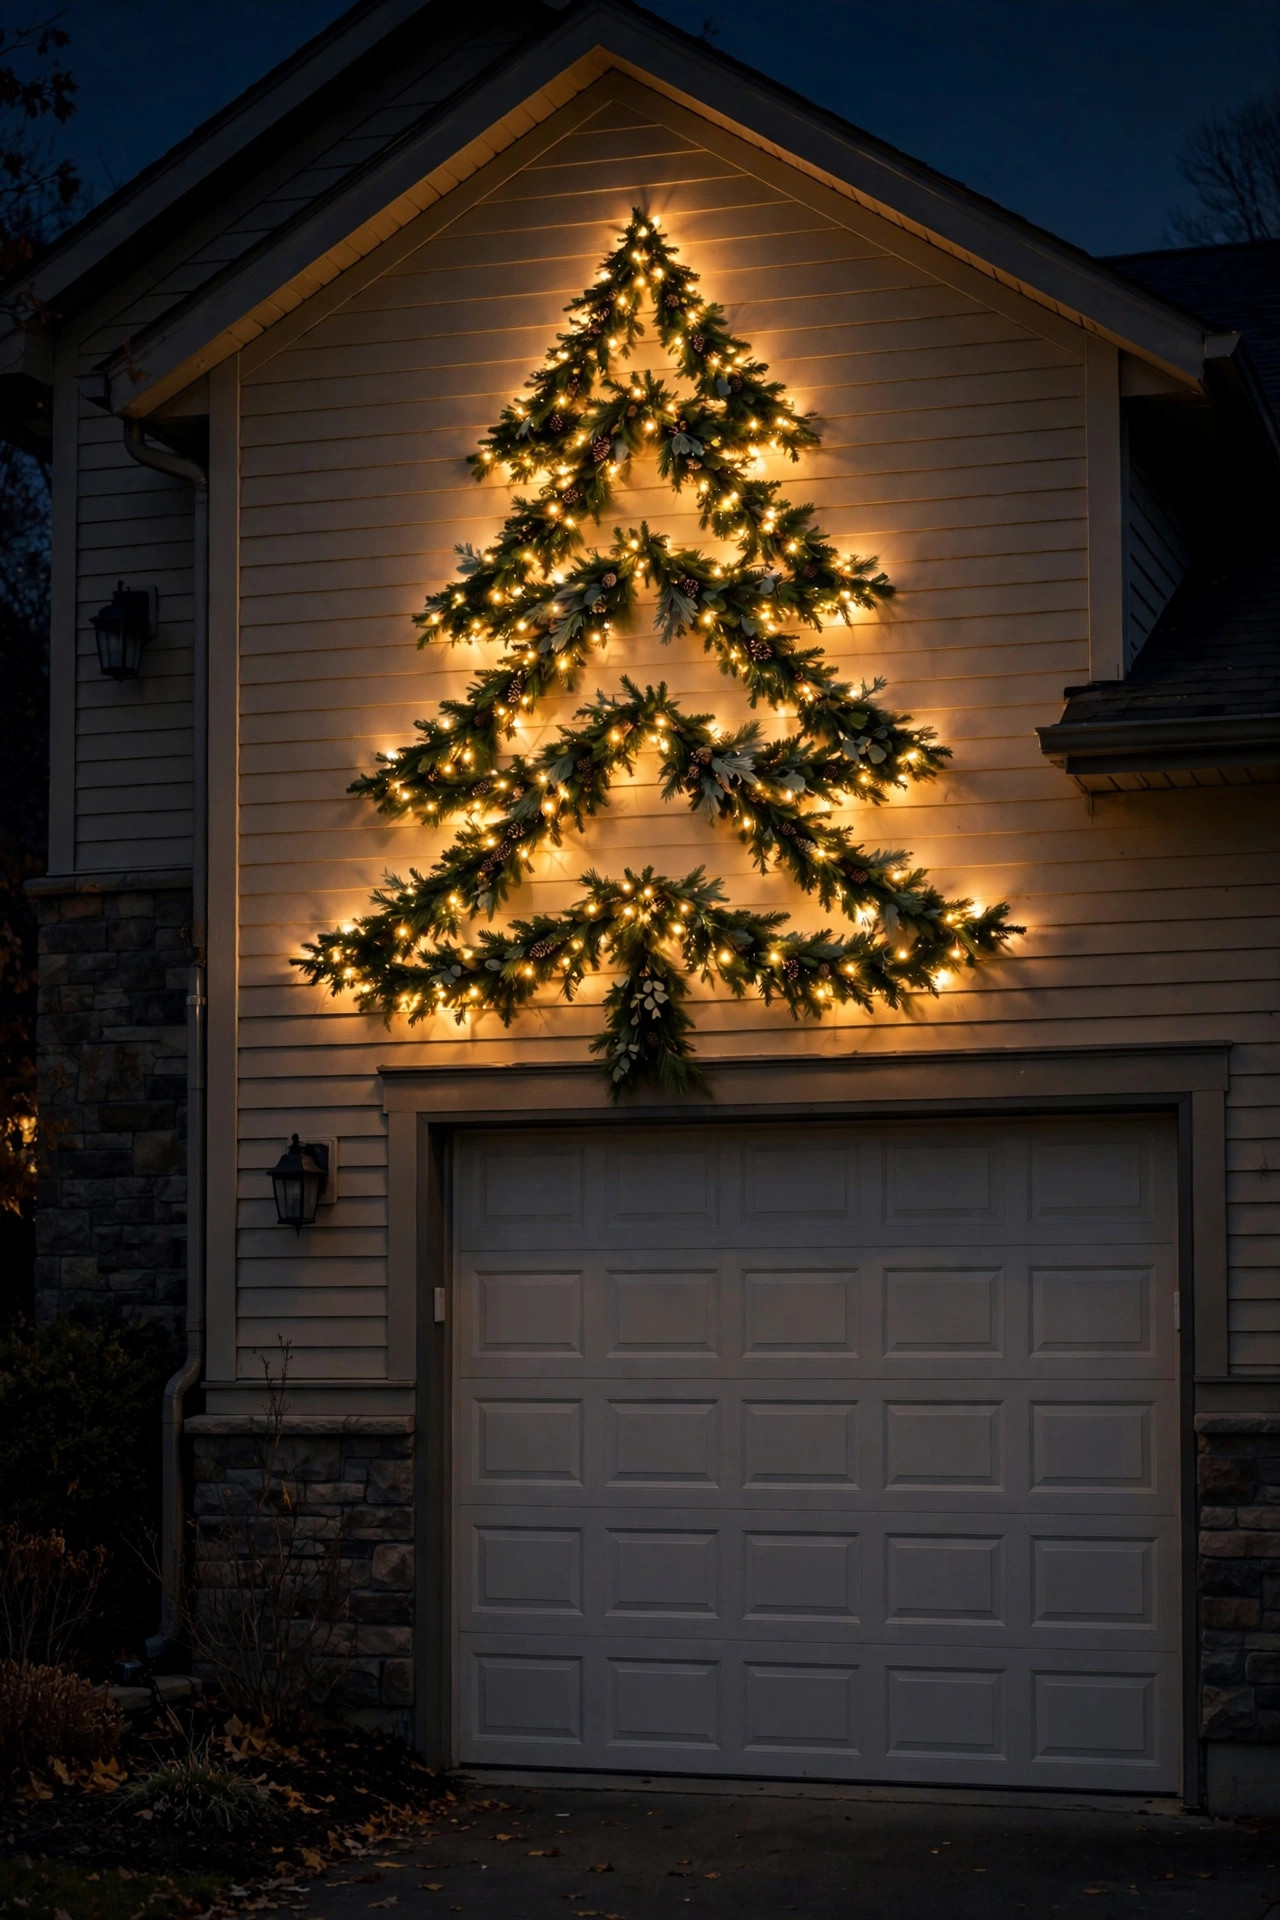
24. Pre-Lit Garland Christmas Tree Shape on the Wall or Garage
No room for a tree? Build one from garland — a 9- to 12-foot pre-lit garland arranged in a triangle on a blank wall or garage door reads unmistakably as a Christmas tree, especially at night. I shape mine with the garland zigzagging in horizontal rows that get wider toward the bottom, pinned with clear adhesive hooks, and top it with a lit star. From the street, it's pure holiday joy.
The layout: mark your triangle lightly with painter's tape first — about 4 feet wide at the base and 5 to 6 feet tall. Start at the top with the garland's plug end (so the cord runs down behind the "tree" to the outlet) and zigzag down, using a hook at each turn. Keep the rows 8 to 10 inches apart so the wall shows through slightly — that negative space is what makes it read as a tree rather than a blob. Fluff the branches downward so they cascade like tree boughs.
Decorate it like a real tree: tuck in a few shatterproof ornaments and a wired-ribbon garland, and it becomes a genuine alternative to a full tree. This is a brilliant solution for apartments, townhouses with tiny yards, or anyone who wants a tree visible from the street without sacrificing porch space. Battery garlands work great here since the shape keeps everything close together.
Suggested budget range: $40 – $90.
25. The Grand Entry: Wreath + Garland + Swag Combo
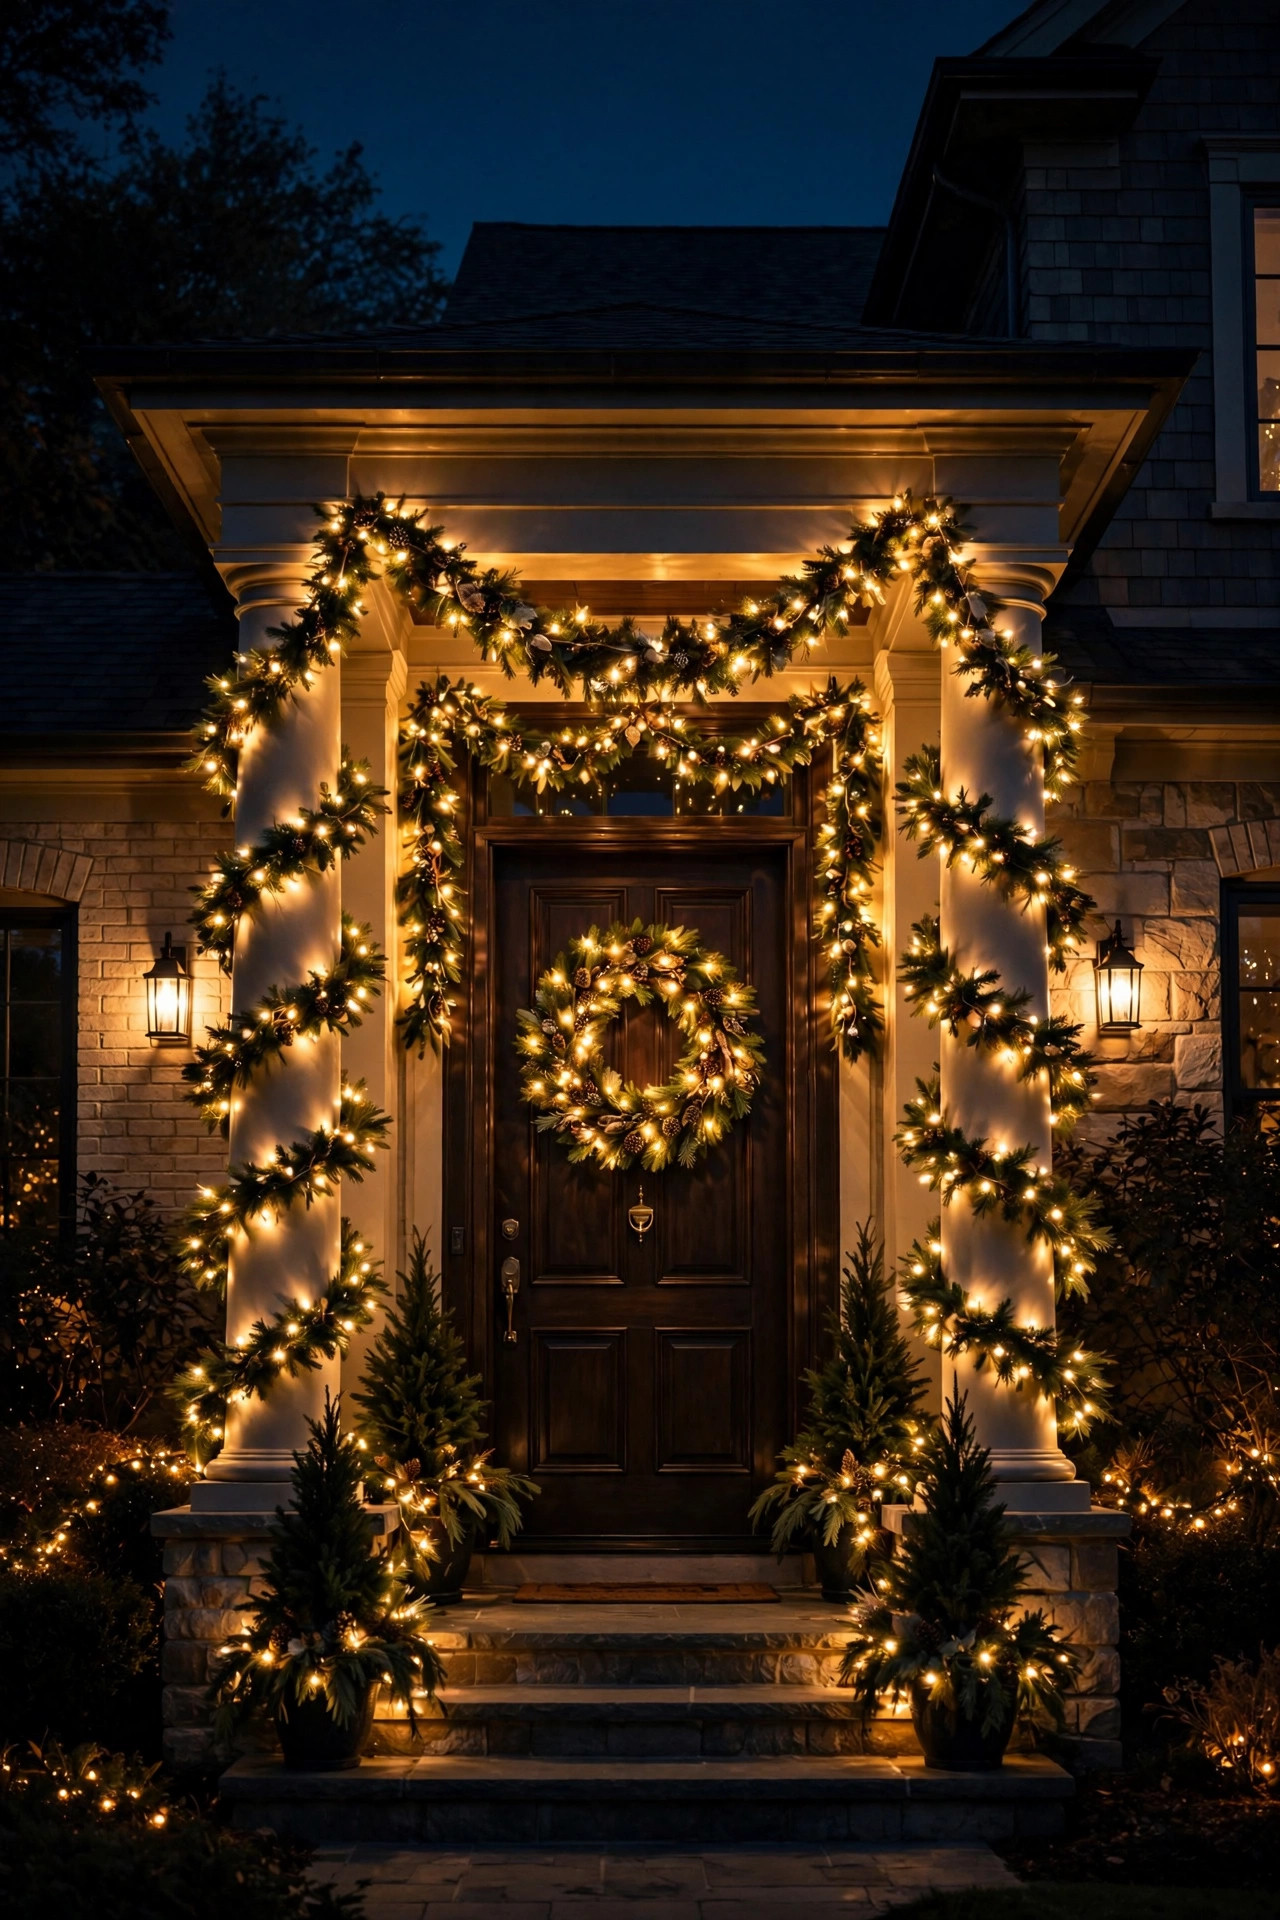
For the grand finale, combine everything — a pre-lit wreath on the door, garland swagged over the doorway, and garland wrapped on the flanking columns or railing. This is the full layered look I build toward every December, and it's the reason pre-lit greenery exists: each piece is easy on its own, but together they create an entry that looks professionally designed.
The formula: start with the door wreath (28–30 inches, 70 lights) as the centerpiece. Swag a 9-foot garland over the door frame in a double dip. Wrap the two nearest columns or swag the railing with 9-foot garlands. That's three garlands and a wreath — roughly 400 lights total — all on one timer so the whole entry ignites at dusk as a single composition. Keep every piece the same foliage style and the same 2700K warm white for cohesion.
Budget honestly: this is the most expensive idea on the list, but it's still less than a single professionally installed display, and you own everything for next year. Install in this order — columns/railing first, door swag second, wreath last — so each layer sits cleanly over the last. Step back to the street after each piece and check the balance. When it's done, pour yourself something warm and enjoy the best-looking entry on the block — you earned it.
Suggested budget range: $150 – $350.
Frequently Asked Questions
How long do pre-lit outdoor garlands and wreaths last?
A quality faux pre-lit garland or wreath rated for outdoor use typically lasts 5 to 7 seasons with basic care. The greenery itself holds up well; it's usually the light string that fails first. Look for garlands with replaceable fuse plugs and LED strings (LEDs last far longer than incandescents), and store everything in a cool, dry place in breathable bags — not compressed in a hot attic. I always recommend bringing battery packs indoors between seasons and removing batteries so they don't corrode.
Can pre-lit garlands and wreaths get wet in rain and snow?
Yes — as long as they're rated for outdoor use. Look for an IP44 rating or a tag that says "suitable for outdoor use" before you buy. The lights and plugs on outdoor-rated greenery are sealed against rain and snow. That said, I always recommend hanging garlands and wreaths under some cover (a porch roof or eave) when possible, keeping plugs off the ground and out of puddles, and using outdoor-rated extension cords with covered connections. Never use indoor-only pre-lit greenery outside, even for a few weeks.
Should I choose battery-operated or plug-in pre-lit garland?
It depends on placement. Plug-in garlands are brighter, never need battery swaps, and cost less to run all season — choose them anywhere within reach of an outdoor outlet (door frames, railings, columns). Battery-operated garlands win for far-flung spots like mailboxes, fences, and gate arches where cords are impractical; use lithium batteries for cold weather and always pick a model with a built-in timer so you're not burning batteries 24/7. In my experience, a mix of both across the property gives the best result.
When should I hang pre-lit wreaths and garlands outdoors?
I hang mine the weekend before Thanksgiving — early enough to enjoy them through the whole season, late enough that fall rain has mostly passed. In my experience, the weekend after Thanksgiving is the most popular time, so if you want the best selection, shop in early November before the good pre-lit greenery sells out. Take everything down by mid-January: winter sun and freeze-thaw cycles wear on the foliage, and your greenery will last more seasons if it doesn't overwinter outside.
Conclusion
A pre-lit outdoor Christmas garland or wreath is the highest-impact, lowest-effort decoration you can hang — the lights are already perfectly spaced, the greenery is already full, and all you have to do is hang it, plug it in, and enjoy. Whether you start with a single classic wreath on the door or go all-in on the grand entry combo, the principle is the same one I come back to every season: layer your light at different heights, keep your color temperature consistent, and let the greenery do the talking.
If this list has you in the decorating spirit, browse more of my holiday lighting ideas on the site — there's a whole season of glow waiting. Now grab your garland, set those timers, and make your entry the one everyone slows down for.