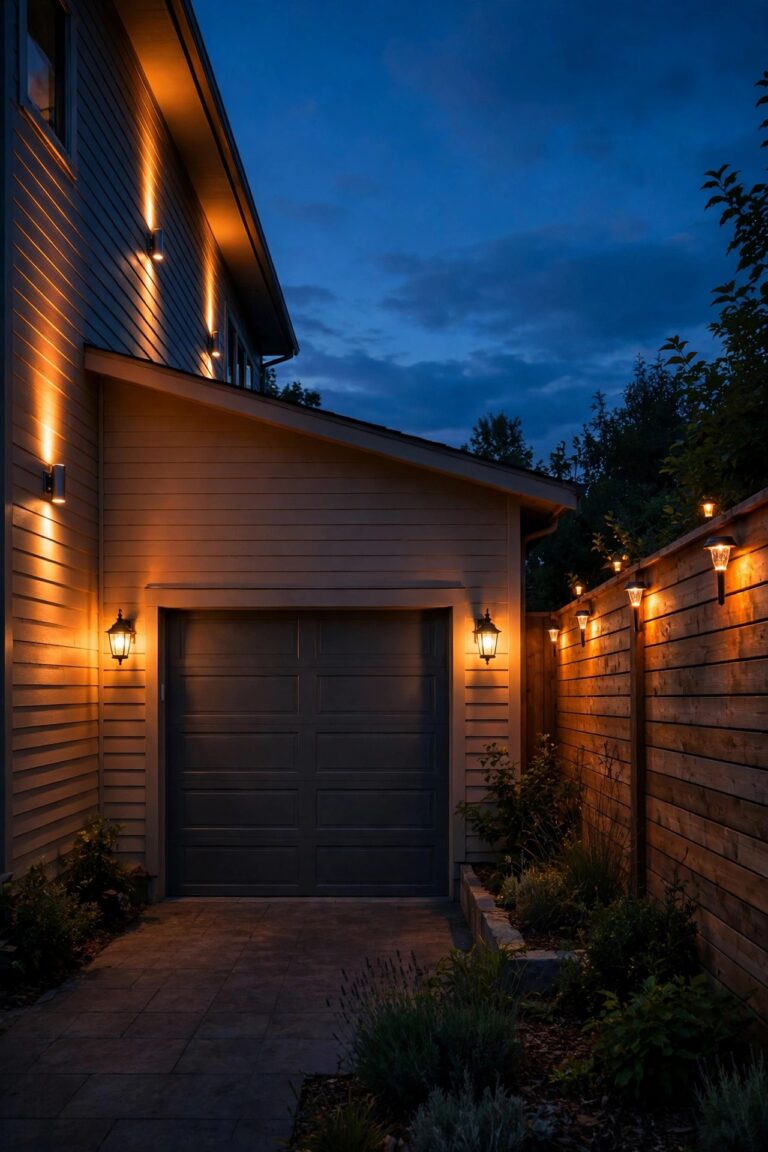
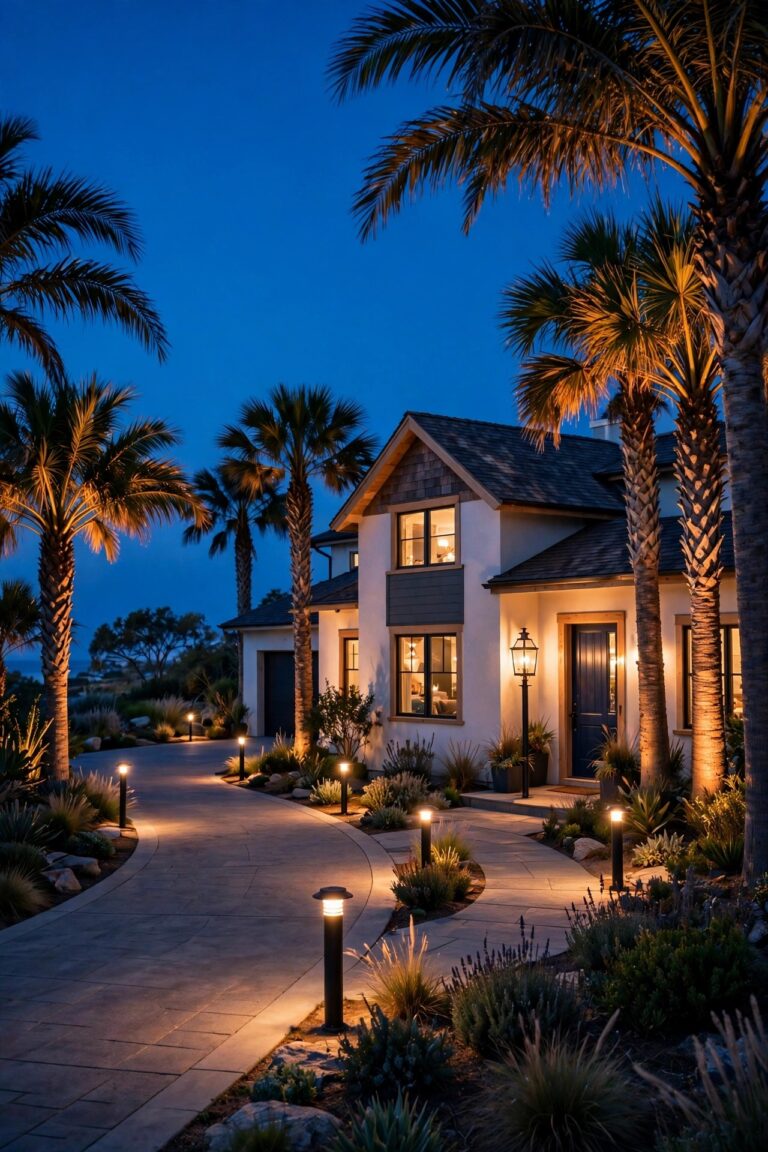
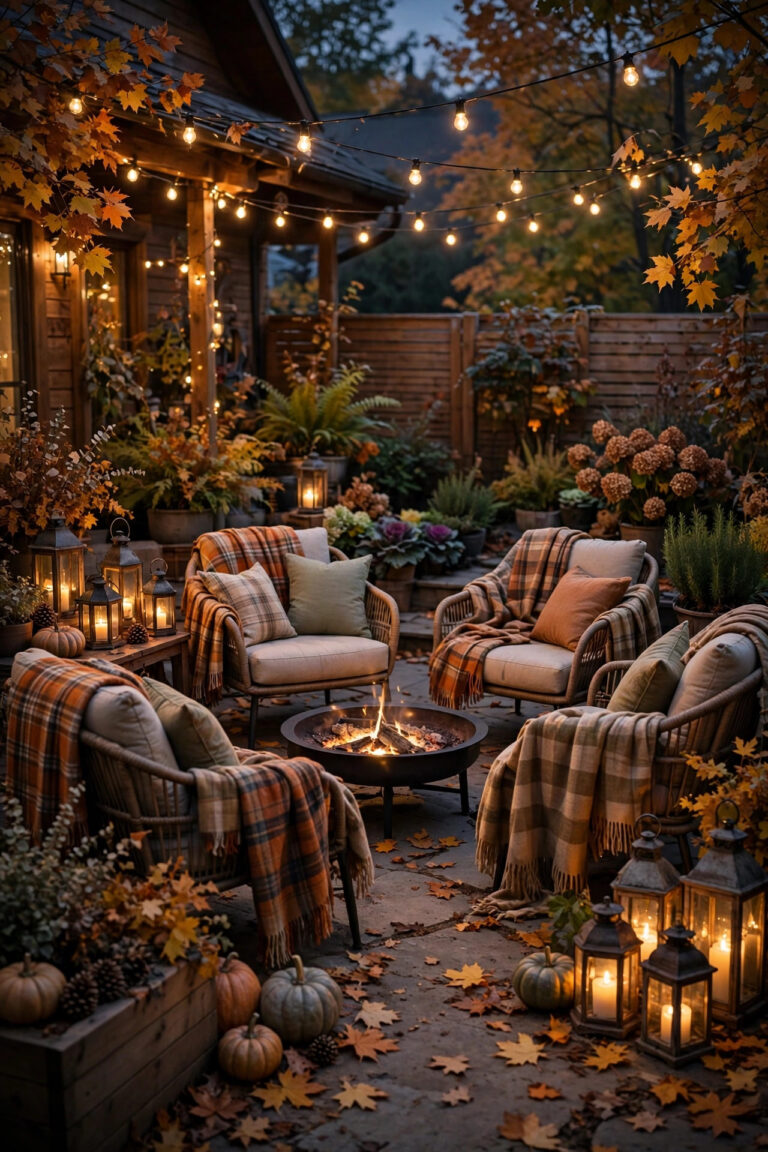
There is a version of my backyard that only exists after dark, and honestly, it is my favorite room of the house. The best boho backyard lighting ideas are not about matching fixture sets or perfect symmetry. They are about layers of soft, warm light placed exactly where you linger: over the hammock, around the fire bowl, along the path you wander barefoot with a drink in your hand. Boho style gives you permission to mix rattan with pierced brass, thrifted jars with new solar stakes, as long as every bulb glows at the same warm temperature. In this post I am sharing the 17 layers I reach for when I want dreamy nights in, from cafe string lights in lazy swags to fairy lights woven through the shrubs and a glowing curtain behind the lounge chairs. You will get the practical details too: spacing, sag, weather ratings, safety clearances, and honest costs for every single layer. Start with three or four ideas this weekend, and your backyard will feel like a tiny festival made just for you.
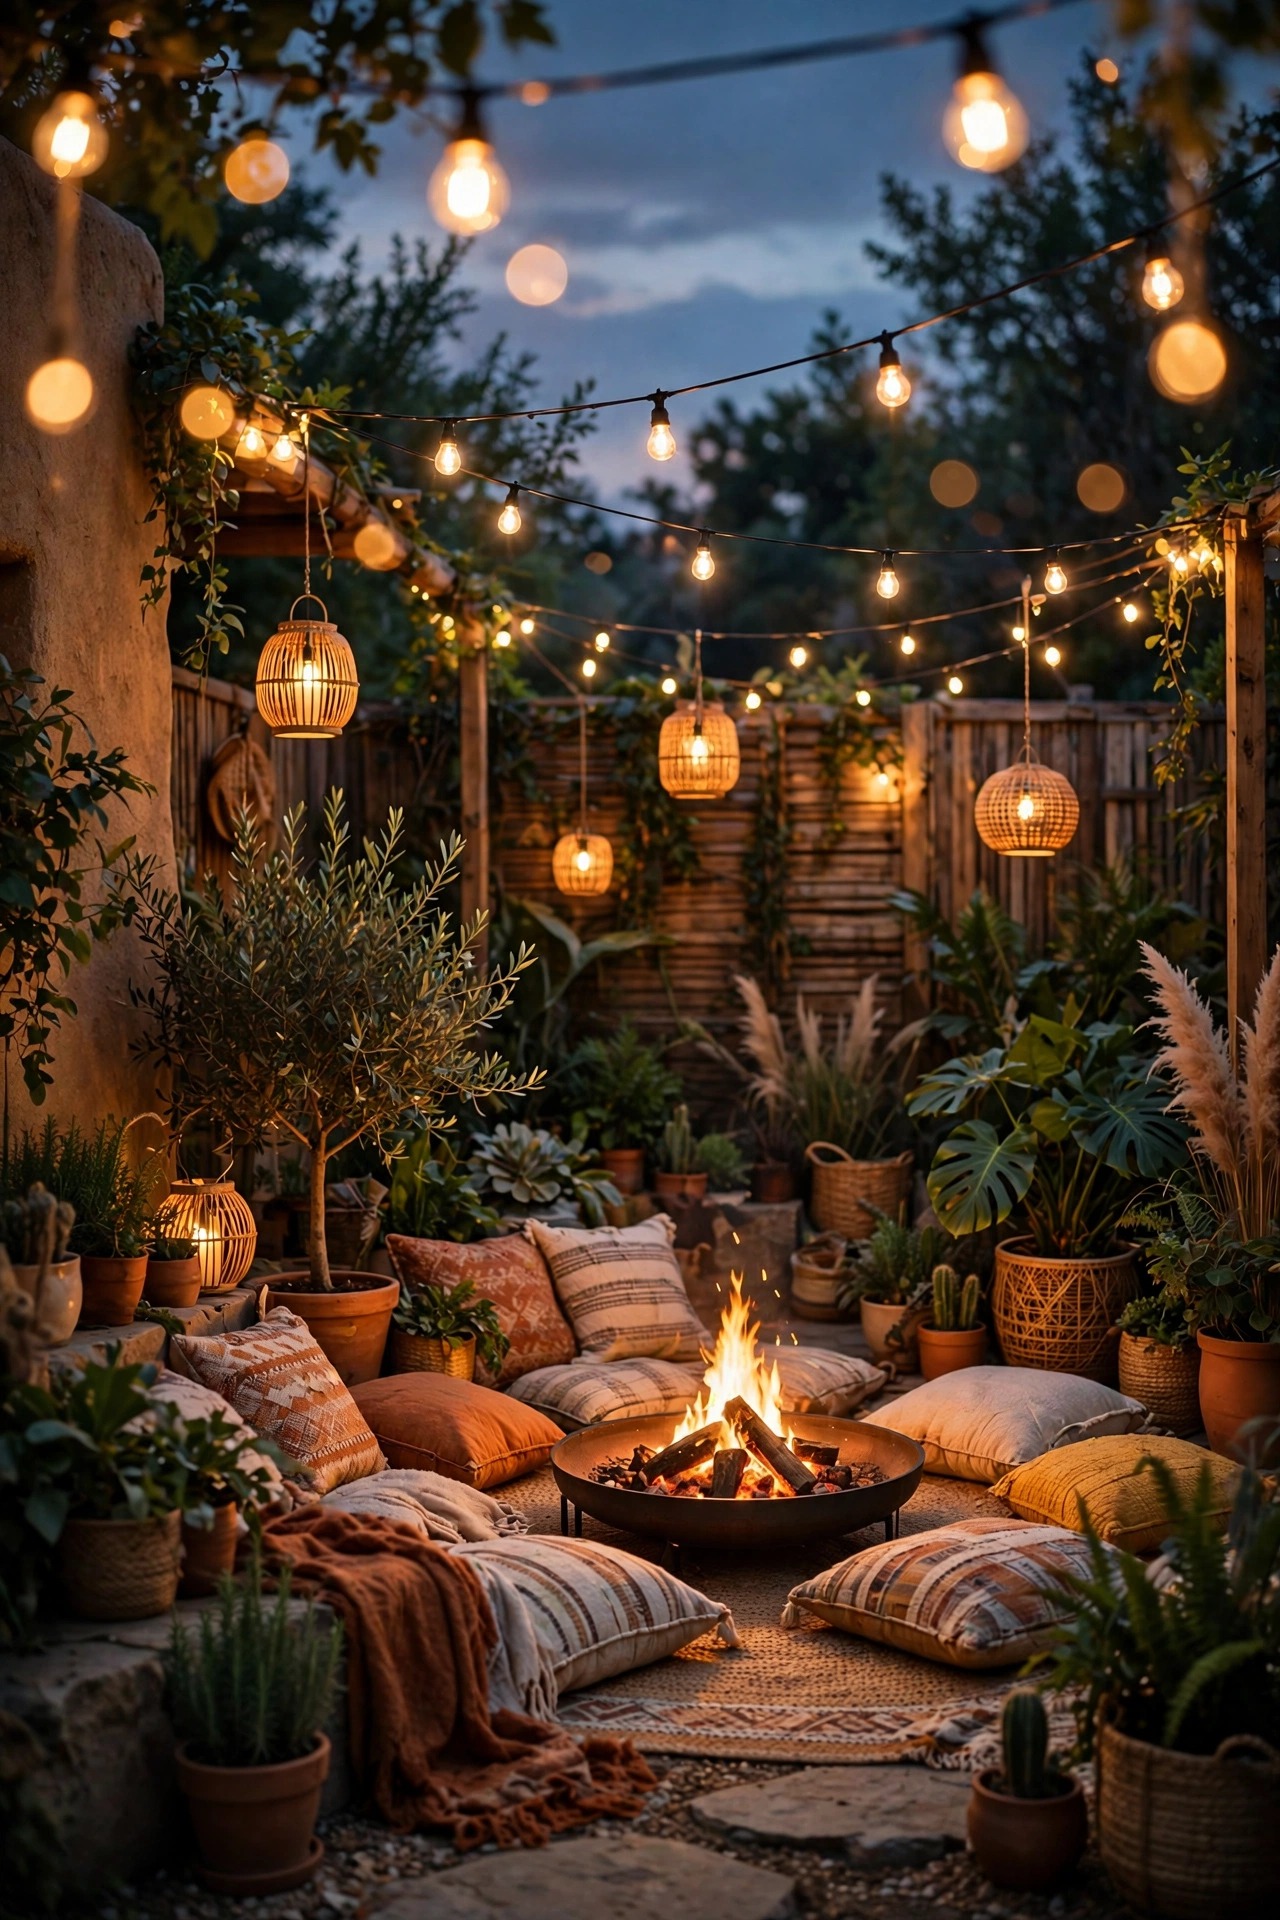
1. Start With the Layers: Boho Backyard Lighting Ideas That Flow
Every backyard I love after dark follows the same quiet formula: three layers of light at three heights. The low layer is guidance, small glows along paths and steps so nobody trips over a root or a garden hose. The middle layer is welcome, lanterns and string lights at eye level where people actually gather. The top layer is pure accent, one tree or fence line washed in light to give the eye somewhere dreamy to land. Boho style simply loosens the rules inside that formula. Your low layer can be solar jars instead of matching path lights. Your middle layer can mix rattan, glass, and pierced metal in the same seating circle. What keeps the mix from looking random is repetition: repeat each material at least twice somewhere in the yard, and hold every bulb to 2700K so the whole scene reads as one warm story. I always sketch my layers on paper first, marking where people walk, where they sit, and what deserves the spotlight. Build one strong layer, live with it for a week, then add the next. Backyards layered slowly always end up more magical than one-weekend overhauls.
Suggested budget range: $60 – $250.
2. Hang Cafe String Lights in Low, Lazy Swags
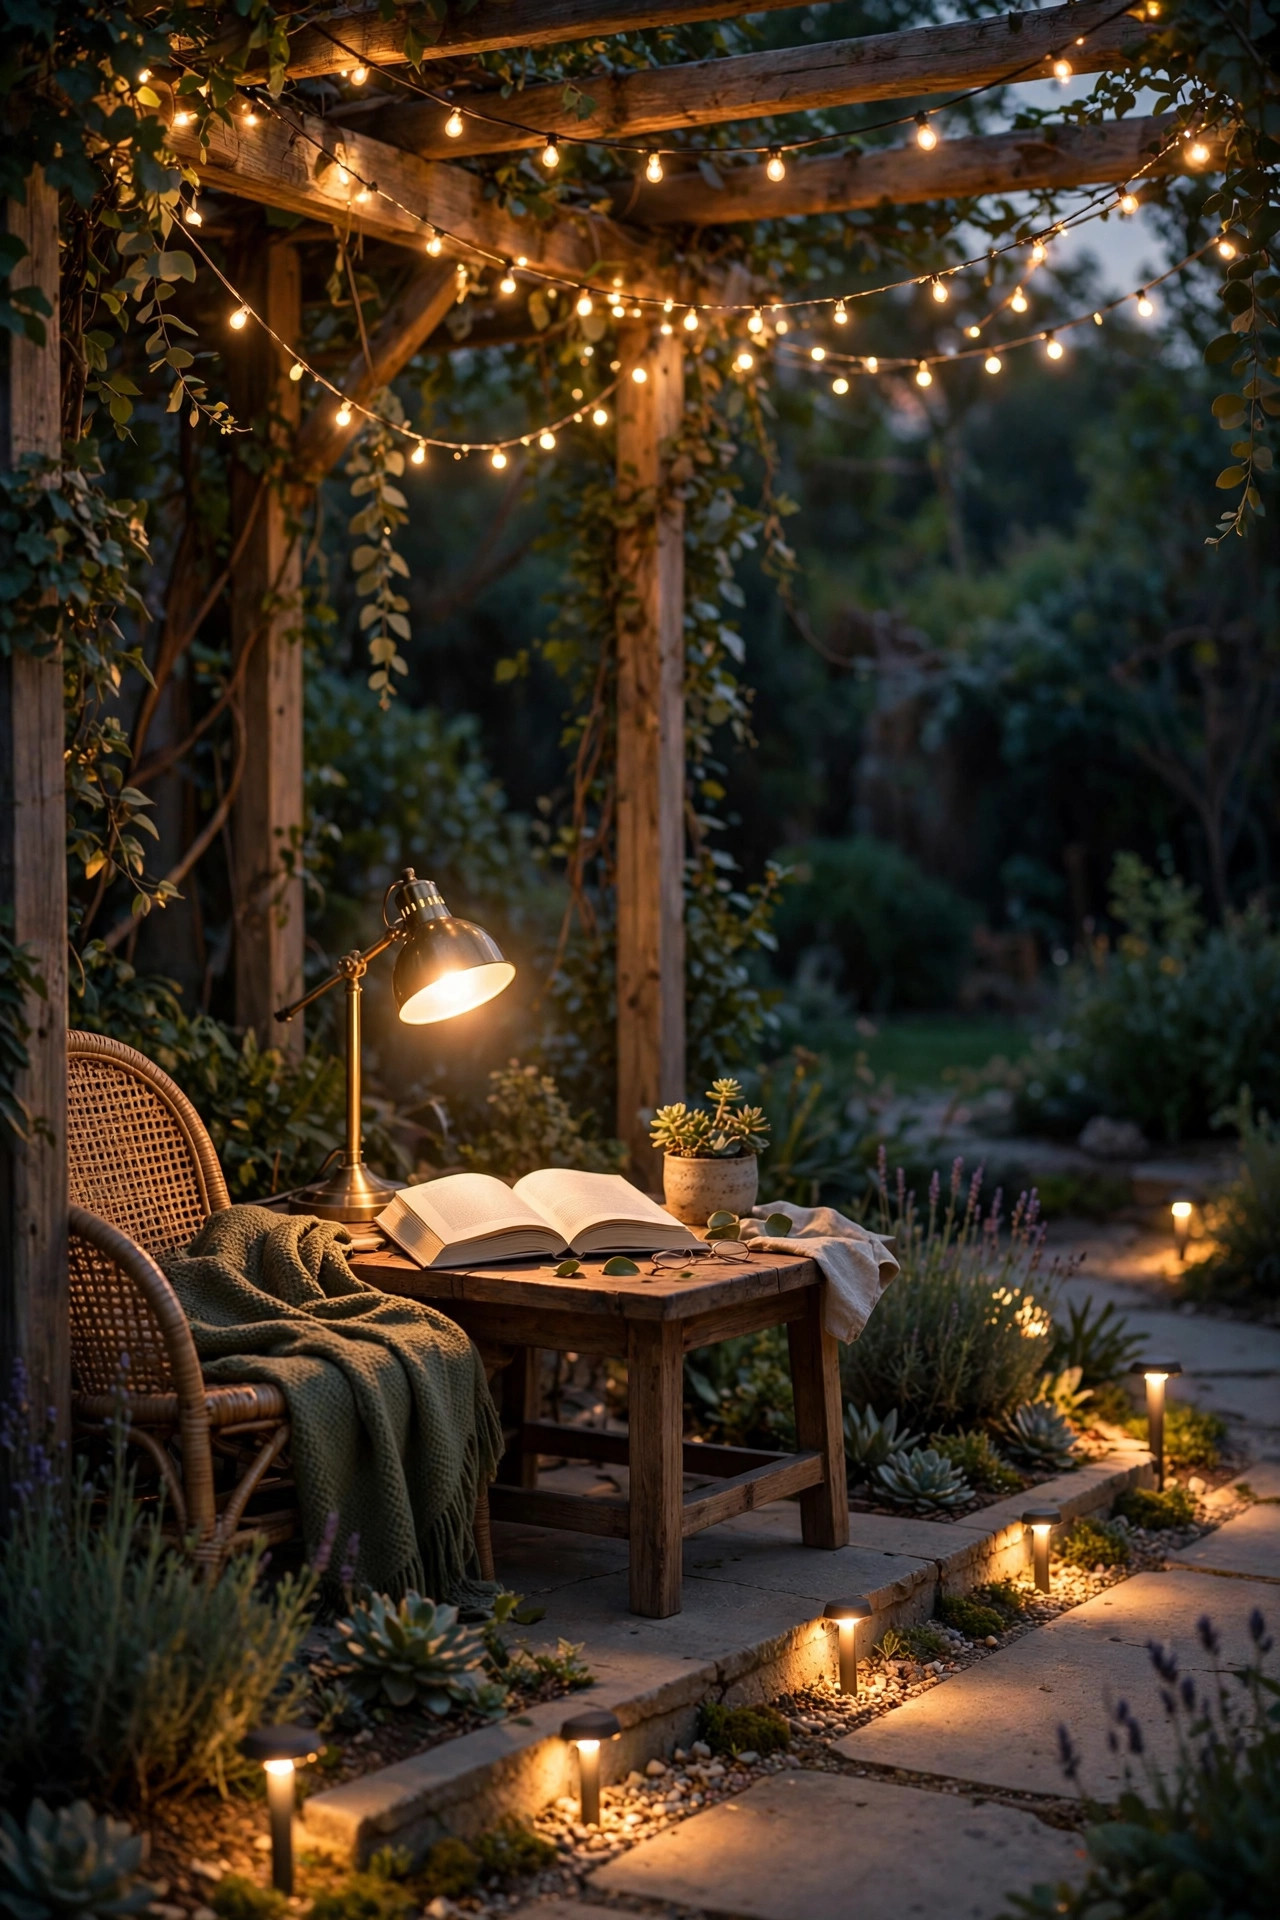
If I could keep only one boho layer, it would be cafe string lights, and the whole secret is the swag. Hang them loose and low, with a gentle belly of 12 to 18 inches of sag between anchor points, instead of pulling them tight like a clothesline. That soft dip is what makes them feel romantic instead of commercial. I run two or three strands over the seating area, anchored to the fence, a pergola post, or simple black poles set into the beds. Leave a little slack at every socket in summer, because cords contract slightly on cold nights and that kindness keeps sockets from cracking. Choose shatterproof LED filament bulbs rated for outdoor use, and plug the strand into a GFCI-protected outlet, no exceptions. Anchors every 8 to 10 feet keep tension gentle. Warm 2700K bulbs flatter skin, food, and foliage all at once. My full guide to backyard string light ideas covers pole heights and strand lengths in detail if you are planning a bigger run. Once you see that first swag glow at dusk, you will understand why every boho yard starts here.
Suggested budget range: $35 – $120.

3. Cluster Rattan Lanterns at Odd Heights
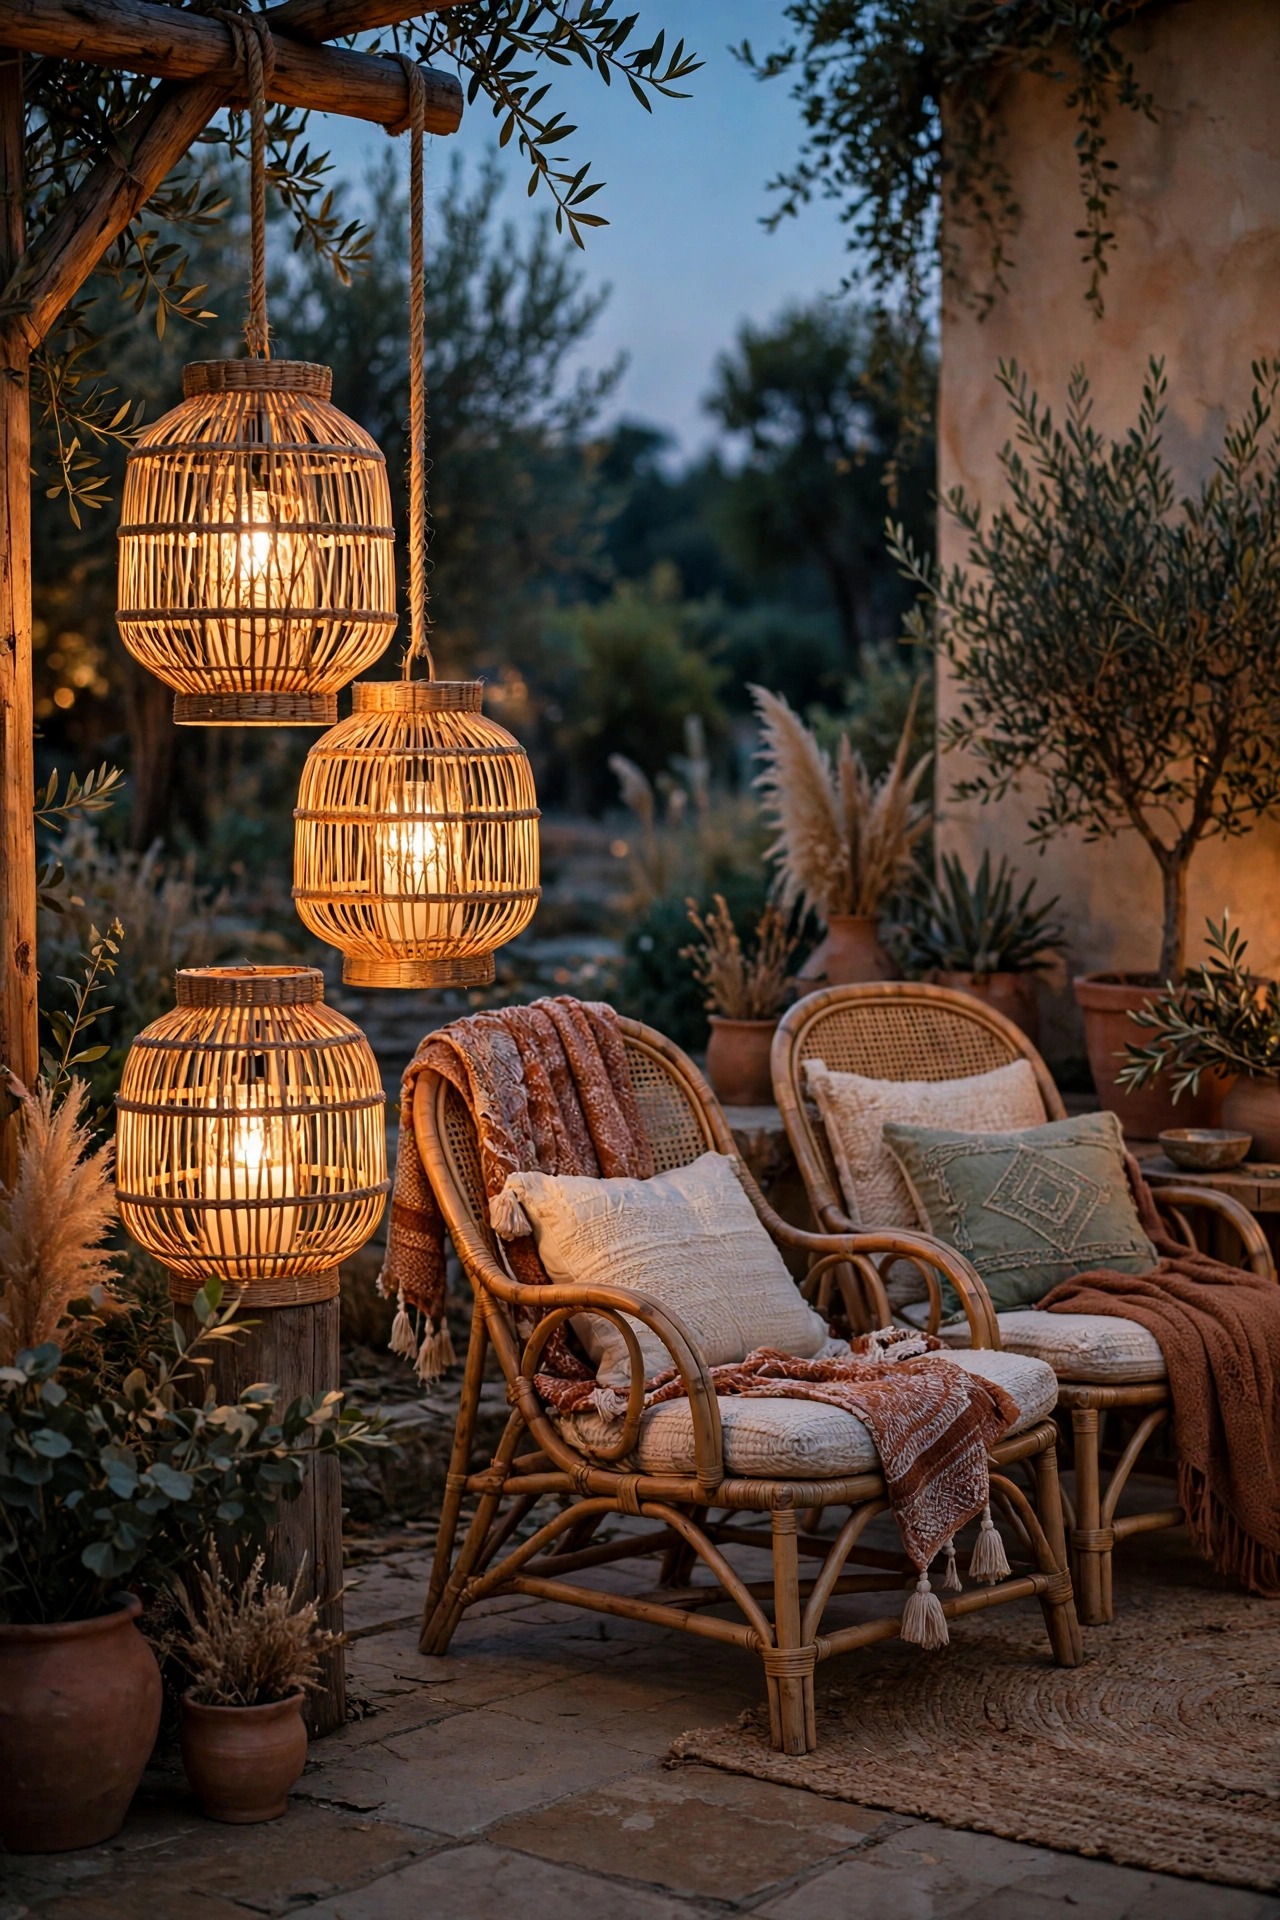
Rattan and wicker lanterns are the texture boho backyards are famous for, and they look best in relaxed clusters of three. I group one tall floor lantern, one medium, and one small near the lounge chairs or beside the fire bowl, never in a straight line. Inside each one goes a flameless LED candle or a solar puck, never a real flame, because dry woven fibers and open flame are a genuinely bad mix. Look for lanterns labeled for outdoor use, or treat indoor finds as fair-weather pieces you carry in before rain. A quick wipe with a dry cloth each month keeps dust from dulling the glow. The woven shades throw lacy patterned shadows across the outdoor rug and decking, which honestly does half your decorating for you. Odd numbers and uneven heights are the trick: your eye reads the cluster as collected over time, not bought in one trip. If the sun fades a lantern, a light coat of outdoor sealer in spring brings the tone right back. Set one cluster by the seating and echo a smaller one across the yard, and the repetition ties the whole scene together.
Suggested budget range: $30 – $110.
4. Mix in Moroccan Pierced-Metal Lanterns
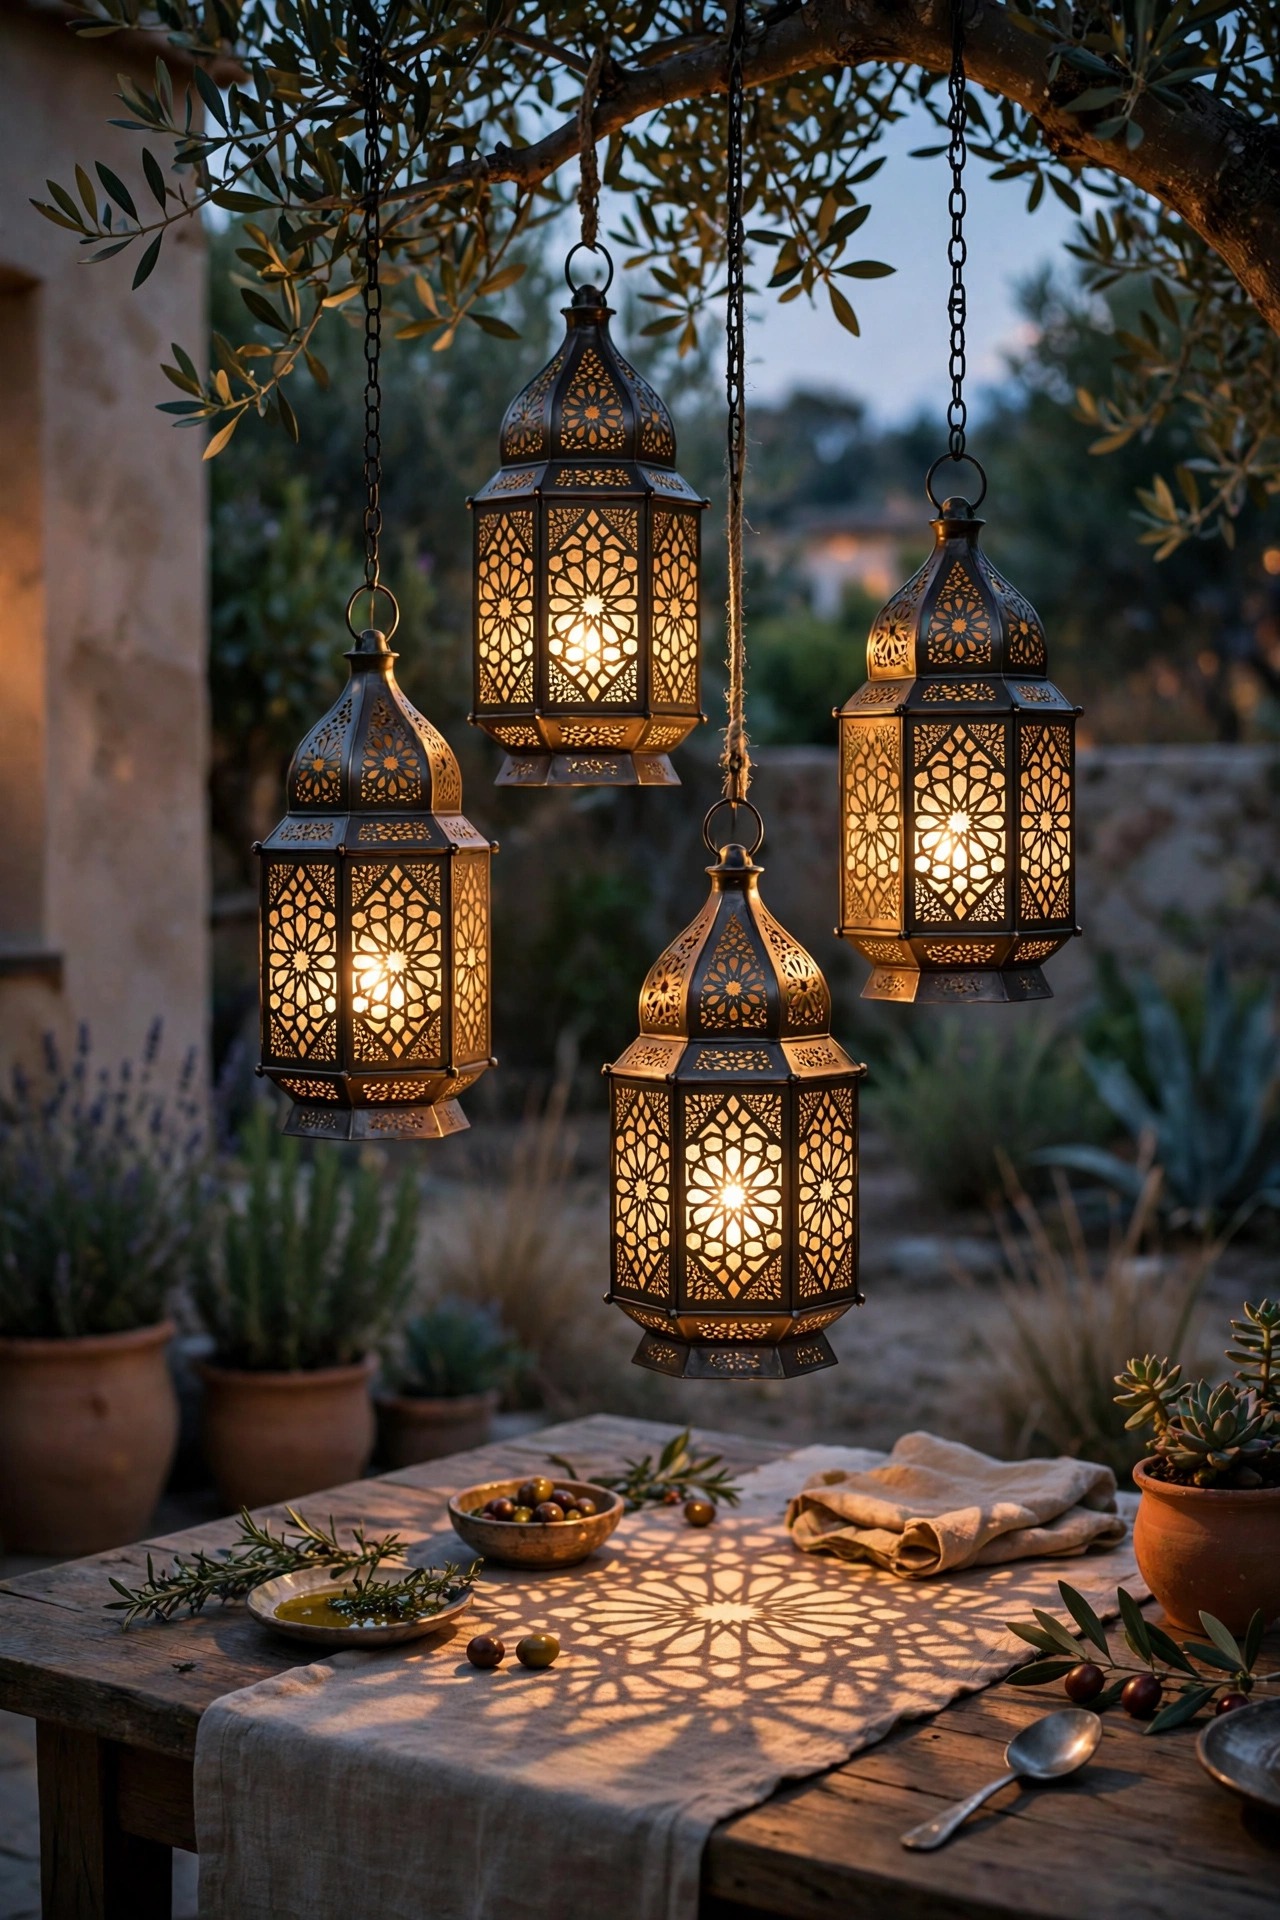
Pierced-metal lanterns are my favorite way to add pattern to a boho yard. The tiny cutouts throw stars and dots of light across tables, paths, and fence boards, so one small lantern does the work of a whole decorative scheme. I hang a pair from low tree branches over the seating area and set one on the side table where drinks land. Use flameless LED candles or solar inserts inside; the metal gets warm with real candles, and the light show is identical without the worry. Antique brass, aged copper, and matte black finishes all work, and mixing two finishes is fine as long as each appears twice in the yard. Hang them at slightly different heights, around 5 to 7 feet, so the patterns overlap instead of lining up. These lanterns are usually sold as indoor decor, so check the listing: outdoor-rated versions have sealed seams and rust-resistant coatings. Fair-weather pieces should live under the porch roof between uses. A single pierced lantern glowing through its cutwork at dusk honestly looks like something from a Marrakech courtyard, and guests always ask where it came from.
Suggested budget range: $25 – $90.
5. Float Paper Lanterns Over the Lounge
Paper lanterns give you the dreamiest, softest glow in this whole list, like little moons parked over the lounge. I thread them onto a cafe string light strand, sliding a lantern over every second or third bulb, or I hang them in clusters from a pergola beam with flameless LED inserts. Mix diameters, 12, 16, and 24 inches, and keep the palette tight: warm white, natural kraft, maybe one muted terracotta repeated twice. Paper is a fair-weather friend, full stop. Bring lanterns in before rain and on windy nights, and never put a real bulb hot enough to scorch paper inside one; LED filament bulbs stay cool and are the only kind I use here. Hung low, around 7 feet over seating, the glow lands right on faces and food, which is exactly where you want it. Because they are inexpensive, I treat a few as seasonal and replace any that fade by midsummer. Store them flat in a dry tote and they last for years. For a party, add a second strand at a crossing angle and the lounge suddenly feels like a little street festival.
Suggested budget range: $20 – $70.

6. Build a String Light Canopy Over the Hammock
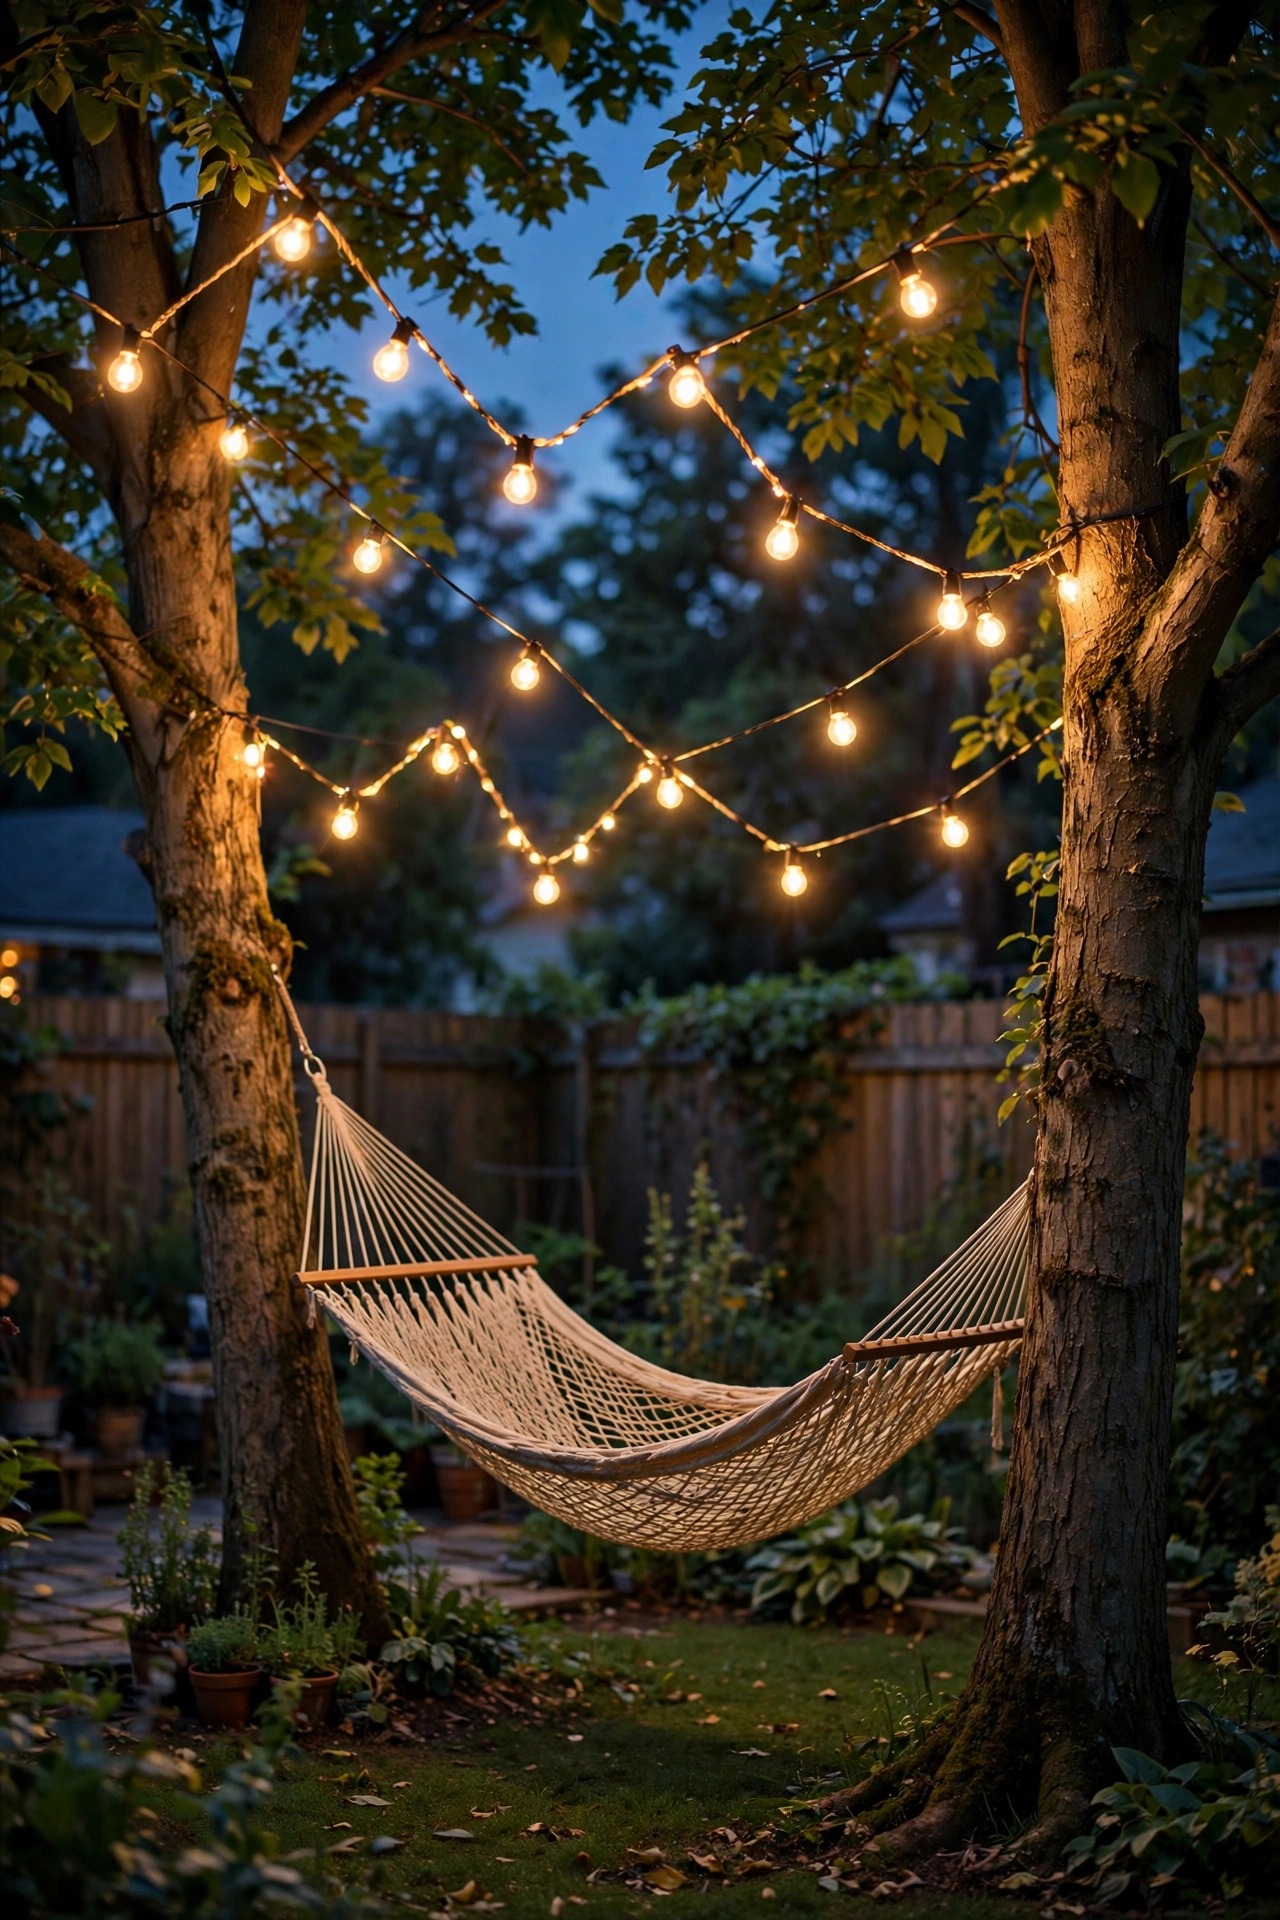
The hammock corner is where dreamy nights actually happen, so I give it its own little canopy. I zigzag one strand of fairy or cafe lights back and forth between the two hammock trees, or between a tree and a pole, keeping the lights about 7 feet up so they clear your head when you climb in but still feel close and cocooning. Dimmable bulbs matter here more than anywhere: full brightness ruins the mood, but 30 to 40 percent is pure magic. Solar strands work if the panel gets six hours of sun, though I prefer plug-in on a dimmer for control. Keep every connection off the ground and on a GFCI outlet. Hang the strand after the hammock is up, and check the sag from lying height, not standing height; the view from inside the hammock is the whole point. My reader-favorite roundup of hammock lighting ideas has more canopy patterns if your trees sit farther apart. Add a small lantern on the ground beside the hammock for your book and drink, and you have built the best seat in the yard.
Suggested budget range: $25 – $80.
7. Line Paths With Solar Mason Jars
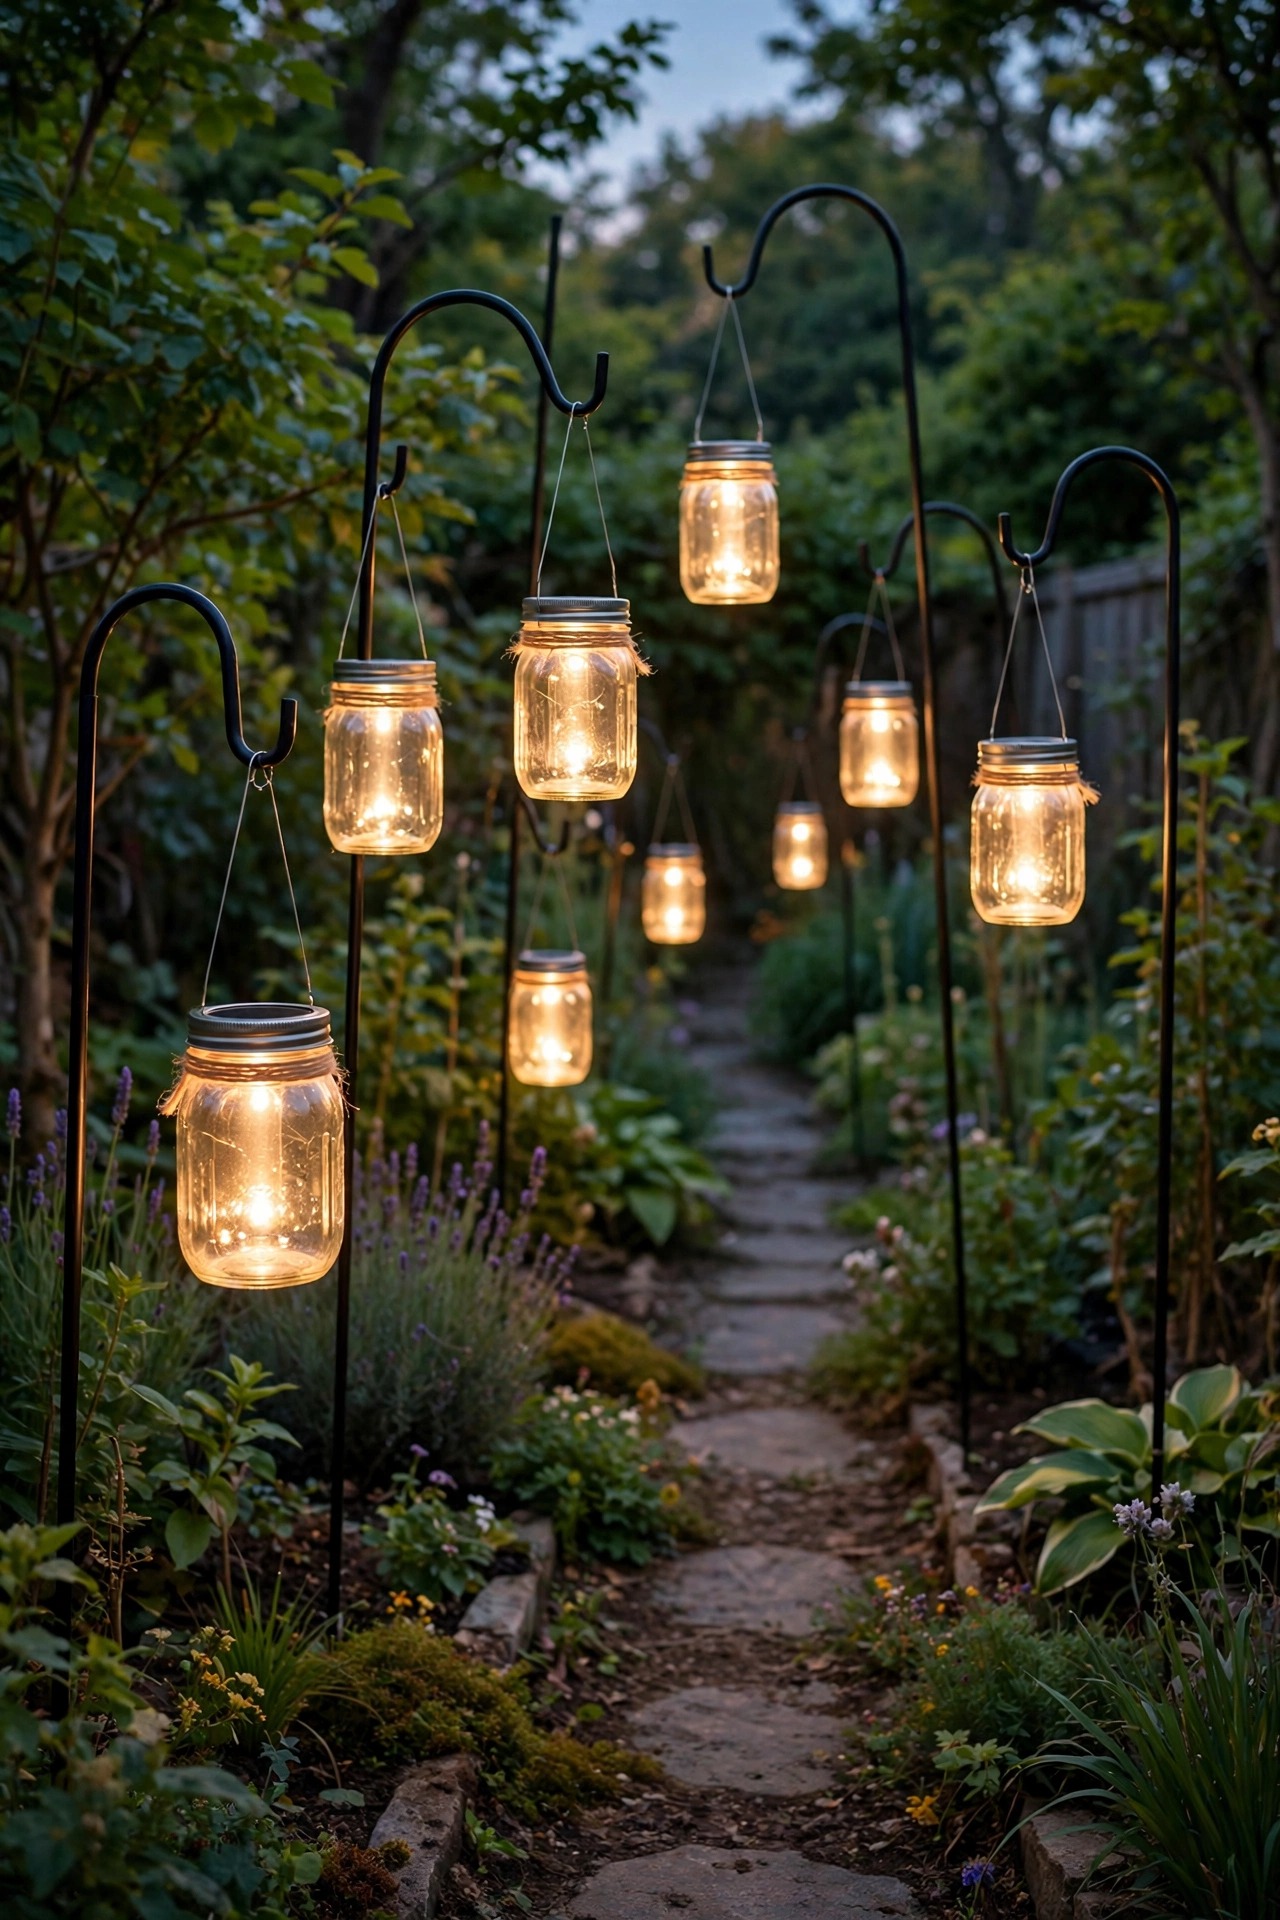
Solar mason jars are the low layer I recommend to every beginner. The lids hide a small solar panel and an LED, so the jar charges all day on a sunny hook and glows like captured fireflies all evening. I hang mine from shepherd hooks along the path to the fire bowl and set a few directly on the ground at the edge of the beds. Spacing every 4 to 6 feet reads as a gentle trail rather than an airport runway. The jars want real sun, at least six hours, so trim back any branch that shades the hooks by midsummer. Amber or warm-white lids keep the 2700K rule; skip the color-changing ones unless a party calls for them. In my experience the cheapest lids fade after one season, so mid-range lids with replaceable batteries are the smarter buy. Rinse the lids monthly, because a dusty panel charges poorly. On cloudy weeks the glow runs shorter, which is fine; that ebb and flow is part of the charm of a solar layer. Group two jars on one hook near steps where feet truly need the help.
Suggested budget range: $20 – $60.
8. Weave Copper-Wire Fairy Lights Through Shrubs
Copper-wire fairy lights are nearly invisible by day and pure enchantment by night. The wire bends and holds its shape, so you can weave a strand through a shrub, spiral it up a small tree trunk, or coil it inside a glass vase on the table. I limit myself to one or two shrubs, usually the ones flanking the lounge, because fairy lights everywhere quickly looks like a holiday display. Choose battery packs with a built-in timer, six hours on and eighteen off, and tuck the pack in a weatherproof box at the base of the plant. Warm white only, and look for wire strands rated for outdoor use if they will live outside all season. Work slowly and step back every few feet of wire; the goal is an even sparkle, not a tangled knot at the front. Keep strands out of reach of pruning shears by noting their spots in your phone. One 33-foot strand per medium shrub is plenty. When guests ask how the bush is sparkling, that is when you know this layer is doing its quiet job.
Suggested budget range: $10 – $40.

9. Anchor the Yard With a Fire Bowl
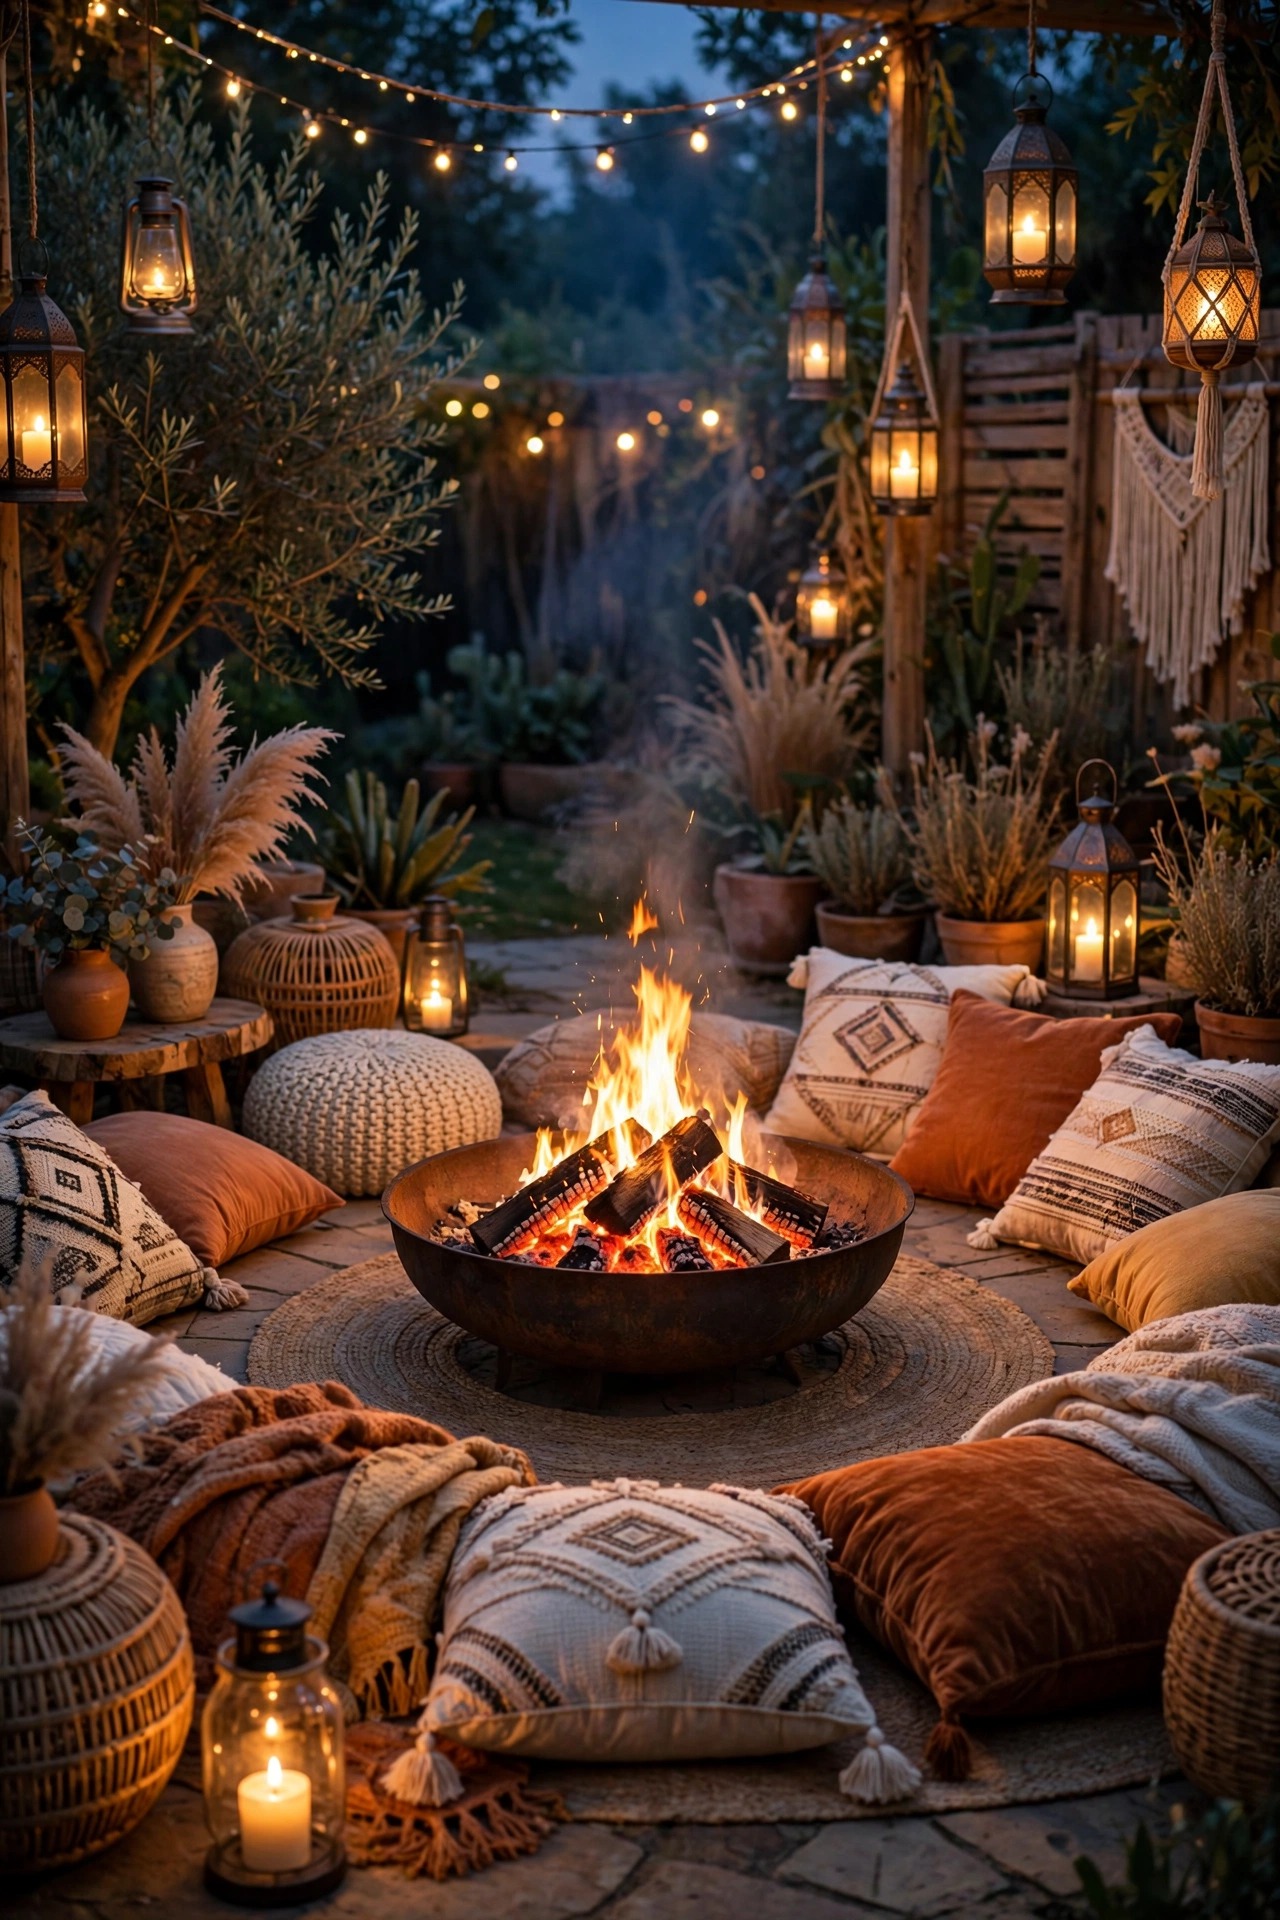
Every boho backyard needs one warm anchor, and a fire bowl is mine. The flames give you living, moving light that no bulb can copy, and every other layer in the yard seems to lean toward it. I ring the seating around the bowl at a comfortable 4 to 6 feet, close enough for warmth, far enough for knees and cushions to stay safe. Keep the bowl at least 10 feet from the house, fences, and overhanging branches, on a level stone or gravel pad, and follow your local fire rules on burn days. Then light the ring itself: a lantern cluster on one side, a solar jar trail arriving from the path, so the seating circle glows even before you light the fire. On no-burn nights, a cluster of flameless candles inside the cold bowl keeps the focal point alive. My guide to fire pit area lighting covers seating layouts and clearances in more depth. Never drape string lights or paper lanterns directly over open flame; keep fabrics and paper well back and upwind. Sparks rise, and boho textiles are not fireproof.
Suggested budget range: $60 – $220.
10. Hang Lanterns From Macramé Plant Hangers
This is my favorite thrift-store trick: macramé plant hangers hold lanterns just as happily as they hold pots. I slip a glass jar lantern or a small rattan lantern into the netting and hang the whole thing from a pergola beam, a shepherd hook, or a sturdy tree branch. The knotted cotton softens the light and sways a little in the breeze, which makes the glow feel alive. Use flameless candles or solar inserts only; open flame near cotton cord is a risk I never take. Hang hangers in a loose trio at staggered heights, roughly 5 to 7 feet, over the lounge or along the fence. Cotton macramé mildews if it stays wet, so choose outdoor cord versions or bring yours under cover in rainy weeks. A hanger in a natural cream tone disappears at dusk and lets the lantern float, which guests find oddly magical. Mix one macramé hanger with one plain hook lantern nearby; the contrast keeps the look collected rather than themed. They cost almost nothing secondhand, and each one you rescue adds a story to the yard.
Suggested budget range: $15 – $55.

11. Set Flameless Candles in Hurricane Glasses on the Rug
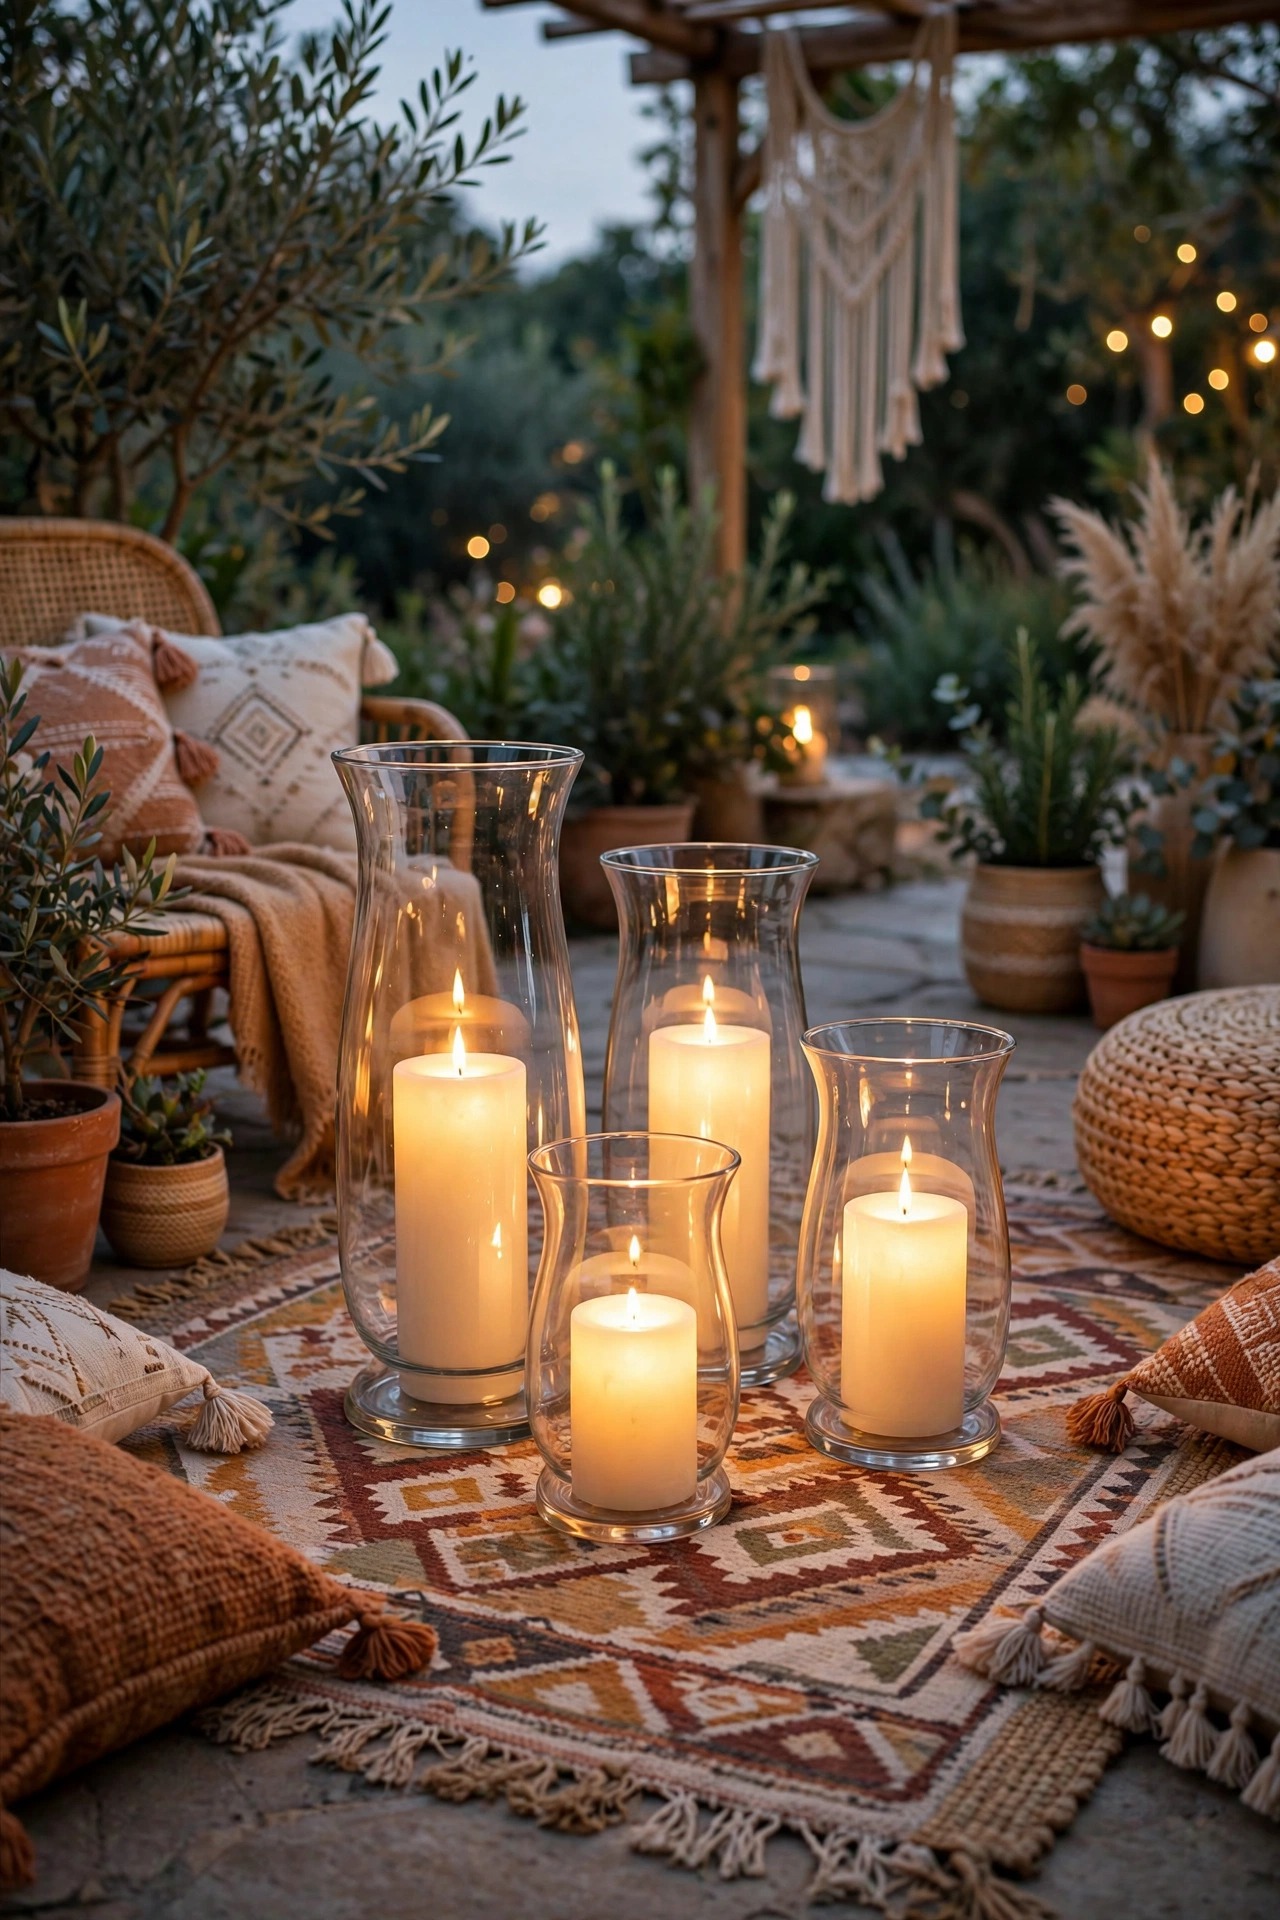
The outdoor rug is your living room floor, so light it like one. I group flameless pillar candles inside glass hurricanes down the middle of the lounge, on the coffee table, and at the rug corners where feet pass. The glass shields the faux flame from breezes, so the flicker stays steady and candle-like instead of strobing. Choose candles with a six-hour daily timer and real wax shells in warm ivory; the timer means the rug glows to greet you every evening without a single match. Vary heights, 4, 6, and 9 inches, and cluster in threes. Keep real candles out of the backyard lounge entirely: rugs, throws, and cushion fabrics are simply too close, and flameless versions have honestly become indistinguishable at dusk. Hurricanes also keep curious pets and small hands away from anything warm. Wipe the glass weekly, because dusty hurricanes halve the glow. If your rug sits on grass, set each hurricane on a small tile or tray so dew cannot wick into the base. This is the cheapest layer in the yard and the one that makes it feel finished.
Suggested budget range: $25 – $75.
12. Choose Handcrafted-Look Solar Stakes
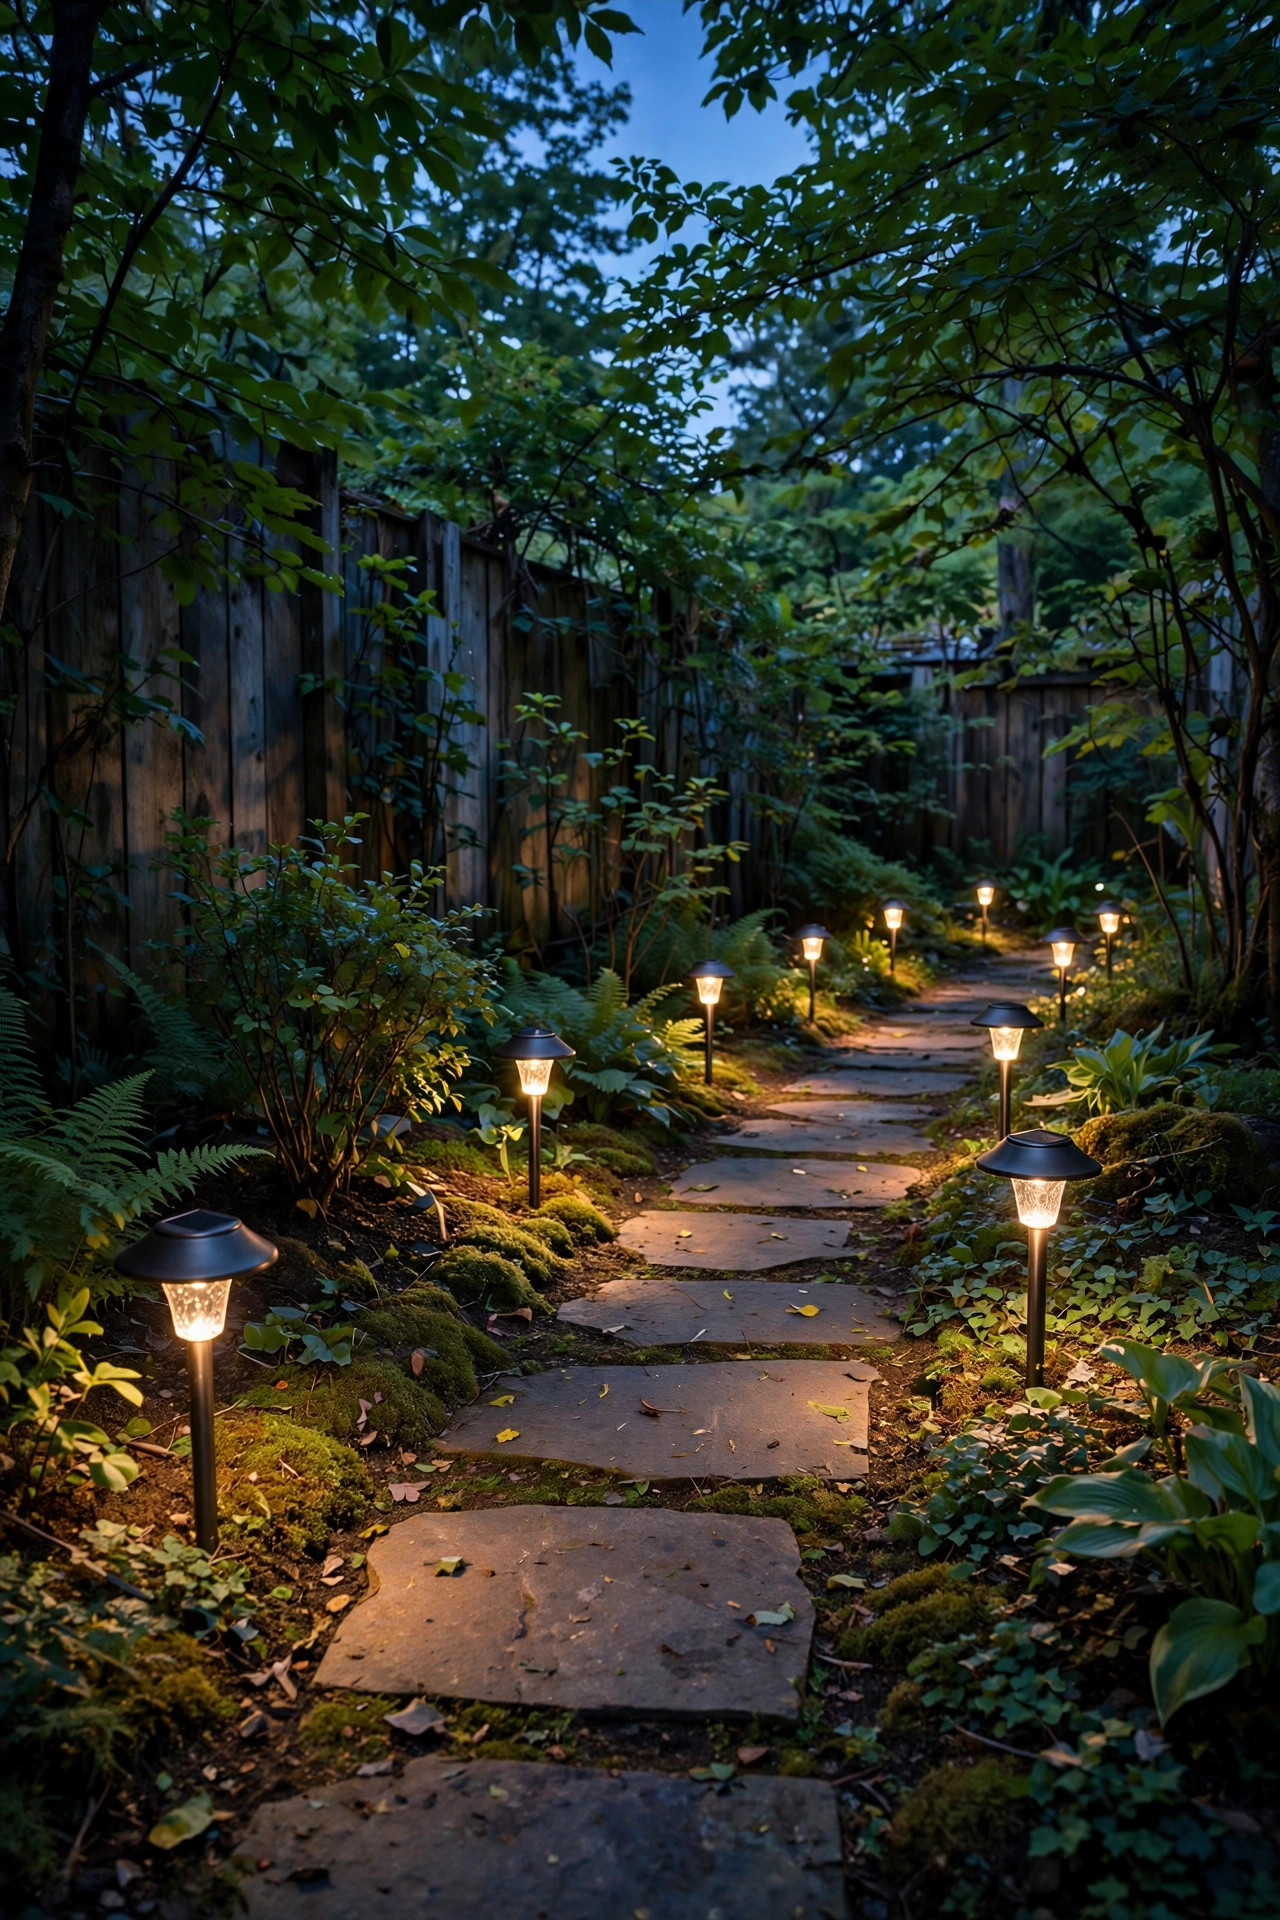
Solar stakes have a reputation for looking plasticky, but the handcrafted styles changed my mind. Bamboo-look, woven, and crackle-glass stakes tuck into the beds like little sculptures by day and glow amber at night. I plant them in loose drifts of five to seven along the bed edges, spaced about 4 to 6 feet apart, never in a stiff soldier row. Boho is a gathered look, so let heights and styles vary slightly while the color temperature stays locked at warm. Push stakes into loosened soil so they stand straight, and re-seat any that lean after heavy rain. Expect gentle guidance light, not brightness; these mark edges and mood, they do not light a task. Full sun placement matters, six hours or more, and panels hidden under a shrub canopy will disappoint by nine o'clock. I wipe the small panels when I rinse the mason jar lids, same monthly round. Replace individual tired stakes rather than the whole drift, because the slight mismatch actually improves the collected feel. In winter I pull the most delicate woven styles into the shed and let the sturdy glass ones carry the season.
Suggested budget range: $20 – $70.
13. Drape a Fairy Light Curtain on the Fence
A fairy light curtain turns a plain fence into a glowing backdrop, and it photographs like a dream. I hang one curtain strand panel, usually 10 feet wide, behind the lounge seating and let the drops fall at uneven lengths for that relaxed boho drape. Outdoor-rated strands matter here; check for an IP44 rating or better, and secure the top wire with cup hooks every 2 feet so wind cannot work it loose. Run the plug to a GFCI outlet and keep connections raised off the soil in a weatherproof box. Warm white, steady or gentle twinkle only; chasing modes belong at the fairground. Step back at dusk and adjust: the curtain should read as a soft wall of sparkle, not a grid, so nudge strands until the spacing blurs. Keep the bottom 12 inches above mulch and soil splash. This backdrop makes every other layer look richer, because rattan lanterns and candle hurricanes pop against the sparkle. If your fence is long, one panel behind the main seating is plenty; the rest of the fence can stay dark and restful.
Suggested budget range: $25 – $85.

14. Uplight One Sculptural Tree
One uplit tree gives the whole yard a ceiling and a destination. Pick the tree with the best bones: a twisted trunk, interesting bark, or a canopy that spreads wide over the yard. Set a single warm spotlight or well light at the base, 12 to 24 inches from the trunk, aimed up through the branches at a slight angle. Warm 2700K is flattering to bark and leaves; cool white turns the same tree ghostly. You want glow, not a searchlight, so start with a modest fixture around 300 to 500 lumens and step back from the street to judge it. Shield the fixture so light does not spill into neighbors' windows, and bury or pin the cable safely out of the mower's path. In my experience one hero tree beats five mediocre uplights every time, and the restraint keeps the boho mood intact. The canopy catches your string light swags visually, tying the top layer to the middle one. If the tree leafs out heavily in summer, nudge the angle once in May so the beam still finds the trunk.
Suggested budget range: $15 – $60.

15. Put It All on Timers and Dimmers
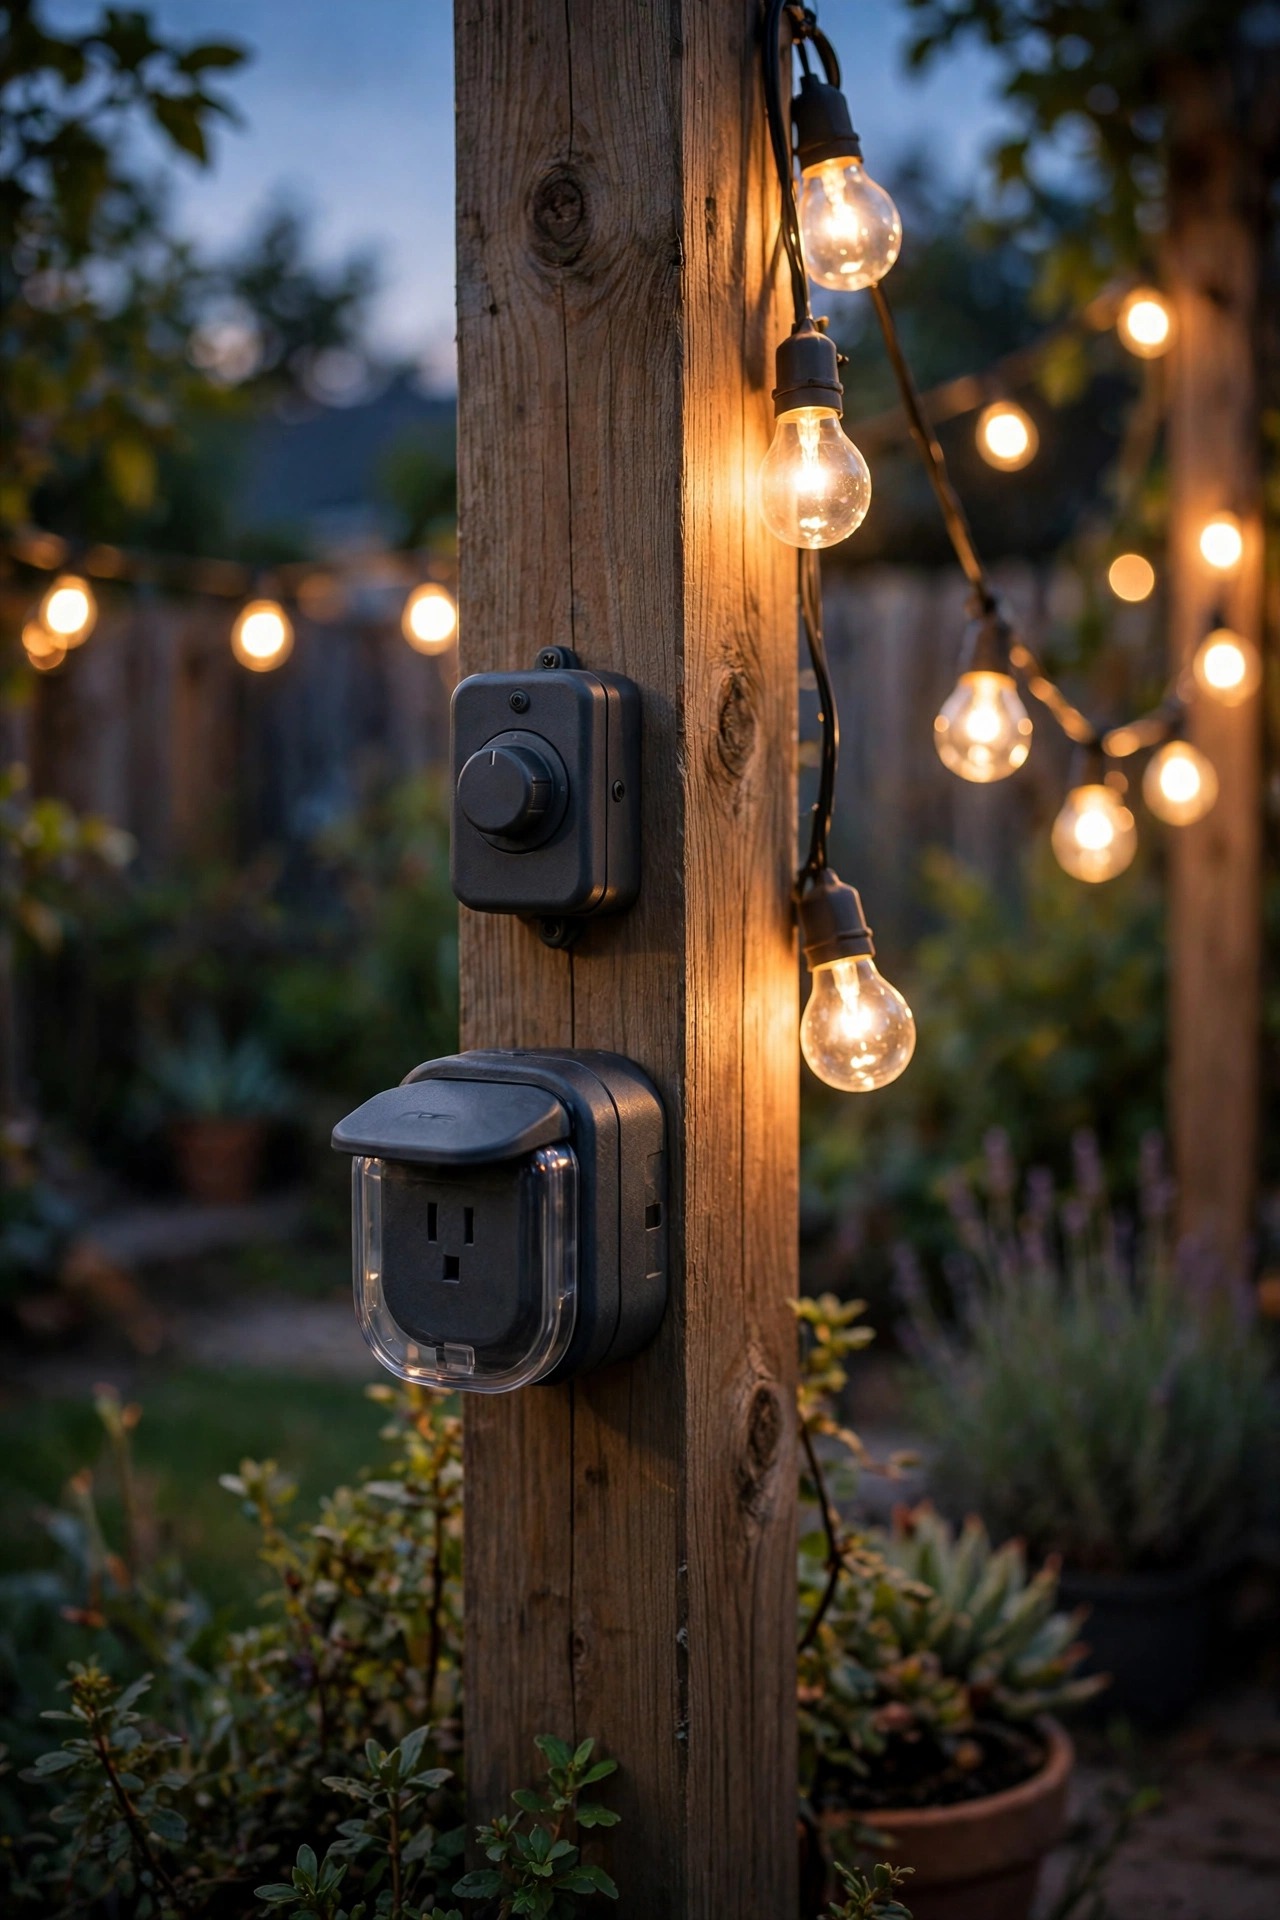
Dreamy should also be effortless, and timers are how the magic shows up without you. I put the cafe strands and fence curtain on smart plugs set to dusk, the flameless candles run their own six-hour timers, and the solar layers handle themselves. Everything arrives at glow o'clock together, which feels like the yard is welcoming you home. Dimmers matter just as much: cafe lights at full blast look commercial, but at 50 to 60 percent they turn buttery. A simple plug-in dimmer on the main strand is the cheapest upgrade in this entire post. Set the hammock canopy lower still, around 30 percent, for stargazing. Keep smart plugs under cover or in weatherproof boxes, and check that your dimmer is rated for LED loads so bulbs do not buzz or flicker. One honest caution: cheap dimmers and cheap bulbs argue with each other, so buy the dimmer first and match bulbs to its list. When the whole yard runs itself, you will actually use it on weeknights, not just when guests come over. That, to me, is the real test of a lighting plan.
Suggested budget range: $15 – $60.
16. Keep Every Bulb at One Warm 2700K
Here is the discipline that holds all this beautiful mixing together: every single light source in the yard glows at 2700K. Bulbs, solar lids, stakes, fairy strands, flameless candles, check the box or the listing before anything comes home. Mixed color temperatures are the number one reason layered yards look off, and nobody can quite say why. At 2700K, rattan looks golden, skin looks kind, and foliage stays rich green instead of turning blue-grey. Solar products are the worst offenders, often shipping at a harsh 6000K daylight white, so filter listings for warm or amber before you buy. Mixed metals, on the other hand, are welcome here: brass beside black beside copper reads collected, as long as each finish repeats once more somewhere in the yard. When a beloved piece arrives with the wrong bulb, swap the bulb, not the fixture. I keep two spare warm bulbs and a spare set of warm jar lids in the shed so a single failure never breaks the spell. Walk the yard at full dark once a season and hunt for the one cool interloper. There is always one.
Suggested budget range: $10 – $50.

17. Finish With the Dusk Walk-Through: Boho Backyard Lighting Ideas That Glow
The last step costs nothing and changes everything: walk your yard at dusk, slowly, the way a guest would. Start at the gate and follow the jar trail. Sit in every seat. Lie in the hammock. Squint from the fire bowl toward the fence and look for dark holes, glare spots, and any bulb staring straight into your eyes. I bring a small notebook and mark three fixes, no more, because endless tweaking is its own kind of clutter. Angle the tree light two degrees. Move one lantern eighteen inches. Raise the curtain strand a hook higher. Then live with it for a week before judging again. The best boho backyard lighting ideas are never finished in a weekend; they settle in over a season of evenings, the way a garden itself does. When you can stand at the back door with a cup of tea and feel the yard pull you outside, the layers are right. Trust that feeling over any rule in this post, including mine. And when a friend sighs and asks how you made it feel like this, just smile and say the secret is warm light, low and layered, and never rushing it.
Suggested budget range: $0 – $50.
Frequently Asked Questions
What color temperature looks best for a boho backyard?
Warm 2700K, everywhere, no exceptions. It makes rattan, wood, and skin tones glow golden, and it keeps foliage a rich green. Cooler bulbs at 4000K and above turn a relaxed boho scene into something that feels like a parking lot. Check every bulb, solar lid, and fairy strand before buying, because solar products especially love to sneak in harsh daylight-white LEDs.
Can I light a whole backyard with solar only?
Mostly, yes, if your yard gets six or more hours of direct sun and your expectations are gentle. Solar handles paths, jars, stakes, and accent glow beautifully. Where solar struggles is overhead light: cafe strands and hammock canopies look far better plug-in, on a dimmer, with reliable brightness all night. My own yard is a hybrid, solar for the low layer, plug-in for the layers over seating, and it never feels like a compromise.
Are paper and rattan lanterns safe to leave outside?
With flameless LED candles or solar inserts inside, the fire risk is handled; real flames should never go inside woven or paper shades. Weather is the real issue. Outdoor-rated rattan can stay out under cover, but paper lanterns are fair-weather pieces that need to come in before rain and strong wind. A simple habit, lanterns in when the forecast turns, keeps a set looking good for several seasons.
How much does a boho backyard lighting setup cost?
A starter setup with string lights, a lantern cluster, solar jars, and candles runs about $150 to $300 and already feels magical. The full 17-layer yard in this post, built gradually, lands closer to $600 to $1,100, with the fire bowl and quality strands taking the biggest share. Because boho rewards thrifted and secondhand finds, patient shoppers often spend far less.
Conclusion
If you take one thing from this post, let it be this: boho backyard lighting ideas succeed on layers, not on any single fixture. Low light for the paths, warm light at eye level for the people, and one glowing accent for the eye to rest on, all of it held together by a single warm 2700K temperature. Start with the string light swags and a lantern cluster this weekend, add the fire bowl when you are ready, and let the rest collect slowly. Your future self, barefoot in the hammock under a little canopy of light, thanks you. Browse the rest of my outdoor lighting ideas here on the site for more ways to keep the glow going, and tell me in the comments which layer you built first.