A sunken conversation pit is the coziest corner of any backyard I have ever sat in, right up until the sun drops and the whole thing turns into a shadowy hole in the ground. The fire itself throws beautiful light, but it flickers, it only reaches so far, and it leaves the steps, the seat edges, and your guests' faces in darkness. That is exactly where good sunken fire pit lighting ideas earn their keep. My approach is the same layering I use everywhere outdoors: low light for safety underfoot, mid-level light so faces look warm instead of spooky, and a little high light for the magic overhead. Below are the 17 layers and accents I reach for, from the purely practical to the purely pretty. If you are still sketching the pit itself, my notes on fire pit area lighting cover placement basics that pair nicely with everything here. Every idea below comes with a rough budget, the bulb warmth I would pick, and the one safety detail most people skip.
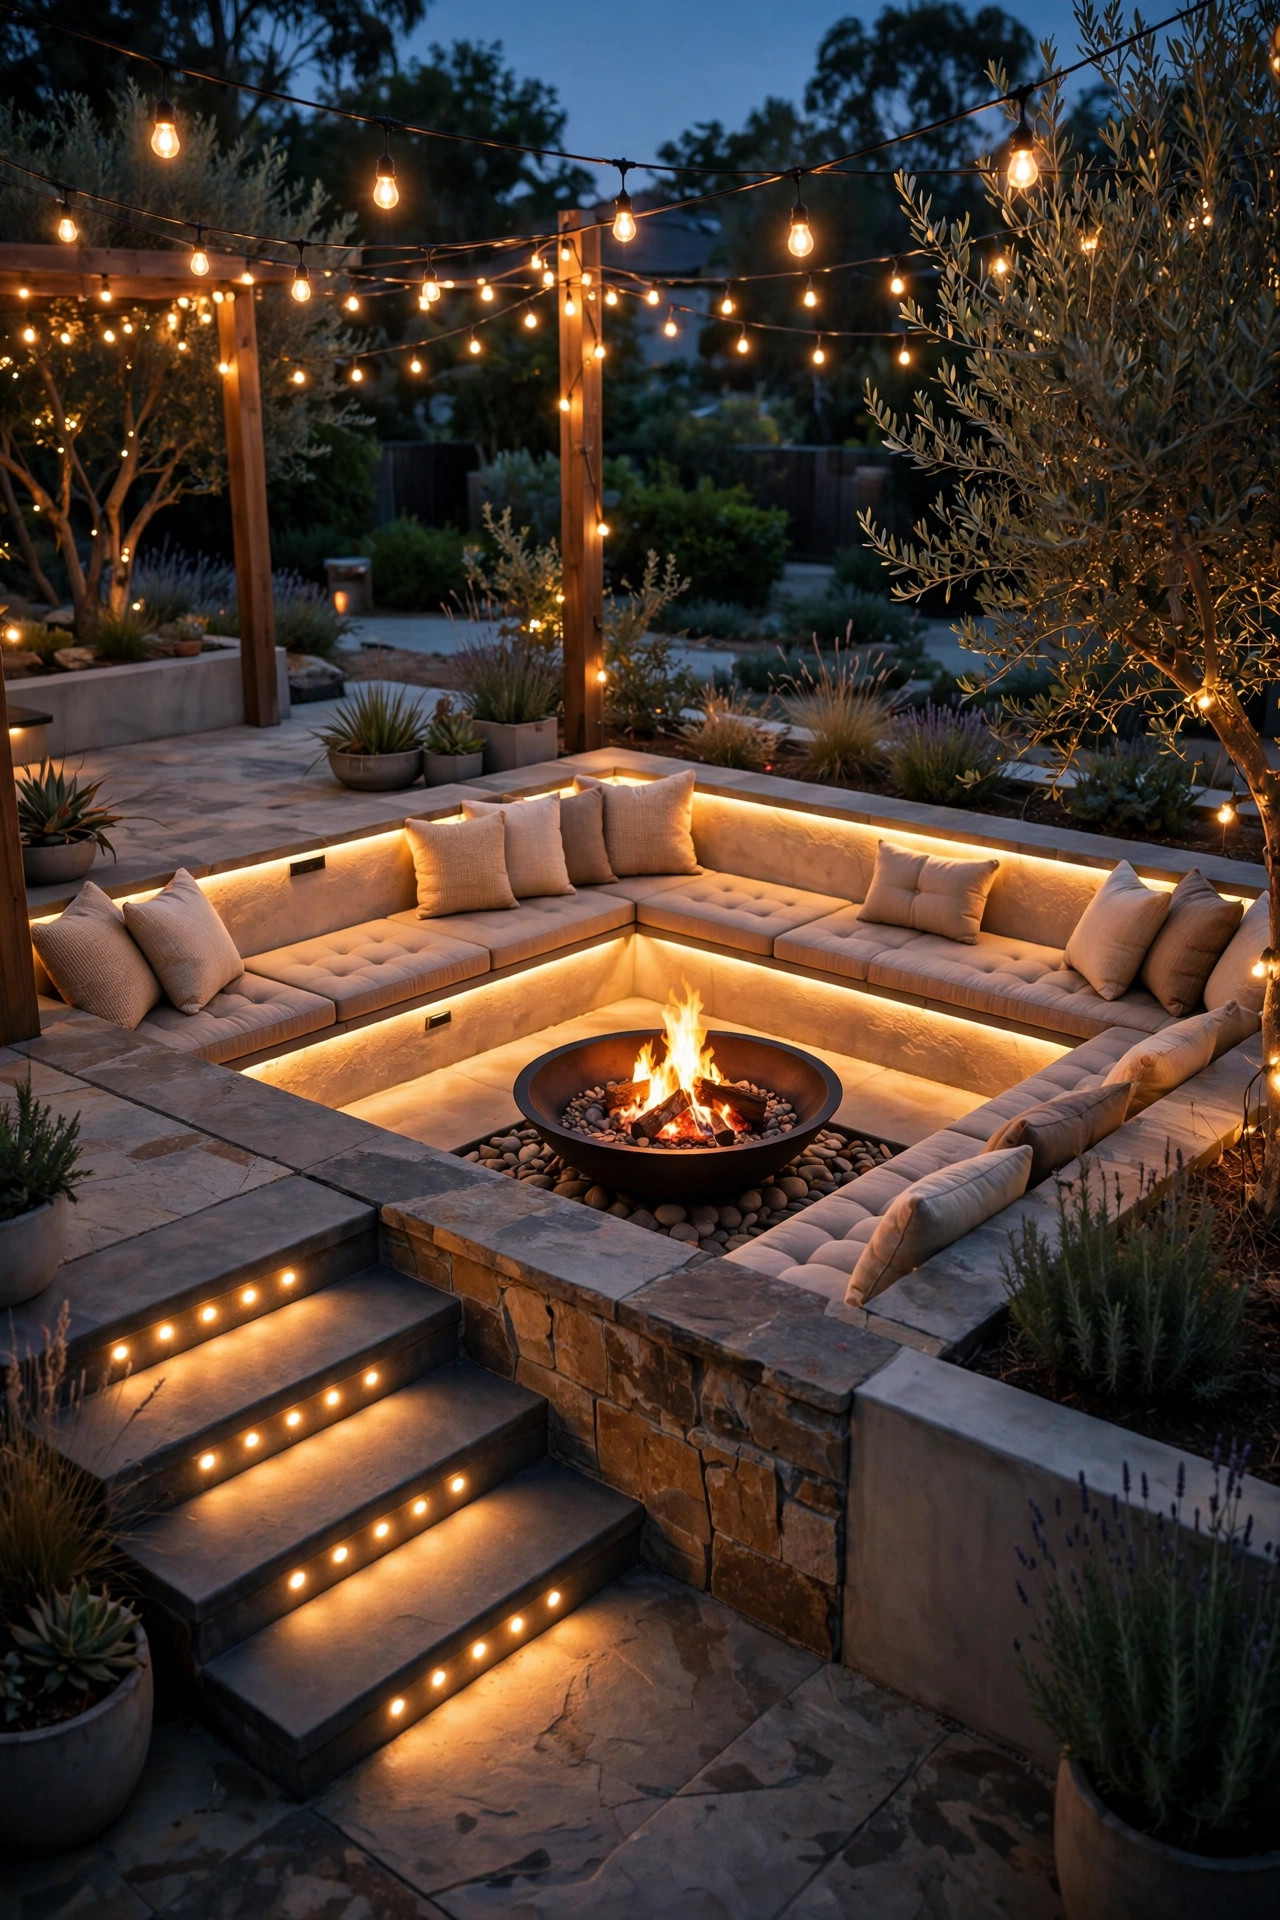
1. Sunken Fire Pit Lighting Ideas Start With Safe Steps
The steps down into a sunken pit are the one spot I never leave to firelight alone. Fire flickers, and flickering light across a stair tread is how a guest misses the last step in the dark. I use recessed step lights, the small louvered fixtures that sit flush inside the stair riser or in the wall right beside each tread, aimed downward so the light pools on the step instead of shining into anyone's eyes. Plan one fixture per step, or every other step on a wide staircase, mounted about 4 to 6 inches above the tread surface. Low-voltage 12-volt fixtures are my pick here because they are forgiving to install and a comfortable DIY project. Choose a warm 2700K LED so the steps read clearly without that cold security-light glare, and insist on a wet-location rating, since sunken pits collect rain and sprinkler splash. On the wiring run, I always put the step lights on their own zone so they can stay on after I dim everything else down for stargazing. Honestly, this is the least glamorous idea on the list, and the one every single guest silently thanks you for.
Suggested budget range: $120 – $320.

2. Under-Bench LED Strips for a Floating Glow
Built-in bench seating is the backbone of most conversation pits, and tucking an LED strip under the front lip of the seat is my favorite trick in the whole space. The strip hides under the overhang where nobody can see the source, and the light washes down the face of the bench and across the floor, so the whole seat looks like it is floating. It also quietly lights people's feet and the edge of the seating, which matters when everyone is shuffling around with drinks. Use an outdoor-rated, waterproof LED strip in 2700K to 3000K, and stick with low-voltage tape fed from a small transformer tucked inside a storage bench or behind the wall. Aluminum channel with a frosted cover is worth the small extra cost because it turns the row of dots into one smooth ribbon of light and protects the strip from kicked heels. Keep the strip at least a few feet from the fire bowl itself, and never run it where heat from the pit can reach the adhesive. On a dimmer, this layer alone can carry the whole pit on a quiet weeknight.
Suggested budget range: $60 – $180.

3. Wall-Wash Uplights That Graze the Retaining Wall
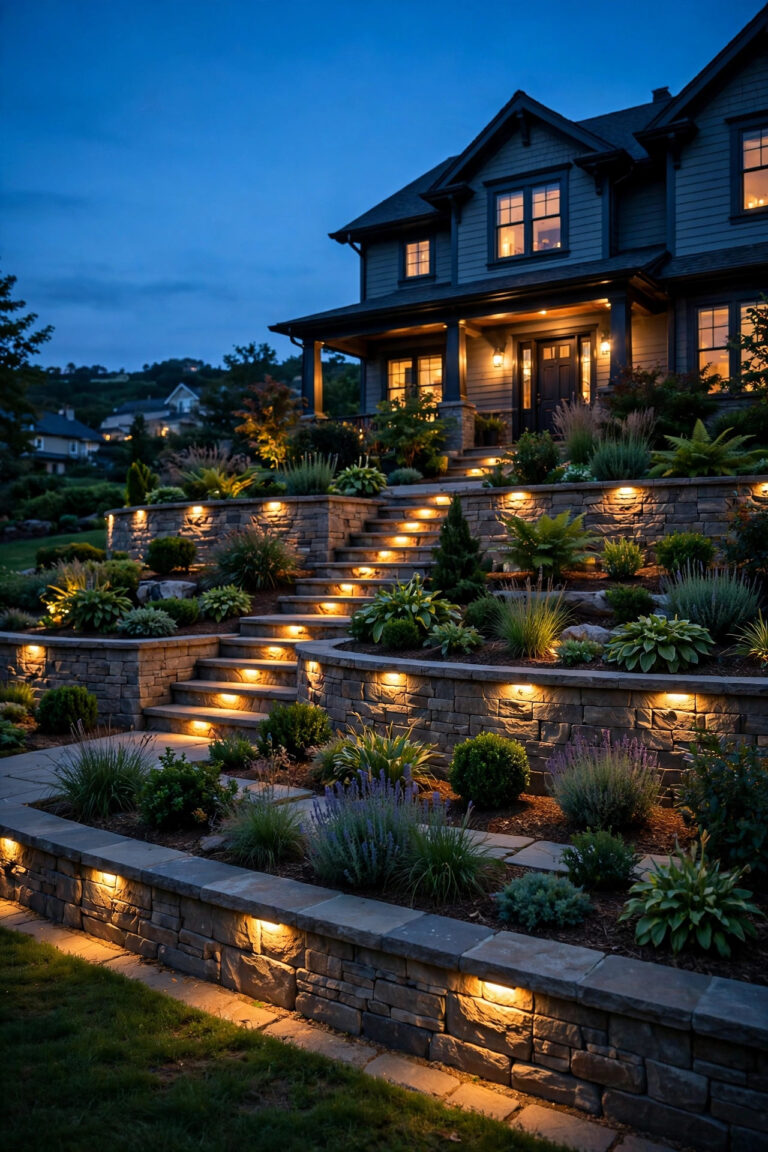
A sunken pit lives inside its retaining walls, and those walls are a huge blank canvas after dark. Small uplights set at the base of the wall, aimed straight up so the beam grazes across the surface, bring out every bit of texture in stone, brick, or stucco. That grazing angle is the secret: light skimming across a surface at a low angle shows off the relief, while a light pointed straight at a wall just flattens it. I space compact low-voltage well lights or bullet uplights about 3 to 4 feet apart along the longest wall, pulled 6 to 8 inches out from the base so the beam spreads before it climbs. If your wall is smooth plaster or painted block, grazing can look harsh, so angle the fixtures slightly outward for a softer wash instead. Keep the fixtures on the walls away from the fire first, since the far wall becomes the backdrop everyone faces across the flames, and it should be the brightest surface in the pit. This is also a lovely place to echo the fire pit landscaping around the rim, since lit plants above a lit wall double the effect.
Suggested budget range: $90 – $260.

4. Solar Path Lights Ringing the Rim
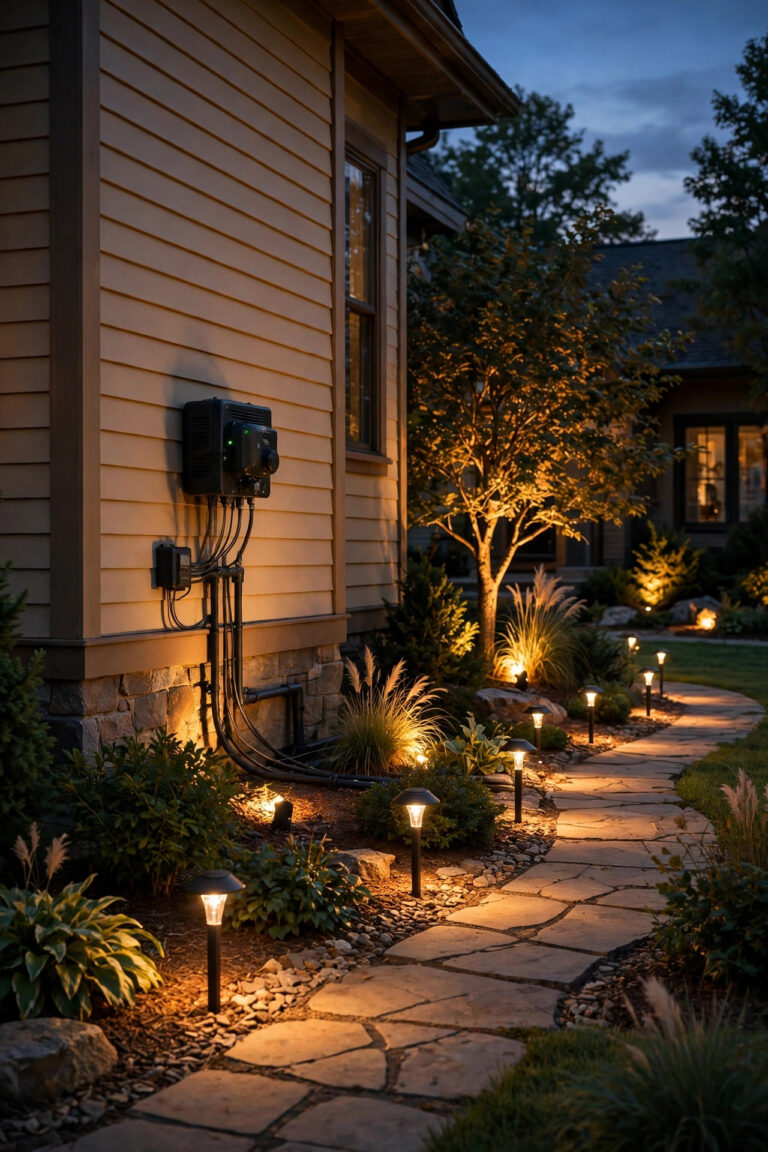
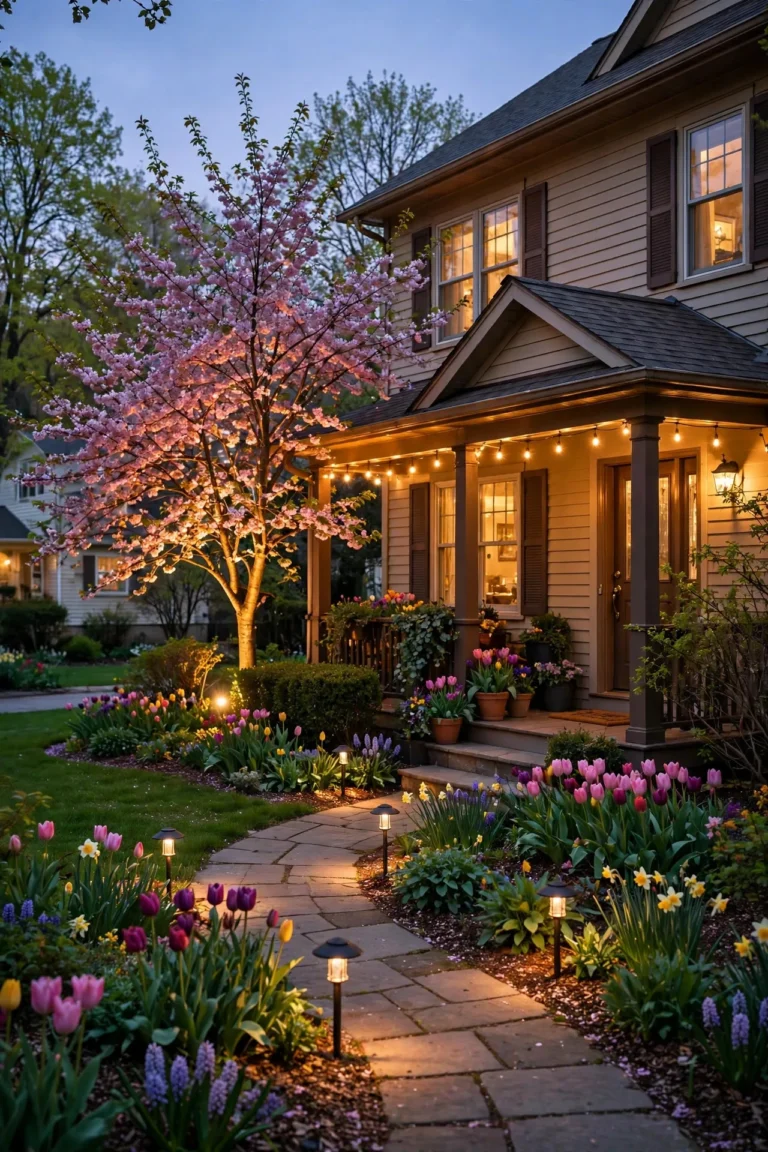
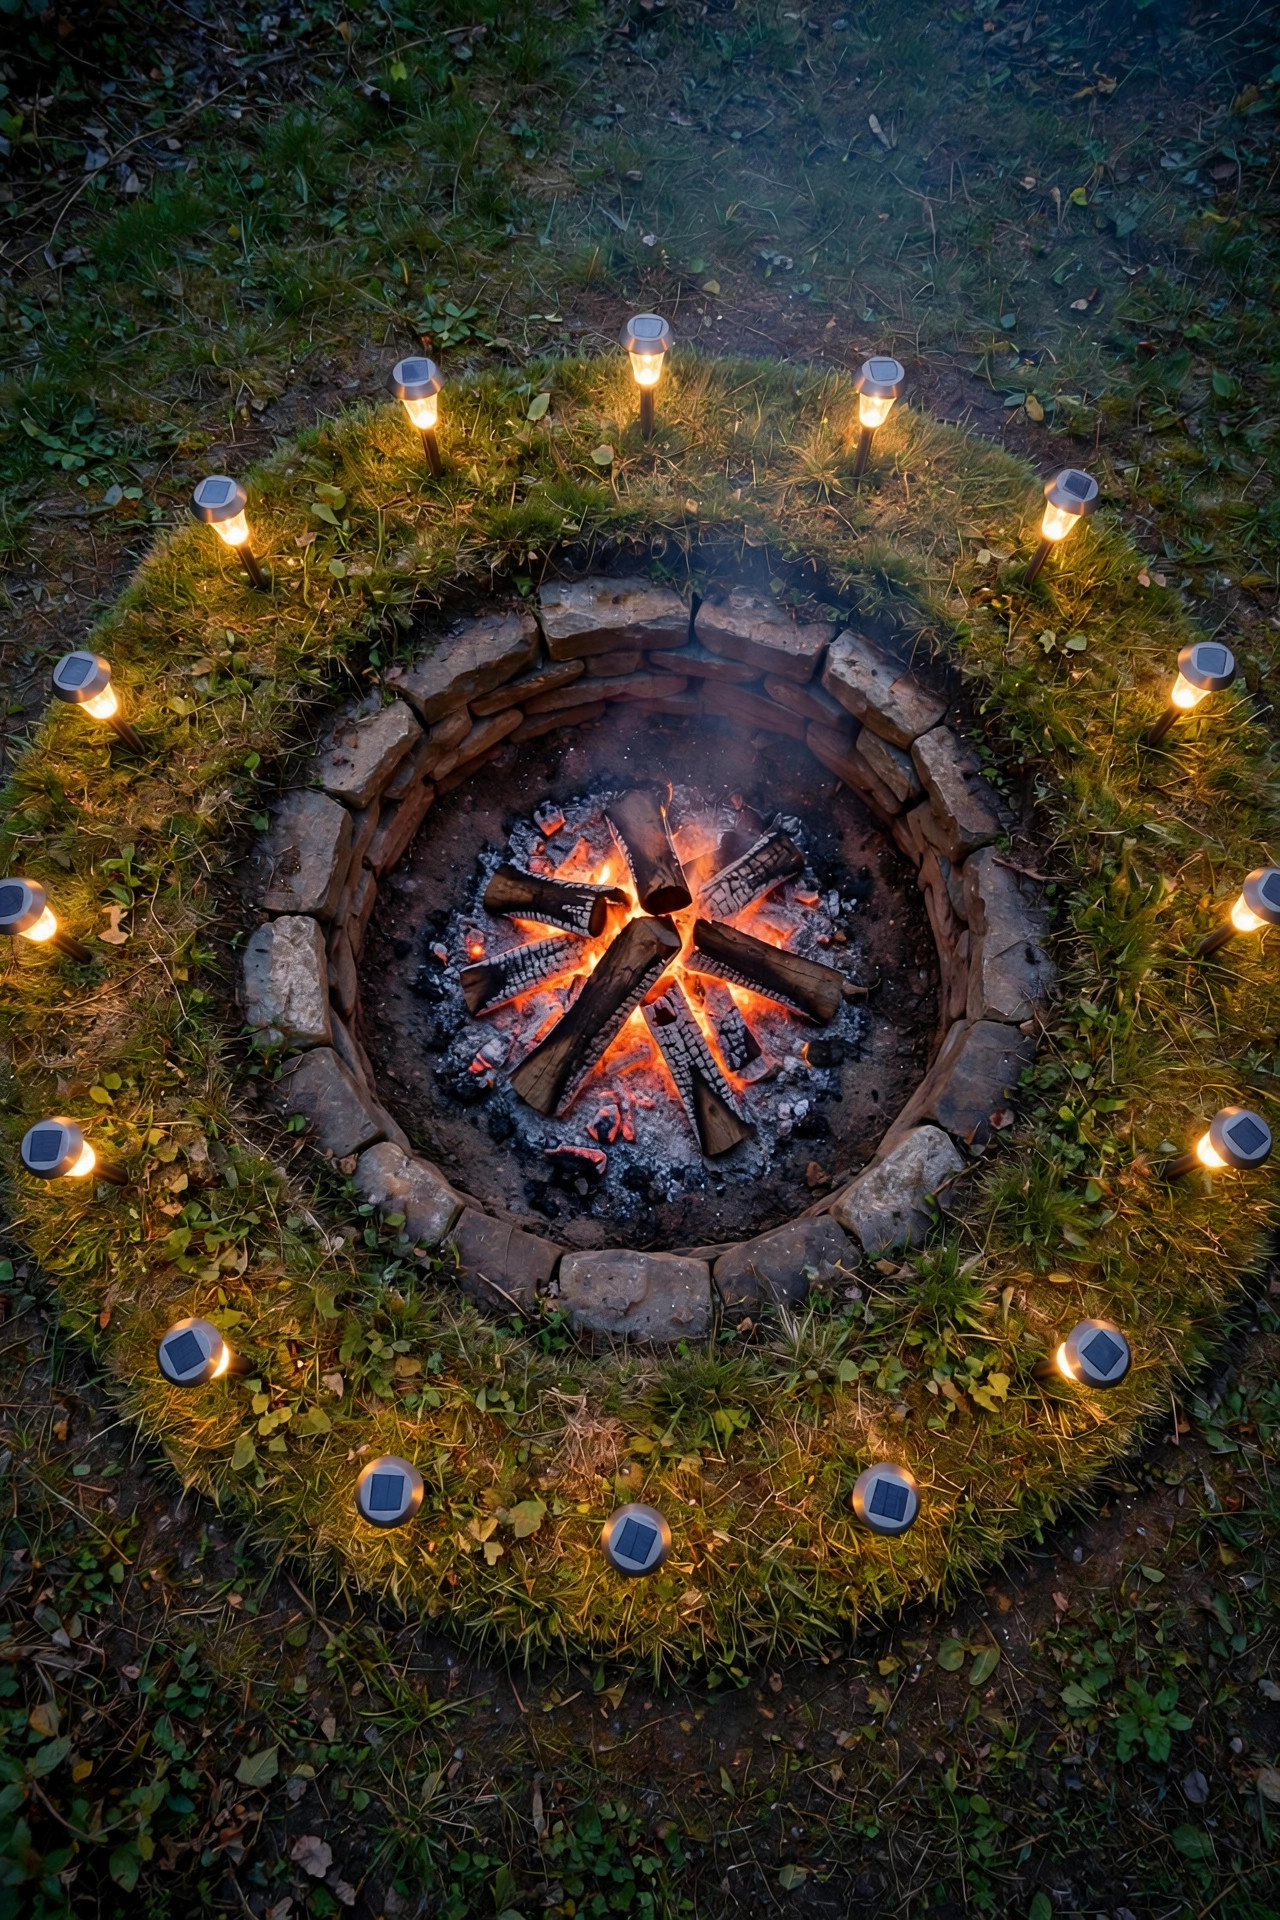
From ground level, a sunken pit is nearly invisible at night, which is a genuine tripping hazard for anyone crossing the yard. A ring of solar path lights around the rim solves that beautifully: it outlines the edge of the drop, marks where the steps begin, and makes the pit look like a glowing little amphitheater from the house. I keep them low and modest, 12 to 18 inches tall, spaced about 4 to 6 feet apart, and I set them a foot back from the edge so they read as a boundary instead of a runway. Warm-white solar stakes have gotten genuinely good, but be honest about your sun exposure, because a rim shaded by trees will starve them by midwinter. In shadier yards I swap the two lights flanking the steps for wired low-voltage path lights and leave the solar ones where the sun reaches. One styling note: match the finish to your other fixtures, black or bronze reads classic, and avoid the rainbow color-changing modes for this job. The rim ring is about quiet definition, not a carnival.
Suggested budget range: $40 – $140.
5. Overhead String Lights, Hung High and Wide
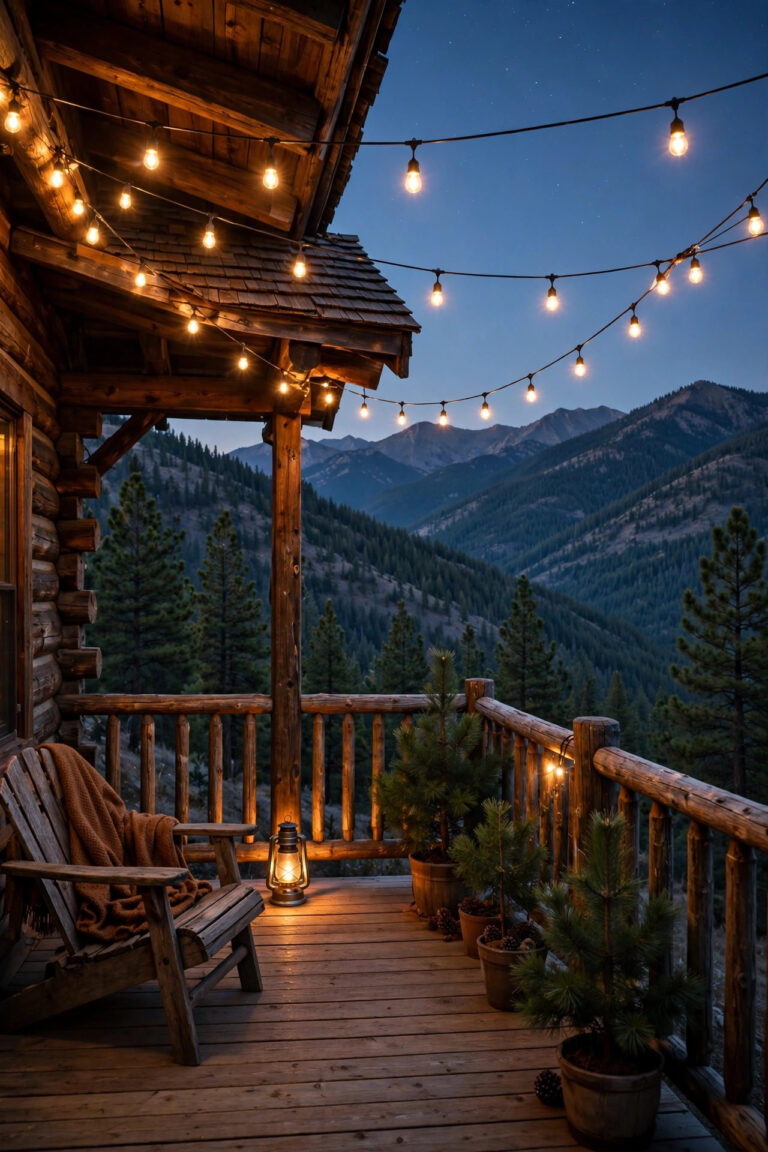
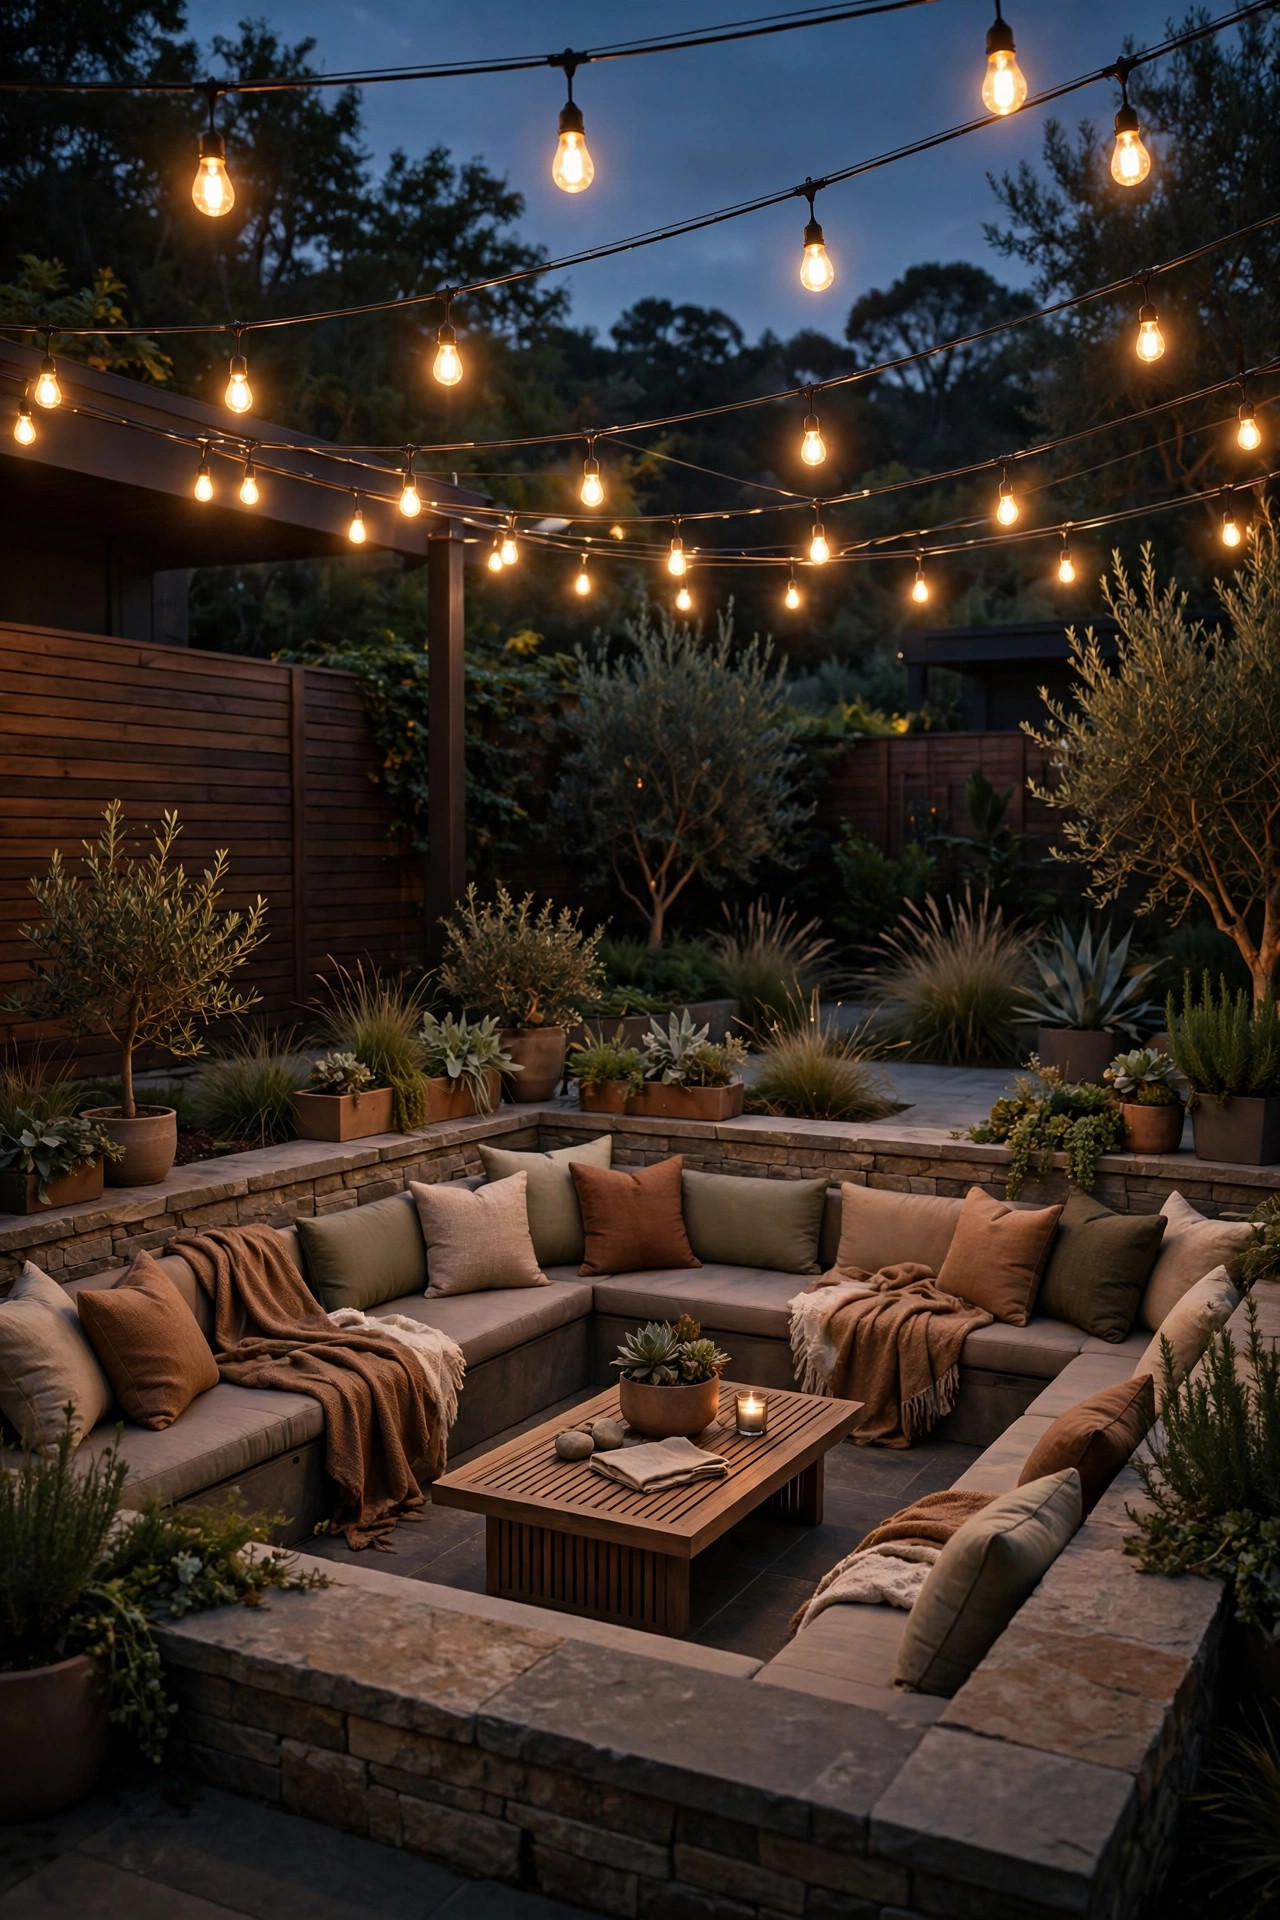
Every conversation pit deserves a ceiling, even an imaginary one, and string lights are how you build it. Over a sunken pit they do double duty: they define the room from above and they bounce a soft, flattering light down onto faces, which firelight alone cannot do. The safety rules matter more here than anywhere else in the yard. I hang commercial-grade LED string lights at least 10 feet above the fire bowl, strung wide so no strand passes directly over the flame's heat column, and I always use LED bulbs, never glass incandescents, above a fire. Mount to poles set outside the pit walls or to the house and a sturdy tree, with a gentle swag rather than a tight straight pull. Shatterproof LED filament-style bulbs in 2700K give that cafe glow and shrug off weather. Put them on a dimmer or a smart plug with a timer so the overhead layer can drop to a whisper once the fire is roaring, because the best pit lighting lets the flames take over as the main event while the strings just keep the edges kind.
Suggested budget range: $70 – $220.
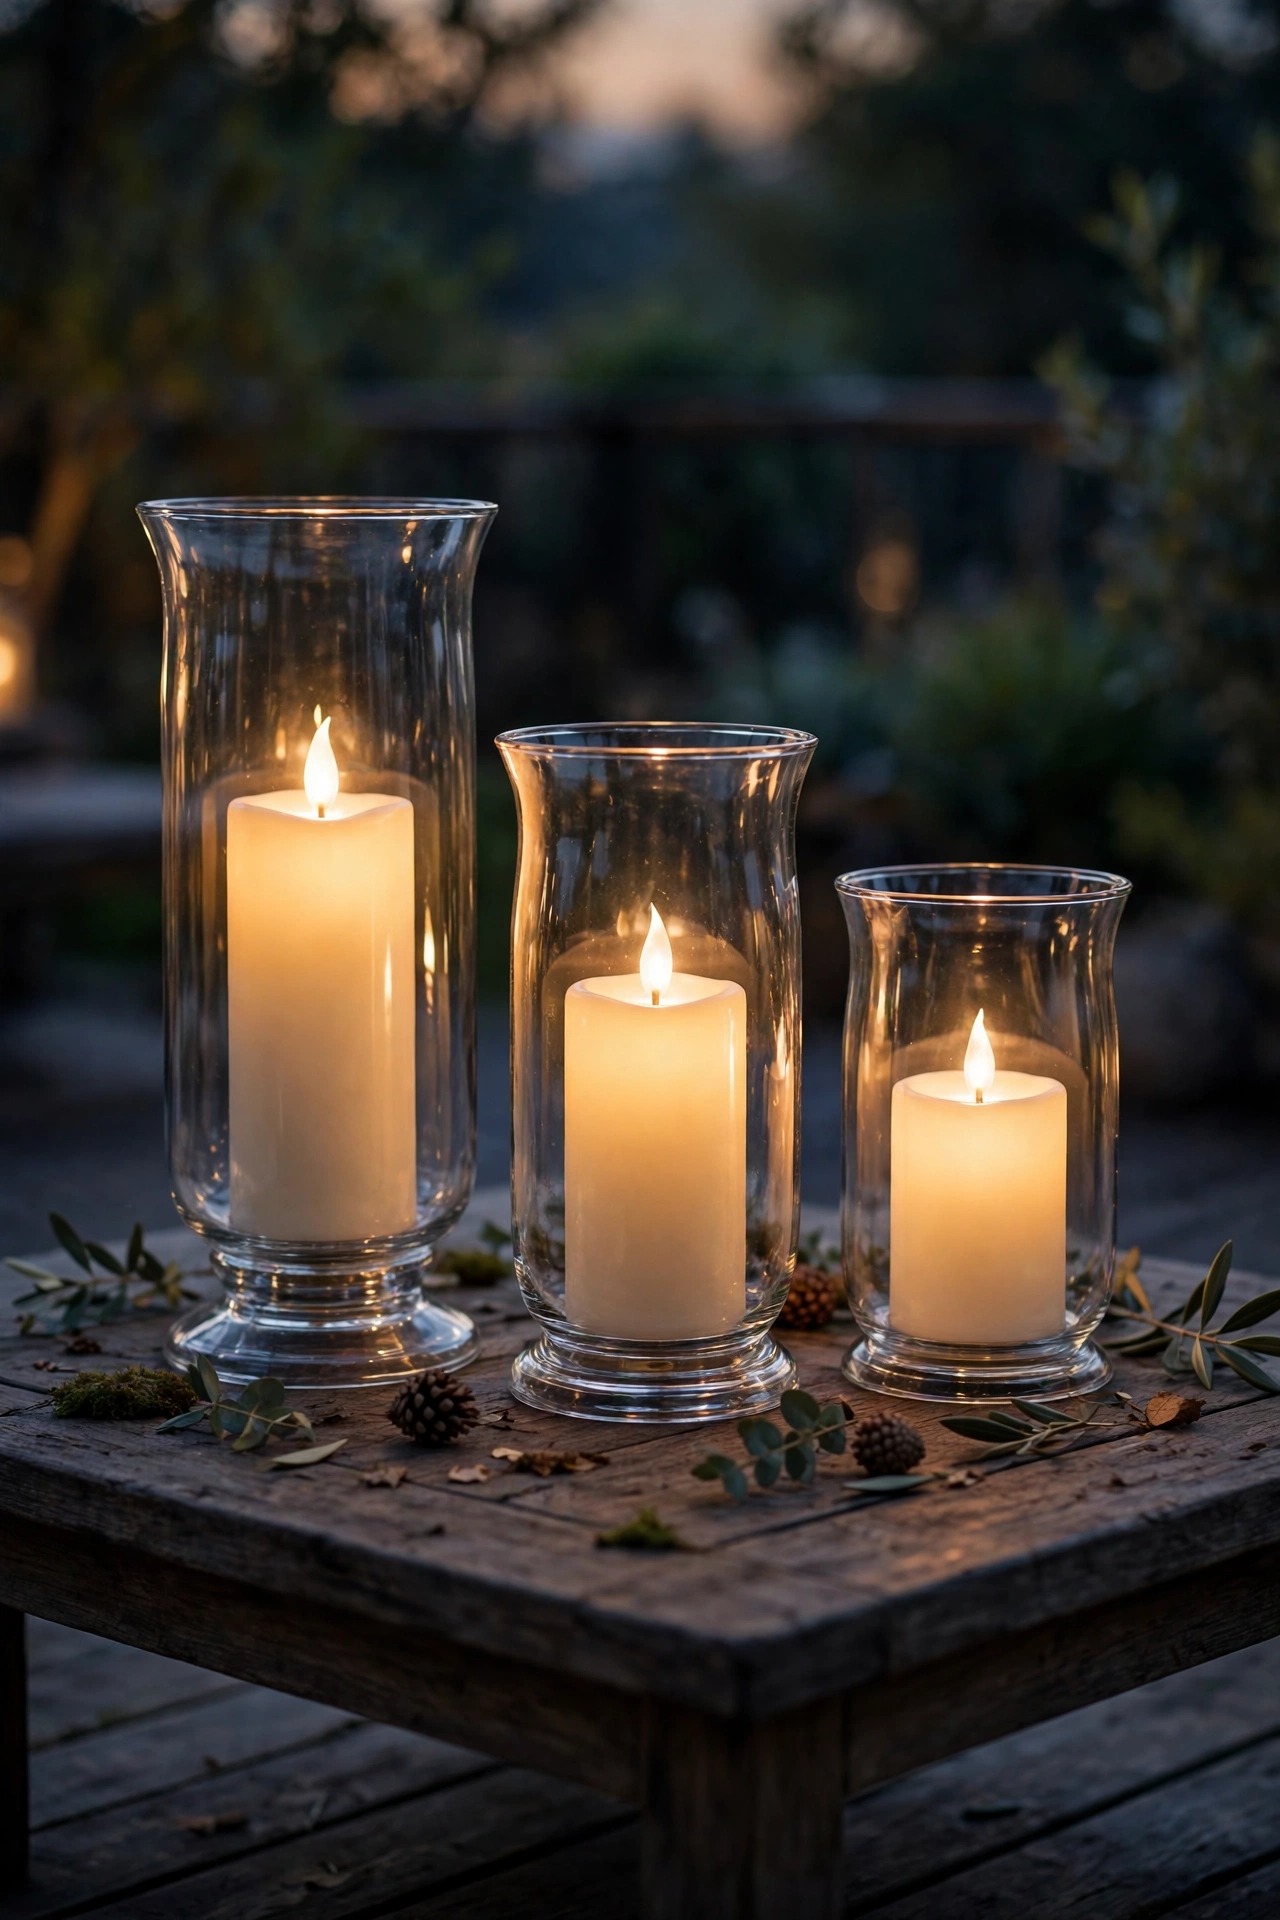
6. Hurricane Lanterns Tucked Into the Corners
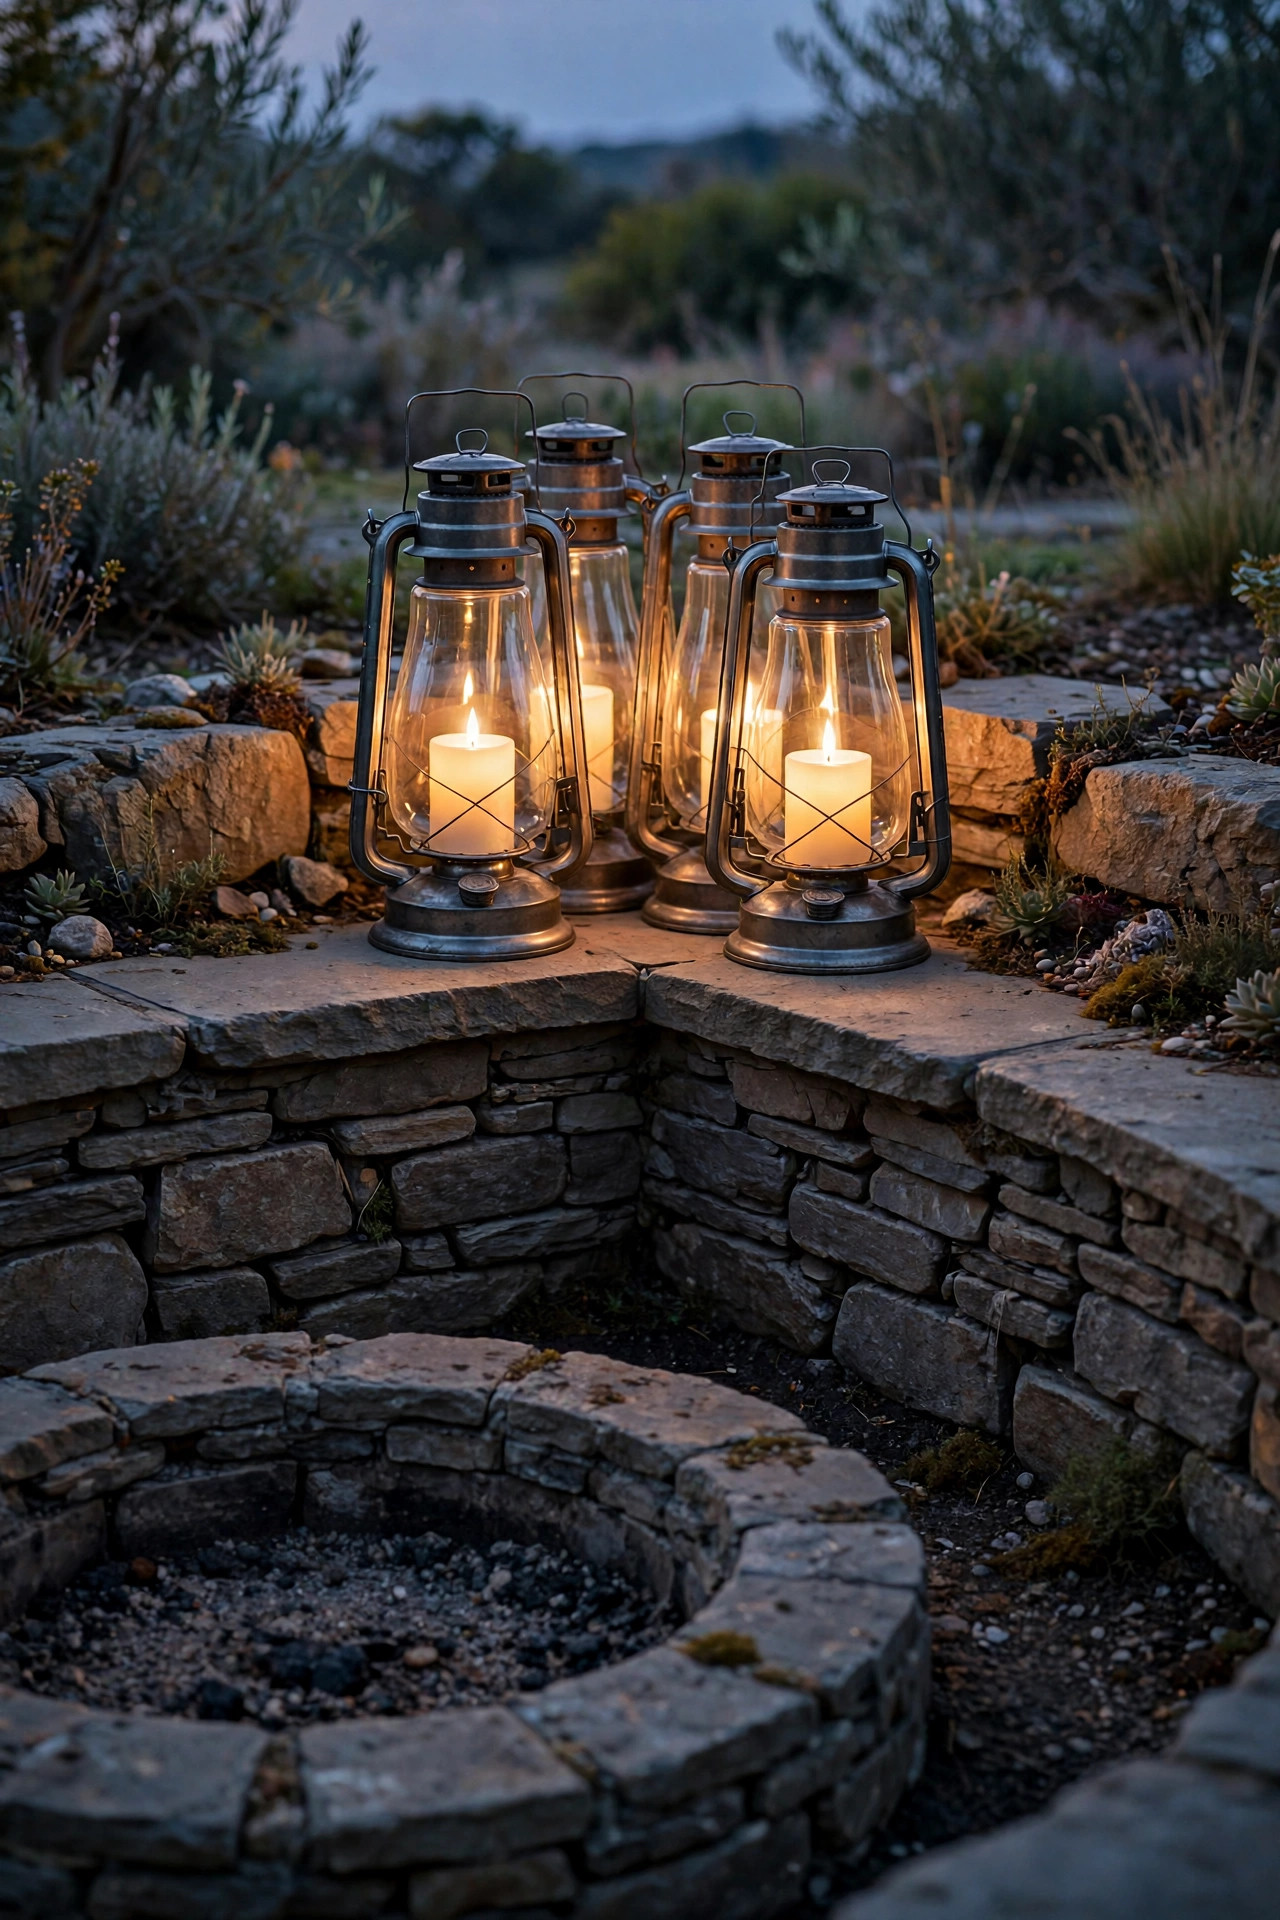
There is always one corner of a pit that the fixed lighting misses, and that is where lanterns earn their place. I group hurricane lanterns in the corners, on the wide cap of the seat wall, and beside the steps, using the glass chimney style that protects a flame from the breeze. My strong preference is flameless LED candles inside them: you get the same flickering warmth with zero worry about a tipped candle near cushions, blankets, or dry leaves. If you do burn real candles, LED-only rules apply anywhere near fabric, and keep them well away from the fire bowl so nobody confuses the two. Odd numbers photograph and feel best, so think in clusters of three with mixed heights. Metal lanterns in matte black or aged copper suit the sunken, earthy feel of a pit better than anything shiny. Battery timers are the detail that makes this layer effortless, since the lanterns click on at dusk every night without you touching a thing, and a 5-hour timer cycle carries them through a whole evening.
Suggested budget range: $35 – $120.
7. Short Bollard Lights at Both Entries
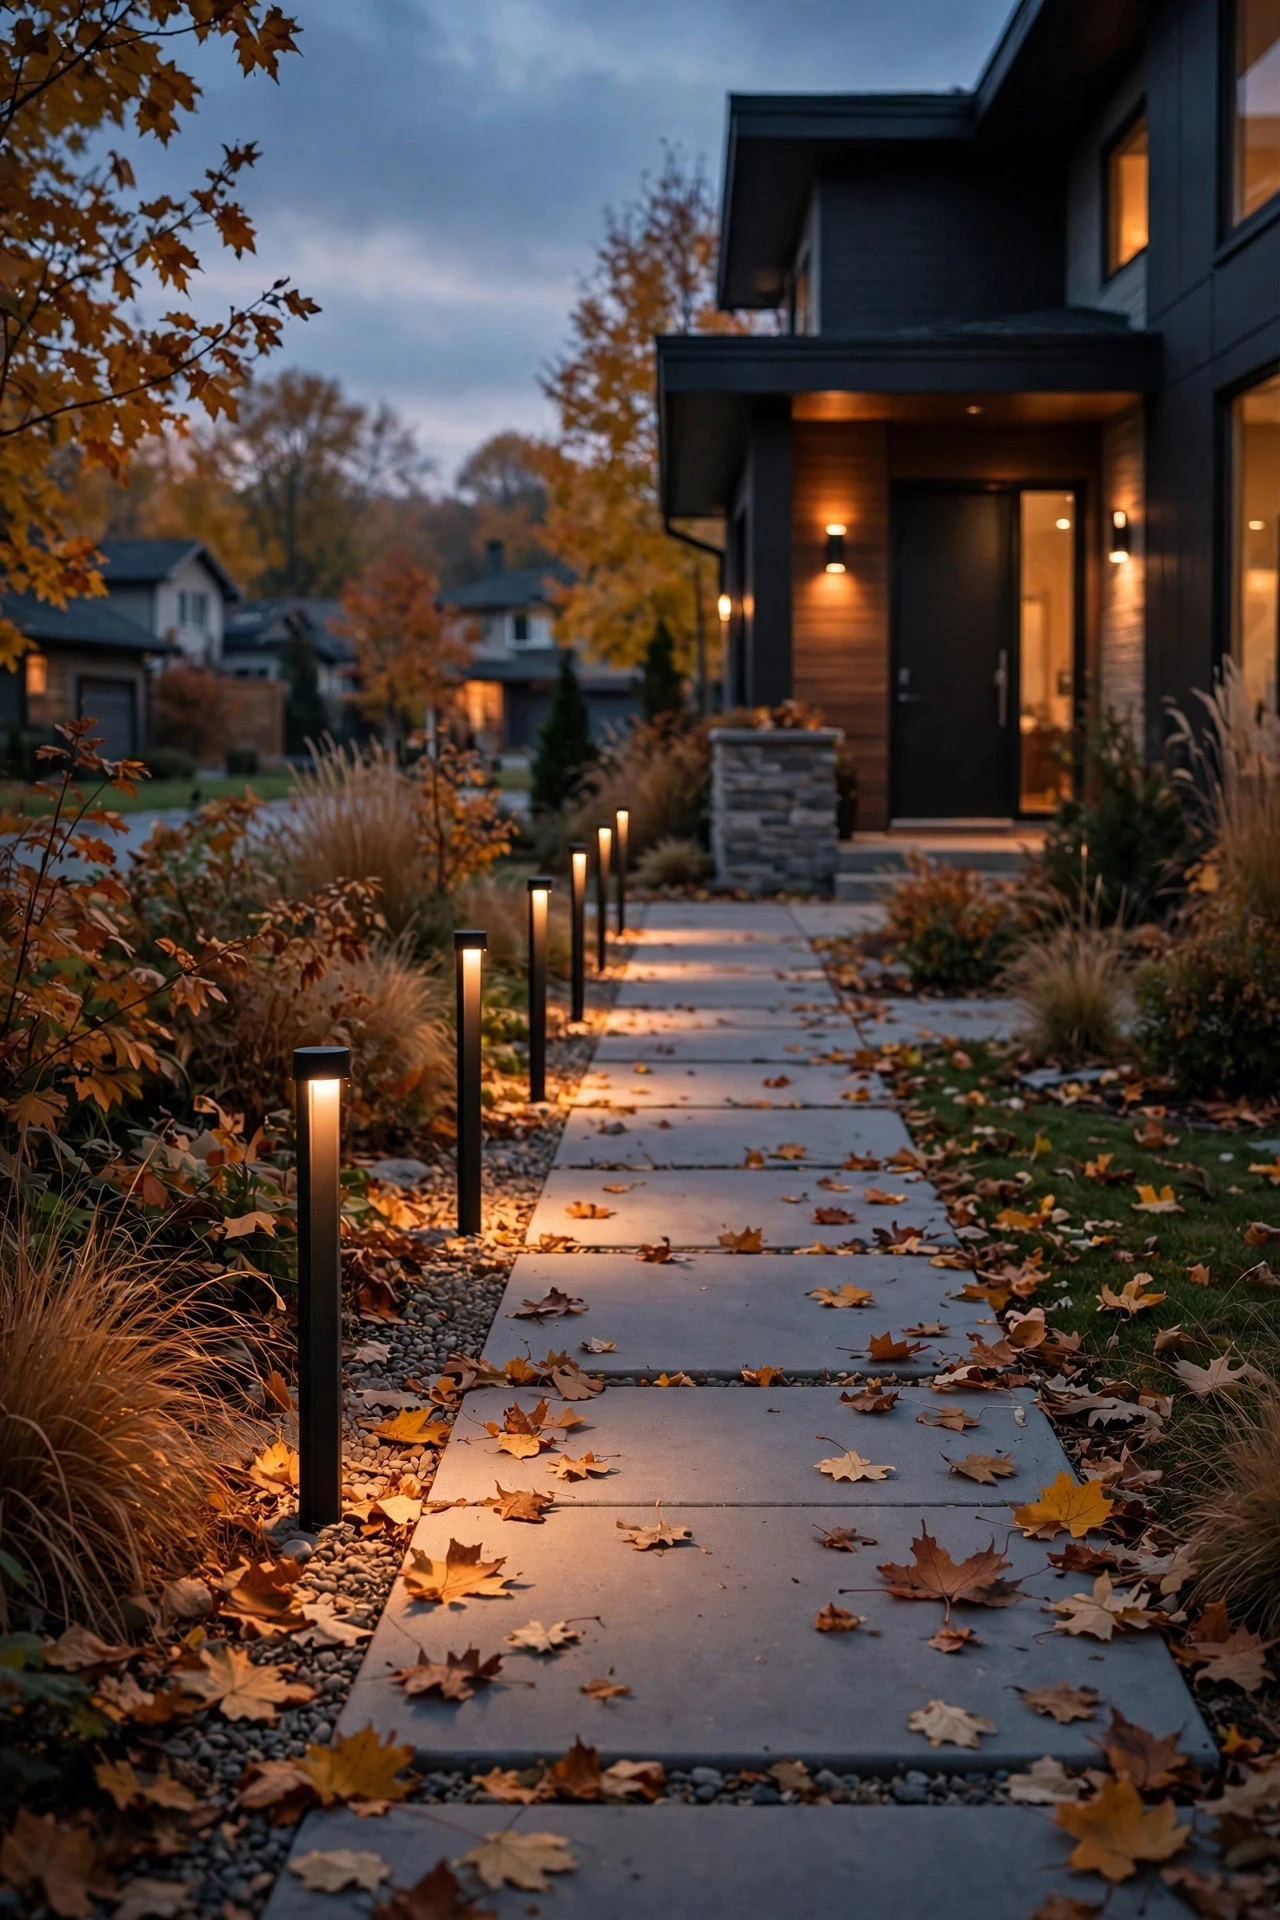
Most sunken pits have two ways in, a main stair and a sneaky side gap everyone actually uses, and both deserve a proper welcome. Short bollard lights, the sturdy little posts about 14 to 24 inches tall, are perfect for marking those entries without flooding the pit with light. Their shielded tops throw the glow downward onto the path and the first step, which is exactly where eyes need it. I place one bollard on each side of the main entry and a single one at the side gap, set back about a foot from the walking line so nobody clips it with a shin. Wired low-voltage bollards are the reliable choice here; solar bollards exist, but an entry marker that dies at 9 p.m. in December is worse than none. Look for a louvered or frosted lens, because a bare bulb at knee height sits right in your sightline when you are seated in the pit, and glare at eye level ruins the whole sunken, sheltered feeling. In bronze or black, a good bollard disappears by day and quietly does its job all night.
Suggested budget range: $110 – $300.
8. Pergola Downlights for a Moonlight Effect
If your pit sits under a pergola, an arbor, or even a big shade sail frame, you have the perfect rig for my favorite effect of all: moonlighting. Small downlights mounted 9 to 12 feet up in the structure, aimed down through slats or branches, scatter soft pools of light across the seating the way moonlight falls through a tree canopy. It is the most natural-looking light there is, and because it comes from above, it flatters faces instead of turning everyone into a campfire ghost story. Use narrow-to-medium beam fixtures with glare shields, and keep the output gentle, since this layer should whisper rather than shout. Two or three fixtures are plenty over a typical pit; more than that starts to look like a stage. In my experience, pairing moonlighting with the fire is the single prettiest combination on this list, because the cool-neutral task of the downlights balances the orange flicker below. Just keep every fixture and wire well clear of the chimney heat path if your pergola stands close to the fire bowl, and put this layer on its own dimmer.
Suggested budget range: $150 – $420.

9. Smart Sunken Fire Pit Lighting Ideas for Mood on Demand
A pit has at least three moods: full brightness for settling in and cooking, medium for conversation, and barely-there for late-night fire watching. Smart controls are how you move between them without getting up. The simplest version is smart low-voltage spotlights or a smart transformer on your wired zones, paired with a dimmer you run from your phone or a small remote kept in the pit. I program two scenes and call it done: "Gather" runs the steps, walls, and overhead strings at about 80 percent, and "Fireside" drops everything except the step lights to 20 percent so the flames lead. The color rule still applies, so set your smart bulbs to 2700K and lock the rainbow effects away for a party exception, because one stray blue wash can cheapen the whole space in a second. Tunable-white smart fixtures do earn their keep in fall, when an earlier sunset means the pit lights run for hours and a scheduled warm dim as the night cools feels genuinely luxurious. This layer costs a little more, but it is the one that makes all the others effortless.
Suggested budget range: $130 – $380.

10. Recessed Paver Lights Circling the Fire Bowl
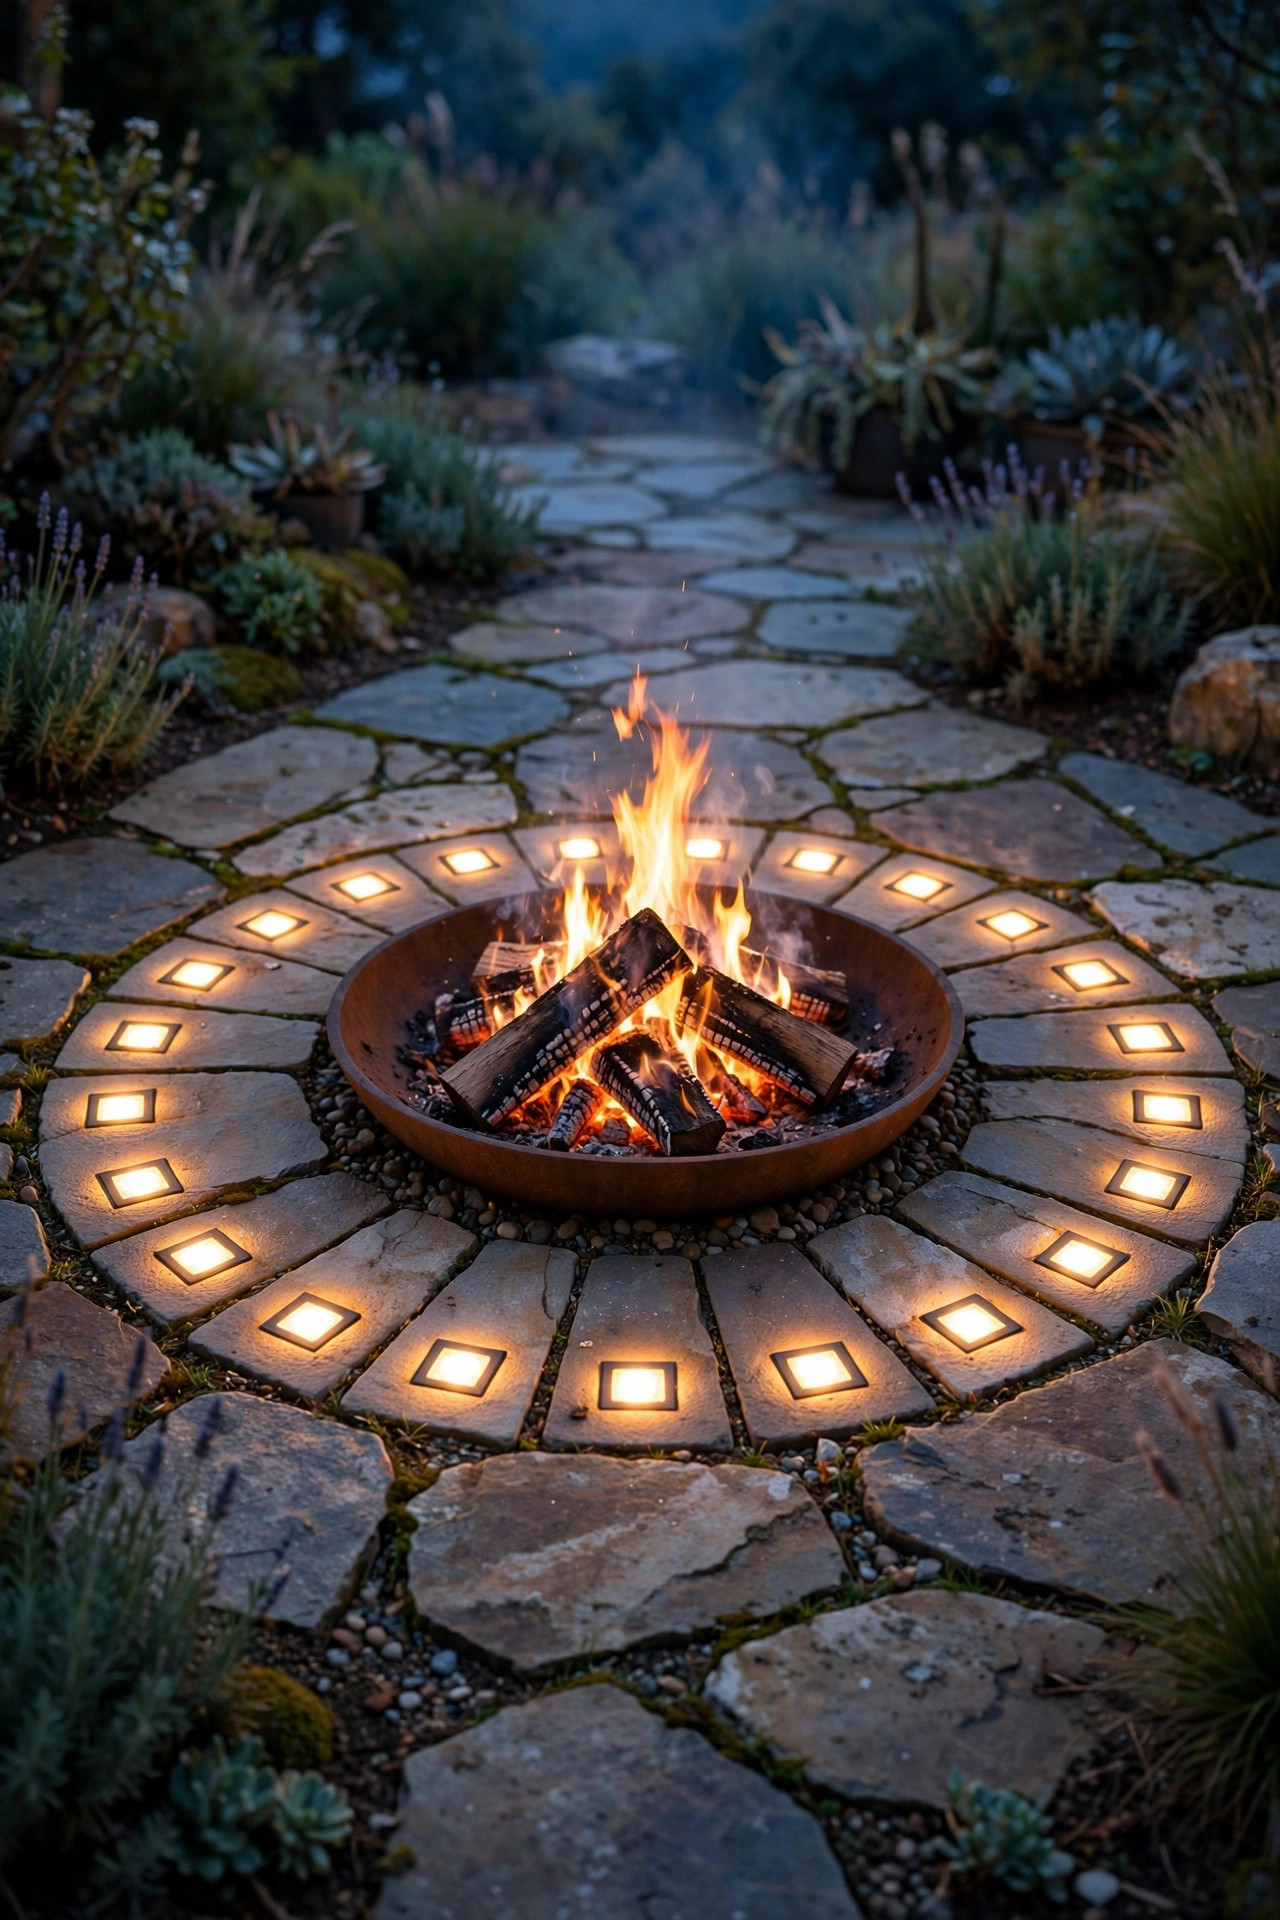
The floor ring around the fire bowl is dead space by day and a tripping zone by night, and recessed paver lights turn it into a halo. These small fixtures sit flush in the paving, level with the surface, so you can walk right over them while they throw a soft disc of light across the stone. I ring them about 18 to 24 inches out from the bowl, spaced every 2 to 3 feet, which defines the fire zone beautifully and quietly warns bare feet where the hot area begins. Distance from the bowl matters: keep fixtures and their wiring outside the manufacturer's heat clearance for your fire feature, and choose metal fixtures with tempered lenses rated for foot traffic and weather. Low-voltage paver lights wire in a simple loop with the rest of your system, and on their own dimmer they become the layer I leave on after everything else fades, like embers for the floor. Solar paver pucks are tempting and cheap, but in a shaded pit floor they are the first lights to give up, so wired wins here.
Suggested budget range: $140 – $360.
11. Downward Sconces on the Retaining Wall
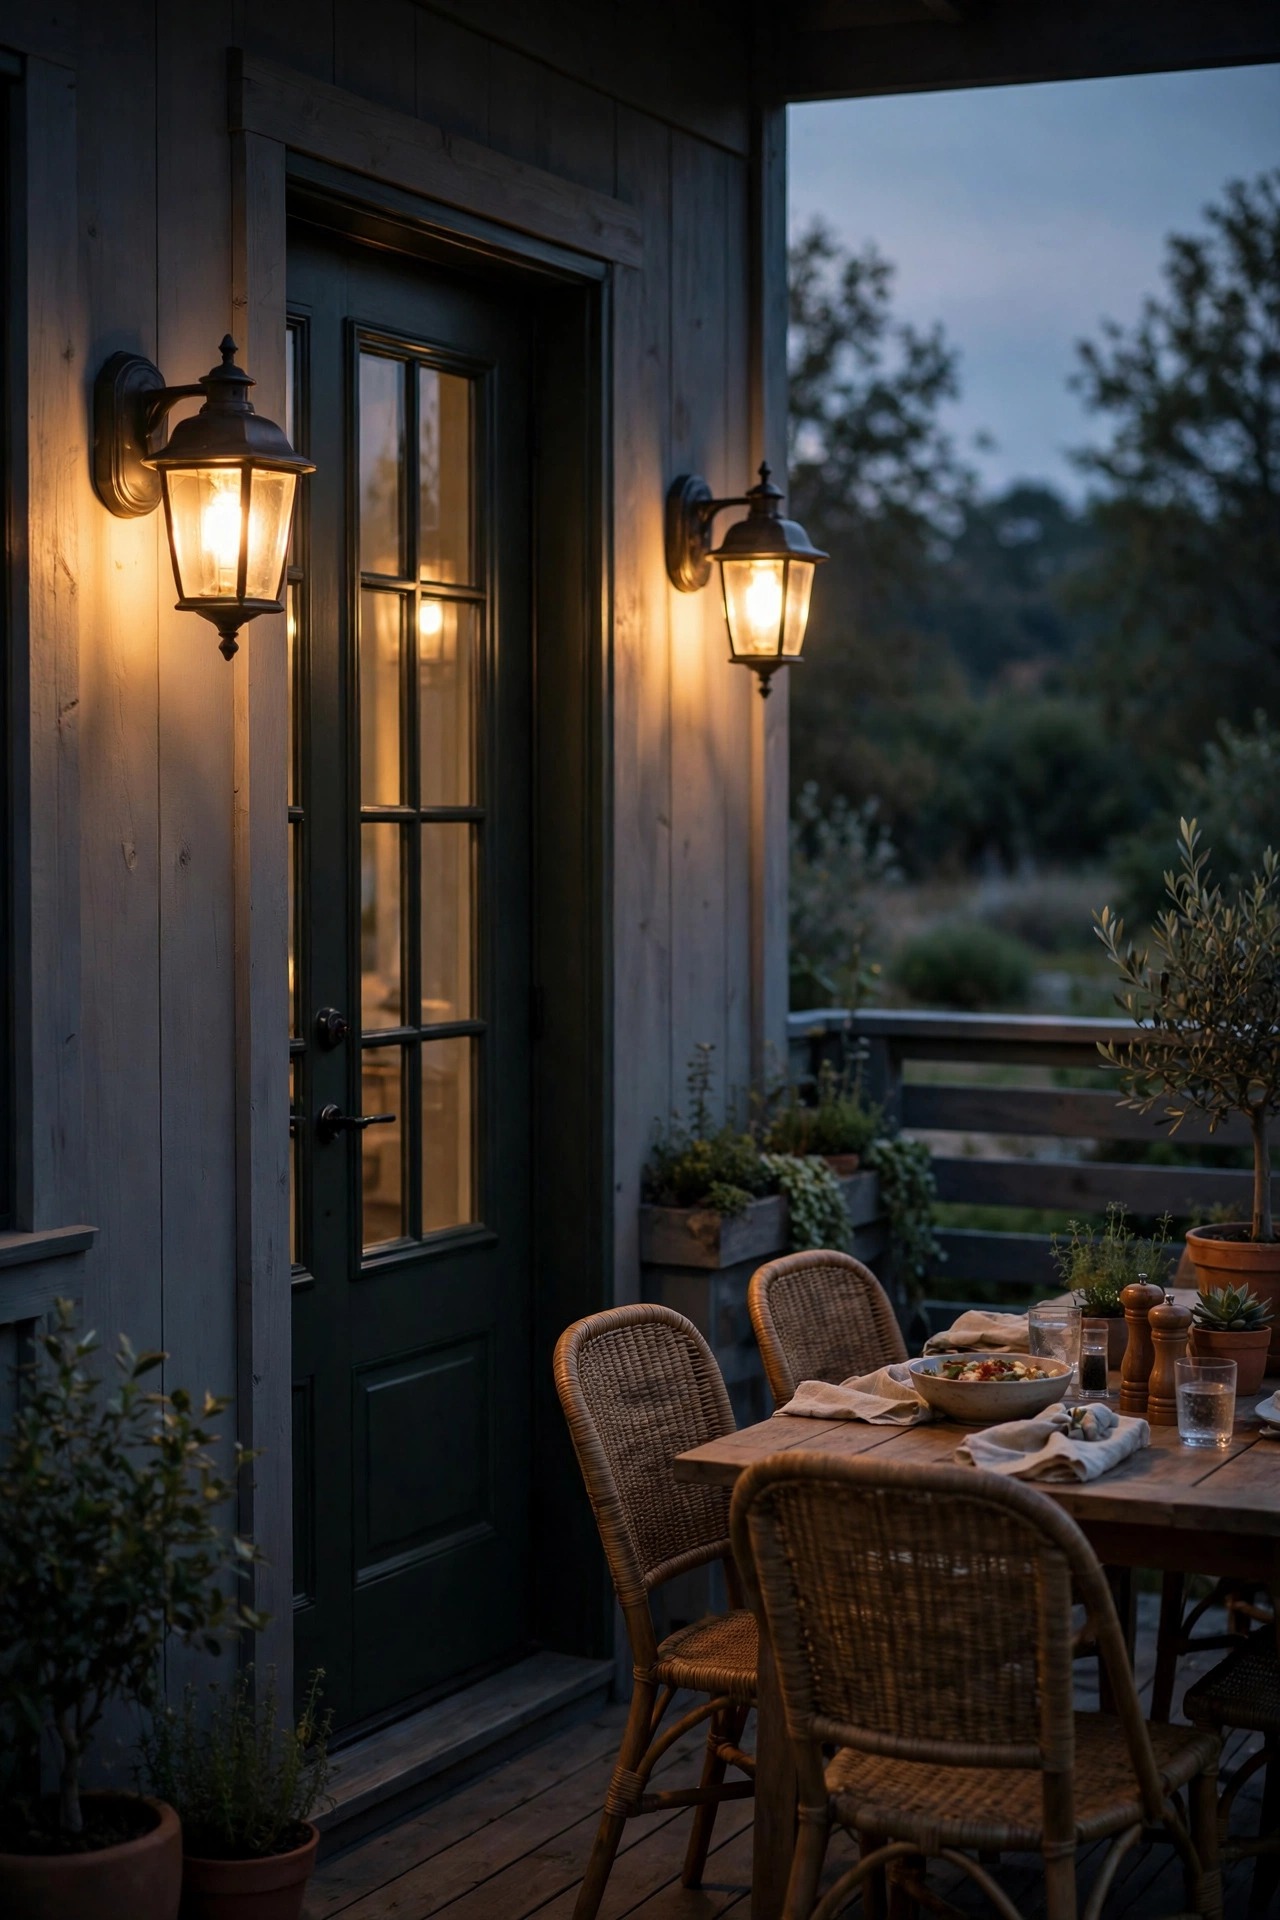
If your retaining walls are tall enough, and most sunken pits have at least one wall at sitting-back height, downward-facing sconces are the workhorse layer nobody notices and everybody benefits from. Mounted about 5 to 6 feet up the wall, or just under the wall cap on a shorter wall, they wash light down the wall face and onto the seat below, which lights the book in your lap and the drink in your hand without a bulb ever entering your eyes. I space them 5 to 7 feet apart and always choose fixtures with a shielded top and a warm 2700K LED. The down-only design matters in a pit, because uplight from a low seat bounces straight into faces. On a masonry wall, surface-mount sconces with low-voltage wiring run through conduit behind the wall are a clean install during construction, and a slightly harder retrofit later, so plan them early if your pit is still on paper. Two sconces flanking the main bench give the whole pit a furnished-room feeling, like lamps in a living room that happens to be outdoors.
Suggested budget range: $100 – $280.
12. Fairy Lights Woven Through the Plantings
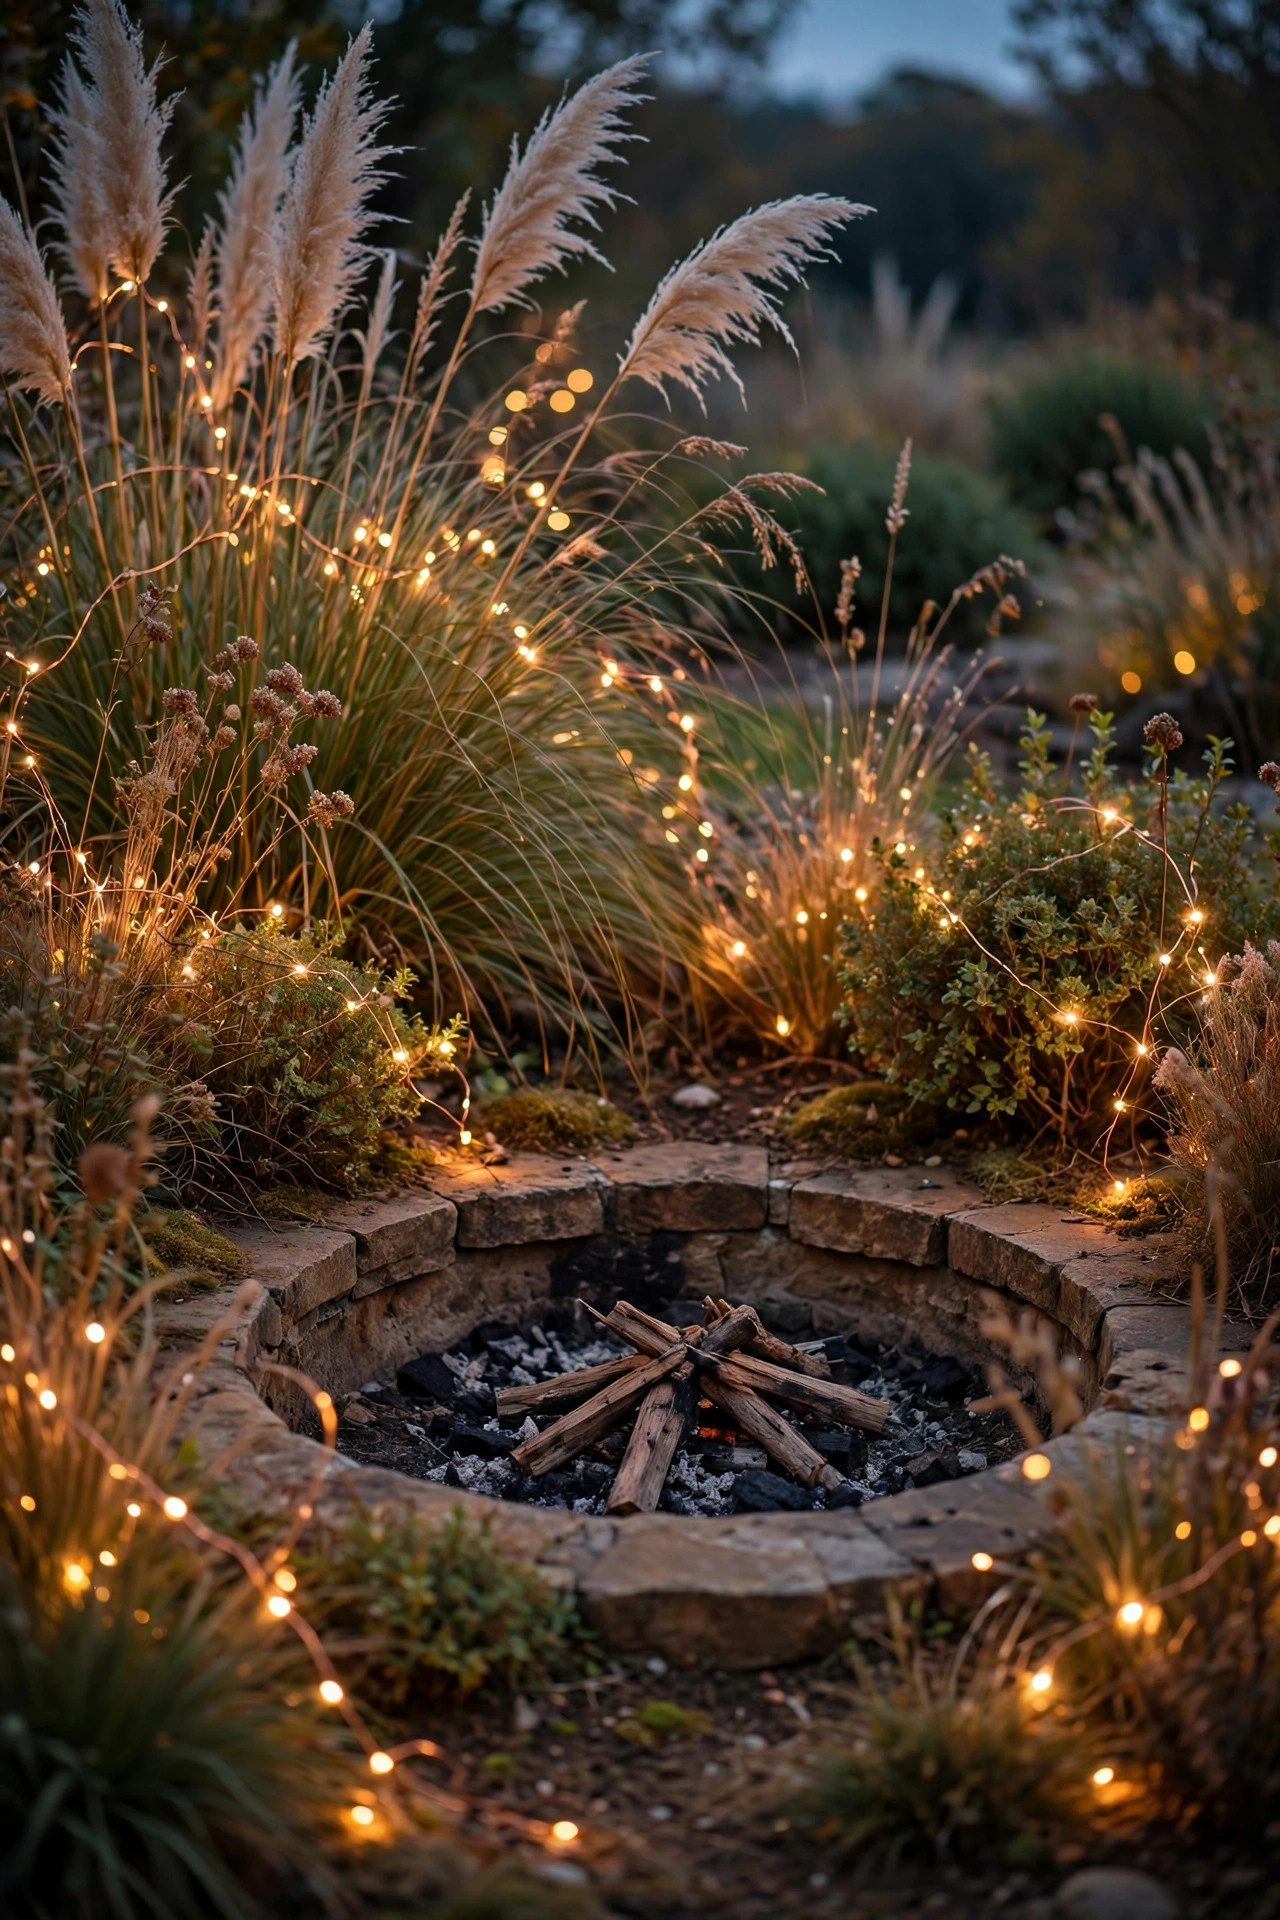
The plantings that soften a pit from outside, the grasses, shrubs, and small trees planted around the rim, deserve their own sparkle. Copper-wire fairy lights woven loosely through those plants turn the pit's green frame into a starfield, and from inside the pit, looking out and up, it is the prettiest backdrop there is. The wire all but disappears by day, and the tiny warm LEDs read as fireflies after dark. A few honest rules from my own trial and error: use outdoor-rated, waterproof strands only, keep them on the plants and never draped where they can sag toward the fire, and wind them loosely so growth does not strangle the wire by midsummer. Battery strands with timers suit a single shrub, but for the full rim I run one or two plug-in strands from a GFCI outlet with a dusk-to-dawn timer so the whole frame lights itself nightly. Keep the density light, one strand per medium shrub, because the goal is glimmer at the edges of your vision, not a hedge that competes with the fire.
Suggested budget range: $25 – $90.
13. Toe-Kick Glow Under Built-In Storage Benches
A lot of conversation pits include a storage bench or a low serving ledge for firewood and blankets, and the recessed base of those pieces is prime lighting real estate. A short run of the same waterproof LED strip used under the seats, mounted in the toe-kick recess, throws a soft pool of light onto the floor right where people reach for the wood pile or set down a tray. It reads as a deliberate design detail, not an add-on, and it solves the darkest little corner of the pit, because fire bowls throw the area behind them into deep shadow. Installation is satisfyingly simple: the strip sticks or clips into the recess, the low-voltage wire runs inside the bench where it is protected, and a small access panel hides the connection. I keep this on the same circuit as the under-bench strips so both glow layers rise and fall together on one dimmer. One caution from experience: position the strip so the light spills forward onto the floor, not straight down onto the storage doors, or every scuff and fingerprint on the bench front will announce itself all evening.
Suggested budget range: $45 – $130.

14. Flameless Candle Clusters in Wall Niches
Many pit walls get built with little niches and ledges for drinks, and those shelves are begging for candlelight. Flameless LED candles clustered in twos and threes on the niches give you the oldest light there is, a small warm flicker at elbow height, with none of the fire risk of real wax near cushions and throws. I mix heights, a tall pillar with two shorter ones, and I choose the versions with a moving flame tip and a warm amber glow rather than the flat bluish discs that read as fake from across the pit. The timer function matters more than any other feature here: set them once to come on at dusk for five hours, and the niches light themselves every single night of the season. Because they are battery powered, this is also the easiest layer to add to a finished pit with no wiring at all, and the cheapest to refresh when a candle finally gives up. Group them near the seats rather than near the bowl, since their job is company for conversation, not competition with the real flames two feet away.
Suggested budget range: $20 – $75.
15. Backdrop Uplighting on Trees and the House Wall
A sunken pit feels coziest when your eye has somewhere to land beyond the walls, and that is the backdrop layer: one or two uplights aimed at a tree canopy, a fence panel, or the house wall behind the pit. From down in the seating, that softly lit backdrop makes the space feel like a room in a garden instead of a hole in a lawn, and it adds the depth that keeps the pit from feeling closed-in. I use a single medium-beam spotlight on the best tree within about 15 to 25 feet, mounted at ground level outside the pit so the wiring never crosses the fire zone, and I keep the brightness modest, because a backdrop should glow, not glare. If trees are scarce, washing a section of fence or brick with a wide flood does the same job. This is also the layer where I borrow from the rest of the yard: it ties the pit into your broader backyard lighting for evening entertaining so the whole garden reads as one connected plan after dark instead of a bright pit in a black yard.
Suggested budget range: $60 – $200.

16. Cap Lights Under the Seat Wall Edge
Where the bench seating meets the wall, most pits have a cap, a flat stone or timber ledge that runs the length of the seat wall, and the underside of that cap is a perfect hiding place for light. Cap lights are small fixtures, or a slim LED strip in a channel, mounted beneath the cap overhang so the light falls in a clean line down the wall face and across the seat. It is the architectural version of the under-bench glow, and the two together frame the whole seating run in light. What I love about this layer is how finished it looks: no visible fixtures, no glare, just a crisp bright edge that shows off good stonework and tells everyone exactly where the seat begins. During a build, have the wire run inside the wall so the install is invisible; as a retrofit, a surface channel in a matching finish still looks tidy. Keep cap lights on the same dimmer as the sconces if you have both, since they do similar work, and let the under-bench strip handle the floor on its own control.
Suggested budget range: $90 – $240.

17. The Layered Finish: Sunken Fire Pit Lighting Ideas Working Together
The last idea is not a fixture at all, it is the combination, because no single layer on this list makes a pit feel finished on its own. My working formula is three heights: low light for the floor and steps, from paver rings, toe-kicks, and step lights; mid light for people, from sconces, cap lights, under-bench strips, and lanterns; and high light for atmosphere, from strings, pergola downlights, and the fairy-lit plantings. Wire or group those heights on separate dimmers or smart zones, and the pit can shift from welcome-home bright to ember-level calm in seconds. Timers handle the boring part, bringing the safety layers on at dusk every night whether you are home or not, and I always leave the step lights on their own always-on zone as the non-negotiable. Start with the low layer if budget is tight, since safety sells the space to nervous guests, then add mid light, then the sparkle. Honestly, the pits people remember are never the ones with the most fixtures; they are the ones where nobody had to think about the light at all.
Suggested budget range: $300 – $900.

Frequently Asked Questions
How bright should the lighting be around a sunken fire pit?
Softer than you think. The fire itself is the brightest thing in the pit, so your fixtures only need to fill the gaps: enough on the steps and floor to move safely, and a gentle wash at seat level so faces look warm. Aim for low-voltage fixtures in the 100 to 300 lumen range for most layers, keep everything at 2700K, and put layers on dimmers so you can drop the whole pit as the fire builds. If a fixture outshines the flames, it is too bright or aimed wrong.
Do solar lights work in a sunken conversation pit, or should I go wired?
Solar works well at the rim, where path lights and stakes get full sun all day. Down inside the pit it struggles, because walls, seats, and shade from the house starve the little panels. My honest split is solar around the top edge where the sun reaches, and wired low-voltage for the steps, benches, and floor ring where reliability actually matters. Low-voltage cable is shallow-buried and DIY friendly, so the wired half is less work than most people expect.
What color temperature looks best with firelight?
Stay warm, in the 2200K to 3000K range, with 2700K as my default for fixed fixtures. Firelight sits at the very warm end of the scale, so anything cooler, especially 4000K and above, clashes badly and makes the pit feel like a parking lot next to a campfire. Warm light also flatters skin and food, which matters in a space built for long evenings. If you use smart bulbs, set the warmth once and resist the novelty colors except for a deliberate party night.
Can I hang string lights directly over a fire pit?
Not directly over the flame, no. Heat rises in a column above the bowl, and it can melt insulation, sag strands, and damage bulbs even when they look safely high. Hang strings wide of the bowl or offset to the sides, keep at least 10 feet of clearance above the fire, and use commercial-grade LED strands with shatterproof bulbs. When in doubt, angle the swags so the fire sits under open sky and the light frames it instead, which honestly looks better anyway.
Conclusion
A sunken pit asks more of its lighting than any other spot in the yard, because the light has to handle stairs, seats, faces, and flames all inside one small room below grade. Start with the safety layers, the steps and the rim, add the mid-level glow that makes people look and feel good, then finish with the overhead and backdrop sparkle that makes the space unforgettable. Of all the sunken fire pit lighting ideas here, the layered approach on separate dimmers is the one I would never give up. Pick two or three layers this season, live with them, and add the rest as the pit becomes the most-used room in your house, because it will.