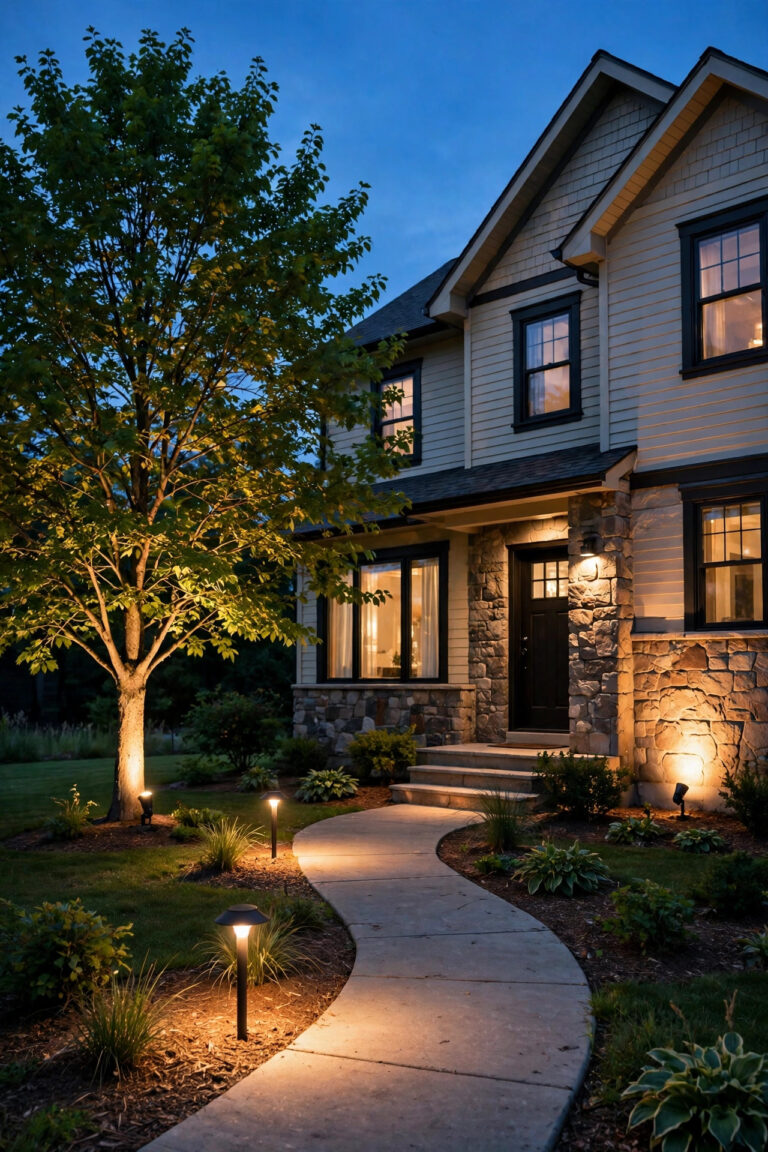
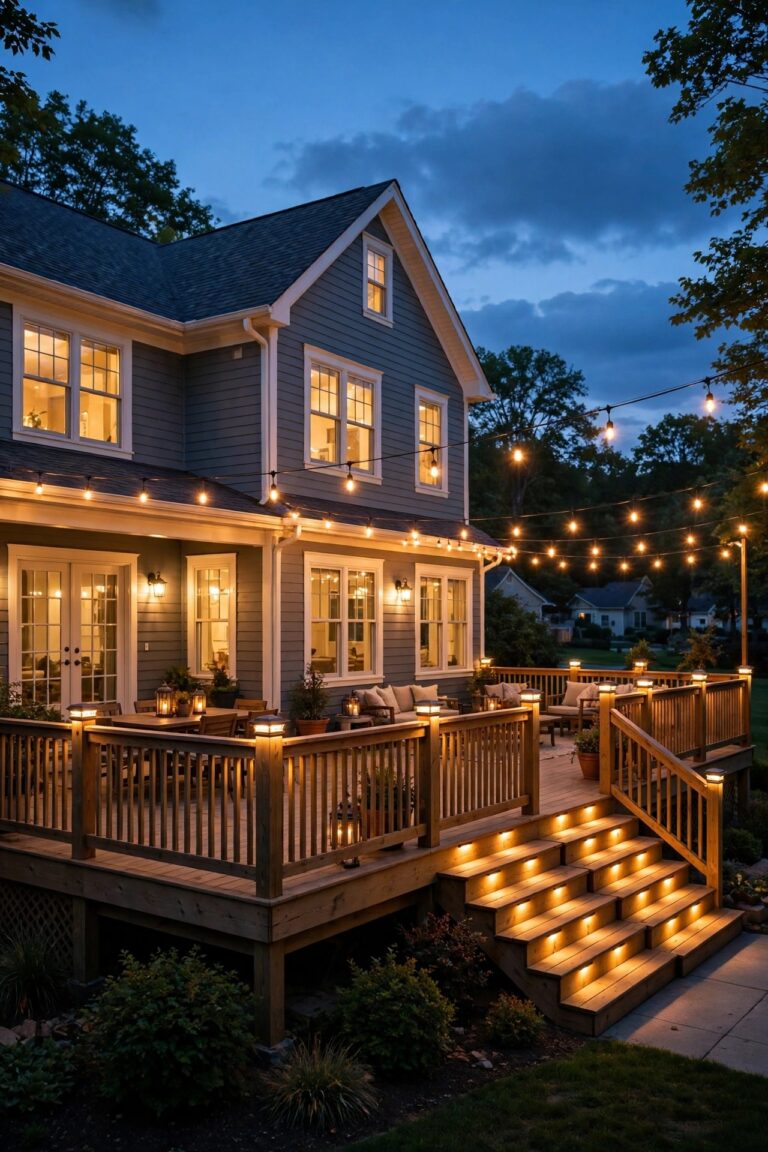
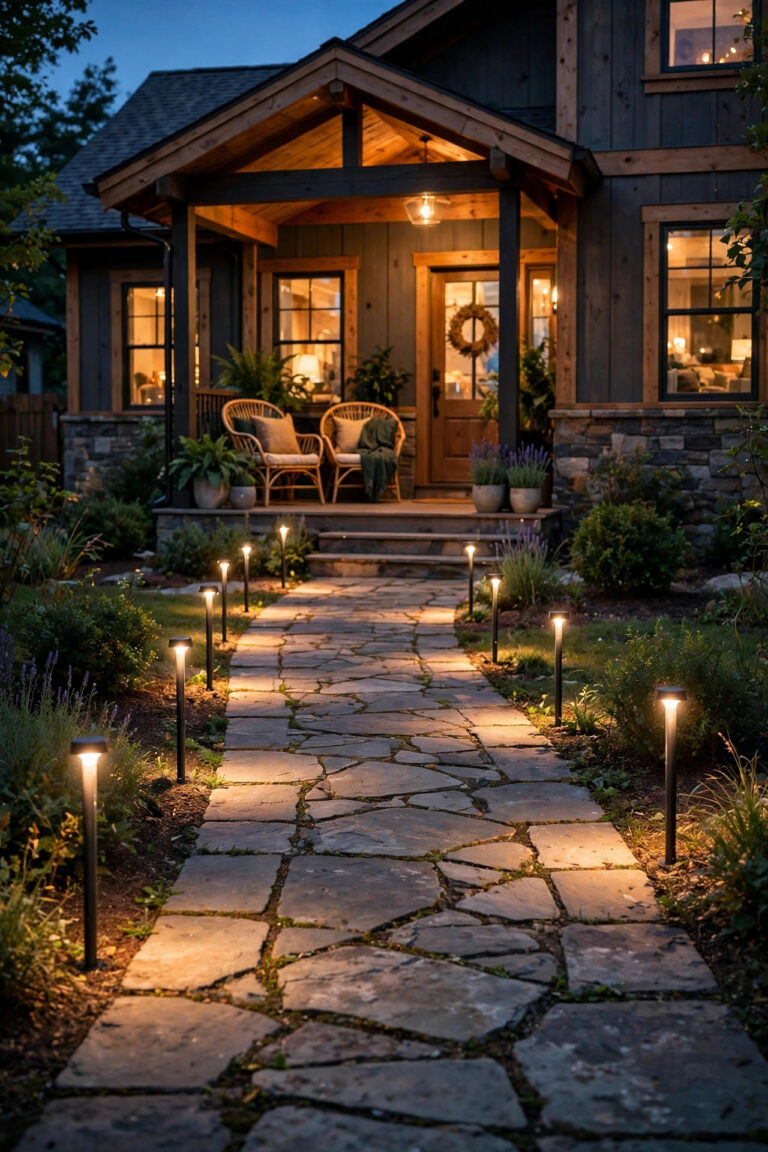
When we built our wraparound bench and the planter boxes that hug its corners, I loved how the deck looked at noon — and then the sun set and the whole seating area went flat and dark. That's exactly why I started collecting deck bench lighting ideas: built-ins give you the most beautiful bones to light. A bench has undersides, edges, and corners that hide fixtures perfectly, and a planter is basically a lamp waiting to happen, with soil to bury cables in and foliage to soften every bulb.
The secret, as always, is layering. One overhead light flattens everything. But a low glow under the bench, a wash up through the leaves, and a little sparkle at sitting height? That turns a bench into the seat everyone fights over. Below are 15 ways to do it, most in under an hour, at prices from a ten-dollar solar stake to a full low-voltage weekend project. Pick two or three layers and your built-ins will work as hard after dark as they do at noon.

1. LED Strips Under the Bench Seat — the Deck Bench Lighting Ideas Essential
If you only try one thing on this list, make it this one. Peel-and-stick outdoor LED strip lighting mounts to the underside of the bench seat, right behind the front edge, and throws a soft pool of light down onto the deck boards. Because the strip itself is hidden, all you see is glow — the bench looks like it's floating. Measure your bench run first; most strips come in 16-foot rolls you can trim at the marked cut lines every few inches. I always choose warm white, 2700K, in an IP65 or better waterproof rating, and I add a plug-in timer or photocell so it comes on at dusk without a thought. Wipe the wood with rubbing alcohol before sticking the strip down, then add the little mounting clips every 18 inches — summer heat will sag adhesive alone, honestly. Keep the low-profile transformer tucked inside a storage bench compartment or under the deck skirt where it stays dry. The effect at foot level also makes the seating area feel safer for guests finding their seat with a drink in hand.
Suggested budget range: $25 – $60.

2. Rope Light Laced Behind the Backrest Slats
Benches with slatted or horizontal-board backrests are hiding a perfect lighting channel. Thread a flexible LED rope light along the back of the top rail, or weave it gently between the slats, and the whole backrest becomes a soft backlit screen. The look is modern and a little bit boutique-hotel, and it throws just enough light behind sitters to outline the seating zone without shining in anyone's eyes. Rope light is sturdier than strip light outdoors — the thick PVC jacket shrugs off rain and the occasional pressure-washer overspray — and it comes in 25- and 50-foot lengths that cover a long bench in one run. Secure it with screw-in clips every 12 to 16 inches rather than staples, which can pinch and damage the jacket. In my experience the warm 2700K rope reads golden through wood slats, while cool white looks like a convenience store, so choose carefully. Run the cord down behind a bench leg to an outdoor outlet, and put it on the same dusk-to-dawn timer as your other layers so everything wakes up together.
Suggested budget range: $20 – $45.

3. Recessed Puck Lights in the Bench Face
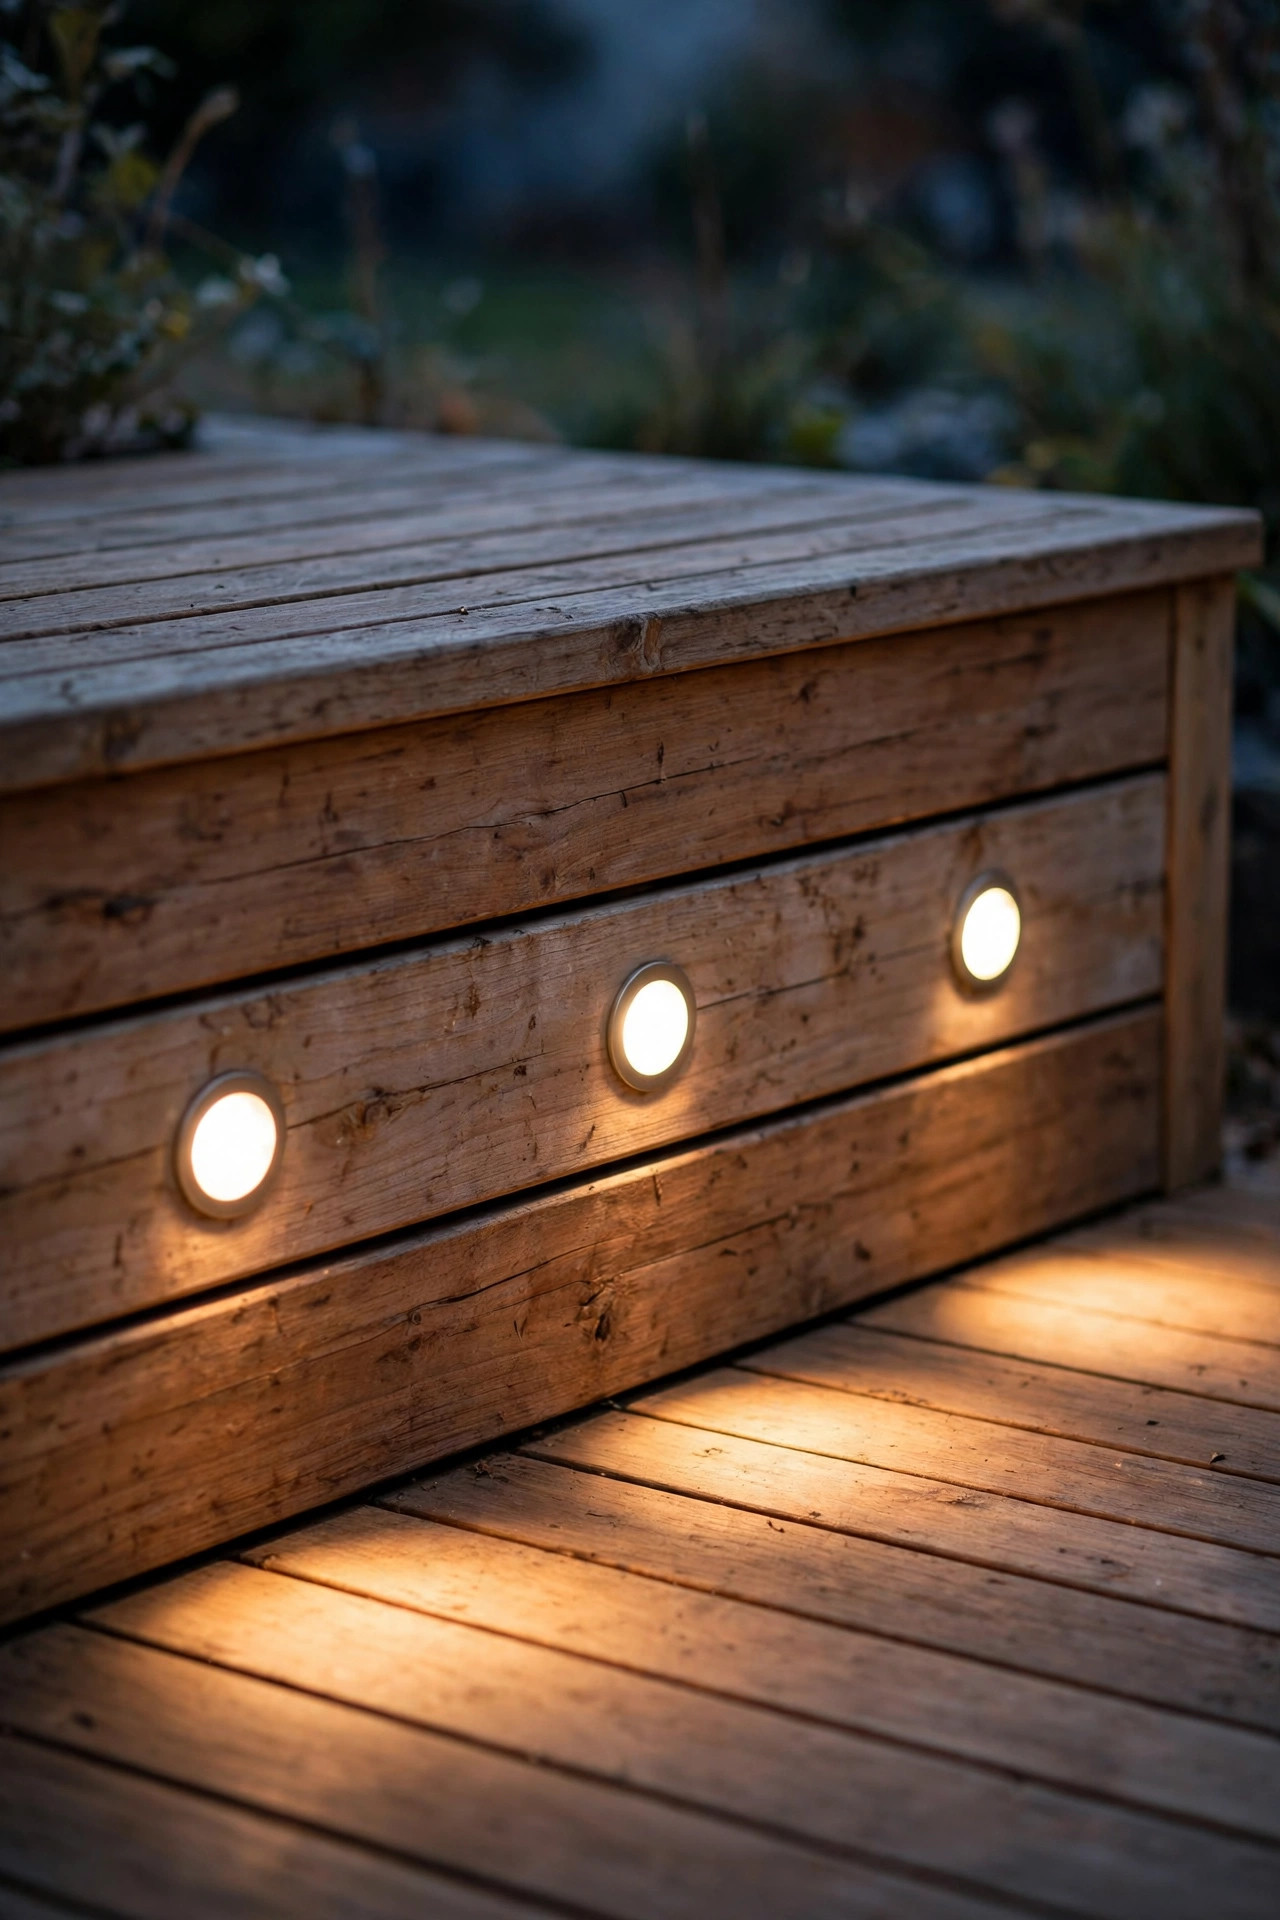
For a polished, built-in look, recess small round LED puck lights into the vertical face board of the bench — the board your shins face when you sit down. A 2-inch hole saw, a low-voltage puck kit, and an hour of patience give you a row of soft downlights that wash the deck floor and make the bench read like custom millwork. Space the pucks evenly, roughly every 24 to 30 inches, and center them in the board so the beam lands a foot or so out from the bench. Low-voltage kits are forgiving for DIYers: the cable runs behind the bench face or under the seat, staples neatly out of sight, and plugs into a small transformer. Choose pucks rated for outdoor or damp locations with sealed lenses, because that face board catches splashes all season. This is one of the ideas in my full deck lighting ideas roundup that readers ask about most, and honestly it's the one that looks most expensive for the money. Dim them if your kit allows — half brightness is the sweet spot.
Suggested budget range: $45 – $90.
4. Solar Stake Lights Tucked Into the Planters
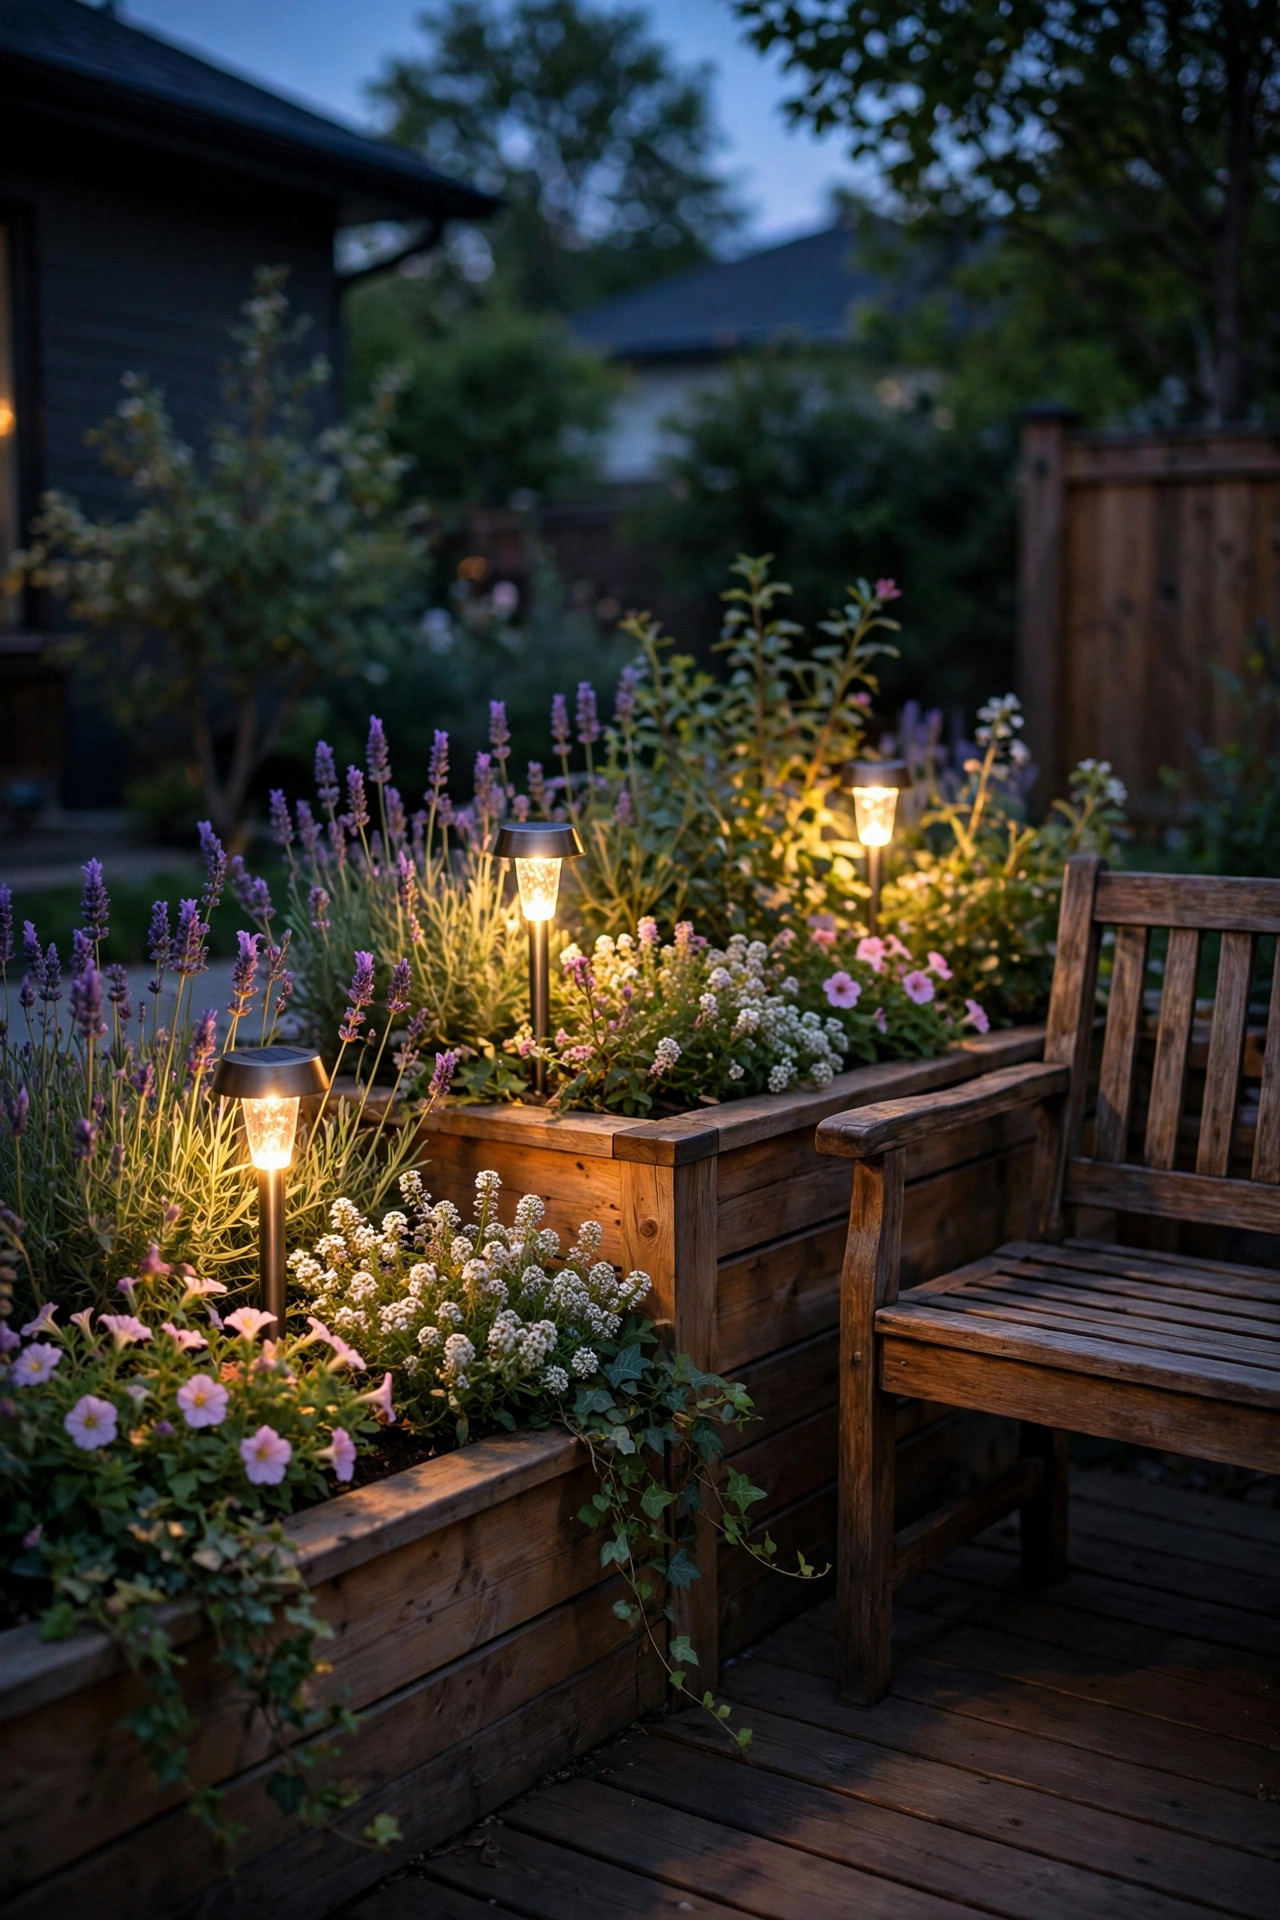
Here's the five-minute layer: push solar stake lights down into the soil of your bench-side planters, right among the plants. During the day they're nearly invisible; at dusk each one becomes a little lantern rising out of the foliage. I cluster them in odd numbers — three in a big planter, one in a small one — and vary the heights slightly by pushing some stakes deeper. Look for stakes with warm-white LEDs and a decent solar panel; the cheap cool-blue ones make petunias look seasick. Position planters so the panels get at least five or six hours of direct sun, which usually means the stake goes on the southern side of the pot with the light angled into the leaves. Because there's no wiring at all, this is the renter-friendly, commitment-free way to test whether you like light in your planters before you hardwire anything. Swap the rechargeable batteries once a year and brush dust off the panels monthly, and they'll glow reliably from spring through the first frosts.
Suggested budget range: $12 – $30.
5. Low-Voltage Uplights at the Base of Tall Planters
Tall planters — the ones flanking the ends of a bench or marking the corners of the seating zone — deserve drama. A small low-voltage spotlight or well light tucked at the base, aimed up through the plant, turns an ornamental grass or a small Japanese maple into a glowing sculpture after dark. This is the same uplighting trick landscapers use on trees, just scaled down for a pot. Bury the fixture in the top layer of soil or nestle it in mulch so only the lens shows, and angle it about 30 degrees from vertical so light rakes through the foliage instead of blasting straight up. A narrow 30- to 45-degree beam works best for grasses and columnar plants; go wider for bushy shrubs. Keep the lens a few inches from stems so heat and concentrated light never scorch leaves — with LED fixtures, warmth is minimal, but spacing still matters for the prettiest spread. One uplight per hero planter is plenty. Two makes the corner feel staged; three and you're lighting a hotel entrance.
Suggested budget range: $30 – $75.

6. Copper-Wire Fairy Lights Woven Through the Greenery
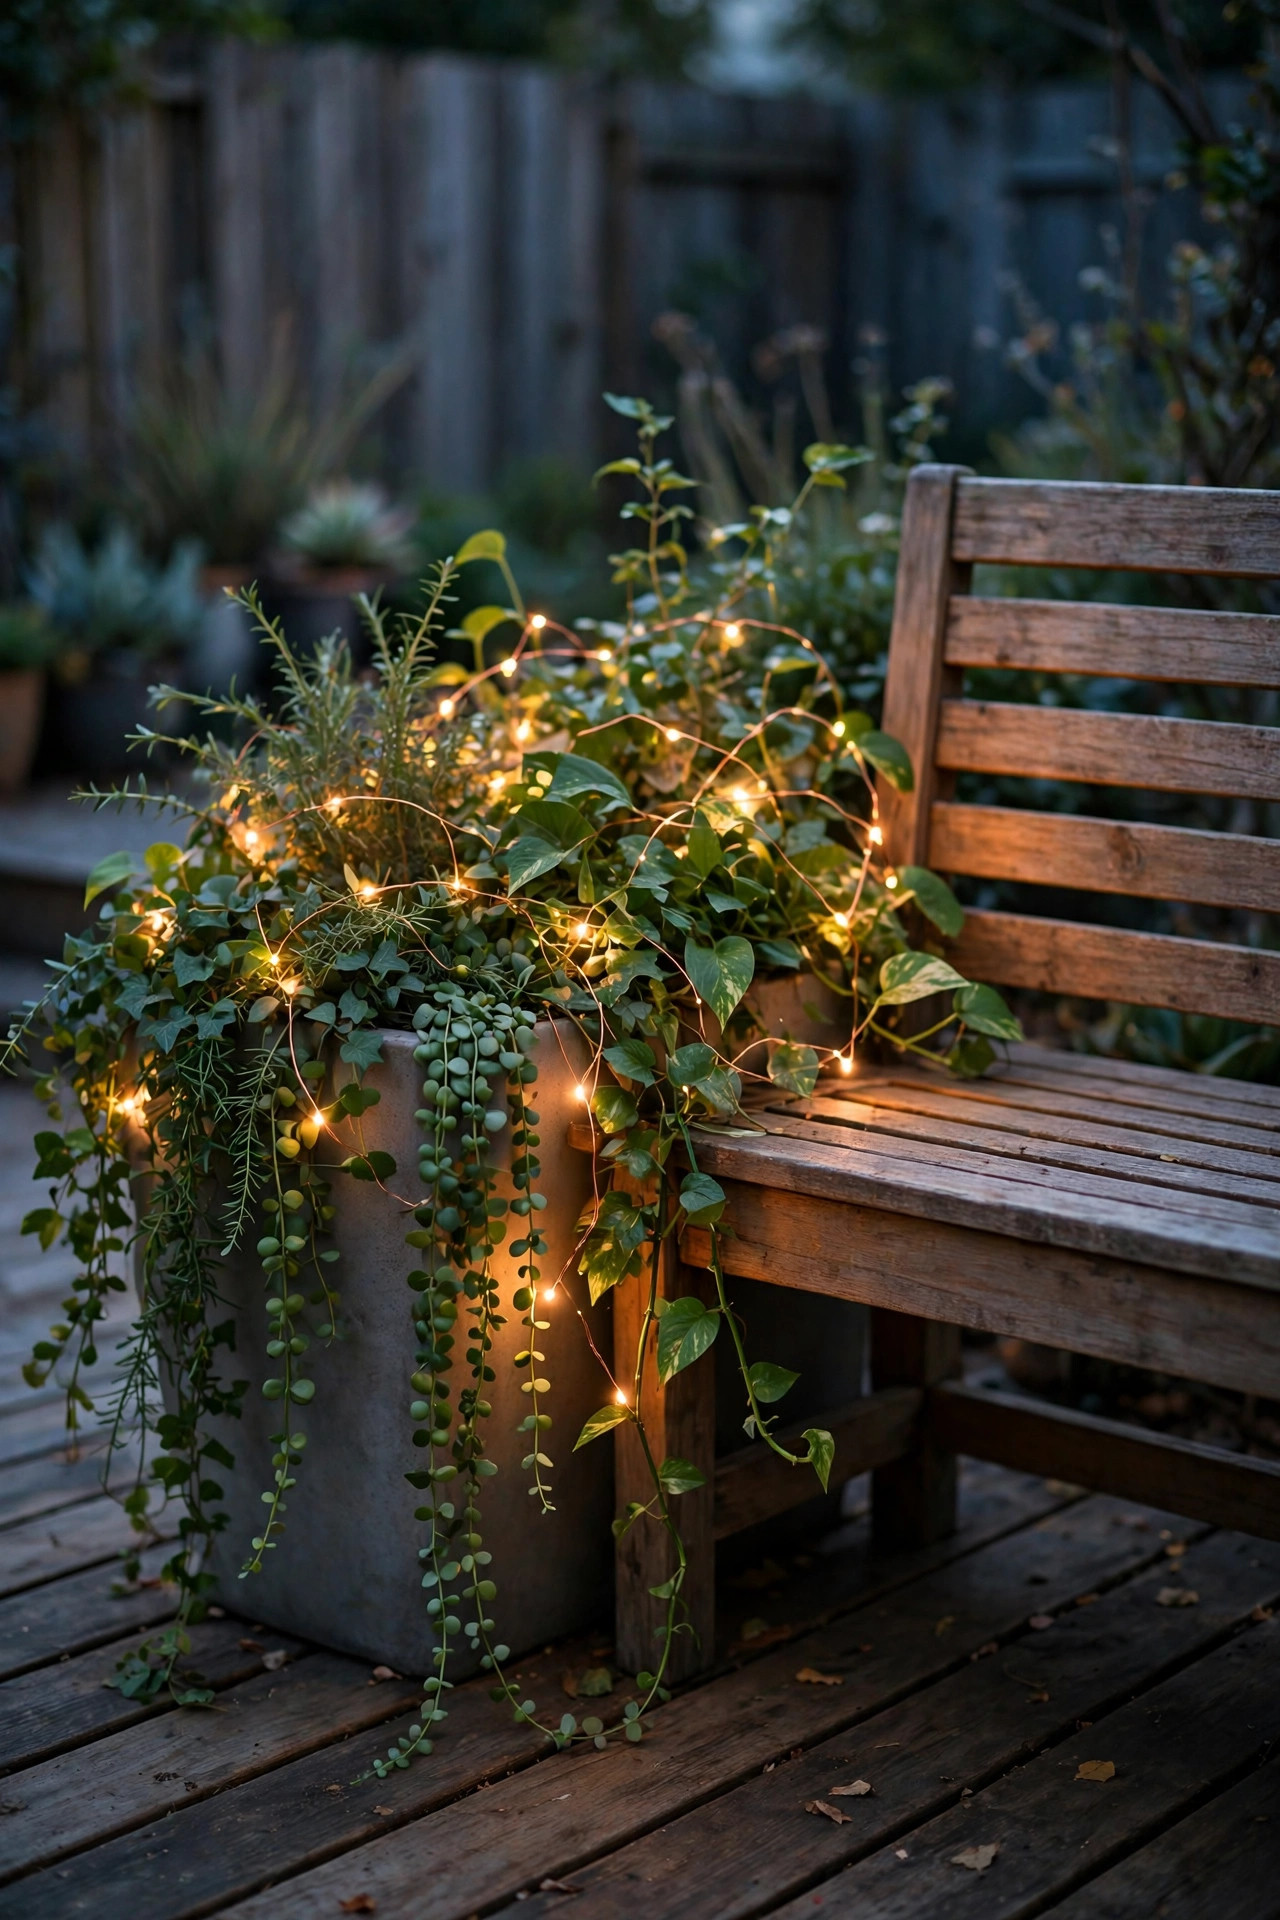
This is the softest, most forgiving layer I know. Take a strand of battery-powered copper-wire fairy lights and weave it loosely through the plants in your bench planters — ferns, trailing ivy, sweet potato vine, and bushy herbs all hide the fine wire beautifully. Start at the soil line, spiral up through the stems, and tuck the battery pack just inside the pot rim, sealed in a small zip-top bag if the planter catches rain. The plant looks lit from within, like it's holding tiny fireflies, and next to a bench it creates the coziest reading-nook glow. Always pick warm white around 2700K; cool white turns green leaves blue and tired. Strands with a built-in six-hour timer are worth the small extra cost — set them once at dusk and forget them. One 20-foot strand per medium planter is the right density. In my experience the batteries run three to four weeks of nightly use, so I keep spares in the drawer by the back door and swap them during my Sunday watering round.
Suggested budget range: $8 – $20.
7. Glow Planters That Light Themselves
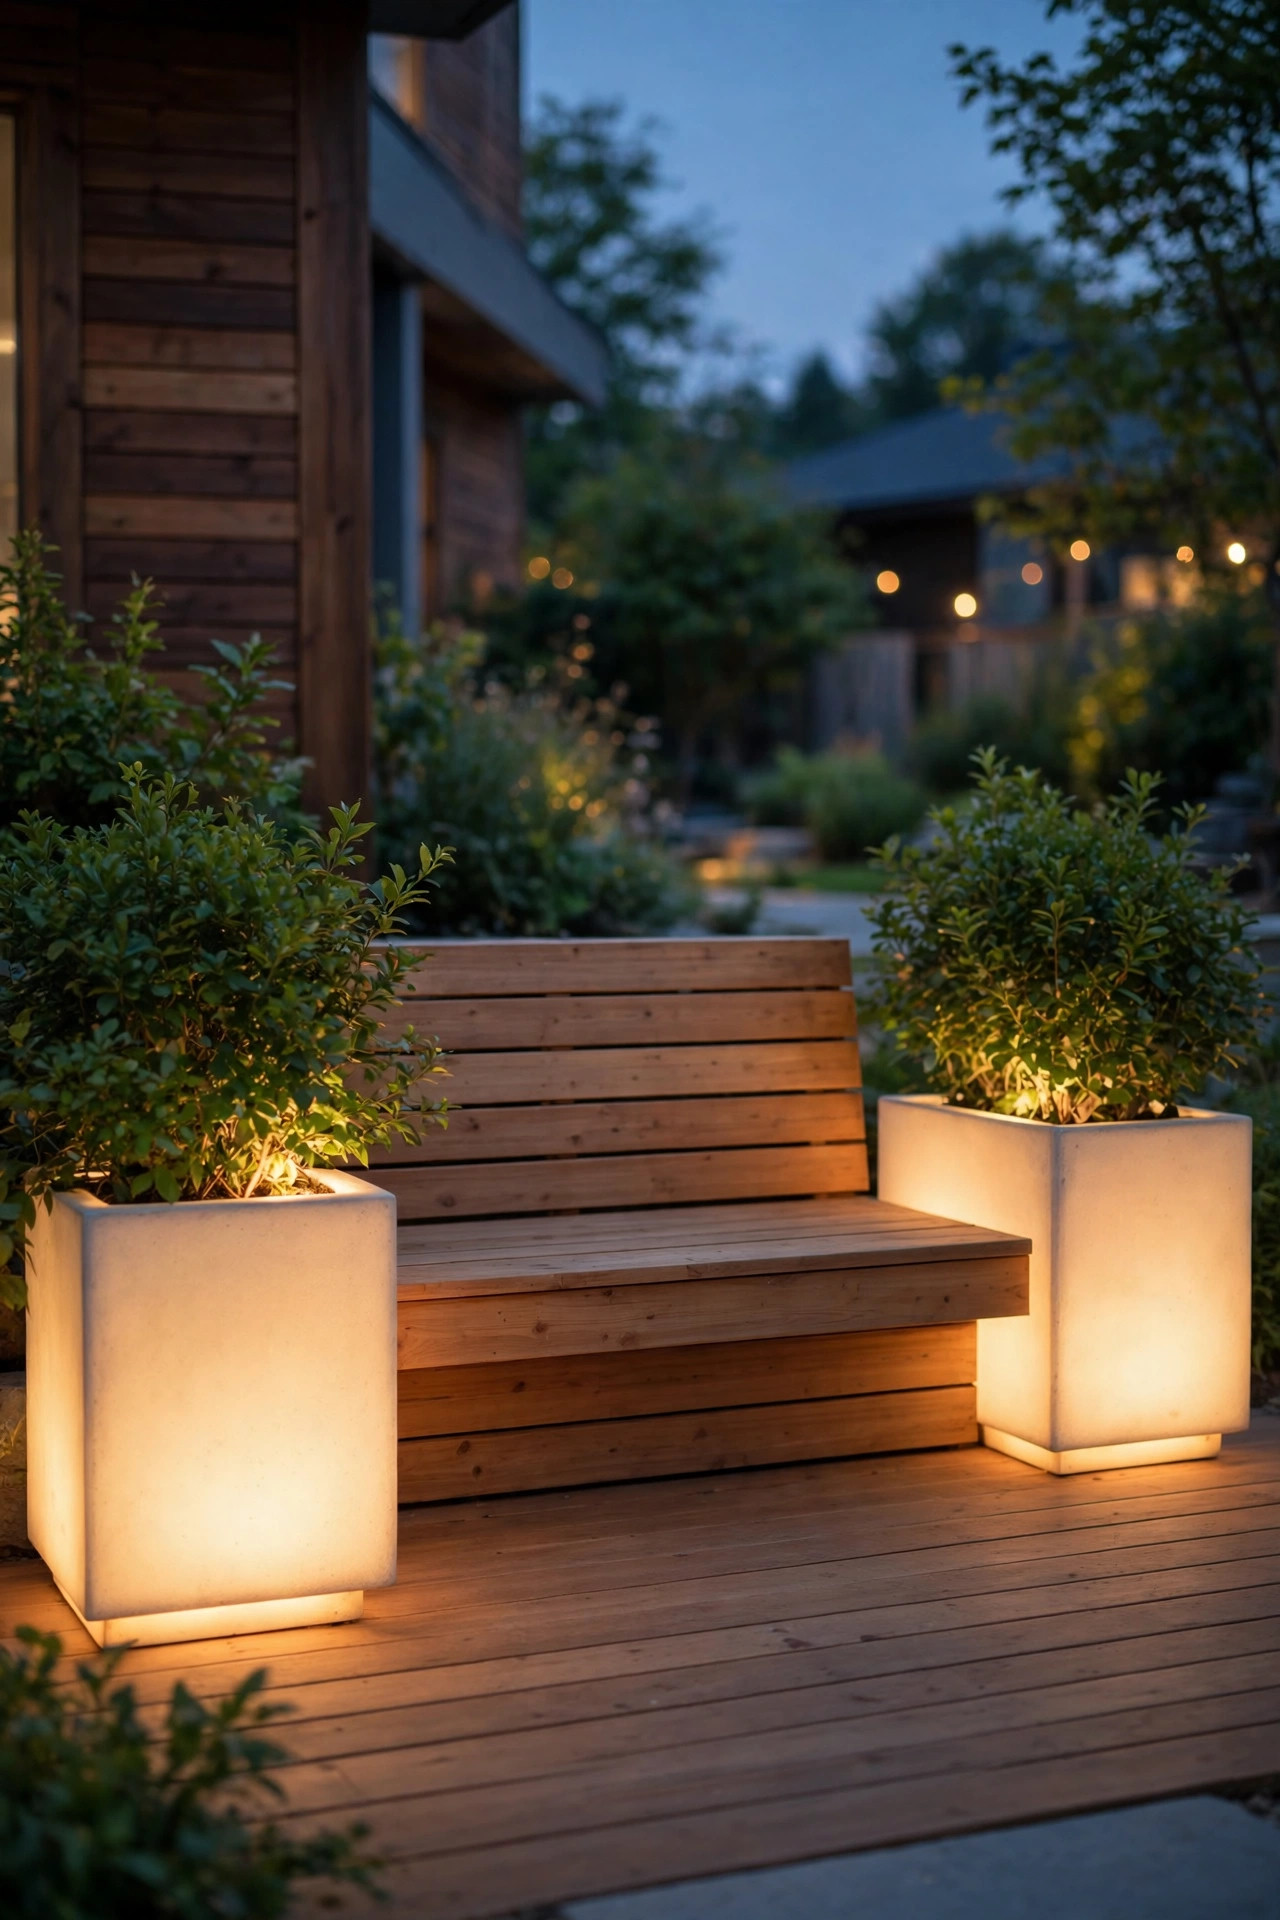
Translucent planter pots with a light source inside — some solar, some plug-in, some battery — glow like paper lanterns and define the ends of a bench beautifully. Set one at each end of your built-in seating and the whole arrangement feels anchored, almost like bollards on a pretty walkway. The self-contained solar versions charge by day and glow for six to eight hours; plug-in versions are brighter and steadier, with a cord you can hide along the back of the bench. Stick to simple shapes — cubes and tapered rounds in white or stone tones — because the glow itself is the decoration. These look especially good planted with something architectural: a spiky cordyline, a mound of white flowers that catch the light spilling upward, or simple green boxwood. Honestly, this is the one idea on the list that guests always ask about, because by day it's just a nice planter and by night it's a lamp. Water carefully around any internal electronics and follow the maker's drainage notes.
Suggested budget range: $40 – $120.
8. Post Cap Lights on Bench End Posts — a Deck Bench Lighting Ideas Favorite
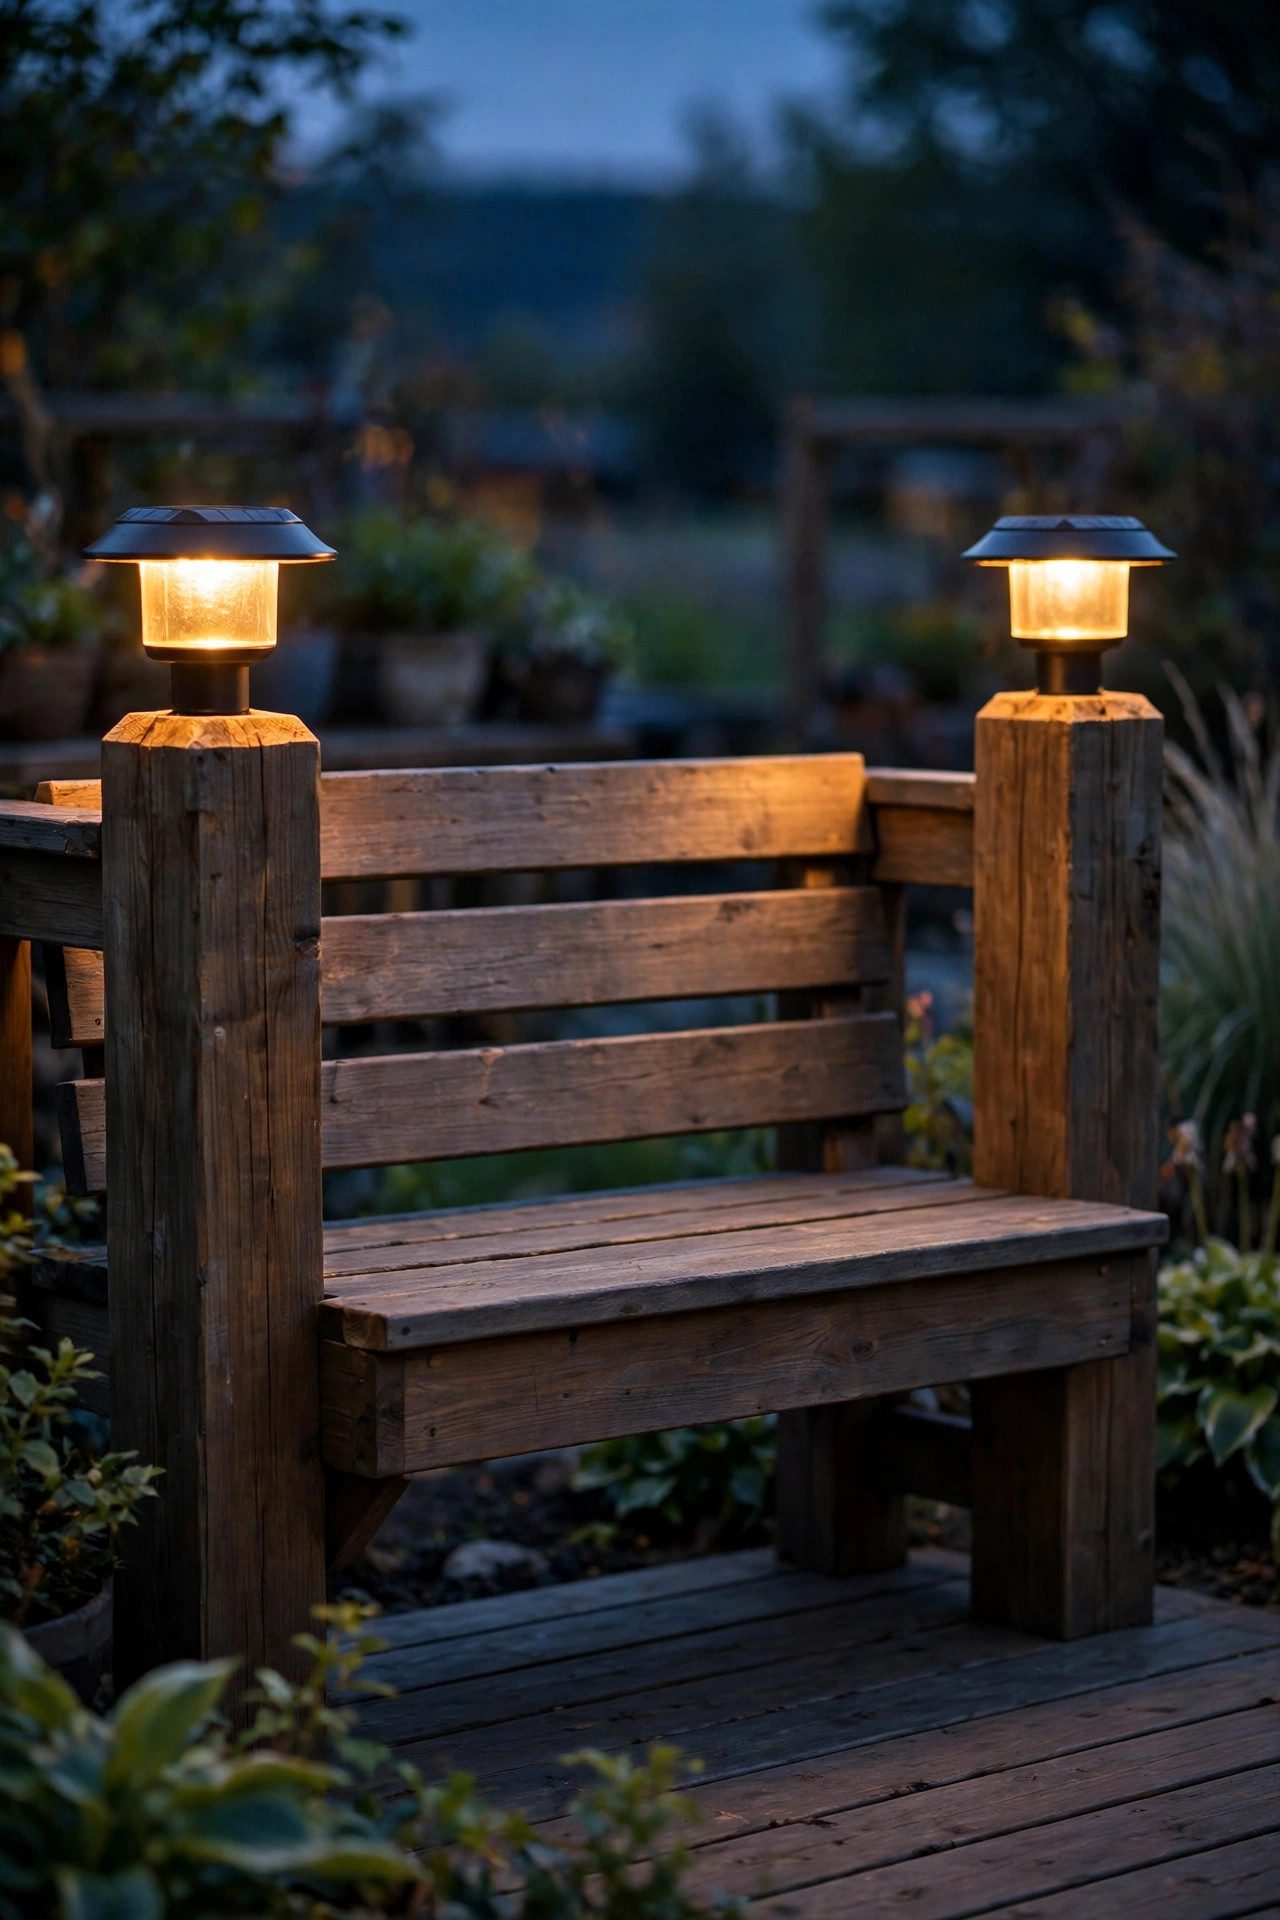
Many built-in benches are framed by chunky end posts or sit beside the deck's railing posts, and those flat tops are begging for cap lights. Solar post caps are the easiest upgrade in this entire list: measure your post (4×4 or 6×6), drop the cap on, add two screws, and by sunset you have a warm marker light at each end of the seating. Wired low-voltage caps are brighter and steadier if you're already running cable for other layers. Either way, cap lights do a quiet structural job — they tell your eyes where the bench begins and ends, which makes the whole deck feel composed after dark. I wrote a whole guide to choosing and placing deck post cap lights if you want the deep dive on sizes and brightness. One caution: caps sit at seated eye level, so choose frosted lenses and warm 2700K LEDs. A bare bright diode at eye level will undo all the cozy you're building, no matter how pretty the rest looks.
Suggested budget range: $18 – $50.
9. Rope Light Under the Planter Box Rim
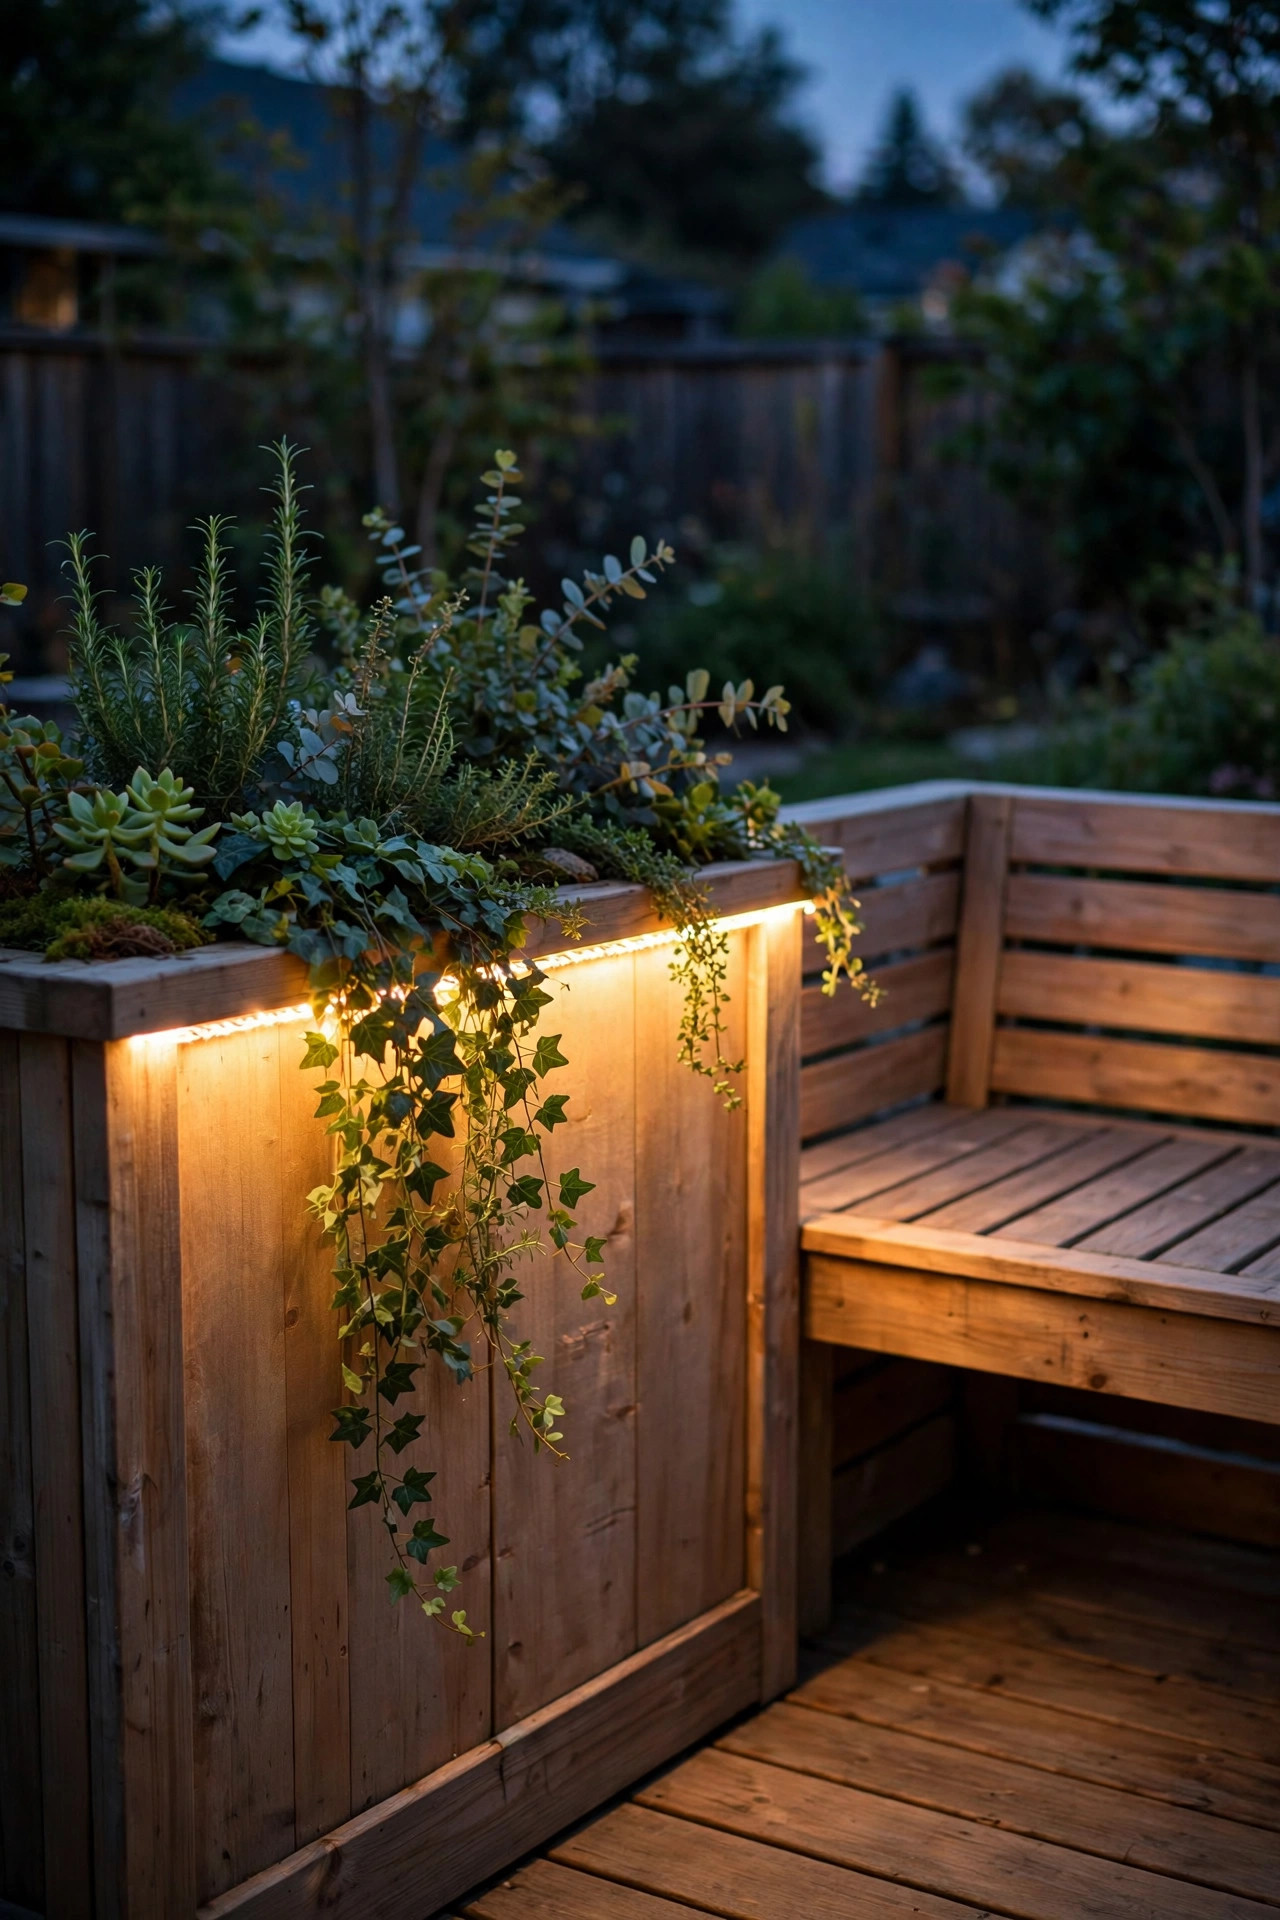
Flip the under-bench trick upside down: run a rope light or outdoor LED strip under the top rim of your built-in planter boxes, on the side that faces the bench. The light grazes down the face of the planter and pools gently on the deck, while the plants above stay silhouetted against the sky. It outlines the whole bench-and-planter arrangement like a pencil line of light, and it hides completely — guests see glow, never hardware. Mount the strip in an aluminum channel if your planter faces get a lot of sun; the channel acts as a heat sink and keeps the strip from peeling in August. Aim for IP65 rating minimum, and route the power cord through the back of the planter where a drilled hole with a dab of silicone keeps weather and curious insects out. Where bench meets planter at a corner, one continuous run that turns the corner looks far more custom than two separate pieces. Put this layer on a dimmer if you can — at 60 percent it's a soft outline, at full strength it's a design statement.
Suggested budget range: $22 – $55.
10. Flameless Candles Nestled in the Planters
On evenings when I want the deck to feel like a dinner party instead of a Tuesday, I nestle flameless candles down into the planters themselves. Group two or three LED pillars at different heights among the foliage, right at the edge nearest the bench, and the leaves around them catch a flickering amber light that no steady bulb can imitate. Choose outdoor-rated flameless candles with a wax-look finish and a timer function — five hours on, nineteen off — so they light themselves each evening. Real flames in a planter are a hard no from me: dry mulch, leaves, and a breeze are a bad combination, and LED flicker has gotten genuinely convincing. The tallest candle should sit just below the rim of the greenery so it reads as a glow within the plants rather than a candle on display. This layer costs almost nothing to run, moves in seconds when you replant, and layers beautifully with the steadier lights on this list — flicker plus one calm layer is the whole secret of a professional-looking scheme.
Suggested budget range: $15 – $35.

11. Recessed Deck Dots Along the Bench Toe-Kick
Tiny recessed lights — often called deck dots or button lights — install flush into the deck boards or into the bench's toe-kick board, that recessed board at floor level under the seat. A row of them tracing the front of the bench gives you a runway of gentle light exactly where feet go, which is as practical as it is pretty. Each dot is only about an inch and a half across, drilled in with a hole saw and wired in a simple daisy chain back to a low-voltage transformer. Because they sit flush, chairs, coolers, and bare feet pass right over them. Space them 24 to 36 inches apart along a bench run; closer spacing looks like an airport runway, wider loses the guiding effect. Choose warm white and a frosted or shielded lens so the light spreads sideways across the boards instead of glaring up. I love this layer for households with kids and grandparents visiting after dark — it's the safety layer that doesn't look like one.
Suggested budget range: $50 – $110.

12. Bench-Back Shelf Lights for Reading Corners
If one end of your bench is your reading spot, give it task light. A short run of strip light mounted under a narrow shelf or cap board behind the backrest — or a couple of small directional puck lights aimed down the backrest — throws a pool of light over a book without lighting up the whole deck. The trick is keeping the source above and slightly behind the reader's shoulder, aimed at the seat rather than out into the yard. Battery-powered puck lights with a remote make this a zero-wiring project; a low-voltage strip is the tidier permanent version. Warm 2700K at moderate brightness is kind to eyes and doesn't attract a cloud of moths the way a bright cool bulb does. In my experience this is the layer that turns a bench from decoration into a daily habit — morning coffee, evening chapters, a crossword with the dog asleep on your feet. Add a small weatherproof cushion and a side planter within arm's reach for your mug, and you've built the best seat in the house.
Suggested budget range: $15 – $40.

13. String Lights Swagged From Planter Poles Over the Bench
Every seating area wants one overhead layer, and planters make it easy: set a sturdy pole or a tall shepherd's-hook stake into each corner planter, then swag café string lights between them, over the bench. The planters act as ballast and decoration at once, and the bulbs floating above the seating pull the whole arrangement together. Use commercial-grade outdoor string lights with shatterproof LED bulbs, and let each swag dip about 12 to 18 inches for that relaxed café curve — pulled tight looks like a clothesline, honestly. Fill the planter around the pole base with soil and trailing plants to hide the mechanics, and make sure a large, heavy planter anchors each pole; a top-heavy pole in a small pot will lean by July. This is also where the bench ties into the wider yard — my patio lighting ideas guide shows how the same pole trick works across a whole patio. On a timer, this layer is the one that switches the deck from daytime to evening in a single click.
Suggested budget range: $35 – $85.

14. Smart Color Strips for Seasonal Planter Glow
A smart LED strip along the planter rim or under the bench buys you every season in one fixture. Warm white for everyday, amber-orange in October, a soft red-and-green shimmer in December, pastel for a spring brunch — changed from your phone in ten seconds. Look for outdoor-rated smart strips (IP65 or better) with a weatherproof controller box, and plan where that box lives; mine hides inside the storage bench with the transformer. Voice control through a smart speaker is a small luxury that feels enormous when your hands are full of a serving tray. Two honest cautions from my own deck: colors look best at half brightness, where they read as a tint rather than a nightclub, and saturated blue or purple will make green foliage look muddy, so keep party colors to the bench underside and let the planters stay warm. For everyday evenings I always drift back to 2700K warm white — the smart strip just makes the holidays effortless.
Suggested budget range: $30 – $70.

15. The Layered Finale: Bench Glow, Planter Wash, Sparkle Above
Here's how I'd combine everything if you're starting from a bare bench-and-planter setup, because the best deck bench lighting ideas are really about balance. Start low: under-seat LED strips (idea 1) for the floating glow and toe-kick dots (idea 11) if your bench has steps or a raised platform. Add the middle layer next — an uplight washing through one hero planter (idea 5) and fairy lights or flameless candles in the others (ideas 6 and 10) so the greenery itself becomes luminous. Finish high with post caps on the bench ends (idea 8) and, if you have them, string lights overhead (idea 13). Three heights, three intensities, nothing competing. Keep every bulb 2700K, put the whole scheme on one timer or smart plug so it arrives as a single moment at dusk, and resist adding a fourth layer — restraint is what makes it look designed rather than decorated. Total it up and even the full version costs less than one fancy outdoor sofa.
Suggested budget range: $120 – $300.

Frequently Asked Questions
What color temperature is best for bench and planter lighting?
Warm white, 2700K to 3000K, every time. It flatters wood tones, makes green foliage look rich instead of blue, and matches the glow of a sunset. Mixing color temperatures is the fastest way to make a scheme look accidental, so buy all your fixtures in the same range and replace a failed bulb with the same temperature.
Can I light built-in benches and planters without an electrician?
Yes, most of this list is DIY-friendly. Solar stakes, solar post caps, battery fairy lights, and flameless candles need no wiring at all. Low-voltage (12V) systems for strips, pucks, and uplights are safe weekend projects that plug into a standard outdoor GFCI outlet. Only new 120V hardwired circuits call for a licensed electrician.
How do I hide the wires around benches and planters?
Run low-voltage cable under the bench seat, behind the face board, or along the back of planter boxes where nobody looks. Soil and mulch are your friends — bury cable an inch under the surface inside planters, and use cable staples or a routed groove under bench ledges. Keep transformers inside storage benches or under the deck skirt to stay dry.
Will lights in my planters hurt the plants?
LED fixtures run cool, so heat damage is rare. Keep lenses a few inches from stems and leaves, avoid burying solar panels under dense foliage where they can't charge, and don't let a spotlight sit against dry mulch for long periods. Plants lit from below at night still get their dark hours if you run lights on a timer that switches off by midnight.
Conclusion
A built-in bench and a row of planters are already the hardest-working pieces on your deck — they just clock out at sunset. Add a glow under the seat, a wash through the leaves, and one sparkle at eye level, and the whole arrangement keeps working long into the evening. Start with whichever of these deck bench lighting ideas fits your budget this weekend, live with it for a week, and add the next layer when you're ready. Come browse the rest of our lighting ideas whenever you need a fresh spark — I'll be out on my own bench, book in hand, watching the planters glow.