There's a particular relief in turning into your driveway at night and seeing it clearly — the edges, the curve, the spot where the kids left their bikes. For years I assumed lighting a driveway meant trenching wire and calling an electrician, but solar driveway lighting ideas have gotten so good that I haven't run a single cable on my last two homes. The panels are bigger, the batteries survive a cloudy stretch, and the fixtures finally look like they belong on a nice house.
The trick, as with every project I share, is layering. Low markers define the edges so you can steer, posts at the entrance create a sense of arrival, and a motion light near the garage handles unloading groceries in the dark. Mix those three layers and one set of fixtures gives you both safety and curb appeal.
Below are my 19 favorite solar driveway lighting ideas, with honest notes on brightness, spacing and real costs. For the wired side, my broader roundup of driveway lighting ideas covers every style.
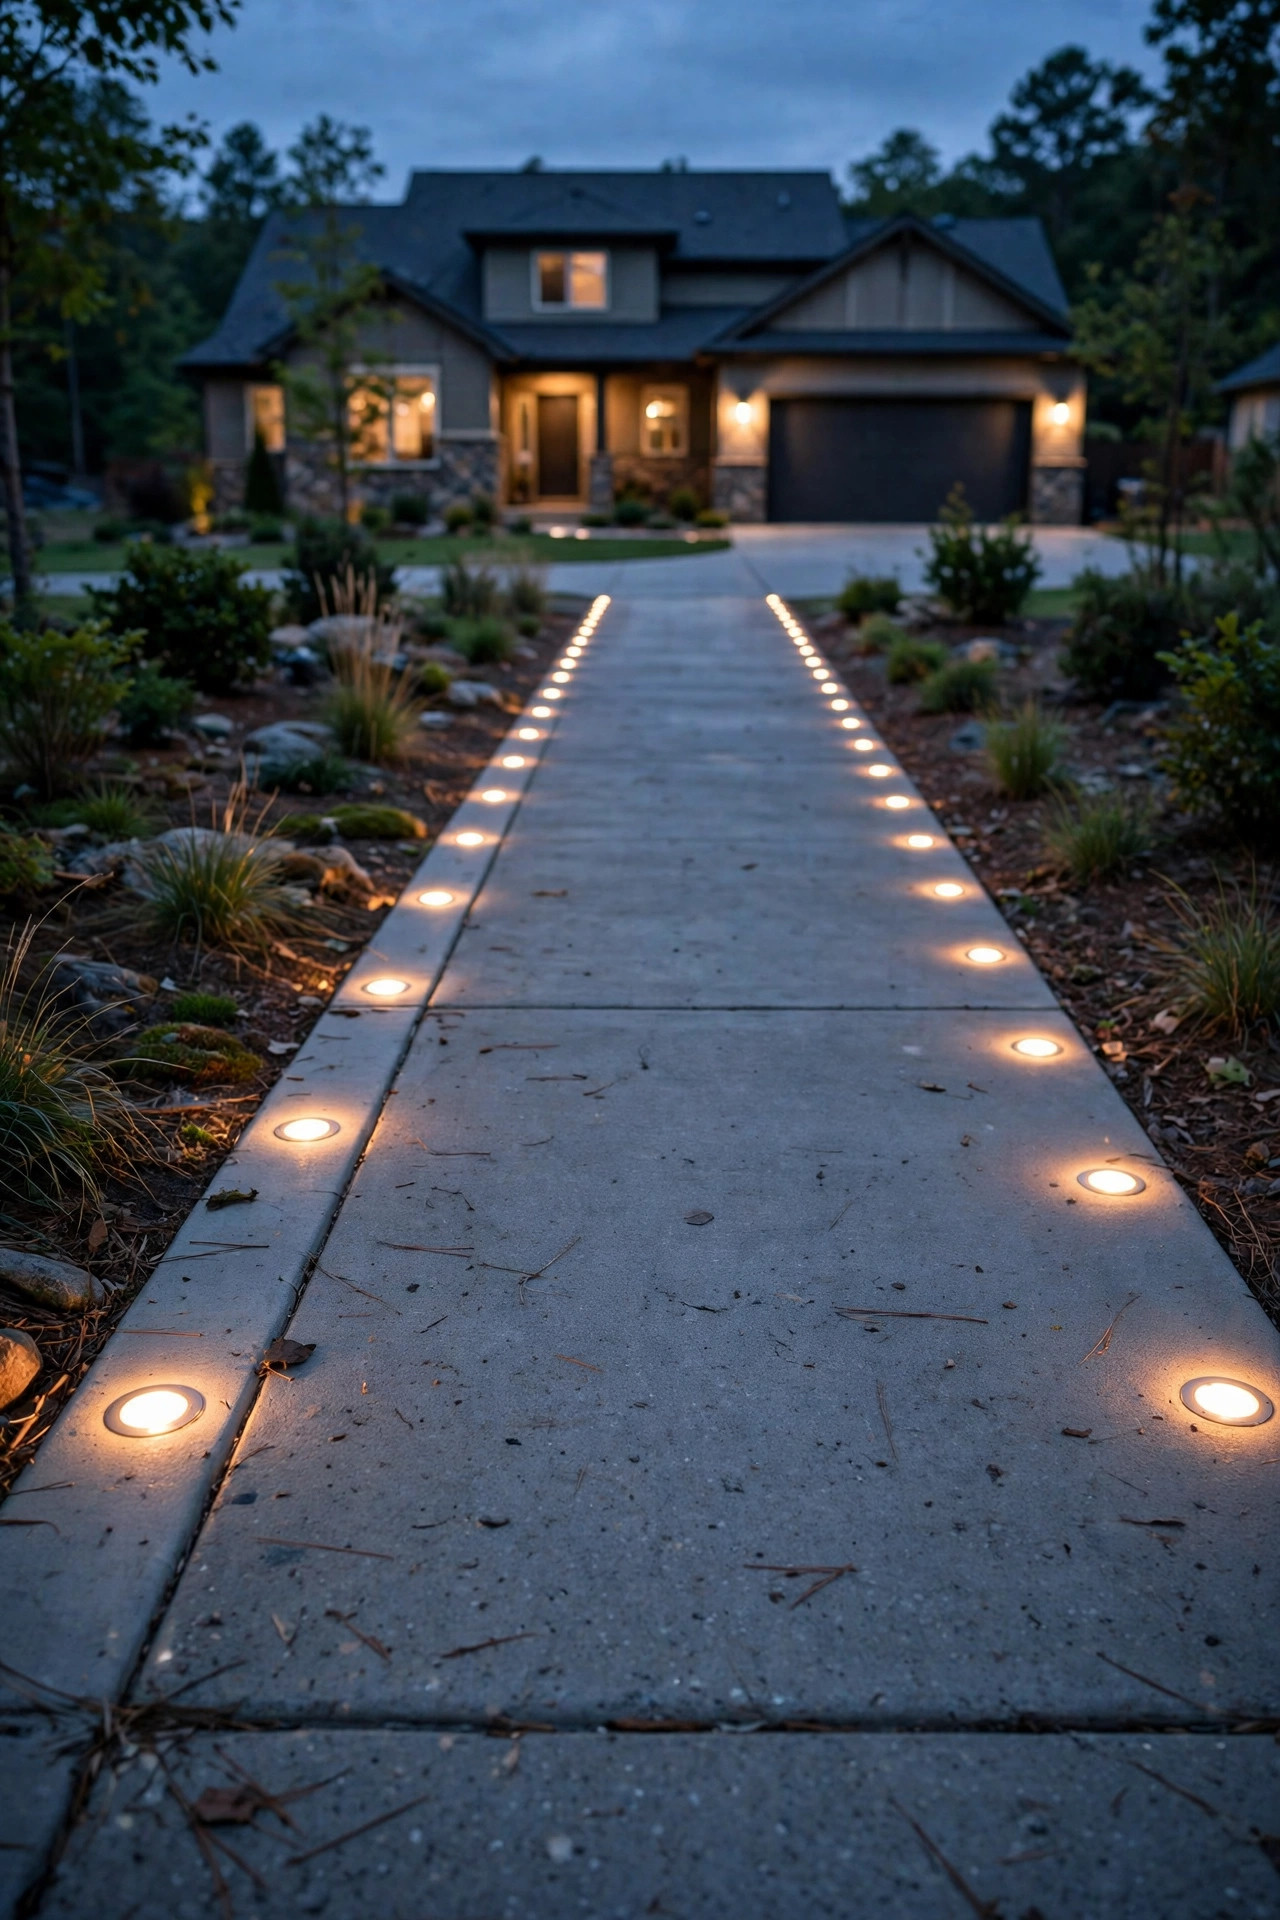
1. Flush In-Ground Solar Markers Along Both Edges
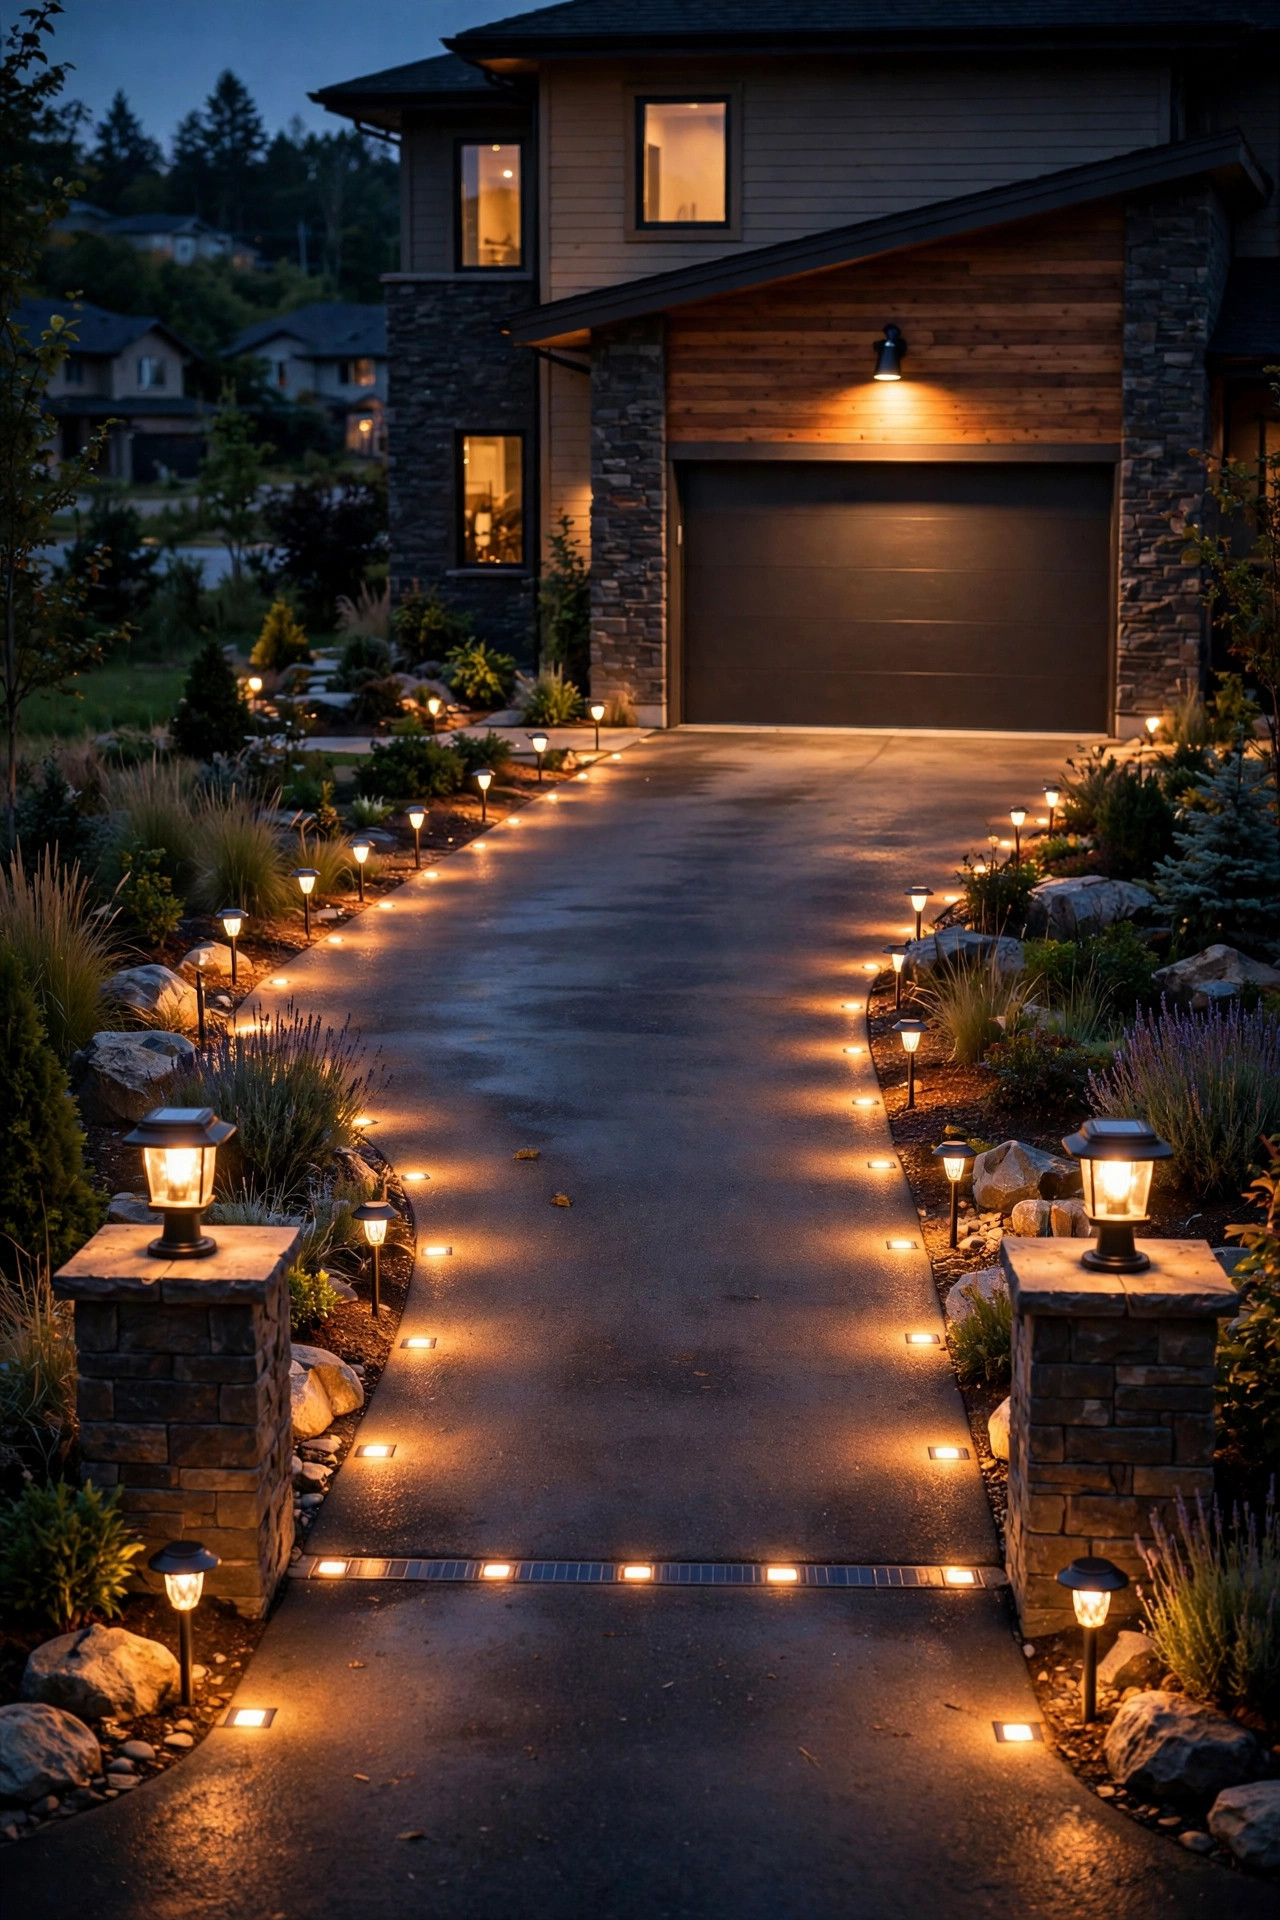
If I could only pick one idea from this whole list, it would be flush in-ground markers. These little discs sit level with the pavement, so you can drive right over them, mow right past them, and forget they're there until dusk — when a quiet line of warm dots appears along both edges of the drive. That dotted outline is genuinely useful: guests stop guessing where the asphalt ends and the lawn begins, and backing out at night stops being a leap of faith.
Installation is refreshingly low-drama. On concrete or asphalt, most styles simply sit in a shallow recess or adhere with outdoor mounting pads; along gravel or soil edges, they push in on short stakes. Space them 6 to 8 feet apart for a calm, even rhythm — closer spacing starts to look like an airport runway, honestly. Look for metal housings rather than thin plastic, a warm white glow around 2700K to 3000K, and a load rating that says drive-over safe. Give the panels a quick wipe every month or so; a dusty panel is the number one reason these "mysteriously" dim by midwinter.
Suggested budget range: $30 – $70.
2. Classic Solar Driveway Post Lights at the Entrance
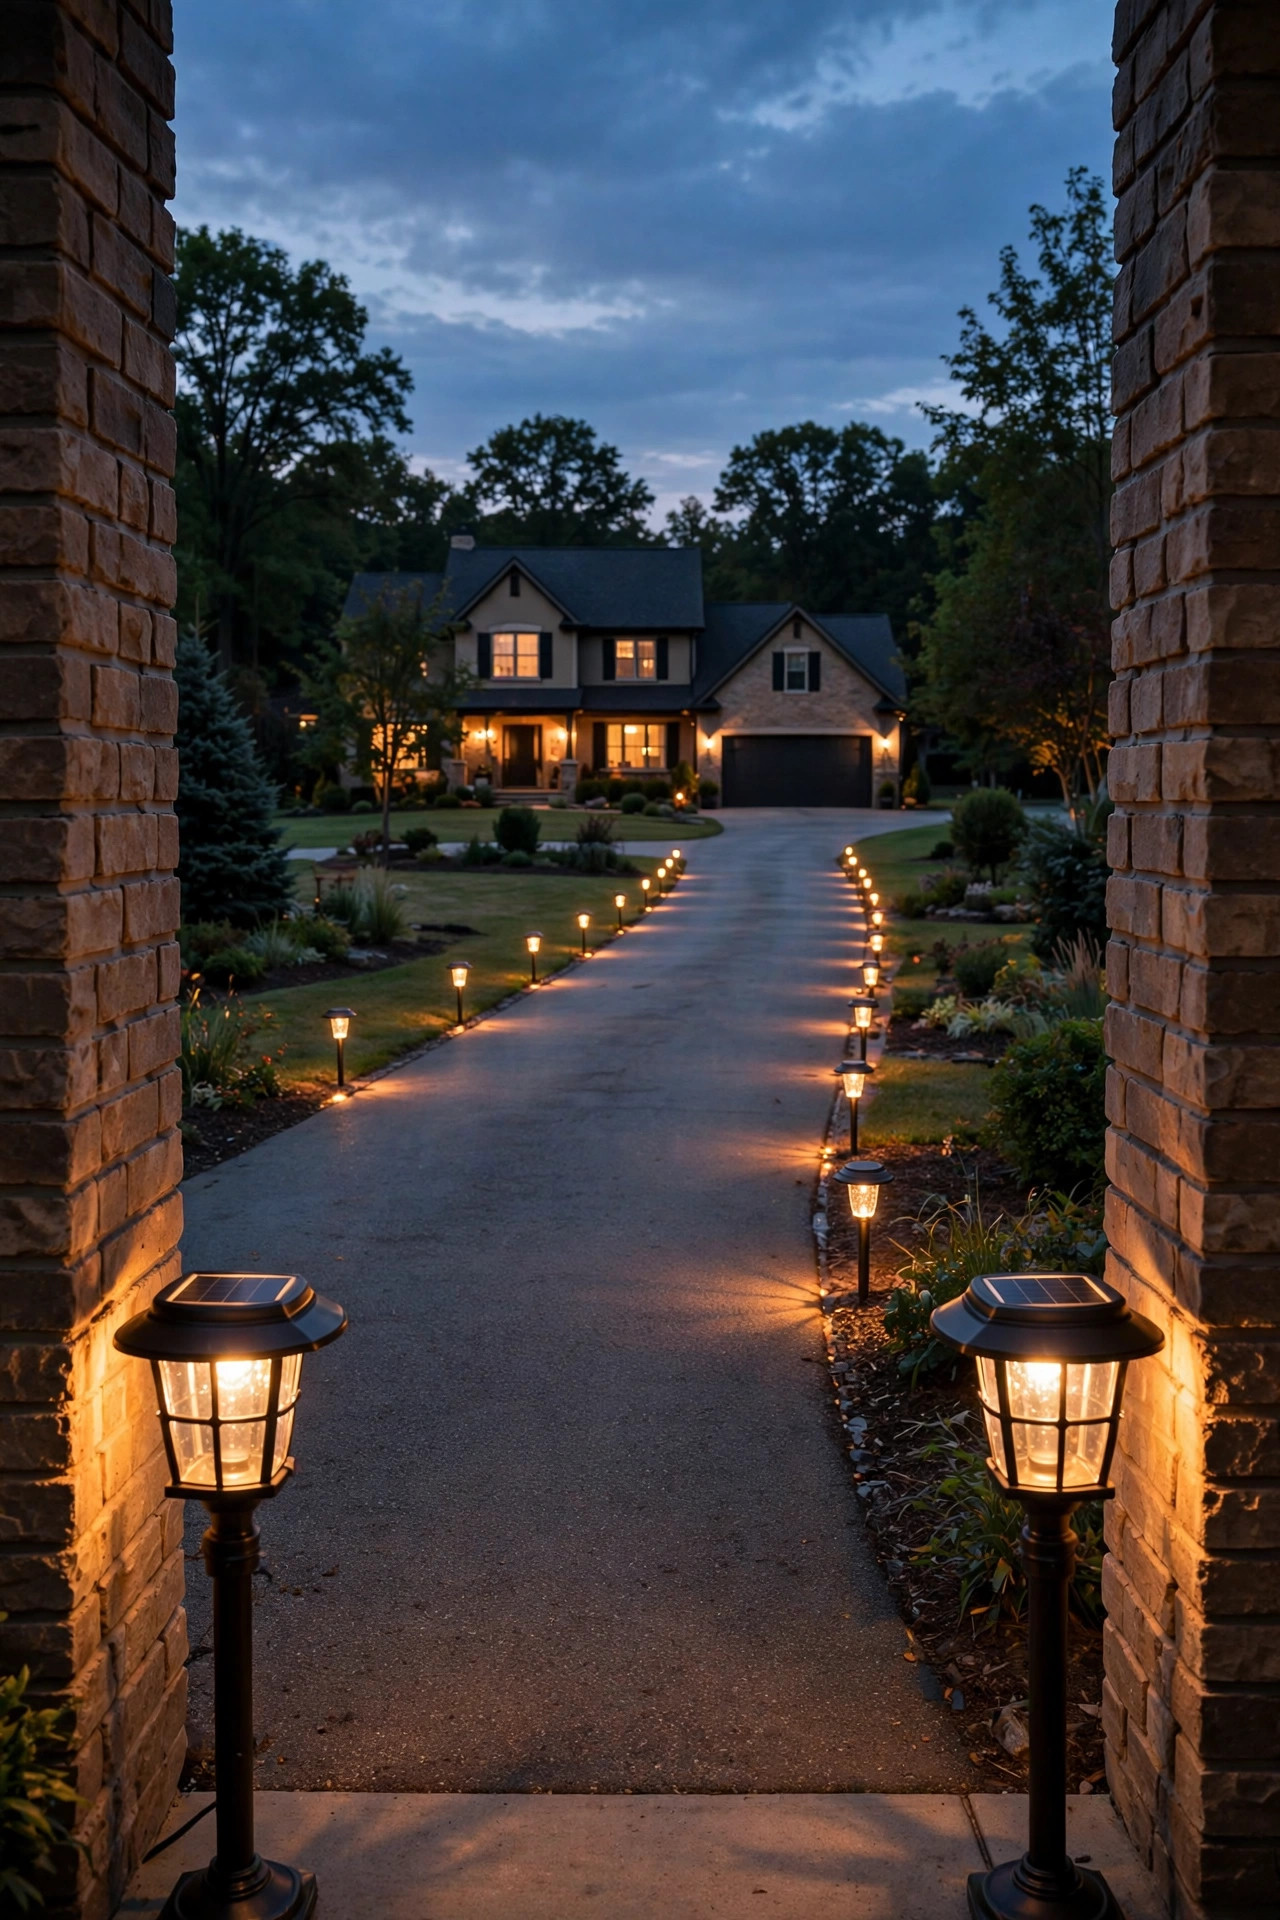
Every driveway deserves a proper hello, and a pair of classic post lights at the street entrance delivers exactly that. Think of the old coach-style pillars you'd see on a country estate, minus the wiring bill: a short post or a cap light mounted on brick, stone or timber pillars, glowing warm from the moment the sun drops. That first pool of light tells visitors "this is the turn" long before they can read a house number.
Height matters here. Two and a half to three and a half feet puts the glow at windshield level without shining straight into a driver's eyes. If you don't have pillars, freestanding solar post lights on their own stakes or bolt-down bases work beautifully — just sink them in a small concrete footing so they stay straight through frost heaves and bumped bumpers. Choose fixtures with replaceable batteries, because the panel and housing will outlast the first battery by years. And match the finish to your mailbox or front door hardware; that tiny bit of coordination makes the whole entrance look planned rather than pieced together over several summers.
Suggested budget range: $60 – $160.

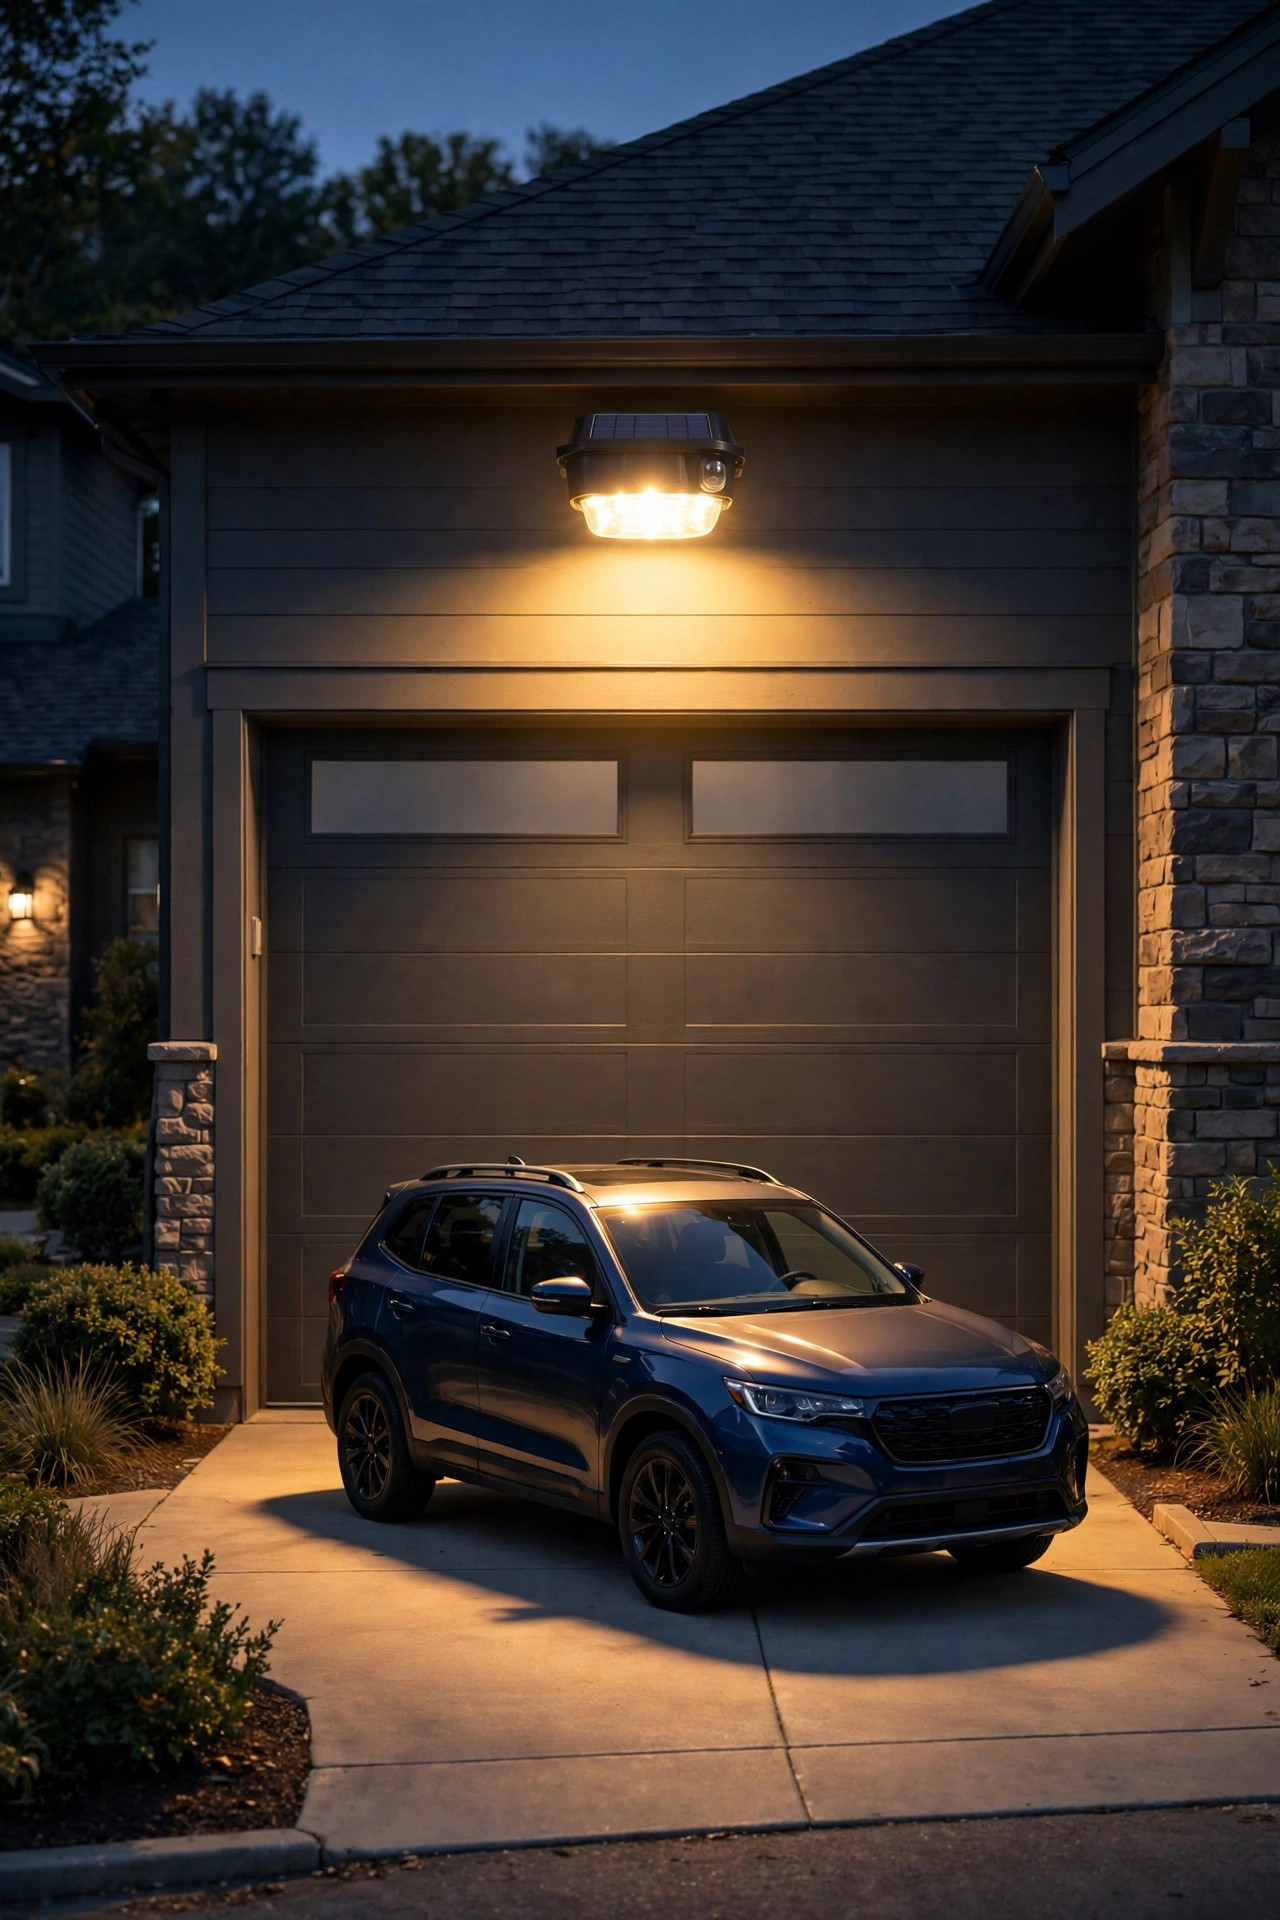
3. Solar Motion-Sensor Flood Lights Over the Garage
This is the hardest-working light on my whole property. A solar motion-sensor flood light mounted above the garage door stays politely dim — or fully off — until a car pulls in or a person walks up, then it washes the whole parking apron in bright, useful light. No more fishing for keys in the dark, no more wondering which shadow by the trash bins is a raccoon.
Placement is everything. Mount it 8 to 10 feet up, angled down at about 45 degrees so the beam covers the apron without blasting the street. Most units let you adjust the sensor range (10 to 26 feet is typical), how long the light stays on after triggering, and whether it runs in bright-on-motion mode or a dim-glow-plus-bright mode. I prefer the second setting — a soft 20 percent glow all evening looks welcoming, and the jump to full brightness when you arrive feels like the house noticed you. Because the panel is separate on many models, you can mount the light under an eave and run the panel up to full sun on the roof edge. Give the lens a rinse each season; road dust dulls the sensor faster than anything.
Suggested budget range: $35 – $90.
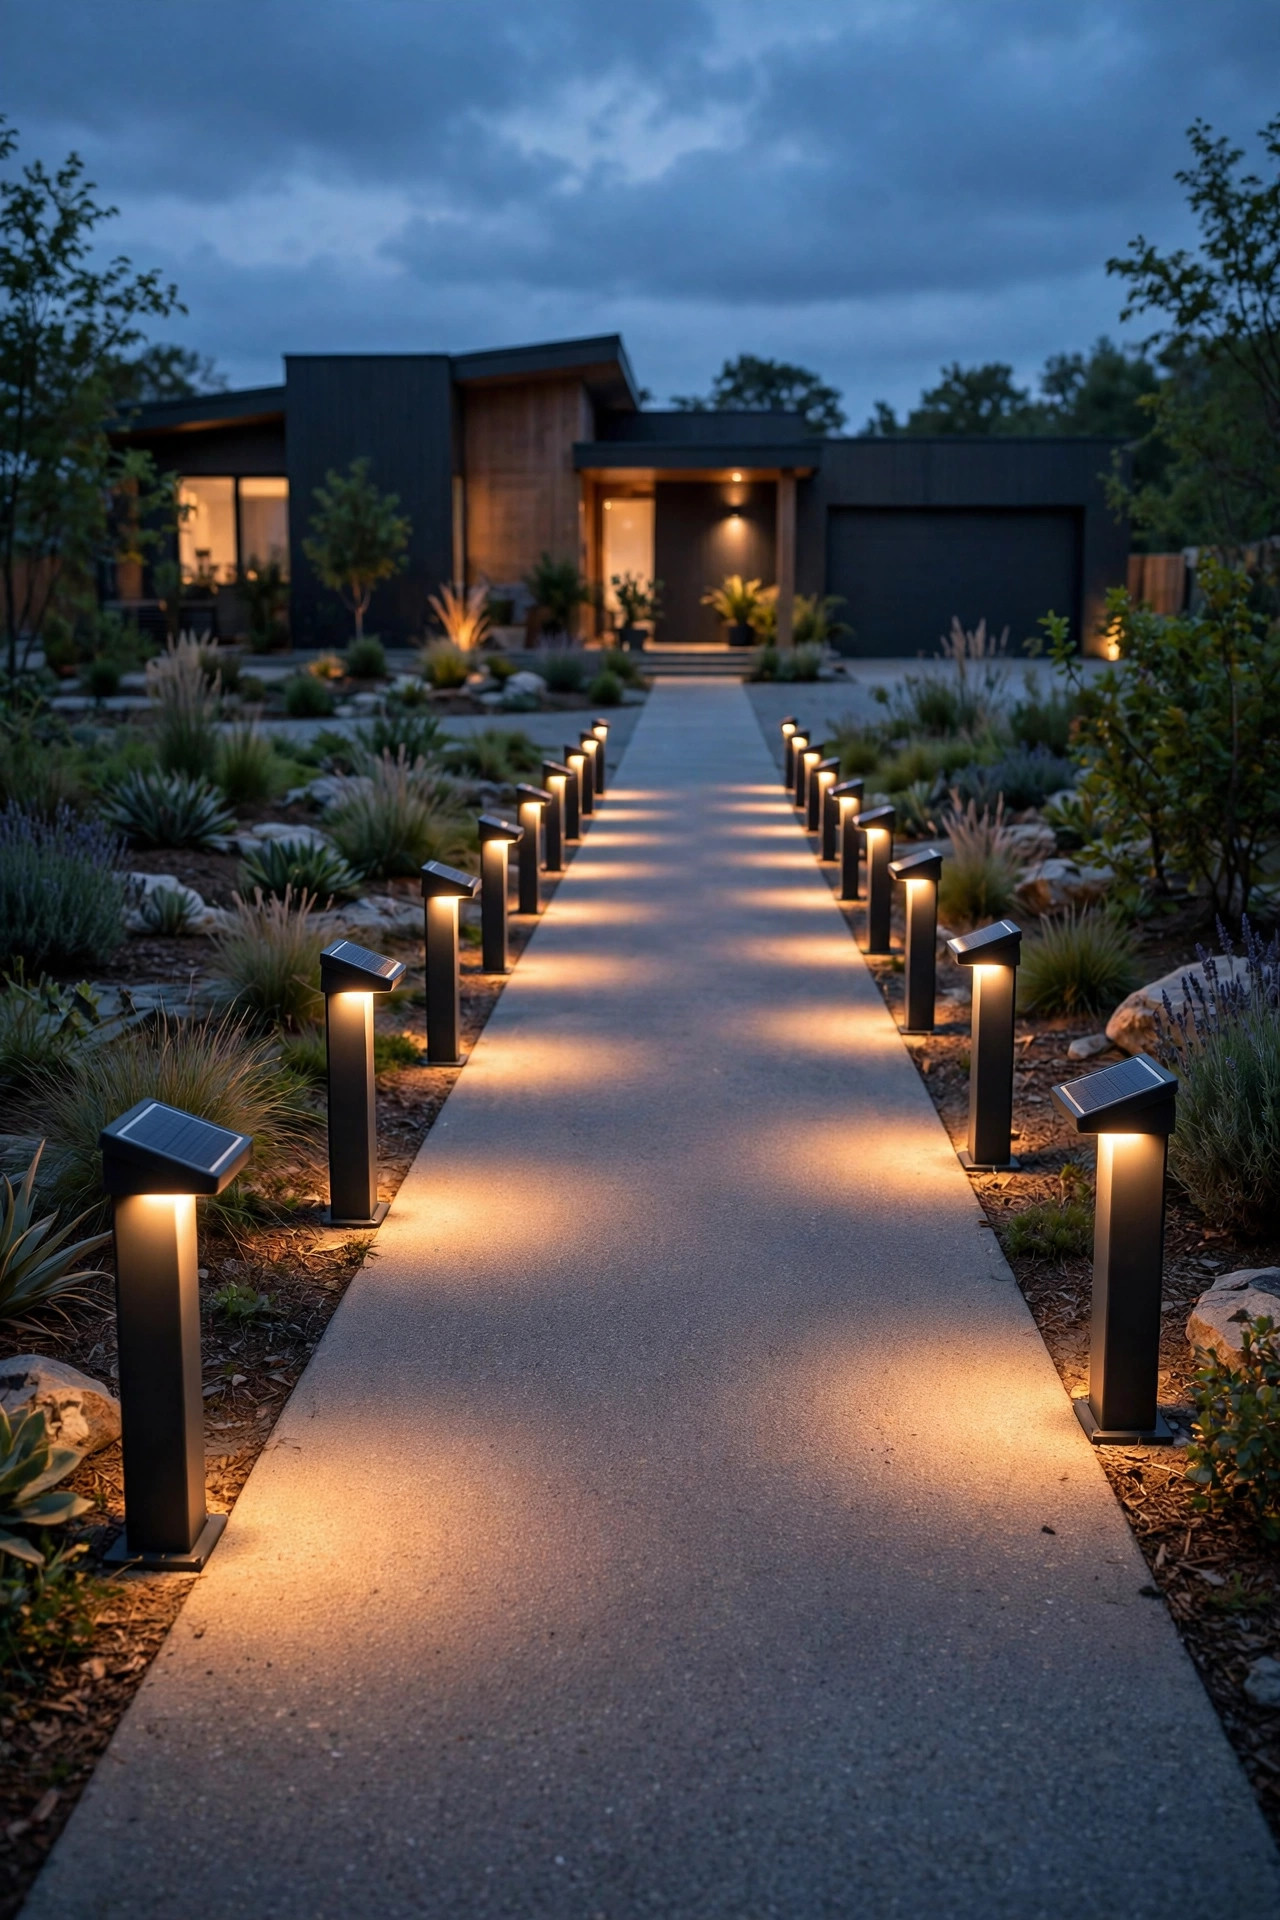
4. Low Solar Bollard Posts for a Modern Edge
For a clean, contemporary look, nothing beats a row of low bollard posts marching down the driveway. These are the short, sturdy cousins of the commercial bollards you see outside nice hotels — usually 12 to 24 inches tall, with the light tucked under a cap so it spills downward onto the pavement instead of into your eyes. The effect is calm and architectural, like the driveway was designed rather than just poured.
Bollards work best on longer, straighter drives where a rhythm can build. Space them 8 to 10 feet apart on one side, or stagger them on both sides if the drive is wide. Downward-facing designs are also the kindest choice for neighbors and for the night sky, since almost no light escapes upward. Stainless or powder-coated aluminum bodies hold up far better than plastic, especially anywhere a snowplow or a delivery van might clip one. One honest warning: cheap bollards are the dimmest lights in the solar world, so read the lumen numbers — you want at least 50 to 100 lumens per post for real guidance light, not just a decorative dot.
Suggested budget range: $70 – $180.
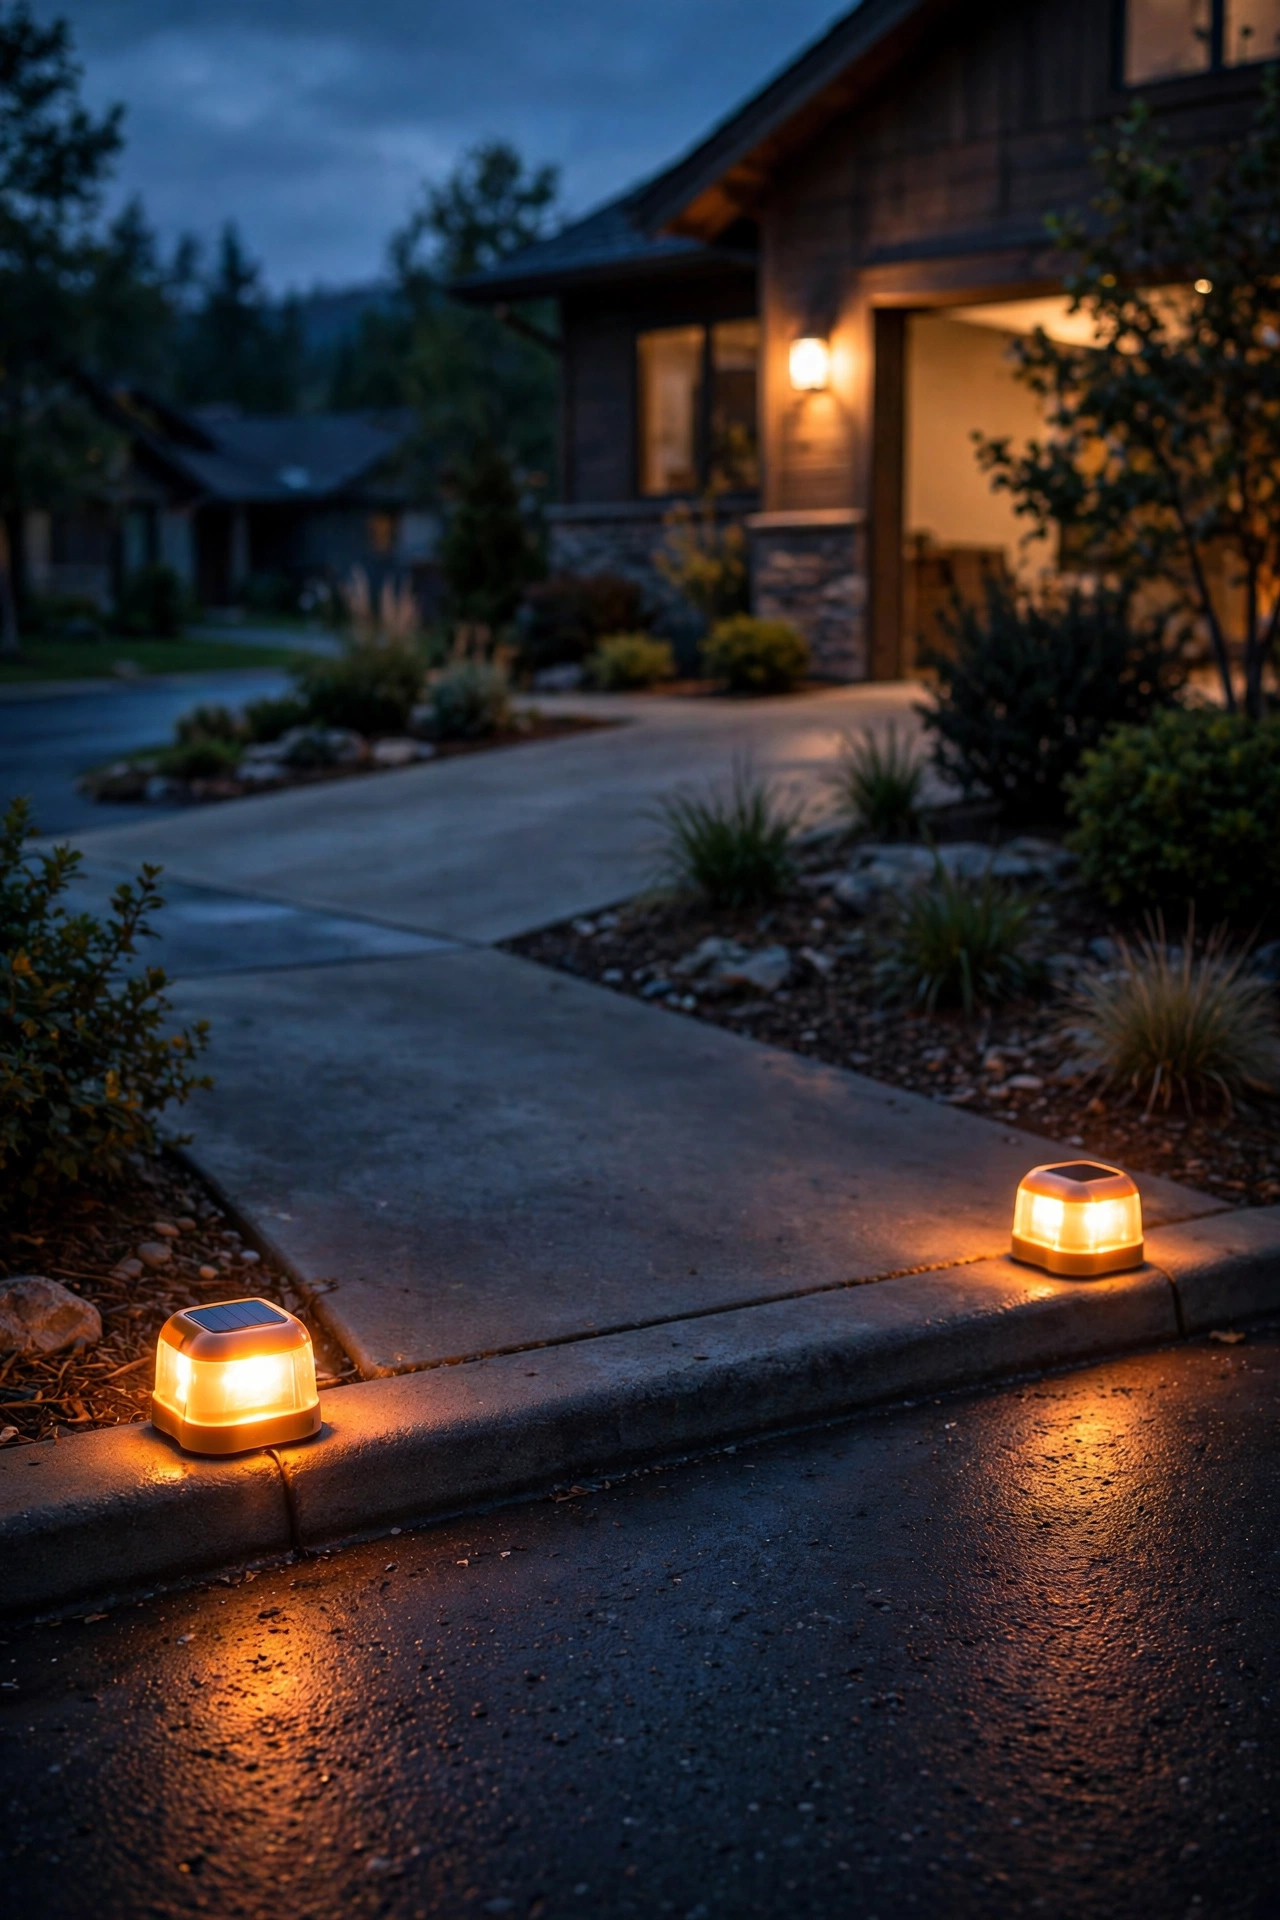
5. Brick-Style Solar Lights Built Into the Pavement Edge
Here's one that makes visitors ask who your contractor was. Brick-style solar lights are sized and shaped exactly like a standard paver brick, with a frosted top that glows after dark. You pull out a brick along the driveway border, drop the light in its place, and by evening the whole edge of the drive is traced in soft, warm rectangles. It looks completely intentional — like the driveway was built around the lighting, not the other way around.
They're at their best along paver and brick drives, obviously, but they also work set into a concrete border strip or a gravel edge framed with pavers. Because the panel faces straight up, brightness depends on a full day of sun, so they're happiest on open, south- or west-facing drives. The frosted tops diffuse the light nicely, which means no harsh glare when you're backing in. Durability is the thing to check: look for units rated to carry vehicle weight, with sealed edges so meltwater can't creep in during winter. I run a double row only at the entrance apron where tires actually wander; a single row is plenty for the straight runs.
Suggested budget range: $45 – $110.

6. Solar Stake Lights for Gravel and Dirt Driveways
Country driveways have their own problem: no pavement edge to mount anything to, and a surface that shifts every season. Solar stake lights are the forgiving answer. You push them into the soil or gravel shoulder, and when the grader comes through or a tire chews the edge, you simply pull them up and push them back in. No tools, no commitment, no trenching through tree roots.
The taller pathway style, around 14 to 18 inches, reads best out in the open — the light clears low grass and throws a wider pool onto the gravel. Space them a relaxed 8 to 10 feet apart and alternate sides on curves so the drive reads like a gentle S rather than a corridor. Metal stakes outlast plastic ones by a mile in rocky soil; if your ground is truly stubborn, a cordless drill with a long bit makes pilot holes in seconds. My favorite trick for rural drives is placing one brighter stake at every obstacle you know by heart — the culvert edge, the big oak, the mailbox pull-off — so the whole route feels familiar to guests arriving after dark for the first time.
Suggested budget range: $25 – $60.

7. Reflective Solar Curb Markers for the Street Edge
The most dangerous ten feet of any driveway are the first ten — where your drive meets the street, often right where a curb cut, a ditch or a mailbox conspires against your bumper. Reflective solar curb markers were made for exactly that spot. They're small, tough posts or pucks with a solar light on top and reflective faces, so they guide you two ways: glowing softly all night, and flashing back at your headlights the moment you turn in.
Mount one on each side of the curb cut, right at the corners. If your drive meets the road at an angle or the street has no lights at all, this pair does more for safe arrivals than any other cheap upgrade I know. Look for shatterproof lenses and reflective material rated for roadside use, and set the posts just far enough back that snowplows and street sweepers pass clear — about 6 inches behind the curb face is my rule. In deer country, I've also noticed drivers slow down a touch earlier for a marked entrance, which is a quiet bonus for everyone crossing the front yard at night.
Suggested budget range: $20 – $50.
8. A Solar Lantern Post for a Coach-Light Welcome
If the classic post lights in idea two are a handshake, a full solar lantern post is a hug. One taller fixture — five to six feet — standing a few feet back from the driveway entrance, styled like an old gas coach lantern with warm flickering-effect LEDs inside. It anchors the whole front of the property and gives guests a landmark: "turn in at the lantern" works even for people who've never visited.
Because it's a single statement piece, placement matters more than brightness. Set it where the drive meets the front walk if you can, so one fixture lights the arrival, the parking and the path to the door in overlapping pools. The flicker setting is lovely for ambiance, but honest Sarah moment: switch it to steady warm white if the post stands close to the street, since flicker near a road can read as a signal. A weighted base or a small concrete footing keeps a tall post honest in wind, and a photocell with a timer override lets you keep it on for late-arriving guests without running it until dawn in summer. This is the one my neighbors compliment most, and it cost less than our last dinner out for four.
Suggested budget range: $80 – $200.
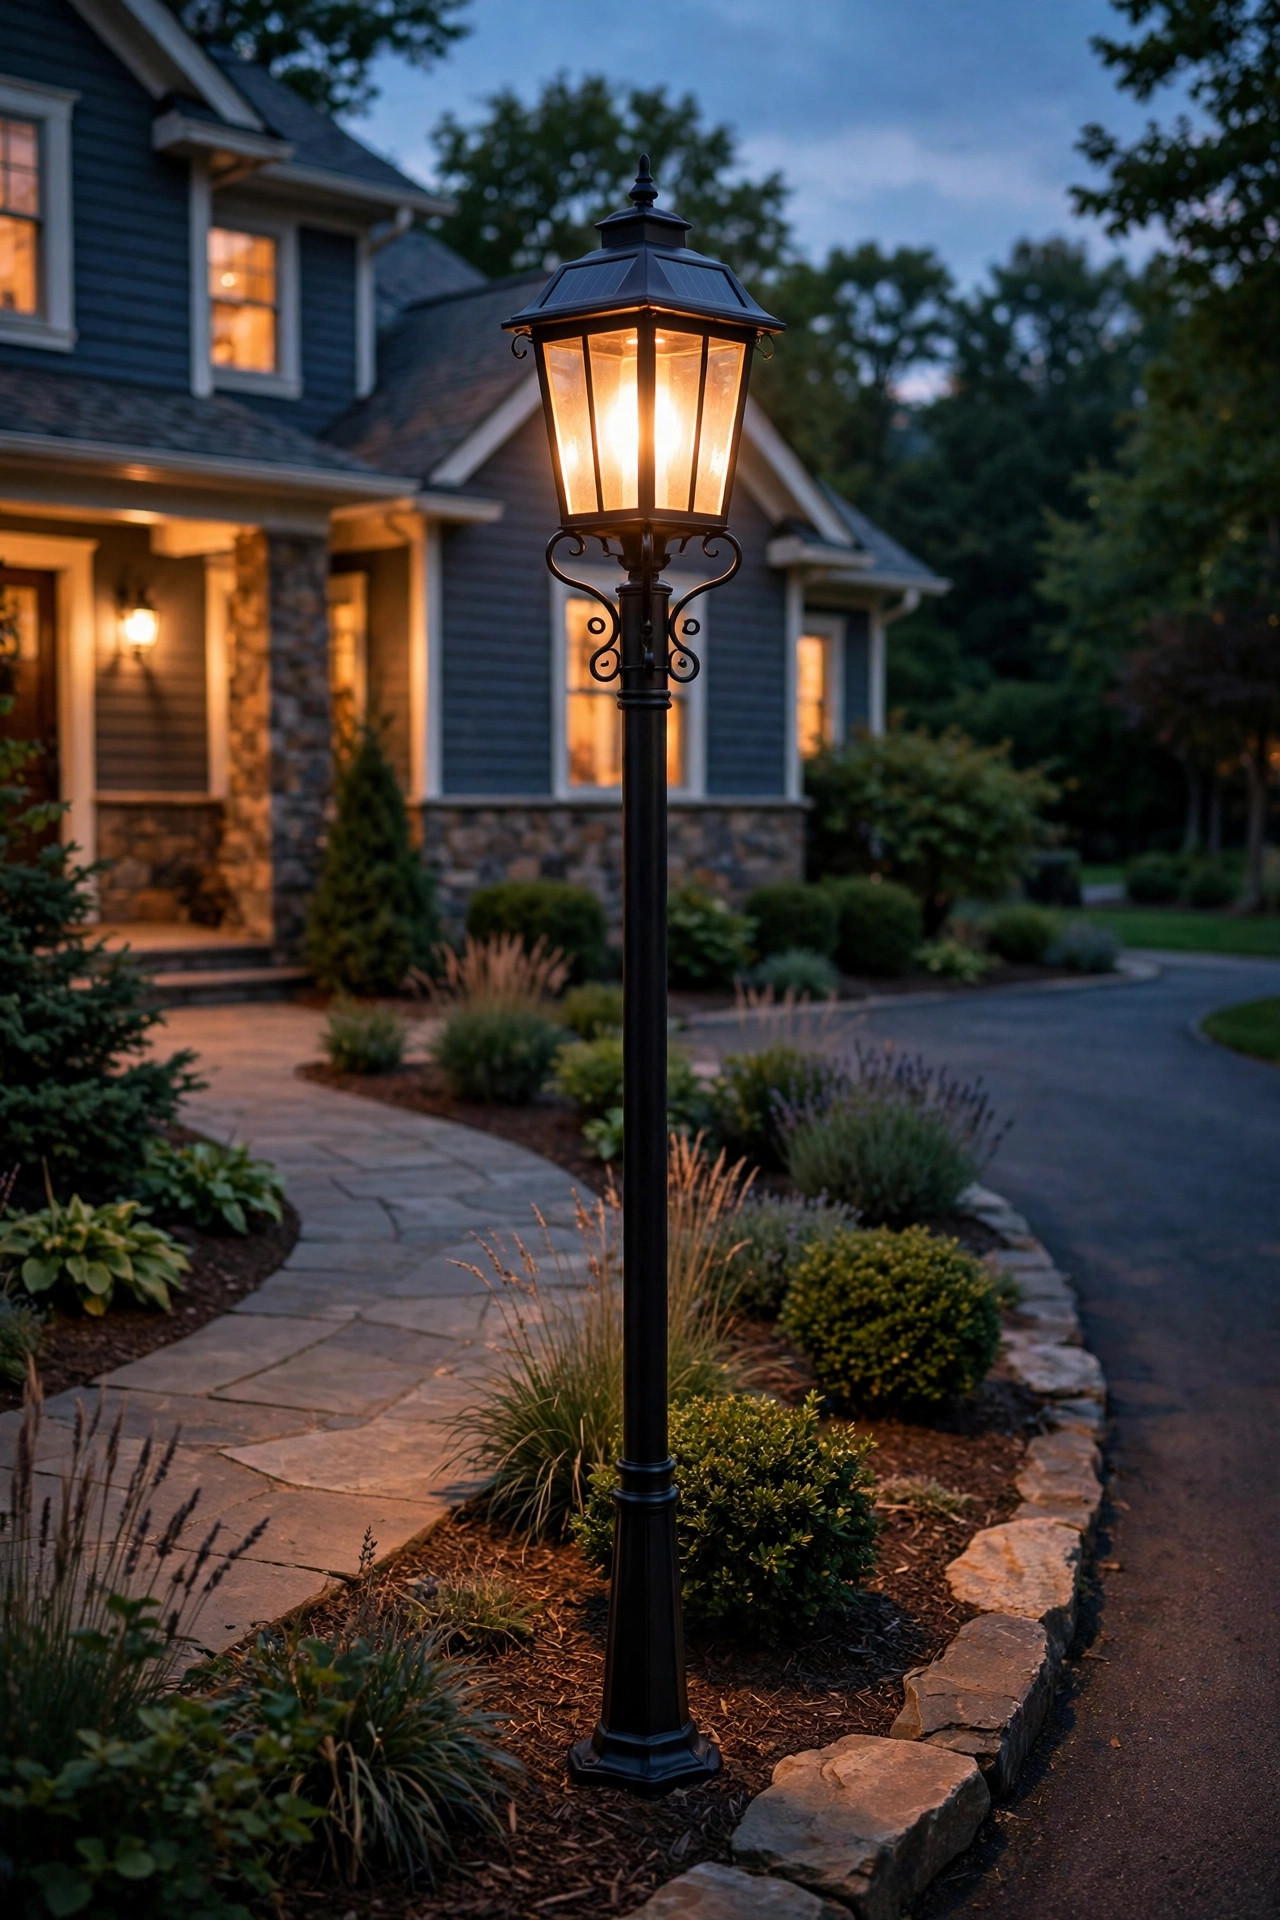
9. An Illuminated Address Post So Guests Actually Find You
Every one of these solar driveway lighting ideas works better when people can find the driveway in the first place — and that's the humble address post's job. A small solar fixture mounted above or built into a post at the street, shining onto reflective house numbers, ends the nightly ritual of visitors crawling past at five miles an hour, then reversing back. Delivery drivers will silently thank you, and in a genuine emergency, visible numbers are worth more than any decoration on this list.
The details that make it work: numbers at least 4 inches tall, high contrast against their background (brass or white on dark wood, black on white), and the light aimed at the numbers rather than at the road. Solar address plaques with the light built in are the tidy option; a small solar spotlight on a stake does the same job for less. Mount the post at the edge of the drive on the side approaching traffic sees first — in most of the US, that's the right-hand side as drivers approach. Check your local rules, too: some towns and HOAs specify number size or placement, and a few even require them. It takes one afternoon, tops.
Suggested budget range: $30 – $85.
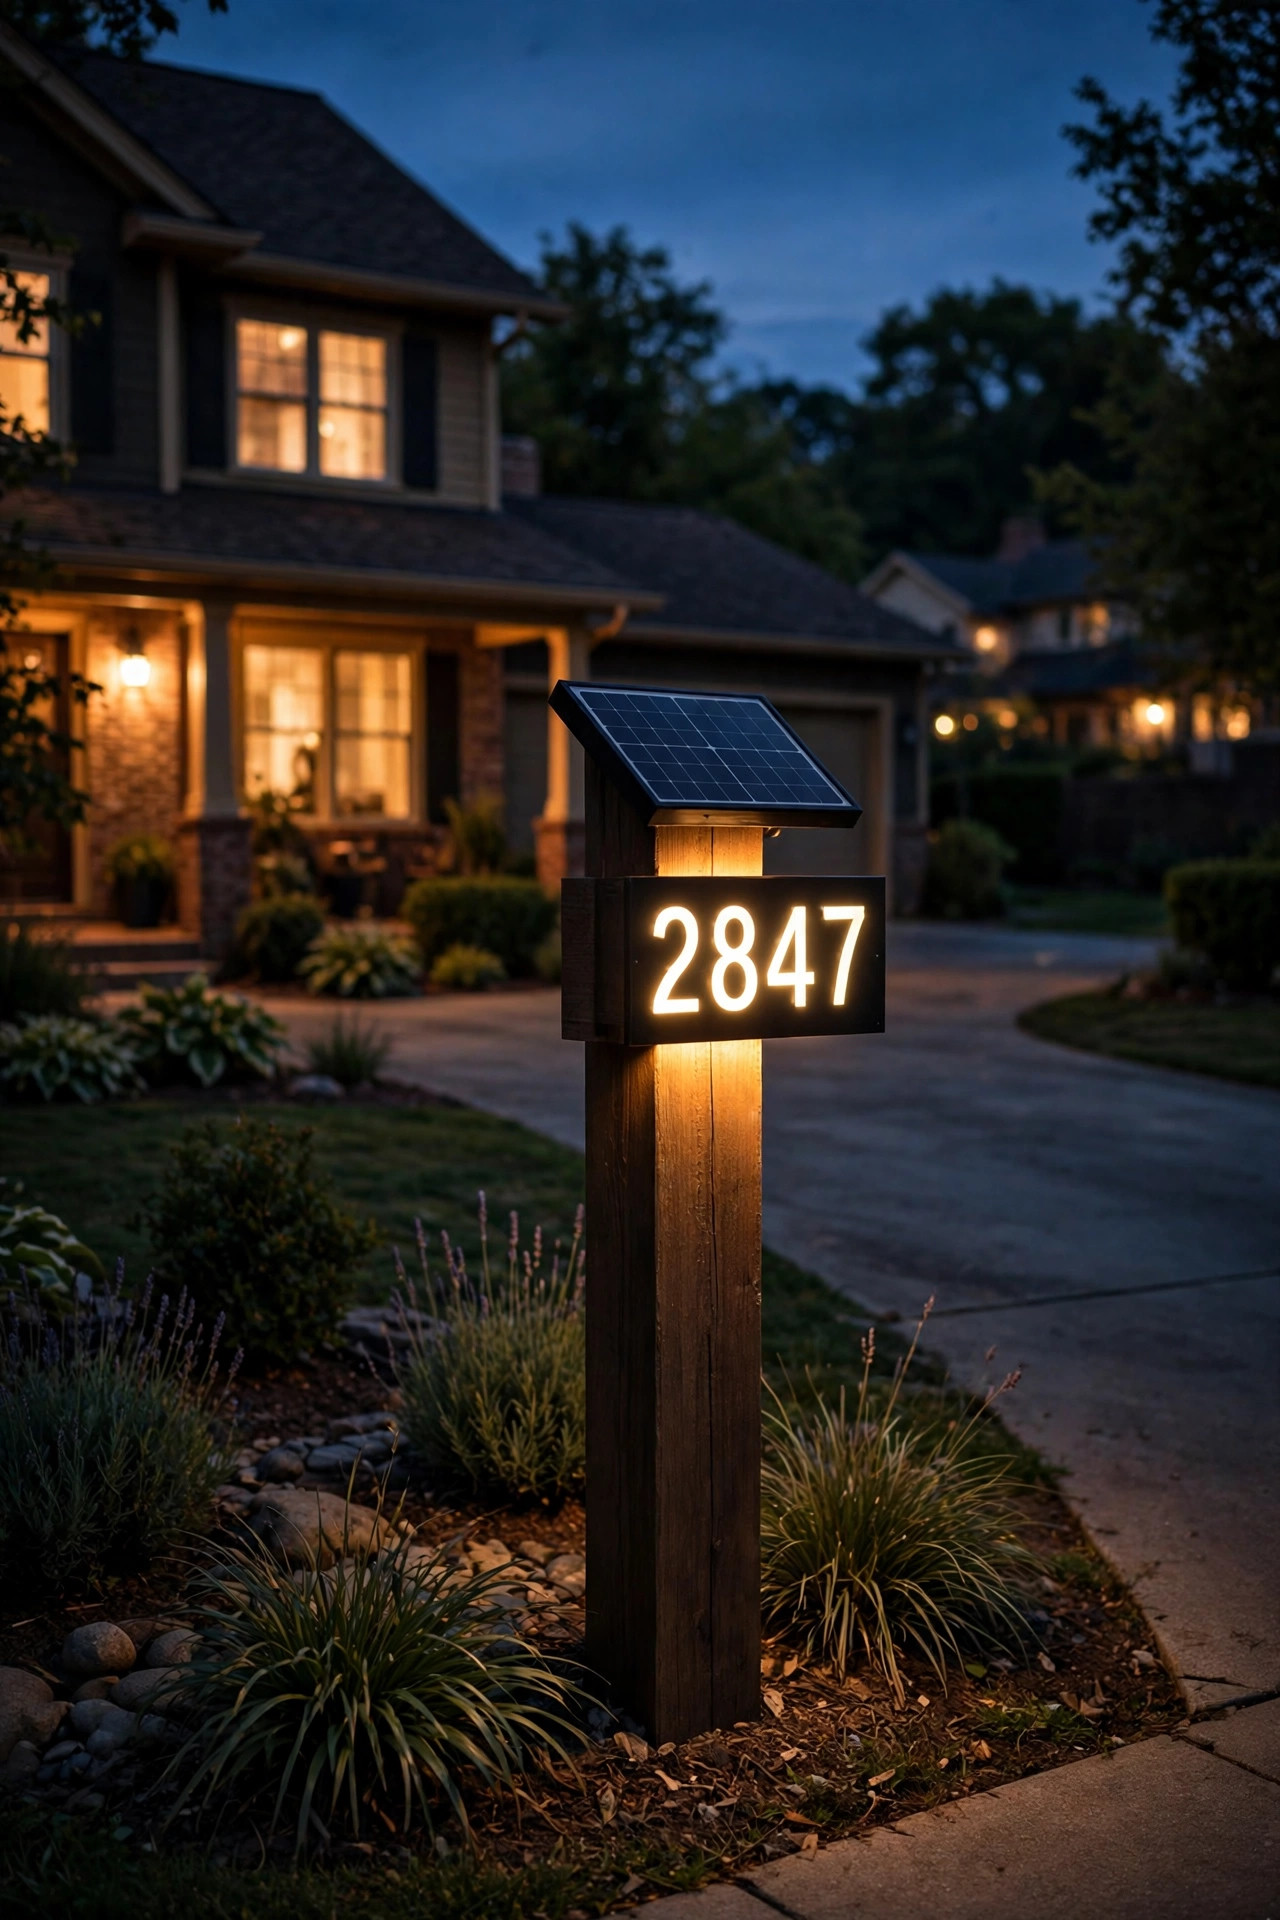
10. Solar Spotlights Uplighting the Driveway Trees
Not every driveway light has to point at the driveway. If you have a handsome tree near the entrance — an oak, a magnolia, a sculptural Japanese maple — a solar spotlight aimed up into its canopy turns the whole arrival into a scene. The trunk and branches glow, the light bounces softly back down onto the pavement, and your house suddenly has the kind of frontage people slow down to admire.
Solar spotlights are the one category where I tell friends to be picky. You want an adjustable head, a separate or generously sized panel, and honest brightness — 200 lumens or more per fixture for a real uplight effect. One spotlight per tree, placed 2 to 3 feet from the trunk and tilted to rake up the bark, beats two weak ones every time. Warm white keeps bark and foliage looking natural; the cool blue-white settings make healthy trees look haunted, and not in the fun way. Because uplighting is decorative, I put these on their own "zone" in my head — they're the first lights I'll forgive for dimming on a cloudy December week, while the markers and motion lights do the serious work. Rake leaves and mulch away from the panel a few times a year; a shaded panel is a dim tree.
Suggested budget range: $40 – $100.

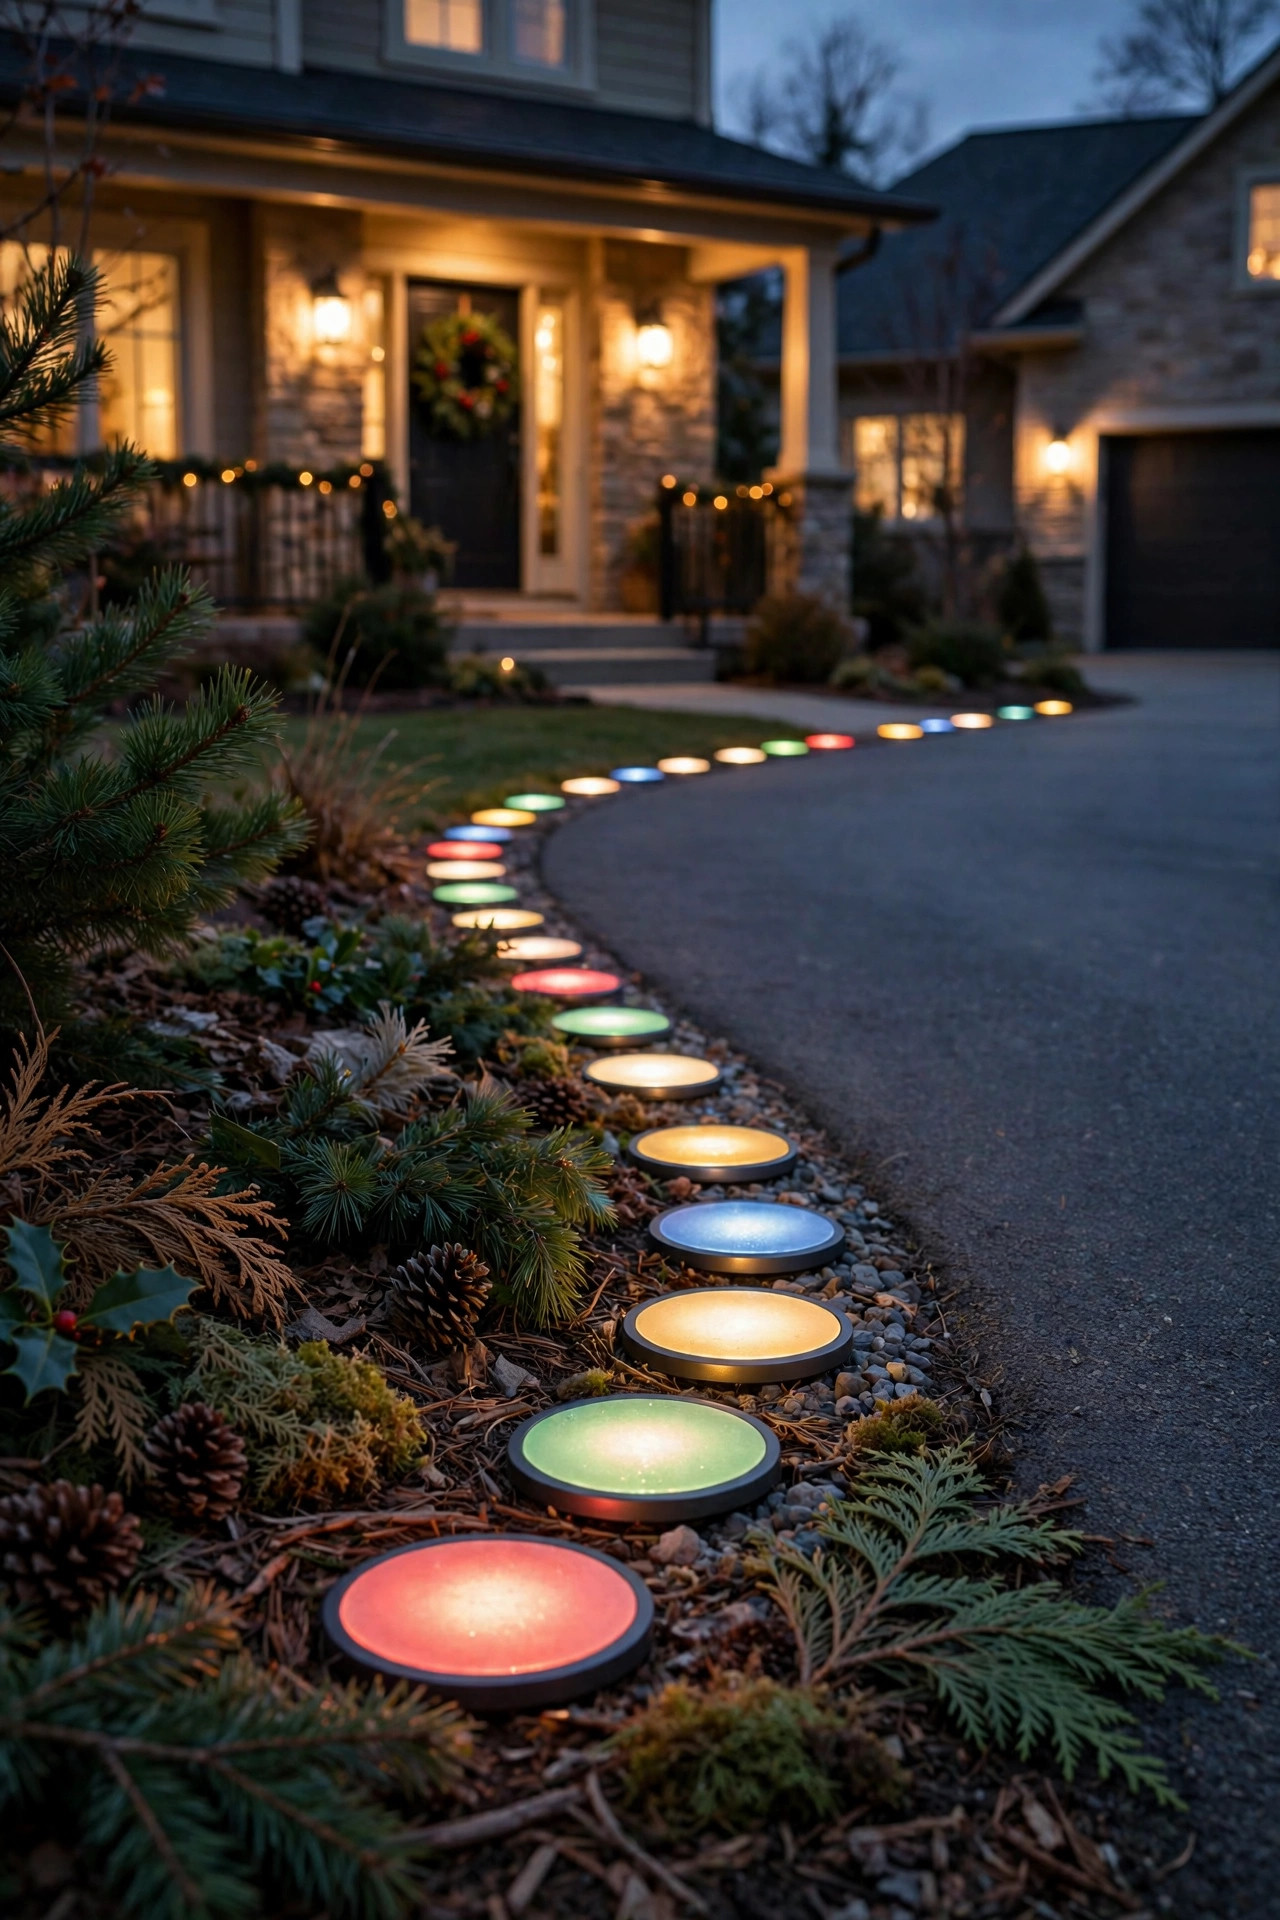
11. Color-Changing Solar Discs for a Little Weekend Fun
Hear me out — I am not suggesting you turn your driveway into a nightclub. But solar disc lights with a color-changing option earn their keep twice a year in our house: set to warm white 360 days, then switched to gentle red and green for December, orange for Halloween week, or team colors on game day. The kids think it's magic, and honestly? So do I, a little.
The practical details matter more than the colors. Choose discs that remember their last setting, so you're not re-programming them every evening, and that offer a true warm white mode rather than only rainbow cycles. A remote control is genuinely useful here — crouching beside nineteen discs to press tiny buttons is nobody's idea of festive. Keep the brightness modest and the changes slow; a soft fade between hues feels playful, while fast strobing just annoys the whole street. And do be a good neighbor about it: color nights are for occasions, and the rest of the year these behave like the tasteful flush markers from idea one. One set of discs, two personalities — that's my kind of multi-tasker.
Suggested budget range: $35 – $80.
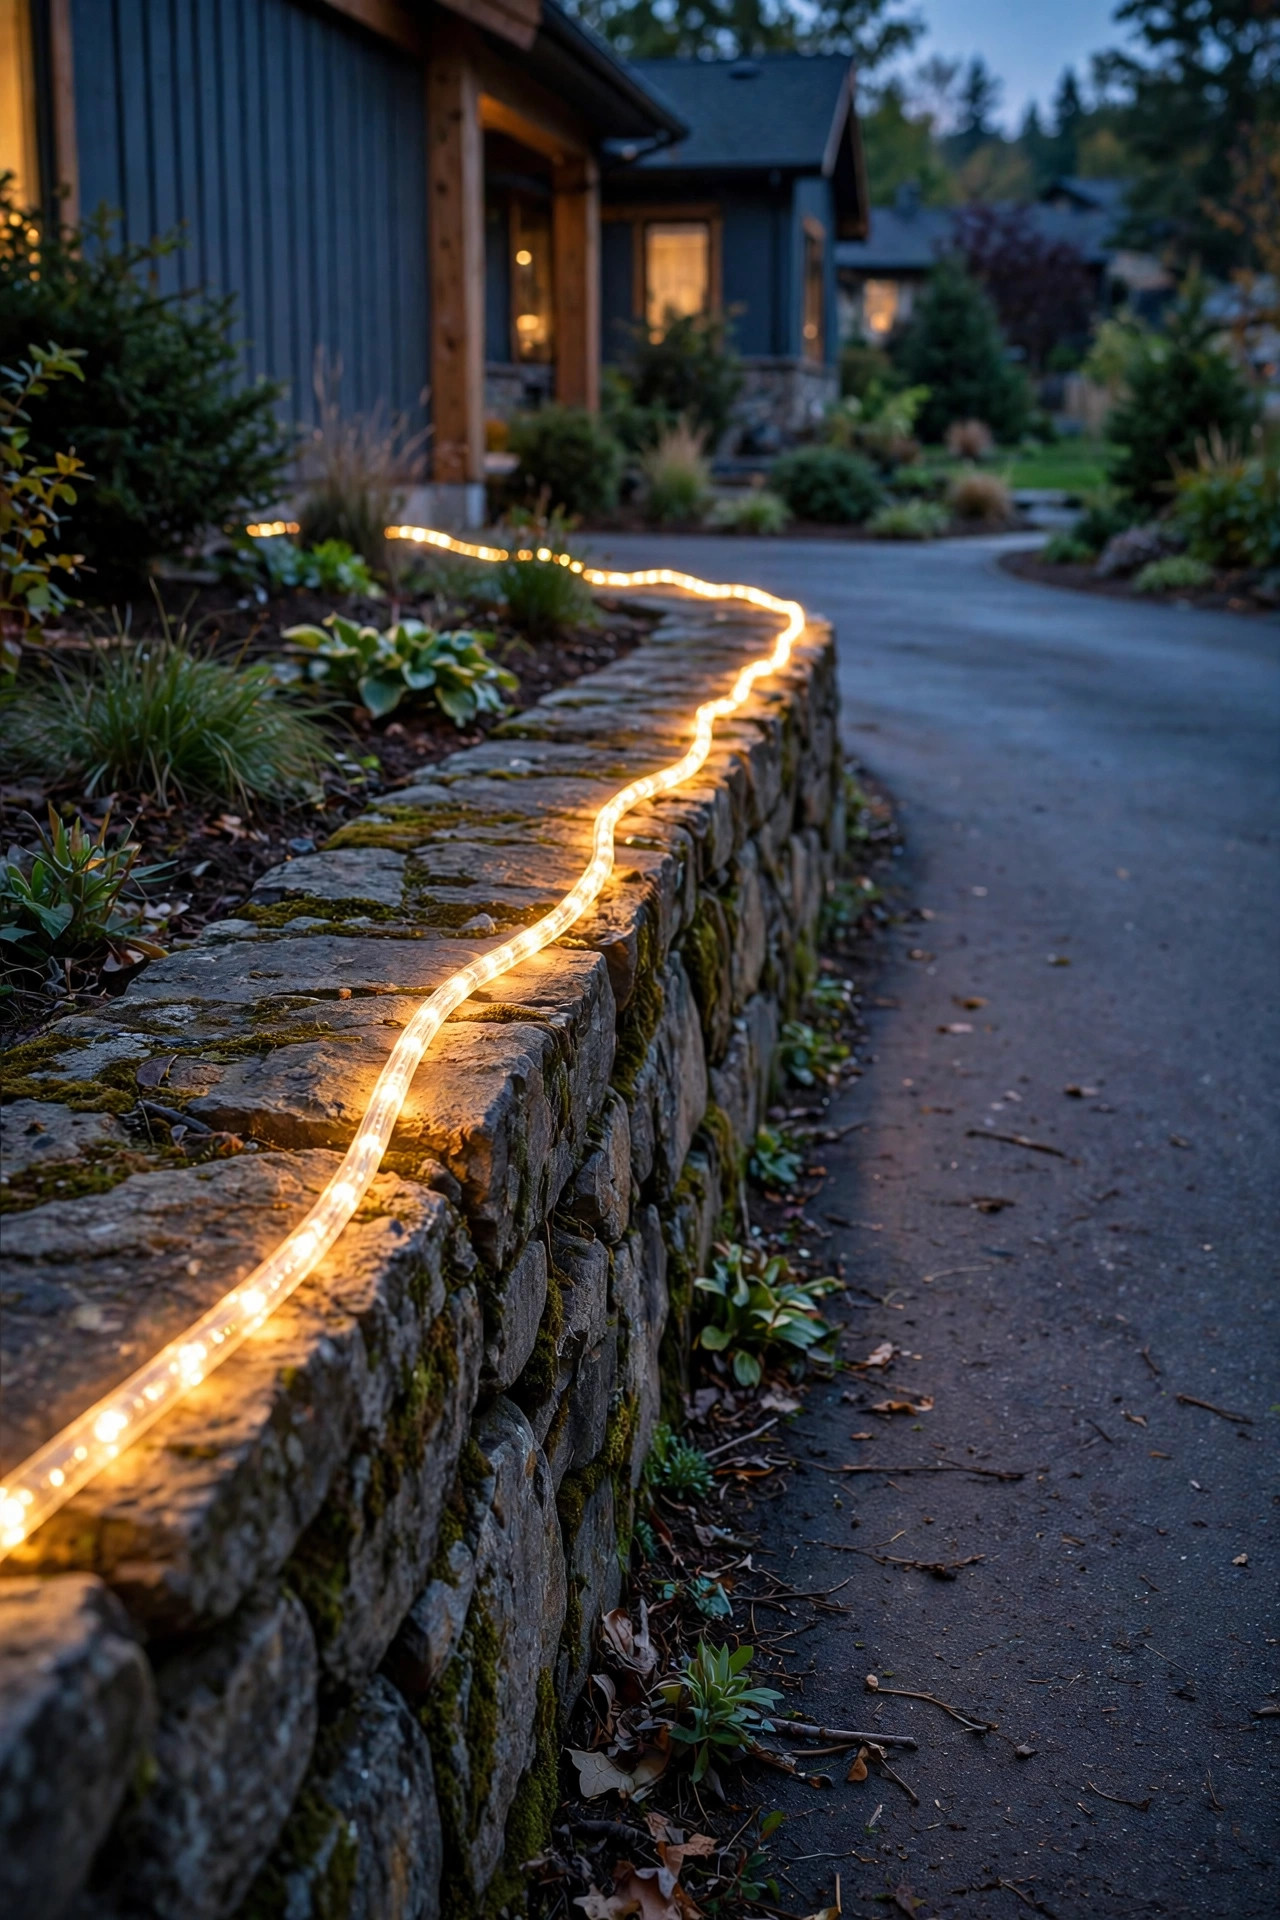
12. Solar Rope and Strip Lights Along a Retaining Wall
Some driveways run alongside a retaining wall, a raised bed or a fence, and that long horizontal line is begging for a ribbon of light. Solar rope lights and outdoor strip lights, tucked along the top edge of a wall or under its capstones, wash the whole drive with a smooth, continuous glow that individual fixtures can't match. It looks expensive and custom — the kind of thing people assume required an electrician and a trench.
The solar versions come with a separate panel on a stake or clip, and placement of that panel is the whole game: full sun by day, even if the rope itself runs through shade. Measure before you order — these commonly come in 16, 33 and 66 foot lengths, and joining multiple strands to one panel dims the far end. Under-capstone mounting is my favorite, because the rope hides completely and only the light shows; adhesive clips work on fences but should be reinforced with small screws outdoors. Check the waterproof rating carefully, since a wall top collects rain. In winter, the sheltered under-cap position also protects the strip from ice, which is why mine have outlasted every other novelty light I've tried.
Suggested budget range: $30 – $75.
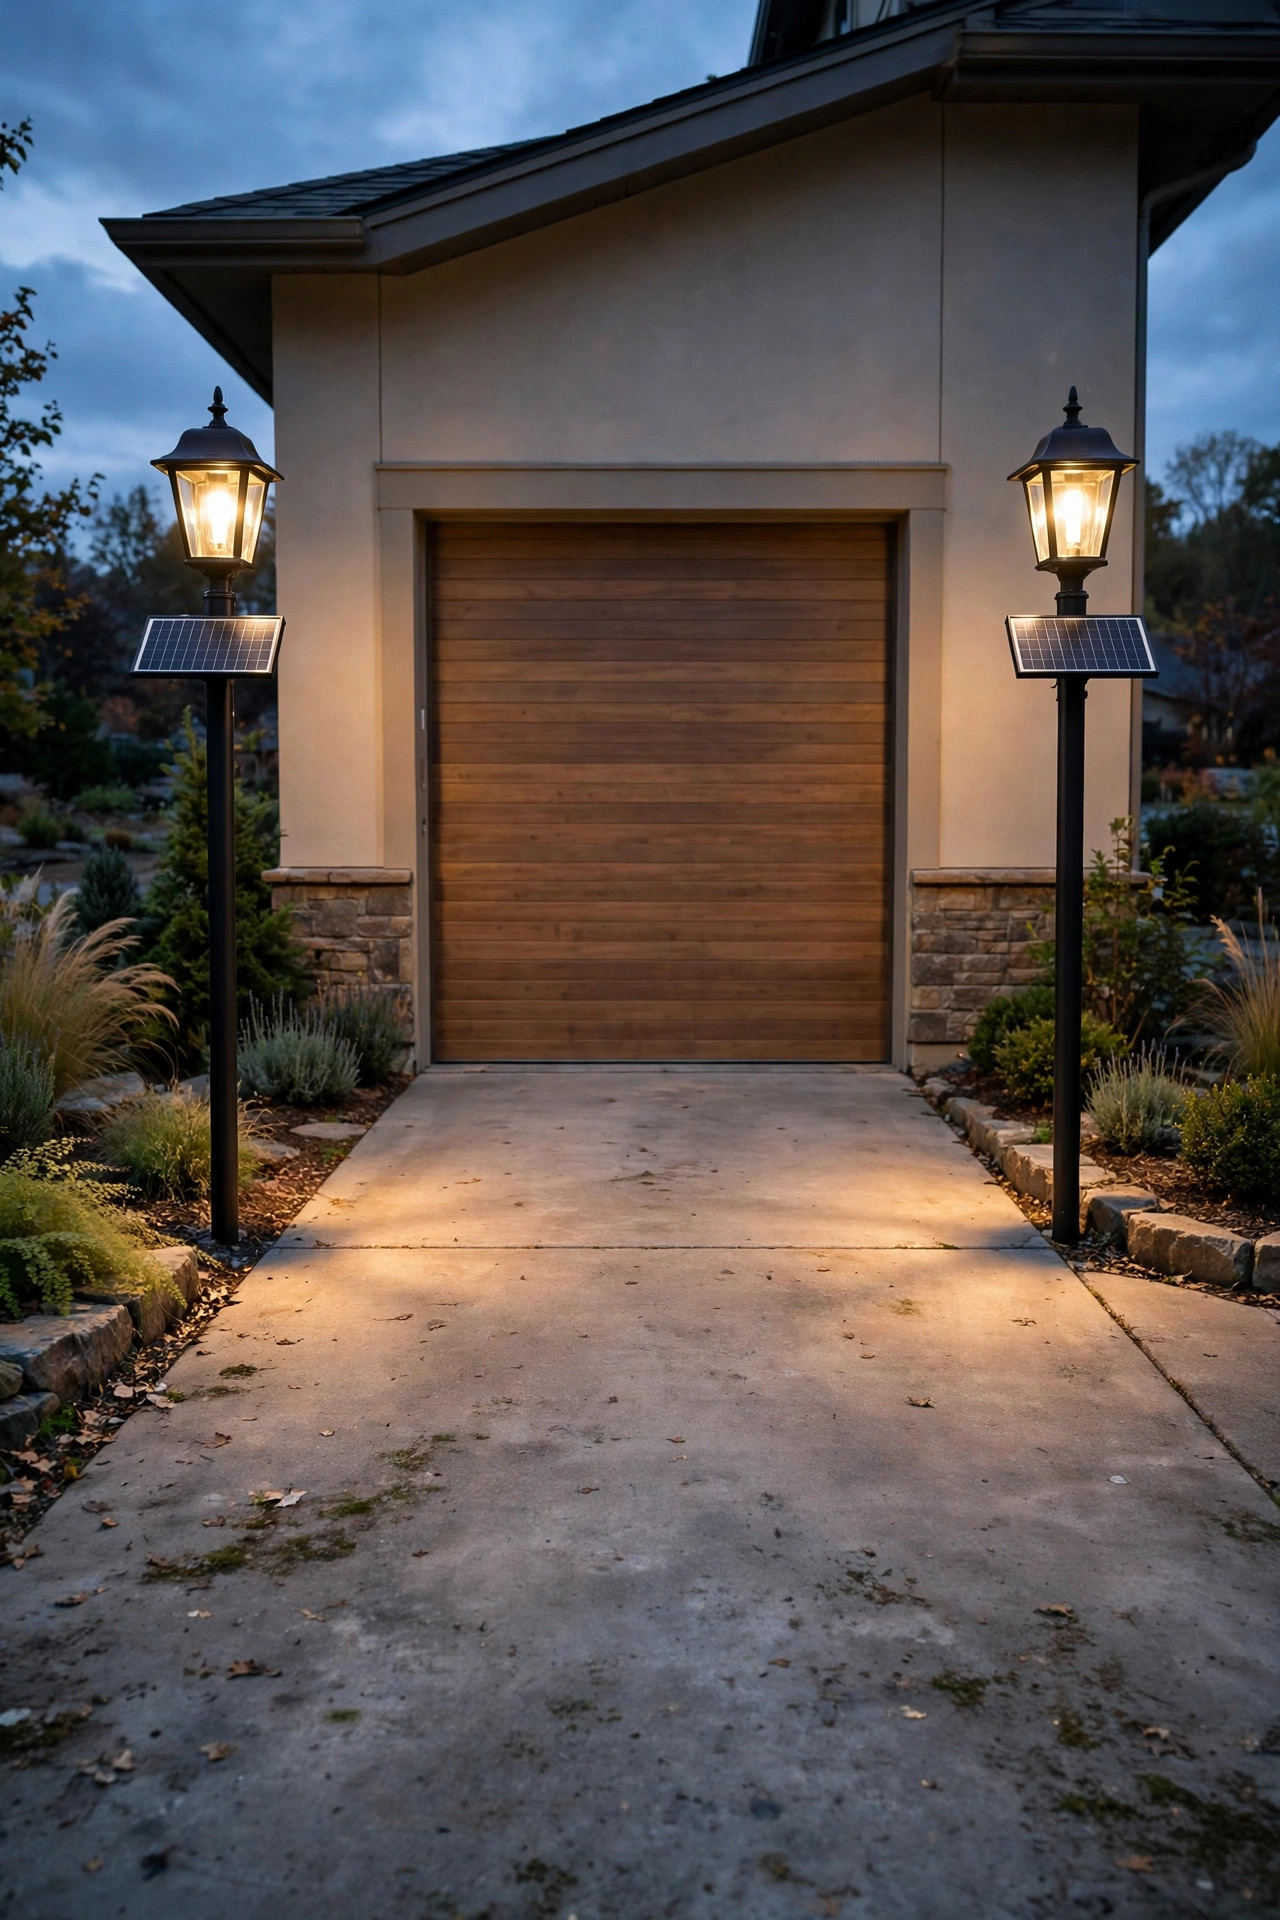
13. Twin Solar Lamp Posts Flanking the Garage Doors
The garage face is the biggest blank canvas on most homes, and at night it's usually a black hole right where you park. Flanking the garage door — or the pair of doors — with two solar lamp posts changes that completely. Whether you choose short posts at the apron corners or wall-height lamp styles on either side of the door, the symmetry makes the whole front of the house look composed, and the pool of light lands exactly where doors open and groceries come out.
True posts need firm footing, so budget for a small concrete pad or a bolt-down base on the apron edge, set back at least 18 inches from where car doors swing. If the apron is narrow, wall-mounted solar lanterns beside the door give the same symmetry without stealing parking space. Match the color temperature to your entrance posts — mixing a warm 2700K at the street with icy 5000K at the garage makes both look wrong. These fixtures work hardest in homes where the garage faces the street and the "front door" moment really happens at the car. Add the motion flood from idea three above the door and the garage face goes from black hole to the best-lit part of the property.
Suggested budget range: $90 – $220.
14. Solar Lights With Remote Panels for Shady Driveways
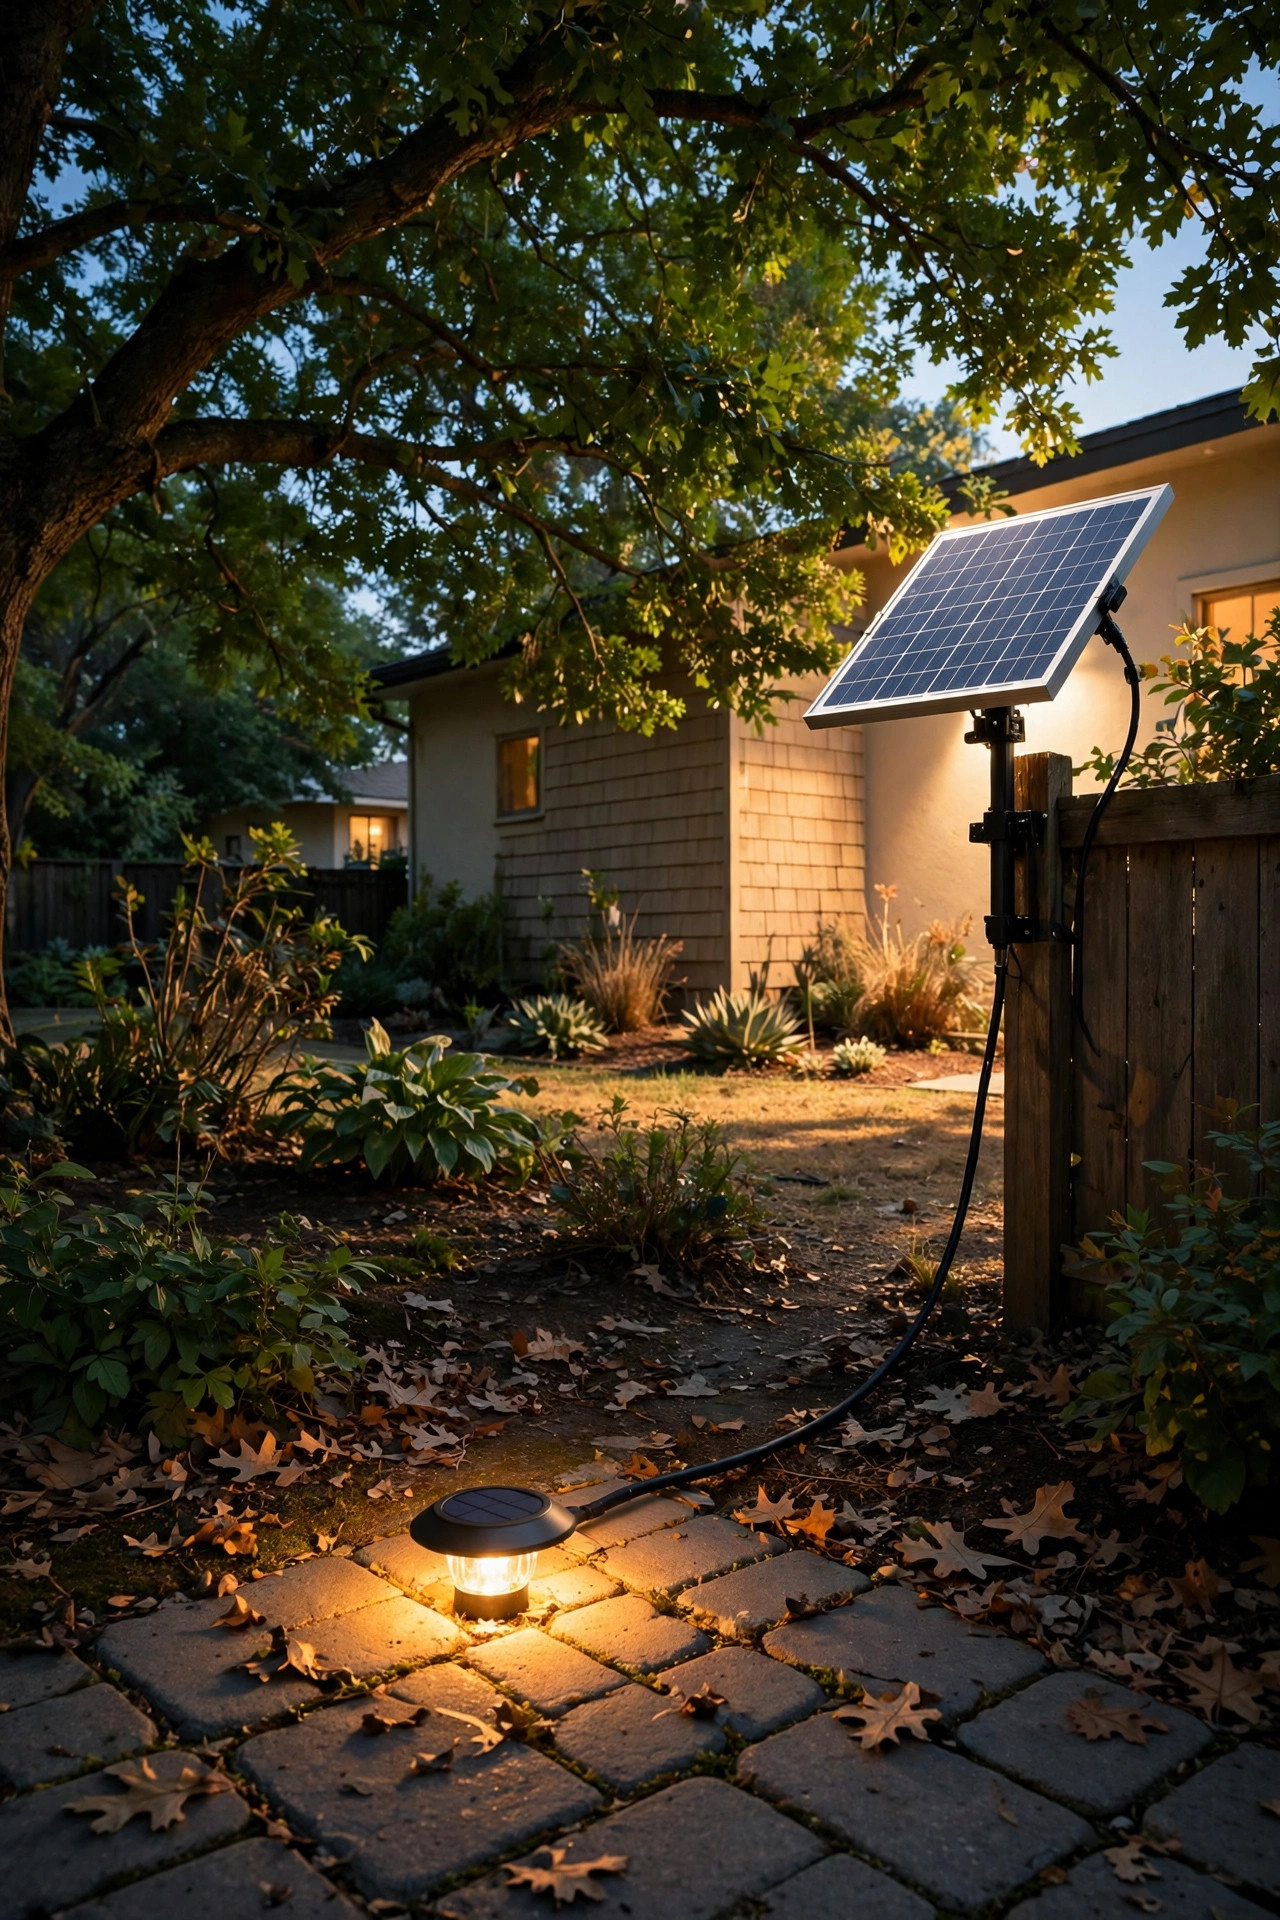
Here's the idea that rescues the prettiest driveways — the ones tunneling through mature trees where standard solar fixtures starve. Lights with remote panels separate the fixture from its power source: the panel mounts up to 10 or 15 feet away on a sunny fence post, a garage wall or a small pole, connected by a weatherproof cable, while the light itself sits happily in the shade where you actually need it.
This is the setup I recommend for north-facing drives and wooded lots, and it's worth understanding the honest trade-off — I laid out the full picture in my guide to solar vs wired landscape lighting, but the short version is: a well-placed remote panel performs nearly as reliably as a wired fixture, with none of the trenching. Angle the panel south if you can, tilt it to shed rain, and bury the cable an inch under mulch or pin it along the pavement edge so it disappears. Because one panel can feed a fixture generously, these tend to be brighter and longer-running than all-in-one units in the same spot. If you've ever given up on solar because "my yard is too shady," this category was invented for you.
Suggested budget range: $50 – $120.
15. Motion-Activated Solar Wall Packs by the Parking Pad
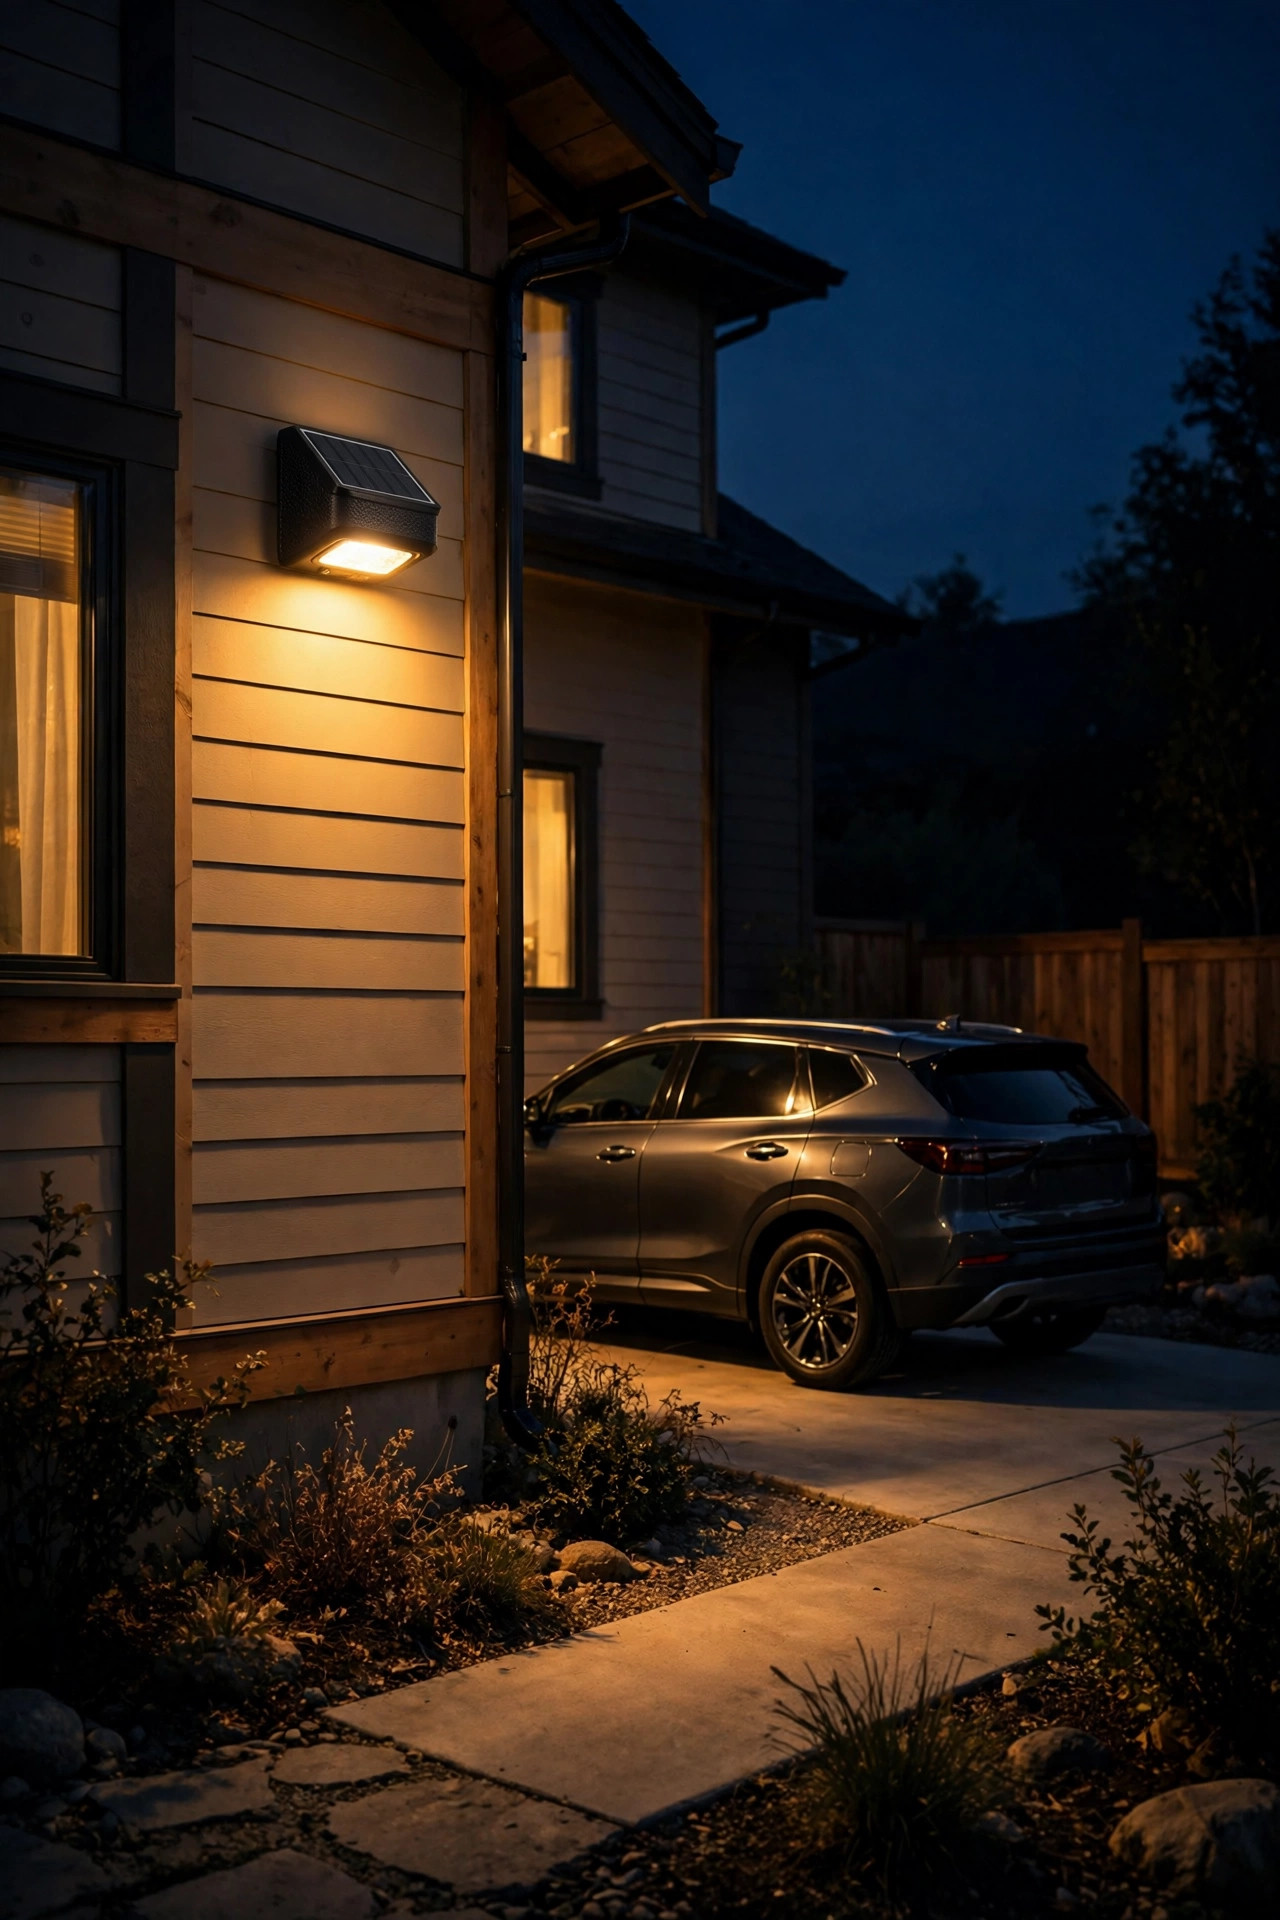
Not every home parks in a garage. For carports, side parking pads and the popular "second spot" beside the drive, a solar wall pack is the right tool: a compact fixture mounted on the house wall, a fence or a carport post that throws a broad rectangle of light across the parking space when it senses movement, then settles back to dark.
Wall packs shine at heights of 7 to 9 feet, where one fixture covers a full car length. Aim the sensor along the approach path rather than straight at the street, or every passing car will trigger it — a week of that and you'll understand why aim matters. Most models offer dusk-to-dawn dim mode plus motion boost, which is my pick for a pad you use daily: a faint outline glow to find your way, then full brightness when you step out with your arms full. Solar makes these almost silly-easy to add where no junction box exists, which for most side yards is exactly the situation. Just keep the panel out from under deep eaves; a panel in permanent shadow is the only way this simple idea goes wrong.
Suggested budget range: $30 – $70.
16. Solar Dot Lights Set Into a Concrete Apron
Where flush markers sit on the surface, apron dot lights disappear into it. These are the small, round, load-bearing lights — about the size of a hockey puck — set into shallow core-drilled holes in a concrete apron or paver parking court, glowing as a neat grid or a graceful arc when darkness falls. Marinas and boat docks made them famous (the same fixtures light up dock edges), and they bring that crisp, resort feel to a parking court like nothing else.
This is the most installation-heavy idea in the list, and I'll be honest about that: drilling concrete means a masonry bit, patience, and a free Saturday, or a handyman for an hour. The payoff is a light that cannot be knocked over, stolen, snowplowed or mowed, with nothing to trip on and nothing to store. Choose metal-bodied dots rated for vehicle loads, bed them in a ring of outdoor sealant, and lay out the pattern with chalk and a hose first — an arc that echoes the turning radius of your cars looks designed, because it is. Spacing of 4 to 6 feet reads as a pattern rather than a path. Renters, skip this one; homeowners who plan to stay, it's a forever upgrade.
Suggested budget range: $60 – $150.

17. Raised Solar Markers That Survive Snow Country
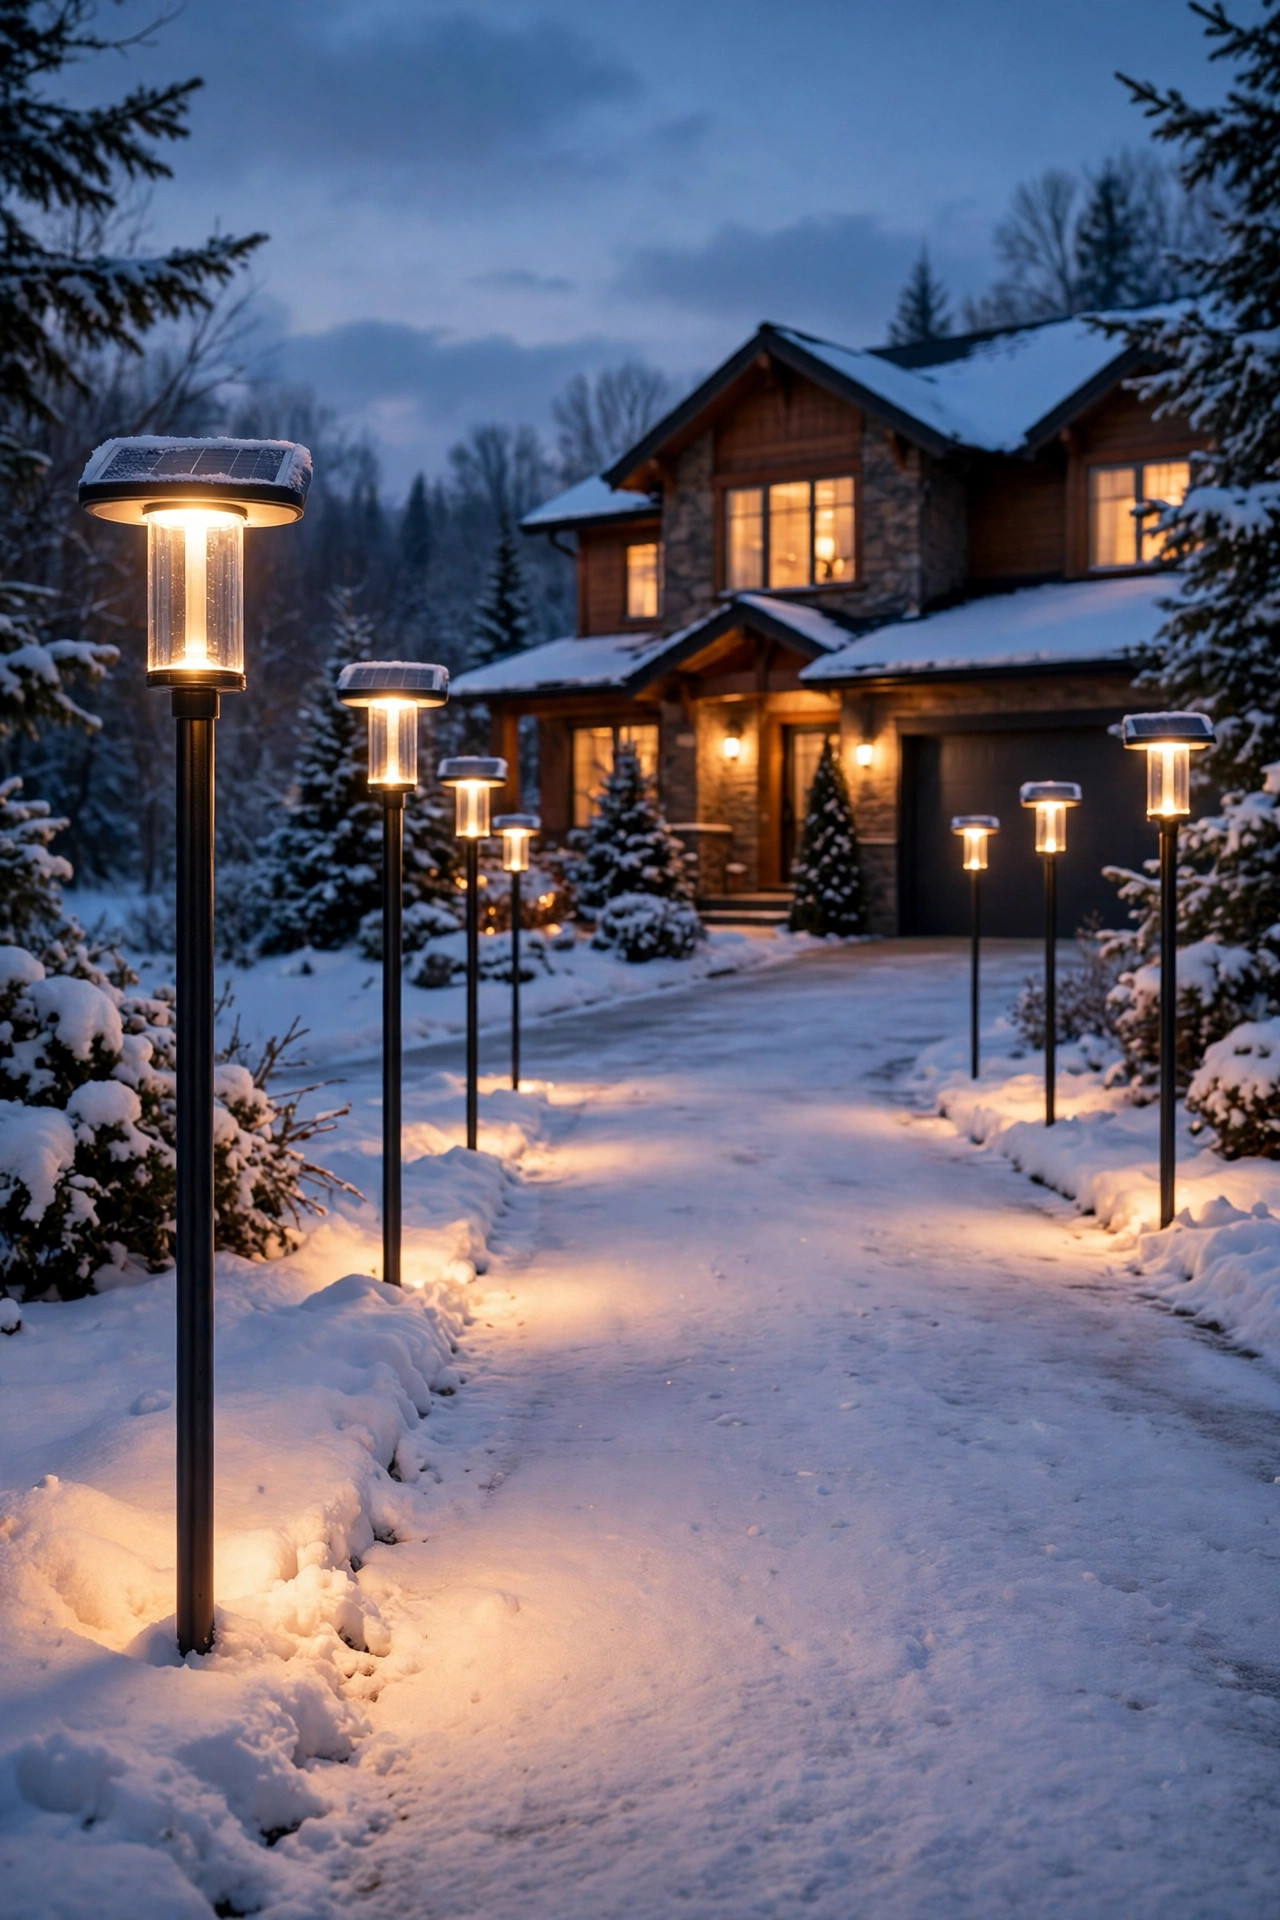
Northern friends, this one is yours. Every flush marker and low stake that works beautifully in October becomes a buried, invisible bump by January, and the snowplow takes the rest. Raised solar markers — slim posts 24 to 36 inches tall with the light and panel up top — keep glowing above the snow line, marking the drive's edges right through the season when guests need them most and the plow needs them even more.
You'll recognize the style from rural roads, where reflective versions guide the county plows; the solar versions add a real light, which matters on unlit country roads. Flexible or spring-back posts are worth the small premium, because a plow blade or a sliding car will eventually kiss one, and a post that bends and recovers beats a snapped one in a snowbank. Set them a foot back from the pavement edge and a little wider at the apron, where turning cars cut corners. Come spring, the same posts stand guard over mud season and the first tentative mowing. If your winters are serious, buy two spares in fall — mid-winter, the exact style you need is always the one that's sold out.
Suggested budget range: $35 – $90.
18. Smart Solar Driveway Lights With Timers and App Control
If you like your porch lights on a schedule, you'll love what solar fixtures have learned lately. A newer generation of solar driveway lights — markers, posts and floods alike — connects to a phone app or a simple remote hub, letting you set on-off schedules, dim the whole driveway for a quiet evening, group lights by zone, or flash everything bright when you hear a noise outside. It sounds like a luxury until the first time you light the whole drive from the couch for a late-arriving guest.
The practical gains are real. Timers beat photocells in winter, when you might want lights on at 4:30 in the afternoon and off at midnight to save battery for the motion sensors. Zoning means the entrance posts can keep their dusk-to-dawn glow while the decorative tree spots bow out early on cloudy weeks. Look for systems where the lights still work on their built-in photocell if the wifi drops — the sun should be the boss, the app just the manager. Battery reporting in the app is a quiet hero feature, too: it tells you which fixture needs a fresh battery before it simply goes dark one night. Start with one zone — the entrance — and expand once you're charmed. You will be.
Suggested budget range: $80 – $190.
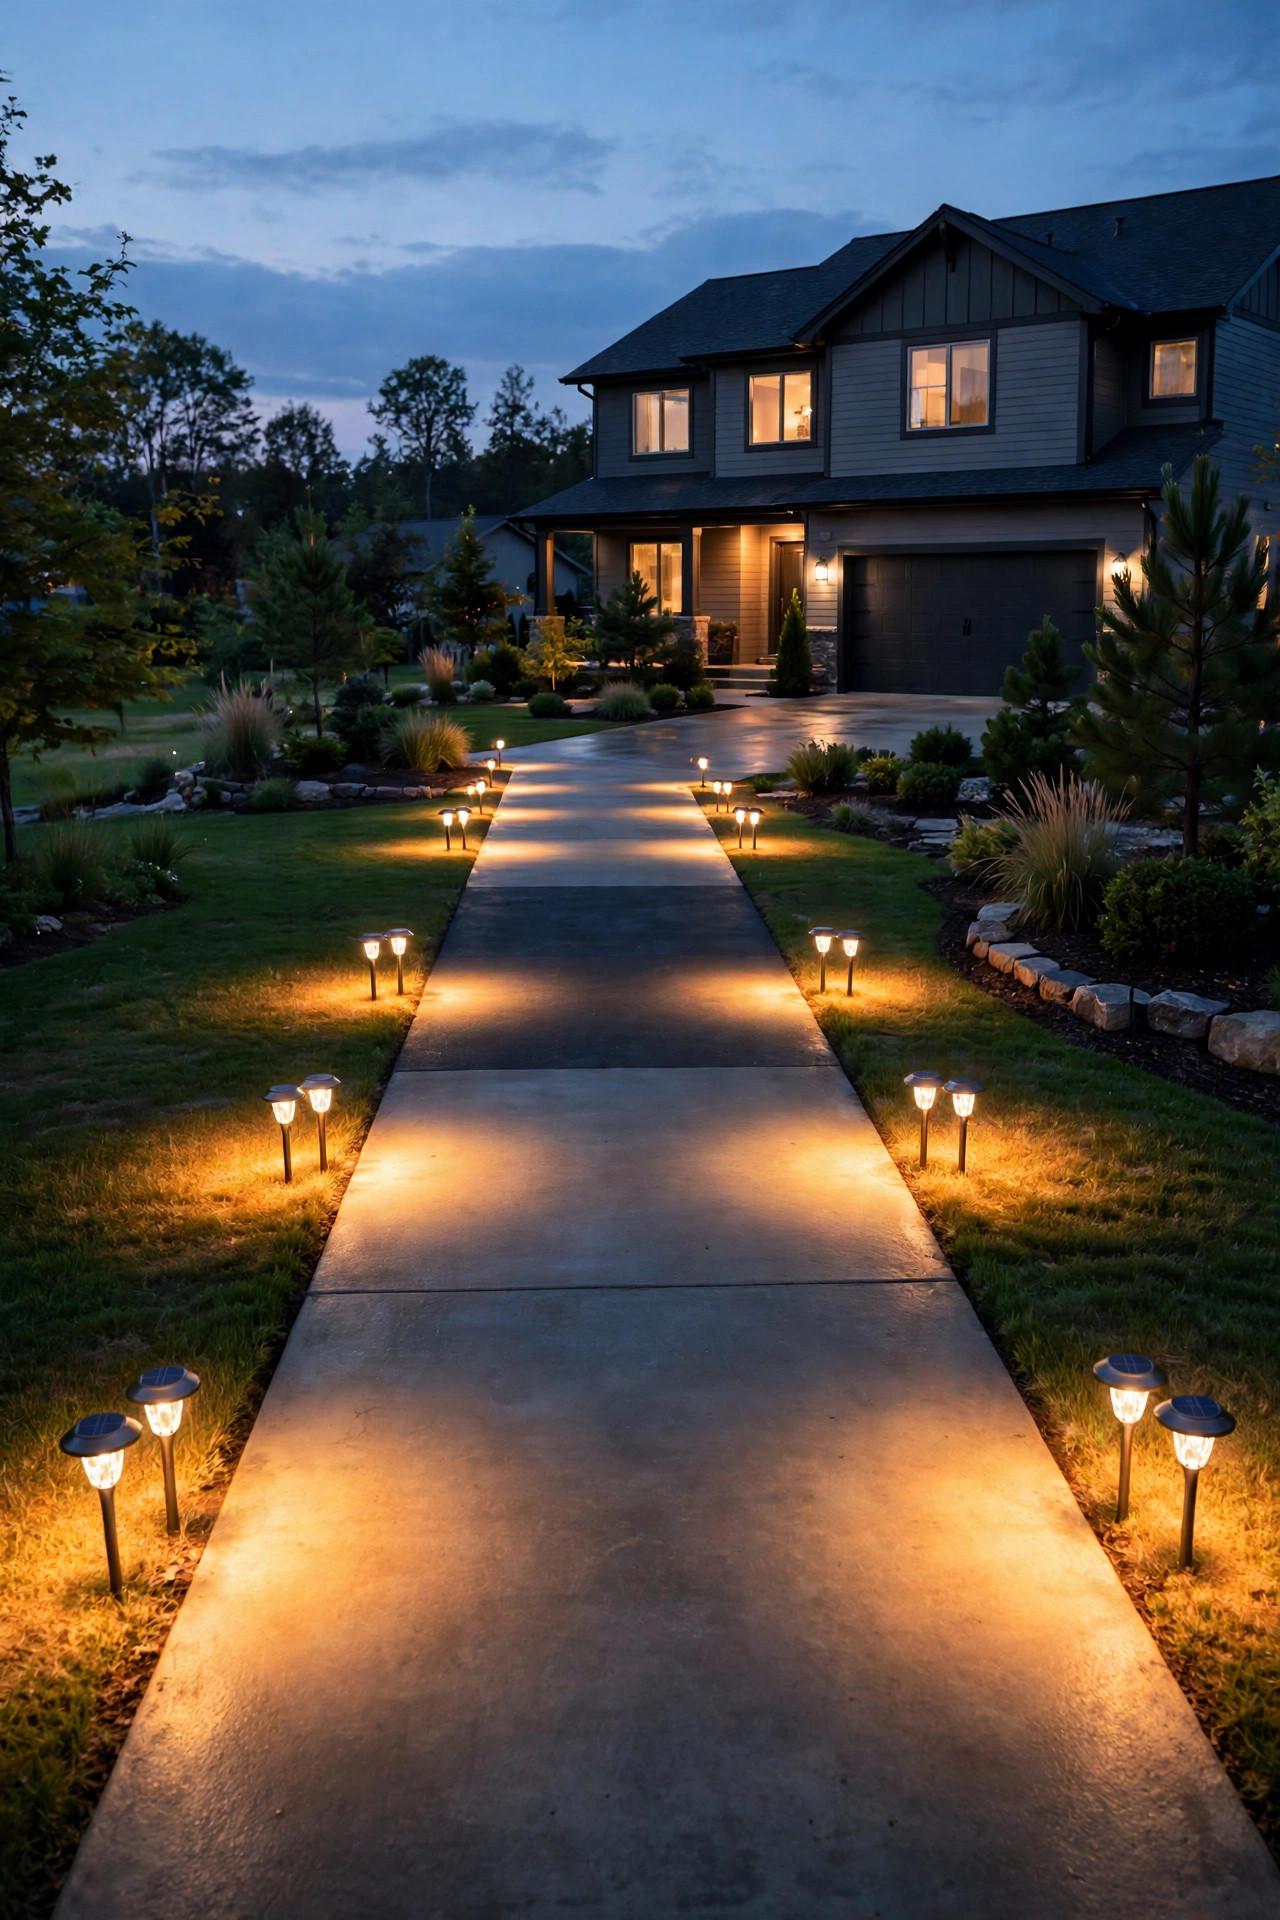
19. The Layered Finish: Mixing Markers, Posts and Motion
After nineteen ideas, here's the truth I keep coming back to: no single fixture does this job, and the best driveways in my neighborhood all use the same recipe. Low markers along the edges to steer by. One welcoming layer at the entrance — posts or a lantern — to mark the turn and set the tone. One honest work light, motion-activated, where the cars actually stop and the people get out. Decorative accents, like uplighted trees or a glowing wall line, sprinkled only where there's something worth showing off.
If you're building up gradually, that order is also the shopping order: edges first, then entrance, then the work light, then the pretty extras as budget allows. My own driveway got its markers the first spring, its entrance posts the second, and the garage flood the winter I dropped a bag of groceries in the dark for the last time. These solar driveway lighting ideas play nicely together because they share one quality — they ask nothing of your home's wiring, so each layer can arrive on its own weekend, in its own season. Start with the layer your driveway is missing most, and let the dark corners tell you what's next.
Suggested budget range: $100 – $300.
Frequently Asked Questions
How bright do solar driveway lights need to be?
For guidance along edges, 10 to 50 lumens per marker is plenty — you're steering by the pattern, not reading by it. Post lights should land around 50 to 150 lumens for a welcoming pool, and motion flood lights need 400 lumens or more to genuinely light a parking apron. Brighter isn't always better: one overpowered flood beside gentle markers makes the whole driveway feel unbalanced, so think in layers rather than chasing the biggest number on the box.
Will solar driveway lights work in winter or in shade?
Mostly, yes — with honest caveats. Short winter days and low sun mean shorter run times, so choose fixtures with larger panels and batteries, keep panels wiped clean, and brush snow off after storms. In shade, standard all-in-one fixtures will disappoint; pick models with remote panels you can place in full sun, or lean on motion lights, which sip power all evening and spend it in short bright bursts. My solar path lights guide covers battery sizes if you want the full math.
How long do solar driveway lights last each night?
A decent fixture on a full charge runs 8 to 12 hours, which covers dusk to dawn for most of the year. In December, expect 5 to 8 hours from mid-range lights — another reason timers and motion modes matter, since they stretch the battery to the hours you actually use the driveway. The LEDs themselves last for years; it's the rechargeable battery that ages first, and on better fixtures it's replaceable in about two minutes.
Can you really drive over in-ground solar markers?
The ones rated for it, yes. Look for an explicit drive-over or load-bearing rating (often stated in tons) and a metal or thick polycarbonate housing. Cheap discs with thin plastic tops crack under tires, especially in freezing weather. Mount them flush so no edge sticks up to catch a tire or a snow shovel, and check them each spring — one cracked lens lets in water, and water is what actually kills these lights.
Conclusion
A driveway you can see is a driveway you'll love coming home to, and none of it requires an electrician anymore. Pick your layers — markers for the edges, posts for the welcome, motion for the work — and let these solar driveway lighting ideas turn the darkest part of your property into the most inviting. When you're ready to carry the glow to the front walk, my solar path lights guide picks up right where the driveway ends. Happy lighting, friends.
— Sarah