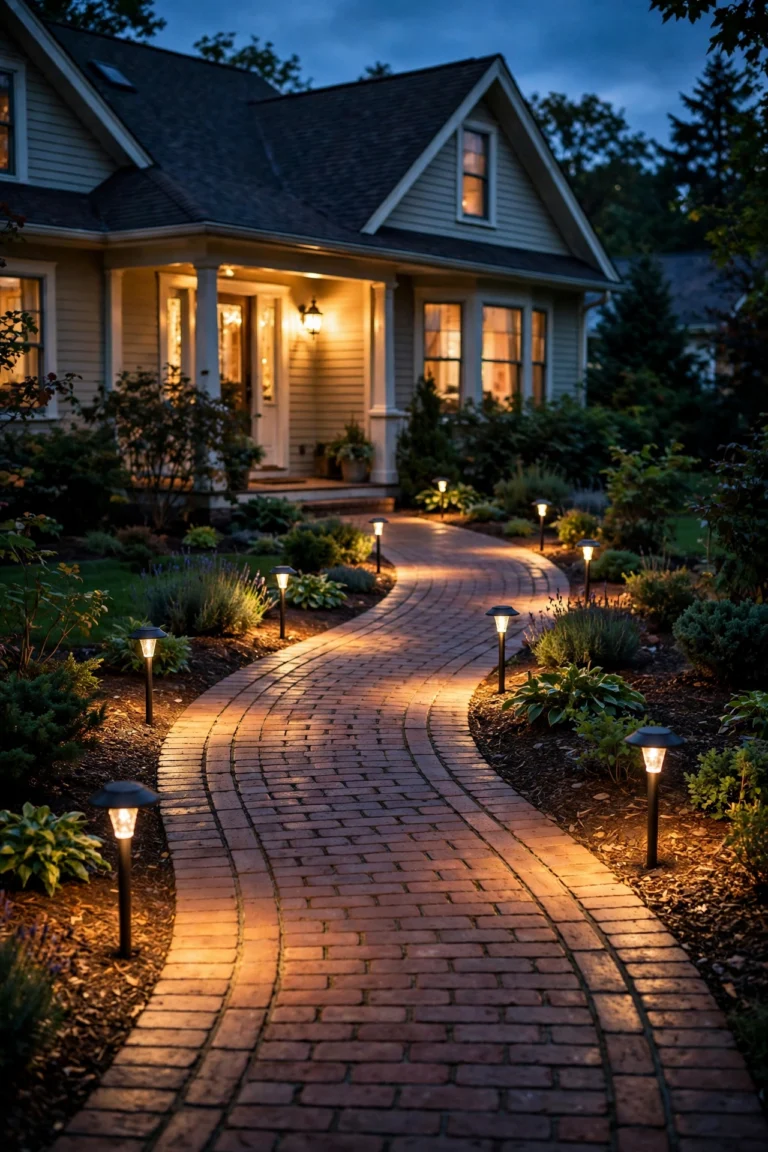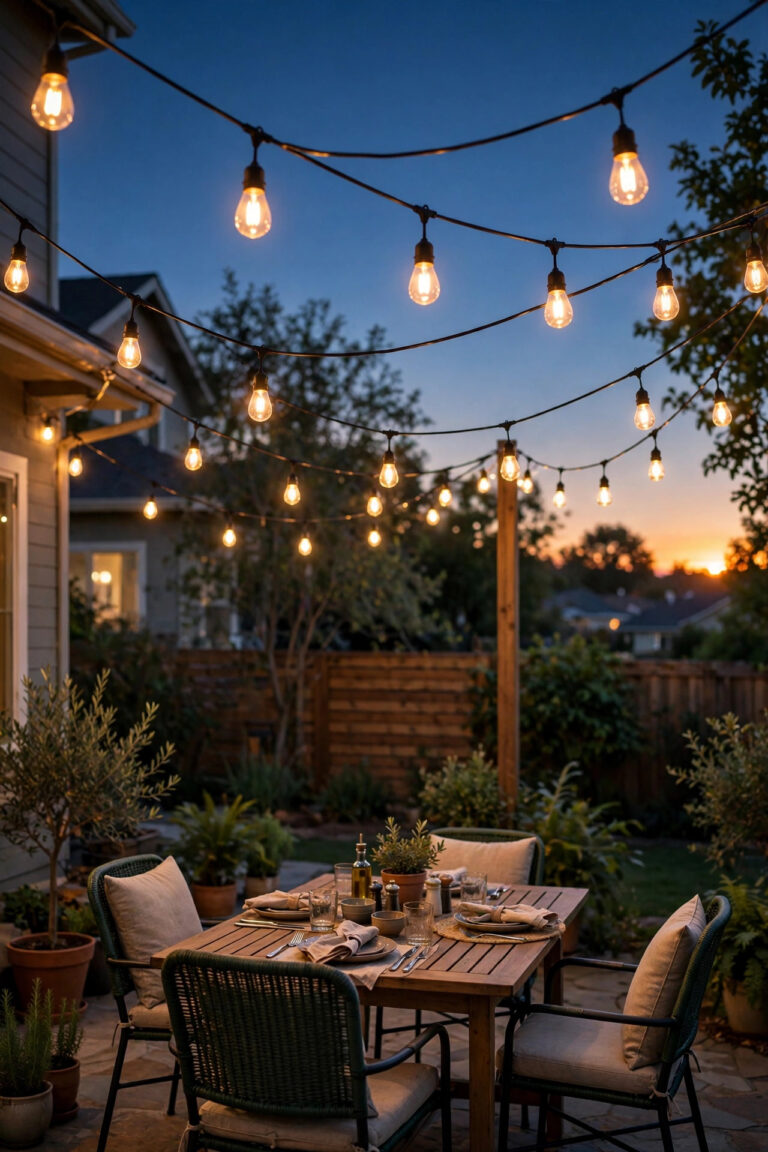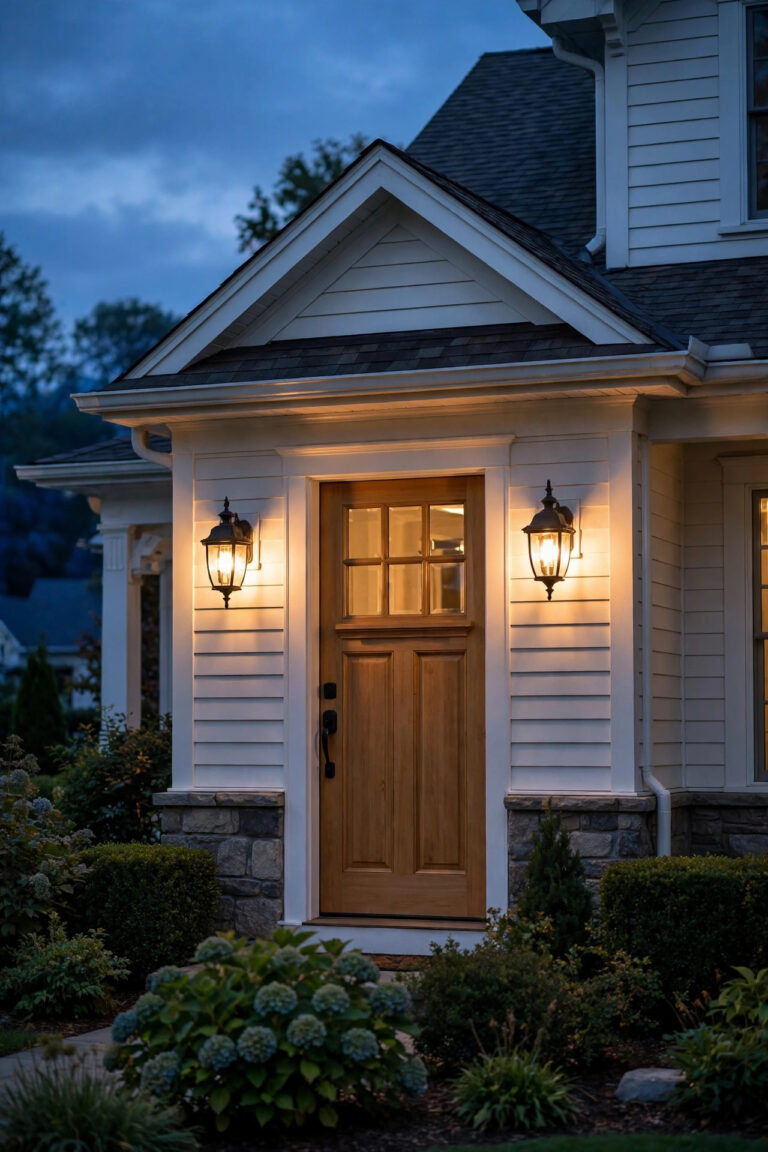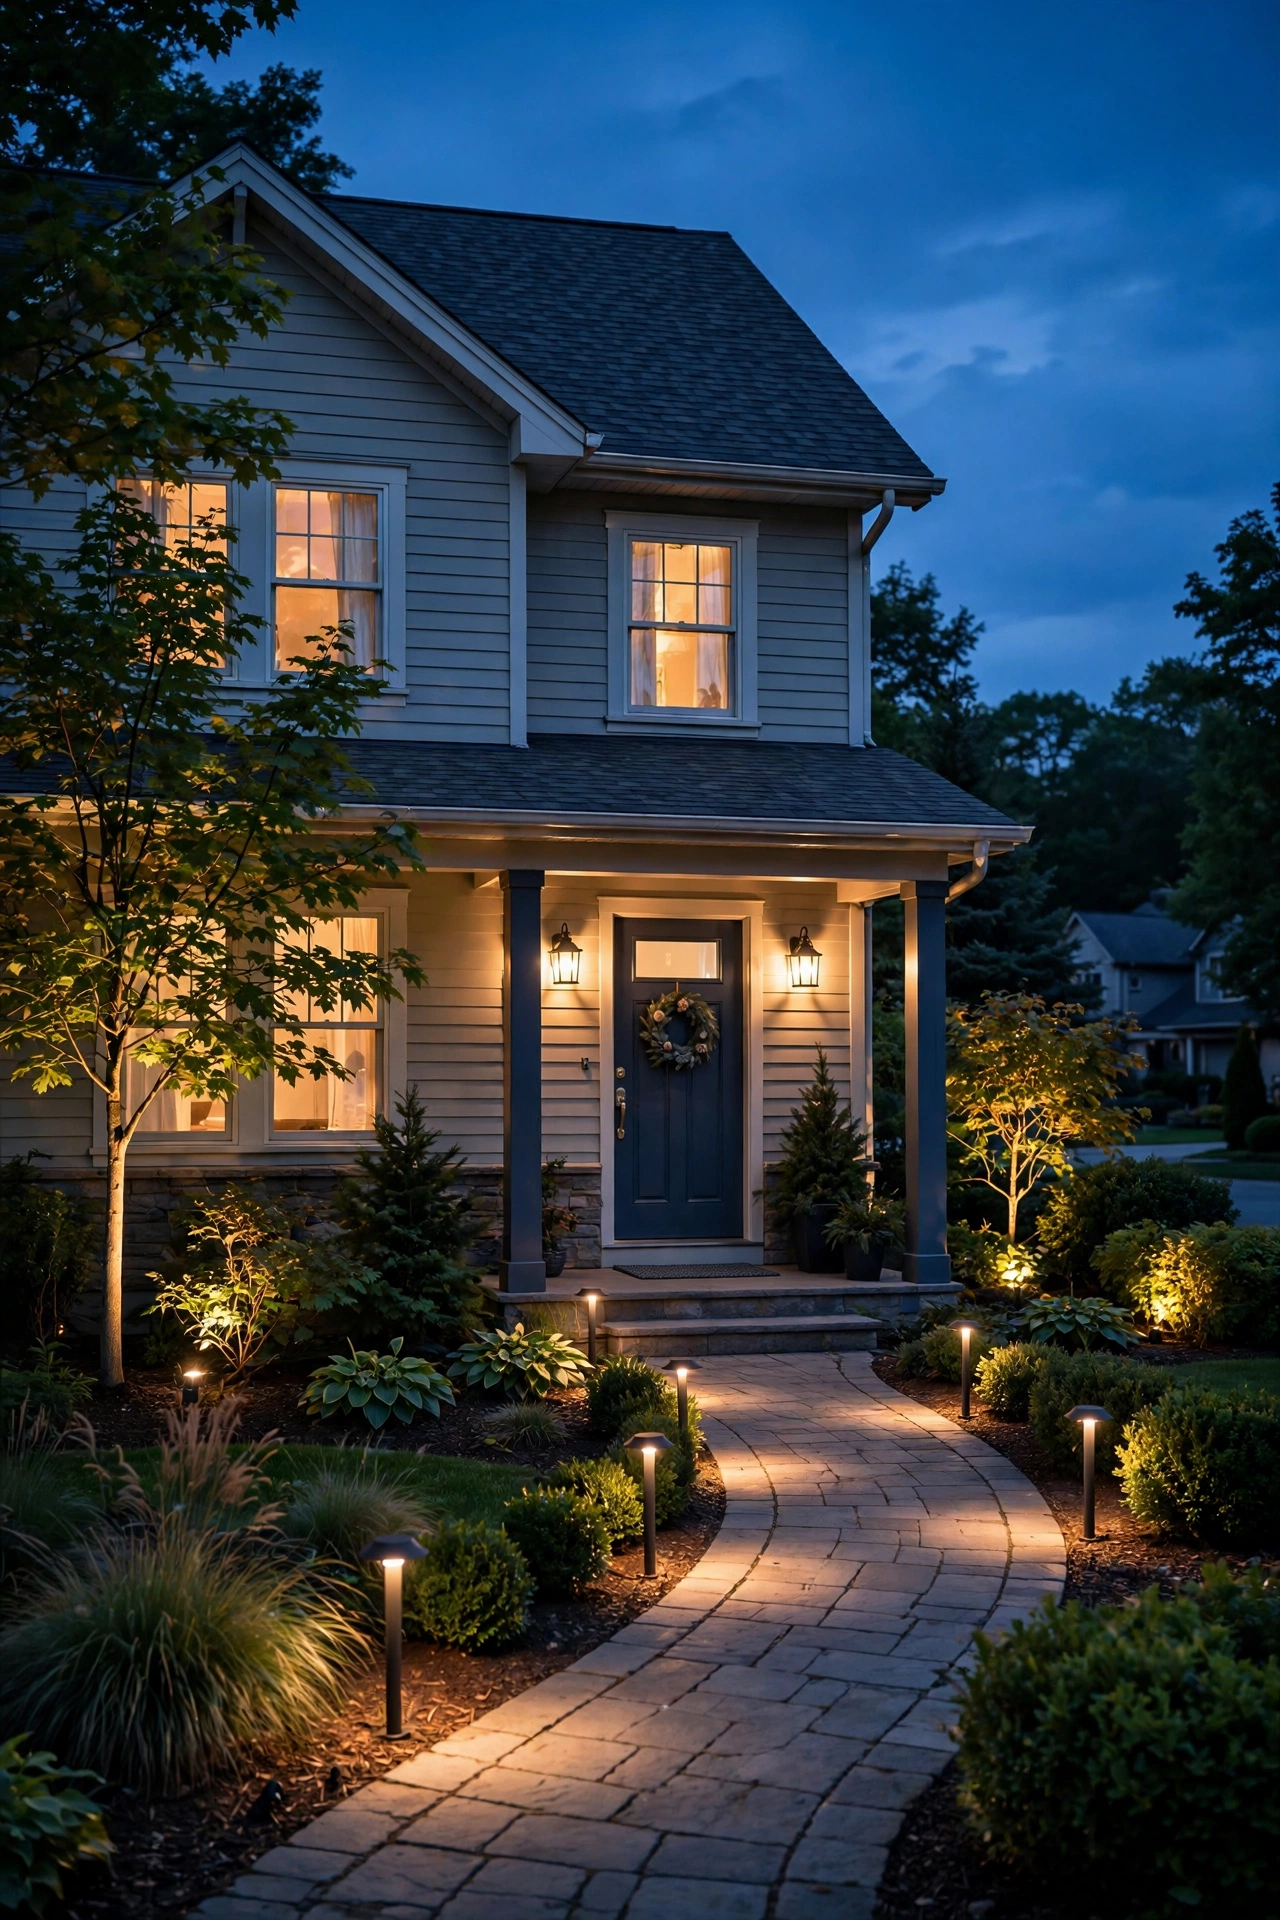
For years, my evening routine included a little lap around the house. Out to the garage to flip the porch lights on, back inside to switch on the deck string lights, down the hall to the back door for the patio floods. And if I forgot? The house sat dark until morning — or worse, I'd leave everything blazing all night and watch the electric bill climb. If that sounds familiar, an outdoor lighting timer setup will change your life, honestly. It's one of the simplest upgrades I've ever made: the right timer or sensor flips your lights on at dusk and off when you want, every single day, no effort required.
In my experience, most people overthink this. They picture a complicated smart-home project when, in reality, a $20 gadget and ten minutes can automate an entire yard. By the end of this guide, you'll know exactly which type of timer or controller fits your home, how to wire it into your outdoor lights safely, how to build zones and schedules that look intentional (not just "lights on, lights off"), what it all costs in 2026, and which mistakes trip people up most often. Let's make your evenings effortless.
The Short Answer
For most homes, an outdoor lighting timer setup is simple: put your main outdoor lights on an astronomical timer or a smart plug with a scheduling app, and let it handle dusk-to-bedtime automatically. Add a photocell sensor if you want true dusk-to-dawn lighting with zero programming, or smart switches if you'd like phone control and scenes. The full effect comes from grouping lights into zones — front entry, paths, accents, backyard — so each area can run its own schedule.

Why Automate? What Timers Actually Do for You
Let me tell you what sold me. I came home late from a weekend trip and my house was glowing — porch warm, path lights guiding me to the door, the whole place looking lived-in and loved. Nobody was home. The timer just did its job. That single moment covers half the case for automation: your home looks occupied and welcoming whether you're on the couch, on vacation, or pulling into the driveway at 9 p.m.
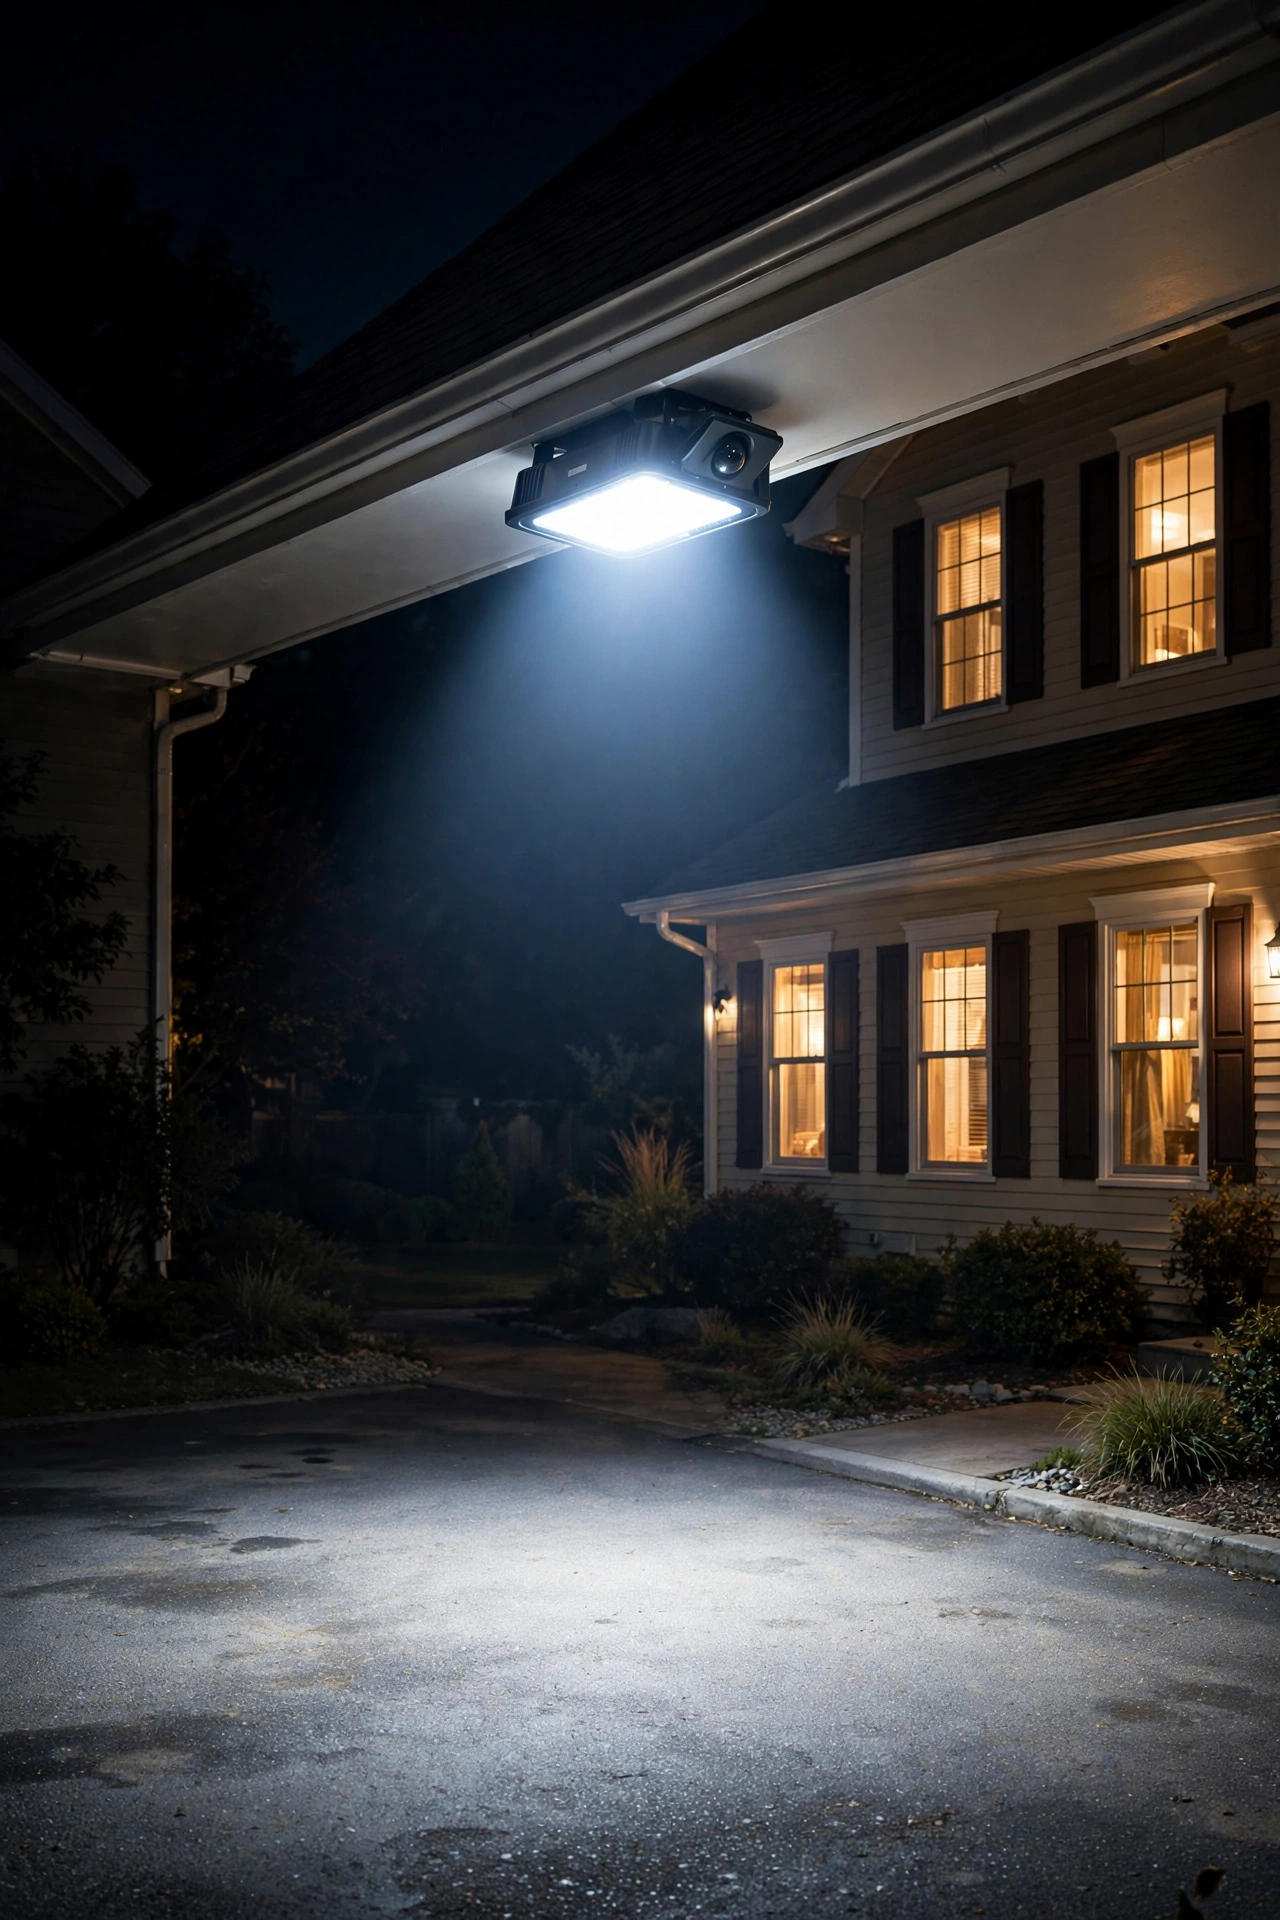
Security is the big one, and it's not just a feeling. Burglars overwhelmingly prefer dark, unlit entries and shadowy side yards. Lights that snap on reliably at dusk — not when you remember — remove that cover every single night. Pair the dusk schedule with a motion-activated flood over the driveway or garage, and your house stops being the easy target on the block. I always recommend keeping the front entry and at least one side of the house lit until you go to bed; all-night lighting on every fixture isn't necessary and annoys neighbors.
Then there's the energy side, which honestly surprised me. A timer that shuts your path lights off at 11 p.m. instead of running them to sunrise cuts roughly a third of their runtime — that's a third of their electricity cost, gone, without you lifting a finger. Multiply that across a porch, two floodlights, and a string of deck lights and the savings add up fast. And with LEDs drawing so little power these days, automated dusk-to-11pm lighting costs most homes less than a dollar a month in electricity.
Convenience is the quiet luxury. No more fumbling for switches with groceries in your arms, no more sending someone outside in the rain. And curb appeal? There's a reason real estate photos are shot at the blue hour — a house with warm, timed lighting just looks finished and loved. Guests arrive to a glowing entry instead of a dark doorway.
The Main Types of Outdoor Lighting Timers and Controllers
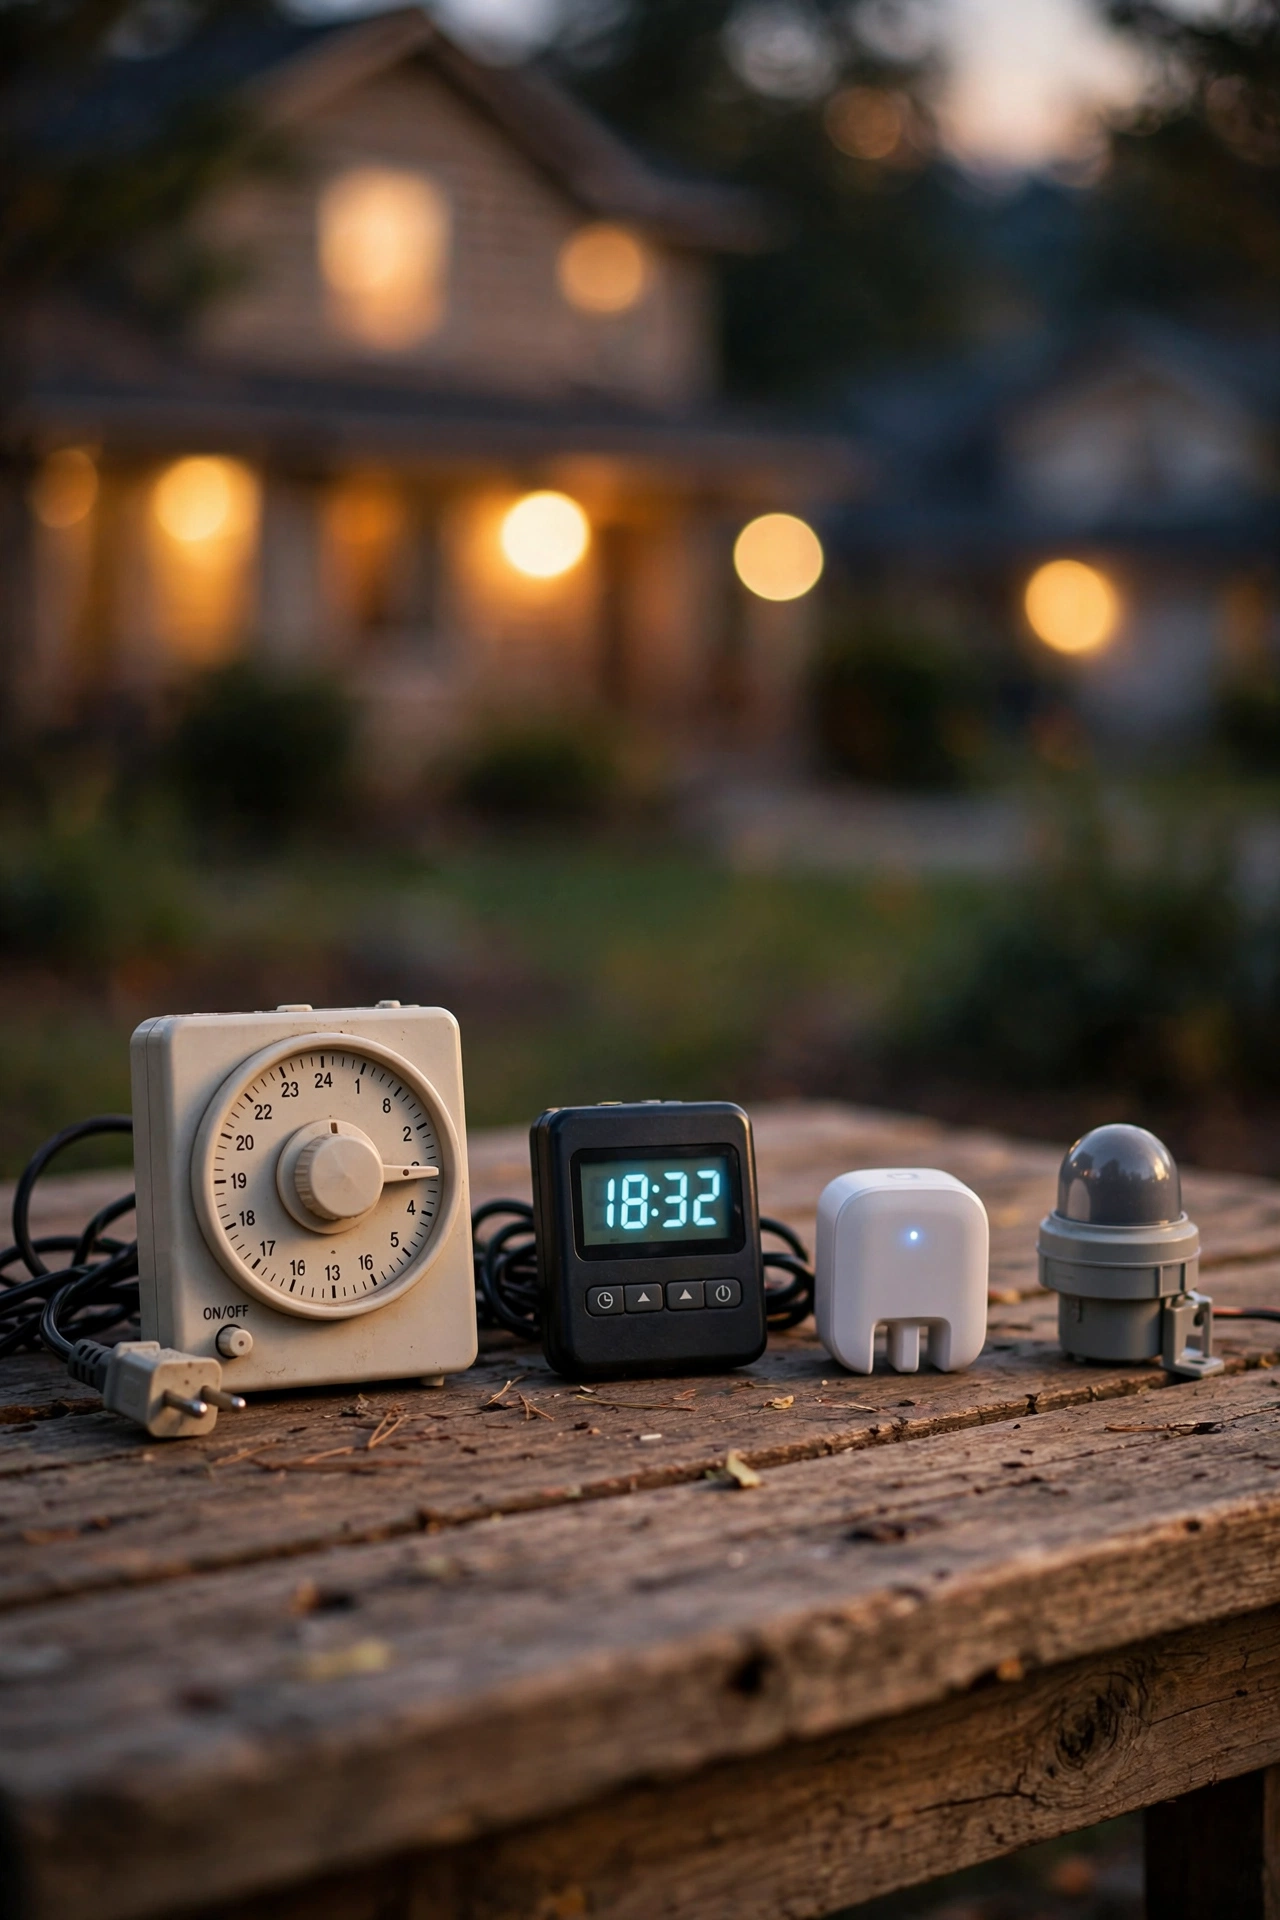
Walk into any hardware store and the timer aisle can make your head spin, but the whole world of outdoor lighting timer setups really comes down to five options. Here's the honest breakdown:
| Type | How it works | Cost | Best for |
|---|---|---|---|
| Mechanical timer | A small dial with push pins or a clockwork mechanism that turns power on and off at set times | $12–$25 | Simple porch or string lights on a fixed daily schedule |
| Digital timer | Electronic timer with a backlit display; program on/off times by day, with random and countdown modes | $20–$45 | Flexible weekly schedules and vacation randomization |
| Photocell sensor | Light-sensing eye that turns lights on at dusk and off at dawn automatically | $10–$30 | True dusk-to-dawn lighting with zero programming |
| Astronomical timer | Calculates your local sunrise and sunset times and adjusts on/off times daily and seasonally | $30–$70 | Set-and-forget dusk schedules that self-correct year-round |
| Smart plug or switch | Wi-Fi or hub-connected device you program and control from a phone app | $15–$60 each | Scenes, zones, remote control, and holiday automation |
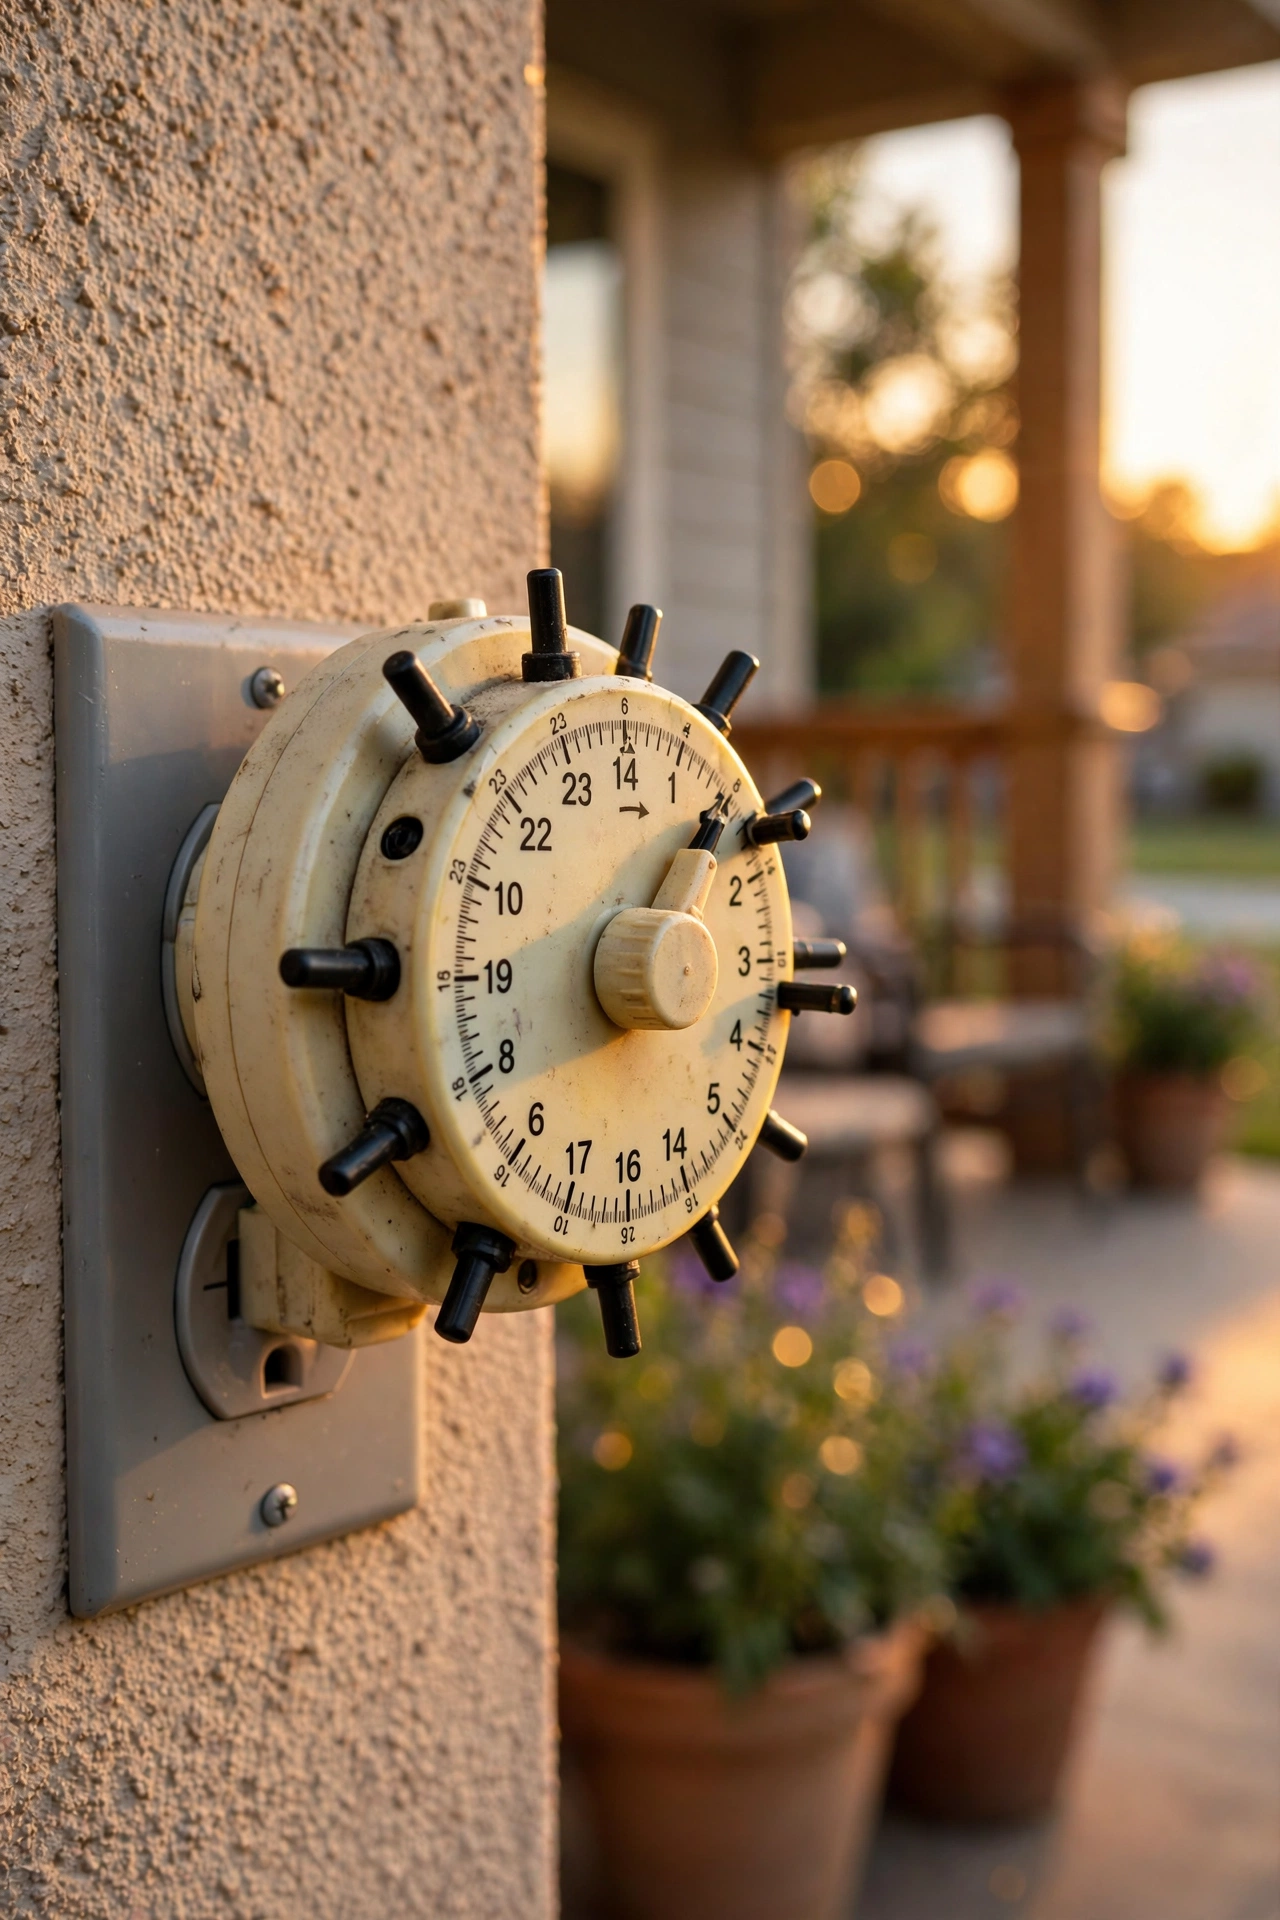
The mechanical timer is the old reliable — I have one that's been running a back-door flood for six years through rain, snow, and blazing summers. Its only real weakness is clock drift: you may need to nudge the dial a few minutes every month or two. Digital timers fix the precision problem and often include a "random" vacation mode that varies on/off times to simulate occupancy.
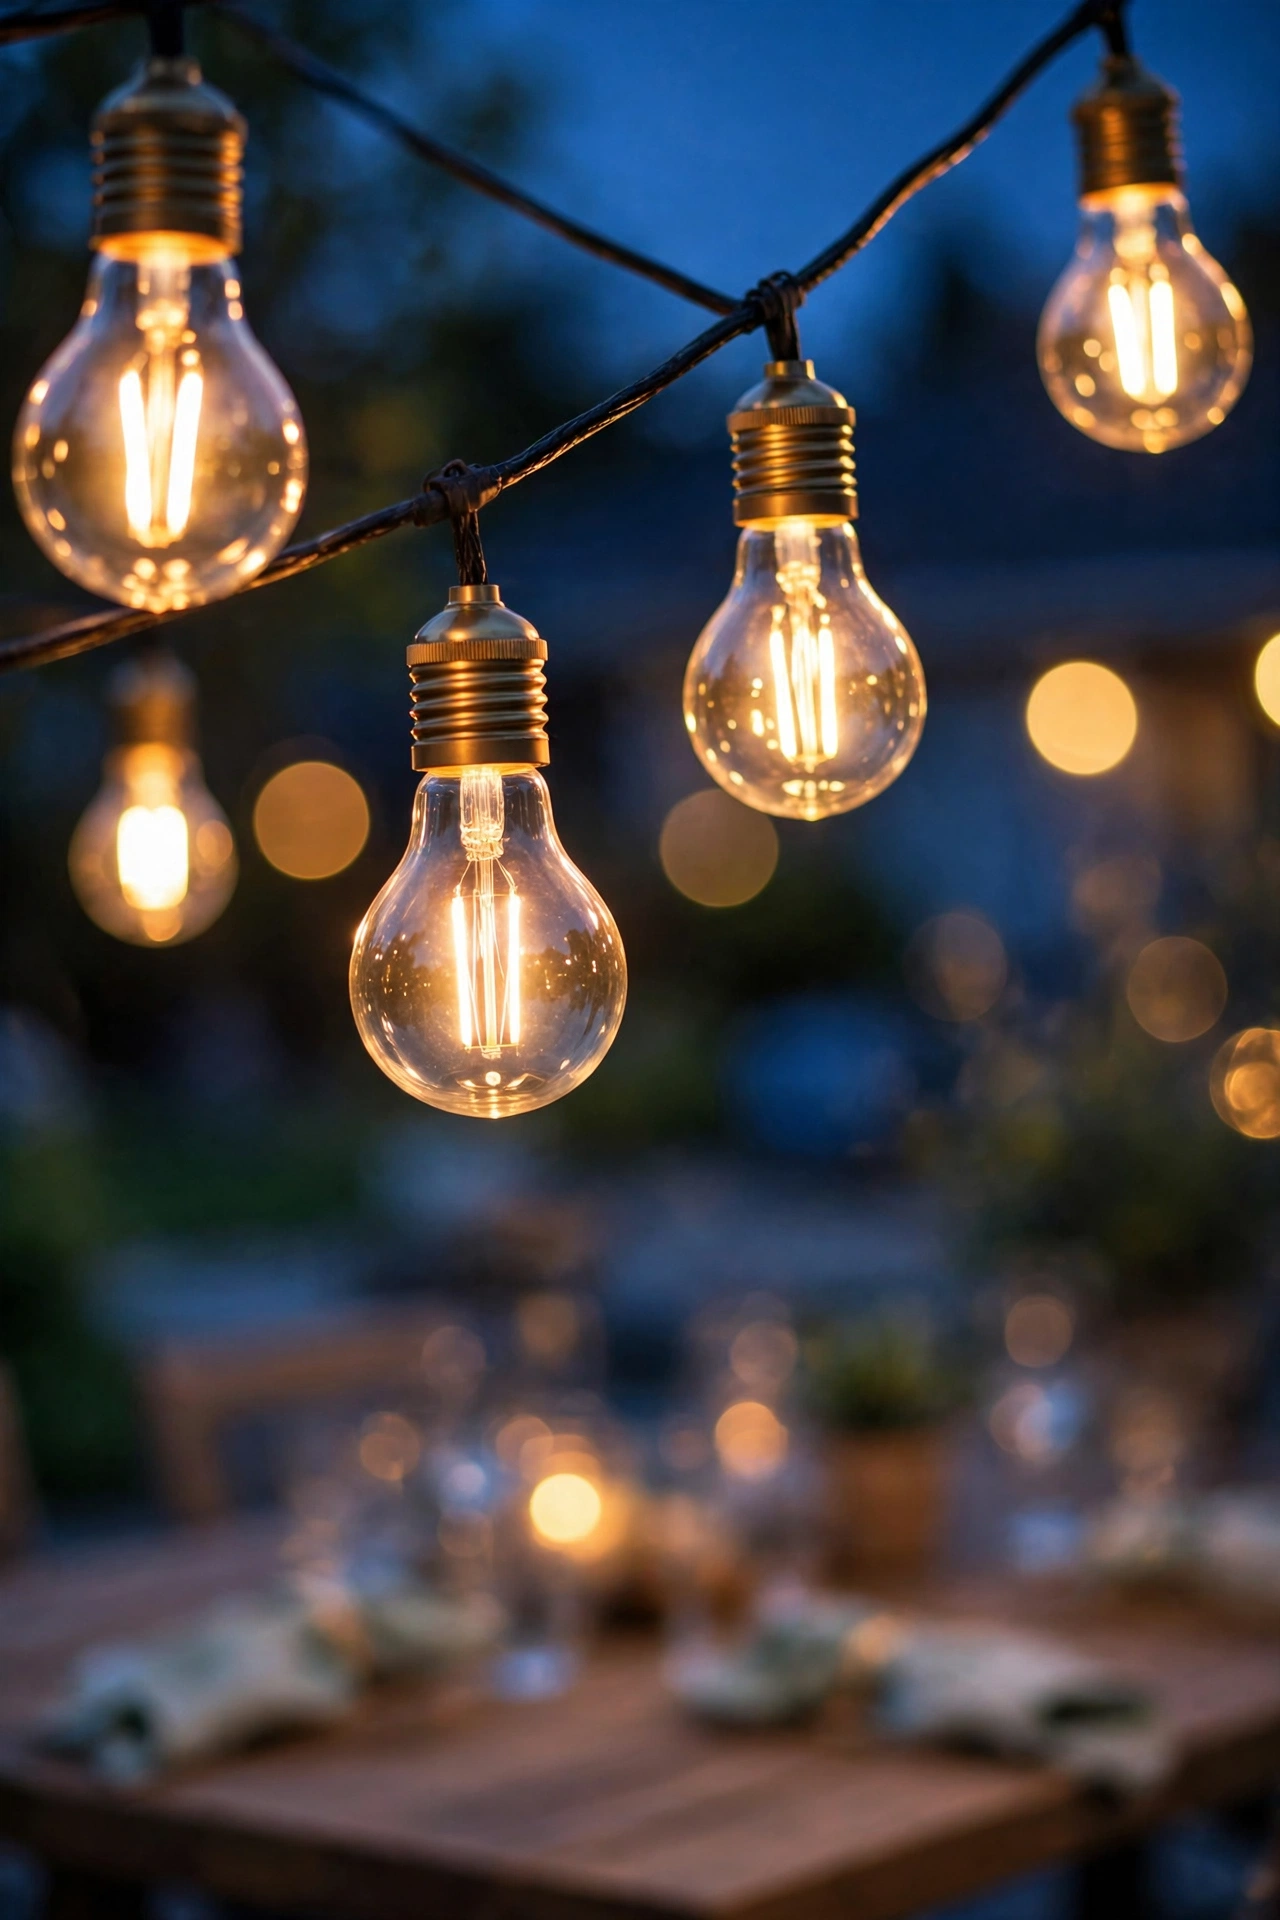
Astronomical timers are, in my experience, the sweet spot for most people — you enter your location, and it shifts sunset times automatically through the seasons. And smart plugs and switches are the most capable of the bunch: schedules, countdowns, voice control, and scenes like "date night" that dim the patio while path lights stay bright.
Photocells and Astronomical Timers Explained
This is the section I wish someone had written for me when I was staring at a wall of packaging, because photocells and astronomical timers sound like the same thing and they absolutely aren't — they just both love the sunset.
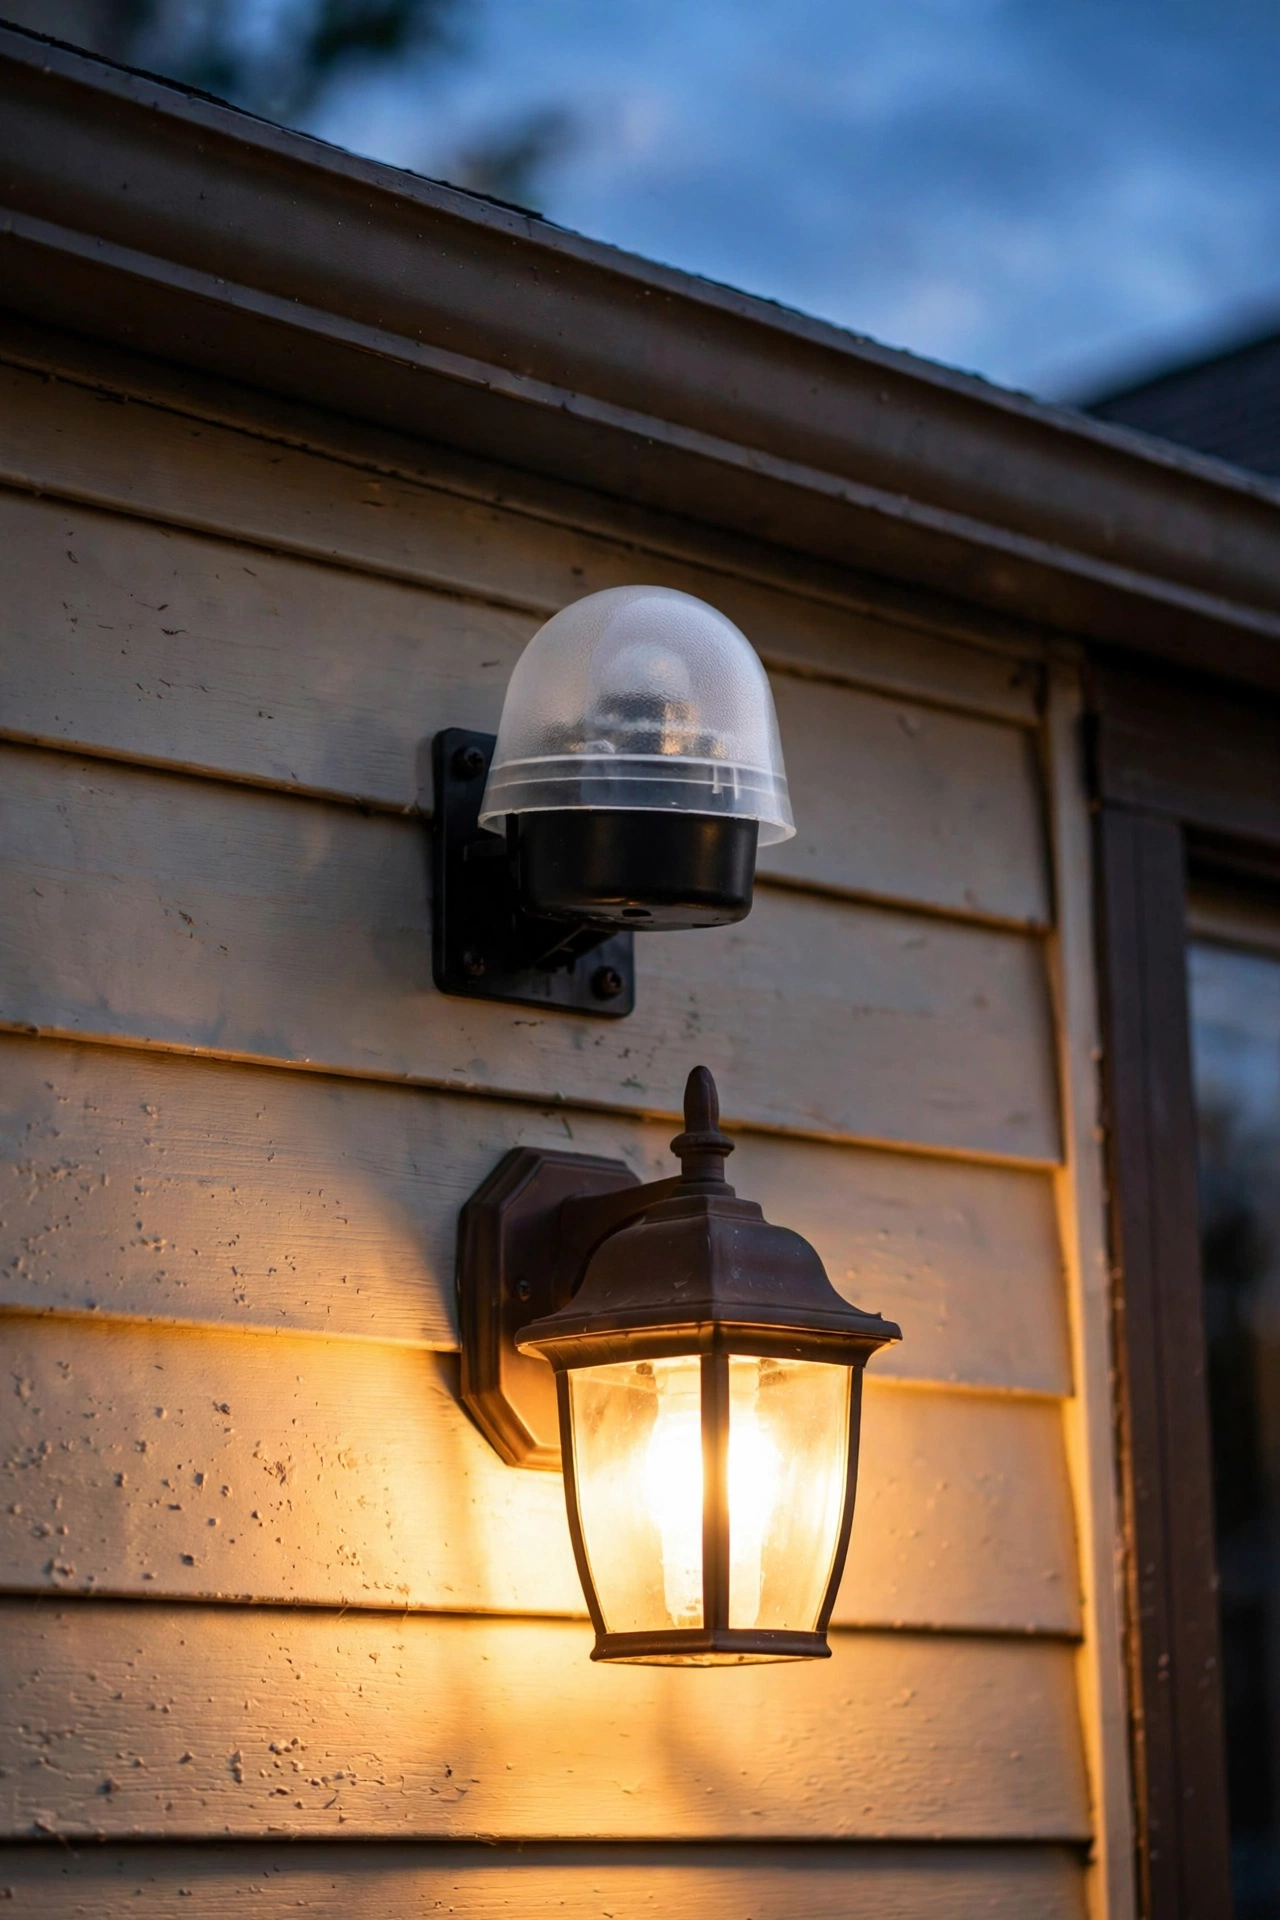
A photocell is a tiny light sensor, usually a small dome or lens on a twist-lock base that screws into a lamp holder or mounts on a fixture. It measures ambient light and switches the light on when darkness falls below a threshold, then off again at dawn. That's it. No clocks, no programming, no daylight saving time headaches. In my experience, photocells are bulletproof: there's nothing to drift, nothing to reprogram when the seasons change. The trade-off is that they run all night by default, and they're literal — a bright streetlight, a porch across the street, or a reflective white garage door can confuse the sensor and make your light flicker or stay off. Mount the photocell so it faces the sky and away from the fixture's own light, and give it a clear view of ambient daylight.
An astronomical timer takes a totally different approach: instead of sensing darkness, it calculates it. You program your location, and the timer works out sunrise and sunset for every day of the year, shifting on/off times a minute or two daily. So your lights come on at 7:42 p.m. in October and 4:53 p.m. in December without you touching anything. Honestly? This is the closest thing to magic in this whole guide.
Here's my practical rule: if you want simple dusk-to-dawn lighting for a porch or garage fixture and don't mind all-night runtime, a photocell is cheapest and most reliable. If you want lights on at dusk and off at 11 p.m. — the schedule I recommend for most yards — an astronomical timer or a smart plug with an astronomical schedule is the better tool. And there's no rule against combining them: photocell for the front entry that burns all night, astronomical timer for the backyard zones that shut down at bedtime.
Smart Plugs, Switches and Apps
If photocells are the reliable workhorse, smart plugs and switches are the race car. They give you everything a timer does — schedules, dusk-to-dawn, countdowns — plus remote control, energy monitoring, and scenes. But outdoor use adds a few rules you can't ignore.
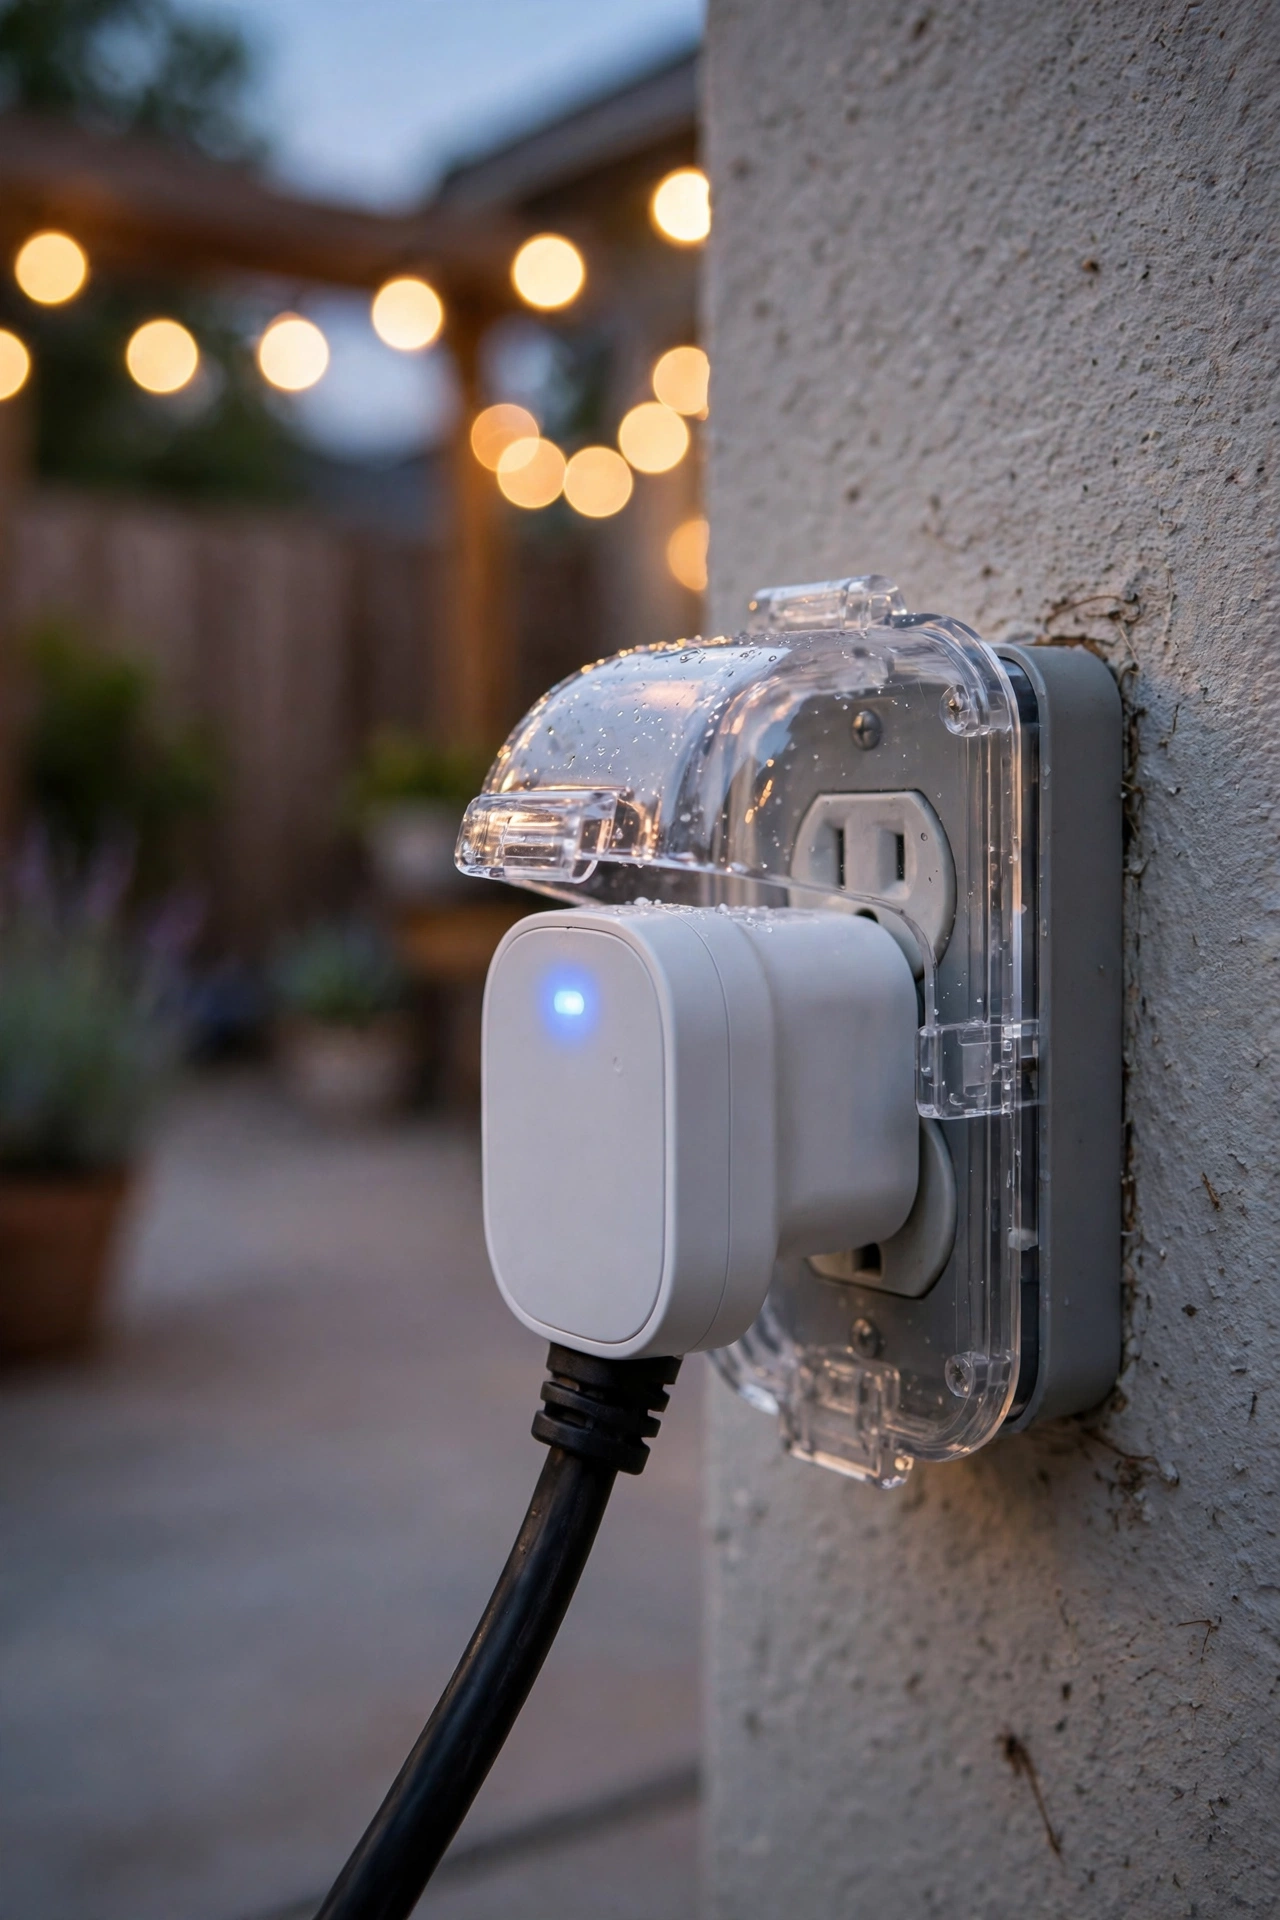
First, the outdoor question: not every smart plug belongs outside. Look for an outdoor-rated plug or switch with a weather-resistant housing and, ideally, an IP44 or higher rating, which means it shrugs off rain and splashes. In my experience, the most common failure is water getting into an indoor-rated plug someone moved to the patio.
Second, Wi-Fi versus hub-based. Wi-Fi plugs connect directly to your router — simple, no extra hardware. Hub-based devices (using a small bridge box at your router) often reach farther and handle dozens of devices more reliably, which matters for a big yard. Honestly, for one or two porch lights, Wi-Fi is perfectly fine.
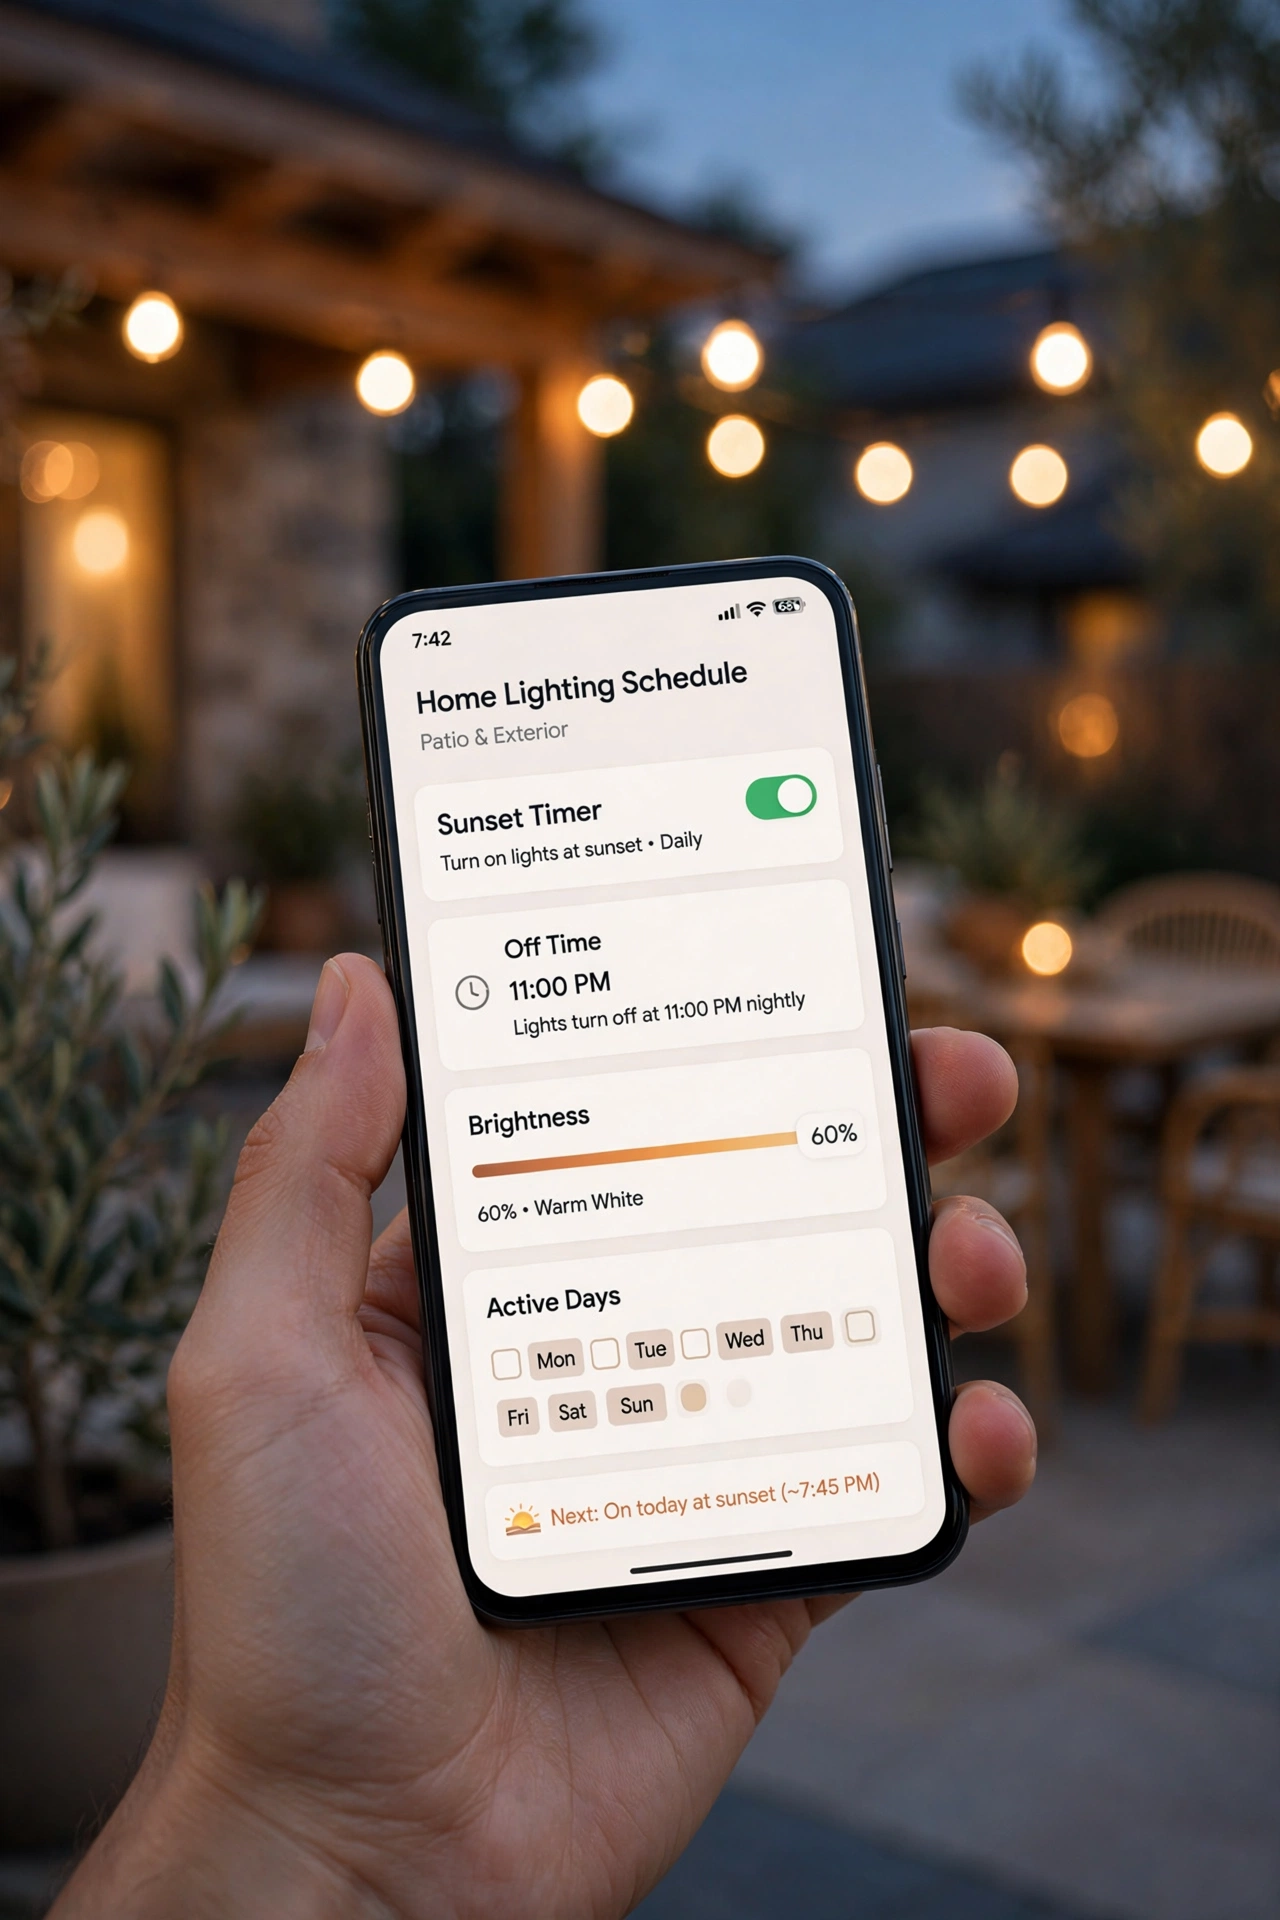
Third, the app itself. A good lighting app lets you set astronomical on/off times per device, build scenes ("evening," "away," "holiday"), and see what's on right now. Before committing to a whole ecosystem, install the app and poke around — if programming a schedule feels like filing taxes, you'll never use it. For a deeper dive into what the apps can actually do, check out my overview of smart lighting apps — it pairs perfectly with what you're building here.
One more practical note: smart plugs control whatever is plugged into them — perfect for string lights and plug-in landscape lights. Smart switches replace the actual wall switch inside, so they're better for hardwired fixtures like porch sconces and floods. Many homes end up with both, and that's completely fine.
Zones: Grouping Your Lights for Smarter Scenes
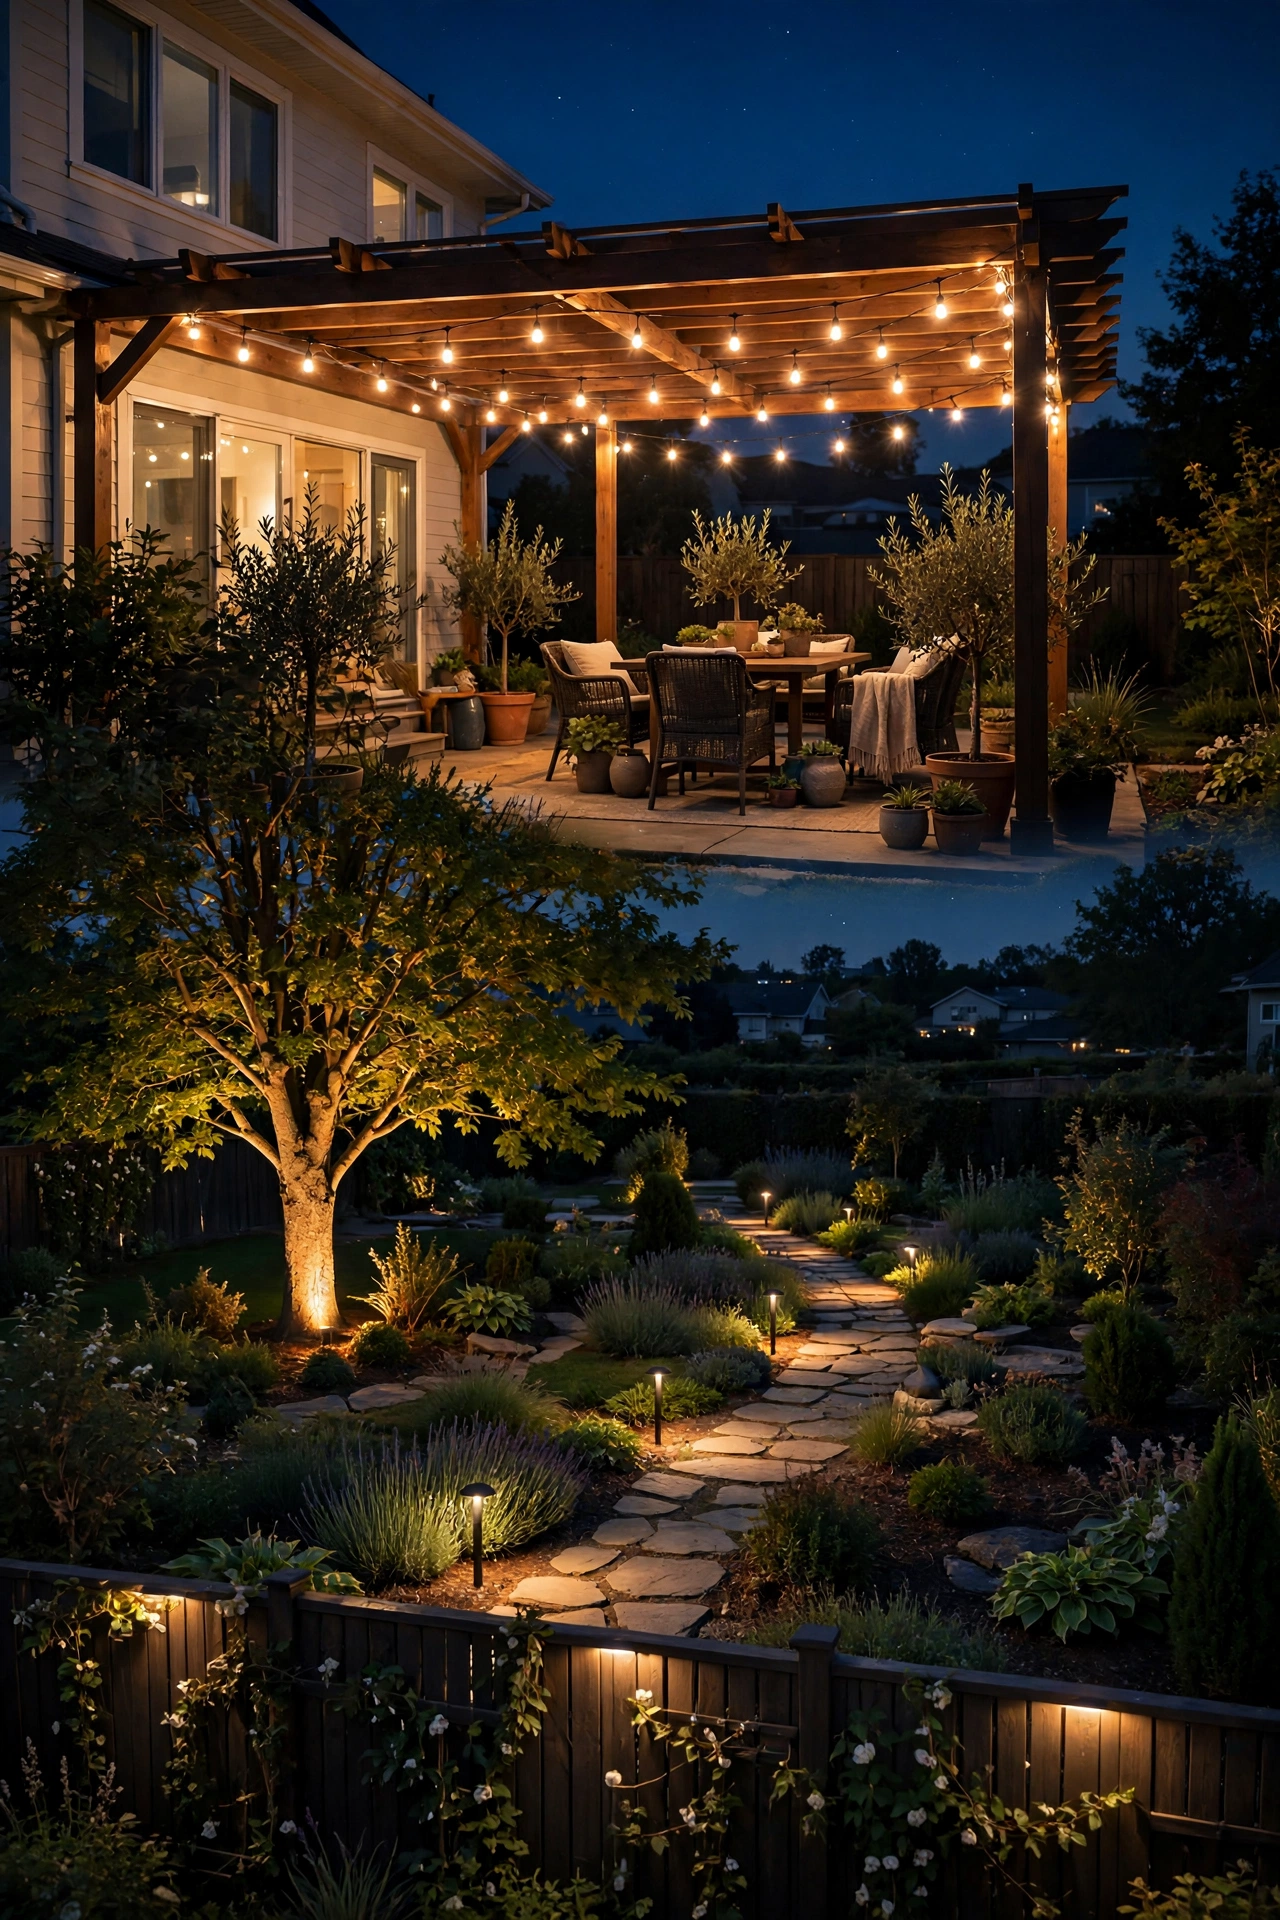
Here's where a basic outdoor lighting timer setup grows up into something that looks professionally designed. A "zone" is just a group of lights that behave as one — and the moment you start thinking in zones, everything gets better.
I suggest five zones for most suburban homes. Zone 1: the entry — porch sconces, door light, house numbers. This is your always-on zone, dusk to bedtime at minimum, because it's the face of your home. Zone 2: paths and walkways — the lights guiding visitors from sidewalk to door. Same schedule as the entry, slightly dimmer if you can manage it; warm 2700K light that says "welcome" without blinding anyone. Zone 3: accents — tree uplights, garden spots, architectural washes. These are the pretty ones, and they're the first thing I shut off at 11 p.m. when nobody's looking anyway. Zone 4: the backyard — deck, patio, string lights. This zone should be the most flexible, because you actually use it: bright for a barbecue, low and warm for a quiet evening. Zone 5: security — floods over the garage and side yards, ideally motion-activated rather than timed, so they're dark until something moves.
The magic is that each zone gets its own schedule. The entry glows steadily all evening. The accents do dusk-to-11. The backyard strings stay on late on weekends and shut down early on weeknights. And when the holidays come, you add a holiday override — a special scene just for the Christmas lights that runs its own extended schedule without touching anything else.
Practically, zones usually map to circuits or devices: one smart plug per zone, or one smart switch per wired zone. Start with two or three zones — entry, paths, and "everything else" — and split further only when you catch yourself wanting different schedules for different areas.
Step-by-Step: Basic Outdoor Lighting Timer Setup
This is the ten-minute version — a mechanical or digital timer on your main outdoor lights. If you can plug in a lamp, you can do this. Here's the whole job:
1. Map what you want automated. Walk your yard at dusk and list every light you'd like on a timer: porch sconces, path lights, string lights, garage floods. Group them by outlet or switch — that's your zone list.
2. Check your outlets. Timers plug into a standard outdoor receptacle, which should have a weatherproof in-use cover and be GFCI-protected (there's a test button on the outlet or the breaker). If the outlet looks damaged or isn't covered, fix that first.
3. Choose your timer type. For a fixed daily schedule, a mechanical timer is cheapest and toughest. For day-of-week differences or vacation randomization, grab a digital one. Either way, make sure the box says outdoor-rated and check the load rating against your total wattage (more on that below).
4. Plug the timer in, then plug the lights into the timer. Keep the connection snug and close the outlet's in-use cover over everything. If it won't close, that's a warning sign — don't force it.
5. Set the schedule. For a mechanical timer, rotate the dial to the current time and push down the pins for the hours you want the lights on — I recommend dusk to 11 p.m. to start. For a digital timer, program your on time for your local sunset and off for 11 p.m.
6. Test it. Override the timer to "on" and walk the yard. Check every fixture lights up, look for dark gaps in your path lighting, and make sure nothing's shining directly into a neighbor's window.
7. Set a calendar reminder. Mechanical timers drift; check the dial monthly. Digital and astronomical timers mostly take care of themselves, but I still peek at my schedules when the clocks change.
Step-by-Step: Building a Smart Lighting Setup
Ready for the full smart version — app control, scenes, and zones? It's more capable, but honestly not much harder. Here's how I build one:
1. Sketch your zones on paper. Entry, paths, accents, backyard, security — write down which lights belong where. This five-minute sketch saves hours of fiddling later.
2. Check your Wi-Fi at the far fixtures. Stand by your most distant outdoor light and run a speed test on your phone. If you can't hold a signal, plan on a Wi-Fi extender or an outdoor access point before buying anything — smart gear without a connection is just expensive dumb gear.
3. Buy one device per zone. Outdoor-rated smart plugs for plug-in lights (string lights, landscape lighting transformers), smart switches for hardwired fixtures (porch sconces, floods). Add up wattage per device and stay under its rating.
4. Install the app and add devices one at a time. Plug in the first smart plug near your router, add it to the app, and name it clearly ("Front Porch," not "Plug 3"). Clear names are the difference between a system you love and one that confuses you at 10 p.m.
5. Program astronomical schedules per zone. Set on-times to local sunset and off-times per your plan — 11 p.m. for accents, later for the entry, flexible for the backyard. Most apps handle daylight saving time automatically.
6. Build your scenes. Create three: "Evening" (everything on), "Late Night" (entry only), and "Away" (a randomized schedule for vacations). If your app supports dimming, set levels per scene.
7. Test every scene. Trigger each scene from the app and walk the yard. Fix anything that doesn't respond, then retest.
8. Show the household the basics. Make sure everyone knows how to turn the entry lights on manually and where the app lives on their phone.
A three-zone smart setup typically runs $60–$150 in devices, and you can expand one zone at a time — there's no rule that says it all has to happen on a Saturday.
Schedules That Actually Work
The hardware is only half the story — the schedule is what your neighbors actually see. After years of tweaking mine, here's what I've landed on.
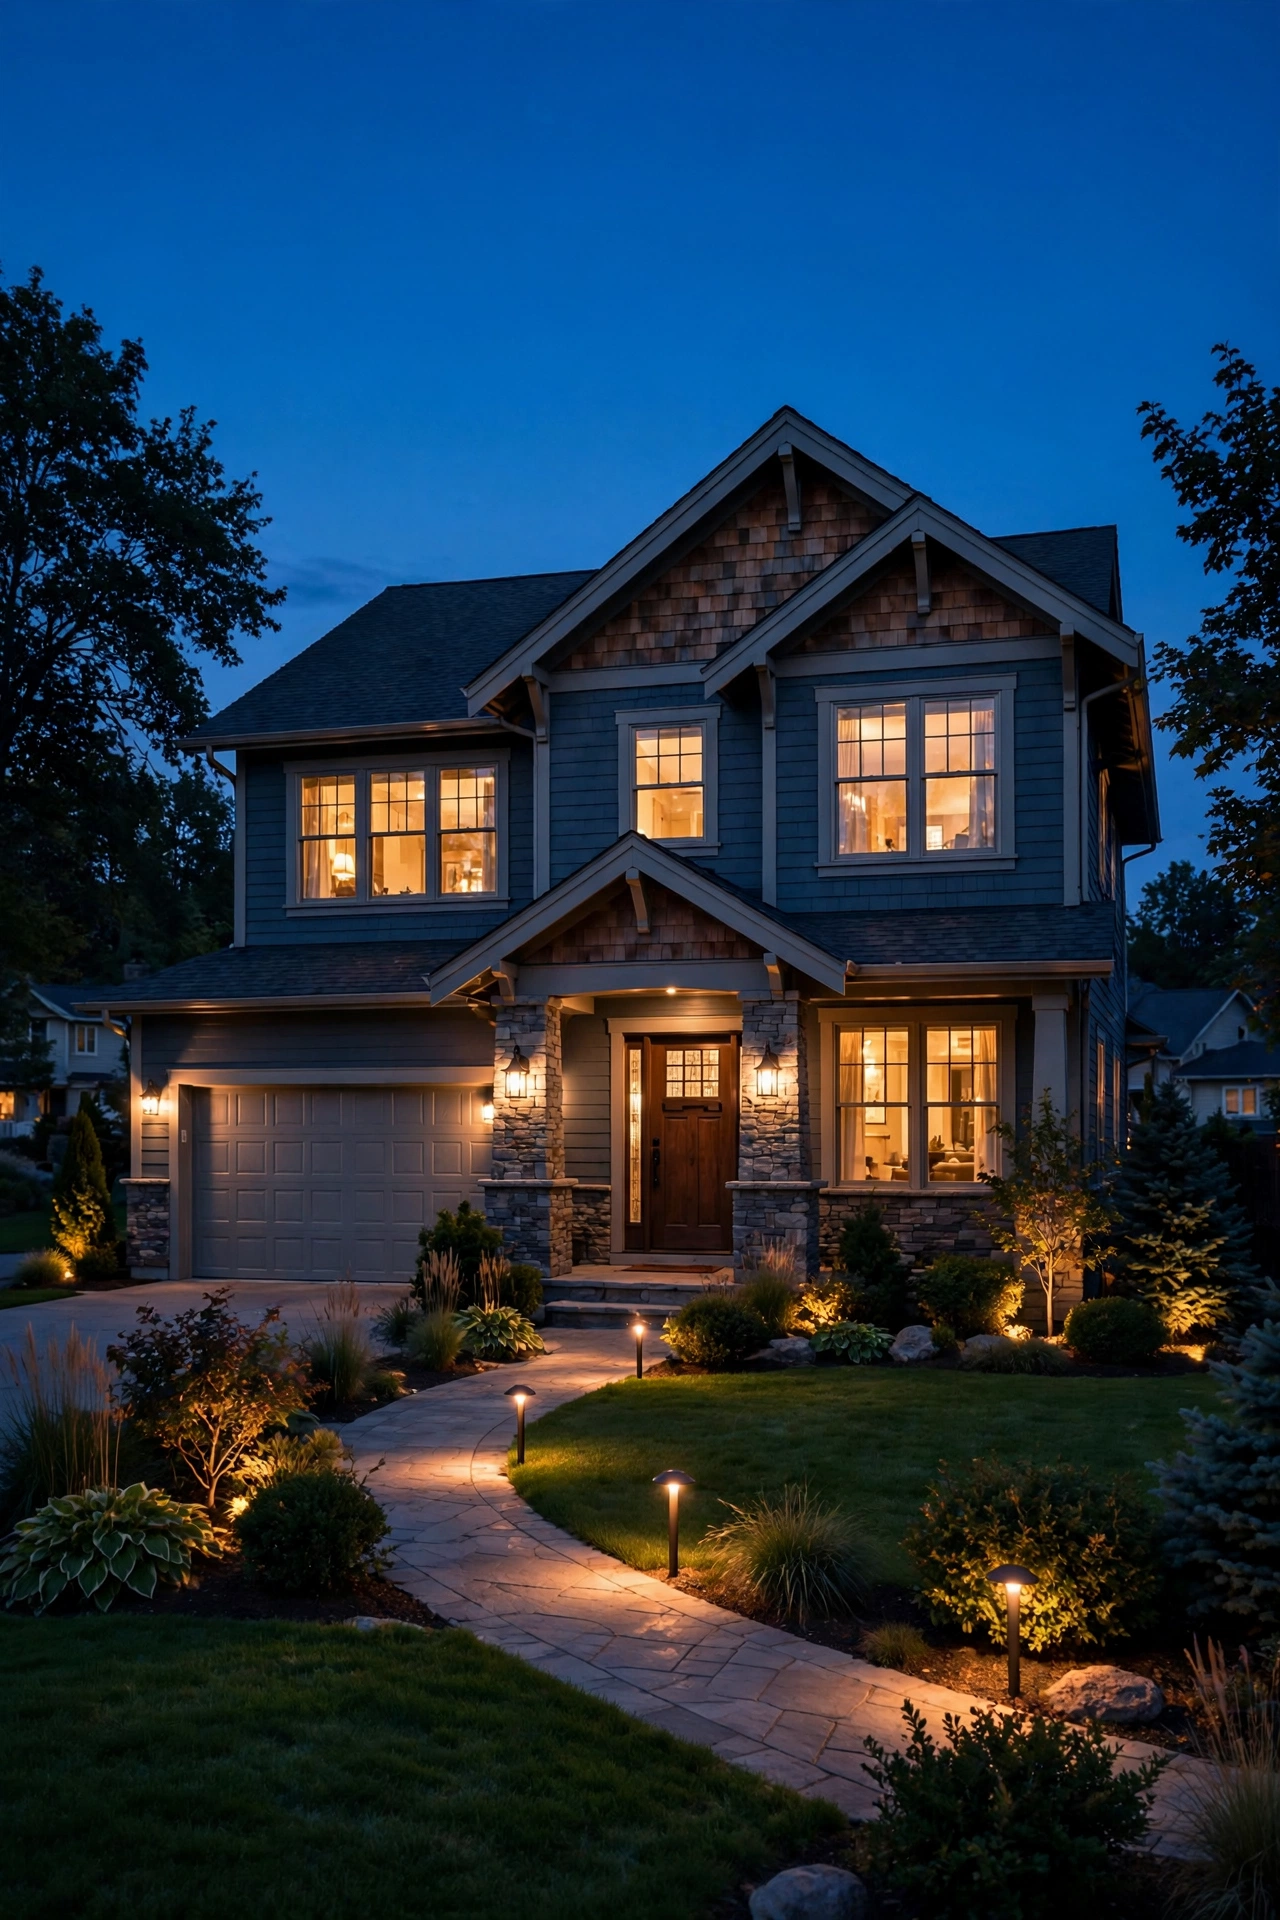
The everyday schedule: dusk to 11 p.m. This is my default recommendation. Dusk-to-11 covers dinner guests, dog walks, and coming home late, then shuts everything down when the street goes quiet. Accent lighting — uplights, garden spots, the pretty stuff — goes off first at 11. Honestly, all-night lighting on every fixture is overkill for most homes; it wastes energy and washes out the night sky.
Weekend vs. weekday. If your app supports day-specific schedules, give the backyard an extra hour or two on Friday and Saturday — string lights glowing until midnight on a summer Saturday is pure magic, and there's no reason to burn that electricity on a Tuesday. Keep the front of the house identical every night; consistency at the entry reads as "someone's home."
Vacation mode. This is where automation earns its keep. A randomized schedule varies on/off times by 15–30 minutes each night so the house doesn't look like it's on a timer. Many digital timers and smart apps have a vacation or random mode built in — turn it on before you leave and forget about it.
Holiday scenes. A dedicated holiday scene runs your Christmas or Halloween lights on their own generous schedule — say 5 p.m. to midnight through December — without touching your everyday zones. Smart plugs make this trivial: plug the holiday lights in, set the season's schedule, and delete it in January. If you've gone permanent with your holiday lighting, my guide to permanent holiday lights shows how a timer becomes the only sane way to run them.
One more Sarah rule: change schedules with the seasons deliberately. Even with an astronomical timer handling sunset drift, I review my off-times twice a year — in spring, when long evenings make 11 p.m. feel early, and in fall, when darkness arrives before dinner. Two minutes, twice a year, and the system always feels right.
What It Costs in 2026
Let's talk real numbers, because "automation" sounds expensive and mostly isn't. Here's the honest range, from bare-bones to full smart:
A basic setup: $15–$60. A mechanical outdoor timer runs $12–$25, a digital one $20–$45. Add an outdoor-rated extension cord for $15–$25 if needed. That single timer can control every light plugged into that circuit — a porch, a string of lights, a path-light transformer — so the per-fixture cost is tiny.
A photocell upgrade: $10–$30 per fixture. Screw-in photocells are the cheapest path to dusk-to-dawn lighting, and they install in seconds. A hardwired photocell sensor mounted at the panel or on a fixture runs a bit more if you hire an electrician for the wiring.
A mid-range smart setup: $60–$200. Two or three outdoor smart plugs ($15–$30 each) plus maybe a smart switch ($25–$50) covers most yards with two to four zones. No electrician needed for plug-in gear; a smart switch replacement takes about 20 minutes if you're comfortable with basic wiring, or an hour of an electrician's time (typically $100–$150 for the visit).
The full smart yard: $200–$500+. Five or six zones, a hub, motion sensors, maybe a Wi-Fi extender for far corners. This is the "never touch a switch again" tier, and it's genuinely lovely — but start smaller and expand, because you'll learn what you actually want.
The energy math is the fun part. A typical LED path light draws about 5 watts. Run ten of them all night (12 hours) and that's 0.6 kWh a day — at the US average of roughly 17 cents per kWh, about $3 a month. Cut the schedule to dusk-to-11 (about 5 hours) and it drops to around $1.25 a month. Now compare the old way: ten 60-watt-equivalent incandescents on a manual switch left on all night would cost over $35 a month. So the one-two punch of LEDs plus a timer turns outdoor lighting from a real expense into pocket change — most automated LED yards I know cost $2–$5 a month in electricity, total.
6 Mistakes That Break Your Outdoor Lighting Timer Setup
I've made or witnessed every one of these. Learn from my yard, not yours.
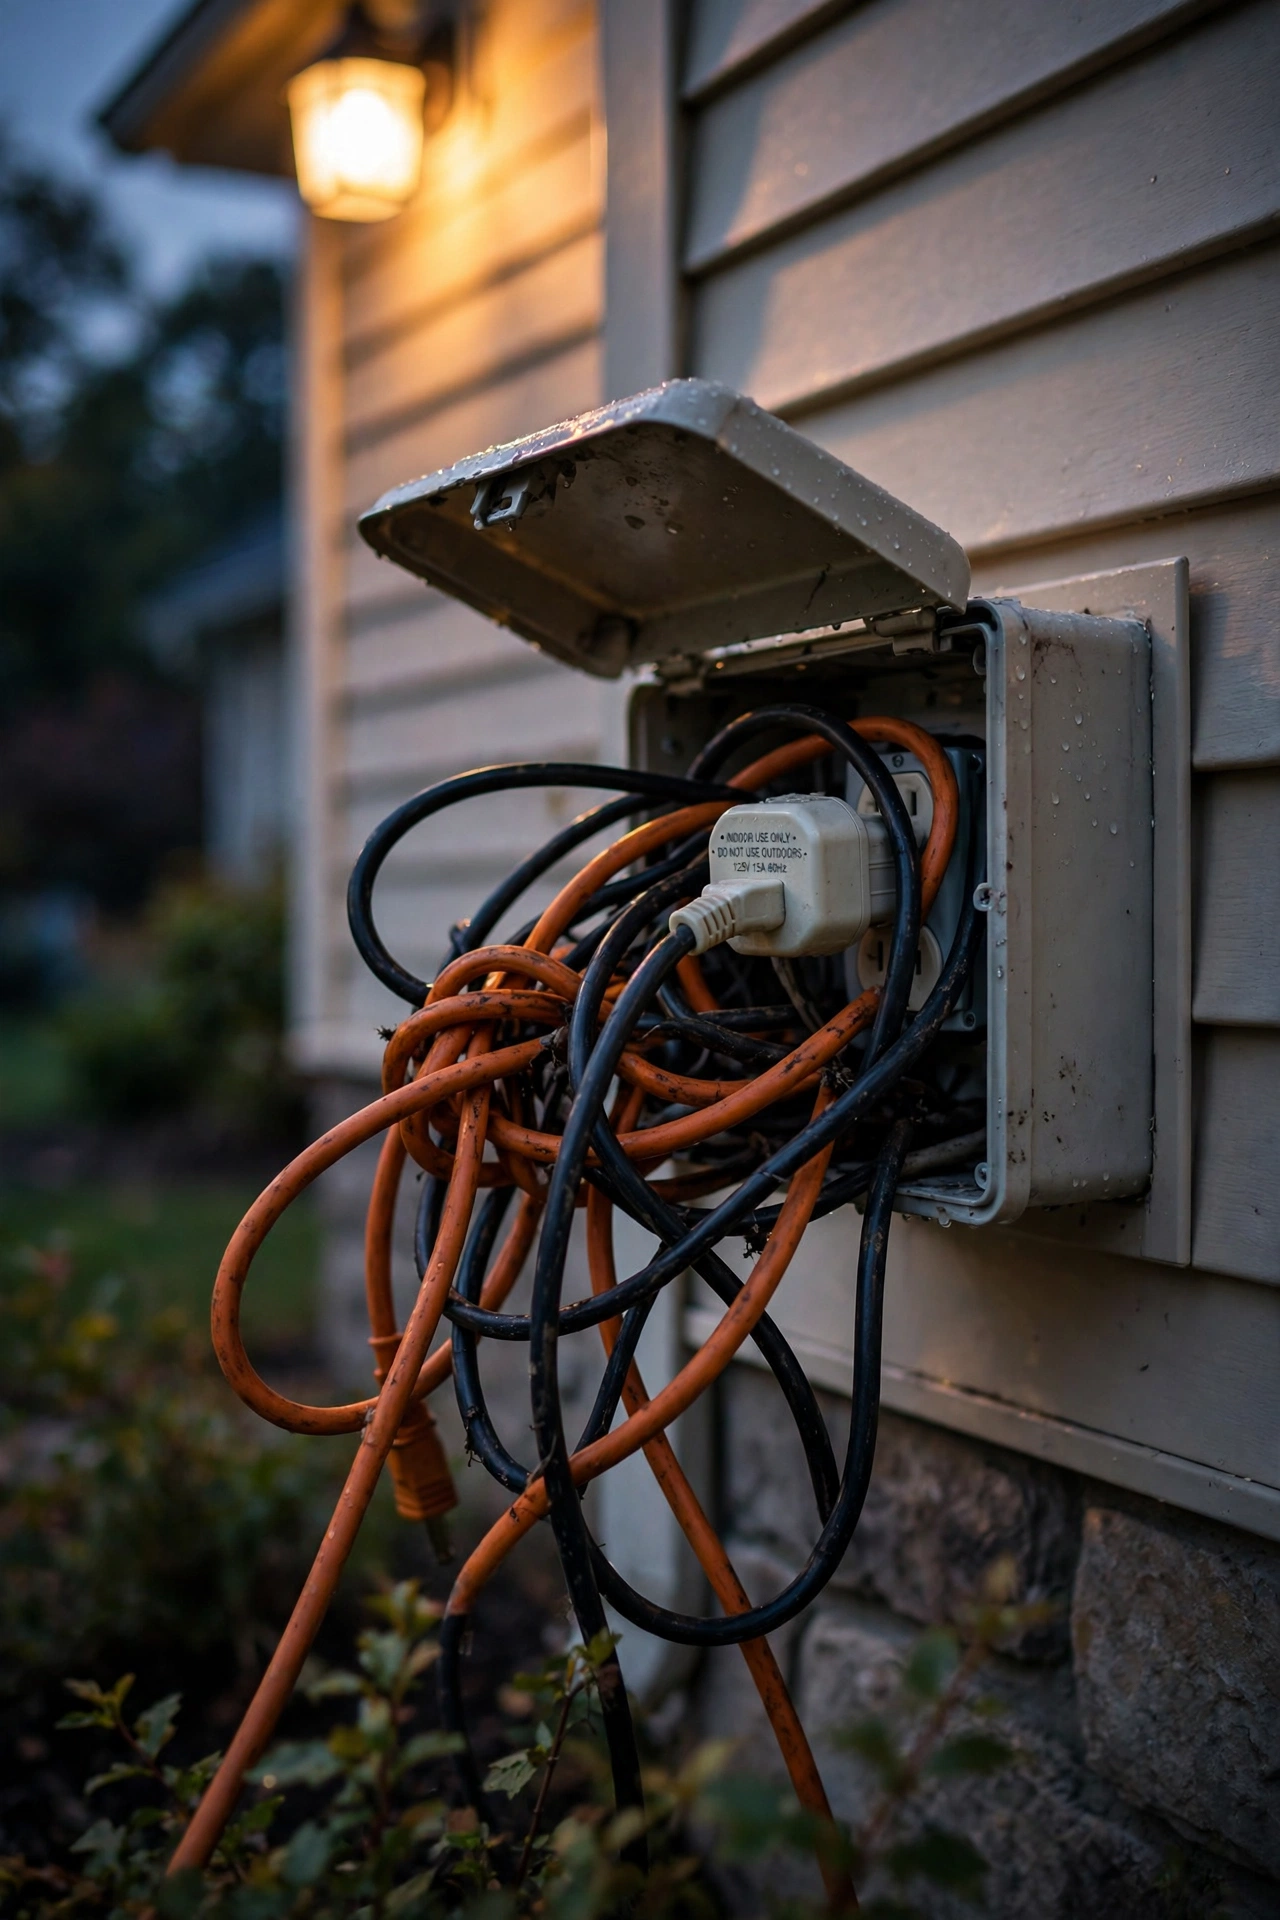
1. Using indoor-rated gear outside. The number one killer. An indoor timer or smart plug on a patio outlet will work fine — right up until the first real rainstorm. Outdoor-rated means sealed housings and proper gaskets. If the box doesn't say outdoor or show an IP44+ rating, it stays inside. Period.
2. Wi-Fi dead zones at the far fixtures. Your router reaches the living room beautifully; the back fence is another country. Smart plugs out there will drop offline and miss schedules. Walk the yard with your phone first, and budget for an extender if the far corners are weak.
3. Forgetting daylight saving time. Mechanical timers don't know the clocks changed — your 7 p.m. on-time becomes 8 p.m. overnight, and suddenly you're coming home to a dark house. Put a reminder on your calendar for both clock changes, or switch to astronomical scheduling and let the software handle it.
4. Overloading circuits and timers. Every timer and smart plug has a maximum wattage — often 1,800 watts for a standard 15-amp device, but sometimes far less for the compact ones. Add up everything plugged in: ten 60-watt-equivalent LEDs are only 90 watts total, but a string of old incandescent Christmas lights can pull 300+ watts by itself. Exceed the rating and you'll trip breakers or overheat the device.
5. Letting a photocell see its own light. A photocell mounted where the fixture's glow hits the sensor will flicker on and off all night — on, sees light, off, sees dark, on again. Face the sensor toward open sky, shield it from the fixture, and test it at dusk before you call it done.
6. Setting it and forgetting it forever. Timers drift, schedules go stale, and that bush you planted three years ago is now blocking the path light's sensor. I do a ten-minute automation checkup every spring: verify times, clean photocell lenses with a damp cloth, and confirm every zone still responds.
Safety and Electrical Basics
Everything in this guide is DIY-friendly, but outdoor electricity deserves respect. These are the non-negotiables I always recommend:
Outdoor ratings on everything. Timers, plugs, extension cords, fixtures — if it lives outside, it needs to be rated for it. Look for "outdoor" or "wet location" on the packaging and an IP44 rating or better. Extension cords should be outdoor-rated with three prongs and a jacket thick enough to survive being stepped on and baked by the sun.
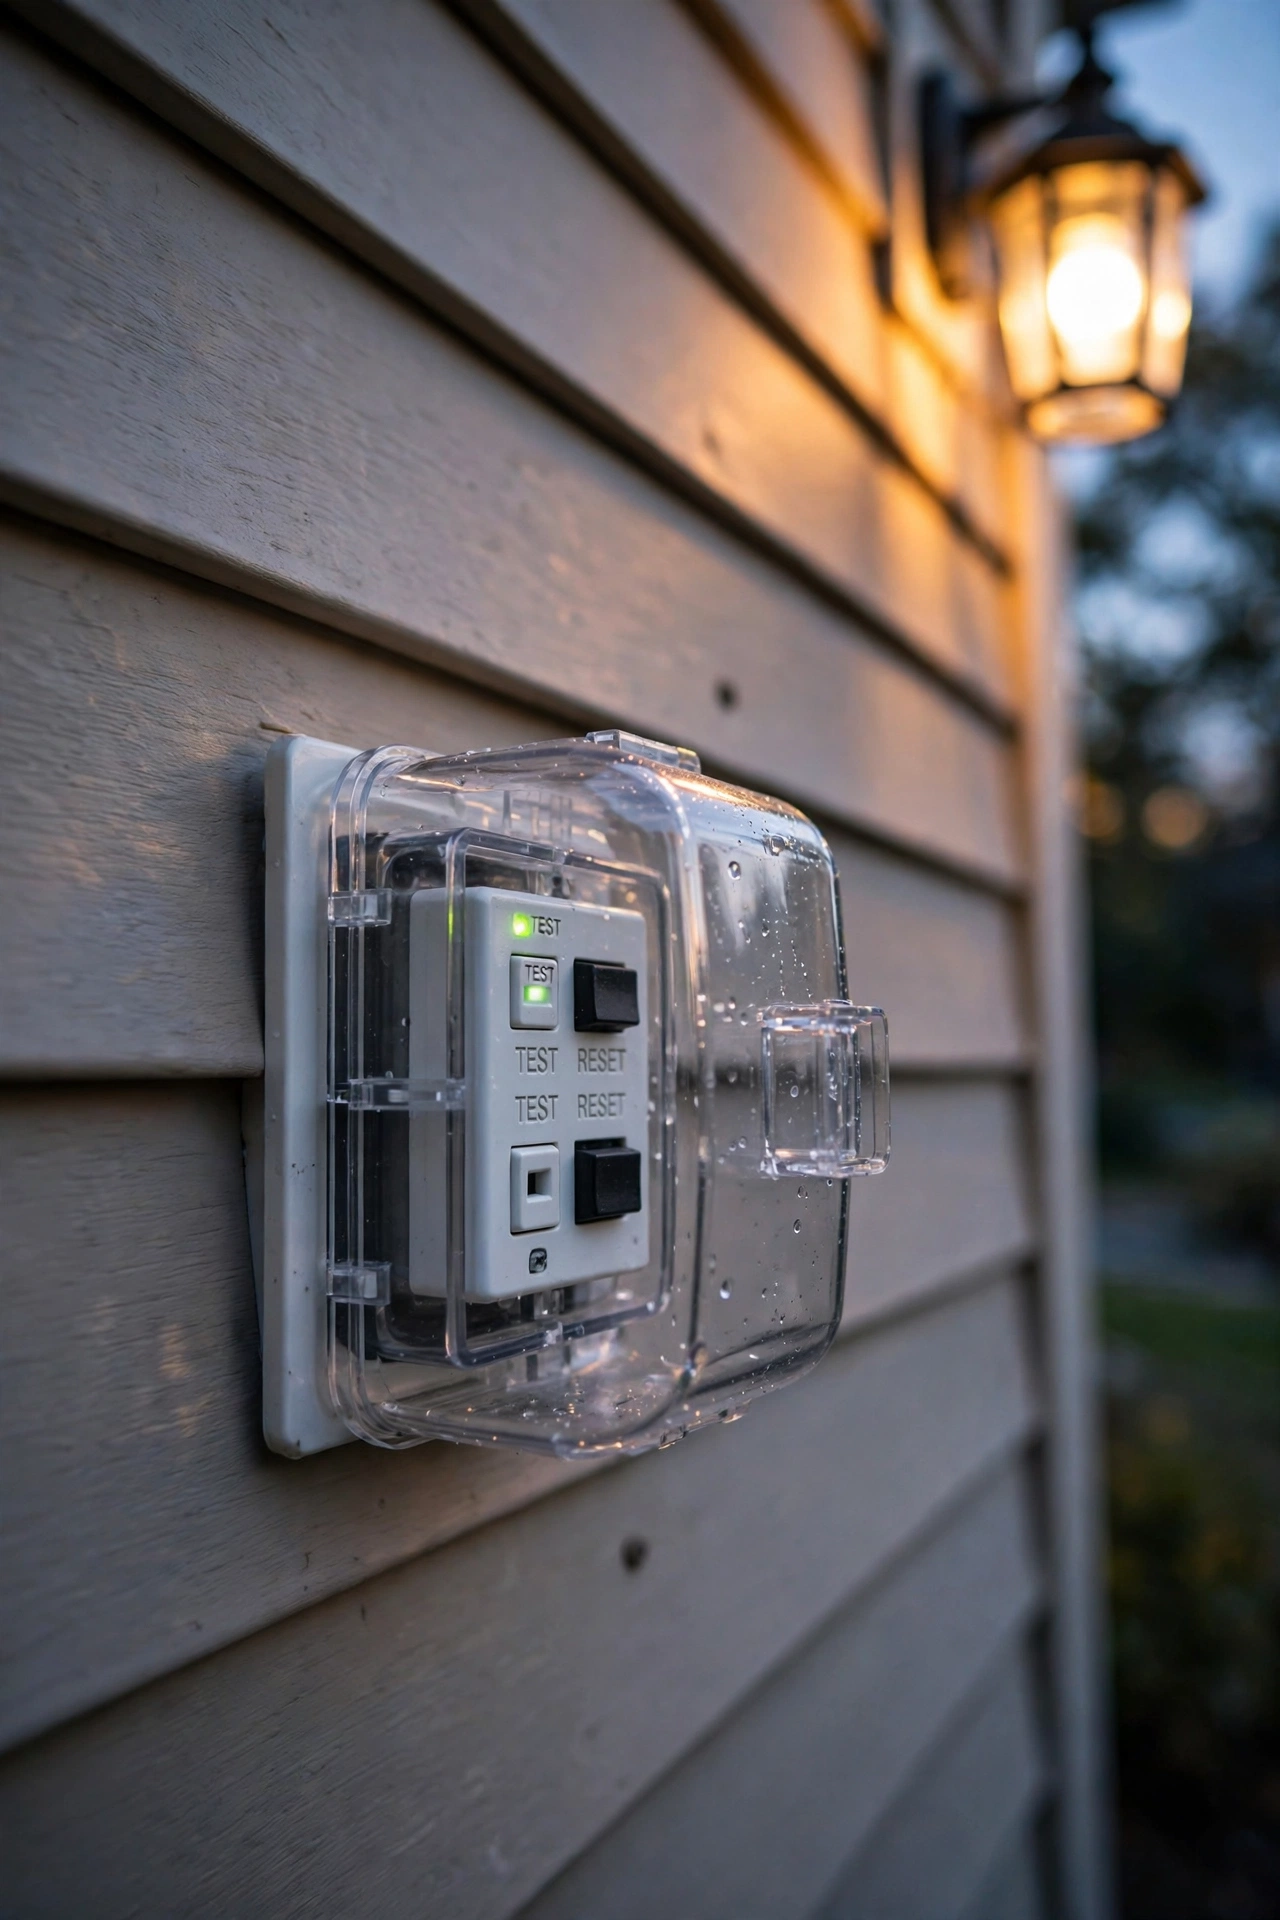
GFCI protection is mandatory. Outdoor receptacles must be GFCI-protected — that's the outlet with the test and reset buttons that cuts power in milliseconds if current leaks to ground. Most outdoor outlets already have it, but older homes sometimes don't. If yours lacks GFCI protection, that's an electrician call, not a timer project. Test your GFCI monthly with the test button; it takes five seconds.
Respect load limits. Add up the wattage of everything on a timer or smart plug and stay under 80 percent of the device's rating for continuous loads. A standard 15-amp outdoor circuit handles 1,800 watts total — plenty for LED lighting, but plug in a space heater or a big inflatable display on the same circuit and you'll learn what the breaker panel looks like. When in doubt, spread loads across two circuits.
Keep water out of connections. Plug connections should live under the outlet's in-use cover with the cord exiting downward so water drips away, not in. Never leave a connection lying in a puddle or buried in mulch. If a timer will sit exposed to direct driving rain, mount it under an eave or inside a weatherproof box.
Know when to call an electrician. Swapping a plug-in timer: you. Replacing a wall switch with a smart switch when you're comfortable and the breaker is off: you, carefully. Anything involving the breaker panel, new wiring, or a fixture with no ground wire: a licensed electrician. There's no timer schedule worth a shock.
Troubleshooting Your Outdoor Lighting Timer Setup
Something not working? Nine times out of ten, it's one of these.
Lights won't turn on. Start at the outlet: plug in something simple, like a phone charger, to confirm it has power. Check the GFCI — press reset. Then check the timer: is it in "on" or "timer" mode rather than "off"? Finally, check the bulbs themselves.
Lights won't turn off. The usual suspect is the timer's manual override — many have a button that forces "always on," and it's easy to bump. On smart plugs, check the app for a forgotten scene or schedule. With photocells, suspect light pollution: a nearby light source may be keeping the sensor in "dark" mode.
The timer loses time or resets. Mechanical timers drift a few minutes a month — normal, just nudge the dial. Digital timers that reset after every storm need a fresh backup battery. If a digital timer resets constantly even with a new battery, the unit itself is failing; they're inexpensive enough to replace rather than fight.
The app can't find the smart plug. First, confirm your phone is on the 2.4 GHz Wi-Fi band — many smart devices can't see 5 GHz networks, and this causes more setup failures than anything else in my experience. Move the plug closer to the router for initial pairing, then relocate it. If it worked before and stopped, power-cycle the plug (unplug ten seconds) and check whether your router rebooted overnight and handed it a new IP address.
The photocell flickers. Almost always the sensor seeing its own fixture's light, or a neighbor's new floodlight confusing it. Reposition the sensor to face open sky, add a small shield above it, or relocate the fixture a few feet. A dirty lens can also cause erratic behavior — wipe it clean.
One zone works, another doesn't. On a multi-timer setup, swap two timers between zones. If the problem follows the timer, the timer is bad; if it stays with the zone, the issue is the outlet, the wiring, or the load.
Frequently Asked Questions
Do outdoor lighting timers actually save electricity?
Yes — and the savings come from cutting hours, not from the timer sipping power itself (a timer draws a watt or two at most). A timer that shuts your lights off at 11 p.m. instead of running them to dawn trims roughly a third of their runtime, which is a third of their electricity cost. With LED fixtures, most automated yards cost $2–$5 a month total to run. The bigger win is behavioral: without a timer, lights get left on all night "just this once" about three times a week.
Photocell vs. timer — which is better?
It depends on what you want the lights to do. A photocell gives you effortless dusk-to-dawn lighting with zero programming — perfect for a porch or entry light you want on all night. A timer (or smart schedule) gives you control over off-times, so lights shut down at 11 p.m. and save energy. My honest answer: photocell for all-night security lighting, astronomical timer or smart schedule for everything else. Many homes use both.
Can I put a smart plug outside?
Yes, as long as it's rated for outdoor use — look for a weather-resistant housing and an IP44 rating or better, and plug it into a GFCI-protected outlet with a weatherproof in-use cover. Never put an indoor-rated smart plug outside, even under a covered porch; humidity and temperature swings will kill it. Also confirm your Wi-Fi reaches the location before you mount anything permanently.
Why does my outdoor timer keep losing time?
Mechanical timers drift naturally — a few minutes a month is normal, and the fix is just nudging the dial. Digital timers usually lose time after power outages if their backup battery is dead; replacing the coin cell typically solves it. If a digital timer resets constantly with a fresh battery, or a mechanical timer drifts hours per week, the unit is failing and should be replaced — they're inexpensive.
How do I automate my Christmas lights?
A smart plug is the easiest path: plug the lights in, set a holiday schedule (I like 5 p.m. to 11 p.m. through the season), and delete the schedule in January. For classic plug-in timers, a digital timer with a countdown or random mode works well for a single strand zone. If your holiday lighting is extensive, give it its own zone so the holiday schedule never interferes with your everyday lighting. And if you're considering lights that stay up year-round, smart exterior lights pair beautifully with permanent holiday setups — the automation is the whole point.
Conclusion
A good outdoor lighting timer setup isn't about gadgets — it's about never thinking about your lights again. Pick the right tool for the job (an astronomical timer or smart plug covers nearly everything), group your lights into zones with their own schedules, respect the electrical basics, and do a ten-minute checkup twice a year. That's the whole formula, and it's one of the highest-impact, lowest-cost upgrades you can make to your home's exterior. In my experience, the first evening you pull into a glowing driveway without touching a single switch, you'll wonder why you waited. If this guide got you inspired, browse the rest of the site for more lighting ideas to layer into your new automated setup — your evenings are about to get a whole lot easier.