There's a specific kind of magic that happens when the sun drops and a fire pit takes over as the brightest thing in your backyard. Marshmallows, long conversations, somebody's playlist going soft in the background — but honestly? That magic falls flat if your fire pit area lighting stops at the flames. I've sat around pits that felt like a stage under a single spotlight and pits that felt like a warm hug — the difference was never the fire. It was the layers of light around it.
In my experience, great fire pit lighting follows the layering philosophy I use everywhere outdoors: ambient light to define the space, task light so nobody trips on the way back from the s'mores station, and accent light for those sparks of coziness that make guests say "wait, your backyard looks like this at night?" If you haven't built your pit yet, start with our simple backyard fire pit ideas — then come back and light it properly.
Here are 17 ideas covering all three layers — from a $12 set of solar stakes to a full low-voltage setup — with real spacing, real budgets, and the safety rules that matter around open flame. Let's build your glow.
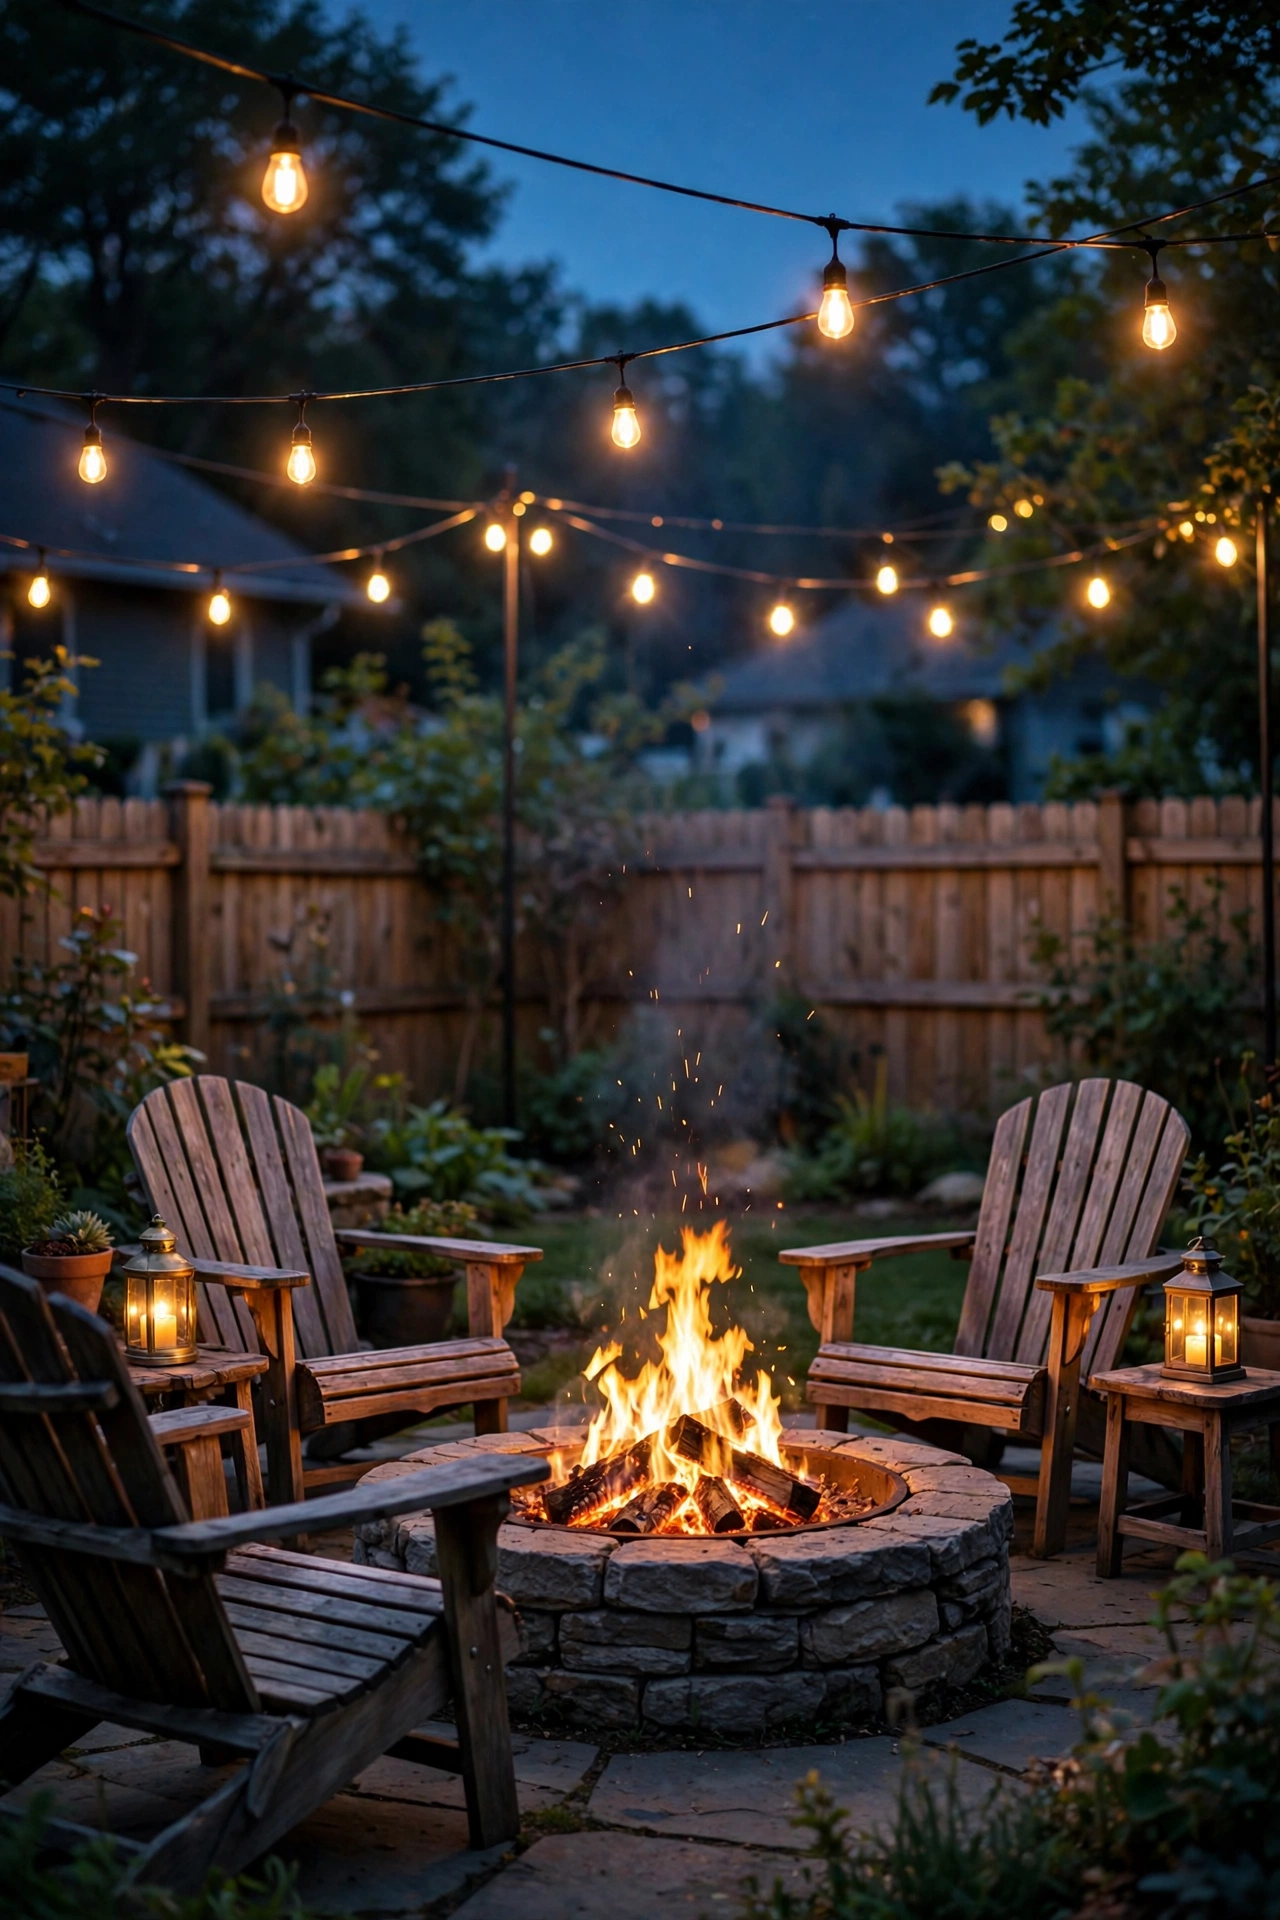
1. String-Light Canopy Over the Seating Area
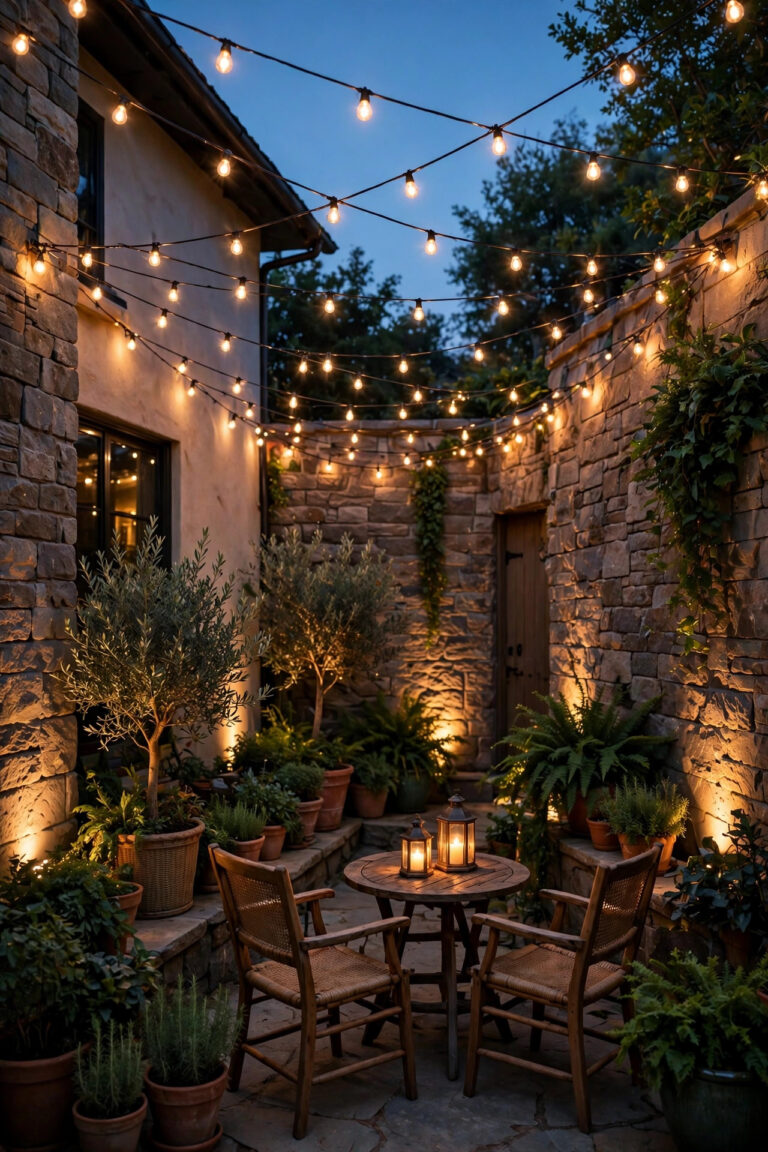
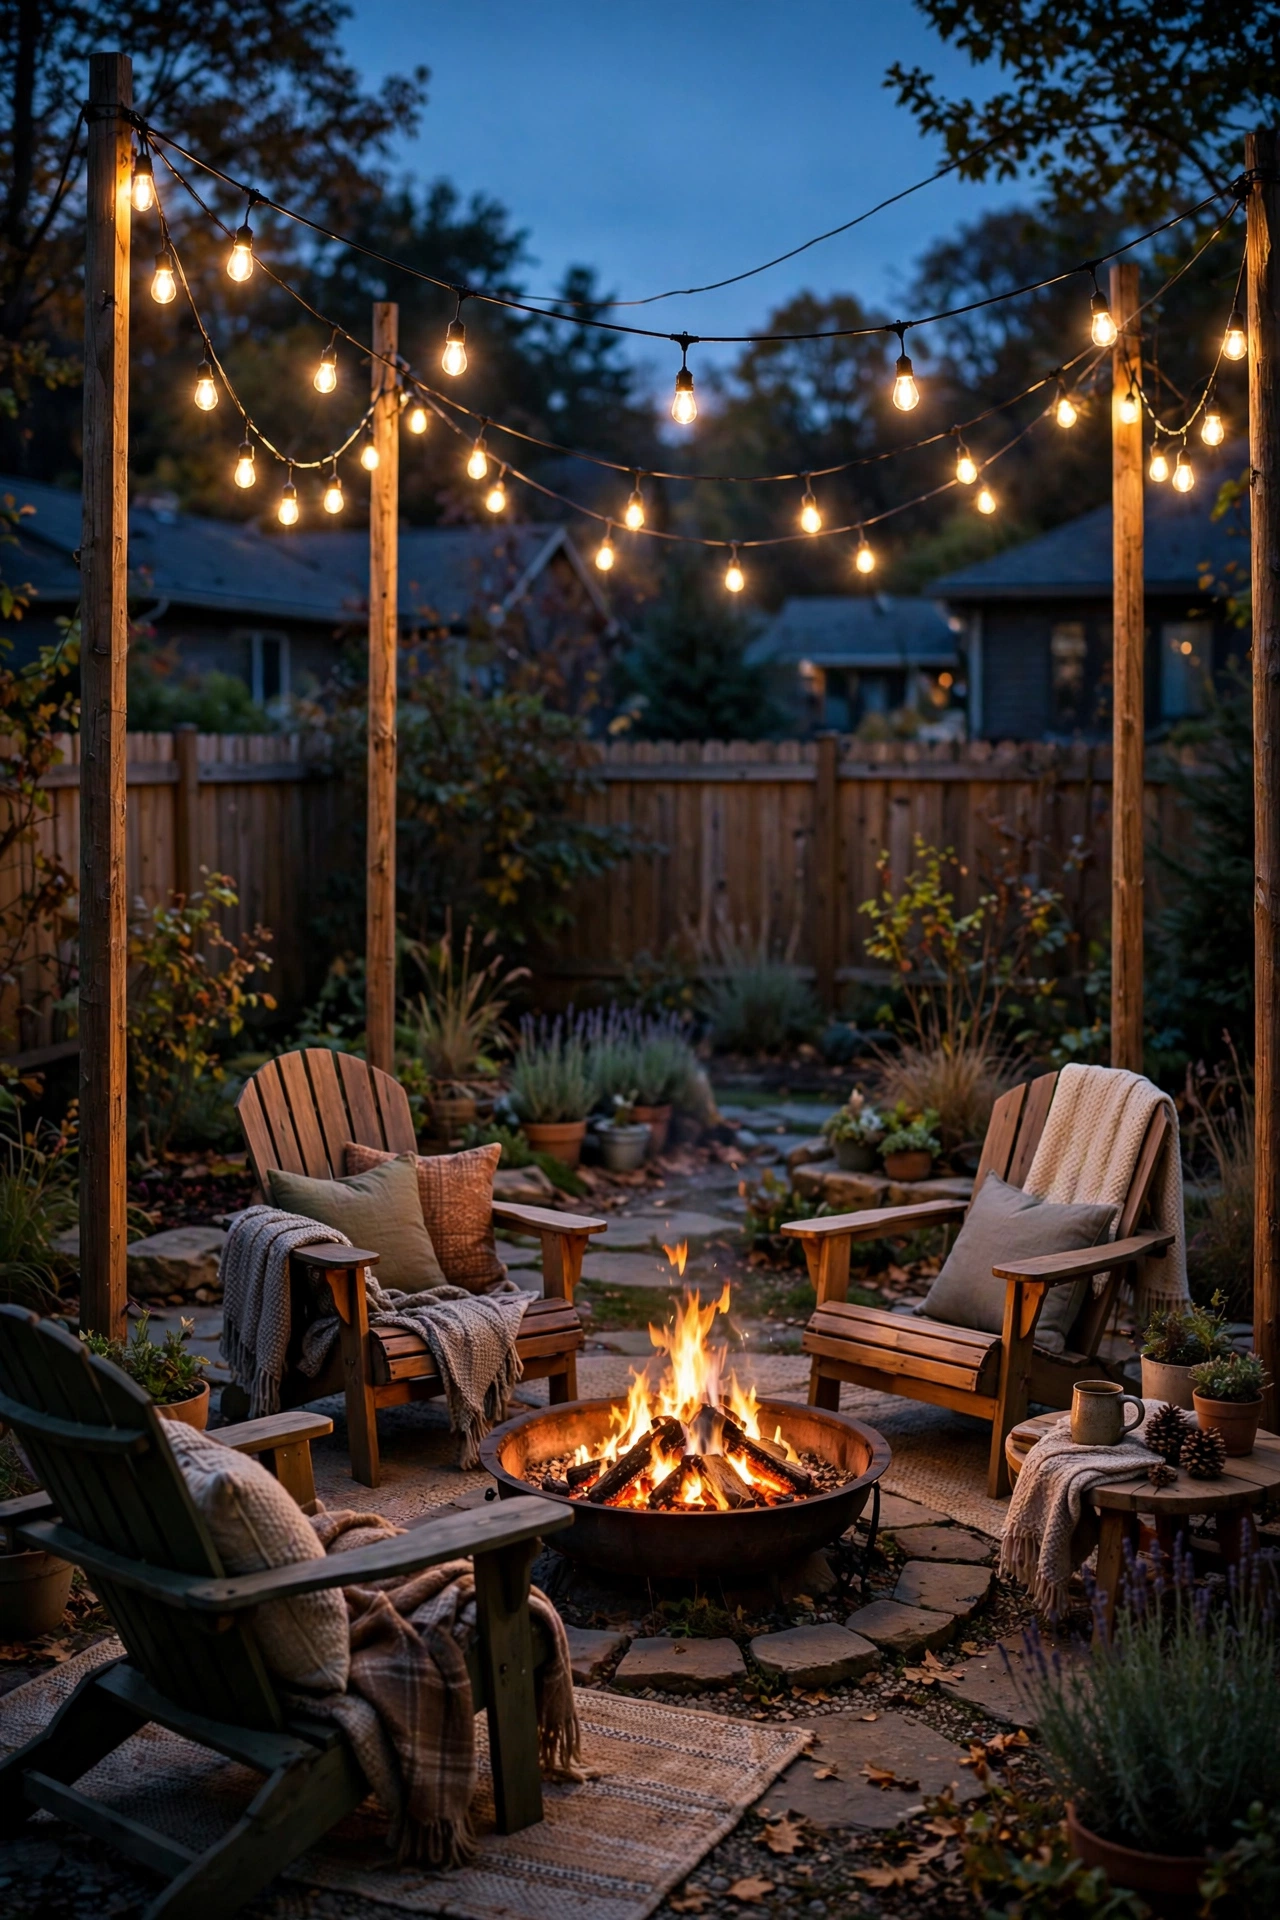
Nothing says backyard gathering like a swag of warm string lights overhead, and over a fire pit seating zone it's pure magic. Here's the setup I always recommend: four sturdy poles (8 to 10 feet tall, set 2 feet into the ground or in weighted umbrella bases) marking the corners of your seating area, with strands draped between them in loose swags that sag 2 to 3 feet at the center.
Use LED filament-style bulbs in shatterproof plastic — they look like vintage Edison bulbs but stay cool and survive a stray football. Stick to 2700K warm white; anything cooler fights the firelight instead of blending with it. Connect strands end to end (most allow 3 to 5 per run), plug into an outdoor timer, and you're done in an afternoon.
Safety first: keep every strand at least 10 feet from the fire pit's flames and 8 feet or more above the seating area. Never drape lights directly over the fire — heat rises, and even LEDs don't love a constant blast of it. Add a plug-in dimmer — full brightness for setup, dialed down once everyone's settled in.
Suggested budget range: $40 – $120.
2. Solar Path Stakes to Guide Guests In
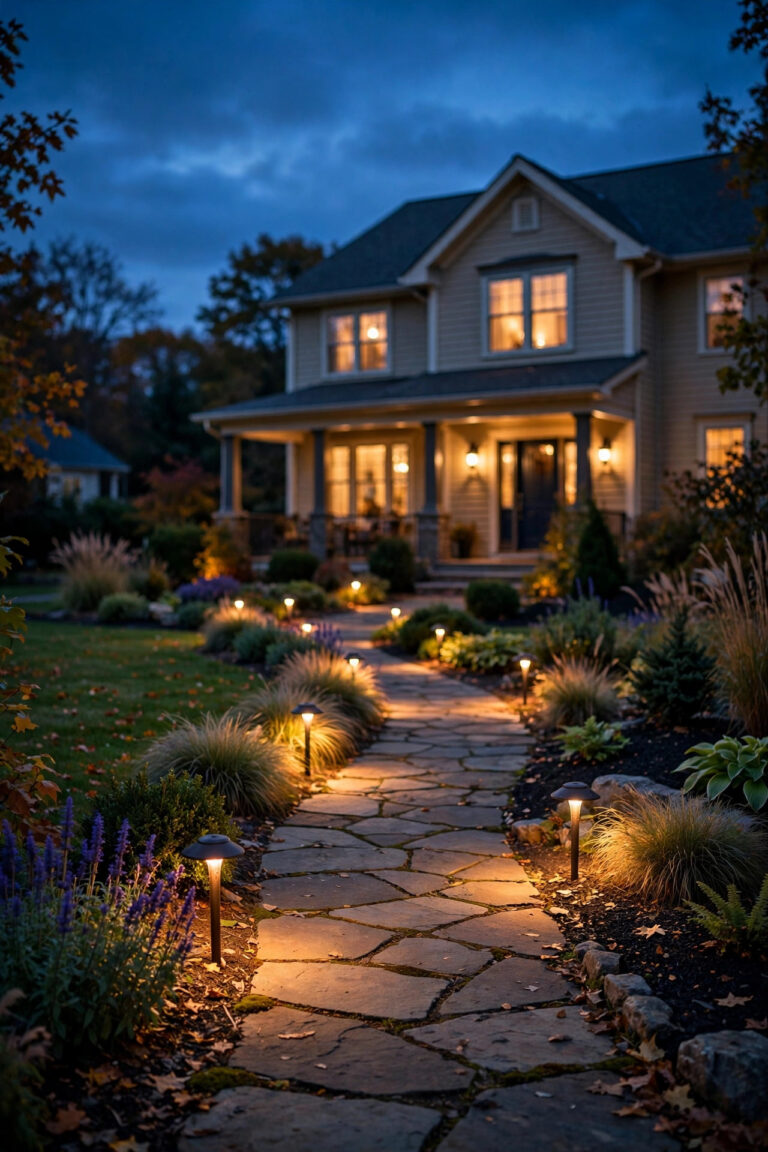
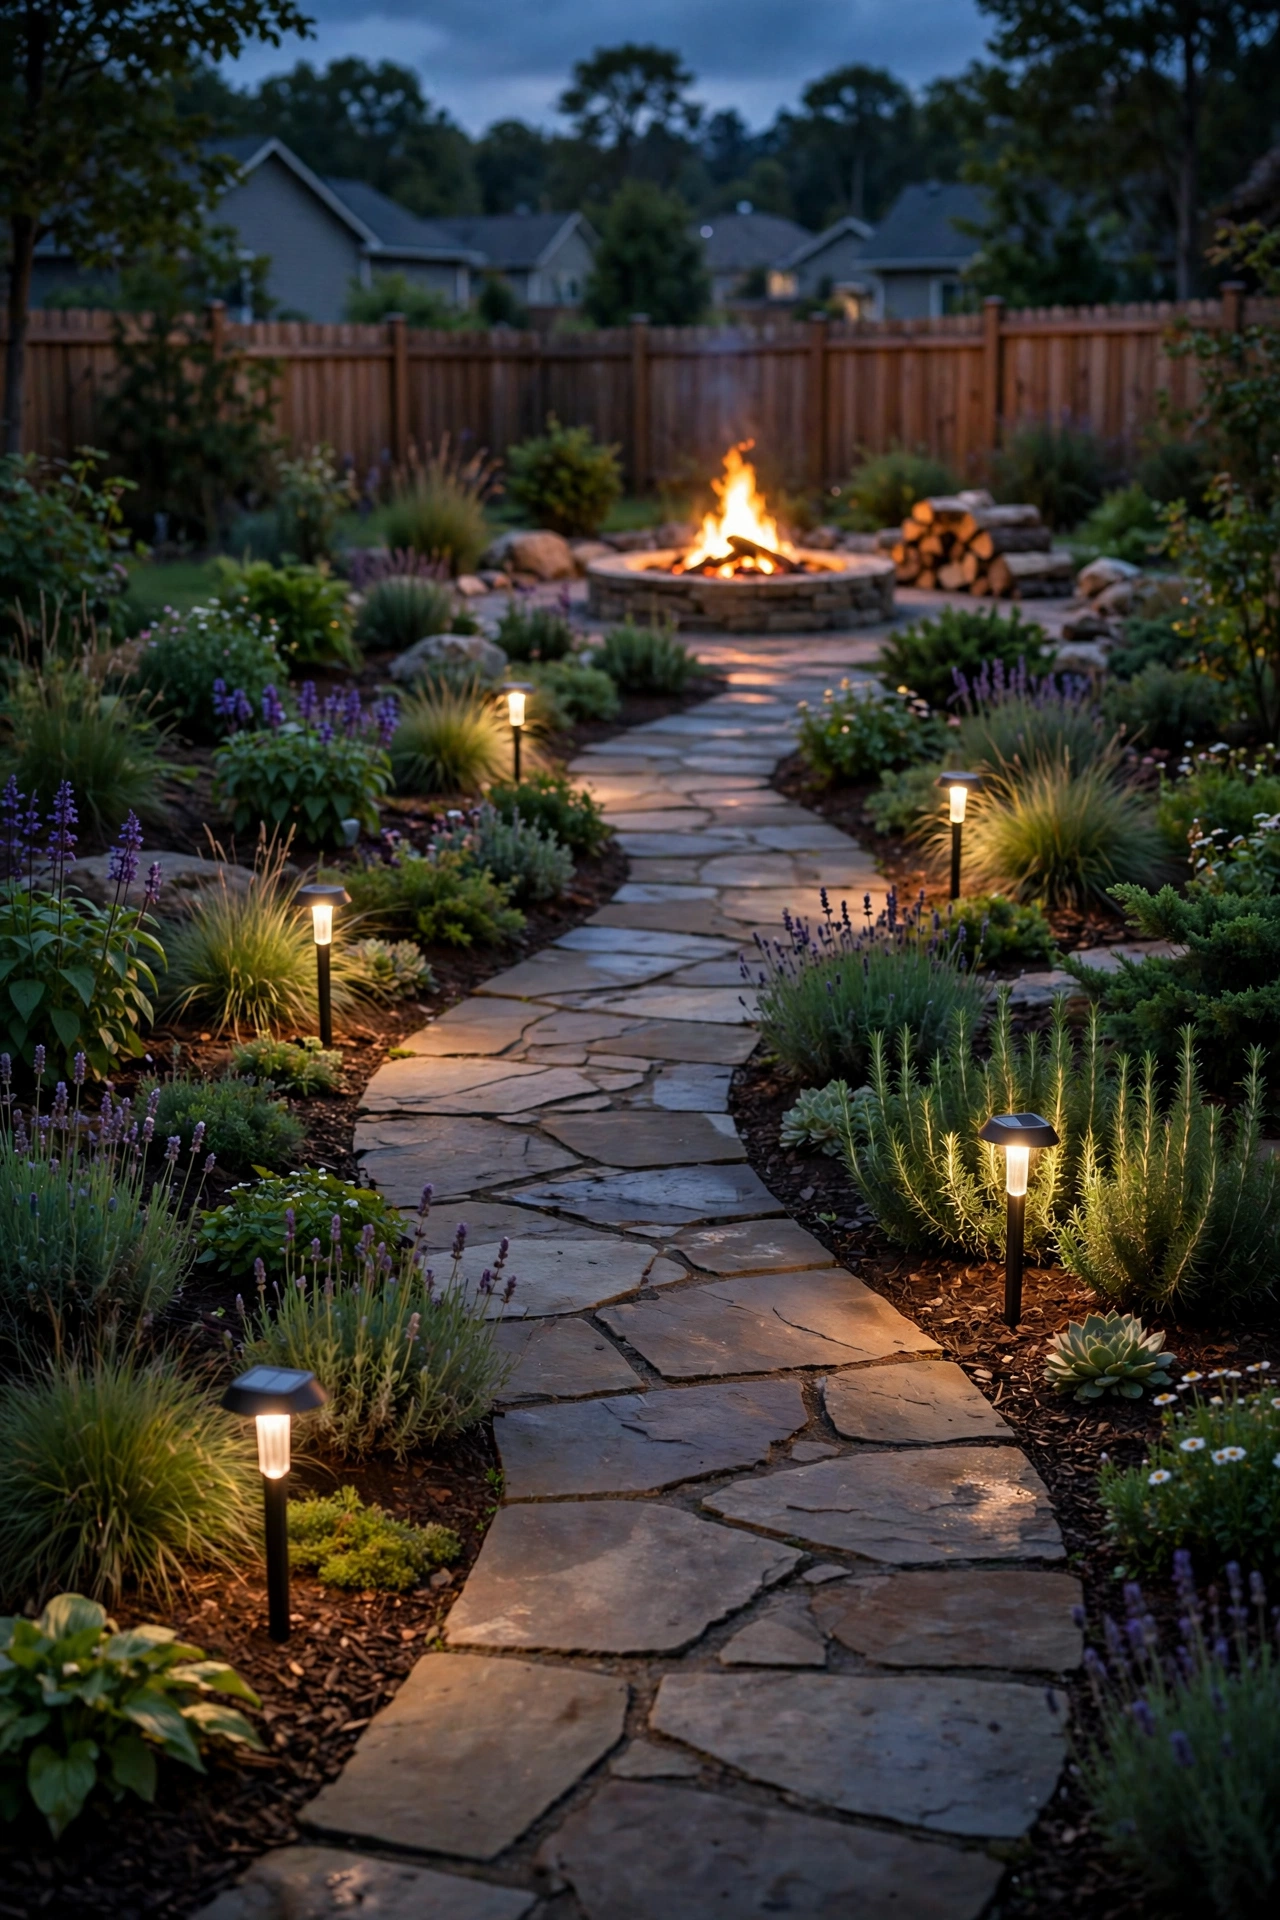
The walk from the back door to the fire pit is the most forgotten stretch of the whole setup — and the one where people actually trip. A row of solar path stakes fixes it for less than the cost of a pizza. In my experience, six to eight stakes is the sweet spot: press them into the soil (or tuck them into planters if your path is all hardscape) spaced 4 to 6 feet apart, staggered on alternating sides of the walk.
Choose warm white LEDs around 2700K to 3000K — blue-white clashes horribly with firelight. No wiring, no electrician; decent stakes run dusk to dawn on a full day's charge. Start about 3 feet from the path's beginning and end a few feet short of the seating circle.
One honest caveat: solar stakes are the dimmest option here, and a dusty panel cuts output fast. Wipe each panel with a damp cloth every month or two — it genuinely doubles how long they stay bright. And keep them at least 6 feet from the fire pit itself; the plastic housings don't belong near serious radiant heat.
Suggested budget range: $15 – $40.
3. Low-Voltage Path Lights: The Permanent Fire Pit Area Lighting Solution
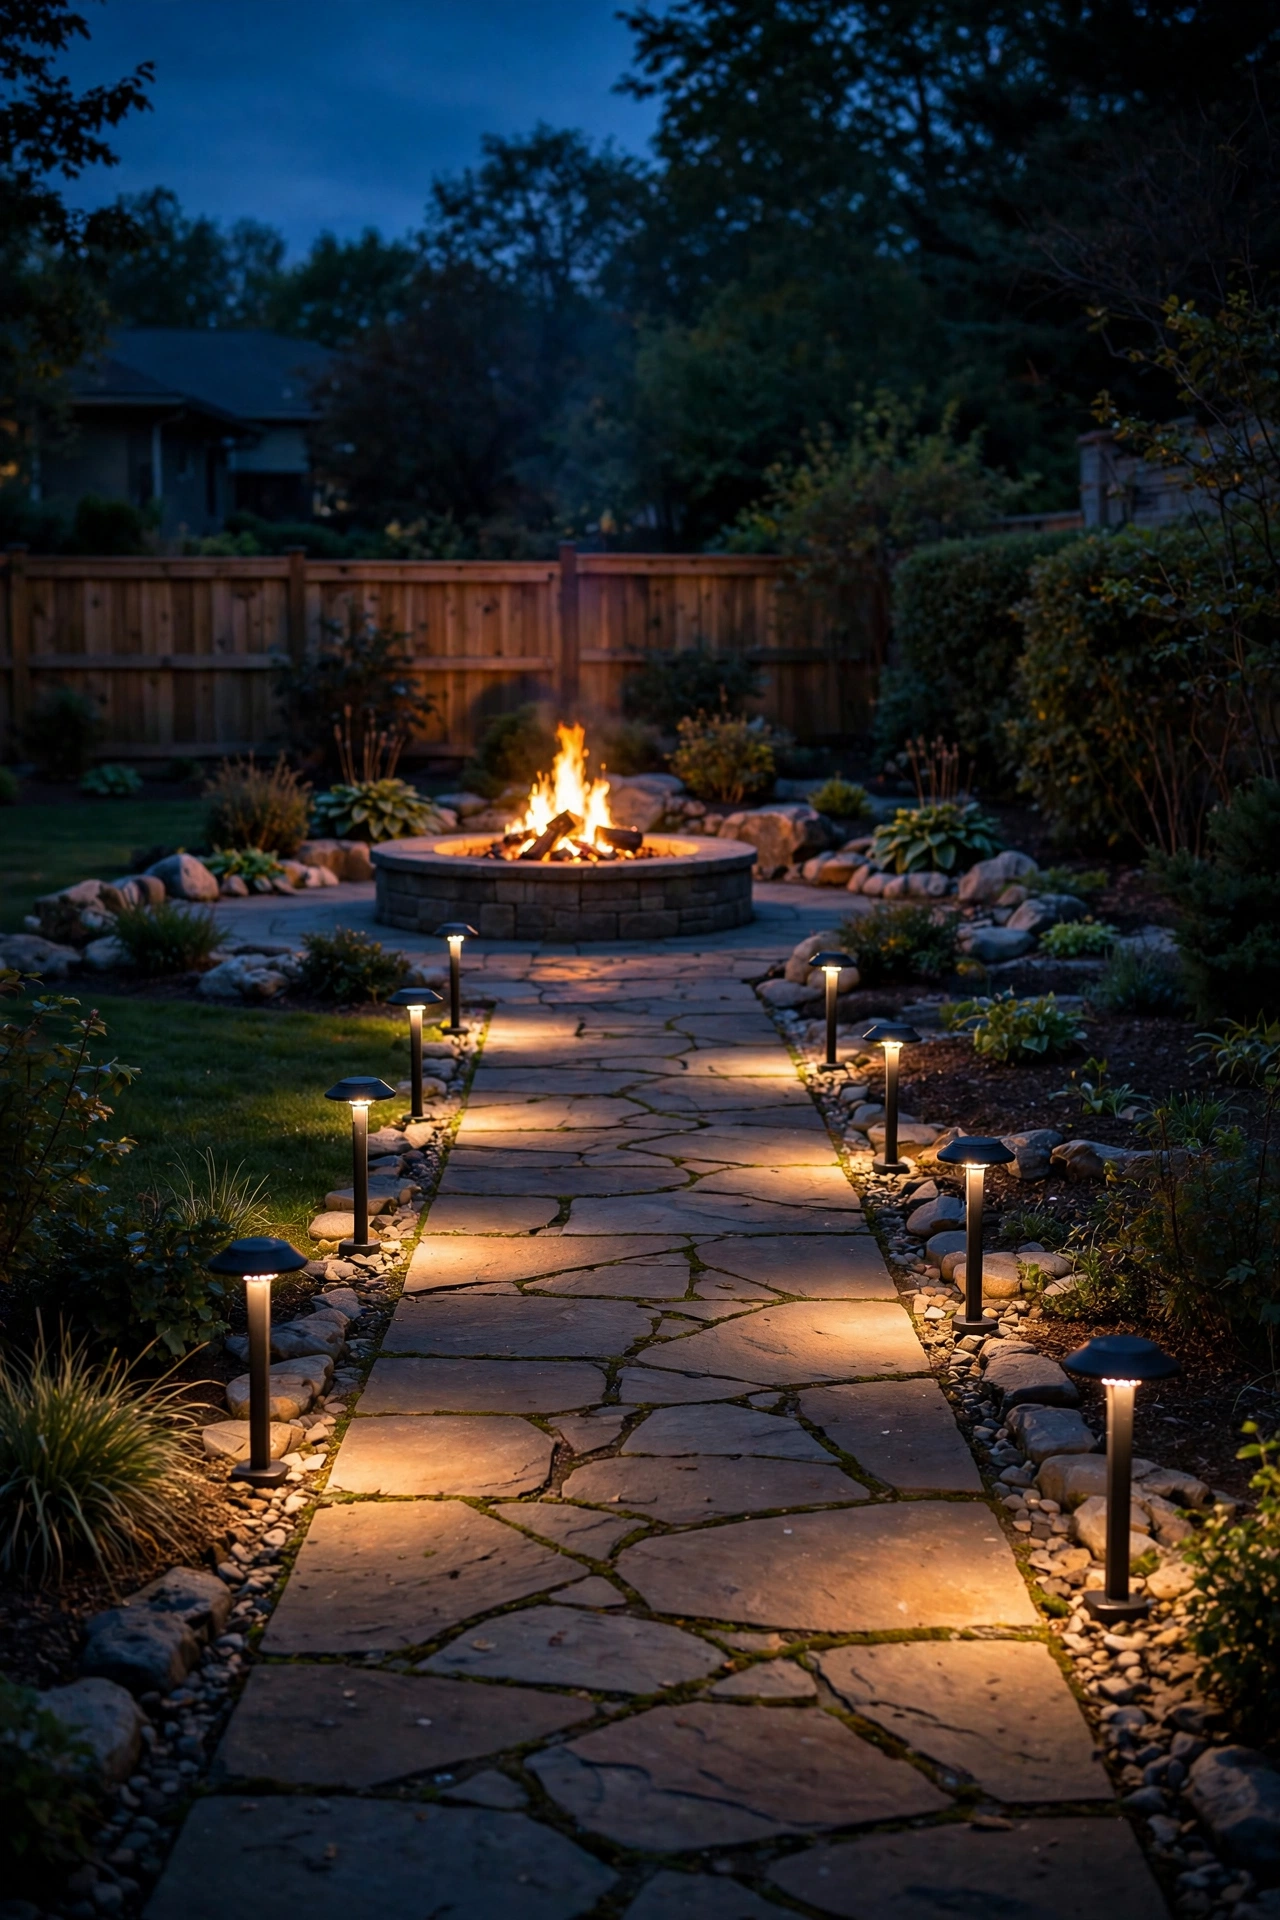
If solar stakes feel a little flimsy for your taste, a low-voltage path light system is the grown-up version — brighter, consistent, and built to last a decade. The setup: a plug-in transformer connected to a GFCI-protected outdoor outlet, with 12-volt cable buried about 6 inches deep running to each fixture. Space fixtures 6 to 8 feet apart, staggered along the path, and choose integrated-LED heads in 2700K so the color matches your firelight.
Buy one more fixture than you think you need — there's always a dark corner by the woodpile you missed. Aim each head slightly across the path rather than straight down; you get a wider wash of light and fewer harsh hot spots. Our low-voltage path lights guide covers transformer sizing and cable runs in detail.
Electrical safety matters here: only bury cable rated for direct burial, keep all wire connections inside the fixtures' weatherproof housings, and put the transformer on a timer or photocell so it clicks on at dusk. Keep the whole run at least 8 feet from the fire pit — the cable insulation doesn't need a front-row seat to the flames.
Suggested budget range: $150 – $400.
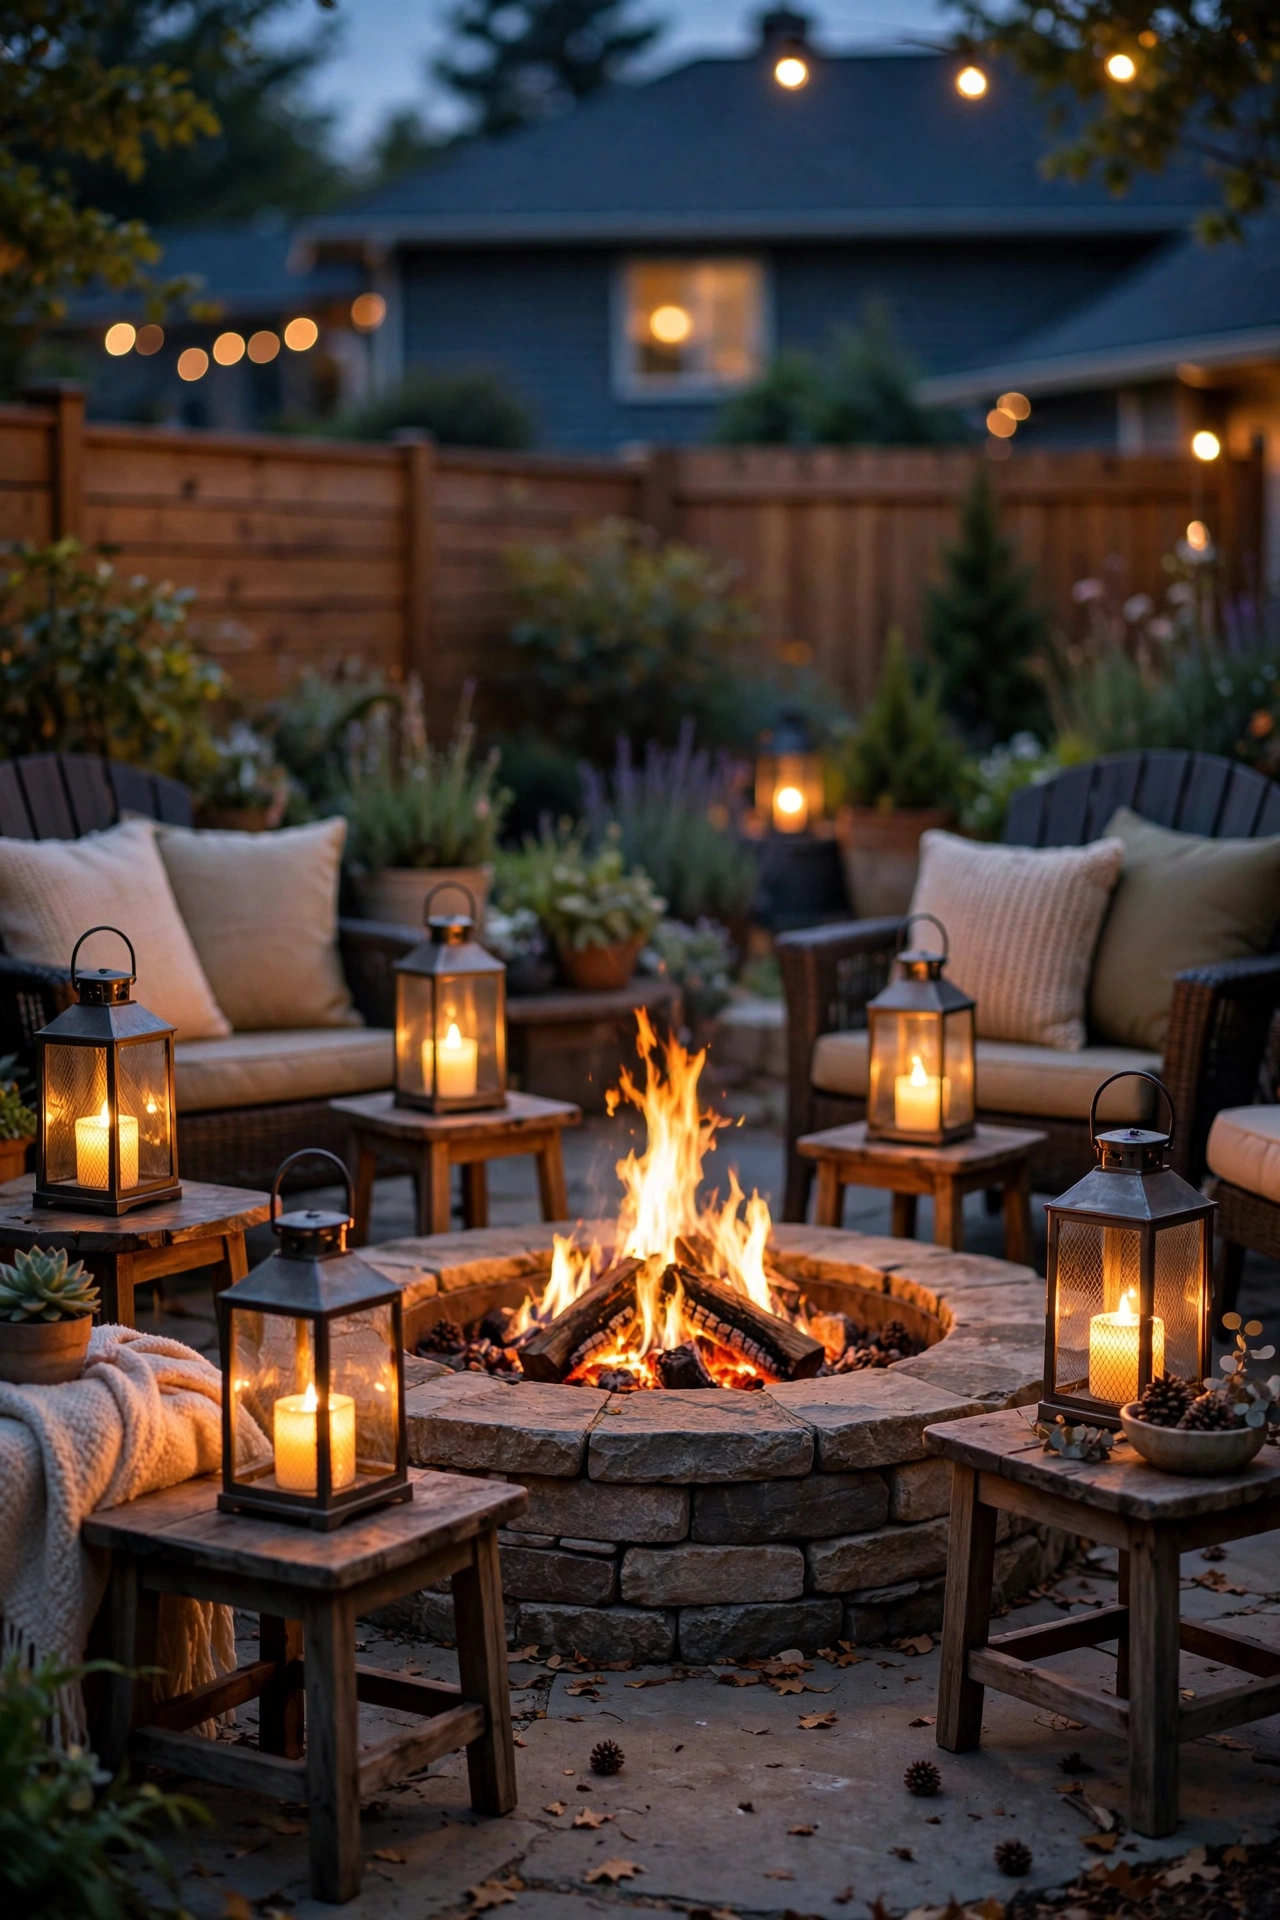
4. Flameless Lanterns on Every Side Table
Here's my hard rule: LED-only for anything within arm's reach of seating. Real candles plus kids plus a breeze plus a fire pit a few feet away is a combination I never want to be responsible for. Flameless lanterns give you the exact same flickering-tabletop look with zero risk — and honestly, once the fire's going, nobody can tell the difference.
Look for metal or wood-framed lanterns with a built-in timer (the classic 6-hours-on cycle means they light themselves at dusk). Drop a flickering LED pillar candle inside each one; the warm 2200K-to-2700K flicker reads beautifully against real firelight. I like odd-numbered clusters — three lanterns of different heights looks styled rather than scattered.
Placement is simple: one lantern per side table, a cluster of three at the s'mores station, maybe one on the arm of a wide bench. Keep them on stable, flat surfaces where they can't get knocked into laps, and bring them under cover during serious storms — most are weather-resistant, not waterproof. Swap the batteries once a season (rechargeables pay for themselves fast here) and you're set.
Suggested budget range: $20 – $60.
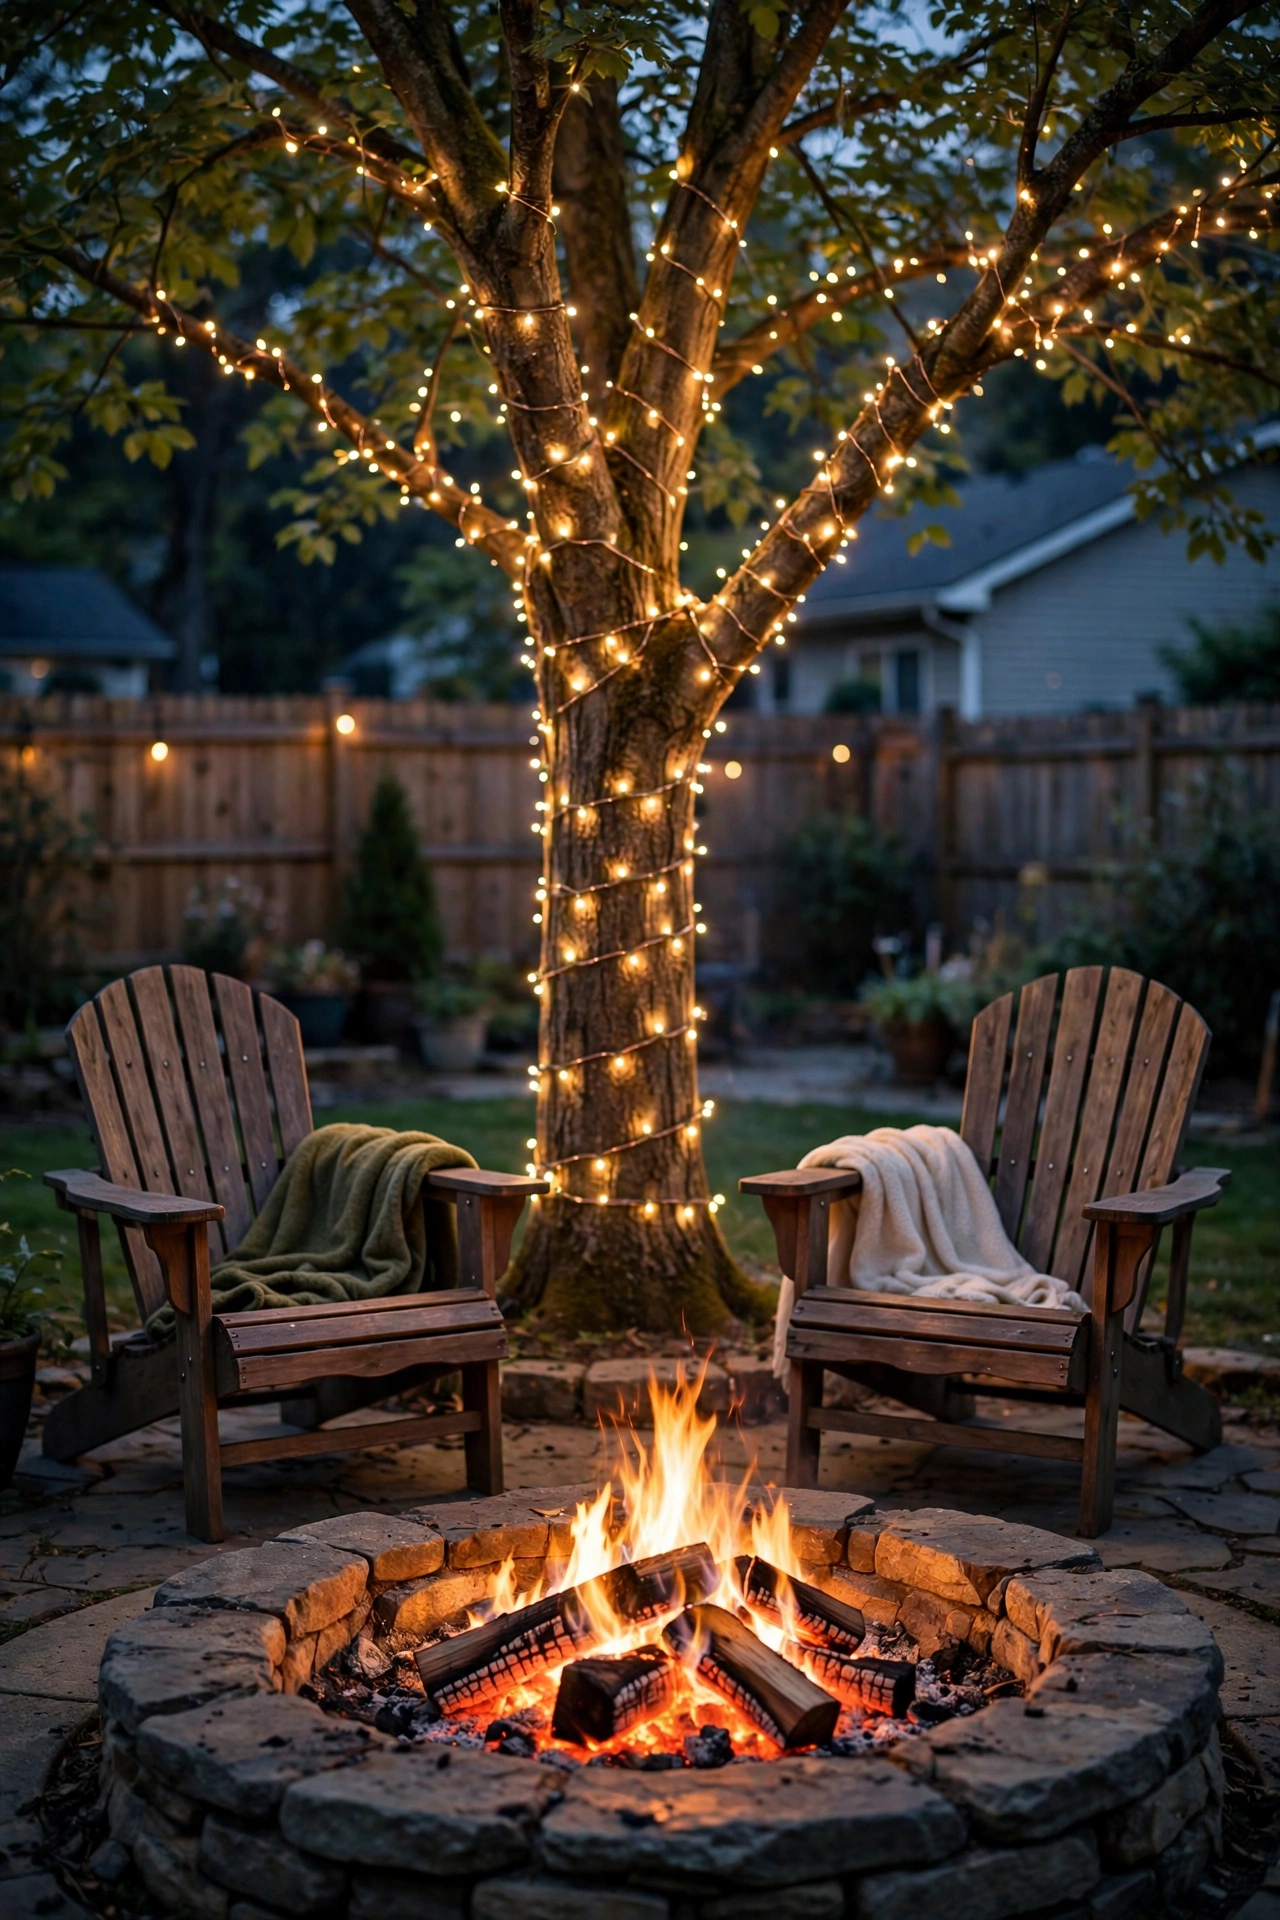
5. Fairy Lights Wrapped Through Nearby Trees
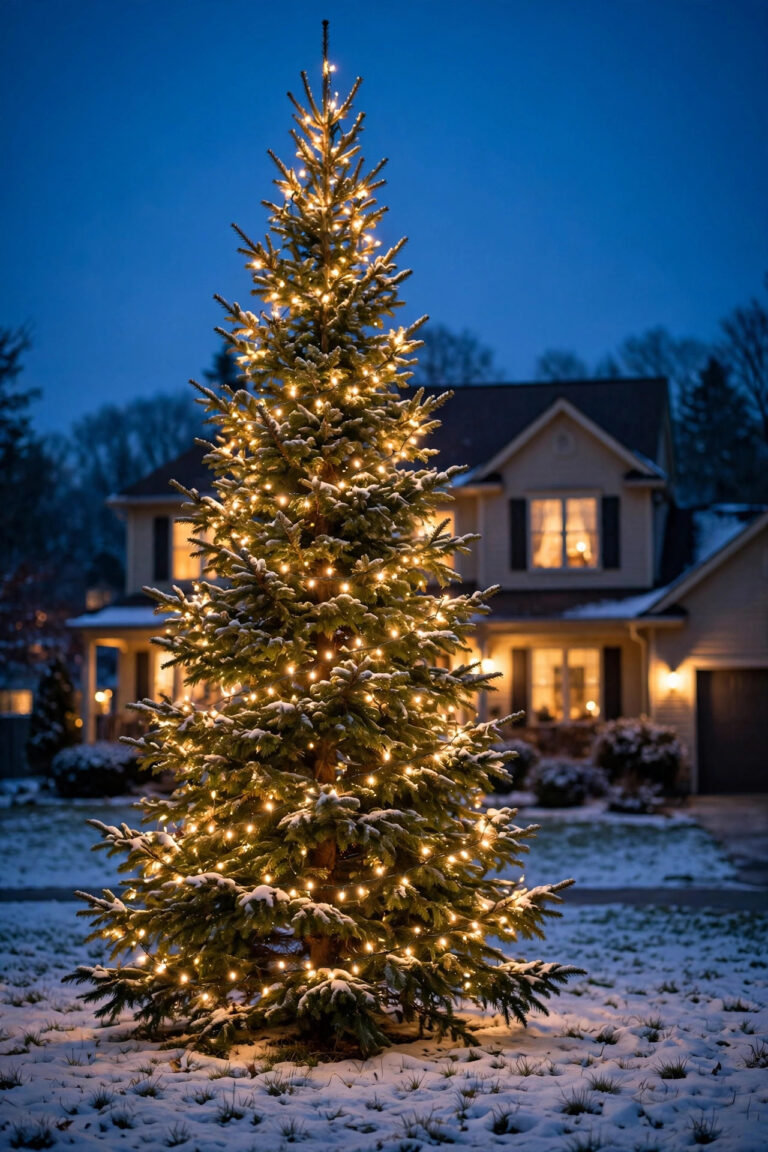
If there's a tree or large shrub anywhere near your fire pit zone, you are sitting on free ambiance — you just have to wrap it. Copper-wire fairy lights are my obsession for this: the wire is hair-thin and practically invisible by day, and at night the whole tree looks dusted with fireflies. One 66-foot strand (usually 200 tiny LEDs) wraps a 6-inch-diameter trunk with plenty left to spiral a few low branches.
Go for warm white, steady-burn rather than twinkle — twinkle mode next to a flickering fire is visual chaos. Tuck the battery pack into a small weatherproof box at the tree's base, or grab the solar version with its panel facing south. Wrap loosely — trunks grow, and a tight wrap girdles bark over time.
The safety line here is distance: keep wrapped trees and shrubs at least 10 feet from open flames, and use LED strands only — old incandescent mini-lights generate real heat and have no business near dry bark or mulch. In my experience, one wrapped tree behind the seating area does more for the mood than any single fixture you can buy.
Suggested budget range: $12 – $35.
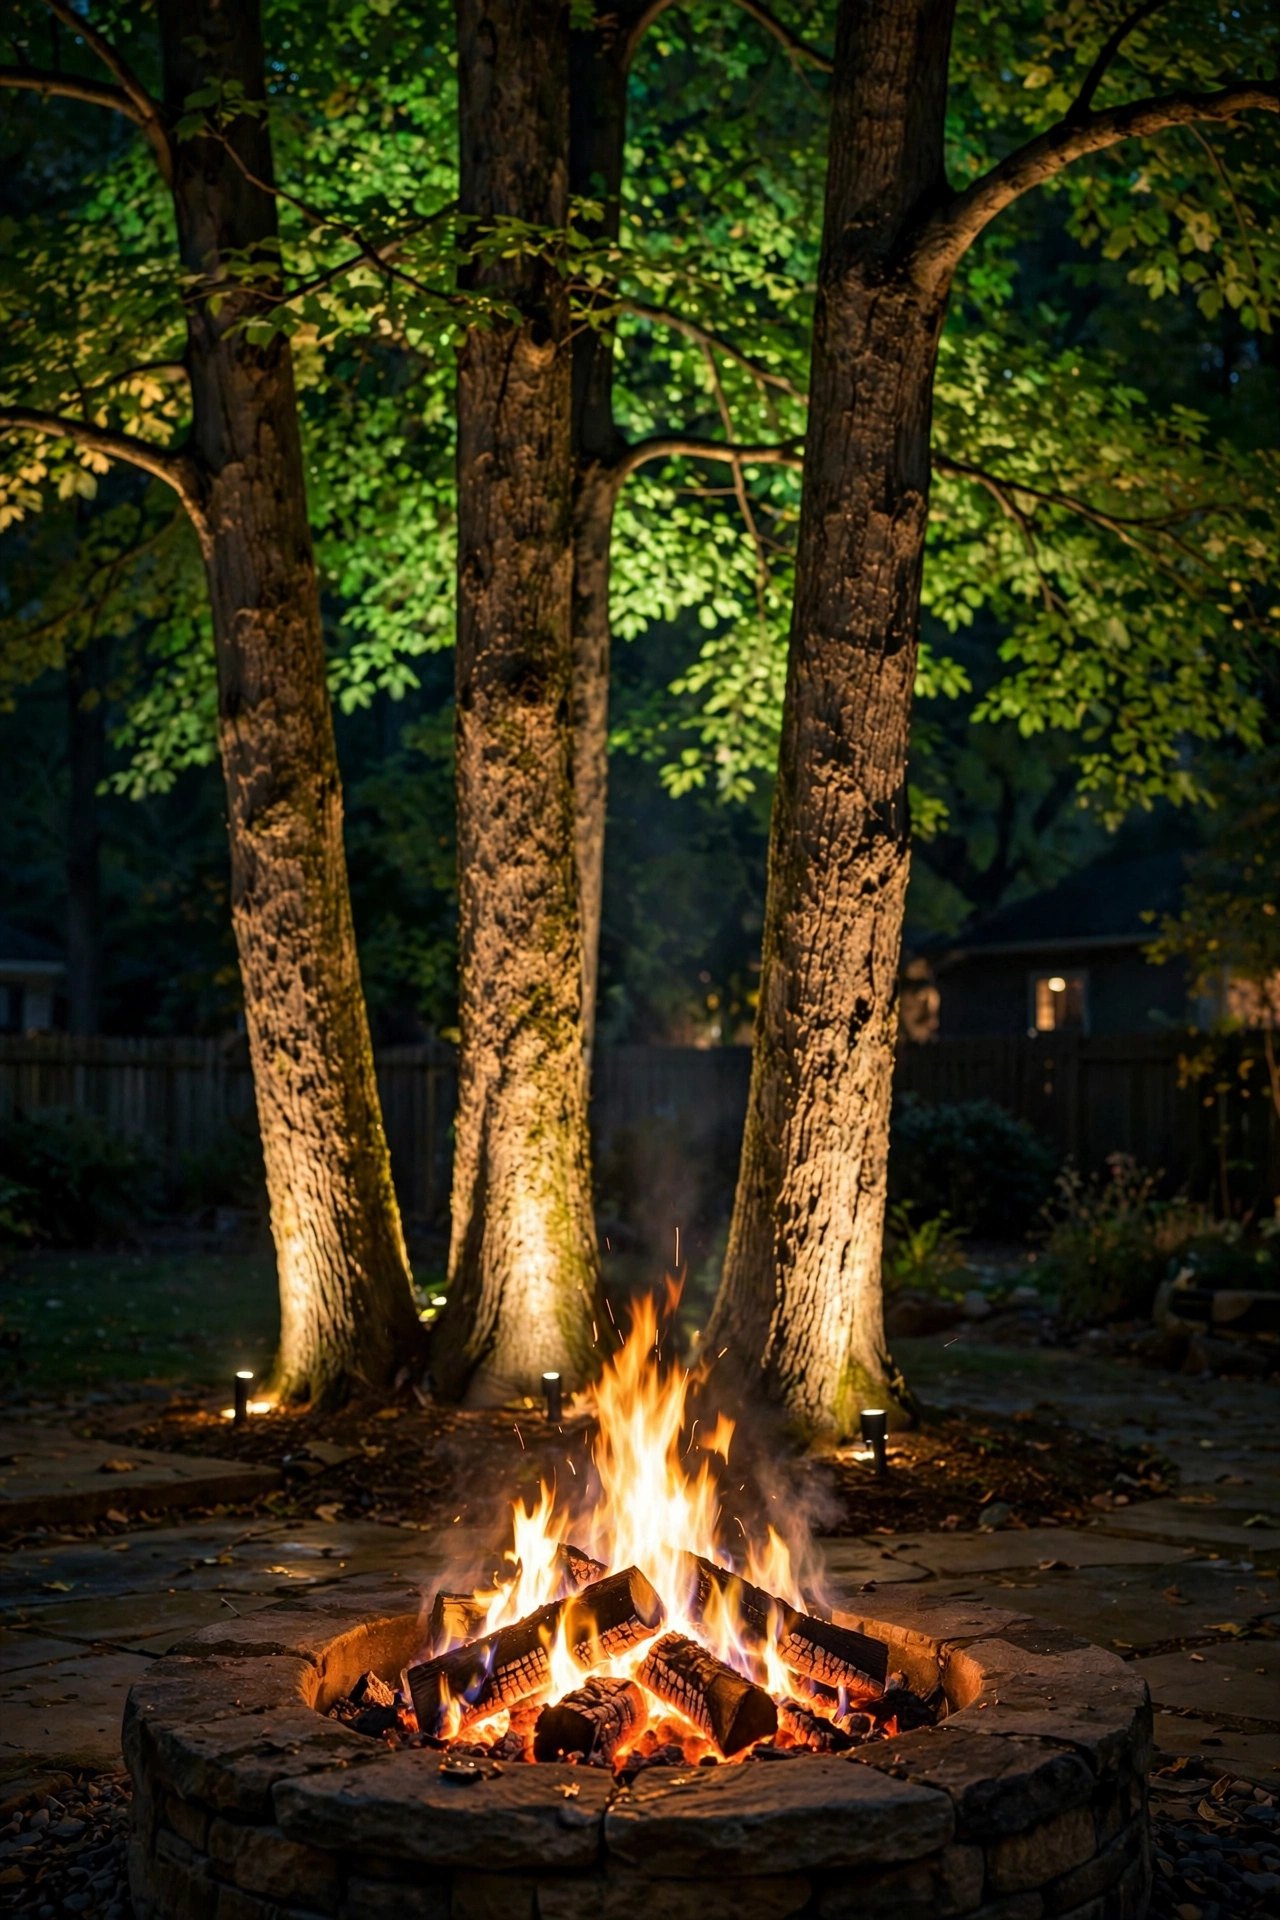
6. Uplights on Trees for a Glowing Backdrop
Here's the trick that separates "nice fire pit" from "wait, is this a resort?" — uplighting the trees behind your seating area. Two or three low-voltage LED spotlights staked at the base of a tree, aimed up the trunk and into the canopy, turn a dark void behind the fire into a glowing green backdrop.
Use spotlights with a 35- to 60-degree beam spread in 2700K, aimed at the trunk from about 2 feet out — grazing the bark creates gorgeous texture on mature trees. One fixture per tree is plenty; you're painting with light, not floodlighting a parking lot. Keep every fixture at least 10 to 12 feet from the fire pit, both for heat and so the uplight doesn't compete with the flames.
This pairs beautifully with the plantings around your pit — our fire pit landscaping ideas show how the right shrubs and grasses catch uplight like they were designed for it. Put uplights on the same dusk timer as your path lights so the whole backdrop wakes up automatically. In my experience, guests always assume this one cost a fortune. It didn't.
Suggested budget range: $30 – $90.
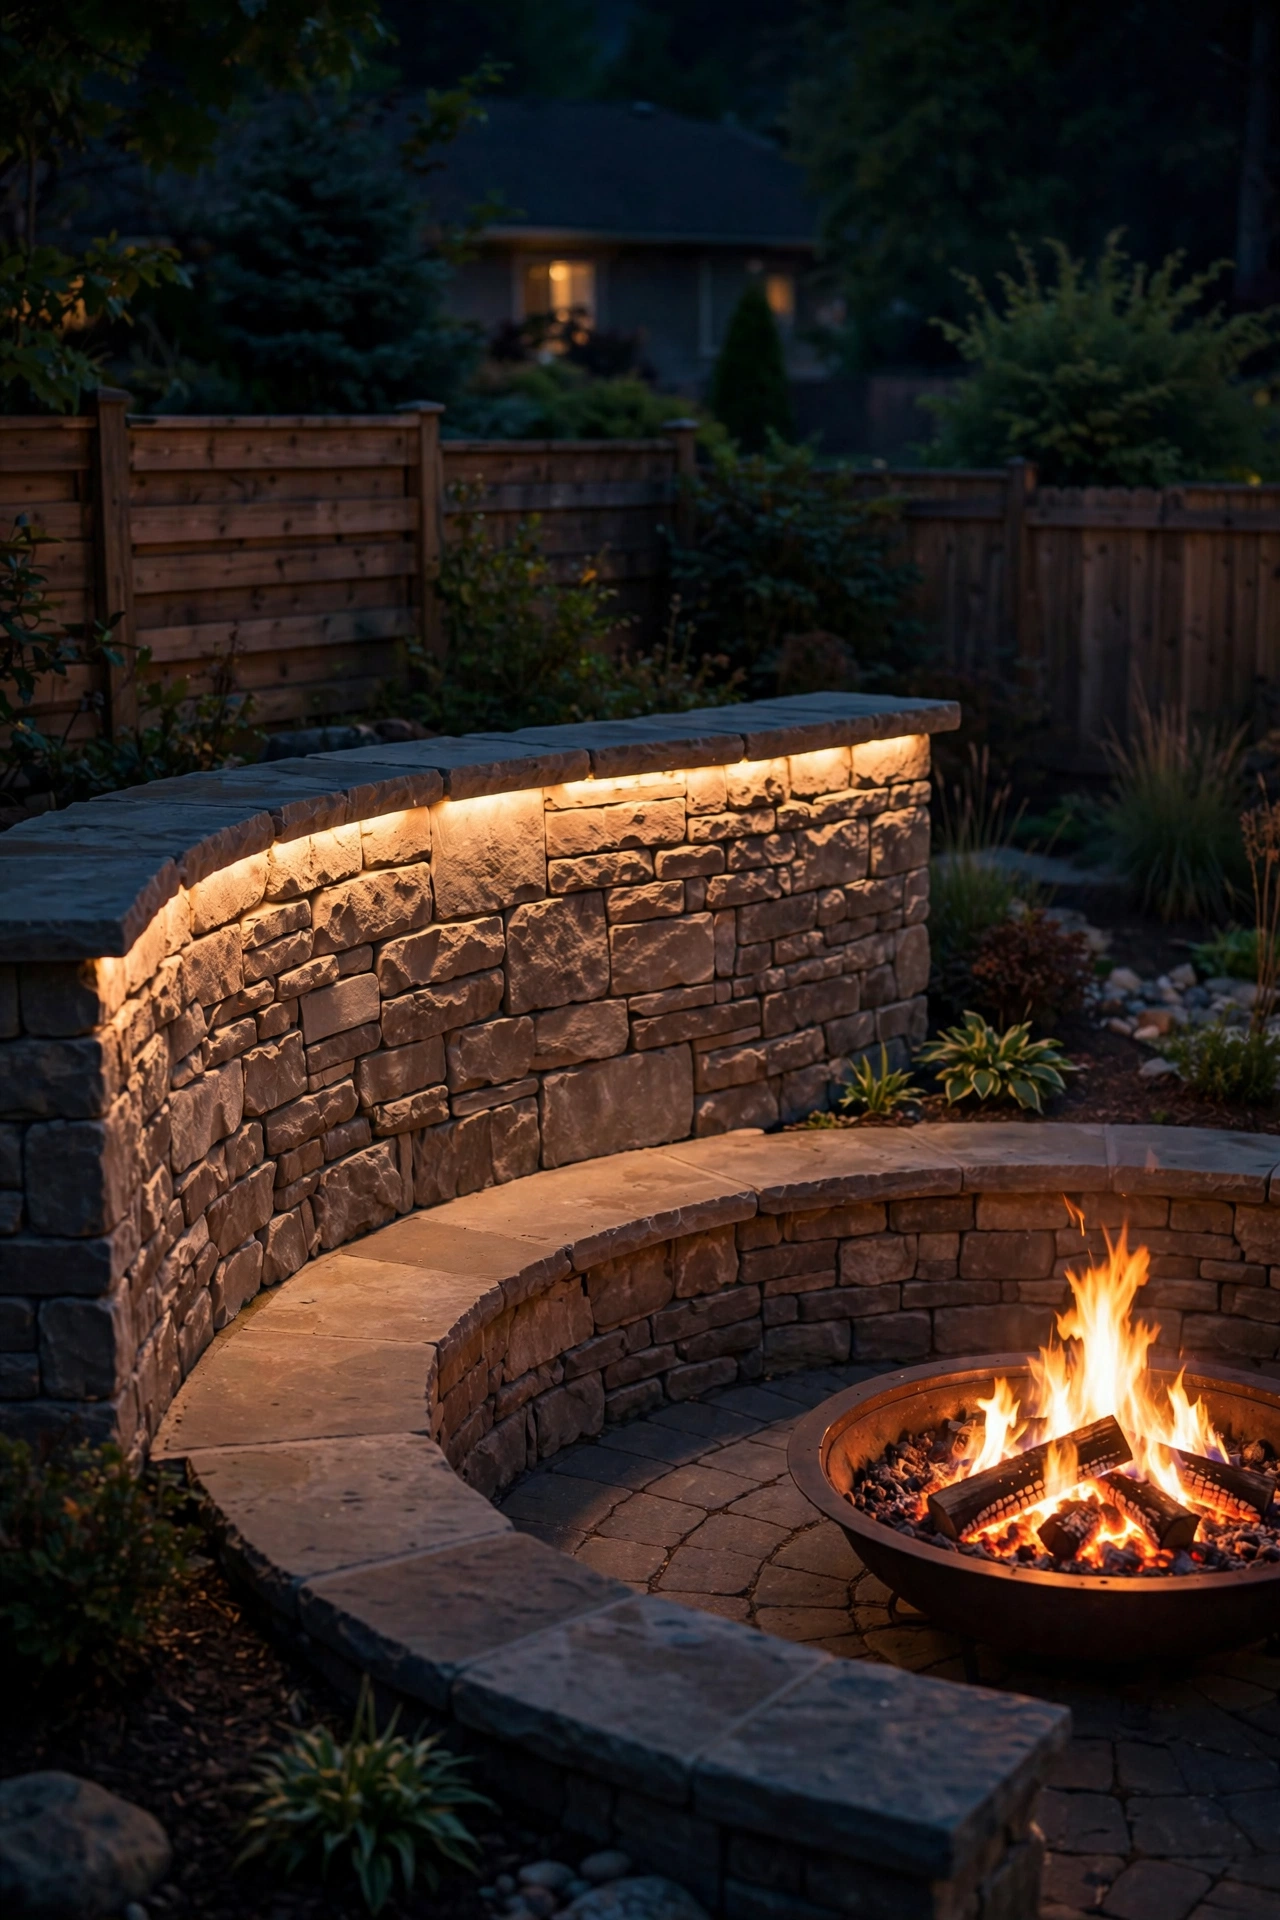
7. Under-Cap LED Strip on the Seating Wall
If your fire pit has a stone or block seating wall — or even a low retaining wall nearby — there's a hidden lighting trick built right into it. Tuck a waterproof LED strip under the lip of the capstones and you get a soft wash of light spilling down the wall face: no visible fixtures, no glare, just a floating-glow effect that makes the whole seating area feel custom-built.
Use a 12-volt silicone-coated strip rated IP67 (fully weatherproof) in 2700K, mounted in a slim aluminum channel — the channel acts as a heat sink and keeps the strip perfectly straight, which matters because every wobble shows. Adhere the channel under the cap with exterior construction adhesive, run the wire to a small plug-in transformer on a timer, and hide the transformer behind the wall.
Measure twice — cut strips only at the marked points (usually every 4 inches) — and keep the strip 8-plus feet from the fire pit opening, since radiant heat softens adhesive over time. The effect is subtle in the best way — it lights shins and feet so nobody misses a step, without a single visible bulb.
Suggested budget range: $35 – $100.
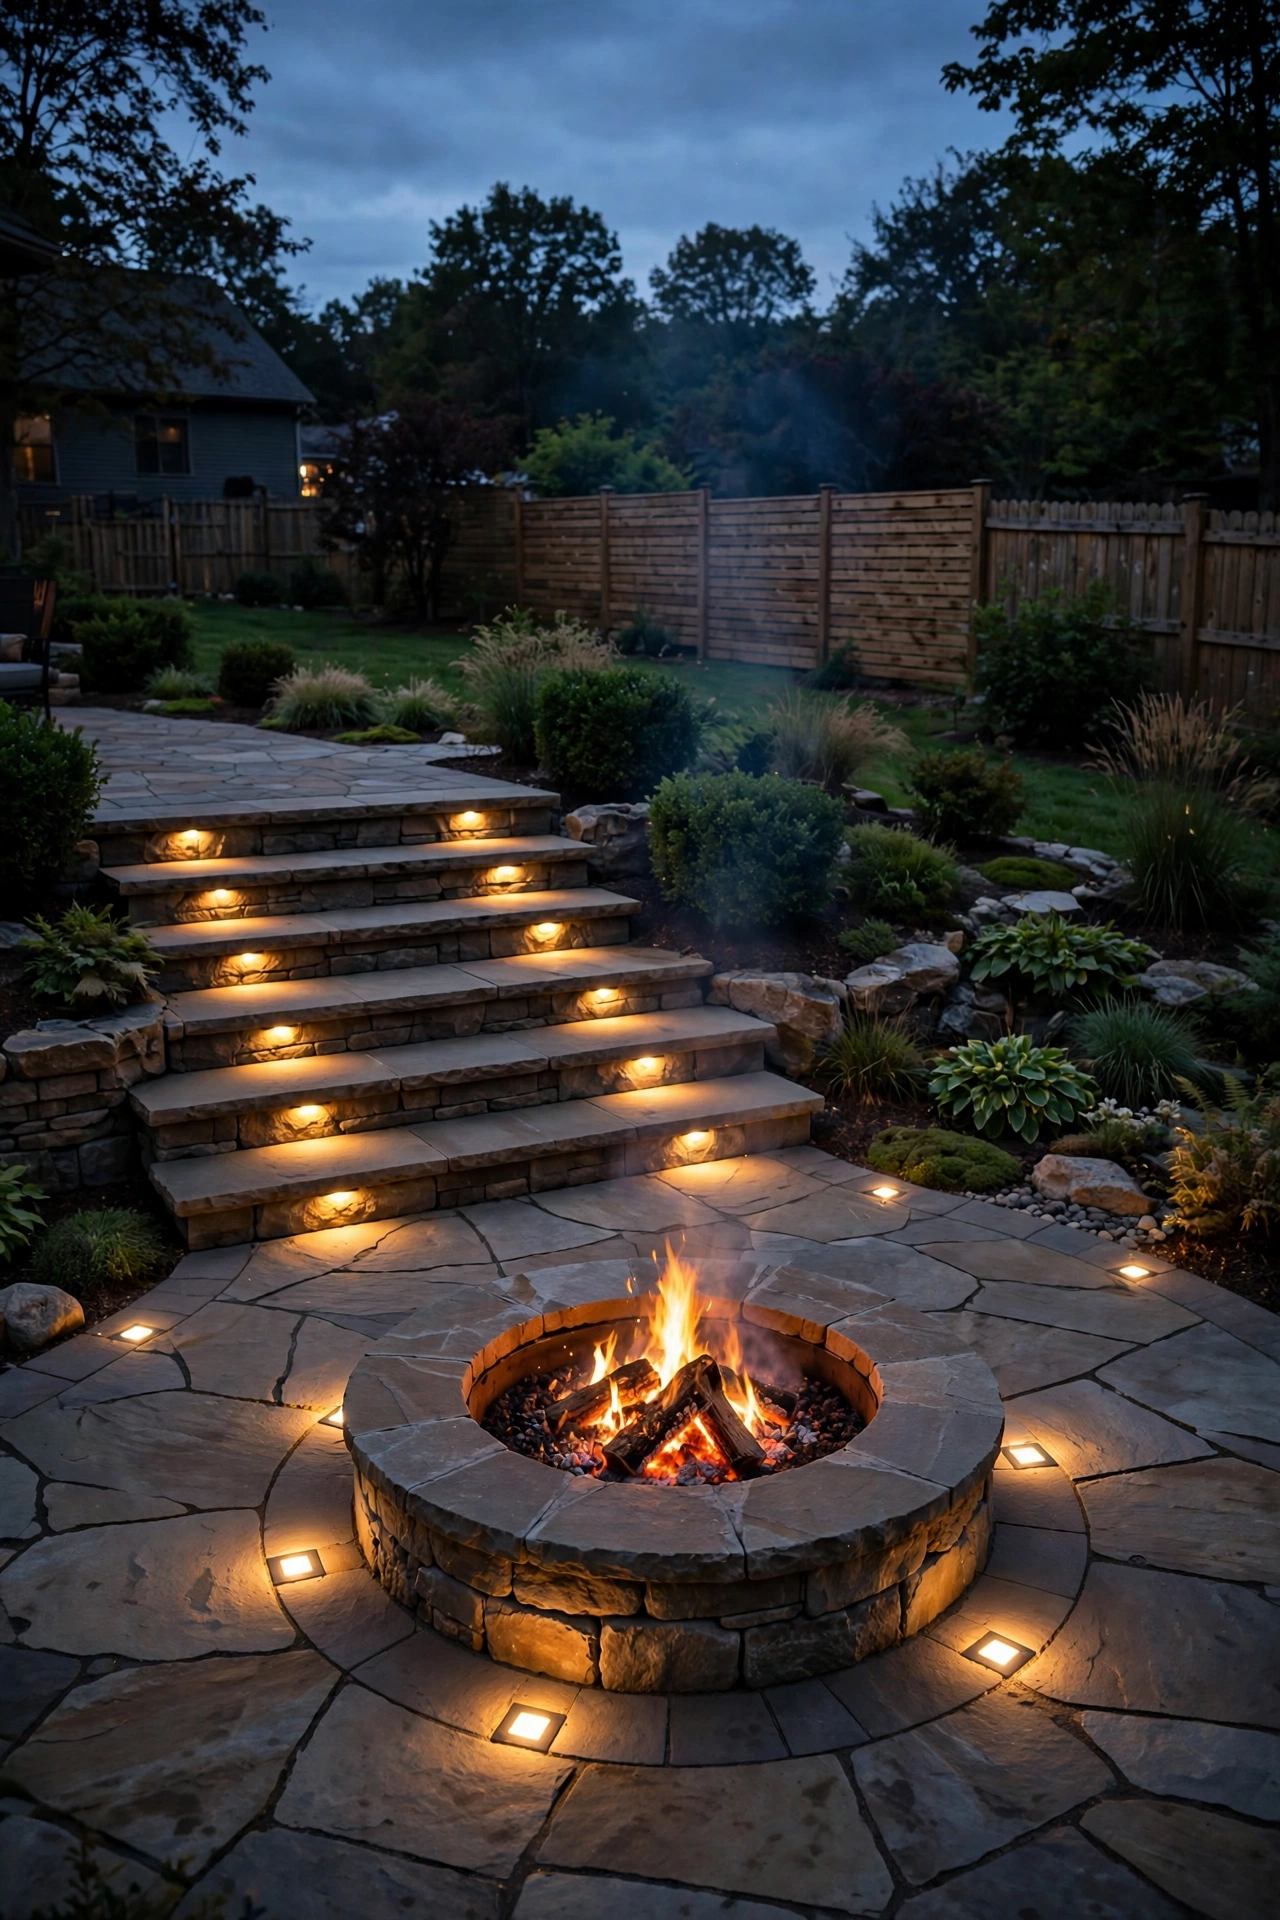
8. Recessed Paver Lights for Steps and Edges
Elevation changes are the number-one trip hazard around a fire pit area — one step down from the patio to the pit pad, a low wall edge, the lip of a paver border — and they're invisible once the fire's the only light source. Recessed paver lights solve it elegantly: small, flush-mounted fixtures that sit level with the surface and wash a soft pool of light exactly where feet need to see.
Space them 4 to 6 feet apart along step edges or the perimeter of the pit pad, and choose warm white (2700K) so they blend with the firelight rather than shouting over it. Most are low-voltage and wire into the same transformer as path lights — one weekend project. Retrofitting? Surface-mount versions screw to the step riser — no cutting pavers required.
Keep them aimed low and outward, never up into anyone's eyes; the whole point is seeing the ground, not creating glare. And here's a styling bonus I love: a ring of paver lights around the pit pad subtly defines the "seating zone" the way an area rug defines a living room. Same psychology, outdoors, and it photographs beautifully.
Suggested budget range: $40 – $120.
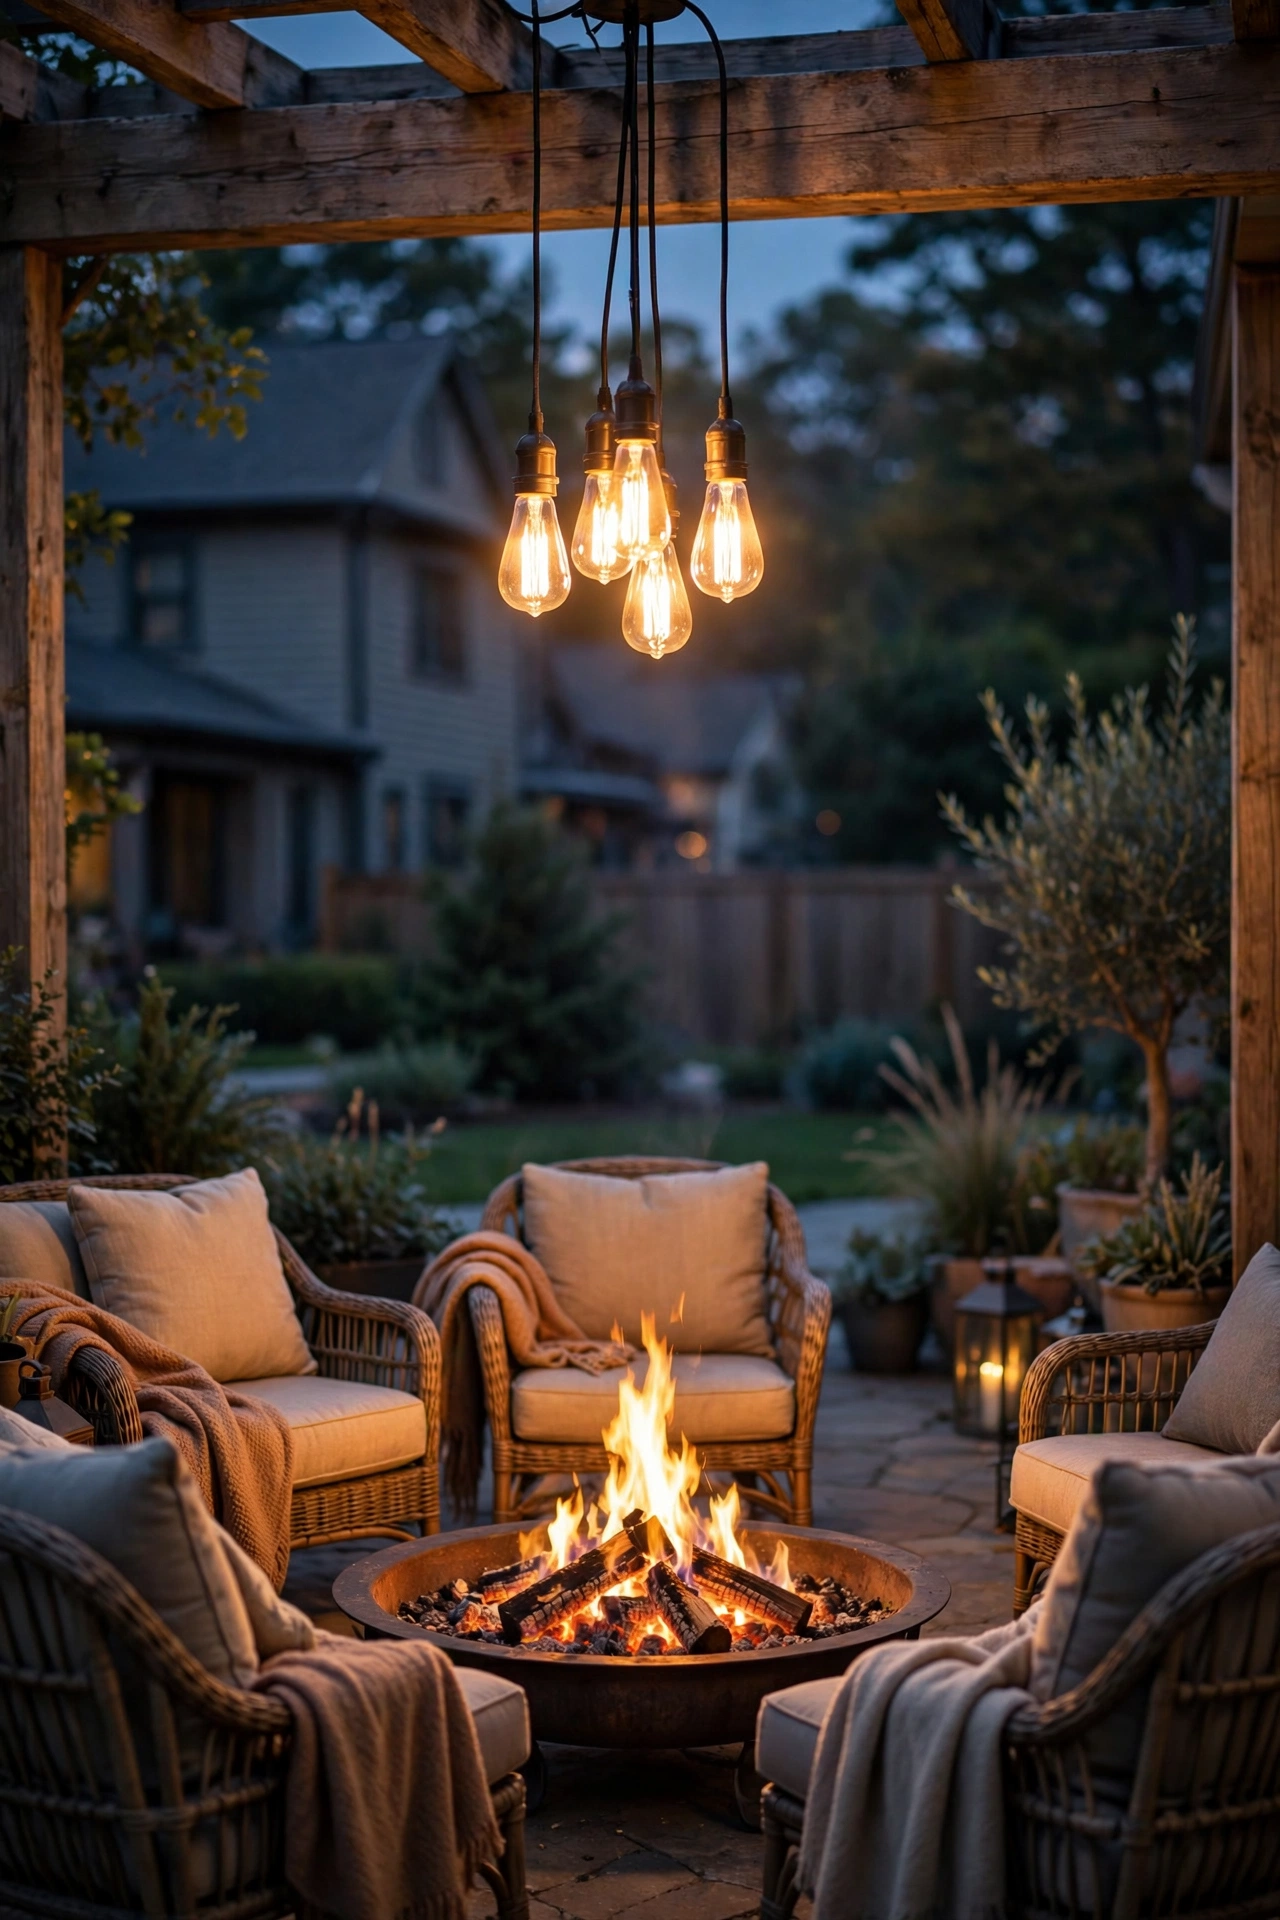
9. A Pendant or Outdoor Chandelier Under the Pergola
If your fire pit sits under a pergola or pavilion roof, congratulations — you get to hang the jewelry. An outdoor-rated pendant or small chandelier hung from the center beam becomes the anchor for the whole seating area, pulling the eye up and making the space feel like an actual outdoor room. Hang it with 7 feet of clearance below — tall guests should walk under it, not duck.
Use dimmable LED filament bulbs in 2700K — the visible filaments echo the fire's glow beautifully. A plug-in swag cord along the beam to the nearest outlet keeps it renter-friendly, and a plug-in dimmer gives you that late-night ember mood. "Damp rated" is fine under a solid roof; if rain can blow in sideways, step up to "wet rated."
The one rule I'll never bend: nothing hanging goes anywhere near the fire's heat column. Center the fixture over the seating area, not over the pit itself, and keep at least 10 feet of horizontal distance from open flames. Heat rises fast and hot, and even outdoor-rated fixtures have limits. Done right, this is the piece guests photograph.
Suggested budget range: $60 – $200.
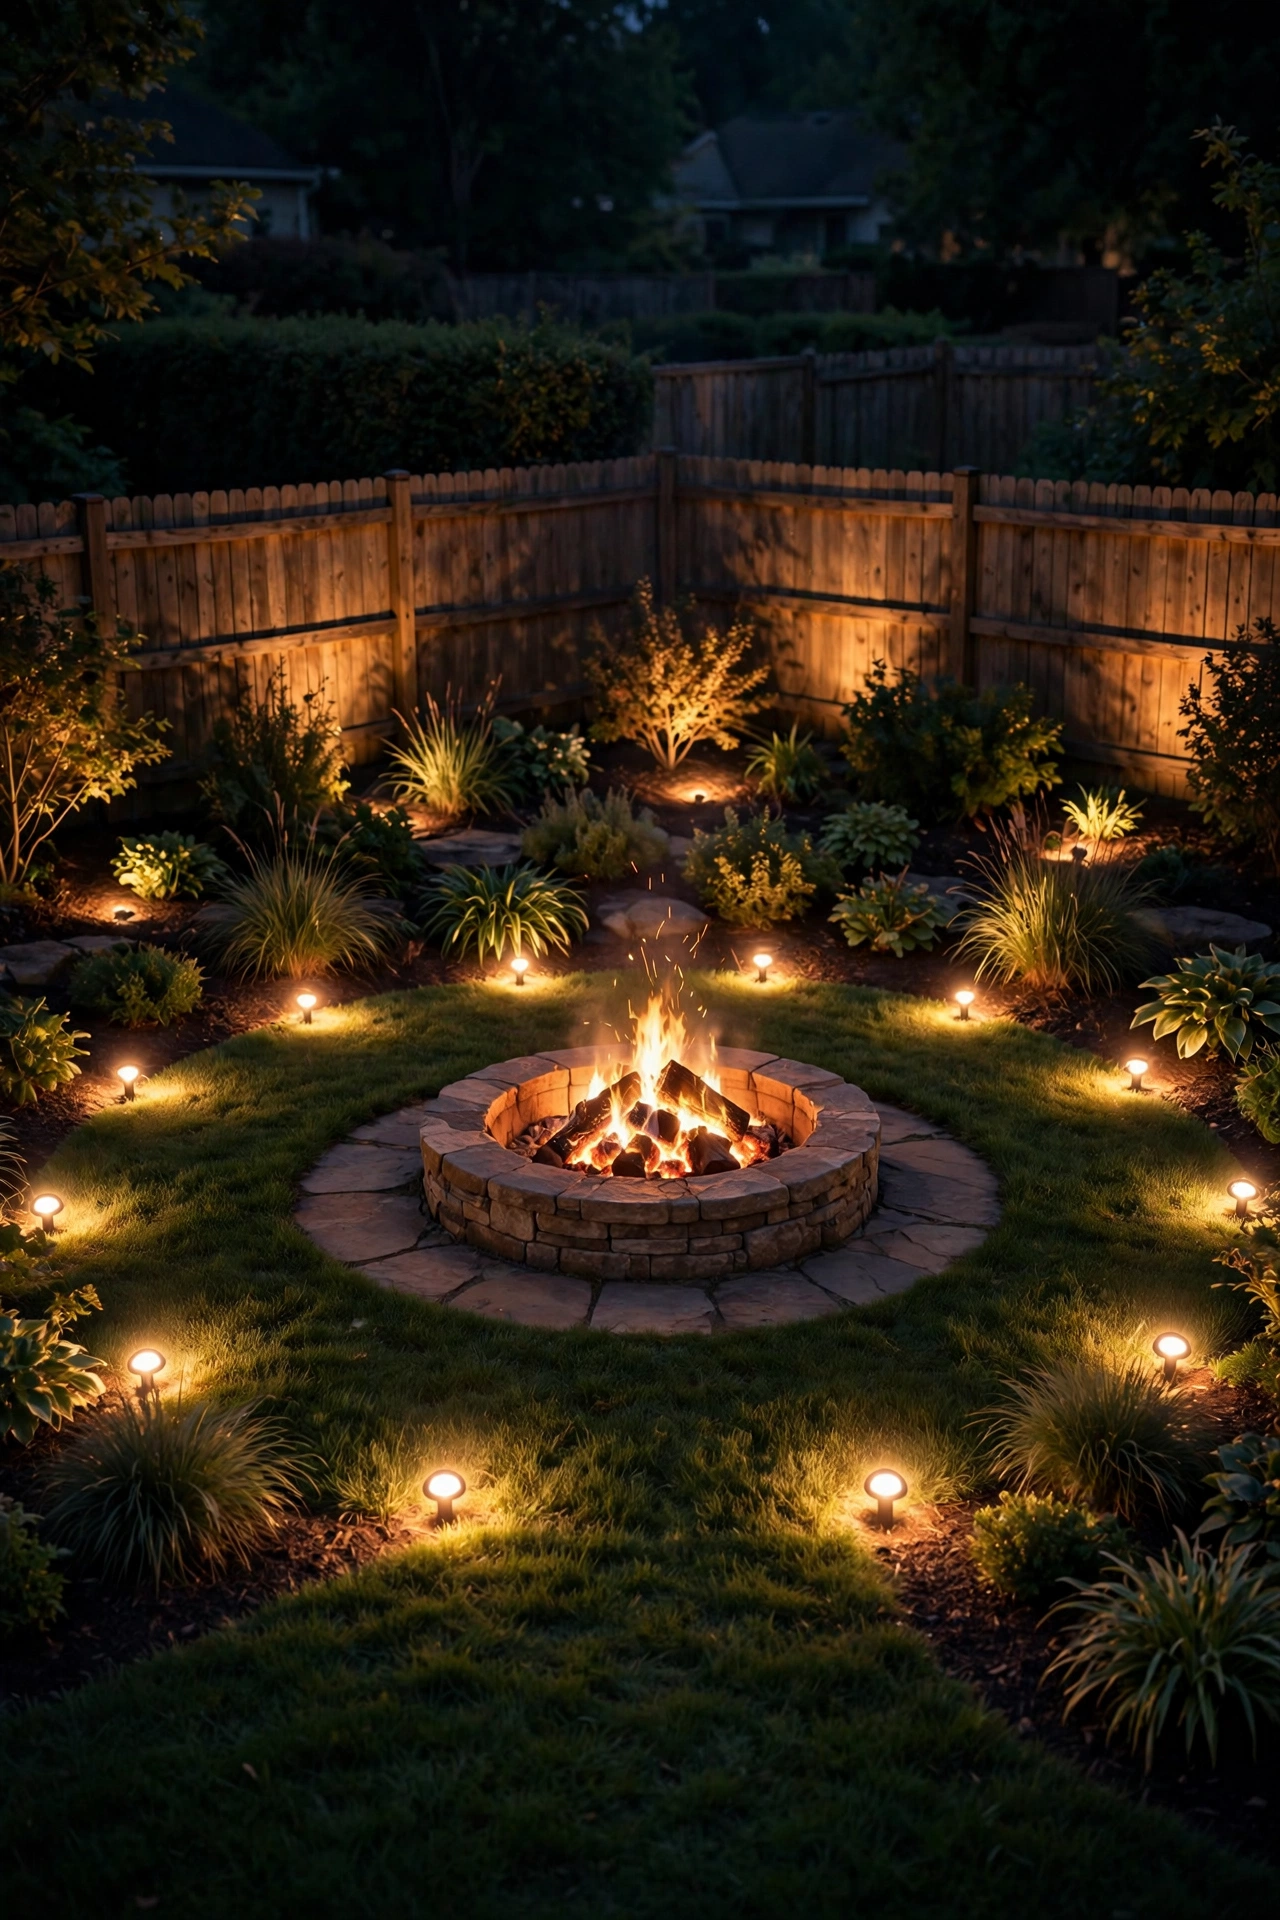
10. In-Ground Well Lights Ringing the Zone
For the most polished, "a designer did this" look on the list, sink a ring of in-ground well lights around your fire pit zone. Four to six fixtures set 10 to 12 feet out from the pit's center, aimed outward at the seating backs, nearby plantings, or a fence — never inward toward the fire or anyone's eyes. The result is a soft halo of light that makes the whole area feel bigger and more intentional.
Choose well lights with shielded, glare-free tops (the louvered kind), in 2700K, and wire them into a low-voltage transformer on a dusk-to-dawn timer. Installation is just digging a fixture-deep hole and backfilling with gravel for drainage — the hardest part is committing to the layout. Lay the fixtures on the ground first, step back at dusk, and adjust before you dig.
Keep the ring 10-plus feet from flames, and never aim a beam at seated faces — uplight should kiss plants and walls, not eyeballs. In my experience, this is the upgrade people notice without being able to name: everything just looks… finished.
Suggested budget range: $80 – $250.
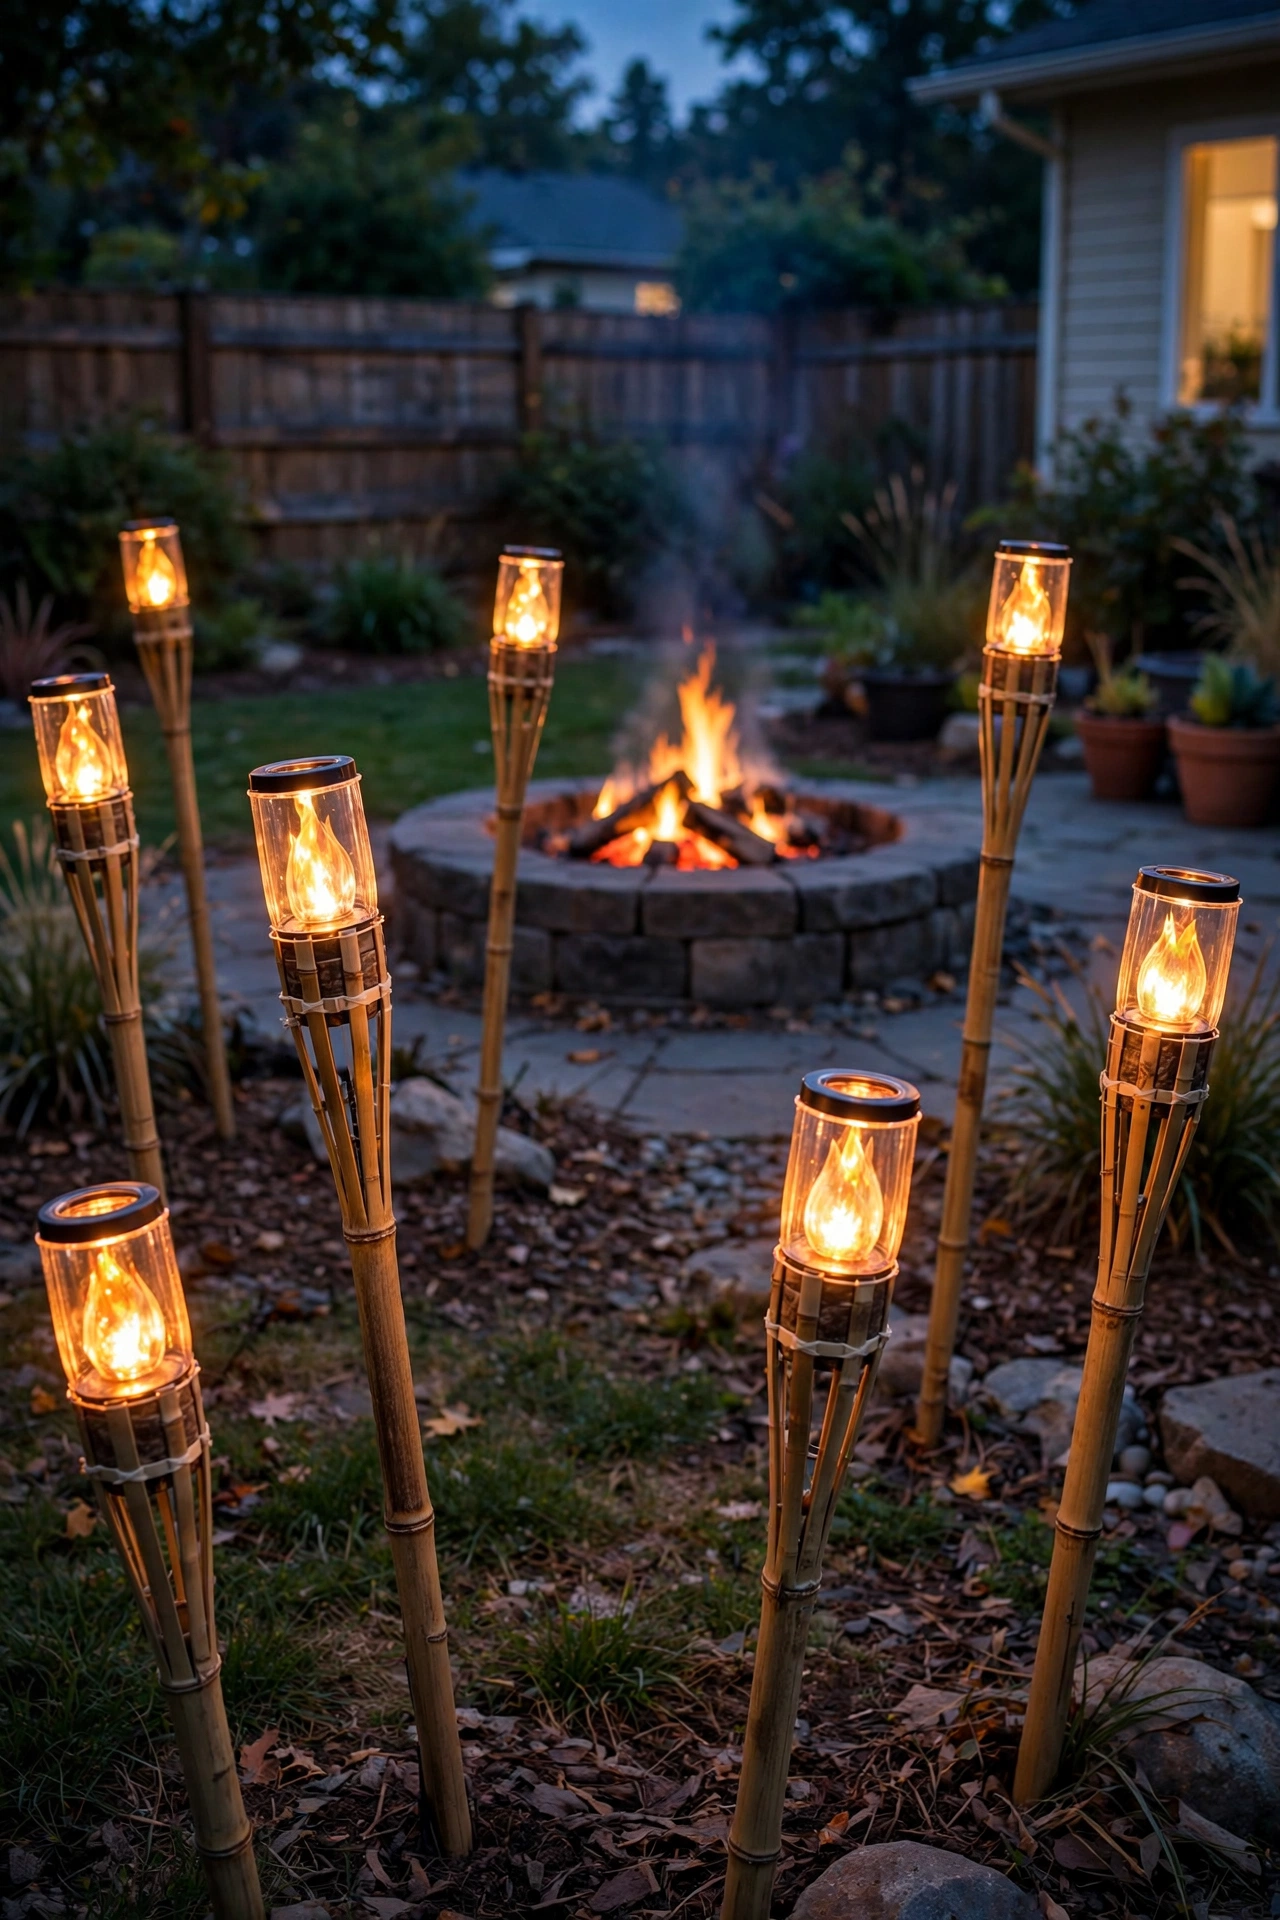
11. Flameless Flicker Tiki Torches
I love the tiki-torch look — that tropical-resort flicker — but real open flames on stakes around kids, dogs, and marshmallow sticks? Hard pass. The flameless LED versions give you the same dancing-flame effect with zero fire risk, and most people can't tell the difference once the real fire's going.
These are usually solar-powered stakes about 4 to 5 feet tall with a flickering warm LED "flame" in the head. Space four to six of them around the perimeter, 8 to 10 feet from the fire pit and at least 3 feet back from any walking path (nobody wants a torch head at elbow height on a dark path). Push the stakes firmly into soil — if your ground is loose, set each one in a small buried pot of packed soil for stability.
Styling tip: they look best in loose groupings rather than a rigid ring — cluster two near the path entrance, one by the woodpile, a couple flanking the seating. Honest review: the flicker on cheap ones can look strobe-y, so read reviews and stick to warm-toned LEDs. Solar means they fade by the wee hours — by 1 a.m., the fire's doing all the work anyway.
Suggested budget range: $25 – $70.
12. Post-Cap Lights on the Fence or Railing
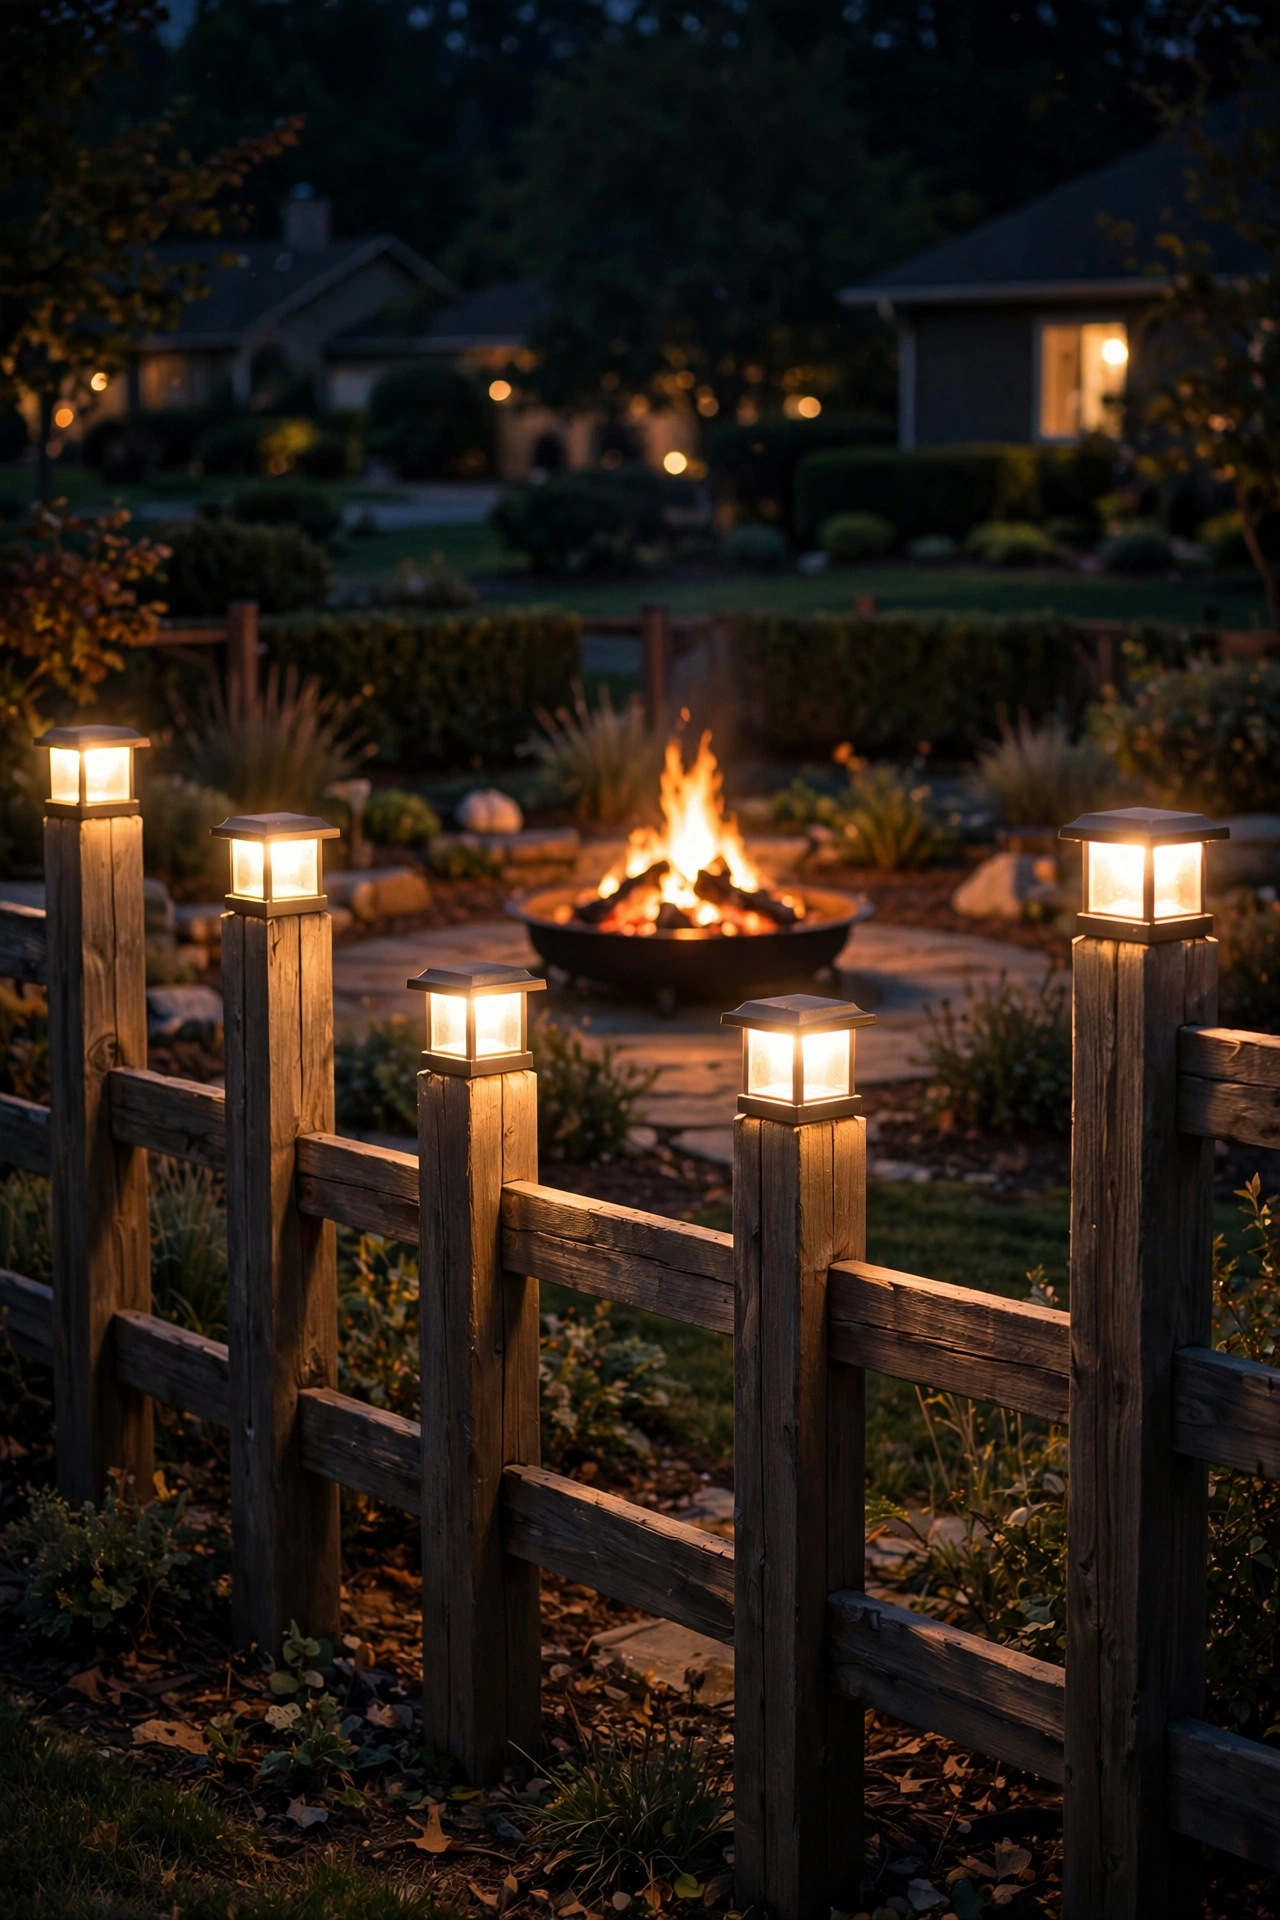
If your fire pit area is bordered by a fence, deck railing, or even a few 4×4 posts you set yourself, post-cap lights are the easiest "finished" upgrade on this list. They pop right onto standard post tops — no wiring for the solar versions — and instantly turn a plain boundary into a glowing frame around your gathering space.
Match the cap to your posts — measure first, since "4×4" lumber is actually 3.5 inches square. Solar caps install in five minutes; wired caps are brighter if you're already running a transformer. Either way, stick to warm white 2700K and put a cap on every post — skipping posts looks like missing teeth.
Keep the color consistent with the rest of your setup; mismatched color temperatures (some 2700K, some 5000K daylight) is the fastest way to make a yard look accidental. And while post caps near a fire pit are far enough from flames to be perfectly safe, I always recommend the LED versions over any real-flame post lantern — embers and wood posts are a bad combination, full stop.
Suggested budget range: $30 – $90.
13. Rope Light Under Built-In Benches
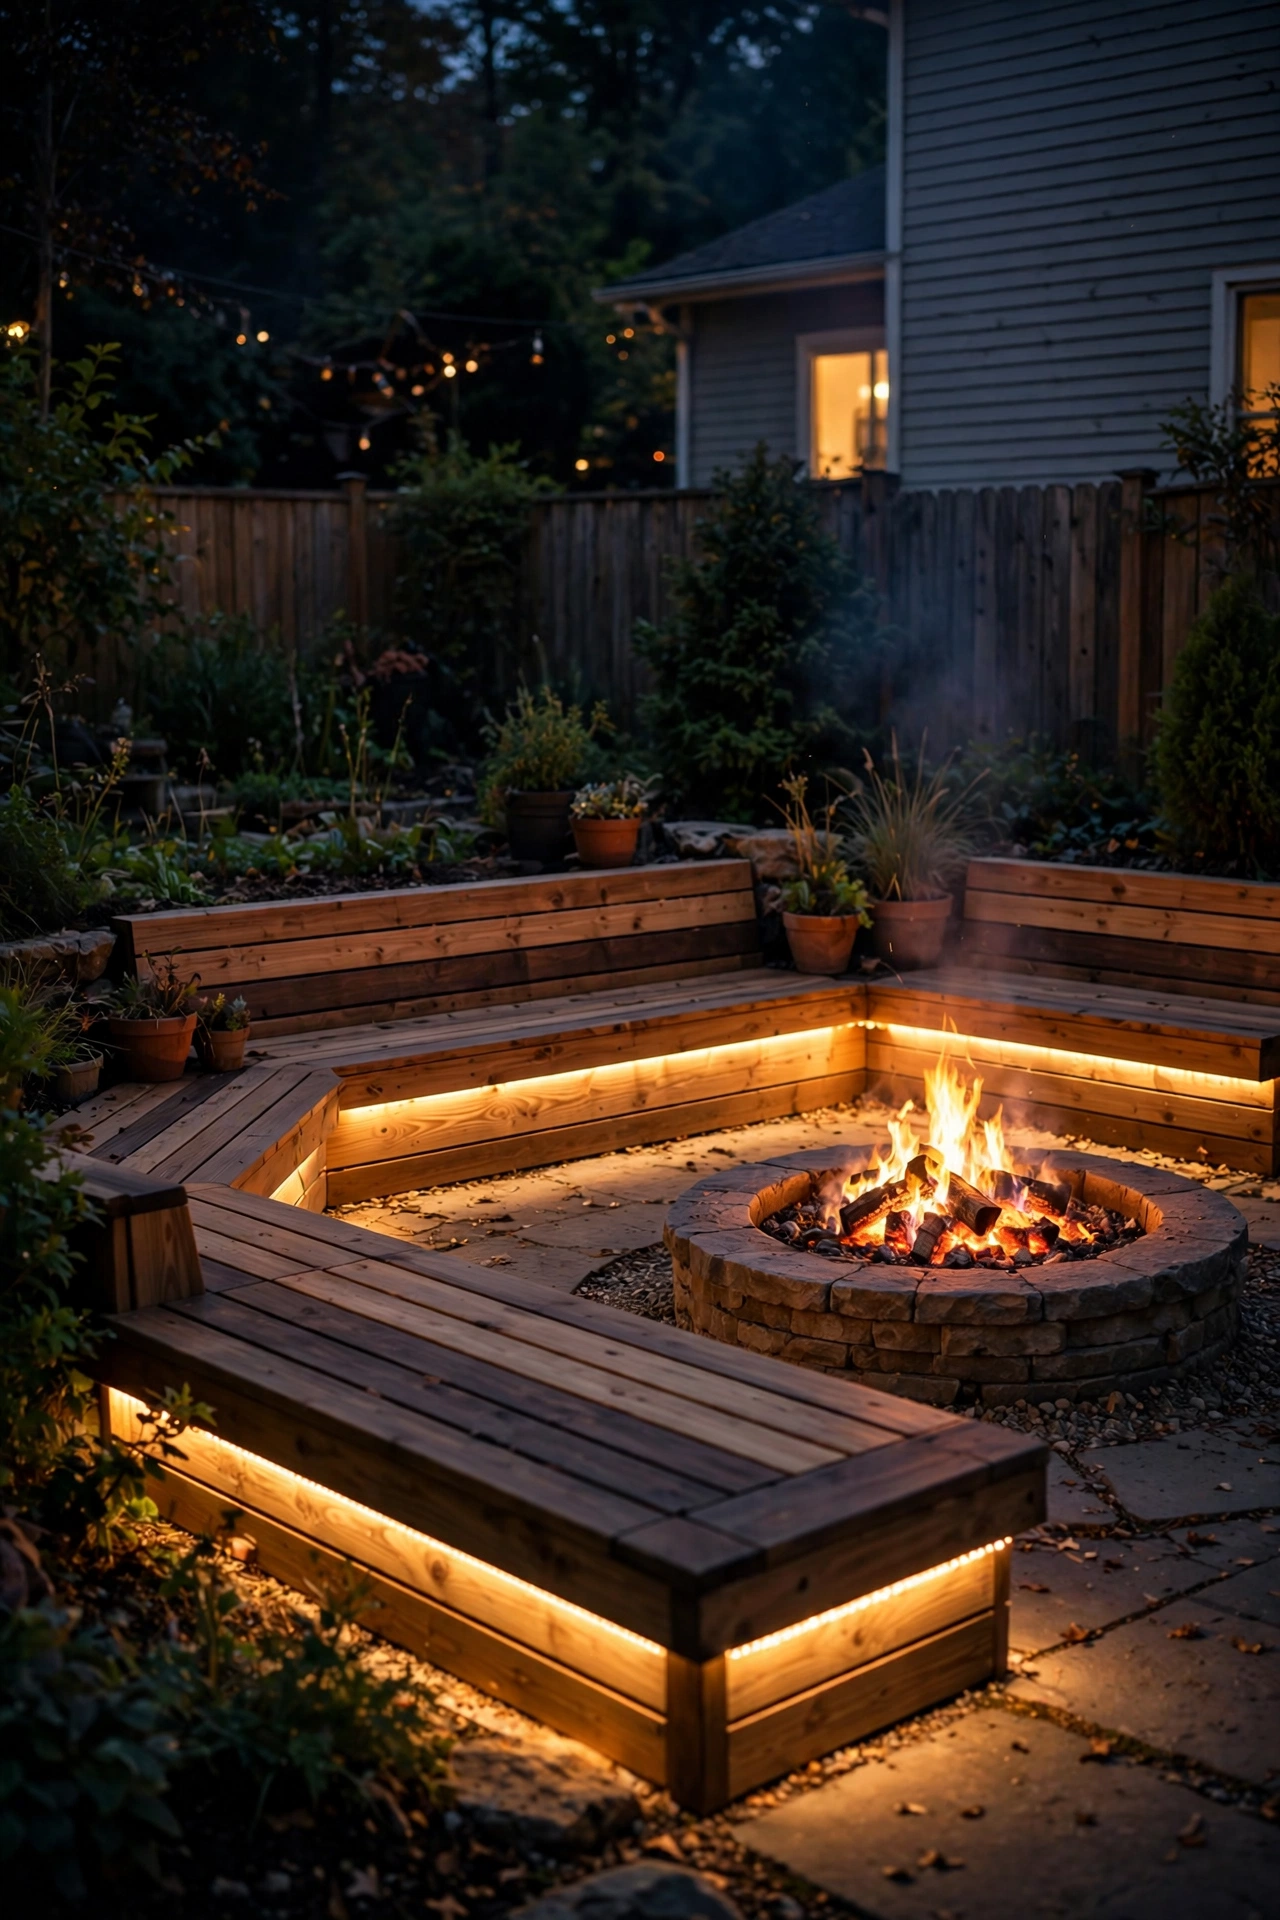
Here's a designer trick that costs almost nothing: run a warm LED rope light along the underside of your benches, and the seating appears to float on light. It's the same toe-kick glow high-end kitchens use, translated outdoors — and around a fire pit, it does real work too, lighting the ground where feet and firewood baskets live.
Use a 2700K LED rope light (not the old incandescent rope — that's a tiny heater, not a light) and fasten it with mounting clips every 12 inches along the bench's underside, set back an inch or two from the edge so the rope itself stays hidden. Plug it into an outdoor timer alongside your other lights. For movable seating, loop the rope under chair seats or along a storage crate doubling as a side table — same effect.
Buy rope rated for outdoor/wet locations, keep the plug connection in a weatherproof box, and cut only at the marked points. Keep the whole run several feet from the fire pit — rope housing is plastic, and radiant heat is its enemy. The first time you see your benches floating in the dark, you'll wonder why every fire pit doesn't do this.
Suggested budget range: $25 – $60.
14. Moonlight Downlight From an Overhead Tree
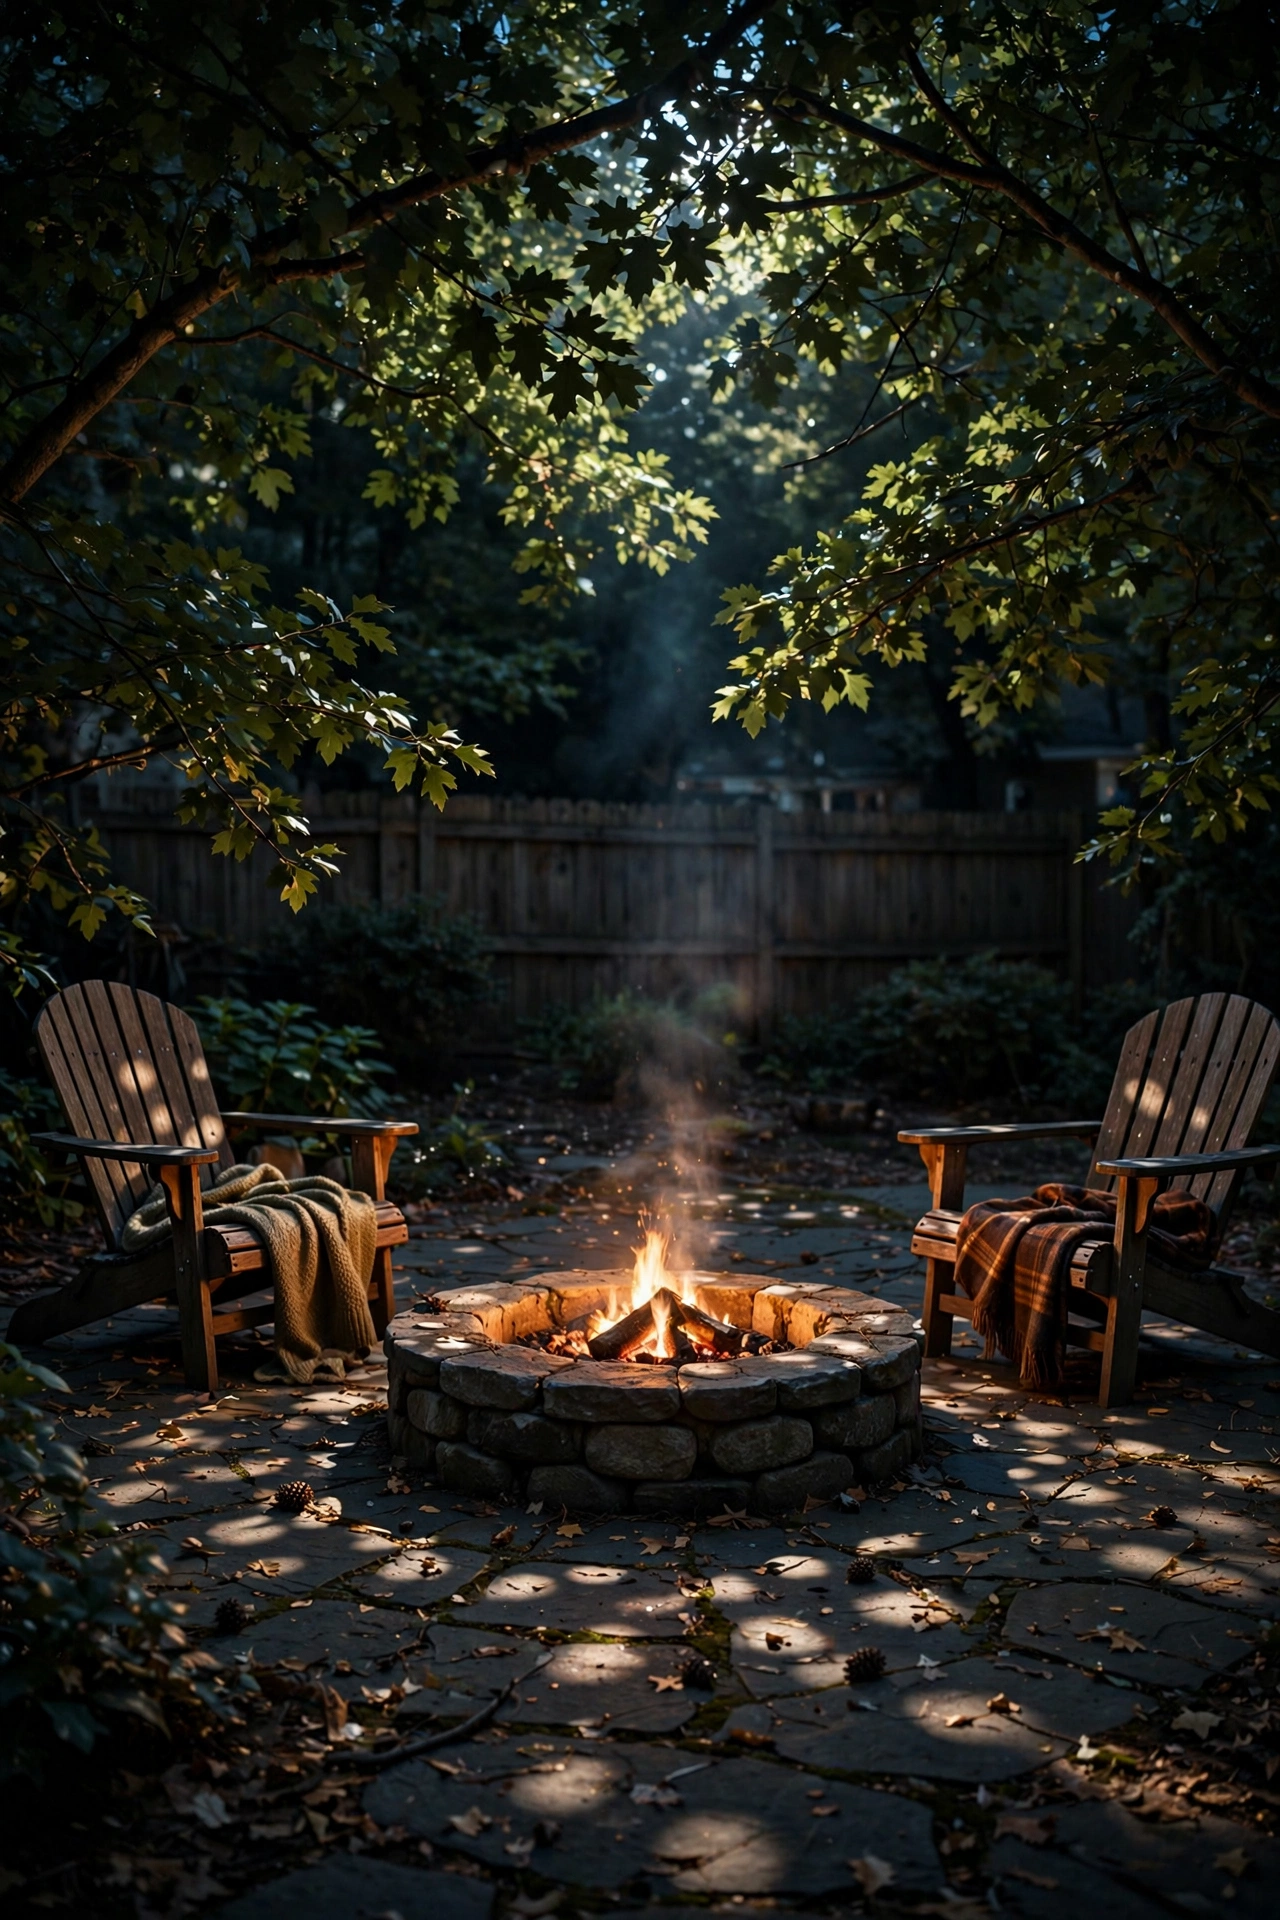
If you have a decent-sized tree anywhere near your fire pit — say 15 to 25 feet away — you can fake actual moonlight, and it's the most natural-looking light on this entire list. Mount a single low-voltage spotlight 15 to 20 feet up in the tree, aimed down through the branches. The leaves break the beam into a dappled pattern that moves gently in the breeze, exactly like moonlight filtering through a canopy. It doesn't get more magical than this.
Use a 2700K to 3000K spotlight on the lower end of brightness — you're going for a whisper of light, not a stadium. Mount with a tree-friendly strap — never screws in a living tree — run the cable down the trunk's back side, and wire it to your landscape transformer. One fixture is almost always enough; two starts to look lit rather than moonlit.
The tree should sit well outside the fire's heat zone, with the fixture high above any flame or ember path. In my experience, this single light does more for late-night atmosphere than any other one fixture — there's something primal about dappled light that makes people go quiet and happy.
Suggested budget range: $40 – $110.
15. Glowing Garden Orbs in the Beds
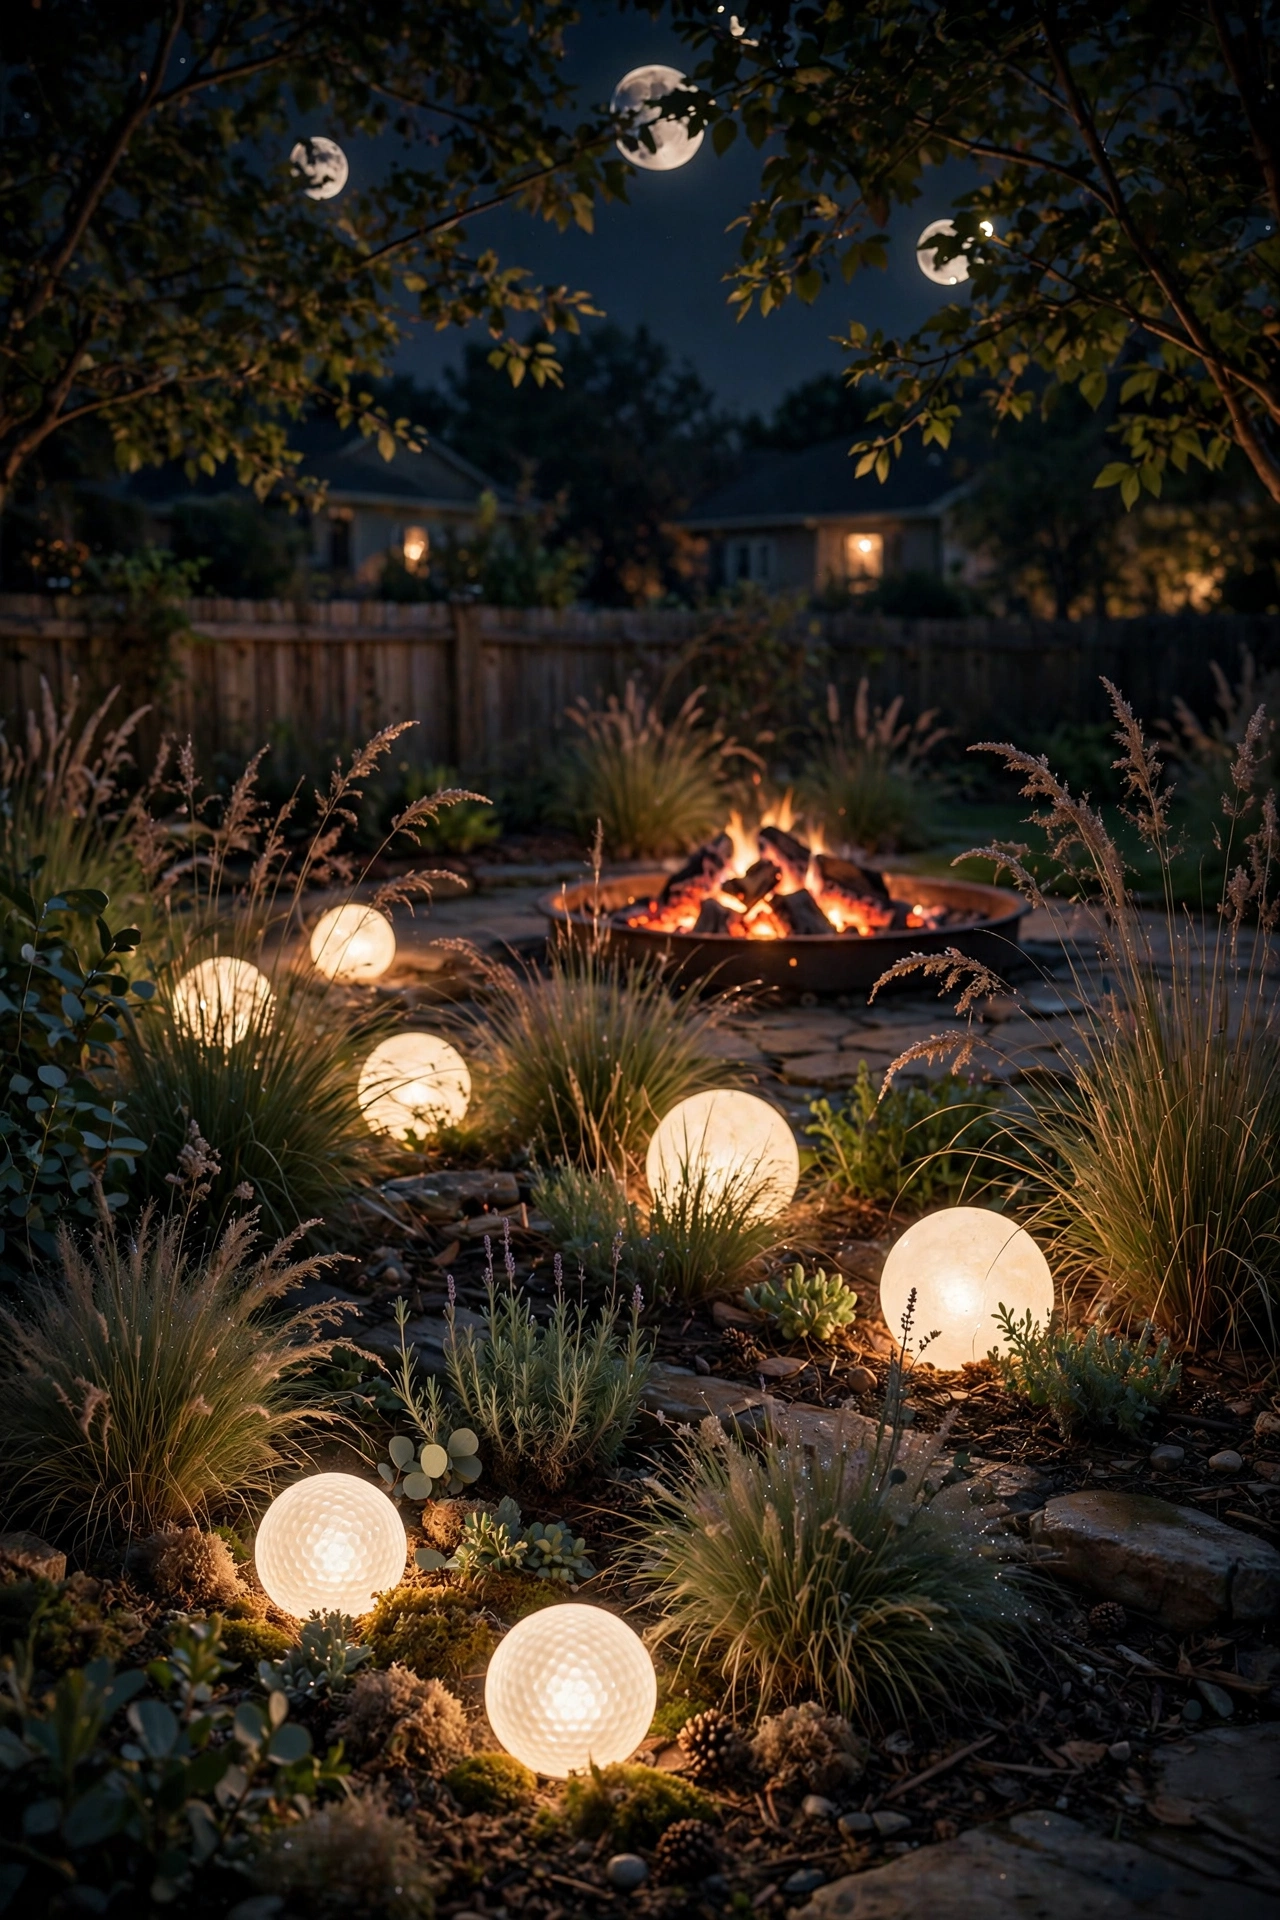
LED garden orbs — those smooth glowing spheres — are like jewelry for your planting beds, and around a fire pit they fill the awkward middle distance between the seating and the dark yard beyond. Nestle them into mulch or ornamental grasses where they'll peek through the foliage, and they read as mysterious floating moons once the sun's down.
Buy odd-numbered clusters — three orbs in 8, 10, and 12-inch sizes looks intentional; a single orb looks like a lost beach ball. Solar versions are the easy pick; plug-in versions stay brighter later into the night. Either way, choose warm white — the color-changing RGB orbs are fun for exactly one party and then permanently exiled to the garage in my experience.
Style them low and loose: half-buried in a bed of grasses, tucked beside the woodpile, or floating (yes, many are waterproof) in a nearby water feature. Keep them at least 6 feet from the fire pit — the polycarbonate shells are tough but not fireproof. And wipe them down each spring; a season of pollen turns "glowing moon" into "dusty lightbulb" faster than you'd think.
Suggested budget range: $30 – $80.
16. Shepherd's Hook Lantern Clusters
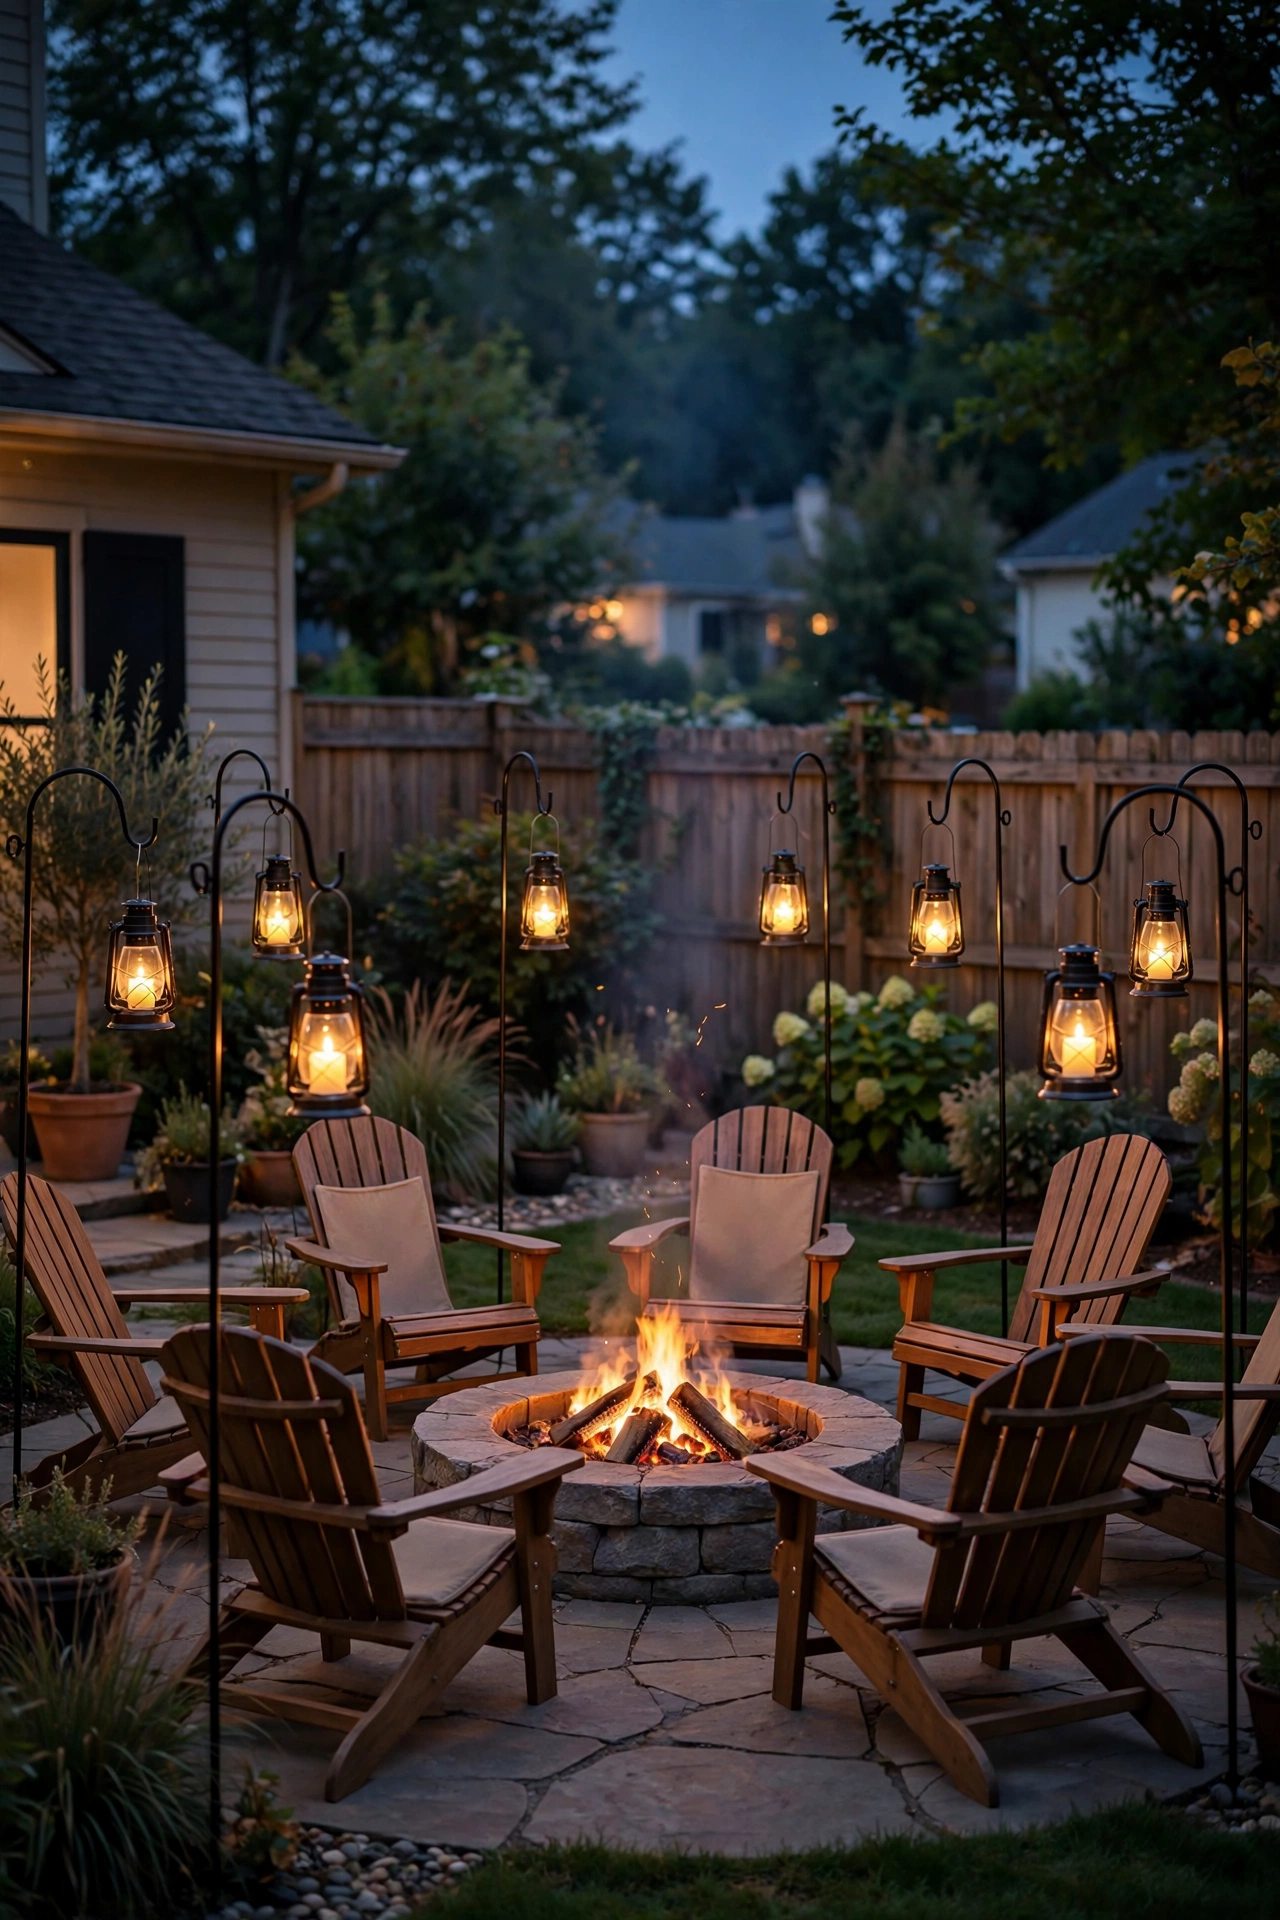
Shepherd's hooks are the Swiss Army knife of outdoor decorating, and a few of them hung with lanterns around your fire pit zone creates a perimeter of warm light that feels straight out of a wedding venue. Use sturdy 6- to 8-foot hooks driven firmly into the ground 10 to 12 feet from the fire pit's edge — the thin ones bend in the first windstorm.
Hang a lantern with a flickering LED pillar candle from each hook, timers set so they all click on at dusk together. Three to five hooks is the sweet spot: two flanking the path entrance, a couple behind the seating, maybe one near the s'mores station. Vary the lantern sizes for a collected-over-time look rather than a matched set.
LED-only is non-negotiable here — a real candle swinging on a hook in a breeze near a fire pit is a hard no. And when a big storm's coming, just lift the lanterns off the hooks and stash them; thirty seconds of effort saves you from fishing them out of the neighbor's yard. In my experience, this is the idea guests ask about most — it looks expensive and custom, and it's neither.
Suggested budget range: $35 – $90.
17. Smart Timers and Zoned Controls for Fire Pit Area Lighting
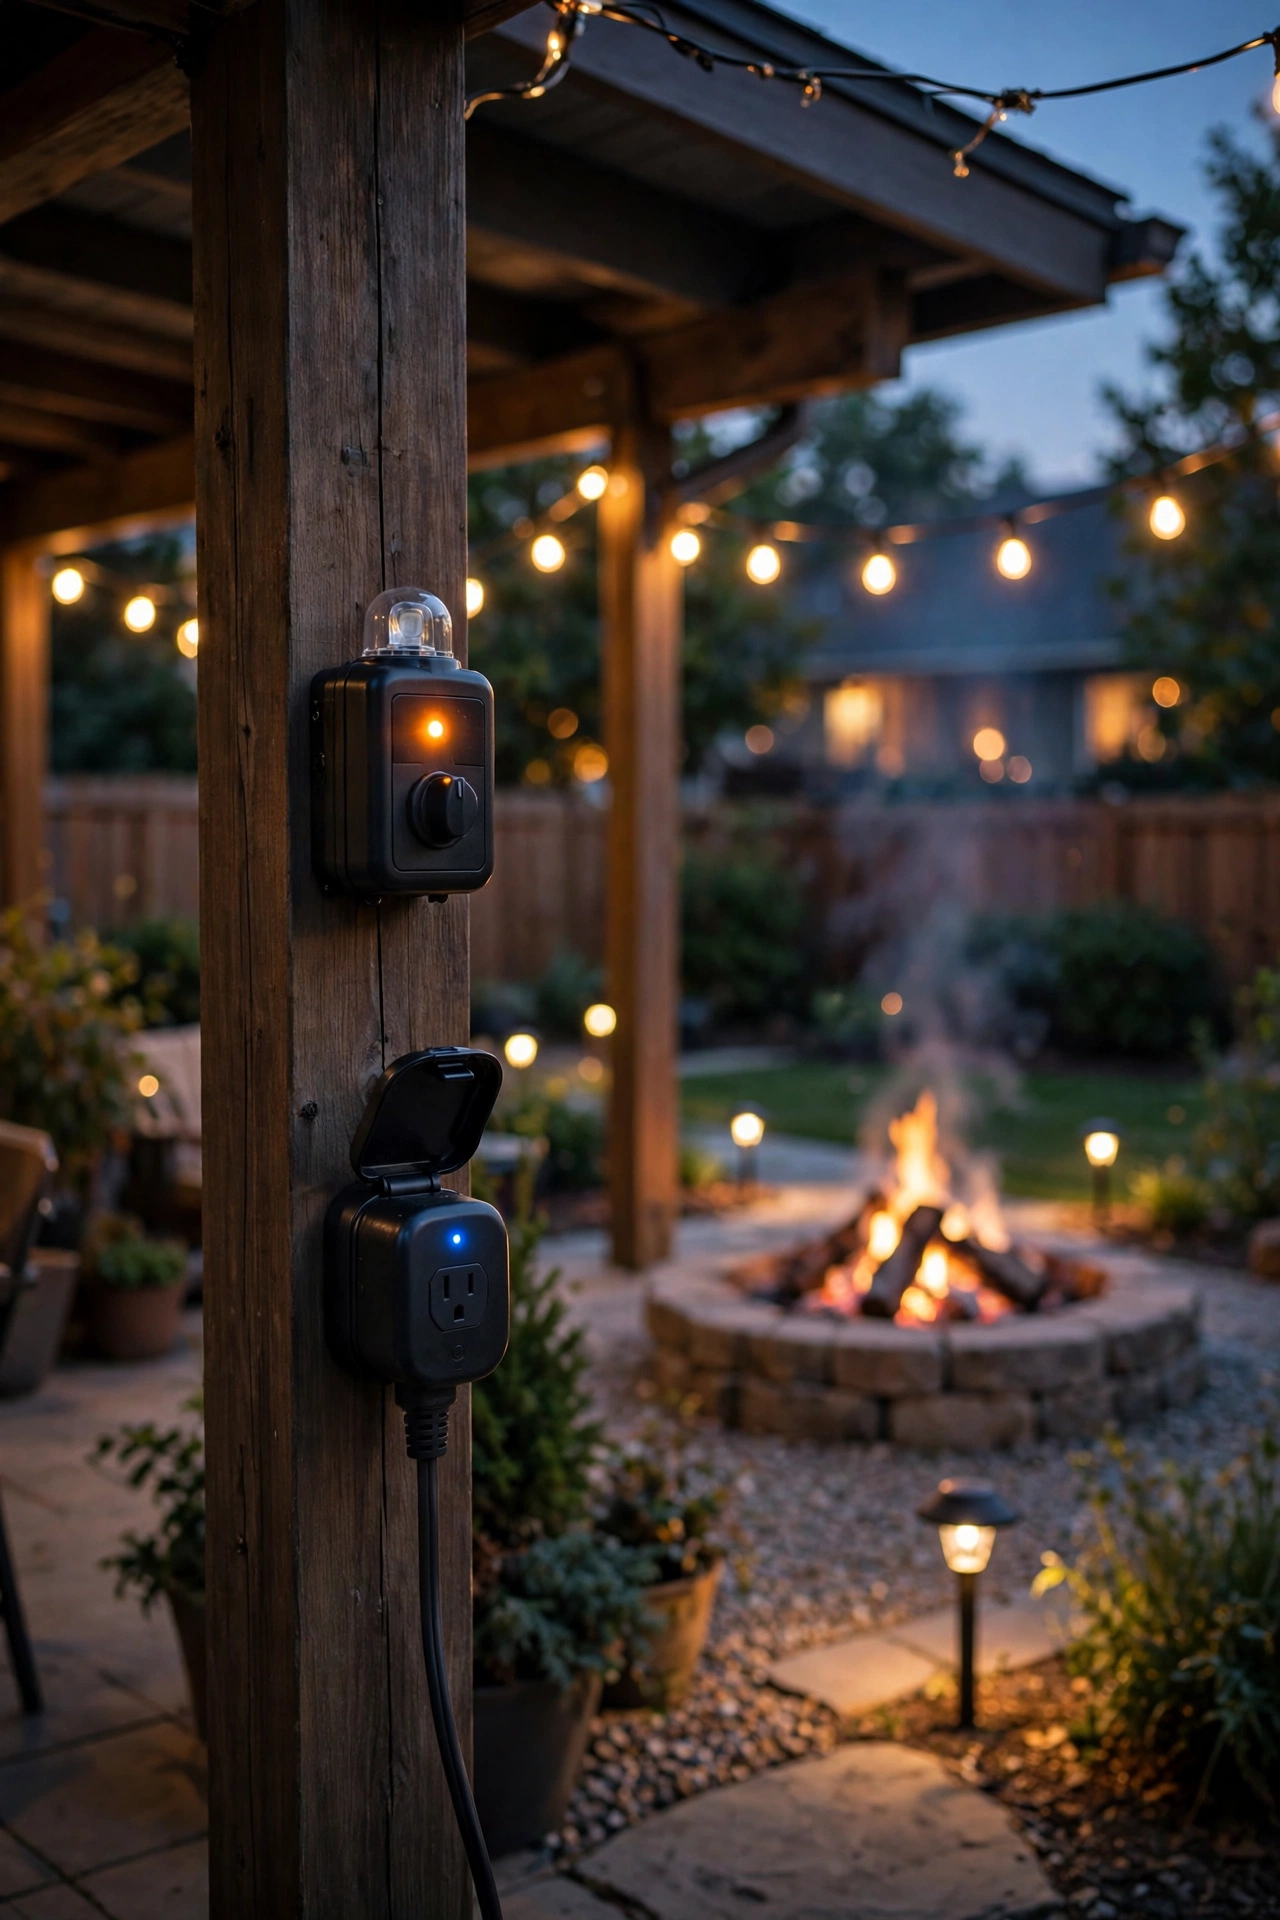
Here's the unsexy idea that makes all sixteen above it actually work: put the whole setup on smart controls. A $15 plug-in dusk-to-dawn photocell timer on your string lights, a second timer on the path lights, a smart plug on the lantern zone — suddenly your fire pit area lights itself every evening and you never touch a switch. Honestly? The prettiest lighting is useless if you're too lazy to turn it on.
Think in zones: path and perimeter lights on a dusk-to-dawn timer, the canopy and pendants on a smart plug (on at sunset, off by 11 p.m.), and accents on the same dusk timer as the paths. Most smart plugs handle outdoor use if you get the outdoor-rated version and keep the connection under cover.
The safety payoff is real: nobody ever walks to a dark fire pit area, and a scheduled off-time means lights aren't running all night. Start with one outdoor smart plug and a photocell timer — about thirty bucks total — and expand from there. Future you, walking out to an already-glowing backyard, says thanks.
Suggested budget range: $30 – $100.
Frequently Asked Questions
How far should lights be from a fire pit?
Keep every fixture at least 6 to 10 feet from open flames, and give string lights or pendants 10-plus feet of horizontal clearance since heat rises and spreads. If you can feel serious heat on your face standing somewhere, your lights don't belong there either. Use LED fixtures only — they stay cool to the touch — and always choose fixtures rated for outdoor (wet or damp) locations.
Are solar or wired lights better around a fire pit?
It depends on the job. Solar is perfect for accents and path markers — no wiring, five-minute install, almost no cost. But solar is dimmer and fades as the night goes on. For anything that must stay reliably bright — path lighting, uplights, the string-light canopy — low-voltage wired systems win, and one transformer can run the whole setup. In my experience, the sweet spot is a mix: wired for the important layers, solar for the decorative sprinkles.
What color temperature is best for fire pit area lighting?
Stick to 2700K warm white — or 2200K for candle-style accents — across every fixture. Firelight sits around 1800K to 2000K, so warm white blends seamlessly while cooler "daylight" bulbs (4000K+) clash and make the scene feel harsh. The biggest mistake I see is mixing color temperatures: one cool-white path light in a sea of warm glow sticks out like a sore thumb. Match everything.
How much does it cost to light a fire pit area?
You can make a real difference for under $50 with solar path stakes and fairy lights. A solid mid-range setup — string-light canopy, lanterns, path lights, and a timer — runs $150 to $350. A full low-voltage system with uplights, well lights, and smart controls lands between $400 and $900. My advice: start with one layer (usually path lighting for safety), live with it a few weekends, then add the next. Great fire pit lighting is built in chapters.
Wrapping Up Your Fire Pit Glow
Great fire pit area lighting was never about the fire — it was always about the layers around it. Path lights to get you there safely, a warm canopy or lantern glow to define the gathering space, and a few accent sparks to make the whole thing feel intentional. Start with whichever layer your backyard is missing, keep every fixture well clear of the flames, and let the timers do the remembering for you.
If this got you in the mood to keep going, browse our other outdoor lighting ideas — your patio, pathways, and pergola are all waiting for their own glow-up. Now go enjoy that fire.