There's nothing that ruins a cozy evening on the deck faster than someone misjudging a step in the dark. In my experience, deck stair lights are the single most underrated upgrade you can make outside — they do double duty as safety equipment and pure atmosphere. Nobody trips, and your whole deck glows like a lantern after sunset.
Here's the layering philosophy I always recommend: light the steps themselves (that's your safety layer), then add gentle accent light on posts and rails (that's your style layer), and finish with one warm ambient layer above or around the deck. When all three work together, every edge is visible and the whole space feels intentional instead of randomly lit.
In this post, I'm sharing 19 deck and stair lighting ideas I've seen work beautifully on real decks — with fixture types, spacing measurements, wiring and solar options, timers, weatherproofing, and real budget ranges for each one.
1. Recessed LED Step Lights in the Risers
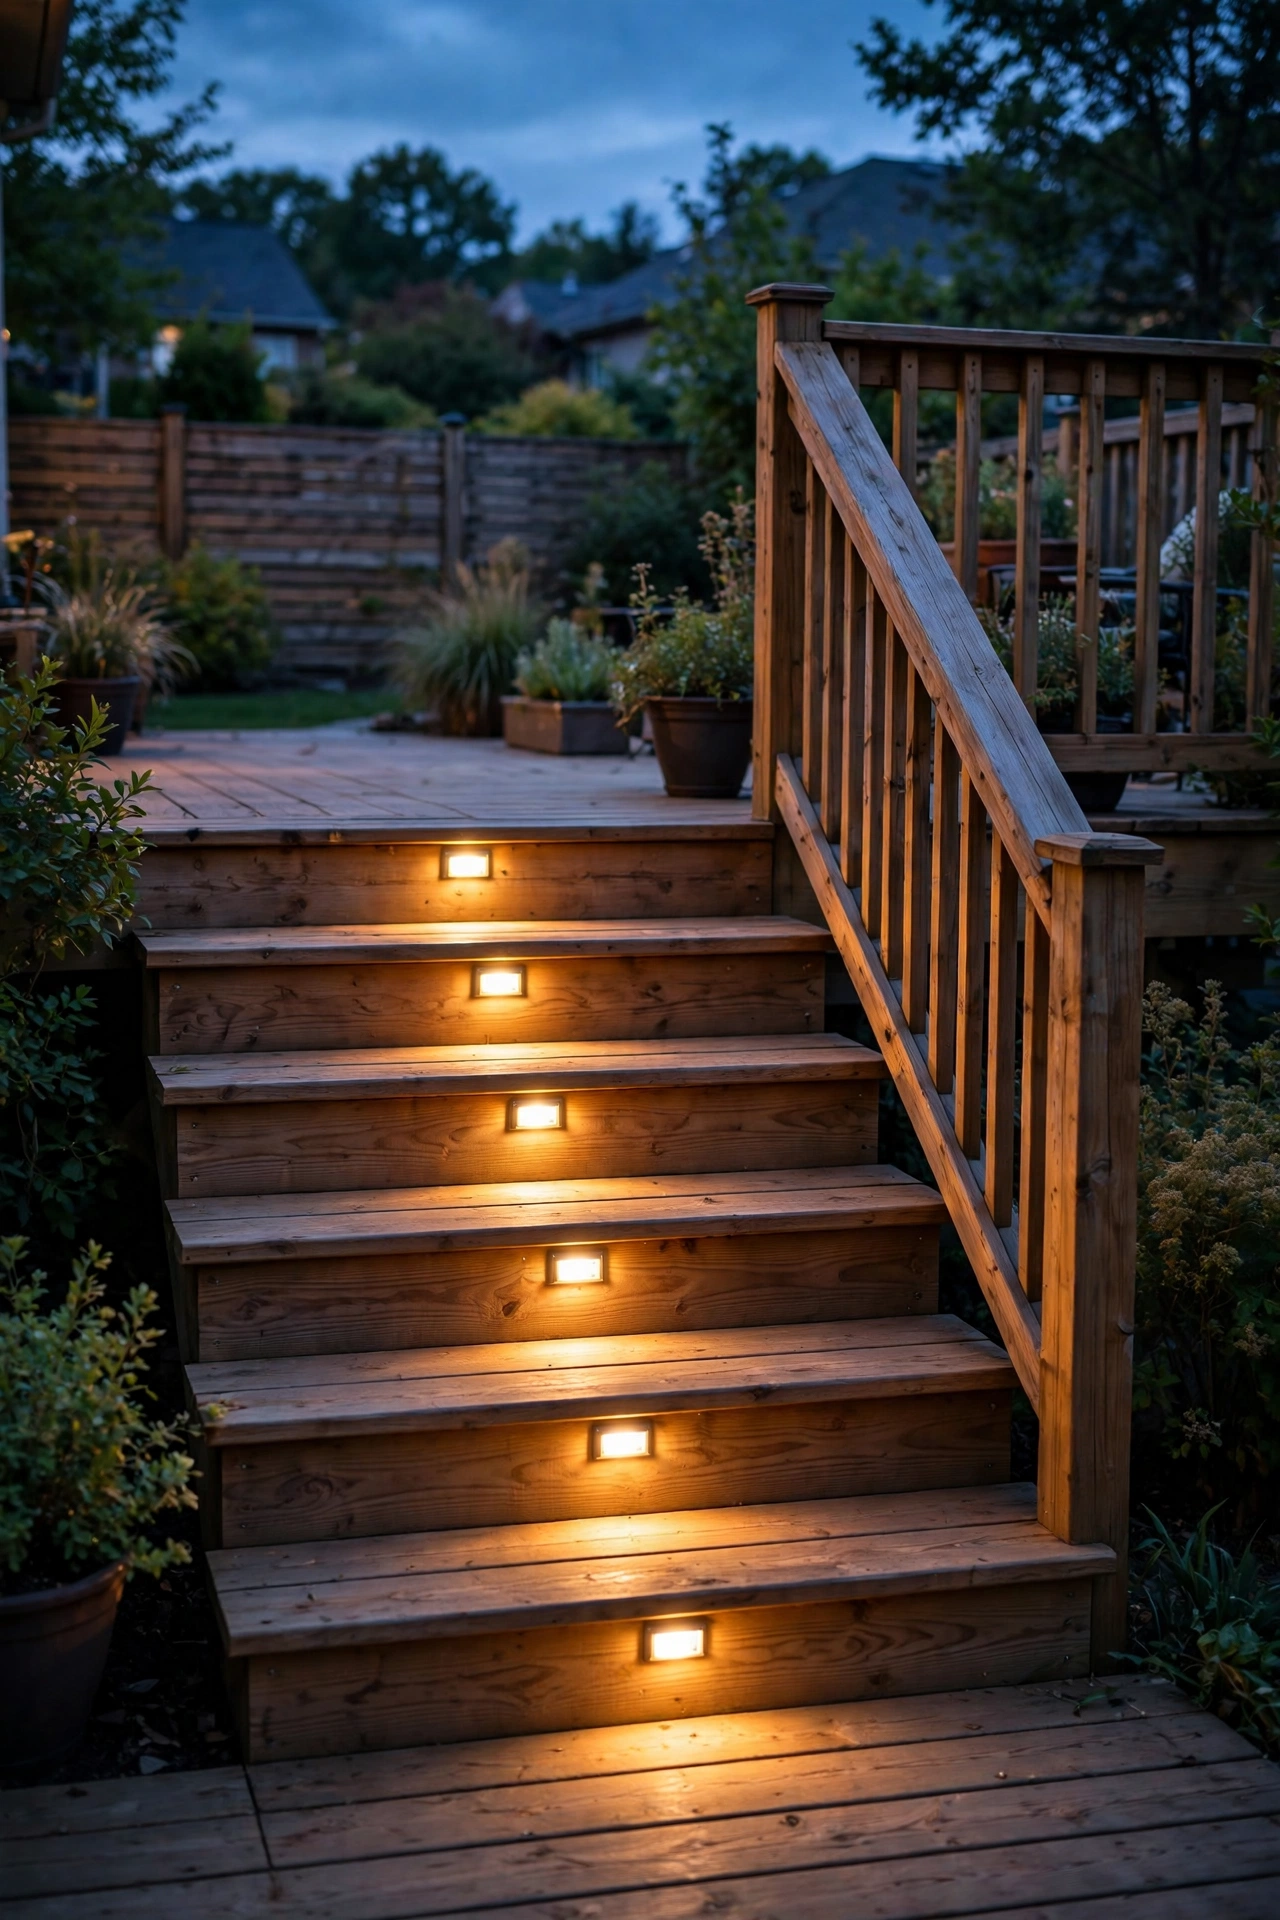
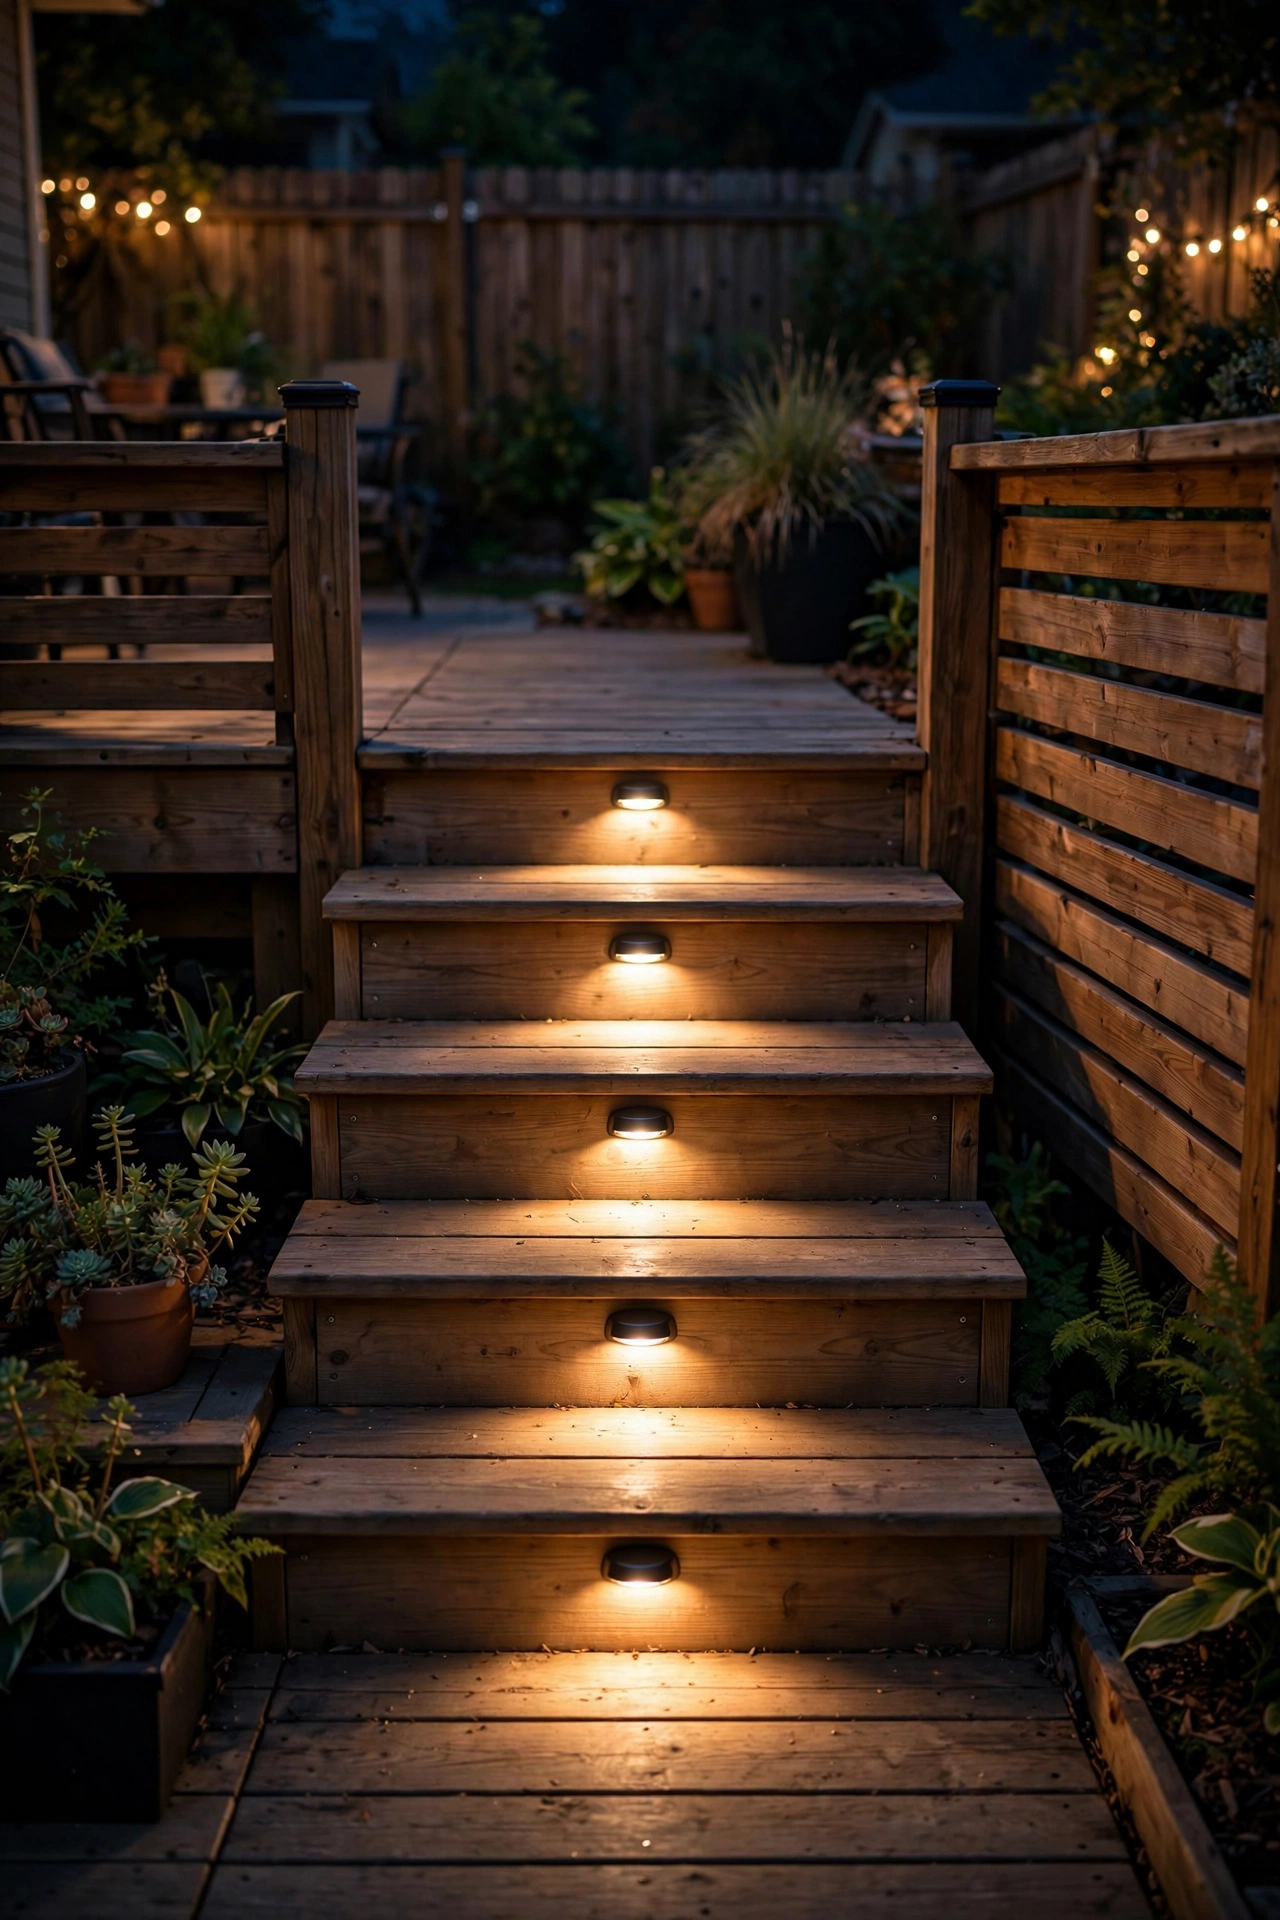
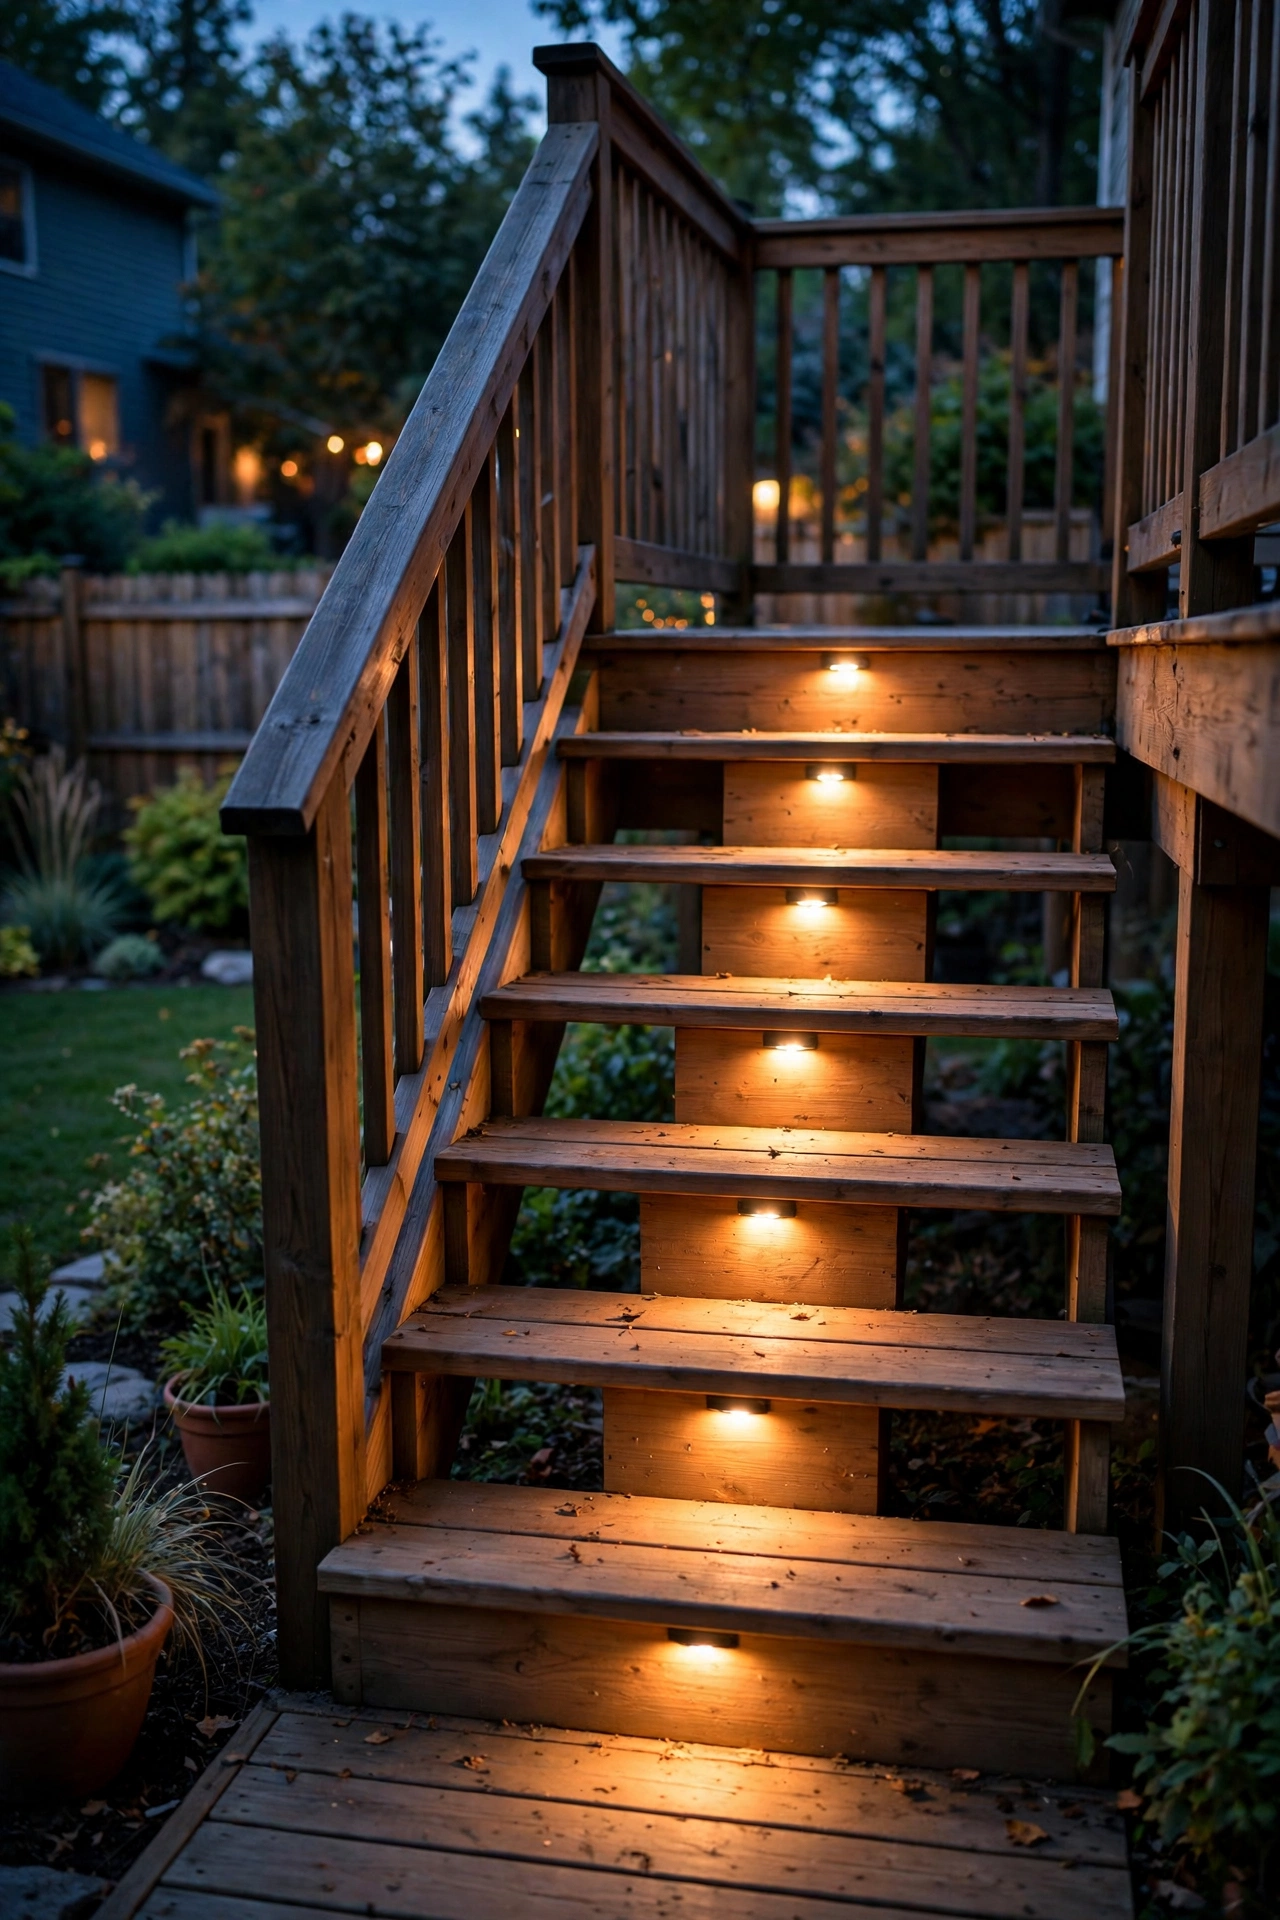
If I had to pick one look for deck stair lights, this is it. Small rectangular or round fixtures set directly into the stair risers (the vertical face of each step) cast a soft wash of light down onto the tread below. You get a glowing staircase effect that's elegant by day — the fixtures nearly disappear — and magical at night.
The rule of thumb I always recommend: one fixture per step, centered on the riser, mounted about 6 to 8 inches above the tread below it. For wide stairs over 4 feet across, use two per step, spaced roughly 2 feet apart. Stick with warm white (2700–3000K) for that cozy feel; cool white on stairs feels clinical and actually makes depth harder to judge.
These are typically low-voltage (12V) wired fixtures, so you'll run cable from a transformer. Honestly? It's easier than it sounds — most kits use simple plug-in connections. Look for fixtures rated IP65 or higher since rain will hit them directly, and choose sealed LED units so you never have to change a bulb buried in your stairs.
Safety note: recessed lights sit flush, so there's nothing to catch a toe on — that's the big advantage over surface-mount styles on stairs.
Suggested budget range: $120 – $400.
2. Surface-Mount Mini Lights on the Risers
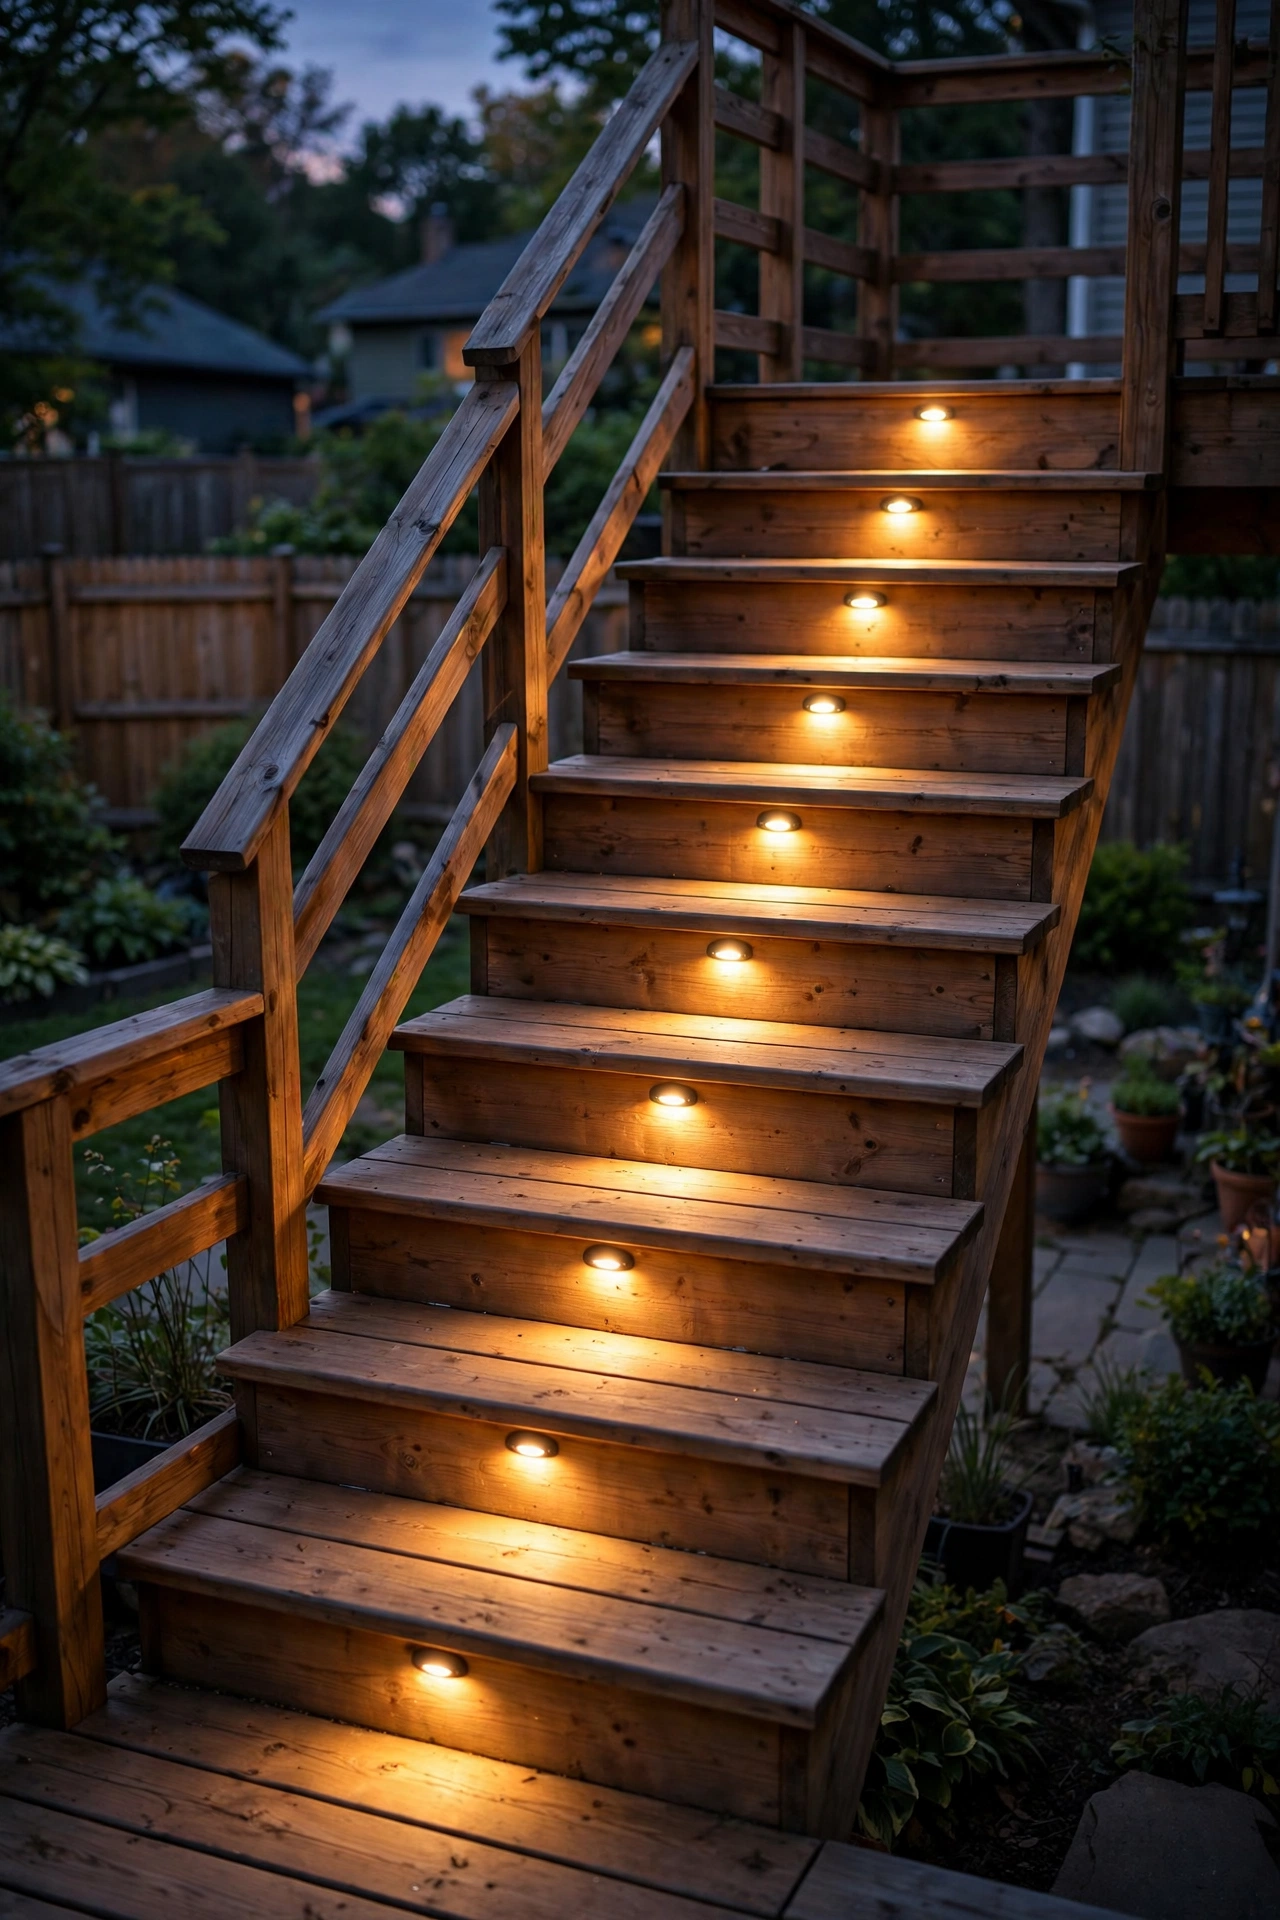
No hole saw, no problem. Surface-mount step lights screw directly onto the riser face and do nearly the same job as recessed ones, without any cutting into the wood. In my experience, these are the friendliest option for anyone who wants great deck stair lights on a weekend — just mark, drill two pilot holes, and mount.
Placement follows the same logic: centered on each riser, about 6 inches up from the tread. Choose slim-profile fixtures (under an inch deep) so they don't become a tripping snag. Many come with little visors or hoods that angle the light downward, which is exactly what you want — light on the step, not in anyone's eyes.
For wiring, you can go low-voltage wired for reliability, or pick solar surface-mount lights for a truly tool-light install. If you go solar here, make sure the panel faces up or outward enough to catch sun, and clean the panels every few months — dust kills solar brightness faster than anything else.
Styling tip: match the fixture finish to your hardware — matte black for modern railings, bronze or oil-rubbed tones for traditional wood decks. It's a tiny detail that makes everything look intentional.
Suggested budget range: $60 – $250.
3. Glowing Post Cap Lights
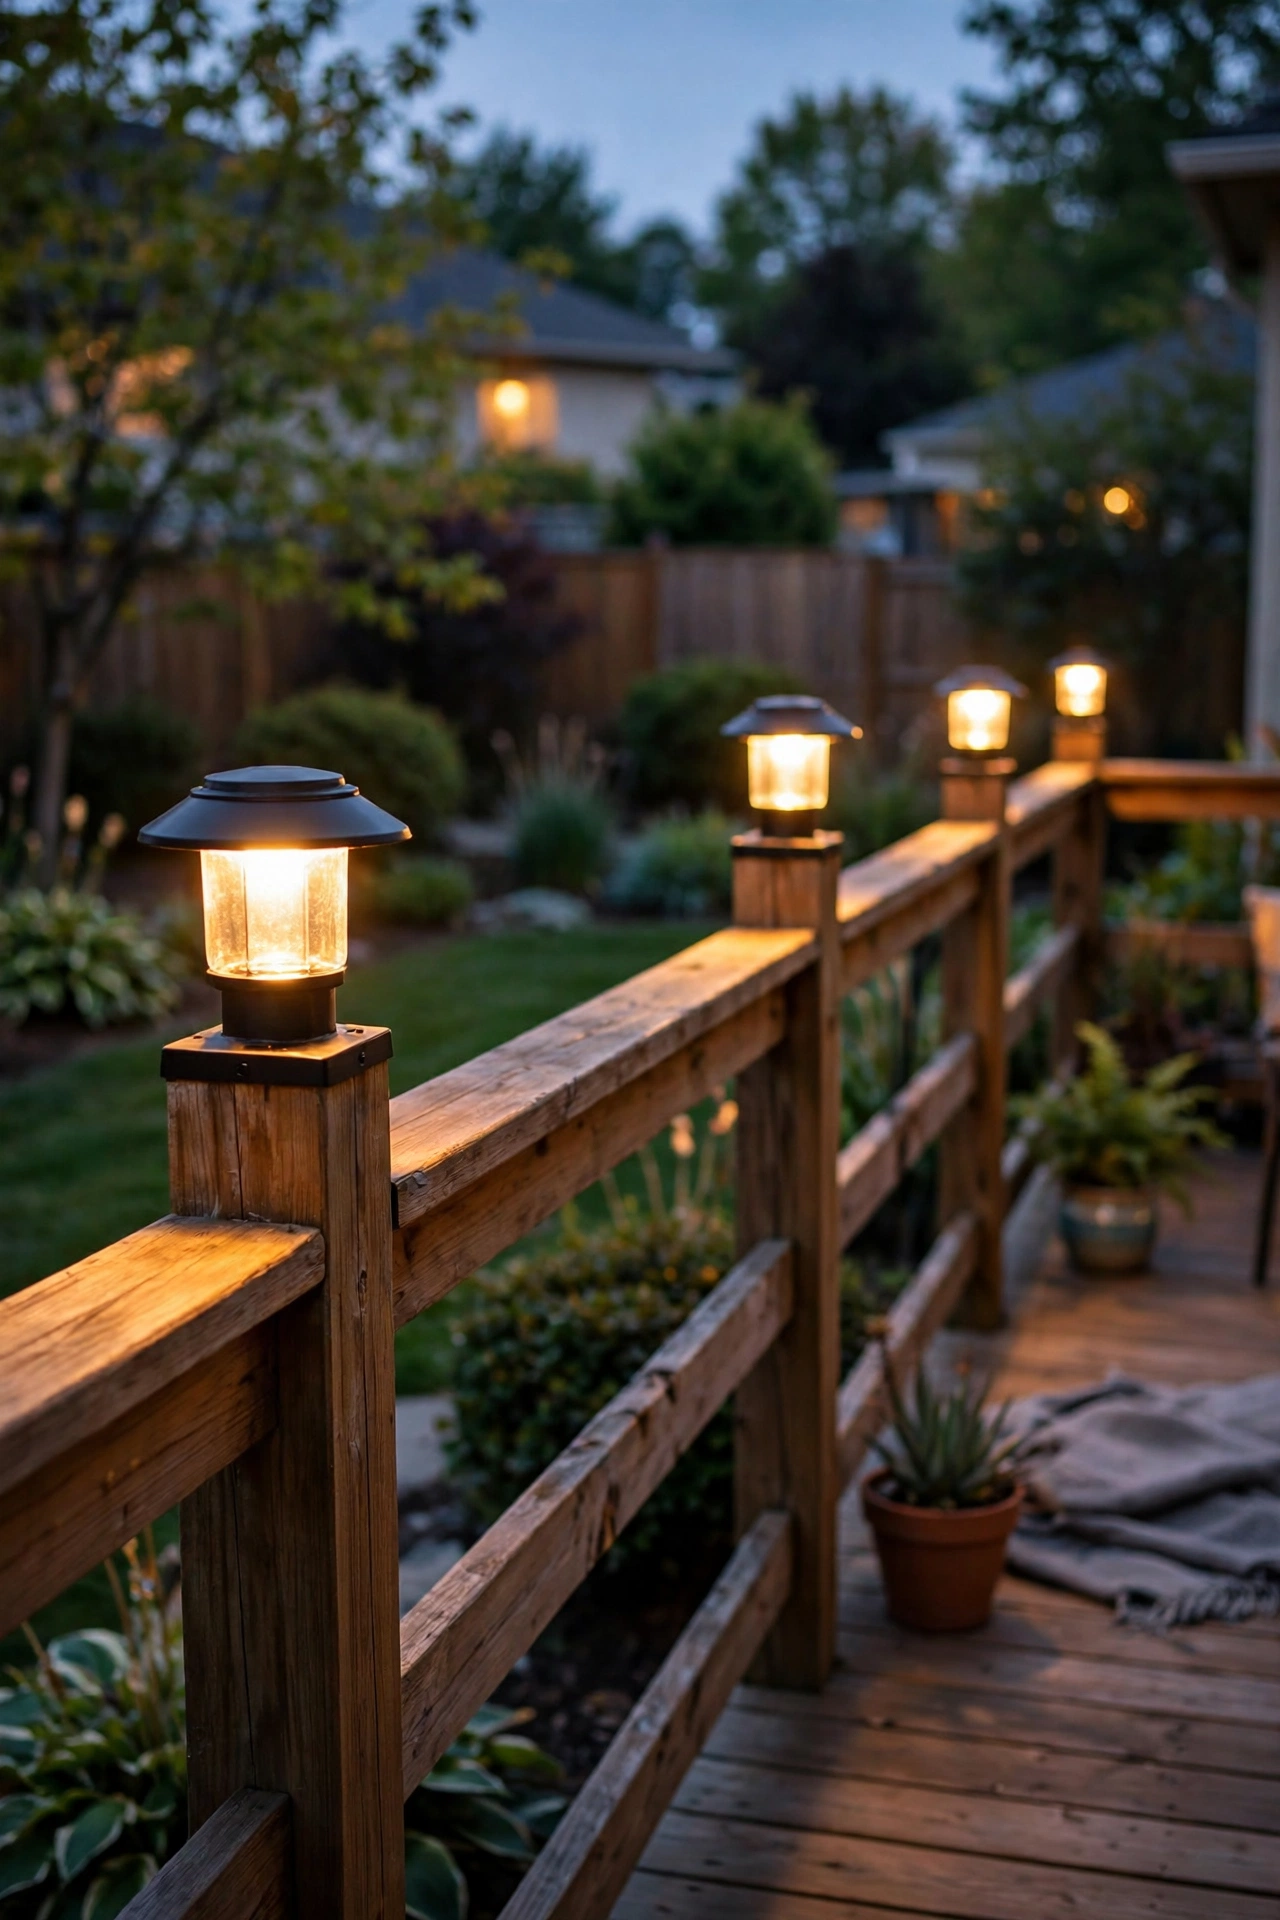
Here's my favorite two-for-one trick: your deck posts are already there, so crown each one with a light. Post cap lights sit on top of 4×4 or 6×6 posts and cast a soft downward glow that pools onto the deck floor and lightly kisses the top steps. They read as pure style, but they also quietly mark where the stairs start and end.
Measure your post size before ordering — caps come sized for true 4x4s, 6x6s, and sometimes 5x5s, and a sloppy fit ruins the look. Wired low-voltage caps give the most consistent brightness; solar caps are dead simple and look nearly identical, though they'll dim on cloudy weeks.
In my experience, post caps are the easiest "instant makeover" in this whole list. Replacing plain caps with lit ones takes about ten minutes per post and transforms the deck's silhouette after dark.
Spacing guidance: light every post, or at minimum the posts flanking the stairs plus the corners. Skipping the stair-adjacent posts is the one mistake that undermines the whole effect — those are the posts that matter most.
Weatherproofing note: look for sealed tops and drainage channels so rain doesn't pool and freeze around the electronics.
Suggested budget range: $80 – $300.
4. Solar Post Cap Lights (No Wiring at All)
If the thought of running wire makes you close this tab, stay with me — this idea exists precisely for you. Solar post caps work exactly like the wired ones above, but the little panel on top charges a battery by day and lights automatically at dusk. No transformer, no trenching, no electrician.
Honestly? They've gotten so good that guests can't tell solar from wired at a glance. The catch is placement: the panel needs several hours of direct sun. If your deck is shaded by trees or a big roof overhang, the stairs-side caps may glow dimly or cut out early. Test with one before you buy a dozen.
I always recommend buying one extra cap as a spare — solar units eventually wear out their batteries, and having a matching replacement on hand keeps the row looking uniform. Also wipe the solar panels each season; a film of pollen or dust can cut charging by half.
Pro styling move: mix solar post caps on the railing posts with wired recessed riser lights on the steps. You get the polished wired look where precision matters (the stairs) and zero-wire convenience everywhere else.
Suggested budget range: $50 – $180.
5. LED Strip Lighting Under the Stair Nosing
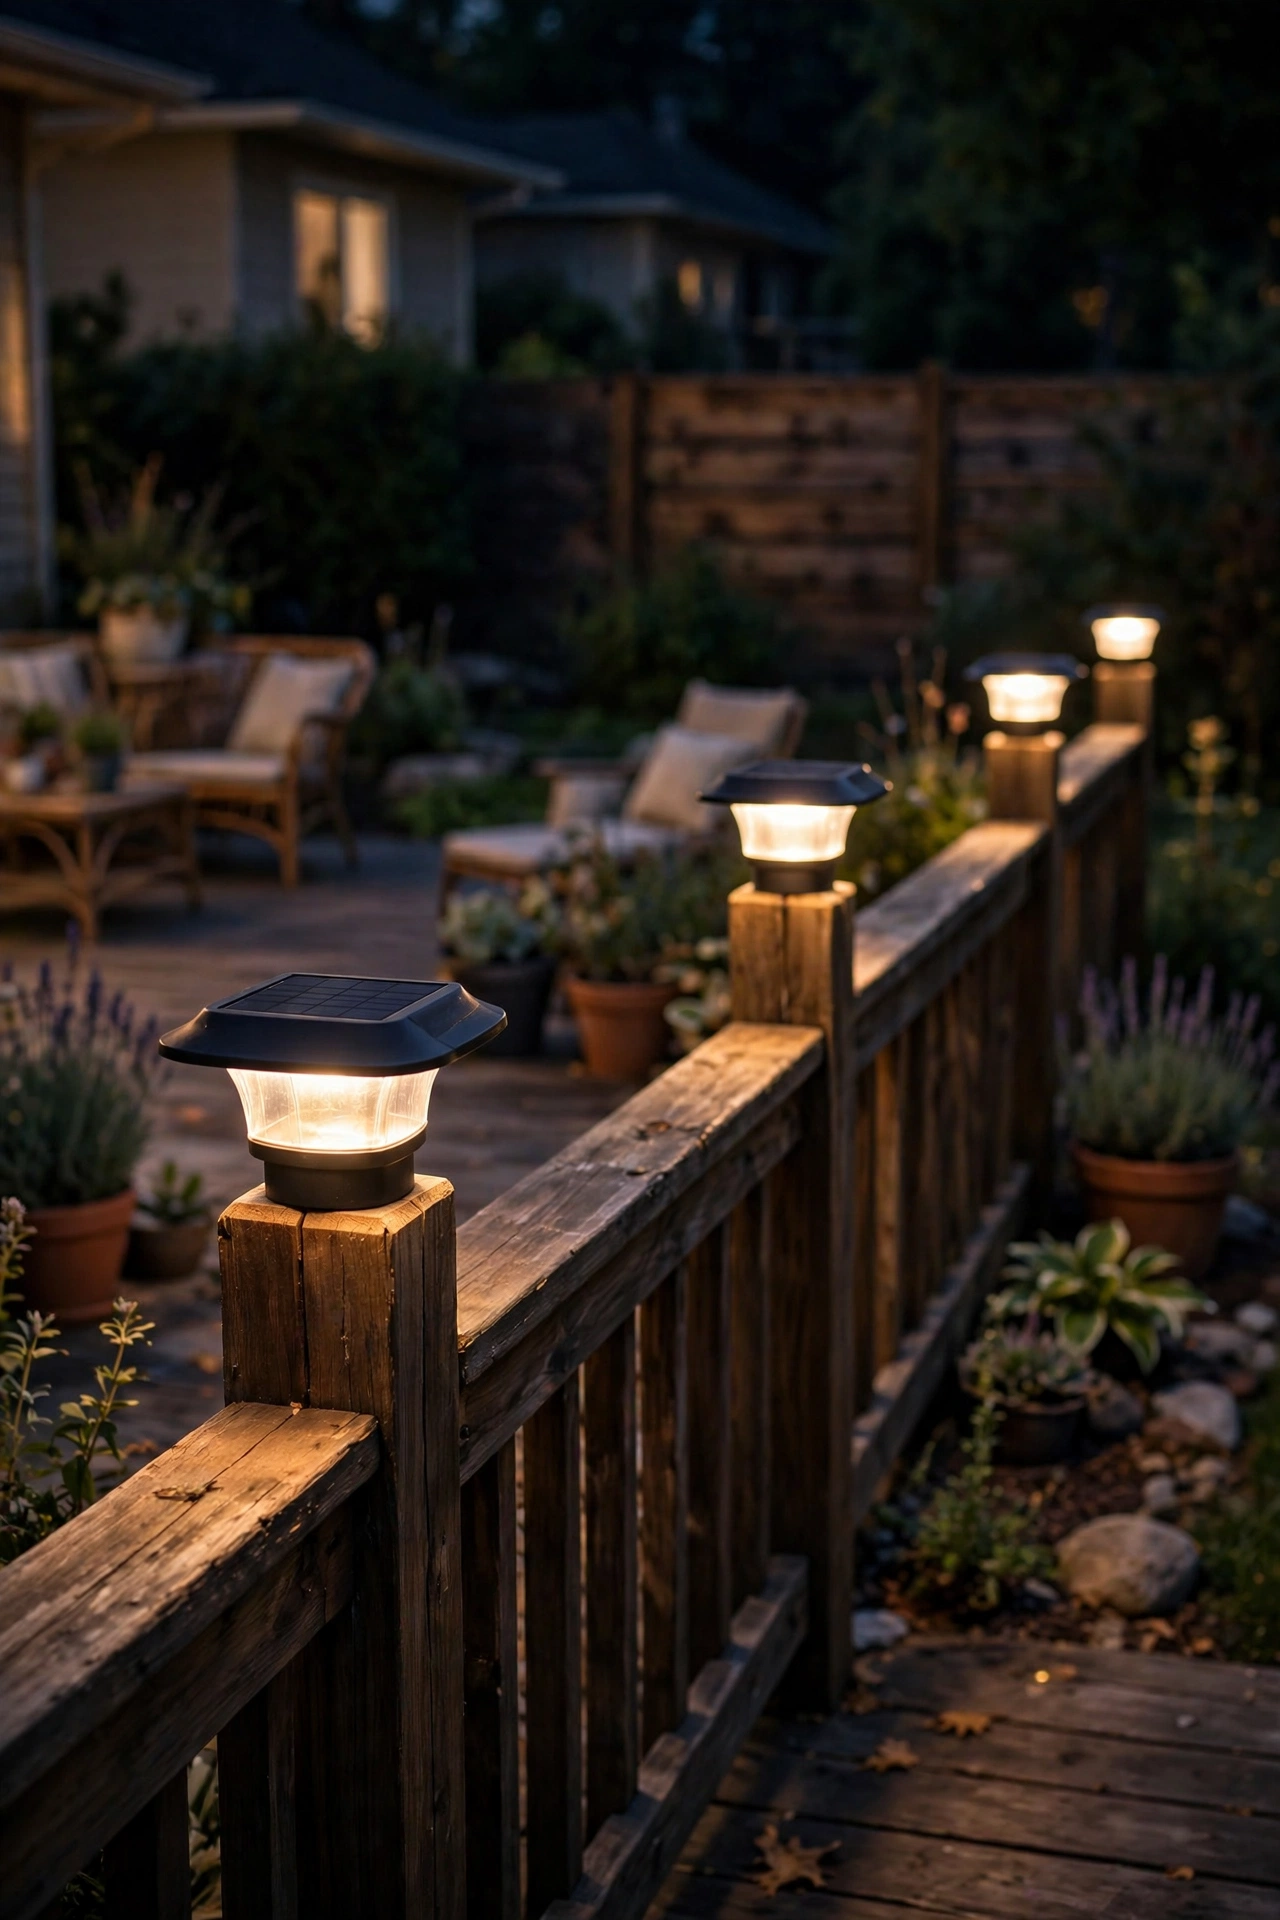
Want the sleekest look in this entire list? Tuck a slim LED strip under the lip (the nosing) of each stair tread so the light spills backward and downward, outlining every step in a ribbon of warm light. From a distance it looks like the stairs are floating. Up close, every edge is perfectly defined — which is the whole point for safety.
Use outdoor-rated strip lights (IP65 minimum, ideally IP67) in warm white 2700–3000K. Mount the strip in an aluminum channel with a diffuser cover; the channel protects the strip from kicked toes and rain, and the diffuser turns harsh LED dots into one smooth line of light.
Power it with a low-voltage driver tucked under the deck or in a nearby waterproof box. Most strips cut to length every couple of inches, so measure each tread and cut to fit. A smart plug or timer on the driver gives you dusk-to-bedtime control without touching a switch.
Safety note: keep the strip and channel flush with the nosing — nothing should overhang where a shoe could catch it. And use LED only near wood stairs; LEDs run cool, while old halogen-style strips get hot enough to be a fire risk against dry wood.
Suggested budget range: $90 – $280.
6. Downlights Mounted Under the Handrail
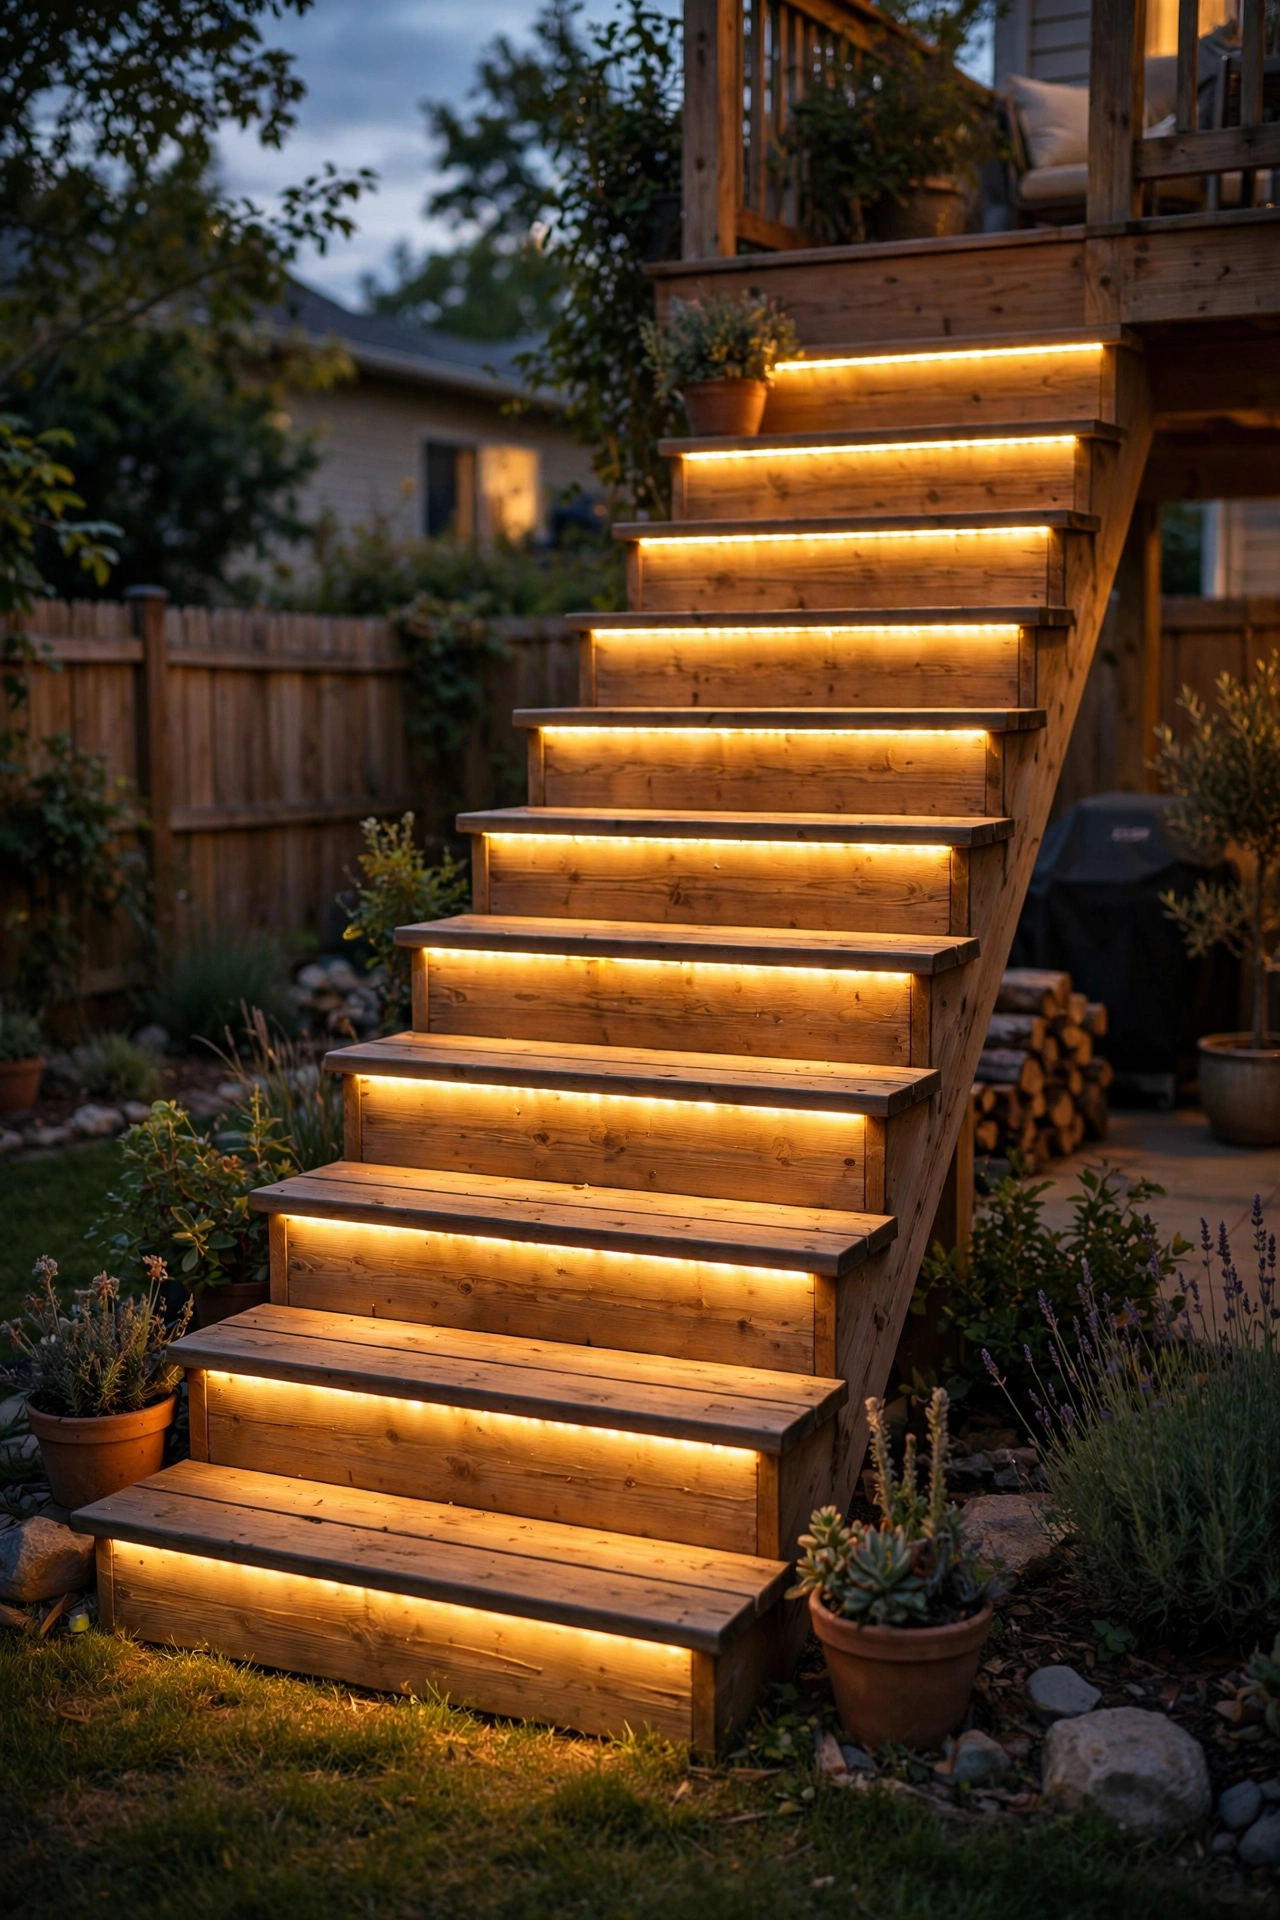
This is the designer trick most people miss. Small low-voltage downlights tucked beneath the stair handrail wash the steps below in a soft, even glow — no fixtures visible on the stairs themselves at all. It looks like the light is coming from nowhere, and it lights every tread beautifully.
Mount the fixtures on the underside of the handrail, spaced about 18 to 24 inches apart along the stair run, aimed straight down. Because the source is hidden, you can use slightly brighter fixtures here without glare — the rail itself shields your eyes. Warm white 2700K is my go-to; it flatters wood grain like nothing else.
Wiring runs inside or along the rail, which keeps everything tidy. This is a great pairing project if you're already replacing or staining railings — run the wire while the rail is open and you'll barely see a thing afterward.
One caution: keep fixtures at least a few inches back from where hands grip the rail. Even cool-running LEDs shouldn't be a grab-target. Mount them on the inner underside, aimed at the steps, and nobody will ever touch them by accident.
Suggested budget range: $150 – $450.
7. Rope Light Along the Underside of the Rail
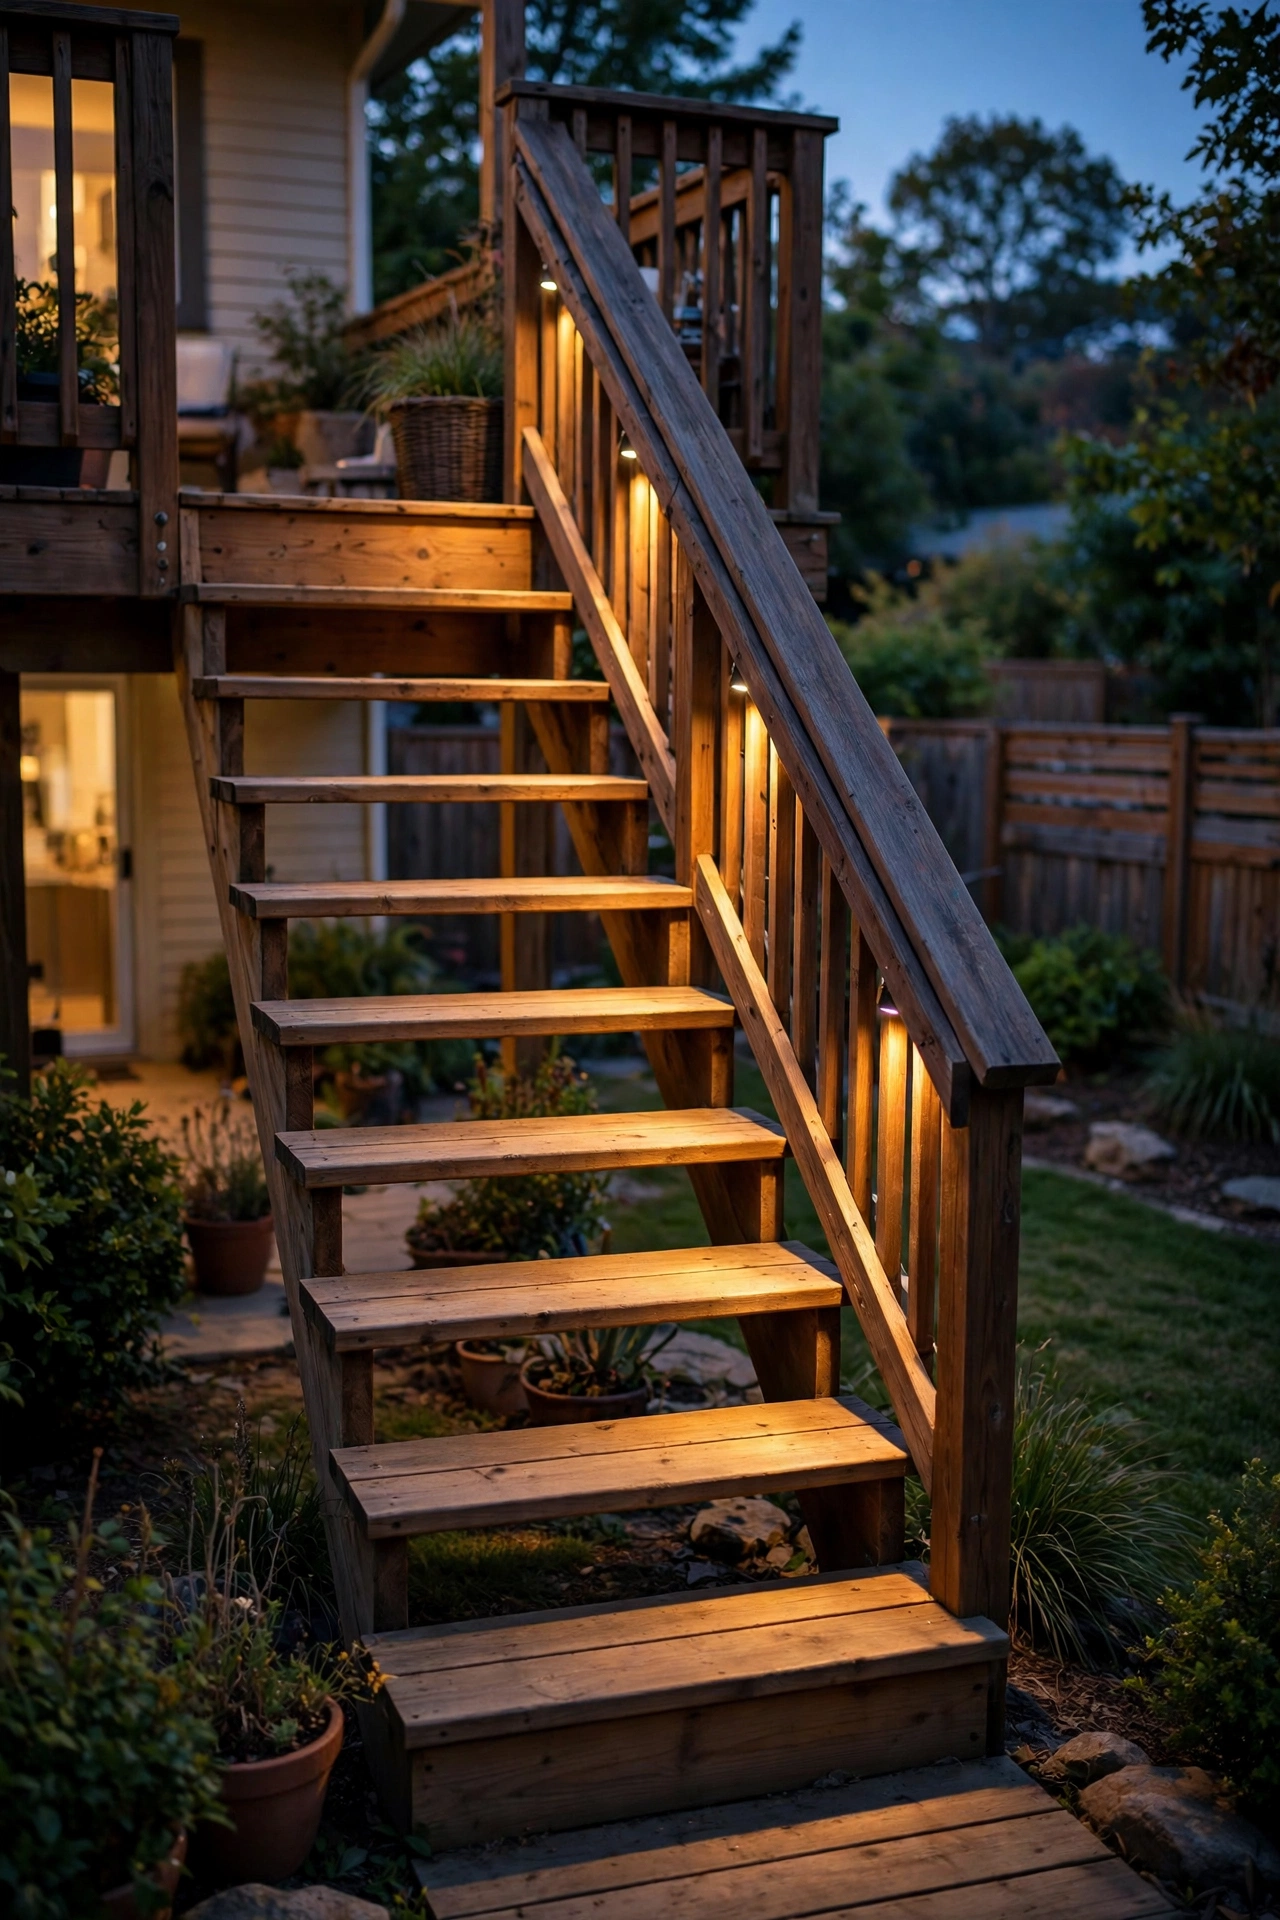
Rope light gets a bad rap from the cheap holiday stuff, but a quality outdoor LED rope tucked along the underside of the stair railing is a genuinely lovely way to light a staircase. It's one continuous glowing line that follows the slope of the stairs — simple, even, and oddly elegant.
Fasten it with small clips every 8 to 12 inches so it can't sag or droop; a sagging rope is the difference between "designer" and "dorm room." Run it on the inside underside of the rail where it's hidden from sight lines but floods the steps. Choose warm white and an outdoor-rated rope (look for heavy-duty PVC jacket, not the thin indoor stuff).
For power, low-voltage LED rope with a plug-in or hardwired driver is the sweet spot — bright enough to actually see steps, efficient enough to run all evening. Timers or a photocell make it automatic.
Styling tip: this pairs beautifully with post cap lights at the newel posts — the glowing rope becomes the "run" between glowing "bookends," and the whole staircase reads as one intentional composition.
Suggested budget range: $40 – $160.
8. Flanking Lights at the Stair Base and Top
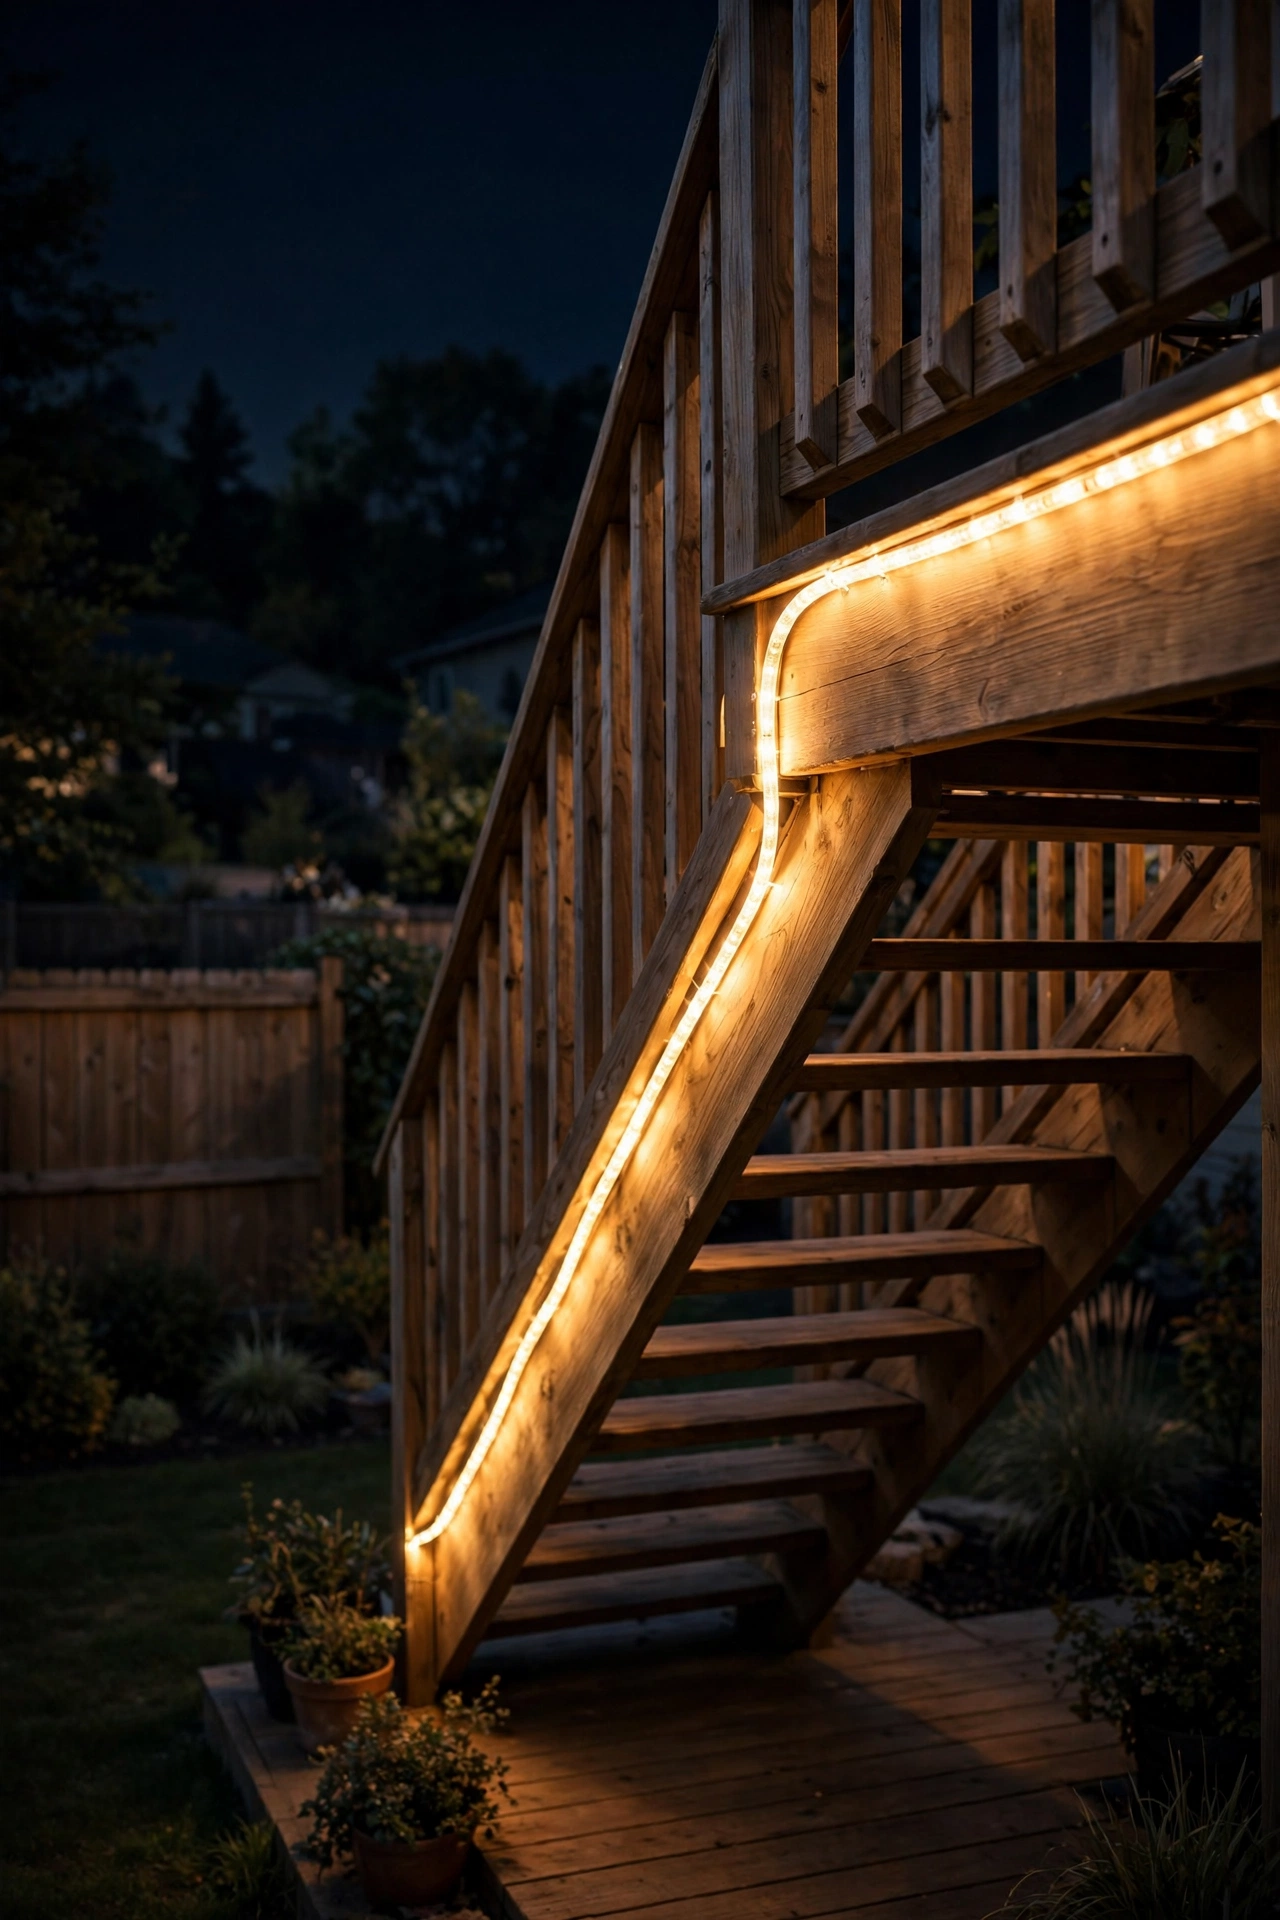
Every staircase needs clear "entrance" and "exit" markers. Low-voltage fixtures flanking the top and bottom of the stairs — think small path lights, flush deck dots, or compact bollards placed 2 to 3 feet to either side — tell your brain exactly where the steps begin and end. In my experience, this is where most deck falls happen: the first or last step, in the dark, because nobody saw it coming.
Place them slightly wider than the stair opening so they're out of the walking path but still clearly associated with the stairs. If the stair base lands on a patio or lawn, path-style fixtures work great; if it lands on a deck landing, flush-mount dots or recessed deck lights keep the surface trip-free.
Match these to the rest of your stair lighting in color temperature — nothing breaks the mood faster than one cool-white spotlight screaming next to warm step lights. And put them on the same timer circuit as your other deck stair lights so everything comes on together.
This is also the ideal spot for motion sensors if you want them: stairs get lit the moment someone approaches, which feels both safe and a little bit magical.
Suggested budget range: $60 – $220.
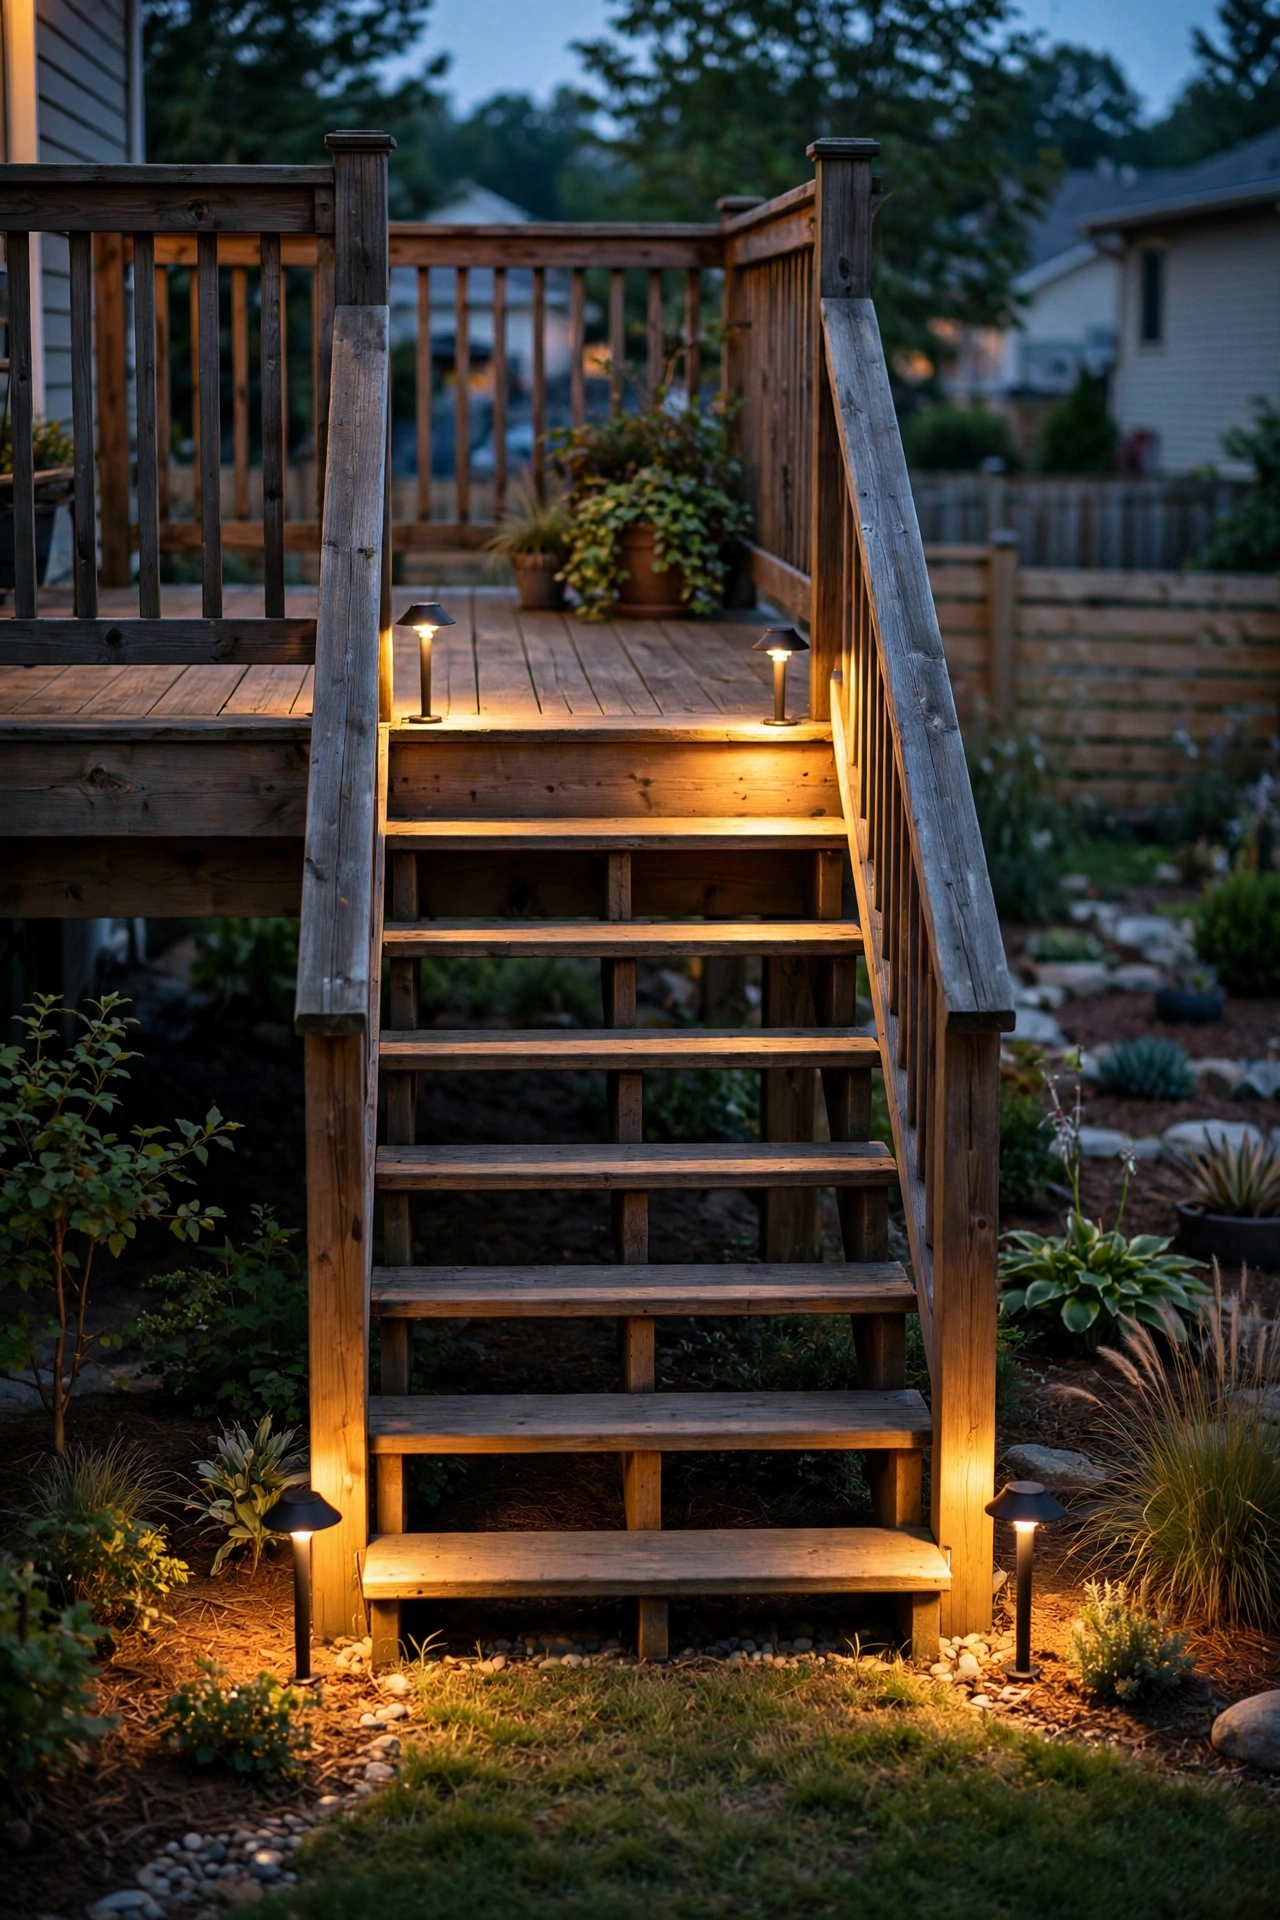
9. Mini Bollard Lights Beside the Stairs
Mini bollards — short, sturdy little posts, usually 12 to 18 inches tall — are perfect for stair runs that descend onto a lawn or garden bed. They throw a pool of light exactly where your foot lands on that last step, and they look like proper landscape architecture rather than an afterthought.
Set them back about 18 to 24 inches from the stair edge so they're out of the walkway but close enough to light the treads. Space them to match your stair rhythm — one per two or three steps on a long run, or a single pair flanking a short flight. Low-voltage wired bollards are the workhorse choice; they're bright, consistent, and sip electricity.
For decks with a modern or minimalist vibe, choose slim square bollards in matte black. For cottage or farmhouse decks, slightly tapered round ones in bronze blend in better. Either way, keep the tops below knee height so they light feet, not faces.
Weatherproofing matters here since these sit in soil and mulch: look for solid brass or powder-coated aluminum housings and sealed LED modules rated for ground contact and sprinkler spray.
Suggested budget range: $100 – $350.
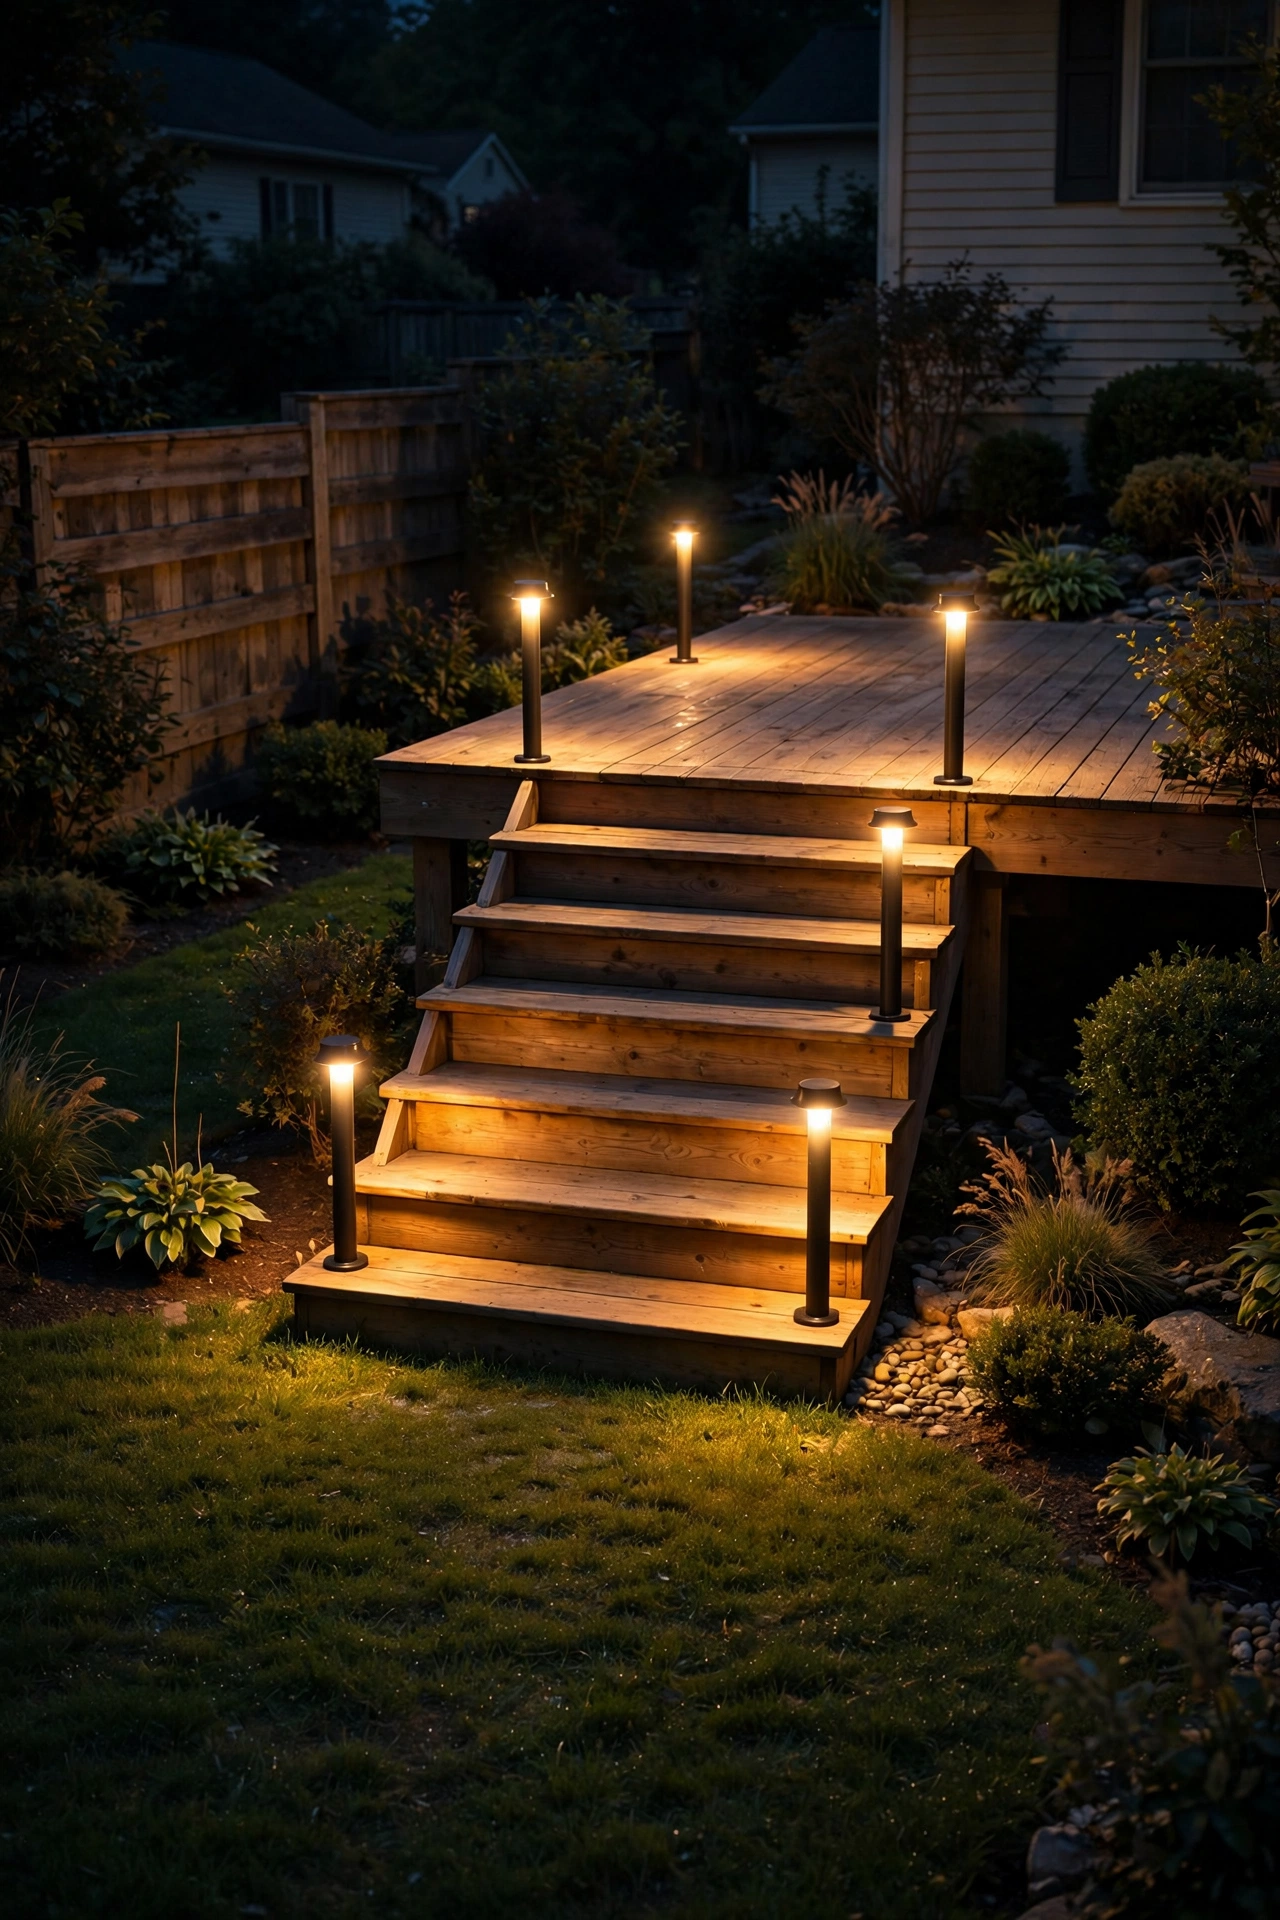
10. Flush In-Deck Lights on Landings
Landings — the flat platforms where stairs turn or meet the deck — are prime tripping territory because the eye expects the rhythm to continue and it doesn't. Flush in-deck lights, set level with the boards on the landing, quietly mark the walking surface without adding a single obstacle.
Install them near the landing edges and at the top of each flight, spacing roughly 3 to 4 feet apart. They come in round or square formats; I find round ones sit most naturally in wood decking. The face should be truly flush — run your hand over it; if you can feel an edge, it'll catch a shoe eventually.
These are almost always low-voltage wired, with the fixture body recessed into a drilled hole and the lens sitting at deck level. Choose walk-over-rated fixtures (they're built to take foot traffic) with IP67 sealing, since rain and snowmelt will pool on the lens.
Styling note: flush lights give landings a subtle "runway" feel that's incredibly chic — especially when combined with recessed riser lights on the flights themselves. The whole stair system reads as one continuous glowing path.
Suggested budget range: $120 – $400.
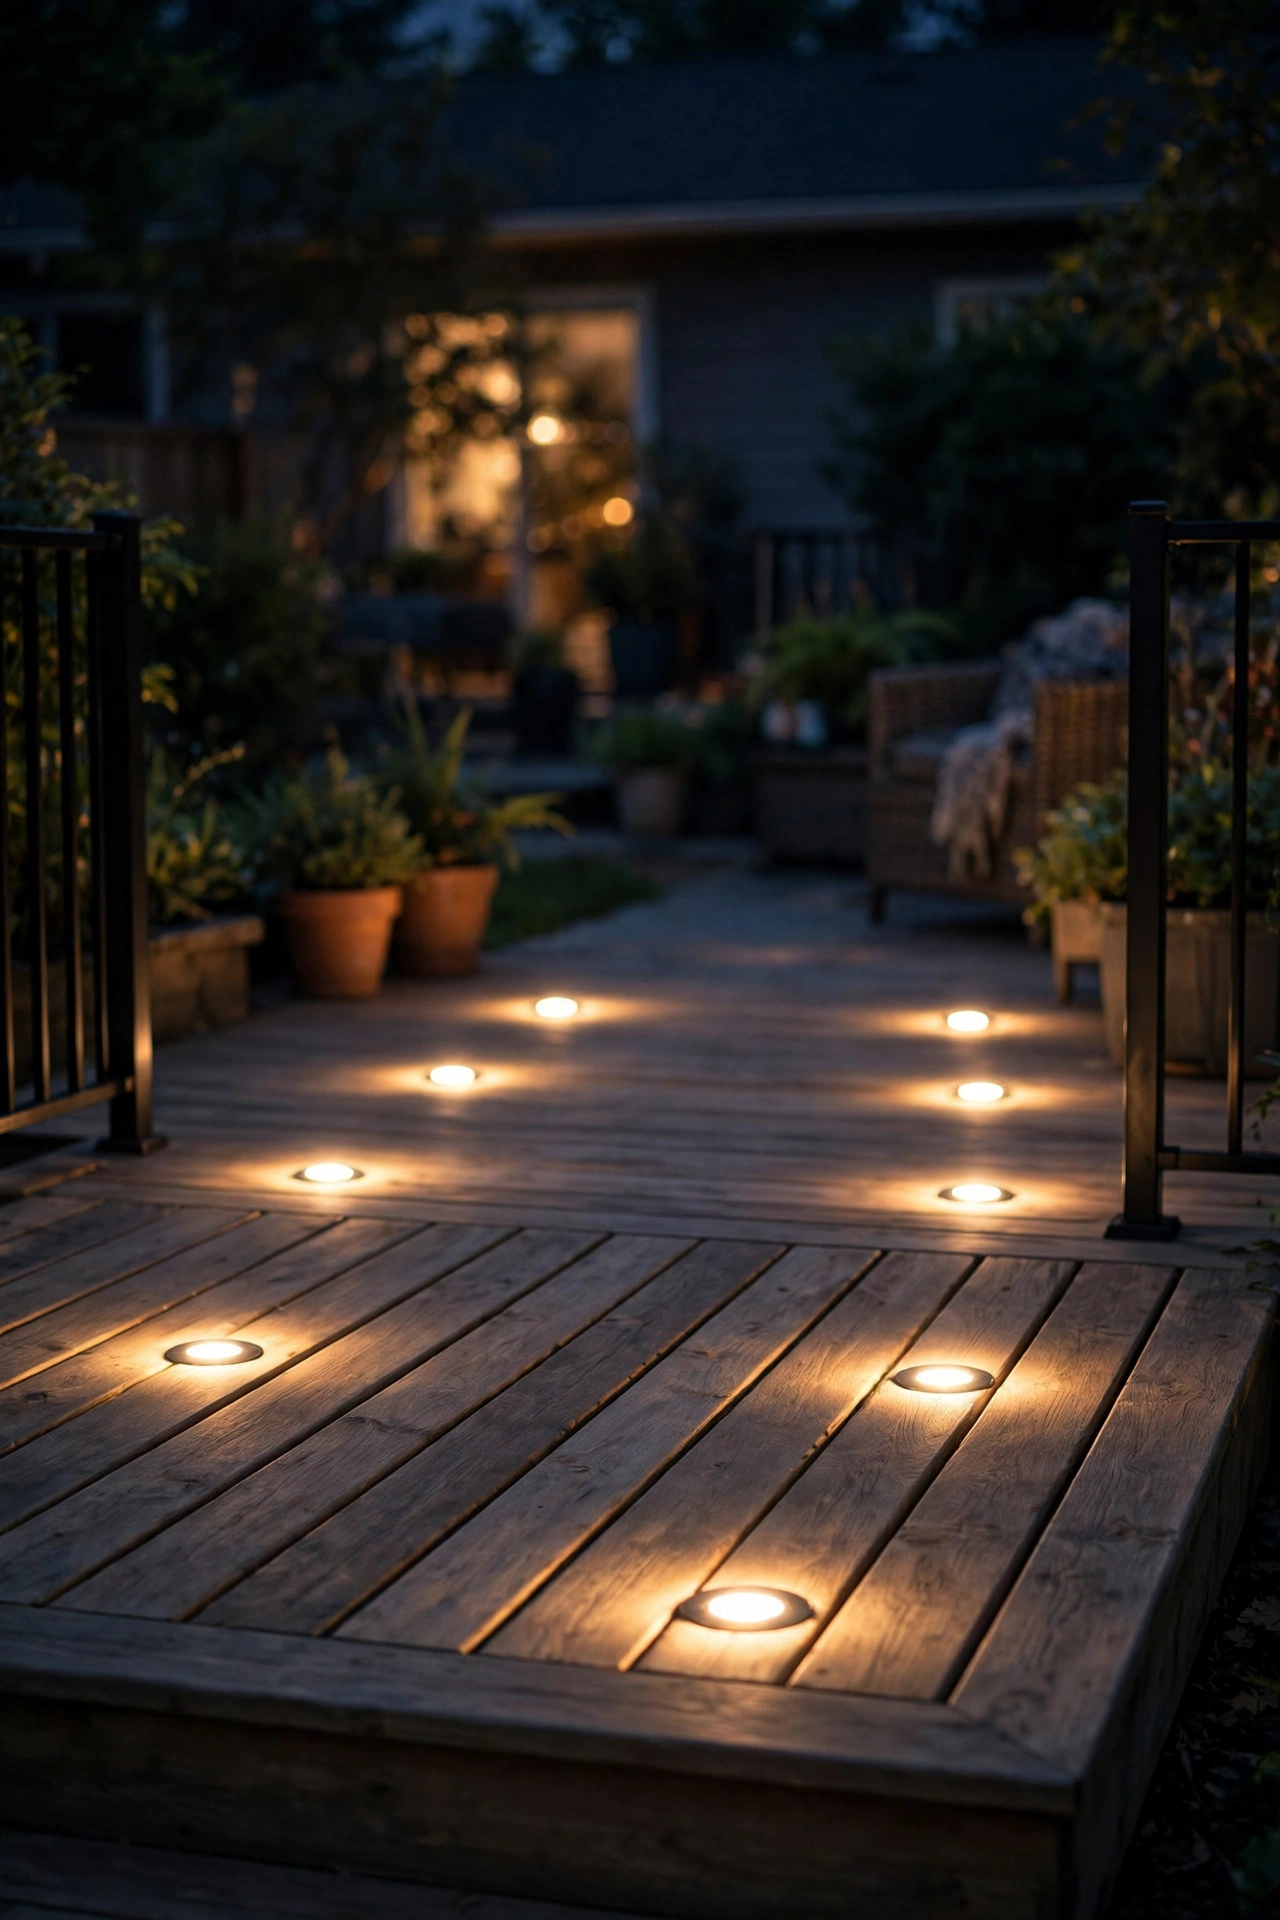
11. Motion-Sensor Stair Lights for Hands-Free Safety
Picture this: you step onto the deck with an armful of dishes, and the stairs light up on their own. That's motion-sensor stair lighting, and honestly, it's the most practical luxury in this list. No fumbling for switches, no leaving lights on all night.
Mount the sensor where it catches movement approaching the stairs but not every passing squirrel — about 7 to 8 feet up on a nearby post or wall, angled down at the stair zone. Most sensors let you set a range of 10 to 25 feet; tighter is better to avoid false triggers. Pair it with a dusk-to-dawn photocell so it only activates after dark.
You can buy step lights with built-in motion sensors, or add a standalone sensor to a low-voltage transformer circuit controlling all your stair lights. The standalone route is my preference — one sensor, whole staircase, one behavior.
Set the shutoff delay to 3 to 5 minutes so the lights don't die mid-staircase. And if you have pets roaming the yard, choose a sensor with pet-immune settings or aim it tightly at the stairs so the dog's midnight patrol doesn't run a light show.
Suggested budget range: $80 – $300.
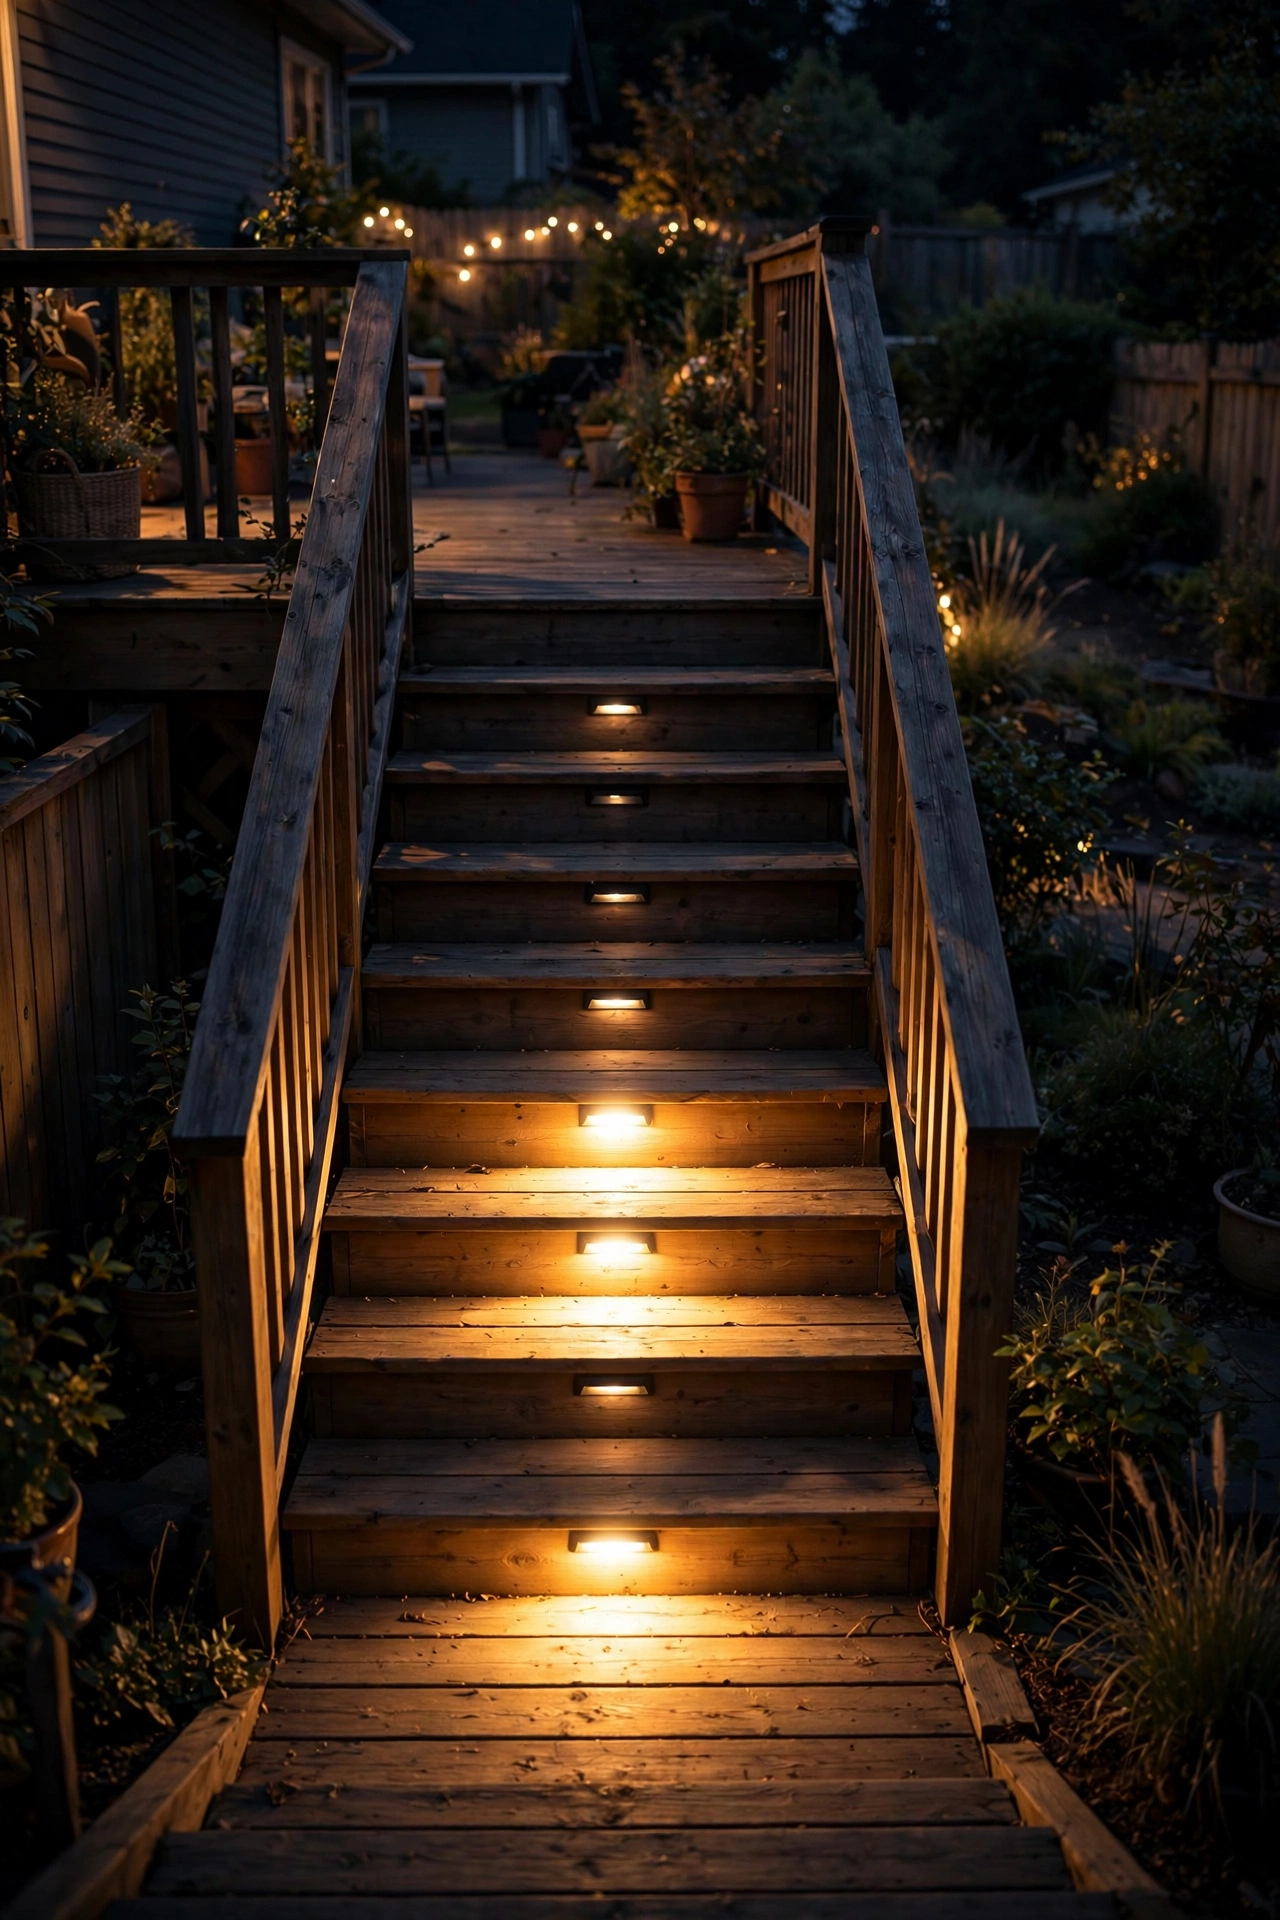
12. A Dedicated Low-Voltage Transformer System
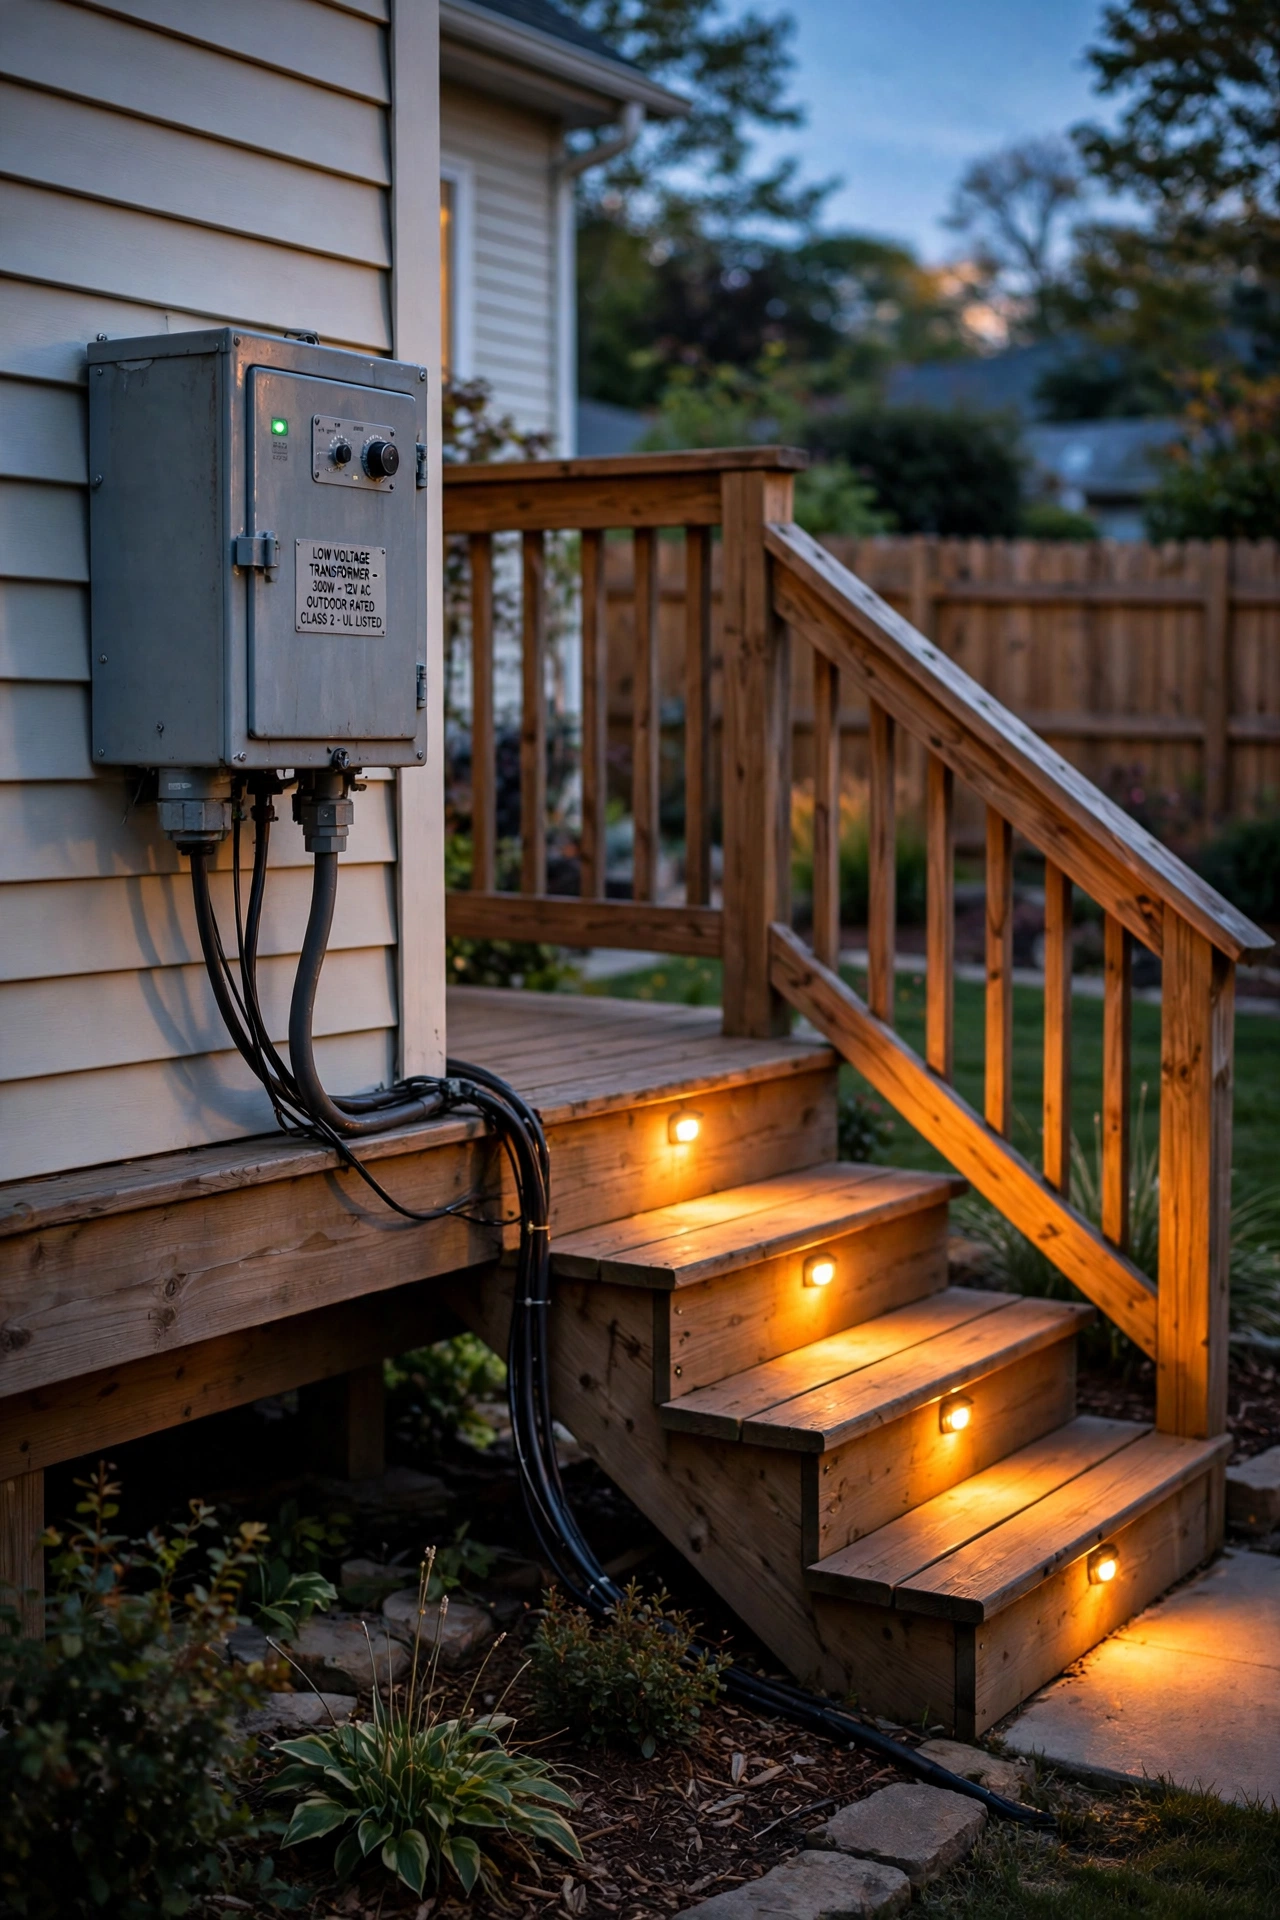
If you're doing more than a couple of lights, stop buying piecemeal and build a proper low-voltage system. One transformer, one timer or photocell, one clean run of cable feeding all your stair lights, post caps, and landing lights — everything on the same circuit, all behaving identically.
Size the transformer by adding up your fixtures' wattage and multiplying by 1.25 for headroom; a 150W or 300W unit covers most decks. Use 12-gauge direct-burial cable for long runs to avoid voltage drop — the far lights going dimmer than the near ones is the classic DIY giveaway, and it's fixed by thicker wire, not a bigger transformer.
Mount the transformer on a post or wall near an outdoor GFCI outlet, protected from direct sprinkler spray. Run cables under the deck or in shallow conduit along joists, keeping them out of sight and out of the lawnmower's path.
Safety essentials: everything outdoors on a GFCI-protected circuit, all connections in weatherproof wire nuts or gel-filled connectors, and keep the transformer ventilated — never bury it in mulch. Done right, a 12V system is remarkably safe to DIY, but if you're running new 120V lines to the outlet itself, call an electrician.
For a refresher on outdoor electrical basics, my rundown of exterior wall light installation covers GFCI, ratings, and mounting tips that apply here too.
Suggested budget range: $150 – $500.
13. Stick to Warm White (2700–3000K) on Stairs
This isn't a fixture idea — it's the single decision that makes or breaks every other idea on this list. Warm white light (2700–3000K) is the right choice for deck stair lights, full stop. It's easier on the eyes at night, it preserves your night vision better than cool white, and it makes wood look rich instead of washed out.
Cool white (4000K and up) on stairs creates harsh shadows and glare, which is the opposite of what you want when judging step edges. It also feels stark and commercial — fine for a parking garage, terrible for the deck where you unwind. Every stair fixture you buy should list its color temperature on the box; if it doesn't, put it back.
Consistency matters as much as the number itself. When your riser lights are 2700K but the post caps are 4000K, the mismatch is jarring even if nobody can name it. Pick one temperature for the whole deck and check every box against it. Most quality fixtures now come in selectable color temperature — set them all the same on day one and you're done.
My rule: 2700K for cozy traditional and farmhouse decks, 3000K for modern and minimalist ones. Never mix. Your future self, sipping coffee on glowing steps, will thank you.
Suggested budget range: $0 – $20.
14. Timers, Photocells, and Smart Scheduling
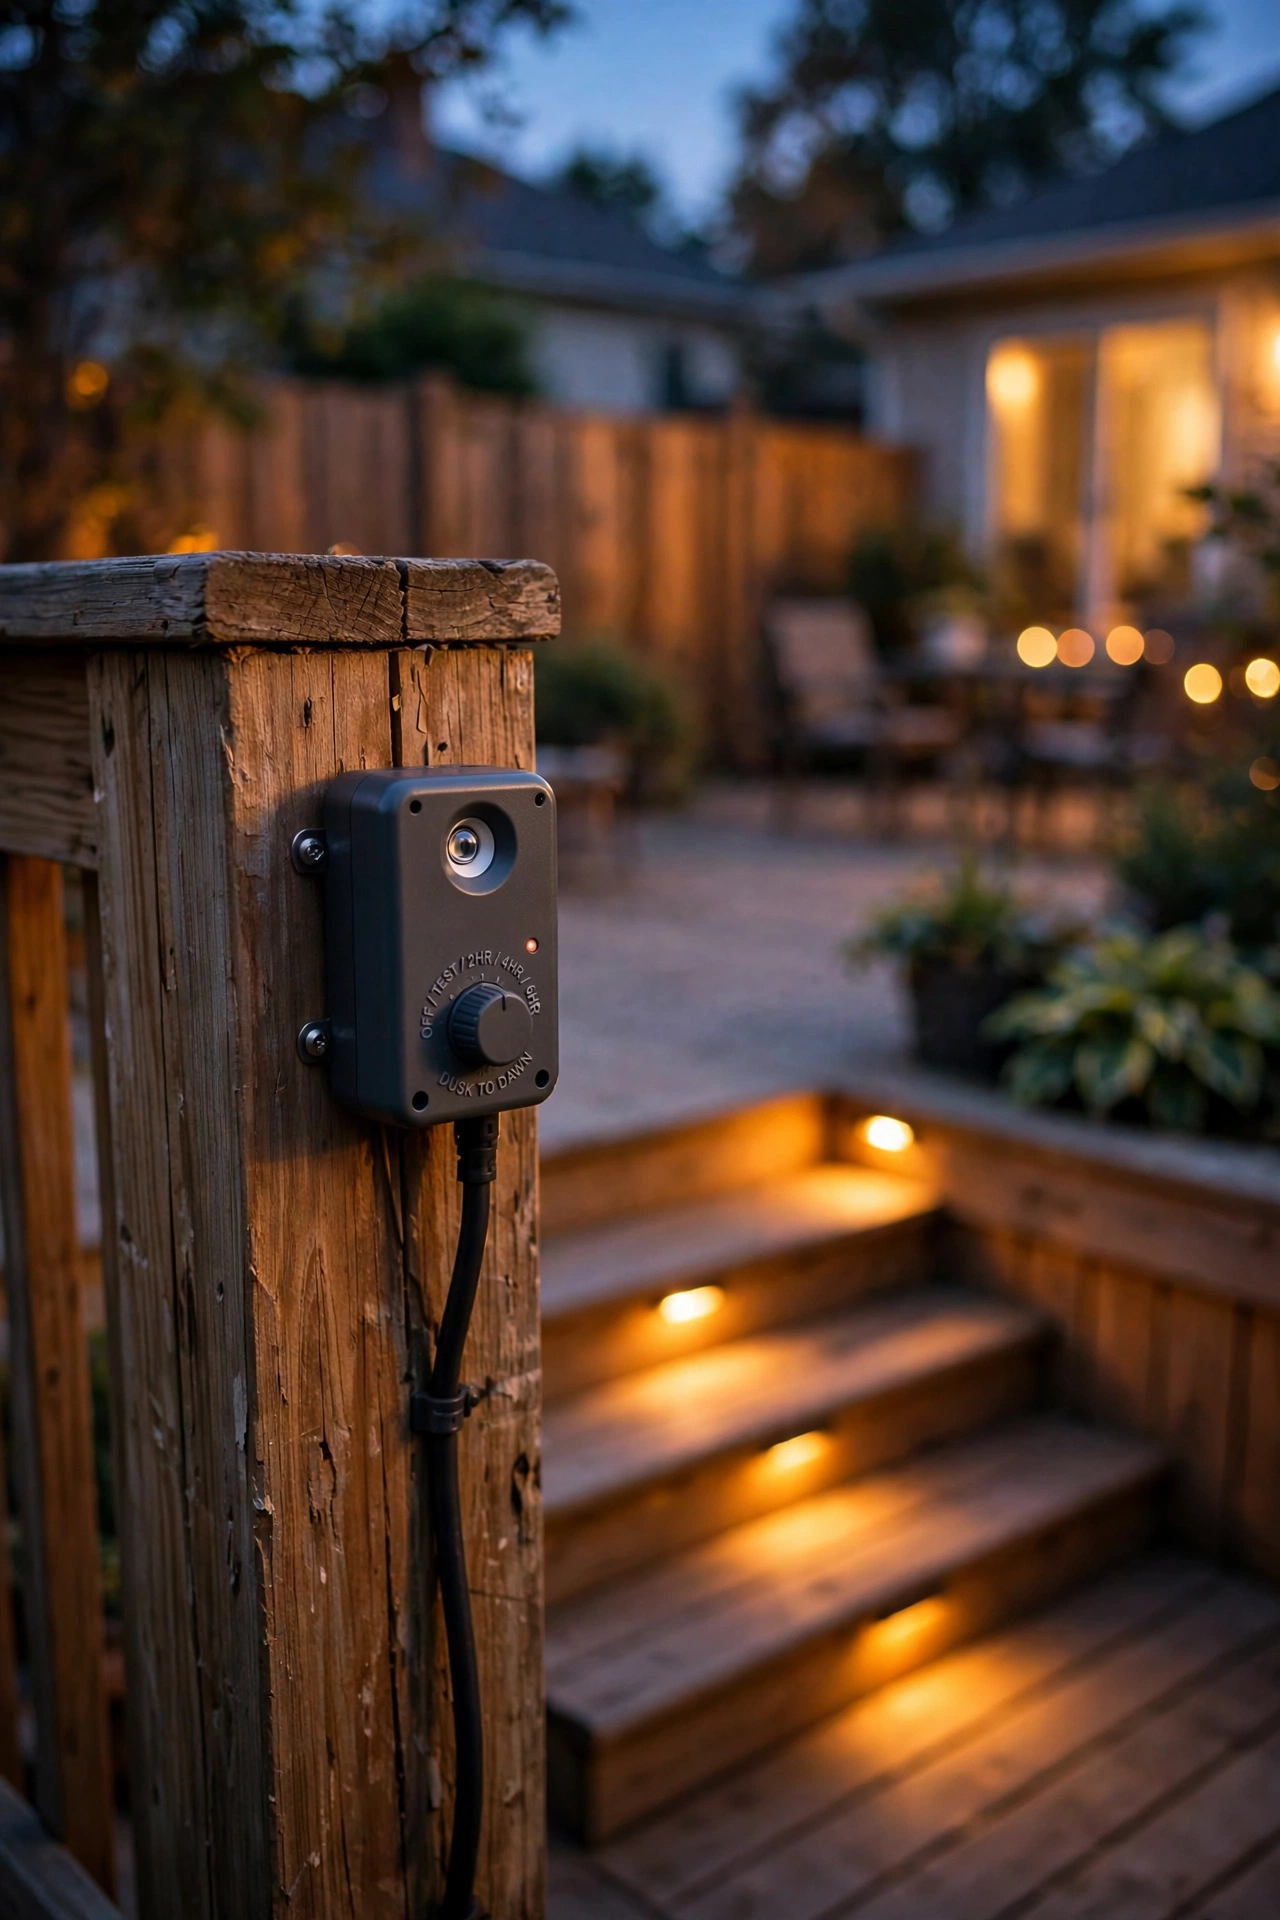
The best deck stair lights are the ones you never think about. A simple photocell turns everything on at dusk and off at dawn; a timer narrows that to the hours you actually use the deck, say 7 PM to midnight. Either way, nobody's flipping switches in the dark.
For low-voltage systems, a plug-in photocell or an astronomical timer on the transformer is all it takes — astronomical timers adjust for the season automatically, which is lovely in fall when sunset keeps sliding earlier. For individual solar fixtures, most already have dusk sensors built in; just make sure the switch is set to "on" and the panel is clean.
If you're into smart home gear, a smart plug or smart transformer module lets you schedule, dim, and even control the stairs from your phone. I always recommend setting a "goodnight" scene that leaves the stair lights on low — full safety with a fraction of the energy, since stairs are the one zone worth lighting all night.
One honest caveat: Wi-Fi smart devices on a deck at the far end of the yard can be flaky. If your signal is weak out there, stick with a trusty photocell and timer — boring, bulletproof, and nobody notices the difference.
Suggested budget range: $15 – $120.
15. Weatherproof Everything: Ratings, Conduit, and Drainage
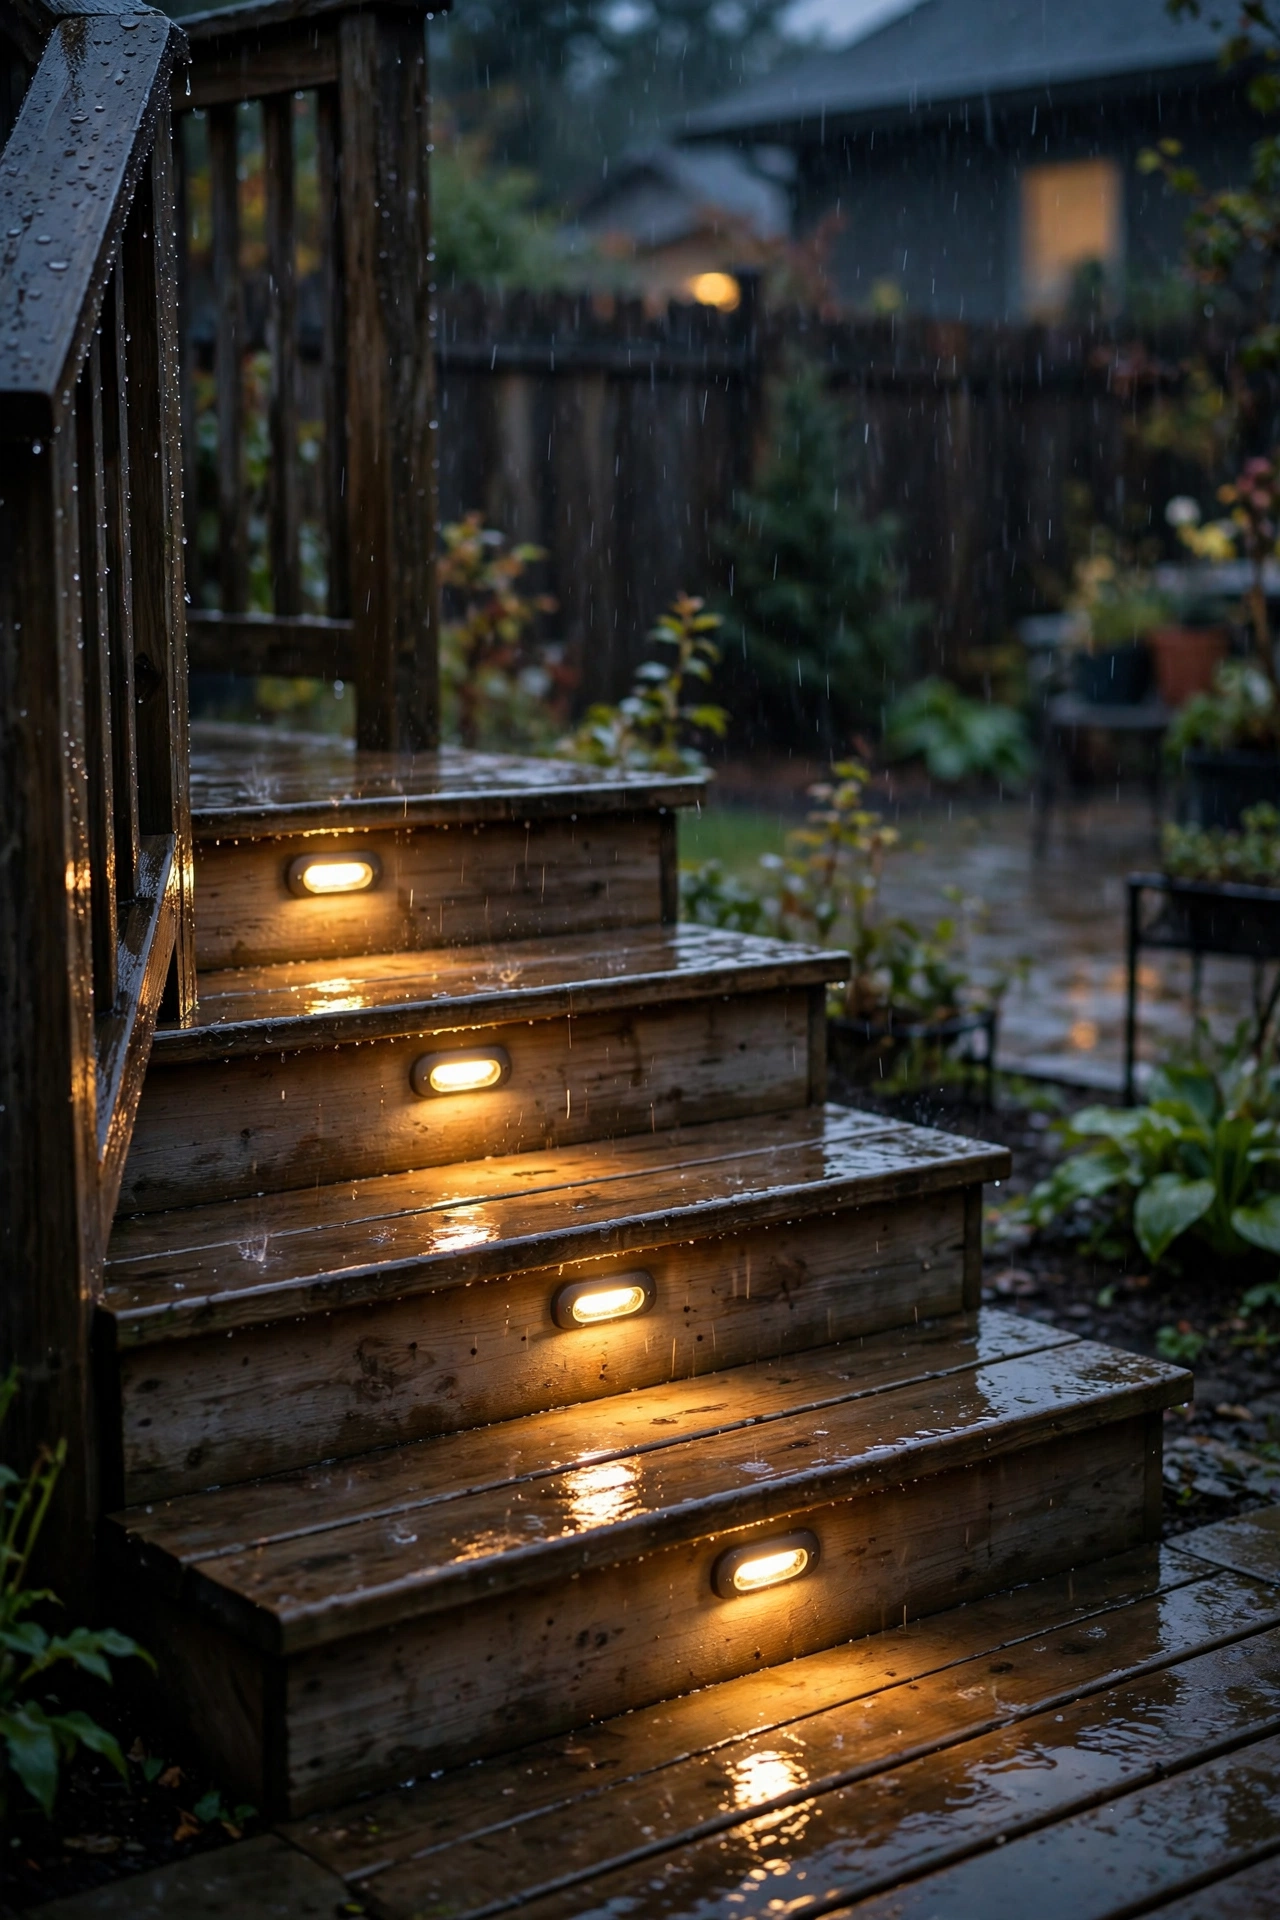
Outdoor lighting lives a hard life, and stairs are the hardest spot of all — rain hits them directly, snow piles on them, and feet grind grit into every seam. Getting the weatherproofing right is what separates deck stair lights that last a decade from ones that flicker out by spring.
First, the rating: look for IP65 or higher on anything exposed to rain, IP67 on flush deck and landing lights that will sit in puddles. "Weather-resistant" without a number is marketing; an actual IP rating is a promise. Second, protect the wire: run cable through conduit wherever it's exposed to sun, weed whackers, or critters, and use gel-filled waterproof connectors at every splice — standard wire nuts corrode outdoors.
Third, think about drainage. Recessed fixtures need a little breathing room and a path for water to escape; sealed-top post caps need drainage channels so freeze-thaw cycles don't crack them. And mount the transformer where sprinklers can't blast it.
Do this once, properly, and your stair lighting becomes genuinely maintenance-free. Skip it and you'll be troubleshooting flickering connections every other season — take it from someone who learned the gel-connector lesson the soggy way.
Suggested budget range: $30 – $150.
16. Light the Stair Edges for Maximum Visibility
Safety engineers have a simple rule: if you can clearly see the edge of every step, you almost never misstep. You can apply it beautifully by making the tread edges — the nosings — the brightest lines on the staircase. It's the most functional approach to deck stair lights, and it happens to look striking too.
Beyond the under-nosing LED strips from idea 5, you can add contrast in other ways: a light-colored or reflective nosing strip paired with a small downlight, or recessed lights aimed specifically to rake light across the tread surface so each edge casts a tiny defining shadow. The goal is unmistakable contrast between tread and riser.
For older eyes or rental properties, this matters even more — depth perception on stairs declines with age, and clear edge lighting is one of the cheapest accessibility upgrades there is. Avoid any fixture that shines directly into the eyes of someone descending; glare destroys edge visibility faster than darkness does.
Spacing check: walk the stairs at night after installing. If any single tread reads as a flat dark band, add or reposition a fixture until every edge shows. Your feet — and your guests' — will notice the difference immediately.
Suggested budget range: $70 – $250.
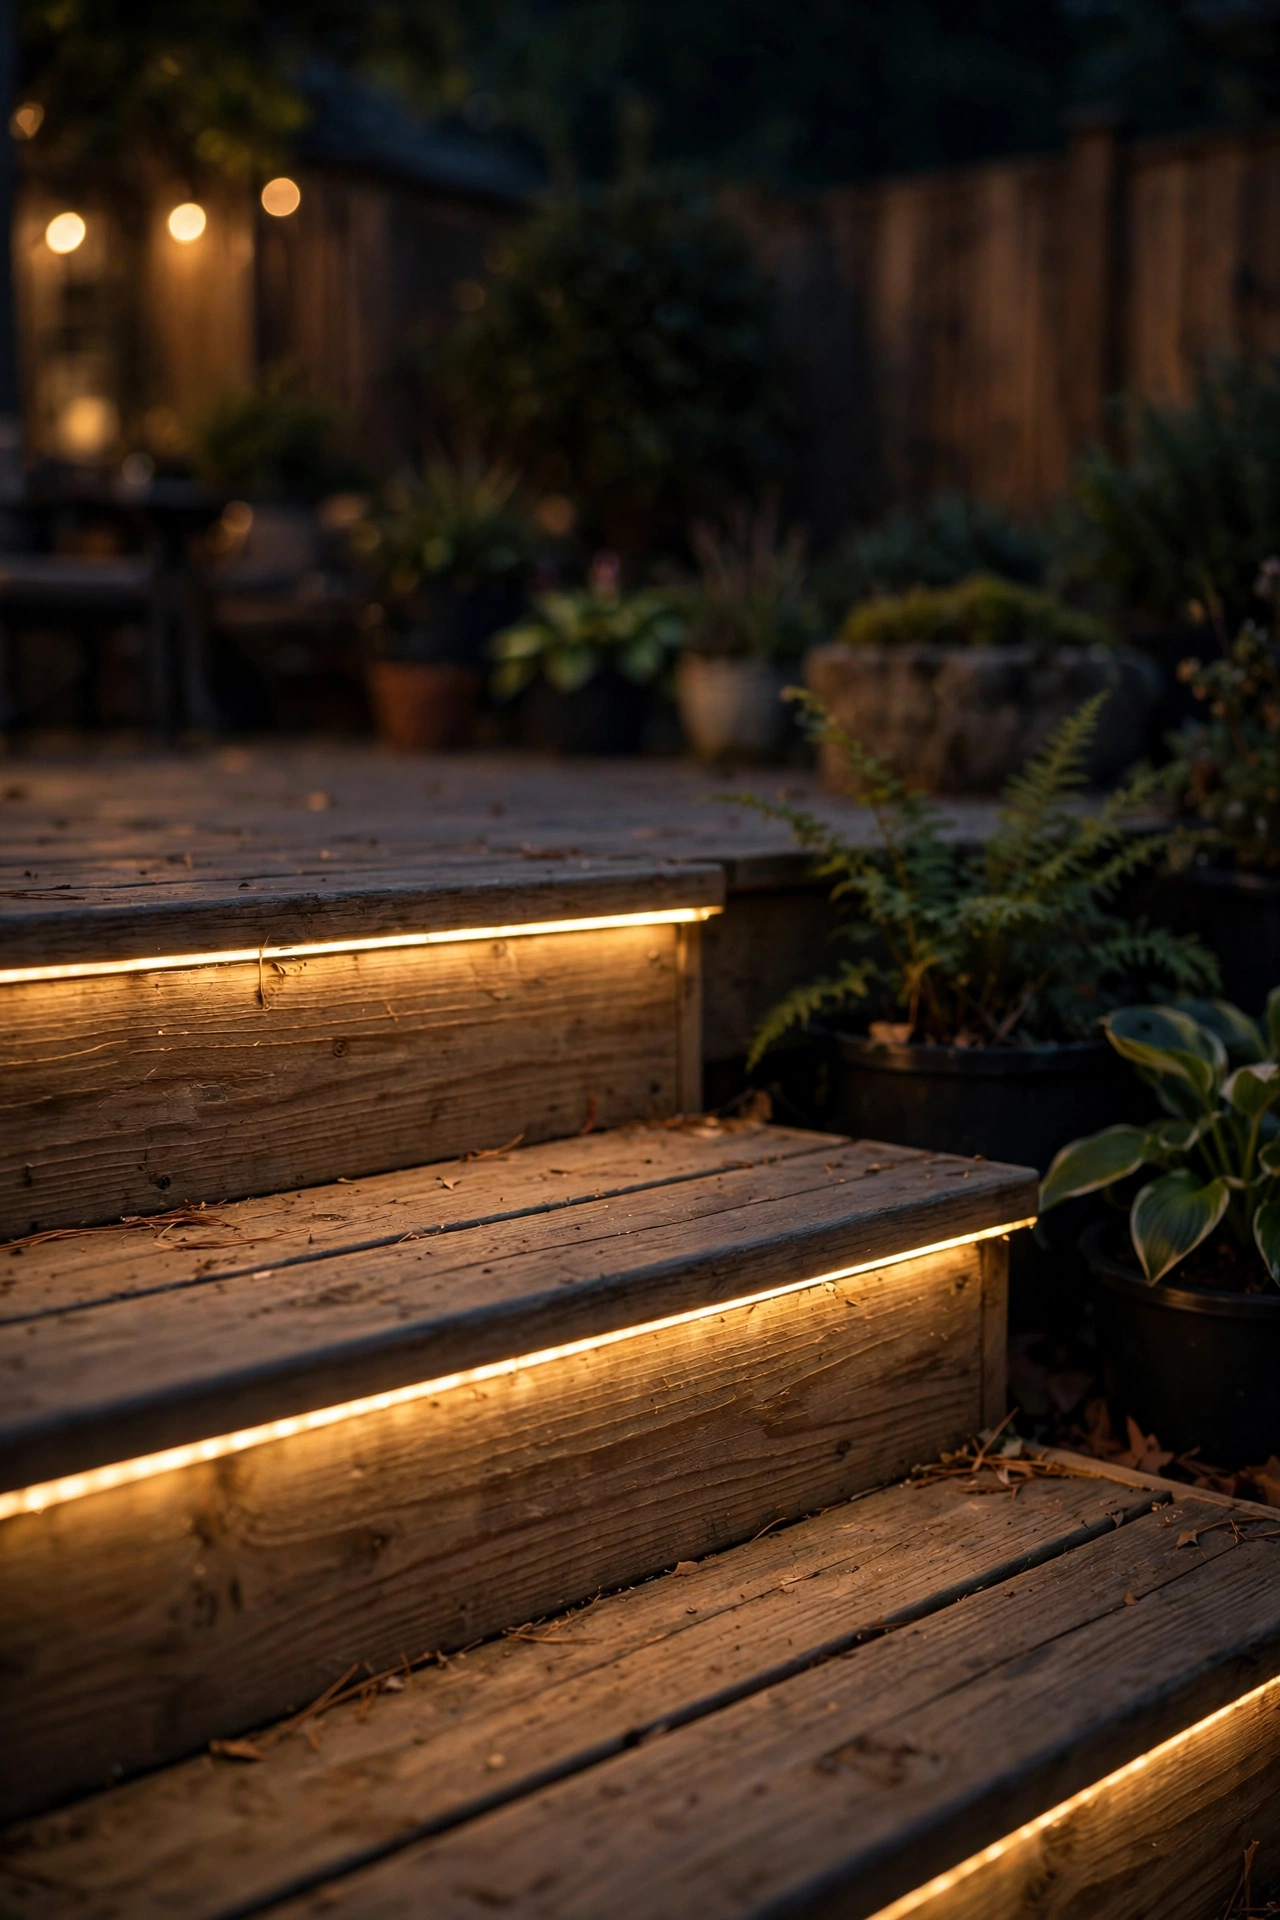
17. Landing Lights Where Stairs Turn
L-shaped and switchback stairs have a landing where the run changes direction — and that landing is where people get disoriented in the dark, because the next step isn't where the rhythm says it should be. Dedicated landing lighting is the fix: a slightly brighter, clearly defined pool of light that says "pause here, turn here."
Combine two or three of the earlier ideas on the landing: flush in-deck lights marking the surface, a post cap on the newel post at the turn, and maybe a small downlight from above if there's an overhang or pergola beam. The landing should be the best-lit spot on the whole staircase, not an afterthought.
If your landing has a railing corner, that's also a natural home for a motion sensor aimed at the turn — it catches people arriving from either direction. And keep the landing clear of planters and decor; it's a traffic zone, not a display shelf, and lighting it well only works if the path is actually open.
For switchbacks with two flights, repeat the full treatment on both runs so the whole system feels continuous. A half-lit staircase is worse than a dark one, because it lulls you into trusting light that isn't there.
Suggested budget range: $100 – $350.
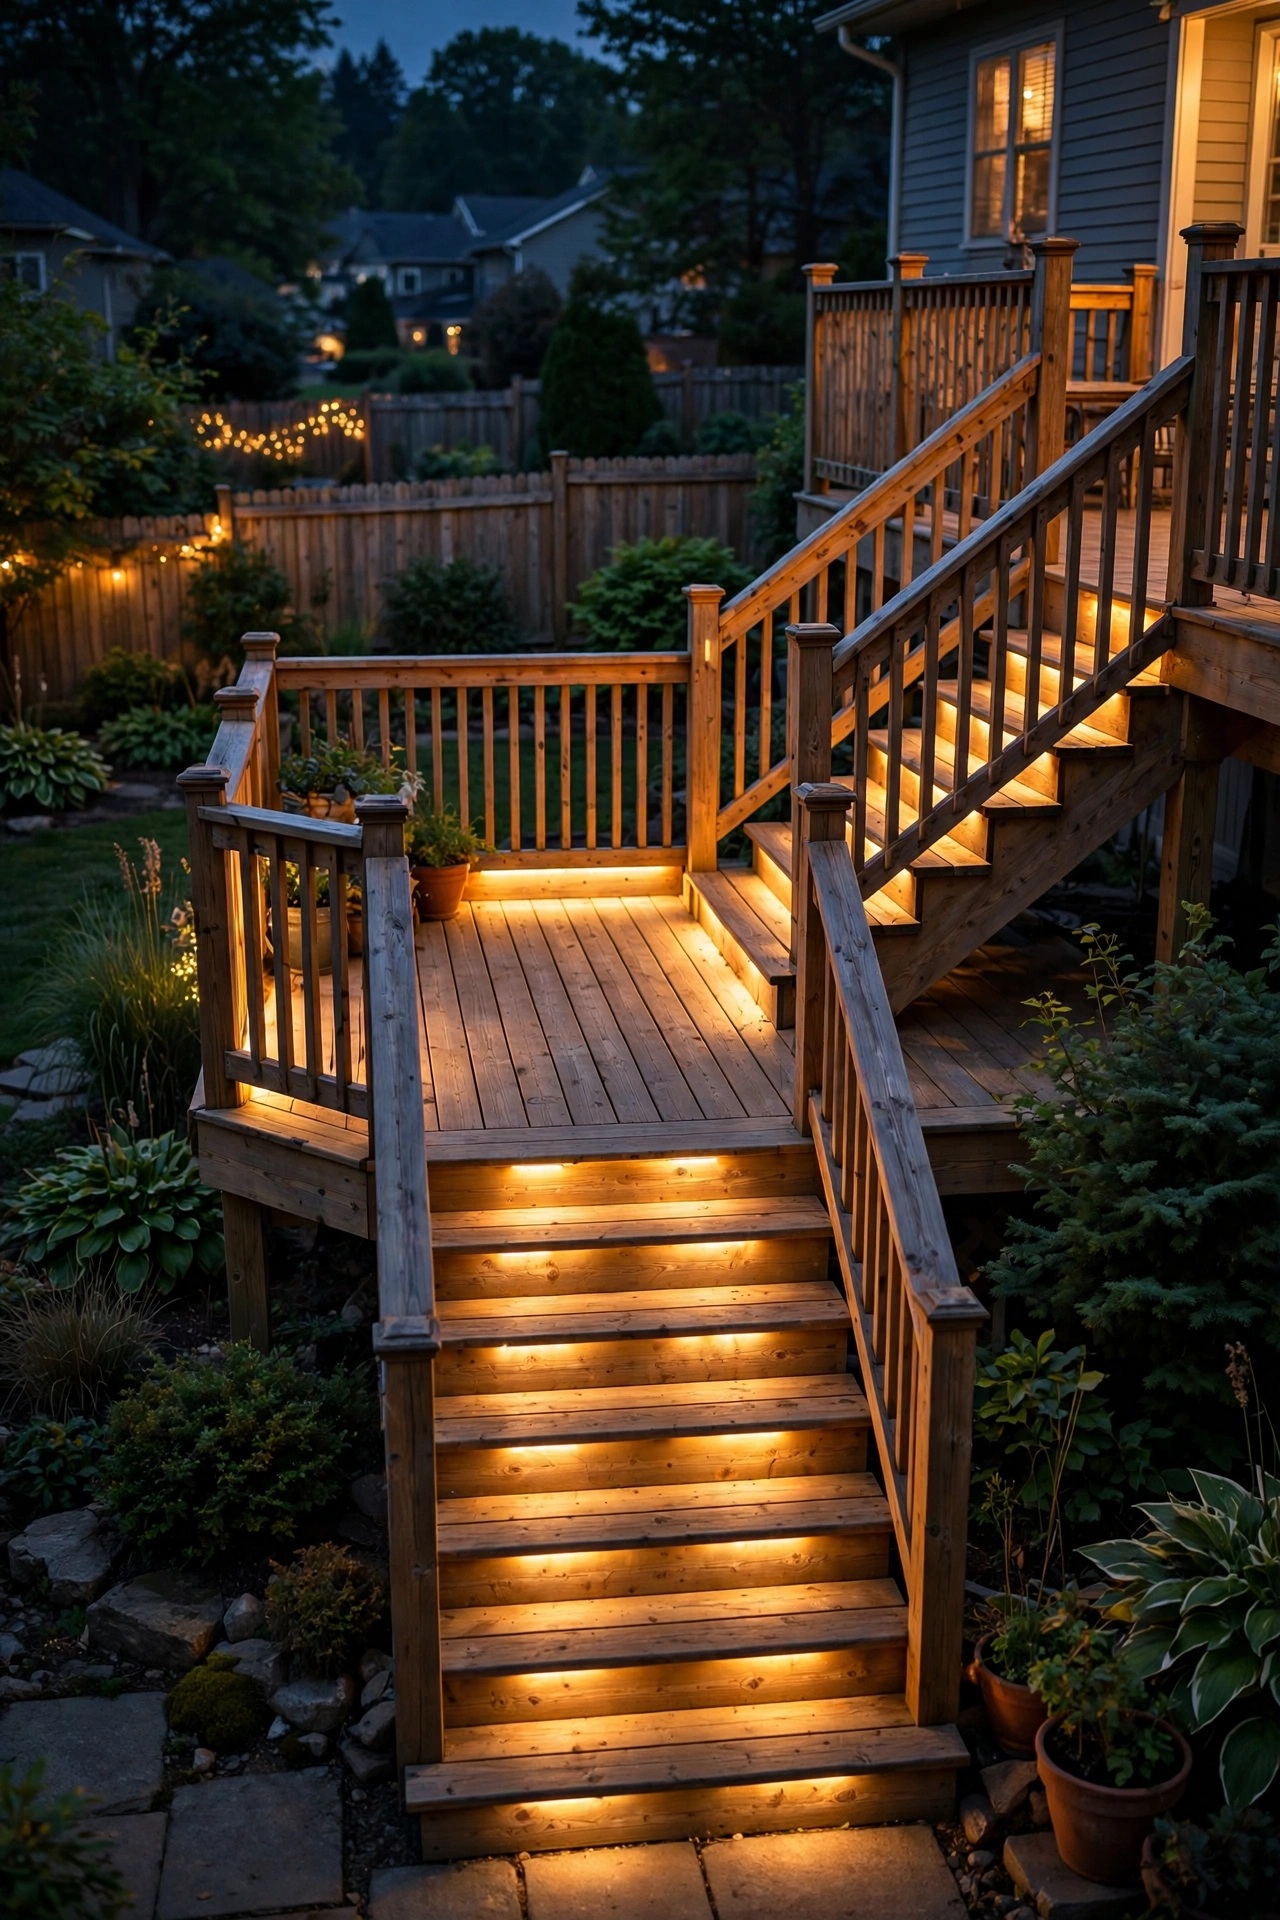
18. Layer Ambient Light Above the Steps
Here's where the "layering" philosophy pays off. Once the steps themselves are safely lit, add one warm ambient layer above or around the staircase — string lights overhead, a pendant under a pergola, or soft wall-wash from nearby fixtures. This doesn't light the steps directly; it lifts the whole scene so the stair lights read as glowing accents instead of lonely dots in the dark.
String lights are the easiest win: drape them between posts above the stair run or across the deck opening, keeping them at least 7 feet above the walking surface so nobody brushes them. Edison-style LED bulbs in warm white are the classic choice — festive but not tacky, and they sip power.
The practical payoff is real: ambient light softens the contrast between bright step lights and pitch-black surroundings, which reduces the harsh "tunnel" feeling and actually makes the stairs easier to navigate. Your eyes adapt better when the whole area has some glow.
Just keep the layers visually distinct — ambient above, task lighting on the steps. If everything is equally bright, nothing feels special. Dim the ambient layer slightly and let the stair edges be the stars.
Suggested budget range: $50 – $200.
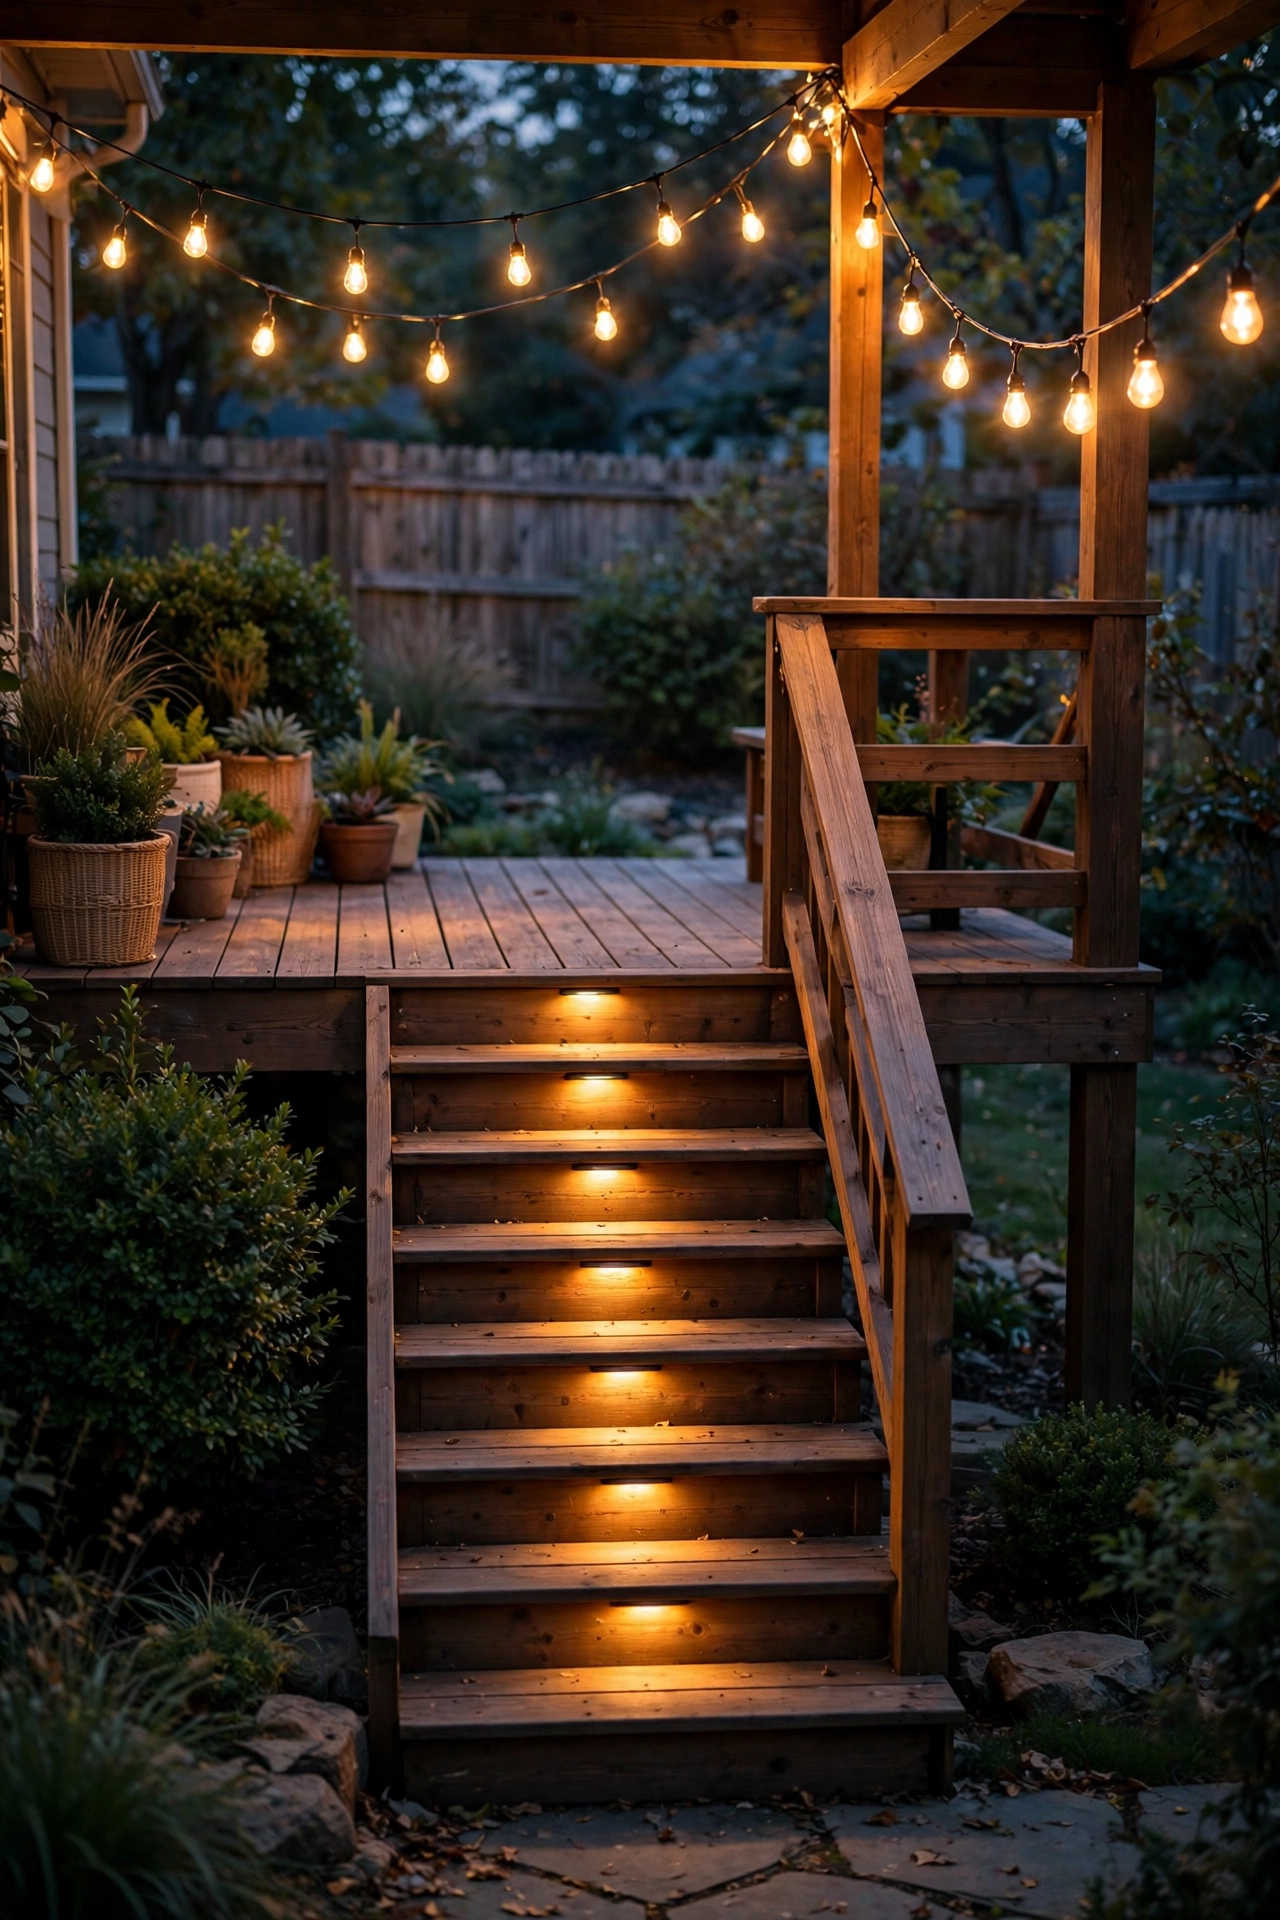
19. Permanent Trim Lights for Year-Round Glow
The newest idea on this list, and honestly one of my favorites: permanent low-profile LED trim lights installed along the stair stringers or under the rail, designed to stay up all year. They give you everyday warm-white stair lighting, and many systems can switch to colors for holidays — subtle, tasteful, and you never climb a ladder in December again.
Install the channel along the outer stair stringer (the diagonal board on the side of the stairs) or under the handrail, with the LEDs aimed down at the steps. Warm white 2700K for daily use; the color modes are a bonus, not the point. Look for UV-stable housings — cheap channels yellow and get brittle in the sun within a couple of seasons.
These systems are low-voltage and designed for permanent outdoor mounting, so weatherproofing is built in, but the same rules apply: GFCI-protected power, sealed connections, and a controller mounted somewhere dry. A timer or app schedule keeps them on warm white by default.
Is it overkill for a small stoop? Probably. But for a big deck with a grand staircase, permanent trim is the set-it-and-forget-it finale — safety lighting, architectural accent, and holiday decor in one install.
Suggested budget range: $200 – $600.

Frequently Asked Questions
How far apart should deck stair lights be spaced?
For riser-mounted step lights, one fixture per step is the standard — centered on the riser, about 6 to 8 inches above the tread below. On stairs wider than 4 feet, use two per step spaced about 2 feet apart. For handrail downlights, space fixtures 18 to 24 inches apart along the run. The real test is always the nighttime walk-through: if any tread looks dark or any edge disappears, add light until every step is clearly defined.
Should I choose recessed or surface-mount stair lights?
Recessed lights sit flush in the riser and look the most refined, but they require cutting holes in the stairs. Surface-mount lights screw onto the riser face with no cutting, making them the easier DIY option. For safety, recessed is slightly better on stairs since nothing protrudes to catch a toe — but slim-profile surface mounts (under an inch deep) are perfectly safe too. Choose recessed for new builds or renovations, surface-mount for quick retrofits.
Are solar or wired deck stair lights better?
Wired low-voltage (12V) lights are brighter, more consistent, and never depend on the weather — they're the best choice for stairs where safety is the priority. Solar lights are wonderfully easy to install with zero wiring, and modern ones look great, but they dim on cloudy days and in shaded spots. My recommendation: go wired for the stair treads themselves, and use solar for post caps and accents where a little dimming won't risk a misstep. If you want to compare the trade-offs in detail, see my breakdown of solar exterior house lights and general backyard lighting ideas.
How do I avoid glare on deck stairs?
Glare comes from seeing the light source itself rather than the light it produces. Fix it by aiming fixtures downward, using hooded or louvered fixtures that shield the bulb, mounting under the handrail or nosing so the source is hidden, and sticking to warm white 2700–3000K. Never mount an unshielded fixture at eye level facing someone descending the stairs. For more placement tricks, my outdoor lighting tips cover aiming and shielding in detail.
How much does it cost to light deck stairs?
A simple DIY setup — a handful of solar or surface-mount step lights — can run $50 to $150. A mid-range low-voltage system with recessed riser lights, post caps, a transformer, and a timer typically lands between $300 and $800 for a standard staircase. Elaborate setups with strips, bollards, and permanent trim can reach $1,000 or more. Hiring an electrician for new 120V circuits or complex runs adds $200 to $500 to any of these ranges.
Conclusion
Good deck stair lights are really two projects in one: a safety system that makes every step edge visible, and a styling layer that makes your whole deck glow after dark. Start with the steps themselves — recessed or surface-mount riser lights, one per step, warm white — then layer in post caps, a handrail wash, and one ambient source overhead. Get the color temperature consistent, weatherproof everything to IP65 or better, and put it all on a photocell so you never think about it again.
In my experience, the decks that feel magical at night aren't the ones with the most lights — they're the ones where every light has a job. Give your stairs theirs, and the whole backyard changes. For more ways to make your outdoor space glow, browse the rest of the lighting ideas here on the site — your evenings are about to get a whole lot cozier.