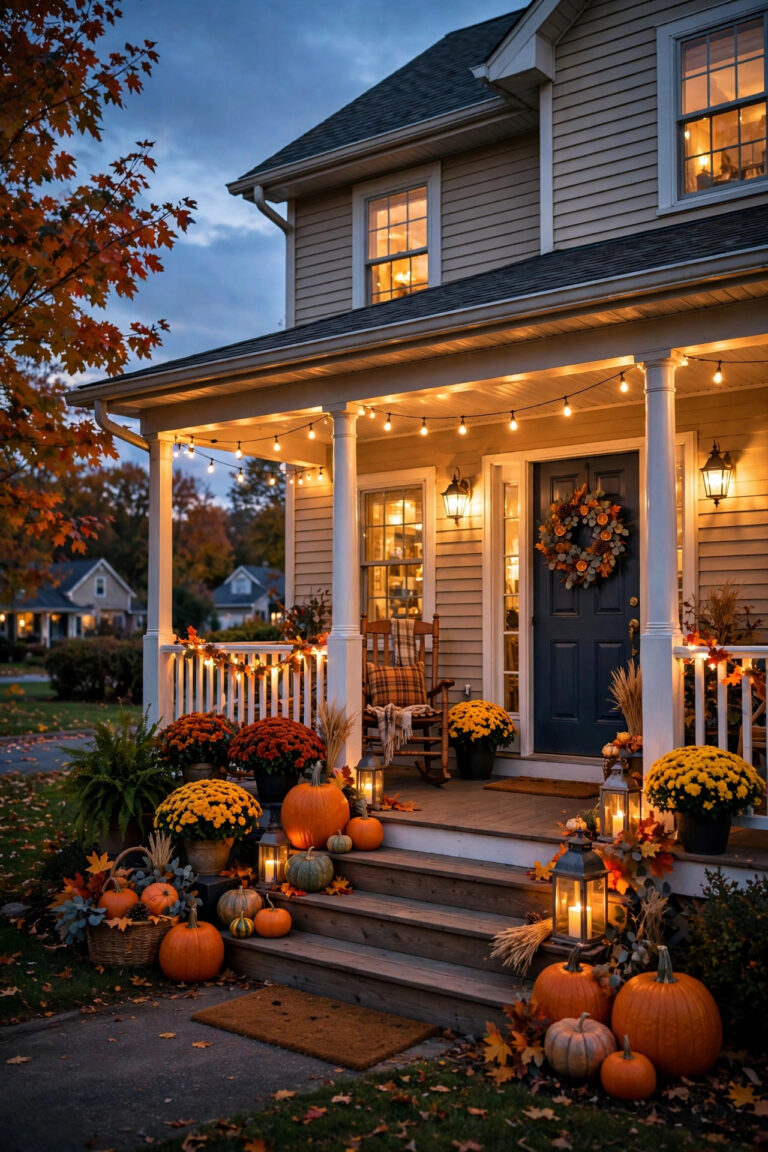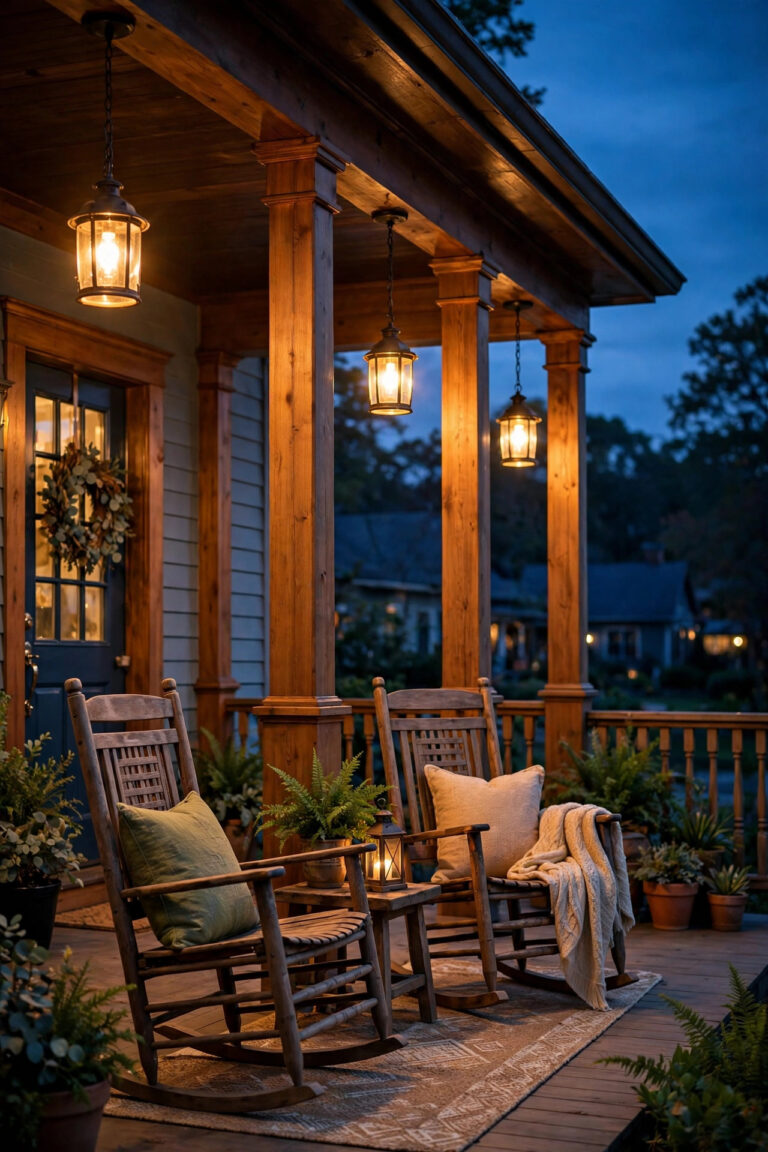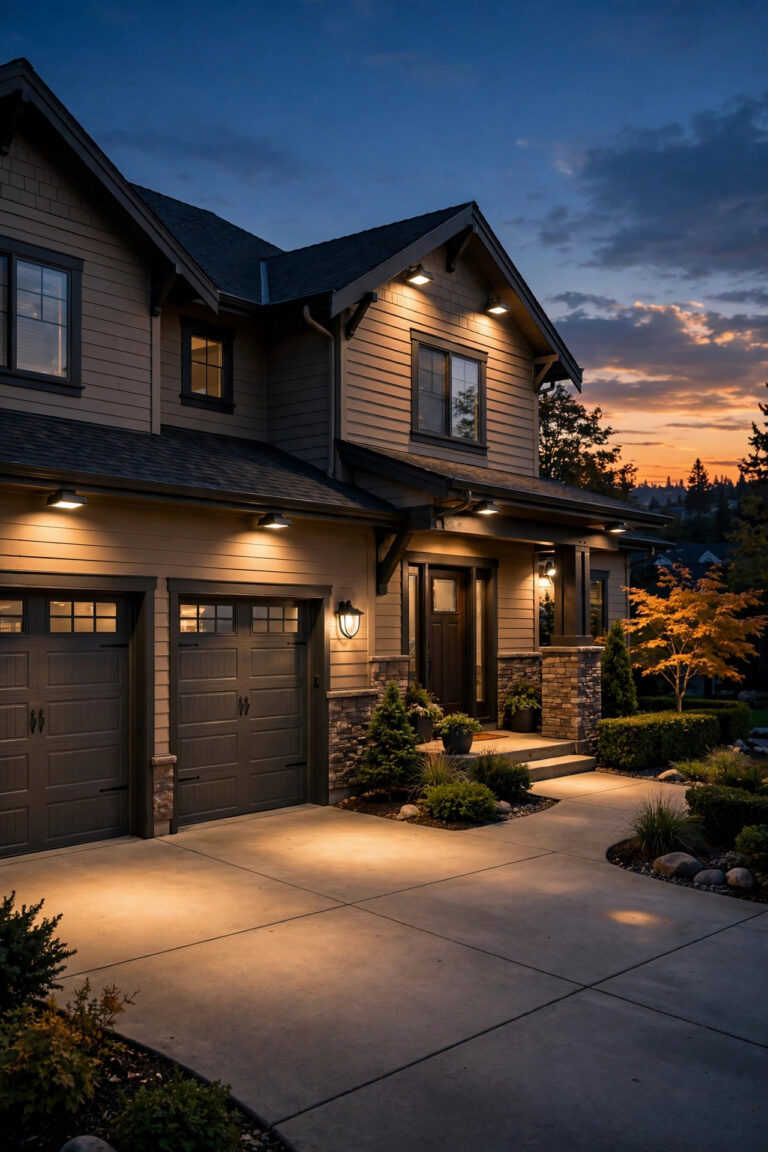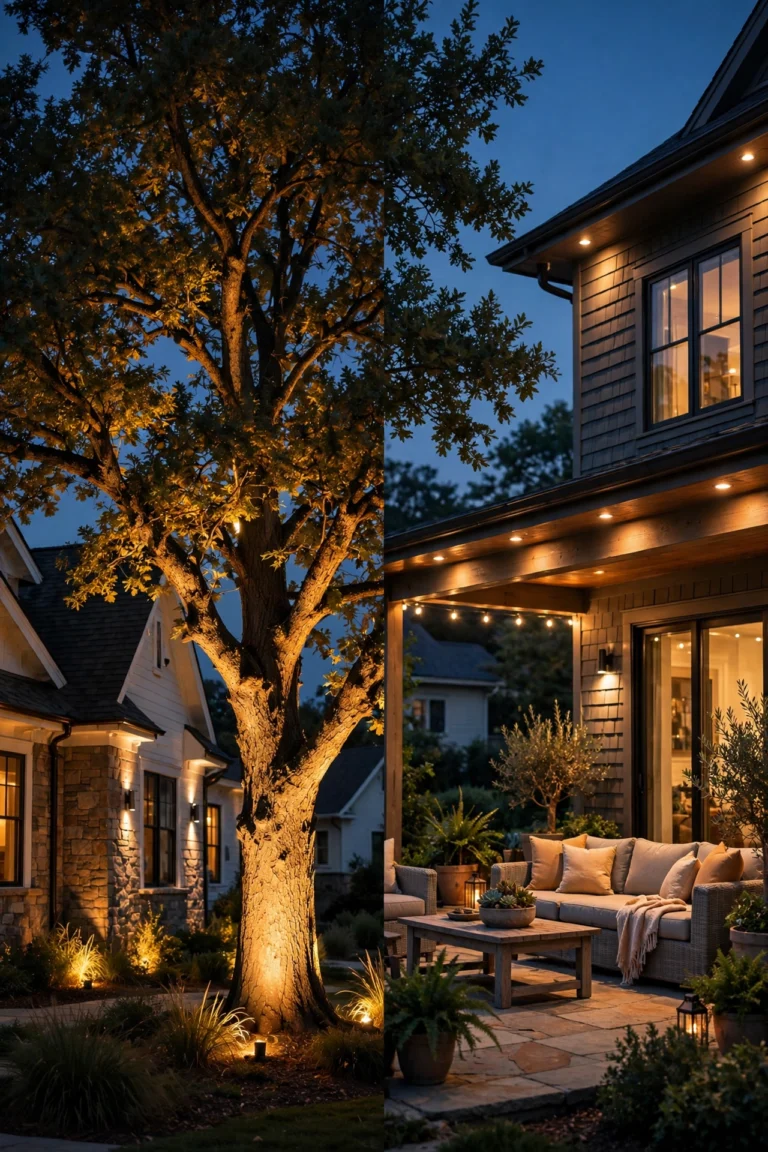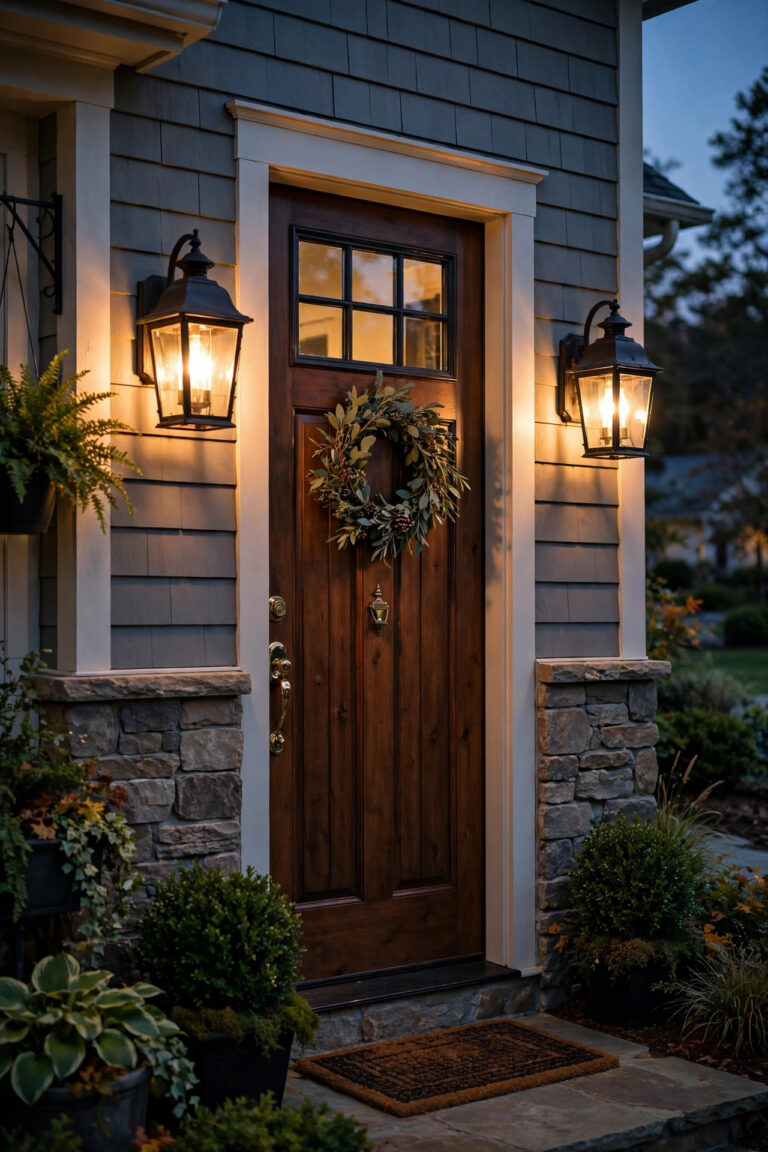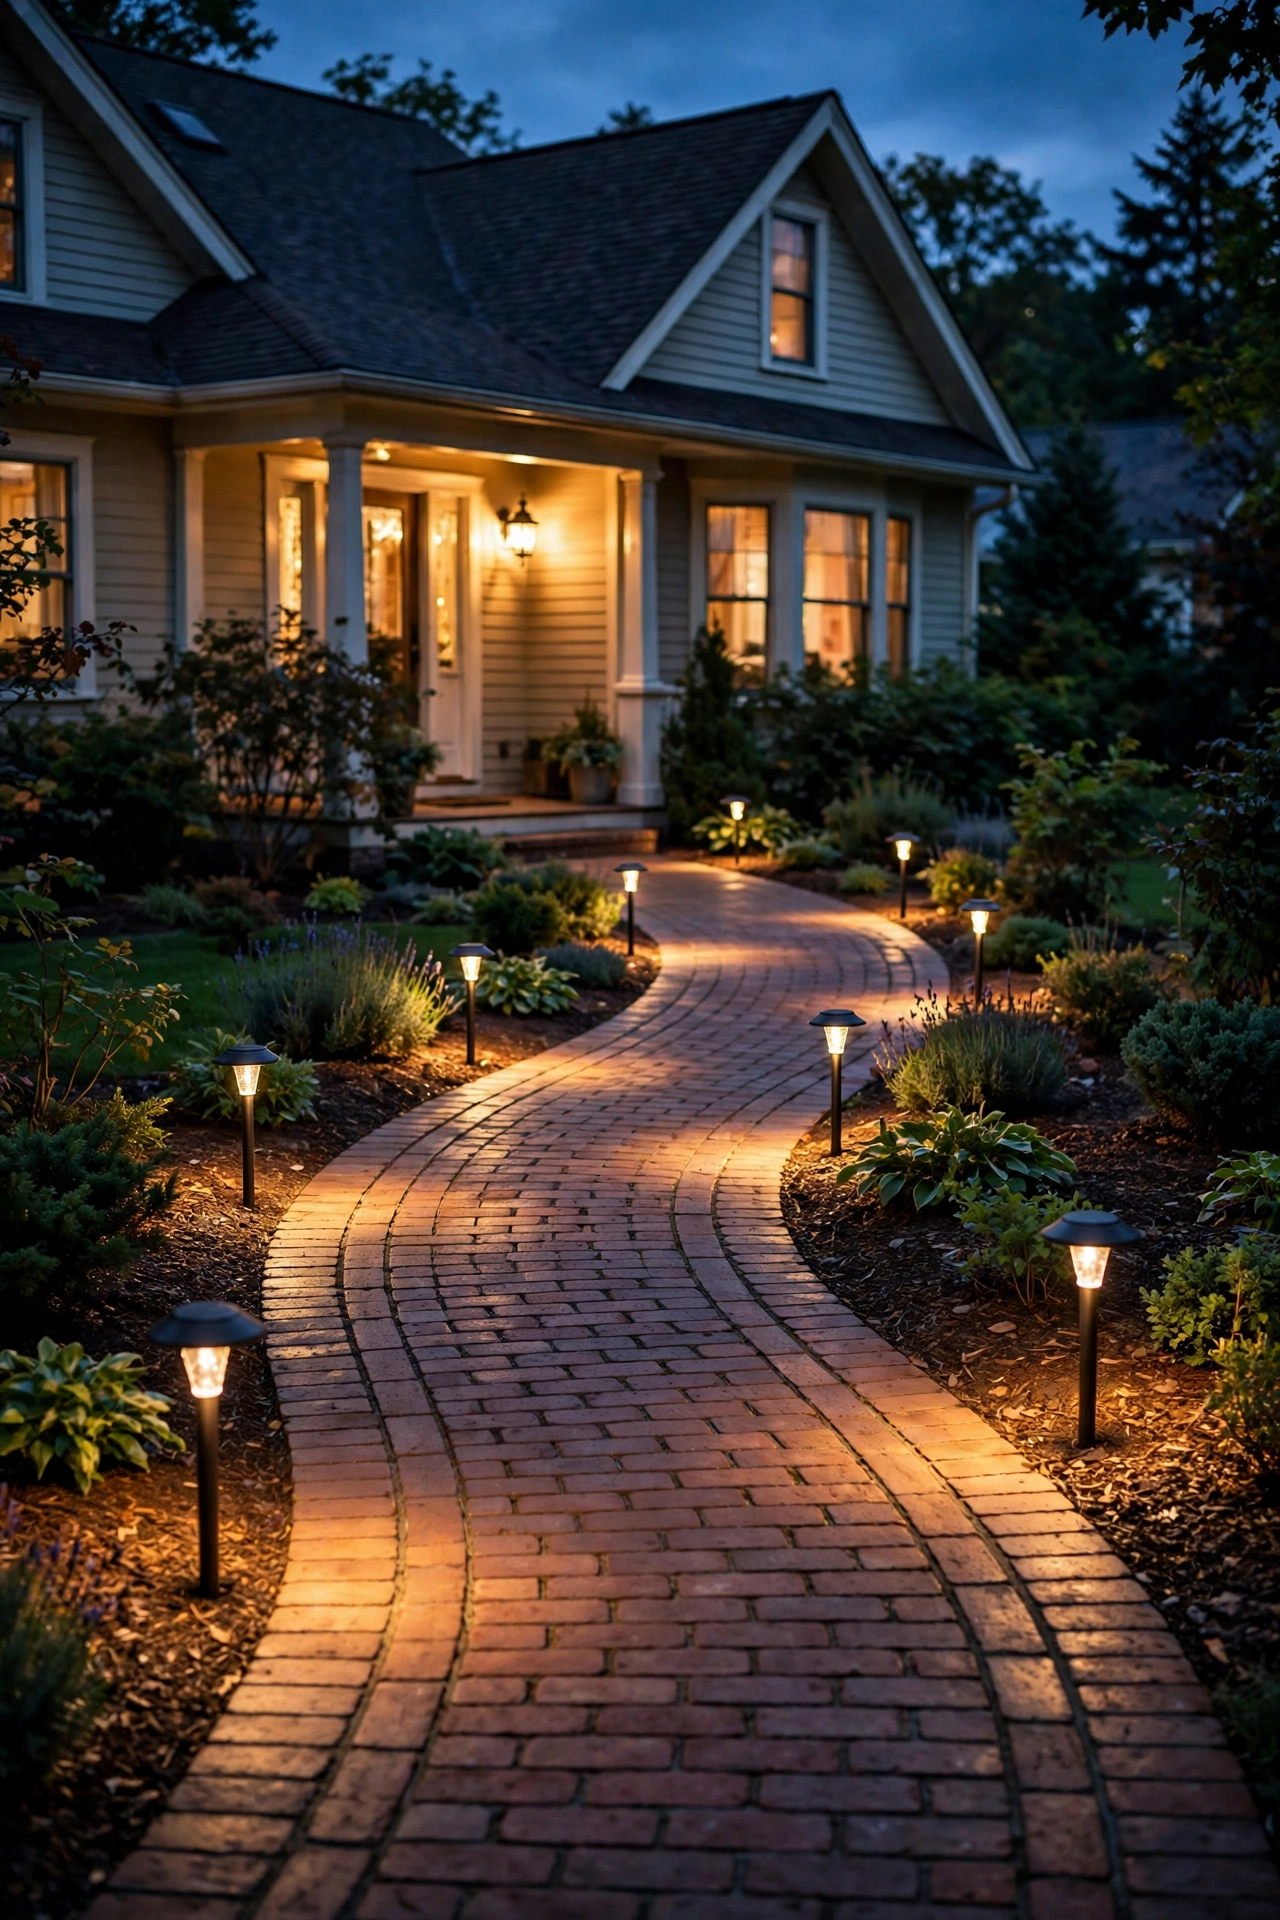
There is nothing sadder than a beautiful walkway that disappears into the dark the moment the sun goes down. I learned that the hard way after stepping off my own front path and into the flower bed one October evening, flashlight in one hand, groceries in the other. Low voltage path lights fixed that problem in a single weekend, and honestly? They did so much more than keep me on the walkway. They turned my front yard into the kind of house people slow down to look at after dusk.
If you're shopping for low voltage path lights and feeling overwhelmed by watts, lumens, transformers, and cable gauges, this guide is your answer. I'll walk you through exactly how they work, the main types compared honestly, how many you actually need, where to place them for that soft overlapping glow instead of a runway look, a step-by-step installation you can truly do yourself, real 2026 costs, the mistakes I see everywhere, and how to keep them glowing for a decade or more. By the end, you'll know precisely what to buy and where to put it.
The Short Answer
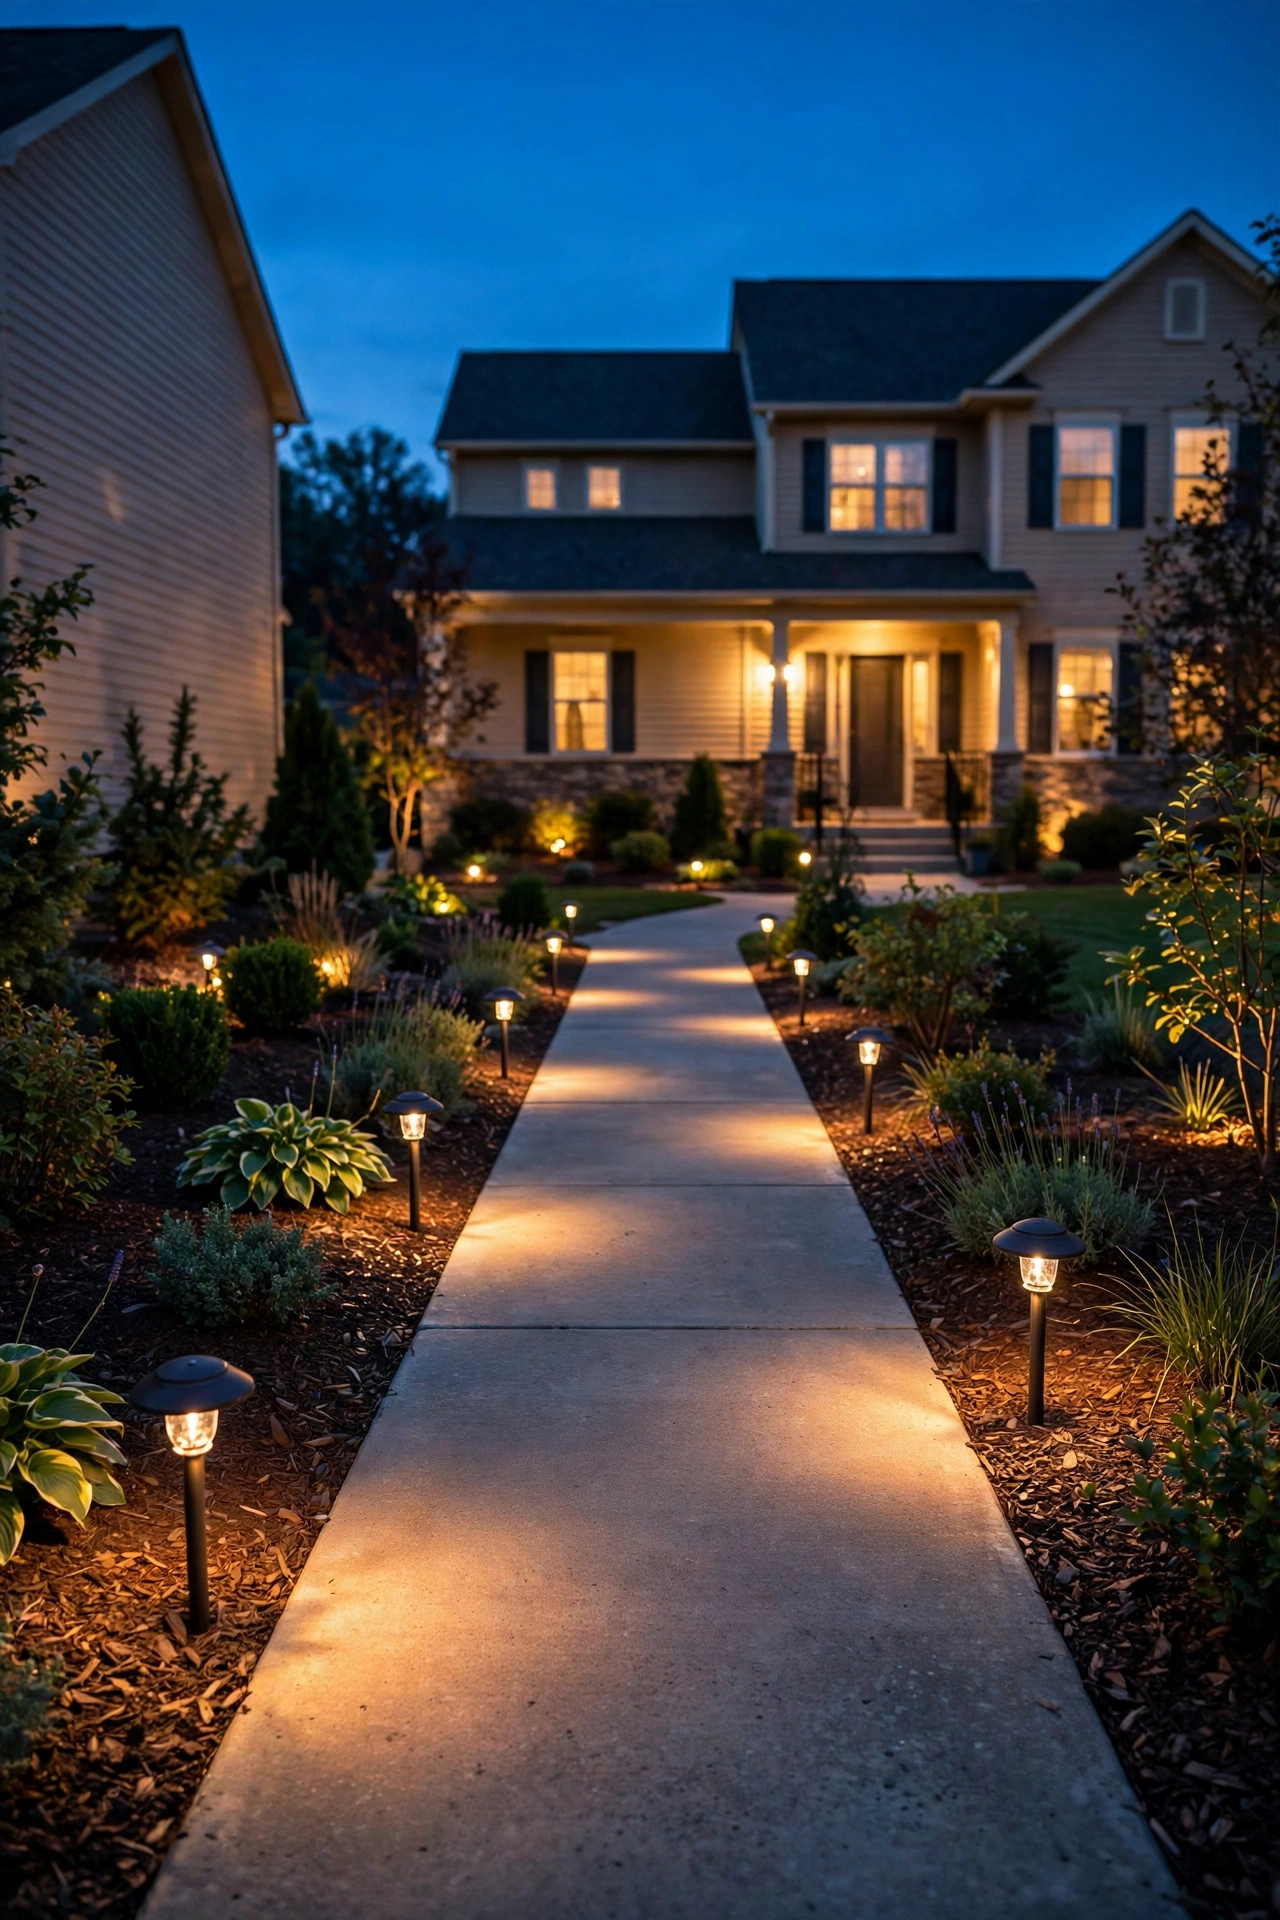
Low voltage path lights run on a safe 12-volt transformer plugged into an outdoor outlet, cost about $15–$40 per fixture for good LED models, and need roughly one light every 6–8 feet, offset 12–18 inches from the walkway edge. Choose warm white (2700K–3000K), waterproof die-cast metal fixtures with replaceable LED bulbs, and bury the cable 4–6 inches deep. A typical 30-foot walkway needs 5–7 lights and a 45–100 watt transformer, and most homeowners can install the whole system in an afternoon.
How Low Voltage Path Lights Work (The Basics in Plain English)
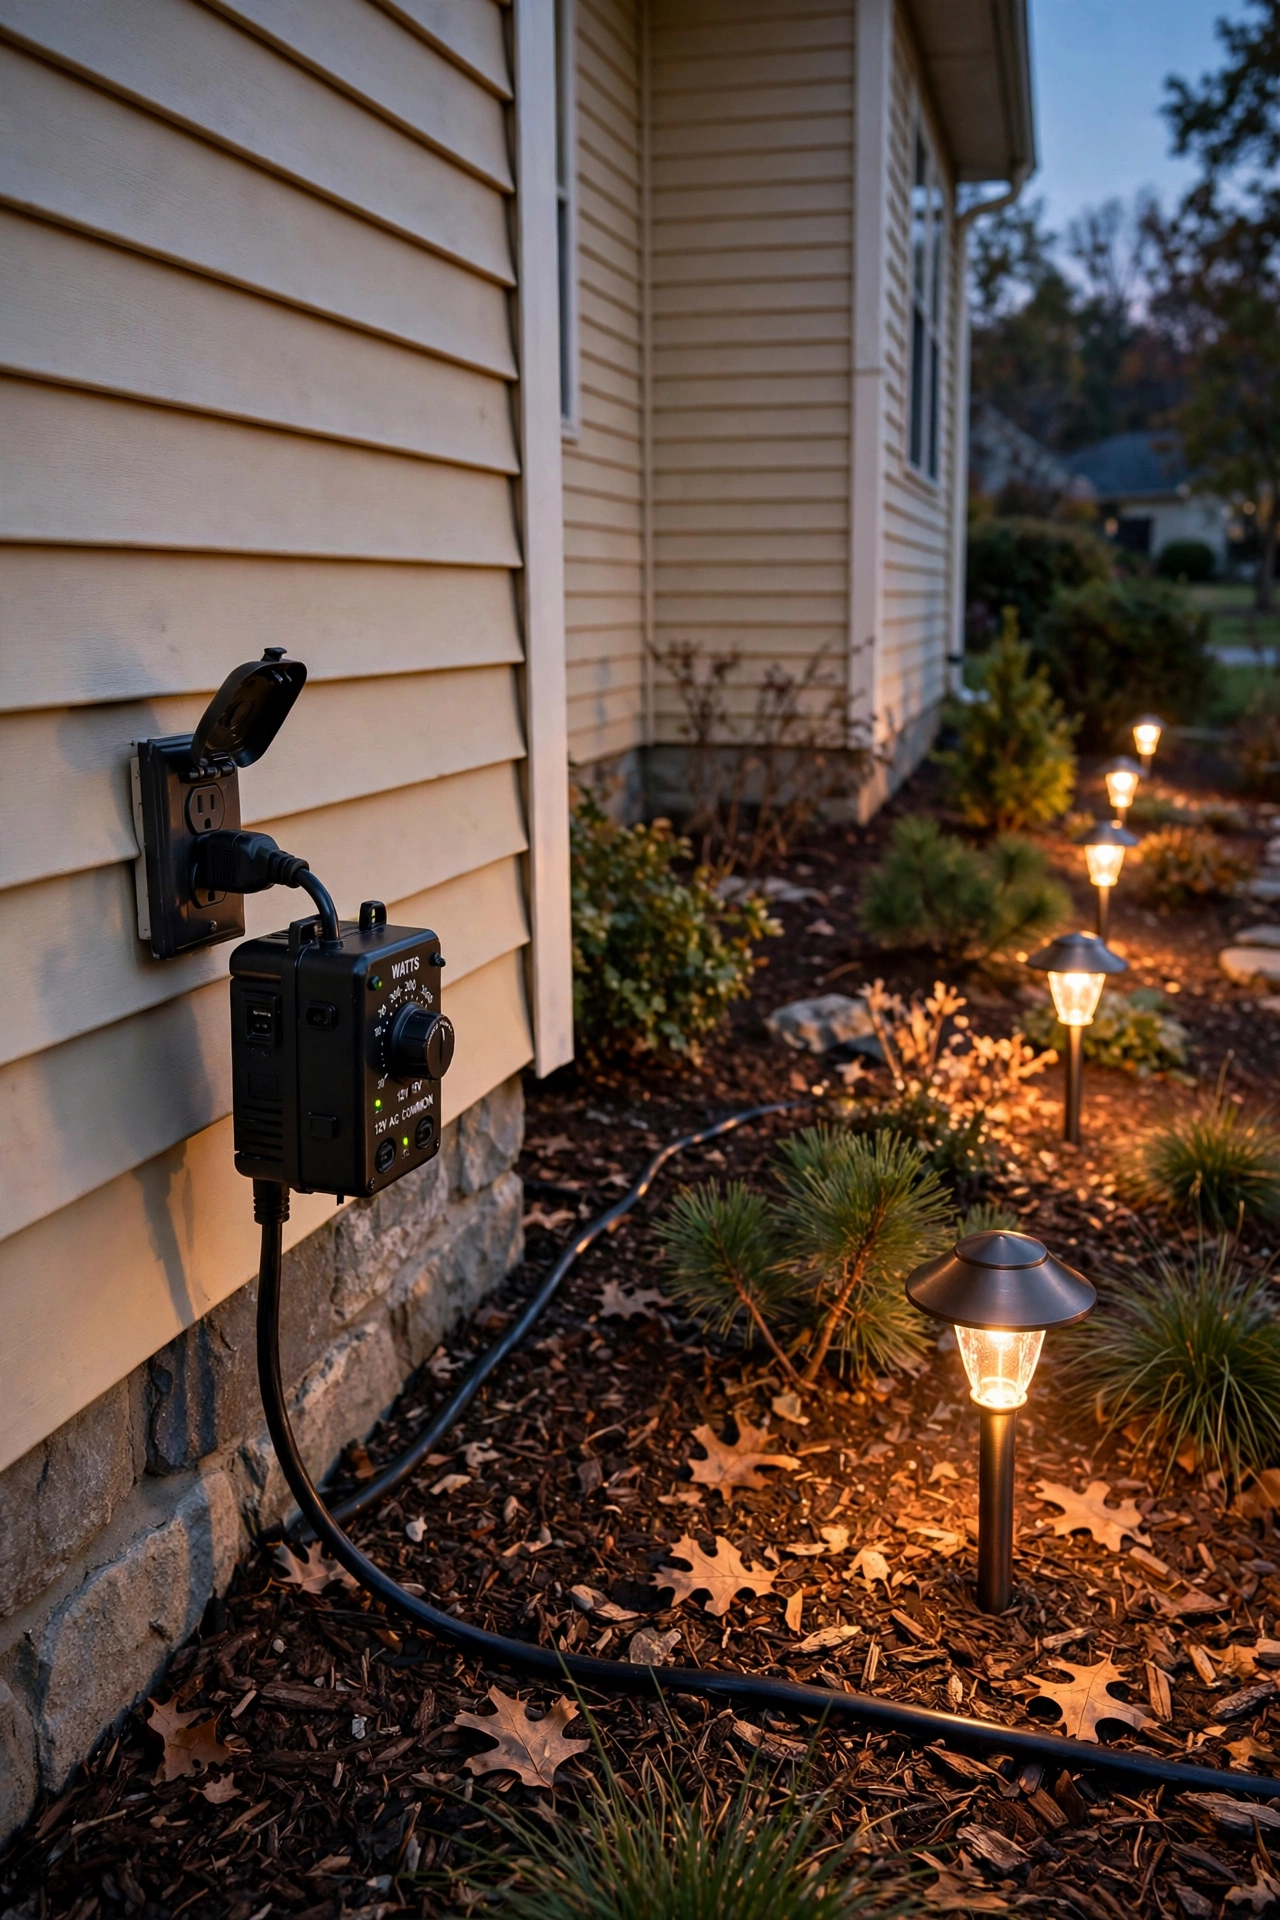
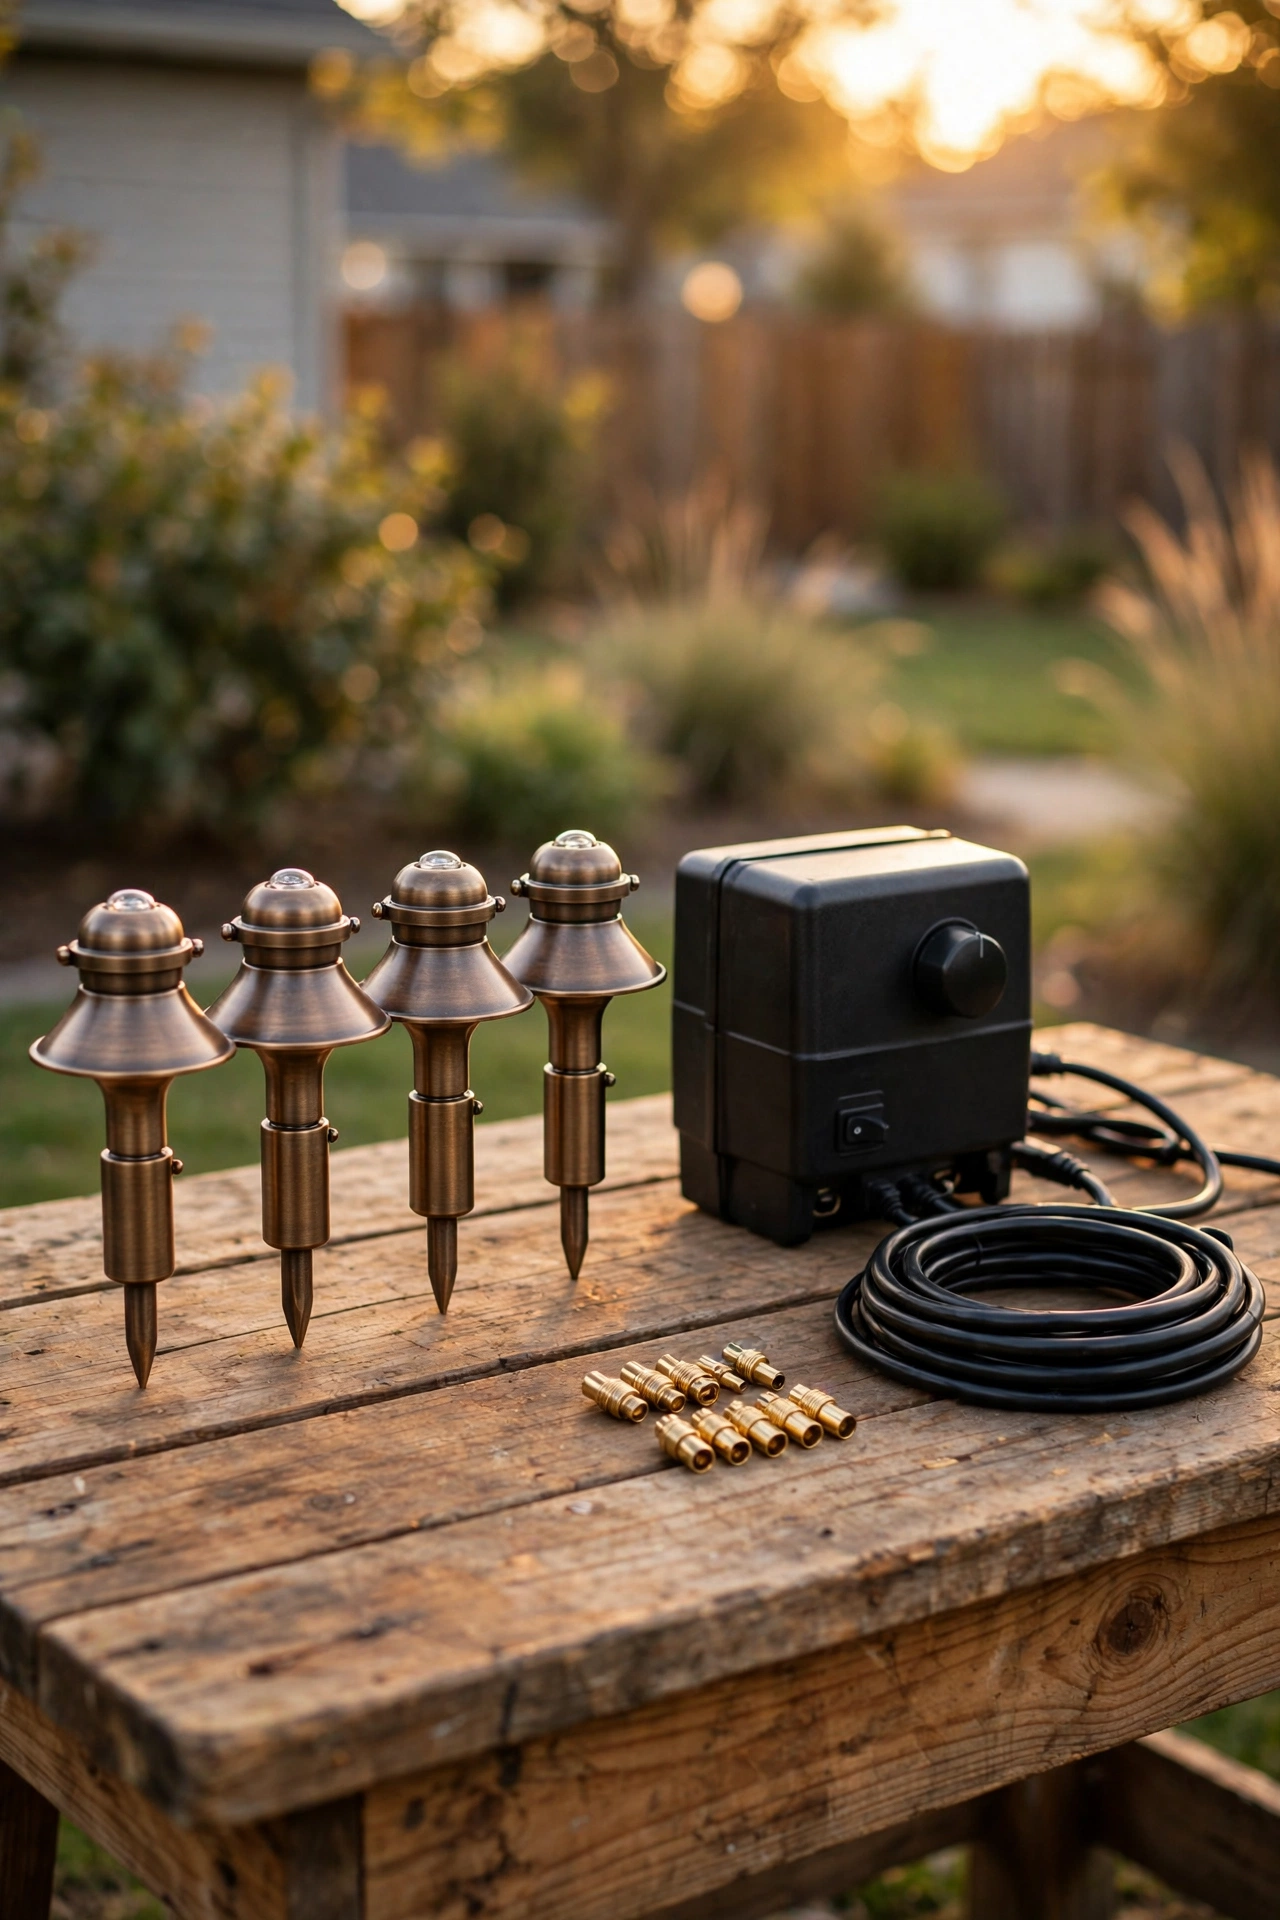
Think of your system like a very simple garden circuit. You plug a transformer into an outdoor GFCI outlet — that little box steps your regular 120-volt house current down to a safe 12 volts, the same gentle voltage that powers car lights. From the transformer, a single low-voltage cable snakes through the garden bed, and each path light taps into it with quick clip connectors. Every fixture gets the same 12 volts, and they all glow together.
Because the current is only 12 volts, installation is genuinely DIY-friendly: the cable doesn't need to be buried in conduit like line-voltage wiring, and there's no electrician permit in most areas for this kind of setup. In my experience, that's the single biggest reason low voltage has become the default for residential path lighting — you get permanent, reliable lighting without calling anyone or trenching 18 inches deep.
The two things that determine whether your system works beautifully or flickers and dims at the far end are the transformer size and the cable gauge. Too small a transformer (or too thin a cable run) causes "voltage drop," meaning the last light on the line gets less than 12 volts and looks dimmer and more yellow than the first. I'll show you exactly how to avoid that in the placement section, but the short version is: buy a transformer with at least 20% more wattage than your fixtures add up to, and use 12-gauge cable for runs longer than 50 feet.
The Main Types of Path Lights, Compared Honestly
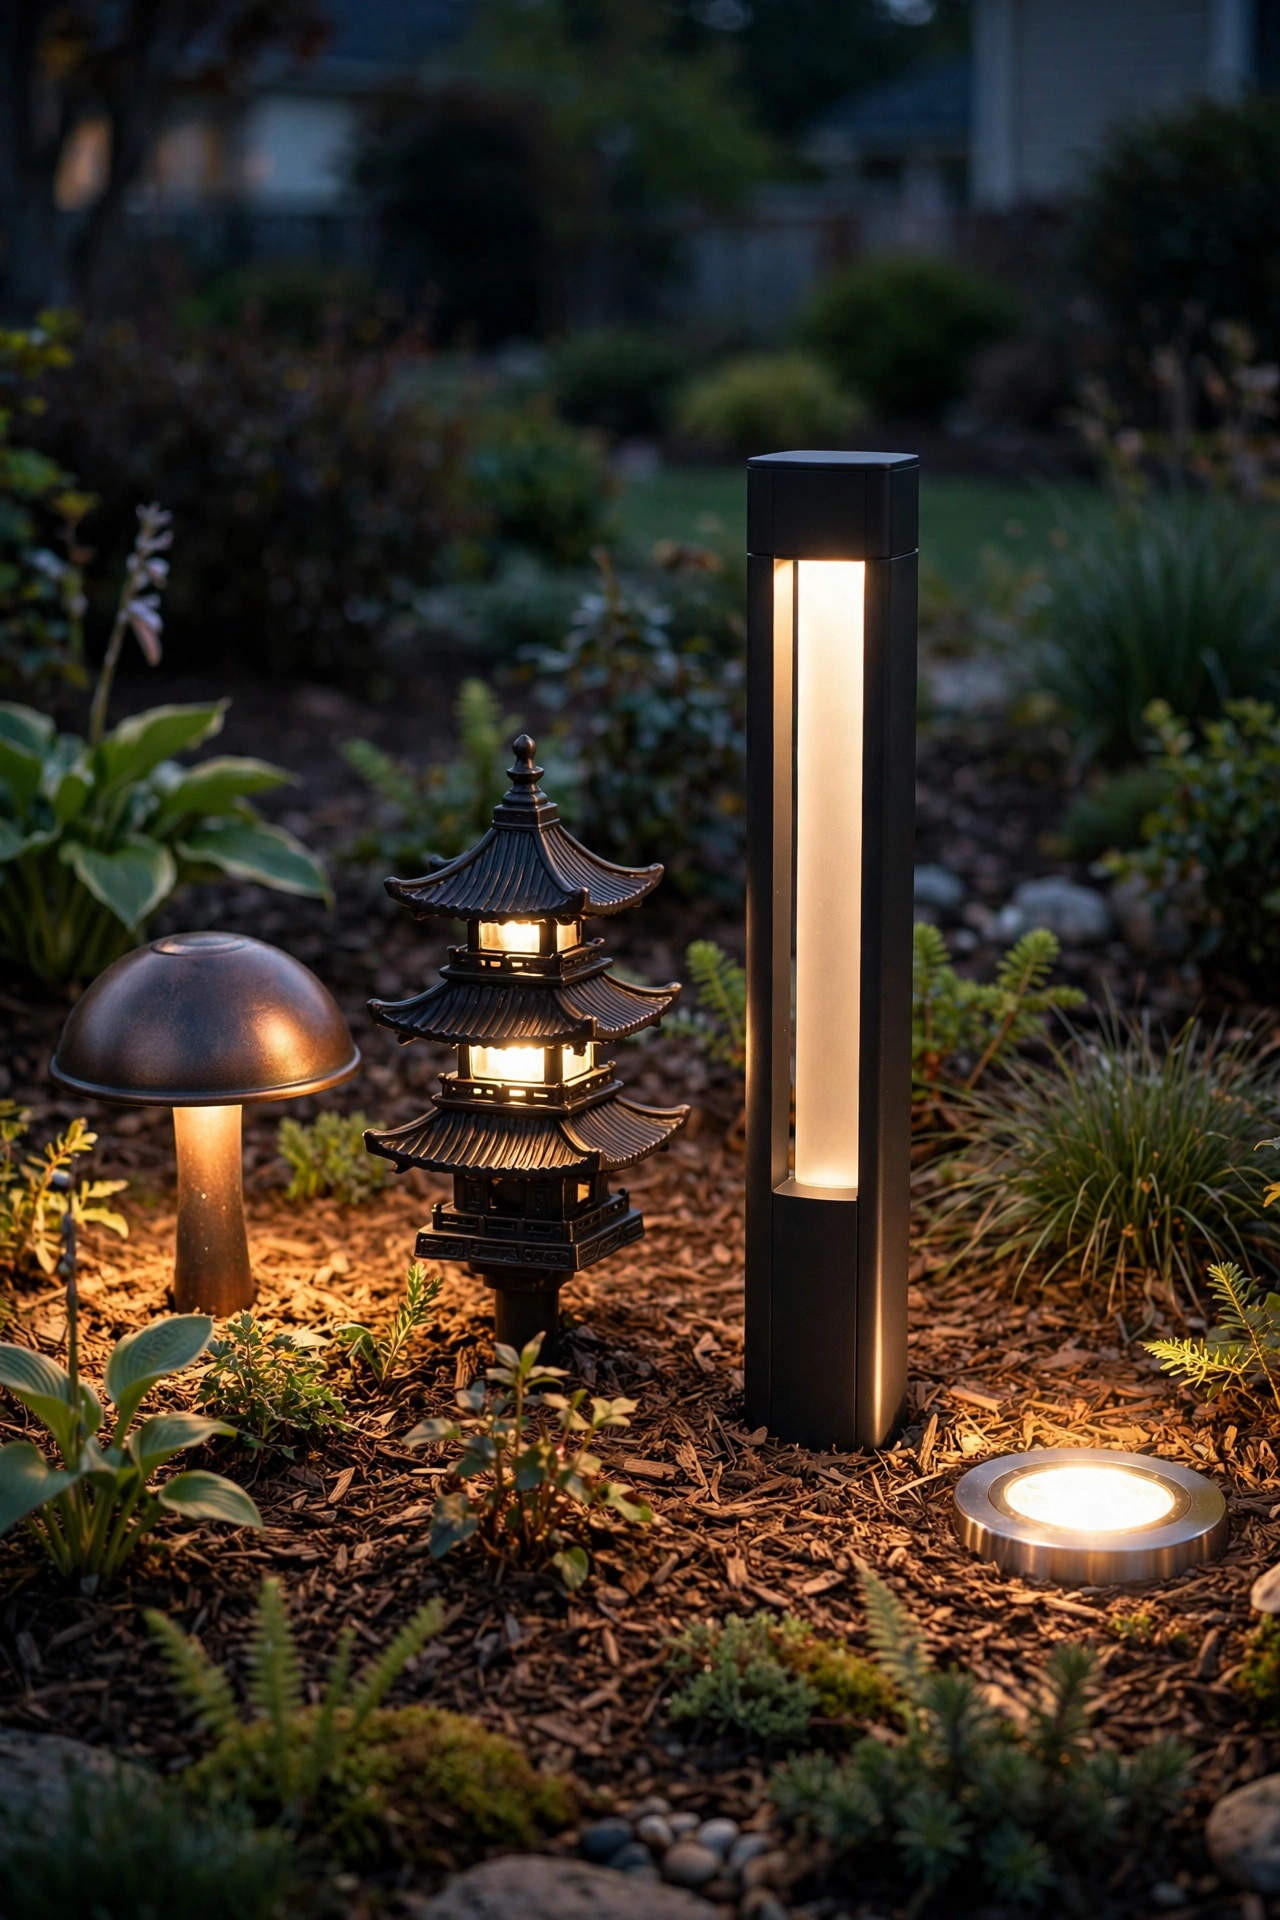
Walk any lighting aisle and you'll see four basic styles. They're not better or worse — they do different jobs, and the look changes dramatically depending on which you choose.
| Type | How It Lights | Cost per Fixture | Best For |
|—|—|—|—|
| Mushroom / hat-top | Wide, downward wash from a capped shade | $12–$30 | Soft glow over walkways and flower beds; the classic look |
| Pagoda / tiered | Layered downward glow, wider footprint | $20–$45 | Wider paths and driveways; architectural feel |
| Bollard / column | 360° glow from a short post (12–24 in) | $25–$60 | Modern landscapes, long straight runs, marking boundaries |
| Recessed / inground puck | Upward or grazing light from flush mounts | $15–$40 each | No-trip zones, edging detail, beside steps |
My honest take: for a standard residential walkway, the mushroom hat-top style is the sweet spot. It's affordable, the downcast light keeps glare out of your eyes, and it looks at home on everything from a farmhouse to a ranch. Bollards suit modern homes beautifully but cost more and can look commercial if overused. Inground pucks are gorgeous beside steps and retaining walls, but they're not the workhorse — use them as accents, not your whole system.
Material matters more than style for longevity. Die-cast aluminum or brass fixtures survive years of lawn mowers and weather; thin stamped-metal or plastic ones fade and crack in about two seasons. I always recommend checking that the LED bulb is replaceable (a screw-in base, not sealed) — because even the best LEDs eventually dim, and a replaceable bulb means a $8 fix instead of a new $30 fixture.
How Many Path Lights You Actually Need
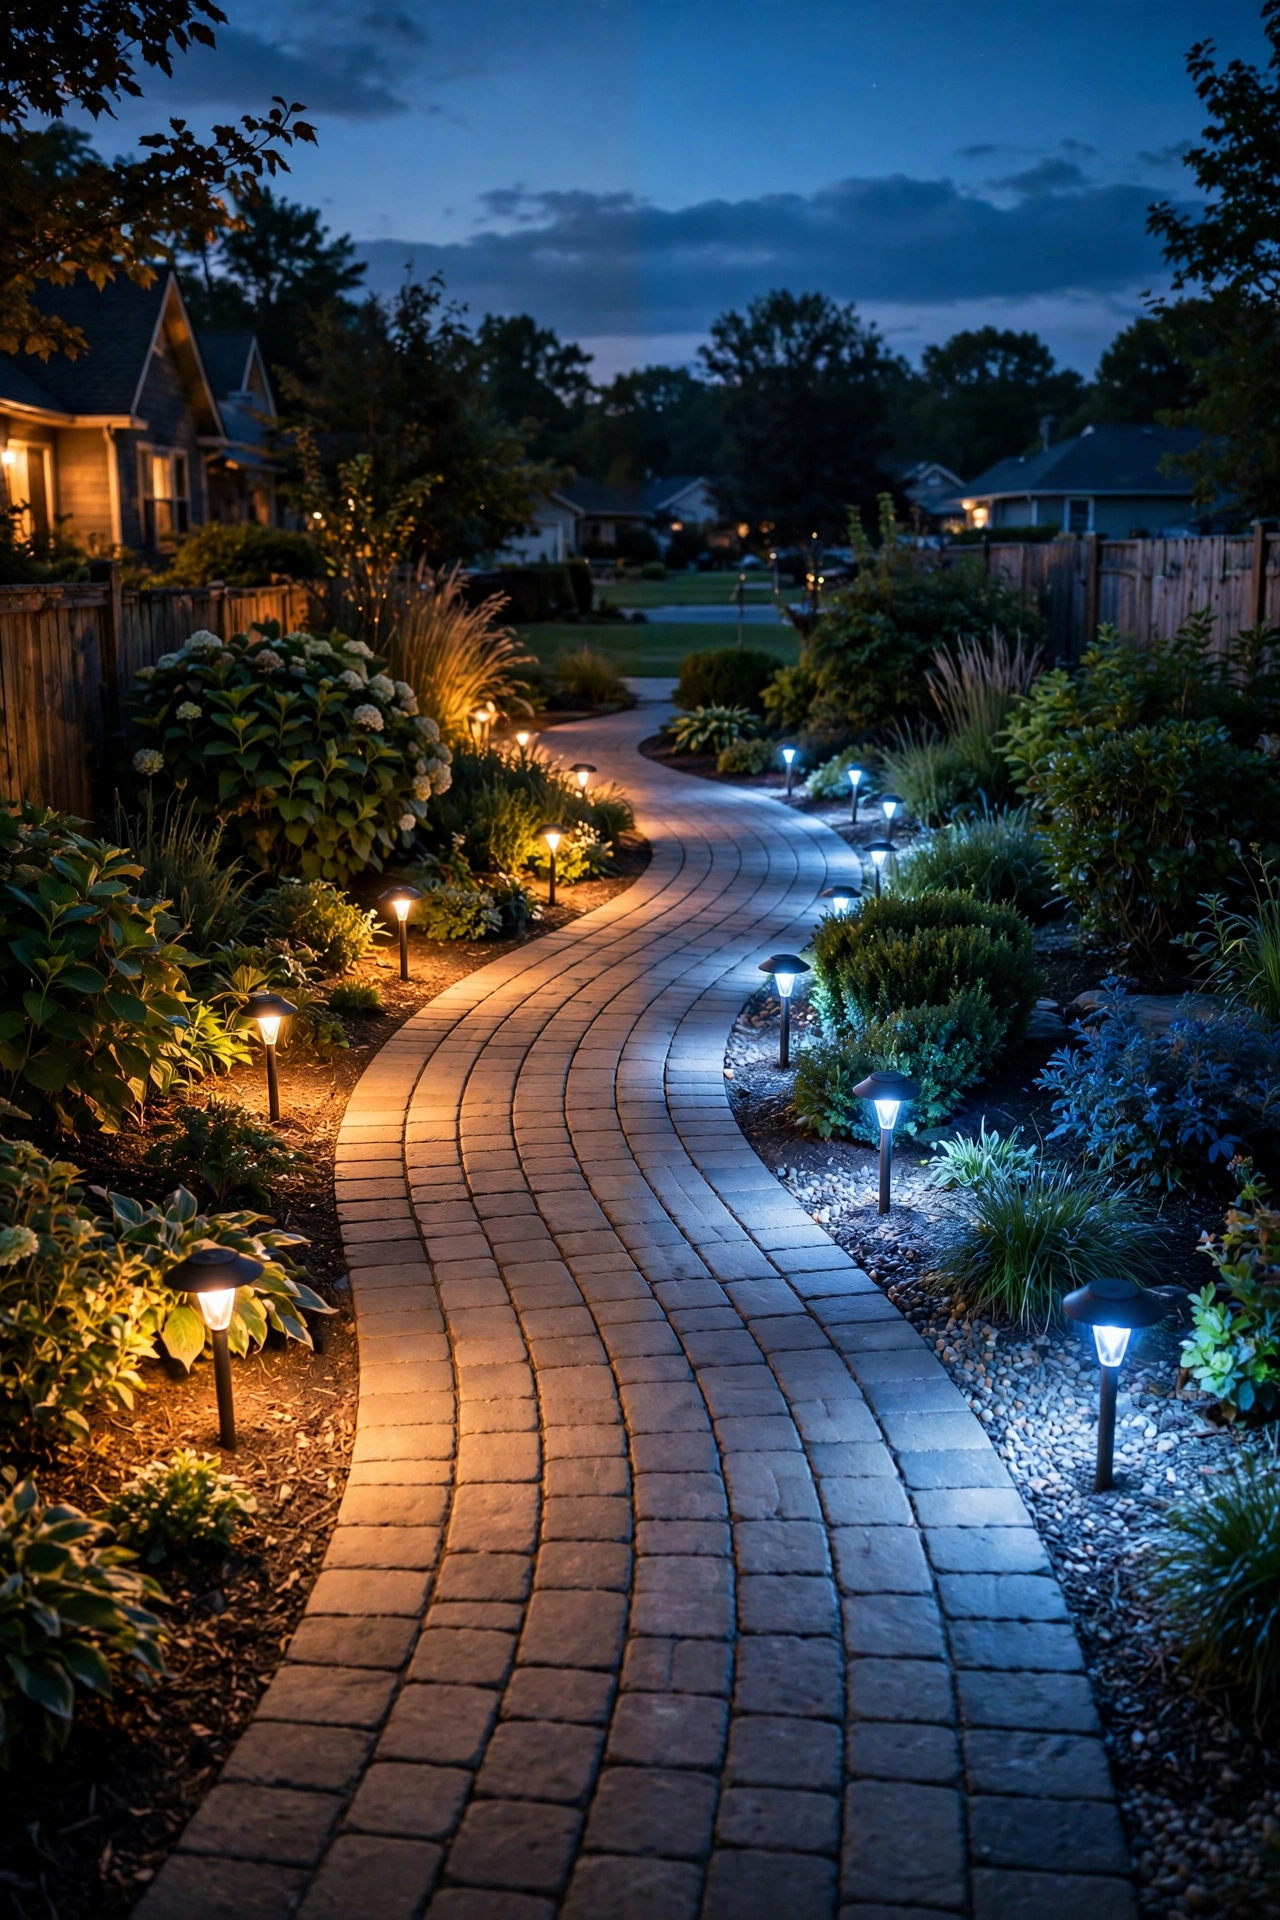
This is where most people overbuy. You do not need to outline your entire walkway like an airport runway — that look is harsh, wasteful, and honestly a little commercial. What you want is overlapping pools of soft light, roughly every 6 to 8 feet, so there are no dark gaps between fixtures.
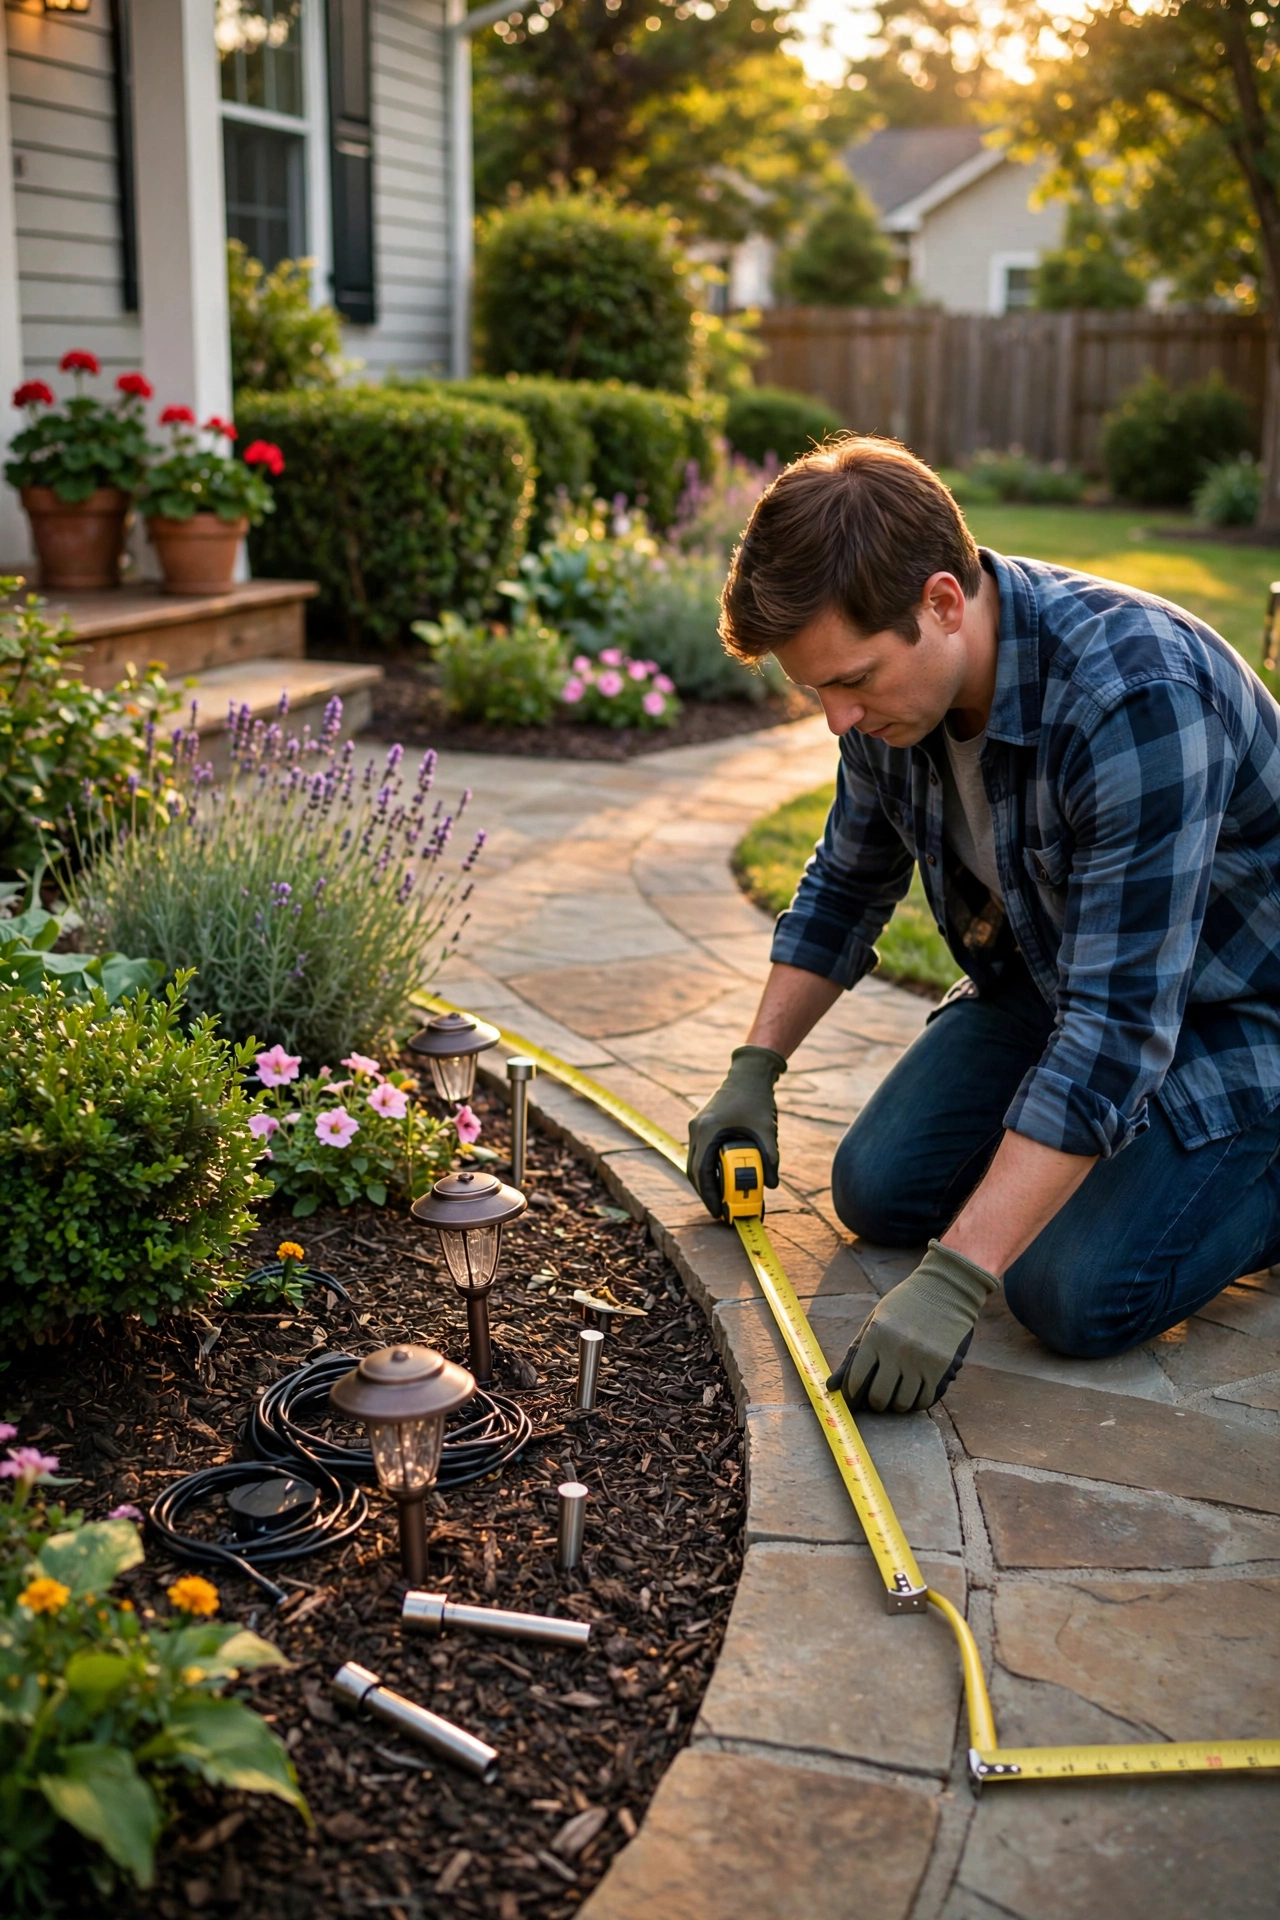
Here's my simple formula: measure your walkway in feet, then divide by 7. Round to the nearest whole number. That's your fixture count.
– 20-foot straight walkway: 3 lights (one at each end, one in the middle)
– 30-foot walkway: 4–5 lights
– Curved walkway, 40 feet: 6–7 lights (curves need an extra one or two at the bend)
– Driveway edging, 100 feet: 12–14 lights, or alternate bollards every 10 feet
Always count corners, steps, and curves as their own "zones." A bend in the path is a natural tripping point, so anchor it with a fixture on the outside of the curve. Steps get extra attention — a light at the top and bottom of any stair run, placed close enough that each tread edge is visible.
And here's the part people forget: add up the wattage. Modern LED path lights use 3–7 watts each. Eight fixtures at 5 watts is 40 watts, so you'd want a transformer rated at least 60 watts (that 20% headroom I mentioned). Transformer sizes come in standard steps — 45W, 100W, 150W, 300W — so a 100-watt transformer handles a typical home's whole path system with room to add a couple of accent lights later.
Placement Rules: Spacing, Offset, and the No-Runway Method
Placement is where good lighting happens. Buy the same fixtures as your neighbor, place them with intention, and yours will look twice as expensive. Here are my non-negotiable rules:
Stagger, don't line up. Place fixtures alternately on each side of the walkway — left, right, left, right — instead of marching them down both sides in pairs. Staggered lighting creates that organic, moonlit feel. Paired fixtures look like a landing strip.
Offset 12–18 inches from the path edge. Set each fixture back into the planting bed, not right on the concrete. That 12–18 inch offset lets the light wash across the walkway diagonally, which both widens the pool of light and keeps the fixture itself out of mower range. On narrow paths (under 3 feet wide), offset to one side only.
Vary the heights slightly. If your fixtures come with adjustable risers, don't set them all at the exact same height — a two-inch variation between fixtures reads as natural, not sloppy. Keep most at 18–24 inches tall; taller fixtures spread light wider, shorter ones concentrate it.
Light the destinations, not just the path. Your front door, the mailbox, the garden gate, the bottom of the stairs — these are the moments your lighting should celebrate. I like to end a path run with one fixture that has a wider spread aimed at the entry, so visitors step out of the path into a little arrival moment.
Check your work at night. This is my most-repeated advice in backyard lighting projects too: lay fixtures out in daylight, then do a final pass after dark before burying any cable. Turn them on, stand at the street, and look at your house the way a guest would. Shift anything that glares, anything too close together, anything creating hot spots. Five minutes of nighttime tweaking beats living with a bad layout for years.
Step-by-Step Installation (One Afternoon, No Electrician)
Honestly? This is one of the easiest outdoor projects you can tackle. Here's my exact process:
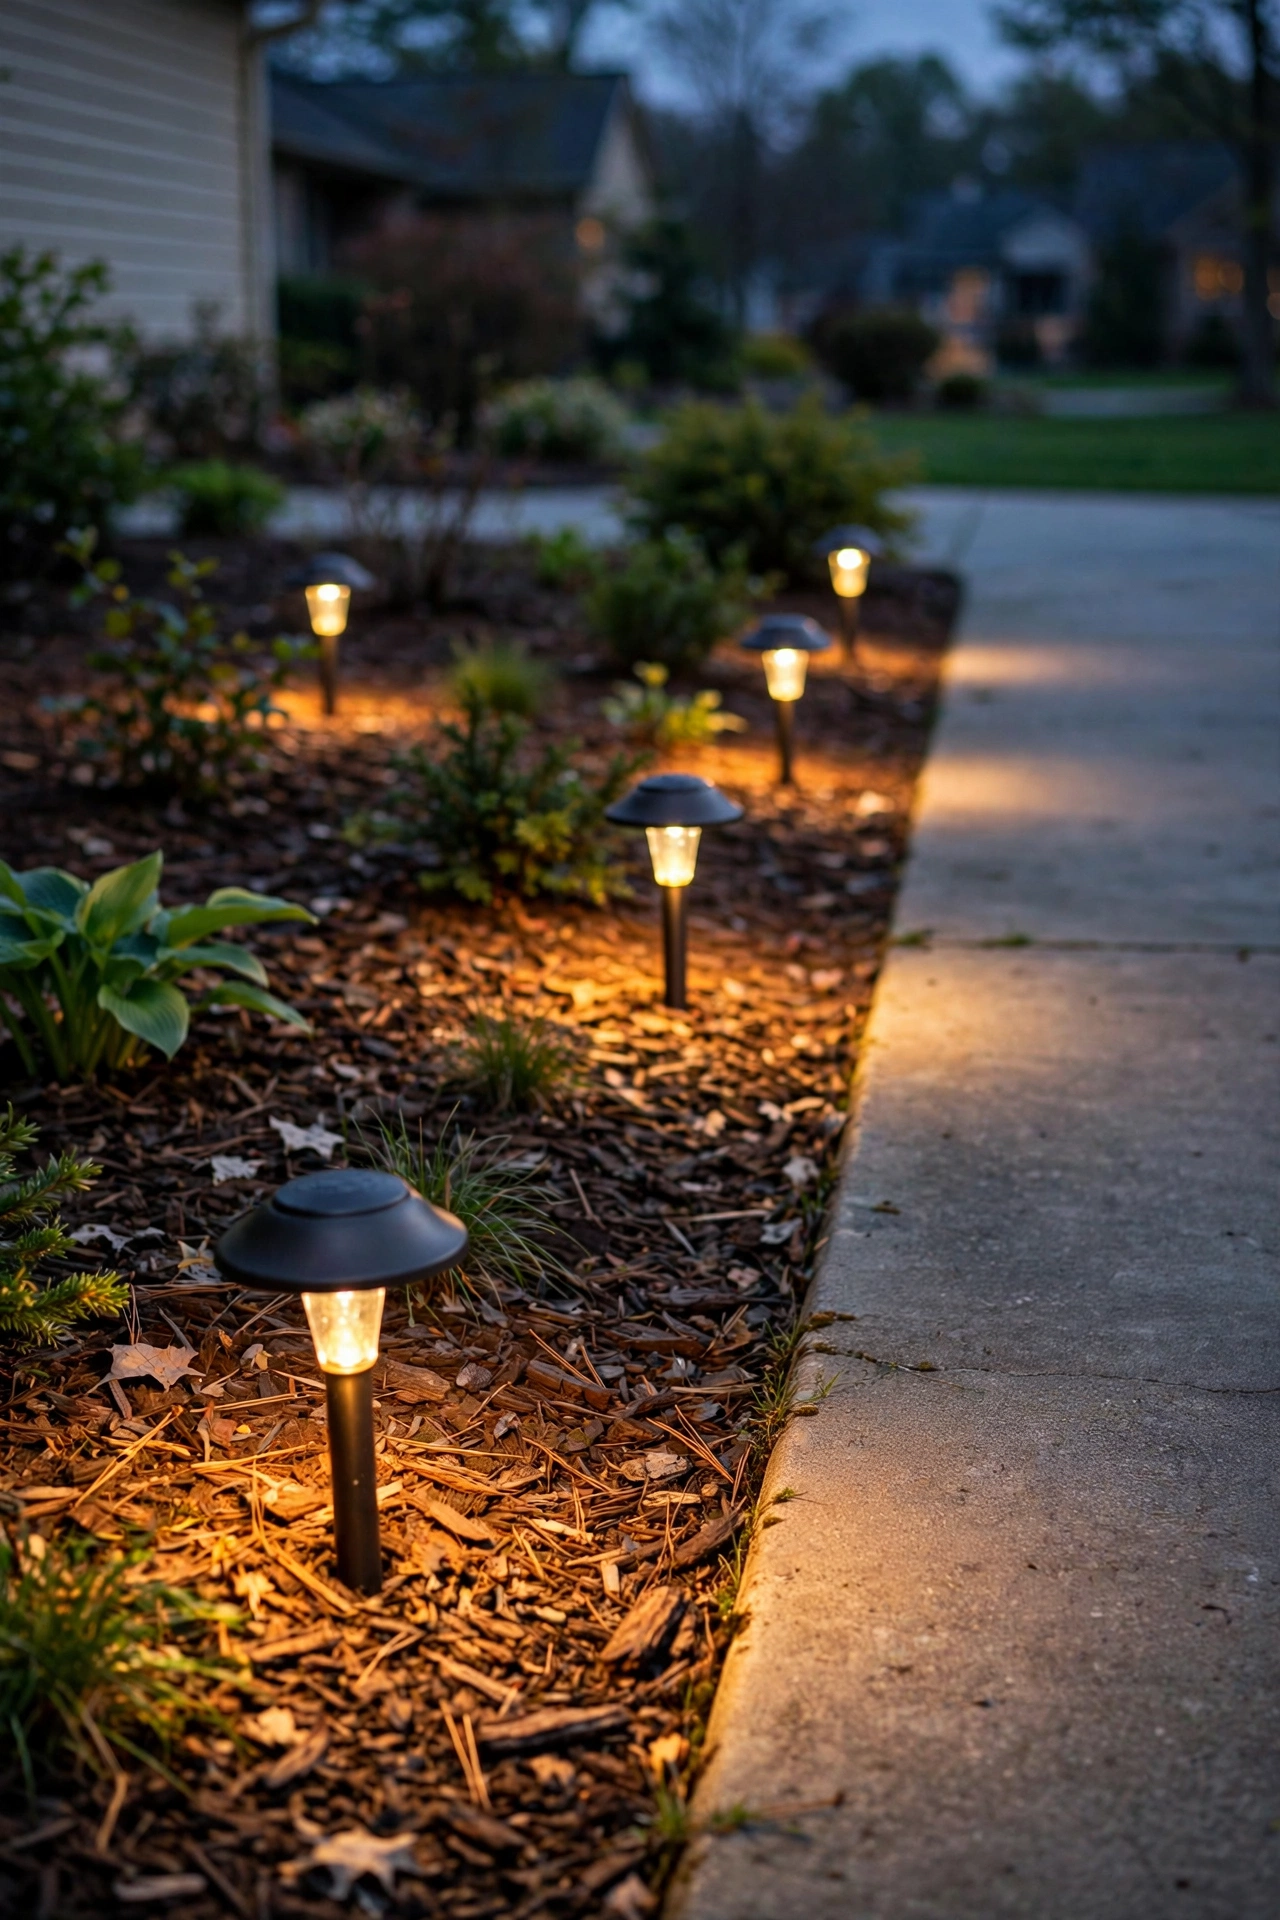
1. Map it out. Lay your fixtures in the garden bed where you want them, cable route decided, transformer location chosen (within reach of the outdoor GFCI outlet and sheltered from direct sprinkler spray).
2. Mount the transformer. Screw it to a wall or post at least 12 inches off the ground, near the outlet. Plug it in — don't hardwire anything; this whole system runs on a plug.
3. Lay the cable. Run the low-voltage cable from the transformer along your fixture layout. Don't bury it yet — just snake it through the bed.
4. Connect each fixture. Push the fixture's lead wires into the quick-connect clips and clamp them onto the main cable at each location. These pierce the cable insulation and make contact — no stripping required.
5. Test everything at dusk. Turn the transformer on, wait for evening, and check every fixture. Adjust placement, spacing, and aim now while the cable is still on the surface.
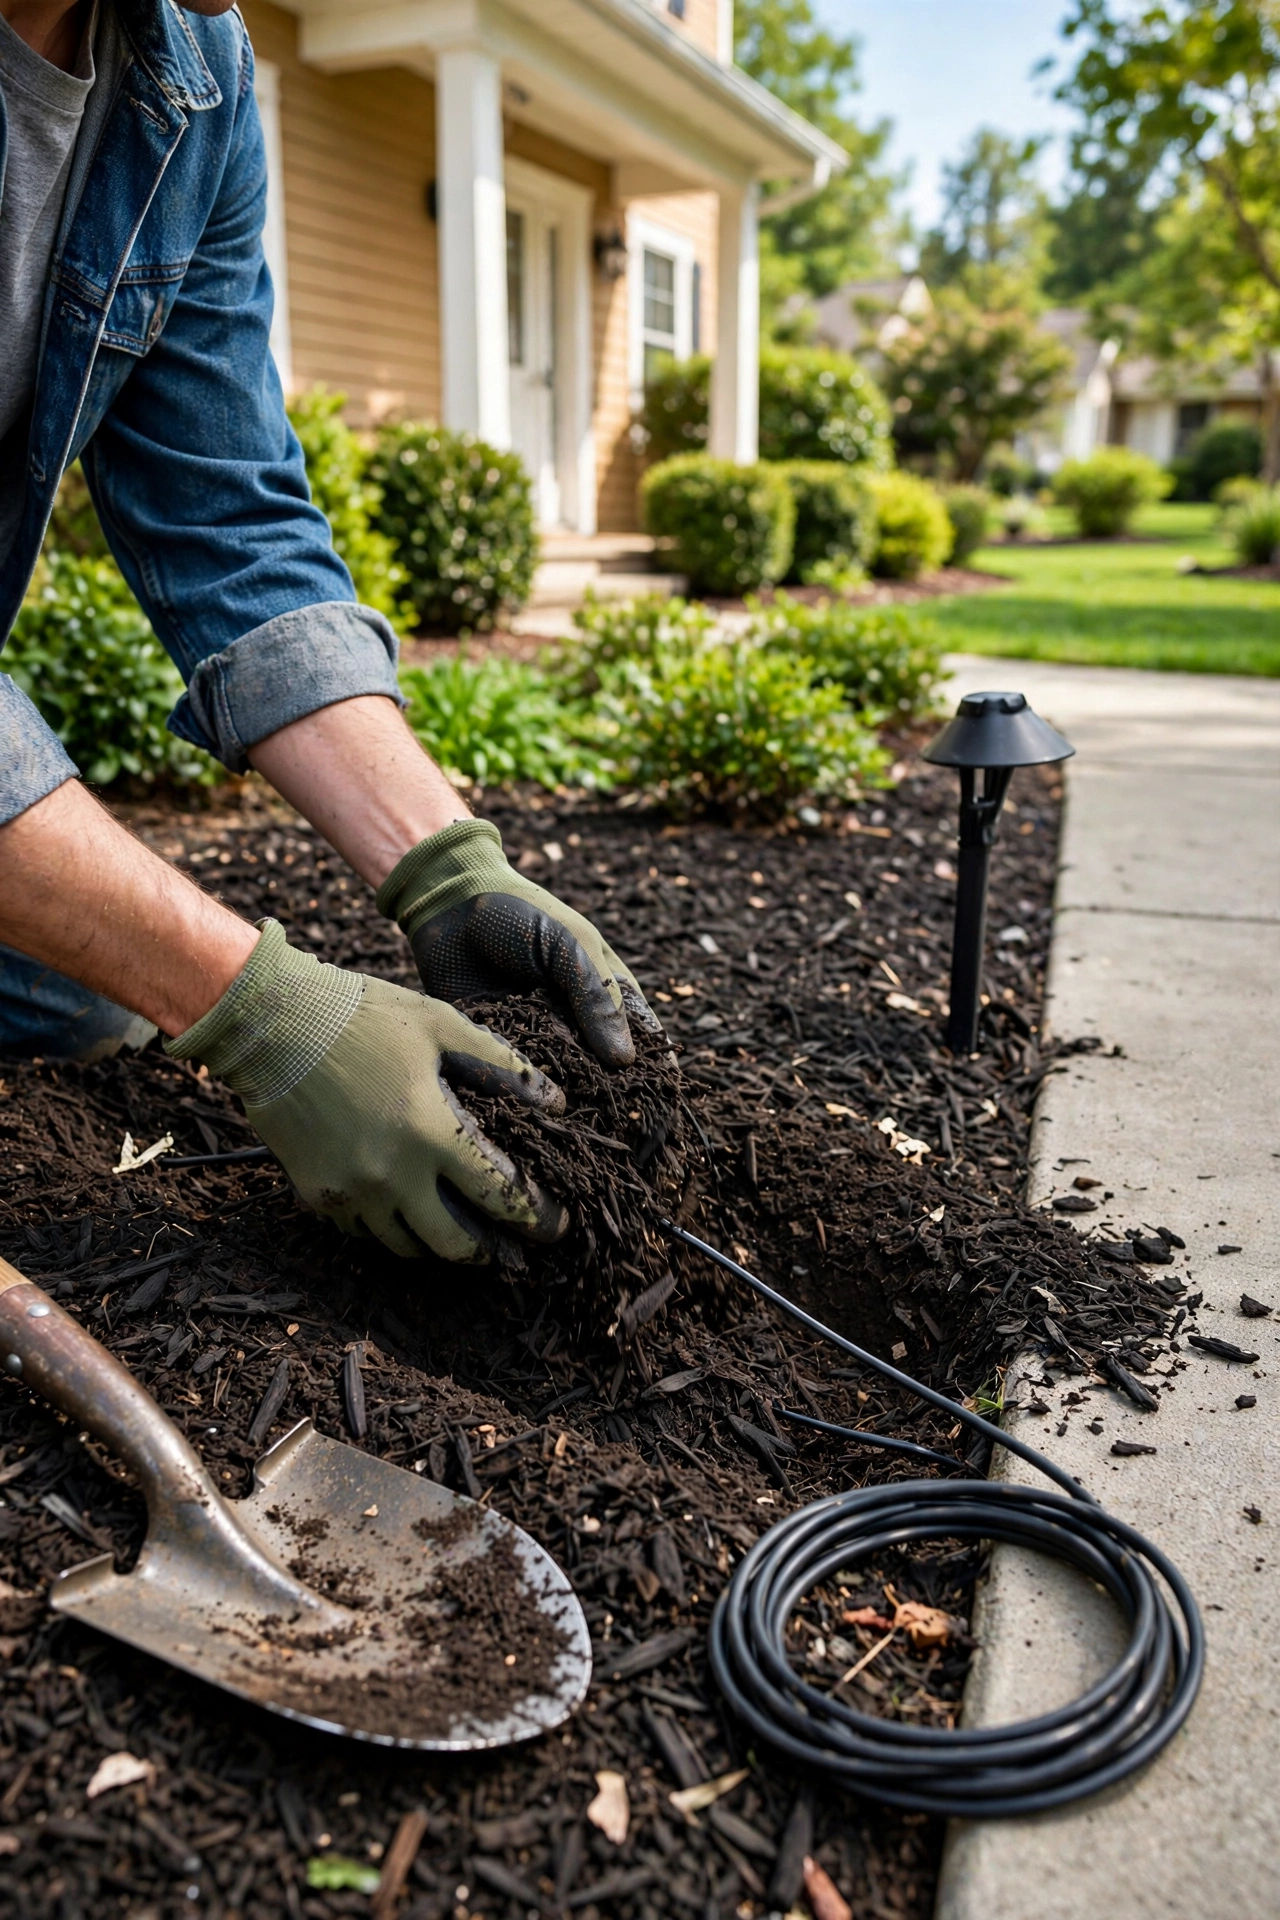
6. Bury the cable. Push it 4–6 inches into the mulch or soil with a flat spade, slicing a shallow trench and tucking the cable in. In lawn areas, cut a thin slit with a flathead shovel and press it closed.
7. Set your timer. Program the transformer's built-in photocell or timer — dusk-to-dawn or a set window like 6 PM to midnight.
That's genuinely it. Most 6–8 fixture systems take 3–4 hours from box-opening to burial. The only tool you might not own is a flat spade, and honestly a kitchen knife works in a pinch for mulch beds (don't tell my husband).
What It Costs in 2026 (Honest Numbers)
Let me break this down the way I'd price it for a friend, because the "cheap kit" pricing at big-box stores is misleading. A typical 30-foot walkway with 5 quality fixtures:
| Component | Budget Option | Quality Option |
|—|—|—|
| 5 LED fixtures | $60 ($12 each, plastic) | $125–$200 ($25–$40 each, metal) |
| 100W transformer with timer | $45 | $80–$120 |
| 100 ft 12-gauge cable | $30 | $45 |
| Connectors/misc | $10 | $15 |
| Total DIY | ~$145 | ~$265–$380 |
The budget kit will look the same on day one. By year three, the plastic fixtures will be sun-faded, a couple of bulbs will have died, and you'll be replacing them anyway — so the "cheap" route usually costs the same over five years, just with more frustration. I always recommend buying the quality fixtures once.
Running costs are tiny. Five 5-watt LEDs draw 25 watts. Run them 8 hours a night at the national average of about $0.17 per kWh, and that's roughly $1.04 per month — less than a dollar-fifty, basically a rounding error on your electric bill. This is the magic of LED: the old halogen path lights would have cost five times that and needed new bulbs every year.
Professional installation, if you'd rather not DIY, runs $800–$1,500 for the same 30-foot system (materials plus labor). Worth it if your layout involves running cable under a driveway or around mature trees, but for a simple bed-edging job, the DIY savings are real. For more budget-stretching ideas across your whole yard, I love these simple outdoor curb-appeal upgrades that pair beautifully with new path lighting.
7 Mistakes That Ruin the Effect (and How to Avoid Them)
I've seen every one of these in real front yards, including my own first attempt. Learn from my learning curve:
1. Spacing them too close together. Every 3–4 feet creates the runway effect. Stick to 6–8 feet and let the pools of light overlap naturally.
2. Pointing them at the path from directly above. Light shining straight down onto concrete is flat and institutional. Offset into the bed so the light grazes across the walkway at an angle.
3. Mixing color temperatures. This one hurts me every time — 2700K warm lights mixed with one rogue 5000K "daylight" fixture that glows blue-white like a security camera. Match every bulb to 2700K or 3000K, no exceptions.
4. Undersizing the transformer. Adding "just two more lights" to a maxed-out transformer causes the dreaded end-of-line dimming. Always leave 20% headroom, or better yet, buy the next size up.
5. Burying cable before the nighttime test. I say this twice in this guide because it matters twice: test at dusk while everything is still on the surface. Moving a buried fixture is a muddy, miserable job.
6. Forgetting the fixtures get stepped on. Garden beds next to paths become de facto shortcut routes. Set fixtures 12+ inches back, and if kids or pets cut through, choose sturdy metal stakes over thin plastic ones.
7. Skipping the timer. Path lights burning 24/7 in the morning sun waste electricity and halve your bulb life. A dusk-to-dawn photocell is the single best $0 upgrade since it comes built into most transformers.
Safety and Electrical Basics
Low voltage is genuinely low-risk — that's its whole selling point — but a few electrical basics still matter, and I never skip these.
Start with a GFCI outlet. Your transformer plugs into an outdoor outlet, and that outlet must be GFCI-protected (the kind with the test/reset buttons). Most modern outdoor outlets already are, but if yours is an older two-prong setup, get an electrician to swap it before you start. Water and electricity are only a non-issue when the ground-fault protection is doing its job.
Respect the transformer location. Mount it at least 12 inches above grade, keep it out of direct sprinkler spray, and don't bury it. Transformers get warm and need airflow; tucking one under mulch is a slow road to failure. A garage wall, fence post, or the side of the house all work beautifully.
Use outdoor-rated everything. Fixtures, cable, and connectors should all be explicitly rated for outdoor/wet locations. Indoor-rated cable insulation cracks in UV within a season. This applies to any exterior project — my full rundown of electrical safety tips for outdoor lighting covers the details if you want the deep dive.
LED-only near anything flammable. Old halogen path lights got hot enough to scorch mulch — LEDs stay cool to the touch, which is one more reason to never buy halogen fixtures in 2026. If you're retrofitting an old halogen system, swap every bulb to LED and check that the transformer is LED-compatible (older magnetic transformers can cause LED flicker).
Know when to call a pro. If your layout requires running cable under a concrete driveway, crossing a gas line easement, or tying into anything beyond a plug-in transformer, that's electrician territory. Digging near utilities? Call 811 first — it's free and it's the law in most states.

Maintenance: Keeping Them Glowing for a Decade
Here's the secret the lighting companies don't advertise: a quality low-voltage LED system is nearly maintenance-free, but "nearly" still means twice a year and twenty minutes. Put these two dates in your phone — I do mine with the spring and fall clock changes.
Spring: Walk the line at dusk and look for dim or dead fixtures. Clean every lens with a damp cloth — pollen and dust film can cut light output by 20% without you noticing the gradual fade. Trim back any plant growth shading the fixtures. Check cable connections for corrosion; a quick squeeze of each connector reseats them. Replace any failed LED bulbs.
Fall: Re-aim fixtures after the summer's plant growth has shifted everything. Clear fallen leaves off mushroom caps (wet leaves on a lens can cook the coating over time). If you're in a freeze zone, make sure cable is still buried below frost heave depth in lawn areas — frost can pop shallow cable right out of the ground over winter.
Every few years: Inspect the transformer for rust or insect nests, tighten the wire terminals (they loosen with temperature cycles), and check that the photocell lens is clean so your dusk-to-dawn timing stays accurate.
In my experience, LED path light bulbs last 25,000–40,000 hours — that's roughly 8–12 years of nightly use. When they finally dim, a $6–$10 replacement bulb brings the fixture right back. Buy fixtures with standard screw-in bases and you'll never replace a whole fixture for a dead bulb. That's the real decade-long payoff of buying quality metal fixtures on day one.

Frequently Asked Questions
How much do low voltage path lights cost to run per month?
Very little. A typical system of 5–6 LED fixtures draws 25–40 watts total. Running 8 hours a night at the US average of about $0.17 per kWh, you're looking at roughly $1–$1.75 per month. Compared to old halogen path lights, LED versions cut running costs by 75–80%, which is why there's really no reason to buy anything but LED in 2026.
Can I install low voltage path lights myself, or do I need an electrician?
You can absolutely DIY. Because the system runs on 12 volts through a plug-in transformer, no permit or electrician is required in virtually every US jurisdiction — it's the same reason the cable can sit just 4–6 inches underground instead of 18. The exceptions are anything involving your home's 120-volt wiring (like adding a new outdoor outlet) or trenching under a driveway, where a pro is the right call.
How long do low voltage LED path lights last?
The LED bulbs last 25,000–40,000 hours, which works out to roughly 8–12 years of typical nightly use. Quality metal fixtures themselves can last 15–20 years or more. The most common failure point isn't the bulb — it's corroded cable connections and sun-faded plastic fixtures, which is why I push hard for metal fixtures and that twice-yearly maintenance check.
Why are my path lights dim at the far end of the run?
That's voltage drop — the cable and connections eat a little voltage along the way, so the last fixture gets less than 12 volts. Fix it by using thicker 12-gauge cable for runs over 50 feet, upsizing the transformer so you have 20% headroom, or splitting long runs into two shorter cables that each connect back to the transformer (the "T" or hub wiring method). Test with a multimeter: you want at least 10.5 volts at the last fixture.
Are low voltage path lights better than solar path lights?
For a front walkway you use every day, low voltage wins — it's brighter, far more reliable, and the lights come on at full strength every single night regardless of weather. Solar path lights are fine as decorative accents in sunny spots, but their brightness depends on the day's sun, batteries degrade within 1–2 years, and most put out a fraction of the lumens. If consistent, dependable lighting matters (safety, curb appeal), go low voltage.
Final Thoughts
If I could give you just one takeaway from this whole guide, it's this: low voltage path lights are one of the highest-impact, lowest-cost upgrades you can make to a home's exterior. A few hundred dollars, one Saturday afternoon, and a walkway that was once a dark tripping hazard becomes the glowing frame your whole front yard hangs on. Buy quality metal fixtures with replaceable LED bulbs, space them 6–8 feet apart in a staggered line, offset them into the bed, and test everything at dusk before you bury the cable. Do those five things and your system will look professionally designed and run beautifully for a decade. Now go measure that walkway — your future nighttime self will thank you, and so will everyone who walks up to your door.