Our driveway had exactly one light for years: a tired porch bulb that left the far end of the drive in complete darkness. Guests crept in, guessing at the edges, and honestly? So could anyone else who wandered up at night. The fix was not a bigger, harsher light. It was layers. These driveway security lighting ideas use the same three-layer approach I trust everywhere: a low guidance layer that outlines the drive, a welcome layer that greets people at the garage and door, and an alert layer that wakes up when something moves. Layered that way, security stops looking like a parking lot. Warm 2700 to 3000K light, aimed down and shielded, tells strangers this house is awake and watched, while telling friends exactly where to park and walk. If you want the prettier side of the project too, my driveway lighting ideas cover the purely decorative looks. Below are 17 setups, from a zero-dollar planning pass to smart floods that ping your phone, each with honest budgets and the placement details that decide whether it actually works.
1. Map Your Driveway Security Lighting Ideas in Three Zones
Before buying a single fixture, split your driveway into three zones on paper: the street entrance, the lane itself, and the parking apron in front of the garage. Each zone gets one job. The entrance needs markers so guests find the turn and strangers know the property is attended. The lane needs edge definition so nobody clips the lawn or a mailbox in the dark. The apron needs the serious coverage, because that is where cars park, doors open, and people walk to the house. In my experience, most failed setups pour the whole budget into one giant flood on the apron and leave the other two zones black, which just moves the shadows around. Walk the drive at night with a flashlight and mark every dark gap on your sketch, noting where cars turn, where guests step out, and which corners you cannot see from inside the house. Those unseen corners are where your alert layer belongs. This fifteen-minute audit tells you exactly how many fixtures you need and stops the classic mistake of buying pretty lights that guard nothing.
Suggested budget range: $0 – $40.

2. Mount a Motion-Activated Floodlight Over the Garage
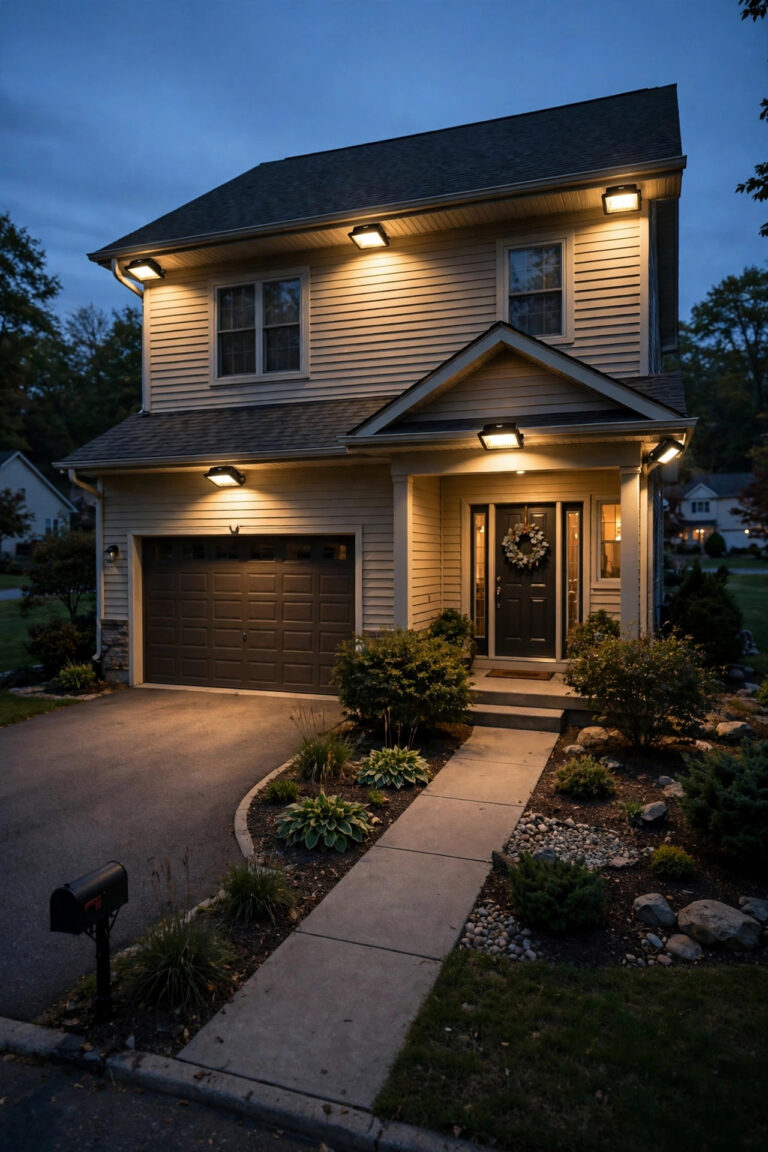
The apron workhorse is a dual-head LED floodlight mounted 8 to 10 feet up over the garage door, angled down about 30 to 45 degrees so the beams pool on the concrete instead of blasting the street. Look for 1,600 to 2,400 lumens total, which is plenty to identify a face or a license plate without the stadium glare that annoys neighbors and washes out detail. Set the sensor to its mid-range sensitivity and a one to three minute run time; a light that trips for every passing car trains everyone to ignore it. Aim the sensor across the traffic path rather than straight down the drive, since motion sensors detect sideways movement far better than movement coming directly at them. Choose a fixture with a shield or visor over each head if your lot faces a neighbor's bedroom window. My motion sensor outdoor lights guide walks through sensor settings in more depth. This single fixture does more deterring than any other item on this list, because a sudden pool of light says: you have been noticed.
Suggested budget range: $35 – $120.

3. Line Both Edges With Low-Voltage Path Lights
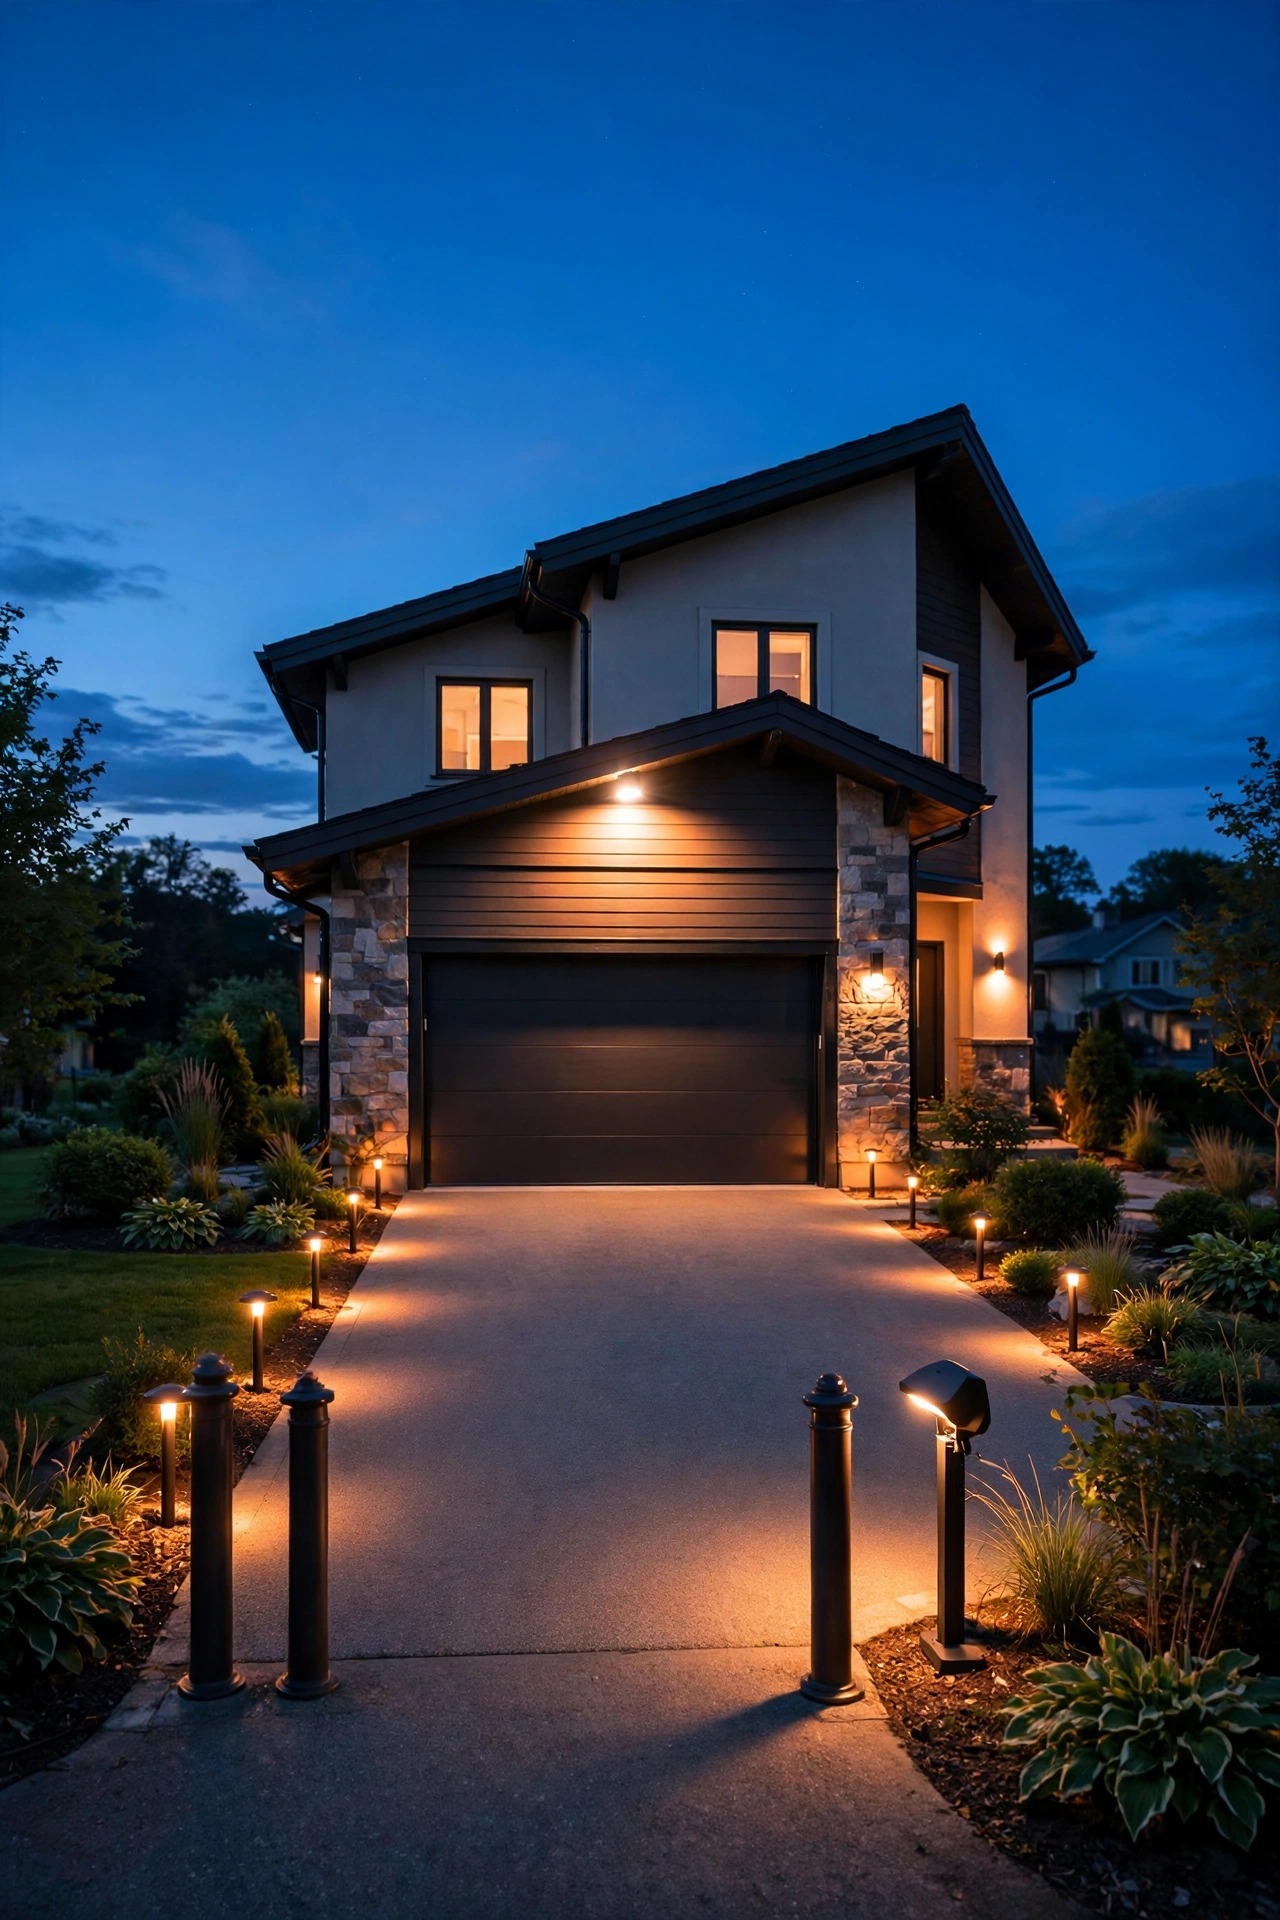
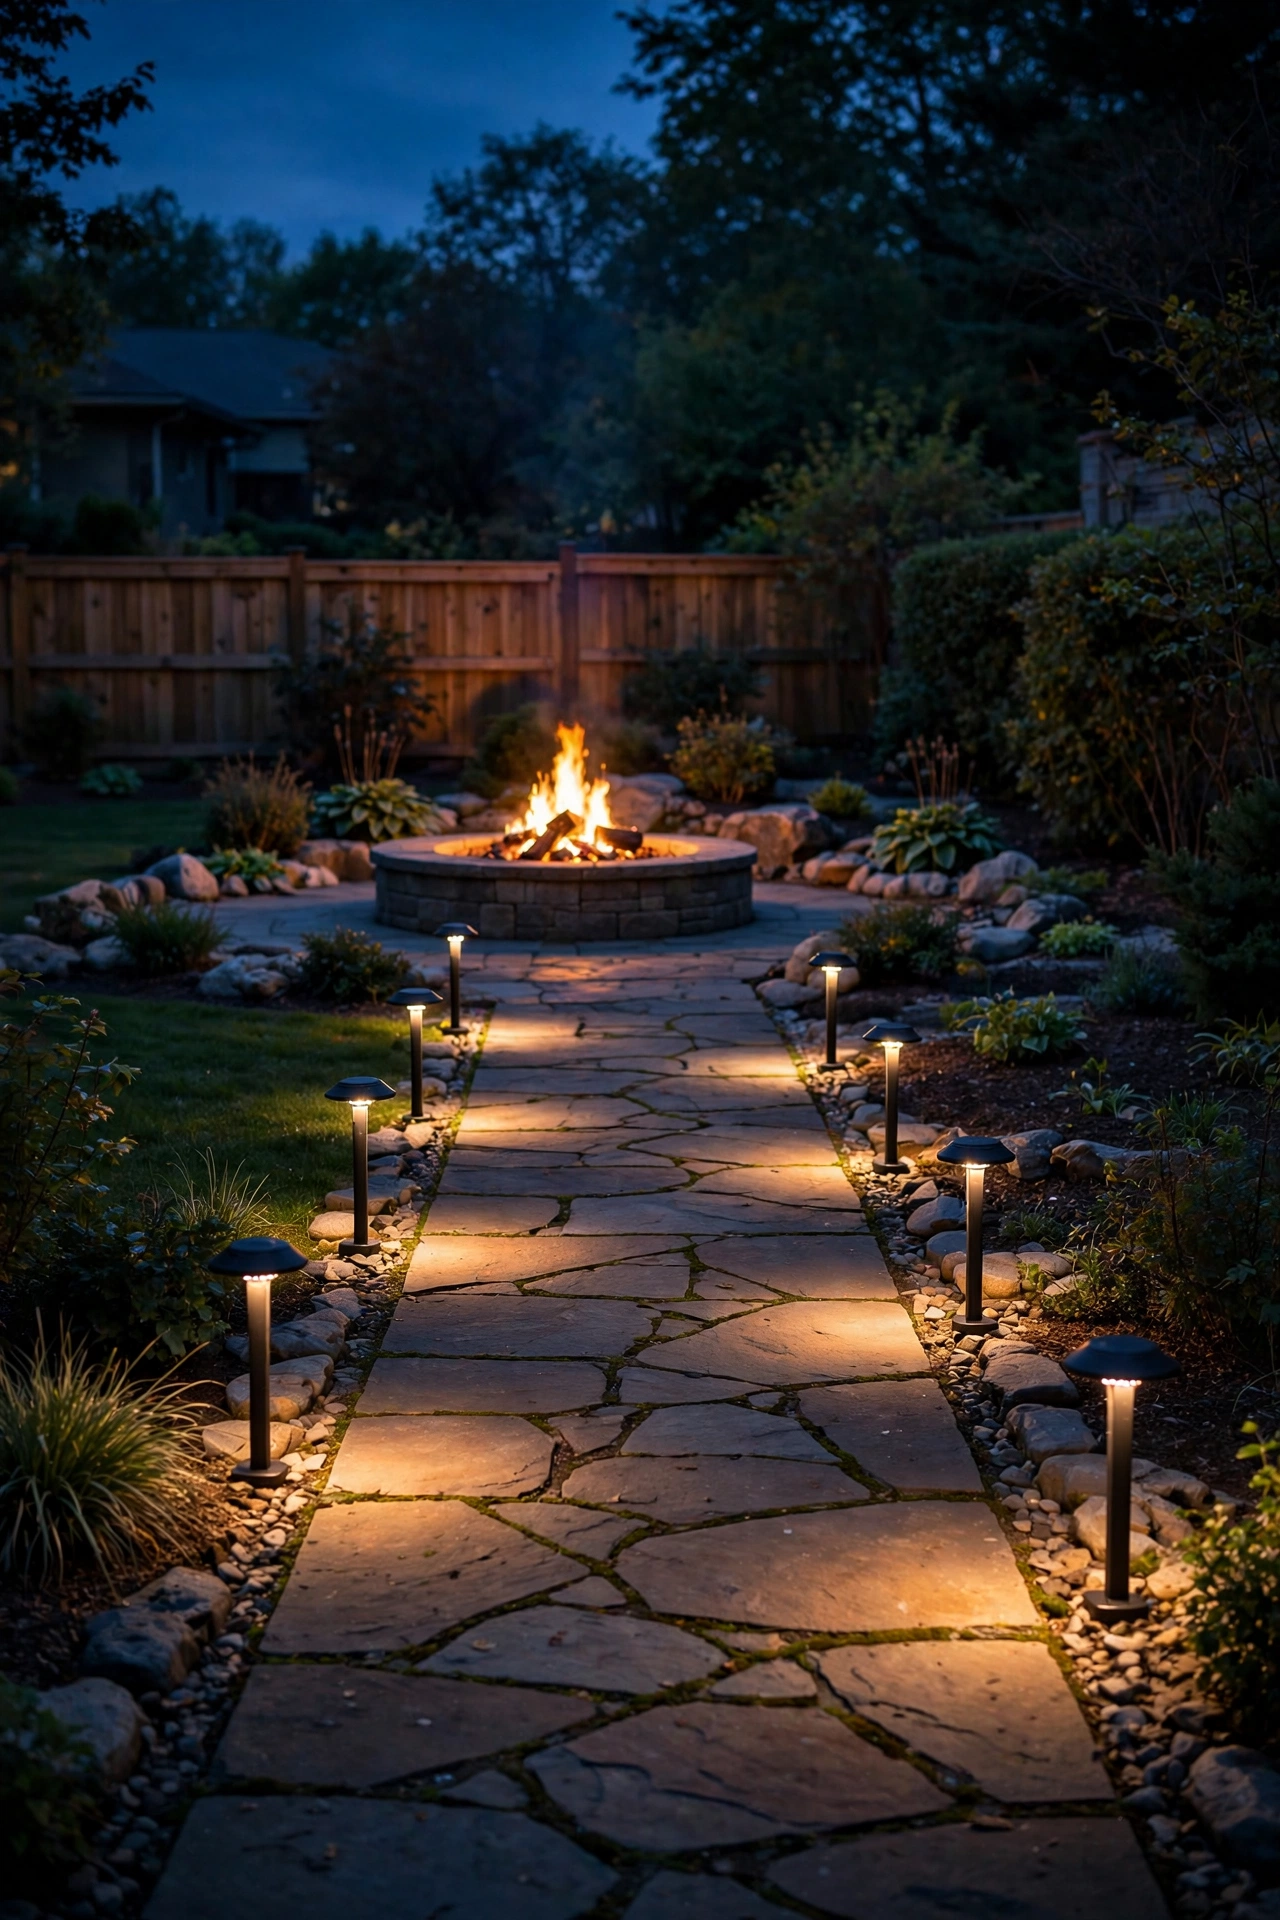
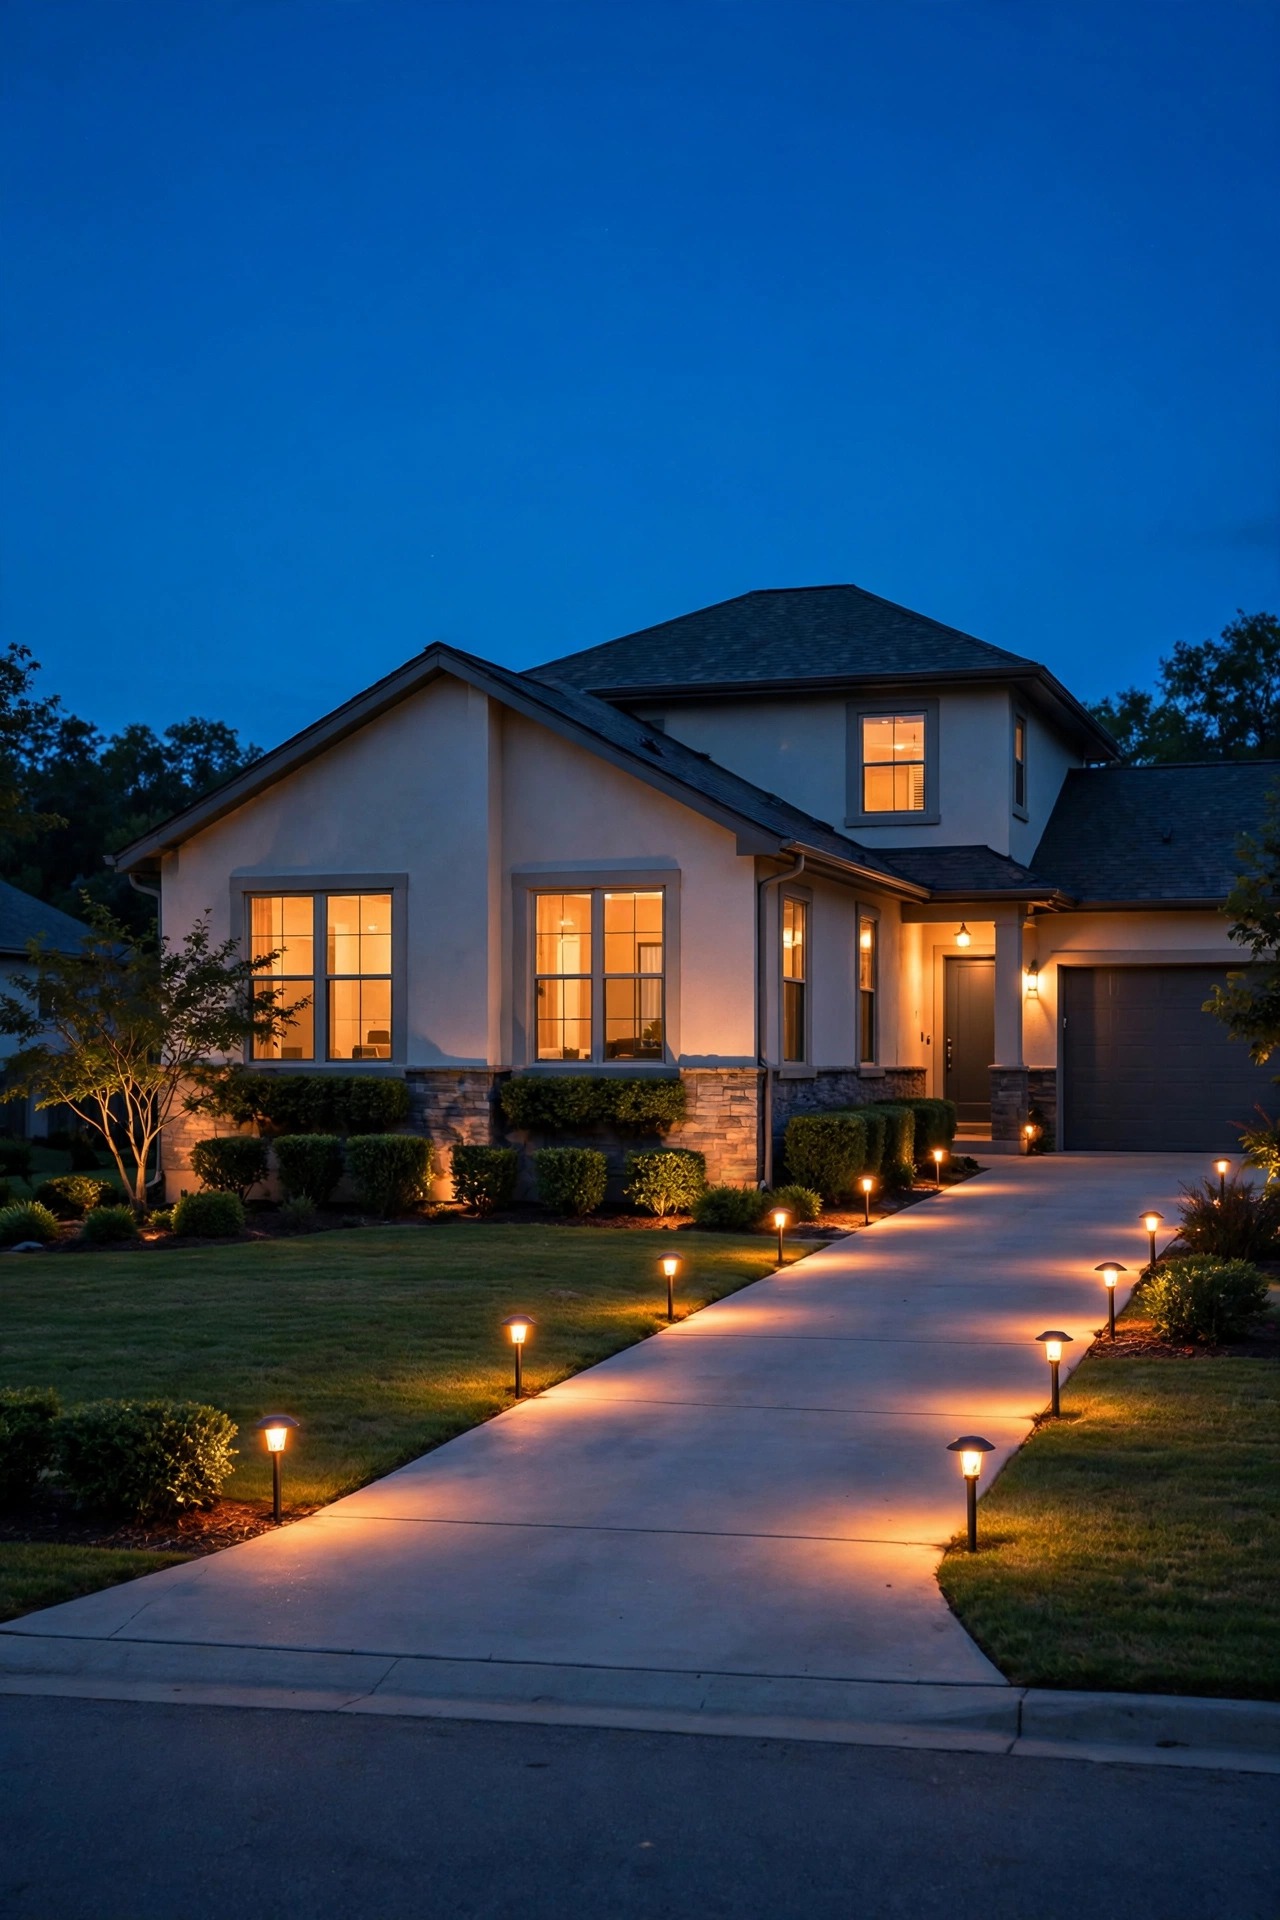
A row of low path lights down both sides of the lane is the layer that never sleeps, and it is the one guests quietly love most. Low-voltage fixtures in the 100 to 300 lumen range, spaced 6 to 8 feet apart in pairs or a gentle stagger, draw a bright outline that makes the whole drive read as cared-for and occupied. Wire them to a single transformer with a photocell or astronomical timer so they come on at dusk without you thinking about it. Keep the fixtures low and shielded, with the light thrown down onto the concrete edge rather than up into drivers' eyes; glare at ankle height is still glare. I always recommend metal stakes over plastic spikes here, because driveway-edge lights live a hard life of car doors, snow shovels and the occasional tire kiss. Leave no gap longer than about 10 feet, especially at curves and the spot where the drive meets the street. A continuous ribbon of low light removes the dark runway an intruder would otherwise use to approach unseen, and it does it while looking like pure curb appeal.
Suggested budget range: $120 – $350.
4. Mark the Entrance With a Pair of Bollard Lights
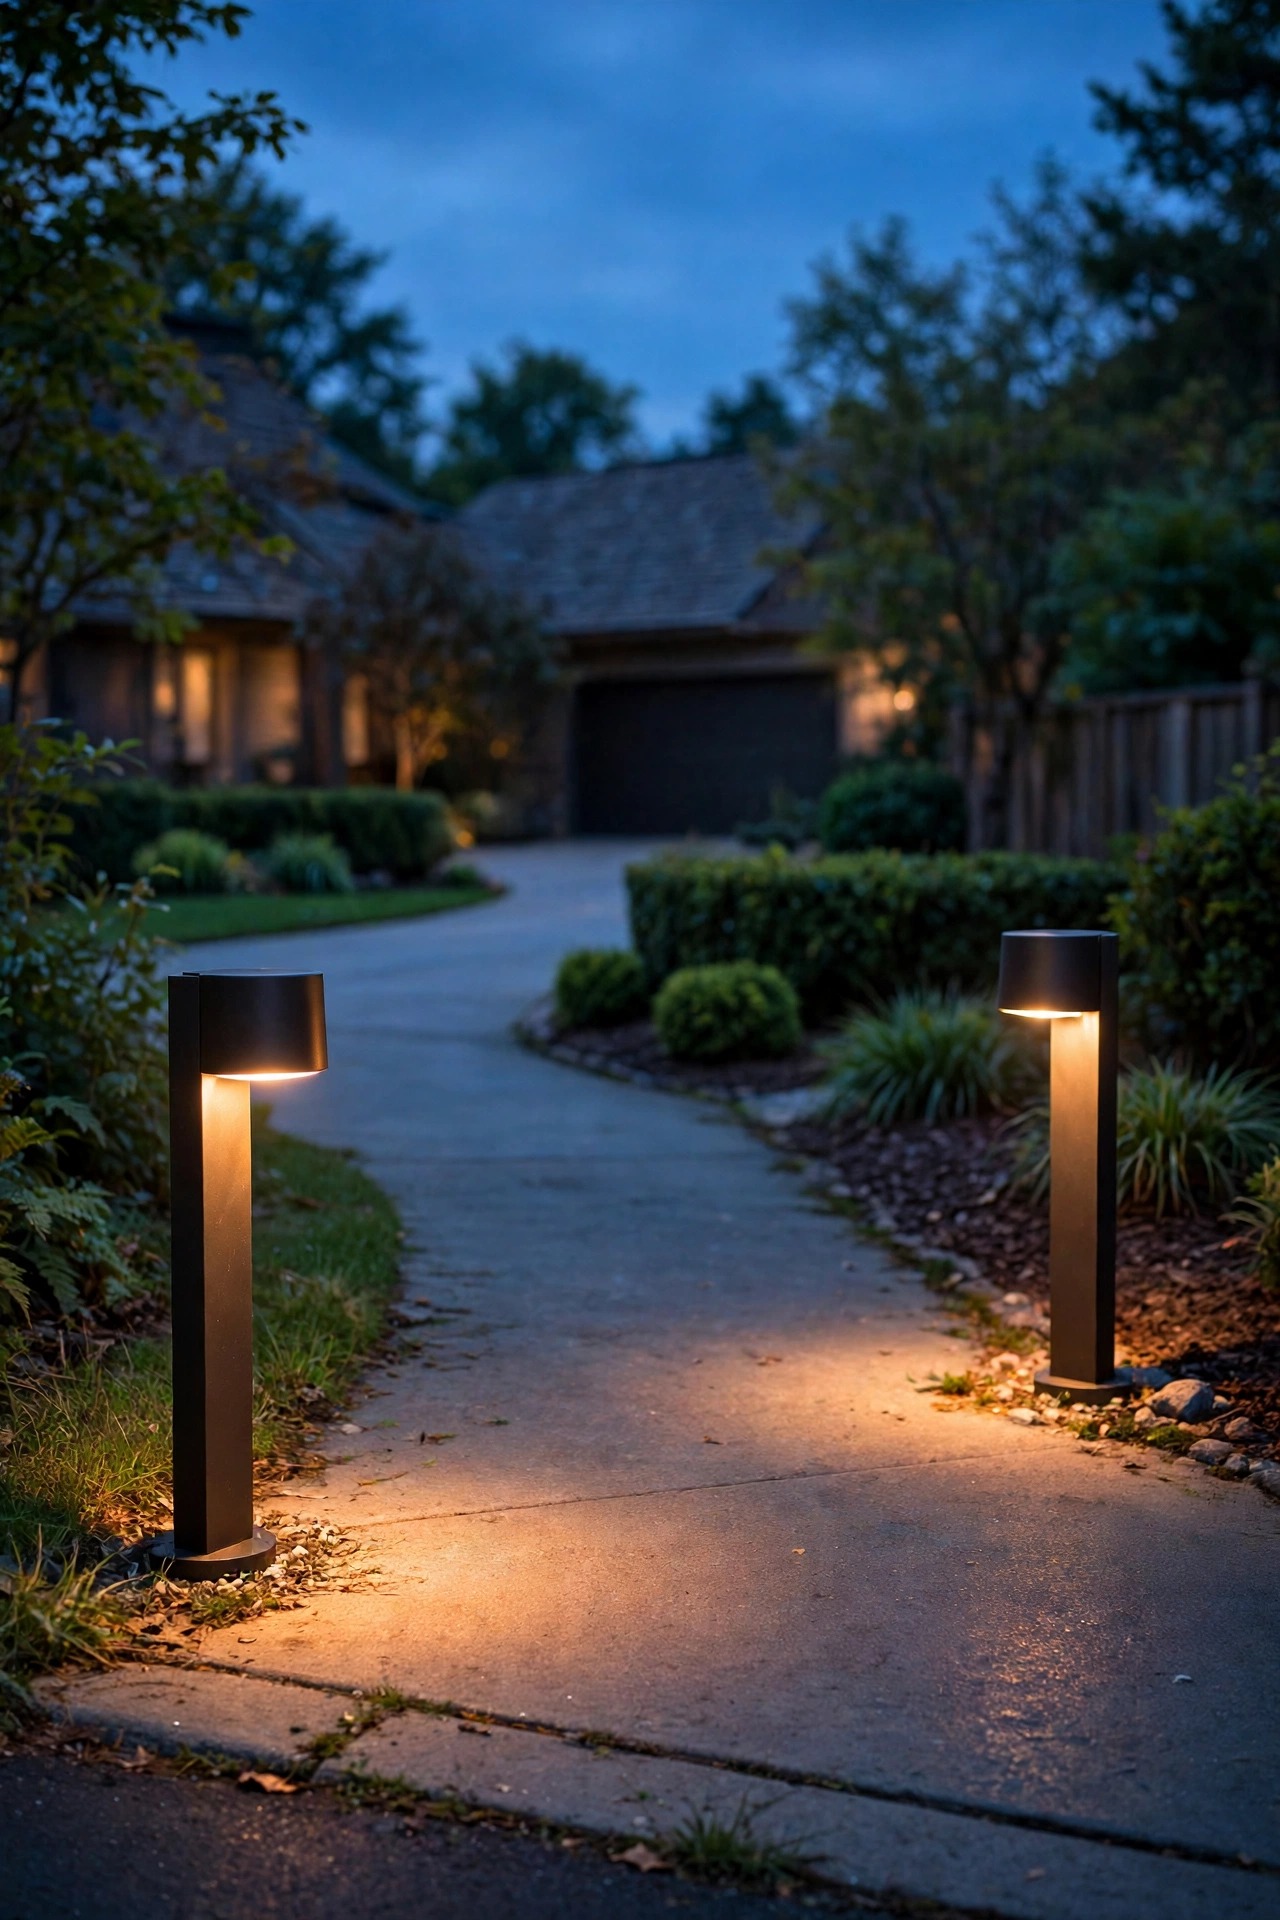
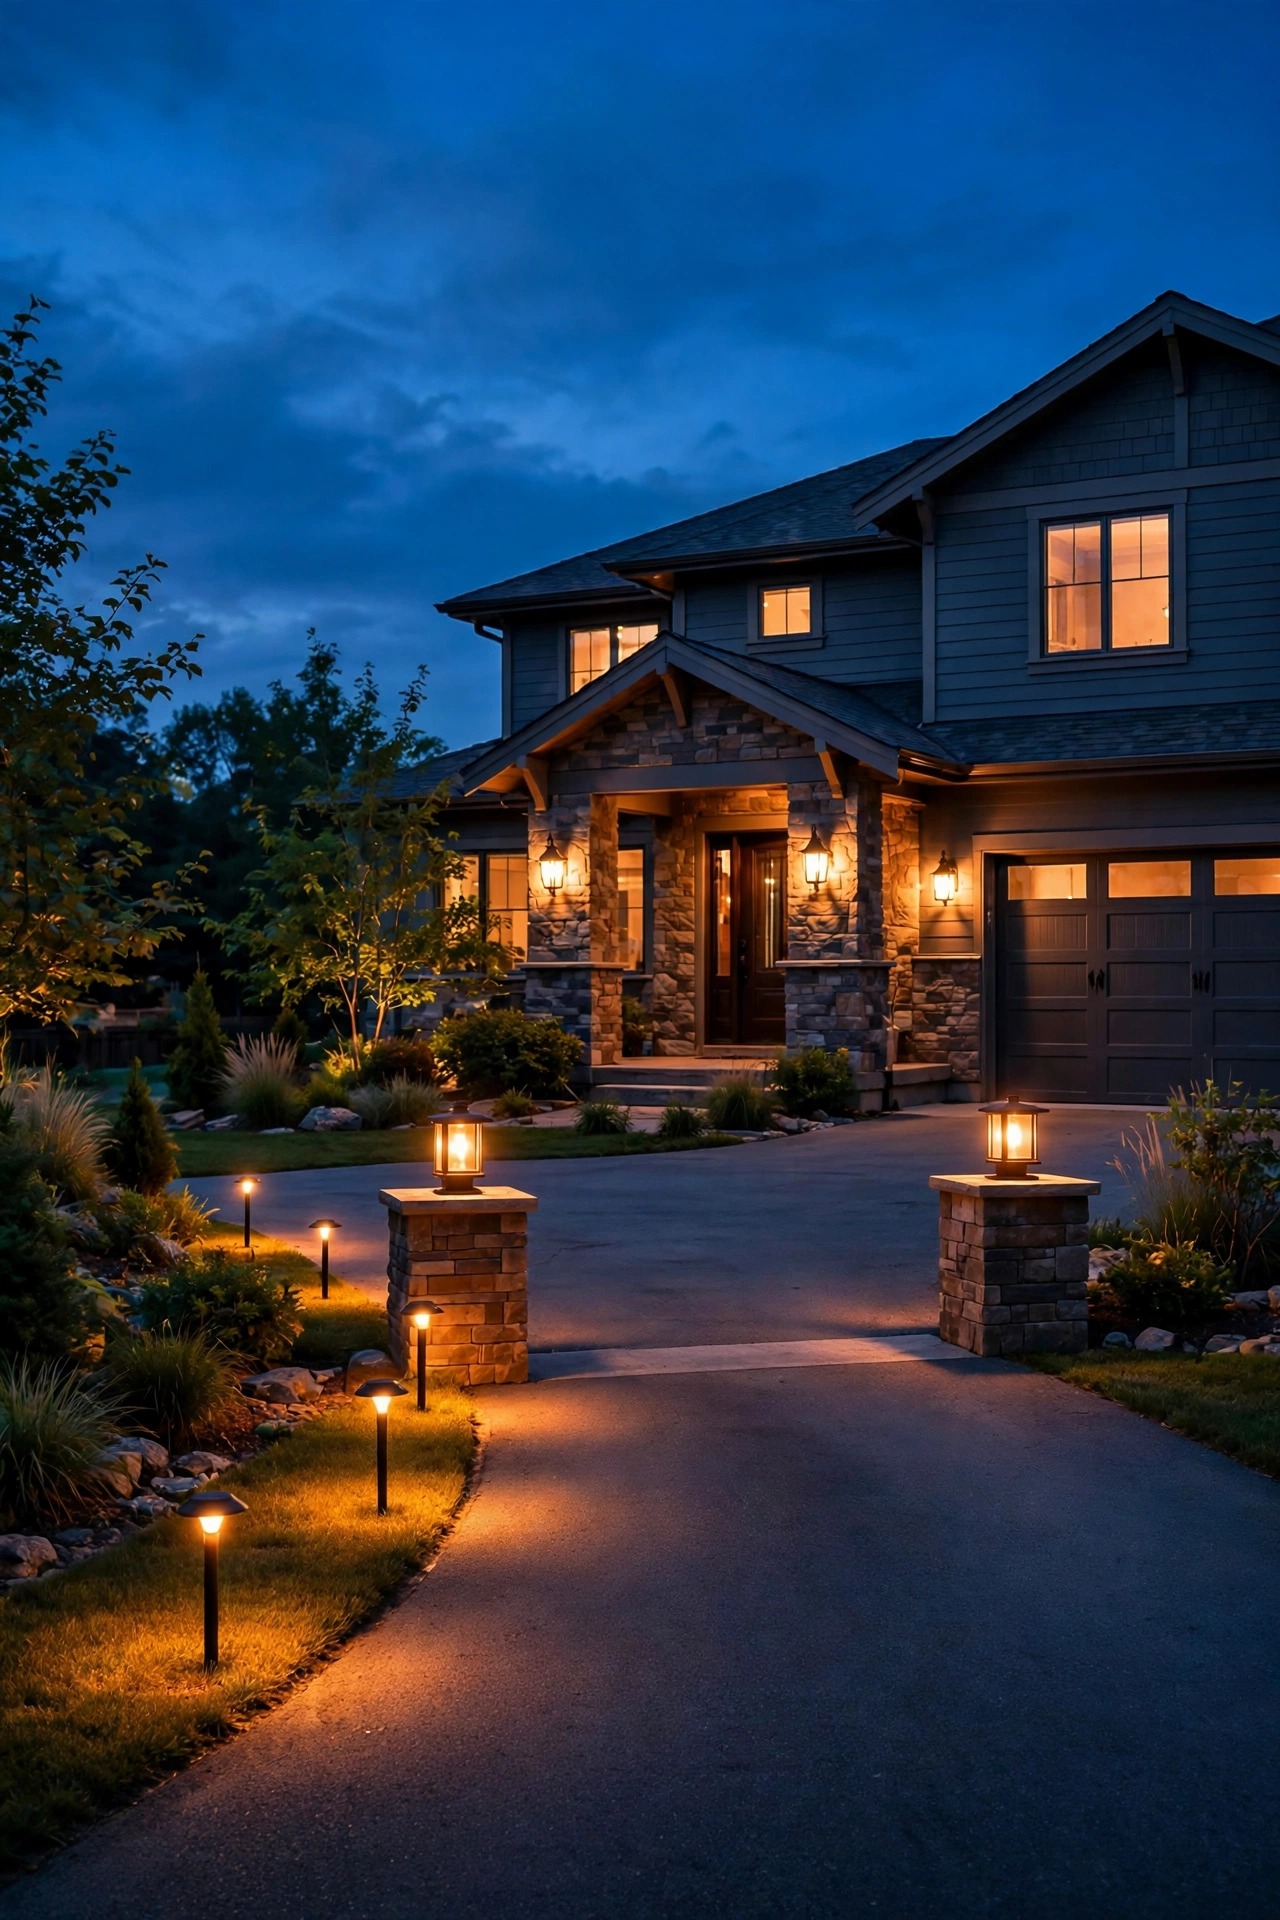
The street entrance is your handshake and your warning sign in one. A sturdy bollard on each side of the drive, 24 to 30 inches tall, tells arriving guests exactly where to turn on a dark, unfamiliar street, and tells everyone else the property line is lit and attended. Choose louvered or shielded bollards that throw light down and out across the pavement instead of shining sideways into the eyes of passing drivers. Metal bodies matter here more than anywhere else on the drive, because entrance fixtures meet snowplows, delivery vans and teenage drivers. Set them back at least a foot from the pavement edge so mirrors and plow blades clear them. Bollards also solve a sneaky security problem: the dark pocket right where the drive meets the road, where someone can stand unseen from the house. Light that pocket and the approach to your home has no invisible first step. For a softer budget version, two solar bollards work, but the wired low-voltage pair stays brighter and more consistent through winter, which is when I want my entrance markers most reliable.
Suggested budget range: $90 – $260.
5. Light the House Number and Mailbox at the Street
Here is a security idea most people file under convenience: a clearly lit address. When police, paramedics or even a pizza driver can find your house fast, help arrives faster, and a home that looks easy to identify looks risky to anyone casing the street. A small solar or low-voltage number light mounted on the mailbox post or a short stake near the curb keeps the address readable from a moving car. Keep the glow soft, in the 2700K warm range, and shielded so it reads as a friendly marker instead of a tiny billboard. If your mailbox sits across the street, a solar unit with its panel angled toward the southern sky is the practical pick, since trenching wire under a road is nobody's weekend project. Pair the number light with one of the entrance bollards from the idea above and the whole street edge feels intentional. I also like this light on the same dusk-to-dawn routine as the path lights, because an address that goes dark at midnight is only helping the early-evening emergencies.
Suggested budget range: $25 – $80.

6. Add a Smart Floodlight That Sends Phone Alerts
A floodlight that only lights up is a deterrent; a floodlight that also tells you it lit up is a witness. Smart floodlights pair the same dual-head setup as idea two with a motion sensor that sends an alert to your phone, and many add a camera view so you can check whether it was a raccoon, a delivery, or a person testing your door handles. The setup details decide whether you love it or mute it within a week. Draw the motion zones tightly around the apron and garage door, excluding the street and the neighbor's yard, or you will get fifty alerts a night. Schedule the brightest alert mode for sleeping hours and a gentler one for the evening, when your own family triggers it constantly. Mount it where your Wi-Fi signal is honest, and test the connection before drilling anything. In my experience this is the single best upgrade for anyone who travels, because the alert plus the light together recreate the feeling of an occupied, watching house even when you are three states away.
Suggested budget range: $60 – $200.

7. Flank the Garage Door With Dusk-to-Dawn Coach Lights
Every driveway needs one layer that is simply always on, and a pair of coach lights flanking the garage door is the most handsome way to do it. Fit them with dusk-to-dawn sensor bulbs or choose fixtures with a built-in photocell, and they will greet every arrival from sunset to sunrise for pennies a night on LED. Keep the bulbs warm, 2700K, and modest, around 800 lumens each; this layer is about presence, not interrogation. The steady glow does quiet security work: it eliminates the dark apron corners a motion light misses between triggers, keeps the garage door and its hardware visible from the street, and makes the whole front of the house look lived-in even on vacation. Match the fixture finish to your front-door lantern so the garage stops looking like an afterthought. One caution: put these on the photocell routine, not a manual switch your family will forget, and avoid bulbs with the sensor buried inside a fully enclosed fixture unless the bulb is rated for it, since heat shortens sensor-bulb life. Simple, classic, and on duty every single night.
Suggested budget range: $70 – $220.

8. Stake Solar Lights Along the Far End of the Drive
Long driveways have a problem zone: the far end near the street, hundreds of feet from the nearest outlet. Solar stake lights are the honest answer there. A run of four to six stakes down the last stretch marks the edges for guests backing out, keeps delivery drivers off the lawn, and closes the dark gap between your bollard-lit entrance and the lane. Be picky, because cheap solar is why people think solar does not work. Choose stakes with glass lenses, metal or heavy composite bodies, and at least 30 to 50 lumens each; the two-dollar plastic spikes will disappoint you by Thanksgiving. Expect them to run dimmer and shorter in December, and plan the layout so the essential guidance comes from your wired layers while solar handles the far-end outline. I angle the little panels as close to south-facing as the stake allows and wipe them down when I rake leaves. Used where they are strong and backed up where they are weak, solar stakes extend your lit perimeter to the street without a single trench.
Suggested budget range: $30 – $75.
9. Set In-Ground Well Lights Along the Apron Edge
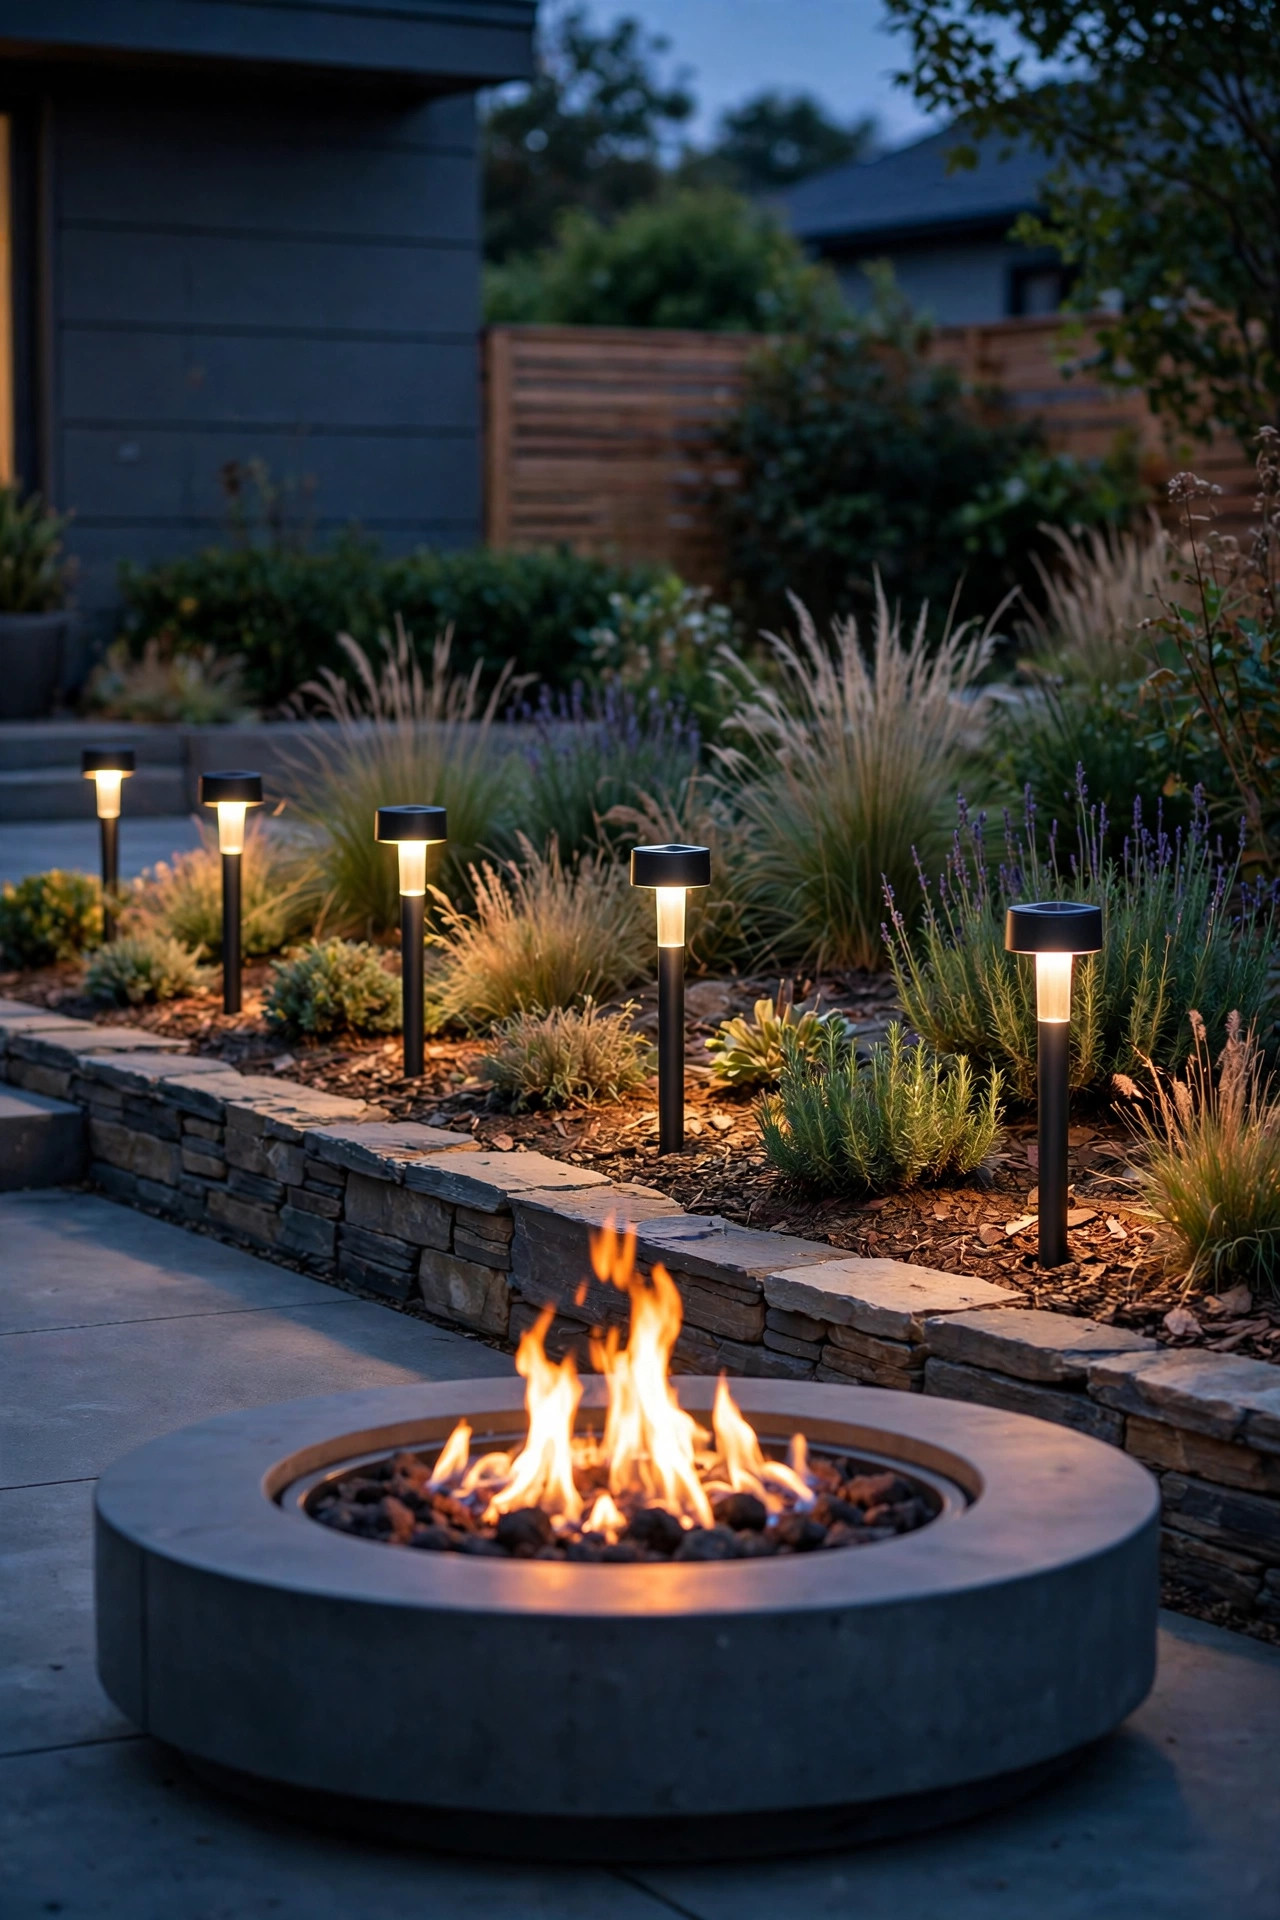
For the cleanest security look on this list, bury the light itself. In-ground well lights and drive-over rated disk lights sit flush with the pavement edge, washing the apron in a low sheet of light with zero fixtures to knock, mow around or steal. They outline the parking area beautifully and light the exact ground where people step out of cars, which is where you want eyes and feet confident. Specify fixtures rated for drive-over loads if any part of the lens sits where a tire can roll, and choose models with a shielded or louvered top if the beam points toward the house, since an uplight at ground level aims straight at your eyes when you back in. I like a line of three to five along the garage-side edge, sometimes with one pair washing up the garage door for texture. Because they live in the dirt and weather, buy fixtures with proper outdoor sealing and drain their gravel beds well; a well light sitting in a puddle of its own making will fog and fail early no matter what the box promised.
Suggested budget range: $80 – $240.

10. Close the Dark Shortcut at the Side Gate
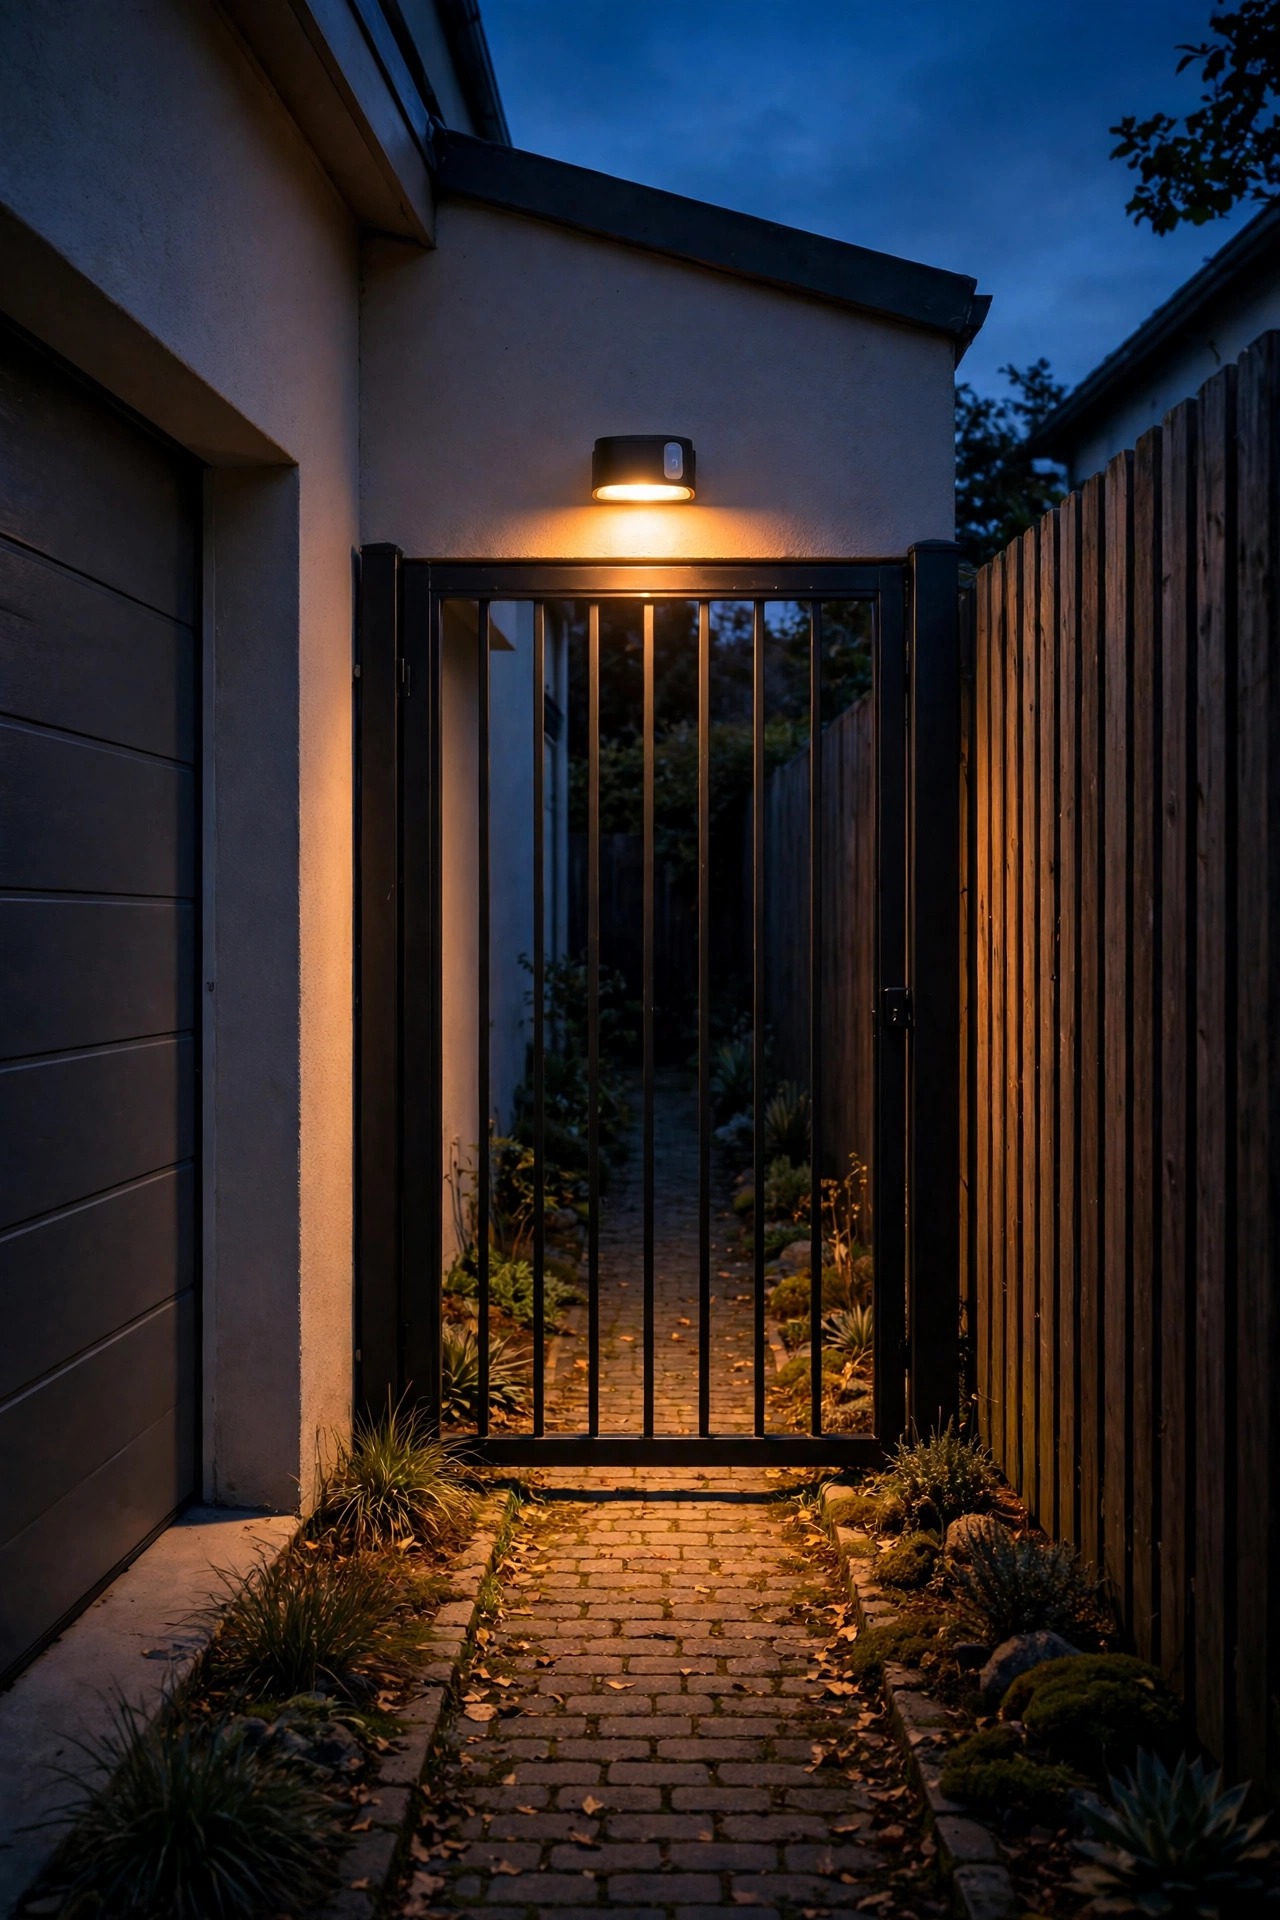
Ask any police officer where a break-in attempt actually starts and it is rarely the floodlit apron; it is the unlit side path between the driveway and the backyard gate. That narrow strip is the one place on most lots with total darkness and total privacy, so give it its own small layer. A compact motion-activated wall pack on the garage's side wall, or a solar flood on the gate post, covers the whole pass with one fixture. Keep it modest, 700 to 1,200 lumens on motion, aimed along the path rather than into the neighbor's windows. If the gate is where your own family hauls the trash bins, a dusk-to-dawn low setting with a motion boost is the friendliest pattern: dim guidance for you, full brightness for anything unexpected. Also check the view from your kitchen window once it is installed; the goal is a strip you can see into at a glance, with no shadow pocket behind the bins or the air-conditioning unit. One small fixture here upgrades the security of the entire house, not just the drive.
Suggested budget range: $30 – $110.
11. Uplight a Tree Near the Driveway
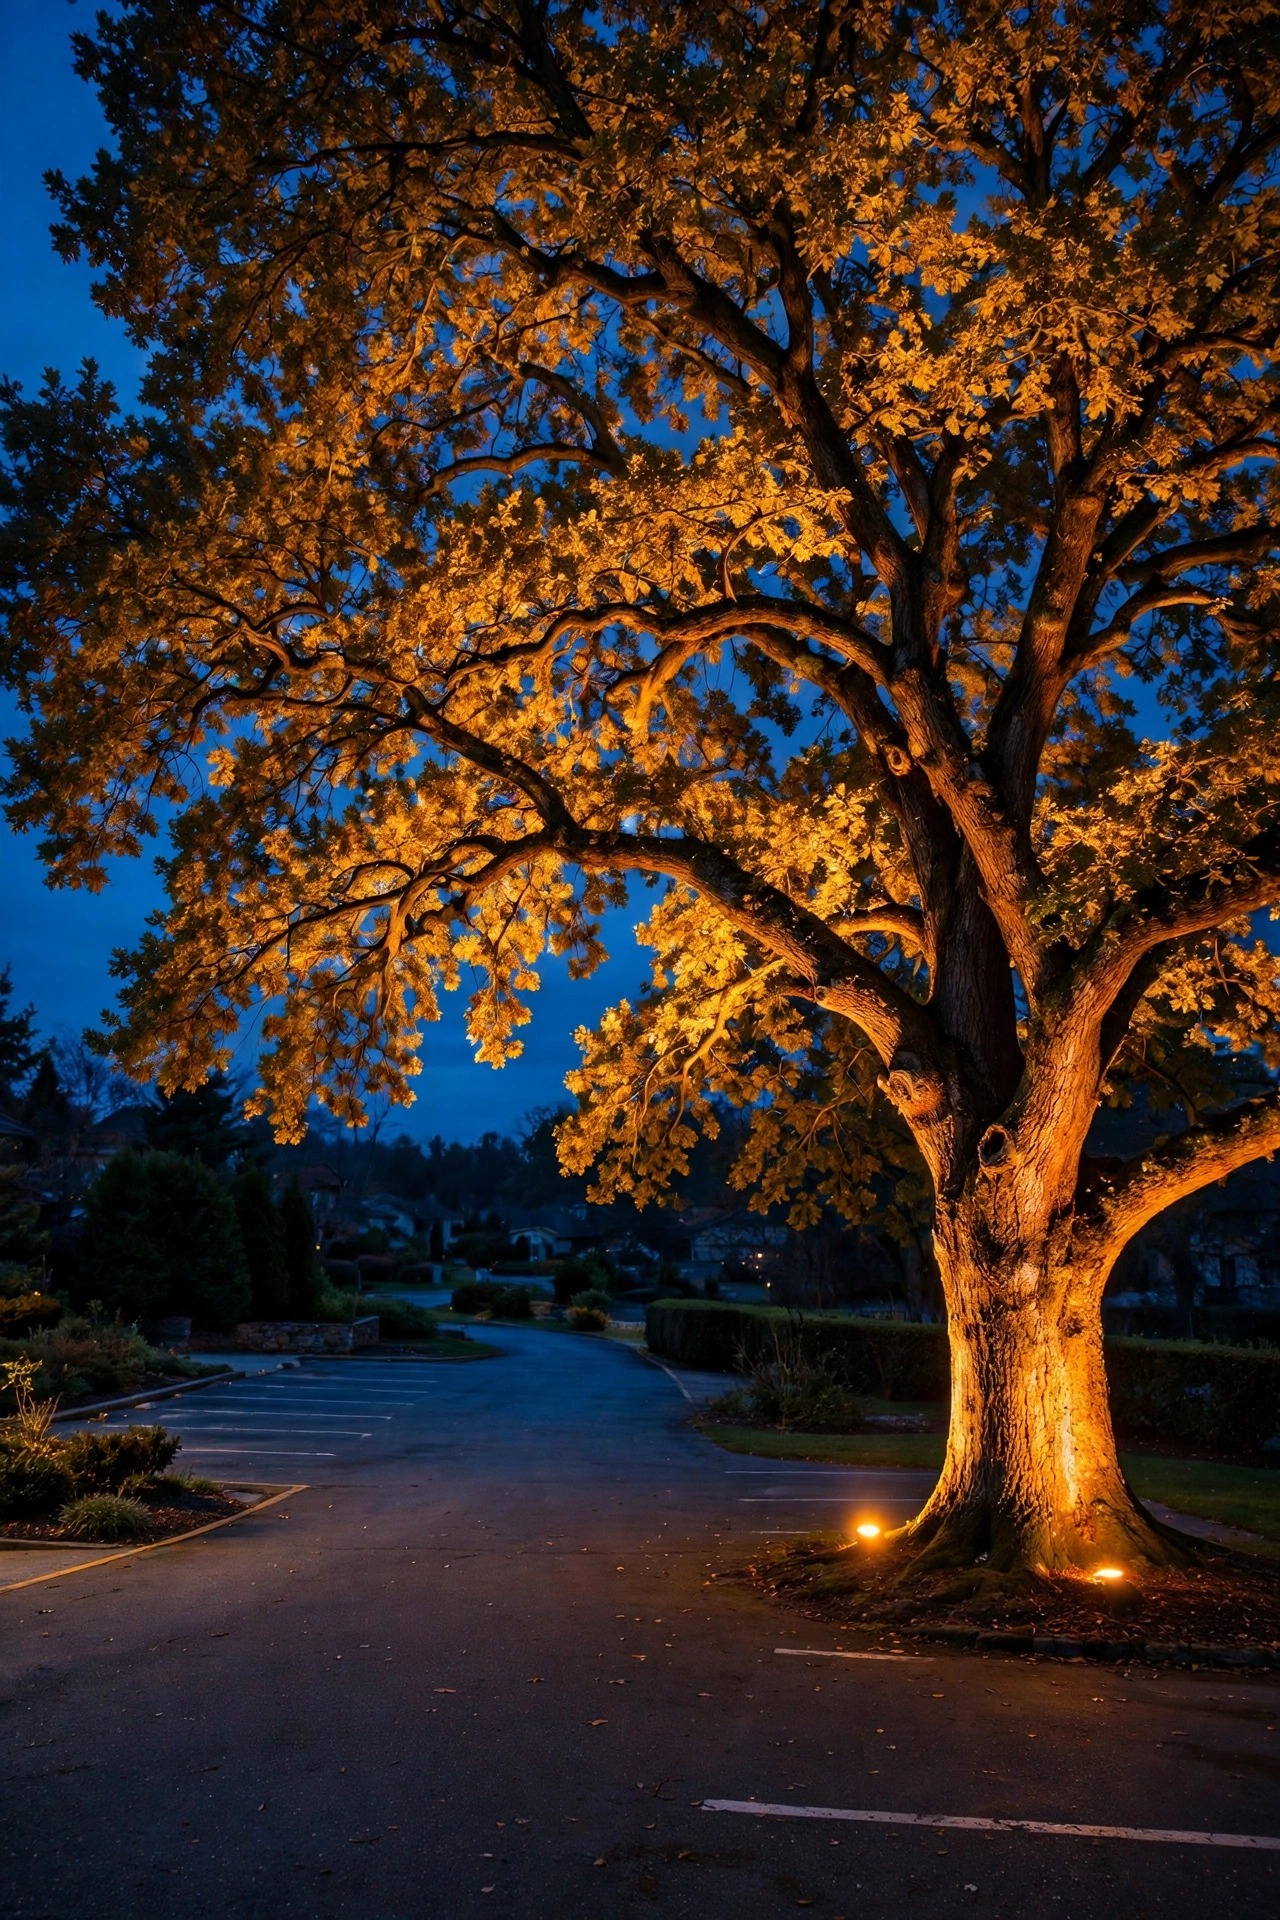
Security lighting that is also the prettiest light in the yard: that is tree uplighting. One or two low-voltage spotlights at the base of a tree near the drive, aimed up into the canopy at 300 to 600 lumens, turn a dark mass of shadow into a glowing landmark. The security benefit is real. A lit canopy removes the tall hiding spot beside the parking area and throws soft reflected light across a wide circle of ground, shrinking every shadow nearby. The delight benefit needs no explaining the first time guests step out of the car under it. Place the fixtures a foot or two from the trunk, angled slightly outward so the beam catches the branch structure instead of spearing straight up the bark, and keep them off any sightline from the street to avoid a bright dot in drivers' eyes. Evergreens give you the effect year-round; a deciduous tree trades summer canopy for sculptural winter branches, which I honestly love just as much. If you add only one purely beautiful thing to your security plan, make it this.
Suggested budget range: $45 – $150.
12. Put the Whole System on Timers and Smart Schedules
Lights only deter when they are on, and the most reliable switch is one nobody has to remember. Put your low-voltage transformer on an astronomical timer that tracks sunset through the year, and your steady layers will simply always be working. For plug-in fixtures, an outdoor-rated smart plug adds scheduling from your phone, plus the feature I value most: a randomized vacation mode. A driveway that lights at exactly 6:04 every night announces an empty house to anyone watching for a week; lights that vary by twenty or thirty minutes look lived-in. Build your evening in stages, too: path and coach lights at dusk, entrance markers with them, everything steady until about 11, then let the decorative layer rest while the security layer and motion lights stand guard overnight. That schedule saves energy, extends bulb life, and matches how a real household actually glows. Timers are the cheapest idea in this whole post and, in my experience, the one that separates a lighting setup from a lighting habit.
Suggested budget range: $15 – $60.
13. Keep Every Bulb Warm: 2700 to 3000K, Shielded and Aimed Down
Here is the idea that keeps security lighting from turning your home into a gas station. Harsh blue-white light, the 5000K kind, feels brighter but actually hurts the goal: it flattens contrast, creates deep shadows at its edges, and makes faces harder to read, not easier. Warm 2700 to 3000K light renders skin, clothing and car colors accurately, which is what you and any camera actually need for identification. Just as important is where the light goes. Choose shielded fixtures and aim every beam down at the ground it protects; a bulb you can see directly is a bulb that is blinding you while leaving the far corner dark. Walk out to the street and look back. If you can see bare bulbs glaring, an intruder can hide behind that glare. Match the color temperature across every fixture on the drive, because a patchwork of amber and blue reads as accidental, and accidental reads as uncared-for. This discipline costs almost nothing, mostly bulb swaps, and it is the entire reason the other sixteen ideas delight instead of merely deter.
Suggested budget range: $20 – $70.

14. Light the Steps and Retaining Wall Where Drive Meets Walk
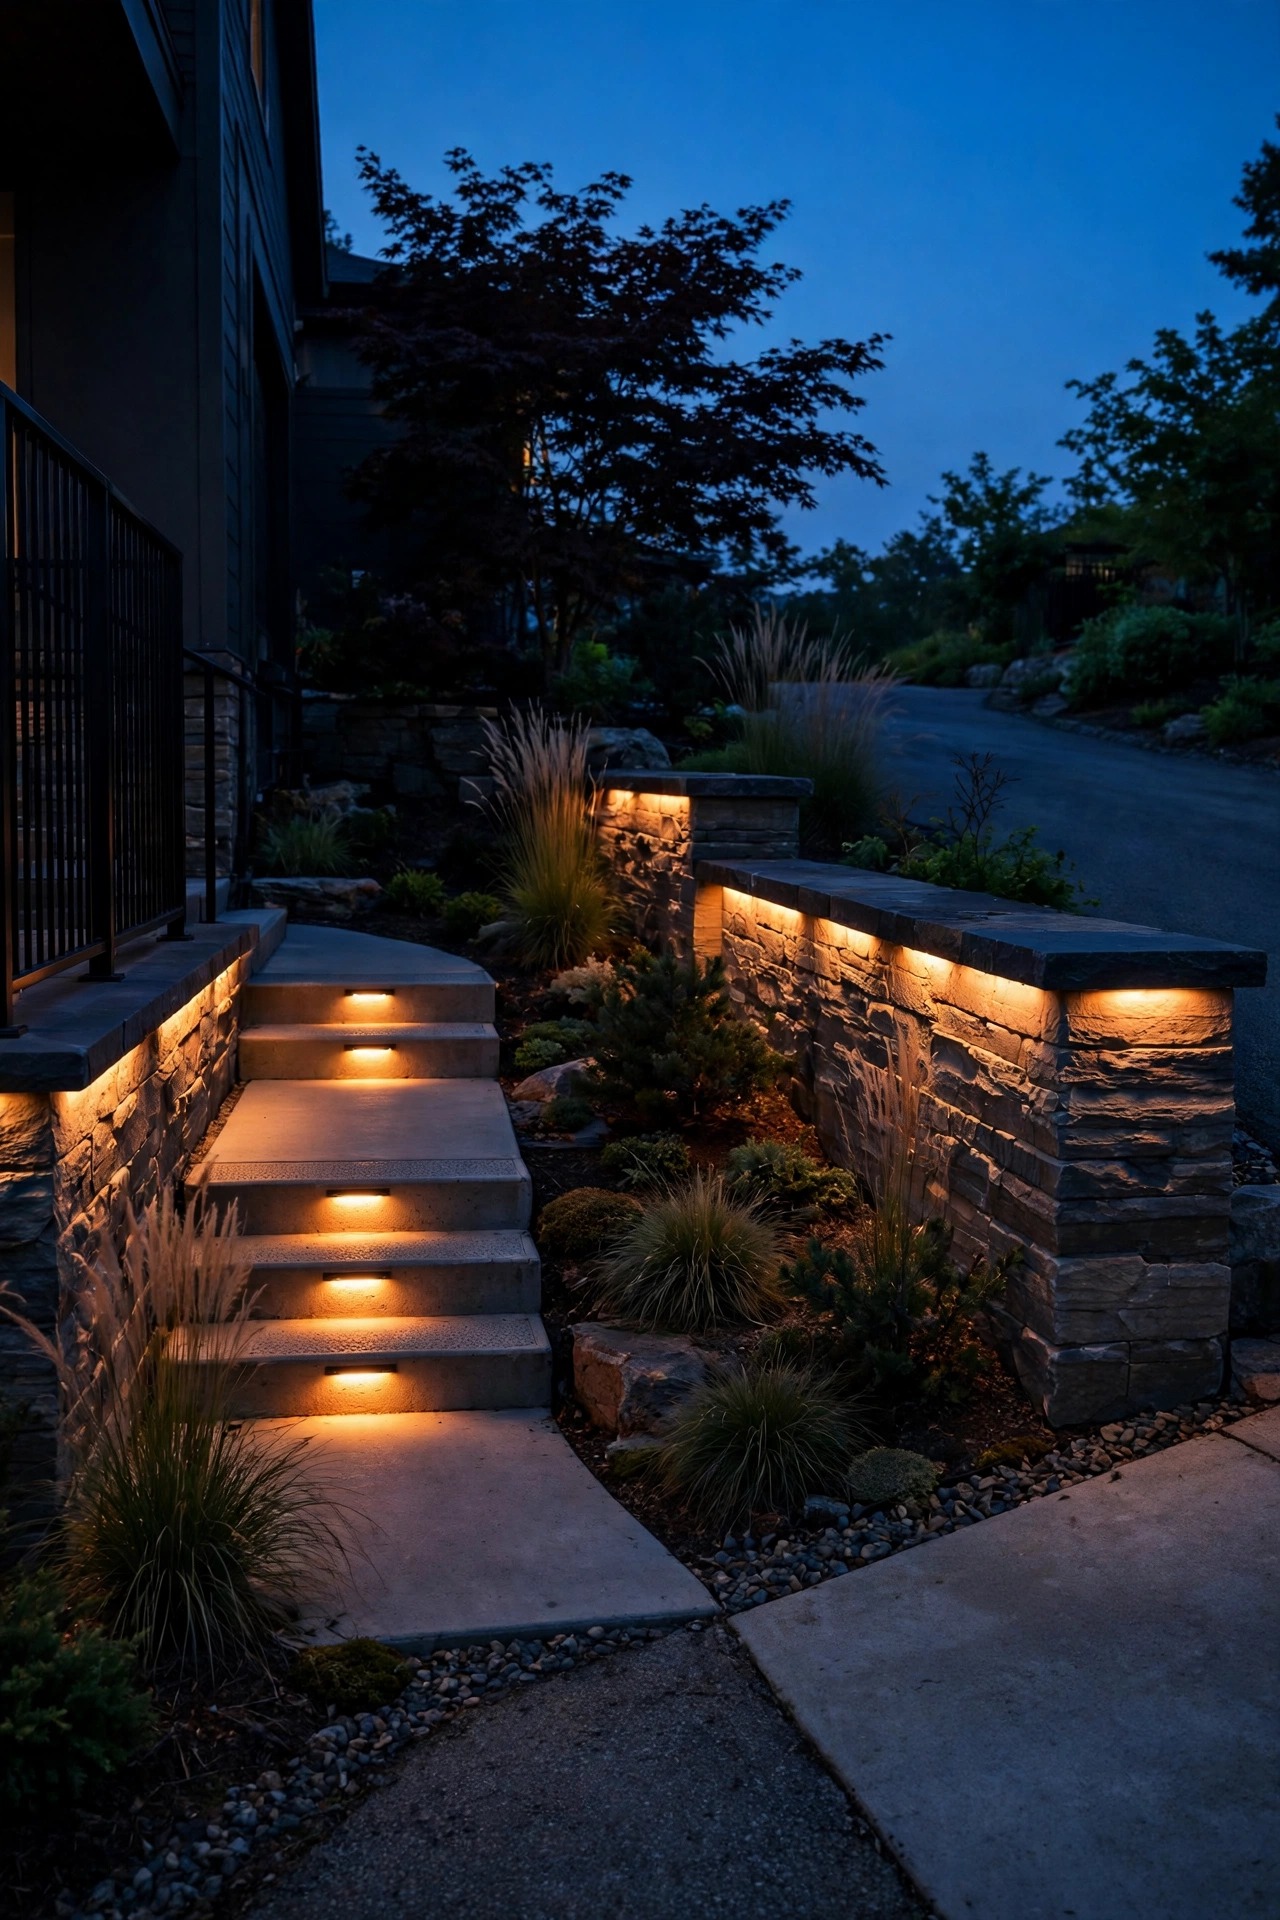
The most dangerous ten feet of a guest's visit are the steps and grade changes between the parked car and your front door, and they are also a classic blind spot, because driveway fixtures aim at cars, not feet. Recessed step lights in the risers, or a row of small lights tucked under the cap of a retaining wall along the walk, close that gap with a soft wash exactly where ankles need it. Keep these low and warm, 50 to 150 lumens each; the job is definition, not brightness. From a security view, a lit transition zone means no shadowed crouching space beside the wall or under the stair landing, and your motion flood on the apron now has a lit foreground instead of a black hole at its edge. These fixtures are small, inexpensive and often solar in their simplest form, though the wired versions earn their keep on north-facing steps that never see sun. Light the route a guest actually walks, start to finish, and the whole property feels both safer and more gracious.
Suggested budget range: $60 – $200.
15. Keep One Layer Alive With Solar-and-Battery Backup
A security system that dies with the power grid has a predictable weakness, and storms are exactly when you want the driveway lit. Dedicate at least one layer, usually a solar flood over the apron or a pair of high-capacity solar wall lights, to fixtures that charge by day and answer entirely for themselves. The better models carry a battery sized for two or three dull days, not just one sunny one, so read the capacity rather than the marketing: you want a replaceable cell, a panel you can angle toward the sun, and a motion mode that sips power at idle and spends it on brightness. Mount the panel where winter sun actually lands, which on many lots means the garage roof edge or a fence rail rather than the shaded wall beside the door. We lost power for two nights last winter and our drive stayed the only lit one on the street; neighbors noticed, guests found us, and nothing about the house looked vulnerable. Redundancy is a security feature all by itself.
Suggested budget range: $40 – $130.

16. Pair the Lights With Trimmed Sightlines and Smart Planting
Lighting cannot guard what landscaping hides, so treat your shrubs as part of the system. Keep plantings beside the driveway and under front windows trimmed below window-sill height, around two to three feet, so no one can crouch beside the garage unseen. Thin out the dense evergreen that swallows your path lights every June; a fixture buried in foliage lights the bush beautifully and the drive not at all. Where you want a barrier, plant the unfriendly stuff: thorny shrubs under the windows near the drive discourage close approaches far better than a polite hedge, and they look like ordinary gardening. Then walk the street view again. From the road, you should be able to see the driveway, the garage door and the route to the front door in one unobstructed glance, with light filling each piece. Intruders choose the house that offers privacy; a lit, open sightline offers none. This is the least technical idea here and, paired with the layered plan from idea one, the one police officers mention most.
Suggested budget range: $50 – $180.
17. Finish With a Night Walk-Through of Your Driveway Security Lighting Ideas
The last step costs nothing and catches everything: use your own driveway the way everyone else does, after dark, and grade the result honestly. Start at the street. Can you find the entrance, read the address, and see both edges of the lane? Pull in slowly and note any moment you are driving toward glare instead of guidance. Park where a guest would, step out, and walk to the front door: any dark gap, any trip edge, any corner where you would not want your teenager fumbling for keys? Then stand where a stranger would stand and look for the place you would hide; if you find one, it needs a fixture, a trim or an aim adjustment, in that order of cost. Squint into each light: a visible bare bulb means shielding to fix. I repeat this audit every fall before the long nights, and again after any big storm moves things around. These driveway security lighting ideas only count once they survive this walk, and five minutes with a notepad will improve your setup more than another hundred dollars of fixtures.
Suggested budget range: $0 – $30.

Frequently Asked Questions
How bright should driveway security lights be?
Think in layers instead of one big number. Guidance lights along the edges work at 100 to 300 lumens each, steady coach lights sit happily around 800 lumens, and a motion flood over the garage should deliver 1,600 to 2,400 lumens when it triggers. Brighter is not automatically better: an overpowered flood creates glare and hard shadows that hide more than they reveal. Even, shielded, warm coverage beats raw output every time.
Are motion lights or dusk-to-dawn lights better for security?
Use both, doing different jobs. Dusk-to-dawn layers remove hiding places all night and make the house look occupied, while motion lights add the startle factor and save energy by resting at dim or off. A steady low layer with a bright motion layer on top is the combination I recommend to everyone, because an intruder gets no darkness to work in and no warning about which light is about to fire.
Will bright driveway lights bother my neighbors?
Not if you follow the rules in idea thirteen: warm 2700 to 3000K bulbs, shielded fixtures, beams aimed down at your own pavement, and motion settings that run one to three minutes rather than all night. Most complaints trace back to one unshielded flood aimed across a property line. A quick friendly word before you install, and a look from their side of the fence after, keeps the peace.
Can solar lights really handle driveway security?
For markers, edges and far-end guidance, yes, good solar fixtures do the job well. For the main alert layer over the garage, wired or smart fixtures stay brighter and more reliable through winter and cloudy stretches. The setup I trust is a hybrid: wired or plug-in lights for the apron core, solar for the street end and backup, so no single failure, outage or dark week leaves the drive unlit.
Conclusion
Great driveway security is not about flooding your lot with light; it is about layers that leave no dark gaps while still welcoming the people you love. A guidance layer to outline the lane, a welcome layer that never sleeps, and an alert layer that answers movement will deter far better than one harsh flood, and your home will look warmer for it. Start with the plan and the walk-through, add fixtures zone by zone, and if you are mapping the whole project budget first, my driveway lighting cost guide breaks down what each layer typically runs. However you sequence it, these driveway security lighting ideas will make your drive the one guests find easily and strangers decide to skip.