There is something about a backyard that glows like an old factory loft at night — exposed metal, warm amber bulbs, clean lines, and zero fuss. When friends step into my yard after dark, the first thing they ask is how I got that city-loft feeling in a plain suburban lot, and honestly? It came down to treating industrial backyard lighting ideas as a layering puzzle rather than a shopping spree. Industrial style works beautifully outside because the materials were born for hard weather: galvanized steel, caged glass, heavy conduit, and filament-style LED bulbs that throw the kind of warm 2700K light that makes brick, concrete, and weathered wood look richer. If you want the bigger picture before you start, my guide to industrial outdoor lighting covers the style basics. In this post I will walk you through 21 ways to build that urban edge at home, from caged sconces by the back door to steel bollards along the path and string-light canopies over the patio. Every idea includes placement tips, spacing numbers, safety notes, and a realistic budget, so you can pick two or three favorites this weekend or plan the whole yard in phases.
1. Layer Your Industrial Backyard Lighting Ideas Like a Pro
Every good industrial yard I have ever lit starts with three layers, and skipping one is the fastest way to end up with a space that feels like a parking lot. Layer one is ambient light: the overall glow from string lights or pendants that lets people move around comfortably. Layer two is task light: brighter, focused fixtures over the grill, the potting bench, or the outdoor bar where you actually need to see what your hands are doing. Layer three is accent light: uplights on a brick wall, a bollard washing a path edge, a spotlight raking across corrugated metal. I sketch the yard on paper and assign every fixture to one layer before I buy a single thing, keeping total brightness balanced so no layer fights the others. Stick to one bulb temperature, 2700K, across all three layers so the metal finishes read as one family. Put each layer on its own switch or smart plug and you can shift the mood from work-bright to dinner-mellow in seconds. This plan costs nothing but a pencil, and it saves real money because you stop buying duplicates of the wrong layer.
Suggested budget range: $0 – $50.

2. Flank the Back Door With Caged Wall Sconces
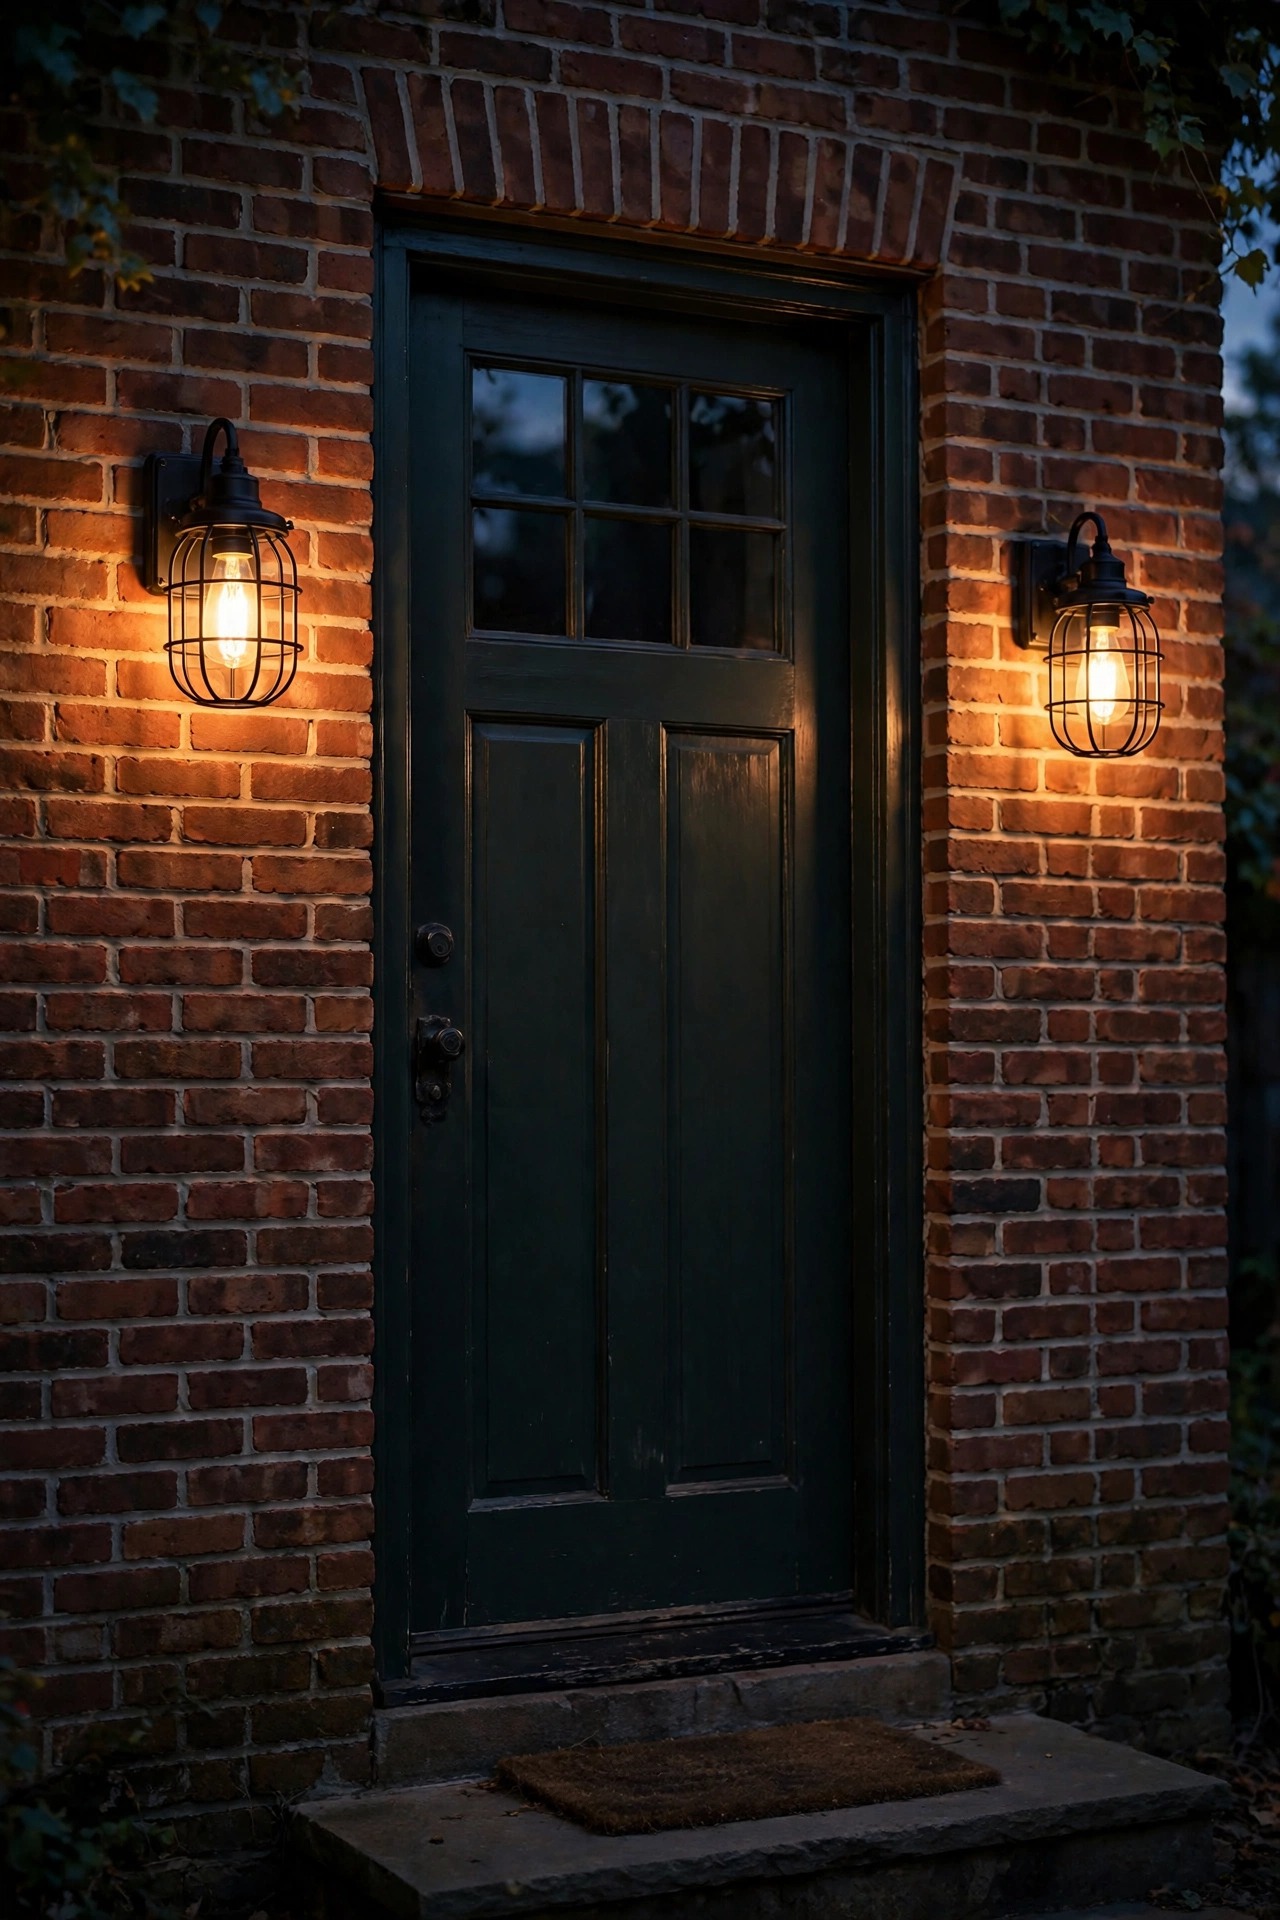
If you only buy one industrial fixture, make it a pair of caged wall sconces beside the back door. The wire cage over seeded or clear glass is the single most recognizable industrial silhouette, and flanking the door gives you that symmetrical factory-entry look instantly. Mount the center of each fixture 66 to 72 inches above the patio floor, roughly at eye level, and space them evenly on either side of the door frame. Choose wet-location-rated fixtures in matte black, oil-rubbed bronze, or galvanized steel, and load them with LED filament bulbs around 800 lumens each so the cage casts those gorgeous striped shadows on the wall. In my experience, sconces sized at least one quarter the height of the door look intentional; anything smaller reads as an afterthought. Hardwire them to the existing porch circuit if you have one, and put them on a dusk-to-dawn photocell bulb or a timer so the welcome light is always on when you come home with grocery bags. Keep spare filament bulbs on hand because the exposed bulb is the whole look here.
Suggested budget range: $60 – $180.
3. String Commercial-Grade Edison Lights Overhead
Nothing sells the urban-loft mood faster than a canopy of Edison-style string lights, and this is the one place I always tell readers to spend up instead of down. Commercial-grade strands use thick rubberized cable, hanging sockets, and replaceable bulbs, so they survive wind, rain, and the occasional ladder bump that kills the cheap sets in a single season. My full roundup of Edison bulb string light ideas goes deeper on strand types, but the short version is: plan swags of 10 to 16 feet between anchor points, keep a gentle 1-foot sag in the middle, and use guide wires on runs longer than 15 feet so the weight never hangs on the sockets. Space bulbs 18 to 24 inches apart for even pools of light over a patio, and always use LED filament bulbs outdoors — they sip power, stay cool near fabric umbrellas, and will not shatter like glass if a strand swings. Screw anchors into studs or masonry, never into fascia alone, and plug the whole run into a GFCI outlet with an in-use weatherproof cover.
Suggested budget range: $75 – $220.

4. Line the Path With Squat Steel Bollards
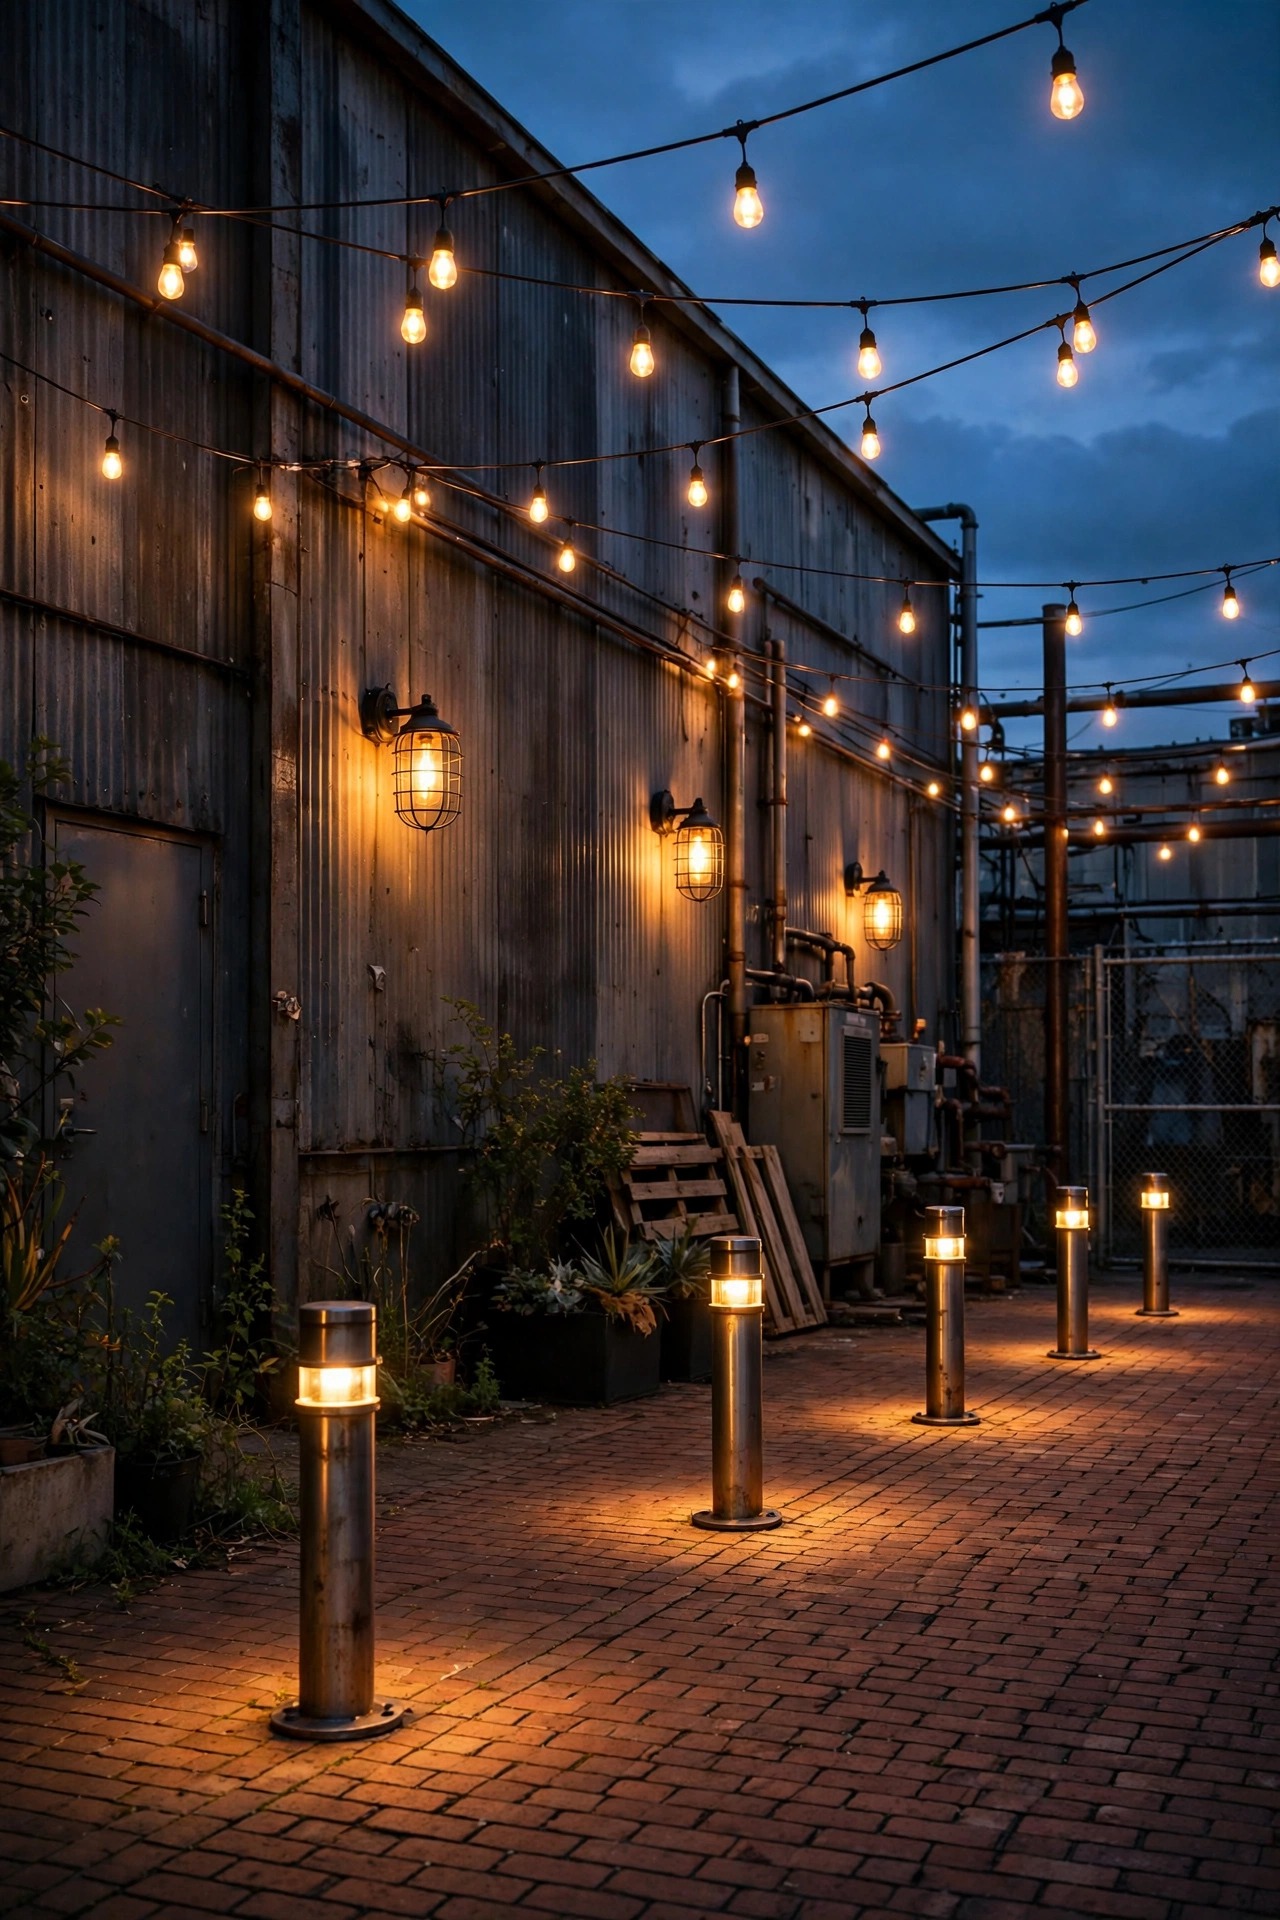
Bollards are the warehouse loading dock translated for the garden path, and they are my favorite way to give a walkway structure after dark. Look for squat, heavy-gauge steel bollards 18 to 24 inches tall with a louvered or caged head that throws light down and out instead of into your eyes. I space them 6 to 8 feet apart along one side of a path, staggered if the path curves, and set each one 12 inches back from the edge so mower wheels and snow shovels never clip them. Hardwired low-voltage bollards on a 12-volt transformer are the most reliable option and the cable buries in a shallow 6-inch trench along the bed edge. If you are torn between styles, my comparison of bollard vs post light ideas breaks down height, spread, and cost honestly. Choose powder-coated finishes rated for outdoor use, and wipe the heads down twice a year — spider webs and dust dim a louvered bollard faster than almost anything else in the yard.
Suggested budget range: $120 – $450.

5. Run Galvanized Conduit With Adjustable Spot Heads
For the full factory-floor effect, mount a run of galvanized conduit along a fence or the side of the house and fit it with adjustable spot heads you can aim like track lighting. This is the most flexible system in my whole yard: each head swivels, so one run lights the grill zone in June and the firewood stack in January. Use outdoor-rated conduit and weatherproof junction boxes, and keep every connection inside a box with a gasketed cover — exposed splices have no place outside. I aim heads at a 30-degree angle across surfaces rather than straight down, which rakes light over brick, corrugated panels, and rough timber for that dramatic shadow texture industrial style is famous for. Because this is line-voltage work, hire a licensed electrician for the circuit and permits unless you genuinely know your way around a panel; the fixtures themselves are inexpensive, so the labor is where the budget goes. Finish with a wall switch plus a smart dimmer and you have task light, accent light, and security light in one honest run of pipe.
Suggested budget range: $250 – $700.

6. Hang Gooseneck Barn Lights Over Work Zones
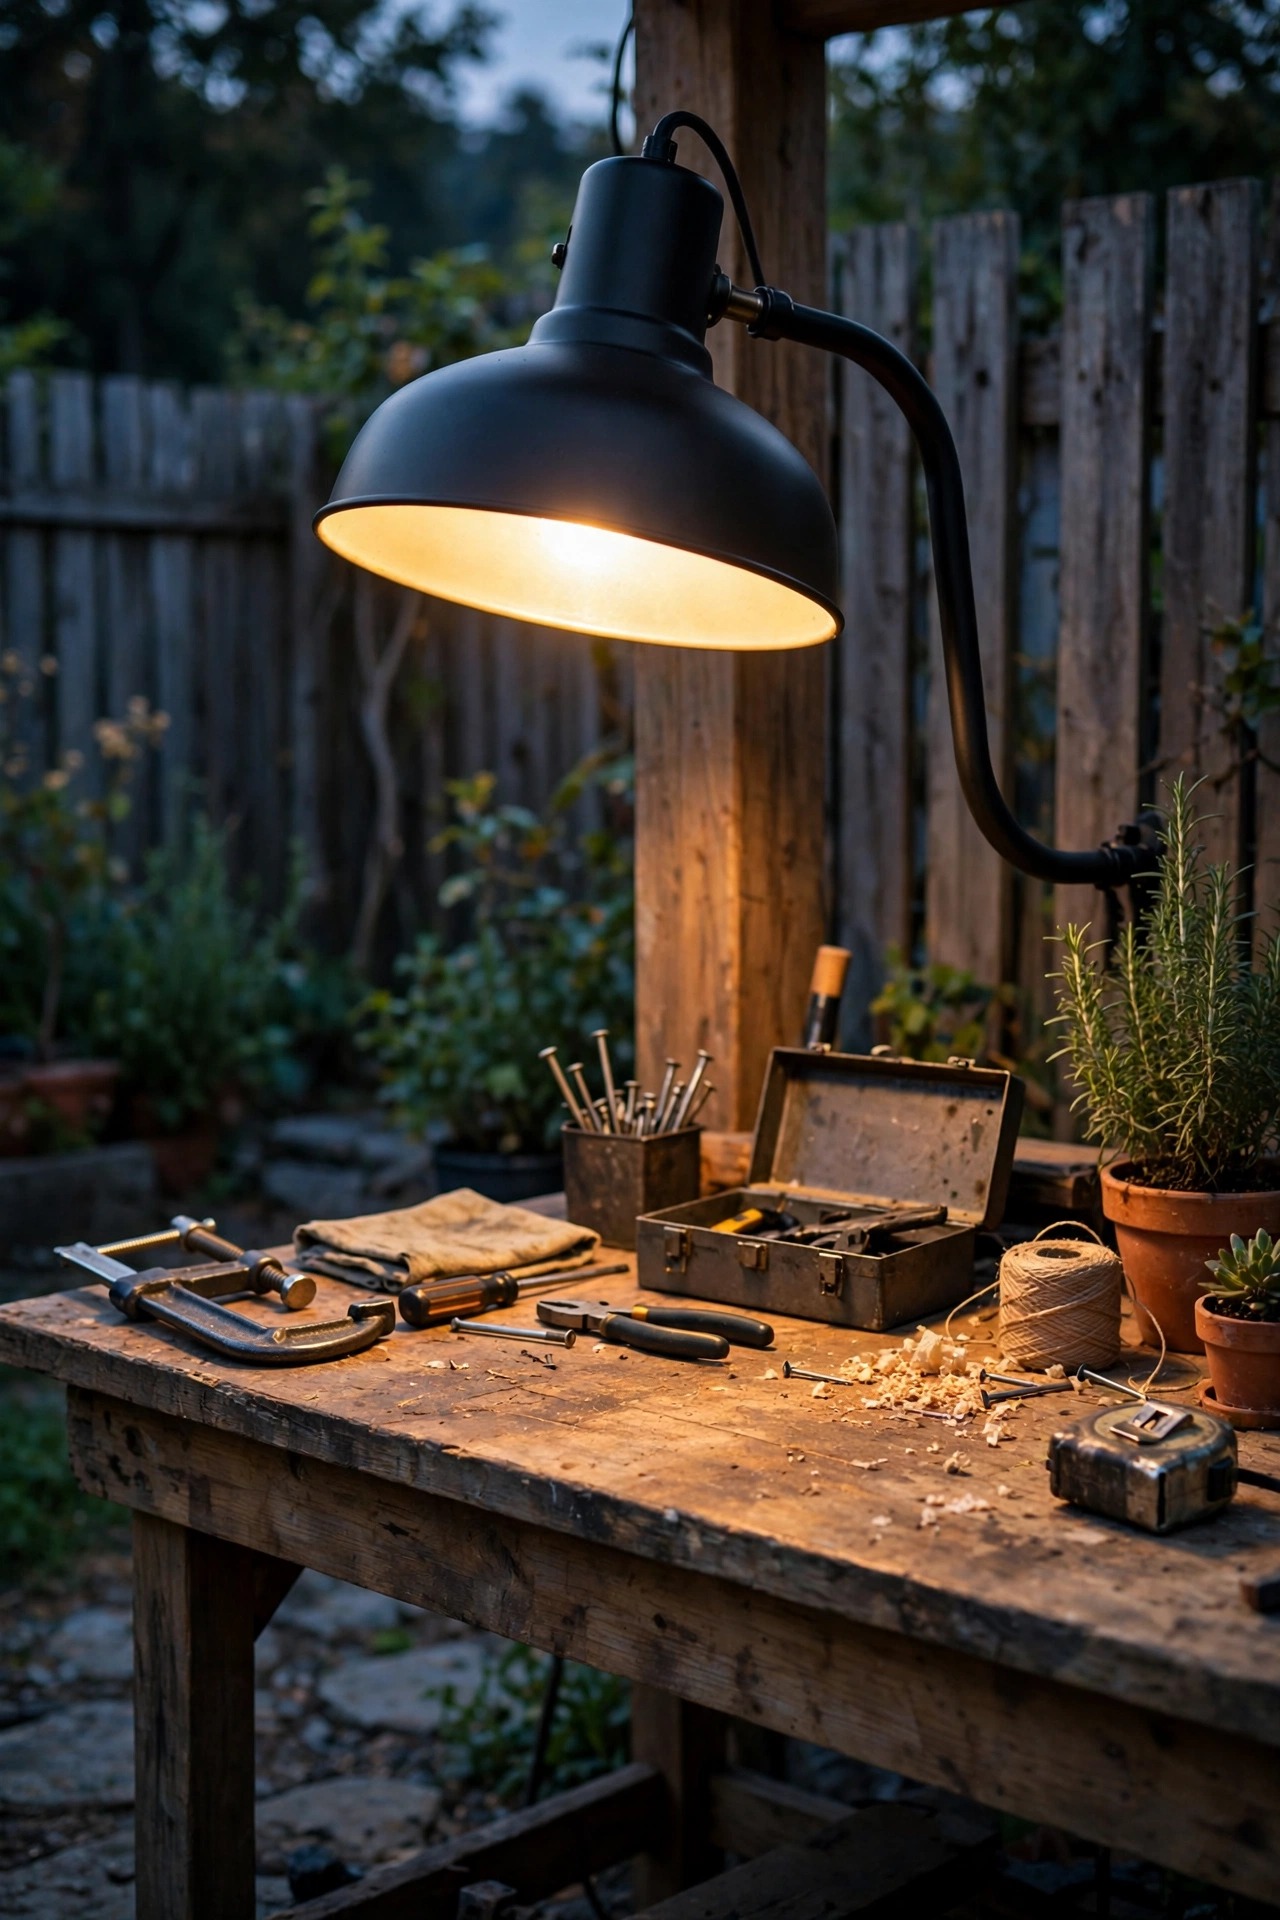
The gooseneck barn light is industrial heritage in a single curve, and it earns its keep anywhere you work outside after dark. I hang one over the potting bench, one over the outdoor kitchen counter, and one above the garage-side work table, each on its own switch. The wide metal shade throws a clean cone of light straight down, so mount them 7 to 8 feet high to cover a 6-foot work surface without glare in your eyes. Choose shades 12 to 16 inches across in matte black, galvanized, or deep green enamel, and pair them with 1600-lumen LED bulbs when the zone is truly for tasks. A caged or prismatic glass guard under the shade adds the factory detail and protects the bulb from stray basketballs. Goosenecks hardwire to a standard junction box, and most come with a swivel knuckle so you can fine-tune the angle after dark with a friend standing at the bench telling you when the light lands right. Few fixtures give you this much honest function and this much silhouette for the money.
Suggested budget range: $45 – $140.
7. Cluster Galvanized Lanterns on the Patio Table
Not every industrial touch has to be wired. A cluster of galvanized metal lanterns at different heights is my go-to centerpiece for the patio table, the porch steps, and the top of the retaining wall. I group three lanterns — roughly 8, 12, and 16 inches tall — and fill them with flameless LED candles on timers so they flicker on at dusk without me thinking about it. Real candles are fine inside deep glass hurricanes on calm nights, but I never leave open flame near cushions, paper napkins, or dry fall leaves; flameless is the honest default. The galvanized finish actually improves with weather, developing the mottled zinc patina that makes new lanterns look like farm finds. For dinner parties I thread a strand of copper-wire fairy lights through the cluster for a second, smaller scale of sparkle. Set lantern clusters at the corners of steps and along the edges of raised beds too — anywhere a guest might misjudge a level change after dark. They move in seconds when you need the table space back, which no wired fixture can say.
Suggested budget range: $25 – $90.

8. Suspend Metal-Shade Pendants Over the Dining Table
Outdoor pendants with spun-metal shades turn a pergola or covered patio into an outdoor room with a ceiling, and that ceiling is what makes the space feel designed instead of decorated. Hang two or three pendants in a row over a dining table, bottoms of the shades 30 to 36 inches above the tabletop, which keeps light pooled on the food and faces out of eyes. Choose wet-location-rated pendants with warehouse-style shades 12 to 18 inches wide, and hang them from a pergola beam, a conduit crossbar, or a heavy-duty swag hook rated for the weight. On open pergolas I run the cord inside galvanized conduit sleeves so the install looks deliberate and the weather stays off the wiring. Dimmable LED filament bulbs are non-negotiable here — full brightness for serving, low glow for the long after-dinner sit. If your structure is renter-friendly or permit-shy, heavy-duty plug-in pendants with inline dimmers and outdoor-rated cords get you 80 percent of the look with zero electrician. Just keep every connection under cover and off the ground.
Suggested budget range: $90 – $320.

9. Mount Dual-Head Floods for Honest Security Light
Industrial style and security lighting are natural partners, because the fixtures that look right on a warehouse also happen to light a yard properly. I mount dual-head LED floods at the corners of the house, 8 to 10 feet up, aimed down at about 45 degrees so the light covers ground instead of blinding the neighbors. Choose fixtures with adjustable heads, a matte black or bronze housing, and a motion sensor with a range you can dial down to 20 or 30 feet so passing sidewalk traffic does not trigger it all night. Set the timer for one to three minutes and the sensitivity so a person triggers it but a cat does not. The trick that keeps security light from ruining your pretty yard is temperature: pick 2700K to 3000K floods, not the blue-white 5000K units that make everything look like a loading dock at 3 a.m. Many dual-head floods include a dusk-to-dawn low-glow mode that idles at 20 percent and jumps to full on motion, which honestly gives you accent and security in one fixture.
Suggested budget range: $35 – $120.

10. Uplight a Brick or Corrugated Wall for Texture
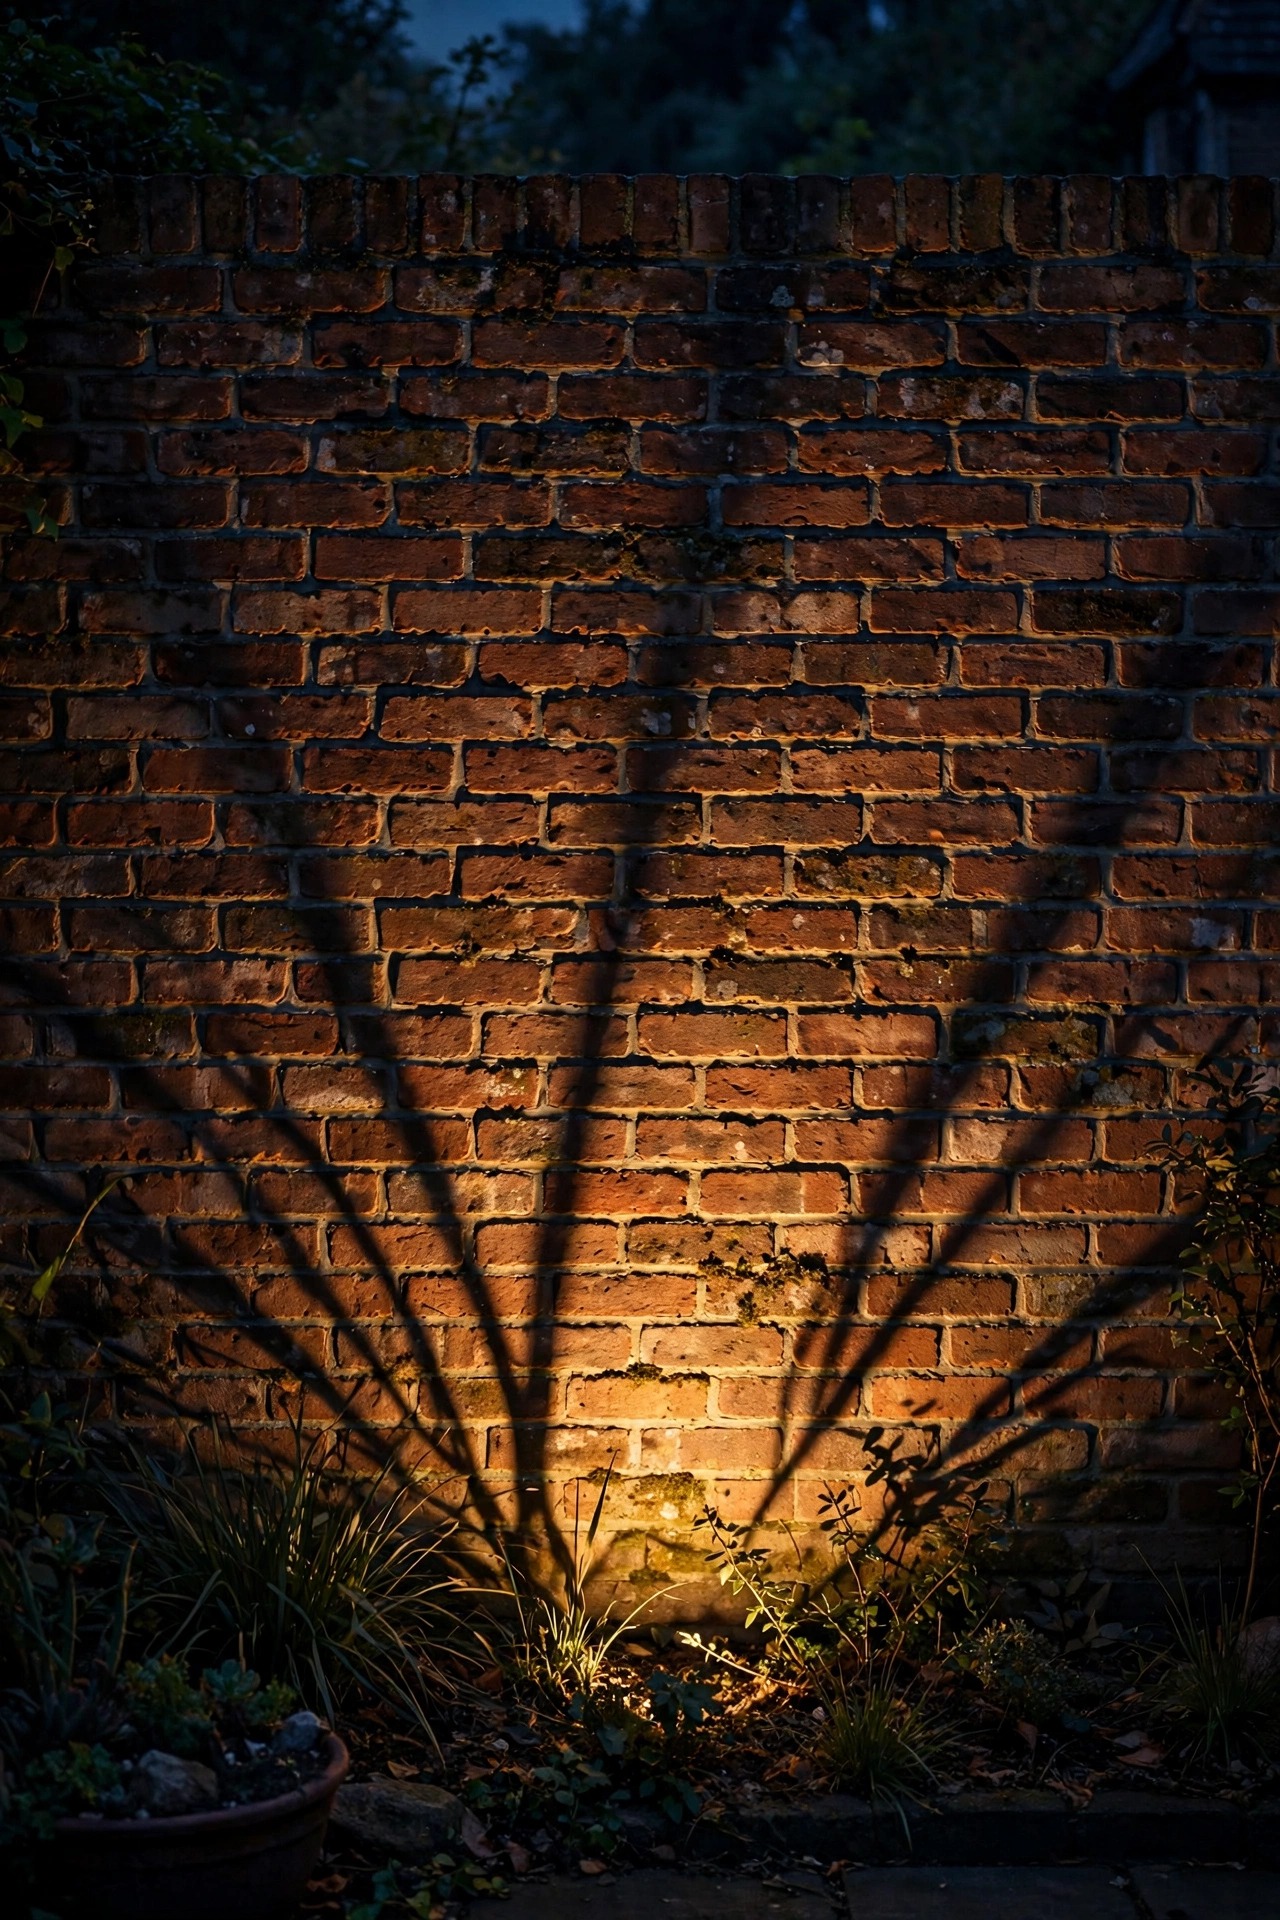
The single most dramatic dollar in this whole list is one well-placed uplight raking across a textured wall. Set a low-voltage well light or bullet spotlight 6 to 12 inches out from a brick, stone, or corrugated-metal wall and aim it nearly straight up, so the light grazes every bump and mortar line and throws long shadows. That grazing angle is the whole secret — light aimed at 45 degrees washes texture flat, while a steep angle makes a plain brick wall look like a movie set. I use narrow 30-degree beams for tall walls and wider 60-degree beams for short garden walls. Keep fixtures on the accent layer circuit so you can run them alone late at night when the party layers go dark; a single lit wall behind a dark yard is a stunning last impression for guests heading home. In-ground well lights sit flush so mowers pass over them, but bullet spots on stakes are easier to adjust, and I always start with stakes until the angle is perfect. Cap the lens with a honeycomb glare guard if the fixture sits near seating.
Suggested budget range: $30 – $110.
11. Stake the Beds With Industrial Solar Lights
Solar has earned a place in the industrial yard, as long as you choose fixtures that look like equipment instead of lawn ornaments. I look for stake lights with real metal housings — blackened steel, cast aluminum, or copper that will patina — caged or louvered heads, and warm 2700K LEDs. Skip anything with a color-changing mode or a plastic faux-rock shell. Stake them 4 to 6 feet apart along bed edges and around the vegetable garden where running wire would mean trenching through roots. Honestly, solar output varies, so treat these as accent and wayfinding light, never as your only path lighting near steps. The panels need six honest hours of sun, which means a midwinter check: I move two of mine every November when the fence shadow creeps. Clean the panels with a damp cloth monthly, because a dusty panel can cut charging nearly in half. Expect two to three years from the rechargeable batteries, and buy fixtures with replaceable batteries so the metal housing — the part you paid for — outlives three battery swaps.
Suggested budget range: $40 – $130.

12. Ring the Fire Pit With Low Steel Fixtures
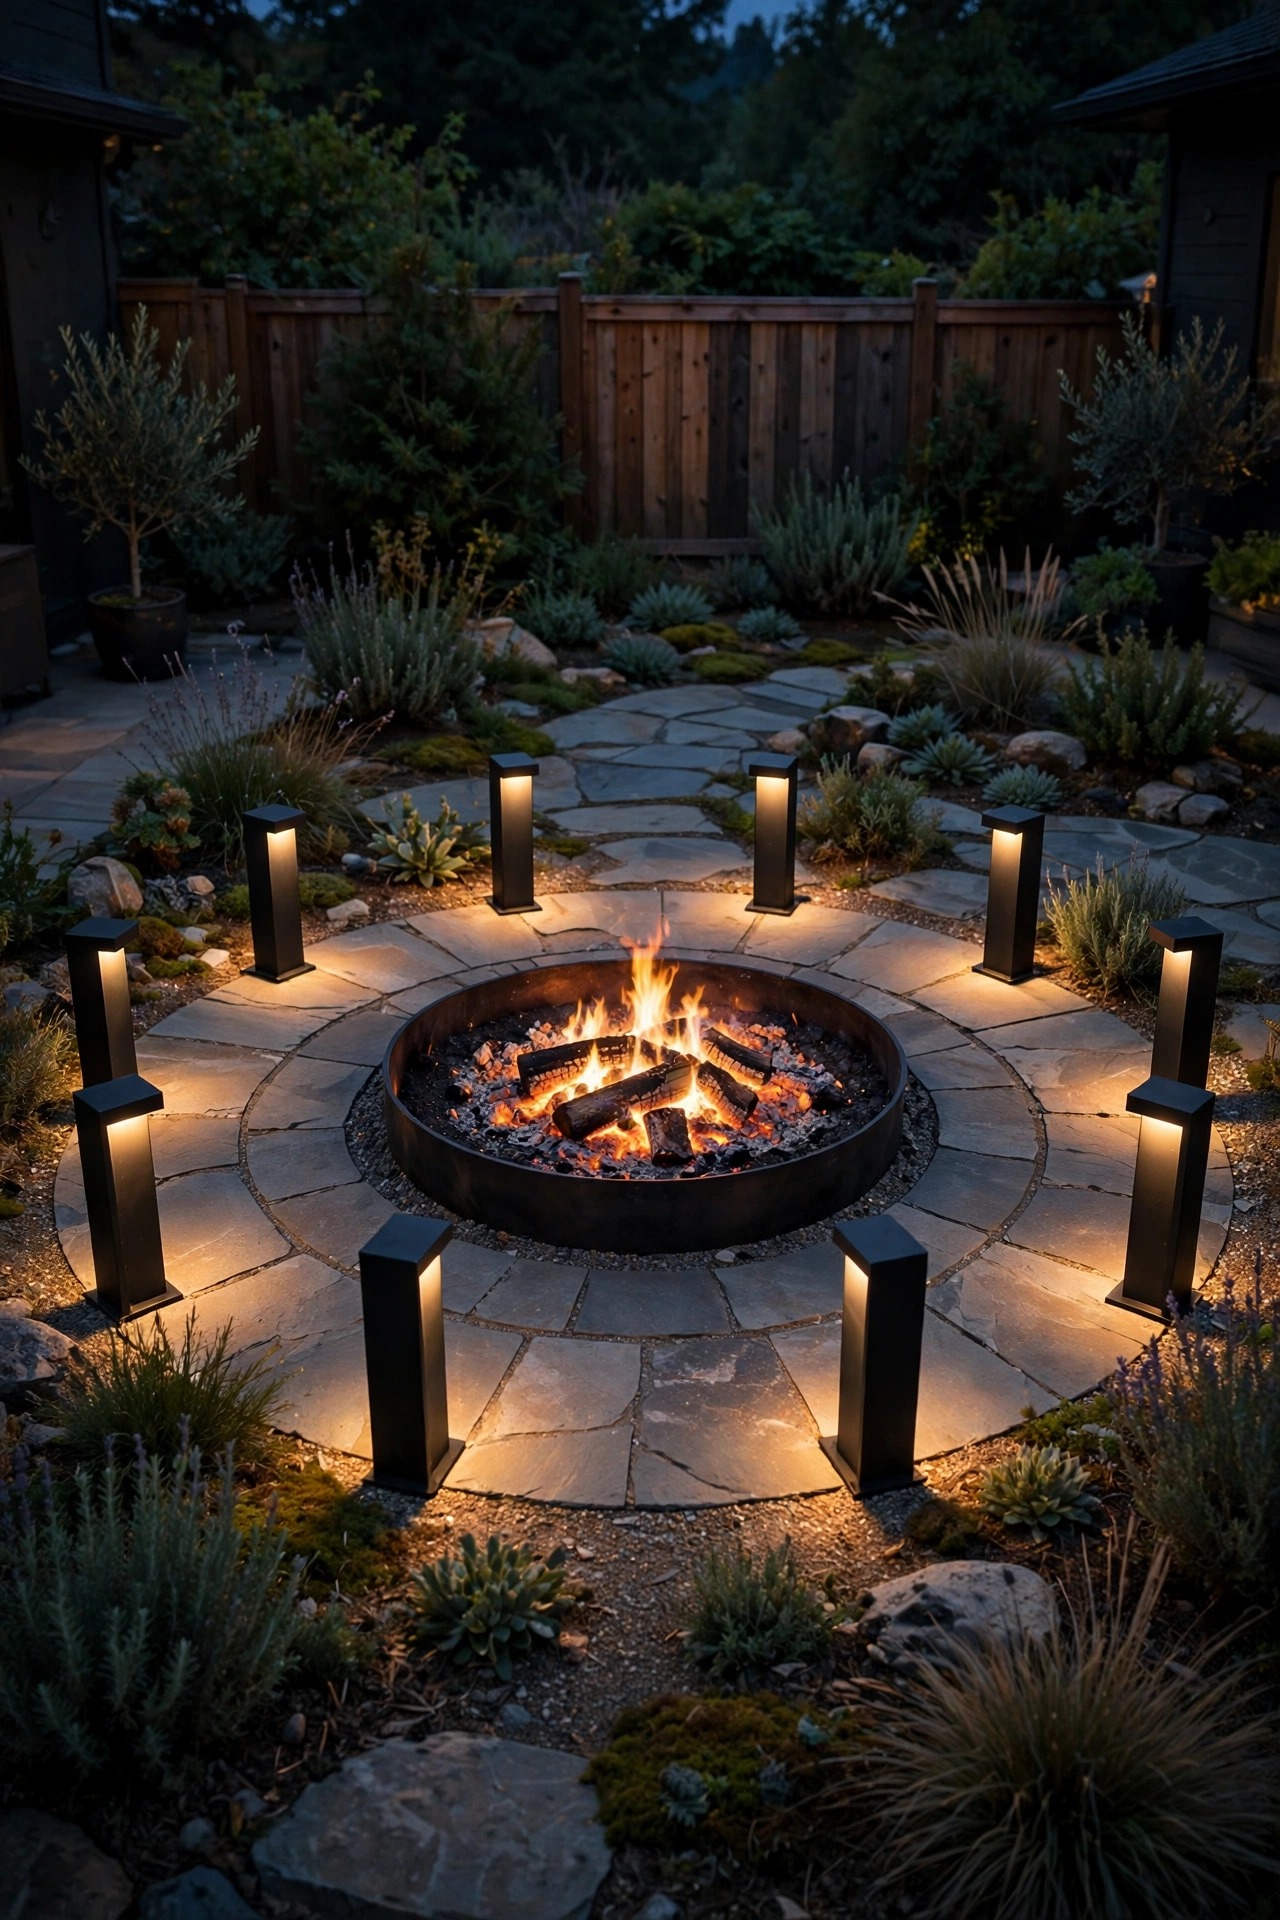
A fire pit already gives you flame light from the center; the fixtures around it exist to keep people safe on the edges and to stop the seating ring from dissolving into blackness. I set four to six low steel fixtures — short bollards or heavy stake spots — just outside the seating circle, about 10 to 12 feet from the fire, aimed outward at ankle height. Aiming outward is the detail most people miss: light pointing in competes with the fire and blinds everyone across the circle, while light pointing out softly defines the ground where guests step back with drinks in hand. Keep every fixture and cable well outside the heat zone, and never run cords where feet shuffle around chairs. Because firelight flickers warm, 2700K fixtures blend in almost invisibly. On our pit I used fixtures with replaceable copper accents that have aged to a beautiful green-brown patina against the black steel. Put this ring on the accent circuit with a dimmer, because on big-fire nights you will want it barely on, and on no-fire nights it carries the circle alone.
Suggested budget range: $80 – $260.
13. Raise String Lights on Galvanized Pipe Poles
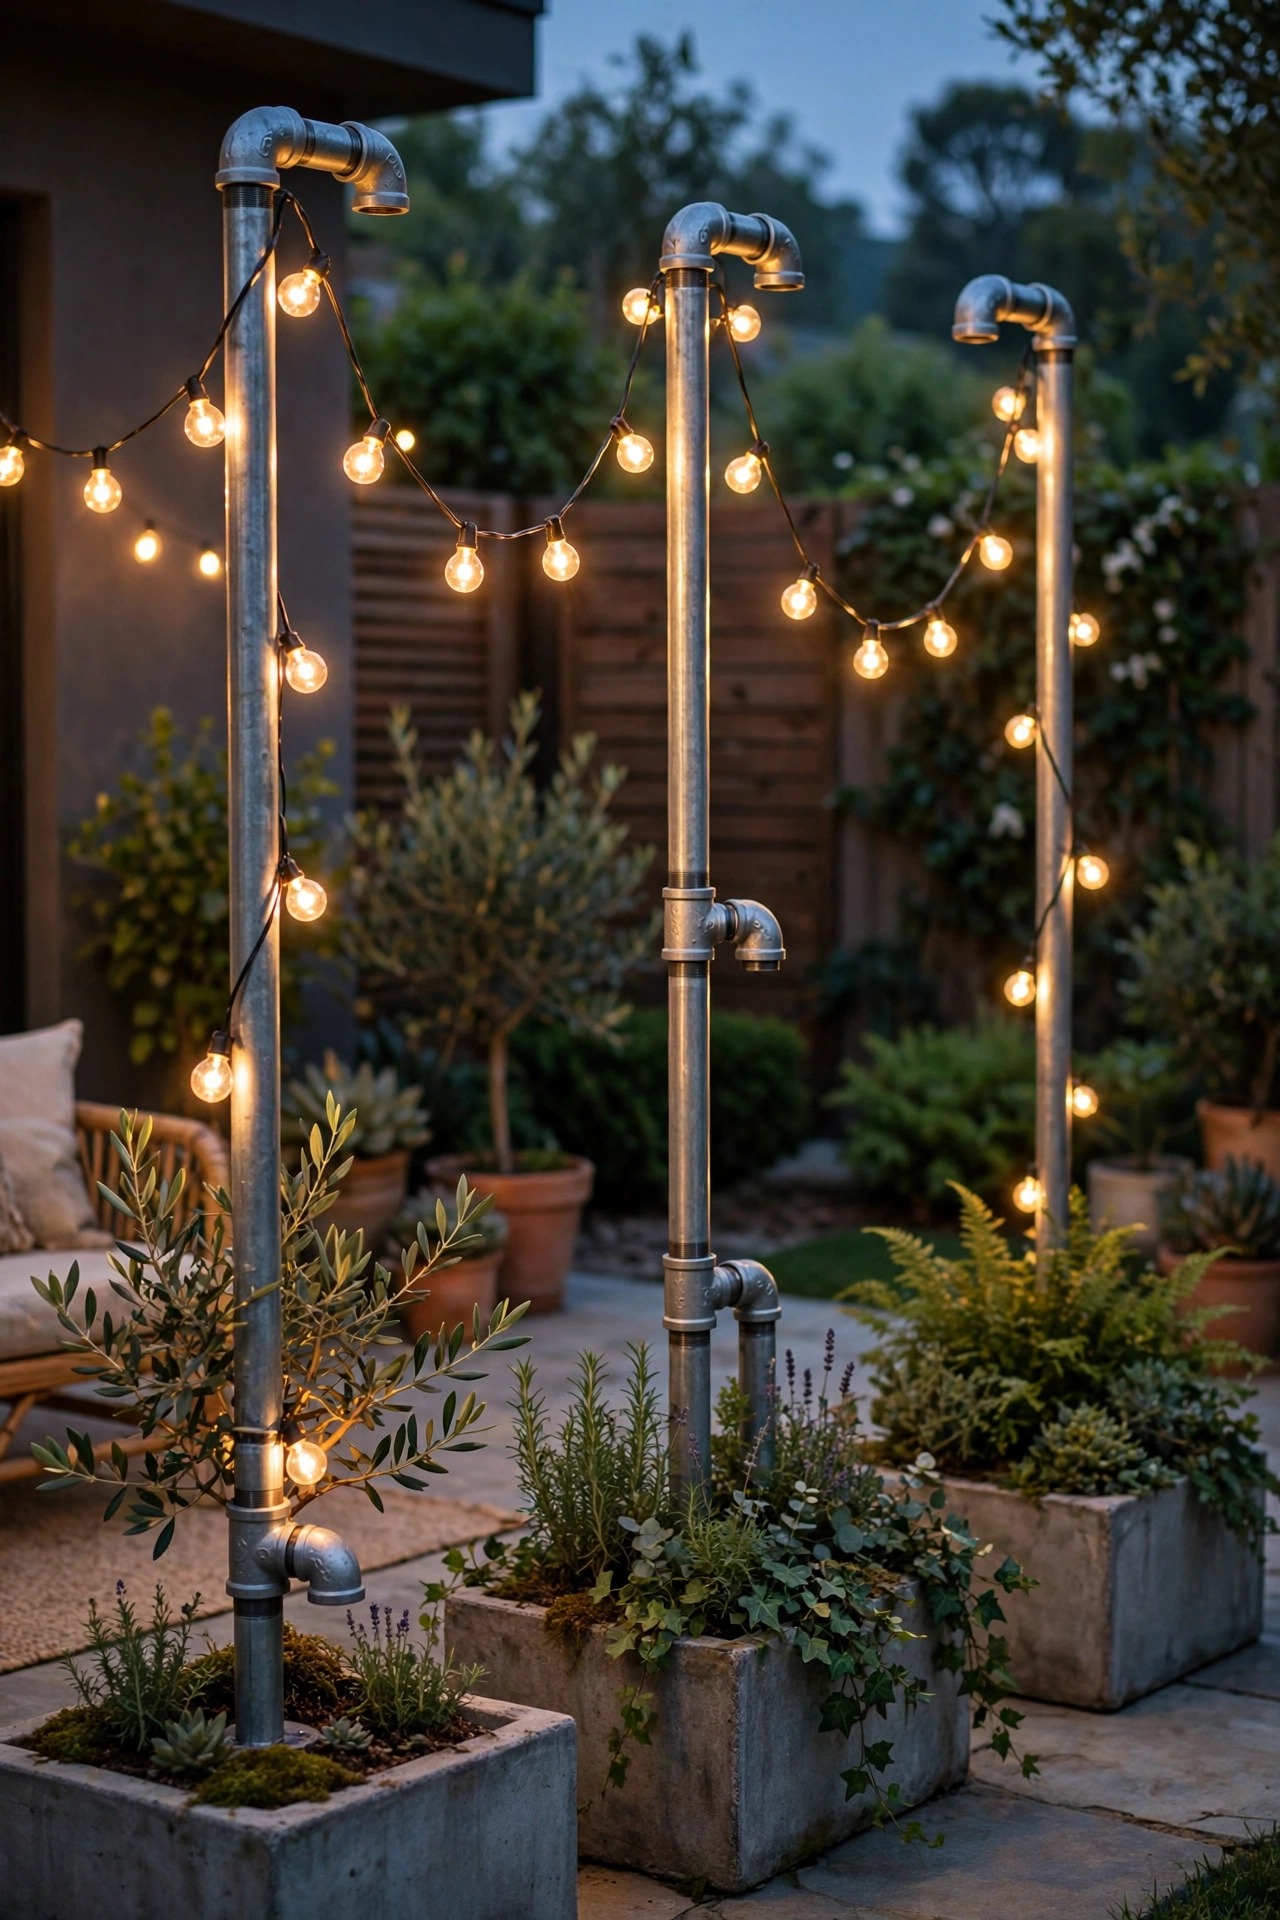
No tree, no pergola, no problem. Galvanized pipe poles are the renter-friendly, structure-free way to hang string lights, and the exposed pipe is pure industrial anyway. I build poles from 10-foot galvanized pipe set in heavy planters filled with concrete or gravel, or screwed into flange mounts on a deck. Each pole gets an eye bolt or a closed hook at the top, and a slight inward lean disappears once the strand tension pulls it true. Space poles 10 to 14 feet apart, and cross two strands in an X over square patios for the full café canopy. The planter version is my favorite for renters: a half-barrel or steel tub planter hides the base, and trailing plants soften the footing without hiding the pipe. Always tension the guide wire, not the light strand, and add a turnbuckle so you can snug the line each spring. In windy climates, take strands down for winter storms — pipe poles forgive a lot, but a 40-mile-an-hour gust turns a light canopy into a sail.
Suggested budget range: $60 – $200.
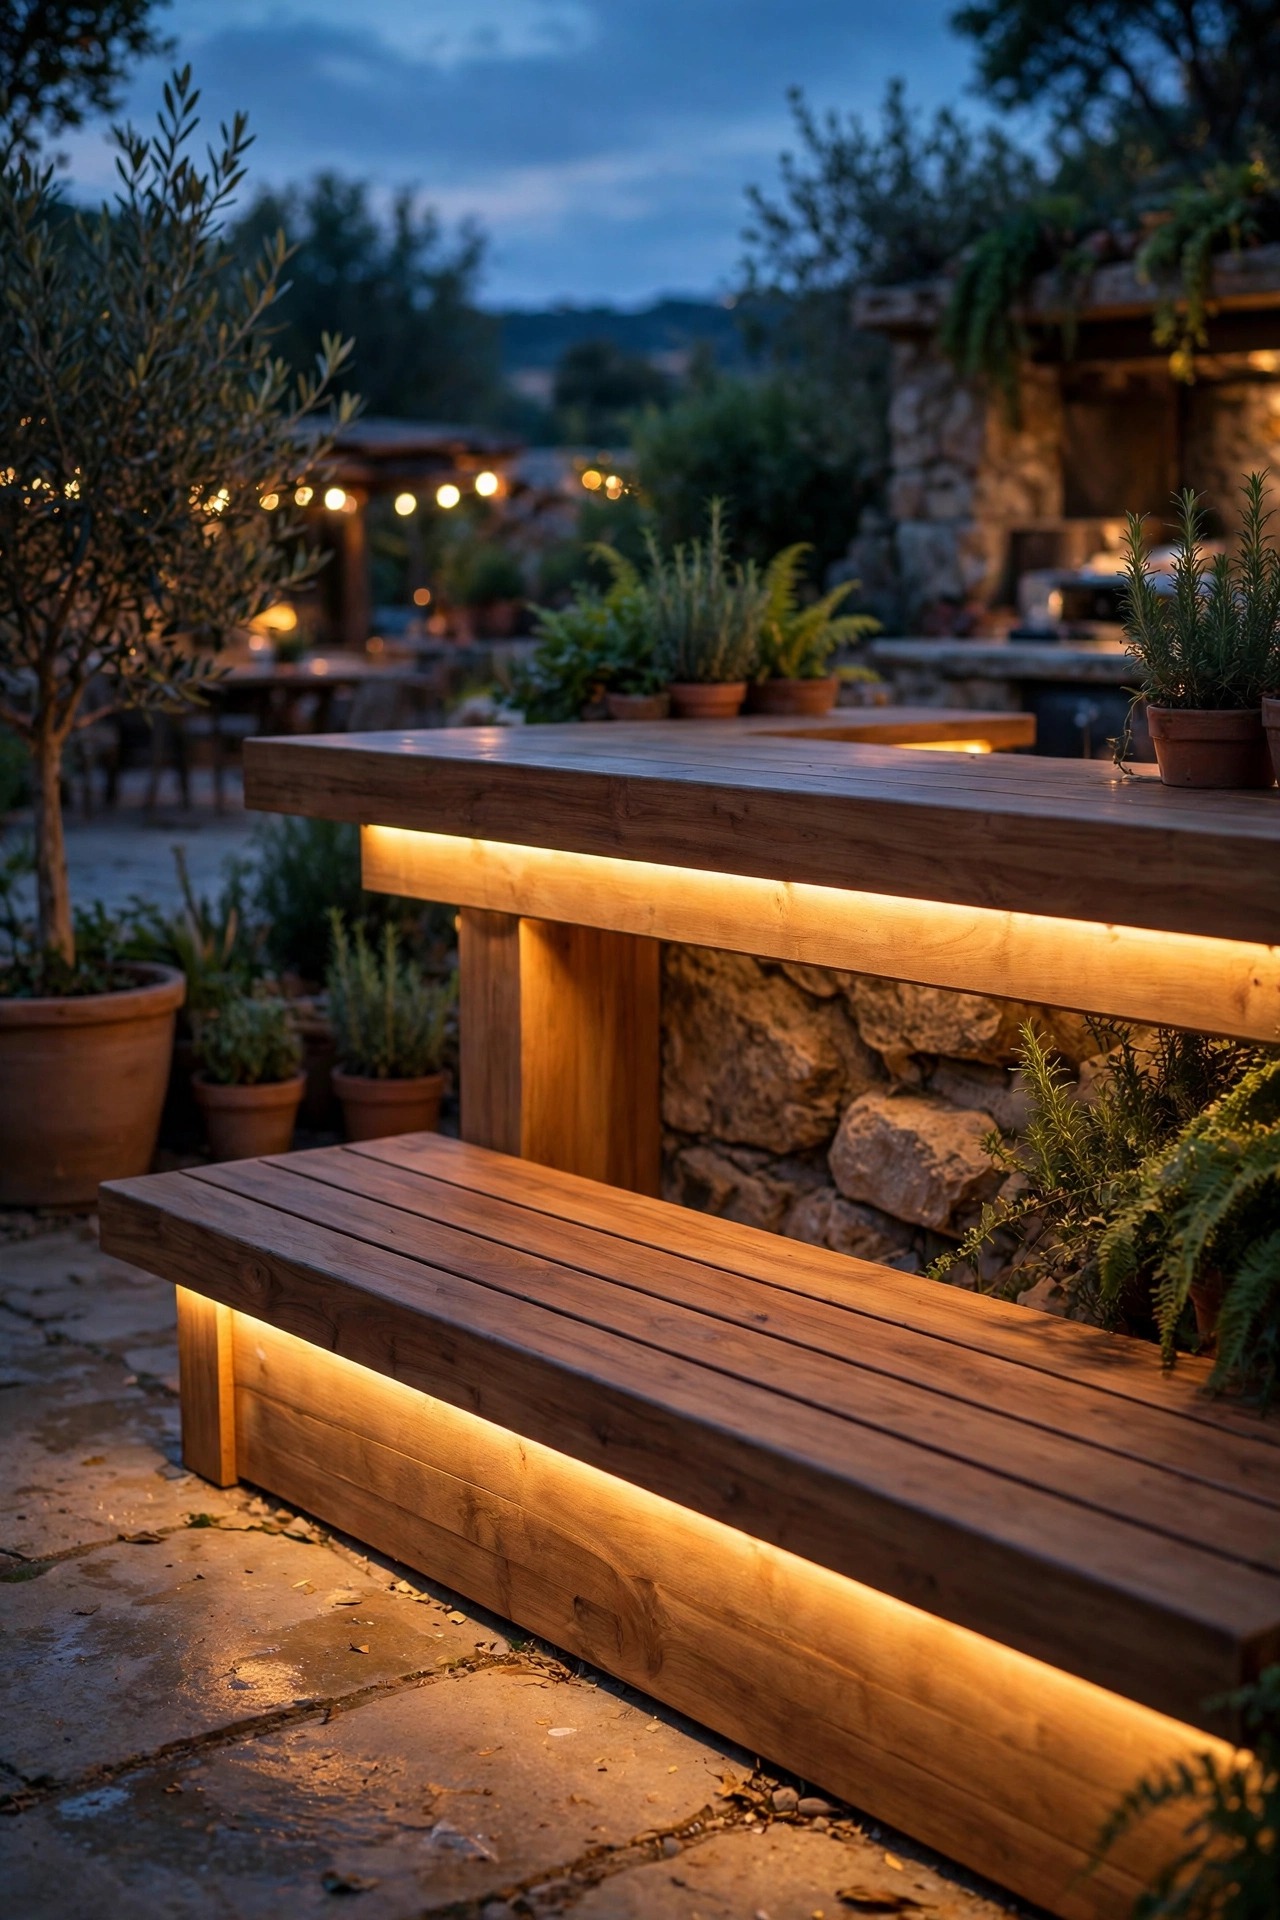
14. Tuck LED Strip Light Under the Bar and Bench Edges
Hidden light is the modern half of industrial style, and LED strip tucked under edges gives you the glow without a visible fixture. I run aluminum-channel LED strip under the outdoor bar counter, under bench seats, and along the underside of deck stair treads. The aluminum channel matters: it protects the strip, diffuses the dots into one clean line, and reads as a deliberate metal detail instead of a glued-on afterthought. Use IP65 or better strip outdoors, 2700K, with a proper low-voltage driver mounted in a weatherproof box, and solder or use rated connectors at every corner — the cheap push connectors are the first thing to fail outside. Under-bar strip is task light and mood light at once: bright enough to mix drinks by, dimmable enough to disappear into the evening. On stairs it is a genuine safety upgrade, washing each tread so guests see the edge without a fixture to trip over. Keep strips on their own dimmer channel, because they are the layer you will adjust most often as the night changes.
Suggested budget range: $45 – $160.
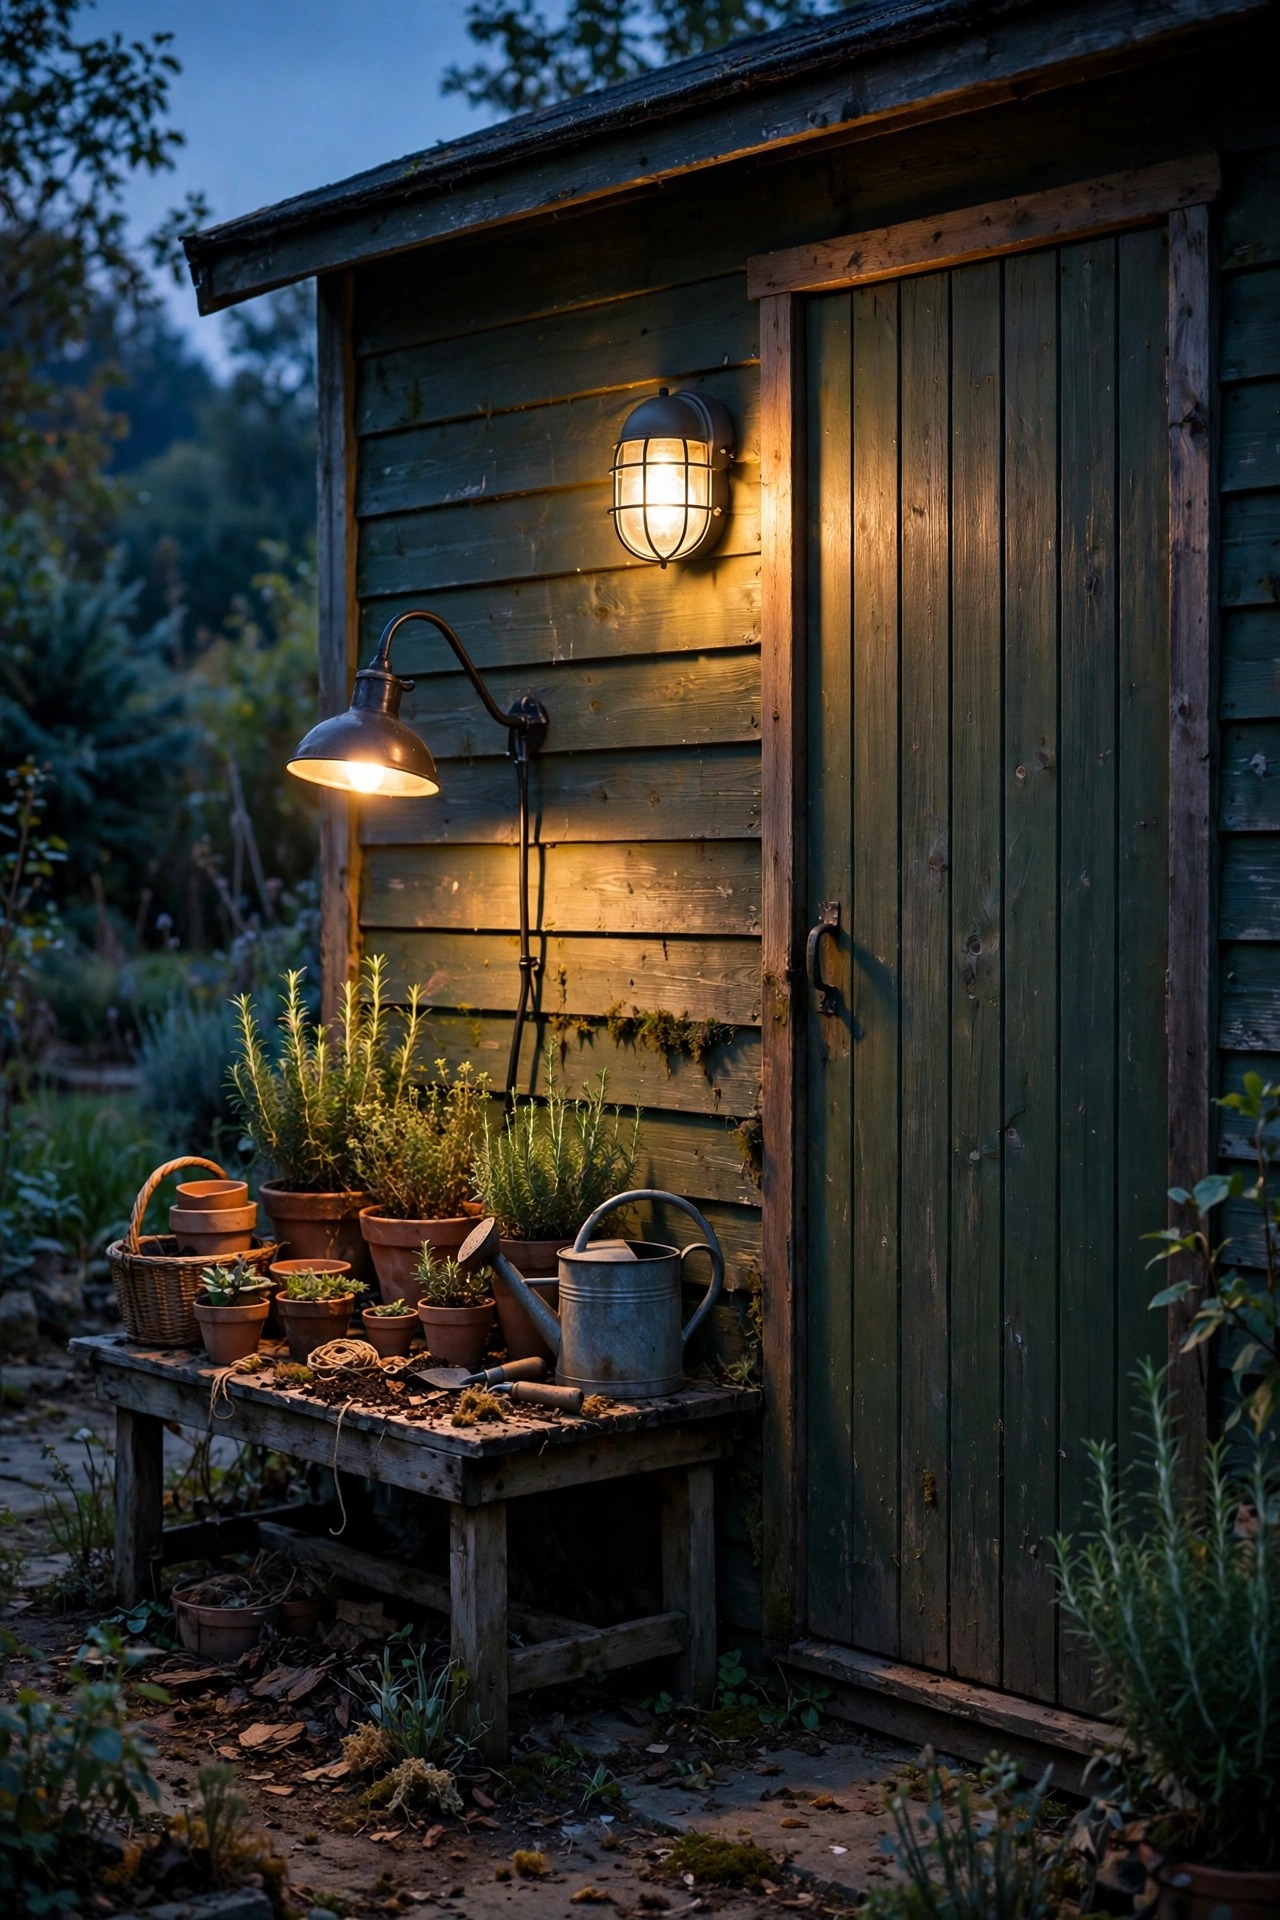
15. Light the Garden Shed Like a Tiny Workshop
A shed lit like a workshop is both practical and pure set dressing for the industrial yard. I mount one caged bulkhead fixture beside the shed door — the oval cage style borrowed from ships and factories — and a small gooseneck over the potting bench beside it. Inside, a battery or plug-in LED shop light on the ceiling joist turns winter tool hunts from a phone-flashlight ordeal into a pleasure. Motion activation is the upgrade I recommend to everyone: the door light pops on when you approach with your arms full of pots, and times out a few minutes after you leave. Run power properly if the shed is wired; if not, a solar bulkhead with a remote panel on the shed roof honestly handles the door light for most homes, as long as the panel faces south and stays clear of tree shade. Paint or stencil nothing on the door — let the fixtures do the talking. A lit shed at the back of the yard also anchors the whole composition, giving your eye a destination at the far end of the garden.
Suggested budget range: $40 – $150.
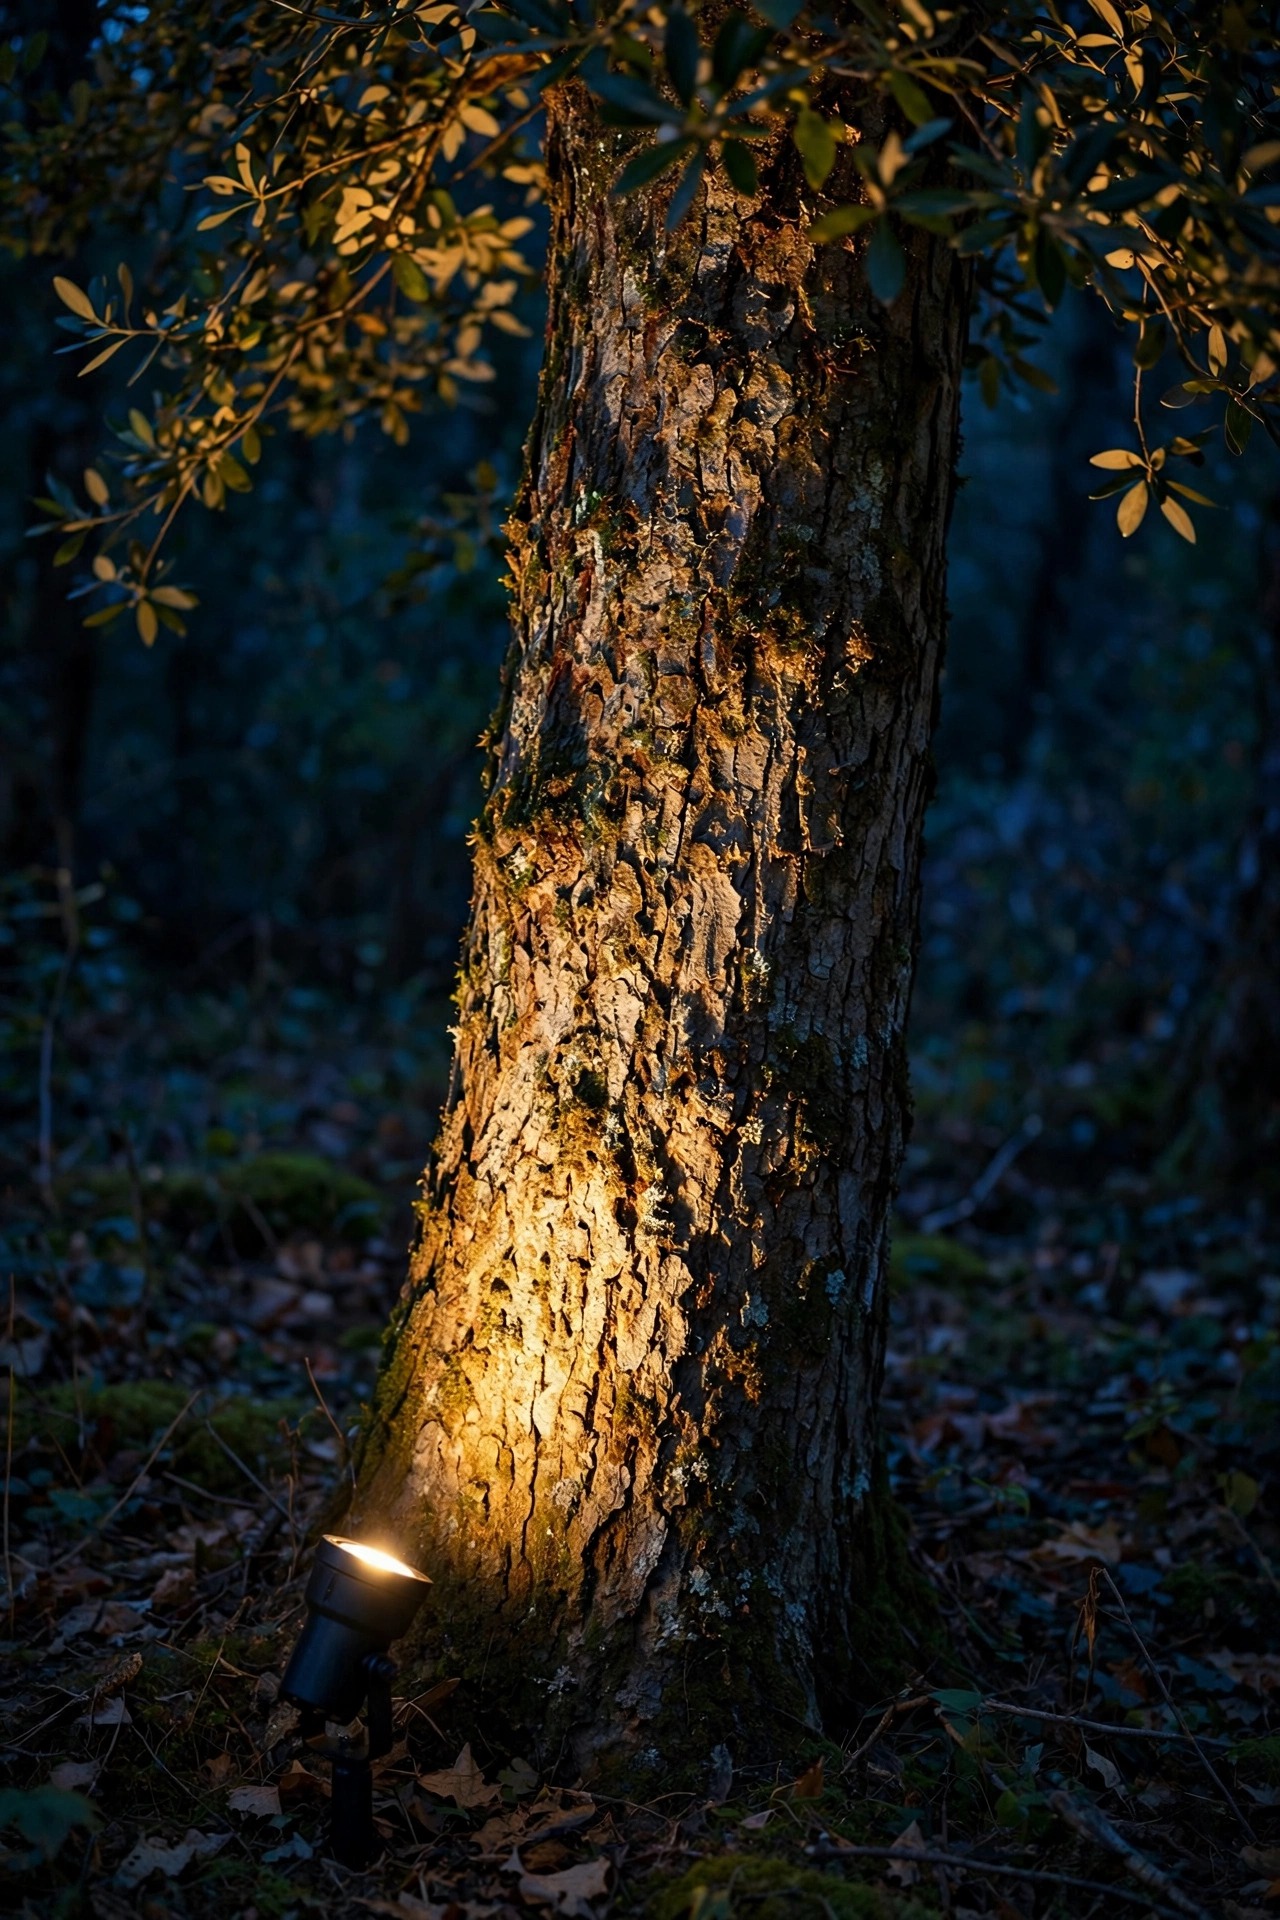
16. Graze Tree Trunks With Bullet Spots
Industrial yards tend to be heavy on hard surfaces, which makes one beautifully lit tree even more valuable as the soft counterpoint. I use a single low-voltage bullet spot on a heavy stake, set 12 to 18 inches from the trunk and aimed steeply up so the light rakes the bark and dies into the lower canopy. Bark texture is the point — a smooth tree lit flat looks like a lollipop, while a rough oak or pine grazed from below looks sculptural. If the canopy is dense, add a second fixture from the opposite side at half the wattage to model the foliage without the flat floodlit look. Keep beams off the neighbors windows and out of the sky; a shield or glare guard is good manners and better design. As the tree grows, walk out twice a year and re-aim — trunks widen and canopies drop faster than you think. On the timer circuit with the wall uplights, tree grazing turns the whole back boundary of the yard into a lit backdrop instead of a black hole.
Suggested budget range: $35 – $120.
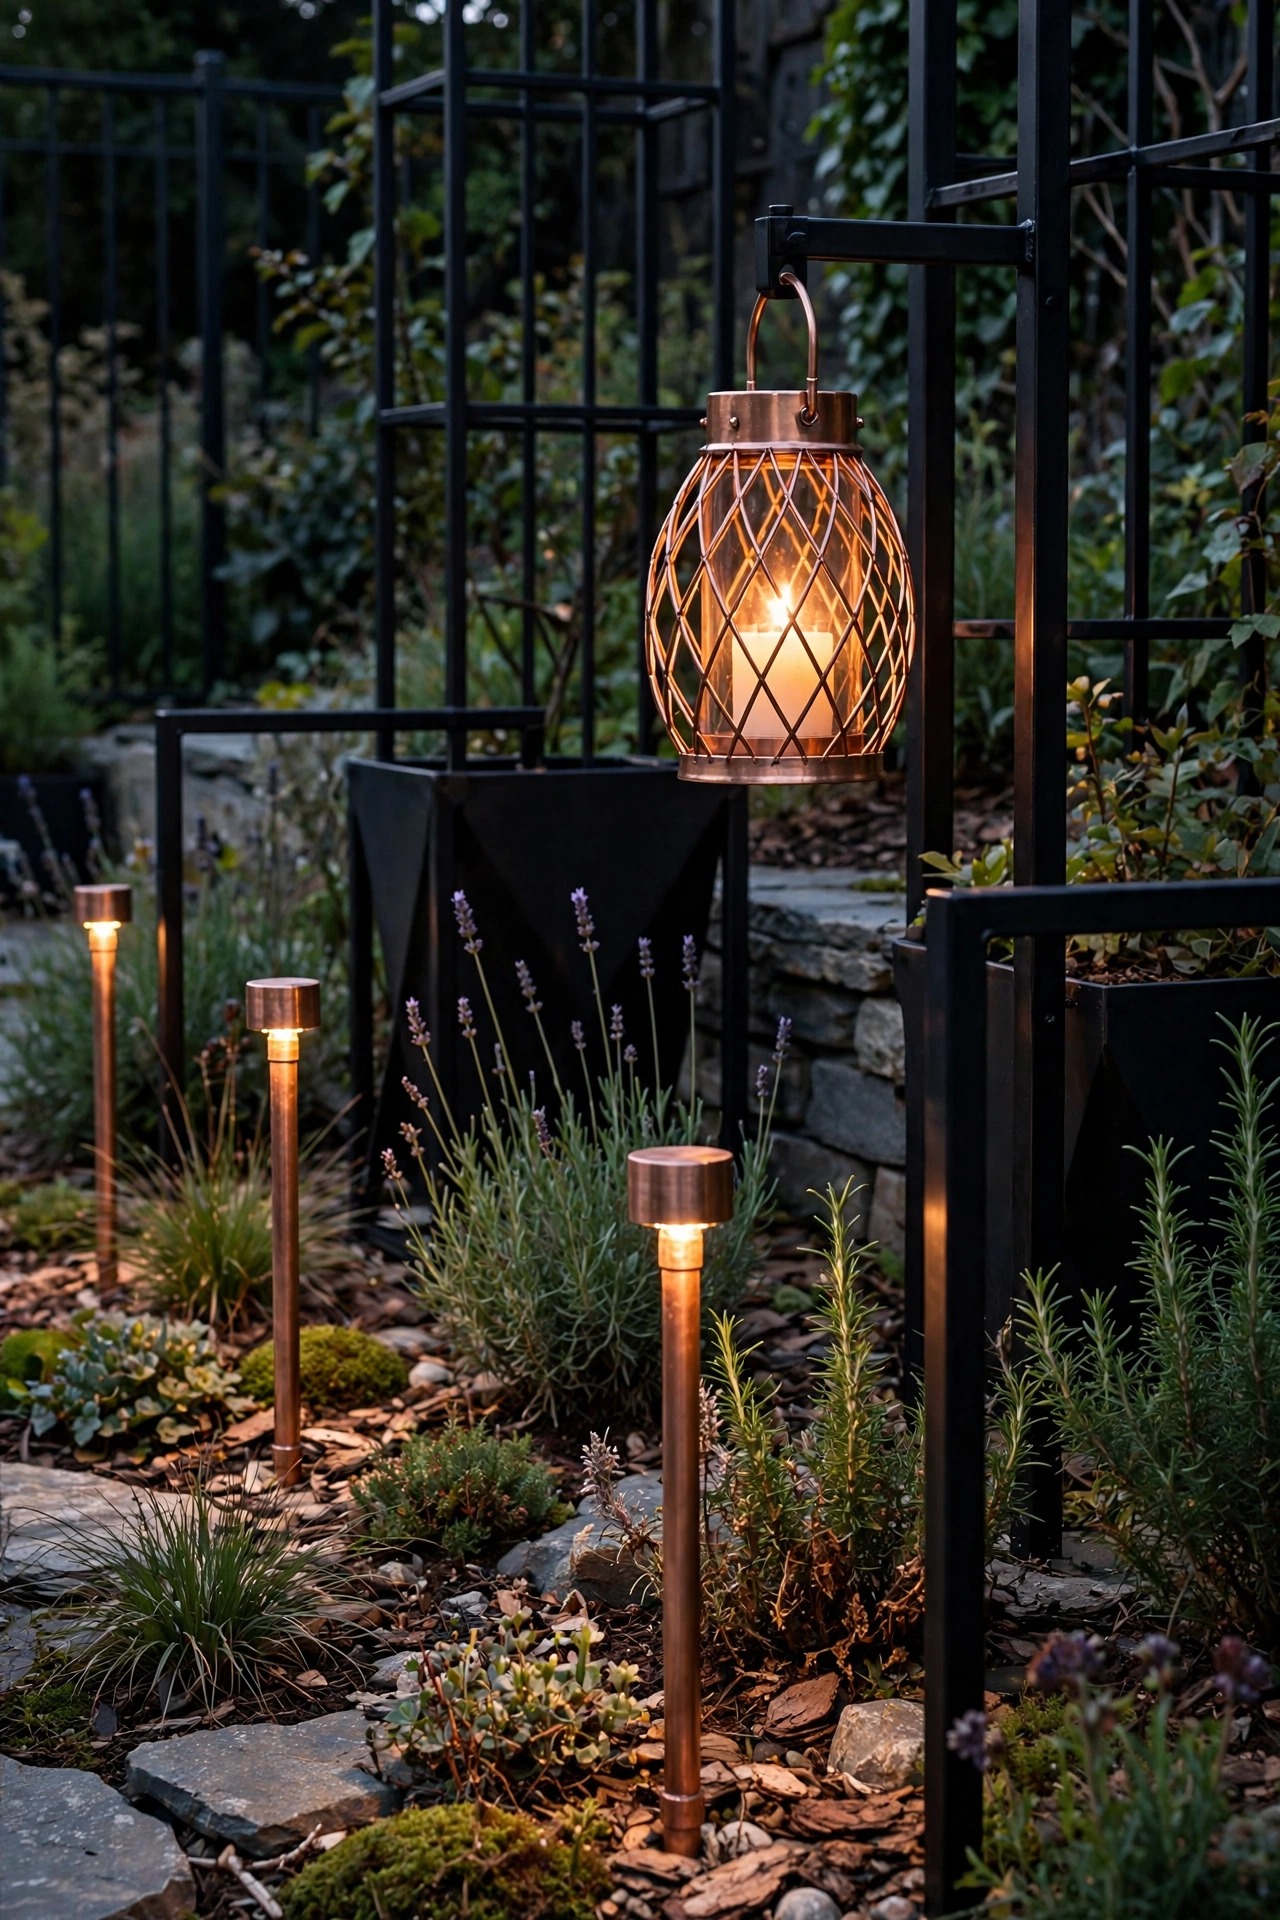
17. Warm Things Up With Copper Pipe Accents
All-black-everything industrial yards can tip from edgy into gloomy, and a little copper is the fastest cure. I weave copper in through small fixtures: copper pipe stake lights along the herb bed, a copper cage lantern by the door, copper-wrapped fairy lights in the shrubs. The metal warms the palette on day one, then keeps changing — bright penny tones mellow to brown, then pick up hints of green in damp corners over a few seasons. That living finish is exactly why copper belongs in the industrial family: like galvanized steel and raw iron, it shows its age honestly instead of peeling. Keep copper to about 10 or 15 percent of your fixtures so it reads as an accent, not a theme change, and repeat it in at least three places so it looks chosen rather than random. Copper pairs beautifully with warm wood and the amber glow of filament bulbs. One caution: pure copper fixtures cost more and cheap copper-colored paint fools nobody by August. Buy real copper in the small pieces and let the big fixtures stay black steel.
Suggested budget range: $50 – $180.
18. Build a Café Bulb Canopy Over the Lounge Corner
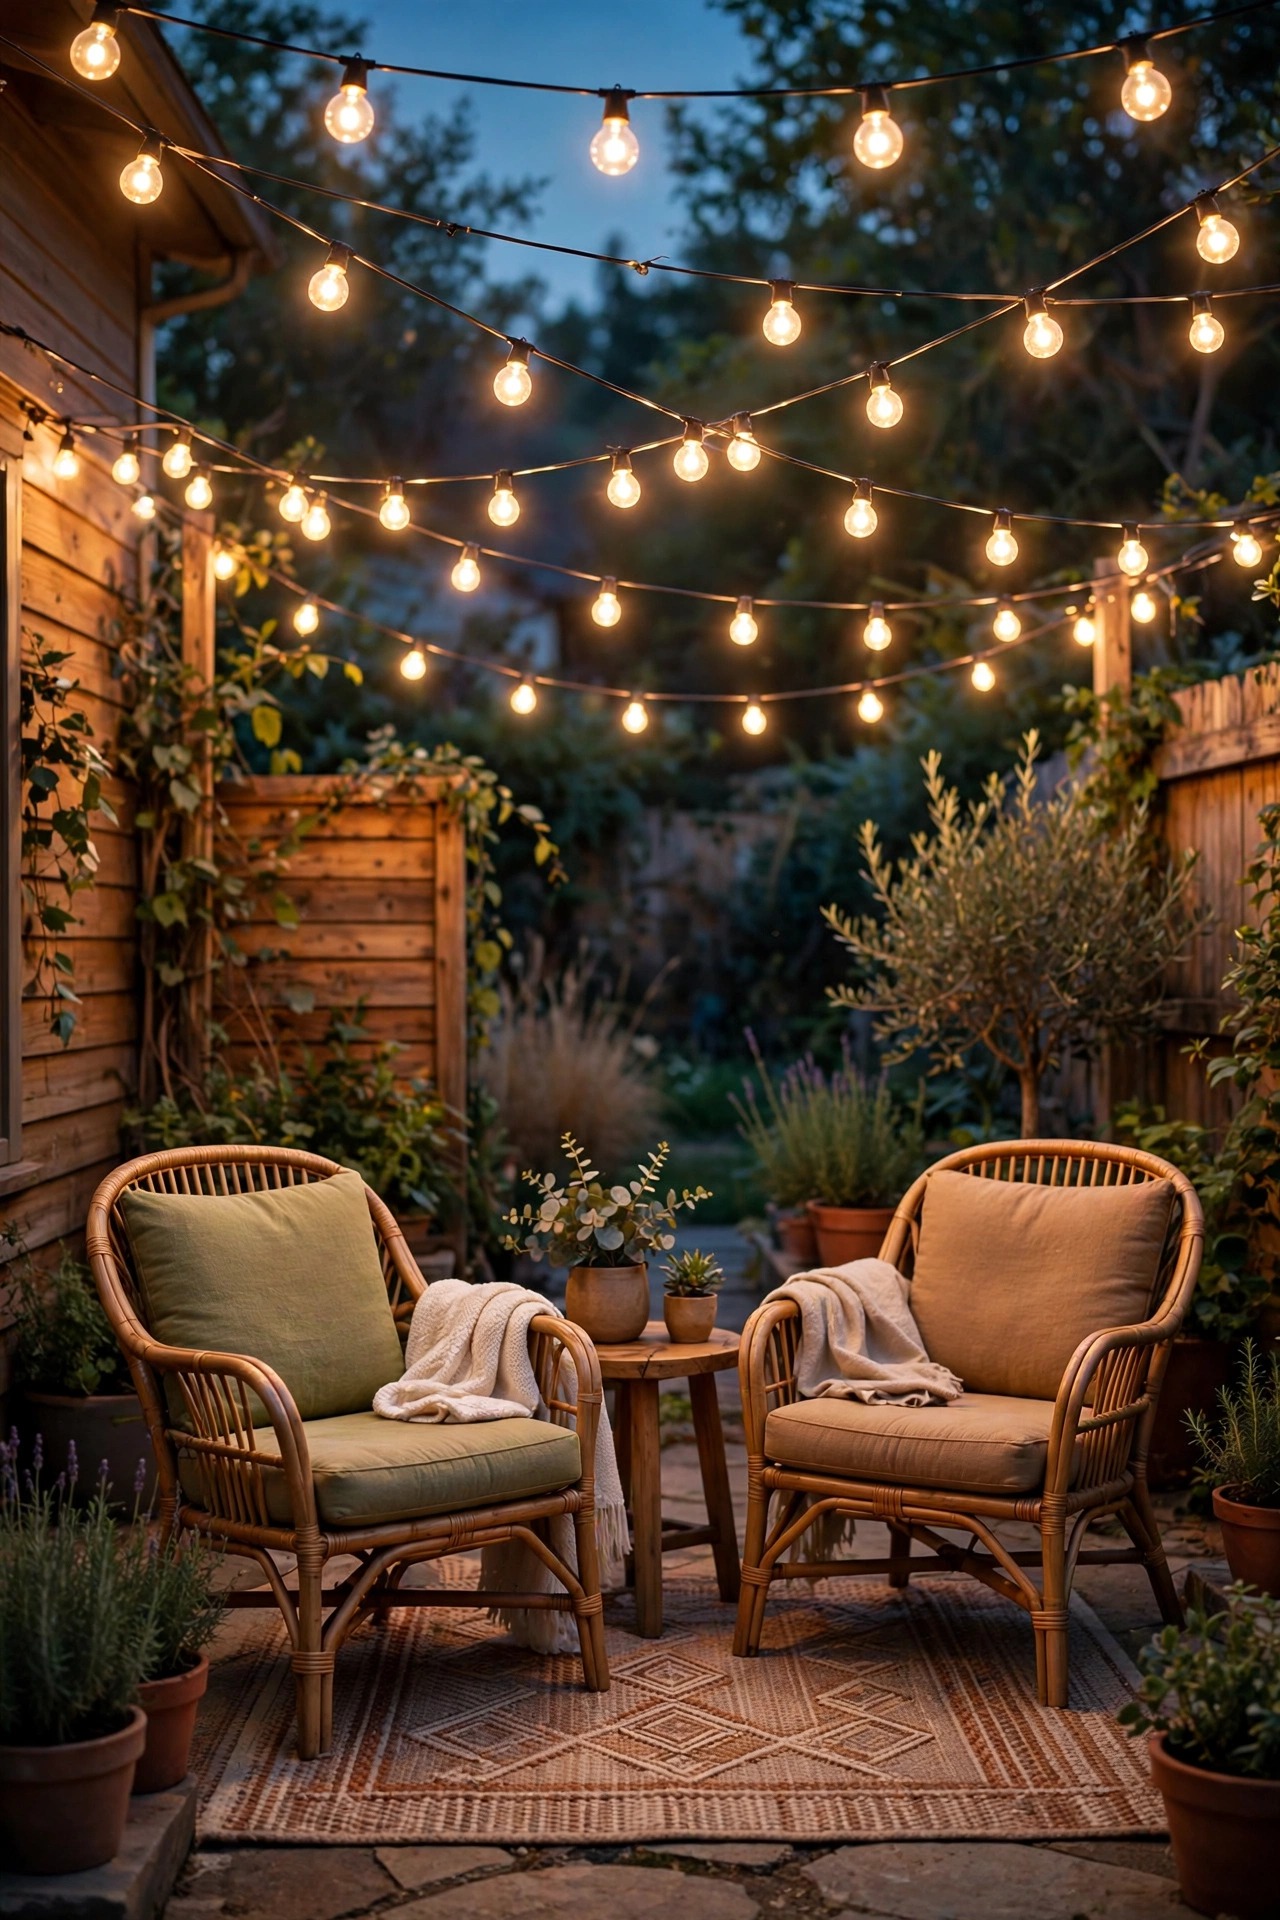
The lounge corner — two chairs, a side table, maybe an outdoor rug — deserves its own ceiling of light, smaller and lower than the dining canopy. I zigzag two strands of globe or Edison bulbs in a tight crisscross about 8 feet overhead, which drops the light closer and makes the corner feel like a room of its own. Globe bulbs with frosted glass soften the light on faces, while clear Edison filaments sparkle more; for a reading-and-wine corner I honestly prefer the frosted globes. Anchor to the house on one side and a pipe pole or fence post on the other, and keep the canopy off the main traffic path so tall guests never duck. This is also the perfect place for a dimmer plug, because lounge light should drop to a ember glow once the conversation slows down. A small battery lantern on the side table covers the page of a book without raising the whole canopy. Two strands, four anchor points, one hour of work — the highest comfort per dollar in this entire list.
Suggested budget range: $55 – $170.
19. Put It All on Timers, Dimmers, and Smart Plugs
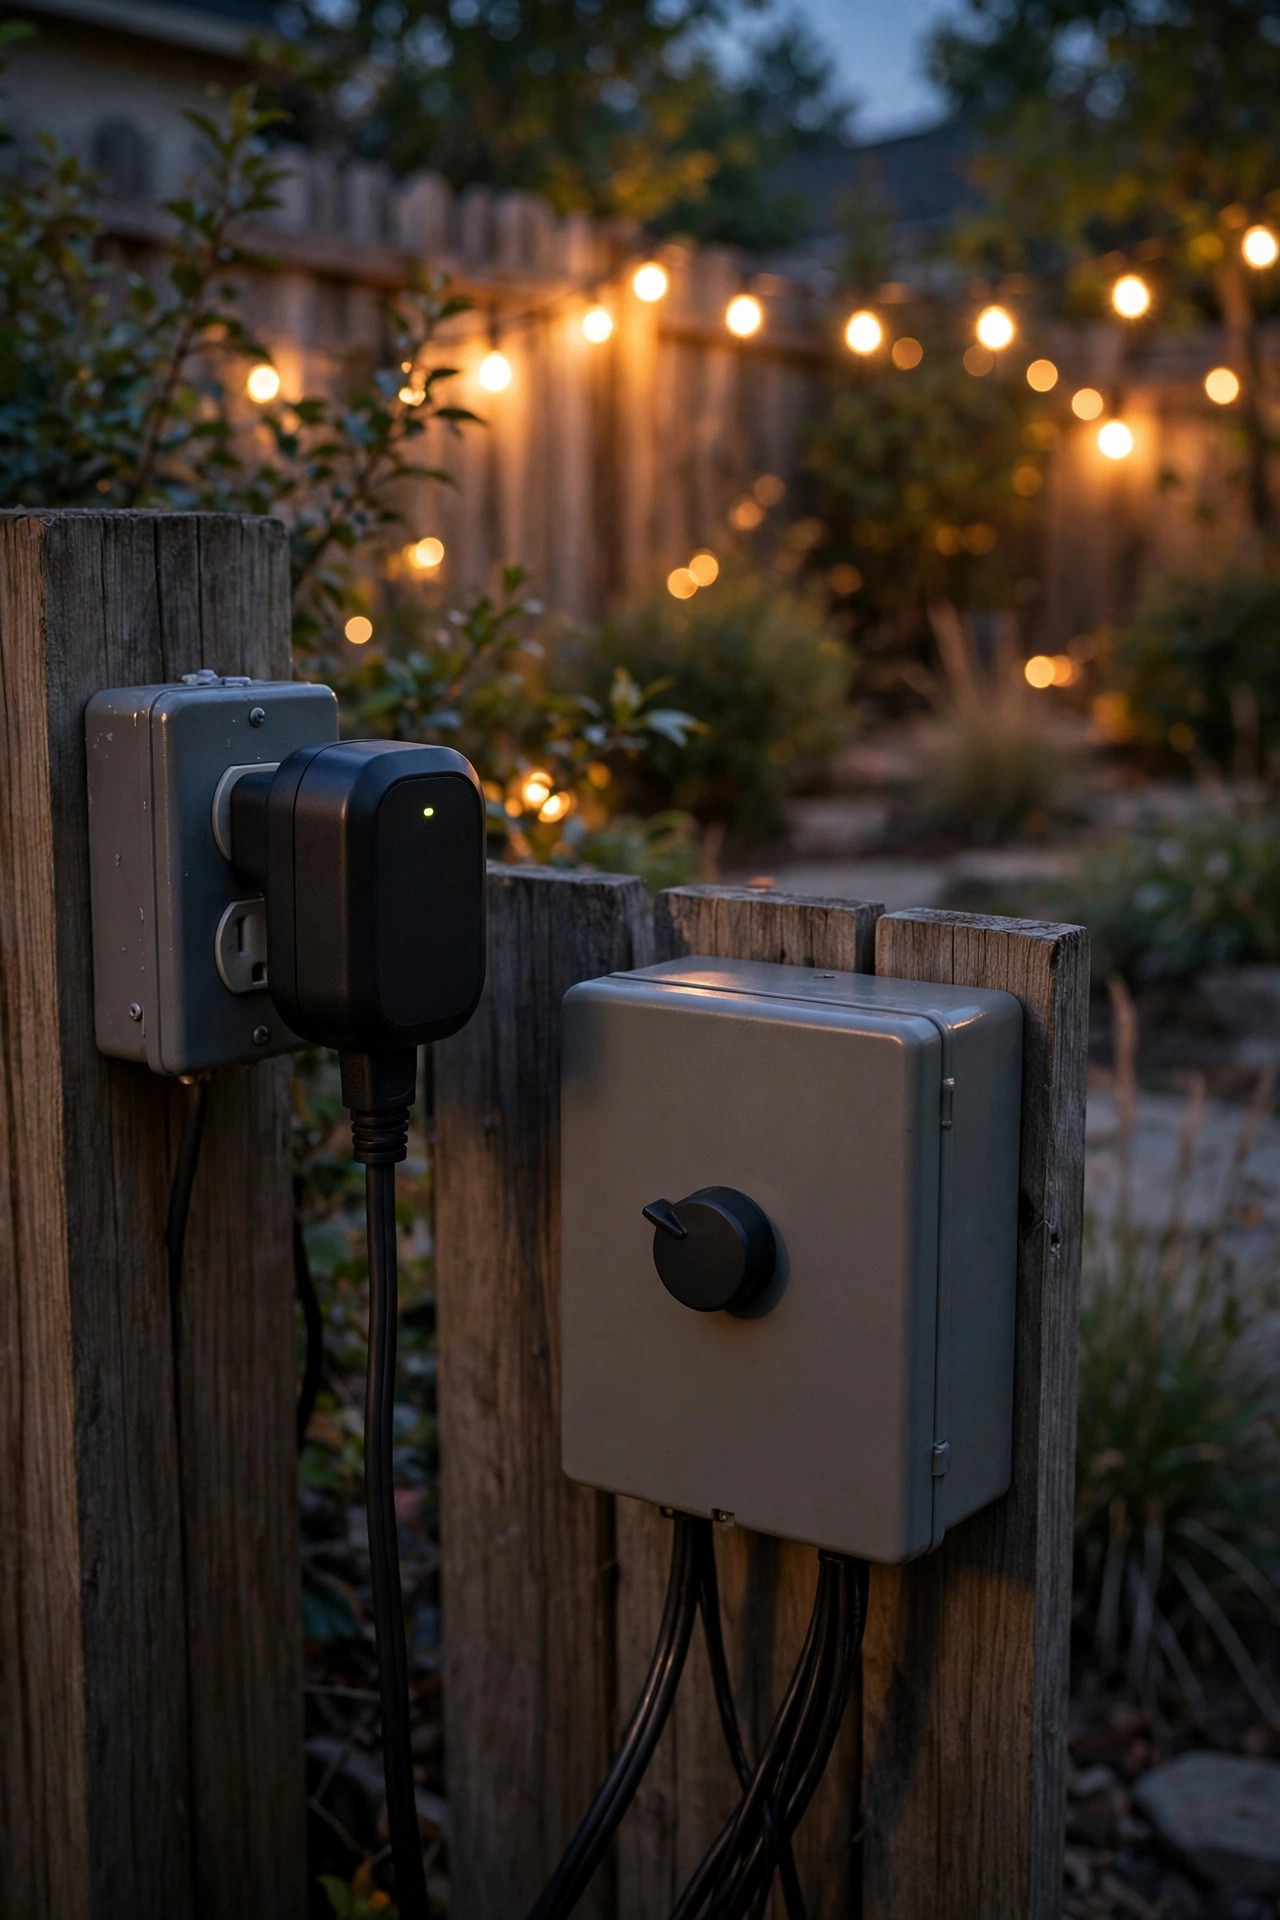
Industrial fixtures look best when they behave like a system, and controls are what turn twenty-one separate lights into one lighting design. My setup is simple: the accent layer — wall grazers, tree spots, bollards — runs on a transformer timer that fires at dusk and cuts at midnight. The ambient string lights live on a smart plug I can dim and schedule from the couch, and the task fixtures stay on plain switches for when I actually need them. Photocell bulbs handle the door sconces with zero programming. The rules I give everyone: every layer on its own control, every automated light set to warm scenes only, and no app-only fixture where a guest or spouse would need to flip a switch in the dark. Smart plugs must be outdoor-rated and sheltered, and I replace the little indoor ones people sneak outside the first time they corrode. Budget the controls from the start — about 10 percent of the project — because a yard that lights itself at dusk is the difference between a design you admire once and one you enjoy every single night.
Suggested budget range: $40 – $150.
20. Commit to One Warm Color Temperature Everywhere
If your industrial yard looks almost right but somehow feels off, mismatched color temperature is my first suspect every time. Industrial fixtures ship with everything from candle-warm 2200K filament bulbs to icy 5000K LEDs, and mixing them makes the metal finishes argue with each other all night. Pick 2700K — the warm white of classic incandescent light — and buy every bulb, strip, and integrated fixture to that number. It flatters galvanized steel, makes copper glow, and keeps skin tones kind in photos. The one exception I allow is the fire-pit ring and step lights at 2200K to 2400K, where the extra amber reads as candlelight and the slight mismatch disappears against real flame. When you shop, check the Kelvin number on the box, not the words warm white, which mean different things to different makers. Replace failed bulbs from a spare stash of the exact same bulb so a single new 3000K bulb does not glow visibly cooler in a row of sconces. Consistency is invisible when you have it and all anyone sees when you do not.
Suggested budget range: $20 – $80.

21. Walk the Yard at Dusk and Edit Your Industrial Backyard Lighting Ideas
The last idea is the one that makes the other twenty work: when everything is installed, wait for full dark, walk the yard slowly with a notepad, and edit like a designer instead of a shopper. Stand at the back door and look out. Stand at the far fence and look back. Sit in every chair. You are hunting for three things: glare, where any bare bulb hits your eye line; dark holes, where a step, edge, or corner disappears; and arguments, where two fixtures fight for the same job. Adjust angles first — half of all lighting problems are aim, not hardware. Then dim or move one fixture at a time, living with each change for a night before the next. This is also when I swap the one bulb that runs cooler than the rest and finally bury the cable I left on the surface in June. Take a photo from the street-facing side too, because curb view is how the yard introduces itself. Editing costs nothing, and honestly it is the difference between a yard full of lights and a lit yard.
Suggested budget range: $0 – $40.

Frequently Asked Questions
What color temperature looks best for industrial backyard lighting?
Warm white at 2700K is the sweet spot for almost every industrial fixture. It mimics the amber glow of old filament bulbs, flatters galvanized steel, brick, and copper, and keeps faces looking natural in photos. Very warm 2200K bulbs work beautifully for accent spots near the fire pit where a candlelight feel is the goal. Avoid mixing temperatures across the yard, because a single cool 4000K or 5000K fixture will make every warm light beside it look orange by comparison. When a fixture has an integrated LED, check the Kelvin rating before you buy, since you cannot swap the bulb later.
Are industrial-style outdoor fixtures weatherproof enough to leave out all year?
Yes, as long as you buy fixtures rated for wet locations and check the IP rating. Look for IP65 or higher on fixtures that sit in open rain, and make sure hardwired pieces are installed in weatherproof boxes with gasketed covers. Galvanized steel, powder-coated aluminum, and copper are the most forgiving finishes because they age gracefully instead of peeling. Plug-in pieces should always connect to a GFCI outlet with an in-use cover. Twice a year, wipe lenses and cages, clear leaves away from fixture bases, and check that drainage holes at the bottom of sconces are open so water never pools around a socket.
Can I mix solar industrial lights with wired fixtures in the same yard?
Absolutely, and most of my favorite yards do exactly that. Use wired low-voltage or line-voltage fixtures for the jobs that cannot fail — path edges near steps, door sconces, and task lighting — and let solar handle accents in beds, along fences, and around the garden where trenching wire would be miserable. The secret to a seamless mix is consistency: match the color temperature at 2700K and choose solar fixtures with real metal housings so they read as part of the same family after dark. Keep solar panels in honest sun, and expect to reposition a few each season as shadows shift.
How much does it cost to light a backyard in industrial style?
Most readers land between $400 and $1,500 for a full yard done in phases. A starter weekend — door sconces, one string-light canopy, and a few bed accents — runs $200 to $400. Adding hardwired pieces like conduit spot runs, bollards, and pendants pushes the budget up, mostly in electrician labor rather than fixtures. The phased approach in this post keeps it painless: layer one this month, accents next season, controls last. Because industrial fixtures are built from simple, durable materials, mid-priced pieces genuinely last, so I recommend buying fewer, better fixtures instead of a cart full of bargains.
Conclusion
Great industrial backyard lighting ideas all come back to the same simple recipe: honest materials, warm 2700K light, and three layers that each do one job well. Start with the plan, add your sconces and strings, then let bollards, uplights, and copper accents build the urban edge one phase at a time. Finish with timers so the yard lights itself, and take that slow dusk walk to edit before you call it done. If this style has you hooked, browse the rest of my outdoor lighting ideas on the site for more ways to make your yard the best room of the house.