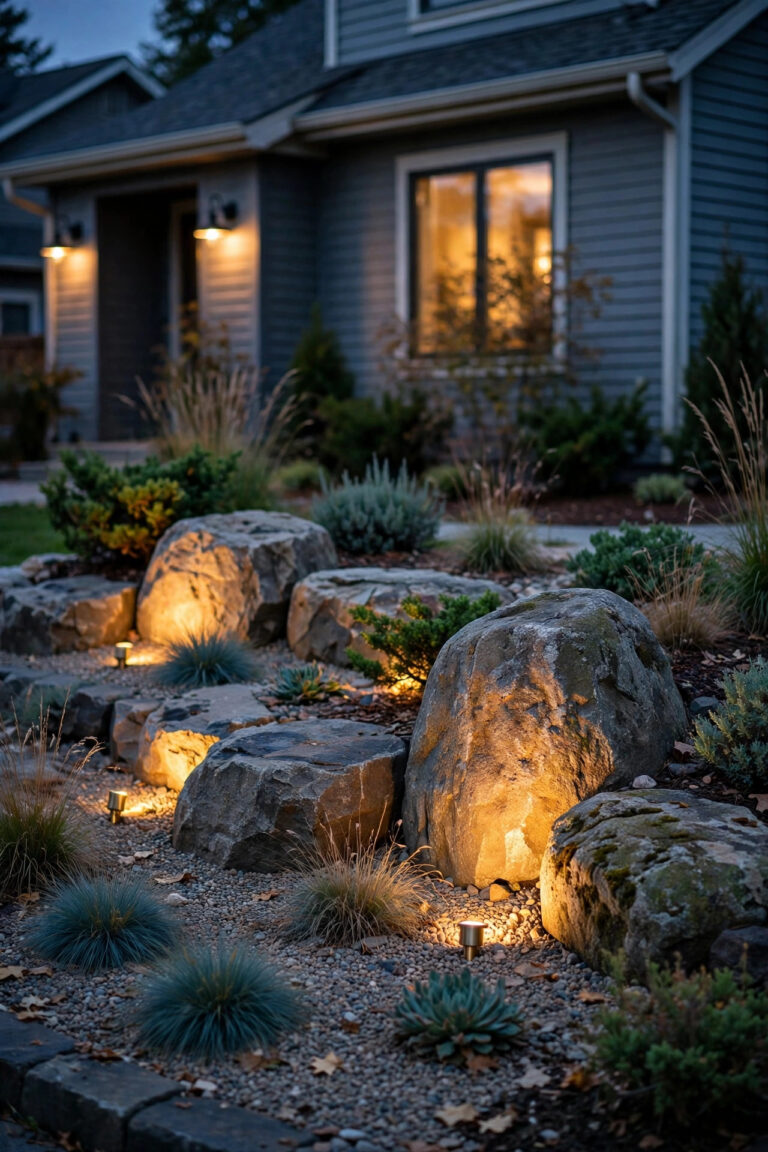
A cocktail party lives or dies on its glow. Too dark and guests squint at the cheese board; too bright and the whole yard feels like a parking lot. After years of hosting on our patio, I have learned that good outdoor cocktail party lighting is never one big fixture. It is layers: a soft canopy overhead, warm light at table and bar height where faces and drinks live, and a gentle guide of light at ground level so nobody trips carrying a full glass. That layering philosophy runs through every idea below. Some are five-minute fixes with things you may already own, others are weekend projects, and every single one ends with an honest budget range so you can plan. If you want the broader picture first, my roundup of outdoor party lighting ideas covers birthdays and big gatherings too. Tonight, though, we are dressing the yard for clinking glasses, good conversation, and that golden hour that never quite ends.
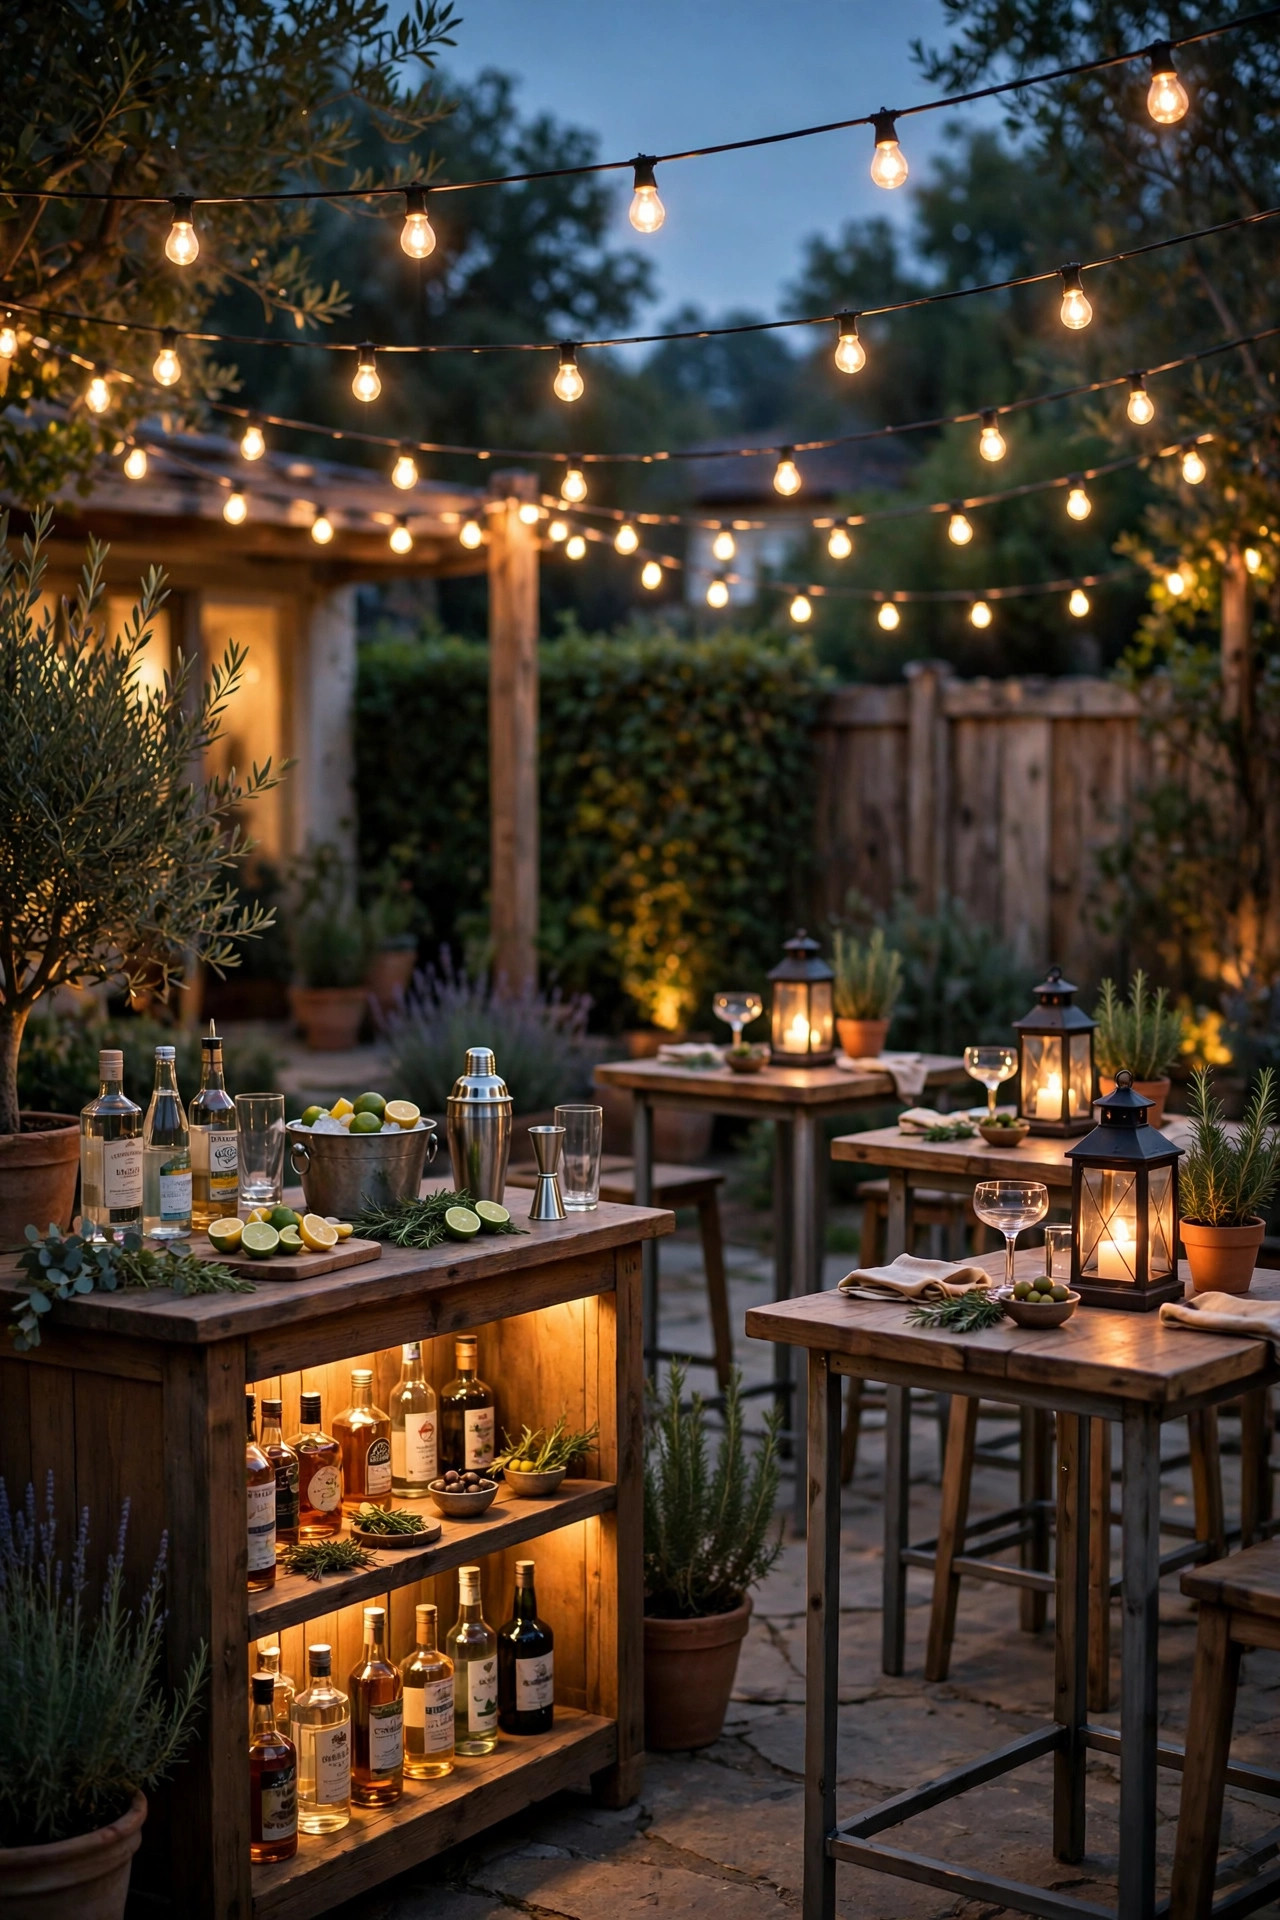
1. Plan Your Outdoor Cocktail Party Lighting in Three Layers
Before you buy a single bulb, walk your yard at dusk and think in three layers. The top layer is overhead glow: string lights or a pendant that washes the whole party in soft light. The middle layer sits at eye and table height: lanterns, candles, and the bar station, because that is where faces, food, and drinks actually are. The bottom layer is guidance: low path and step lights that quietly mark edges, stairs, and the route to the door. In my experience, a party lit in all three layers feels expensive even when it is not, while a party lit in only one layer always feels off, no matter how pretty the single source is. Sketch your yard, assign each zone a job, and note where your outlets and GFCI receptacles are, since that decides which ideas run wired and which go solar or battery. This ten-minute plan saves money, because you stop buying duplicates of the layer you already have and start filling the gaps that actually matter.
Suggested budget range: $0 – $25.
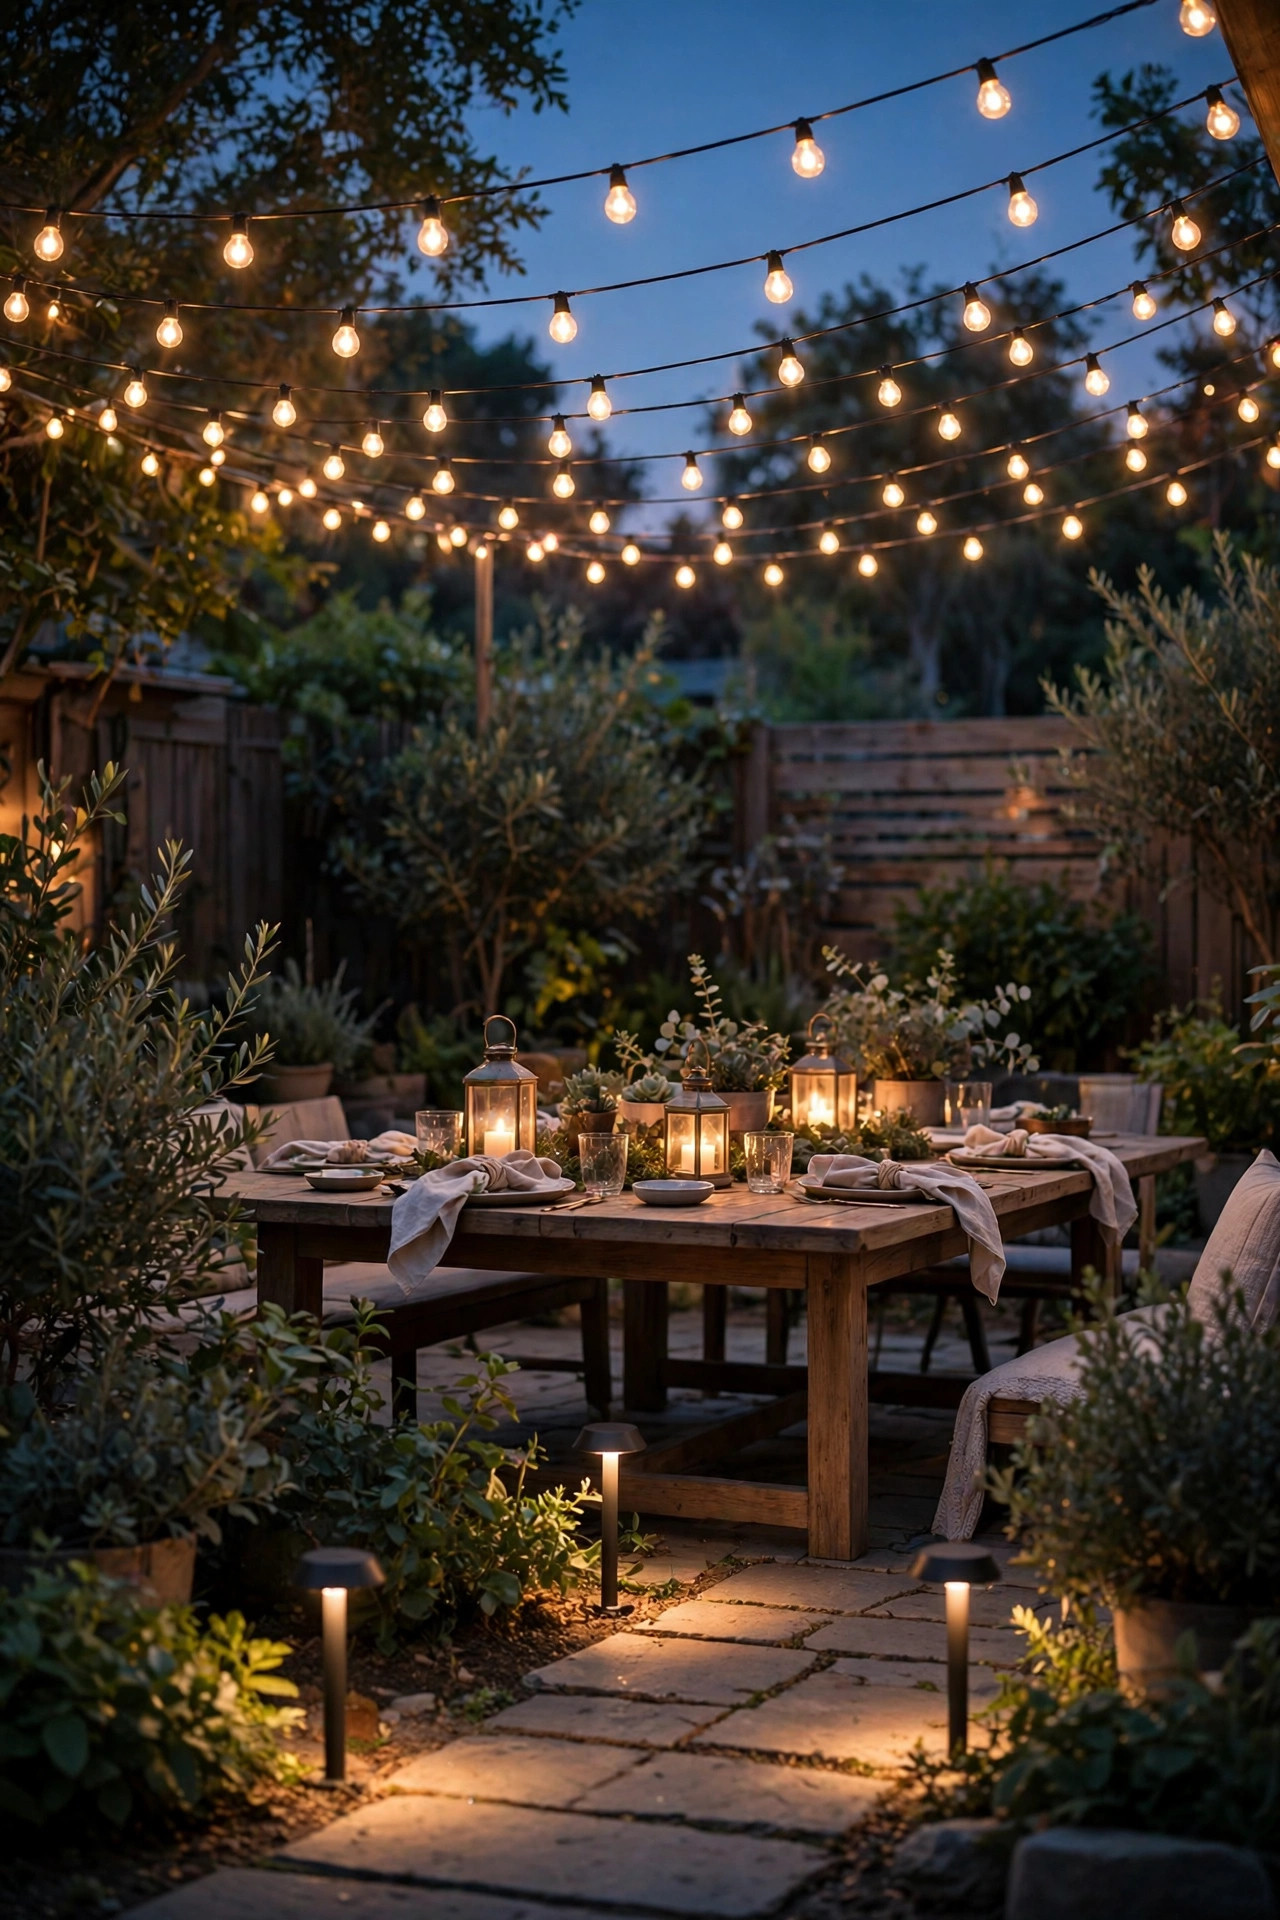
2. Swag Café String Lights in Gentle Catenary Curves
The canopy is the layer guests photograph, so make it generous. I run commercial-grade café string lights in long, lazy swags from the house to a fence post or tree, letting each run dip about 12 to 18 inches in the middle rather than pulling them tight like a clothesline. That soft curve is what reads as bistro rather than backyard. Use LED filament-style bulbs, shatterproof if the strands hang over a walkway, and space runs roughly 6 to 8 feet apart so the light overlaps without stripes of darkness between. One strand per circuit is plenty for LEDs, but check the manufacturer limit before chaining. My full walkthrough of layouts and hardware lives with my backyard string light ideas, including the cup-hook trick that keeps strands from sliding. For a cocktail party specifically, keep the canopy a touch lower than you would for dinner seating, around 8 feet at the dip, because standing guests look better under closer, warmer light.
Suggested budget range: $40 – $120.

3. Make the Bar Station the Glowing Focal Point
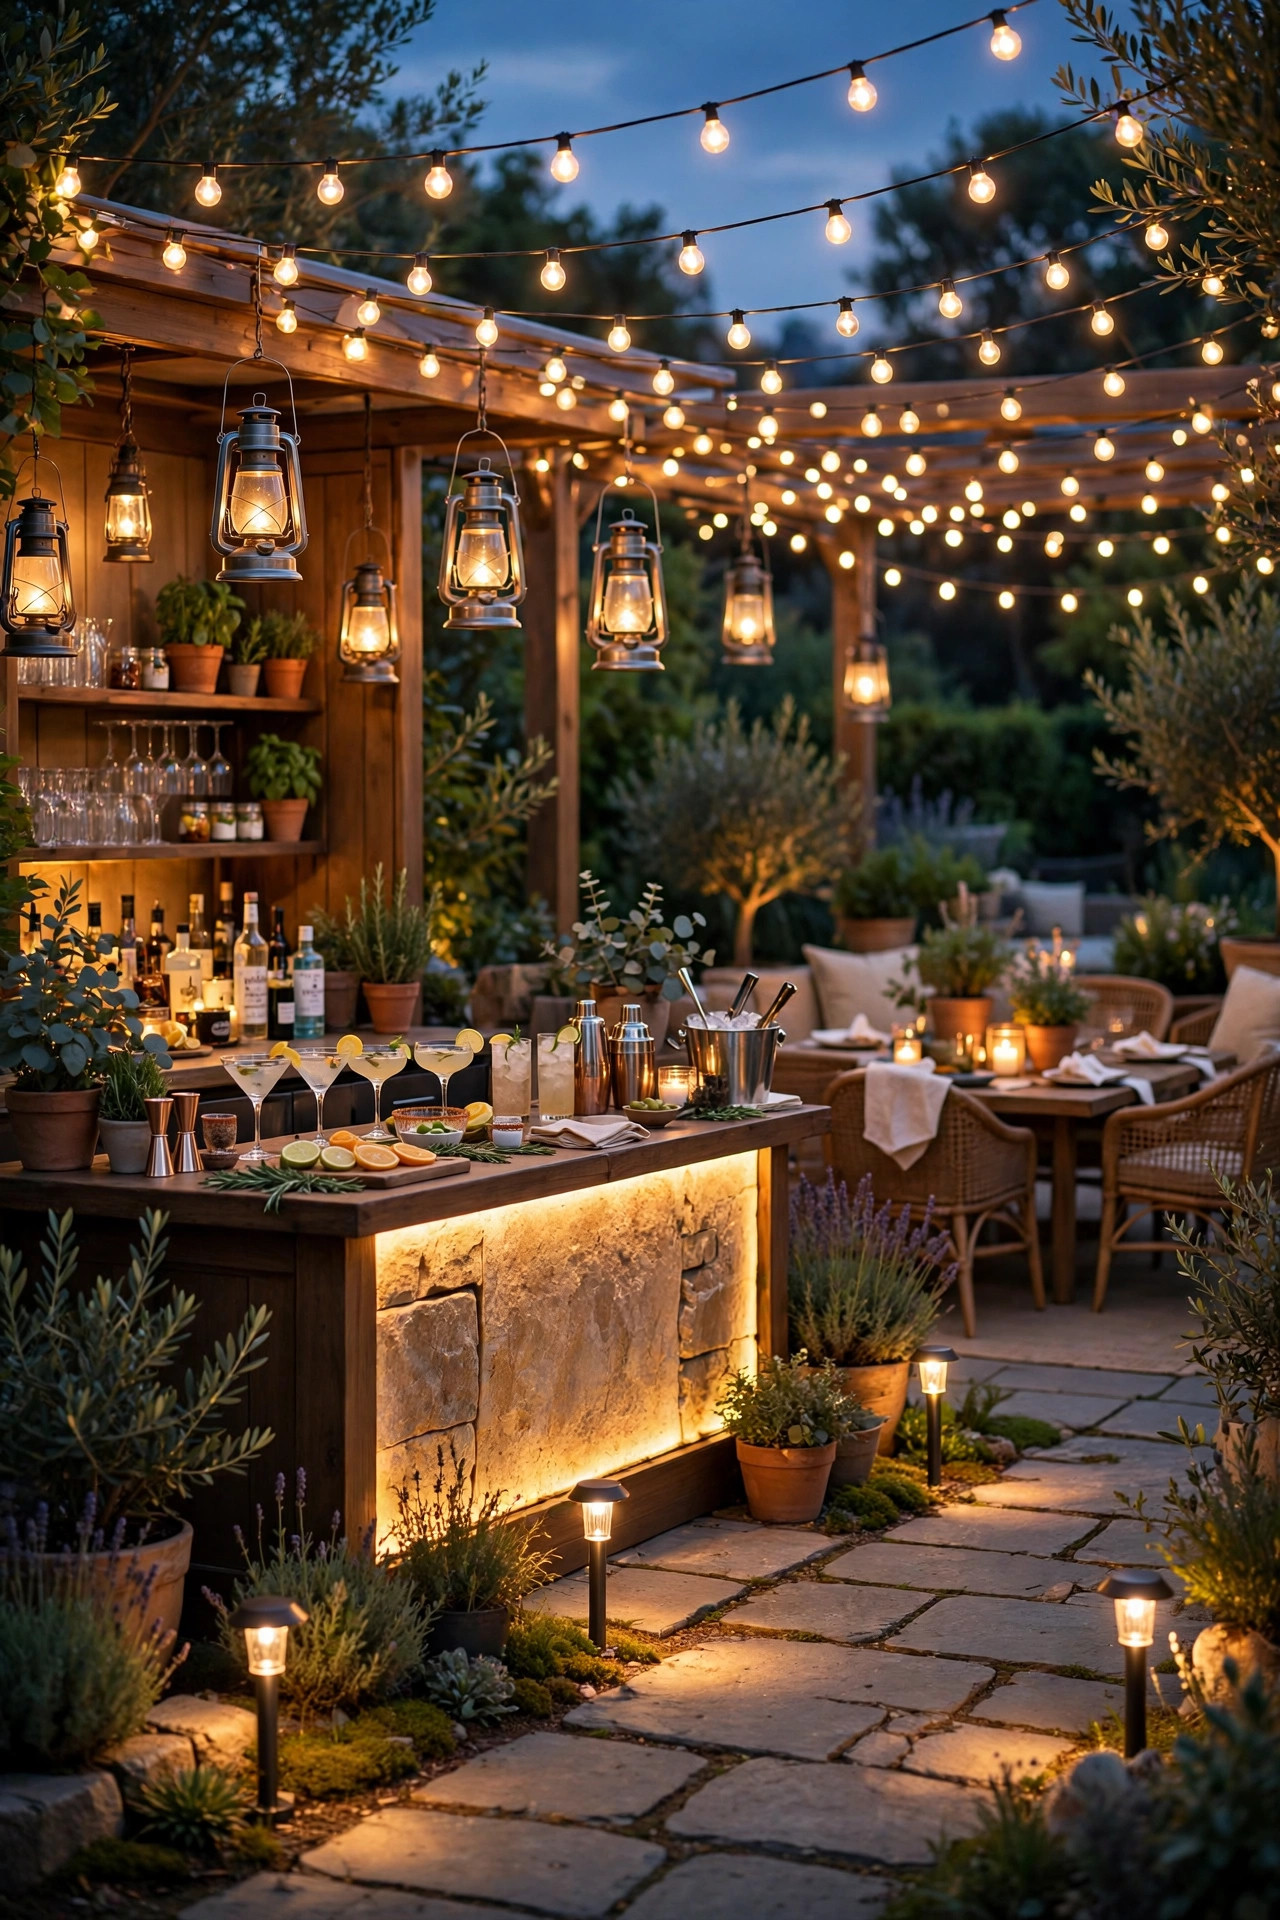
Every good party has a magnet, and at a cocktail party it should be the bar. I light ours like a tiny stage: a warm wash behind the bottles so glass and garnishes sparkle, plus enough task light on the work surface that whoever is mixing can actually read a jigger. A short LED strip tucked under a shelf edge does most of the work invisibly, and two battery lanterns flanking the station frame it. Keep the bar brightness a notch above the rest of the yard, maybe 20 percent brighter than the seating glow, so guests naturally drift toward drinks and then circulate. Place the bar where it catches the canopy light from idea two and you get sparkle for free. One safety note from experience: keep open flame far from the bar. Garnishes, napkins, and high-proof bottles do not belong near candles, so the bar zone is LED territory, always.
Suggested budget range: $35 – $110.
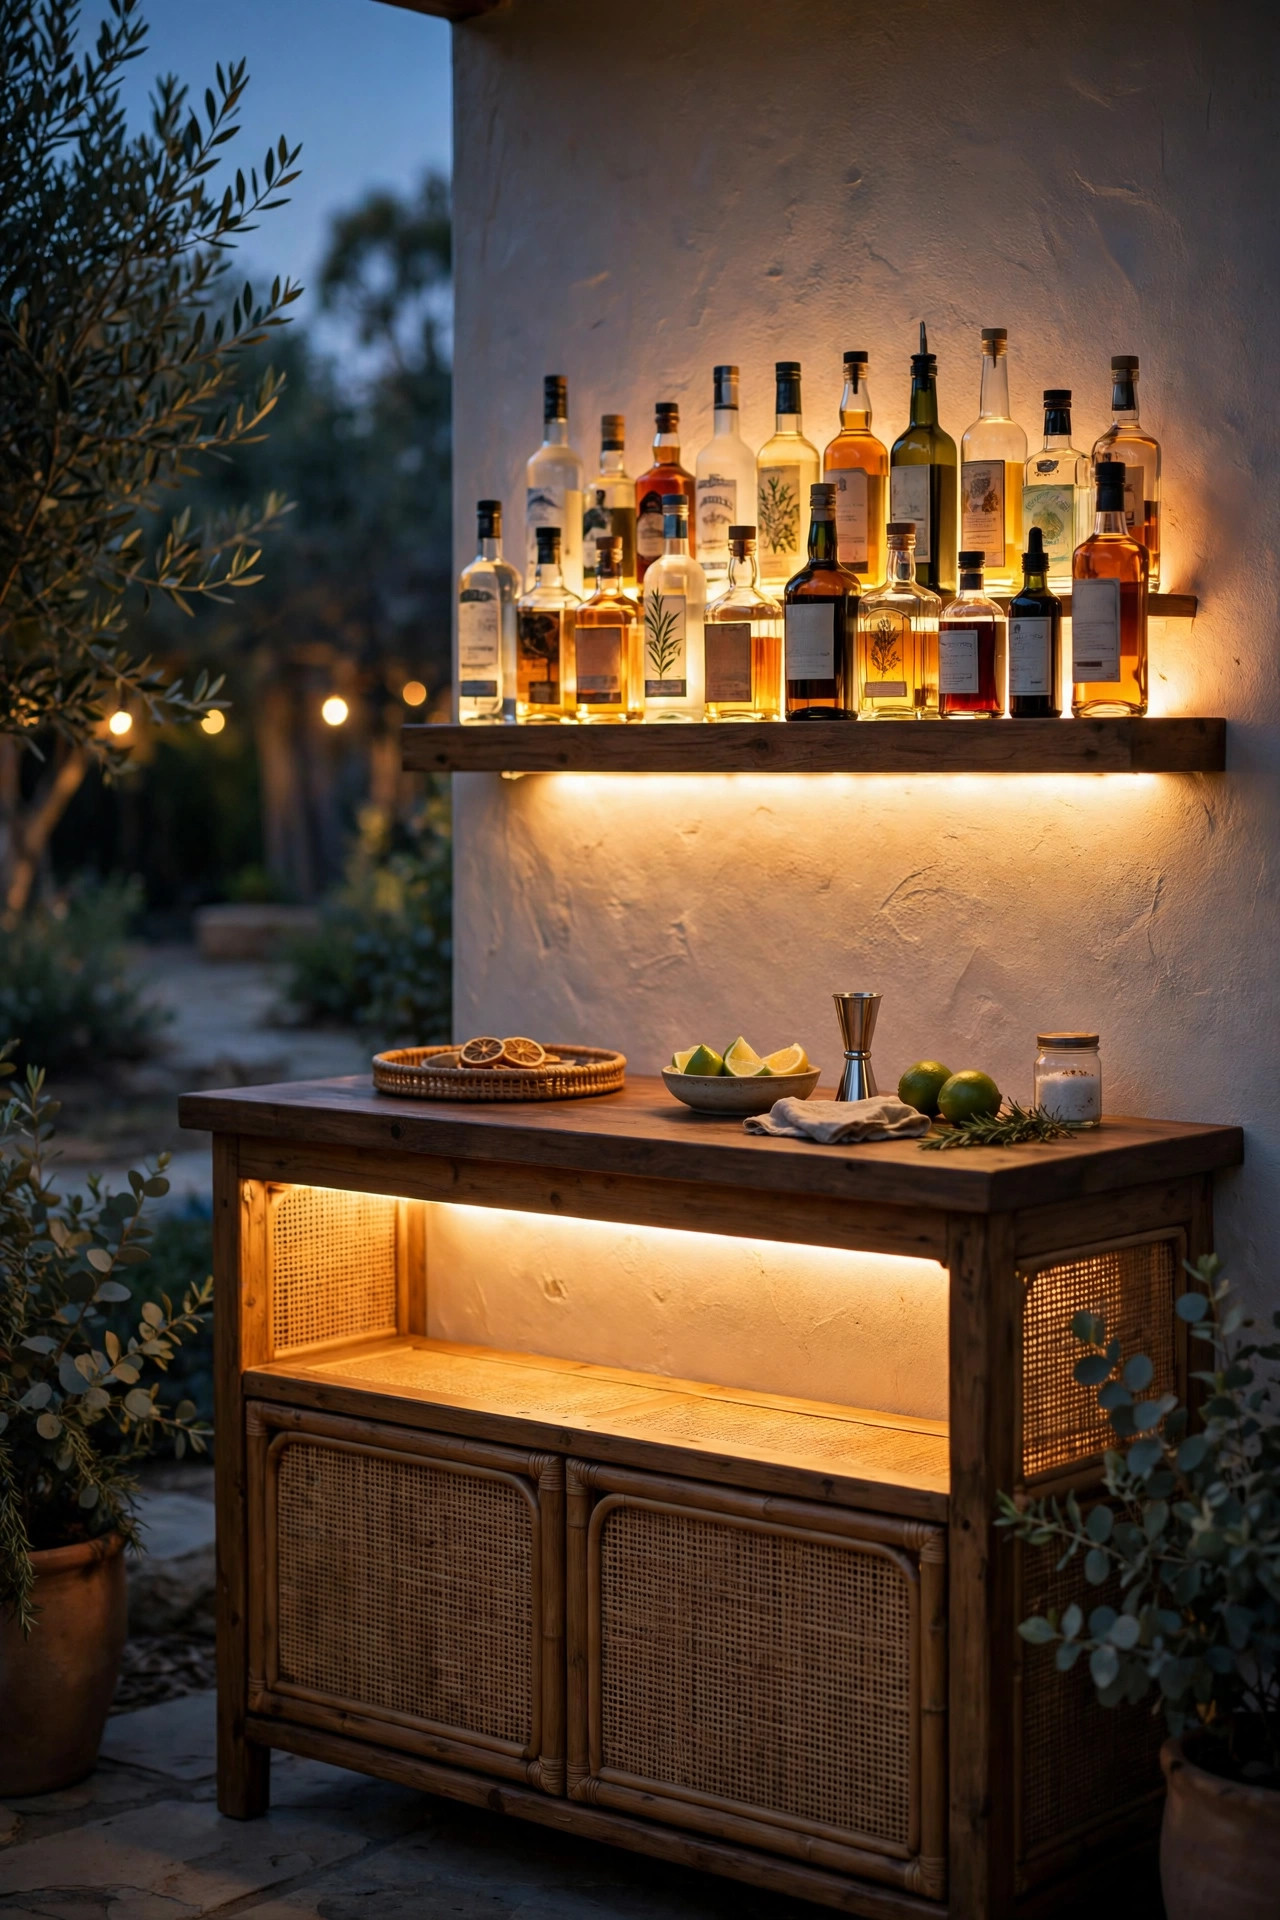
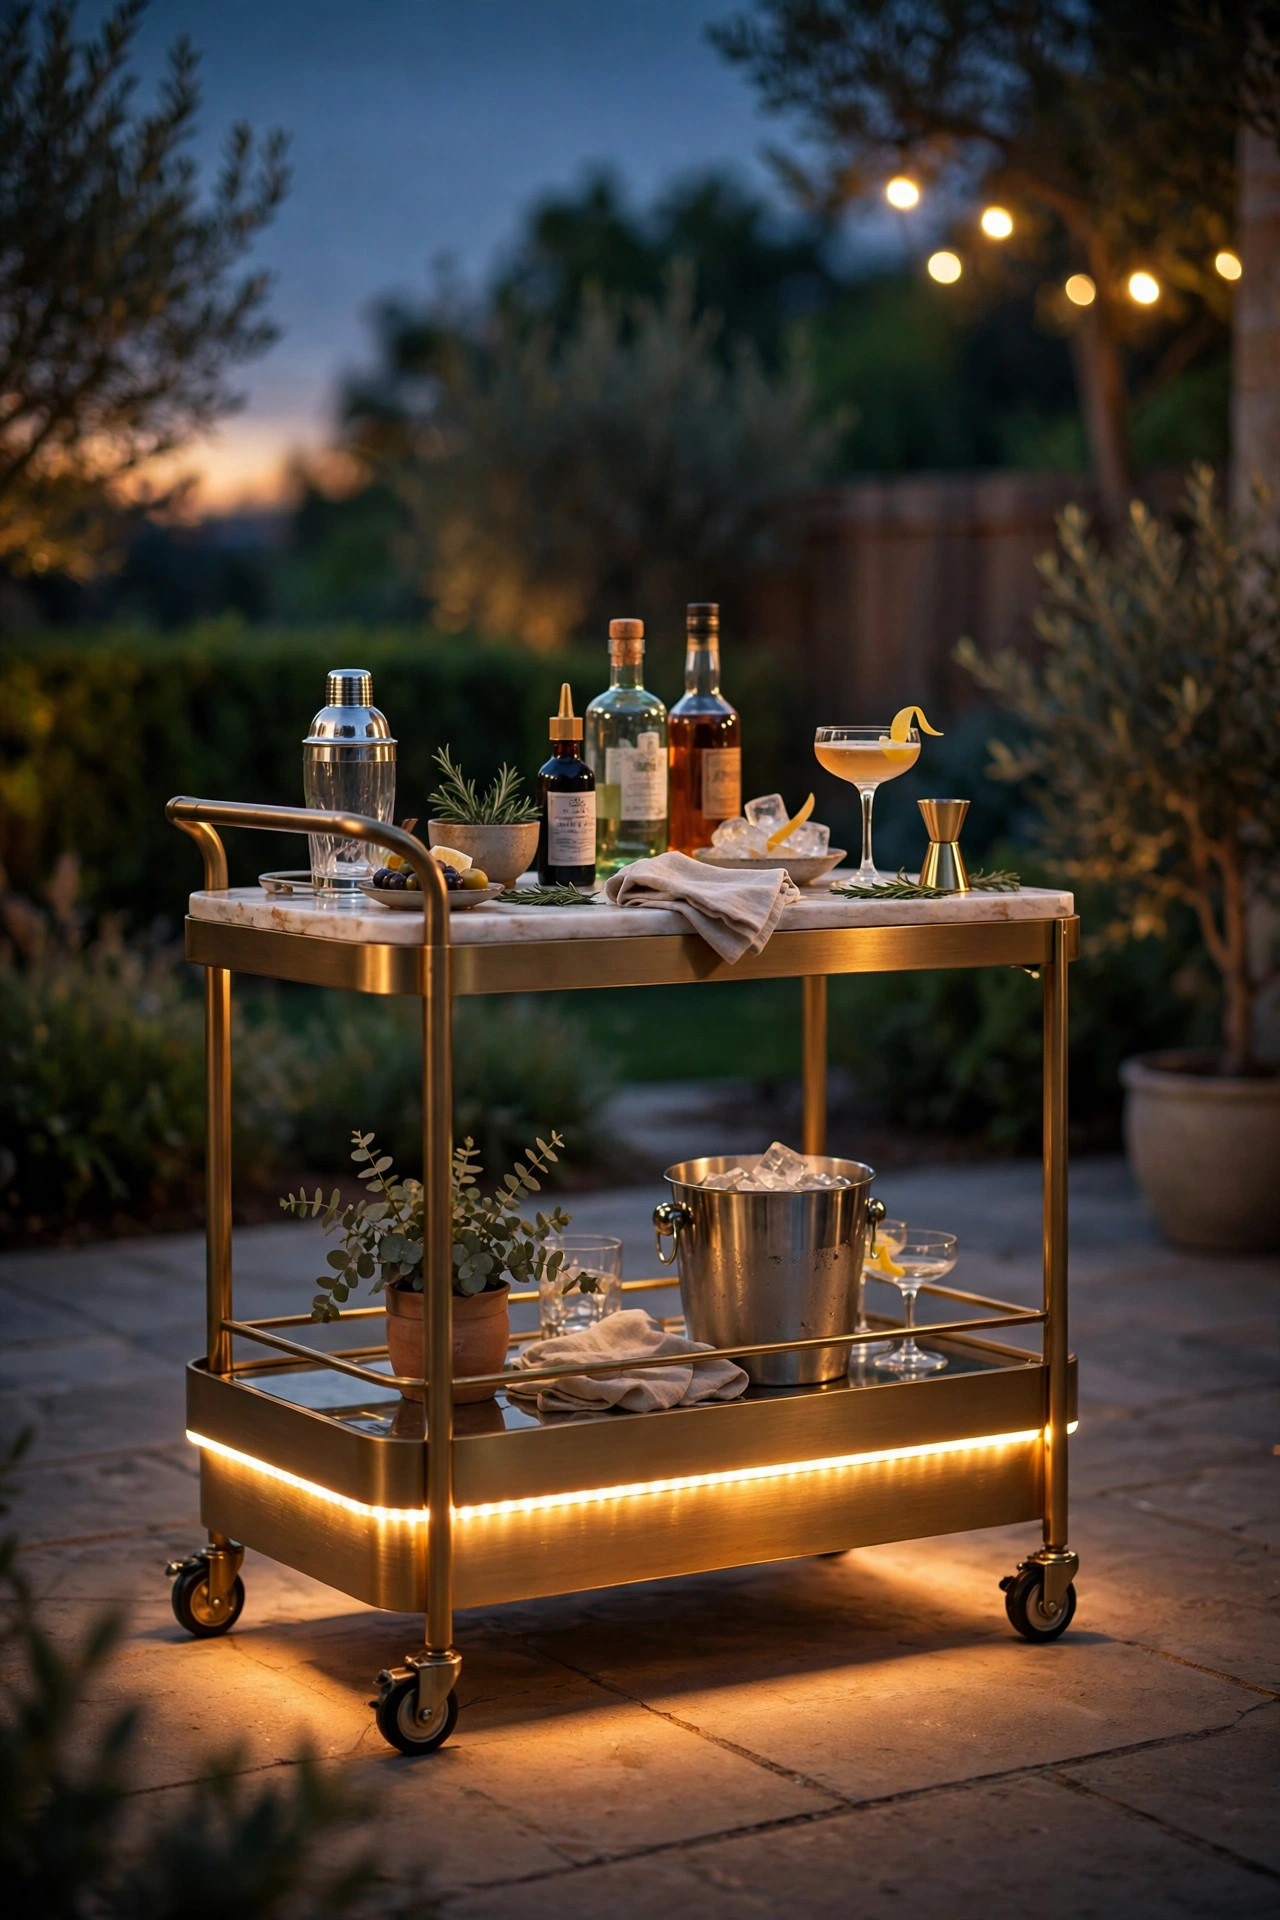
4. Hide an LED Strip Under the Bar Cart Edge
This is the cheapest trick on the list and the one guests ask about most. A self-adhesive, outdoor-rated LED strip stuck under the front edge of a bar cart or serving table throws a soft ribbon of light down the face of the cart and pools gently on the ground. Suddenly a plain cart looks like custom furniture. Choose warm white, 2700K, and a strip with a dimmer so you can drop it to a whisper once the party settles in. Battery-powered strips free you from outlet hunting entirely, and a four-hour party barely dents them. Wipe the surface with rubbing alcohol before sticking so the adhesive survives dew, and add a few clear cable clips at the corners for insurance. If your cart is metal, the strip also hides beautifully under the top shelf lip, lighting bottles from above. Either way, nobody sees a fixture, just glow, and that invisible quality is what makes a setup feel designed rather than decorated.
Suggested budget range: $12 – $35.
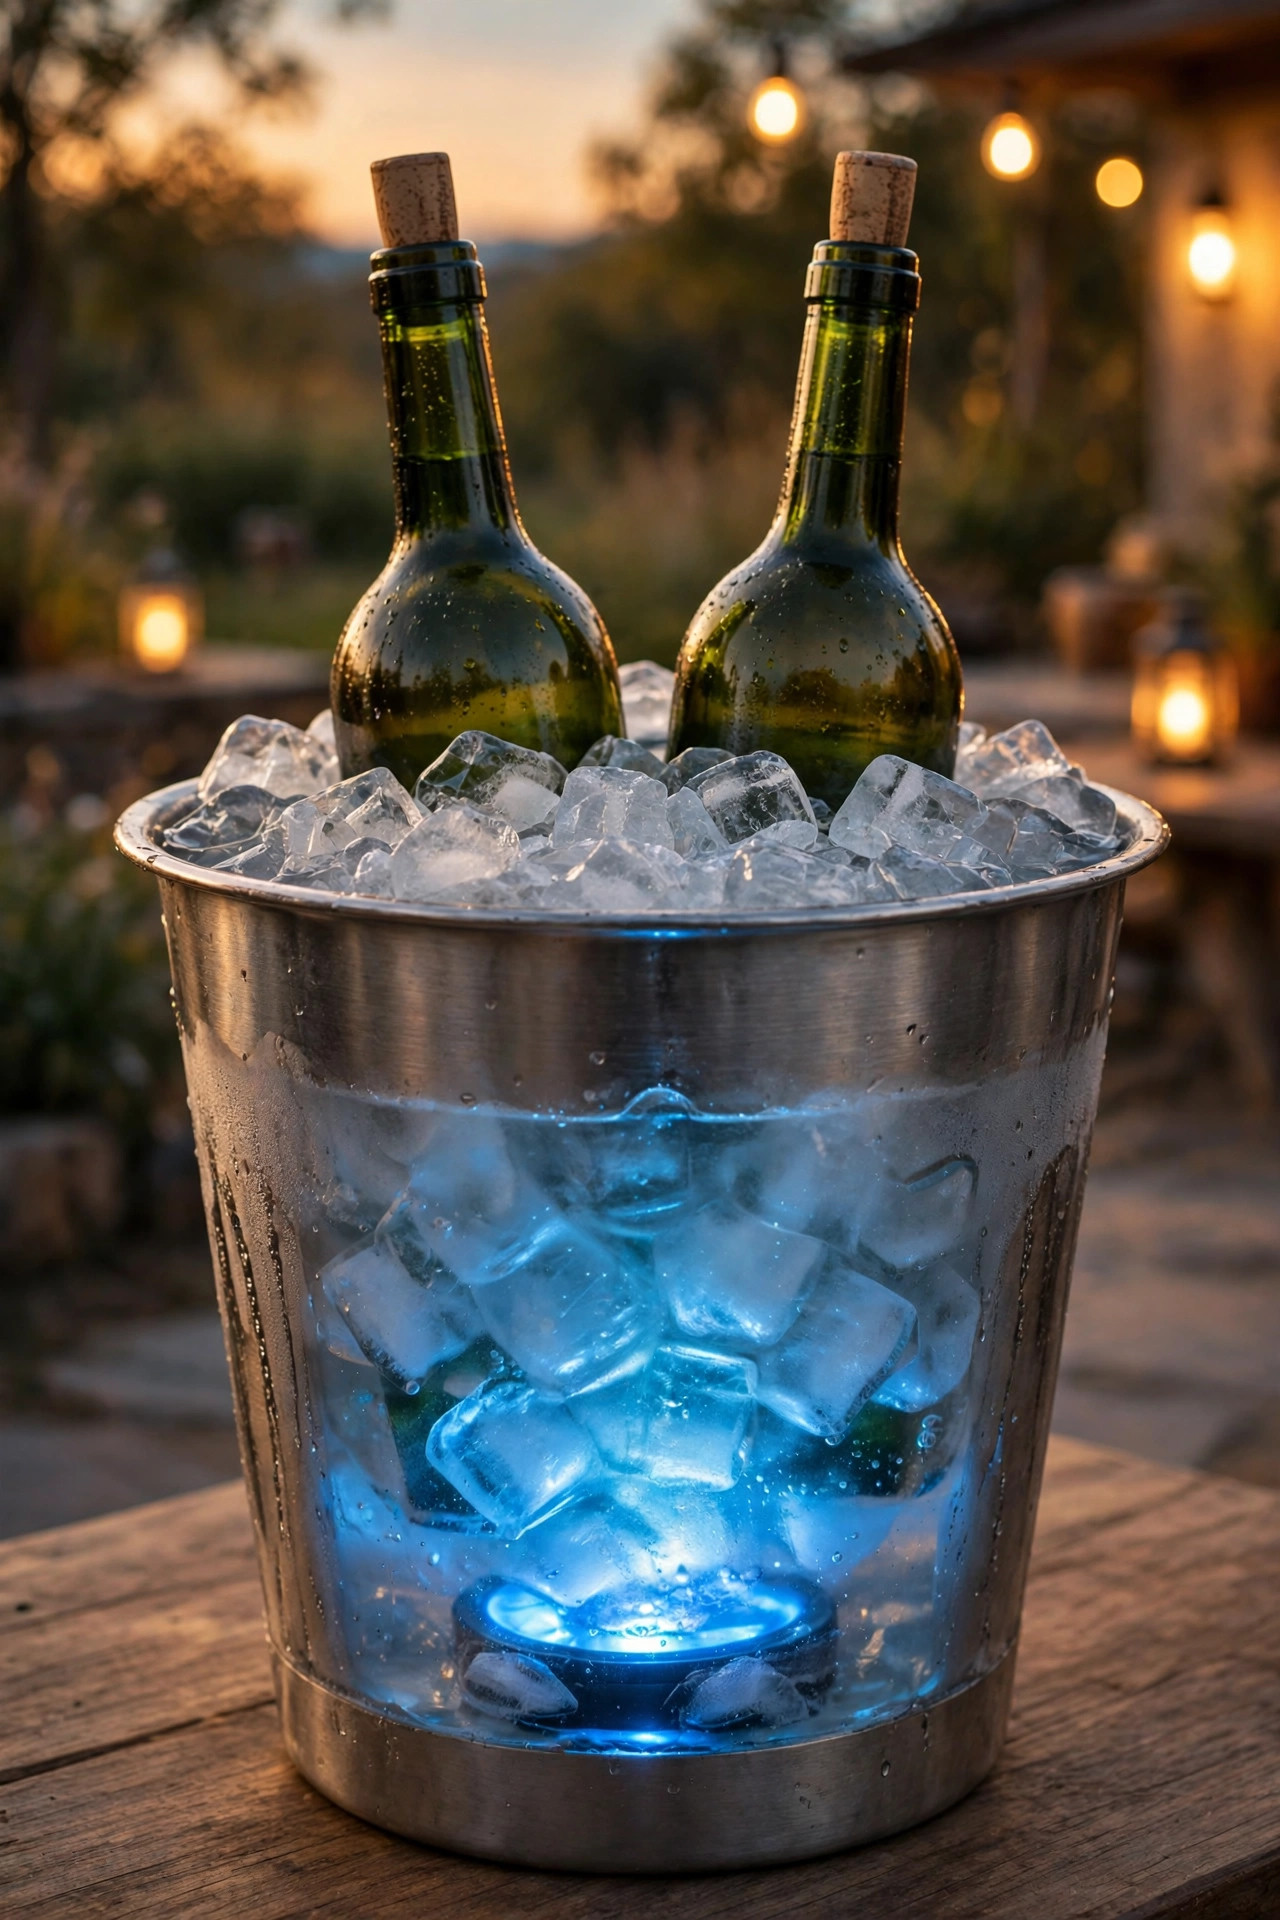
5. Drop Submersible LED Pucks Into Ice Buckets
Cold drinks deserve a little theater. Submersible LED pucks, the small waterproof discs sold for vases and pools, sink under the ice in a clear or galvanized bucket and turn chilling wine bottles into a glowing centerpiece. Stick with warm white or a very soft amber; color-changing modes are fun for a theme night but warm reads classier for cocktails. One puck per bucket is enough, two if the bucket is large and the ice is deep. They run on coin batteries for many hours, and because they are sealed, a meltwater bath is no problem at all. I also float a few in the water dispenser and a glass punch bowl for the same effect at the non-alcoholic station, which makes designated drivers feel included in the pretty. Just fish them out before you dump the ice, because they do sink straight to the bottom of the cooler bag otherwise. Ask me how I know.
Suggested budget range: $10 – $30.
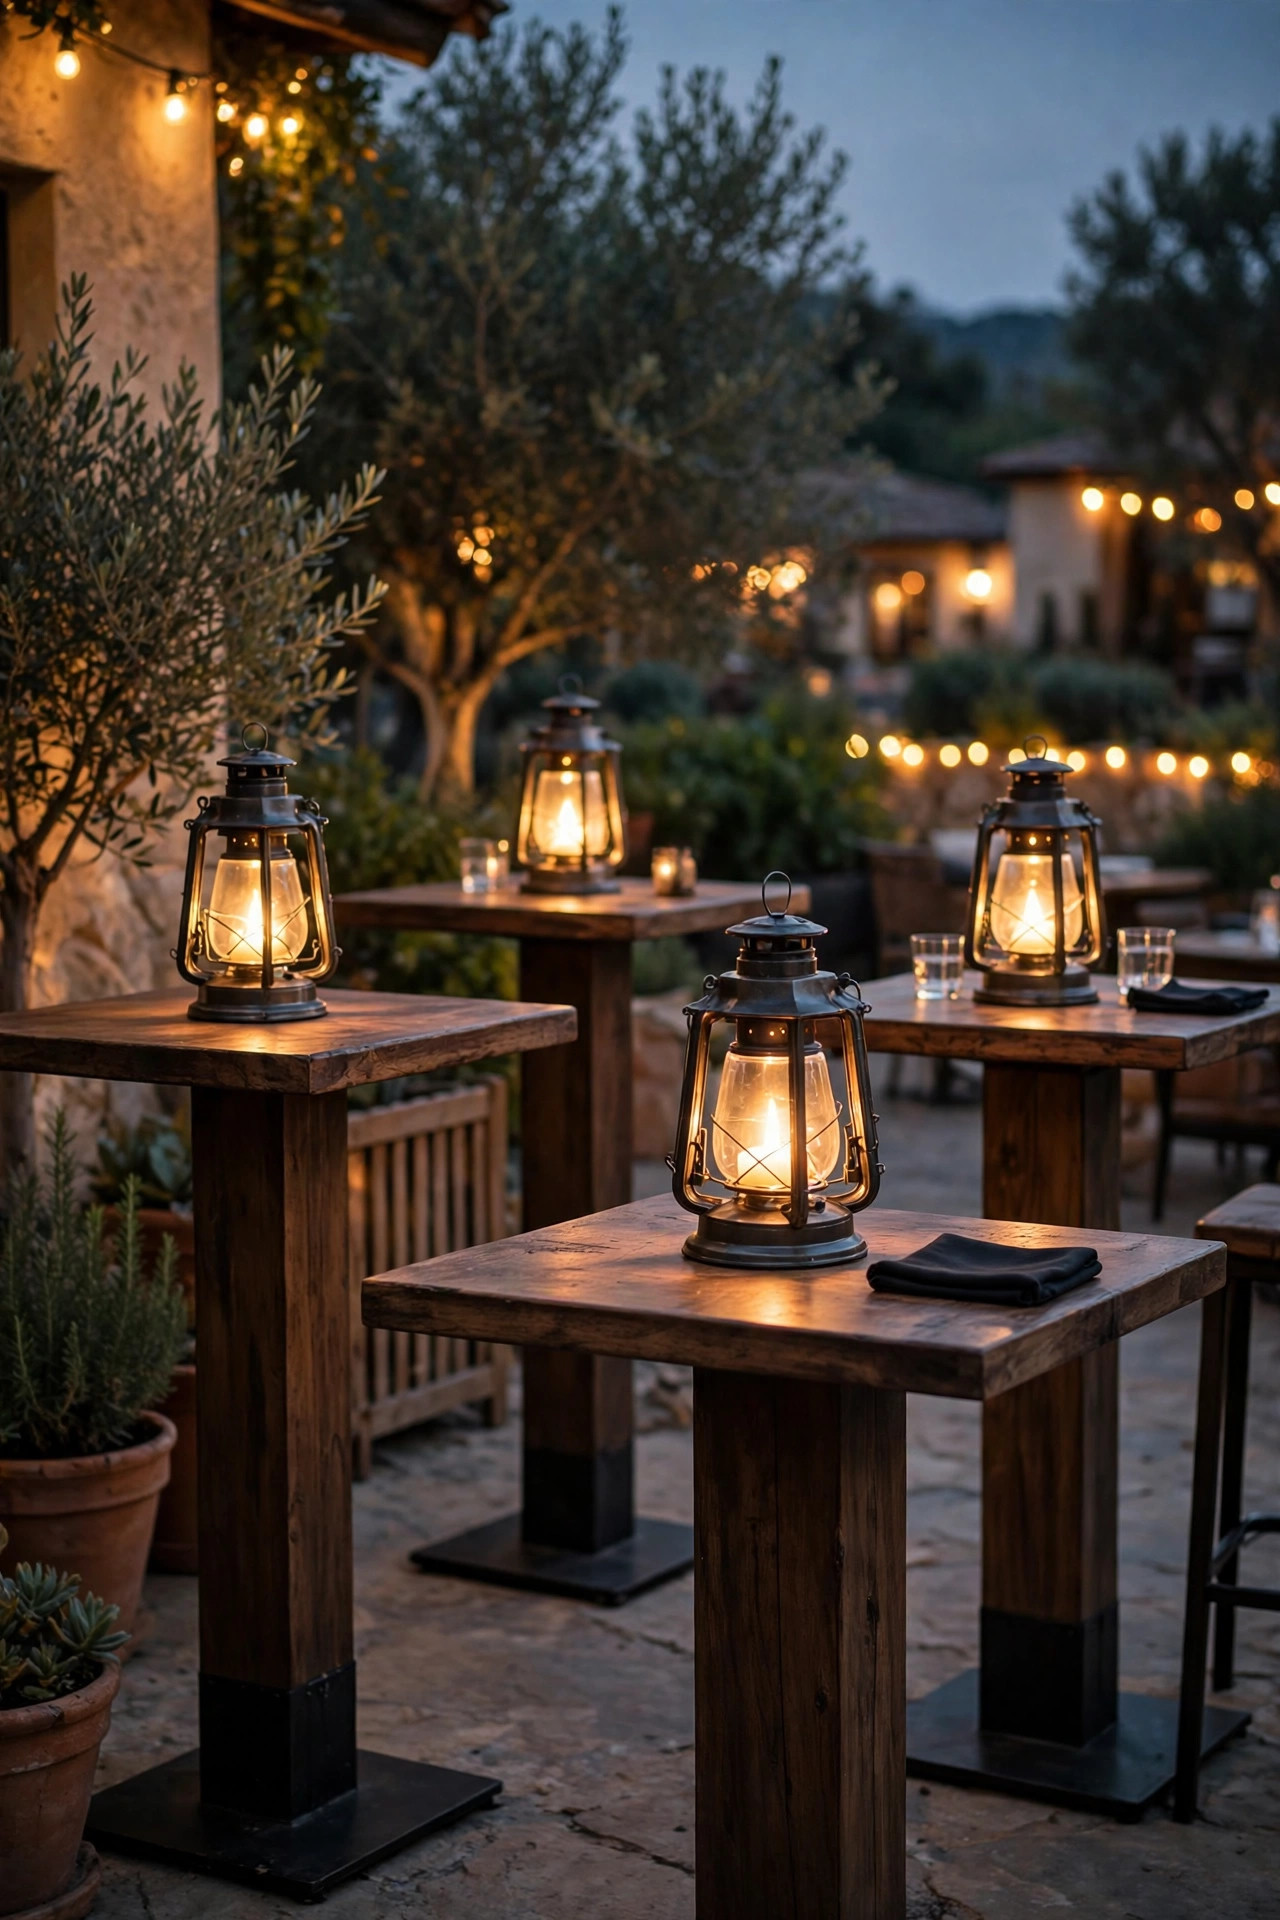
6. Set Lanterns at Standing Height on High-Top Tables
Cocktail tables are tall, so their light should be too. A lantern centered on each high-top puts glow right at conversation height, roughly chest to face level for standing guests, which is the most flattering light there is. I favor metal-and-glass lanterns with flameless candles inside for anything sitting on a tablecloth or near sleeves, and I vary the heights slightly from table to table so the yard feels collected rather than matched. One lantern per table is plenty; add a tiny jar of fairy lights only if the table is large. The real secret is weight: a lantern with some heft will not get knocked over by an elbow or a breeze, and a gusty night is exactly when a lightweight candle holder becomes a problem. Solar lanterns work here if they have soaked up a full day of sun on the patio beforehand, but battery flameless candles are the reliable choice for light you control down to the minute.
Suggested budget range: $25 – $80.
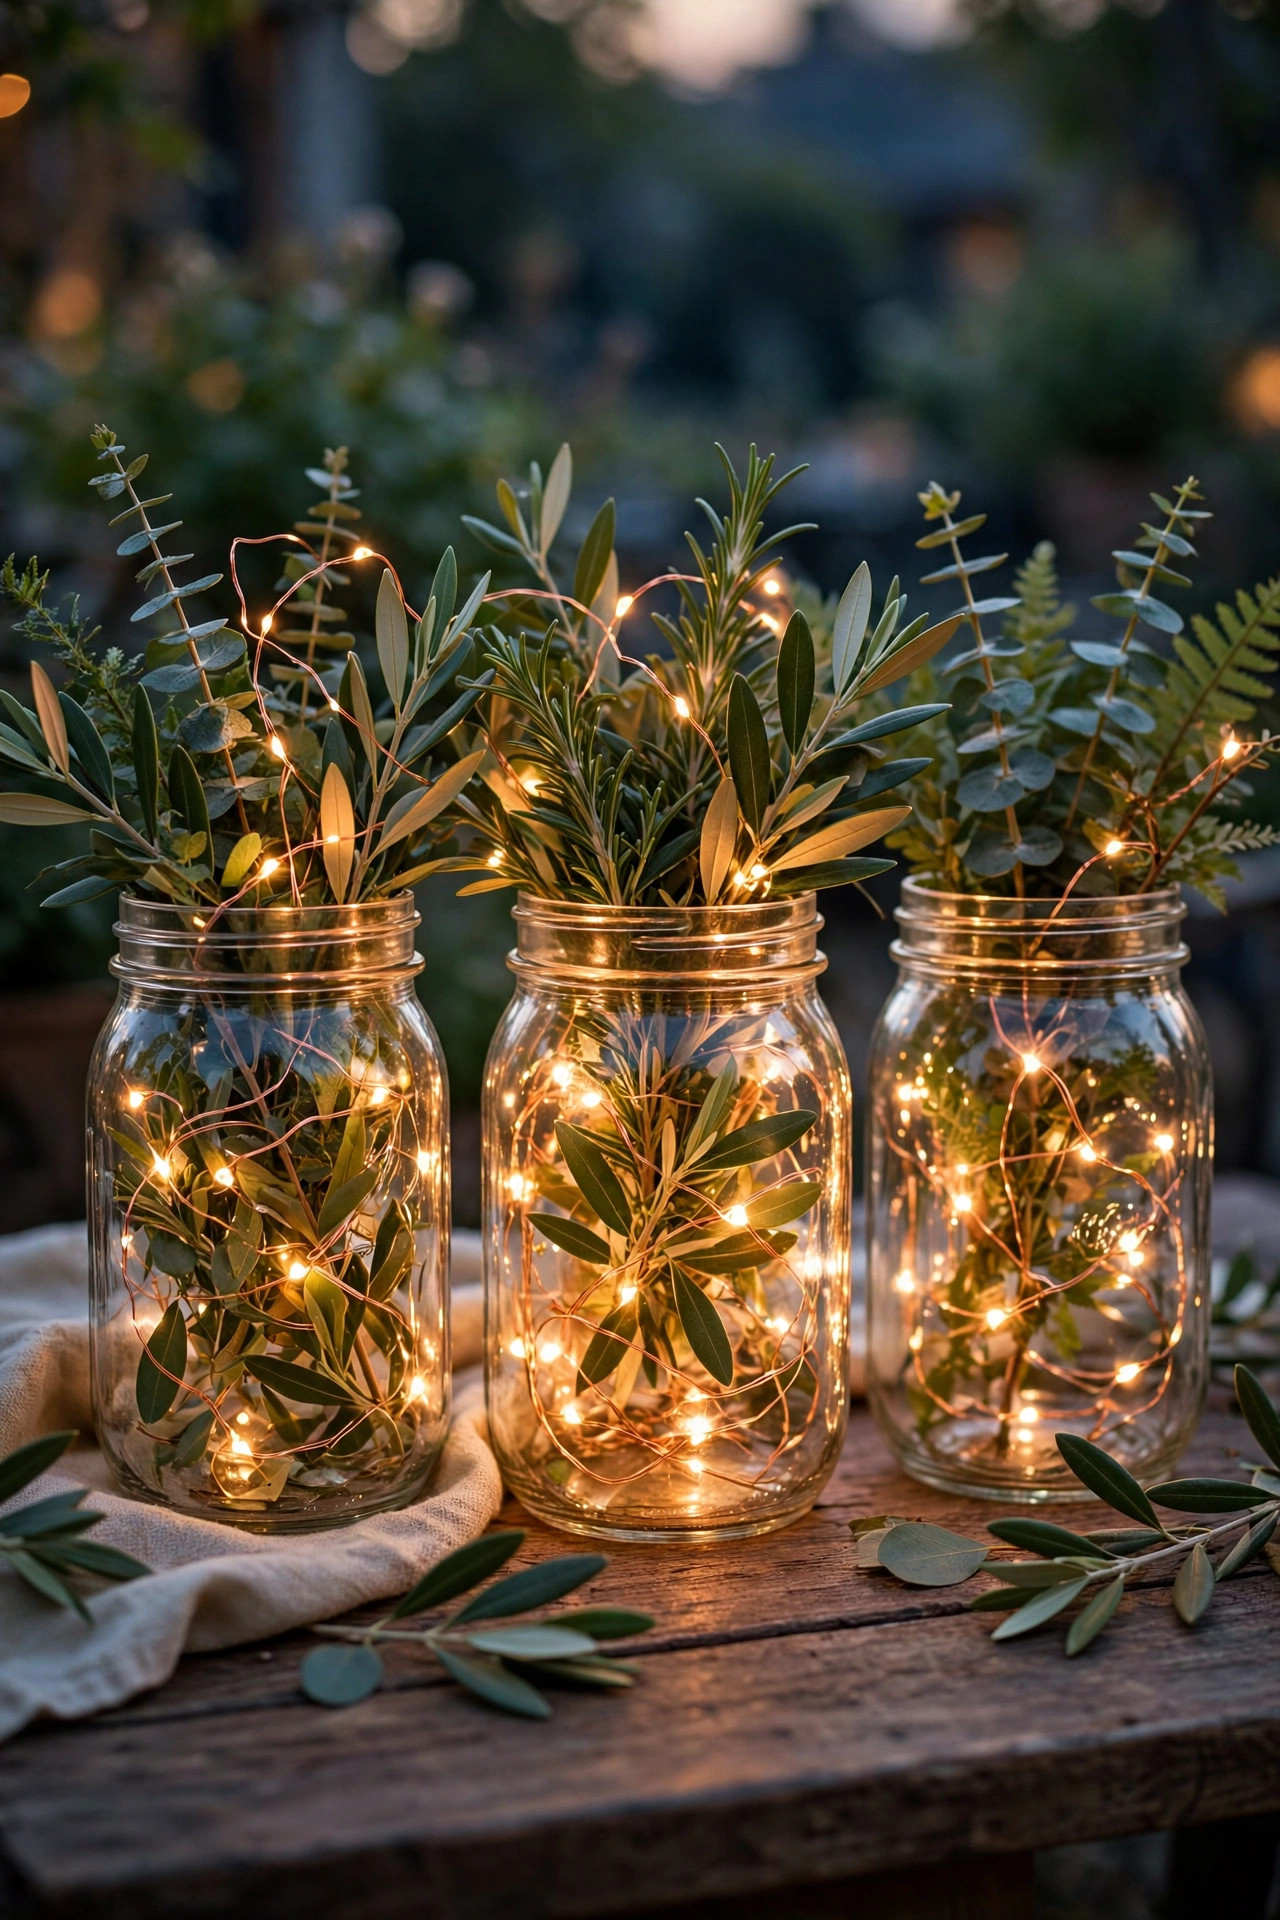
7. Thread Fairy Lights Through Centerpiece Jars and Greenery
Copper-wire fairy lights are my favorite finishing touch because they go anywhere and ask for nothing. I coil a short strand inside a mason jar with a little greenery, tuck one through a eucalyptus runner, or wind it around the base of a floral arrangement, and suddenly every surface has quiet sparkle. The warm pinpoint glow flatters glassware and makes simple white napkins look styled. Battery packs hide under a leaf or behind the jar; the coin-cell versions are nearly invisible. Keep strands out of food and drink paths, and never submerge a battery pack, only the sealed wire portion is water resistant on most sets. Because these lights are LED and cool to the touch, they are safe nestled against foliage and paper goods in a way real candles never will be. Buy a multi-pack once and you will find uses at every party for years. They are also my emergency fix: if any zone of the yard feels dark an hour before guests arrive, a jar of fairy lights rescues it.
Suggested budget range: $10 – $28.
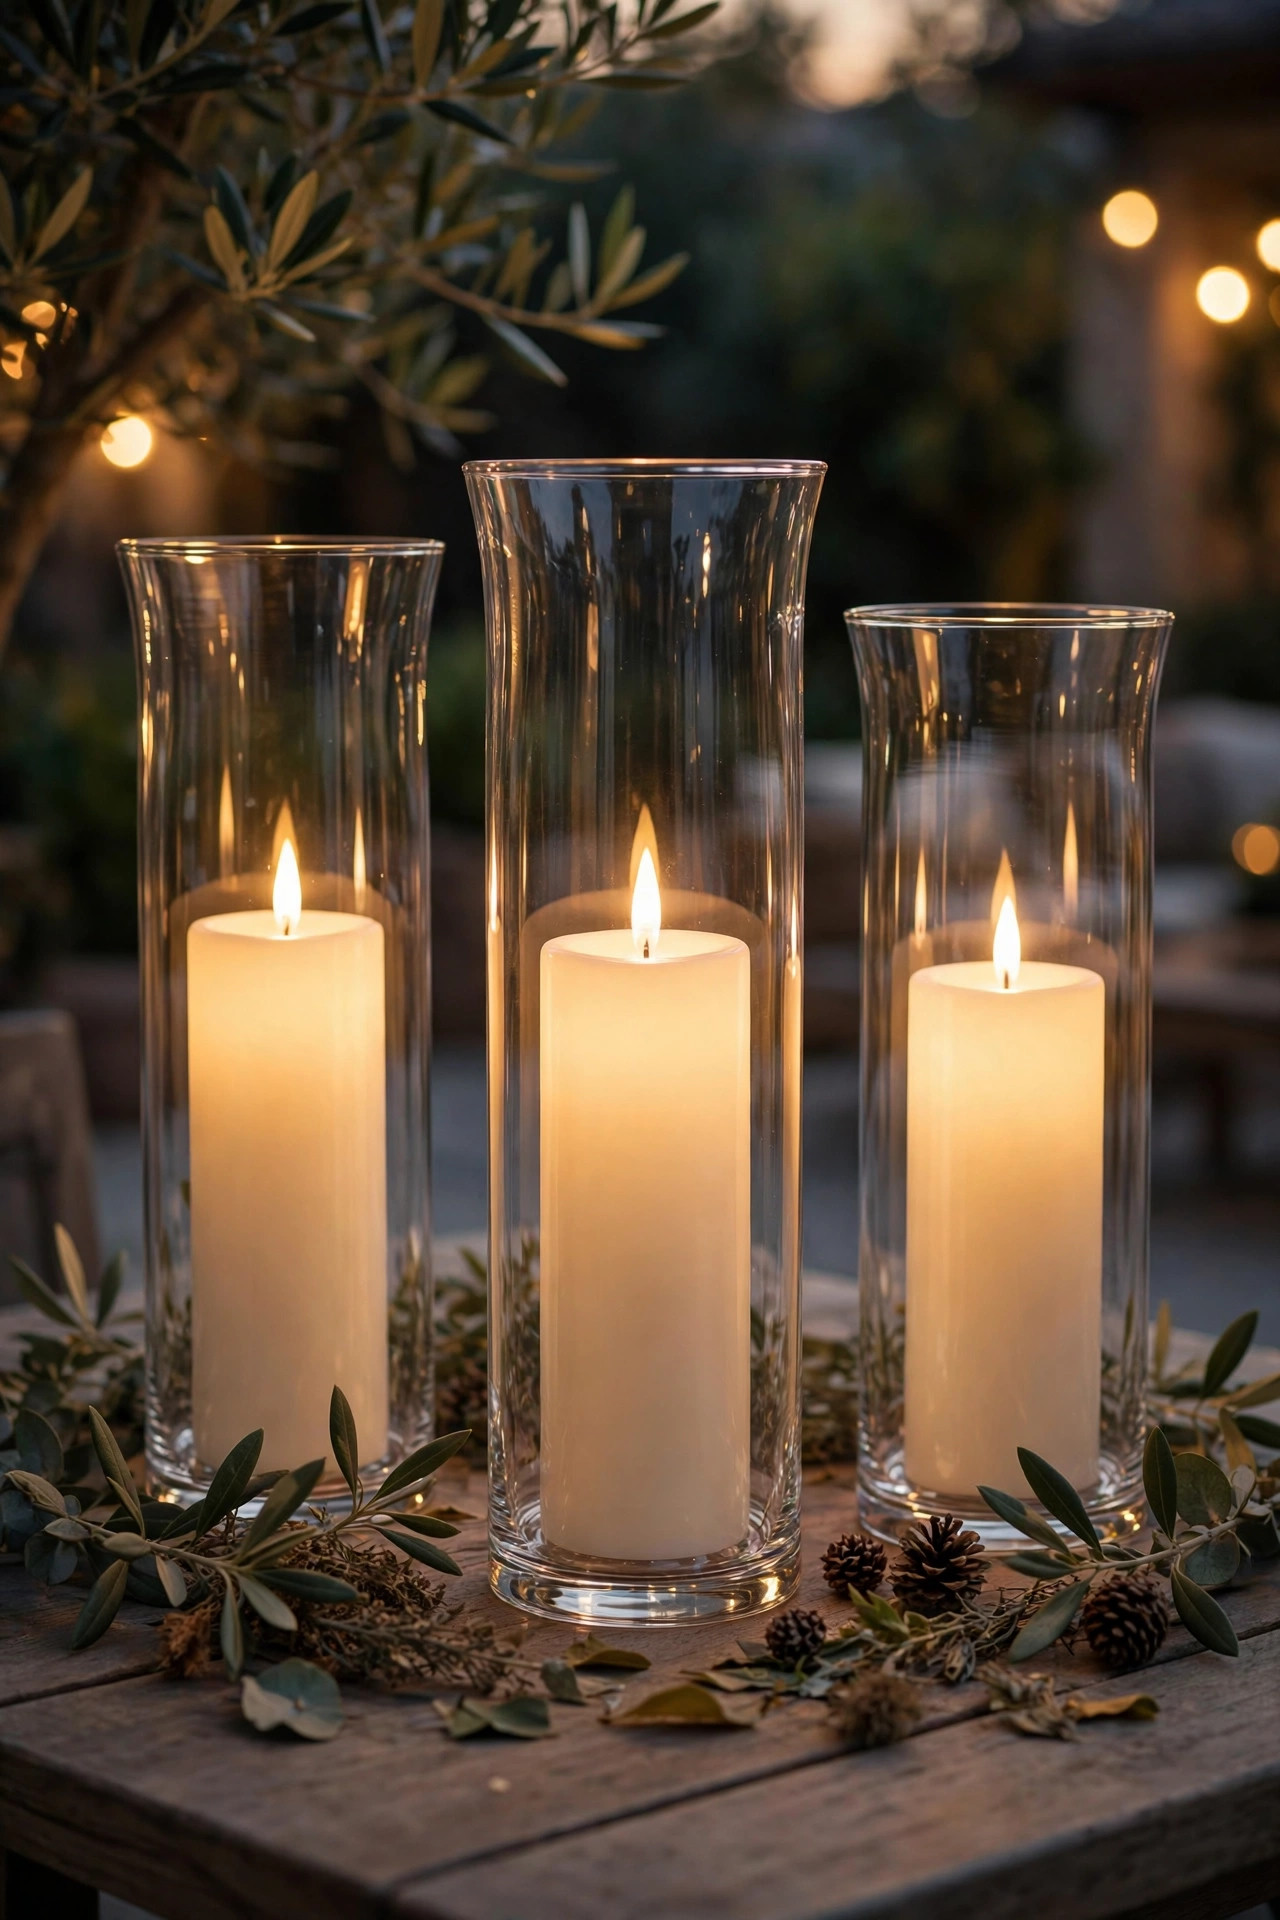
8. Use Flameless Candles in Hurricane Glasses for Windproof Candlelight
Real candlelight is gorgeous until the first breeze, and cocktail hour always seems to find one. My answer is flameless candles with a realistic flicker, set inside tall hurricane glasses on tables, steps, and the bar-adjacent shelves. The glass shields the flicker mechanism from looking fake, reflects the glow beautifully, and keeps the look unmistakably candlelit. Group them in odd numbers, threes and fives, at mixed heights for the most natural effect. Many flameless candles come with timers, so set them to switch on at dusk and forget them entirely, a genuine gift when you are busy greeting guests. Look for the versions with a warm amber flicker rather than a yellow blink, and matte wax finishes rather than shiny plastic. I keep a labeled bin of them charged and ready, because they solve more party lighting problems per dollar than anything else I own. LED-only also means zero worry near napkins, foliage, and flowing sleeves.
Suggested budget range: $20 – $60.
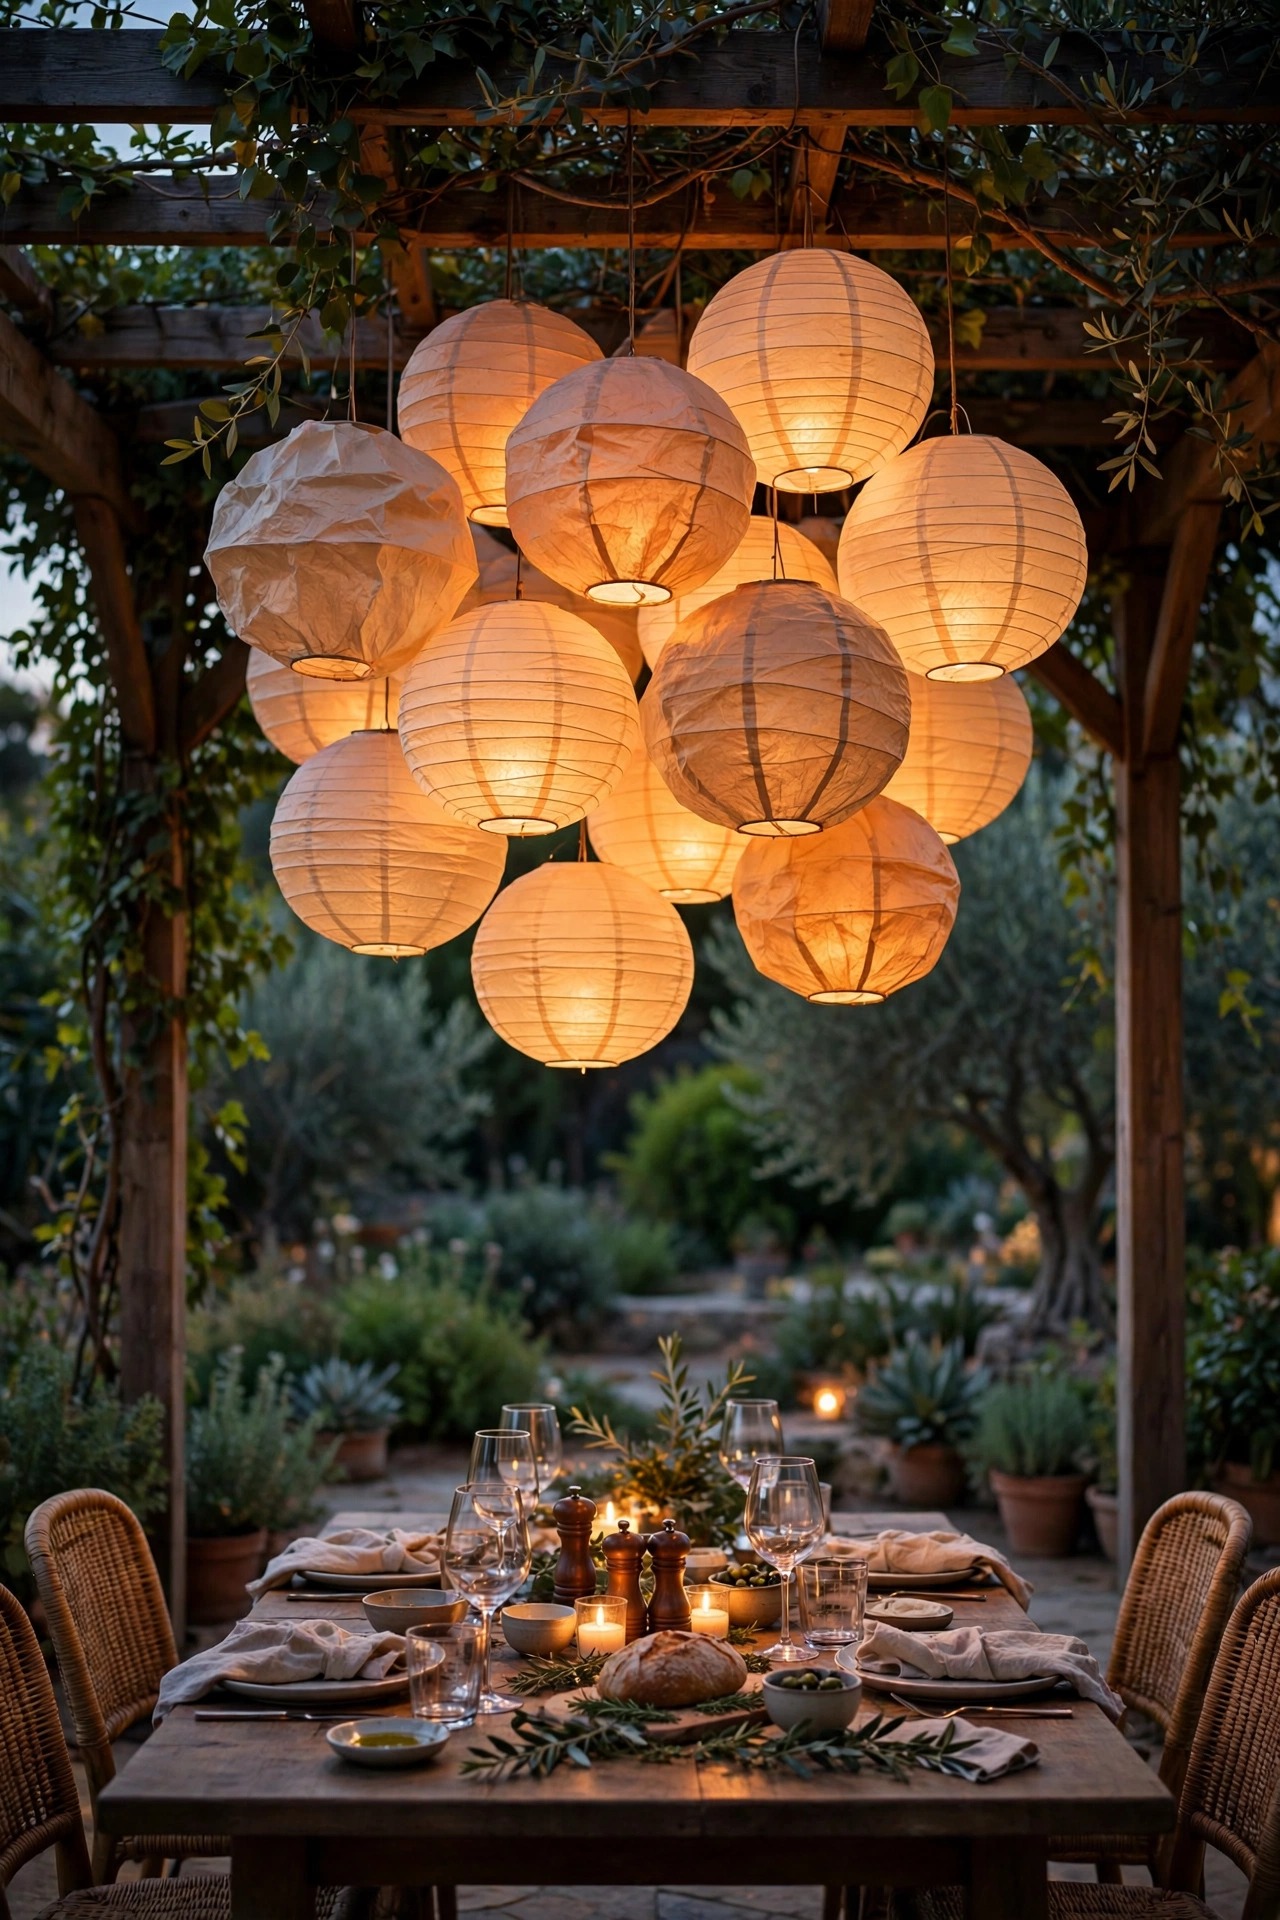
9. Cluster Paper Lanterns at Mixed Heights for Soft Volume
Paper lanterns give you big, soft spheres of light for very little money, and they fill vertical space that string lights leave empty. I hang clusters of three to five in warm white and one soft accent color above the seating corner or over the dessert table, each with a battery LED puck or a short fairy strand inside. Mixed diameters, say 8, 12, and 16 inches, look far more designed than a row of identical globes. Hang them from the string light cables, a pergola beam, or a tree branch with clear fishing line so they appear to float. Keep them LED-only inside, since paper and hot bulbs are a bad pairing, and bring them in if rain threatens, because one soggy lantern teaches that lesson permanently. For a cocktail party I keep clusters over the spots where people linger, not over walkways, and the gentle bobbing they do in a light breeze is honestly part of the charm.
Suggested budget range: $18 – $50.
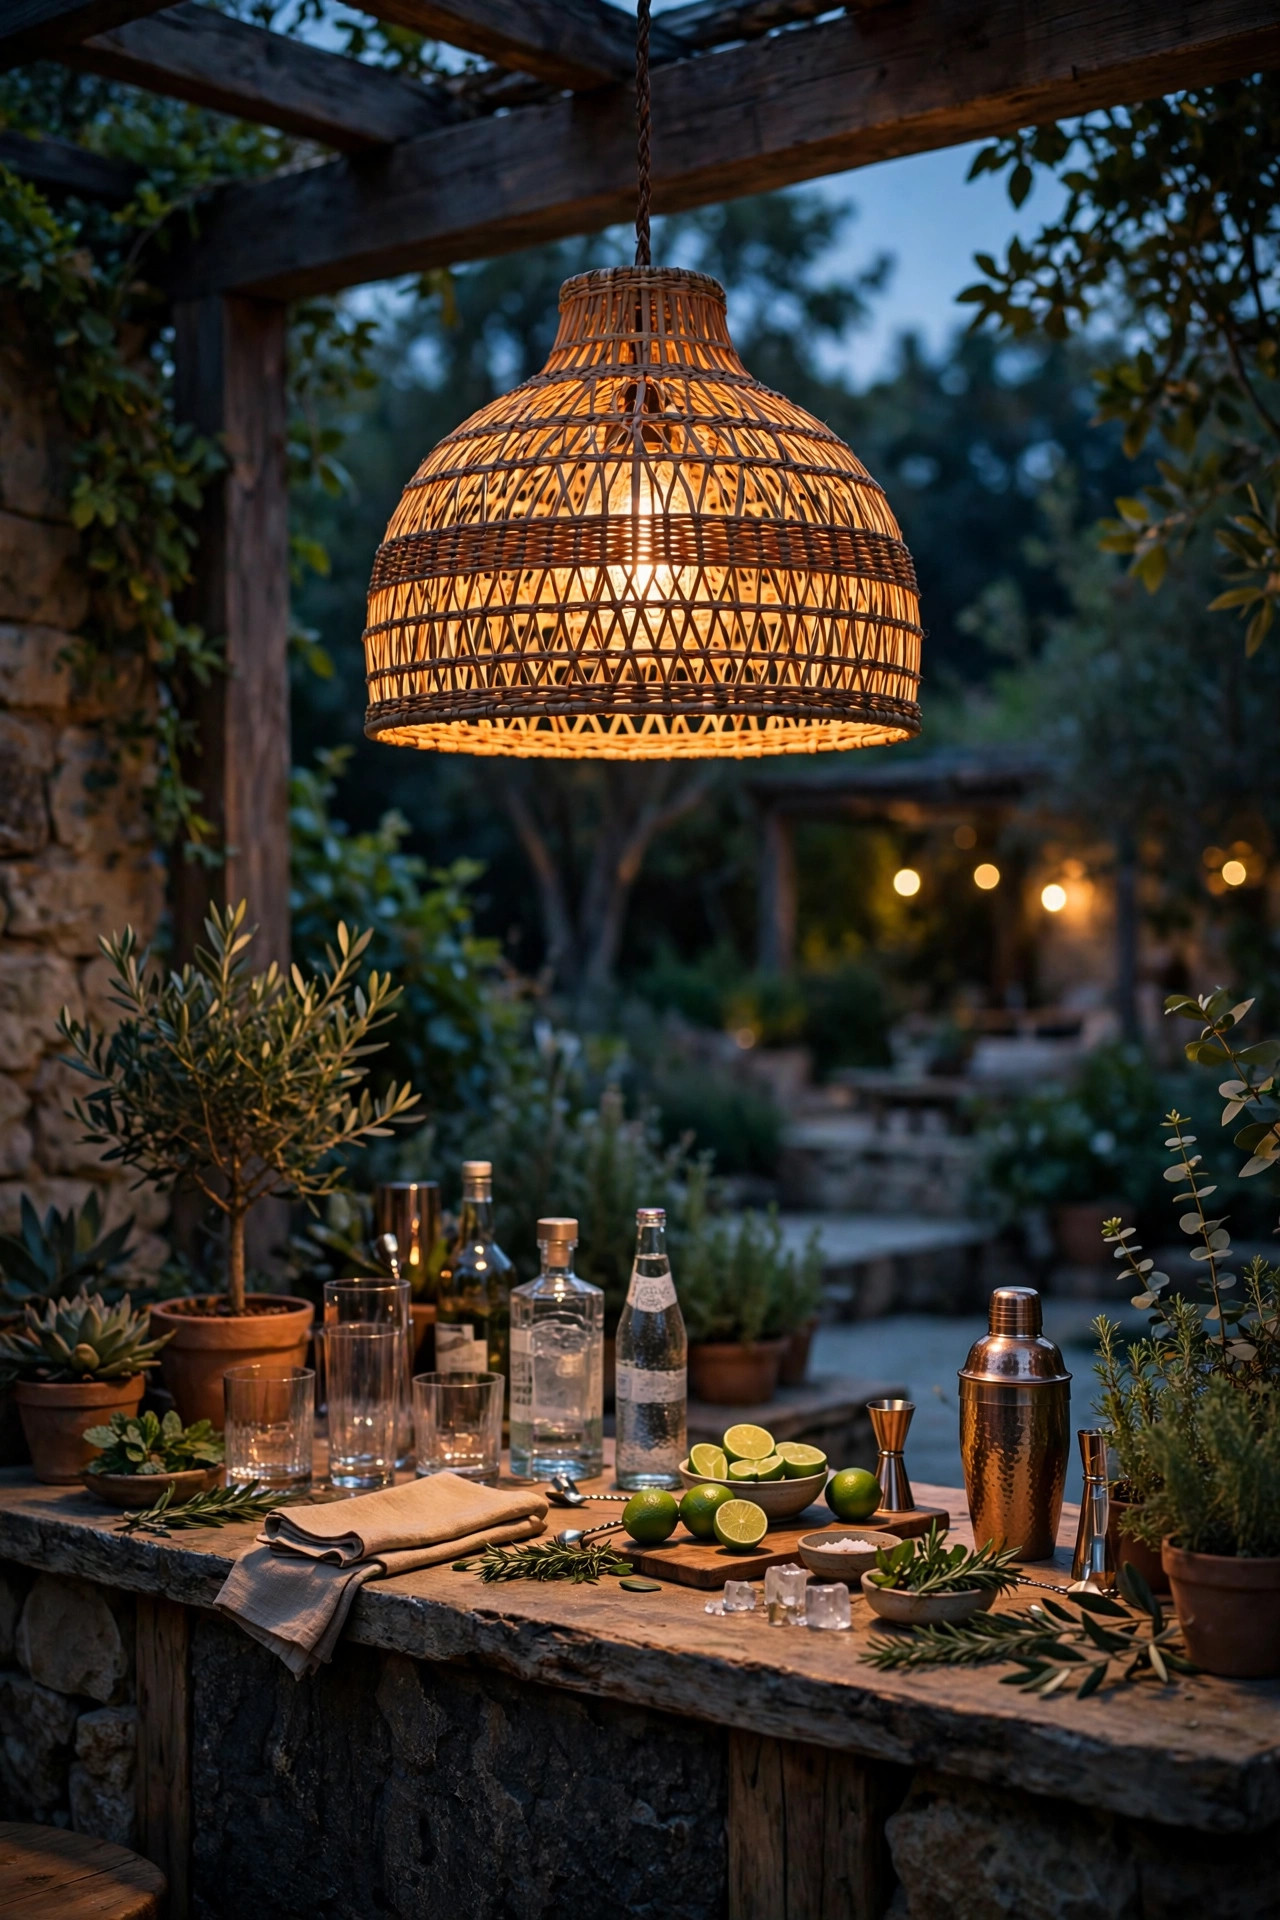
10. Hang One Statement Pendant Over the Bar or Lounge Corner
Every layered scheme benefits from a single star. Ours is an outdoor-rated pendant, a woven rattan shade with an LED filament bulb, hung over the bar so the focal point from idea three gets a crown. A statement fixture tells guests where the heart of the party is and gives the whole setup a designed anchor among the strings and jars. If you have a covered patio or pergola, a hardwired pendant on a dimmer is the grown-up version; in an open yard, a plug-in pendant swagged from a shepherd hook or branch does the same job with an outdoor-rated cord. Keep the bulb warm, 2700K, and sized so the shade bottom sits about 7 feet up over a bar or lounge, high enough to clear heads, low enough to feel intimate. One is enough. Two competing stars split attention and the magic thins out, so let everything else on this list play supporting roles.
Suggested budget range: $45 – $150.
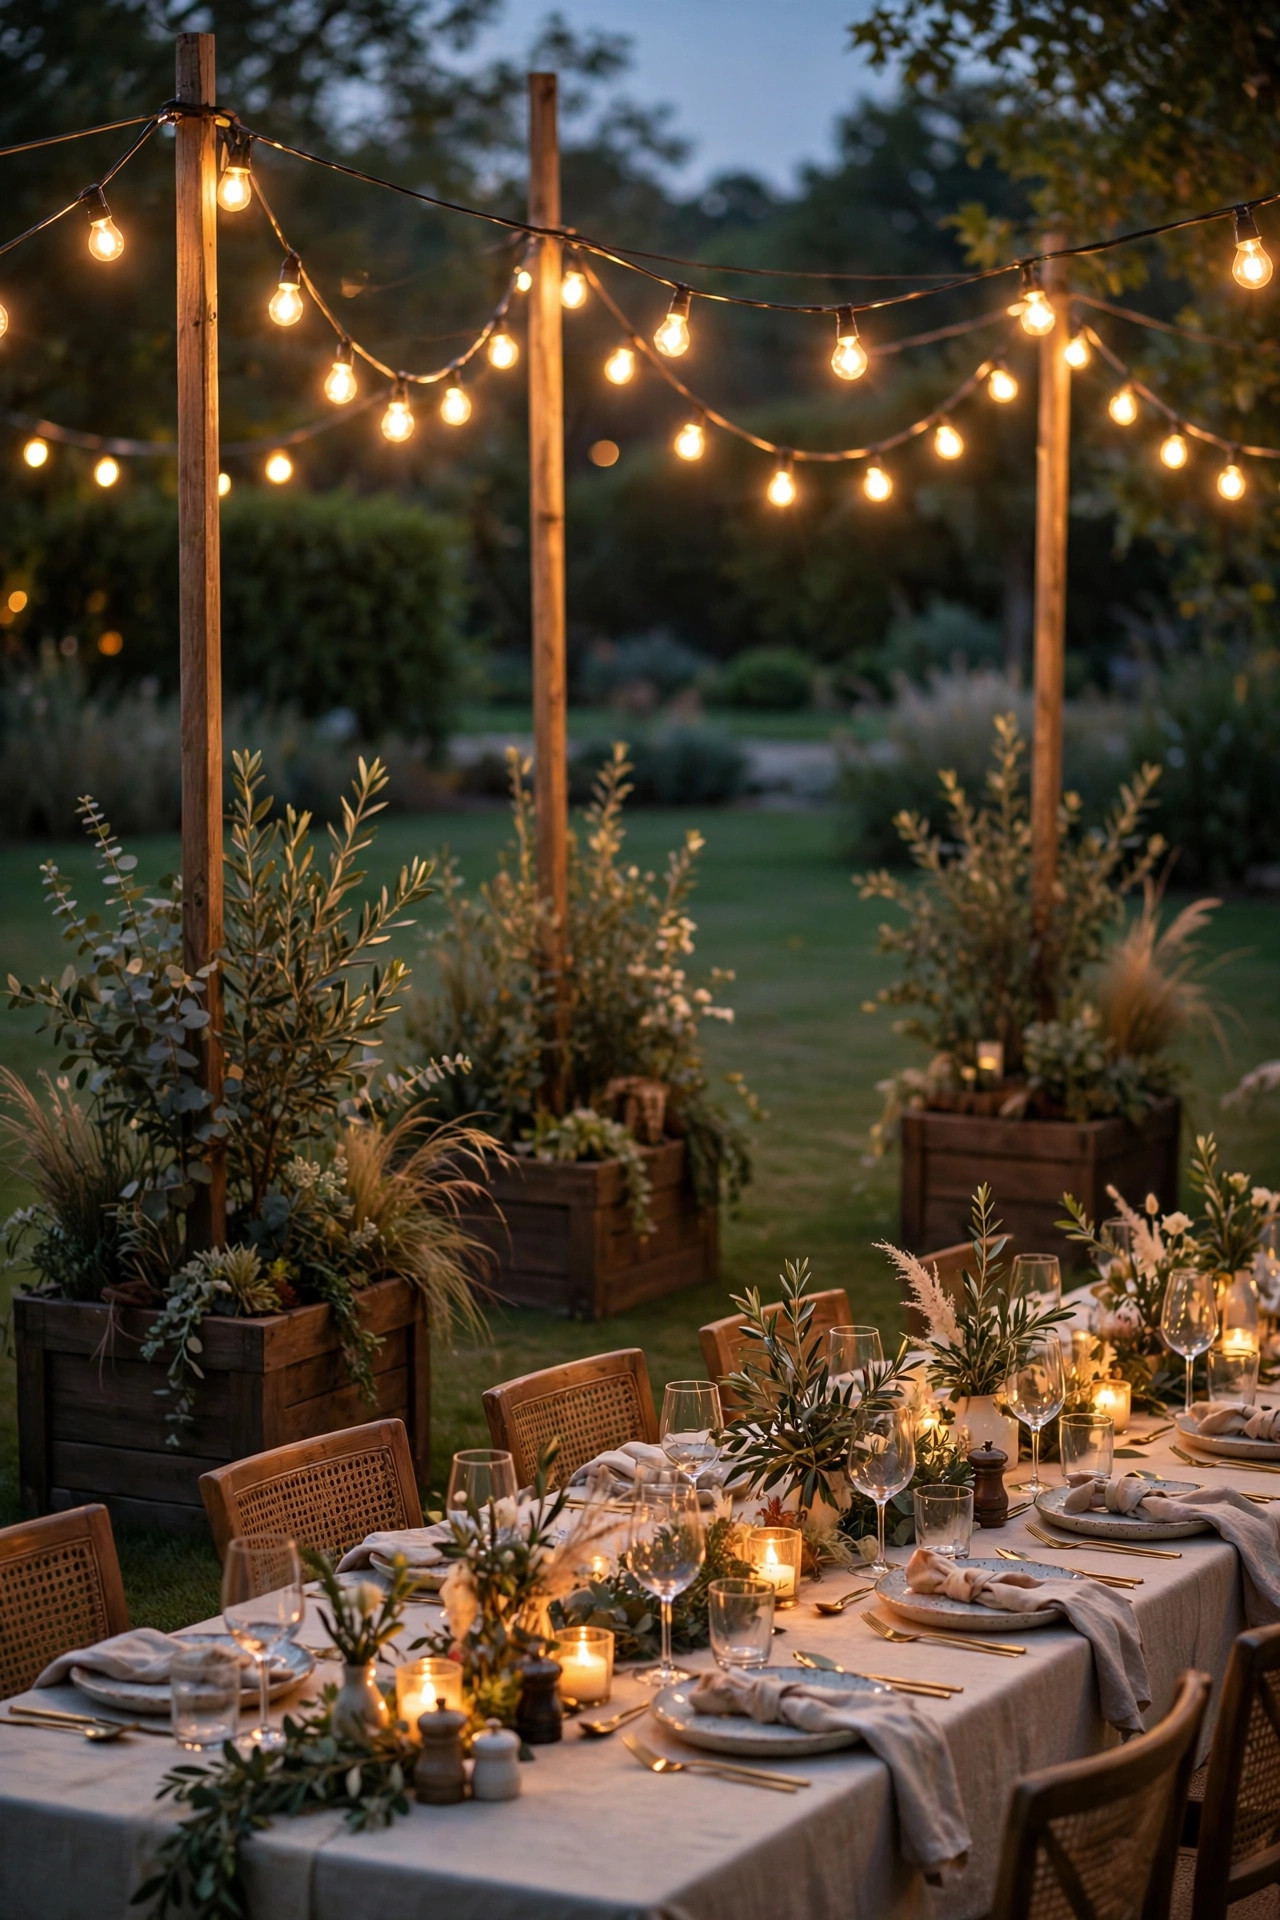
11. Plant String Light Poles Where There Are No Trees
Open lawns and new-build yards often have nothing to hang from, which is where string light poles earn their keep. Purpose-built metal poles with a hook top, set in heavy planters of gravel or concrete, give you anchor points anywhere you want a canopy, and they move when the party layout changes. I use two poles plus the house wall for most gatherings, which covers a generous mingling zone. Fill the planter pots with trailing plants or upright grasses and the hardware disappears into the landscaping. Space poles 10 to 15 feet apart for café strands; longer spans sag more than looks good unless you add a guide wire. Staked yard poles are the budget route and fine in soft soil, but planter bases win on patios and decks where you cannot drive a stake. When the season ends, the poles stack in the garage and the planters go back to being planters, which my storage-challenged self appreciates deeply.
Suggested budget range: $50 – $160.
12. Uplight Trees and Shrubs for a Living Backdrop
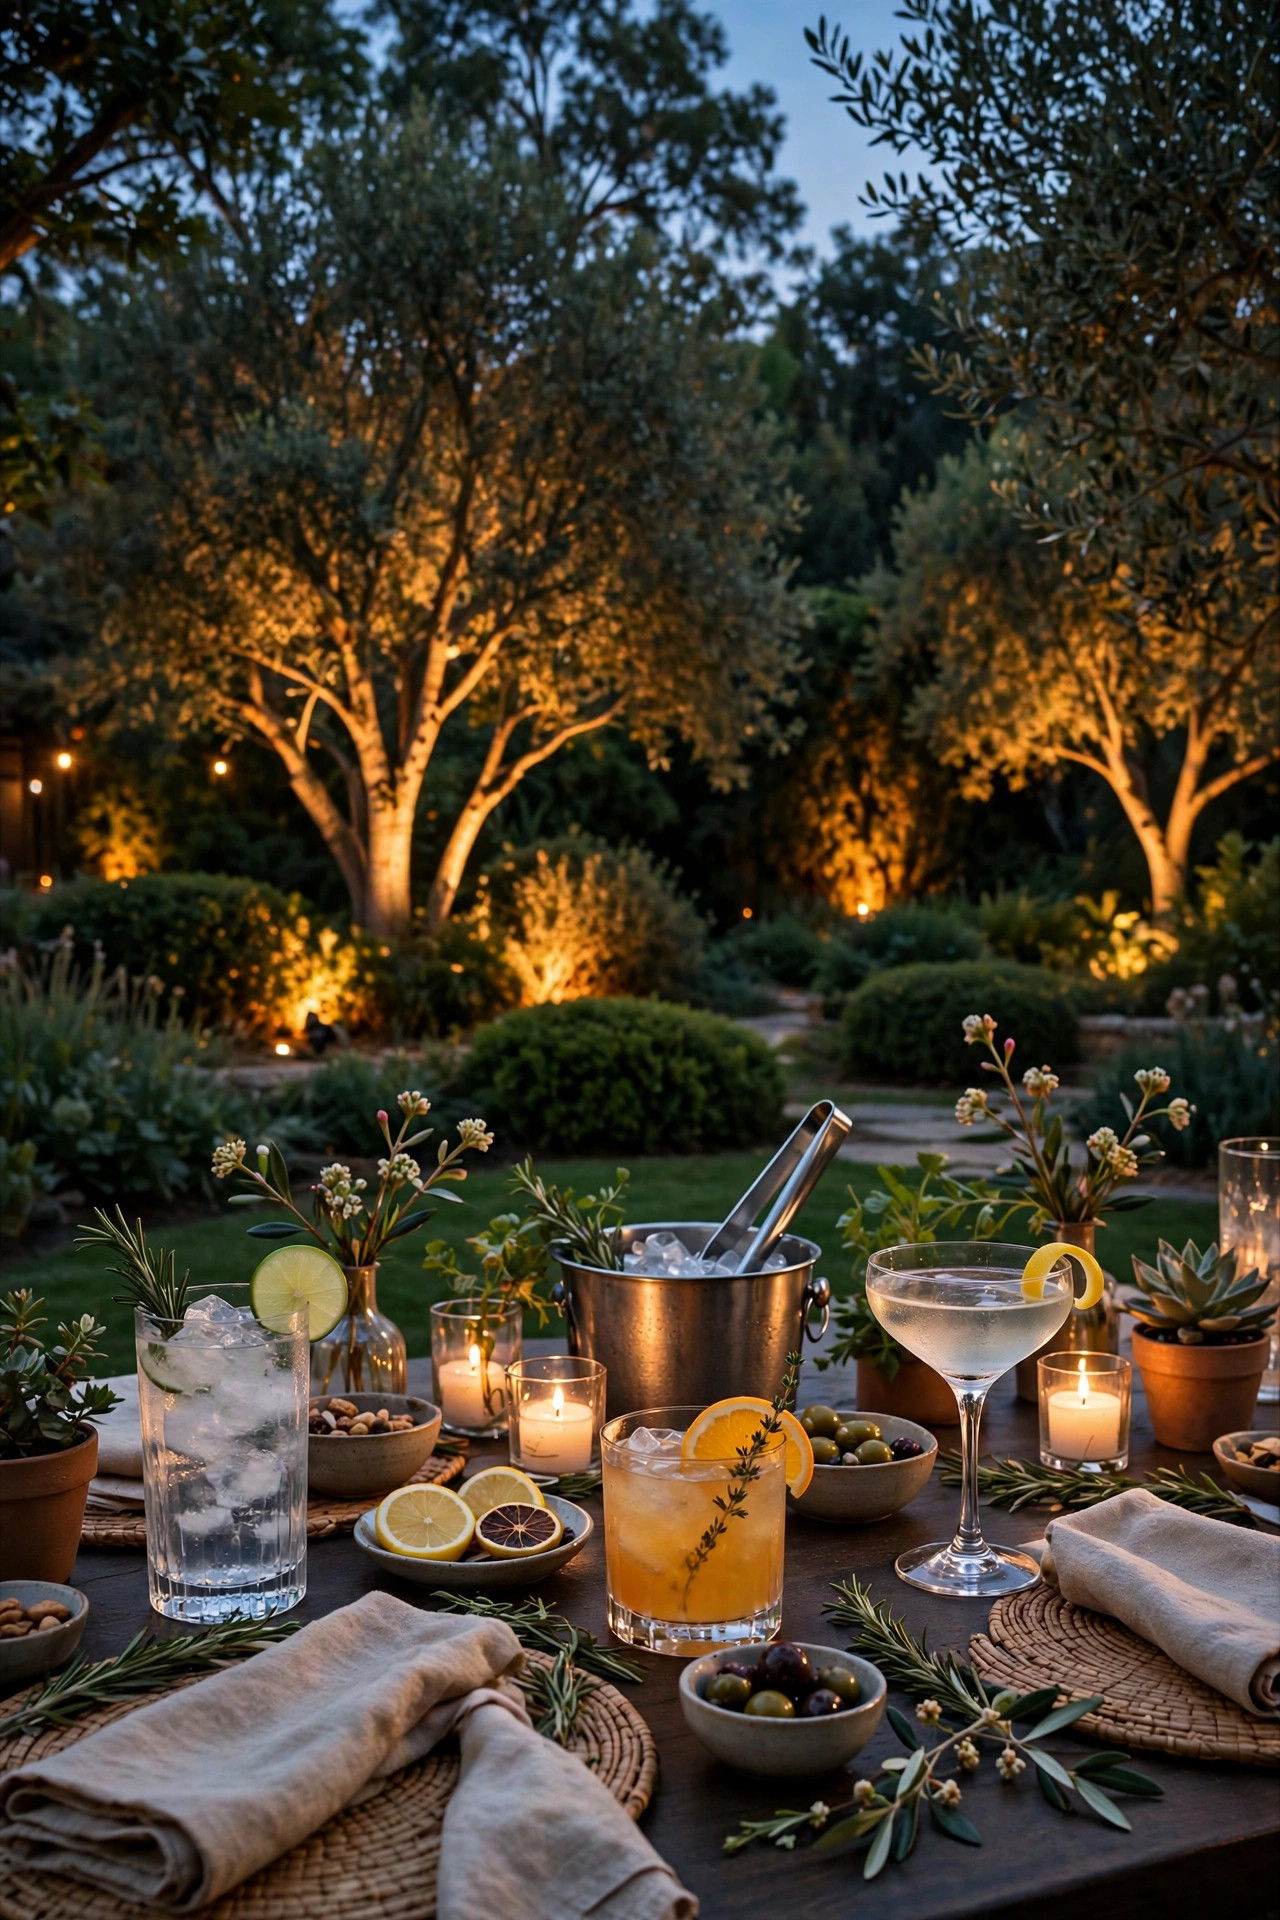
The cheapest scenery at any outdoor party is the planting you already own, lit from below. A low-voltage or solar uplight tucked at the base of a small tree, a sculptural shrub, or a clump of ornamental grass turns flat darkness into a layered backdrop that makes the whole yard feel bigger. Aim for grazing light across bark and foliage rather than a spotlight blast, and step back to check from the party zone, since the view that matters is the one guests get. Warm white keeps it elegant; this is not the place for color unless a theme demands it. Solar uplights have gotten genuinely good and free you from cable runs, but wired low-voltage wins for reliability through a long evening. Two or three uplights usually suffice, one per major plant mass. It is the layer people forget, and honestly? It is the one that makes the difference between a lit yard and a lit scene.
Suggested budget range: $30 – $120.
13. Add Moonlighting From a High Branch for a Gentle Wash
Moonlighting is the connoisseur move: a single downlight mounted high in a tree, aimed through branches so the ground gets a soft, dappled wash like real moonlight. Over a lounge corner or the path between the bar and seating, it is pure atmosphere, and because the source sits above everything, it lights without ever shining in anyone's eyes. This is one idea where I recommend professional installation or at least a confident ladder-and-climbing plan, since fixtures live 15 to 20 feet up and need proper tree-friendly mounting that will not girdle the trunk. Choose a cool-neutral bulb if you want a true moonlight feel, or warm white to blend with the rest of the party lighting; both work, and the warm version keeps faces flattering. A single fixture covers a surprising radius once branches scatter the beam. If your yard has one big tree, this might be the single most transformative upgrade on the list.
Suggested budget range: $80 – $250.
14. Guide Guests With Path Lights From Gate to Bar
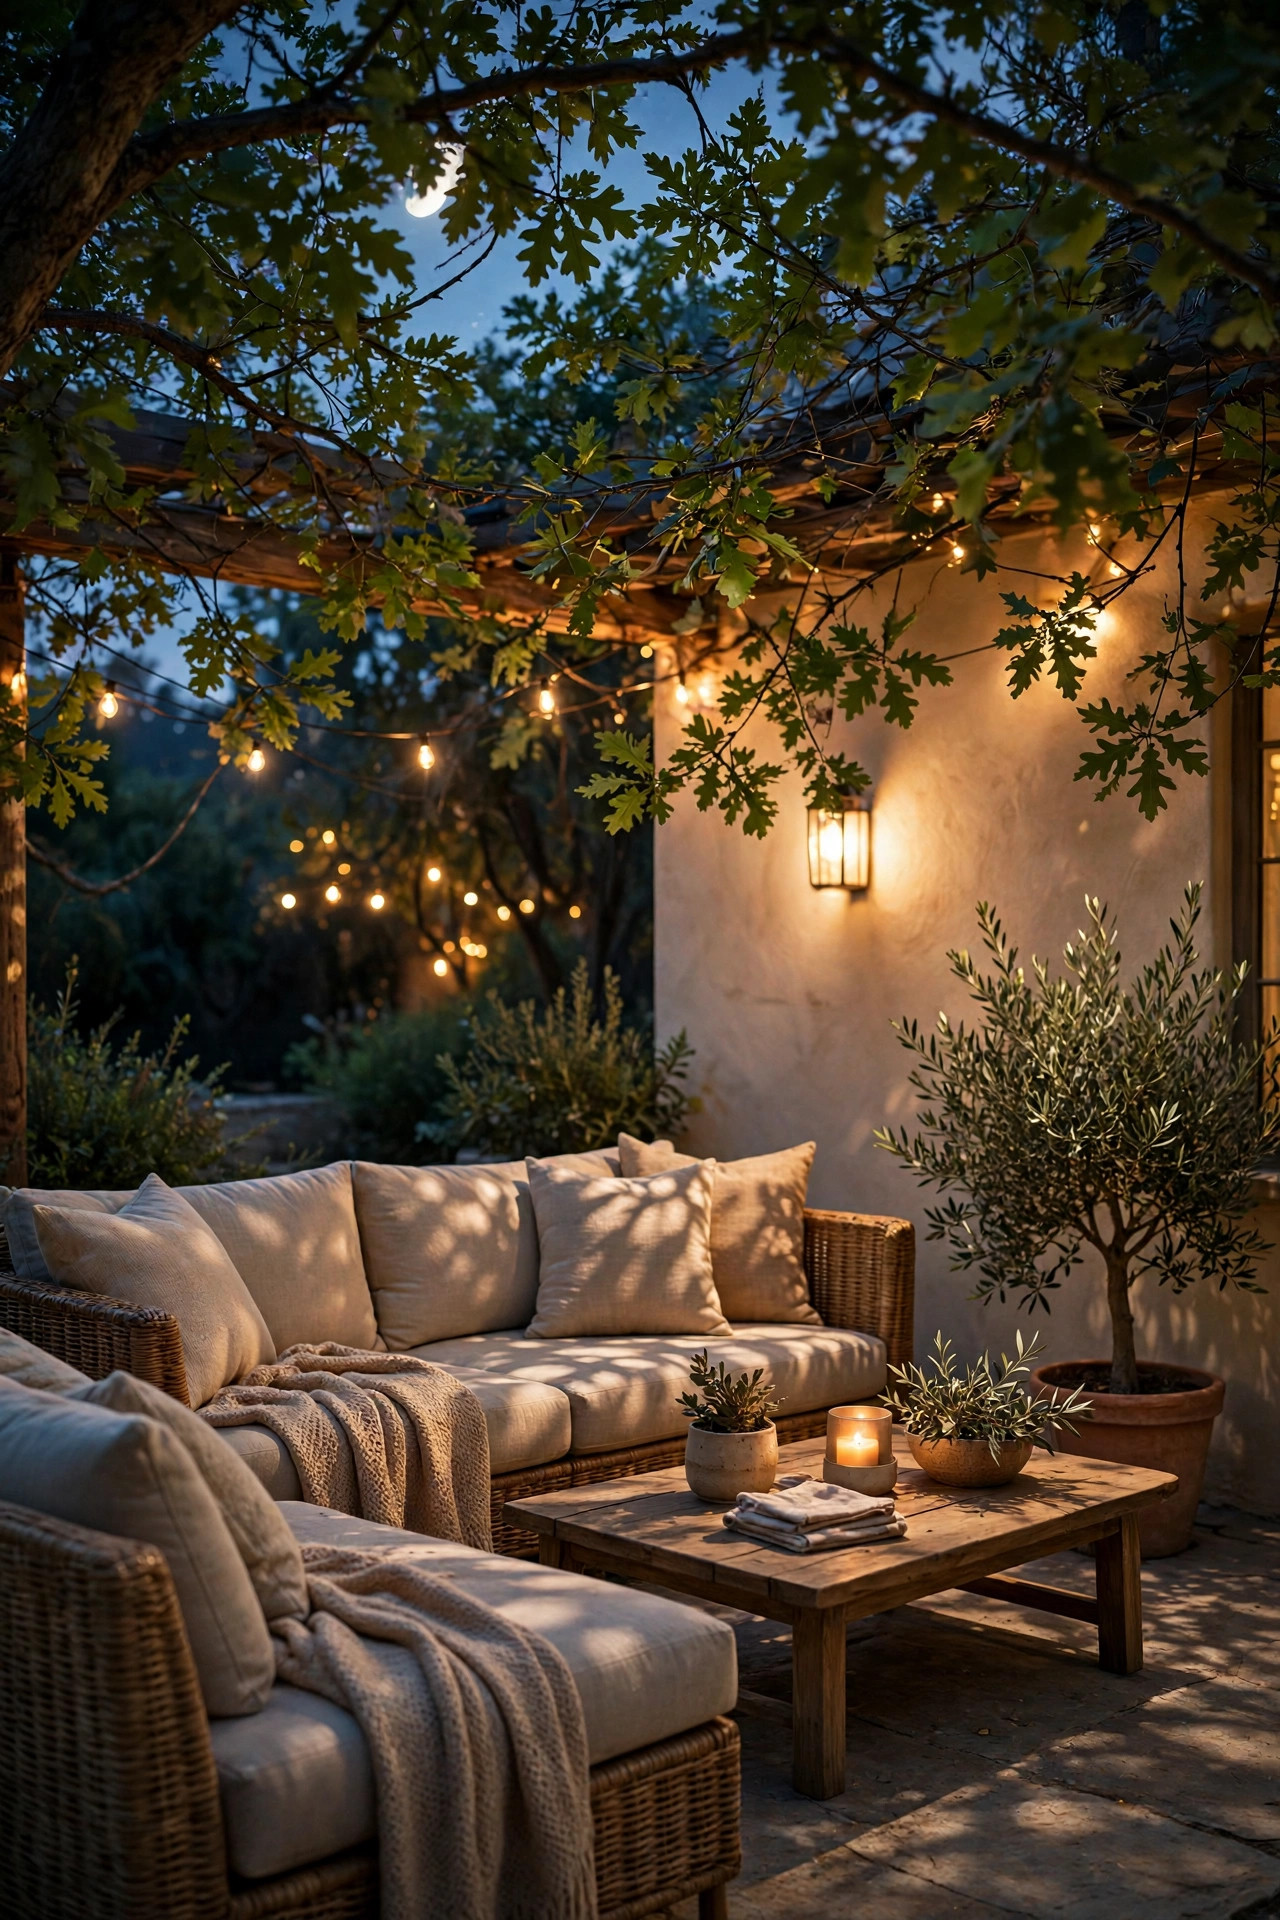
Guests arrive in the dark more often than we plan for, so give them a runway. A loose line of low path lights from the gate or side yard to the patio tells newcomers exactly where the party lives and keeps heels out of the flower beds. Keep the spacing relaxed, 6 to 8 feet, since this is guidance, not an airport strip, and choose fixtures that throw light down and out rather than glaring upward into eyes. Solar stakes are the easy install and fine for a seasonal setup; low-voltage wired lights are brighter and steadier for a permanent route. I like to end the runway with one slightly brighter marker at the patio edge, a little lighthouse that says you have arrived. Do a test walk yourself at dusk carrying two drinks, because that is the exact journey your guests will make, and adjust any fixture that leaves a dark gap at a step or a hose crossing.
Suggested budget range: $35 – $140.
15. Mark Steps and Deck Edges With Safety Light
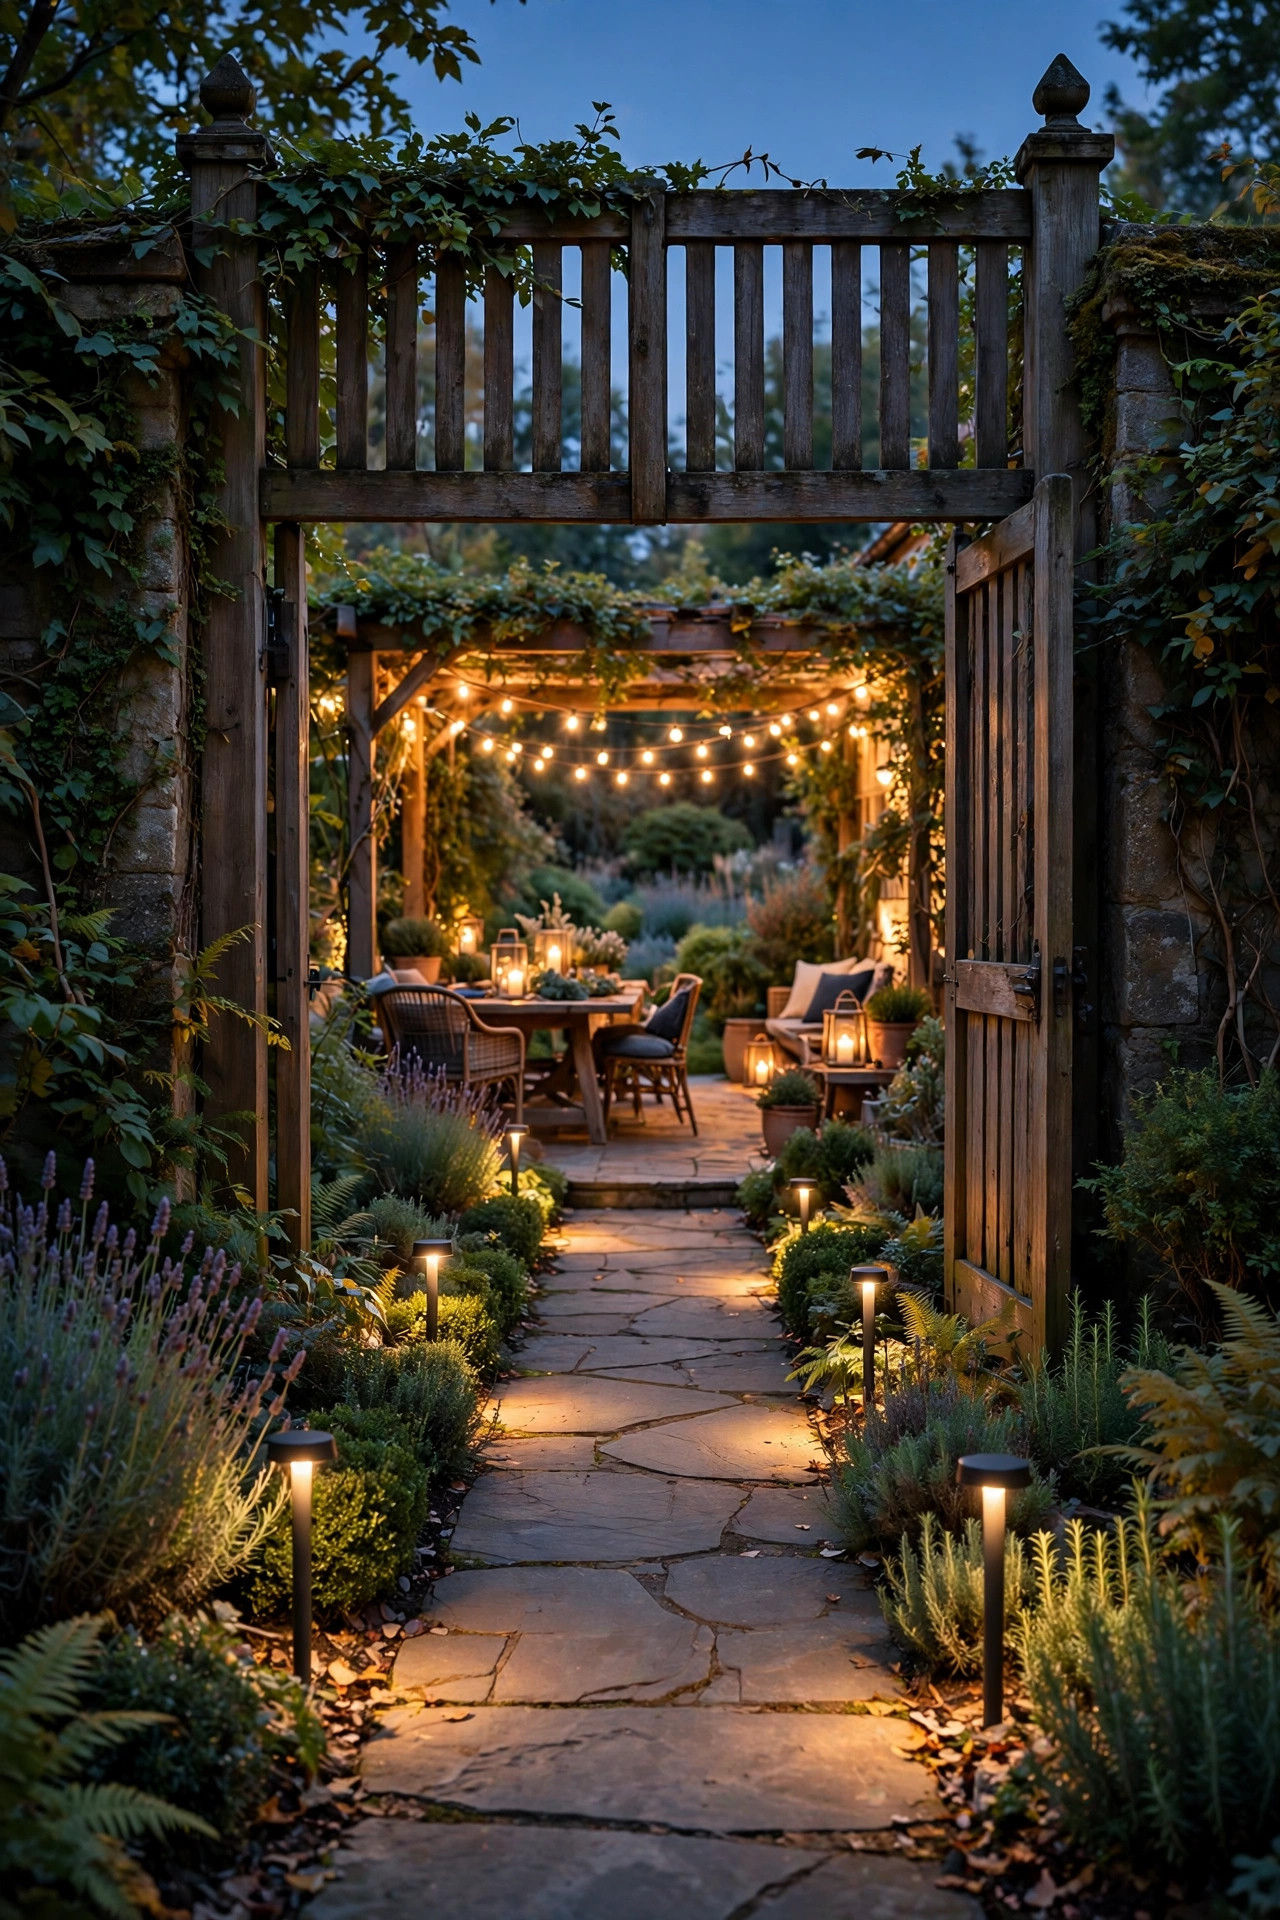
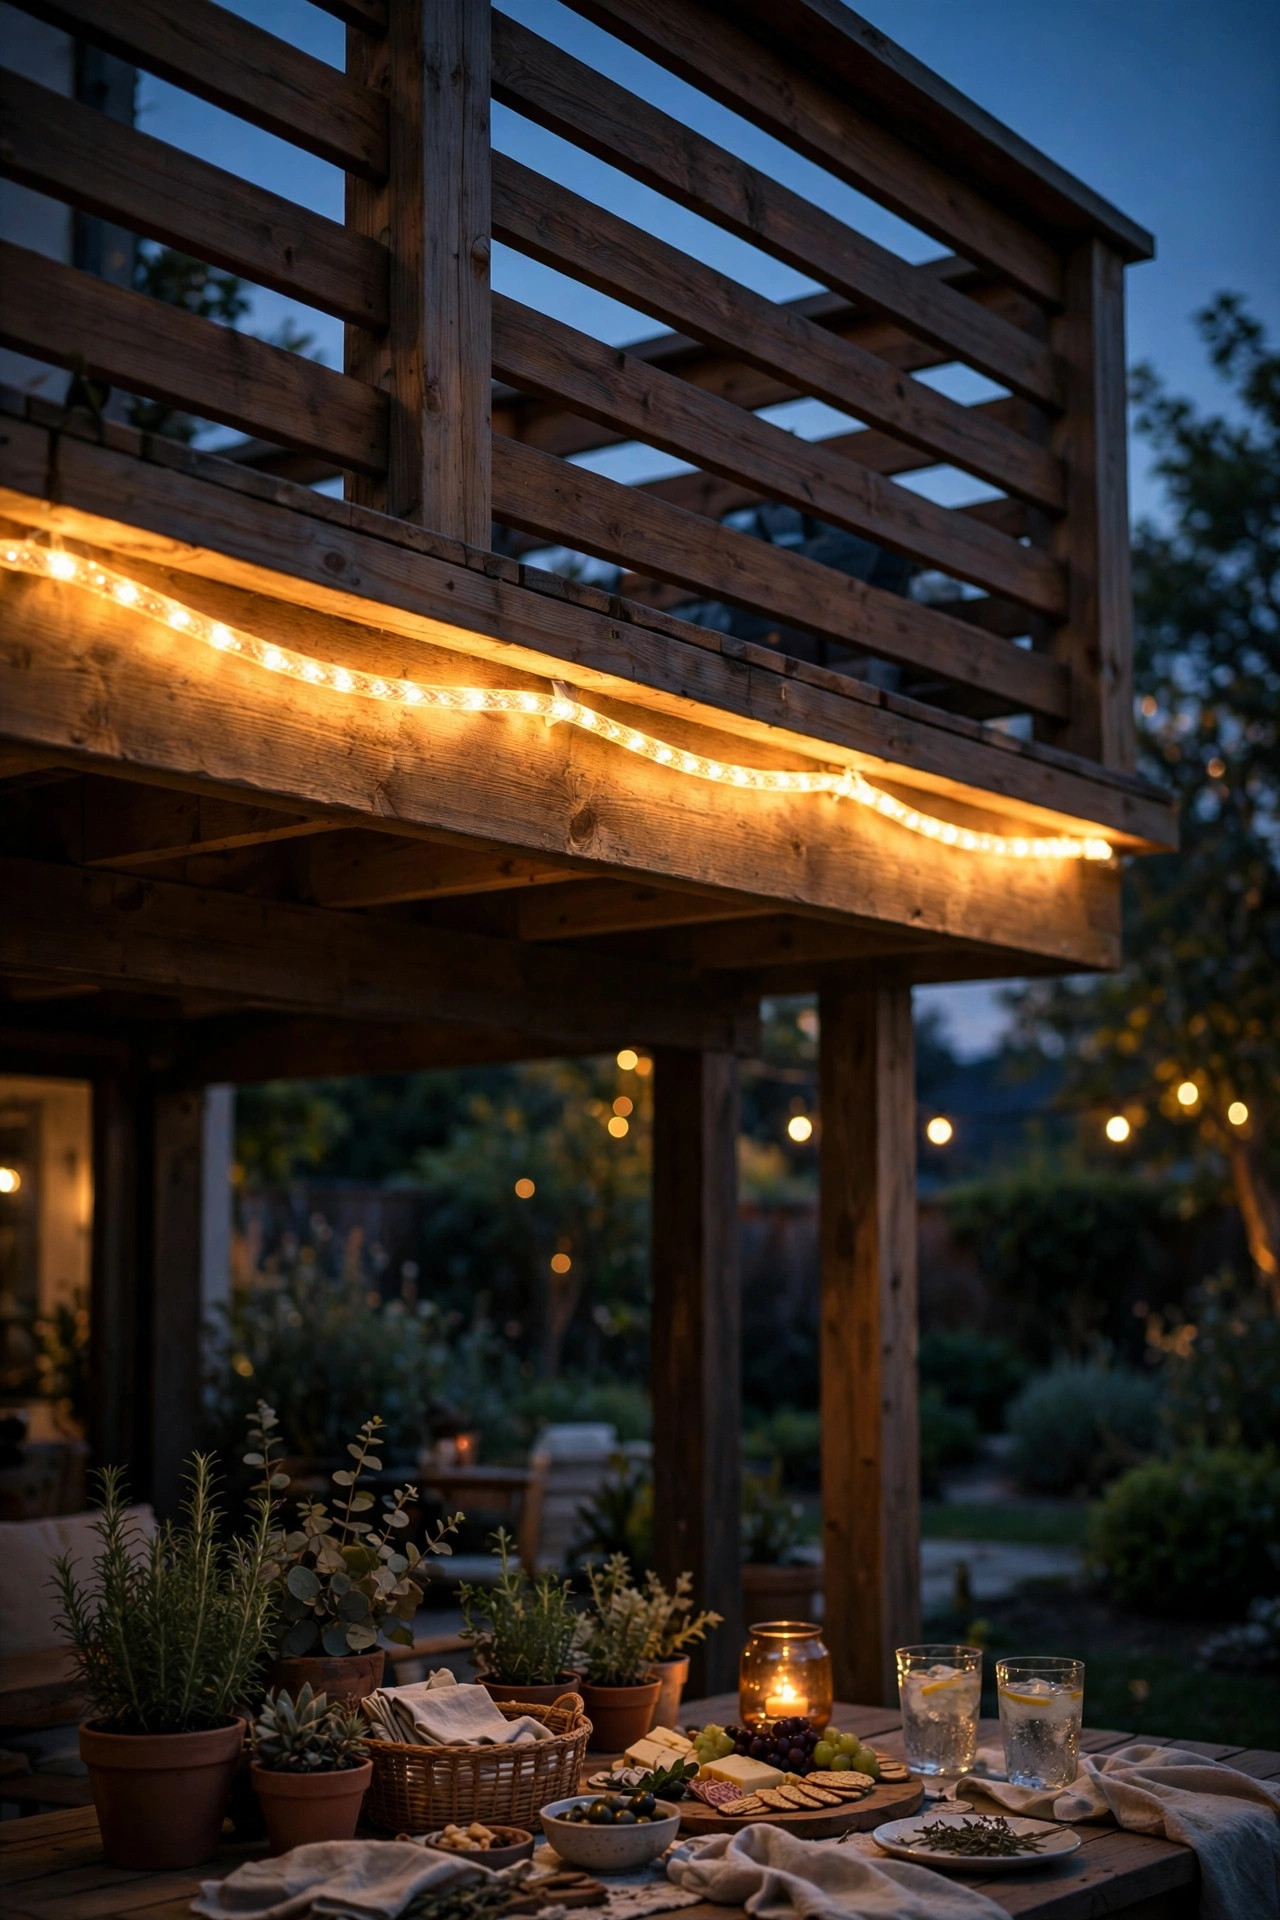
The least glamorous idea here may be the most important. Steps, deck edges, and that one sneaky raised threshold by the back door are where a lovely evening turns into a sprained ankle, especially once guests are in party shoes holding glasses. Recessed step lights, a rope light tucked under a deck nosing, or small solar markers at each tread edge make hazards visible without a word of warning. Keep this light low, warm, and glare-free; it should outline the change in level, not compete with the party glow. Battery and solar options install in minutes with adhesive or two screws, while hardwired step lights belong on the long-term upgrade list. I walk the whole route from the door to the farthest corner of the yard before every party and fix whatever my eyes stumble on. It takes five minutes, and it is the difference between hosting confidently and hovering nervously all night.
Suggested budget range: $20 – $90.
16. Run Rope Light Under Railings and Counter Edges
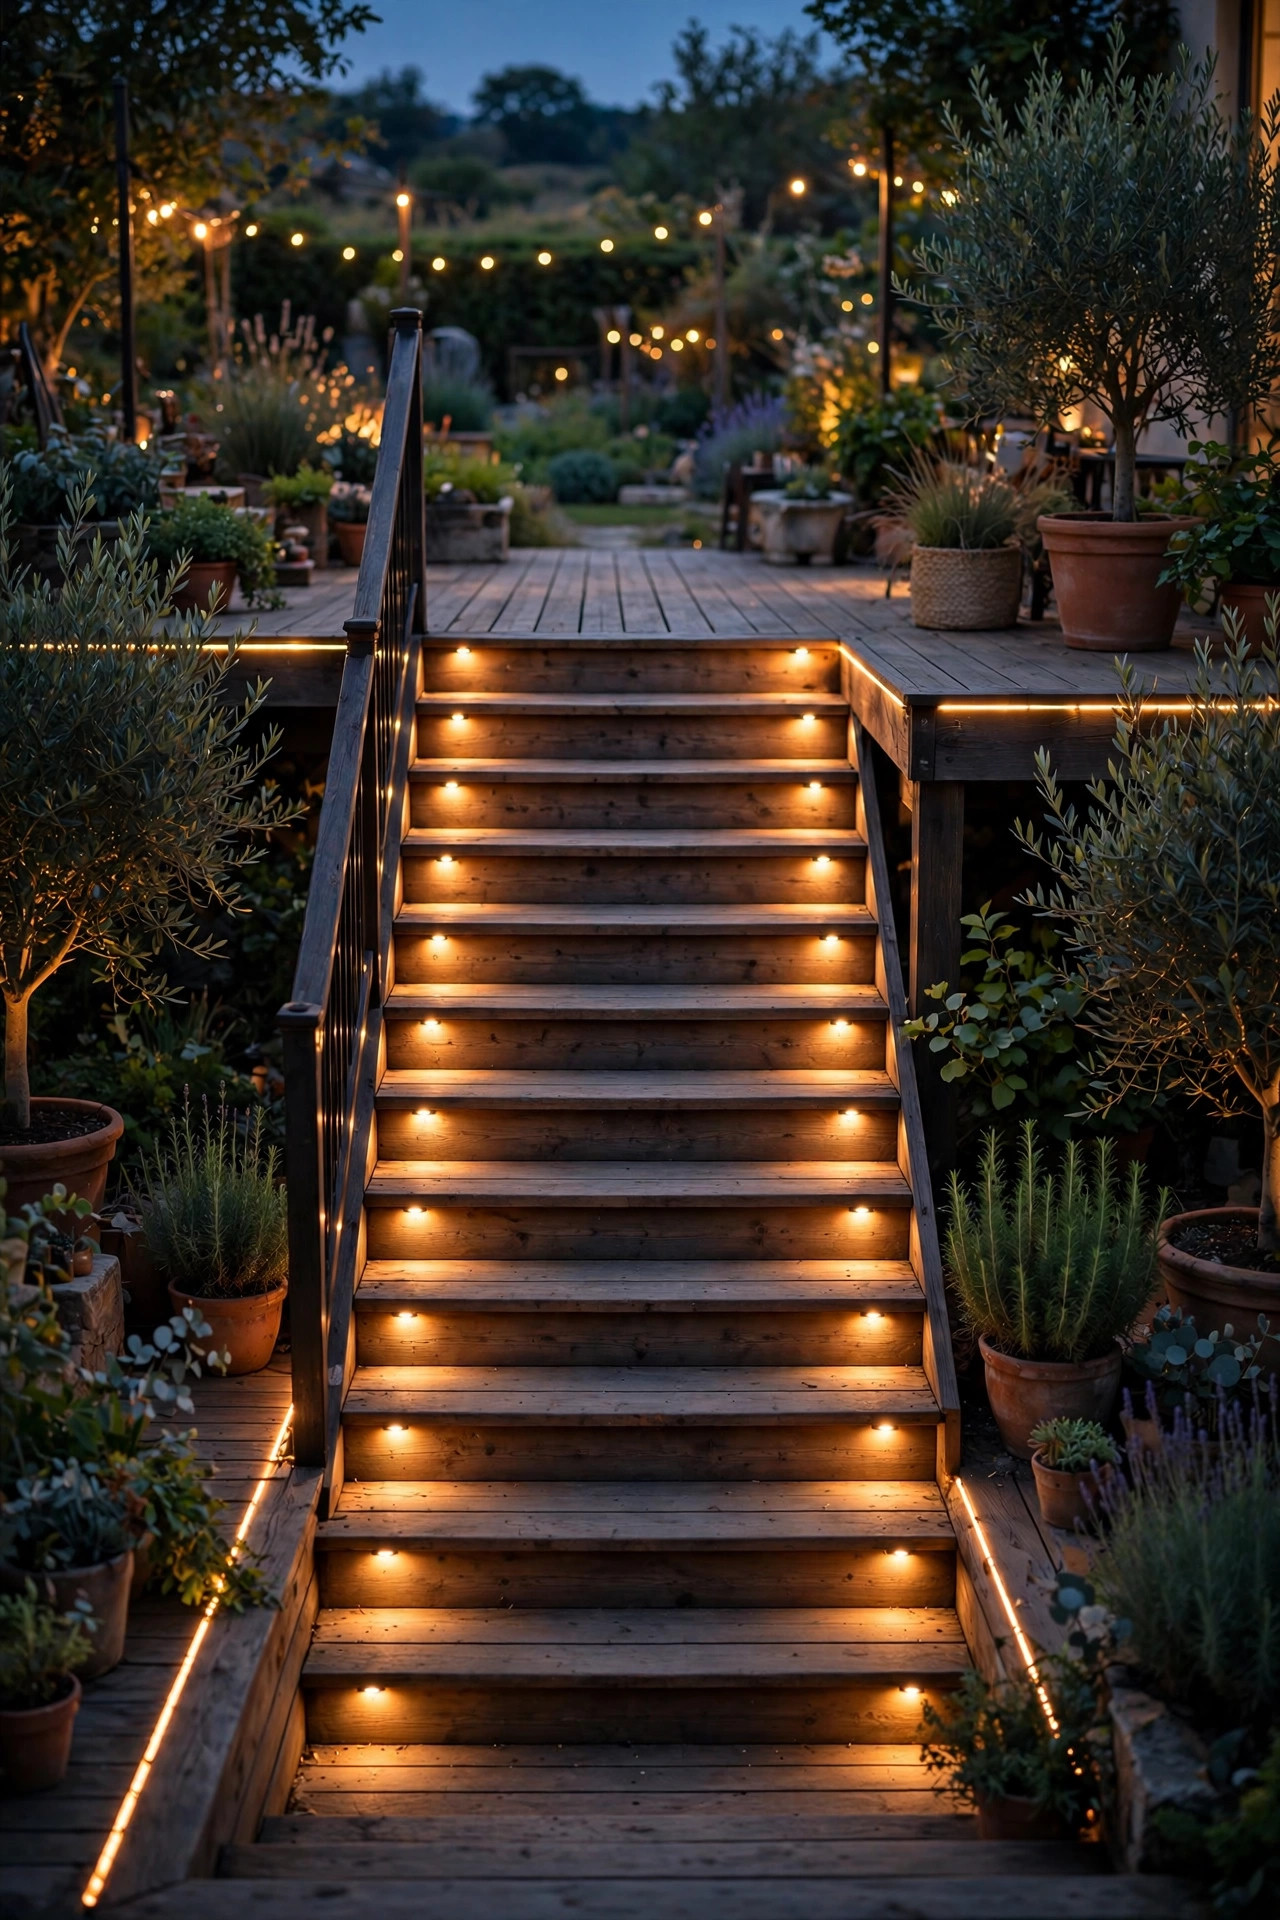
Rope light is the quiet workhorse of party lighting. Tucked under a deck railing, along the underside of a serving counter, or beneath a bench, it draws a clean line of light that defines the architecture of your space and doubles as a handrail guide after dark. The modern LED versions are flexible, cuttable to length with marked cut points, and available in warm white that matches everything else on this list. Mount it facing down or tucked behind a lip so guests see the glow, never the tube itself; visible rope light reads dated, hidden rope light reads custom. Use the outdoor-rated kind with sealed connectors, clip it every 12 inches so it never sags into scallops, and put it on the same timer or smart plug as the string lights so the whole foundation layer switches on together. Under a bar counter it also lights the foot rail zone, which subtly makes the bar feel like a real bar.
Suggested budget range: $15 – $45.
17. Place Flame-Effect Torches Where Bugs Crash the Party
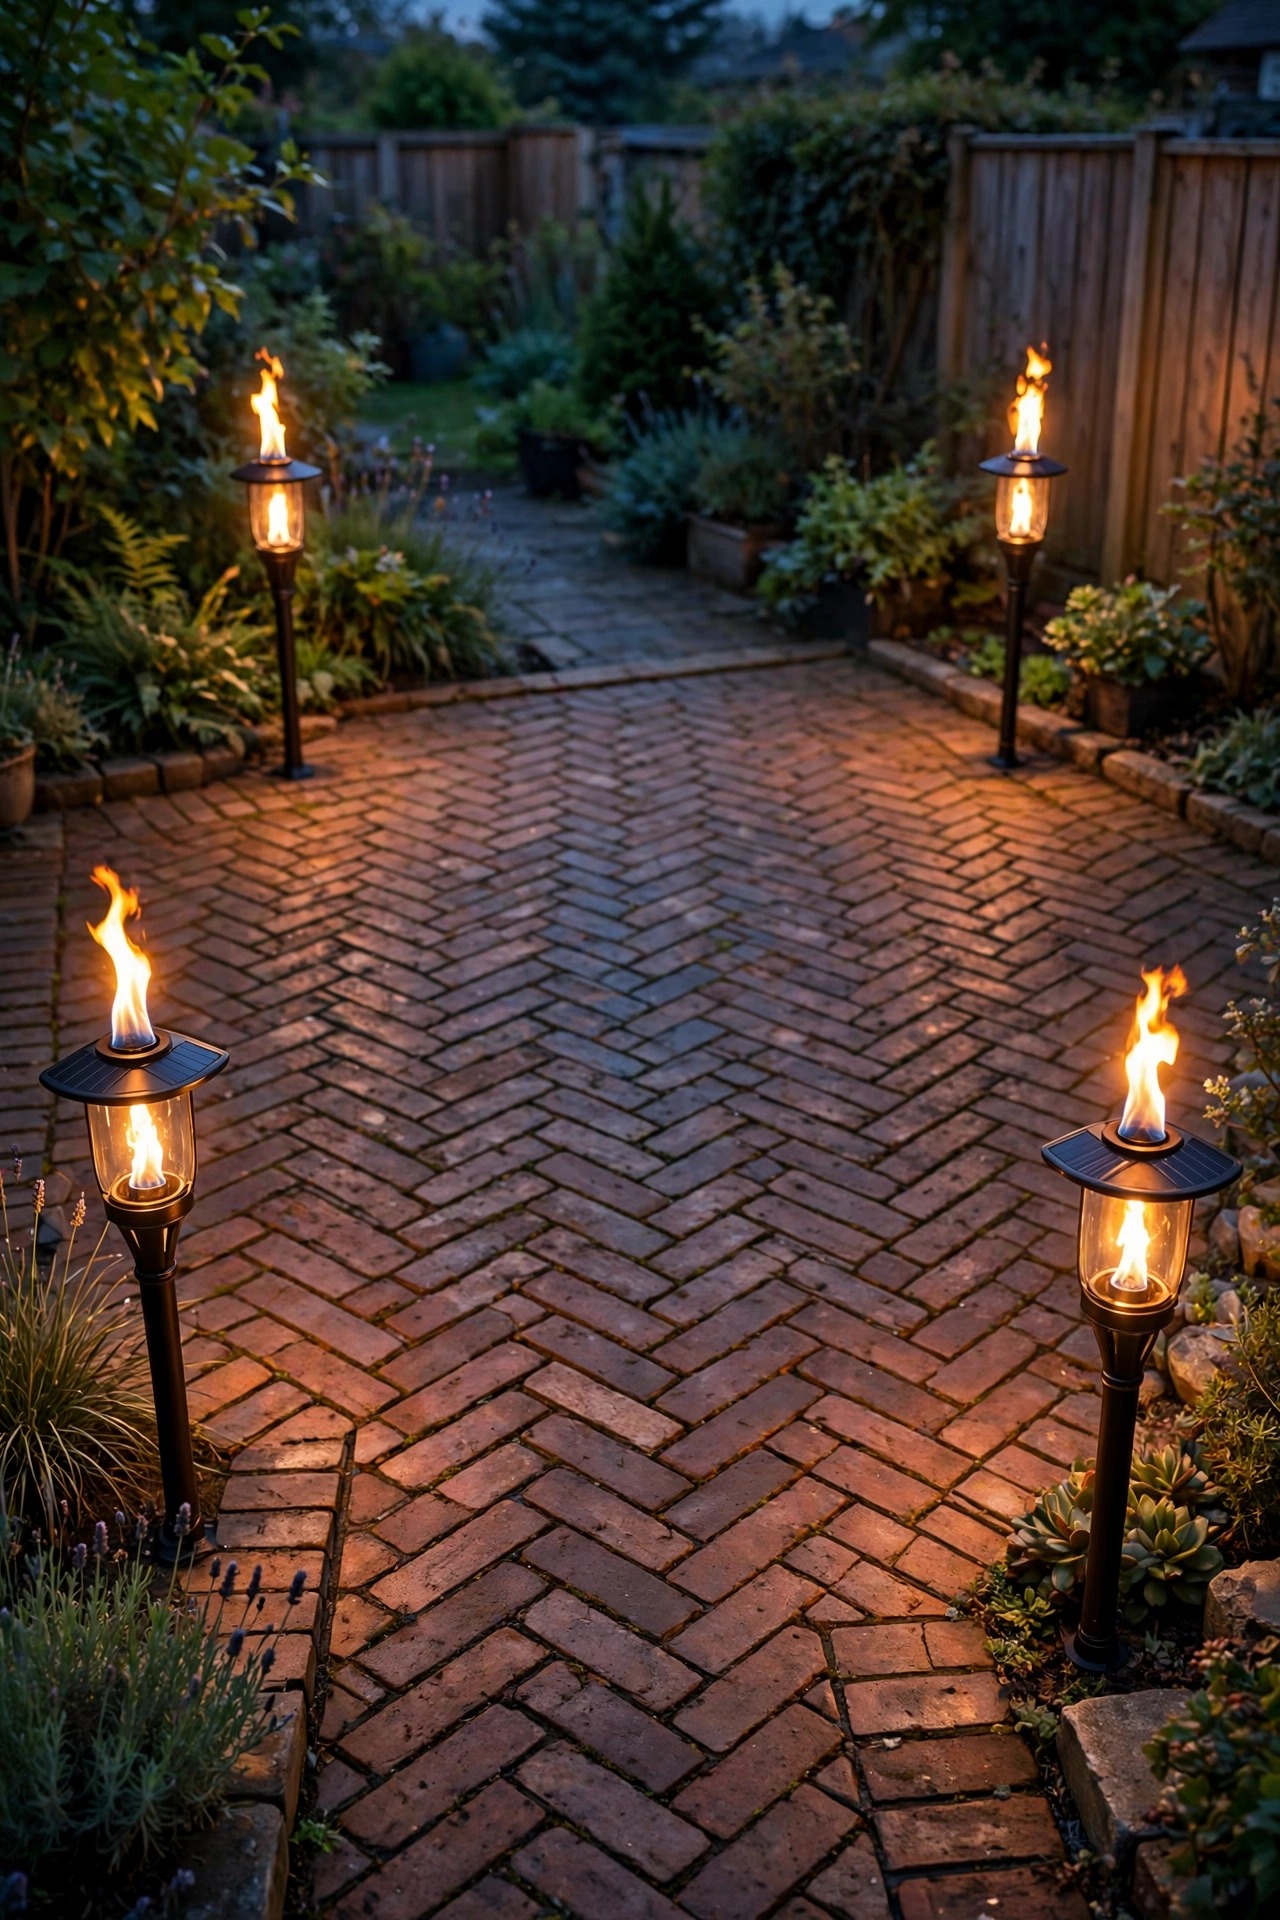
Citronella works best near where people stand still, and flame-effect LED torches give you the tiki look with none of the open flame near napkins and foliage. I circle the seating corner and the dessert table with solar flame torches, mixing in a few real citronella candles in safe, stable holders downwind of the food if the bugs are truly bold. The flickering amber reads as firelight from across the yard and keeps the mood unmistakably evening-party. Solar versions charge all day in the beds and switch themselves on at dusk, which is one less thing on the host checklist. Stake them at varied heights if your models allow, or mix torches with lanterns at the same posts, and keep flames of any kind at least a few feet from hanging paper lanterns and dry grasses. Honestly, half their value is practical pest defense and half is pure theater, and both halves earn their place.
Suggested budget range: $25 – $70.
18. Wash a Wall or Fence With One Theme Color
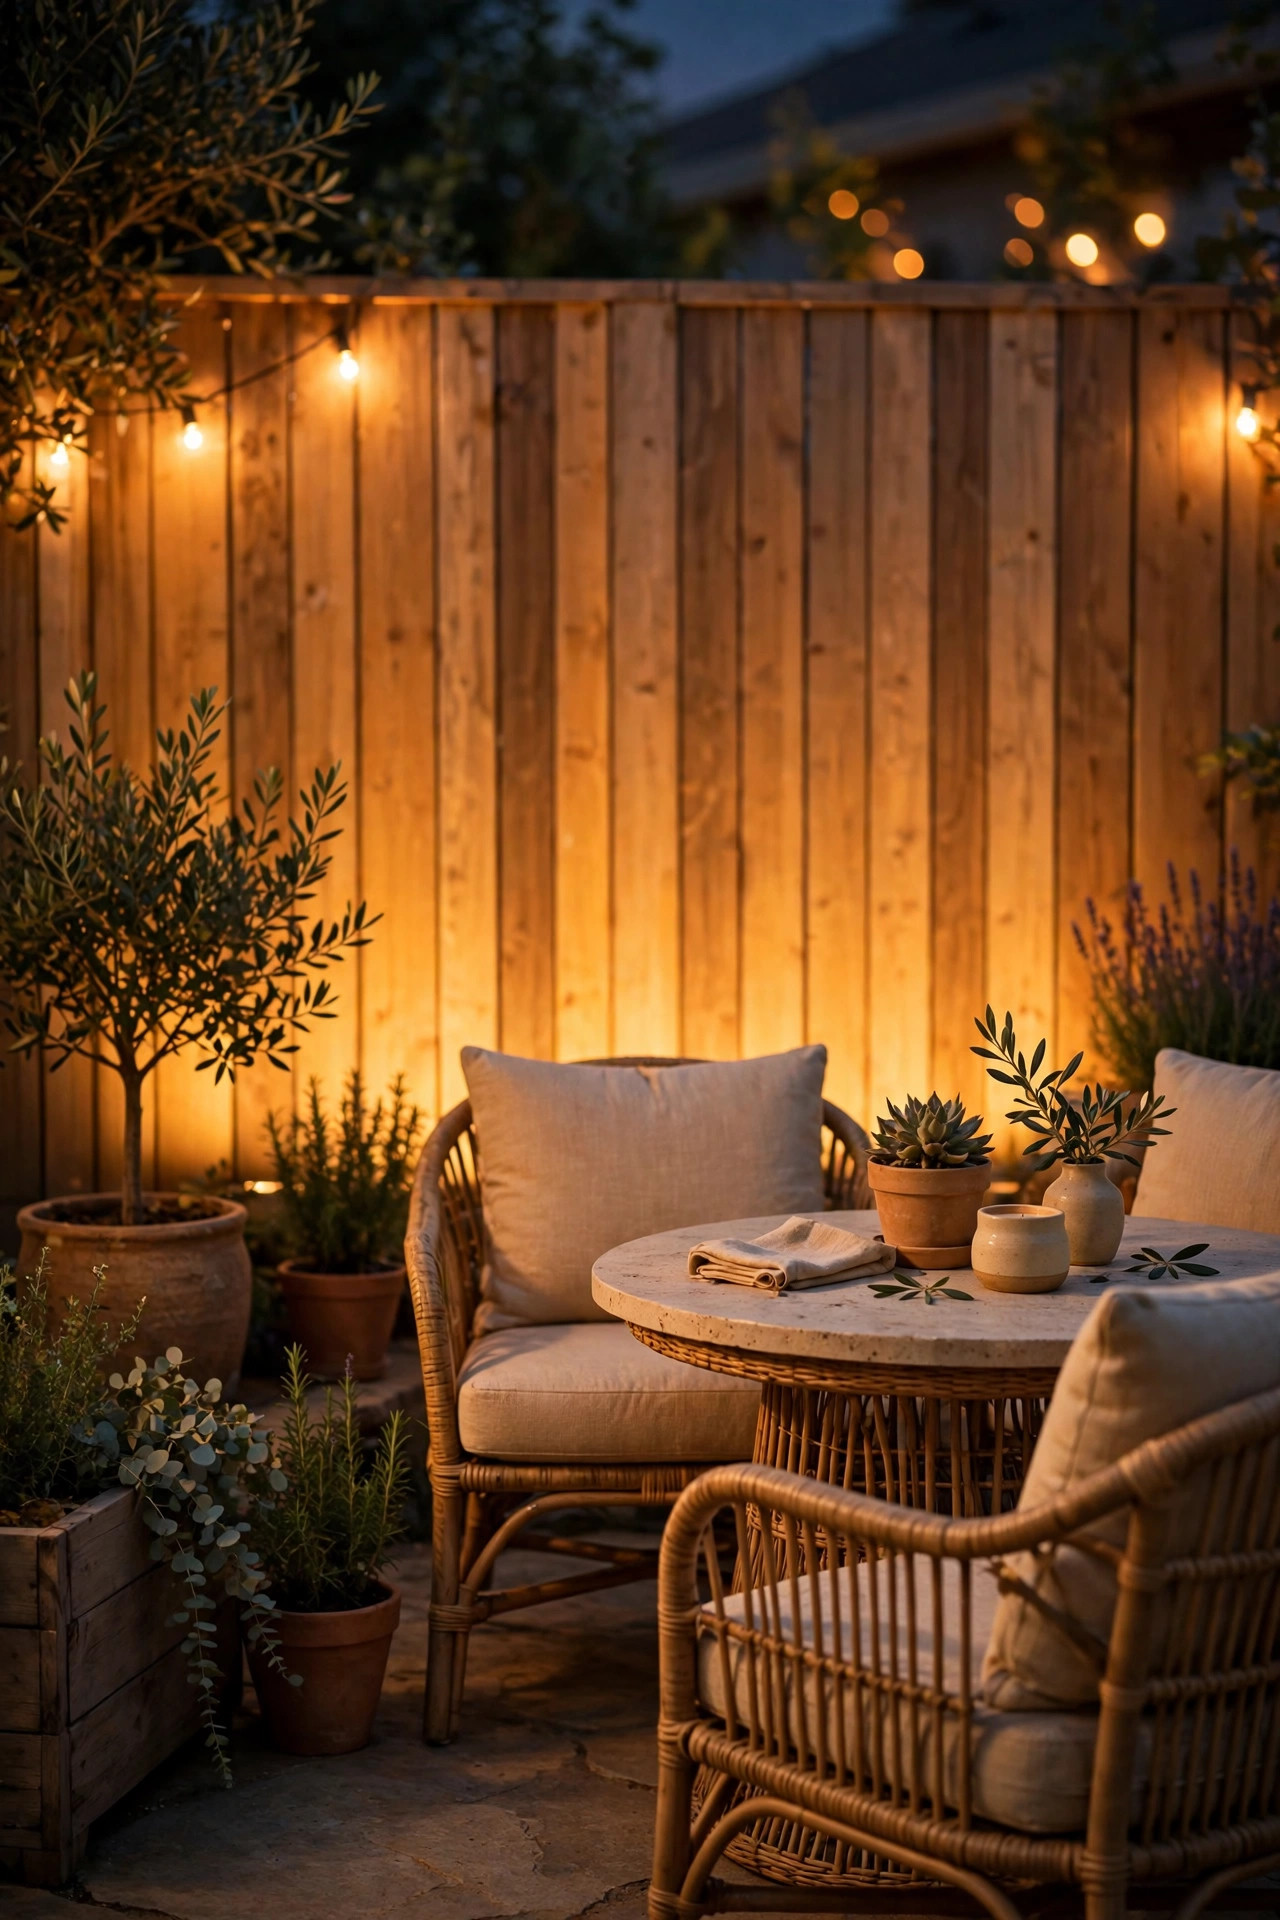
A single color wash turns a plain fence or house wall into a party backdrop. One or two smart color-changing uplights or a gel-filtered flood set to a deep amber, soft blush, or the theme color of the night will do it, and the key word is one: a single color looks intentional and elegant, while cycling rainbow modes belong to a different kind of party. Aim the wash at the wall behind the seating area or the photo spot, keep the brightness low so it reads as atmosphere rather than a billboard, and let every other light stay warm white. This is also my favorite trick for tying together a mismatched yard, because a unifying backdrop makes thrifted furniture and mixed lanterns look curated. Smart bulbs in existing uplight fixtures make it a two-minute change, and you can set the scene from your phone as guests arrive. Subtle is the whole game here.
Suggested budget range: $30 – $100.
19. Build a Fairy Light Backdrop Where Guests Take Photos
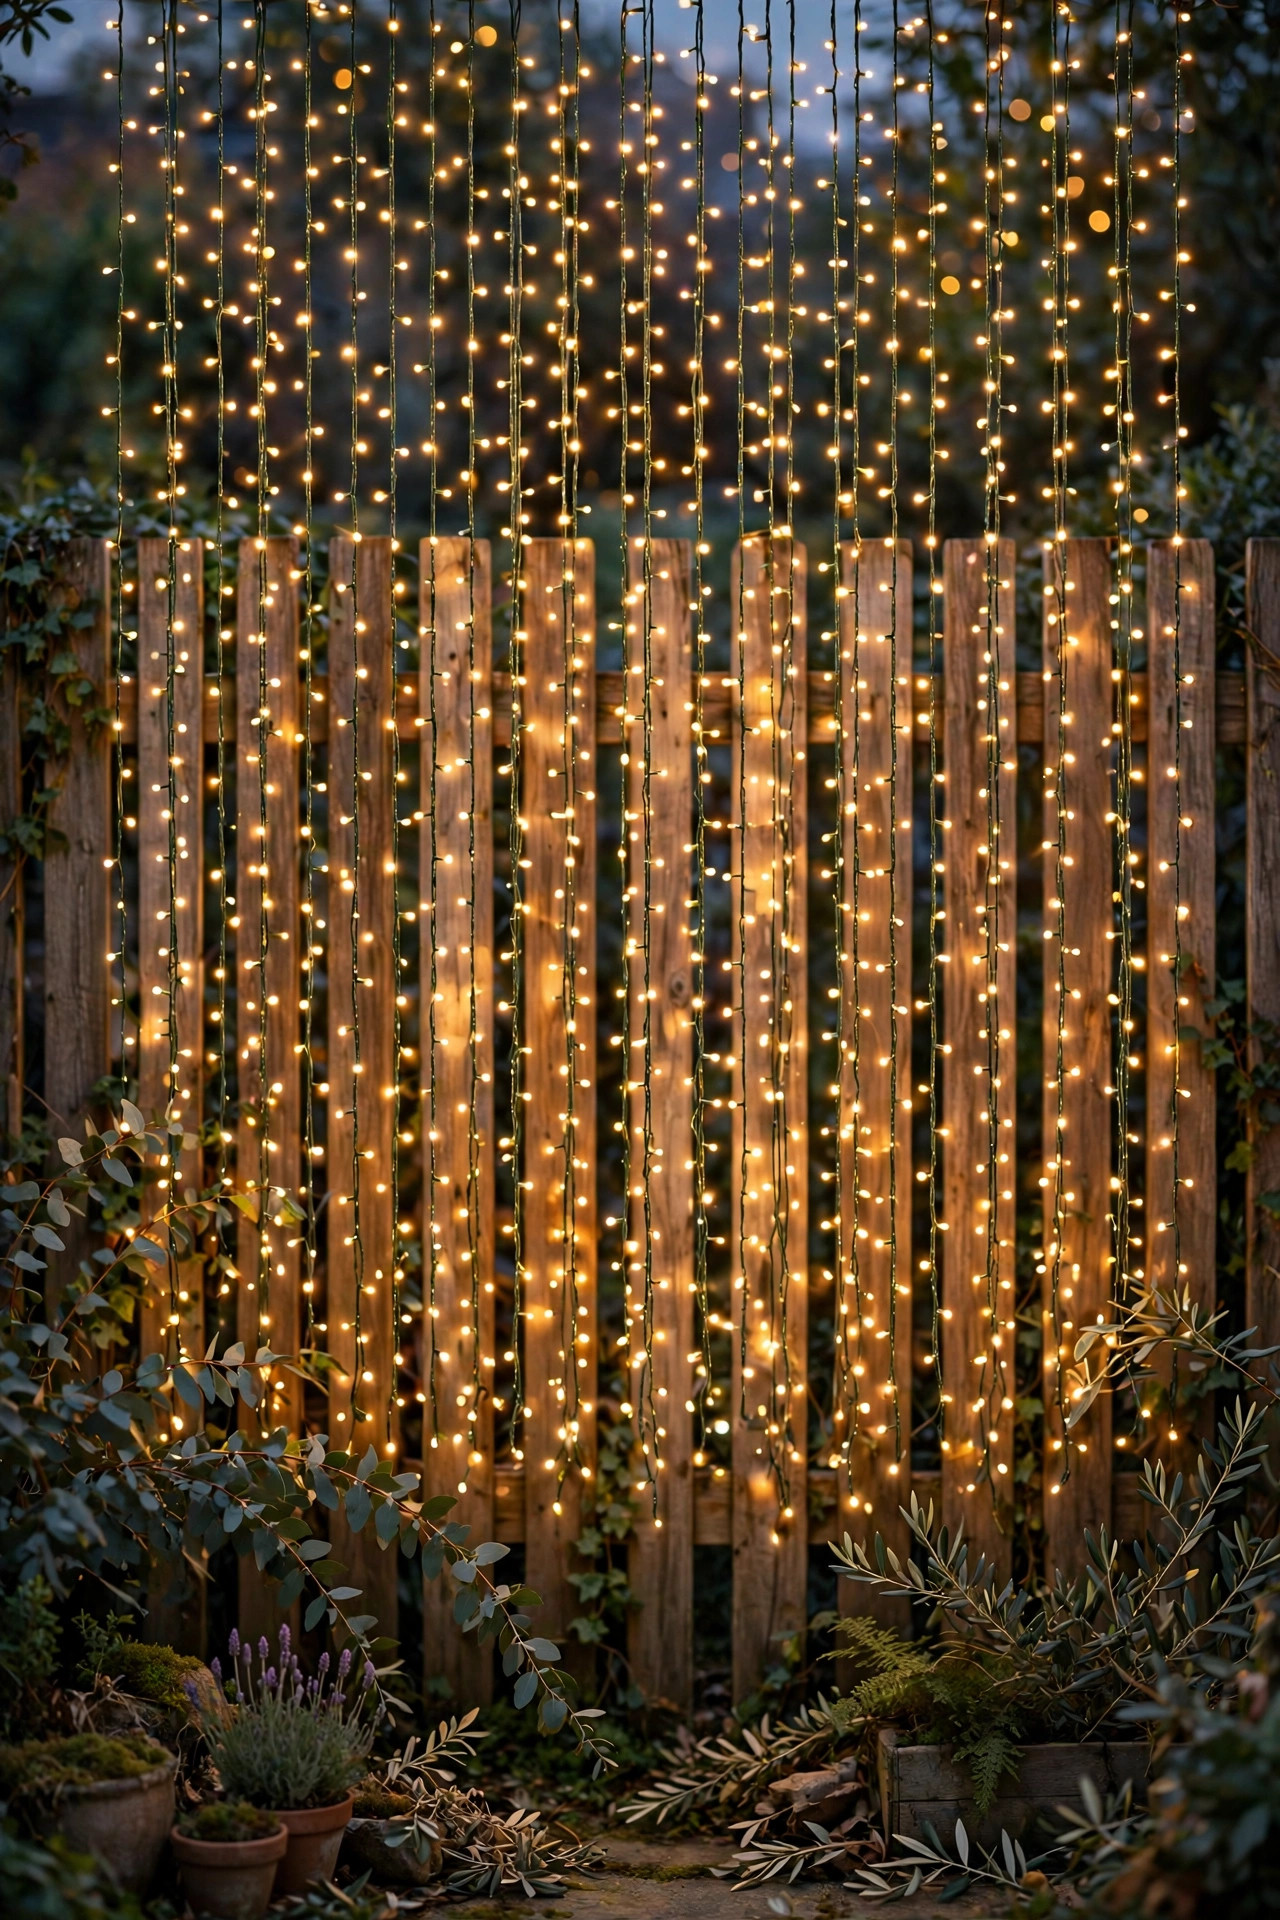
Every party now has an unofficial photo spot, so design yours on purpose. A simple curtain of fairy lights or string strands hung vertically against a fence, a trellis, or the side of the house gives guests a sparkling backdrop that flatters everyone and costs almost nothing. Add the lantern cluster from earlier ideas at its base and one uplight for depth, and phones will find it all night. Position it near enough to the action that people actually use it, but not in the traffic path to the bar, and keep the light warm and even so faces are not half in shadow. Curtain-style net lights made for exactly this hang in minutes on hooks or a tension rod between posts. My personal rule: if the backdrop looks good in a test photo at dusk, it will look great all night. It also quietly solves the dark corner problem that most yards have at least one of.
Suggested budget range: $22 – $65.
20. Put It All on Timers, Dimmers, and One Smart Scene
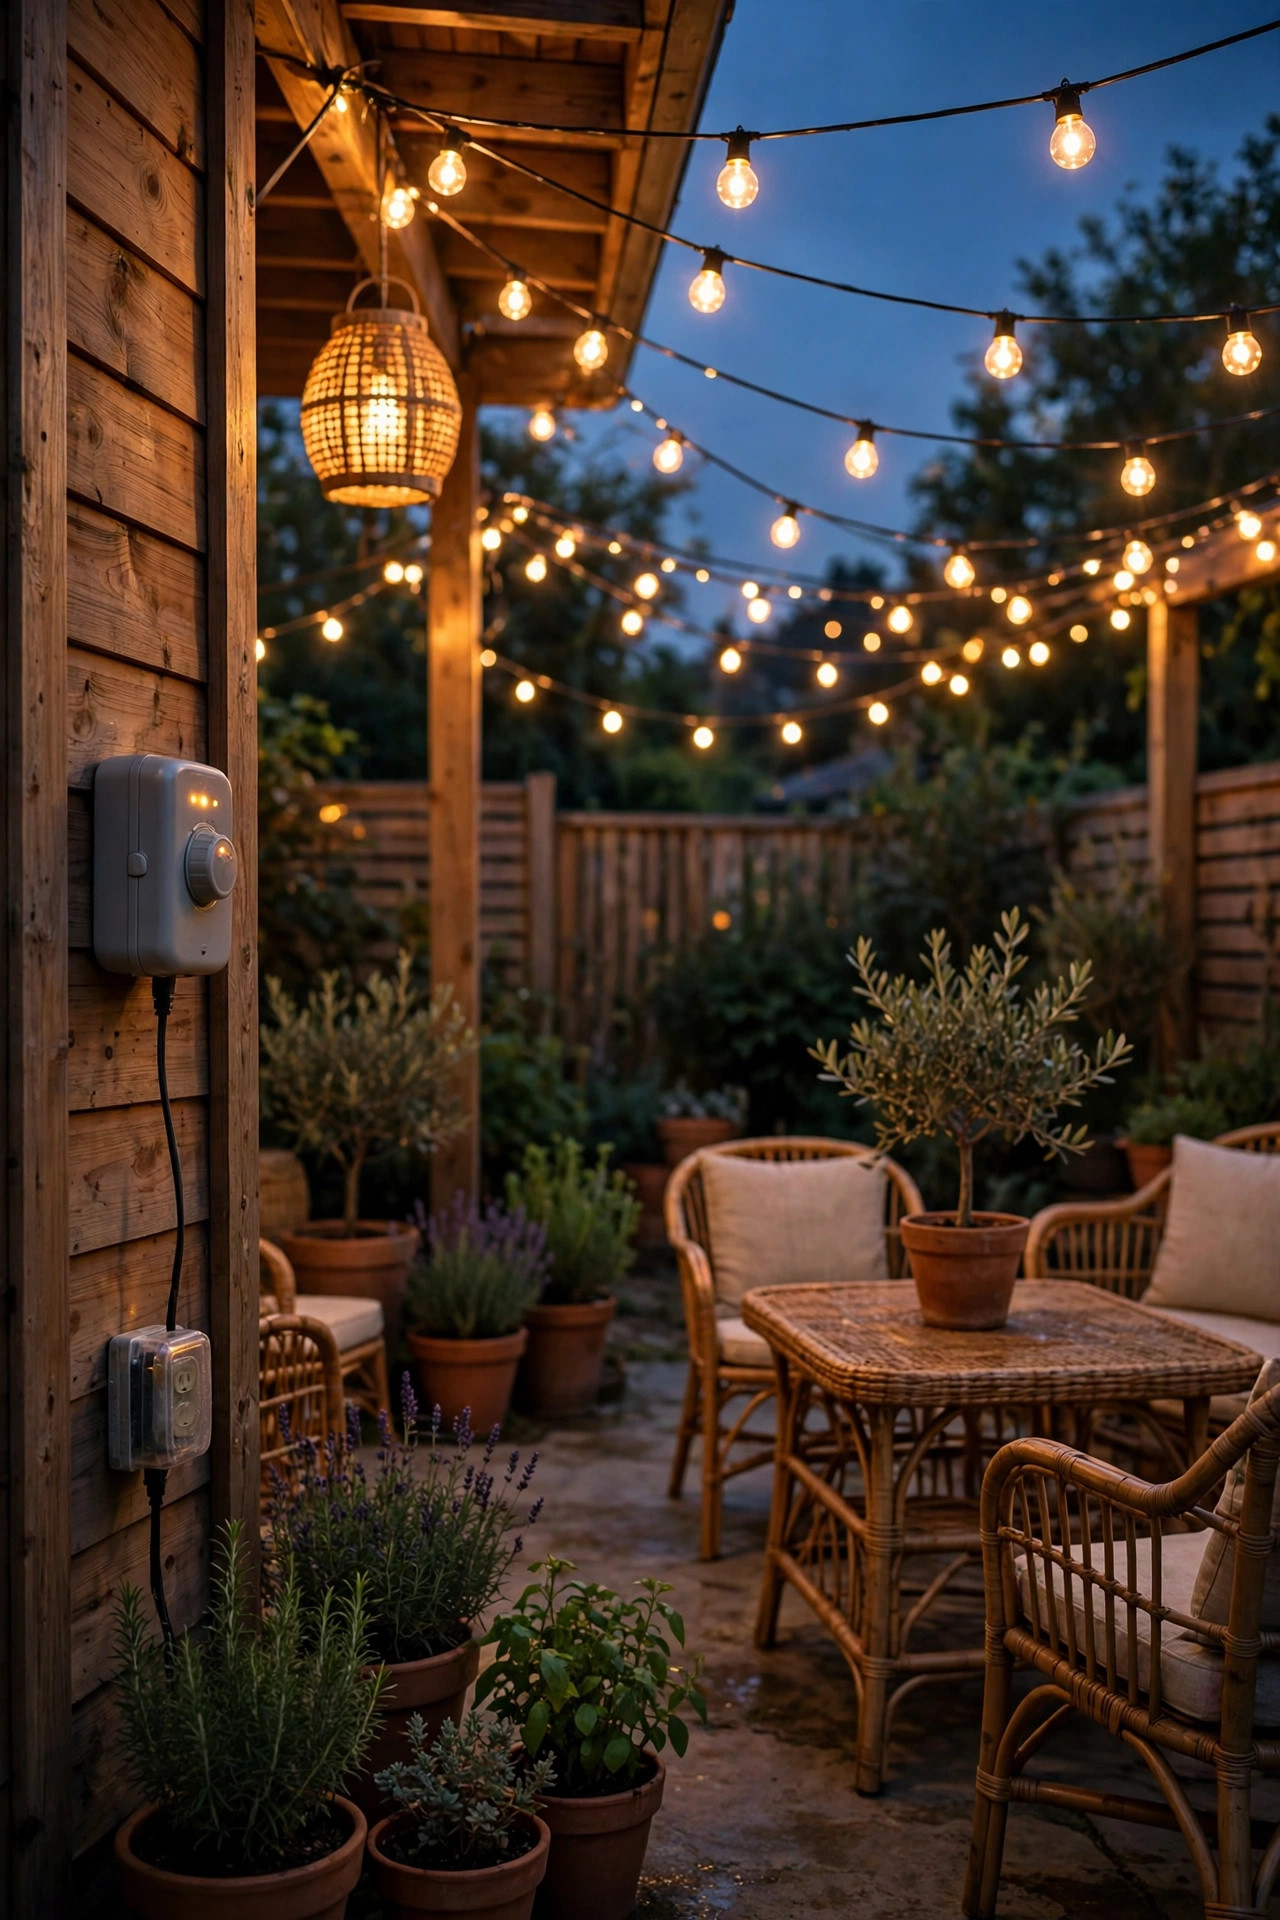
The best-run parties light themselves. I put the canopy and rope light on a smart plug with an astronomical timer, so the yard glows at dusk whether or not I remember, and the lanterns with built-in timers follow on their own schedules. Dimmers matter more than people expect: full brightness for setup and first arrivals, then down to about 70 percent once the party finds its rhythm, because softer light keeps people lingering. Group the controls so one switch or one app scene runs the foundation layer, and keep specialty lights like the color wash on their own control for mid-party adjustments. If you entertain often, this whole approach pairs beautifully with the routines in my guide to backyard lighting for evening entertaining, which covers scene-setting in more depth. The goal is simple: after the first guests arrive, you should never touch a switch again. Label each plug with a strip of tape, and the whole routine takes two minutes.
Suggested budget range: $15 – $60.
21. My Full Outdoor Cocktail Party Lighting Recipe, Start to Finish
Here is the whole playbook in one pass. The afternoon before, charge every battery light and set the flameless candles on their timers. An hour before guests, hang the canopy swags and the paper lantern clusters, then place the statement pendant over the bar and switch on the bar strip and back-bar wash. Set the ice bucket pucks chilling, literally, put lanterns on the high-tops, and thread fairy lights through the jars and greenery. As dusk falls, the timers bring up the path lights, step lights, and rope light on their own. Walk the gate-to-bar route once, fix any dark gap, then dim the foundation layer slightly and set the single color wash behind the seating. Total spend if you build it gradually lands between the ranges on this page, and most pieces return for every gathering all season. That is the real secret of outdoor cocktail party lighting done well: a small kit of layers you trust, deployed the same calm way every time.
Suggested budget range: $150 – $400.
Frequently Asked Questions
What color temperature is best for a cocktail party?
Warm white, 2700K to 3000K, is the sweet spot. It flatters skin, makes food and drinks look rich, and matches candlelight. Cooler light above 4000K reads as office or security lighting and flattens the mood fast. Whatever you choose, keep every bulb in the same range so the layers blend instead of clashing.
How many string lights do I need for a patio?
Measure the runs you plan, then add about 20 percent for the swag dip. A typical 12-by-16-foot patio canopy takes two to three 48-foot strands. When in doubt, buy one strand more than the math says; a dimmer can tame extra light, but nothing fixes a dark gap over the dessert table.
Can solar lights handle a whole evening party?
Modern solar lanterns, torches, and path lights easily run 6 to 8 hours after a full sunny day of charging, which covers most parties. For the layers you cannot afford to lose, the canopy and bar, plug-in or battery power is more reliable. My mix is solar for accents, wired or battery for the foundation.
How do I keep bugs away without ruining the glow?
Bugs are drawn to bright, cool, exposed bulbs, so warm dim light helps on its own. Add citronella candles or flame-effect torches near seating, keep a small fan moving air across the food table, and place one decoy light source away from guests so insects gather there instead of around the drinks.
Conclusion
If you take one principle from this list, let it be layering: something glowing overhead, something warm at face height, and something gentle at your feet. Build those three layers once with pieces you love, from string light canopies to a bar that beckons across the yard, and every gathering gets easier from there. Start with the layer your yard is missing, add one idea per party, and soon your outdoor cocktail party lighting will run itself while you actually enjoy your guests. For even more ways to make the whole yard glow, browse the rest of my lighting ideas here on the site and keep collecting the pieces that fit your space.