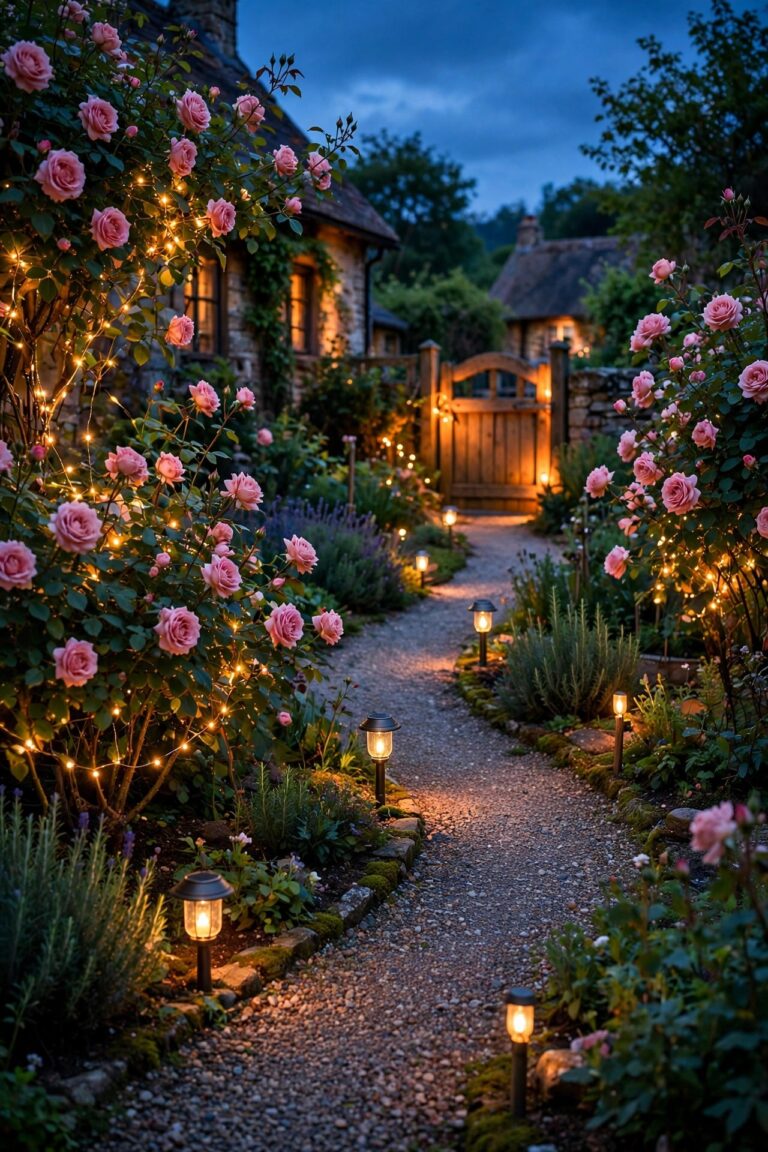
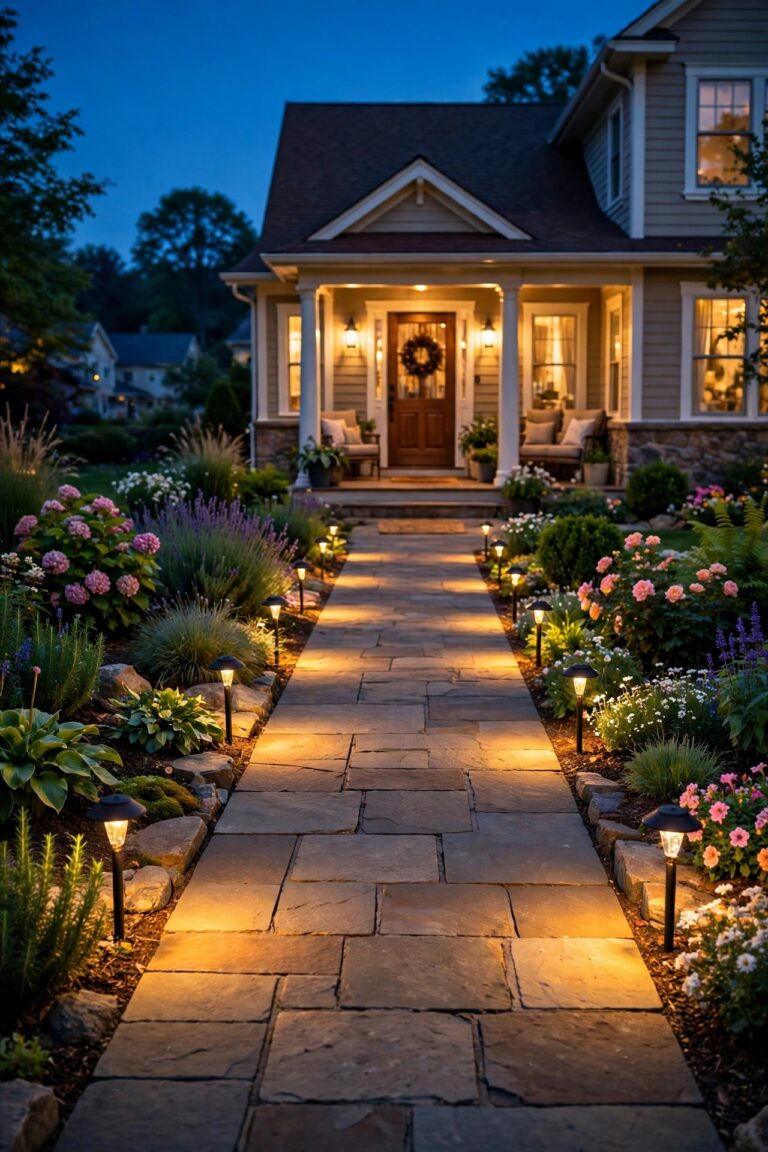
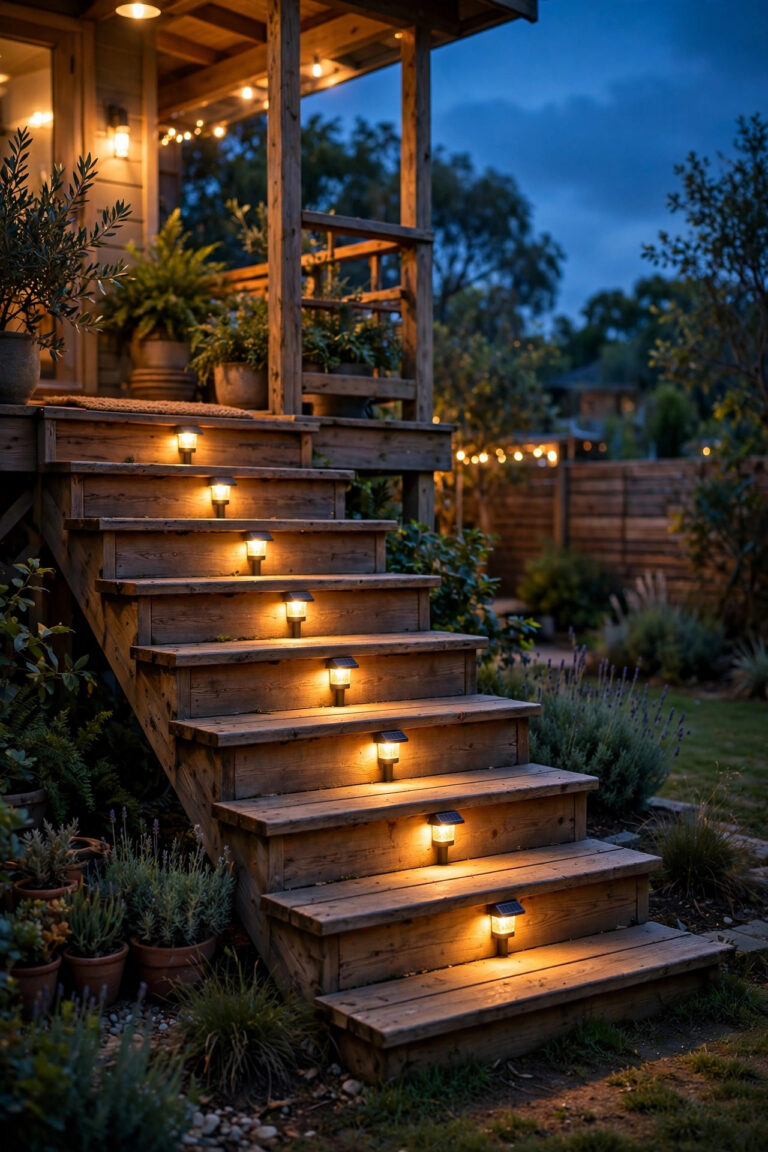
When my best friend told me she was getting married in her parents' backyard, my first thought was not the dress or the cake. It was the light. Once the sun drops, lighting does all the heavy lifting: it makes the space feel like a real venue, keeps guests from tripping over the garden hose, and flatters every single photo. The good news? The best backyard wedding lighting ideas are also some of the cheapest things on the whole wedding list. You do not need a lighting designer or a rental contract. You need a layering plan: a soft glow overhead, gentle light at table level, and a few honest guide lights where people actually walk. In this post I am sharing 23 ideas I have helped set up at real backyard weddings, each with an honest budget range, and most of them land under $100. Borrow the ones that fit your yard, skip the rest, and test everything the night before. Honestly, that one rehearsal walk-through is what separates a magical evening from a scramble at dusk.
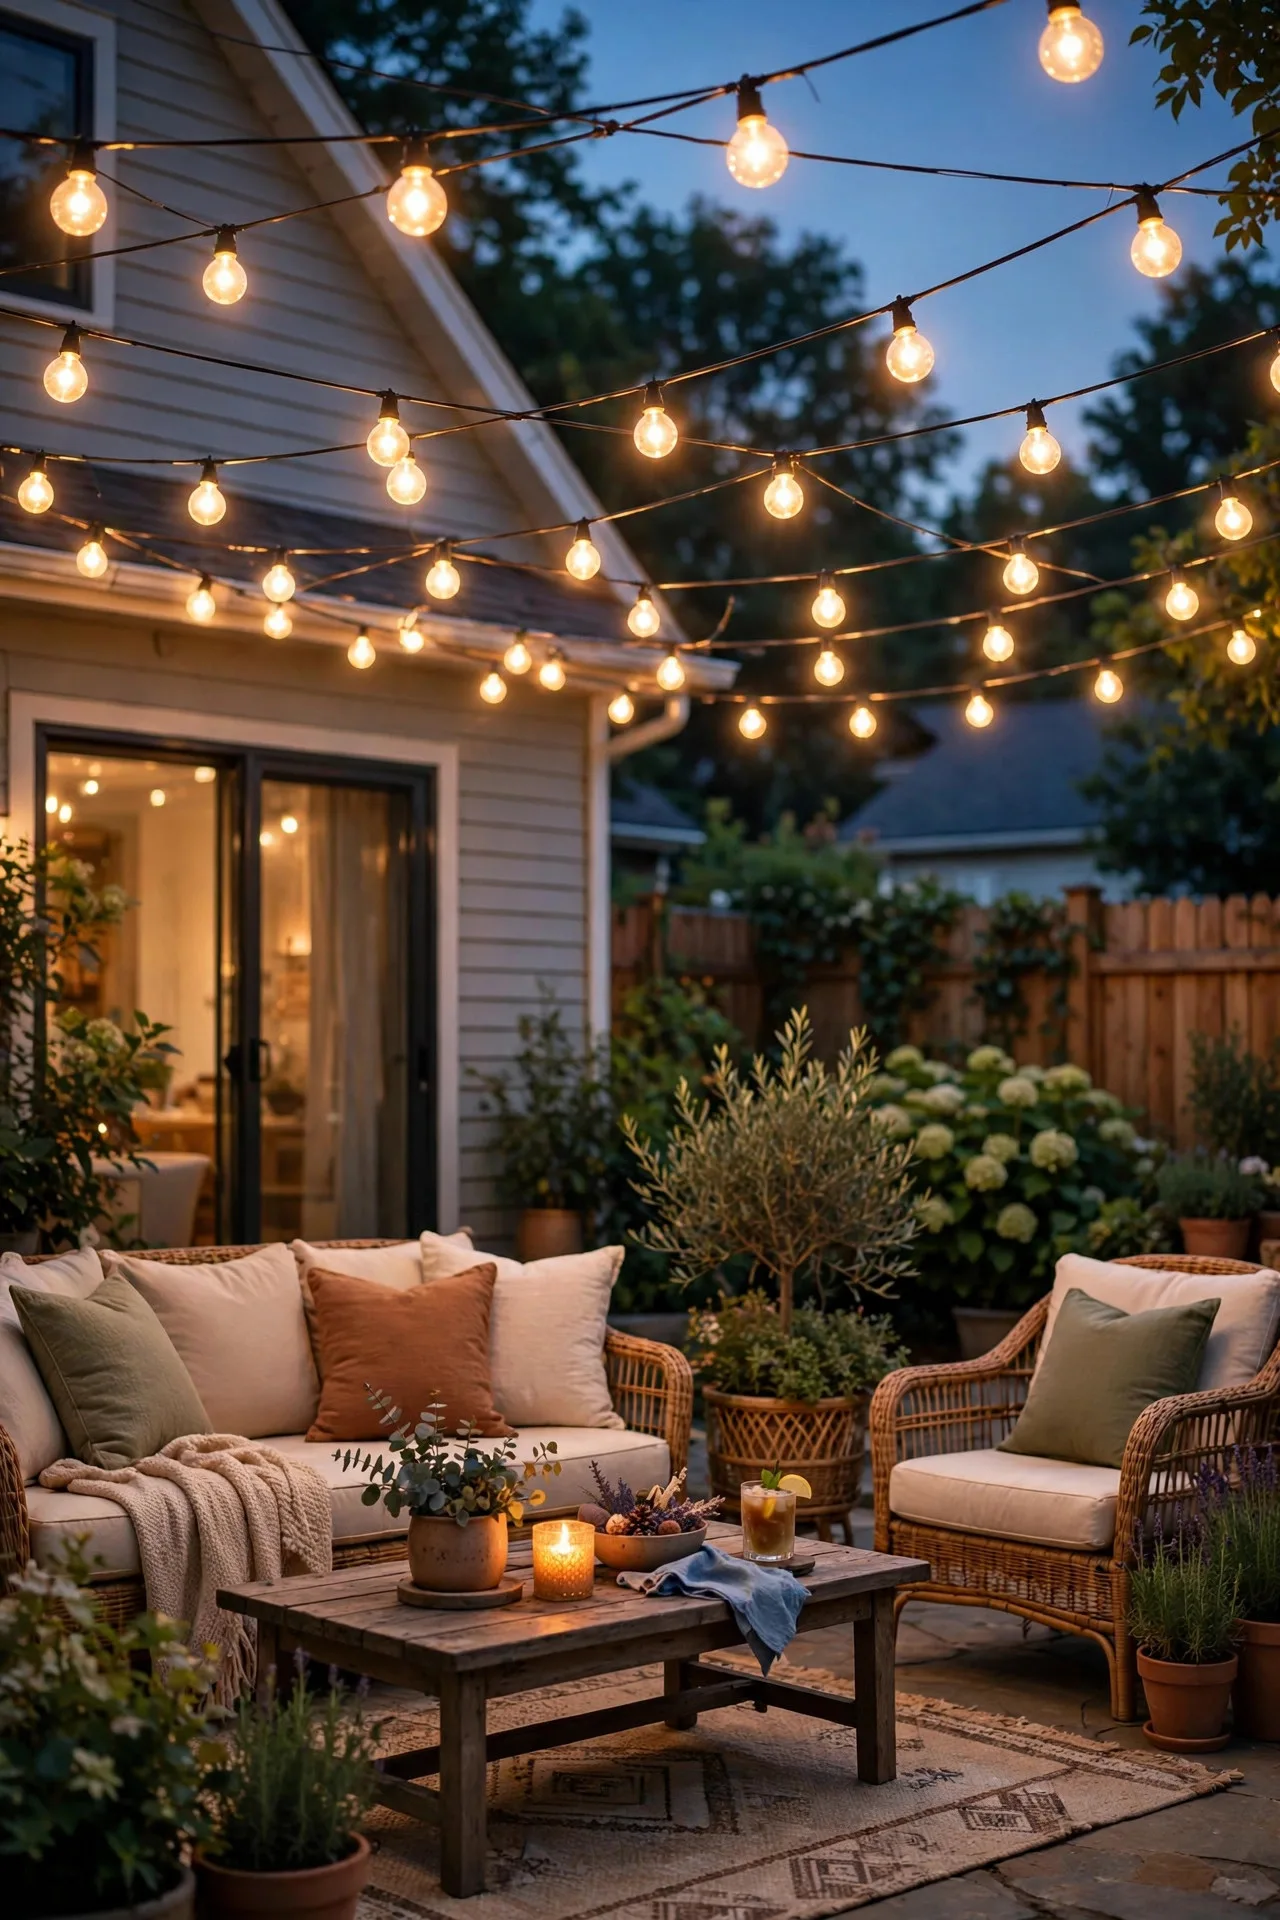
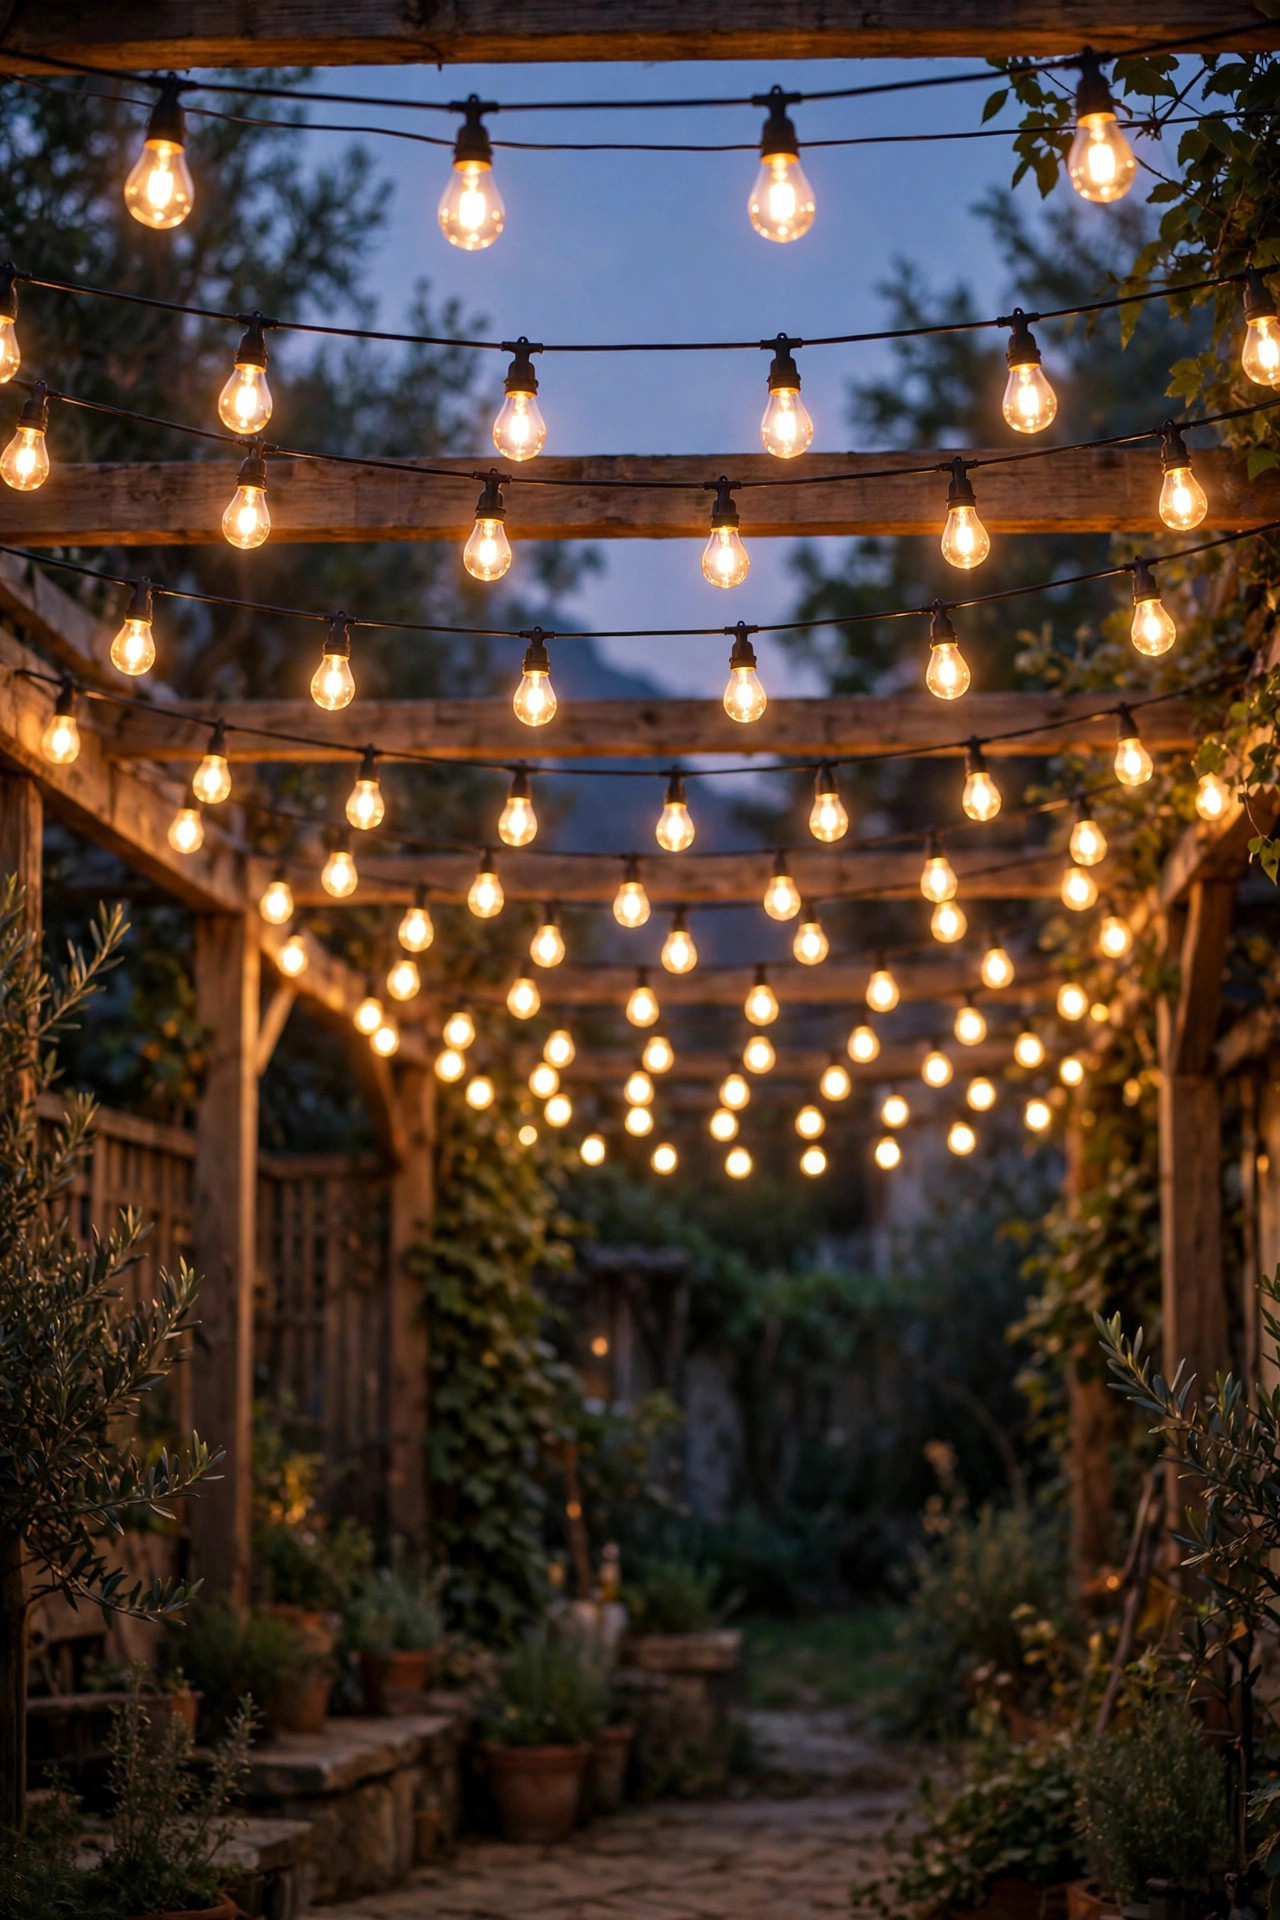
1. Cafe String Lights: The Canopy Every List of Backyard Wedding Lighting Ideas Starts With
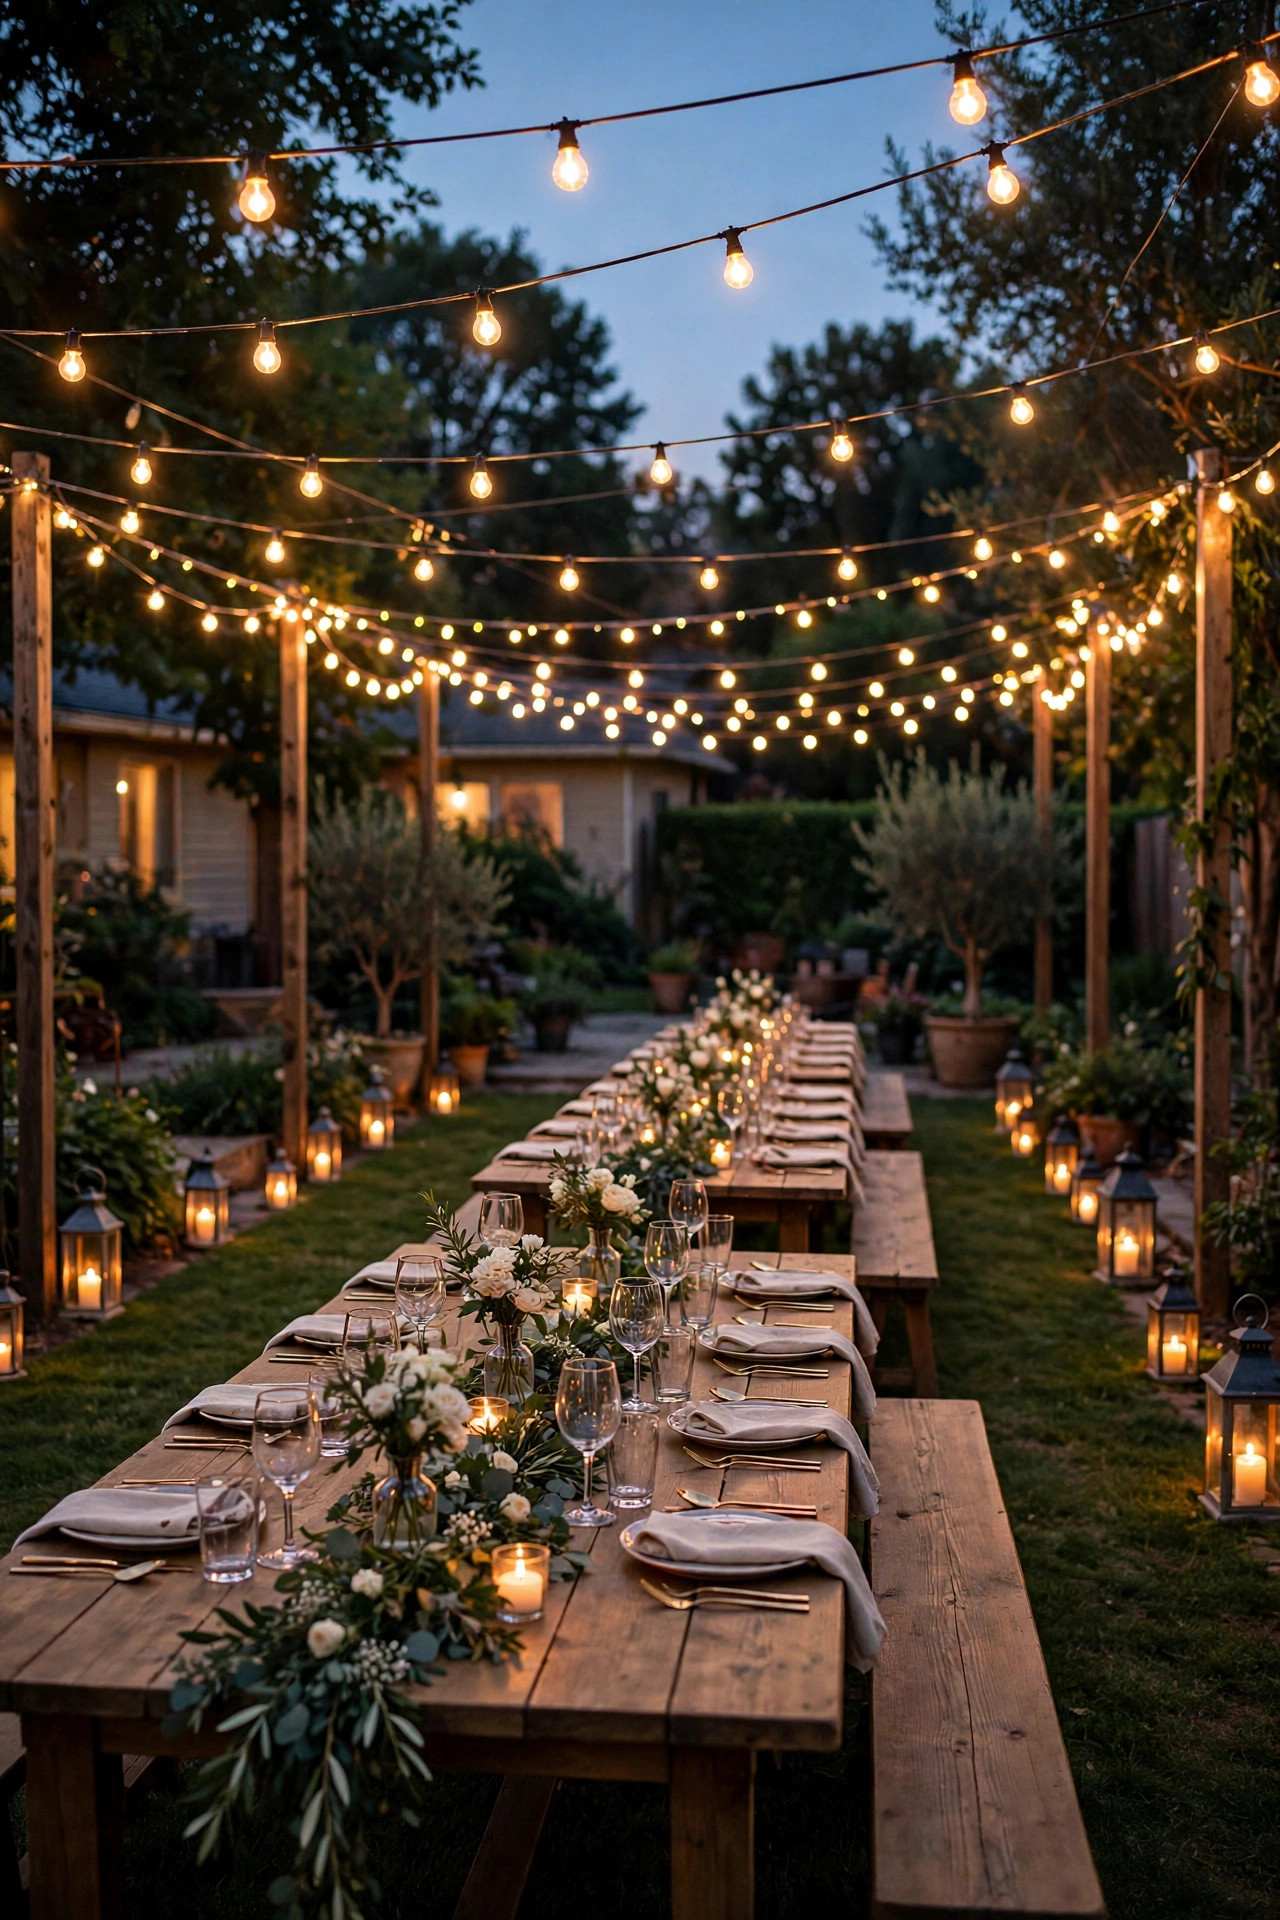
If you buy only one thing, make it commercial-grade LED cafe string lights. They are the backbone of almost every backyard wedding I have helped light, because a web of warm bulbs overhead instantly turns a lawn into a room. I run strands in a zigzag or crisscross pattern between the house, a couple of sturdy trees, and 10-foot poles set in weighted buckets or screwed to fence posts. Aim for the lowest bulbs to hang about 8 to 9 feet above the tables so tall guests and raised arms clear them easily. Space your swags roughly 8 to 10 feet apart; closer looks lush, wider looks sparse and sad. Choose shatterproof LED bulbs in 2700K warm white, and put the whole canopy on a plug-in dimmer so you can drop it to a glow once dinner ends. One 48-foot strand usually runs $35 to $50, and most yards need three to five. My full walkthrough of layouts and hardware lives in my guide to backyard string light ideas, and it is worth reading before you buy a single strand.
Suggested budget range: $120 – $280.
2. A Fairy Light Curtain Behind the Sweetheart Table
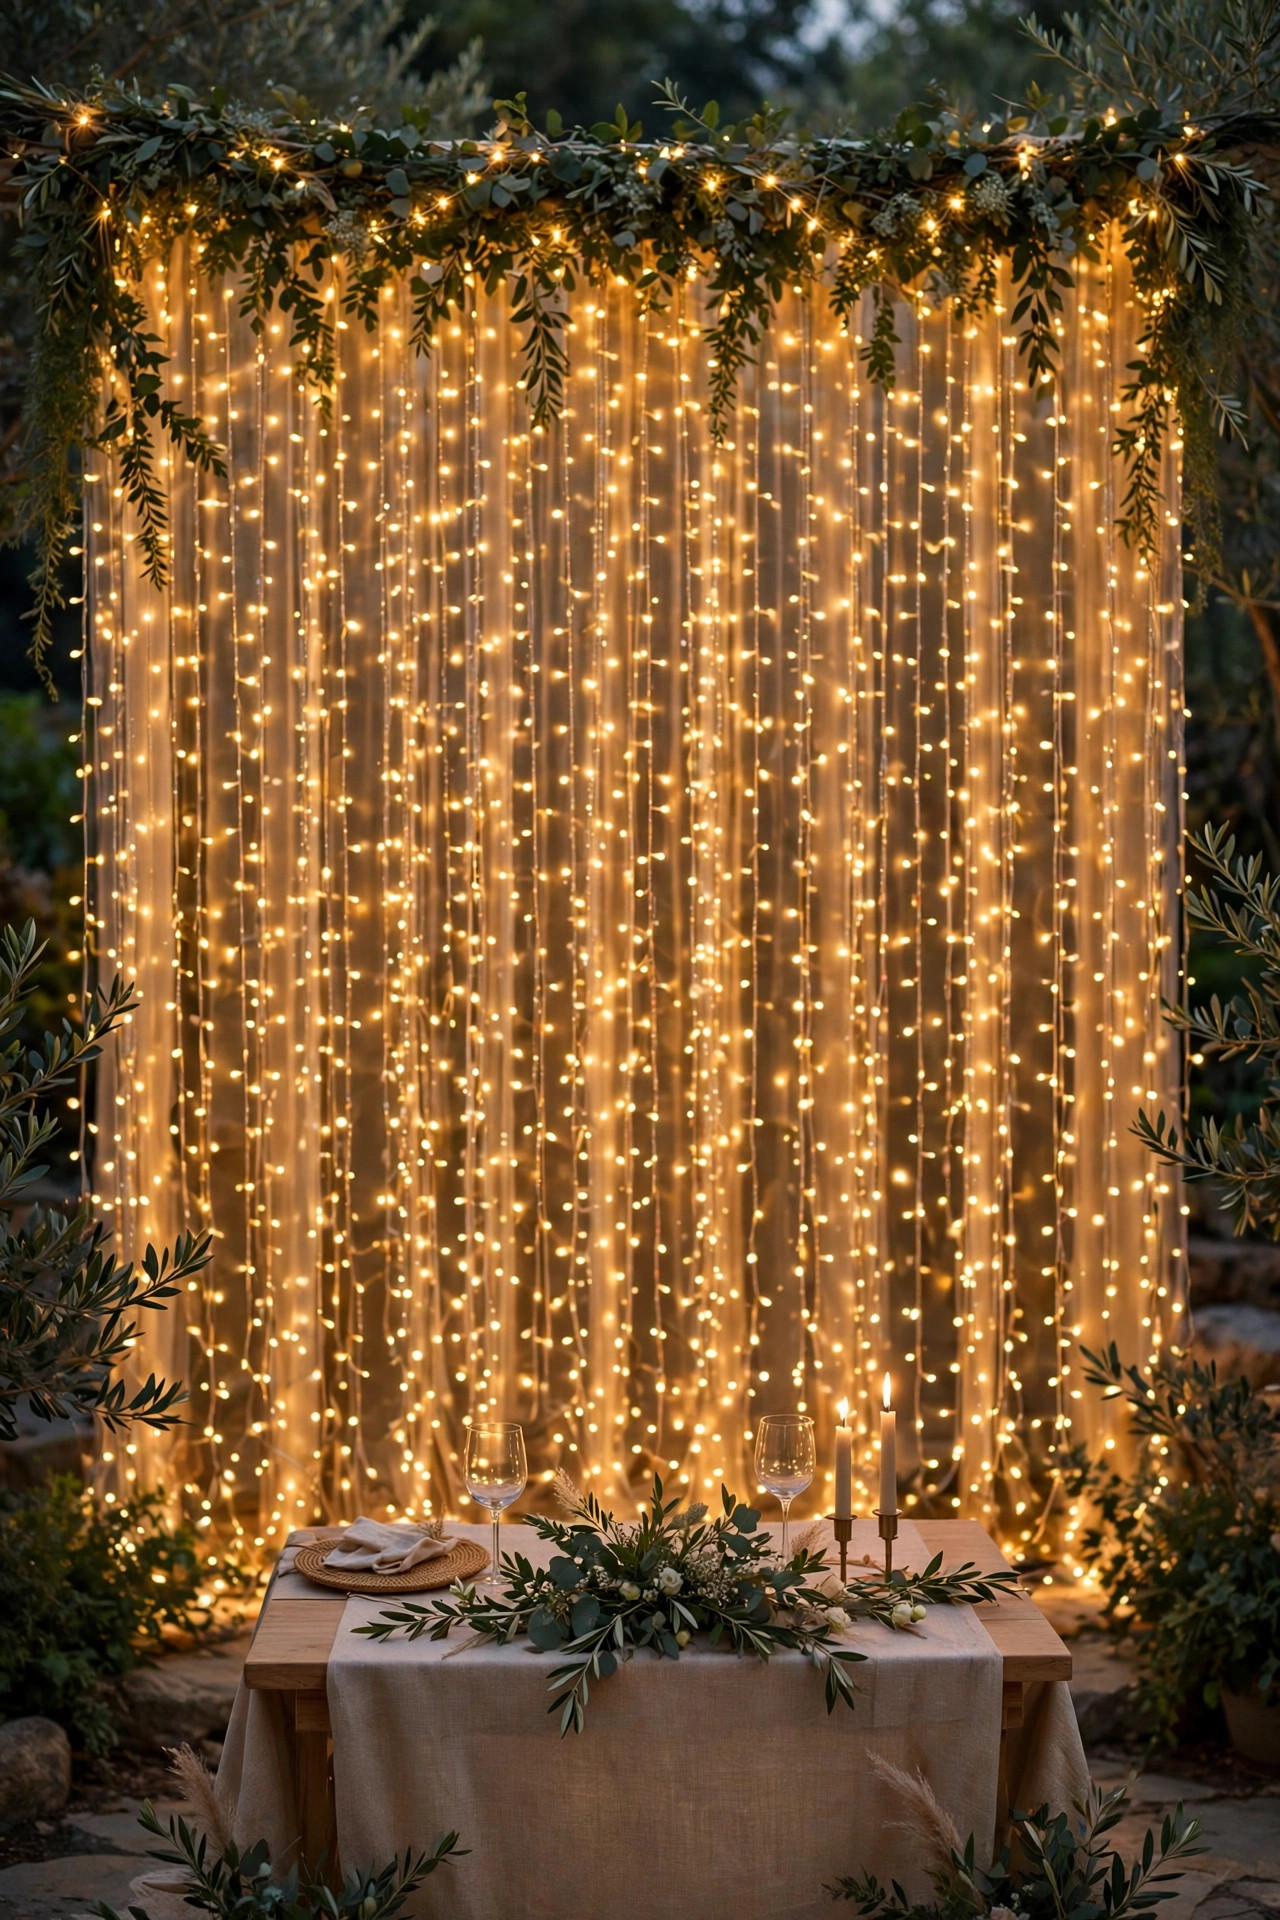
A curtain of fairy lights behind the head table or sweetheart table is the single most photographed backdrop at a backyard wedding, and it costs less than the cake topper. I use a 10-by-10-foot warm white curtain strand set, the kind with thin vertical drops, hung from an inexpensive backdrop stand, a clothesline strung between two poles, or even the fence itself. The trick is hiding the mechanics: weave a little faux eucalyptus or ivy along the top bar so the hardware disappears and the lights look like they are floating in greenery. Set the curtain to its steady-on mode, never twinkle or chase, because flashing lights behind your faces will ruin video and annoy guests all night. If the wall behind it is dark siding or open lawn, the curtain reads as a solid sheet of sparkle; against a light wall, add a sheer white panel behind it to diffuse the glow. Battery versions exist, but for a six-hour event I always choose plug-in with a slim extension cord taped along the ground. Test it after dark from 20 feet away, which is where your photographer will stand.
Suggested budget range: $25 – $60.
3. Mason Jars With Flameless Tea Lights on Every Table
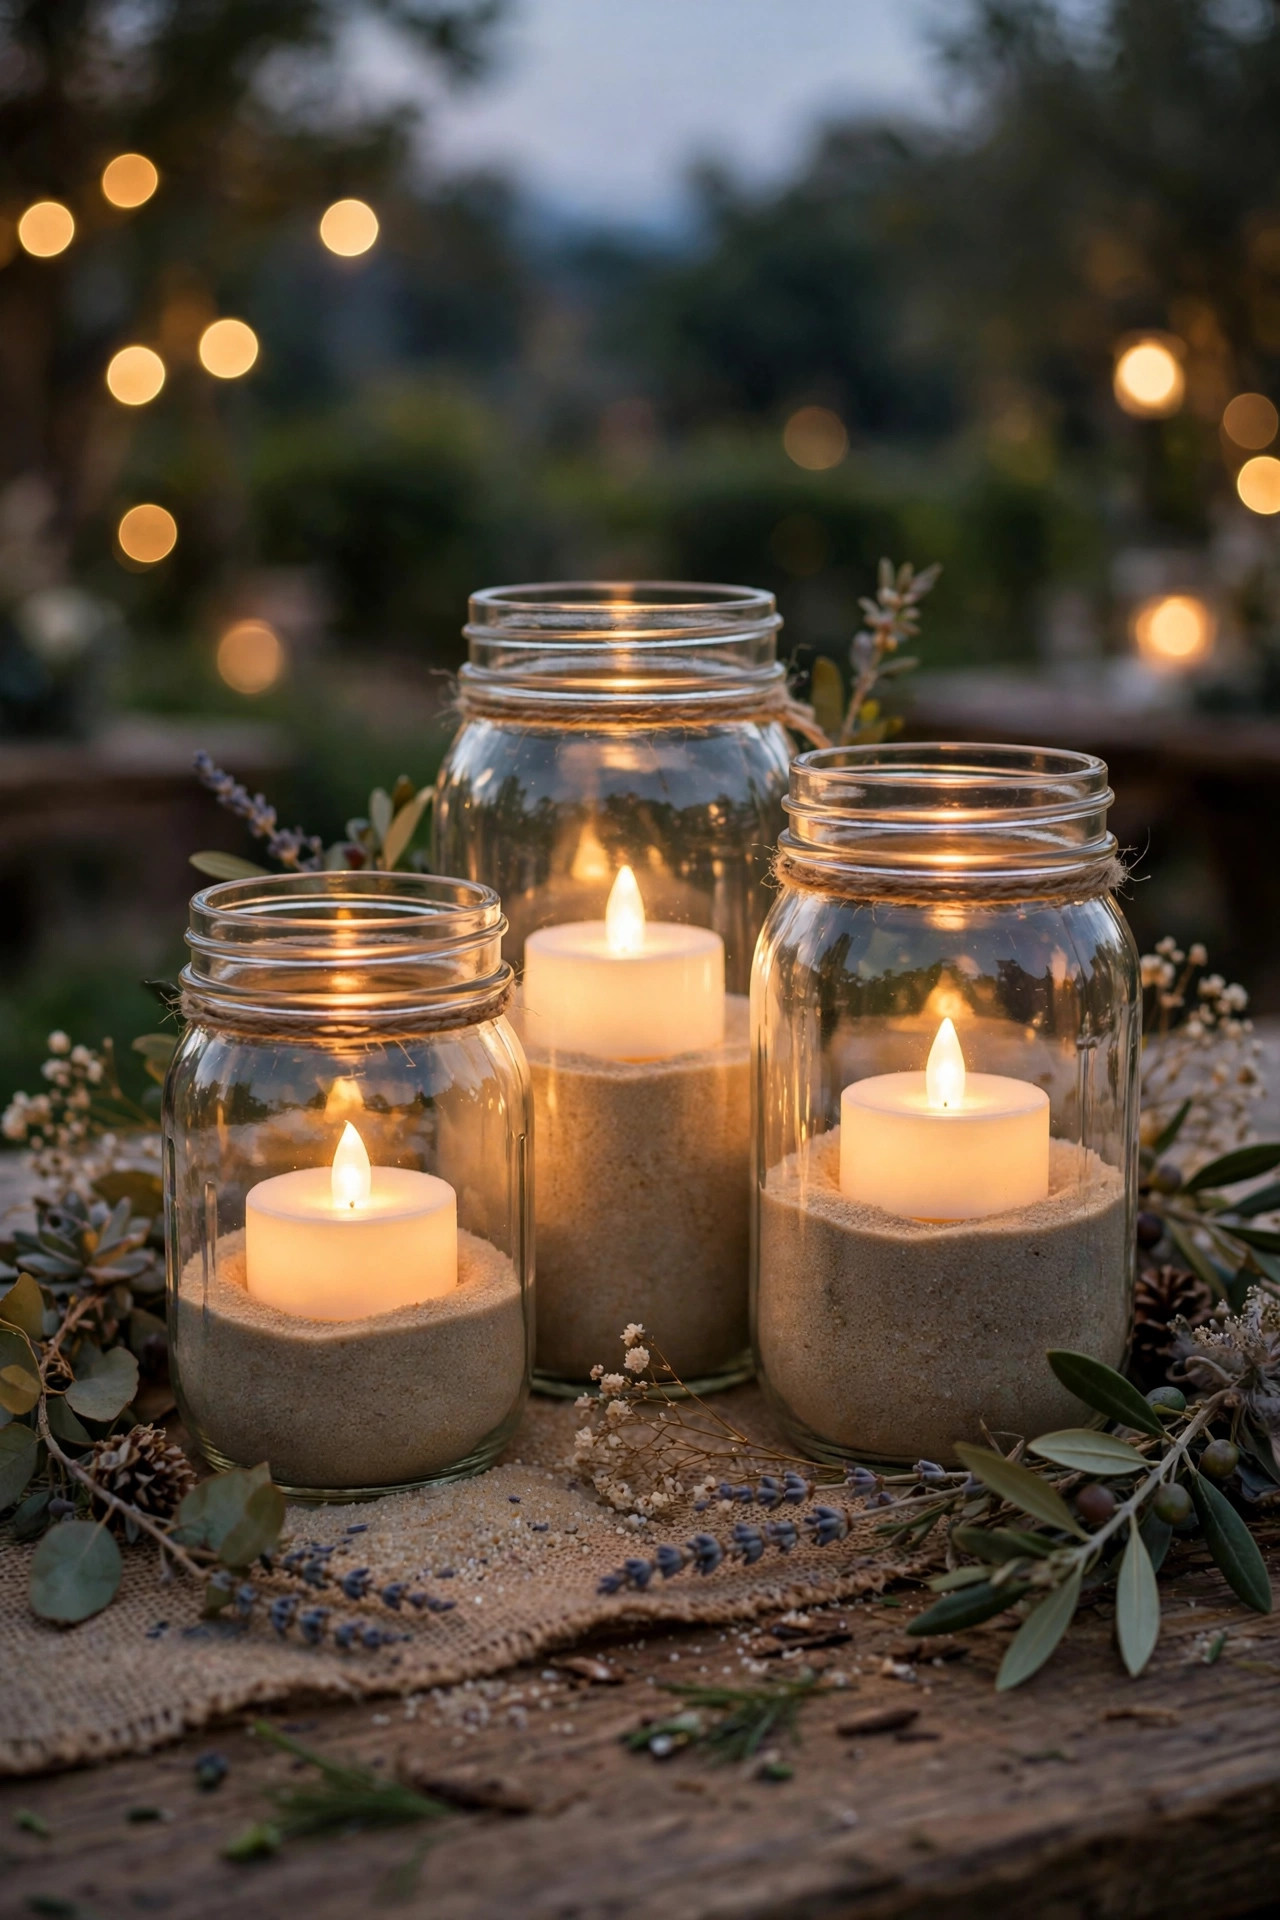
Mason jars are the hardest-working decor item in the budget wedding world, and with flameless LED tea lights inside them they are completely worry-free. Real candles blow out in the slightest breeze and some venues, even backyard ones with dry grass, are a genuine fire risk. LED tea lights flicker convincingly, run 100-plus hours on one battery, and cost about a dollar each in bulk. I drop a spoonful of sand, glass beads, or dried lavender in the bottom of each jar to hide the plastic base and weight the jar against wind. Group them in odd numbers, three or five per table, mixed with one taller vase or lantern so the arrangement has height variety. Frosted jars and amber-tinted glass give the softest glow; clear jars show the "flame" more, which reads a little costume-y up close, honestly. Buy one extra pack beyond your count. A few always arrive dead, and you will find spots, a bathroom counter, the gift table, the bar, that beg for one more jar at the last minute.
Suggested budget range: $20 – $45.
4. Paper Lantern Clusters Hung From the Trees
Paper lanterns give you huge visual volume for tiny money, and clustered in trees or over the dance floor they look like something from a magazine shoot. I buy them in a tight palette, usually warm white with a few blush or sage mixed in, in three sizes: 8, 12, and 16 inches. Hang them in clusters of three to five at varied heights using clear fishing line, which disappears after dark and makes the lanterns look like they float. Each lantern needs its own light source. The cheapest option is an LED puck or "throwie" taped inside, which glows for the whole evening; the prettiest is a small battery lantern bulb on a cord, but those add up. Keep paper well away from any real flame and from hot bulbs, and only use LED inserts, always. One warning from experience: paper lanterns are fair-weather friends. If your forecast shows rain, hang them the morning of the wedding, not the day before, and buy a few spares because the thin paper tears easily during setup. Sixteen-inch lanterns read best over big open lawn; save the small ones for trees and the bar.
Suggested budget range: $30 – $70.

5. Uplight the Trees You Already Have
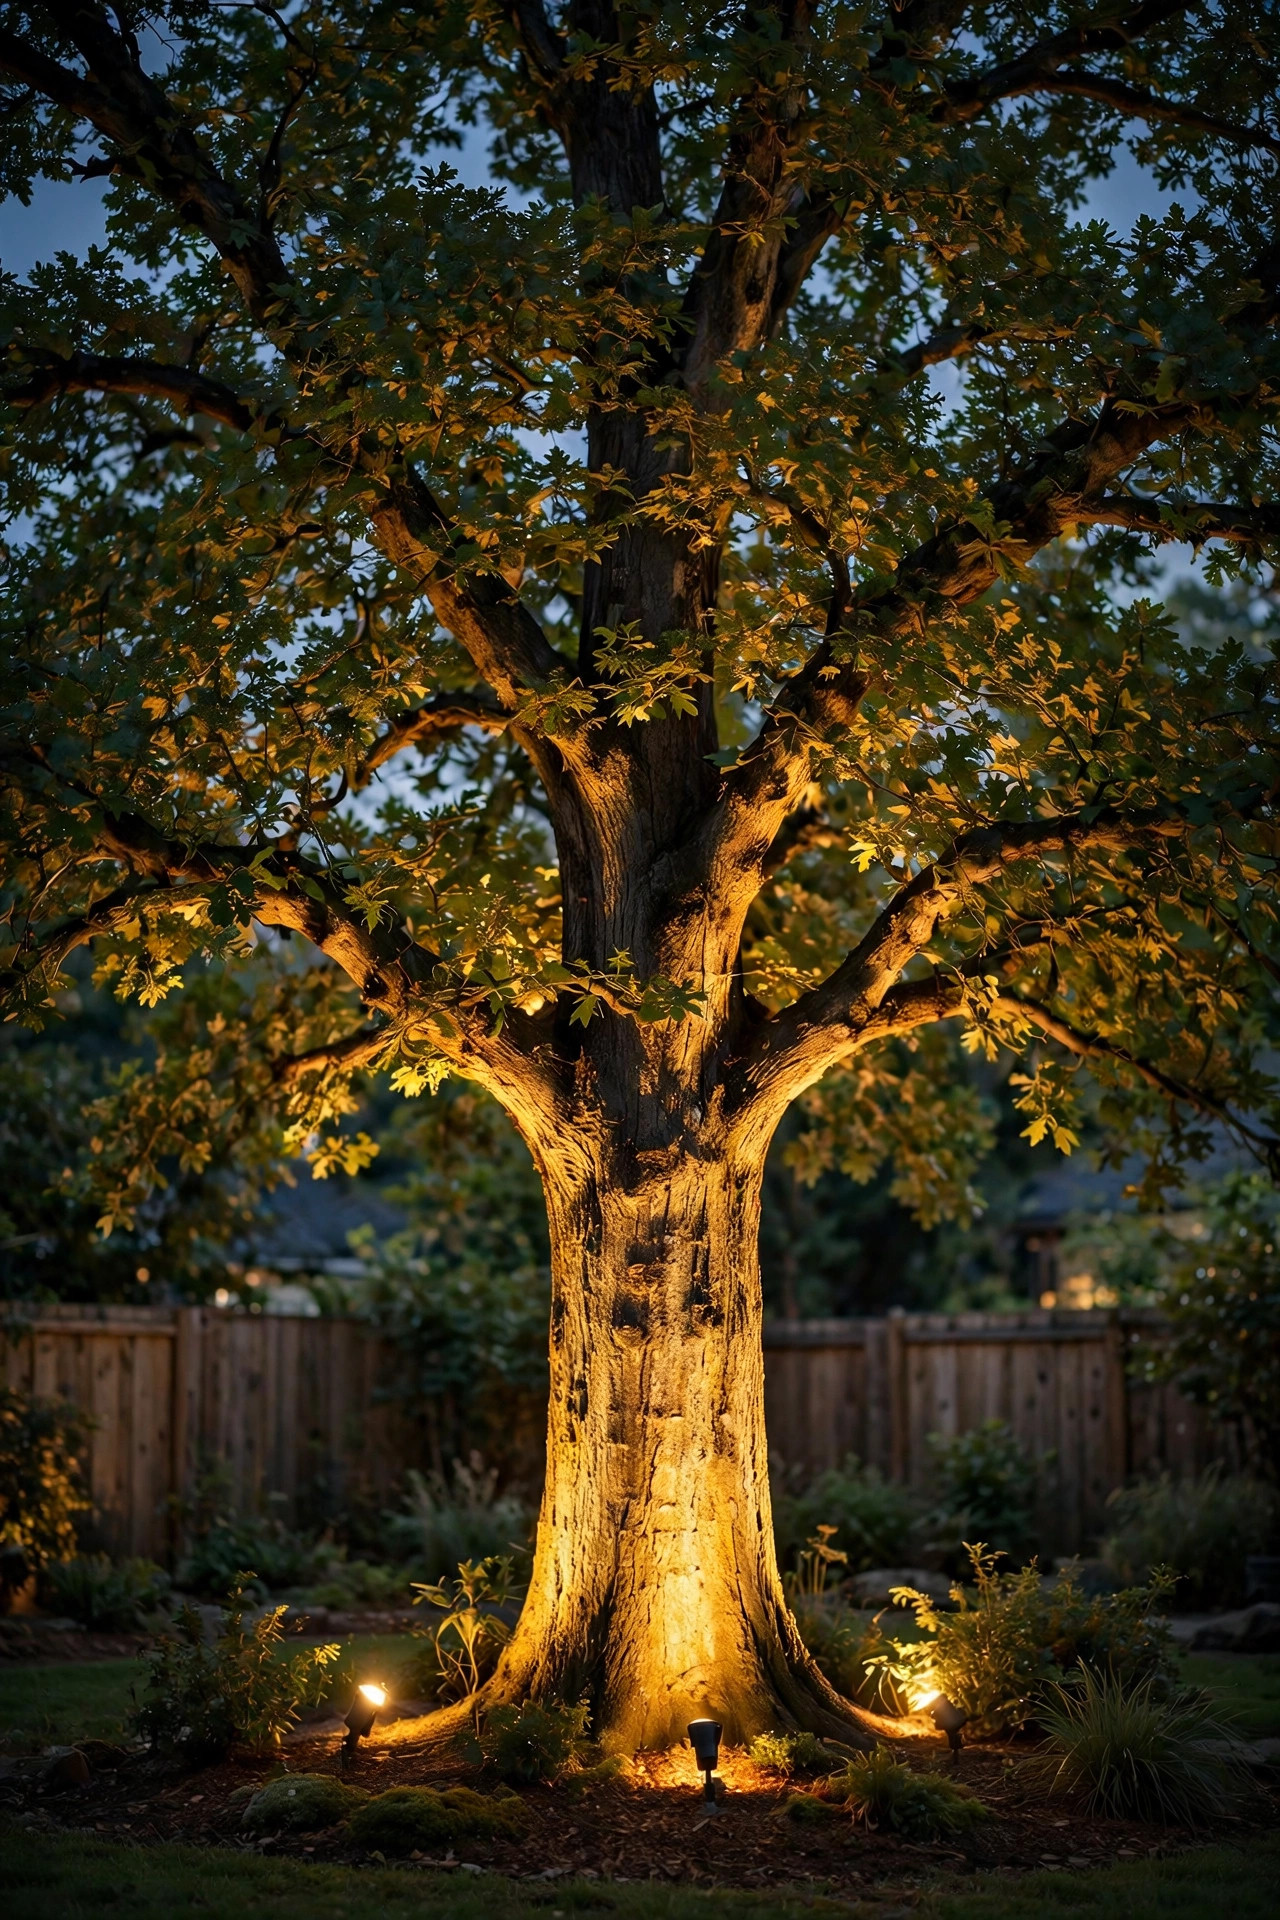
That big oak or maple you have been ignoring is the most dramatic lighting feature in your yard, and it is free. A simple uplight at the base of the trunk, aimed up into the canopy, turns a tree into a glowing sculpture that anchors the whole reception. I use solar spotlights for the low-effort version, two per large tree, charged for a full sunny day beforehand. For more punch, a plug-in LED floodlight in 2700K warm white does the job beautifully and never fades at 10 p.m. when the party is peaking. Angle matters more than brightness: place the fixture 2 to 4 feet from the trunk and tilt it so the beam grazes bark texture instead of blasting straight up and vanishing into the sky. Test from across the yard, not from beside the tree, because that is the view your guests get. Uplighting also works on a pretty fence corner, a garden statue, or the side of the house behind the ceremony spot. Just avoid aiming anything at neighbors' windows, and keep fixtures out of the mowing path for setup-week sanity.
Suggested budget range: $15 – $50.
6. Globe Lights Down the Ceremony Aisle
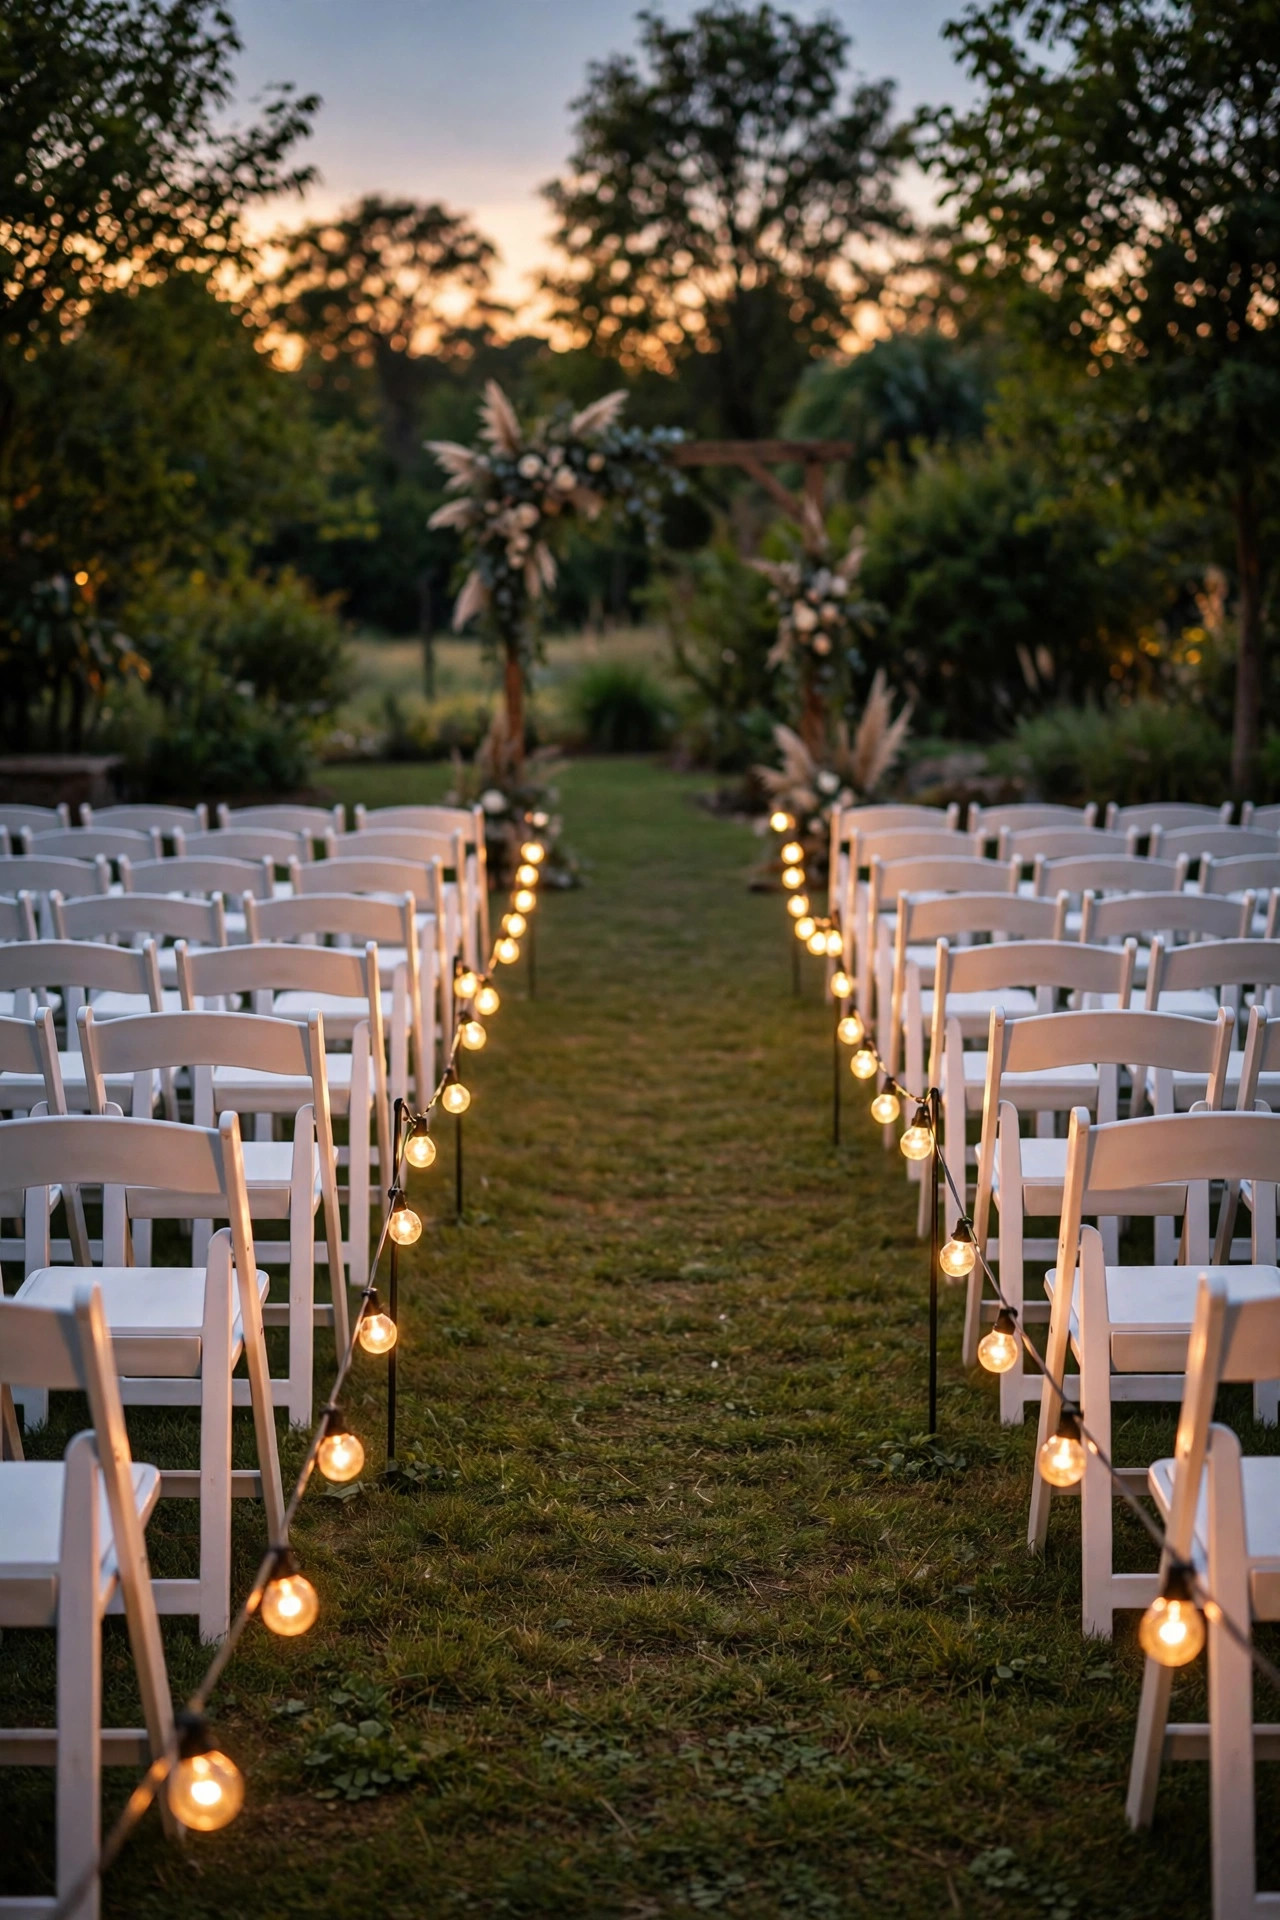
The ceremony lasts twenty minutes, but the aisle is in half your photos, so give it definition. My favorite budget approach is G40 globe string lights run low along both sides of the aisle, clipped to short stakes or small shepherd's hooks about 18 inches tall. The row of soft globes tells guests exactly where the ceremony space begins, and in dusk photos it looks absolutely dreamy. Keep the strands a good 12 inches outside the chair rows so dresses and chair legs never tangle with cords, and tape or pin down any cable that crosses a walkway. If your ceremony ends well before sunset, the lights still earn their keep: they outline the aisle for the recessional and then double as a glowing border for the reception space all night. Battery-powered globe strands save you outlet math, but read the runtime honestly; many are rated for six hours at full brightness, so switch them on at the last minute. Solar versions are the weakest link here, honestly. For the most photographed twenty minutes of the day, I want plug-in reliability or fresh batteries, every time.
Suggested budget range: $30 – $65.
7. Lanterns Lining the Walkways Guests Actually Use
Every backyard wedding has three routes guests walk all night: from the street or driveway to the party, from the tables to the drinks, and from the party to the bathroom door. Line those routes with lanterns and nobody is phone-flashlighting their way across your lawn. I use metal or bamboo lanterns, about 12 to 18 inches tall, with flameless pillar candles inside, spaced 4 to 6 feet apart along the path edges. The spacing matters: too far apart and the route reads as random decor, close and even and it reads as a designed runway. Flameless pillars are non-negotiable for me outdoors. Real pillar candles melt lopsided in summer heat, pool wax, and blow out constantly. If your path crosses grass, set lanterns on flat stepping stones, slate tiles, or small wood rounds so they sit level and stay visible above the grass line. Buy lanterns you would happily reuse on your own porch afterward; wedding decor that becomes home decor is the best budget trick I know. Twelve to sixteen lanterns usually covers a normal yard's routes with a couple to spare.
Suggested budget range: $40 – $90.

8. Wine Bottle Lights You Collected for Free
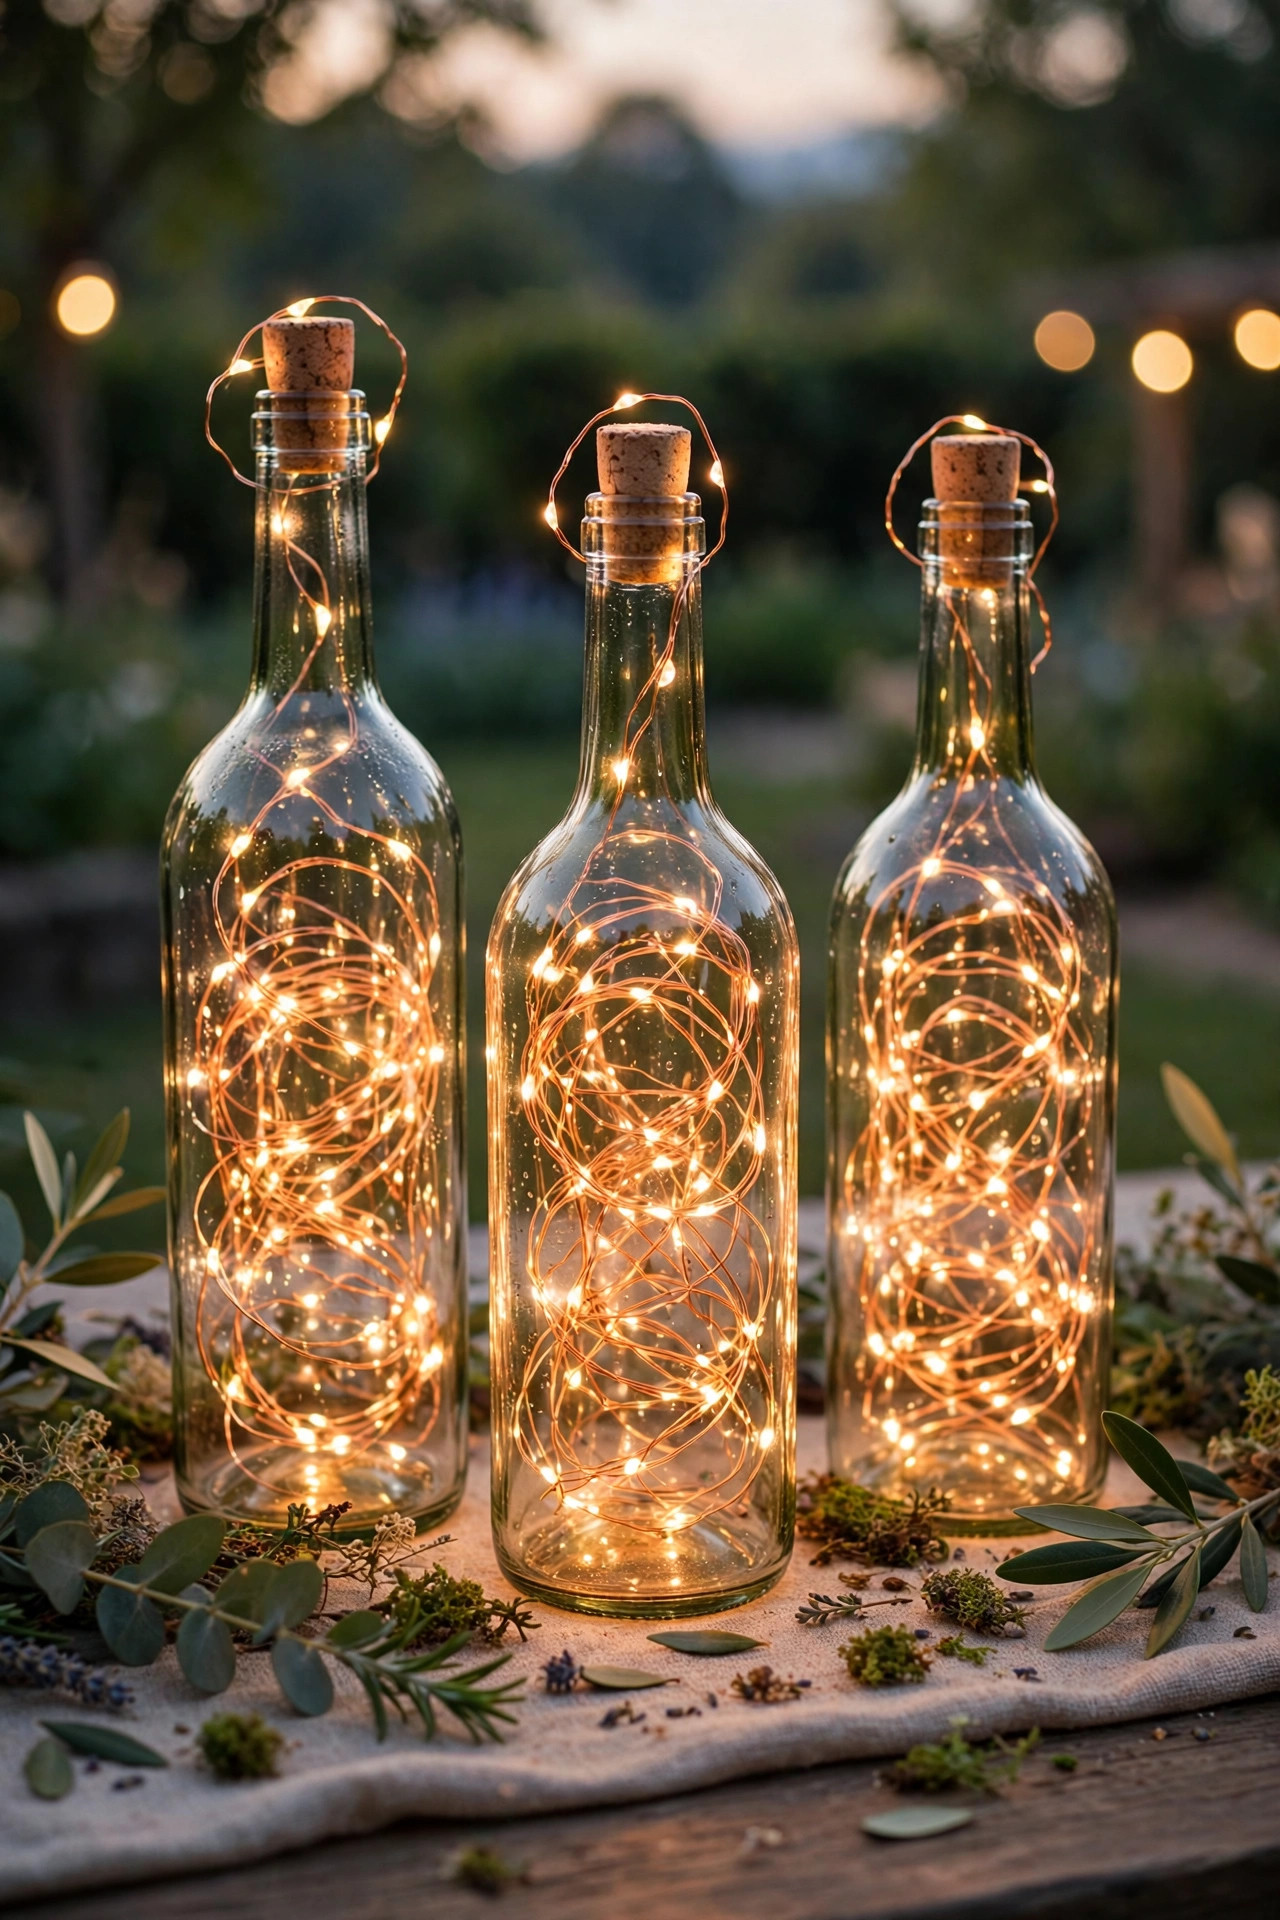
This is the centerpiece idea my friends ask about most, and it starts months before the wedding: saving wine bottles. Cork-style LED string lights, the ones where a thin copper wire of tiny bulbs fits into the bottle neck with a cork-shaped battery top, turn any bottle into a glowing lamp for about two dollars each. Blue and green glass glow the prettiest, while clear bottles with warm lights read classic and amber bottles feel autumnal. I put one bottle per table grouped with a small jar or two, and the whole centerpiece lands under five dollars. Ask a local restaurant or winery for empties, or post in a neighborhood group; people are thrilled to offload recycling. Soak labels off in warm soapy water for the clean look, or leave one meaningful label on, like the bottle from your first date, for the sweetheart table. Switch them on just before guests sit down, because the tiny batteries give you roughly 24 to 48 hours of light total. Carry two spare cork lights in your pocket on the day; there is always one dud in the batch.
Suggested budget range: $15 – $35.
9. Copper-Wire Fairy Lights Woven Through Garlands
Greenery garlands down the middle of long banquet tables are gorgeous at noon and invisible at nine. The fix is a strand of copper-wire fairy lights woven through the leaves, and it takes five minutes per table. The wire is nearly invisible in daylight, the tiny bulbs sit right inside the foliage, and the whole runner sparkles once the sun drops. I use battery packs with a timer function, set them to six hours on, and tuck each pack under the garland or tape it beneath the table edge where nobody sees it. The same trick works on stair railings, the ceremony arch, wreath decor, and the cake table edge. Warm white is the wedding choice, always; the cool-white versions read blue and clinical in photos. If you are new to these lights, my roundup of outdoor fairy light ideas shows a dozen ways to use them beyond weddings, too. Buy the longer 33-foot strands rather than short ones; the extra wire just weaves in and disappears, while a strand that ends mid-garland looks like a mistake. One strand per 6-foot table is my rule.
Suggested budget range: $10 – $30.
10. Flame-Effect Torches to Mark the Perimeter
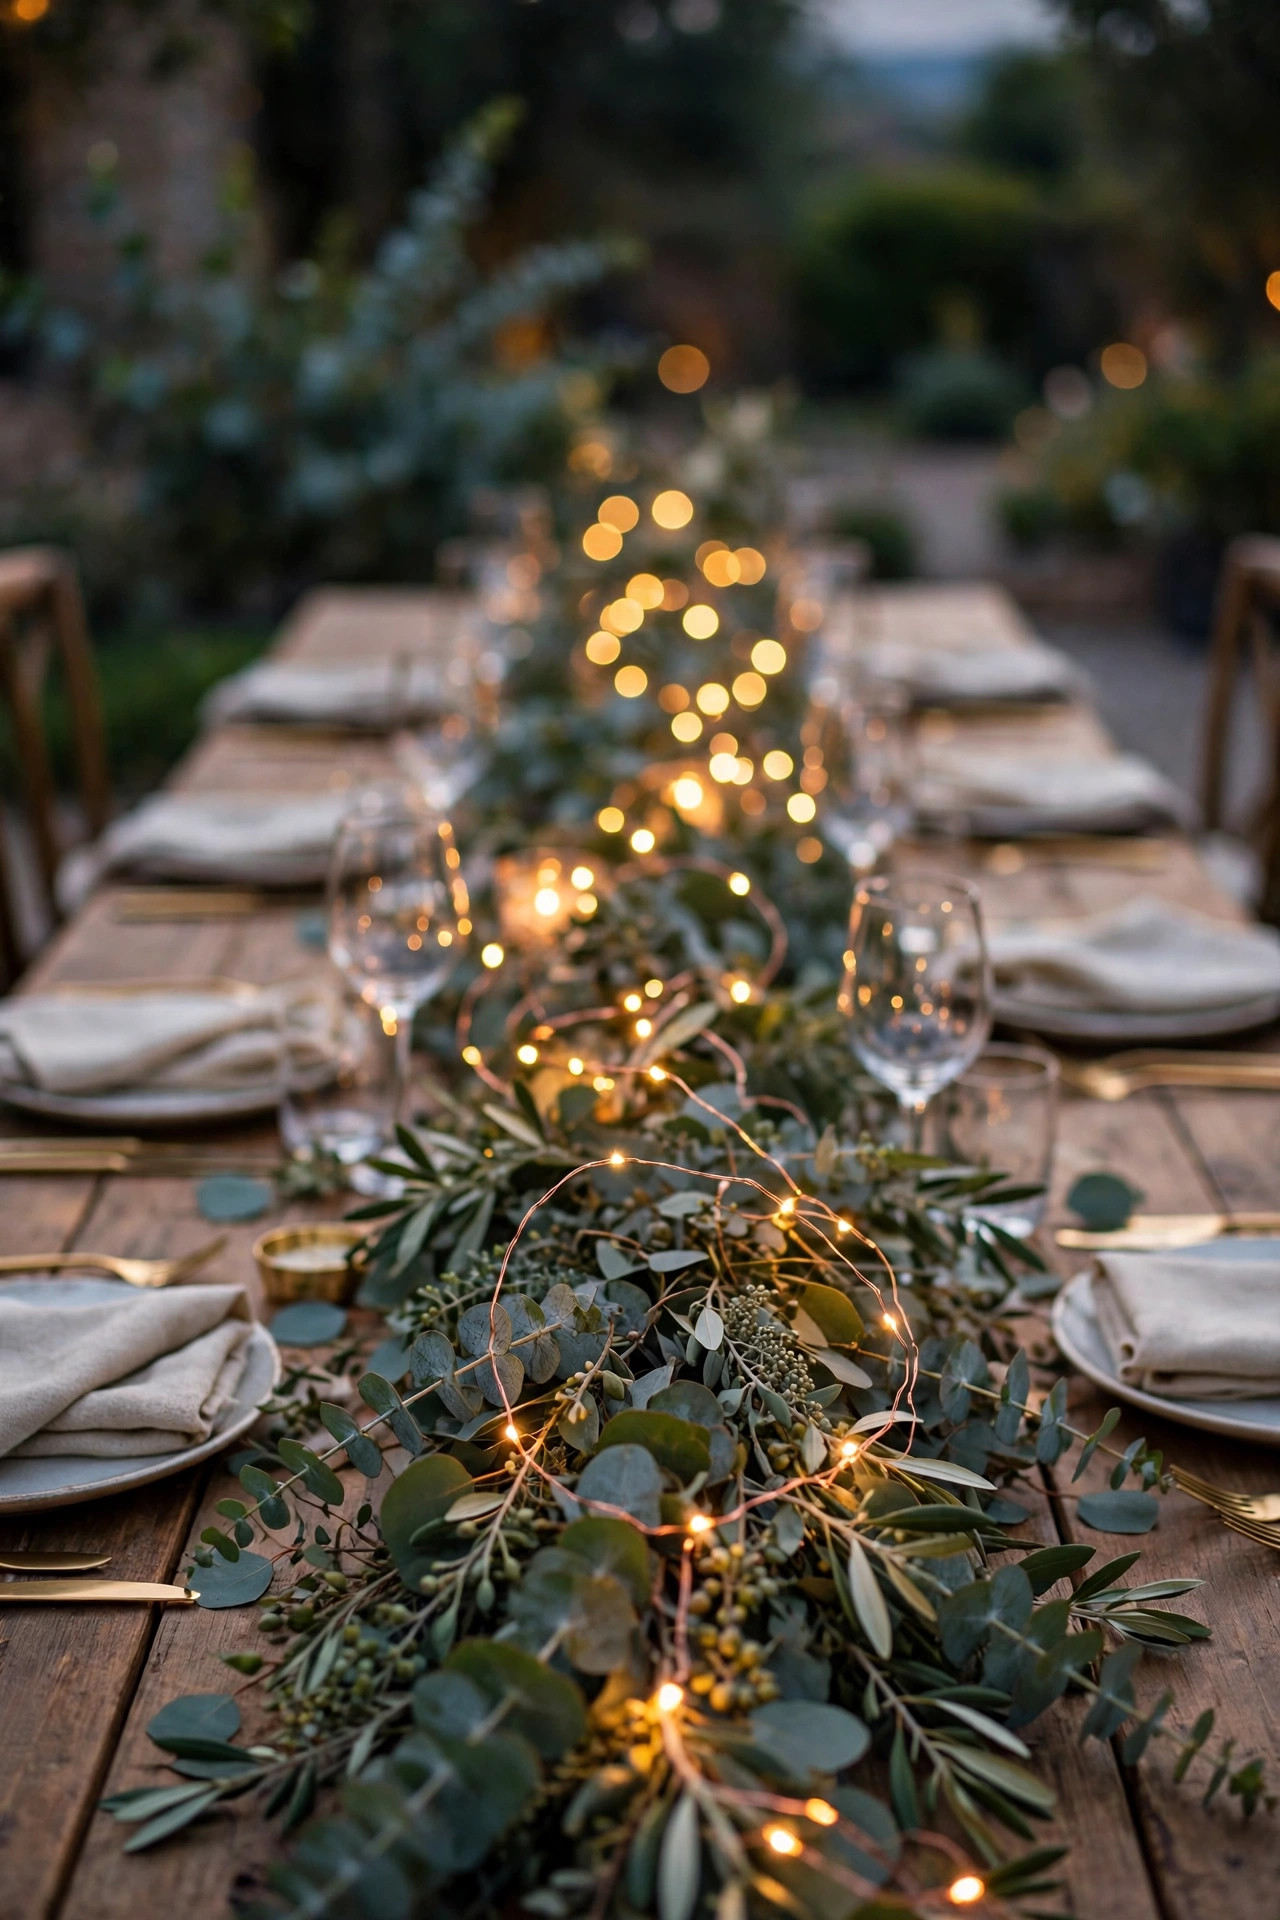
Every reception space needs edges, or guests drift and the party feels shapeless. Solar flame-effect torches are my favorite perimeter markers: they flicker like real tiki flames, stake into the lawn in seconds, need no fuel, and cost about $8 to $12 each. I ring the reception area with them about every 8 to 10 feet, and they instantly tell everyone where the party lives. They are also brilliant along the driveway or at the yard entrance, a line of flickering flames that says "this way, the wedding is here." Please keep real tiki torches with open flame far from paper decor, dry grass, and the dance floor crowd; the solar look-alikes give you the mood with zero fire marshal anxiety. Charge them in full sun for two days before the event if you can, and wipe the little solar panels clean, because a dusty panel means a torch that quits at midnight. As a bonus, these live on in your own garden afterward. Ours still line the patio three summers later, and every guest who sees them asks where they are from.
Suggested budget range: $35 – $75.
11. Shepherd's Hook Jars Along the Path to the Ceremony
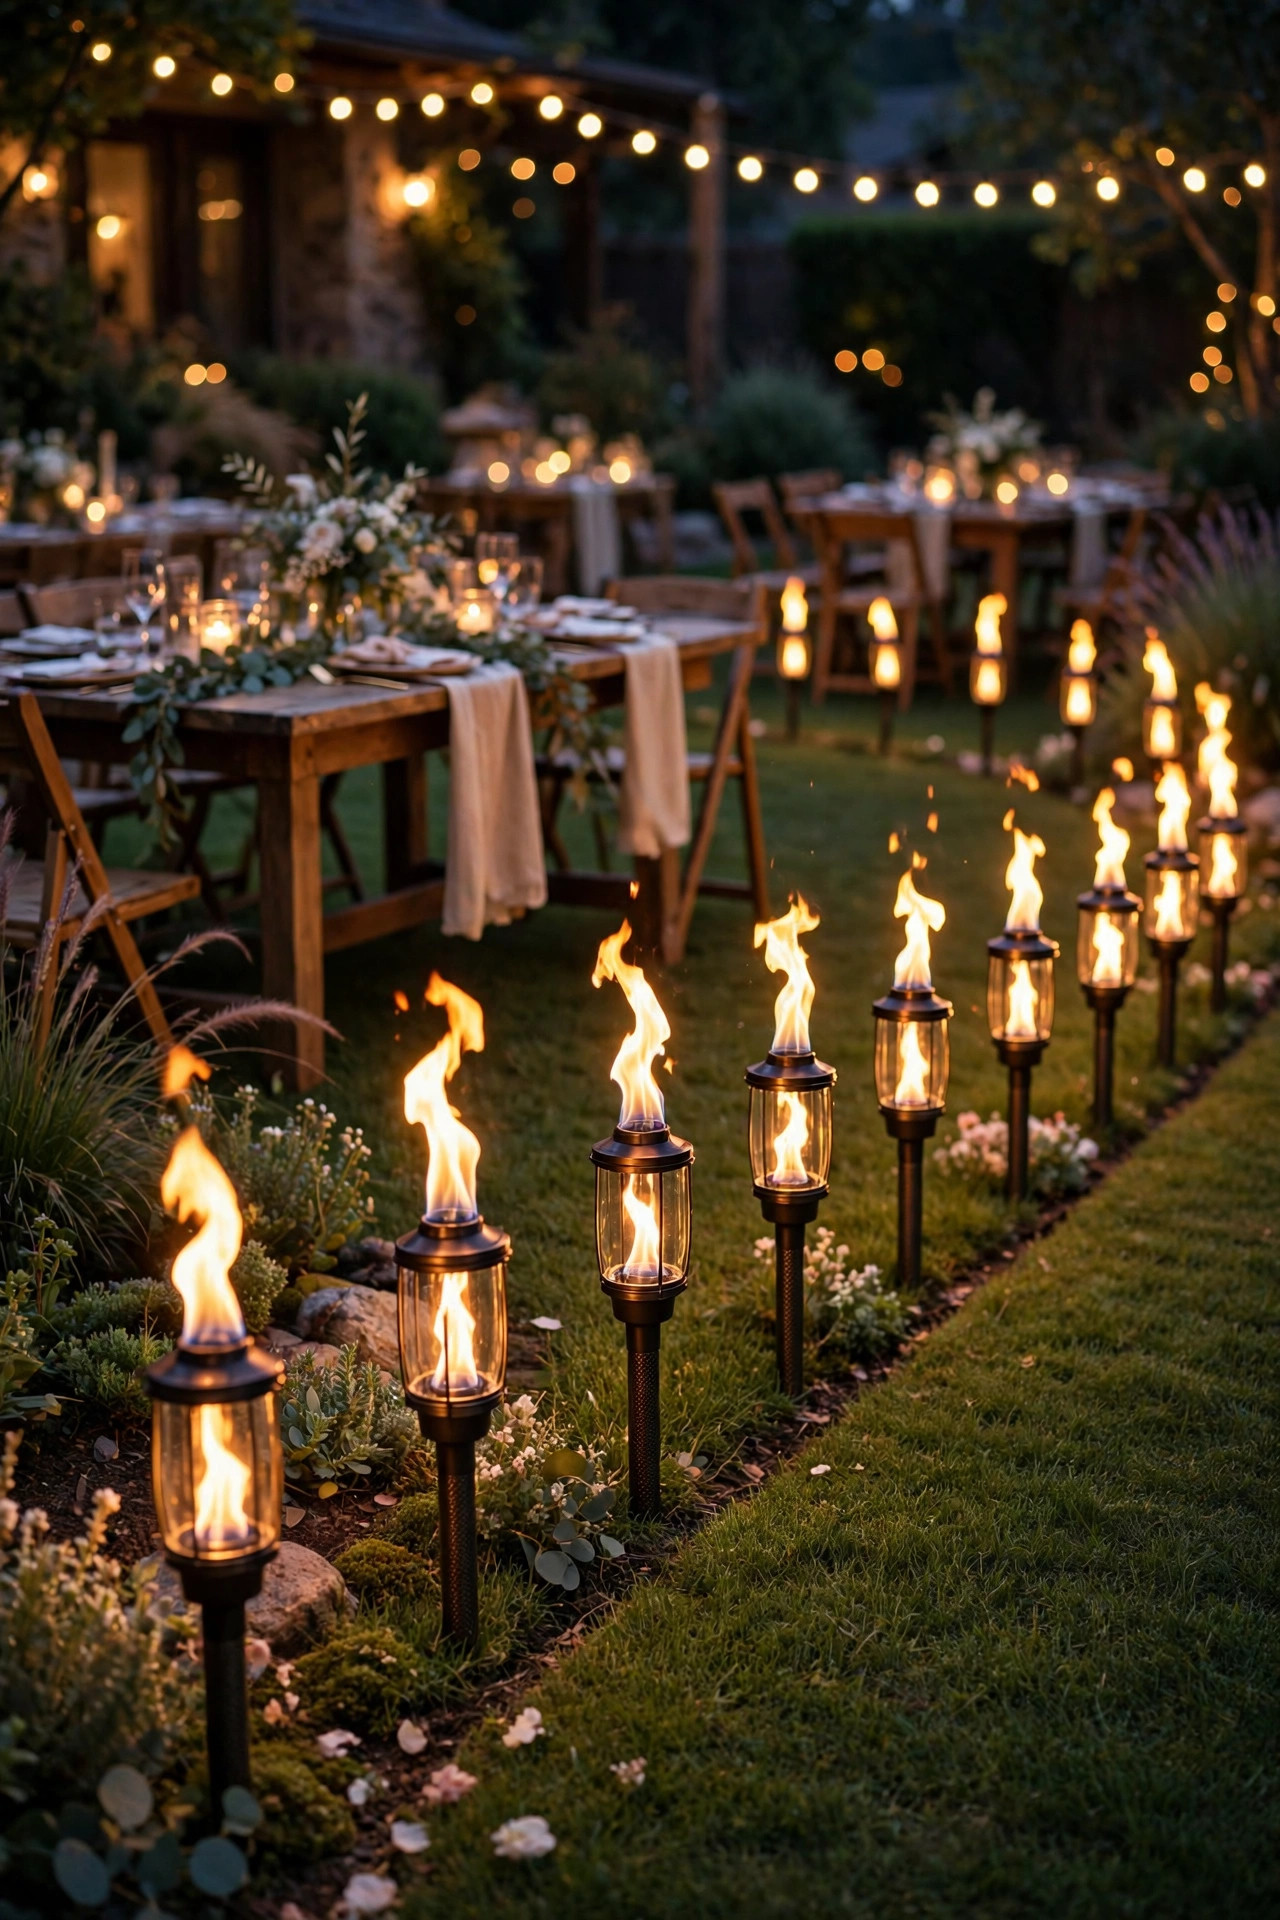
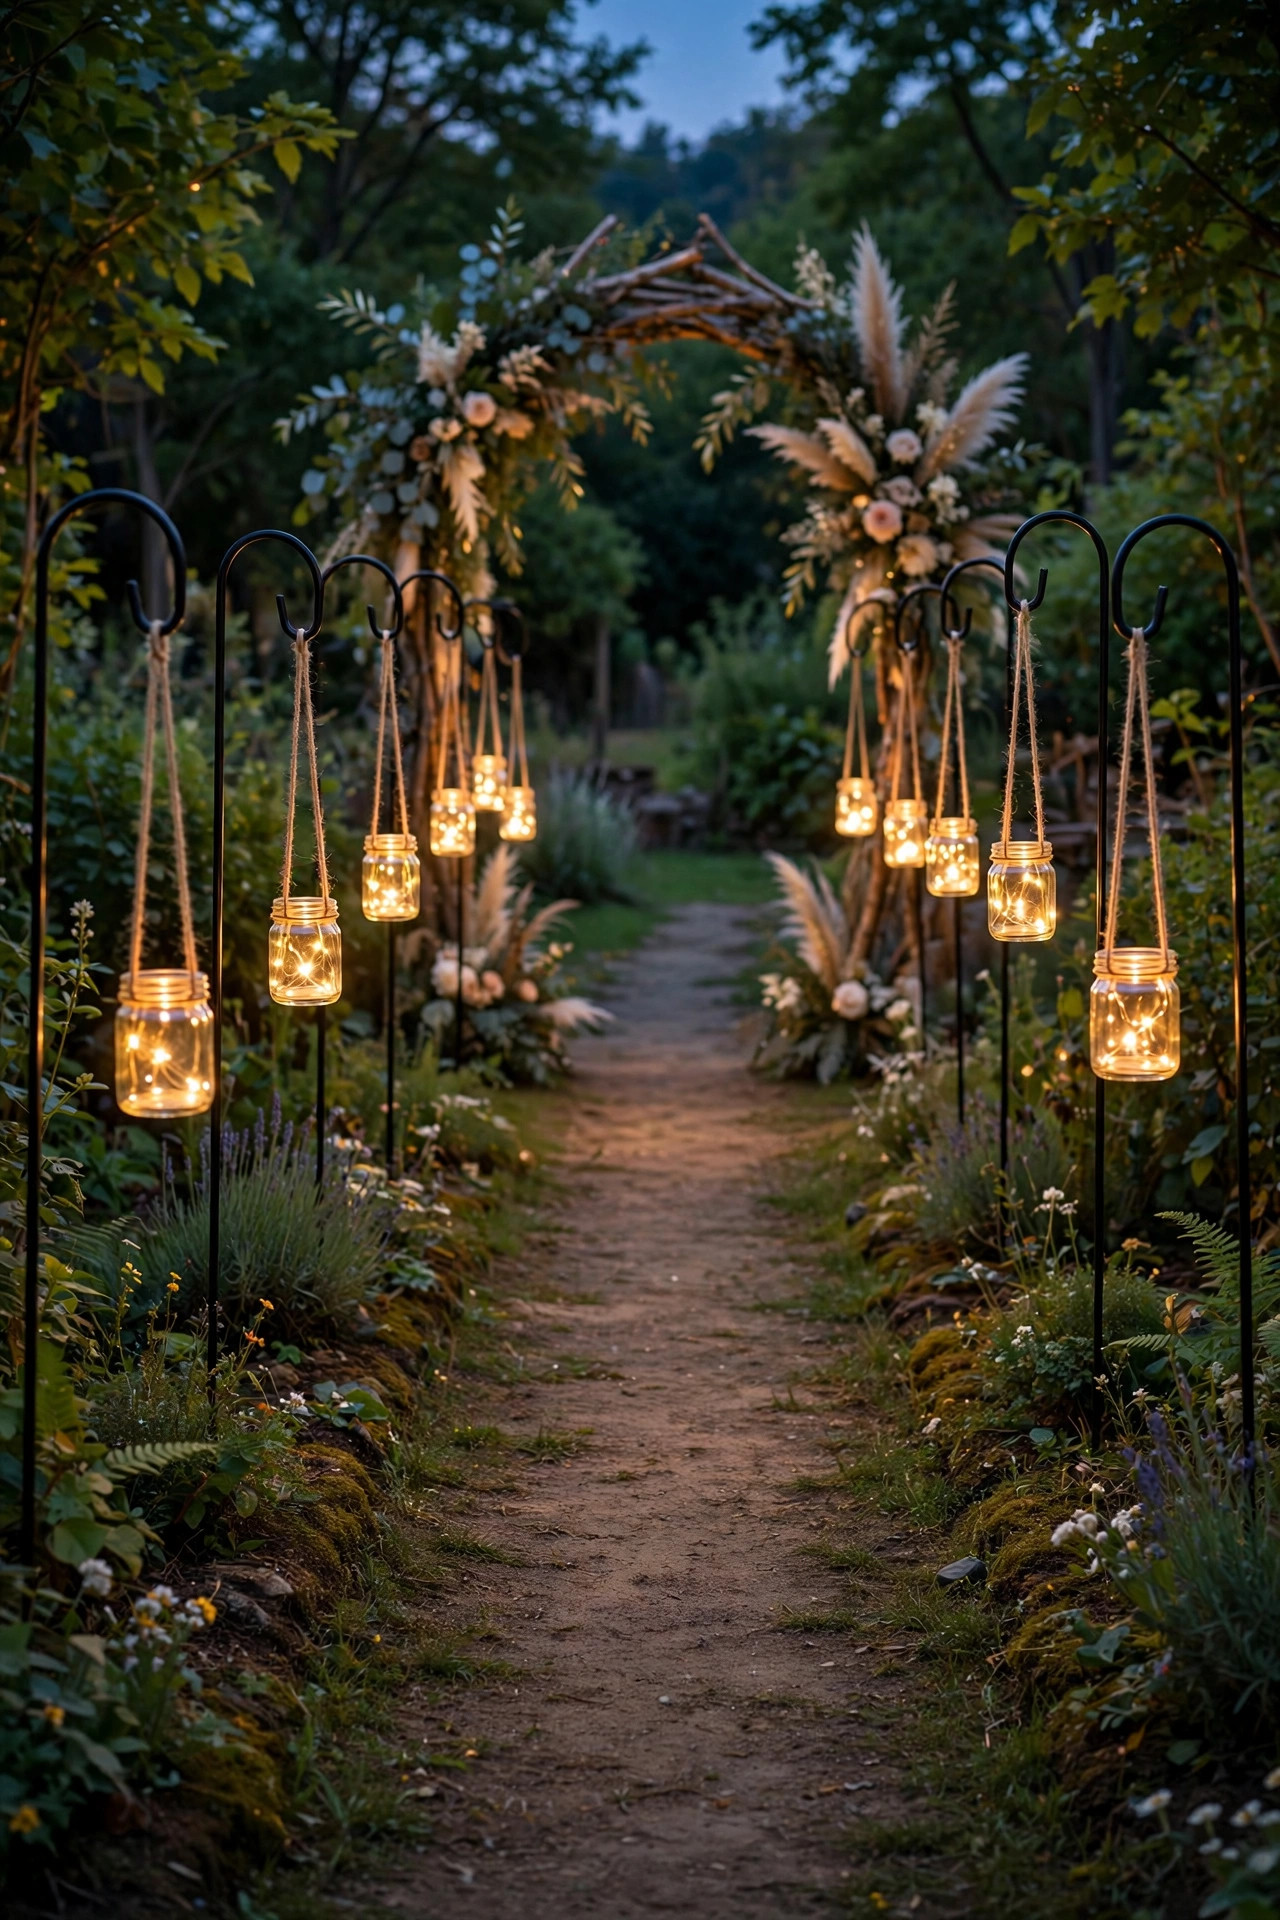
For a soft, storybook look that costs almost nothing, hang small jars from shepherd's hooks along the path guests walk to reach the ceremony seats. Hooks 36 to 48 inches tall are the sweet spot; shorter ones vanish in photos and taller ones sway. Fill each jar with either a flameless tea light on a bed of sand or a twist of battery fairy lights, then tie a scrap of ribbon or twine at the neck if you want the rustic finish. Space the hooks evenly, about 5 feet apart, and push them in a week early if your soil is hard, because wrestling with hooks in wedding clothes is a misery I would not wish on anyone. The jars catch the last daylight beautifully during the ceremony and then glow properly once dusk falls, so this is one of the few ideas that works for both halves of the evening. After the ceremony, have two helpers move the hooks to frame the dance floor or the entrance to the reception. Decor that works two shifts is exactly how a real budget stretches. Six to ten hooks is plenty for most yards.
Suggested budget range: $25 – $55.
12. Backyard Wedding Lighting Ideas for the Dance Floor: Ring It and Canopy It
The dance floor needs two things from your lighting: a clear border so dancers know where the floor is, and slightly brighter light above it than anywhere else, because people dance harder when they can see each other. I build it with four poles at the corners, sunk in weighted buckets or clamped to a deck, and run cafe strands across the top in an X or parallel lines, the same strands from idea one doing double duty if you plan the layout together. Around the edges, a low ring of lanterns, globe stakes, or even the shepherd's hook jars moved over from the ceremony defines the perimeter without a single rented uplight. Put the dance canopy on its own dimmer or plug so it stays at full brightness while the dinner canopy dims down; that contrast quietly pulls people toward the floor after cake. Keep every cord outside the dance area and tape crossovers flat. One honest warning: do not hang paper lanterns or fabric over a crowded dance floor at low height. Keep anything soft a good 9 feet up, LED only, and away from the inevitable uncle-with-a-sparkler situation.
Suggested budget range: $60 – $140.

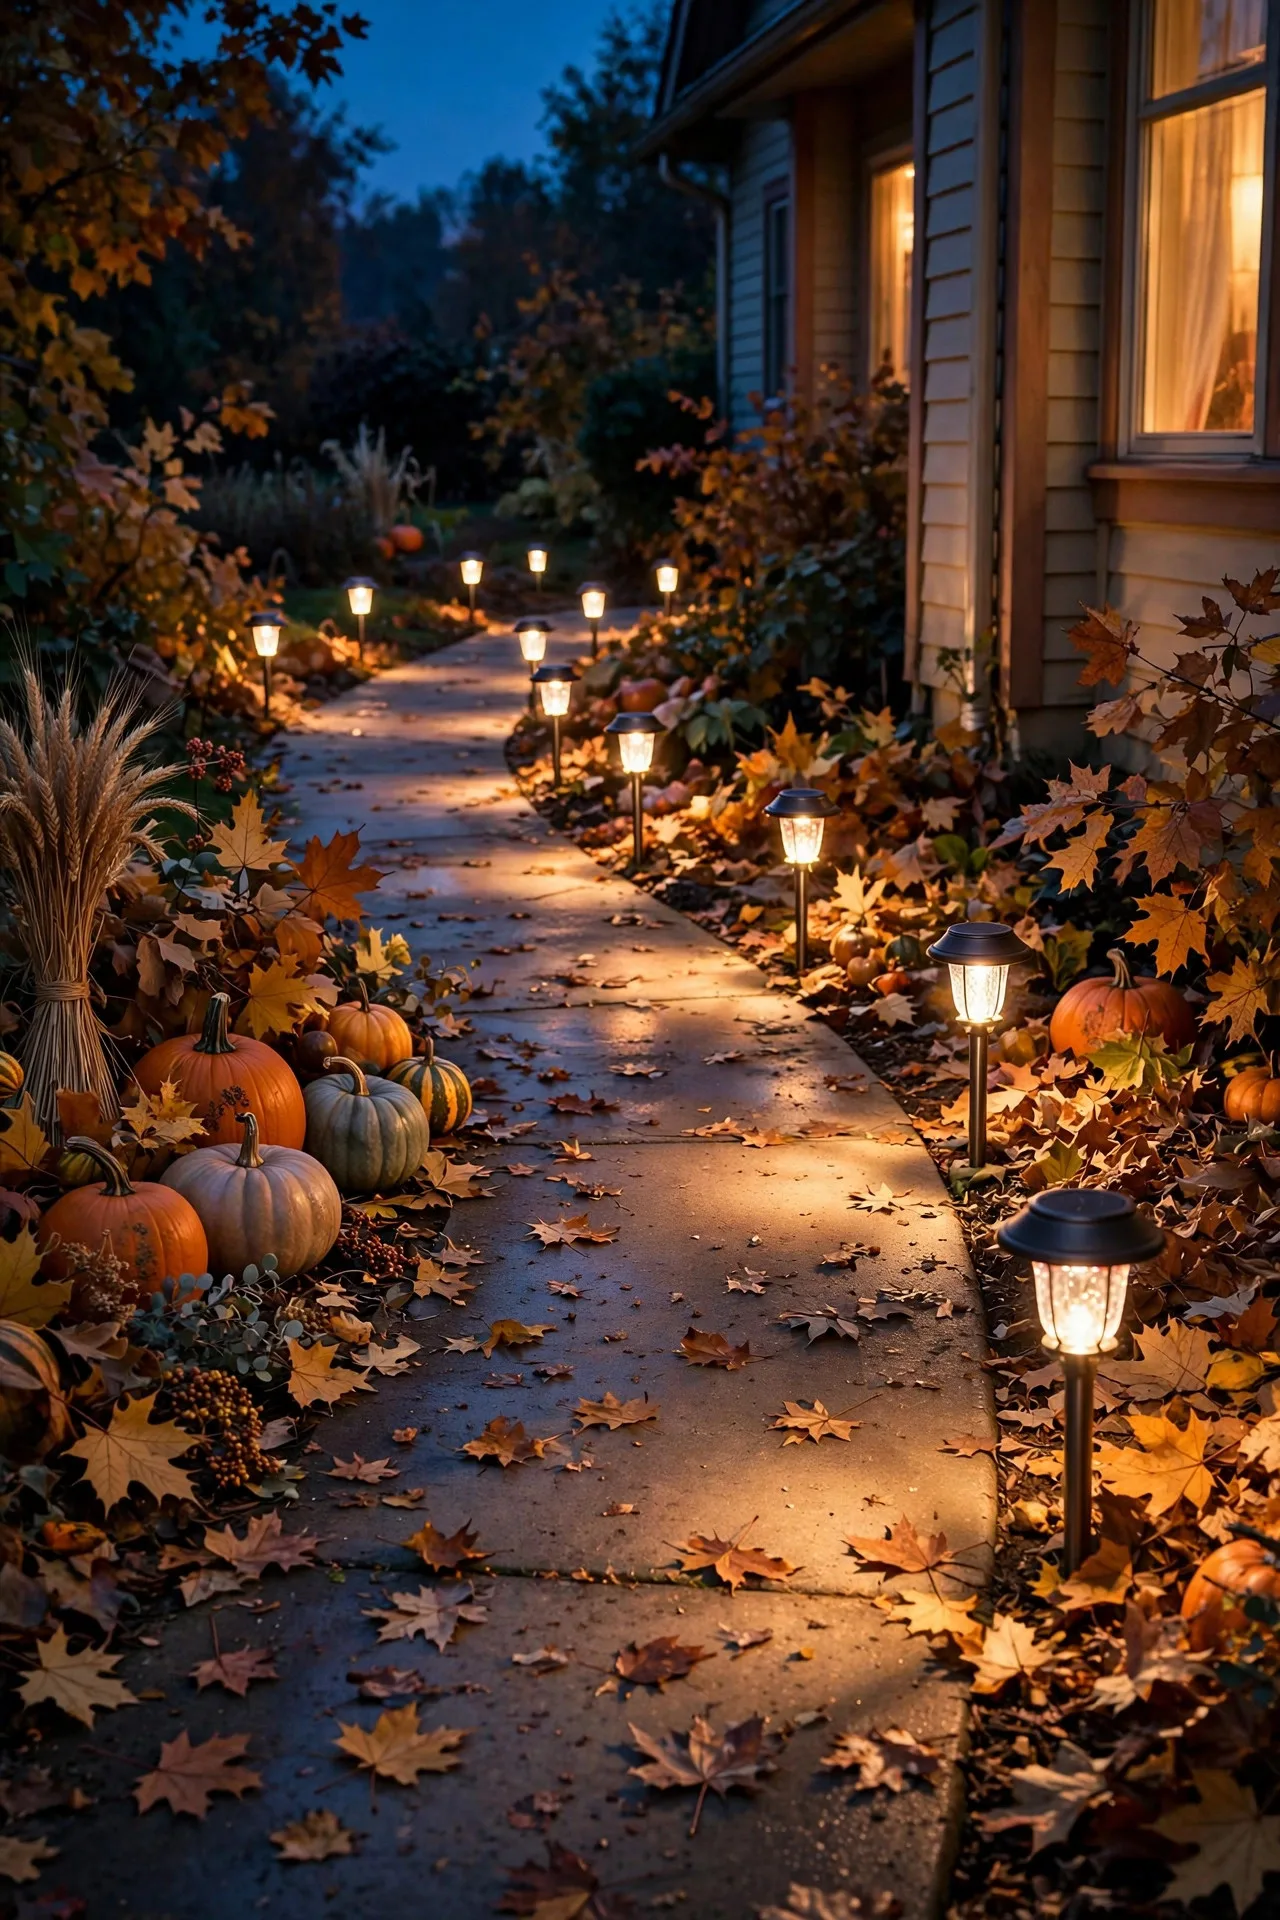
13. Solar Path Lights for the Unglamorous Routes
Let us talk about the lighting nobody pins on a board: the route to the bathroom, the path to the kitchen door for the caterers, and the walk back to the cars. These routes need plain, reliable, slightly brighter light, and budget solar path lights are perfect for it because you can stake them anywhere in ten minutes with no cords at all. I choose simple stainless or black stake lights and place them closer than the packaging suggests, every 3 to 4 feet, alternating sides so the path reads as a gentle zigzag of pools of light. Stake them two days ahead so they get full charges, and test the route yourself at 10 p.m. wearing the least sensible shoes you own. If you trip or squint, add lights. This is also where I break the warm-white rule just slightly: a neutral white reads clearer for steps and uneven ground, and nobody is taking portraits by the bathroom path. Mark any single step, hose, or sprinkler head with an extra light right beside it. Unglamorous? Completely. The thing guests will quietly thank you for? Also completely.
Suggested budget range: $20 – $40.
14. Net Lights Draped Over Shrubs and Hedges
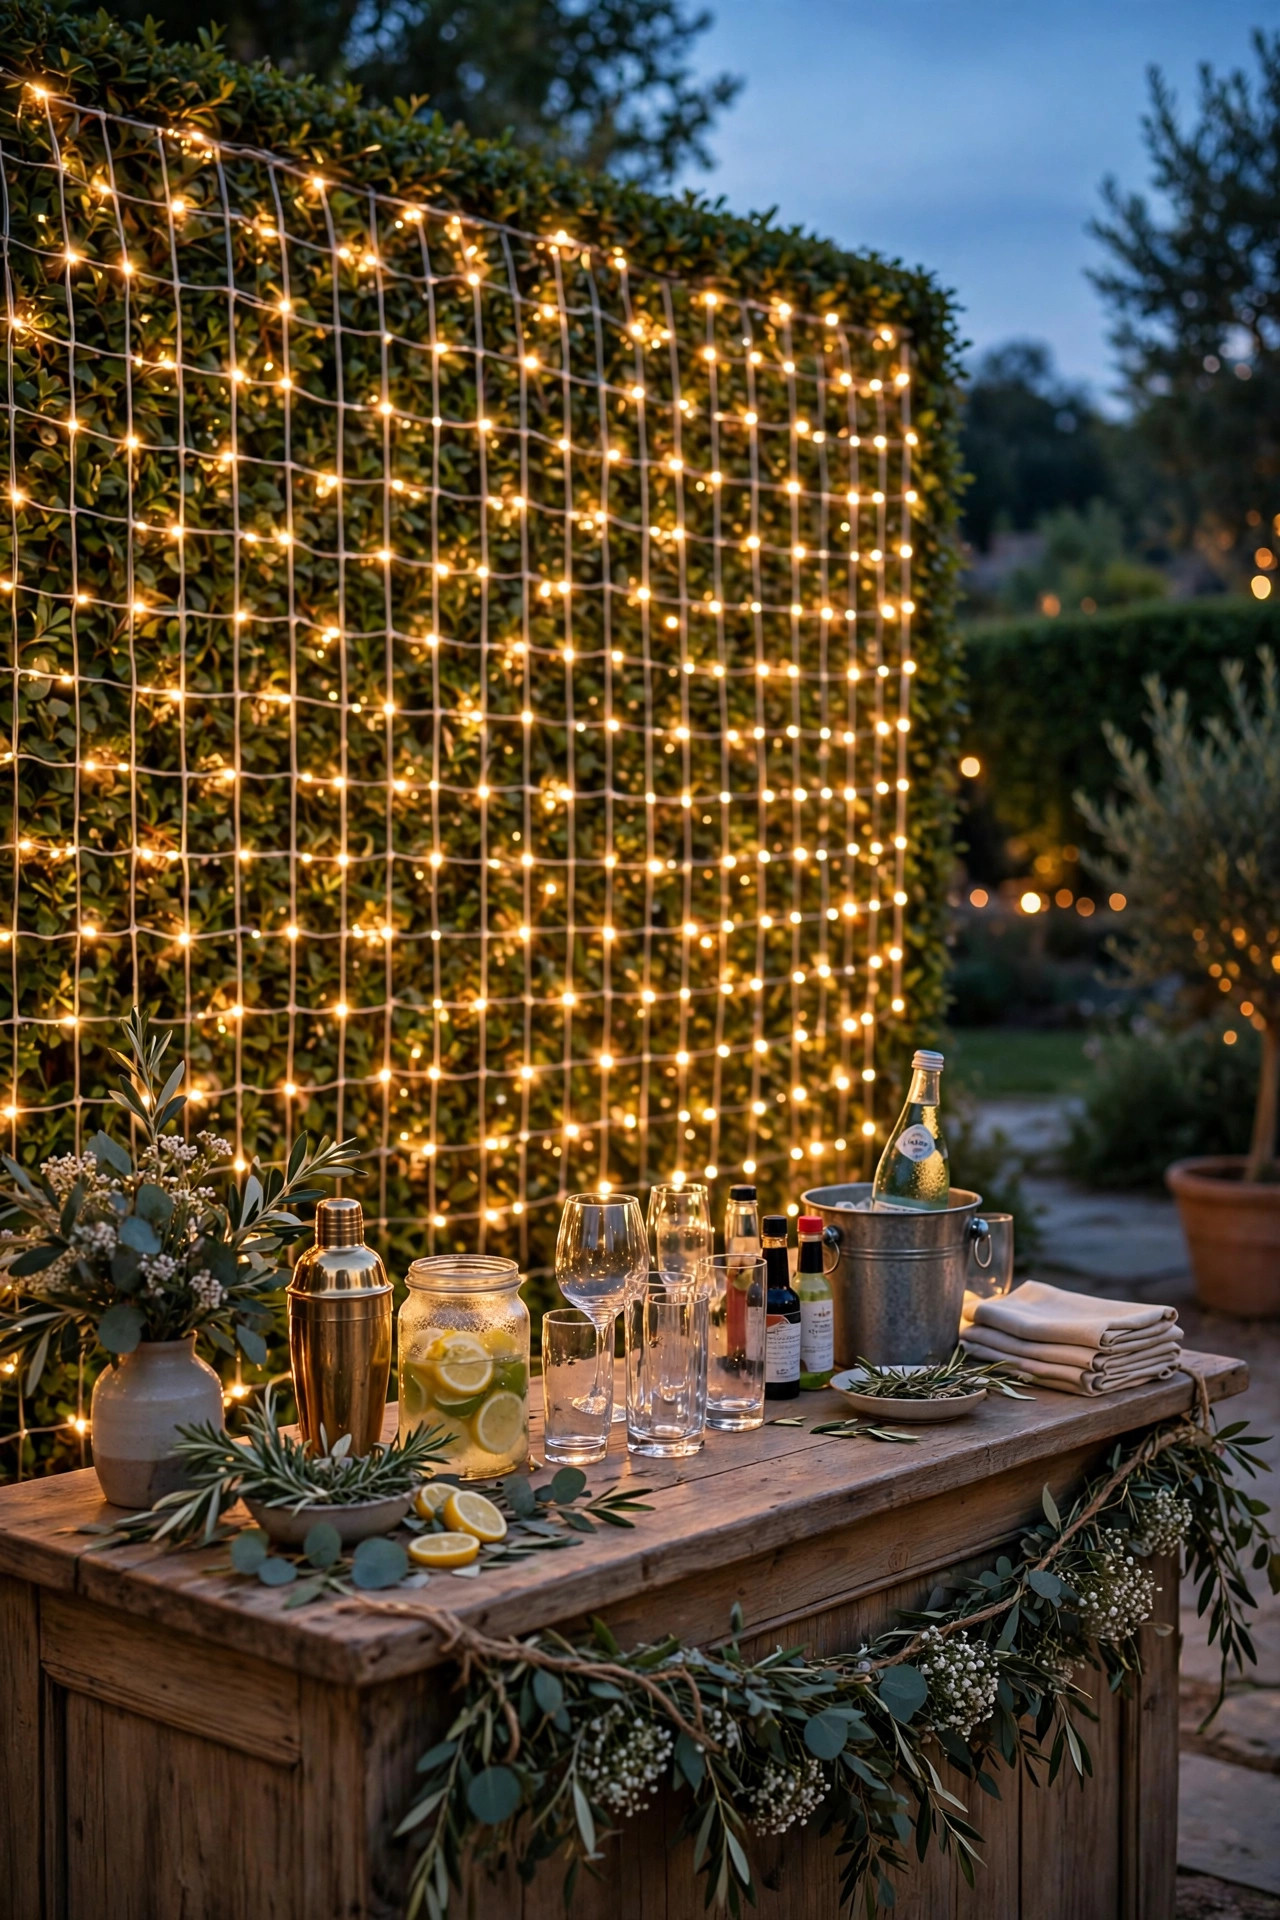
Net lights are the cheat code of wedding lighting. They are a grid of bulbs on a flexible mesh, made to drape over a shrub or hedge so the whole plant sparkles evenly with zero artistry required. A plain hedge behind the bar or along the fence becomes a wall of twinkle in about four minutes, and I mean that literally; this is the fastest transformation in this entire list. One 4-by-6-foot net covers a medium shrub; link two or three along a hedge run for a continuous backdrop. They also work beautifully thrown over a fence section, a hay bale stack, or the front of the gift table. Match the color temperature to everything else, 2700K warm white, because a random cool-white shrub glows blue in every photo like a haunted aquarium. Battery nets exist but plug-in nets are brighter and cheaper, and shrubs are usually near the house wall where an outlet hides. Do this setup last, after the big strands are hung, with whatever budget and energy remain. It is the highest compliment-per-dollar item I know; guests always ask how long the "light wall" took, and the honest answer is embarrassing.
Suggested budget range: $20 – $45.
15. A Small Light Curtain Behind the Cake Table
The cake table gets photographed as much as the couple, and it is usually shoved against a dark fence. Steal the fairy light curtain idea at half scale: a 3-by-3 or 6-by-3-foot curtain hung behind the dessert display turns a folding table into a styled moment. Hang it from a small stand, a pair of poles, or command hooks on the fence, and layer a sheer cloth or greenery swag at the top to hide the wire. The glow behind glass cake stands and jars of candy is genuinely beautiful, and the light spills onto the table just enough that guests can see what they are serving themselves. If a full curtain busts the budget, three or four vertical fairy strands spaced across the backdrop give 80 percent of the effect for a few dollars. Keep the curtain at least a foot behind the cake itself so nobody backs into it during the cutting photos, and weight or stake the stand; a backdrop that topples onto the cake is the stuff of wedding nightmares. This backdrop later moves behind the photo area if you want a second act for it.
Suggested budget range: $15 – $40.

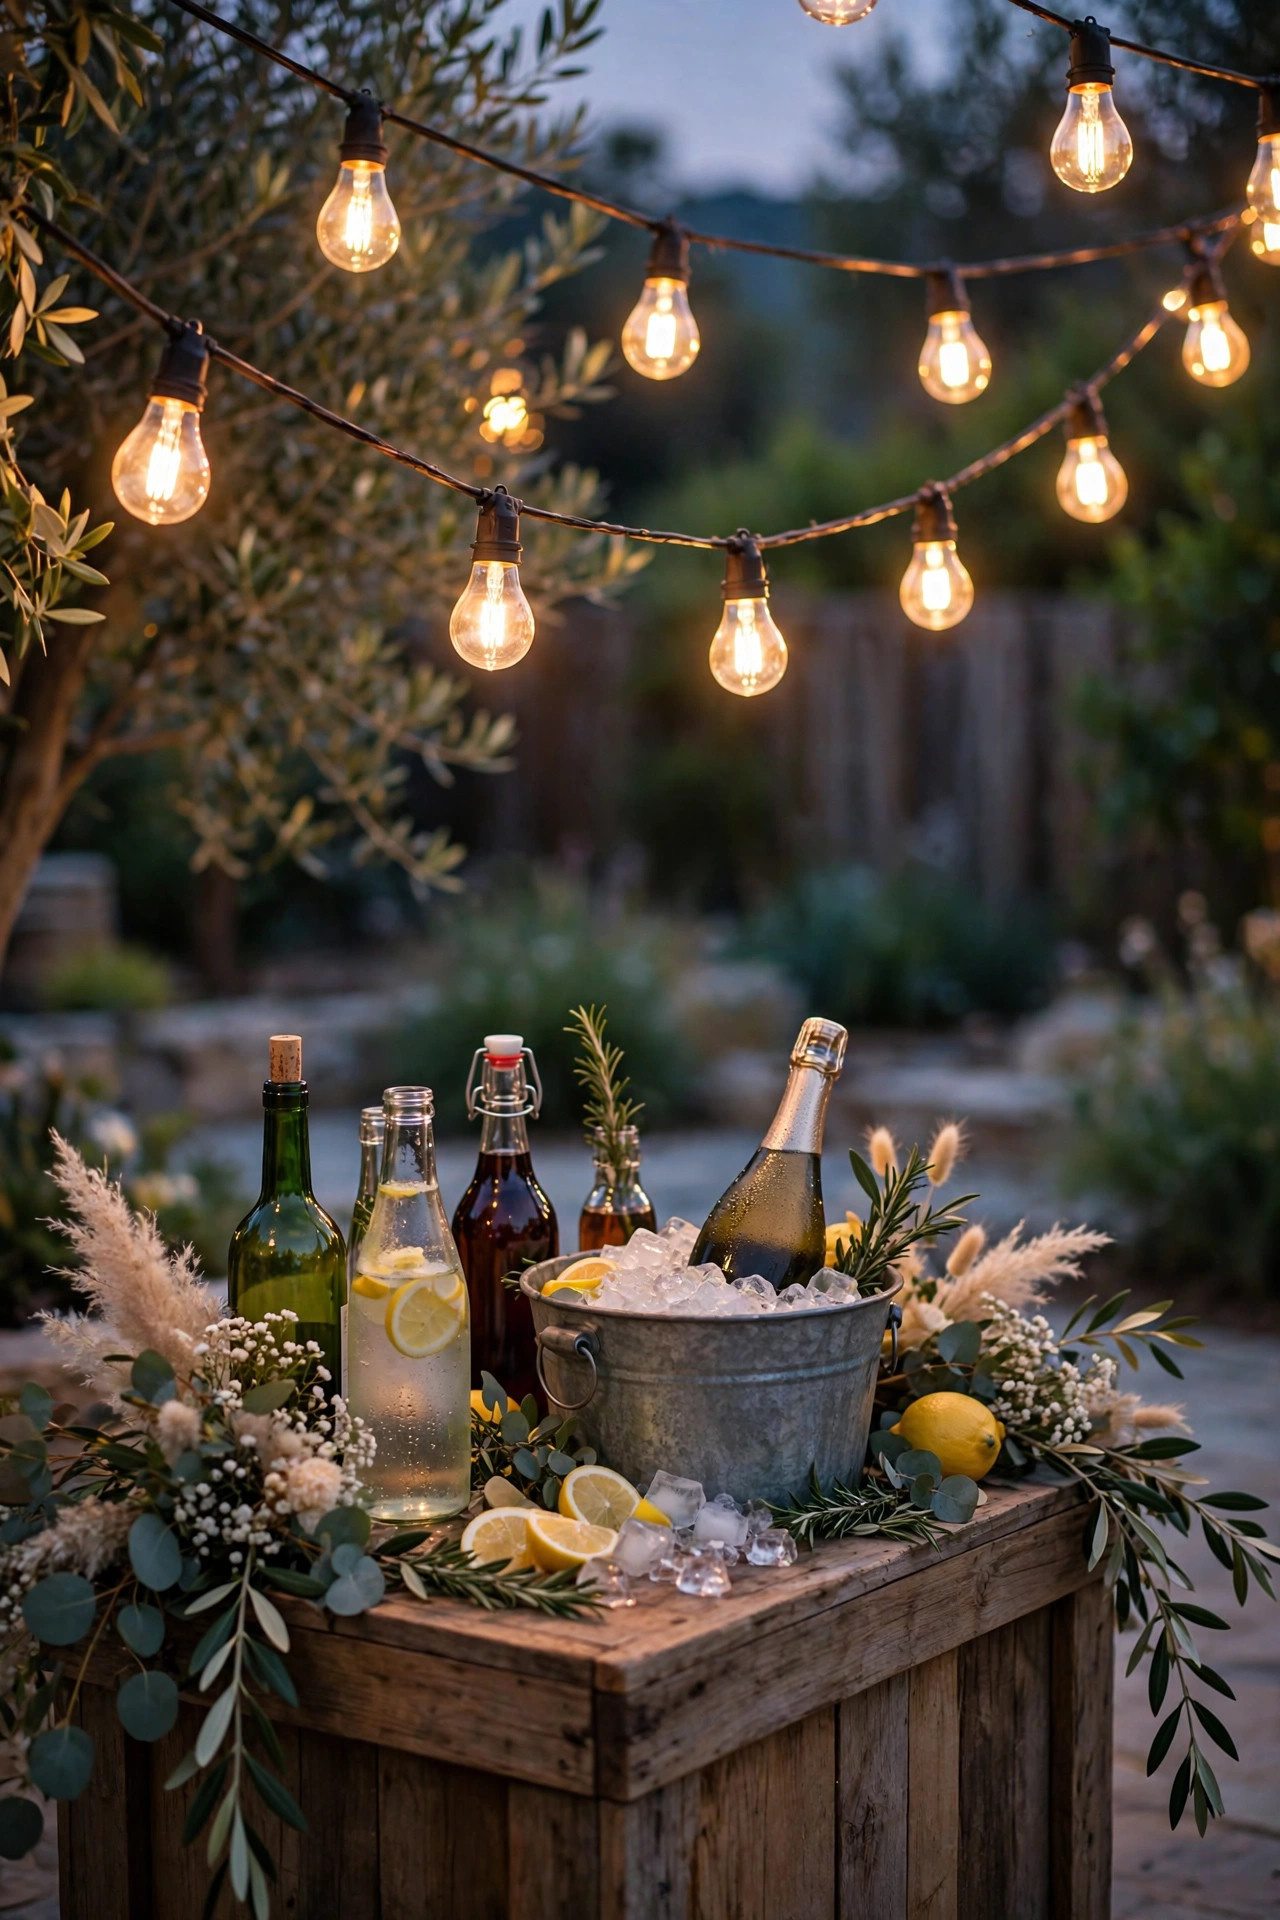
16. Brighter Task Light Over the Bar and Drink Station
Here is a practical rule from every event I have worked: the bar needs more light than the dance floor. Guests are reading labels, bartenders are pouring, and ice buckets are trip hazards in the dark. I hang one dedicated strand of Edison-style bulbs or a pair of brighter lantern pendants directly over the drink station so the working area is clearly, warmly lit, then let the surrounding space stay dim and moody. A string of larger G40 globes over the bar, lower than the main canopy at about 7 feet, marks the spot from across the yard like a little tavern sign. Under the table edge, a battery LED strip lights the cooler zone and the floor where people queue, which sounds fussy until you have watched someone miss a step holding two drinks. If you are planning other party zones beyond the wedding itself, the layouts in my guide to outdoor party lighting ideas use this same hub-and-glow approach. Keep cords behind the table, never in the queue path, and put the bar light on its own plug so it stays up even if another circuit gets moody.
Suggested budget range: $25 – $60.
17. Floating Lights for the Pool, Pond, or Even a Big Bowl
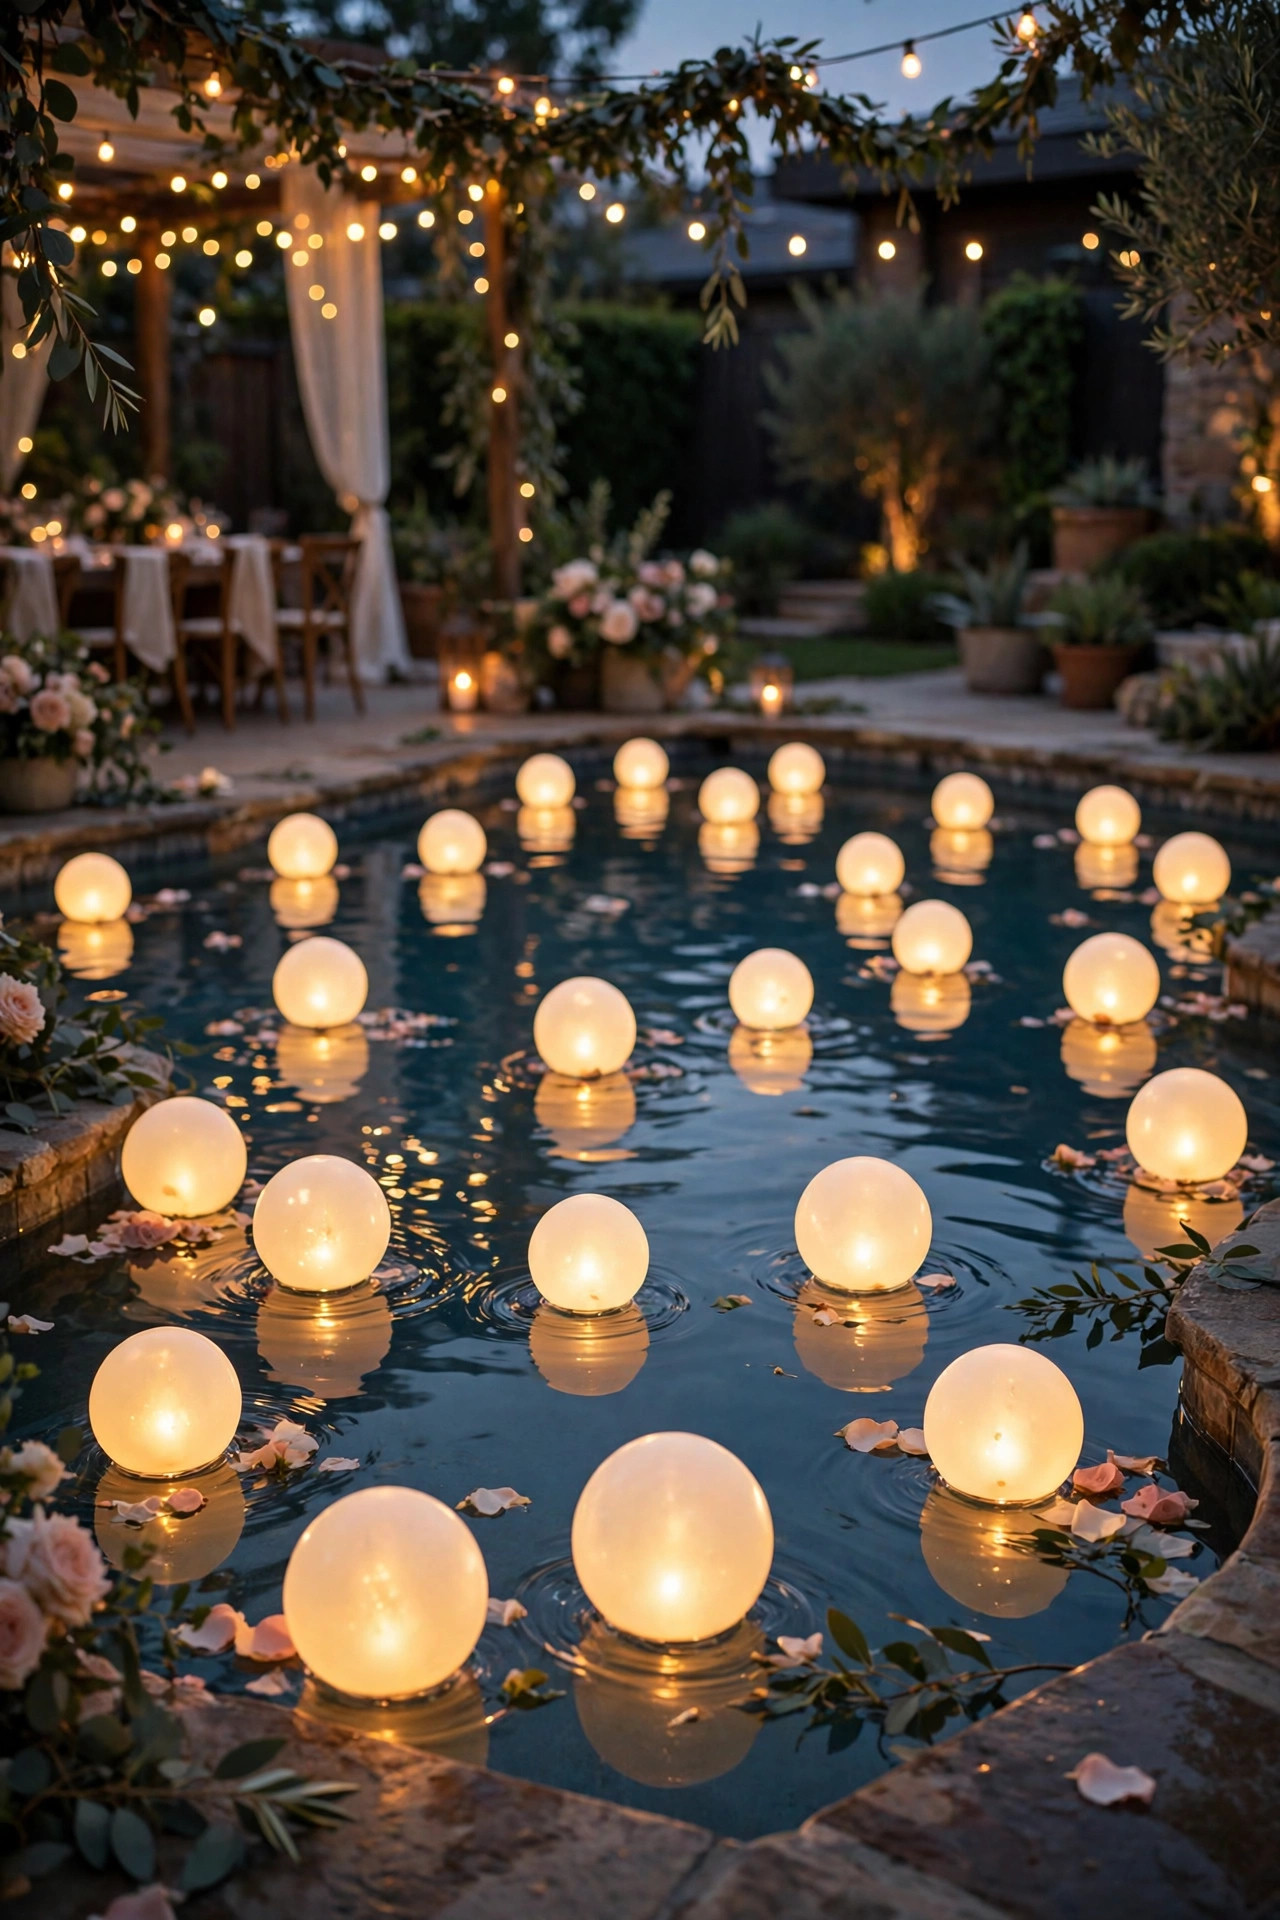
If your yard has a pool or pond, floating lights are the easiest wow on this list. LED floating orbs and lotus-style lights drift on the water glowing softly, and because they are battery or solar powered there is not a cord in sight. A set of six to ten orbs scattered across a pool looks like a five-star resort at dusk. Check the waterproof rating before you buy; you want IP67 or IP68 for anything that actually floats all evening, and I always do a one-hour bathtub test the week before to catch leakers. No water feature? Steal the look on dry land: fill wide, shallow bowls or a galvanized tub with water, float flameless candles or small LED discs in them, and set the bowls on the ground near the ceremony or beside the dance floor. The reflections double the light and guests will photograph them all night. Never use real floating candles in a pool people might dip hands into, and keep the solar orbs charging in full sun the day of, not the night before. Water plus warm light is pure magic; water plus dead batteries is just dark.
Suggested budget range: $20 – $50.
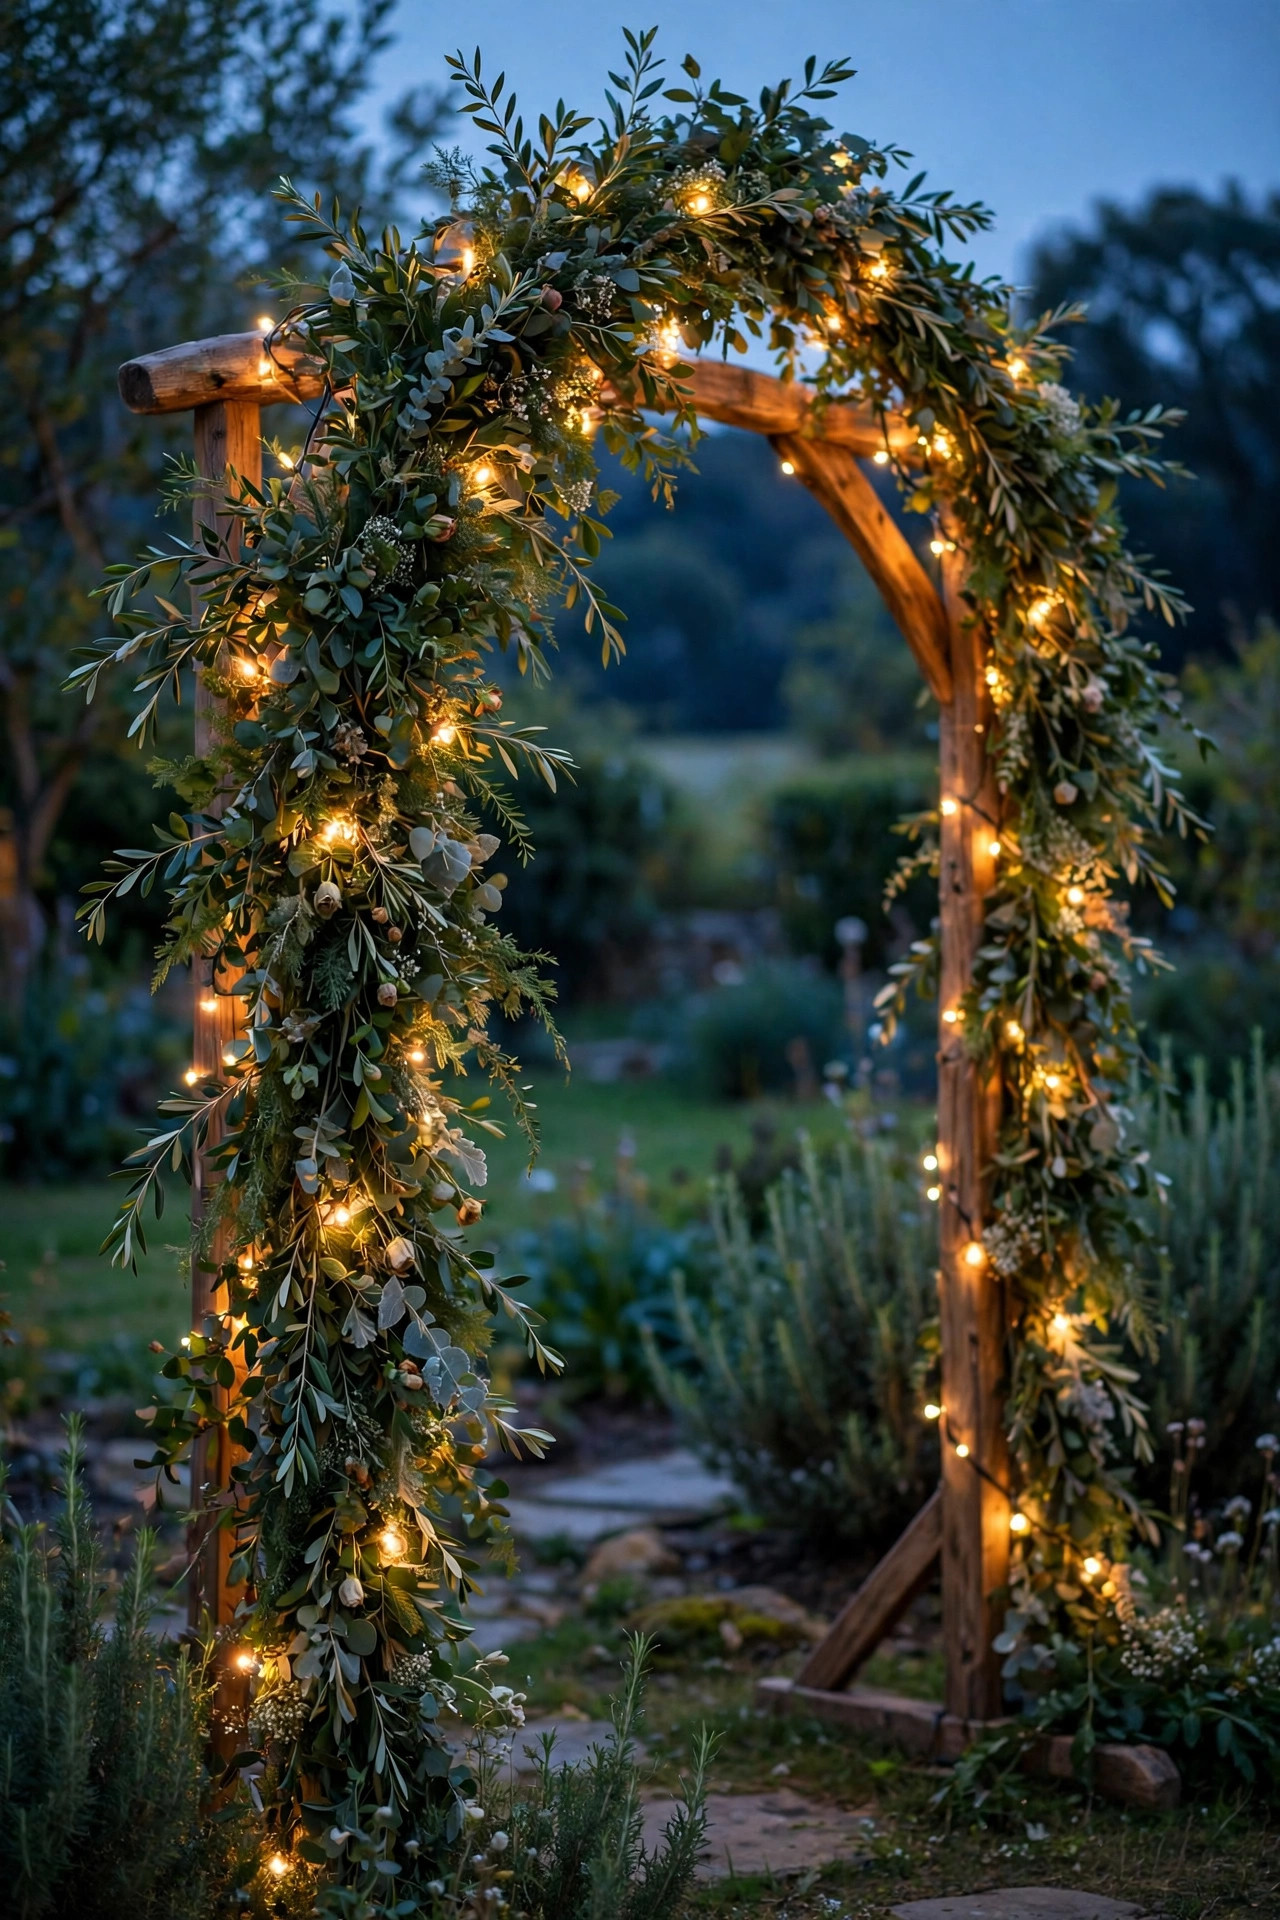
18. Wrap the Ceremony Arch in Fairy Lights and Greenery
The arch or arbor is the frame around your vows, and at a dusk ceremony it needs to glow or it disappears into the hedge behind it. I wrap two or three battery fairy light strands directly into the greenery and flowers on the arch, starting at the base of one leg and spiraling up and across, packing bulbs a little denser at the top corners where they frame faces. Battery packs hide inside the floral arrangements; just leave them reachable so someone can switch them on twenty minutes before the ceremony starts. Copper wire strands blend into greenery invisibly, while the green-wire kind shows in daylight photos, so match the wire to your backdrop. If your ceremony is in full afternoon sun, the lights will barely show, and that is fine; they are insurance for golden hour portraits afterward, when the arch becomes the most requested photo spot in the yard. Test the whole thing at the rehearsal at the same time of day as the ceremony. What looks evenly wrapped from the front can be a tangled nest from the side, and your photographer will absolutely notice.
Suggested budget range: $12 – $35.
19. One Statement Lantern Per Table Instead of Florals
Fresh flower centerpieces are the first budget line to balloon, so here is my favorite swap: one generous lantern per table, filled with fairy lights or a fat flameless candle, ringed with a small wreath of greenery or loose petals. The lantern becomes the glowing anchor of the table, guests can see each other over it, and because lanterns are reusable and resalable, the true cost after the wedding is nearly zero. I buy them in one finish, matte black, brushed gold, or weathered wood, in a single size around 14 to 18 inches tall so the tables look calm and consistent. Battery fairy lights stuffed inside give a firefly-jar effect; a flameless pillar gives a cleaner, more formal column of light. Scatter two or three of the little mason jars from idea three around each lantern and the table is done for under fifteen dollars of light. Shop the lanterns over a few months whenever they go on sale, and borrow extras from friends; mismatched-by-one-shade is invisible at night. After the wedding, your porch, mantel, and patio get a decor upgrade that pays the purchase back for years.
Suggested budget range: $45 – $95.

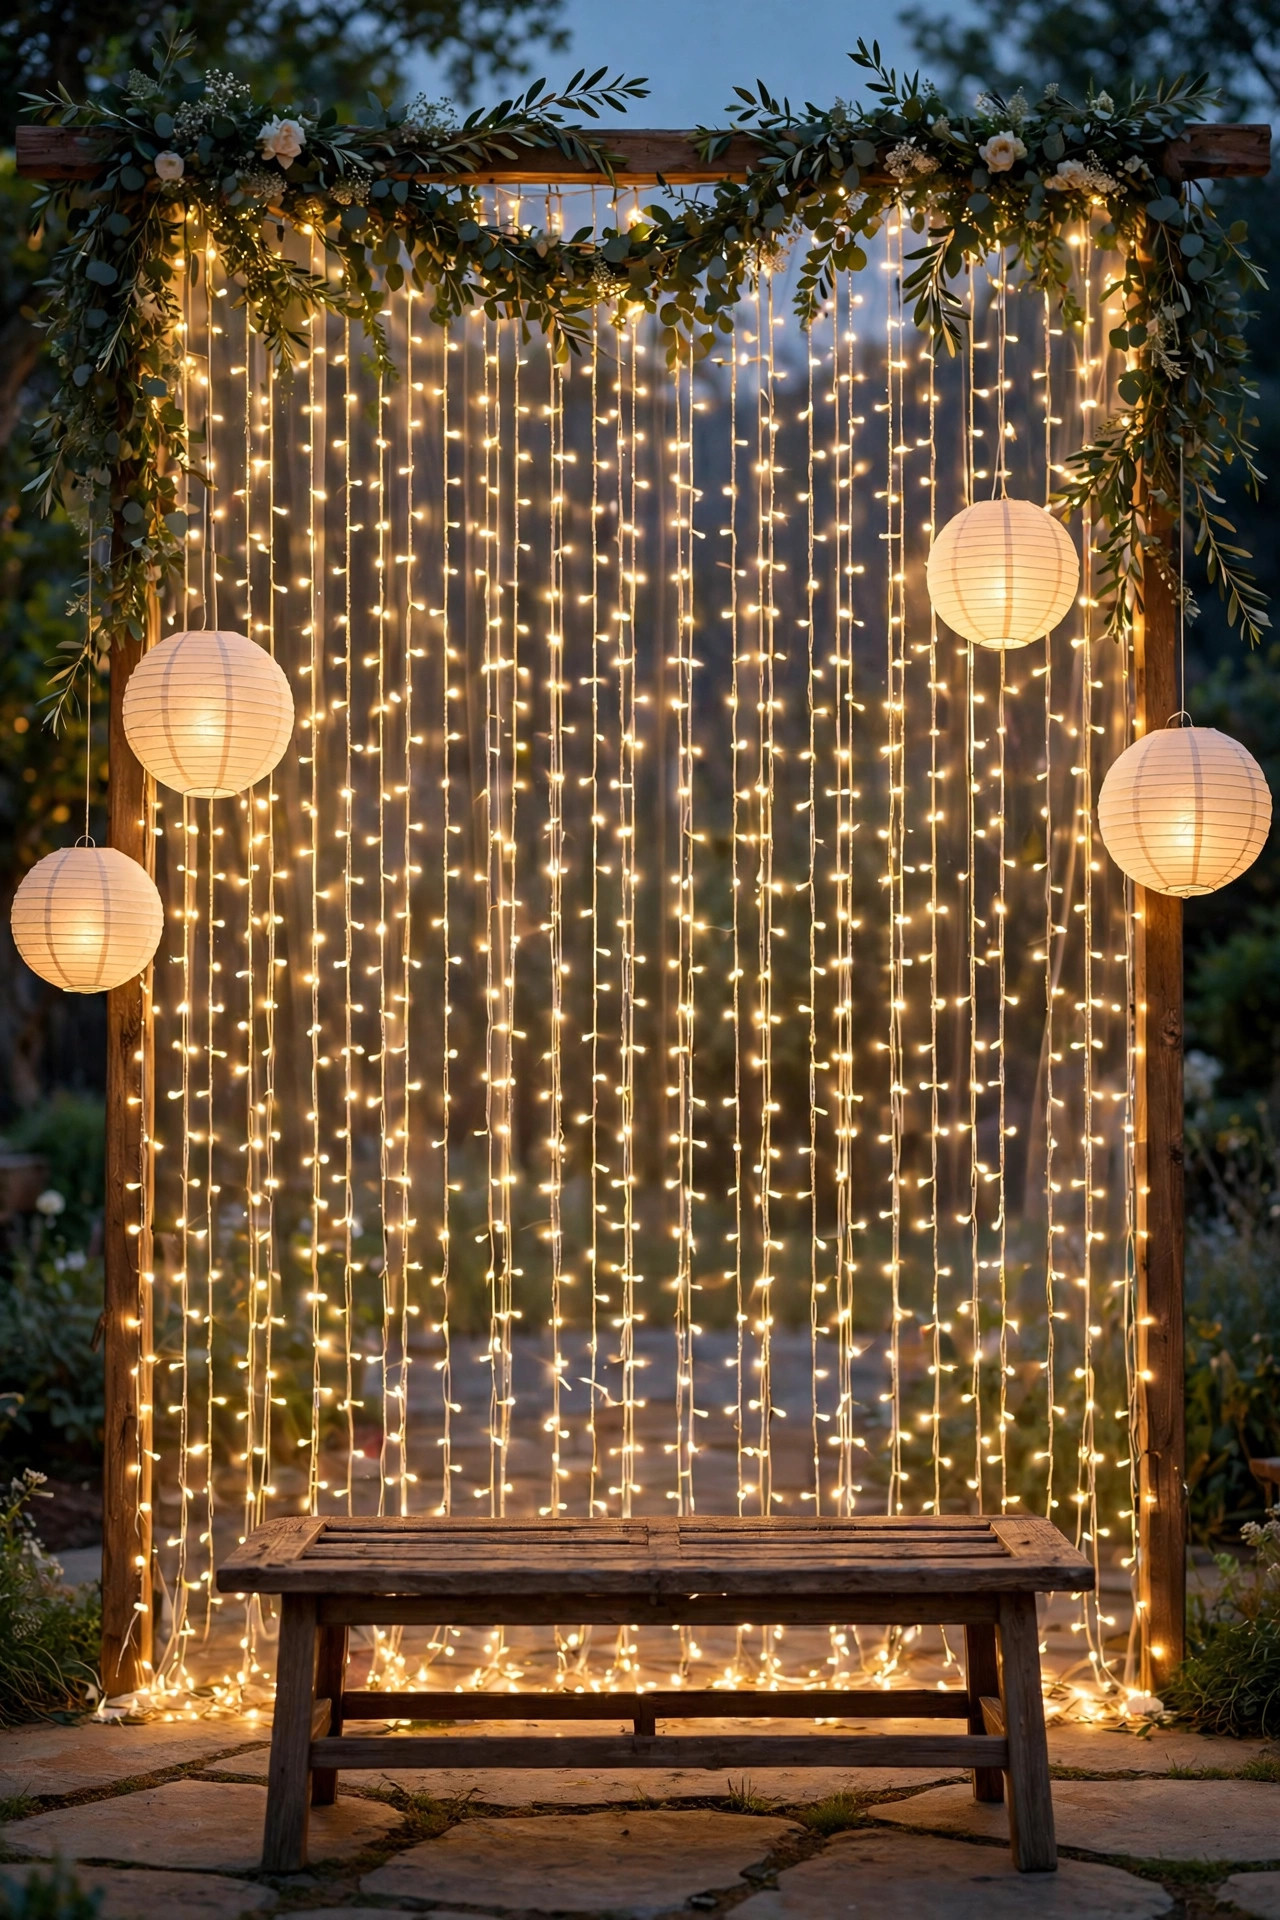
20. A String Light Photo Backdrop Guests Will Actually Use
Give guests one beautiful, well-lit spot for photos and they will take better pictures than any disposable camera on the tables. My budget version is a simple frame, two poles and a crossbar or a fence section, dressed with a fairy light curtain, a few paper lanterns at the corners, and a small rug or bench in front. The real secret is height: place some light at face level, not just overhead, because overhead-only light gives everyone shadowed eye sockets in photos. The curtain behind plus one lantern on each side at about shoulder height is flattering on every skin tone and age. Add a small sign or a basket of props if that is your crowd's style, but honestly the glow alone pulls people in. Set the backdrop near, not in, the party flow: close to the dance floor edge works, beside the bar creates a queue collision. Plug everything into one power strip with a switch so a helper can turn the whole backdrop on at dusk in one motion. This corner will produce half the photos your guests post, so it earns its modest budget twice over.
Suggested budget range: $30 – $70.
21. The Battery and No-Outlet Game Plan
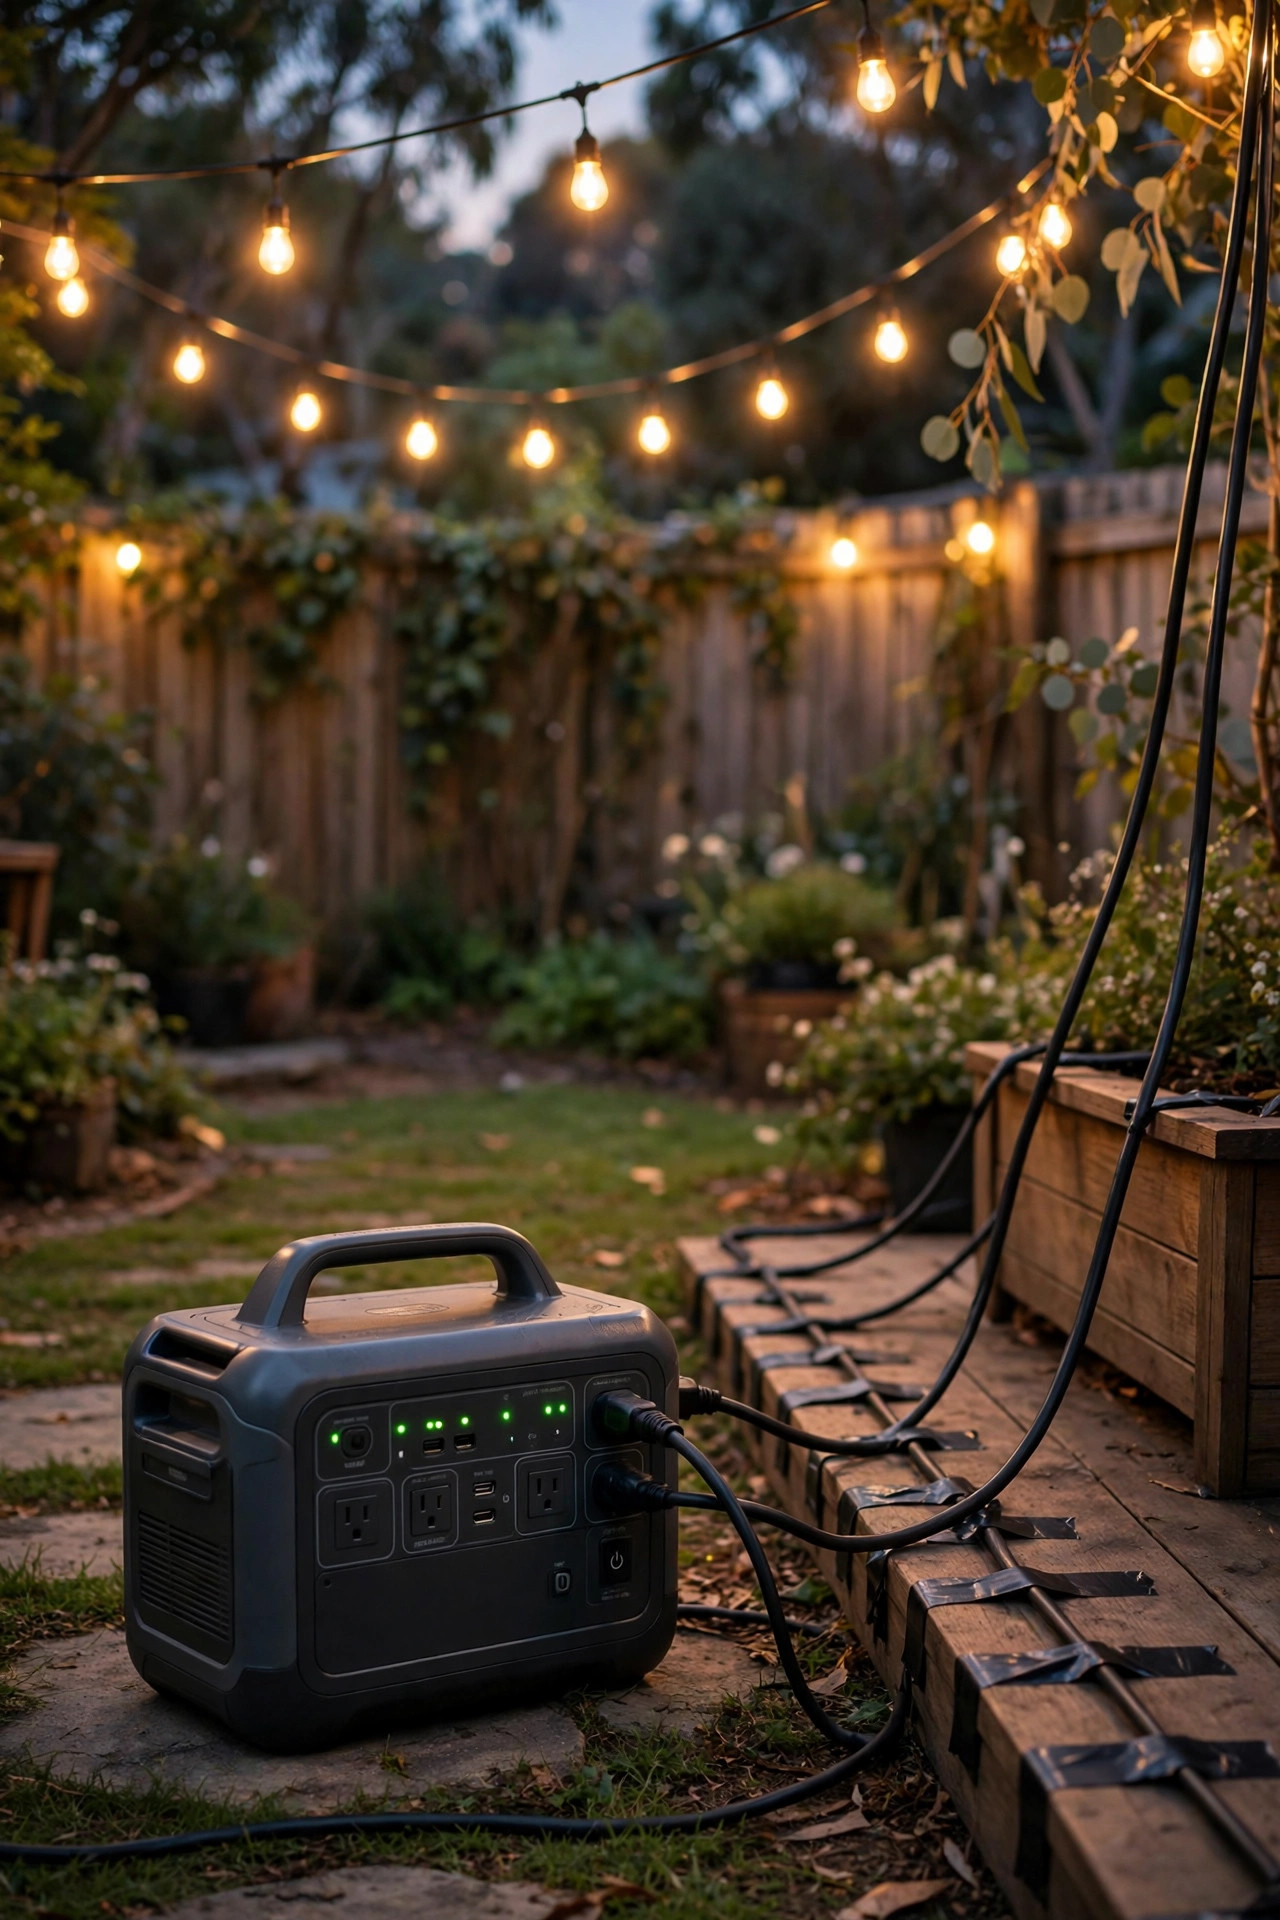
Most backyard lighting heartbreak is really outlet heartbreak: three sockets, nine strands, one tripped breaker during the first dance. Avoid it with a plan made a week ahead. Walk the yard and list every outdoor outlet, then sketch which strands plug in where, keeping the total load modest; LED strands sip power, so four or five per circuit is usually fine, but the coffee urn and the speaker system want circuits of their own. Everything else goes battery or solar on purpose: fairy lights, jar lights, floating orbs, table lanterns. A small portable power station, borrowed or bought on sale, can run the photo backdrop or the dance canopy from the middle of the lawn with no cord across the grass at all. For the cords you do run, use outdoor-rated extension cords only, plug into GFCI outlets, keep connections off the ground in simple drip loops, and tape or mat any cord that crosses a walkway. Never run a cord across the dance floor or through a gate swing. Write the plan on paper and hand it to your setup helper. "Everything just plugs in somewhere" is not a plan, and dusk on a wedding day is no time to learn your breakers.
Suggested budget range: $0 – $60.
22. Match Every Bulb to One Warm Color Temperature
This idea costs almost nothing and quietly makes a budget wedding look expensive: make every light source the same color temperature. Warm white, 2700K, is the wedding standard because it flatters skin, makes food look delicious, and matches candlelight. The disaster scenario is a yard lit by warm string lights, one bluish daylight bulb over the back door, cool-white solar stakes, and amber tiki flames all fighting each other; guests cannot name the problem, but the photos look cheap and chaotic. So audit what you already own. Swap the porch bulb for a 2700K LED for two dollars. When buying new, check the Kelvin number on every box, and buy all your string light strands in the same style at the same time so batches match. Hold one lit strand next to another at dusk during your test night and look for the odd one out. LED candles and fairy lights marked "warm white" are sometimes warmer, closer to 2200K; that gentle difference reads as candlelight and is fine at table level. Consistency overhead, candlelight at the tables, nothing blue anywhere: that is the whole formula.
Suggested budget range: $5 – $25.
23. Backyard Wedding Lighting Ideas, Layered: The Full Plan and Test Night
Here is how the previous twenty-two ideas become one plan instead of a pile of purchases. Layer one is overhead: the cafe canopy over dinner and the dance floor, on dimmers. Layer two is the glow at eye and table level: fairy curtain, lanterns, jar lights, garlands, the bar and cake backdrops. Layer three is guidance: path lights, walkway lanterns, perimeter torches, and step markers. Hang layer one two days out, because ladders and swearing should not share a calendar with your wedding. Place layers two and three the day before, then do the test that saves everything: a full walk-through at the same hour the reception will start, in your day-of shoes, phone flashlight off. Photograph every zone from the guest entrance. You will find one dark corner, one strand hanging lower than you thought, and one outlet you planned wrong; every wedding has them, and finding them Friday is the difference between a fix and a fiasco. On the day itself, assign one person to switch everything on at dusk. Total for a typical yard, mixing all three layers: roughly $300 to $500, for a look guests will swear cost thousands.
Suggested budget range: $300 – $500.

Frequently Asked Questions
How much does backyard wedding lighting cost in total?
For most yards, a full DIY setup using the layered approach in this post lands between $300 and $500 if you buy everything new, and well under $200 if you borrow strands and lanterns and lean on solar and battery pieces. The canopy strands are the biggest single expense, followed by table lanterns. Renting a comparable professional package typically starts around $800 to $1,500, which is exactly why the DIY route is so popular. Buy items you will reuse at home, and the honest cost drops further.
What color temperature is best for wedding lighting?
Warm white at 2700K is the standard for weddings because it matches candlelight, flatters skin tones in photos, and makes food and flowers look rich. Slightly warmer accents, around 2200K from flameless candles and fairy lights, work beautifully at table level. Avoid anything labeled daylight or 5000K, which reads blue and harsh outdoors at night. Whatever you choose, use the same temperature for all your overhead lighting so the space feels unified.
Are string lights alone enough to light a backyard wedding?
String lights alone can carry the dinner area, but a whole wedding needs three layers: overhead strands for the main glow, table-level light from lanterns and fairy lights so faces are lit, and path lighting so guests can move safely to drinks, bathrooms, and cars. The ceremony, bar, and dance floor each benefit from slightly brighter, dedicated light. The good news is that layers two and three are the cheap ones; solar stakes, jars, and battery fairy lights fill them in for very little money.
How far in advance should I set up and test the lighting?
Hang overhead strands and any pole work two days before the wedding, place table and path lighting the day before, and run a complete test at the same time of evening as your reception the night before. That test shows you exactly how the yard will look at each hour and exposes dead strands, dark corners, and outlet problems while there is still time to fix them. Keep spare bulbs, batteries, and one extra strand on hand for the day itself.
Conclusion
A beautiful backyard wedding does not need a lighting crew or a four-figure rental bill. It needs a plan: a warm canopy overhead, candle-level glow on the tables, and honest light on the paths, all in one matching warm white. Start with the strands, borrow shamelessly, test everything the night before, and these backyard wedding lighting ideas will make your yard feel like the venue you always pictured. For more ways to make your outdoor spaces glow long after the last dance, browse the rest of my lighting ideas here on the site and start with the porch, patio, and garden projects you will enjoy every single evening.