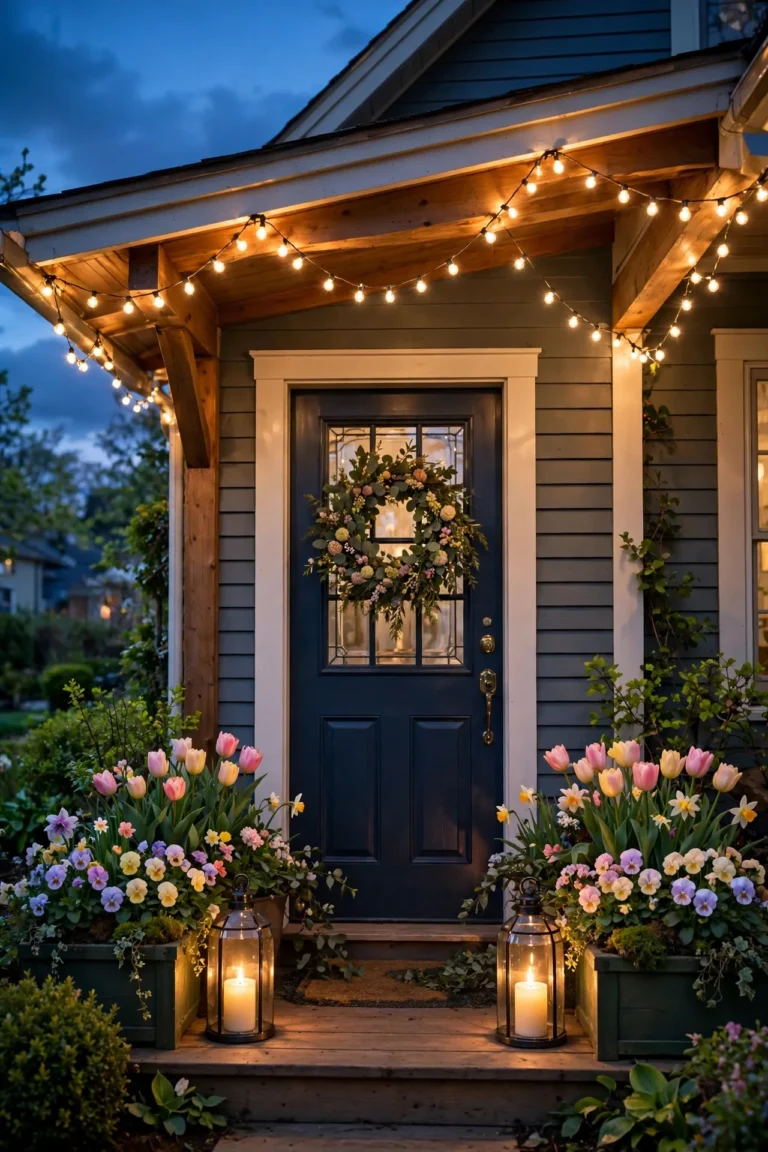
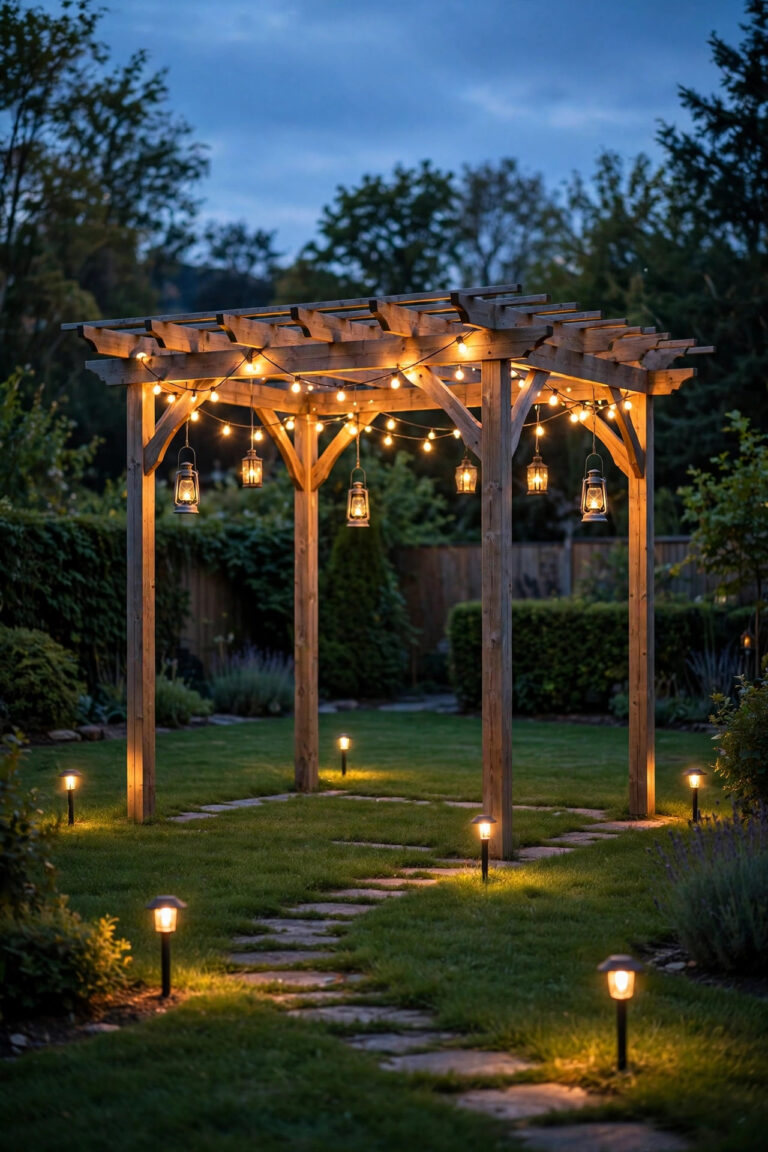
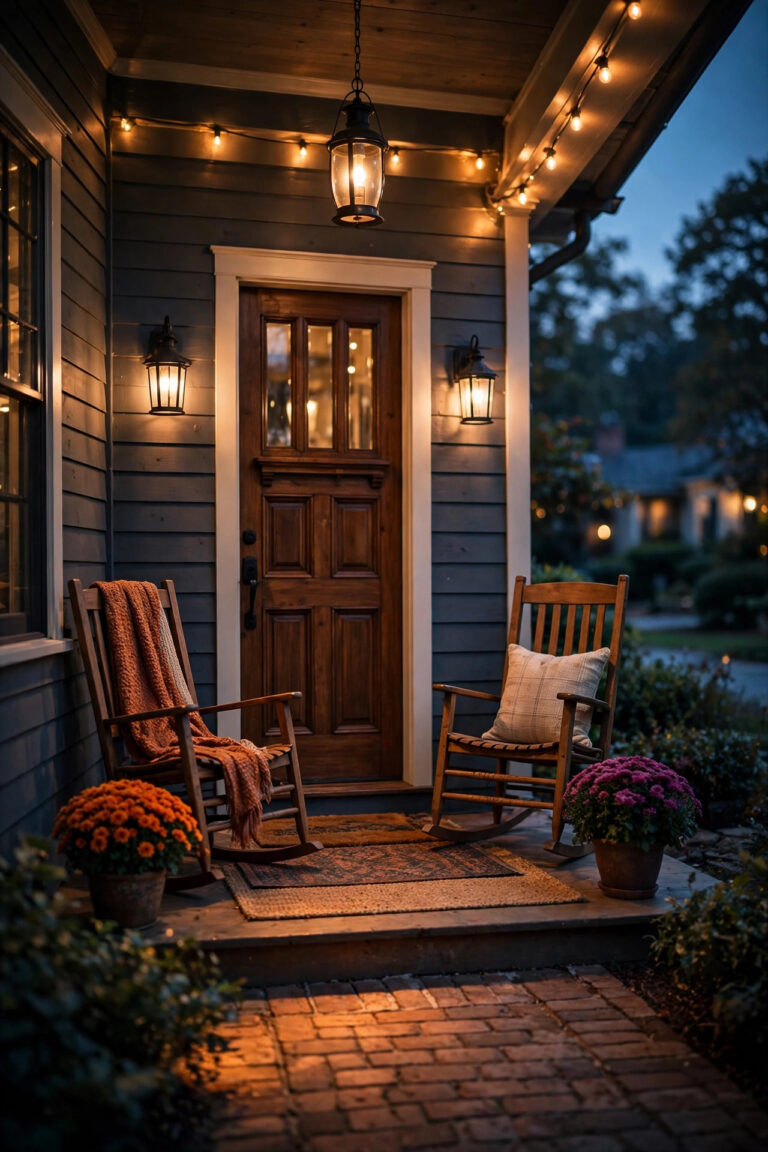
There is a moment on a good summer evening when the food is ready, the sky goes violet, and nobody at the table wants to go back inside. That moment lives or dies on light. After years of hosting on my own deck, I have learned that the best deck dining lighting ideas are never about one bright fixture. They are about layers: a soft canopy overhead, a warm pool of light on the table itself, and a gentle glow at the edges so the deck feels like a room instead of a platform. Get those three layers right and faces look warm, food looks delicious, and nobody is squinting or fumbling for a glass. This list walks through 23 ways to build that magic, from a $20 string of lights to a full layered plan, with honest budgets and the little placement tricks I wish someone had told me before my first dinner party out here.

1. Drape a Bistro String Light Canopy Overhead
If you only do one thing on this list, do this. A canopy of bistro string lights is the single fastest way to make a deck feel like a little outdoor restaurant. I run mine in gentle swags from the house to two poles at the far corners, crossing over the table so the bulbs hang about 7 feet above the seats — high enough that nobody bumps a head, low enough to feel intimate. Choose shatterproof LED filament-style bulbs on a commercial-grade strand; the cheap glass ones do not survive one storm season. Space the swags 3 to 4 feet apart so the light overlaps evenly, and put the whole run on a plug-in dimmer. Honestly, dimmed to about half, this is the most flattering light I own. If you want the full how-to on patterns and spacing, my guide to bistro string light ideas covers the layouts I tested. Keep strands rated for outdoor use, and never staple through the cord — use cup hooks or guide wire instead.
Suggested budget range: $40 – $120.
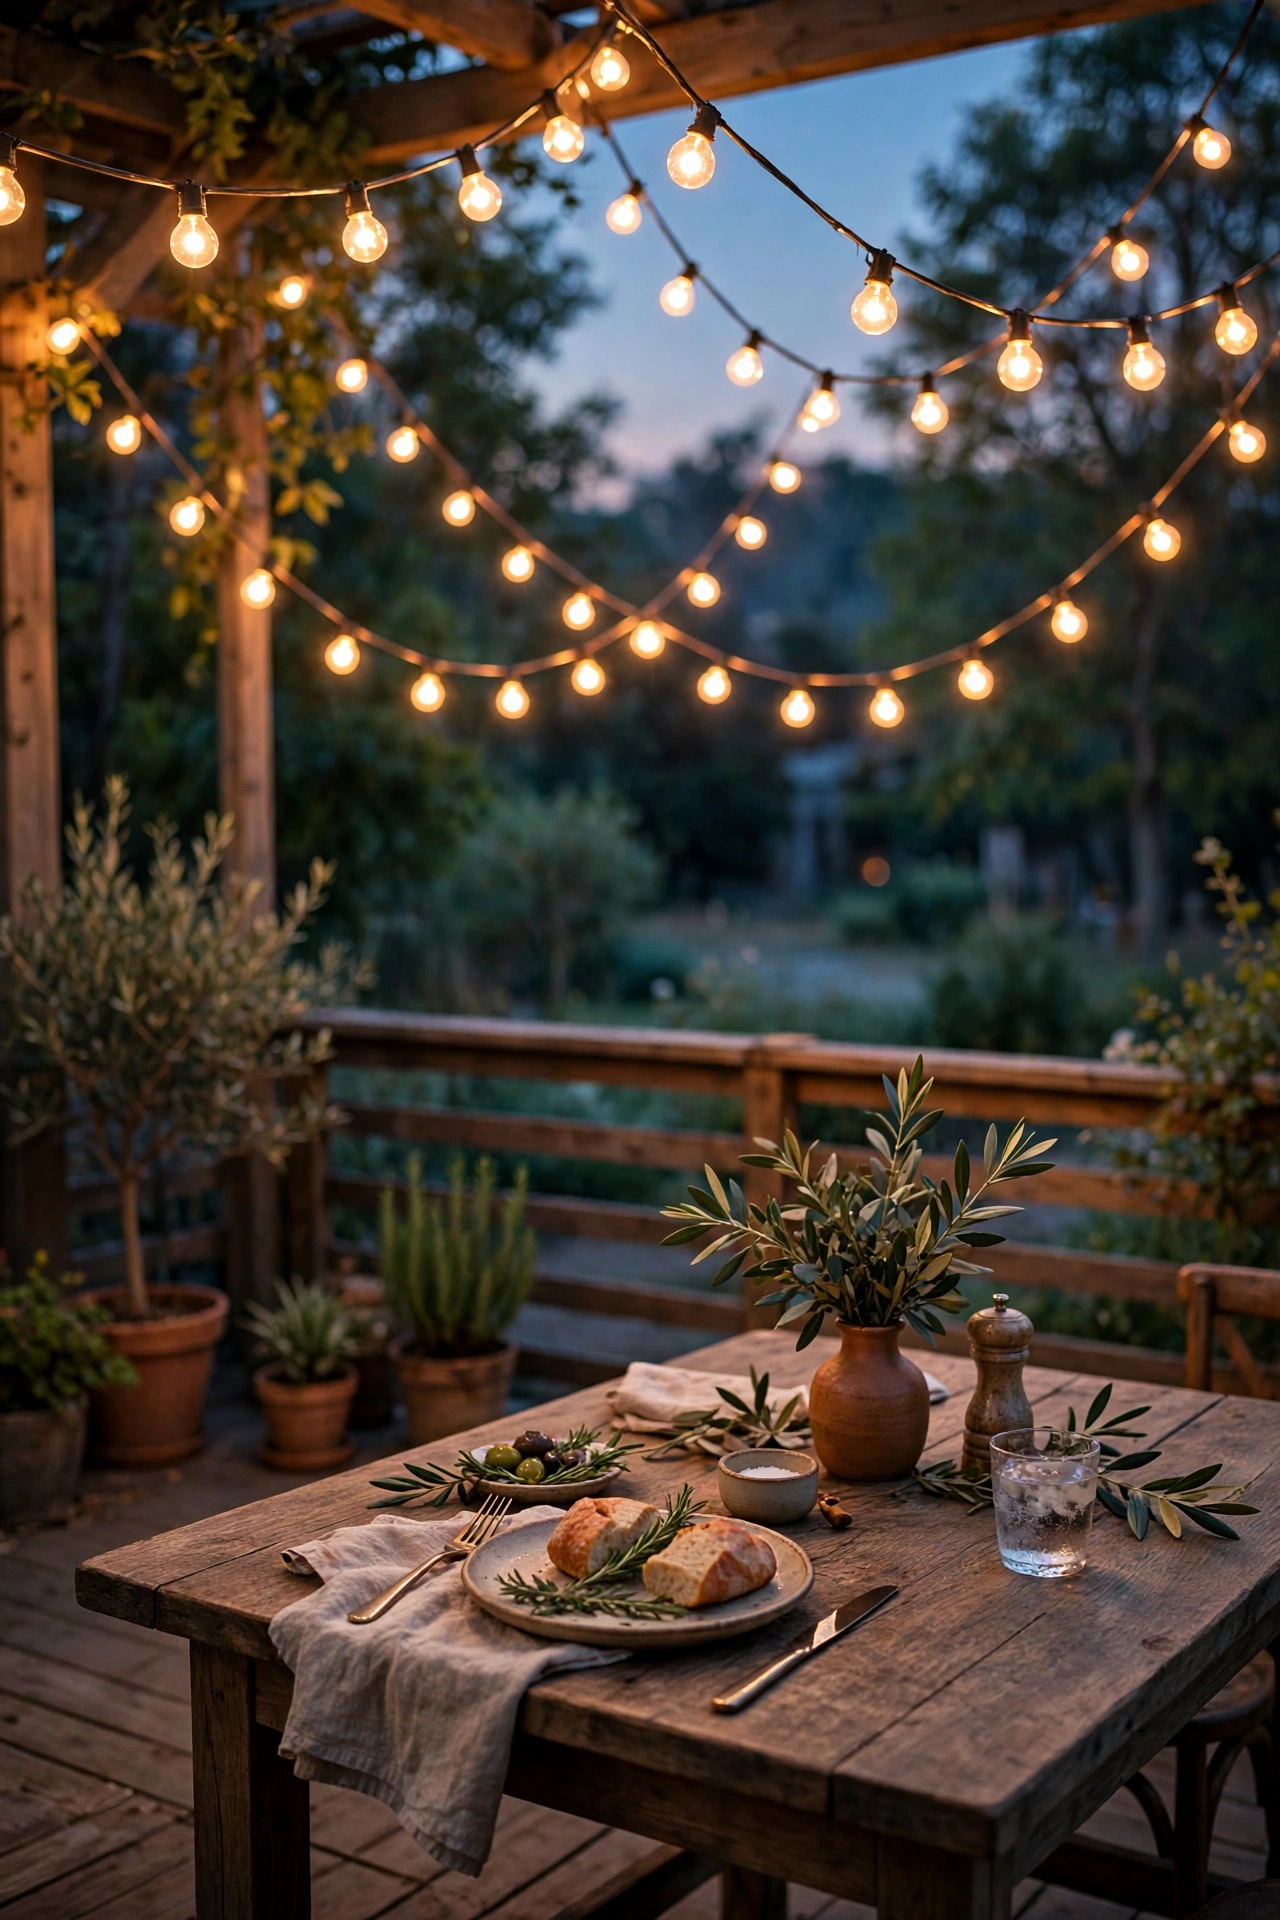
2. Hang a Real Pendant Over the Table
Overhead string lights give you atmosphere, but a pendant gives you a centerpiece. A weather-rated pendant hung dead-center over the table anchors the whole dining zone and throws a focused pool of light exactly where the food is. On my covered section of deck I hung a rattan-look resin pendant about 30 inches above the tabletop, which keeps it out of sightlines across the table while lighting plates beautifully. If your deck is open to the sky, look for pendants rated for wet locations and hang them from a pergola beam or a shepherd's-hook style arm. This is one of those deck dining lighting ideas that instantly makes the setup feel intentional rather than improvised. Use a warm 2700K LED bulb, and if the fixture takes a standard socket, a dimmable bulb plus an outdoor smart plug gives you full control from your chair. One caution: hardwired pendants on an open deck need a GFCI-protected circuit, so budget for an electrician if there is no existing ceiling box under cover.
Suggested budget range: $80 – $250.

3. Cluster Battery Lanterns Down the Table Center
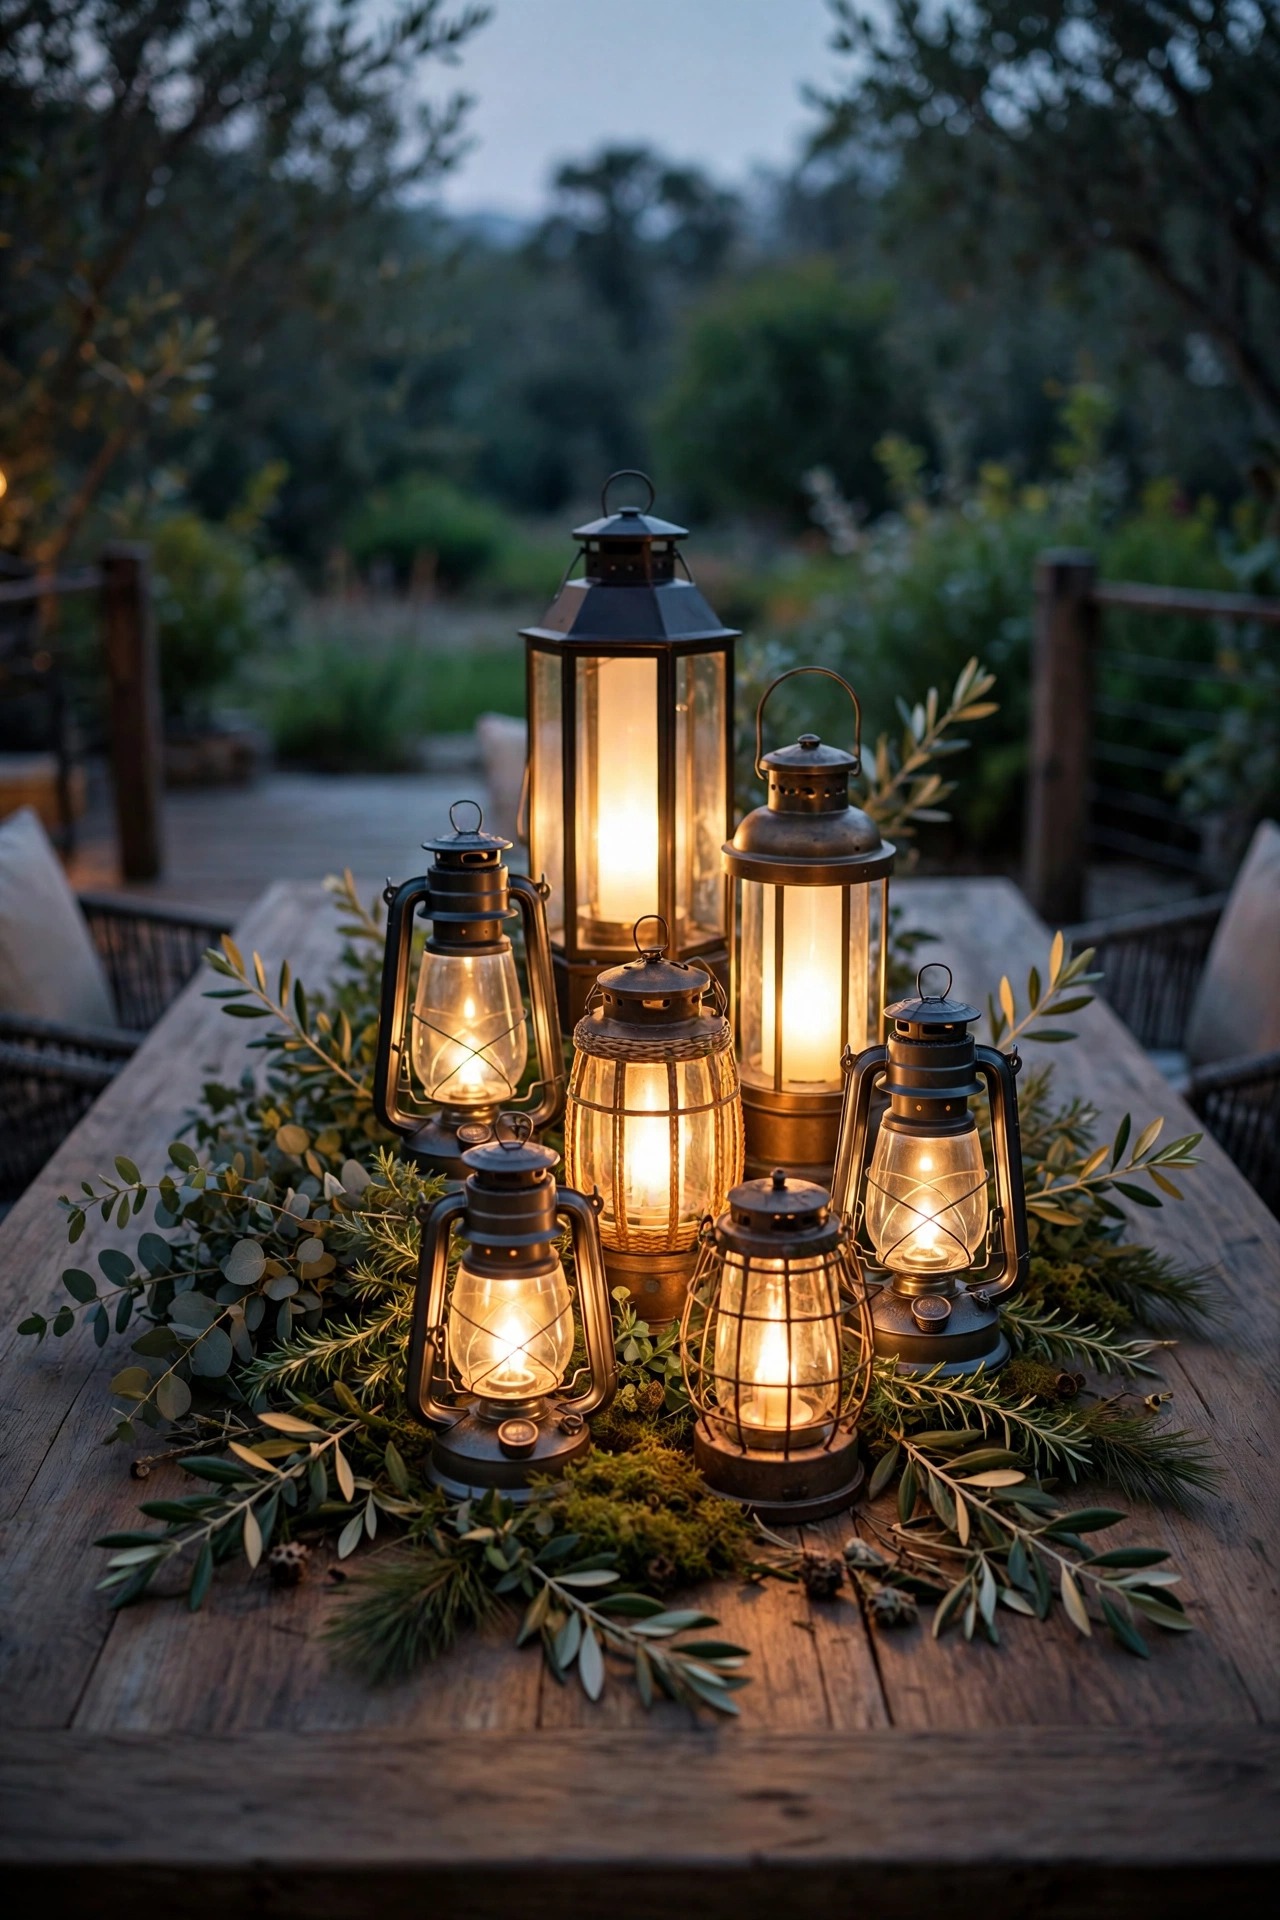
Some nights I do not want any overhead light at all, just a low, flickering glow at table level. A loose cluster of battery-powered lanterns down the center of the table does that beautifully and travels anywhere — no outlet required. I mix three sizes, tallest in the middle, and weave a simple greenery runner between them so it reads as a designed centerpiece instead of a row of camping gear. Look for lanterns with a warm 2700K glow and a timer function; mine come on at dusk and shut off five hours later, which means I never fumble with switches mid-dinner. Battery lanterns are also the safest option around tablecloths and paper napkins, since there is no flame and no heat. For a long farmhouse table, plan on one lantern per 18 to 24 inches of length. Keep a spare set of rechargeable batteries in the kitchen drawer and you will use these constantly, indoors and out.
Suggested budget range: $30 – $90.
4. Use Flameless Candles in Hurricane Holders
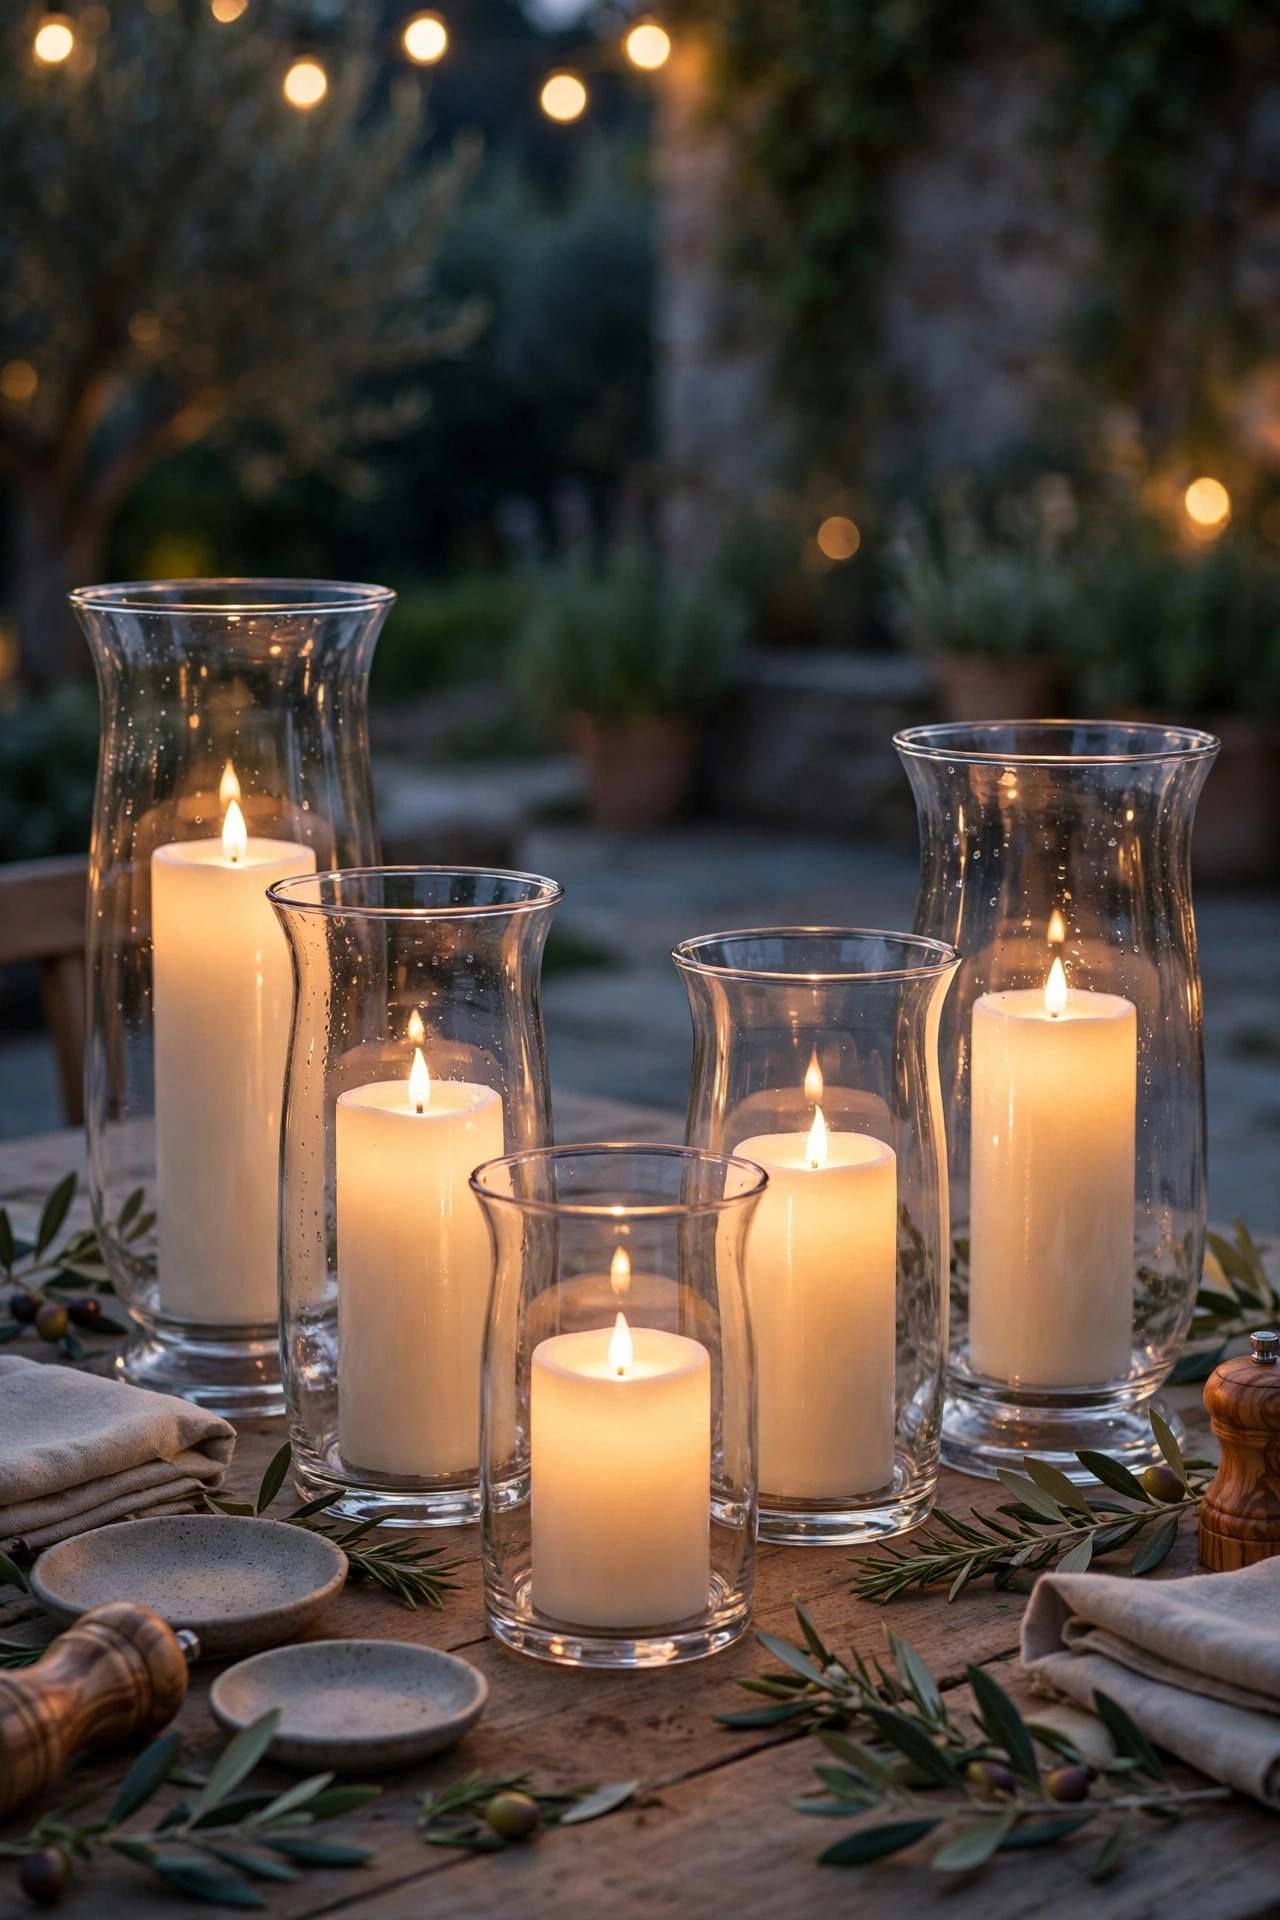
Real candlelight is gorgeous until the first breeze, which on a deck is usually about four minutes into dinner. Flameless candles inside glass hurricane holders give you the same flicker with none of the relighting, dripping wax, or fire worry near napkins and sleeves. The glass holder matters: it makes the LED flame read as real candlelight and keeps the look elevated. I scatter hurricanes in odd-numbered groups — one by each place setting cluster, a taller trio near the serving end. Choose flameless candles with a realistic moving flame tip and a warm color; the orange-looking cheap ones ruin the effect. Most run 500-plus hours on a set of batteries, and the remote-controlled versions let you light the whole table in one click as guests arrive. Honestly, this is the layer my guests compliment most, and it is nearly the cheapest on the list. Store the candles indoors in winter to protect the wax coating on the realistic ones.
Suggested budget range: $20 – $60.
5. Add Post Cap Lights to Define the Room
A dining deck feels finished when its edges are defined, and post cap lights do that job quietly. They sit on top of your railing posts and cast a soft downward glow that outlines the deck without shining in anyone's eyes. I installed solar caps on every other post around the dining end of my deck, and the effect is like the baseboards of a room — subtle, but the space instantly feels enclosed and intentional. Low-voltage wired caps are brighter and more reliable if your posts are easy to run cable through; solar versions are a ten-minute install with two screws each. Space them on every post for a formal look, or every second post for a softer rhythm. Just check the cap size against your actual post dimensions before ordering — nominal 4×4 and 6×6 posts measure differently than their names suggest, and a wobbly cap looks worse than none at all.
Suggested budget range: $60 – $200.

6. Recess Deck Floor Lights Around the Dining Zone
Recessed floor lights — the little pucks set flush into the deck boards — give a dining area that high-end, built-in feel. I placed mine around the perimeter of the dining zone rather than under the table itself, about 4 feet apart, so they wash the floorboards with light and mark the edge of the space without glare. They are especially good on multi-level decks where a step hides in the shadows between the grill and the table. This is a drill-a-hole project, so measure twice: each light needs a hole sized to the fixture and a cable run beneath the deck. Low-voltage kits with a plug-in transformer are the DIY-friendly route, and most include a photocell so they wake up at dusk on their own. Keep the lens color warm white; the blue-white versions make a deck feel like a parking lot. If your deck boards are composite, check the kit is rated for the drilling and heat — most LED kits run cool enough for either surface.
Suggested budget range: $90 – $280.

7. Light the Steps for Safe Plate-Carrying
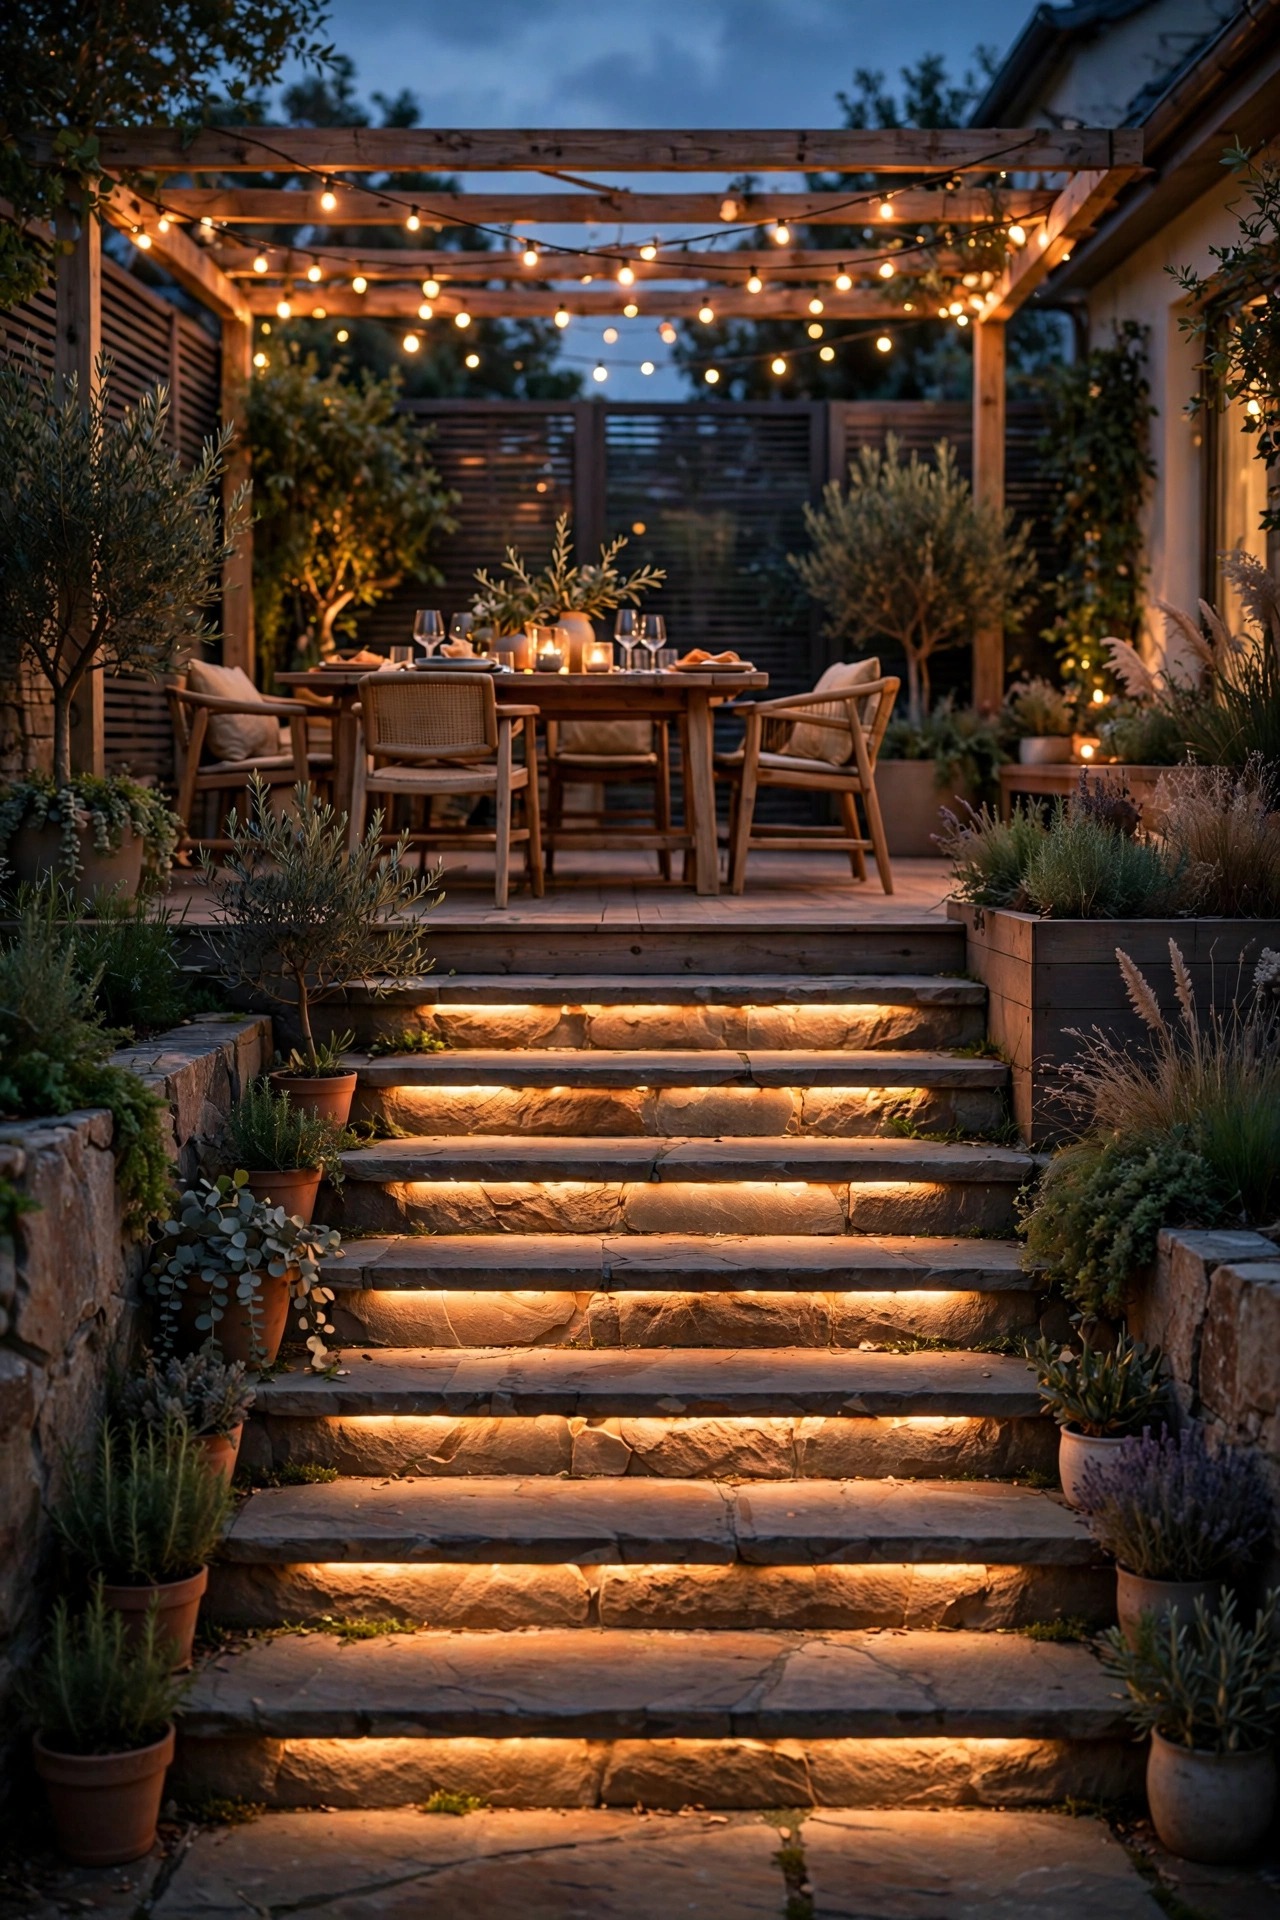
Nobody remembers the step lighting at a great dinner party, and that is exactly the point — it just quietly prevents the one disaster everyone would remember. Carrying a full tray from the kitchen in dim light is how glasses get broken, so I put a small light on every step between the door and the deck, plus the steps down to the yard. Riser-mounted lights that tuck under each tread are the cleanest look; surface-mount solar step lights are the renter-friendly version and take minutes to install. Aim for gentle pools of light on each tread rather than brightness — you want to read the edge of the step, not illuminate it like a runway. If your dining setup spans two levels, light the transition generously, because guests carrying drinks will not be looking down. This is the least glamorous idea on the list and the one I would never skip. It takes an afternoon and pays you back every single evening.
Suggested budget range: $35 – $150.
8. Run LED Strips Under the Railing
Under-rail LED strip lighting is my favorite hidden trick. The strip tucks into a channel under the top rail, completely invisible by day, and at night it washes the railing and floor with a soft line of light that makes the whole dining area feel designed. Because the source is hidden, there is zero glare at eye level while you are seated — just glow. Use waterproof strip rated for outdoor use, a low-voltage transformer, and aluminum channel with a frosted cover to diffuse the dots into a smooth line. I installed mine along the two rails that border the dining end of the deck and left the third side open to the yard view. A remote dimmer is worth the small upgrade; at full brightness it is great for cleanup, and dimmed low it is pure mood. Measure your rail runs carefully and order connectors for corners in the same order, because nothing stalls a Saturday project like one missing elbow.
Suggested budget range: $50 – $160.

9. Set Freestanding Poles at the Corners
No pergola, no nearby trees, no problem. Freestanding string light poles are what made my canopy possible, and they are the unsung heroes of deck dining. I use heavy planter-base poles at two corners of the deck: a half-barrel planter filled with gravel and a cedar post, which doubles as a home for trailing plants. Steel poles with deck-mount brackets are the sleeker option if your railing can take the hardware. Height matters — you want the attachment point at least 9 feet up so the swags clear heads at the table with the droop factored in. Space poles so your longest run stays under about 25 feet per strand, or add a guide wire to carry the weight on longer spans. In my experience, two poles plus the house wall covers most rectangular decks perfectly. Paint or stain them to match your railing and they disappear into the design instead of looking like scaffolding.
Suggested budget range: $45 – $180.

10. Weave Fairy Lights Through a Table Garland
For the nights when you want the table itself to sparkle, copper-wire fairy lights woven through a greenery garland are pure magic. The wire is nearly invisible, the battery pack tucks under the runner, and the tiny warm points of light make glassware and serving bowls glow. I keep a dedicated 20-foot strand for this and rebuild the centerpiece in about ten minutes: garland down the center, fairy lights zigzagged through it, a few lanterns or hurricanes layered on top. Because the strand is battery-powered and the bulbs stay cool, it is safe around fabric runners and dried accents — something I would never risk with real candles alone. This layer works best when the overhead lights are dimmed or off, so the table becomes the brightest, warmest thing in the scene. Guests always reach for their phones at this one. Plan on fresh batteries every few dinner parties, or choose a USB-rechargeable strand and top it up while you set the table.
Suggested budget range: $15 – $45.

11. Mount Wall Sconces by the Door and Grill
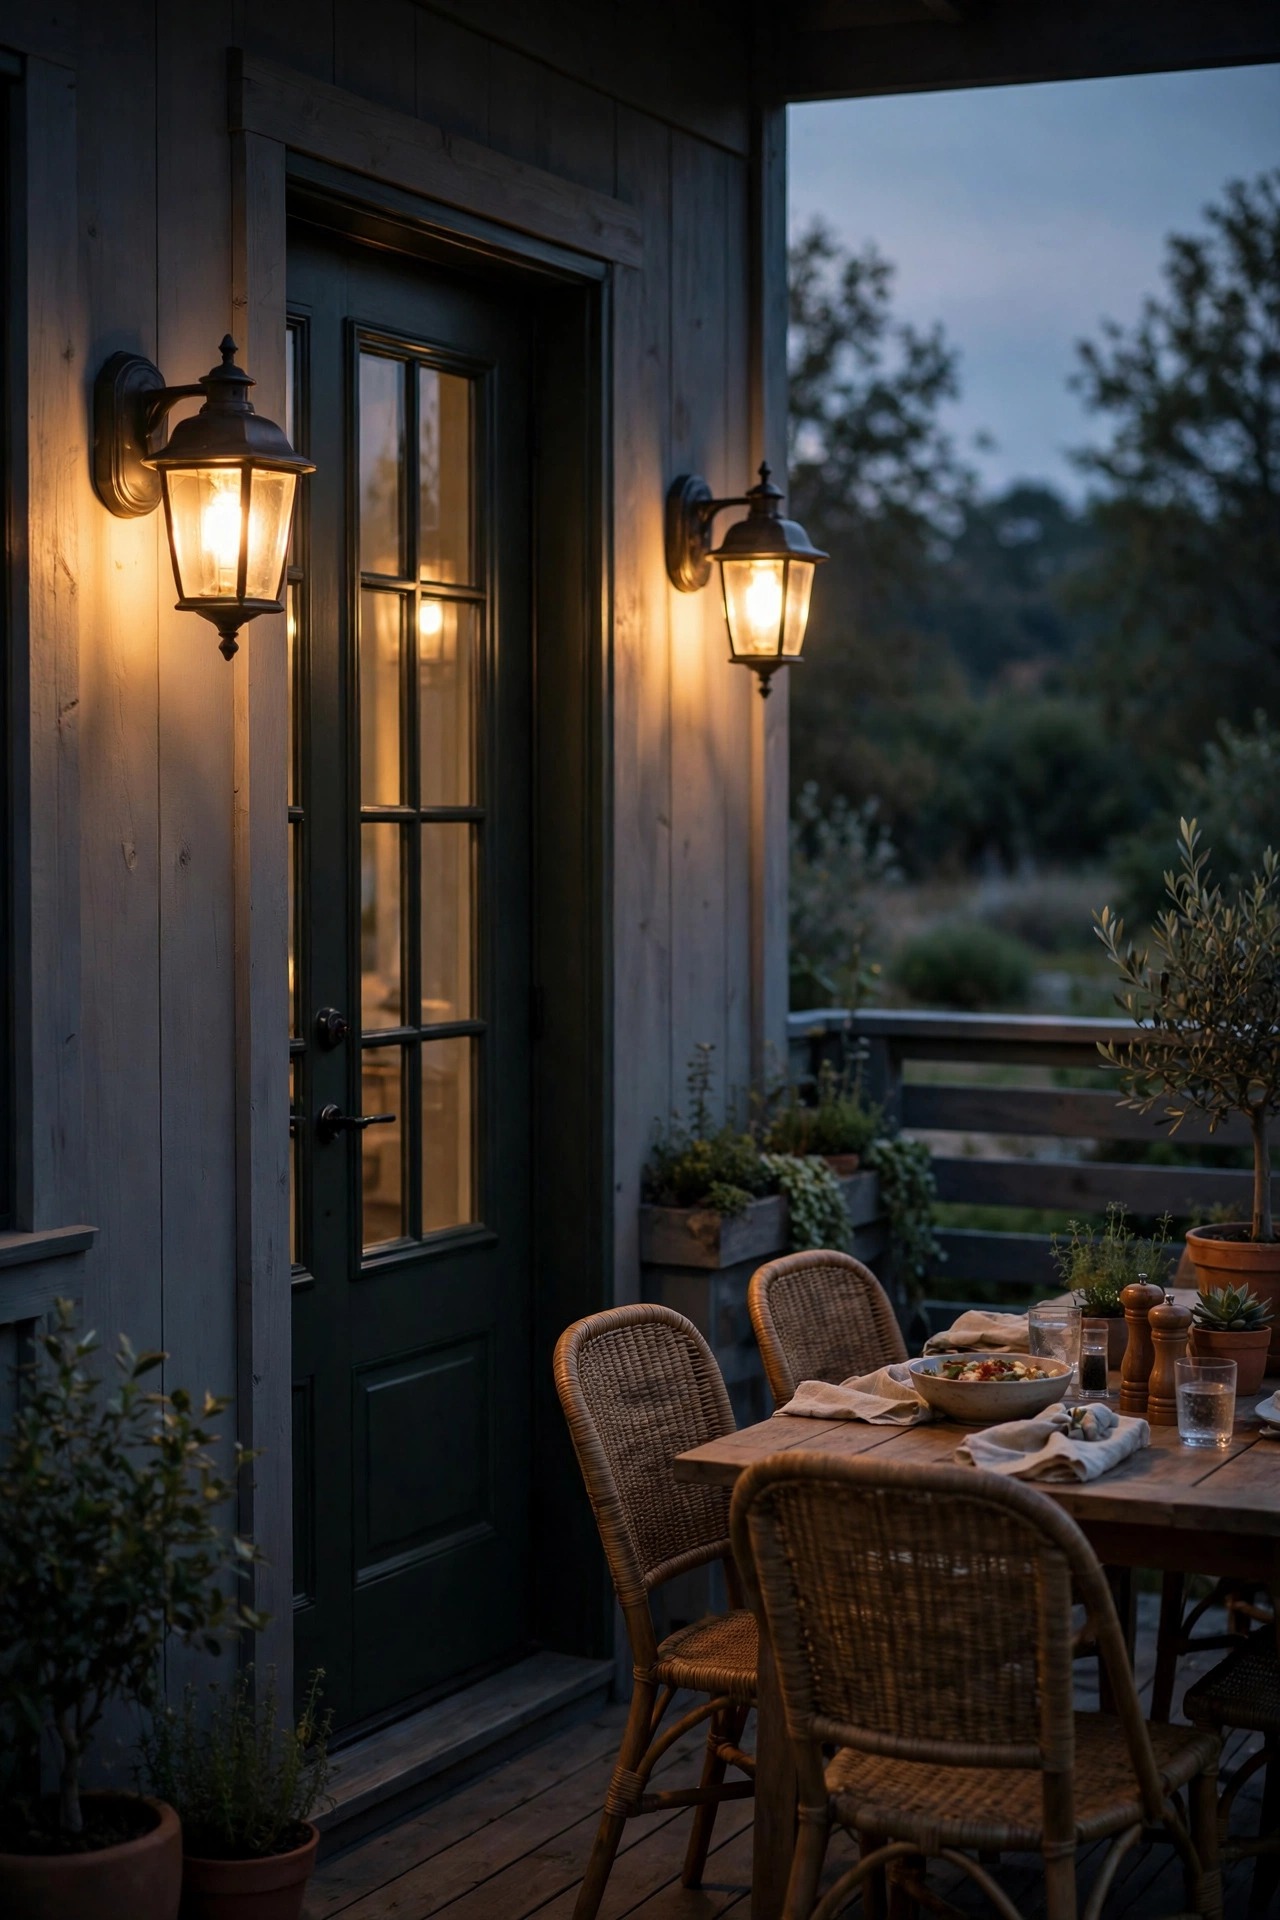
The wall of the house is free real estate for light, and two sconces flanking the back door changed how my whole deck works. They give you honest task light for carrying food in and out, and their glow bounces off the siding to soften the whole dining area. I chose downward-facing fixtures so the light lands on the deck rather than in diners' eyes, with 2700K bulbs to match everything else. If your grill lives on the deck, one brighter sconce or a small task light near it is worth its weight in perfectly cooked chicken — grilling by phone flashlight is a rite of passage nobody needs twice. Hardwired sconces need a junction box, so if your wall has none, solar or battery motion sconces are a respectable stand-in for the door, though they will not match a wired fixture for steady dining light. Keep finishes consistent with your door hardware and the wall suddenly looks styled, not just lit.
Suggested budget range: $70 – $220.
12. Clip a Light Hub Inside the Patio Umbrella
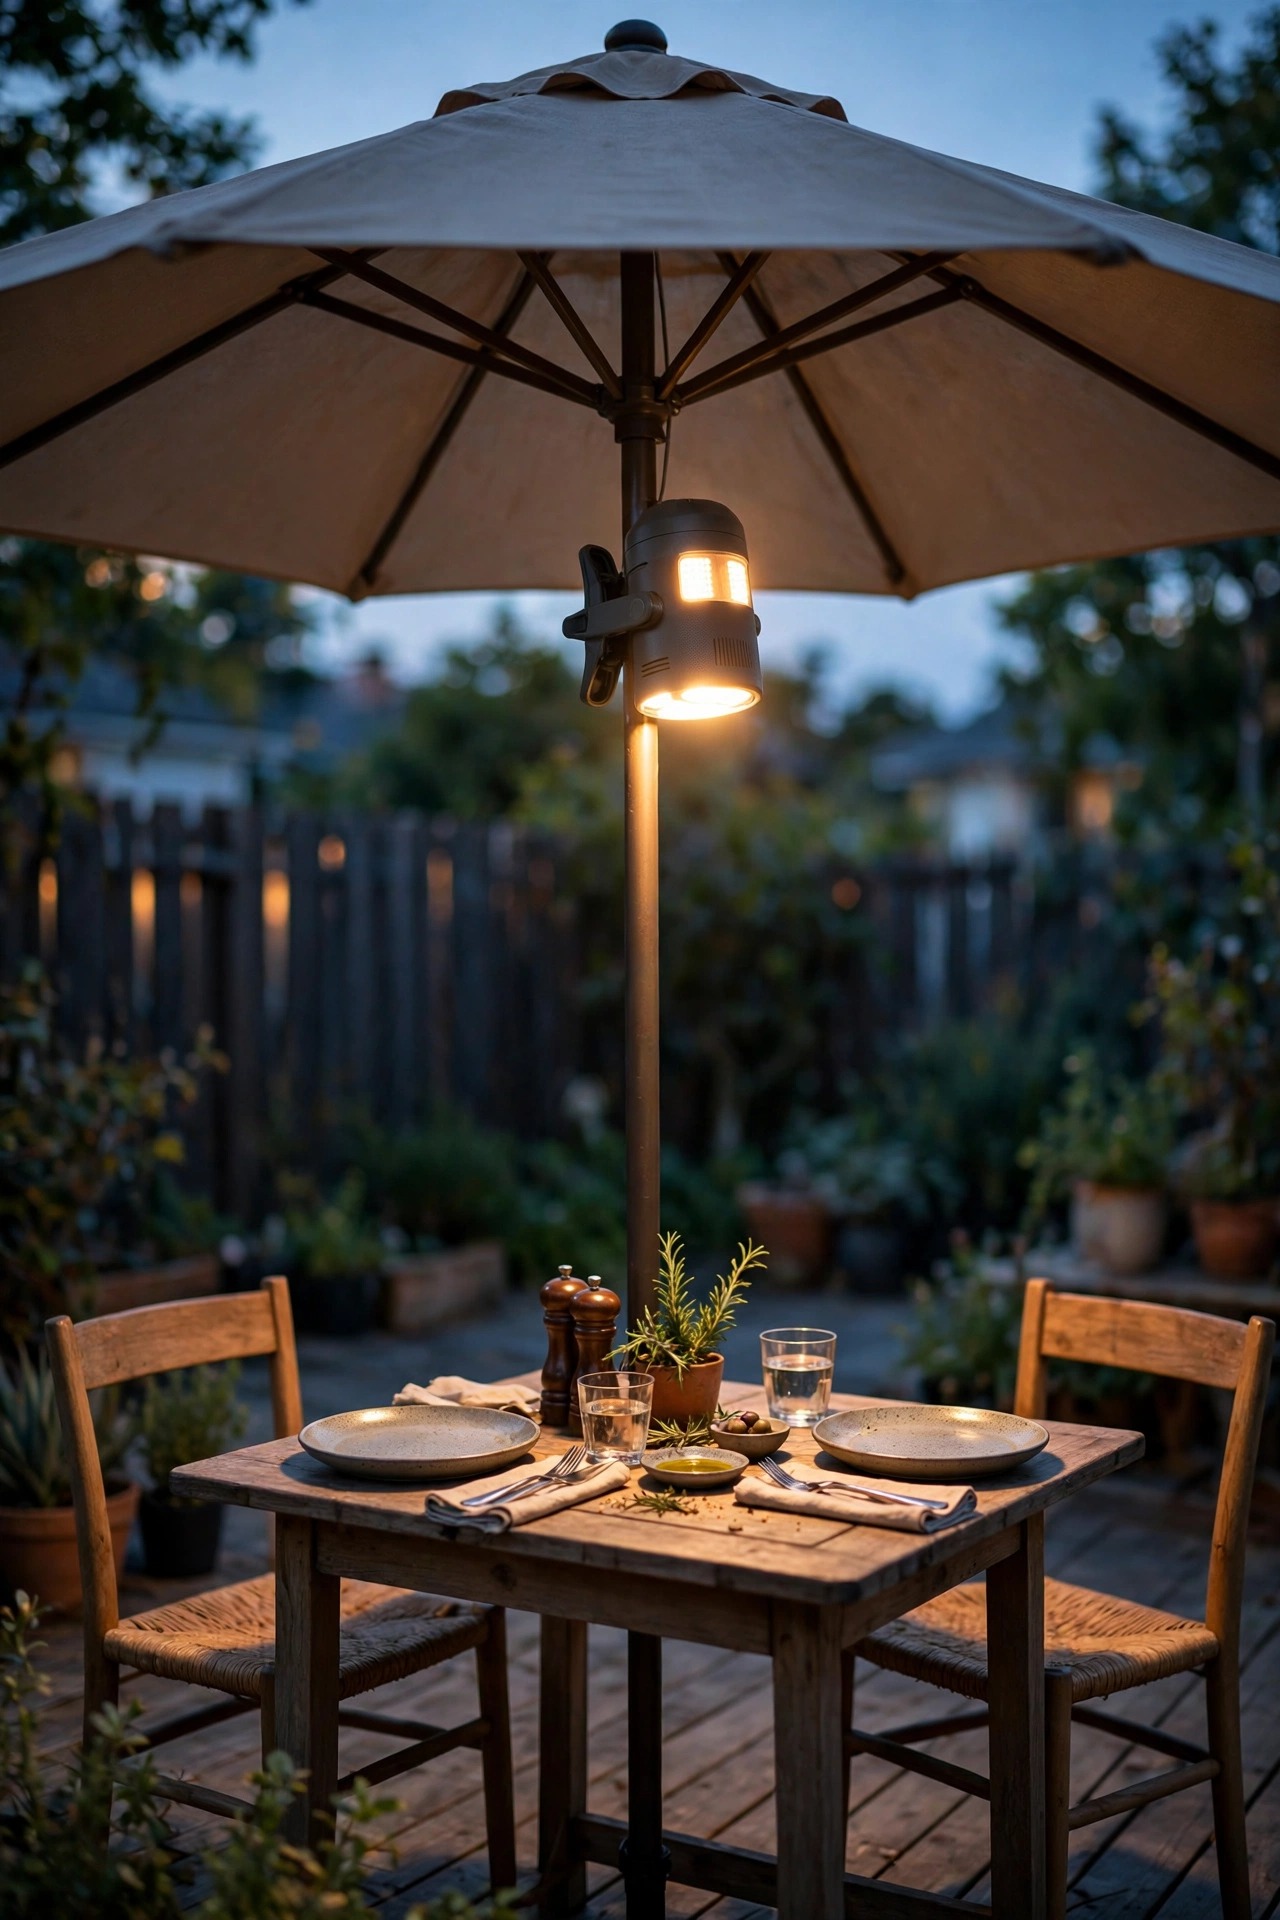
If your dining table lives under a market umbrella, you already own a ceiling — it just needs a light. Clip-on umbrella light hubs circle the pole under the canopy and bounce warm light off the fabric, which diffuses it beautifully over the table. Mine has three brightness settings and runs on rechargeable batteries, so dinner under the umbrella works even at the far end of the deck with no outlet in reach. The canopy itself does half the work: light that would scatter upward gets reflected down onto plates and faces instead. Check your pole diameter before buying, since hubs are sized for standard 1.5-inch poles and a loose fit rattles in the breeze. During the day the hub is small enough to leave in place when you tilt or close the umbrella. Honestly, paired with a couple of table lanterns for sparkle, this is the coziest seat on my whole deck for two-person dinners.
Suggested budget range: $25 – $70.
13. Hang Mason Jar Lights From the Pergola or Rail
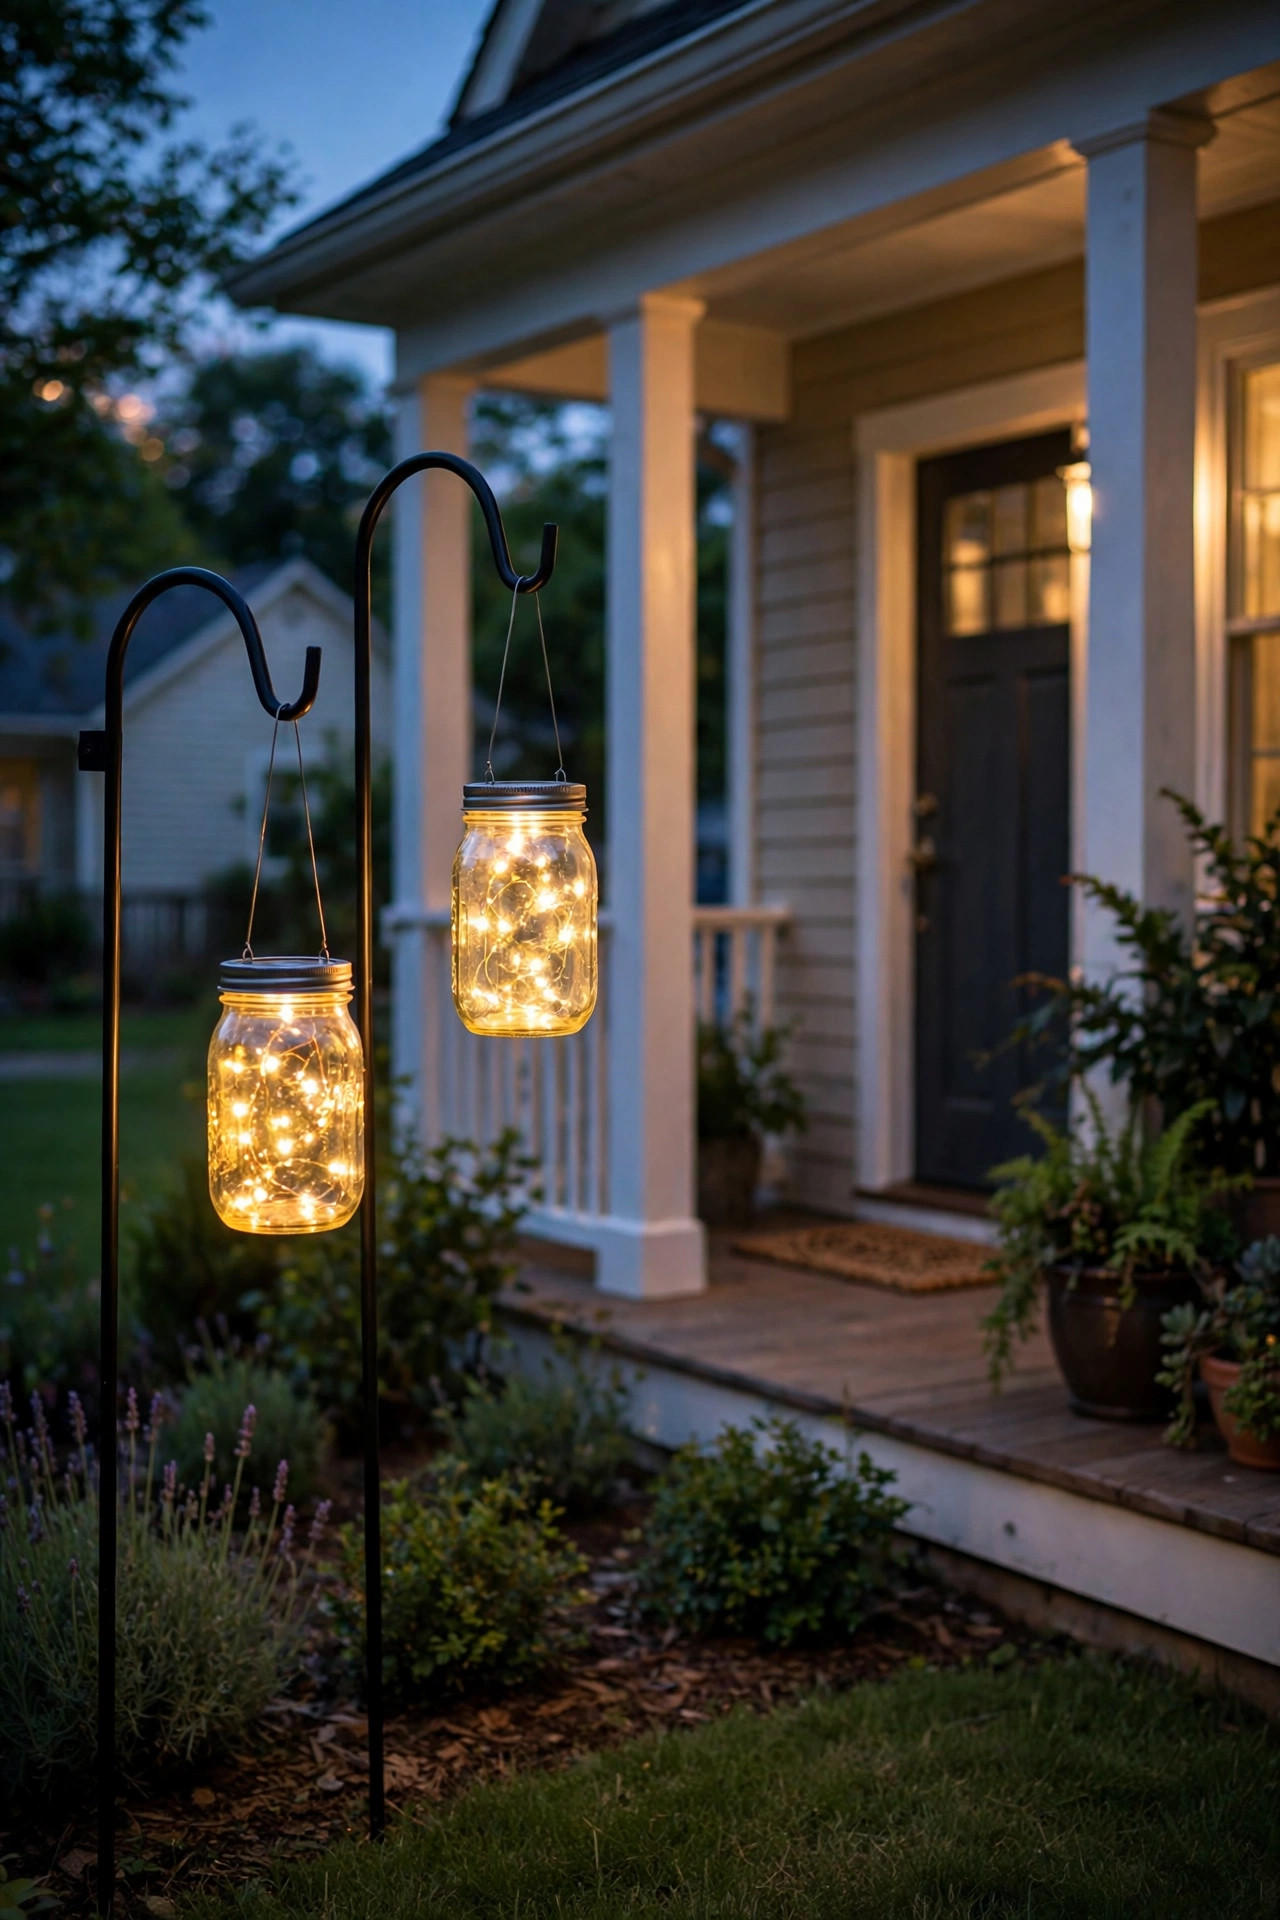
There is a reason mason jar lights show up at every farmhouse wedding: they are cheap, charming, and they throw the prettiest dappled glow. I hang mine in clusters of three at staggered heights from the pergola beam over the table's end, using solar lids that charge by day and switch themselves on at dusk. Battery fairy-light lids work just as well if your spot is shaded. Group jars in odd numbers and vary the heights by 6 to 12 inches so the cluster looks gathered rather than lined up. For a railing version, hang jars from hooks along the rail behind the dining bench — it reads like a little constellation behind your guests. The glass softens the light nicely, and frosted jars soften it further if your bulbs run bright. Just bring solar lids in during hard winter freezes, and wash the jars once a season; dusty glass dims the whole effect more than you would expect.
Suggested budget range: $20 – $65.
14. Moonlight From a Tree Above the Deck
Moonlighting is the most romantic trick in landscape lighting: a fixture mounted high in a tree, aimed down through the branches so dappled light falls on the deck like light through leaves — because it is. Over a dining table it creates shifting patterns that no string light can copy, and because the source is 15 to 20 feet up, the light is soft and completely glare-free. This one is usually a pro install, since it involves climbing, tree-safe mounting hardware that grows with the tree, and a low-voltage run. If you have a mature tree overhanging your deck, though, it is worth every penny, and it doubles as gentle security light for the whole corner of the yard. Ask for a warm 2700K fixture with a frosted lens to soften the leaf shadows. In my experience this is the layer that makes guests look up mid-conversation and say the yard feels like a garden restaurant.
Suggested budget range: $250 – $600.

15. String Paper Lanterns for a Festive Night
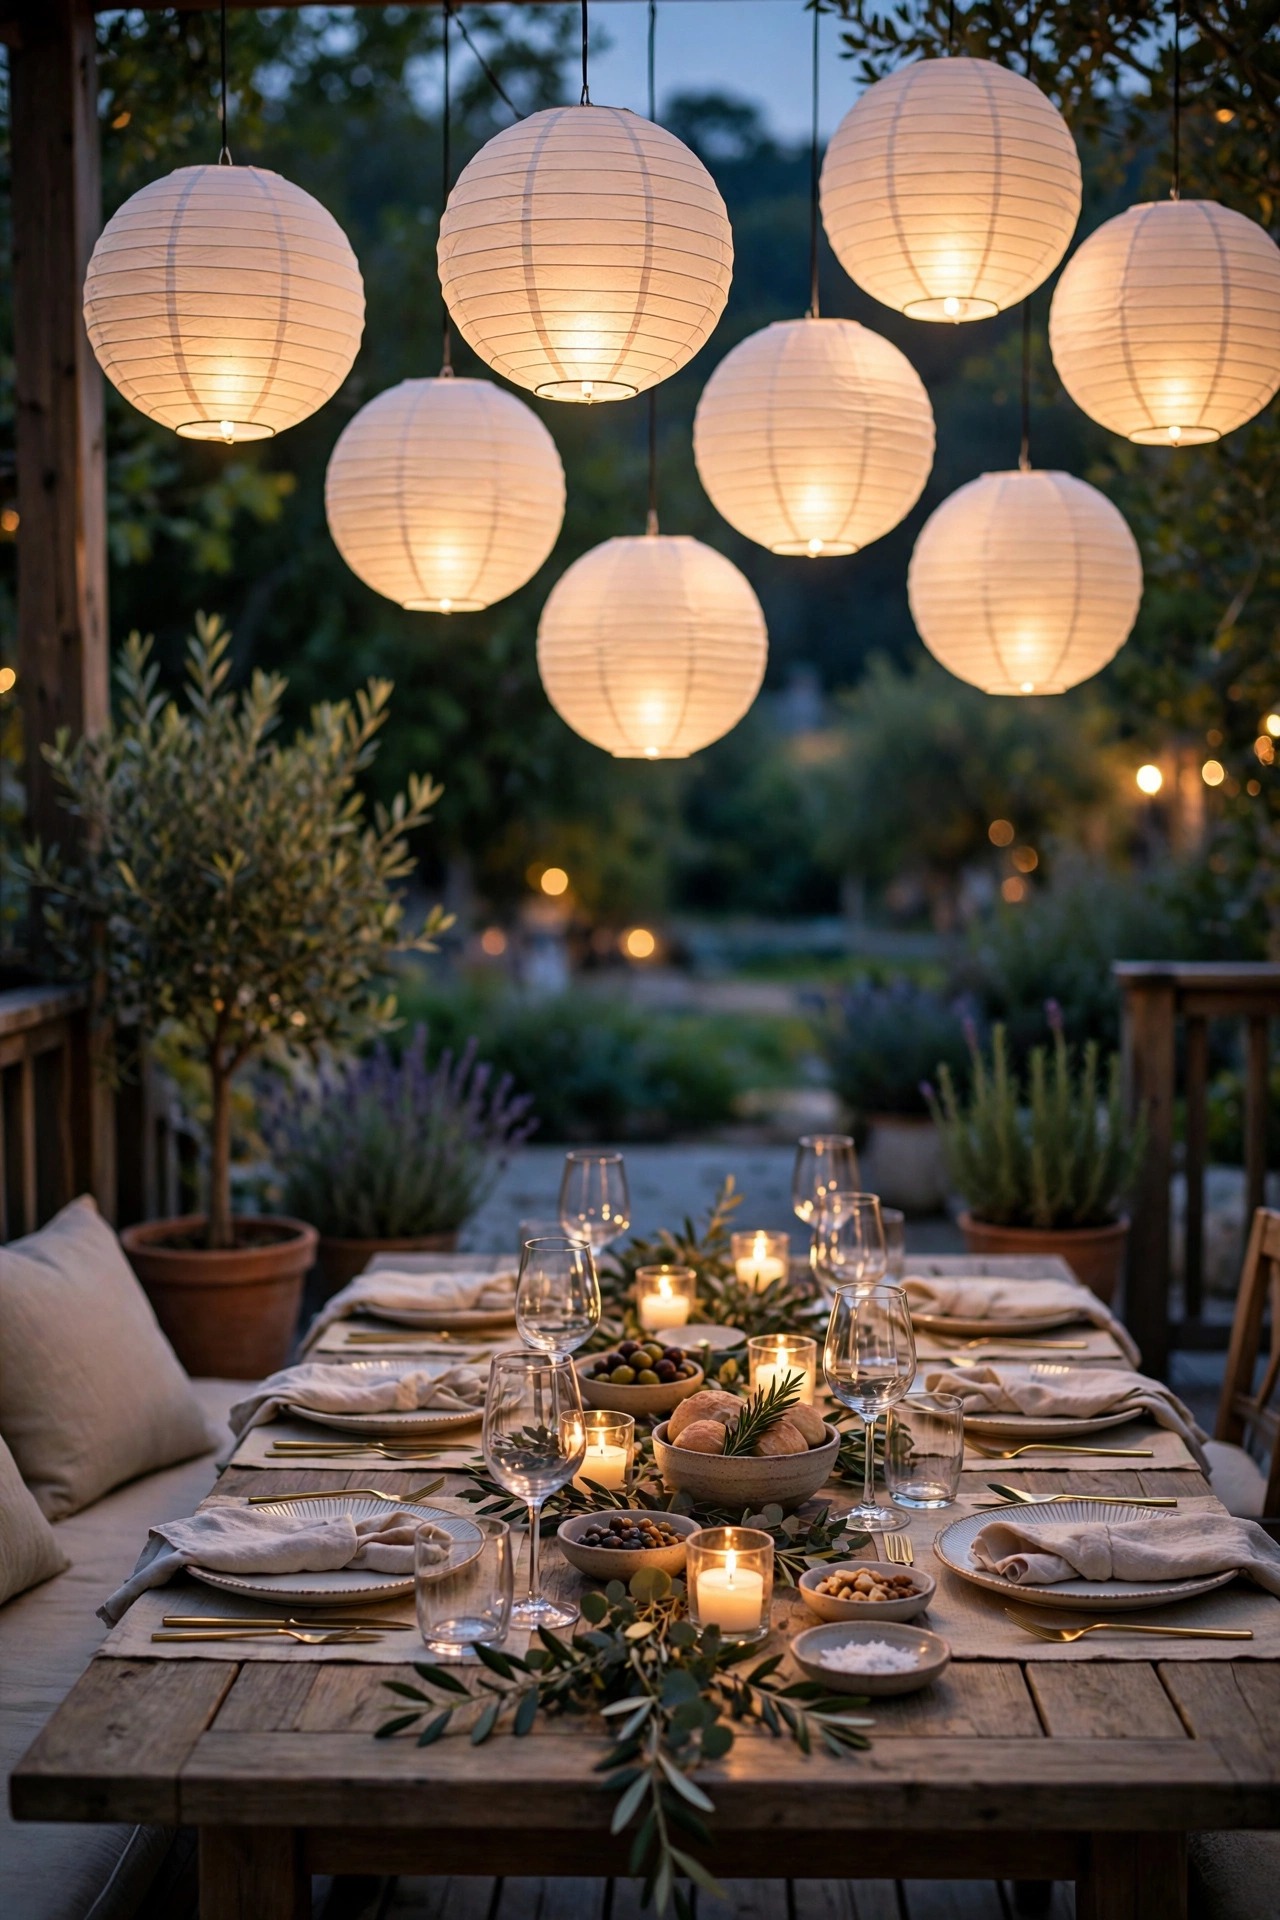
For birthdays, Fourth of July cookouts, and any dinner that deserves a little theater, paper lanterns strung over the table are unbeatable. I thread them onto the same string light runs I already have — the bulbs slip inside the lanterns and turn them into big soft globes of light. Whites and creams keep it elegant; a few soft colors mixed in make it a party. The large sizes, 12 to 16 inches, look best over a dining table because they hold their own against the scale of the furniture. Lanterns are not a leave-up-all-season choice: bring them in ahead of rain, or buy nylon versions that shrug off weather and last for years. Because paper sits close to bulbs, use only LED string lights inside them — LEDs stay cool, which keeps this safe. A dozen lanterns transform a deck for about the cost of the pizzas, and they fold flat for storage the rest of the year.
Suggested budget range: $18 – $55.
16. Outline the Bench Seating With Rope Light
Built-in bench seating is where deck dinners get comfortable, and a rope of light under the bench edge makes it glow like a restaurant banquette. I ran a warm LED rope light along the underside of my bench seat, hidden from view, so at night the seating floats on a line of light and guests can find their spot without a flashlight. It also quietly marks the deck's edge for anyone walking with a plate. Rope light in a mounting track stays straight and sheds water better than loose clips. Solar rope is fine for a subtle outline, but wired low-voltage gives you the brightness to actually dine by when combined with table light. Keep the color consistent with your other fixtures — mixing a cool white rope with warm string lights is the one mismatch everyone notices. This is an hour-long project with a drill and a ladder, and the before-and-after still surprises me.
Suggested budget range: $30 – $85.

17. Uplight the Greenery Behind the Table
Every great dining room has a backdrop, and on a deck that backdrop is your plantings. Two or three low-voltage uplights tucked into the beds or big planters behind the dining area wash trees, ornamental grasses, or a hedge with light, giving the table depth instead of a black void beyond the railing. I angle mine up through a Japanese maple and a clump of tall grasses, and the layered shadows make the deck feel twice its size. Keep these fixtures on the gentler side — you want a backdrop glow, not a stadium — and shield any bulb that could catch a seated guest's eye. Solar uplights work in sunny beds and cost almost nothing to try before committing to a wired run. This layer pairs beautifully with string lights because they work opposite directions: one lights the ceiling of your outdoor room, the other lights its walls. For more ways to blend plantings and light, the ideas in my deck lighting ideas roundup are a good next read.
Suggested budget range: $40 – $170.

18. Bring a Tabletop Fire Bowl for Living Light
A small tabletop fire bowl or a cluster of gel-fuel canisters gives you the one thing LEDs imitate but never quite match: real, moving flame at the center of the table. The light is low and warm, faces flicker the way they do around a campfire, and on a cool evening the little bit of heat takes the edge off. I set a wide, low bowl at the center of the table on a heat-safe tray, keeping it clear of the garland and at least a forearm's length from place settings. Follow the fuel maker's instructions exactly, never leave it burning unattended, and keep it away from paper lanterns and overhanging umbrella fabric — flame and décor need distance, always. If your household prefers zero open flame, a quality flameless candle cluster from earlier in this list gets you 90 percent of the look with none of the rules. For the nights you do light it, dinner somehow always runs an hour longer.
Suggested budget range: $35 – $120.

19. Put Your Deck Dining Lighting Ideas on Dimmers and Zones
The best-lighted dinner parties I host all share one secret: I can change the light without leaving my chair. Grouping your deck lights into zones — overhead strings on one dimmer, table lights on another, perimeter and steps on a third — means the bright light for serving fades down when dessert lands. Plug-in dimmers handle string lights and plug-in fixtures; smart plugs add schedules and phone control, so the deck can light itself at sunset whether you are home or not. This is where deck dining lighting ideas turn from decorating into hosting, because light that adapts keeps guests comfortable for hours. Label the remotes and keep one at the table. If you hardwire anything, have an electrician put the circuit on a proper dimmer rated for LED loads, since mismatched dimmers are the main cause of flicker and buzz. Start with the overhead zone if budget is tight; it does the most work per dollar.
Suggested budget range: $25 – $150.

20. Add a Statement Outdoor Chandelier
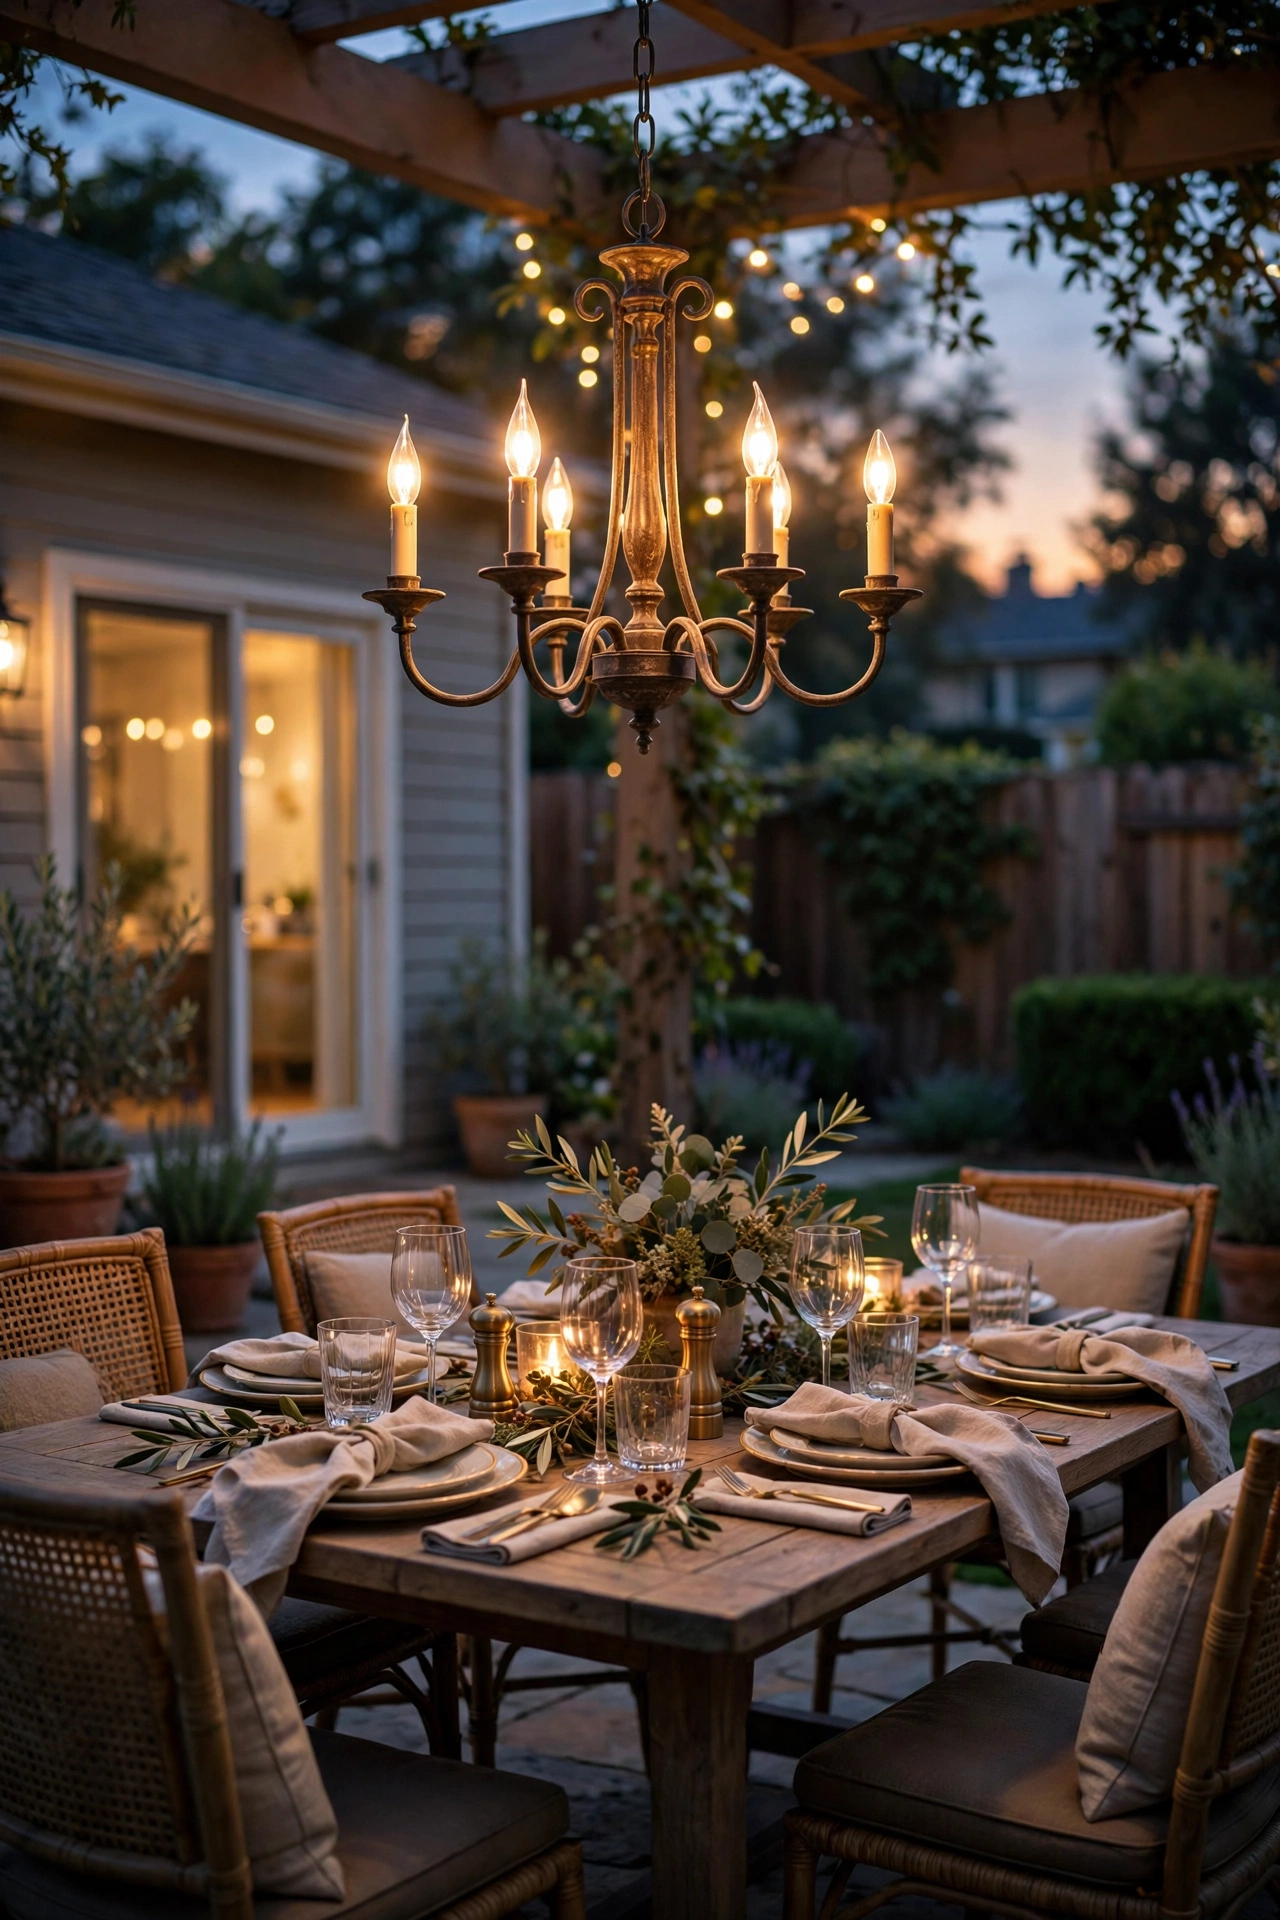
If your deck has a pergola or a covered roof, a statement chandelier is the exclamation point. I hung a weather-rated, open-frame chandelier with LED filament bulbs over our table, and it changed the deck from "nice patio" to the room everyone asks to eat in. Size it like an indoor dining chandelier: about half the table's width, hung 30 to 36 inches above the tabletop. Wet-location rating is non-negotiable outdoors, and sealed or coated bulbs last far longer in damp air. Put it on its own dimmer if you can — at full glow it lights a buffet beautifully, and dimmed to a candle-like level during dessert it is pure romance. Open designs with visible bulbs throw the most even light; drum shades look elegant but trap heat and bugs, so check them weekly in summer. It is the splurge of this list, and the piece every guest photographs.
Suggested budget range: $150 – $450.
21. Tuck Solar Stakes Into Deck Planters
Big planters anchor the corners of my dining area, and a slim solar stake tucked into each one adds a spark of light exactly where the deck meets the greenery. The better stakes have a warm 2700K glow and a real dusk sensor; the bargain-bin cool-white ones will clash with everything else you have built, so read the color temperature on the box. Stakes also work along the deck's edge boards or in the beds below the railing, sketching the outline of your space for guests finding their way. Height matters: keep stake tops below seated eye level, roughly 12 to 18 inches above the soil, so they read as glow rather than glare. Solar output depends on the day's sun, so treat these as accent sparkle rather than your main light, and wipe the little panels clean every few weeks. In my experience, four to six stakes are plenty for a dining zone — more starts to look like a runway.
Suggested budget range: $16 – $50.

22. Wash the House Wall With a Soft Uplight
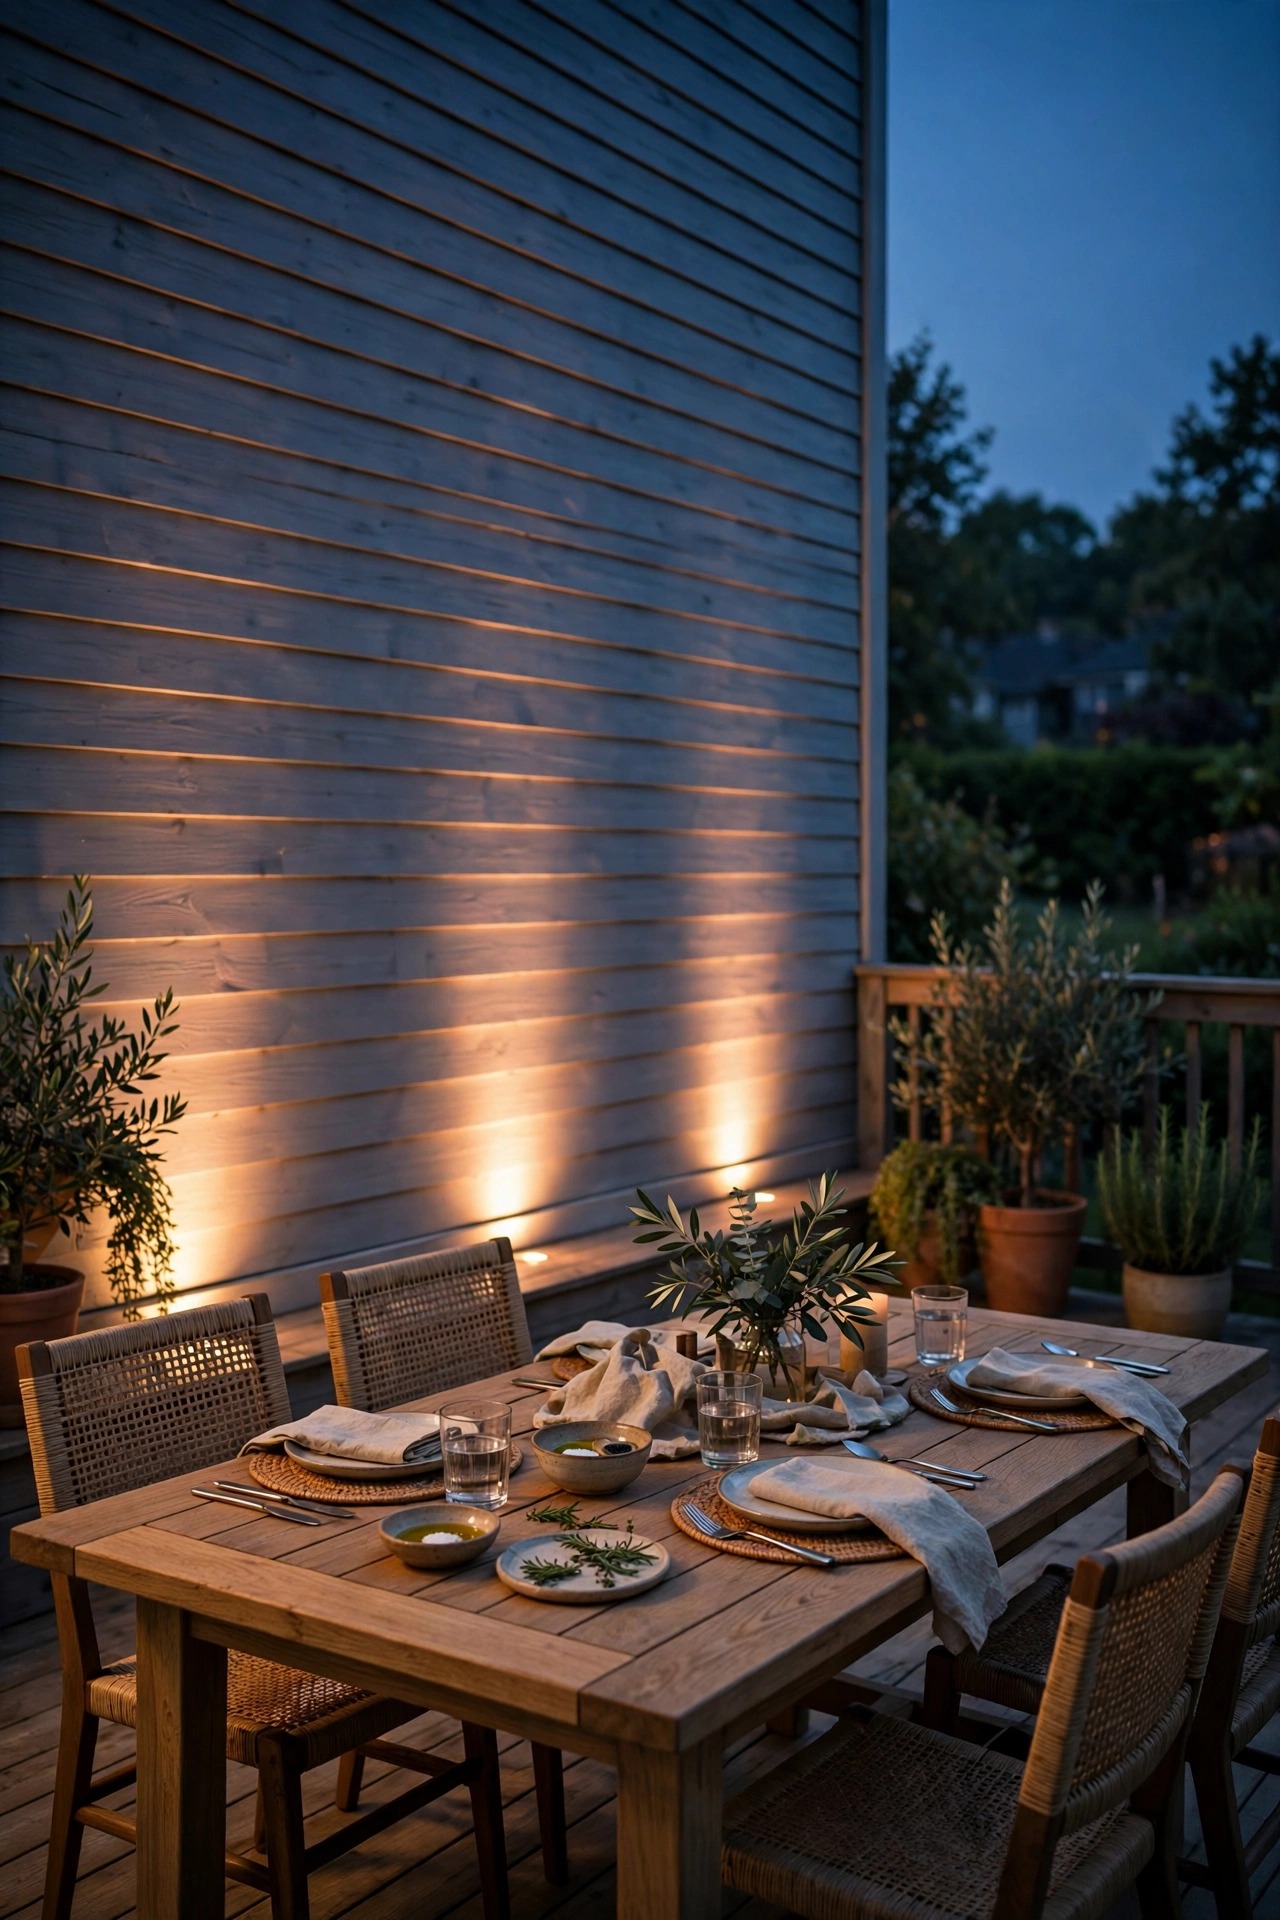
A trick borrowed from hotels: a gentle wash of light on the wall behind the dining area makes the whole space feel bigger and warmer. I set one low-voltage spotlight at the base of the siding behind the table, aimed up at a wide angle, and the soft reflected light flatters everyone seated — it is the same principle as bouncing a flash in photography. This works especially well on light-colored siding or brick, which scatter the light back into the space. Keep the fixture shielded so nobody stares into the source, and aim carefully so you are not lighting up a neighbor's window. If a wired fixture is too much project, a rechargeable battery uplight aimed at the wall for the evening does the same job for parties. Combined with the overhead canopy and table glow, this wall wash is the layer that makes photos of your dinners look professionally lit. It takes ten minutes to test with a flashlight before you buy anything — try it tonight.
Suggested budget range: $30 – $110.
23. Layer It All: The Three-Level Deck Dining Lighting Ideas Formula
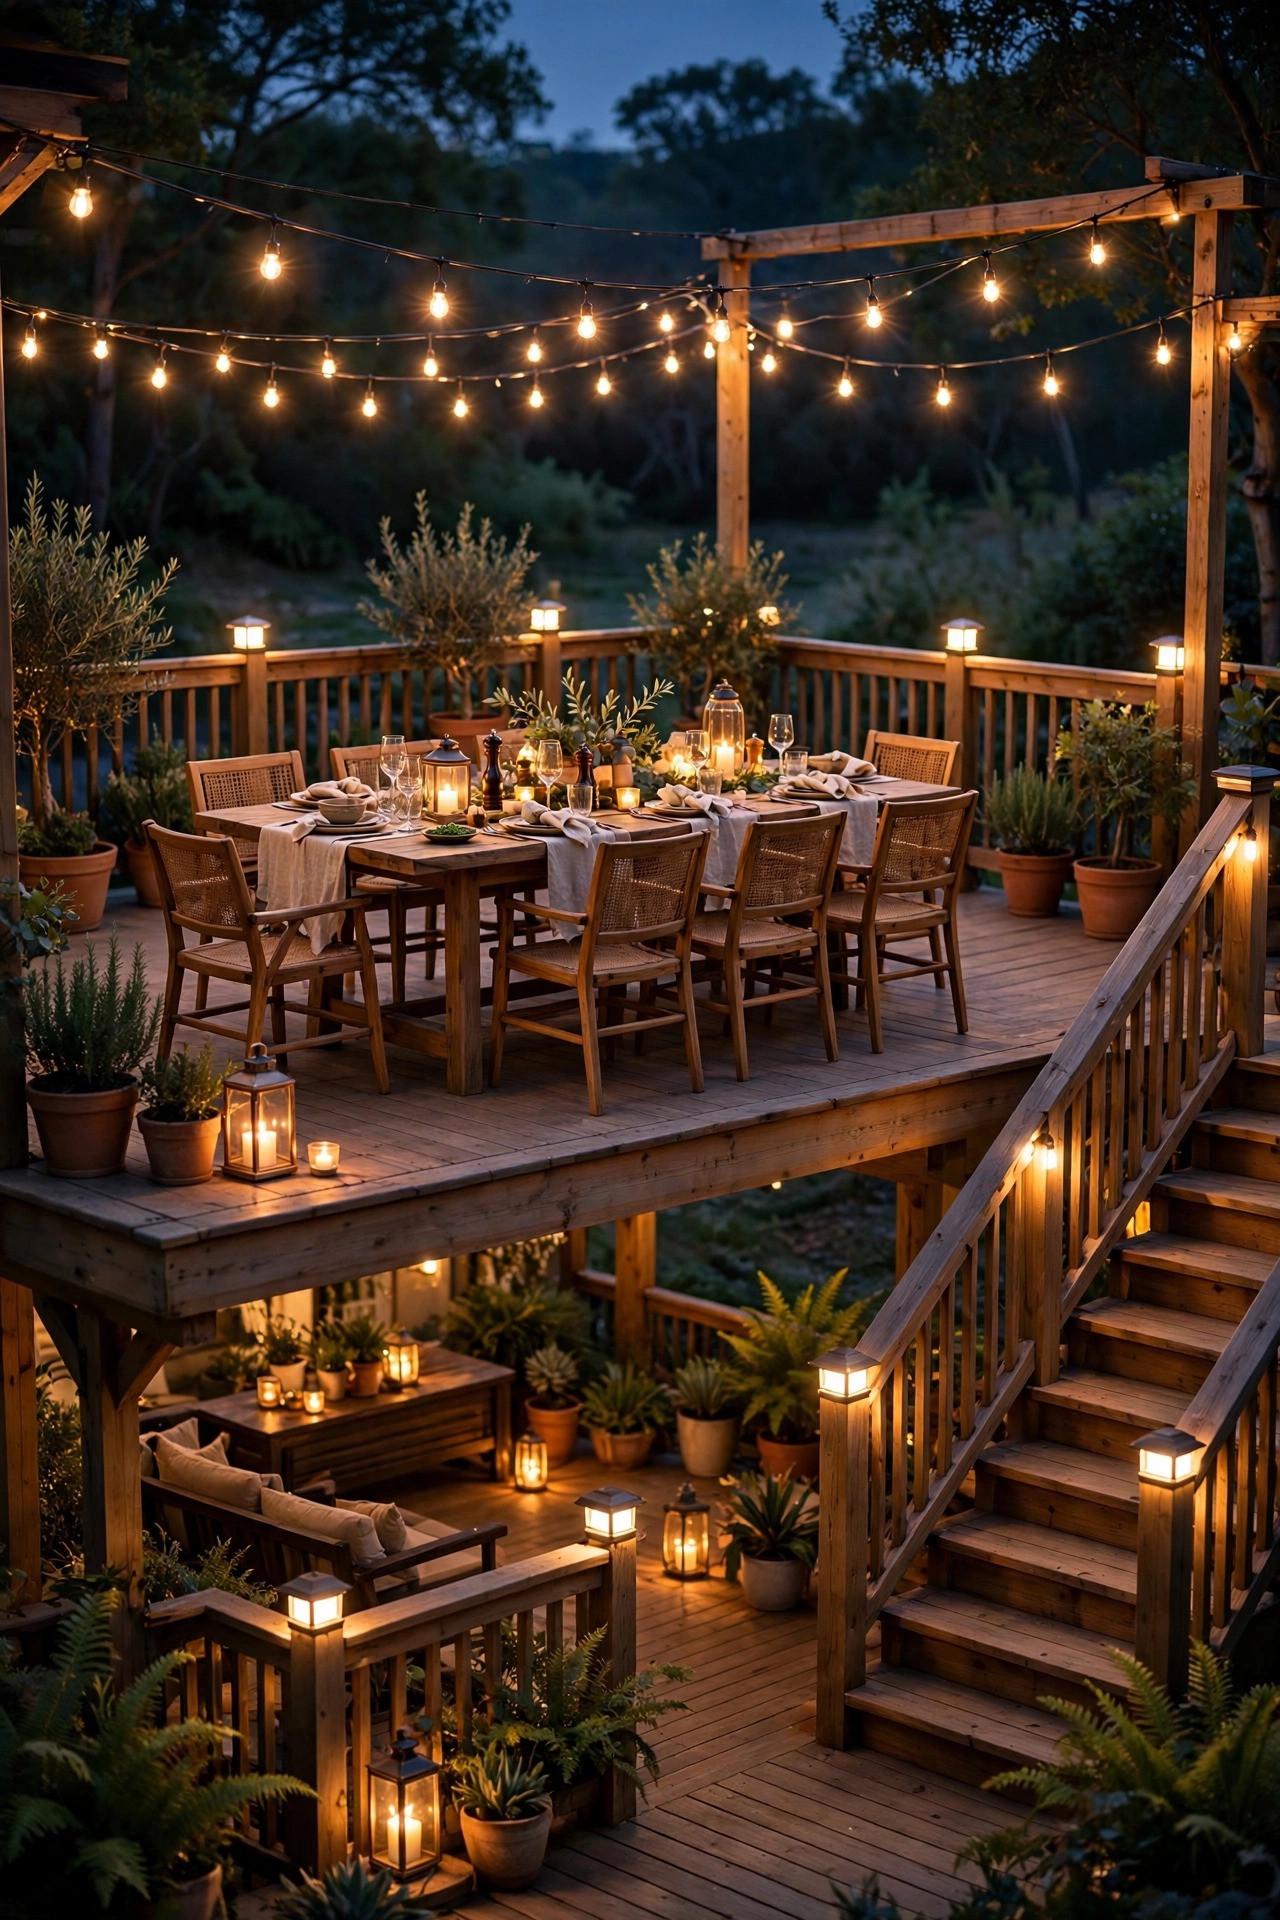
After 22 ideas, here is the honest summary of every deck dining lighting setup that has ever worked on my deck: think in three levels. Level one is overhead — string lights, a pendant, or a chandelier defining the ceiling of your outdoor room. Level two is the table itself — lanterns, candles, or a fire bowl putting warm light on faces and food, which is where the magic actually lives. Level three is the perimeter — post caps, step lights, uplights, and wall washers shaping the edges so the space feels enclosed and safe. Pick one or two ideas from each level and you have a complete scheme at almost any budget; my own everyday setup is a string canopy, hurricane candles, and post caps, and it has carried everything from Tuesday tacos to a 40th birthday. Add dimmers when you can, keep everything between 2700K and 3000K, and your deck will be the room nobody wants to leave.
Suggested budget range: $150 – $500.
Frequently Asked Questions
How bright should deck dining lighting be?
Aim for warm ambience, not brightness. For the table area, the combined glow of your layers should feel like a cozy restaurant — roughly the equivalent of 100 to 200 lumens per person over the table, with overhead lights dimmable so you can drop the level after serving. If one source has to light the whole deck alone, it will either be too dim for eating or too harsh for lingering. Layered, dimmable light always wins.
What color temperature is best for outdoor dining?
Warm white, between 2700K and 3000K, flatters skin and makes food look appetizing; anything above 4000K reads cold and commercial. Consistency matters as much as the number — mixing warm string lights with a cool-white fixture is the mismatch every guest notices. My full breakdown of temperatures for every outdoor zone is in my outdoor light color temperature guide.
Can I leave string lights and lanterns up all season?
Quality outdoor-rated string lights can stay up year-round in most climates, though taking them down before major storms extends their life. Battery lanterns and flameless candles do fine outside all summer but last longer stored indoors over winter, since freeze-thaw cycles are hard on batteries and wax coatings. Paper lanterns are the exception — bring them in whenever rain is forecast, or choose nylon versions.
How do I light a dining deck with no outdoor outlet?
Go rechargeable and solar in layers: a clip-on umbrella hub or battery lanterns on the table, solar post caps and step lights at the edges, and a solar string light strand overhead — solar strands have improved enormously and the better ones run 6 to 8 hours on a good charge. A portable power station is the other honest option; it runs plug-in string lights and a dimmer for a full evening and recharges indoors.
Conclusion
Great deck dining lighting ideas are not really about fixtures at all — they are about how a table full of people feels at 9 p.m. when nobody is reaching for a jacket or a phone flashlight. Build the three layers, keep the color warm, put the light on dimmers where you can, and start with whatever your budget allows this weekend. Even one string of bistro lights over the table changes the whole evening. When you are ready to keep going, browse the rest of the lighting ideas here for your paths, porch, and garden — your deck is just the beginning.