There's a moment every brick-column owner knows: the driveway pillars went up, the cap went on, and then everyone stood there admiring a beautiful column that disappears completely after dark. That's exactly the problem pier mount post lights solve. A pier mount fixture sits flat on top of a column, pier, or pillar — no post required — and turns that chunk of masonry into a glowing landmark. In my experience, they're the single fastest curb-appeal upgrade you can make, because the eye reads lit columns as "estate entrance" instantly. The trick is matching the fixture to the column: scale, base size, light direction, and whether you're wiring them or going solar. Below are 15 setups I recommend again and again, from classic lanterns on driveway pillars to low-profile caps on garden walls, with the sizing rules, bulb tips, and honest budgets for each. Most take an afternoon to install, and several need no wiring at all.
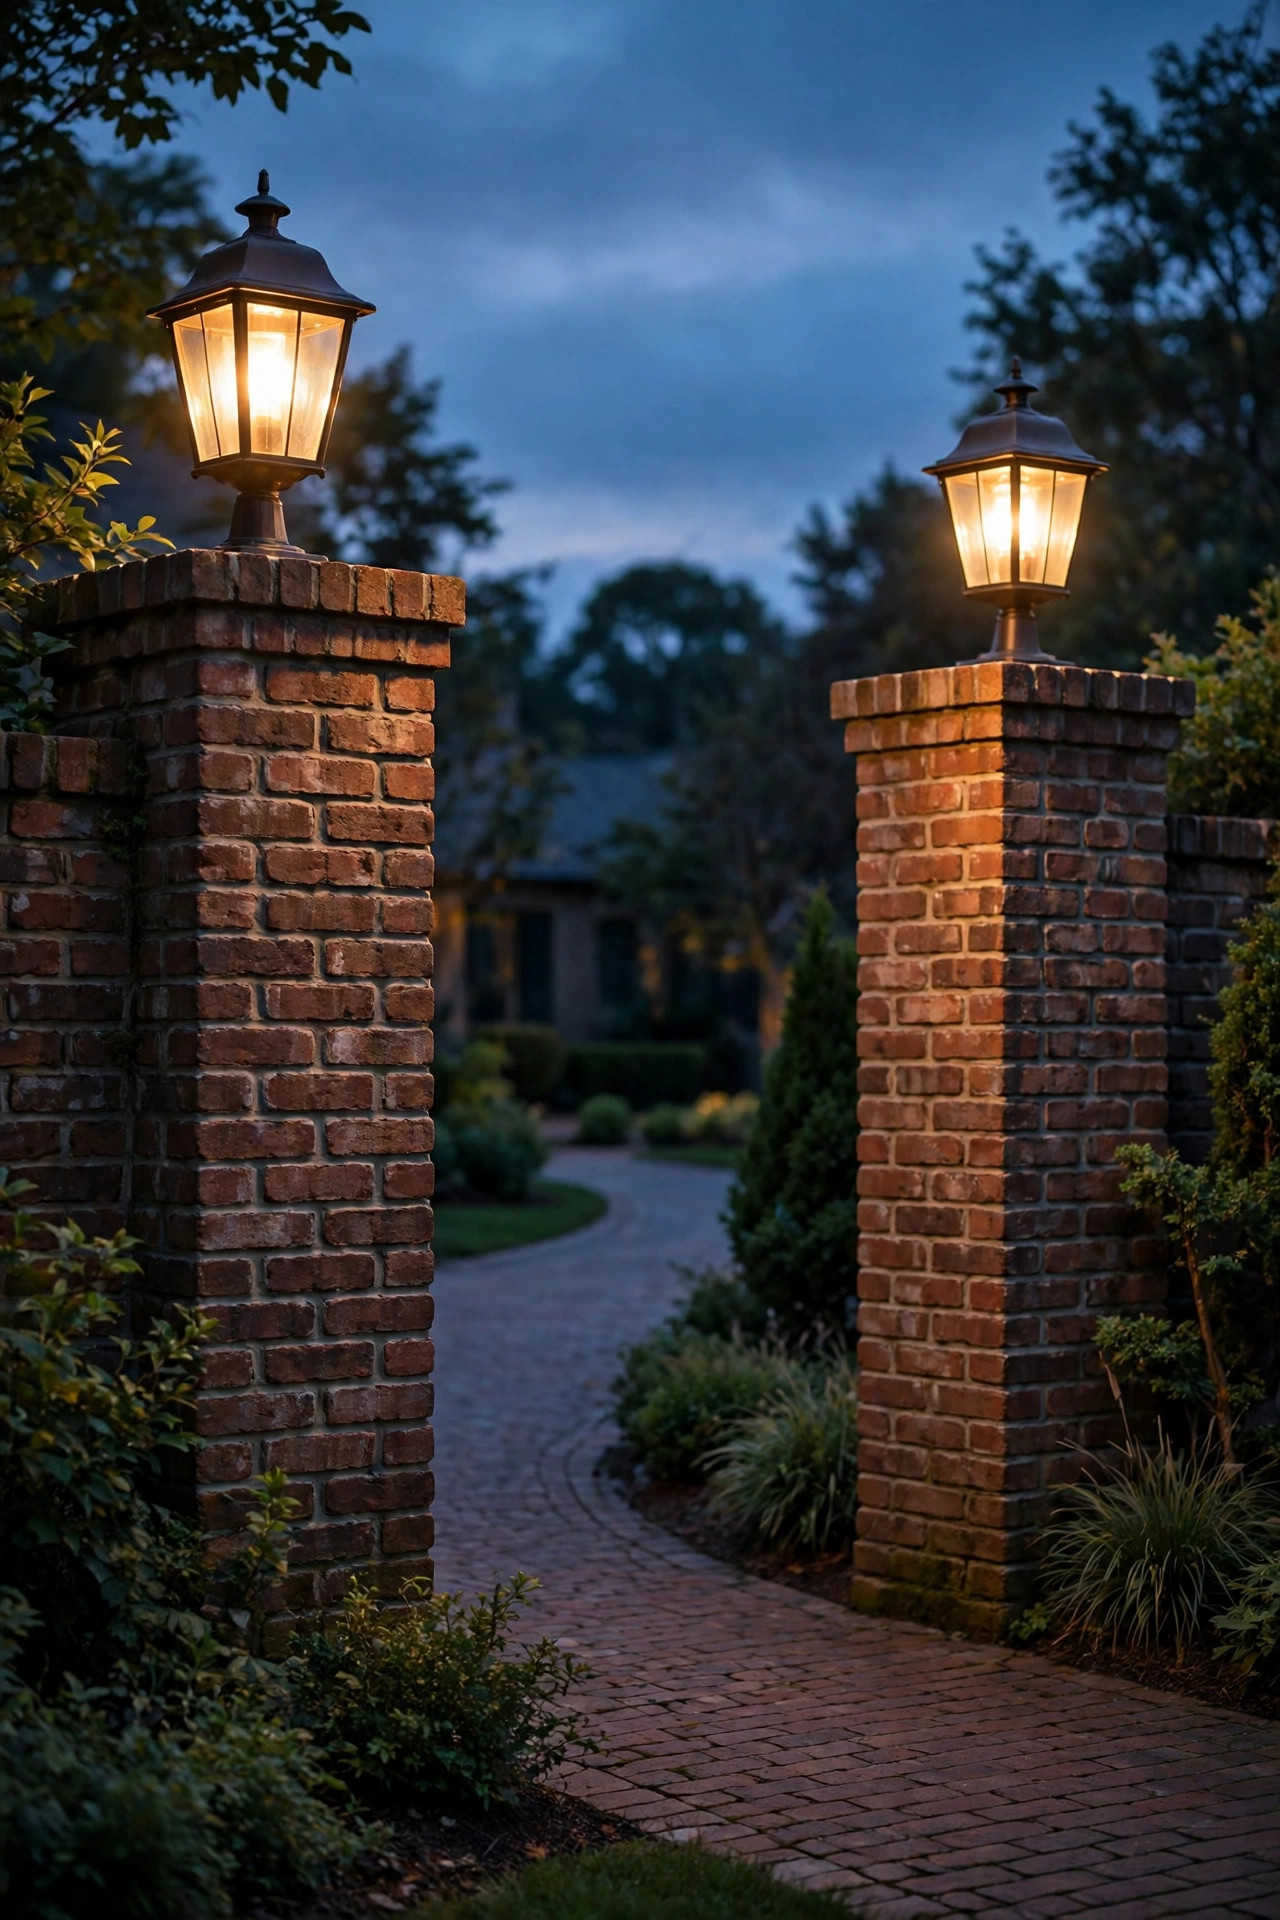
1. Classic Lantern Pier Lights on Brick Driveway Columns
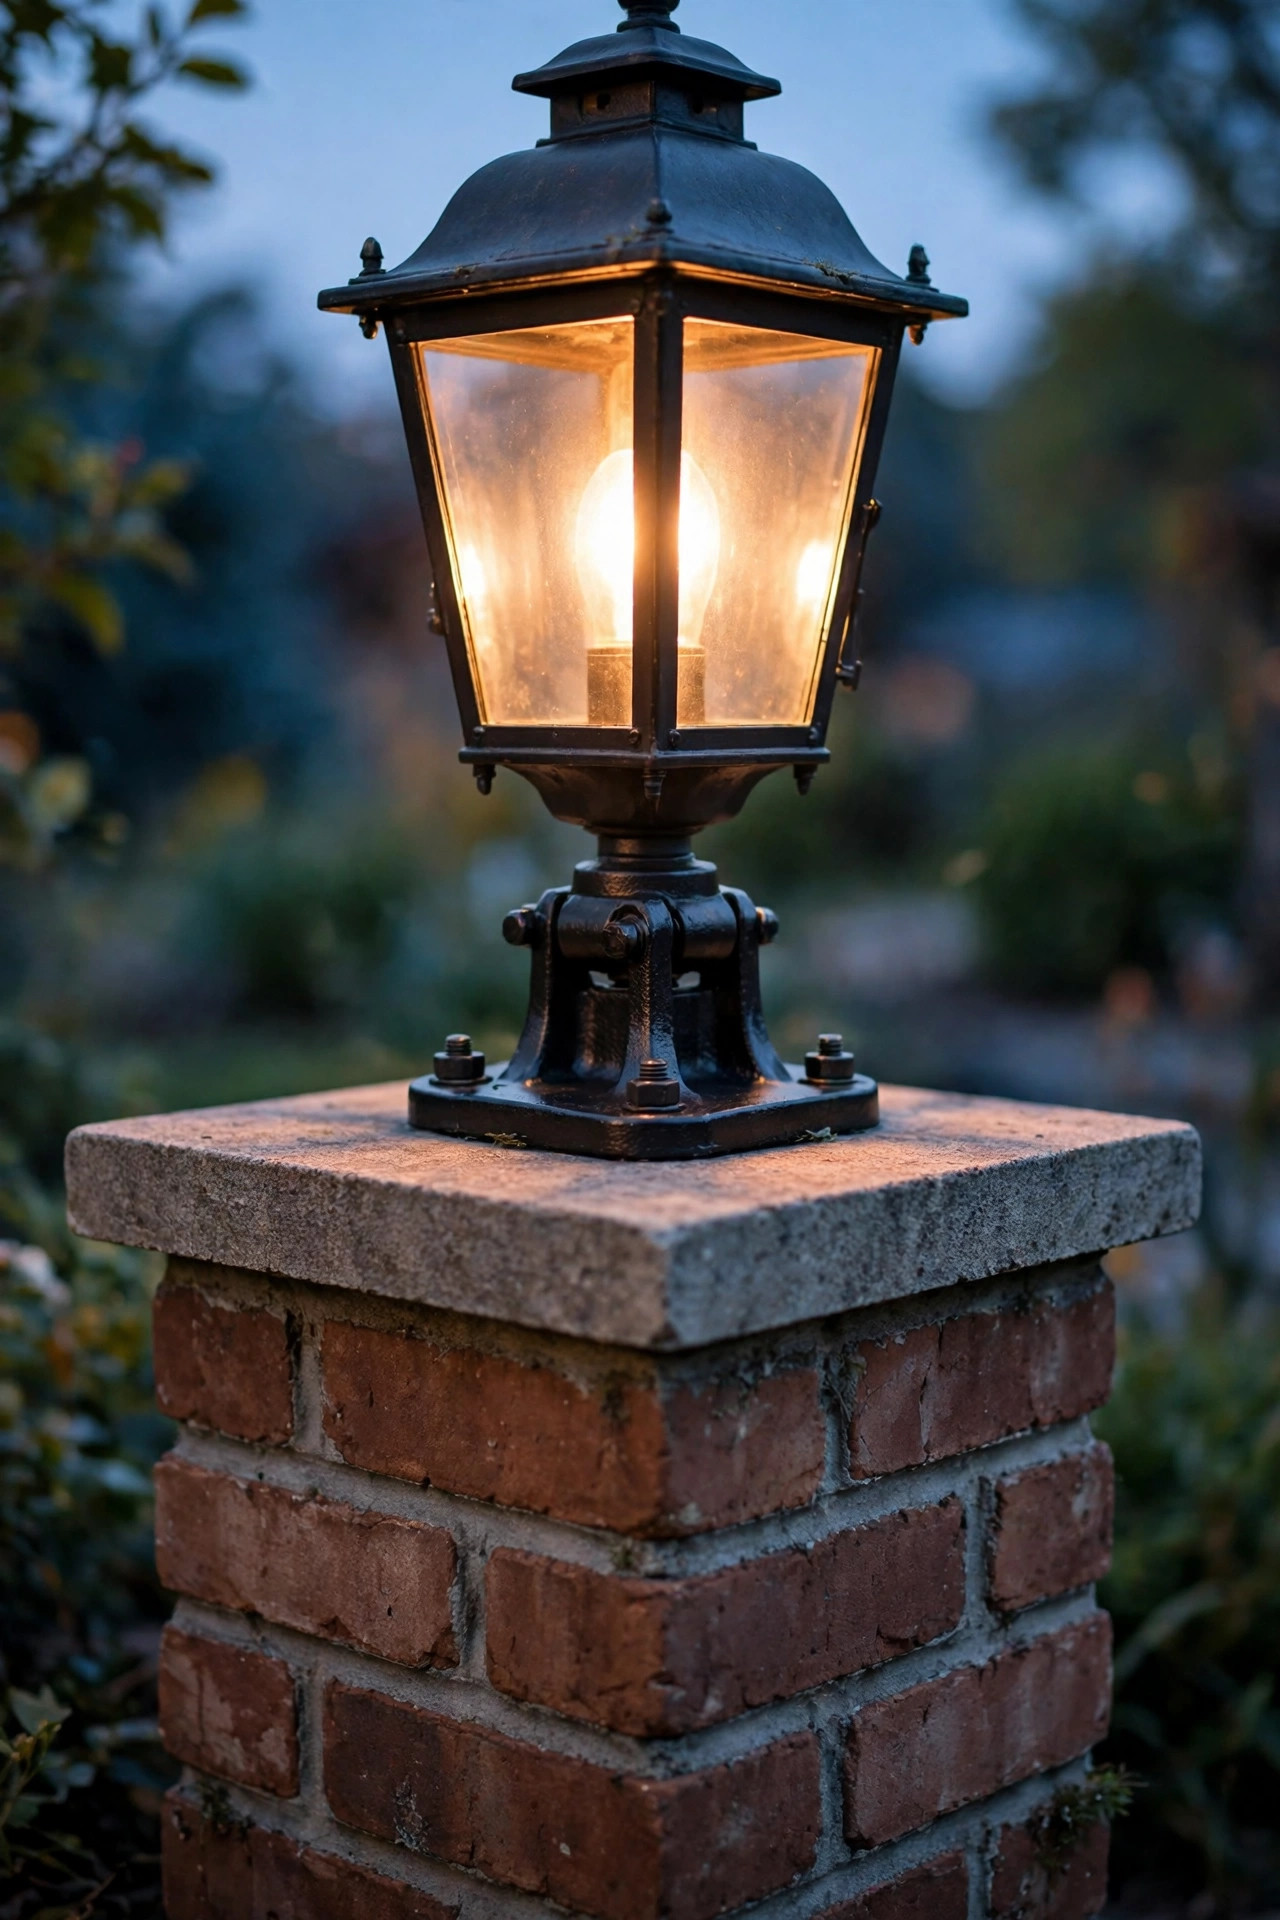
If you picture a classic brick entry, this is the look: a black metal lantern with clear glass panes sitting squarely on each driveway column, glowing like a pair of carriage lamps. It's timeless for a reason. Choose a fixture roughly one-quarter to one-third the width of your column cap — on a 16-inch cap, a lantern with a 10- to 12-inch footprint looks substantial without overhanging. Most pier mounts bolt through a flat base plate, so measure your cap first and confirm it's level; a thin bed of mortar or a shim fixes a slight slope. Hardwired low-voltage models are my first choice here because the transformer can live in a flower bed and the cable run hides in the mortar joints. Use warm 2700K LED filament-style bulbs around 300 to 450 lumens each — bright enough to read as beacons from the street, soft enough to feel welcoming. Seal the base edges with exterior silicone so wind-driven rain can't creep under the plate. Honestly? Two of these at the street change how the whole house feels after dark, and they're the first thing guests mention when they pull in for dinner at our place.
Suggested budget range: $90 – $220.
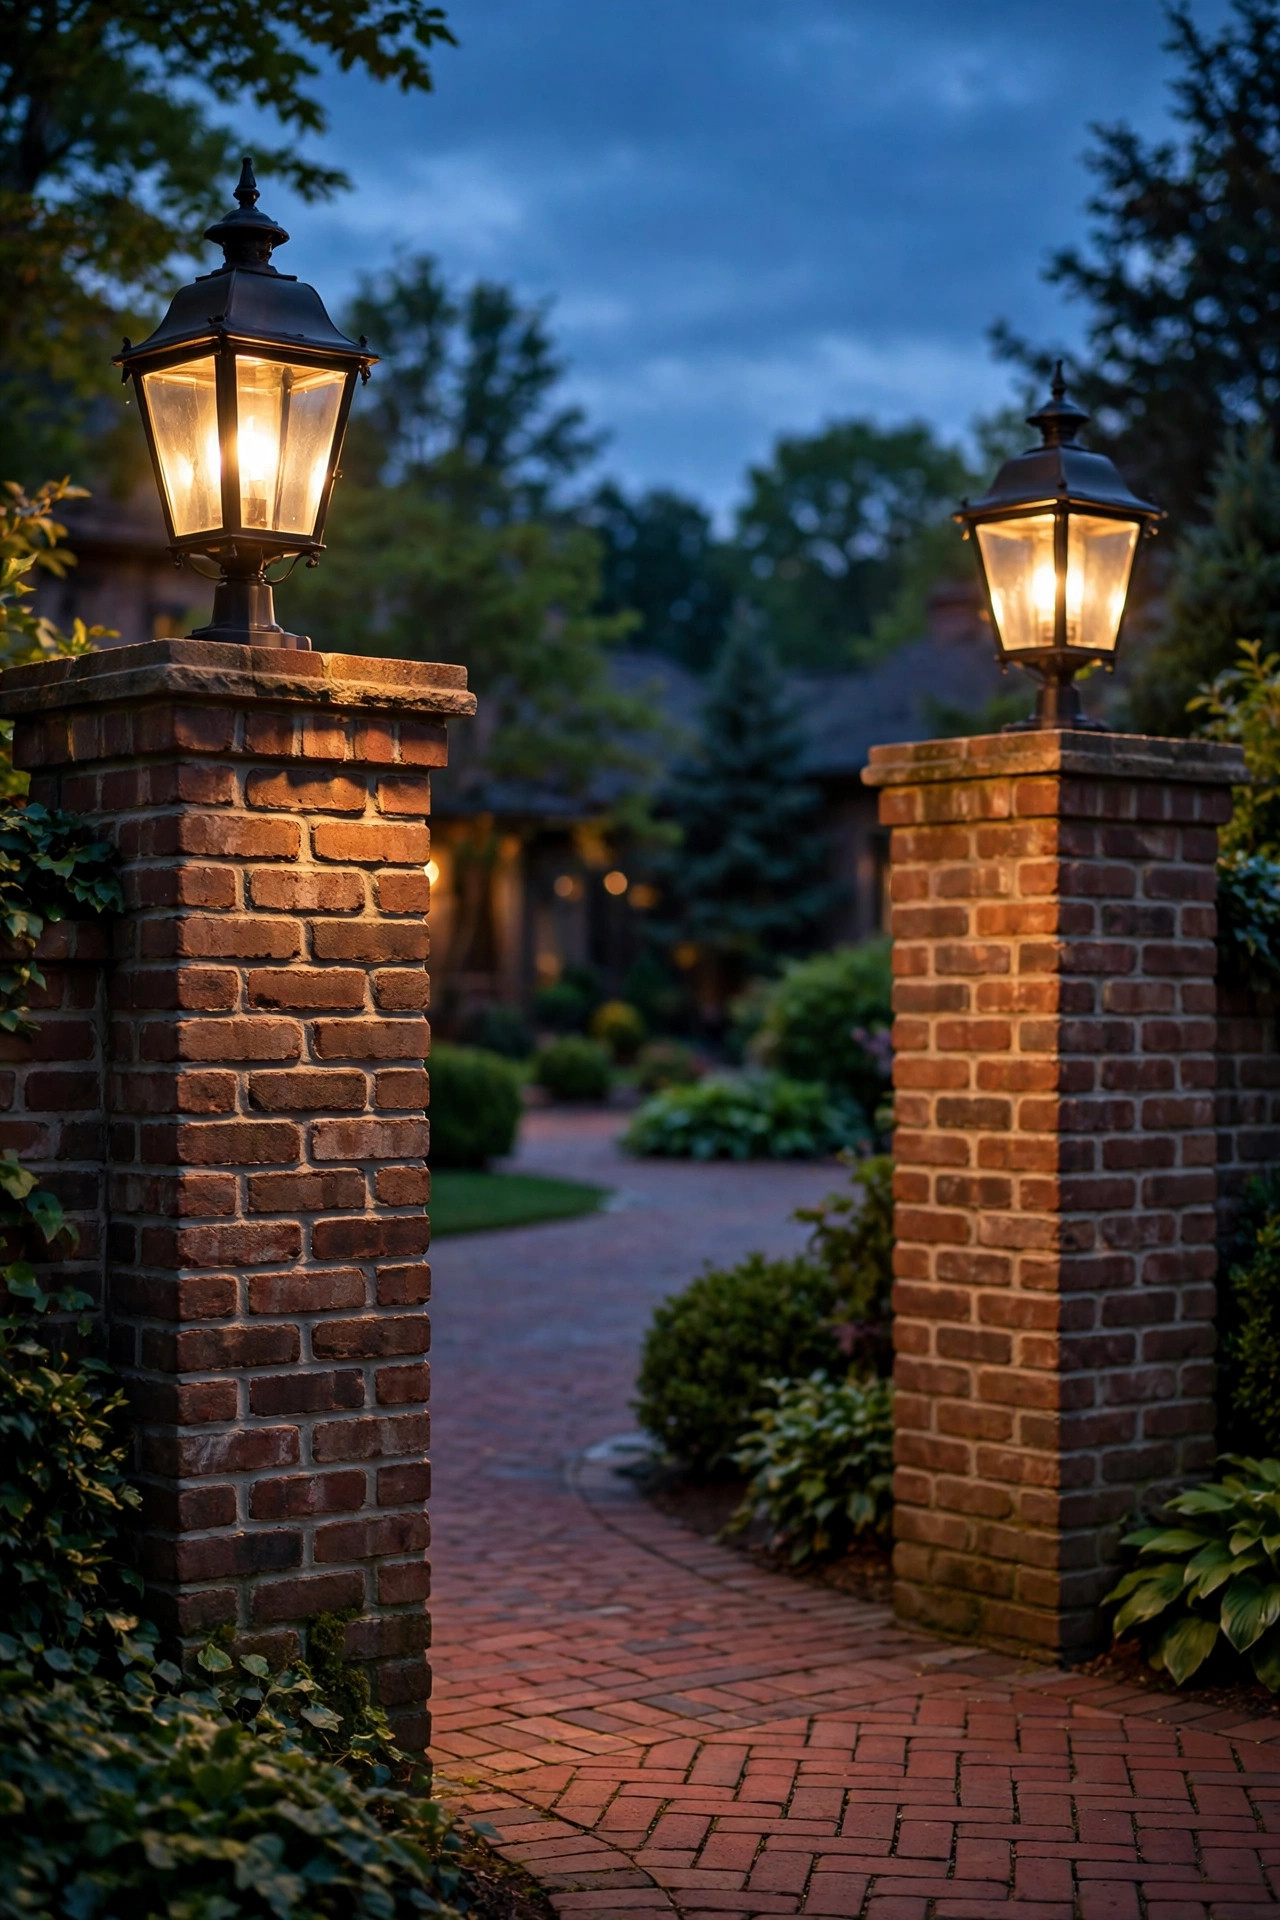
2. Solar Pier Mount Post Lights for Columns Without Wiring
Plenty of gorgeous columns were built with no conduit inside them, and trenching wire across a finished driveway is nobody's idea of a fun weekend. Solar pier mount post lights were made for exactly this problem. Modern versions carry a panel across the top of the cap or integrated into the fixture roof, charge all day, and switch on automatically at dusk. Look for a battery you can actually replace, an output of at least 100 to 200 lumens, and a stated runtime of eight hours or more — cheap solar lanterns that fade by 10 p.m. are the number-one disappointment in this category. Placement matters more than price: the column needs roughly six hours of direct sun, so a pillar shaded by a big oak will always underperform; in that case, pick a model with a remote panel on a short cable you can tuck onto the sunny side. Installation is genuinely four screws into the cap with masonry anchors, about twenty minutes per column. The glow is softer than wired fixtures, so think of solar as the welcoming accent layer, and always install the pair together so both columns age and charge the same way.
Suggested budget range: $35 – $120.
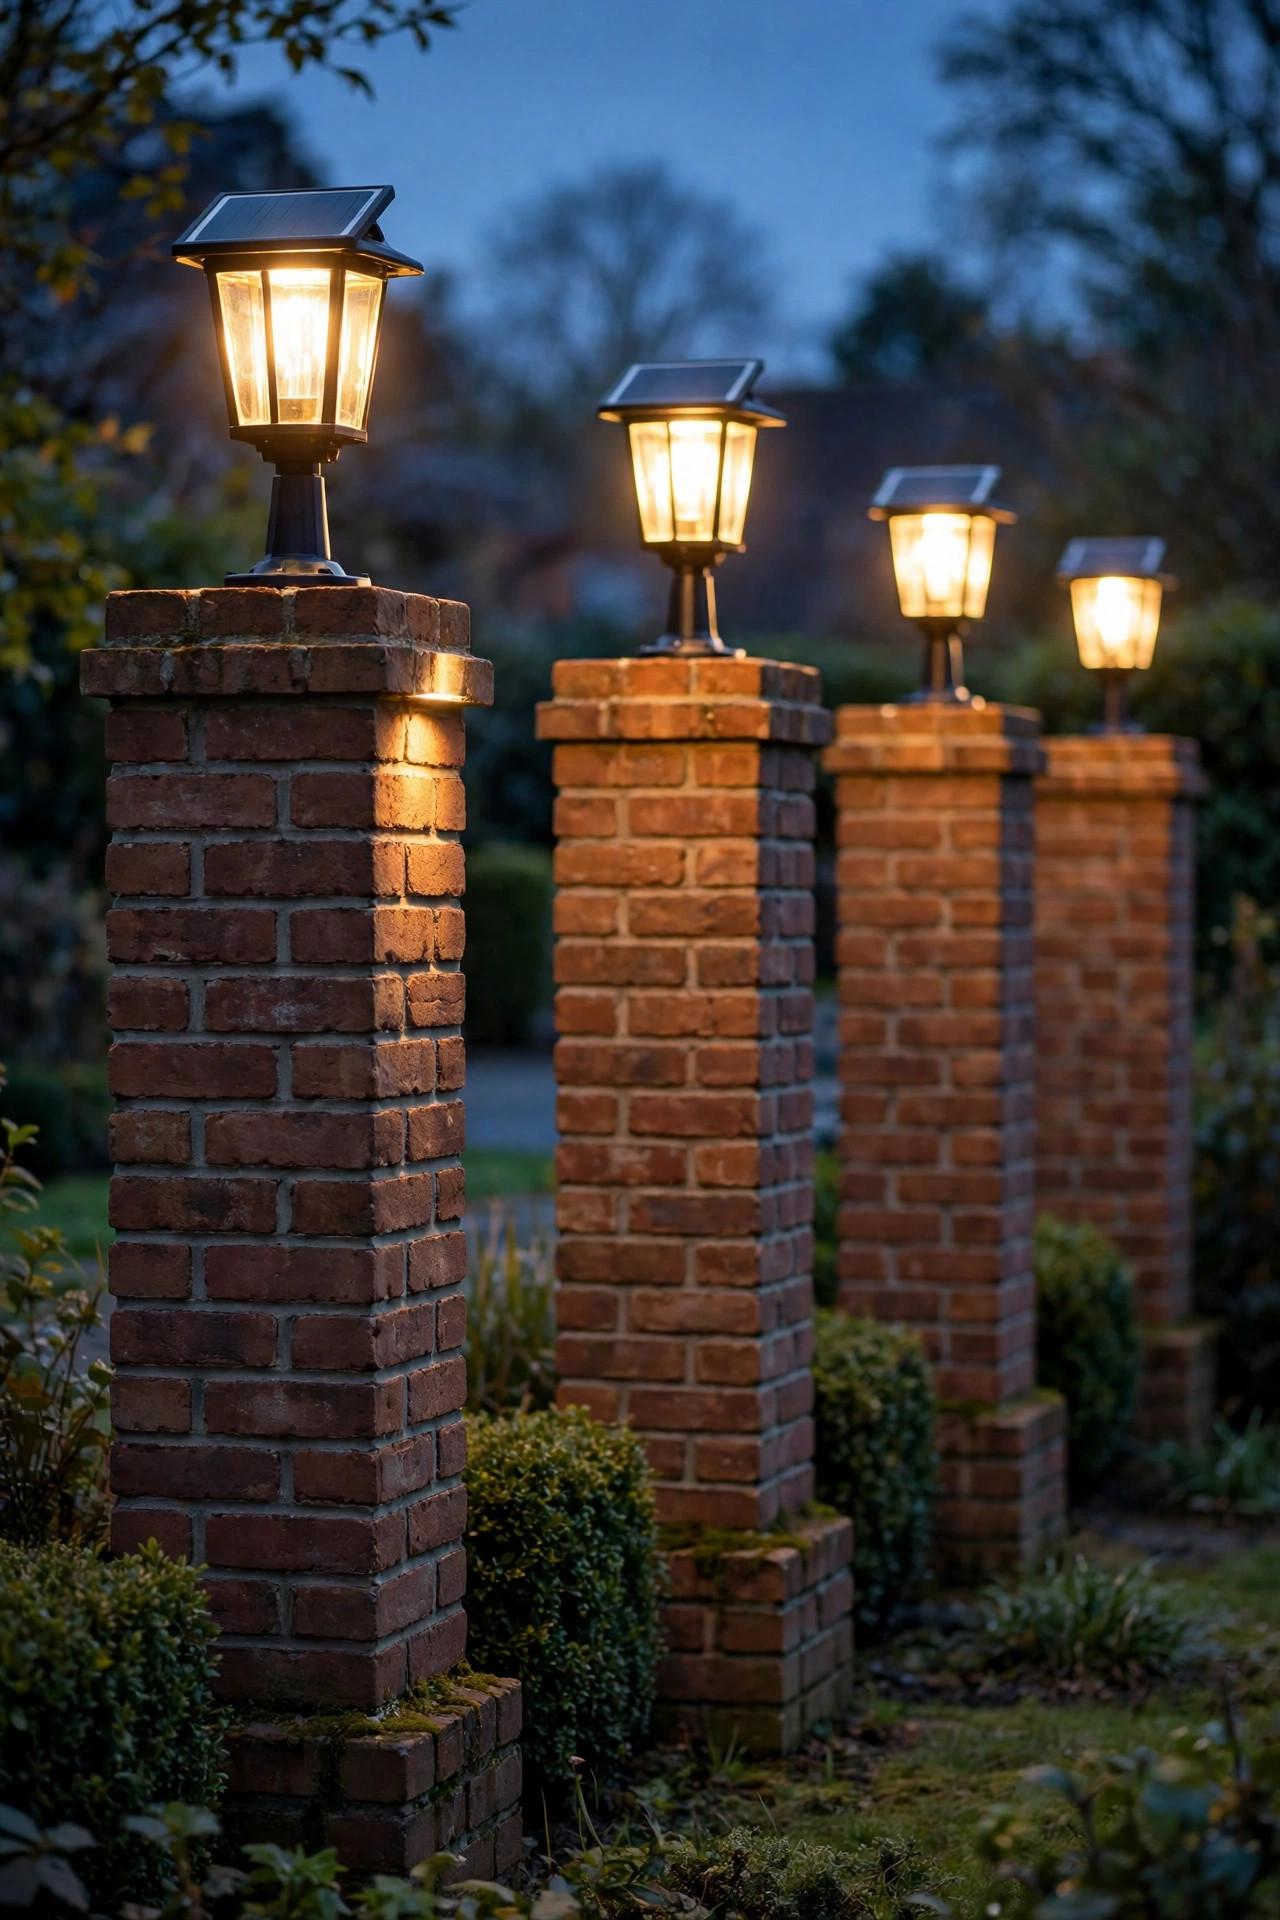
3. Oversized Statement Lanterns for Tall Gate Pillars
Short lanterns on tall pillars look like a candle on a wedding cake — the scale is everything here. For gate pillars and entry columns over five feet tall, go oversized on purpose: a lantern 18 to 24 inches tall on a wide cap reads confidently from the street and holds its own against the architecture. The rule I use is that the fixture should be at least one-fifth the visible height of the column, and its base should span about a third of the cap width. Because these fixtures catch wind, anchor them properly — sleeve anchors into solid masonry, not just into a thin veneer cap stone. A slightly heavier fixture is worth it; lightweight oversized lanterns can rock in storms and eventually crack a solder joint. Inside, a single high-output LED around 600 to 800 lumens on a dimmer gives you drama on party nights and a gentle glow the rest of the time. If your pillars flank a gate, center each lantern precisely and match the heights to the millimeter — the eye catches a quarter-inch difference in a pair instantly. Done right, this becomes the most photographed angle of your whole front yard.
Suggested budget range: $150 – $380.
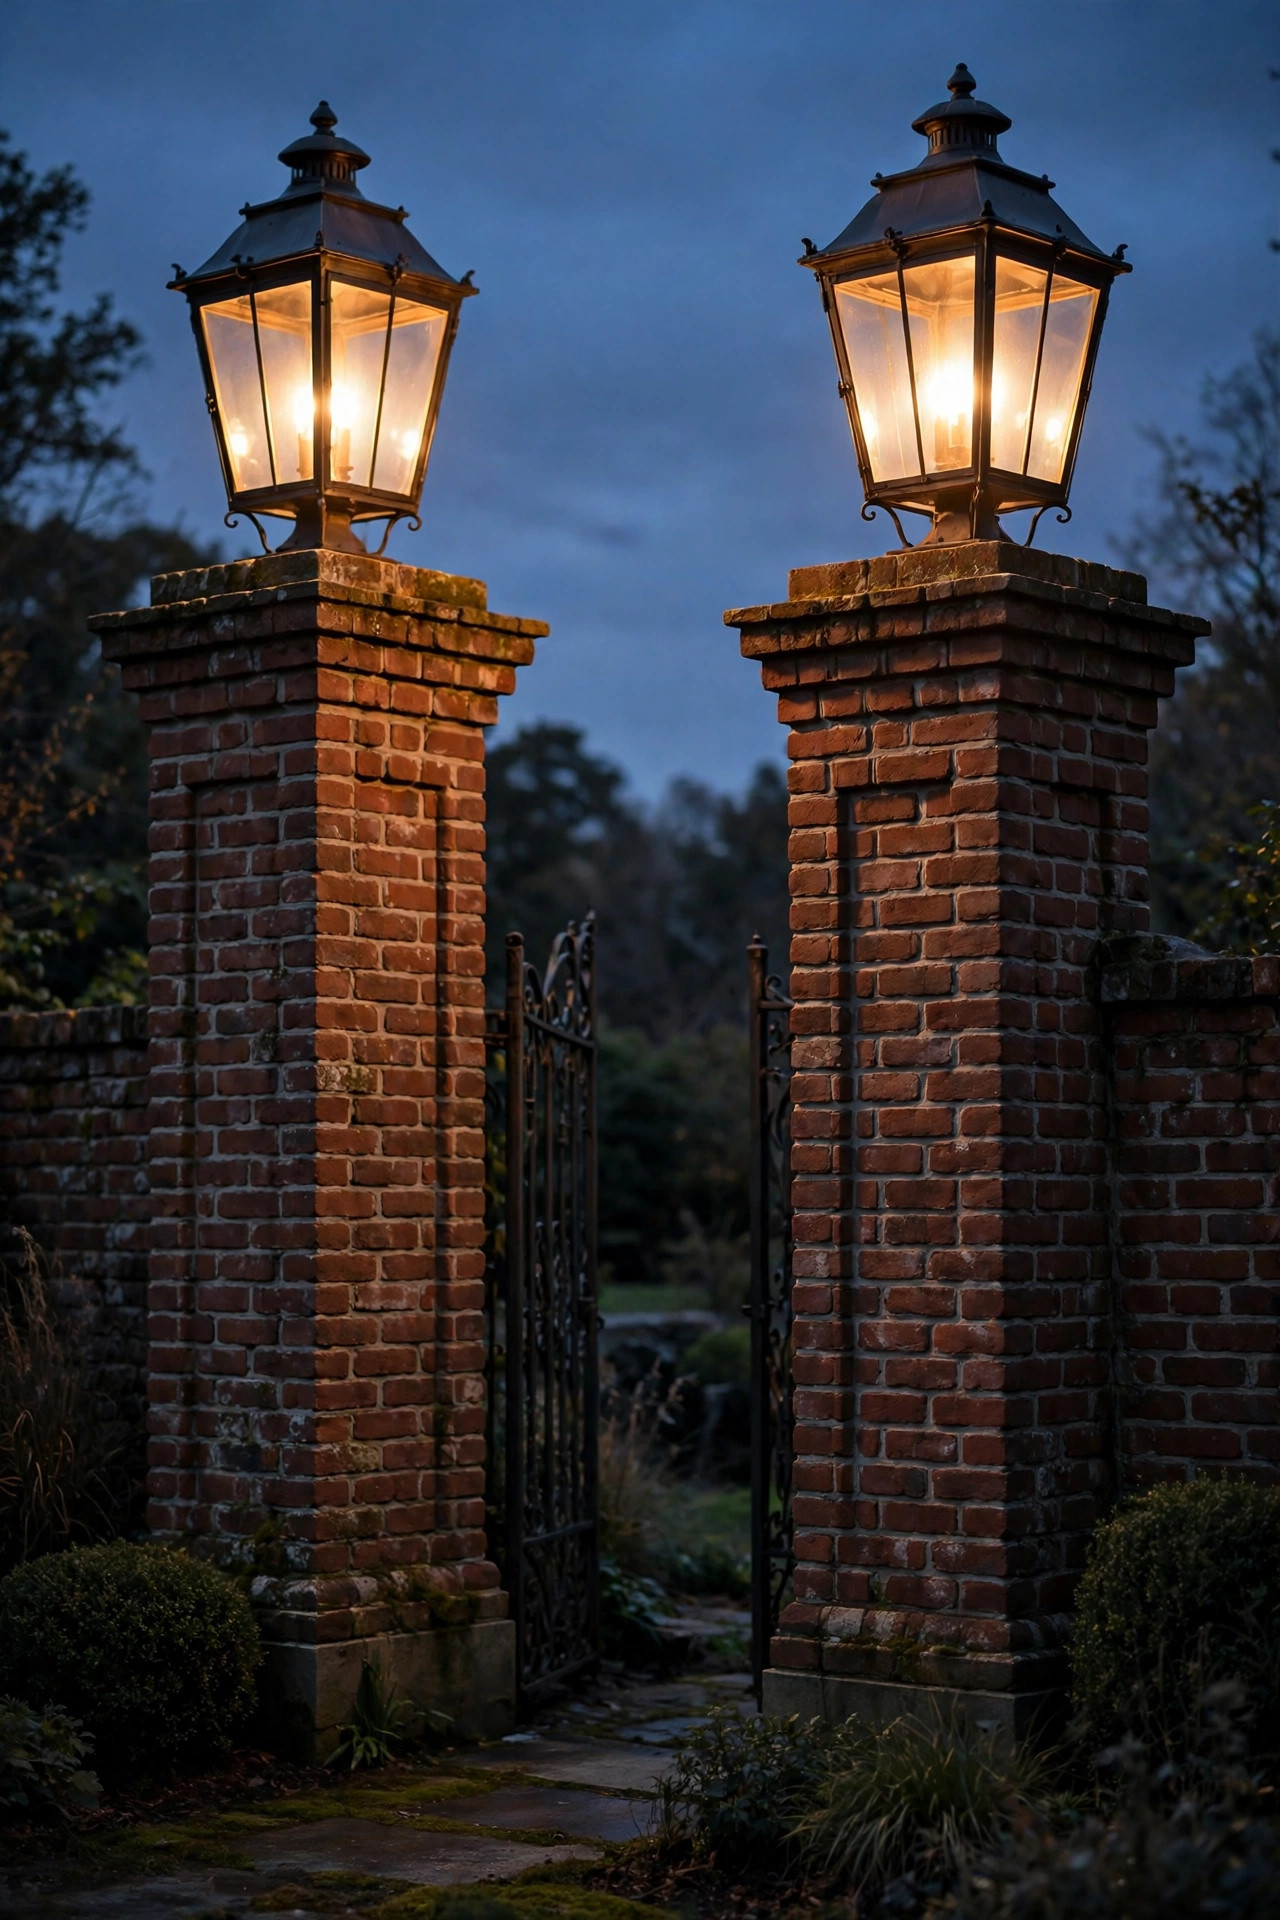
4. Craftsman Pier Lights on Chunky Porch Piers
Craftsman porches with those wonderful tapered, chunky piers are practically begging for a matching light. The right fixture echoes the architecture: a square lantern with slightly sloped roof lines, seeded or frosted glass, and a dark bronze or matte black finish. Because porch piers sit close to seating, glare control matters more than raw brightness — 200 to 300 lumens behind textured glass gives you that amber reading-light glow without shining in anyone's eyes. Keep the fixture footprint a touch smaller than the pier cap so the wood or stone trim still shows; the pier is the star, the light is the jewelry. In my experience, wiring these from the porch circuit is usually simple since many piers are framed or hollow, and putting them on the same switch or smart control as your porch light keeps the whole entry on one easy routine. If your piers are stone veneer over framing, an installer can often fish low-voltage cable up the inside, which avoids drilling the face entirely. Add a warm 2700K bulb, pour something cold, and the porch suddenly feels finished in a way furniture alone never achieves.
Suggested budget range: $80 – $210.
5. Modern Cube Pier Lights on Smooth Stone Columns
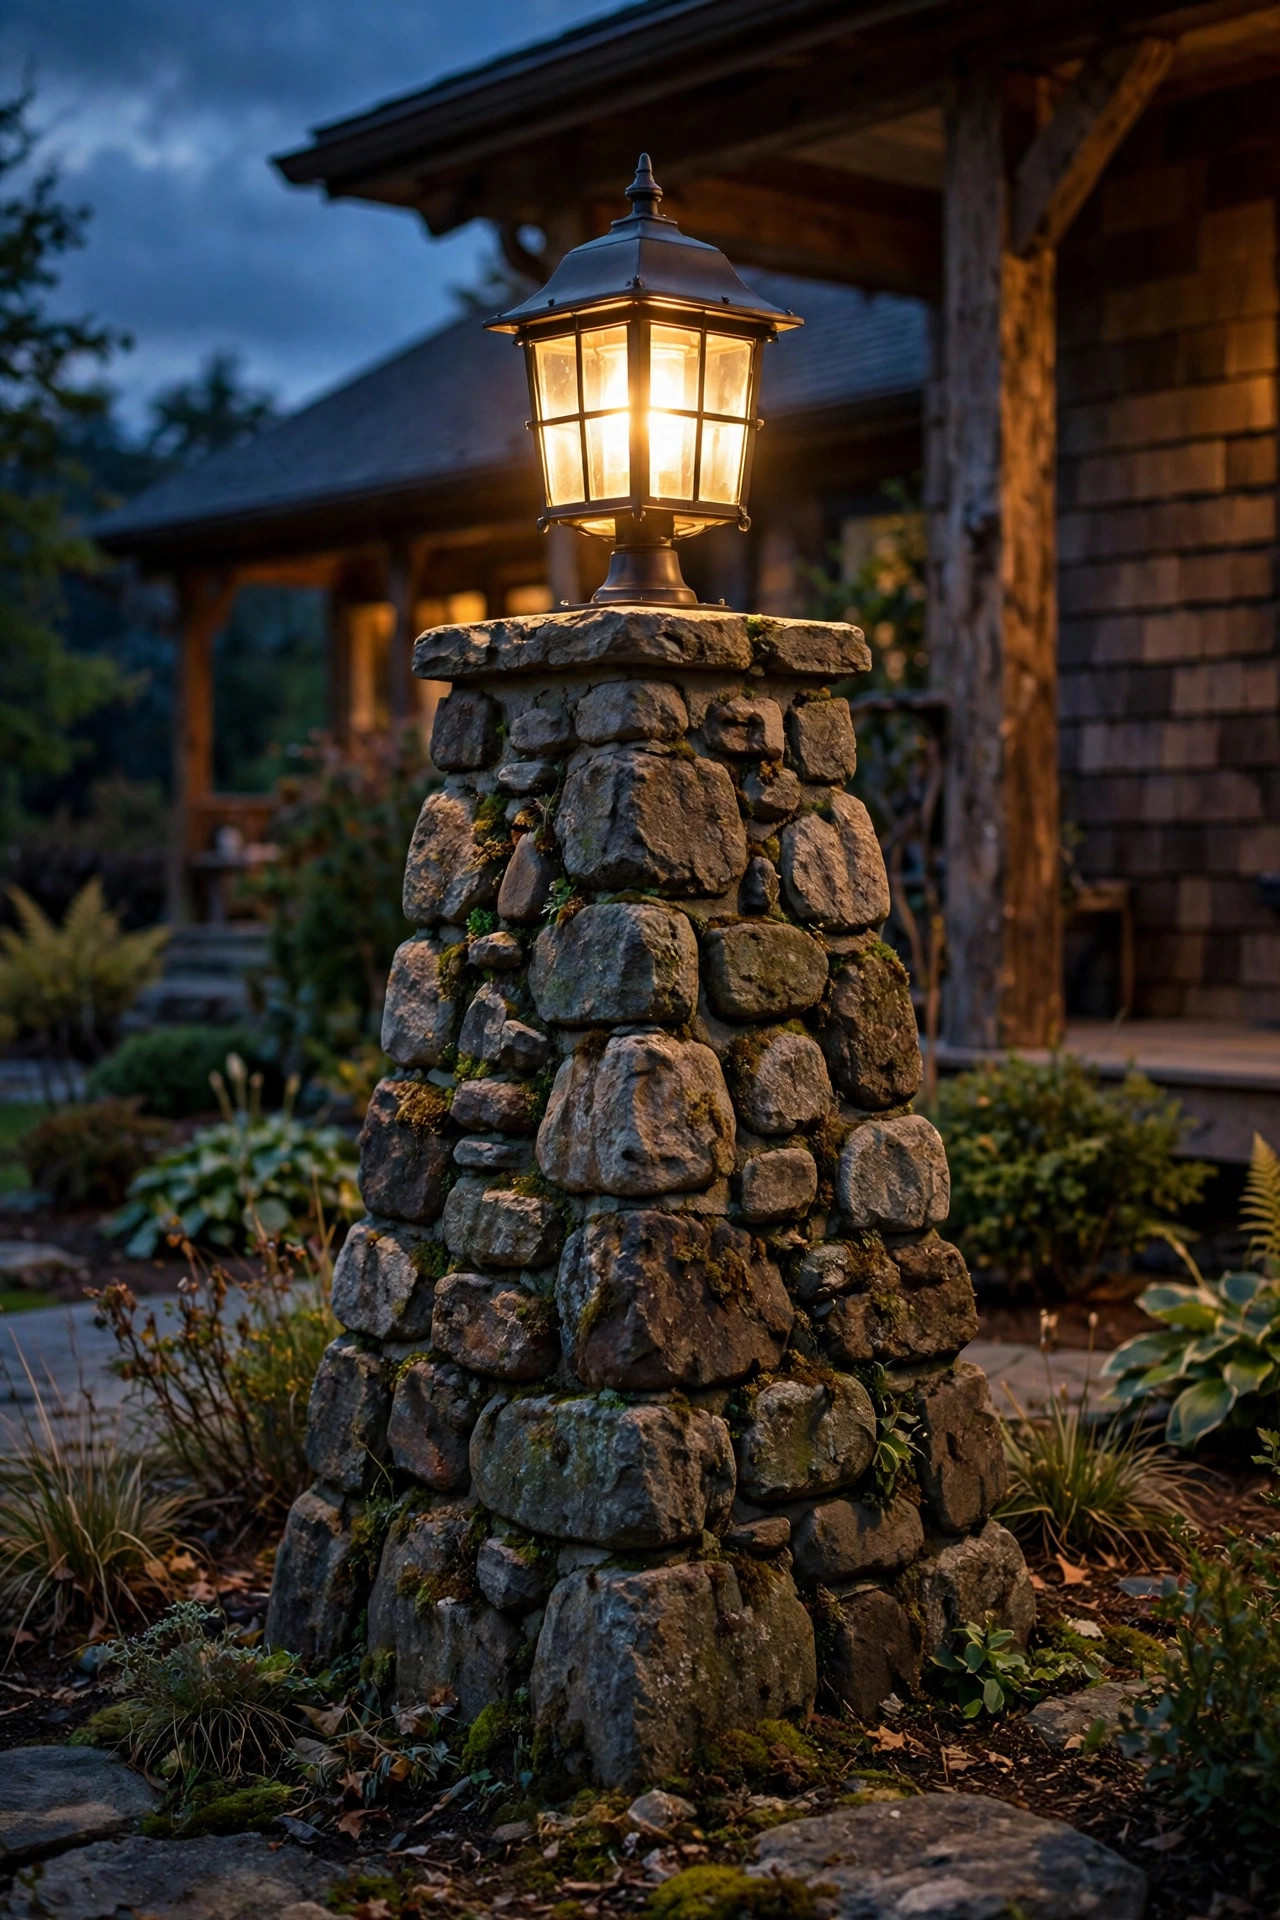
On a modern home, a traditional lantern looks like a costume. A clean cube or box pier light — matte black, white, or brushed metal, with the light source hidden — suits stone columns and smooth stucco piers beautifully. The best modern designs wash light both up and down, or glow softly through opal glass on all four sides, so the column itself becomes part of the composition. Because the forms are so minimal, alignment is unforgiving: set the fixture dead-center on the cap and check it from the street before the anchors set. I recommend models with an integrated LED panel around 400 to 600 lumens and a 3000K color temperature; cooler than that turns gray stone blue and chilly at night. Pair the pier lights with a matching modern wall sconce at the door so the entry reads as one designed set rather than a collection of parts. Weather sealing deserves extra attention on flat-topped modern fixtures, since water pools on horizontal surfaces — look for a fully gasketed design rated for wet locations. Simple, sculptural, and honestly the easiest style to keep clean with one wipe of a cloth.
Suggested budget range: $110 – $300.
6. Copper and Bronze Pier Lights That Age With Brick
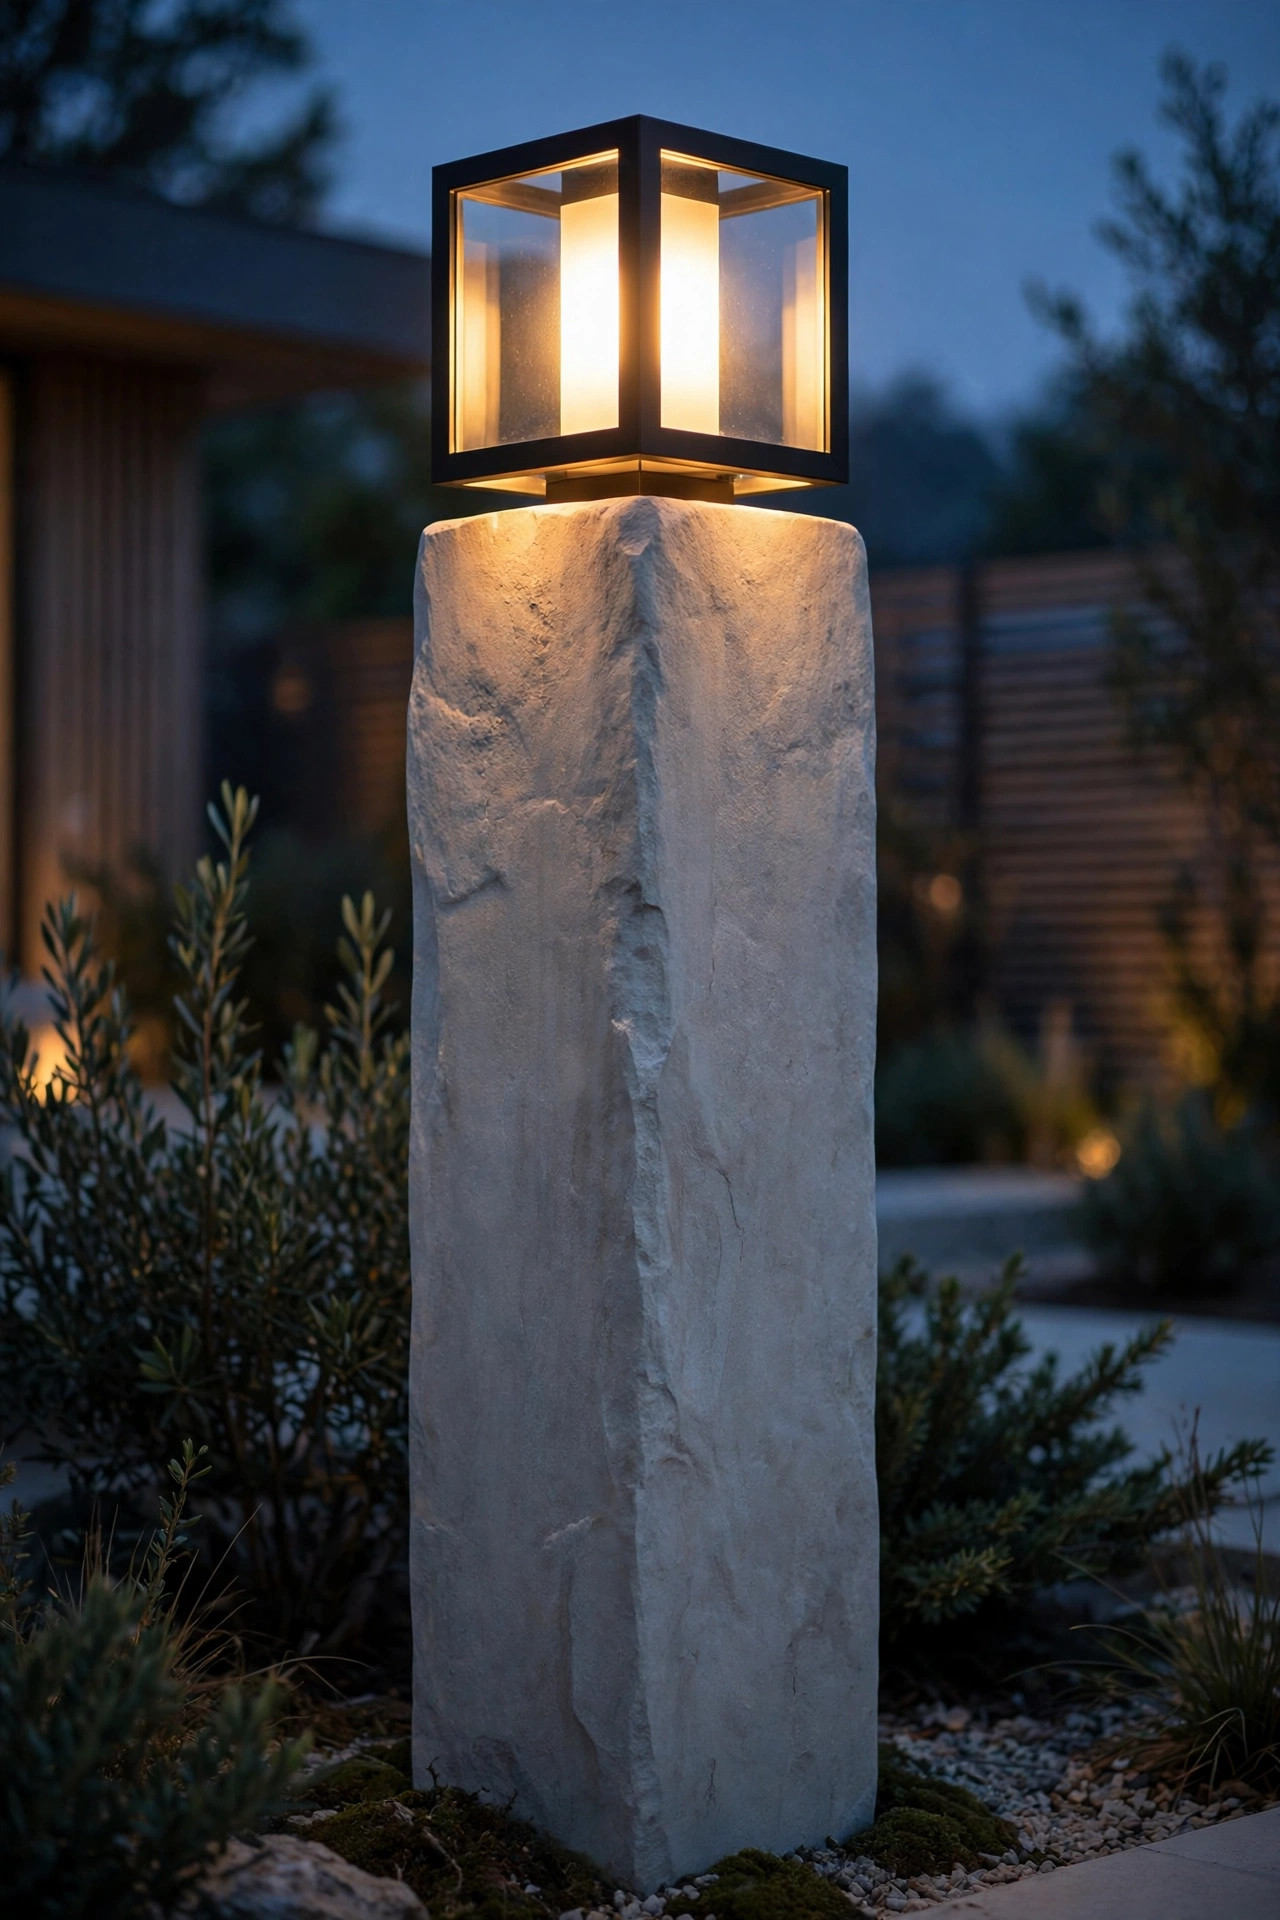
Brick and warm metal are old friends. A copper or oil-rubbed bronze pier light starts out rich and deep, then slowly develops the soft patina that makes old garden gates look so romantic — and unlike painted finishes, it never peels. If you love that living finish, choose solid copper or brass construction rather than a copper-colored coating, which can chip at the edges within a few seasons. The warm metal pairs especially well with 2700K light; the combination reads almost like candlelight against red or brown brick. One honest caution: raw copper will streak green onto very light stone caps over the years as rain washes over it. On white or pale limestone, pick a lacquered finish or a bronze with a sealed coating — or accept the streaking as character, because many people genuinely love it. Keep the metal bright with a yearly wipe of paste wax if you prefer it polished, or leave it alone and let the patina settle in. Either way, this is the choice I recommend when someone tells me they want their entry to feel established, like it's been welcoming people home for decades.
Suggested budget range: $130 – $340.

7. Frosted-Glass Pier Lights for Glare-Free Porch Columns
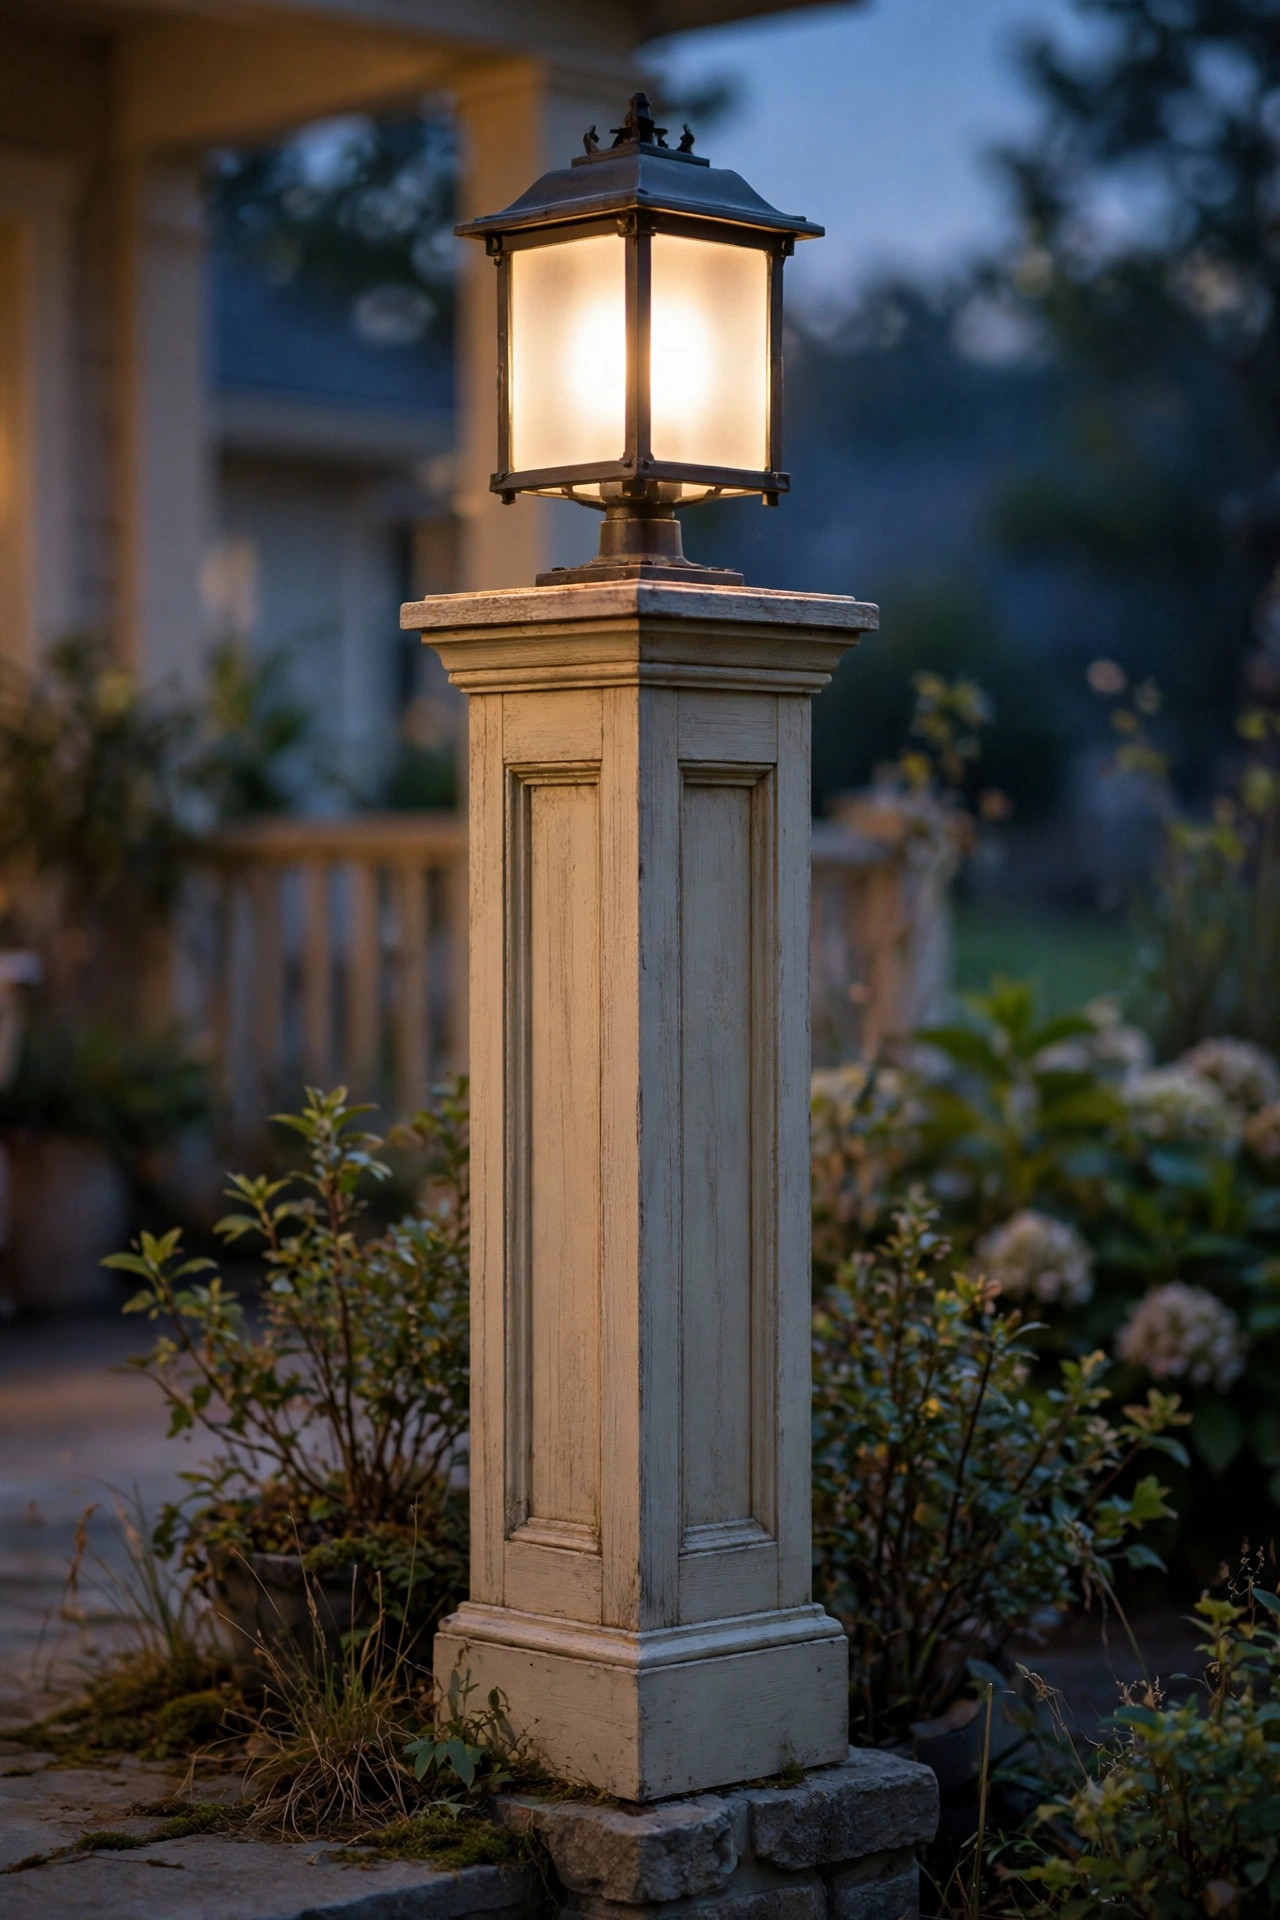
A clear-glass lantern looks gorgeous in a catalog, but if your columns stand beside a porch swing, a walkway, or a neighbor's bedroom window, the bare bulb can glare. Frosted, seeded, or opal glass solves it by wrapping the light in a soft halo — the whole fixture glows instead of one harsh point. This is my default recommendation for porch piers and any column within about ten feet of where people sit or stroll. Because diffusion eats a little brightness, step up to a 400- to 500-lumen LED so the glow still carries to the street. Warm white at 2700K through frosted glass gives that lantern-by-the-door feeling from every storybook illustration. Frosted glass hides another small sin, too: dust and water spots are far less visible than on clear panes, so the fixtures keep looking tidy between cleanings. If you already own clear-glass pier lights you love, you don't have to replace them — swap in frosted LED bulbs for the same softening effect at a fraction of the cost. Comfort for your guests' eyes is a design feature, not an afterthought, and this is the easiest place in the whole yard to prove it.
Suggested budget range: $60 – $170.
8. A Coordinated Pier Light and Mailbox Topper Pairing
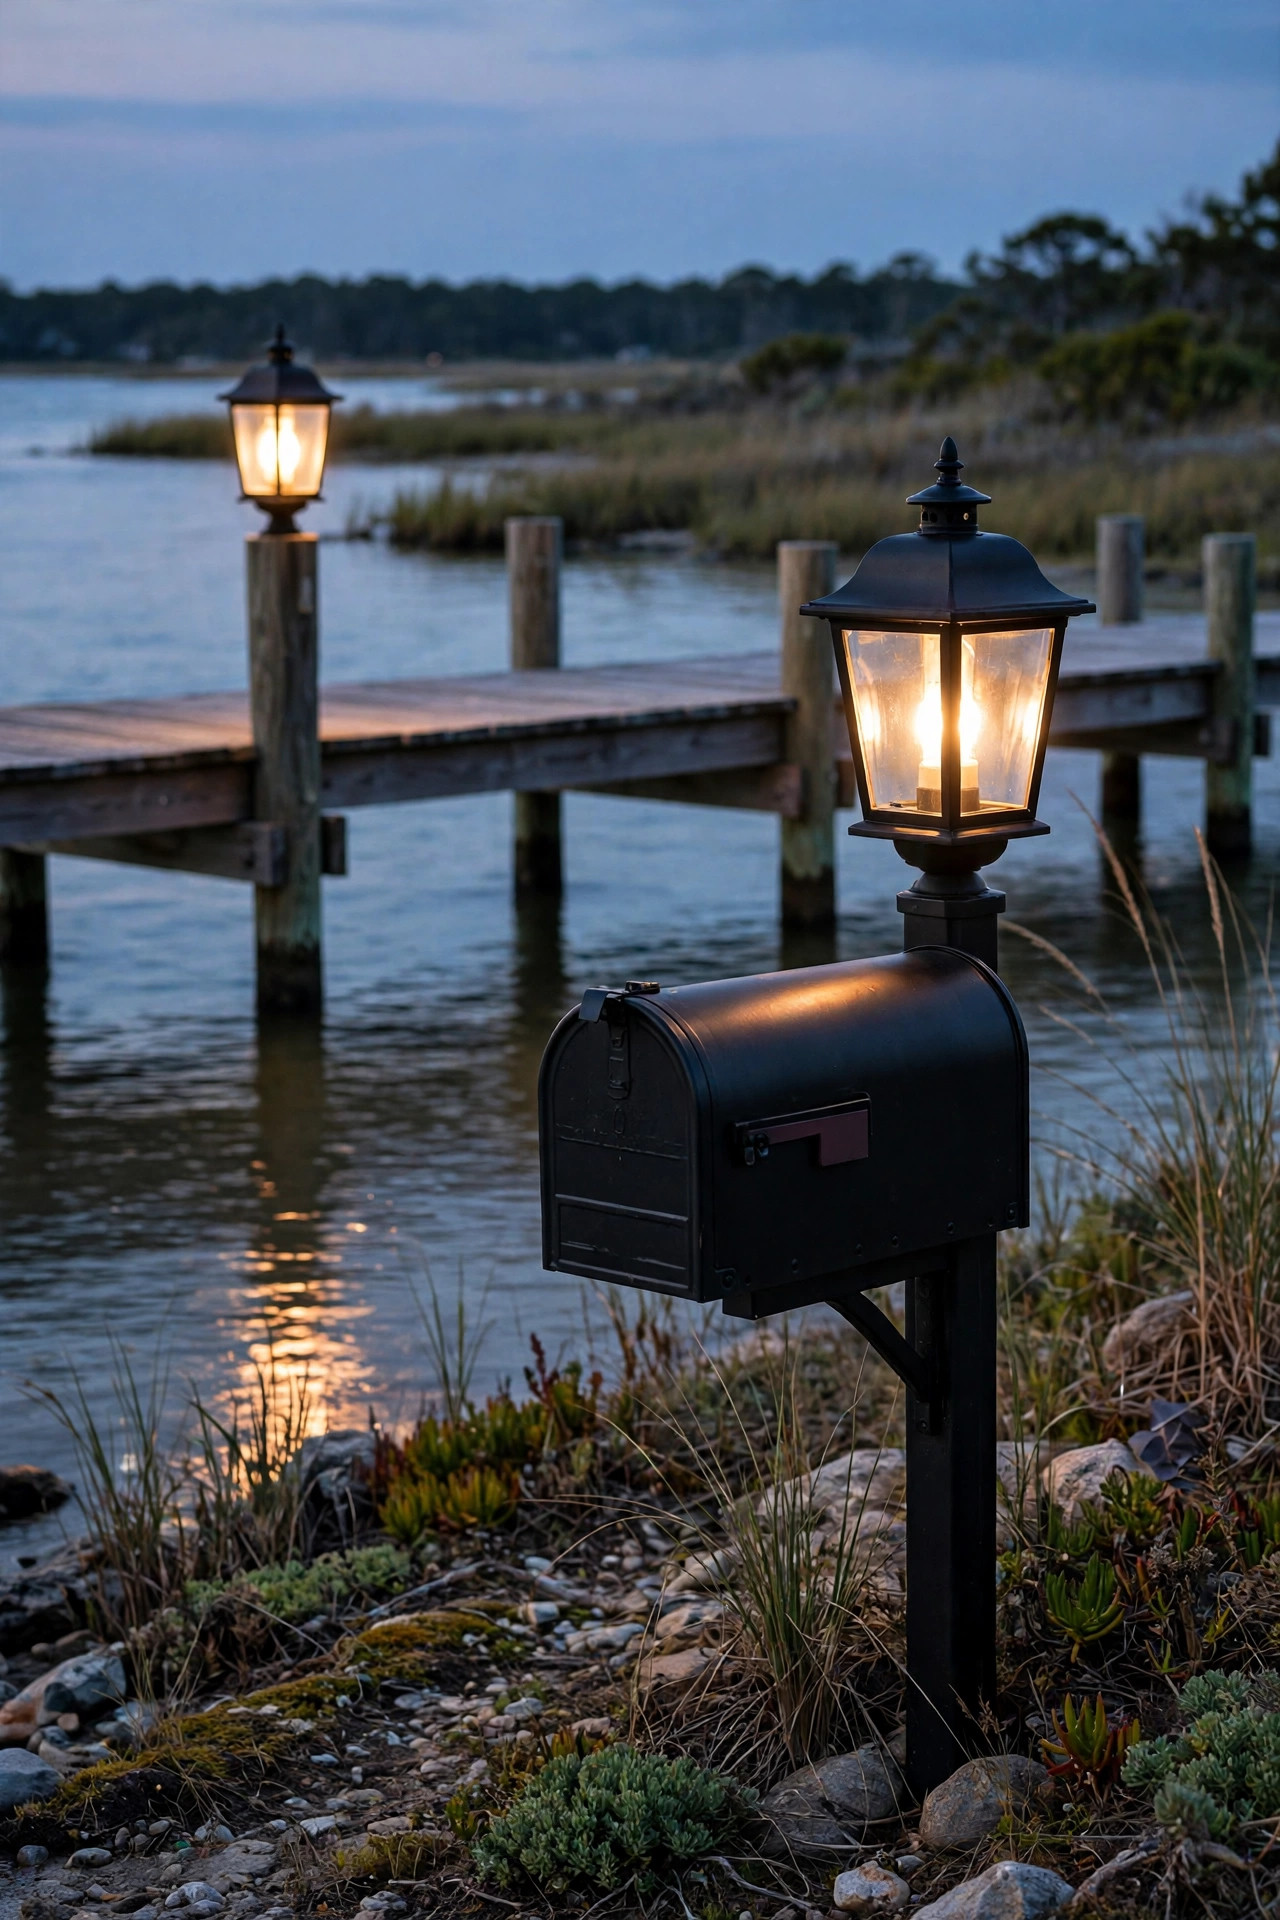
Here's a small coordination trick that makes a front yard look professionally planned: repeat your pier light at the mailbox. Many columns flank a driveway while the mailbox stands alone on a post by the curb, and matching the two fixtures — same lantern family, same finish — ties the street edge to the house in one glance. A mailbox post topper uses the same pier-mount base on a flat post cap, so the installation feels familiar. If your mailbox post is wood, add a flat mounting block first so the base sits level and sheds water. Solar is a natural fit out at the curb where wiring rarely reaches, and choosing the solar version of the same lantern style keeps the pair visually identical. We covered placement and visibility rules in our mailbox lighting ideas post if you want the details on lighting the box itself. Keep brightness modest at the curb — 100 to 200 lumens marks the box for the mail carrier and guests without blasting passing drivers. It's a tiny project, honestly an hour on a Saturday, but neighbors will ask who your landscaper is.
Suggested budget range: $45 – $140.
9. Dusk-to-Dawn Pier Mount Post Lights at the Driveway Entrance
Some lights are decor; entrance lights are infrastructure. If your driveway columns mark a long or rural drive, a gate, or a turn that guests keep missing in the dark, choose hardwired pier mount post lights with a built-in photocell so they switch on at dusk and off at dawn without you thinking about it. Reliability is the whole point: no apps, no batteries, no forgotten switches when you're traveling. Put the circuit on GFCI protection, as you should with any outdoor line-voltage run. For visibility from the road, aim for 450 to 700 lumens per fixture and mount the pair at identical heights — an even pair reads as an intentional gateway from a hundred feet away. Our driveway entrance lighting ideas go deeper on pairing entrance lights with markers and reflectors. Add a subtle house-number plaque on one column and the entrance becomes genuinely functional: deliveries find you, guests find you, and the ambulance driver finds you. Choose fixtures rated for wet locations with replaceable bulbs, because a sealed unit that dies in year three turns a simple bulb swap into a whole fixture replacement.
Suggested budget range: $100 – $260.
10. Low-Profile Cap Lights for Short Pillars and Seat Walls
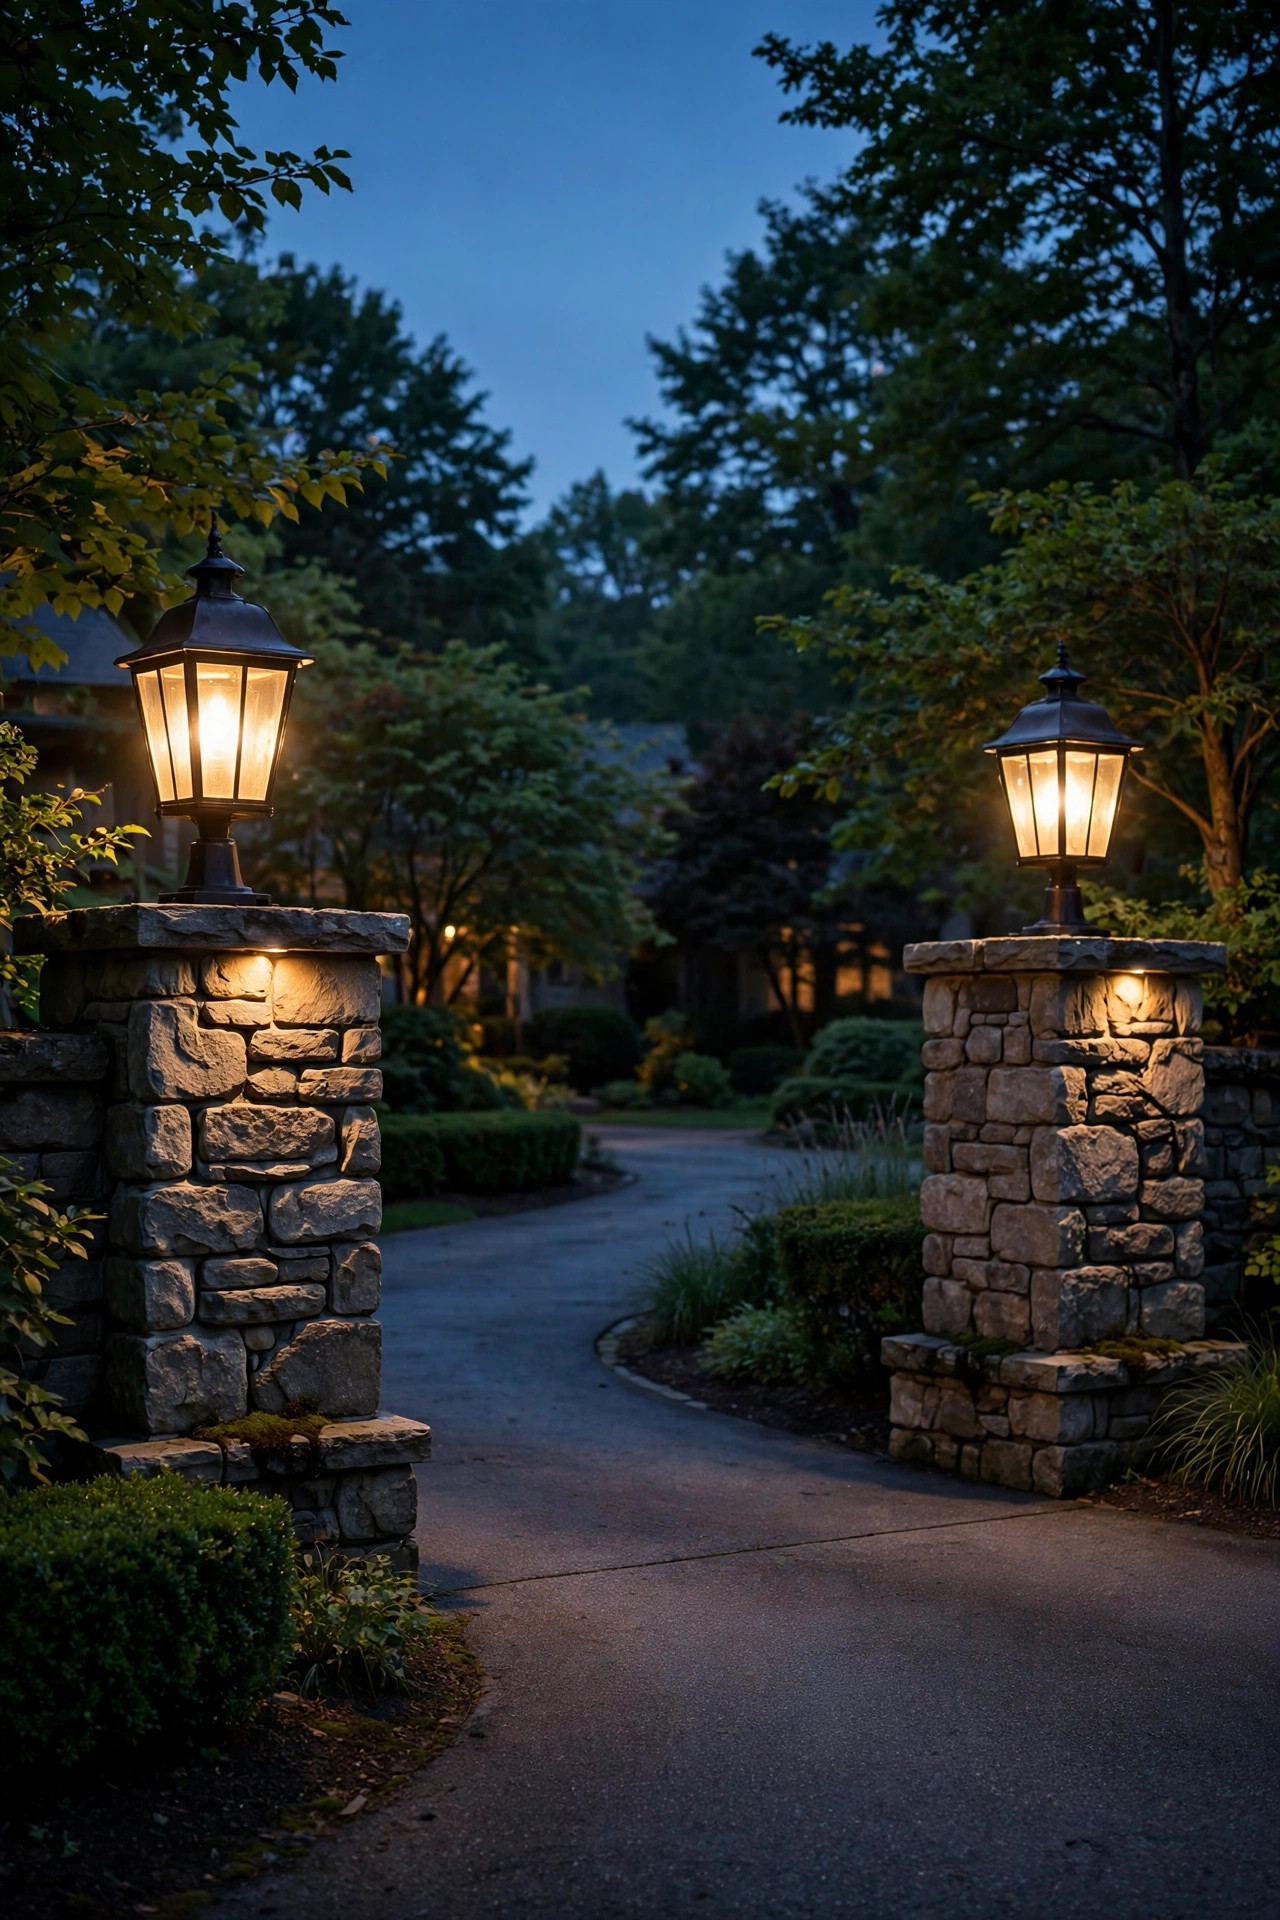
Not every pillar is a grand gate column. Garden walls, seat walls around a patio, and the short piers at porch steps need light too, but a tall lantern would look top-heavy and get knocked by every passing elbow. Low-profile cap lights — squat discs, short cylinders, and flat-topped mini lanterns under eight inches tall — were designed for exactly these spots. They sit on the cap like a button and throw a wide, gentle pool of light downward and out, perfect for marking a wall end or a step edge. Most are low-voltage and daisy-chain neatly along a wall run, so one transformer can carry a whole seating area. Keep the spacing consistent, roughly every four to six feet on long walls, and resist mixing heights — the rhythm is the elegance. Because they sit at hand height, pick fixtures with no exposed bulb and a lens that stays cool; LED cap lights barely warm up, but it's worth confirming before little hands go exploring. This is also the friendliest style for older homes where drilling tall fixtures into fragile old brick feels risky — the small footprint needs just two modest anchors.
Suggested budget range: $40 – $110.
11. Flicker-Flame Candle Pier Lights for Historic Brick
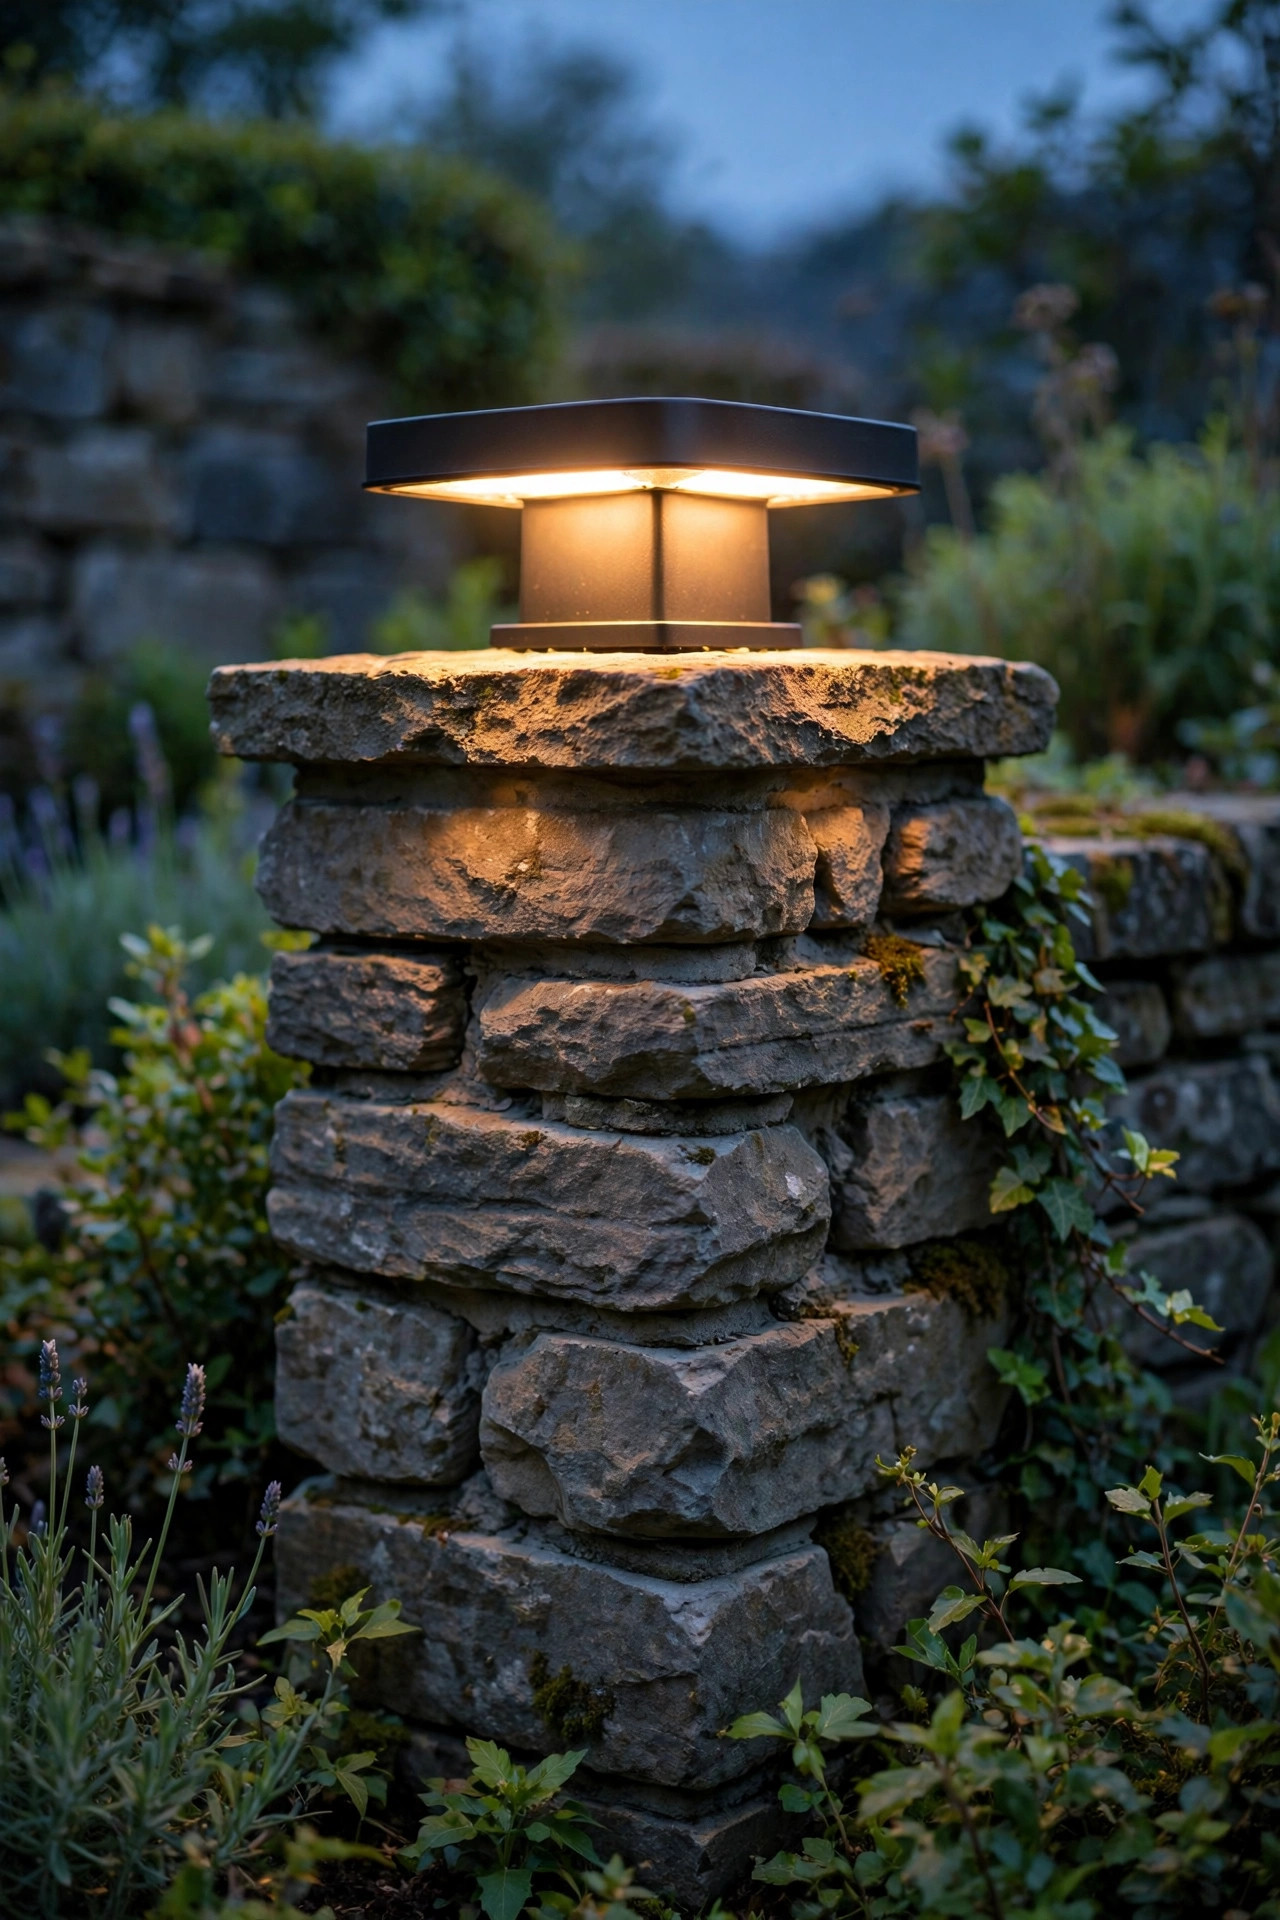
Our house isn't historic, but I grew up two doors down from a 1920s brick colonial, and its owners taught me this trick: on old brick, nothing beats the look of a gas flame. Modern flicker-flame LED bulbs inside a classic pier lantern recreate that dancing orange glow so convincingly that guests ask where the gas line runs. The bulbs use a small array of LEDs that ripple like a real flame, draw about three watts, and are safe in any enclosed outdoor fixture — no open flame, no fuel, no soot on the glass. Choose a lantern with clear glass for this one; frosted panes blur the flame effect into a plain orange blob. The color is much warmer than standard warm white, closer to candlelight, so keep the flame bulbs on the columns only and use regular 2700K bulbs elsewhere in the yard, or the mismatch reads like a mistake. Historic districts sometimes have lighting guidelines, and a flame-effect LED usually sails through approval where an actual gas conversion gets complicated. In winter, when it gets dark before dinner, that flicker on brick is the coziest welcome on the whole street — I've watched people slow down just to look at it.
Suggested budget range: $70 – $180.
12. Smart, Dimmable Pier Lights on a Schedule
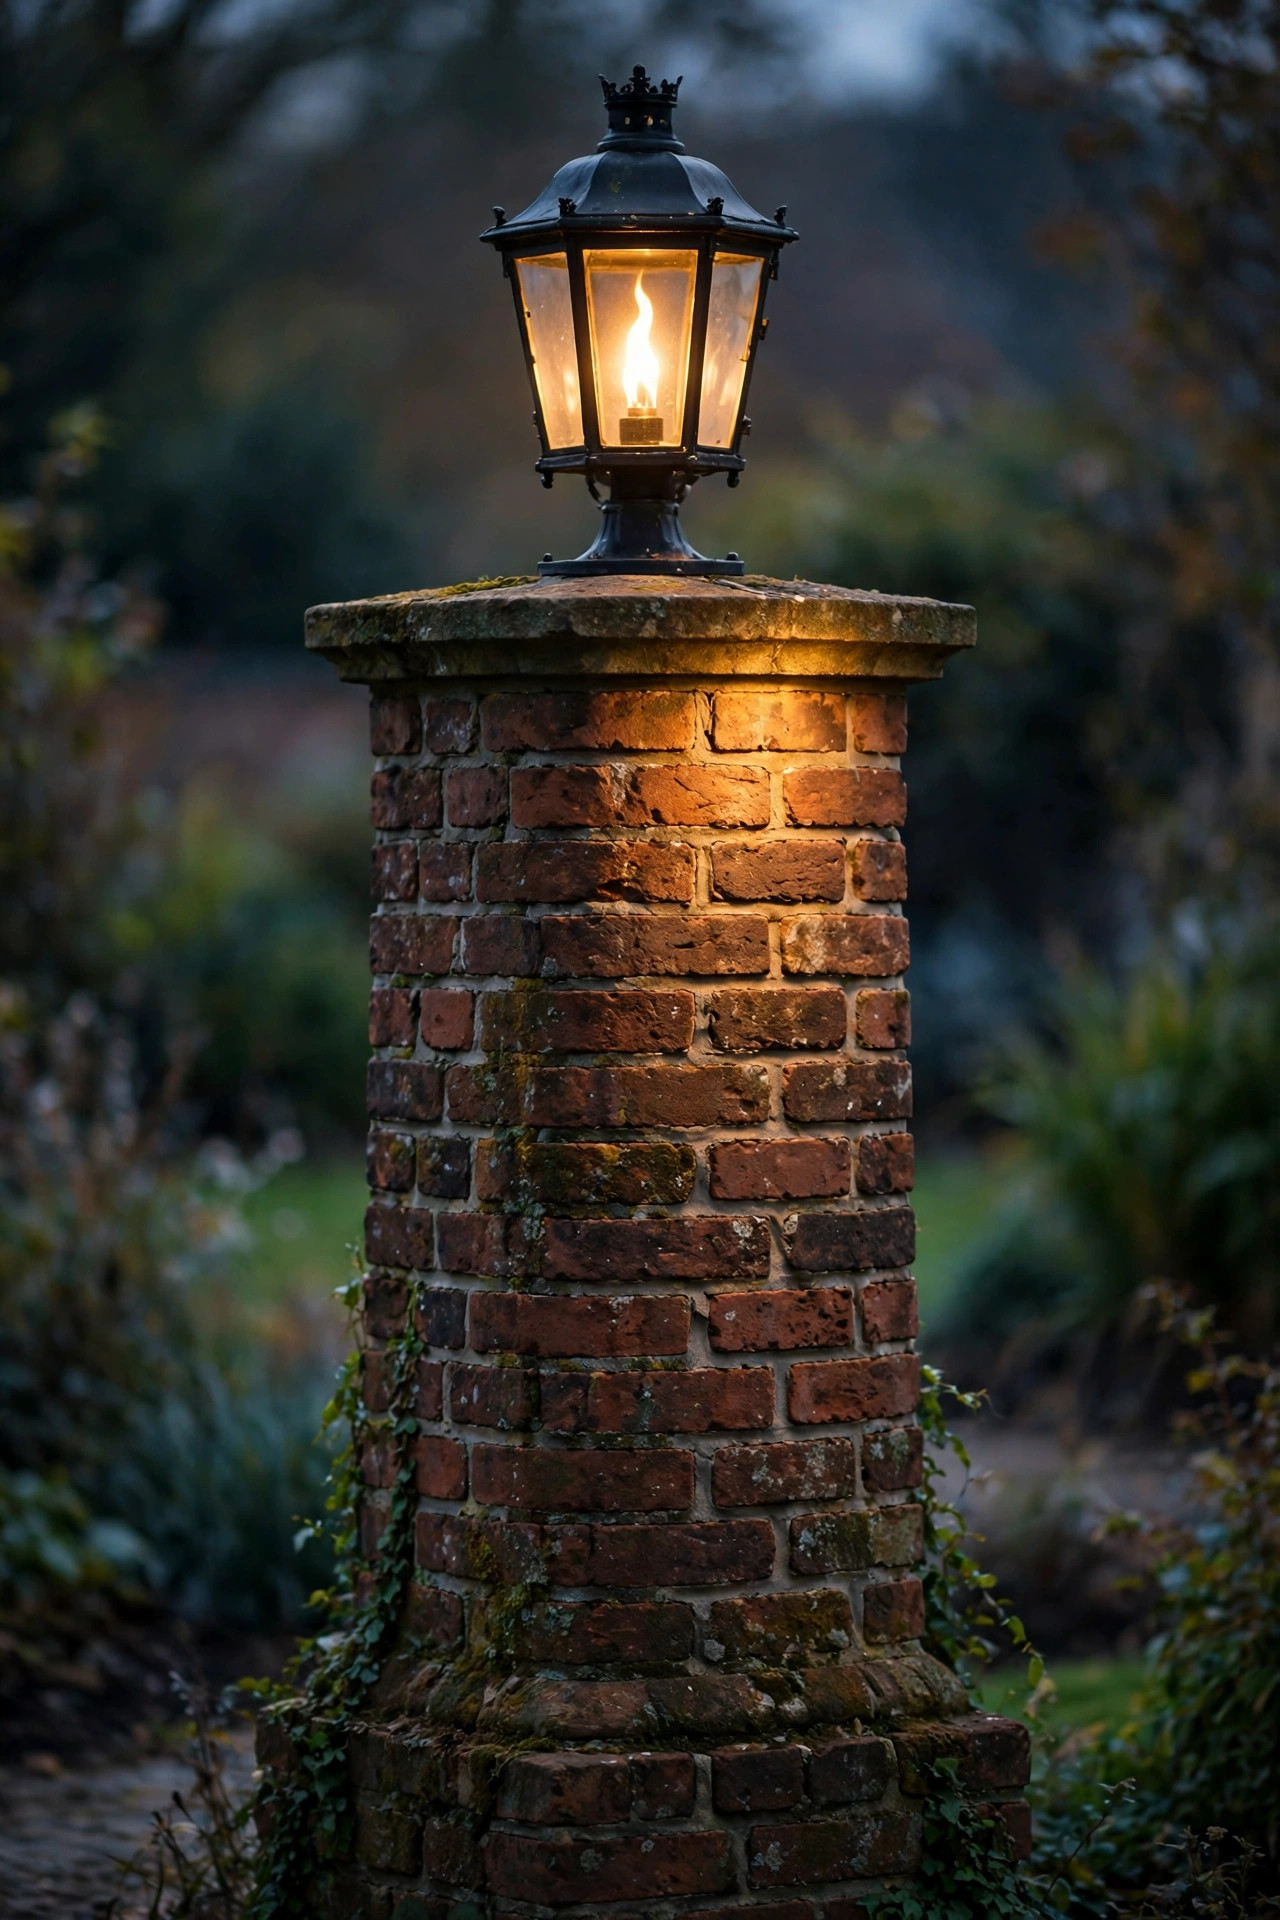
Pier lights work hard — they greet you at 6 p.m., mark the drive at midnight, and shouldn't be blazing at full brightness while everyone sleeps. Putting your pier mount lights on a smart control is the upgrade I now recommend to almost everyone. The simple route is a smart bulb in a standard fixture, which gives you dimming, schedules, and warm-to-cool tweaks from your phone. The cleaner route for a pair of columns is an outdoor-rated smart switch, or a low-voltage transformer with built-in scheduling, so both fixtures always match perfectly. My own routine: full brightness from dusk until 10 p.m., a dim 30 percent glow until dawn as a gentle marker, and a motion-triggered brighten if the driveway sensor trips. That schedule cuts energy use to pennies a month with LEDs and keeps light pollution down, which the neighbors and the fireflies both appreciate. During the holidays, I bump the columns to full and let them anchor the whole display. Whichever route you choose, keep one manual override switch by the door — technology is wonderful right up until the Wi-Fi naps during a dinner party.
Suggested budget range: $85 – $240.
13. Coastal-Rated Pier Lights for Salt Air and Harsh Weather
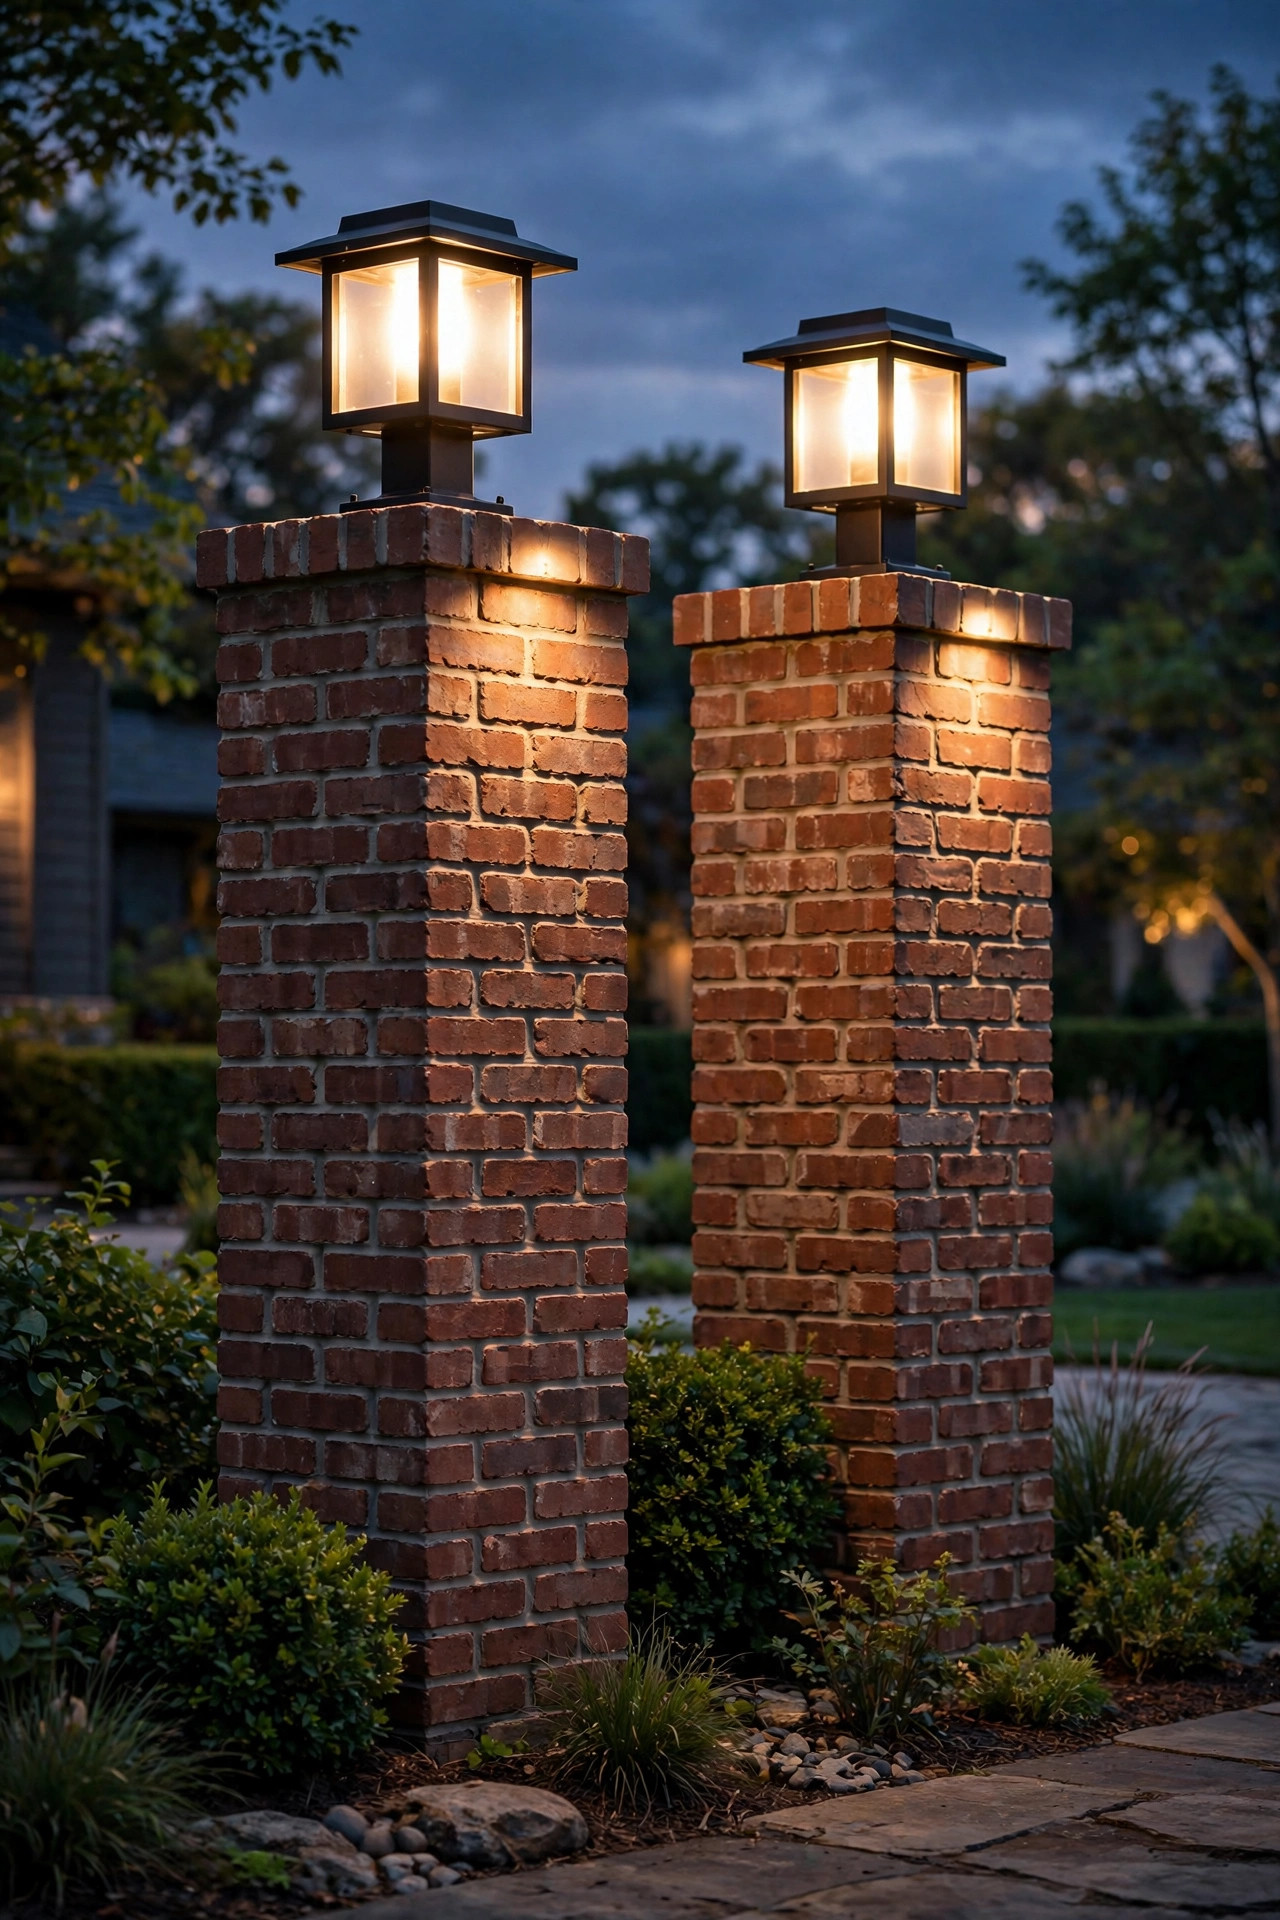
Columns near the coast live a hard life: salt spray, sideways rain, and sun that eats cheap finishes for breakfast. If your home sits within a few miles of the ocean — or anywhere with brutal winters and road salt — shop by construction, not looks. Solid brass, copper, and marine-grade powder-coated aluminum survive; thin painted steel rusts at the screw holes within two seasons, and I've seen the sad photos to prove it. Look for a wet-location rating, sealed or gasketed glass, and stainless hardware. A slightly hooded or louvered design keeps wind-driven rain from pooling inside the lantern. Rinse the fixtures with fresh water a few times a year — genuinely, a two-minute hose-down dissolves the salt film that dulls glass and clouds the light. Brightness can stay in the usual 300- to 500-lumen range; the salty air scatters light a little, which actually softens the effect pleasantly. Yes, these fixtures cost more up front. But replacing a rusted pair every third year costs more, and nothing ruins a beautiful stone column faster than orange rust streaks bleeding down its face all winter long.
Suggested budget range: $160 – $420.

14. Adapter Bases and Retrofits for Odd-Sized Piers
Real columns are rarely the size the catalog assumes. Caps come in odd widths, older piers have sloped or rounded tops, and half the posts in America seem to be exactly between two standard base sizes. Adapter bases — sometimes sold as pier mount adapters or post-top fitters — bridge the gap: a flat or stepped metal plate that bolts to your cap and gives the fixture a level, standard mounting surface. The adapter itself is one of the cheapest parts of any lighting project, and it saves endless frustration. For a sloped cap, a wedge-style adapter or a fresh mortar bed checked with a torpedo level solves it in an afternoon. Measure three things before ordering anything: the flat area of the cap, the bolt pattern of the fixture base, and whether the column is hollow, which decides whether cable can route up the middle or must sneak through a mortar joint. If you're retrofitting a lantern onto an existing flat post, the adapter route also lets you keep a beloved older fixture and simply re-mount it properly. Honestly, this unglamorous little plate is the difference between a fixture that sits square and sealed for twenty years and one that wobbles, leaks, and corrodes by year two.
Suggested budget range: $30 – $120.
15. The Layered Finish — Pier Lights Plus a Column Wash
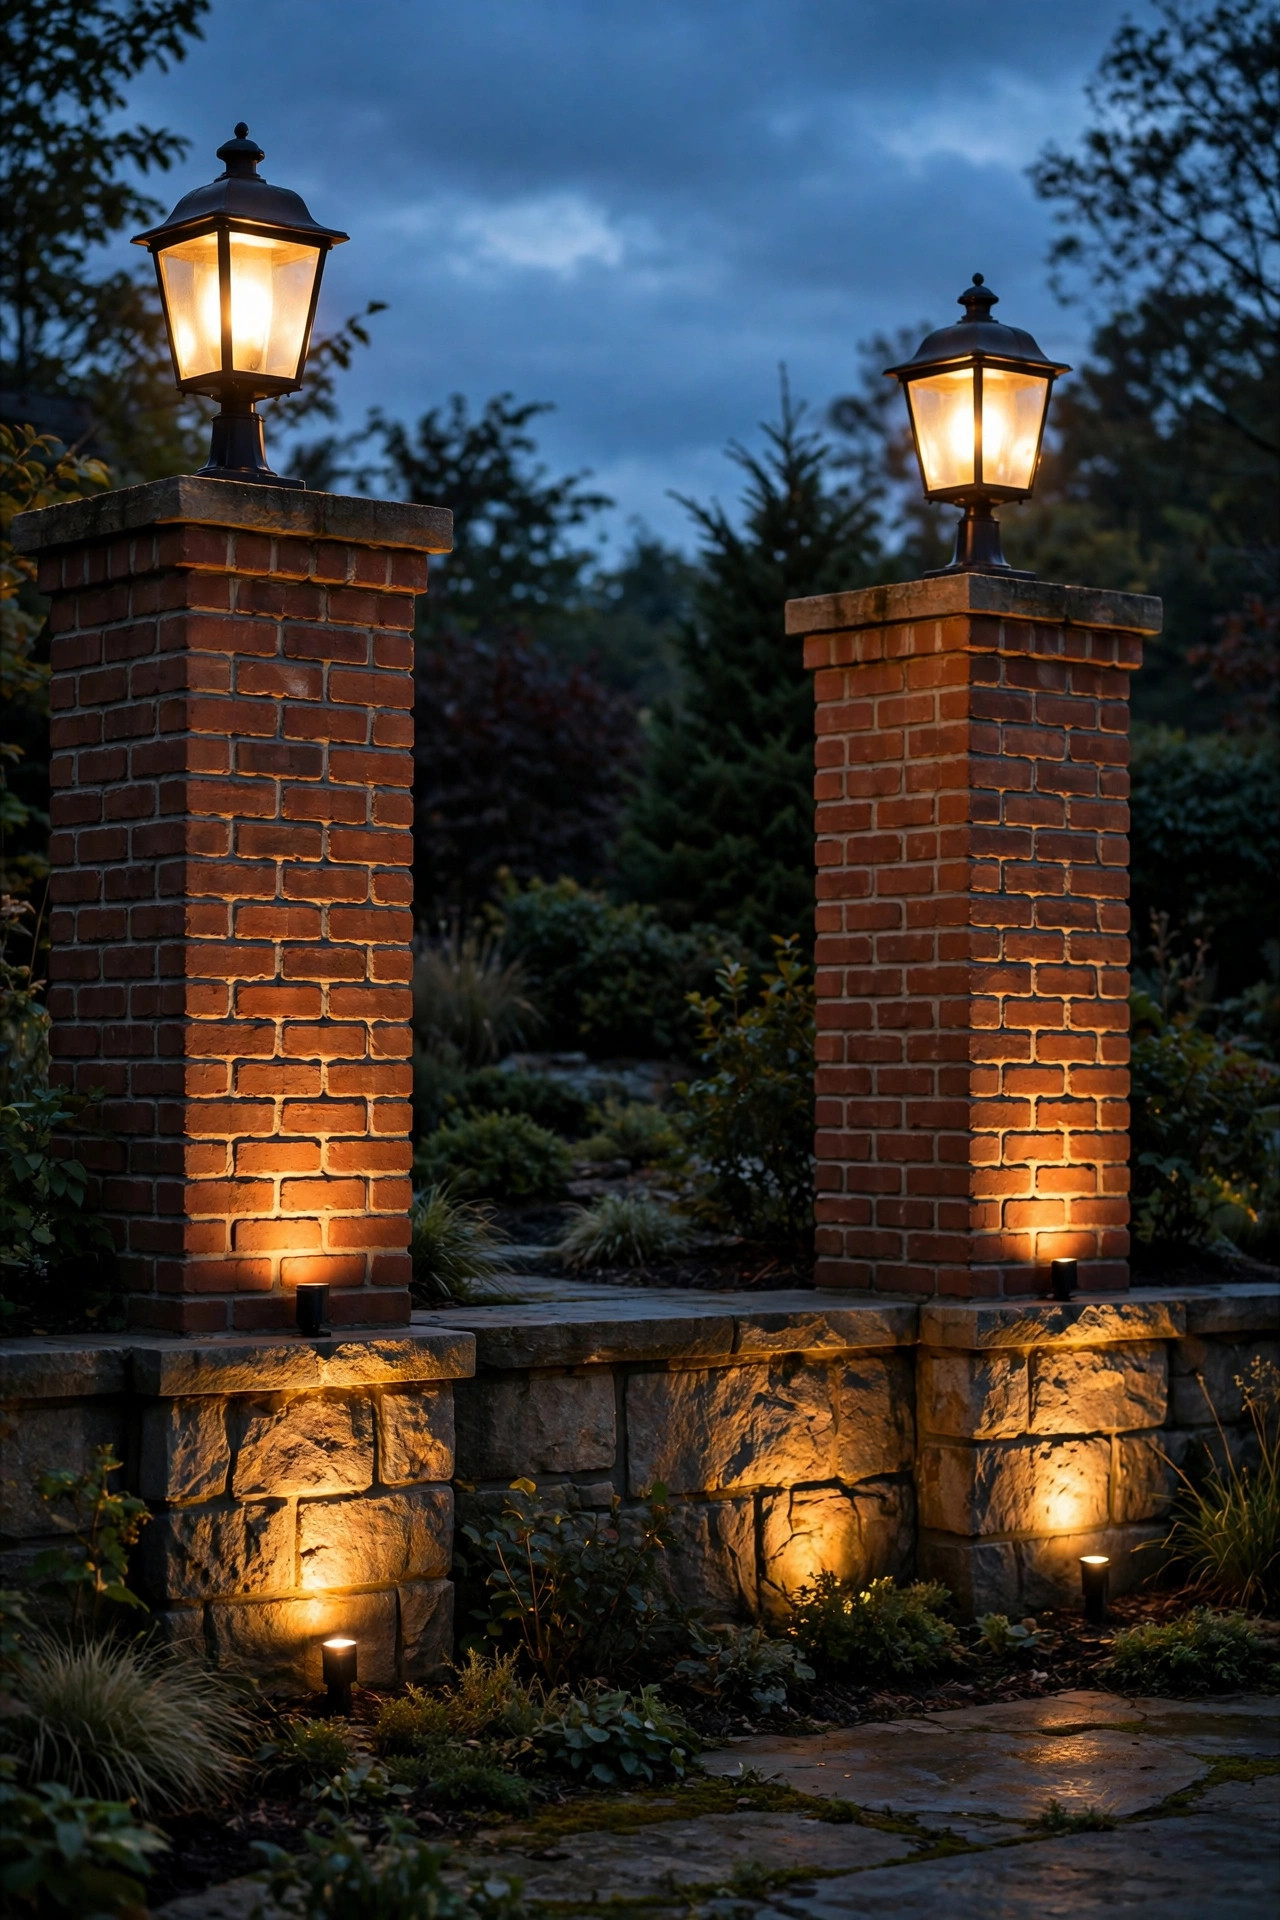
A pier light alone is lovely, but a pier light with its column washed in light is architecture. The layered version works like this: the lantern on top provides the visible beacon and lights faces and house numbers, while a small ground-level uplight at the base of each column grazes up the brick or stone, showing off the texture the mason worked so hard on. That second layer is what separates a lit entrance from a designed one. Keep the uplight modest — a 200- to 300-lumen well light or bullet on a stake tucked into the planting bed — and aim it to skim, not blast. Both layers should share the same 2700K color temperature so the column reads as one composition. Our porch column lighting ideas show this layering worked out on porch columns in detail. Put the two layers on separate controls if you can: lanterns on a dusk-to-dawn schedule, uplights on a timer that switches off at midnight to save the mood for the evening hours. When guests walk up a drive flanked by glowing columns rising out of lit brickwork, nobody says "nice fixtures." They say "what a beautiful house." That's the whole game.
Suggested budget range: $140 – $330.
Frequently Asked Questions
What size pier mount light do I need for my column?
Work from the cap, not the column shaft. The fixture's footprint should cover roughly one-quarter to one-third of the cap's width, and the lantern should stand at least one-fifth the visible height of the pier. On a common 16-inch cap, that means a base around 5 to 6 inches and a fixture 12 to 16 inches tall. When in doubt, size up slightly — a too-small lantern on a big brick column is the most common proportion mistake I see, and it always looks like an afterthought.
Can I install pier mount post lights without any wiring?
Yes — solar pier mount fixtures are designed exactly for that, and they install with a few masonry screws in about twenty minutes per column. The trade-offs are brightness (typically 100 to 200 lumens versus 300 to 700 for wired) and dependence on sun exposure. If your columns get less than six hours of direct sun, choose a wired low-voltage option instead; the cable can often run discreetly through a mortar joint to a transformer in a nearby planting bed.
How do you attach a pier light to a brick or stone column?
First confirm the cap is level and solid. Mark the base plate, drill pilot holes into solid masonry or a mortar joint with a hammer drill and masonry bit, then set sleeve or screw anchors. Route the cable up through the hollow column core if there is one, or through a mortar joint, and connect inside a weatherproof junction. Finish with a bead of exterior silicone under the base plate so water can't wick underneath. For line-voltage work, use a GFCI-protected circuit — and if you're not comfortable with that, an electrician can usually finish the connection quickly since the run is short.
How bright should pier mount column lights be, and what color temperature suits brick?
For most pairs of columns, 300 to 500 lumens per fixture is the sweet spot: clearly visible from the street without glare. Go up to 700 lumens only for long driveways or gates set far back from the road. For color, 2700K warm white flatters red and brown brick beautifully and reads like lantern light; 3000K suits gray stone and modern homes. Whatever you choose, buy both bulbs from the same batch so the pair matches exactly.
Conclusion
A column without a light is a sentence without a period — the structure is there, but nothing tells your eye where it ends. The right pier mount post lights fix that in an afternoon: match the scale to the cap, seal the base against the weather, and layer a little uplight at the base if you want the full architectural effect. Start with the pair that frames your driveway or porch, live with them for a season, and let that glow convince you to do the rest of the yard. If you're ready for the next layer, browse more of our outdoor lighting ideas here on the site — the walkway, garden, and porch projects all pair beautifully with lit columns.