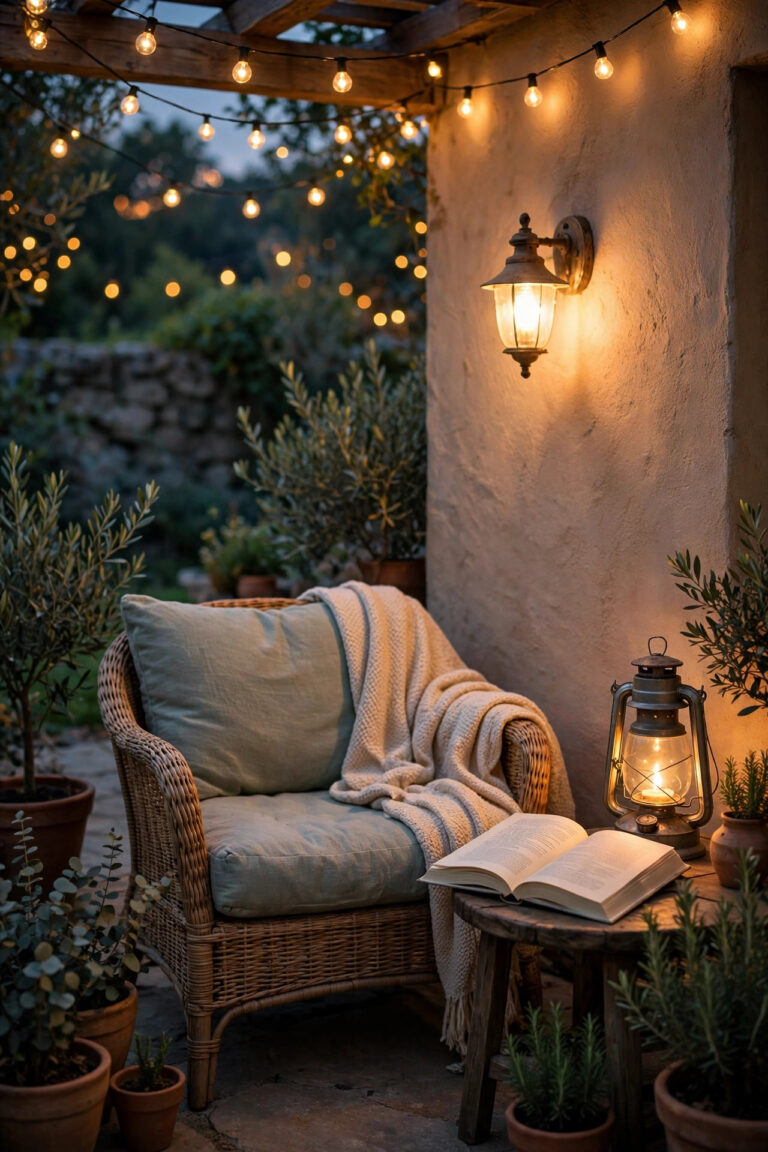
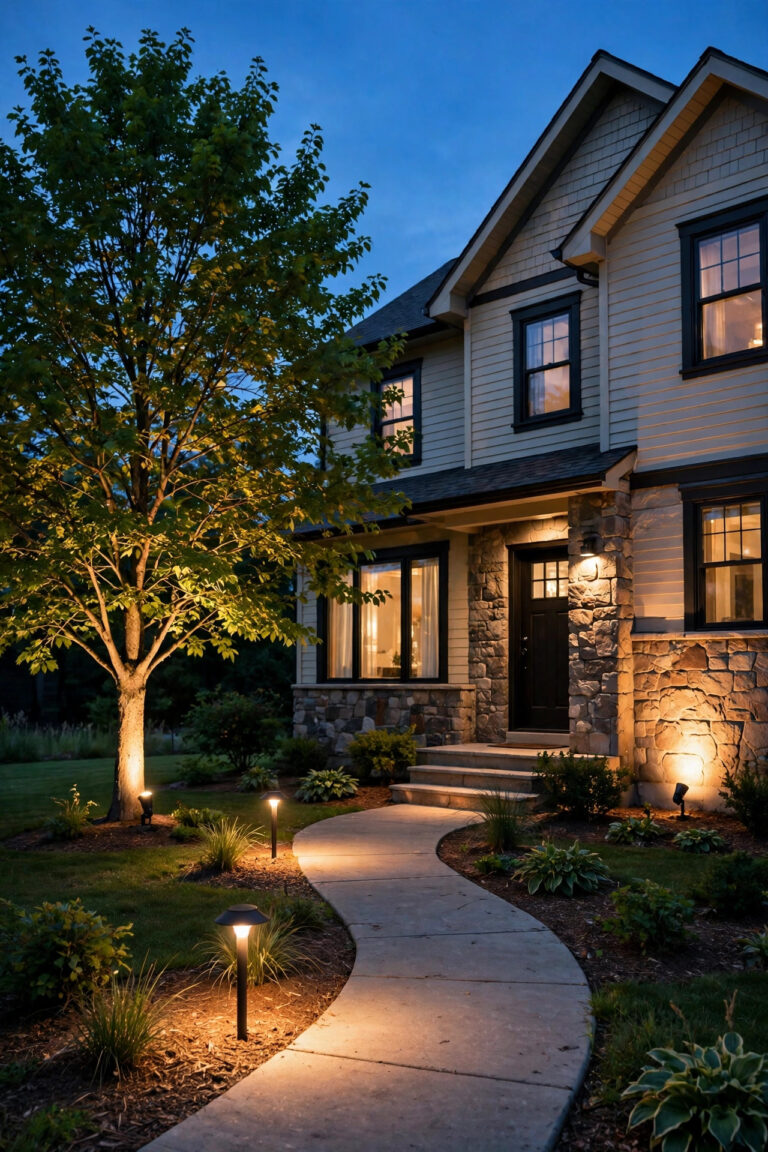
You know that feeling when a deck should be done — the furniture is out, the grill is ready, the boards look great — but after dark it still feels like a project someone walked away from? In my experience, it is almost never the deck itself. It is the lighting. Most deck lighting mistakes are small, cheap-to-fix decisions made in the wrong order: one bright light where three gentle layers belonged, stairs left in shadow, bulbs that glare at everyone trying to relax. I believe outdoor lighting works in layers — a soft ambient wash, focused task light where hands need it, and small accents that pull the eye to the edges of the space. A deck that has all three feels finished the moment the sun goes down. A deck missing any one of them feels like it is still under construction. Here are the eleven mistakes I see most often, why each one leaves a deck feeling half done, and exactly how to fix it without starting over.
Mistake 1: Leaving the Stairs in the Dark — One of the Classic Deck Lighting Mistakes
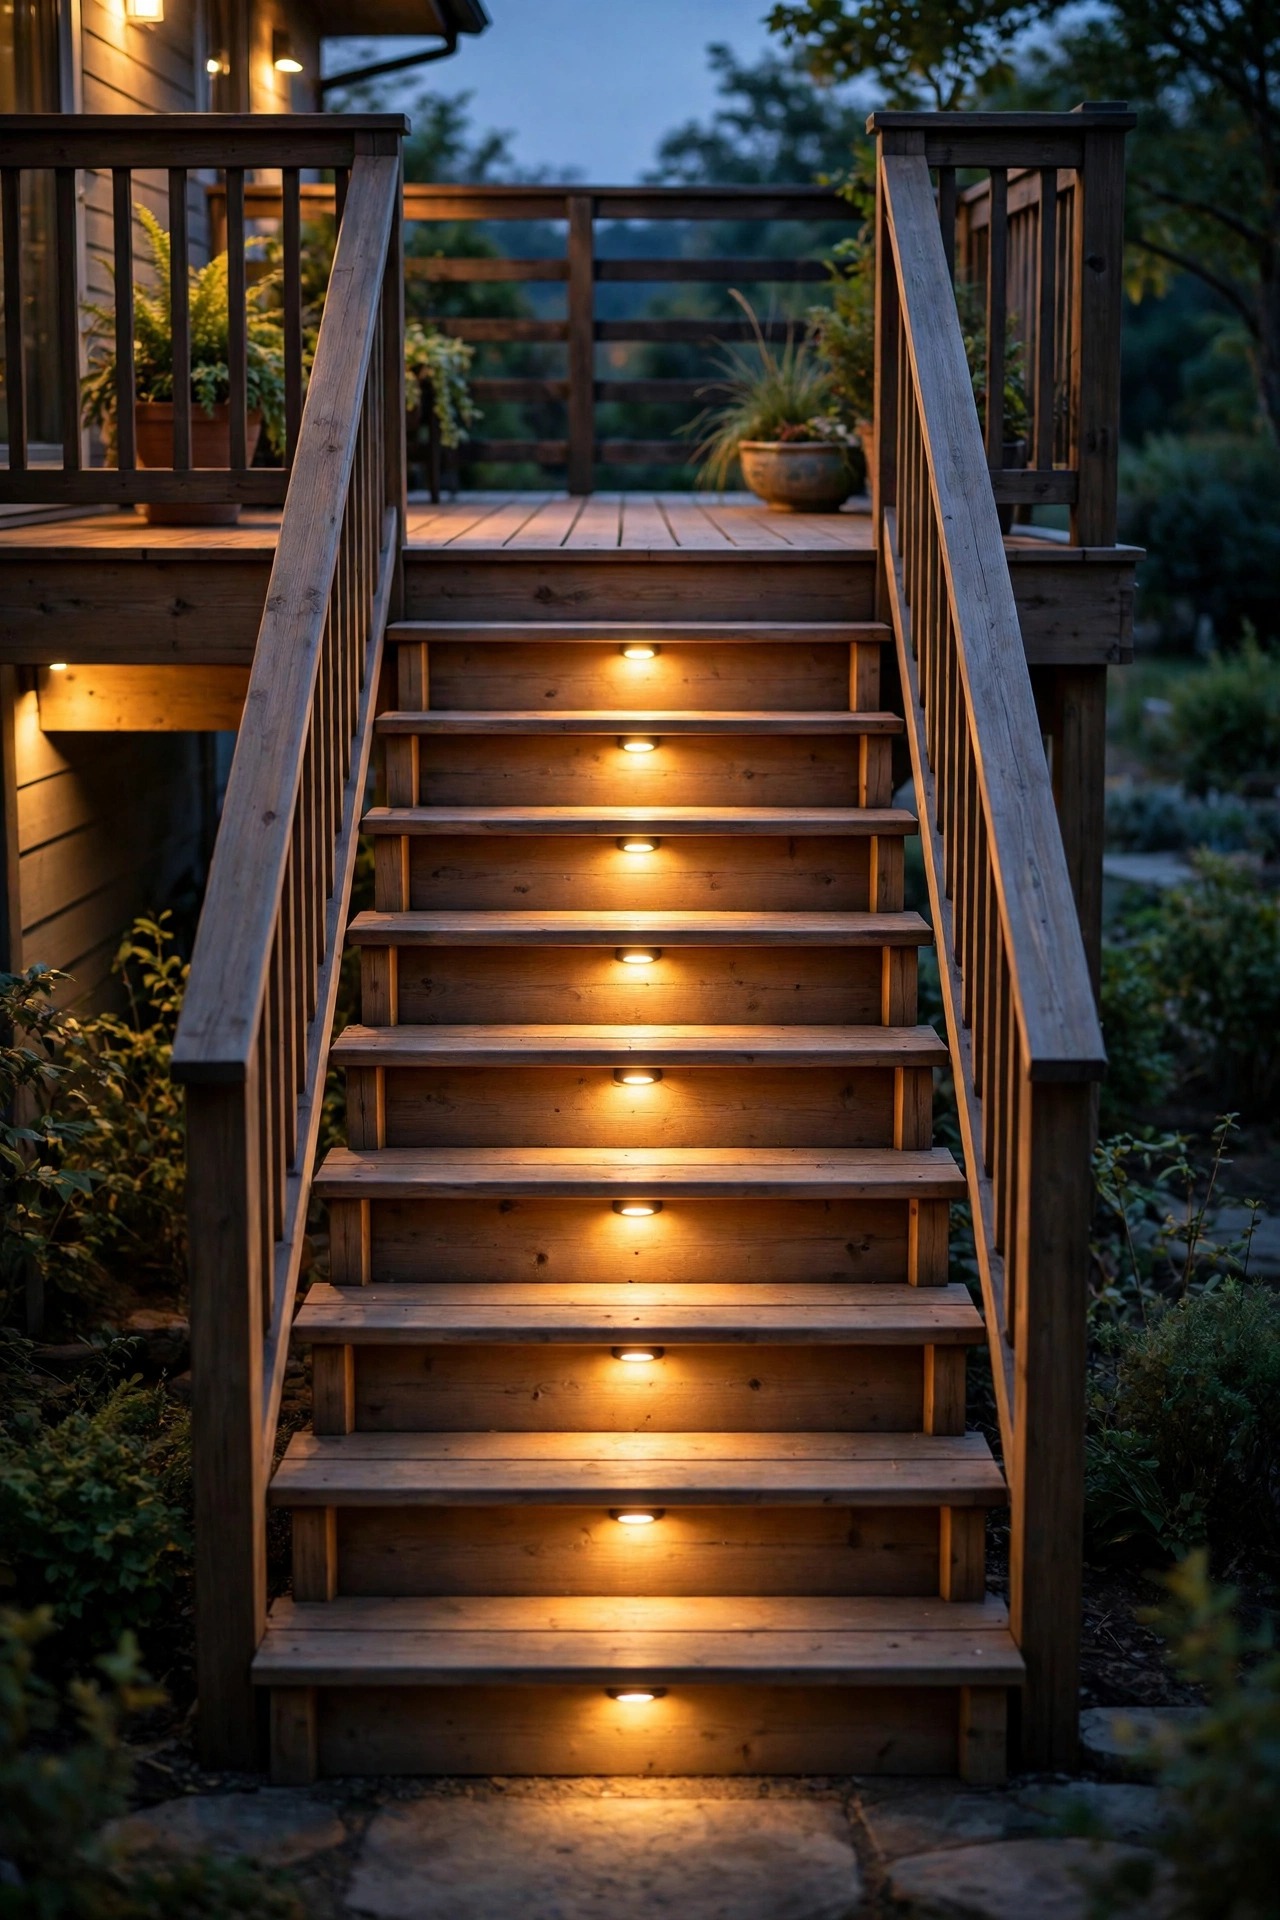
This is the single most common deck lighting mistake I see, mostly because the stairs were never part of the lighting plan — they were an afterthought once the main fixtures went in. The result is a bright, welcoming deck floating above a black hole, and that contrast is exactly what makes the space feel unfinished. Your eye reads the dark staircase as a gap in the design, and guests feel it too: everyone slows down and reaches for a railing because they cannot judge where the first tread begins. It is also a real safety problem — most deck falls happen on stairs after dark, not on flat boards.
The fix is small, recessed step lights, and they are easier to add than most people expect. I always recommend one low-voltage LED riser light per step, or one every other step on wide staircases, mounted in the riser face so the beam washes down across the tread below. Flush tread lights work too if your risers are solid. Aim for a gentle pool of light, not a runway — around 3 to 5 watts per fixture is plenty, and warm white in the 2700–3000K range keeps it cozy. Run them on the same transformer and timer as the rest of the deck so the stairs never get forgotten. If you want placement diagrams and spacing guidance, my guide to deck stair lighting ideas walks through the options step by step.
Suggested budget range: $60 – $180.
Mistake 2: One Blinding Floodlight Doing the Job of Three Layers
Somebody installs a single motion floodlight on the house wall, flips it on, and the deck goes from pitch black to interrogation room. Honestly? Nothing makes a deck feel more unfinished than this. The light comes from one direction at full blast, so faces look harsh, shadows go black and sharp, and the corners of the deck disappear entirely. It reads as a work light, not a living space — fine for taking the trash out, miserable for sitting with a glass of wine. Guests squint, nobody lingers, and the deck empties out by nine.
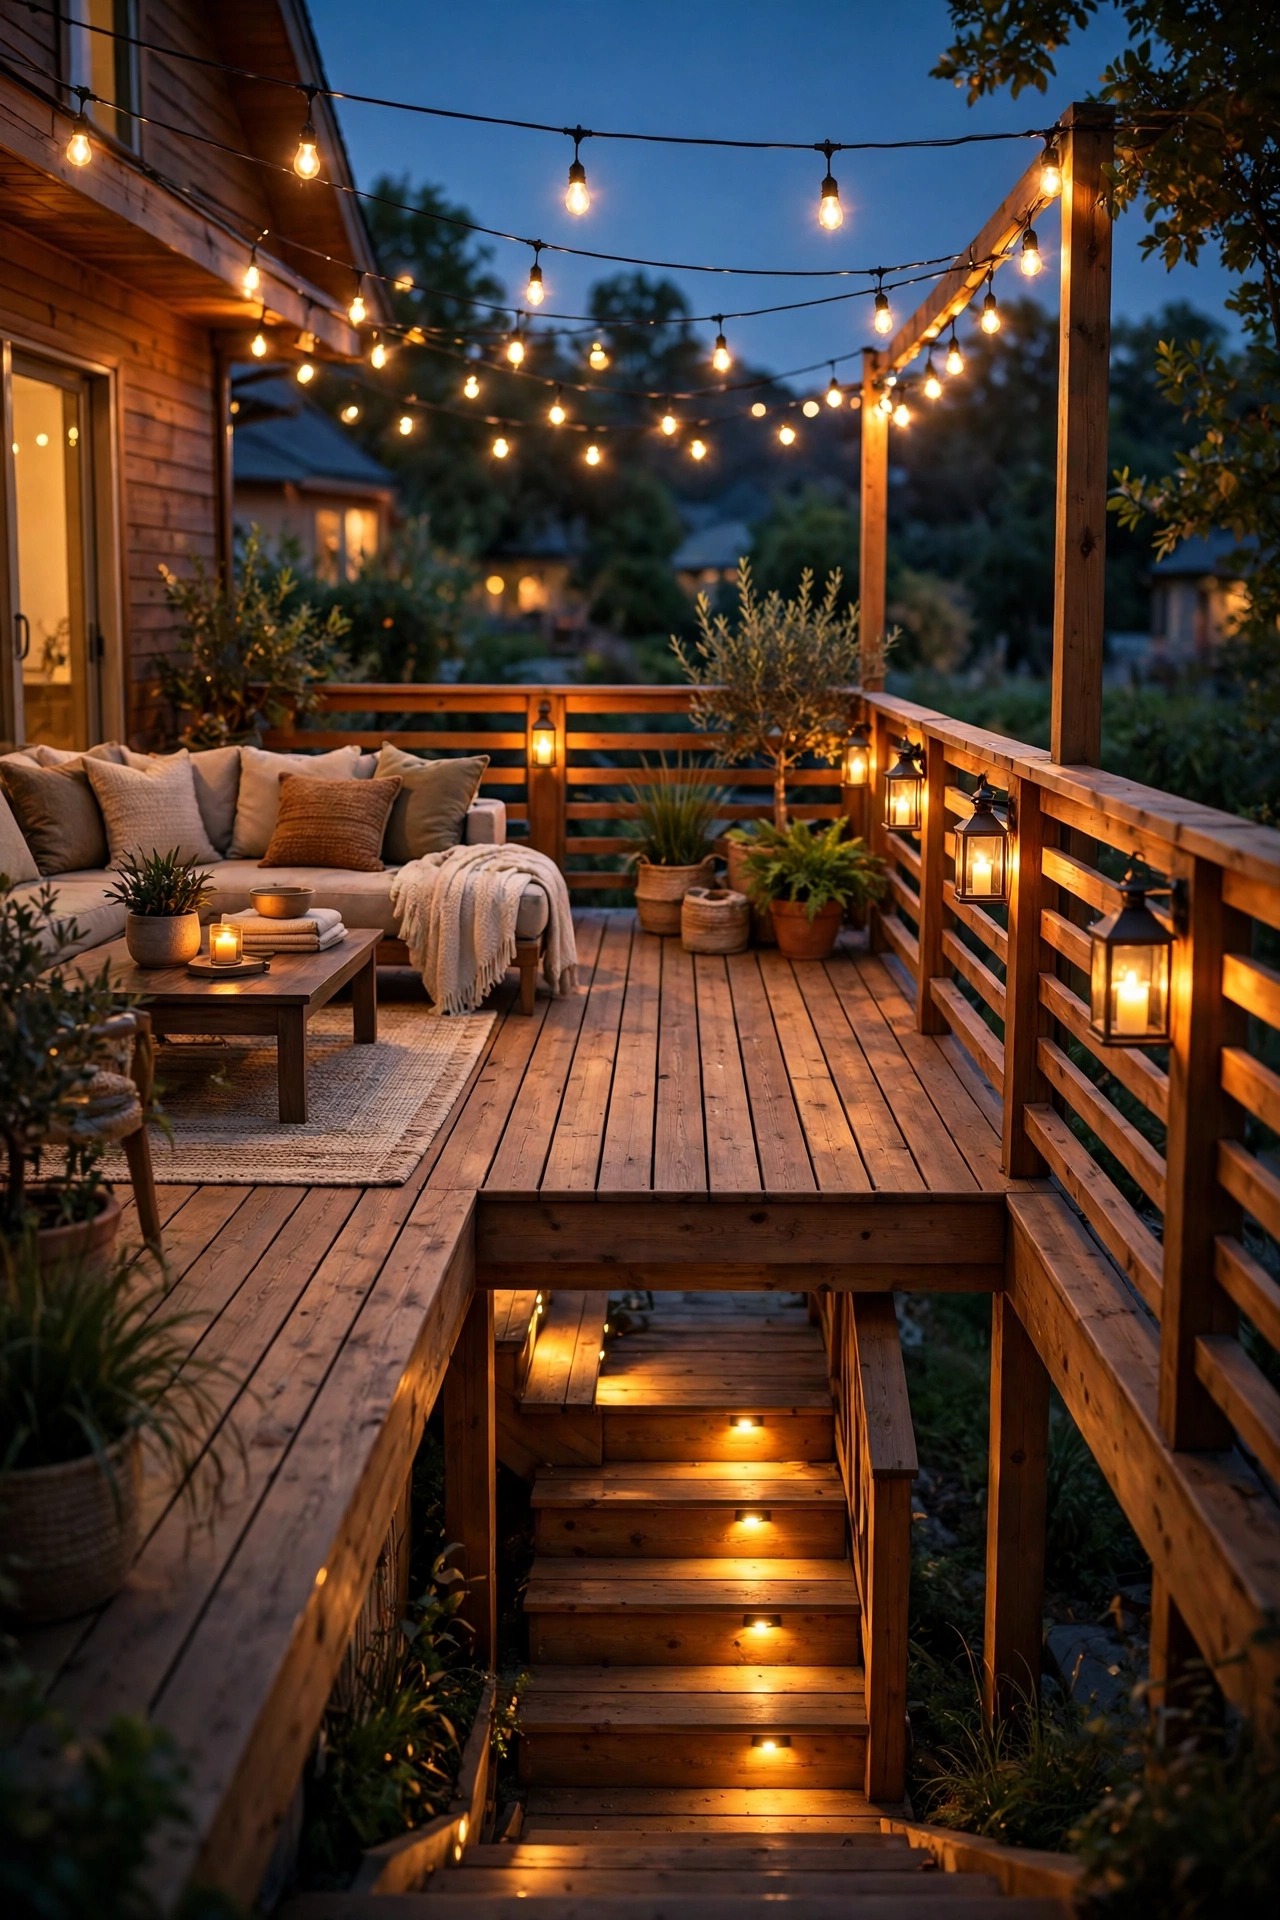
A finished deck is built in layers, and once you see it you cannot unsee it. Start with a low ambient layer: dimmable overhead string lights, a soft soffit light, or sconces washing the house wall. Add a task layer where hands work — over the grill and the serving counter. Finish with accents: a small uplight on a potted plant, a lantern on the steps, strip light under the bench. Each layer can be gentle because together they do the work. I keep individual fixtures modest — the brightest thing on my deck is the grill light — and I let the sum of three dim layers feel richer than one bulb ever could. If your floodlight also handles security, keep it, but put it on its own motion switch so it only blasts when something actually moves.
Suggested budget range: $120 – $350.
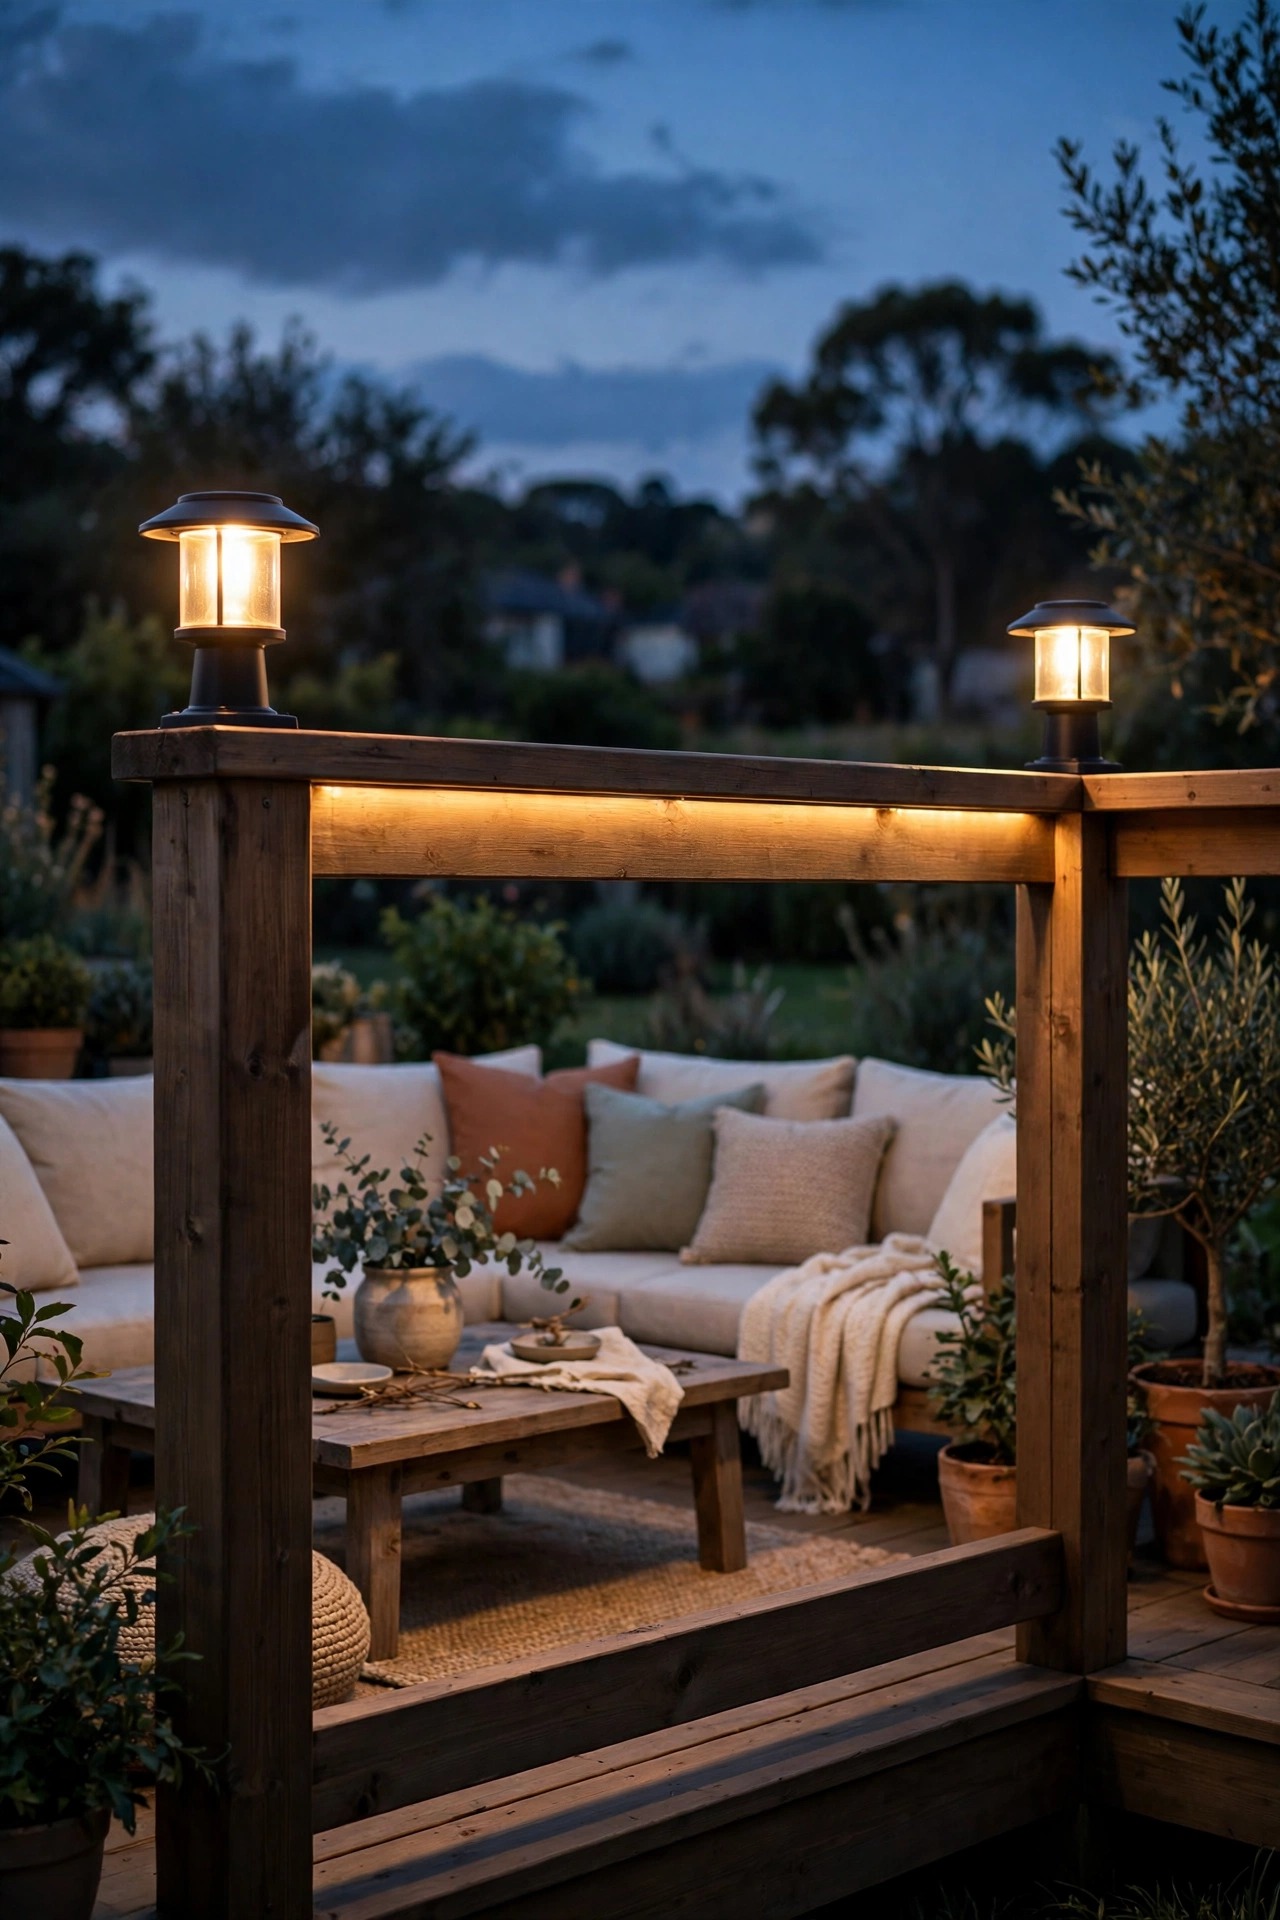
Mistake 3: Post-Cap Lights on Every Post, Right at Eye Height
Post caps are pretty fixtures, and in photos they look like the obvious finishing touch. Then you sit down. A railing post top lands almost exactly at seated eye height, which means a glowing cap on every post puts a small bare sun directly in your sightline all evening. This is one of those deck lighting mistakes you only understand from a chair: everyone ends up turning their seat away from the railing, conversations happen through a squint, and the deck feels bright and miserable at the same time — lit, but not comfortably lit, which is somehow worse than dim.
The fix is not to ban cap lights; it is to use them like punctuation instead of a fence of bulbs. I put caps only on the corner posts and the stair posts, where they mark the edges of the deck, and I choose frosted or downward-shielded styles that throw light onto the deck boards rather than out into faces. For the long railing runs, under-rail strip lighting is my favorite swap: a hidden LED strip under the top rail washes the boards in a soft line of light with no visible source at all. You can compare styles in my roundup of deck post cap light options — just picture yourself seated before you order a dozen of anything.
Suggested budget range: $80 – $240.
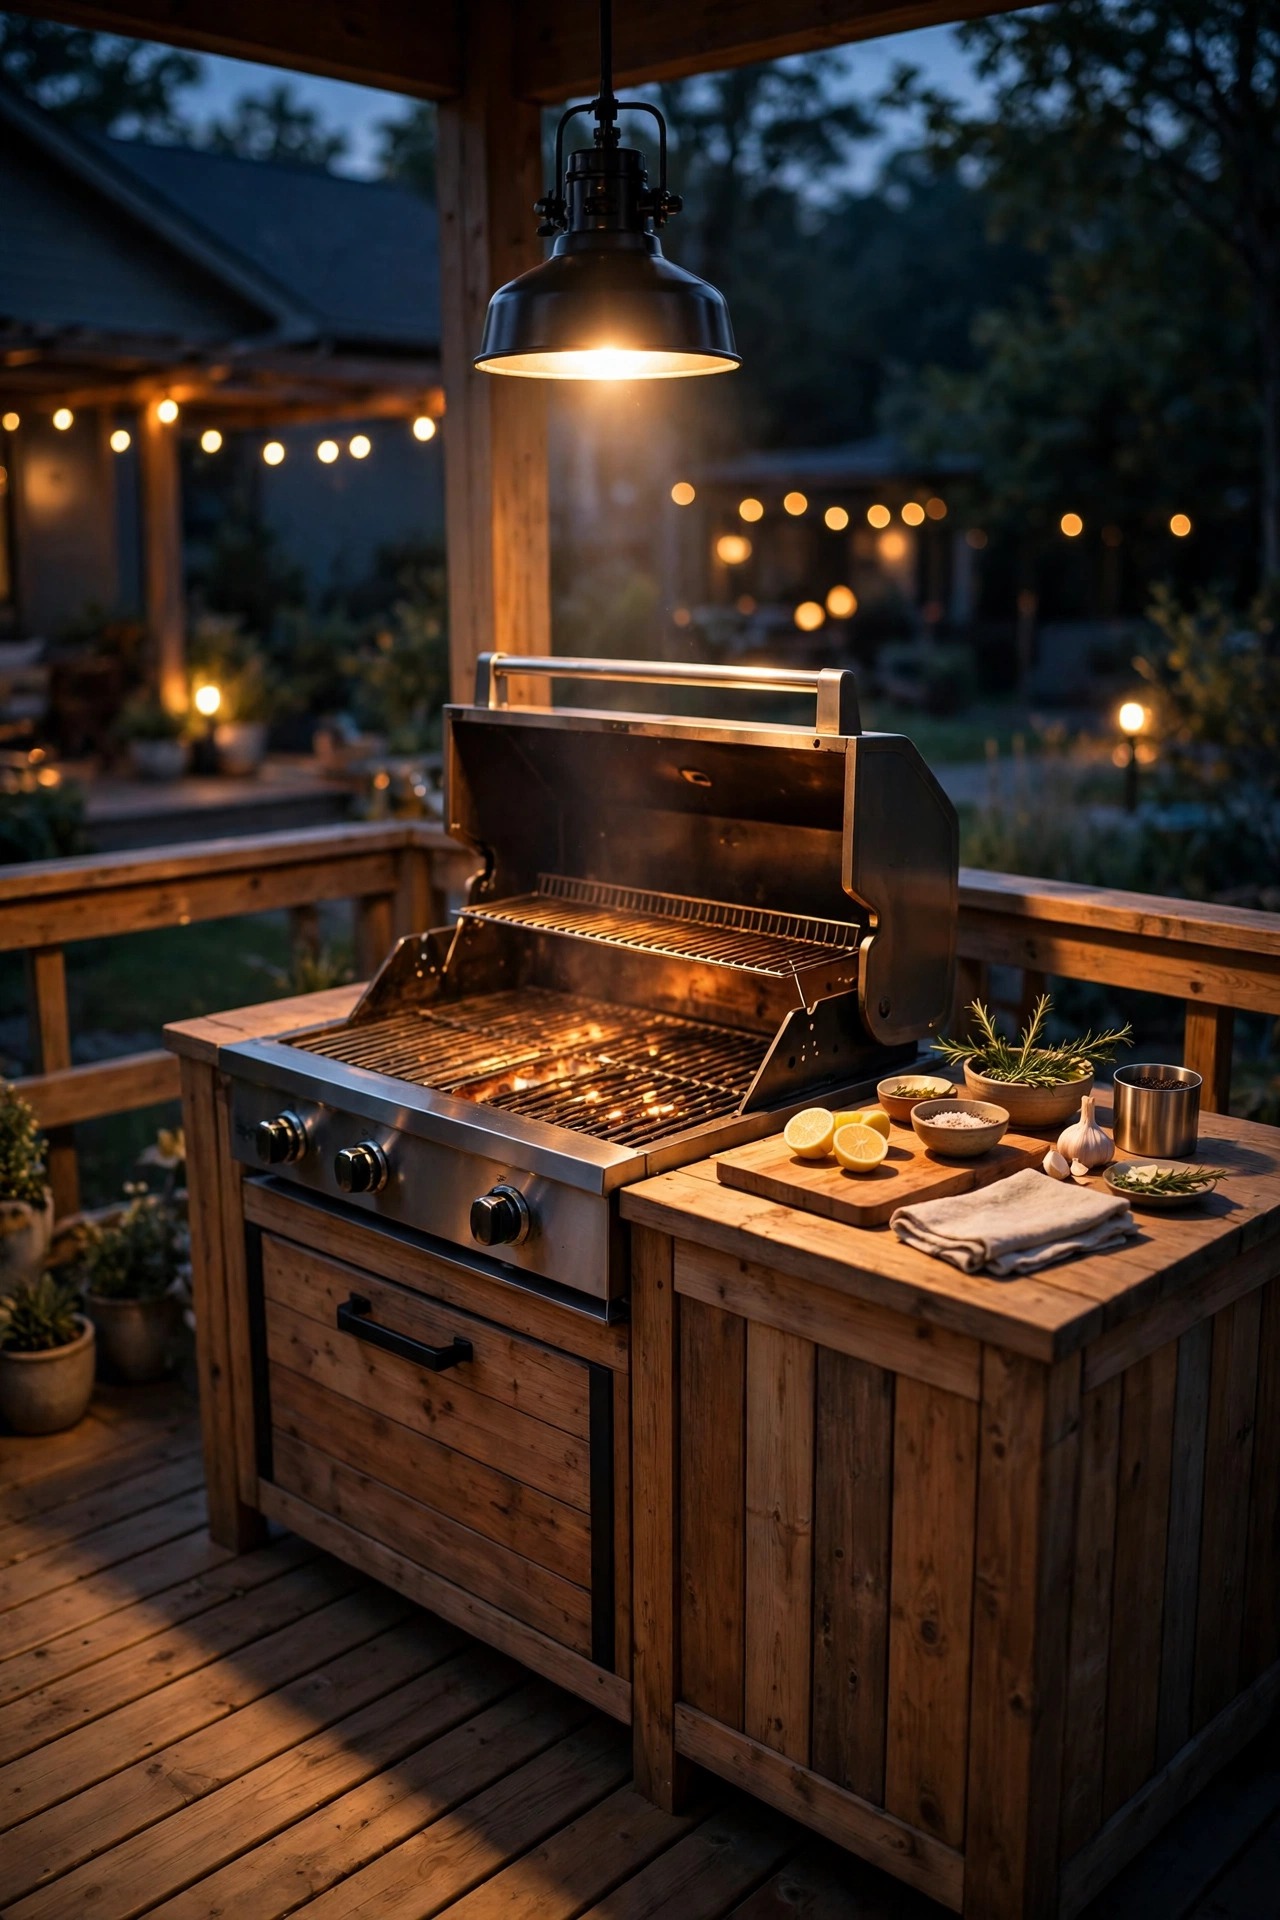
Mistake 4: No Light at the Grill or Anywhere Hands Actually Work
Designers photograph decks beautifully and forget that somebody has to cook on them. I have watched so many people grill by phone flashlight — phone in one hand, tongs in the other, burger doneness judged by hope. A deck can have gorgeous ambient light and still feel unfinished the moment dinner starts, because the one spot where real work happens is the darkest spot on it. The same goes for the serving counter, the drink station, and the cooler corner: if people are squinting and fumbling there, the deck reads as a stage set, not a kitchen-adjacent living space.
Task light needs to be focused, a little brighter than the ambient layer, and positioned so your own body does not shadow the food. My favorite fixes are a clamp-on or rail-mounted grill light aimed down at the grates, or a pair of small adjustable spotlights on the railing angled at the cooking surface. Look for 400 to 600 lumens, warm-to-neutral white so meat colors read true, and a fixture rated for outdoor use that can handle grease and weather. If your grill sits under a pergola or roof, a pendant over the station is even better. Keep it on its own switch or a smart plug so the task light only runs while you cook, then fades back into the evening.
Suggested budget range: $35 – $120.
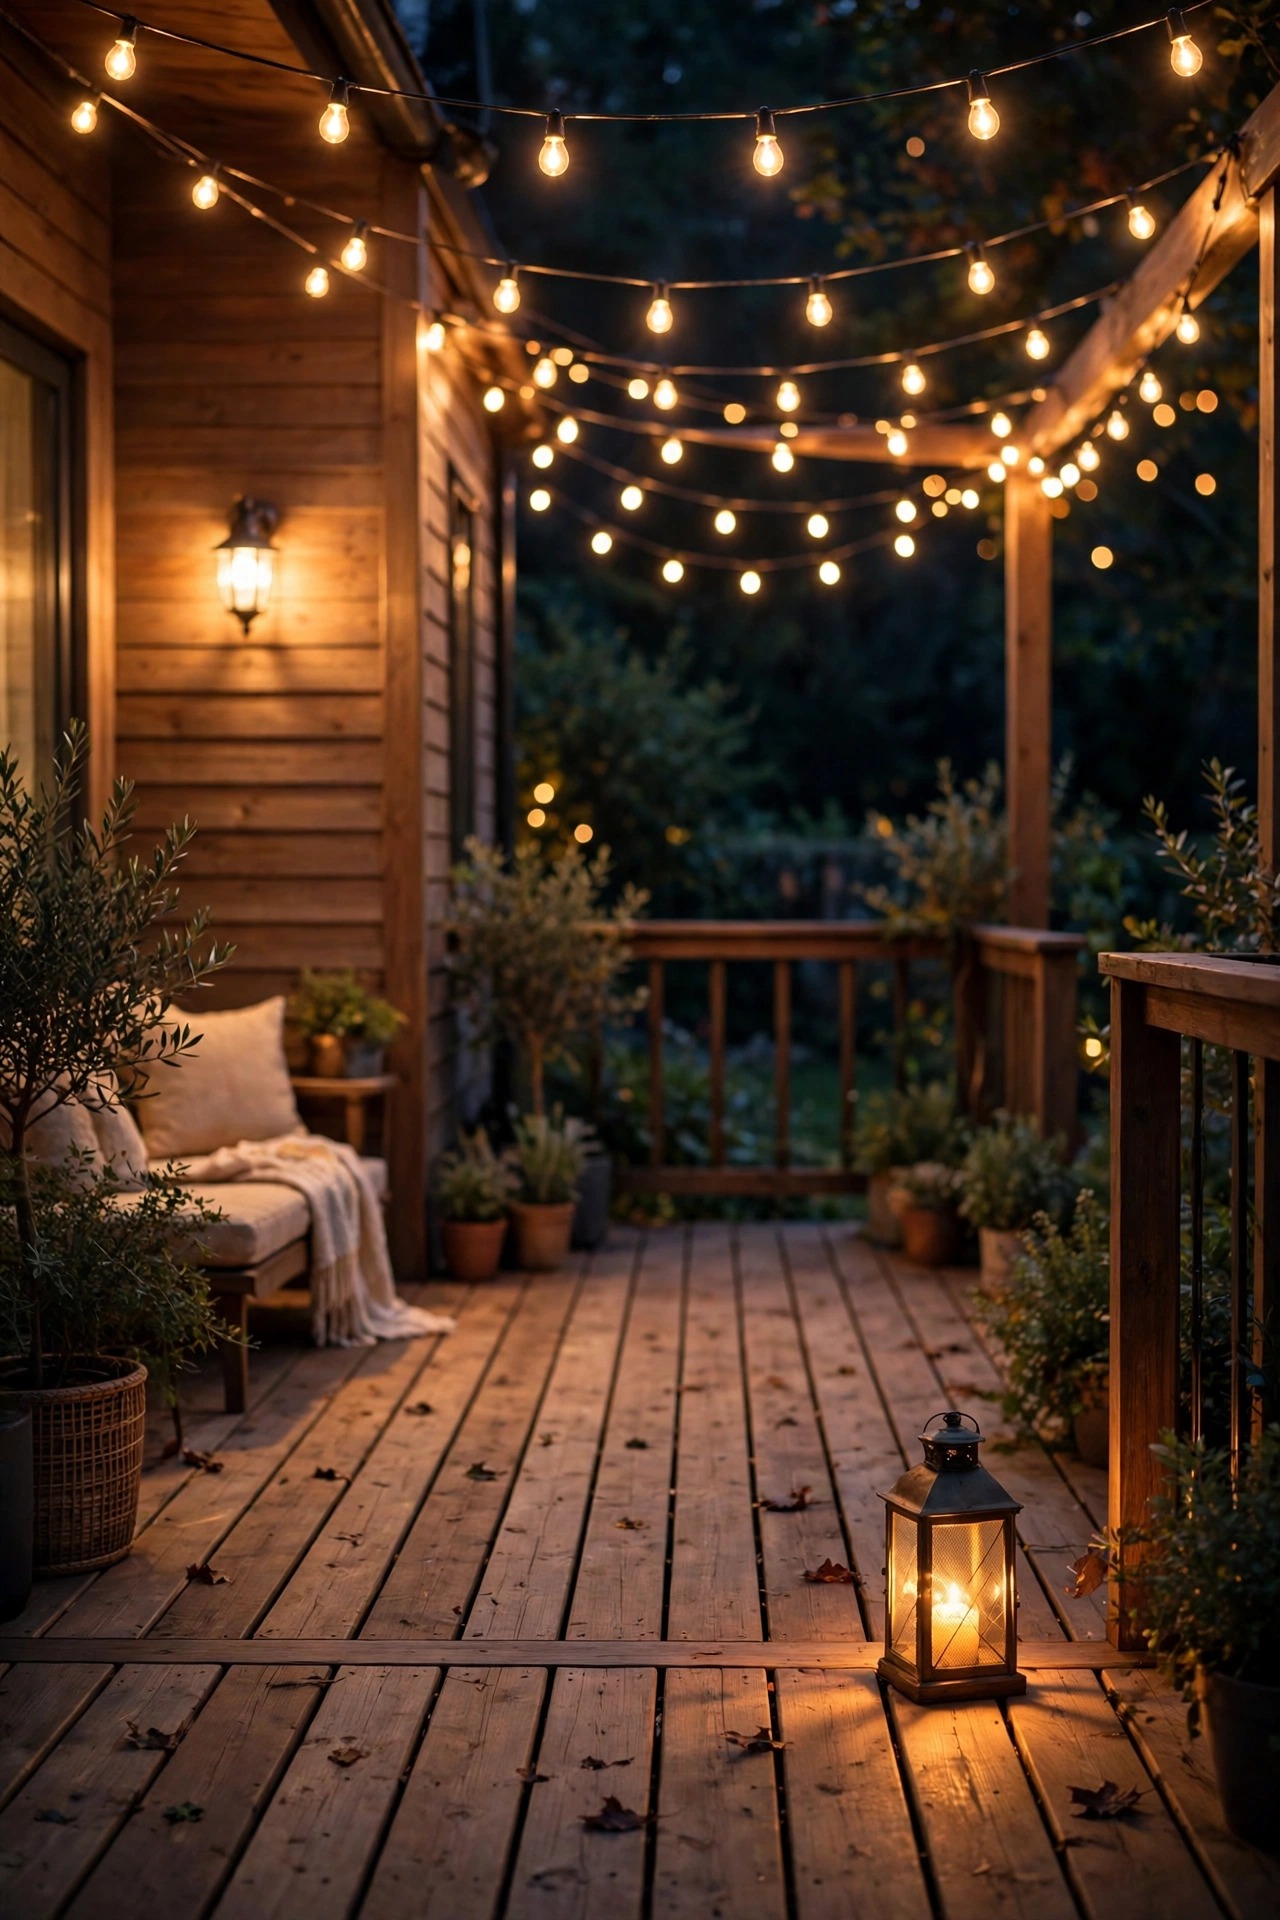
Mistake 5: String Lights as the Only Source, Sagging and Dim at the Edges
I love string lights. I also know they cannot carry a whole deck alone, and when they try, the result is the saddest version of a pretty idea: catenary swags pulled tight across the middle, glowing nicely overhead, while the corners, the stairs, and the seating edges fall off into gloom. Add the classic sag — one strand strung corner to corner with no support, dipping to forehead height in the middle — and the whole installation looks temporary, like party decor nobody took down. That temporary feeling is precisely the unfinished feeling.
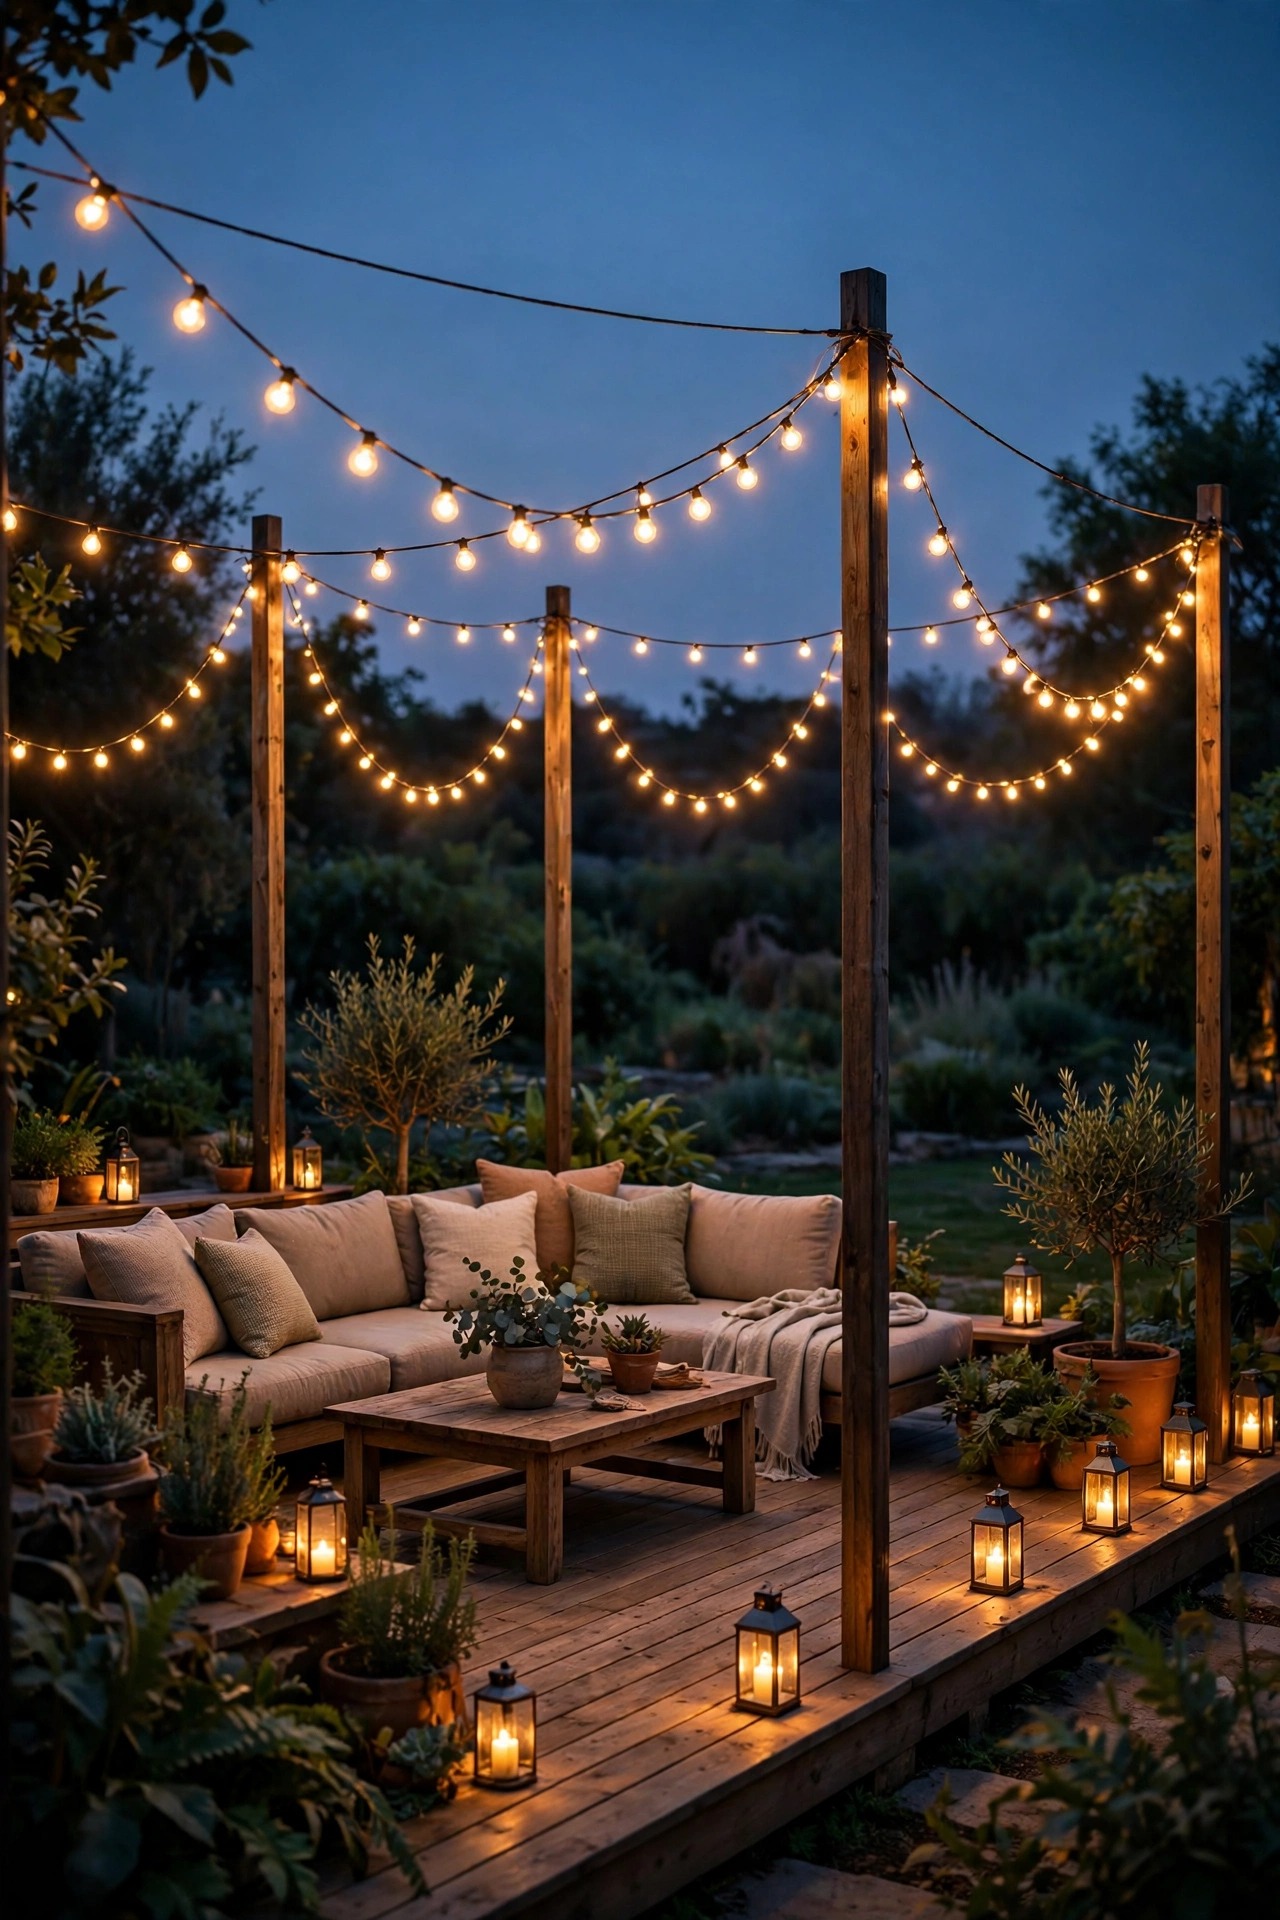
Use string lights as the ambient layer, not the only layer. I run them on a proper support cable or between firmly mounted poles so the swags stay graceful and above head height, and I zigzag them to cover the seating area rather than outlining the perimeter. Then I back them up: stair lights for safety, a lantern or two at the edges, maybe an uplight in the planter. One technical note matters here — LED string lights only near anything flammable, never the old hot incandescent sets near curtains or dry foliage, and always a product rated for outdoor use on a GFCI-protected outlet. Supported, layered, and LED, string lights go from party leftover to permanent atmosphere.
Suggested budget range: $50 – $160.
Mistake 6: Cool-White Bulbs Clashing with the Warm Light Inside the House
This mistake hides in plain sight because each light looks fine on its own. Inside the sliding doors, your living room glows warm at around 2700K. Outside, somebody bought daylight bulbs at 5000K or higher, and through the glass the deck reads as a blue-white parking lot attached to a cozy home. The two spaces stop feeling connected — and since you see the deck through the doors all evening, that color clash registers constantly. It is a subtle mistake, but it is one of the main reasons a technically well-lit deck still feels off.
The fix is simply to match temperatures. I buy every outdoor bulb and fixture for the deck at 2700K, or 3000K at the very highest, and I check the Kelvin number on the box before anything goes in the cart. If you are mixing older fixtures, replace bulbs in groups rather than one at a time so you do not end up with a checkerboard of warm and cool. Integrated LED fixtures list their temperature on the spec sheet — confirm before you buy, because those cannot be re-bulbed later. When the light spilling from the kitchen matches the light on the deck, the glass between them almost disappears, and the whole back of the house feels like one finished room.
Suggested budget range: $25 – $90.
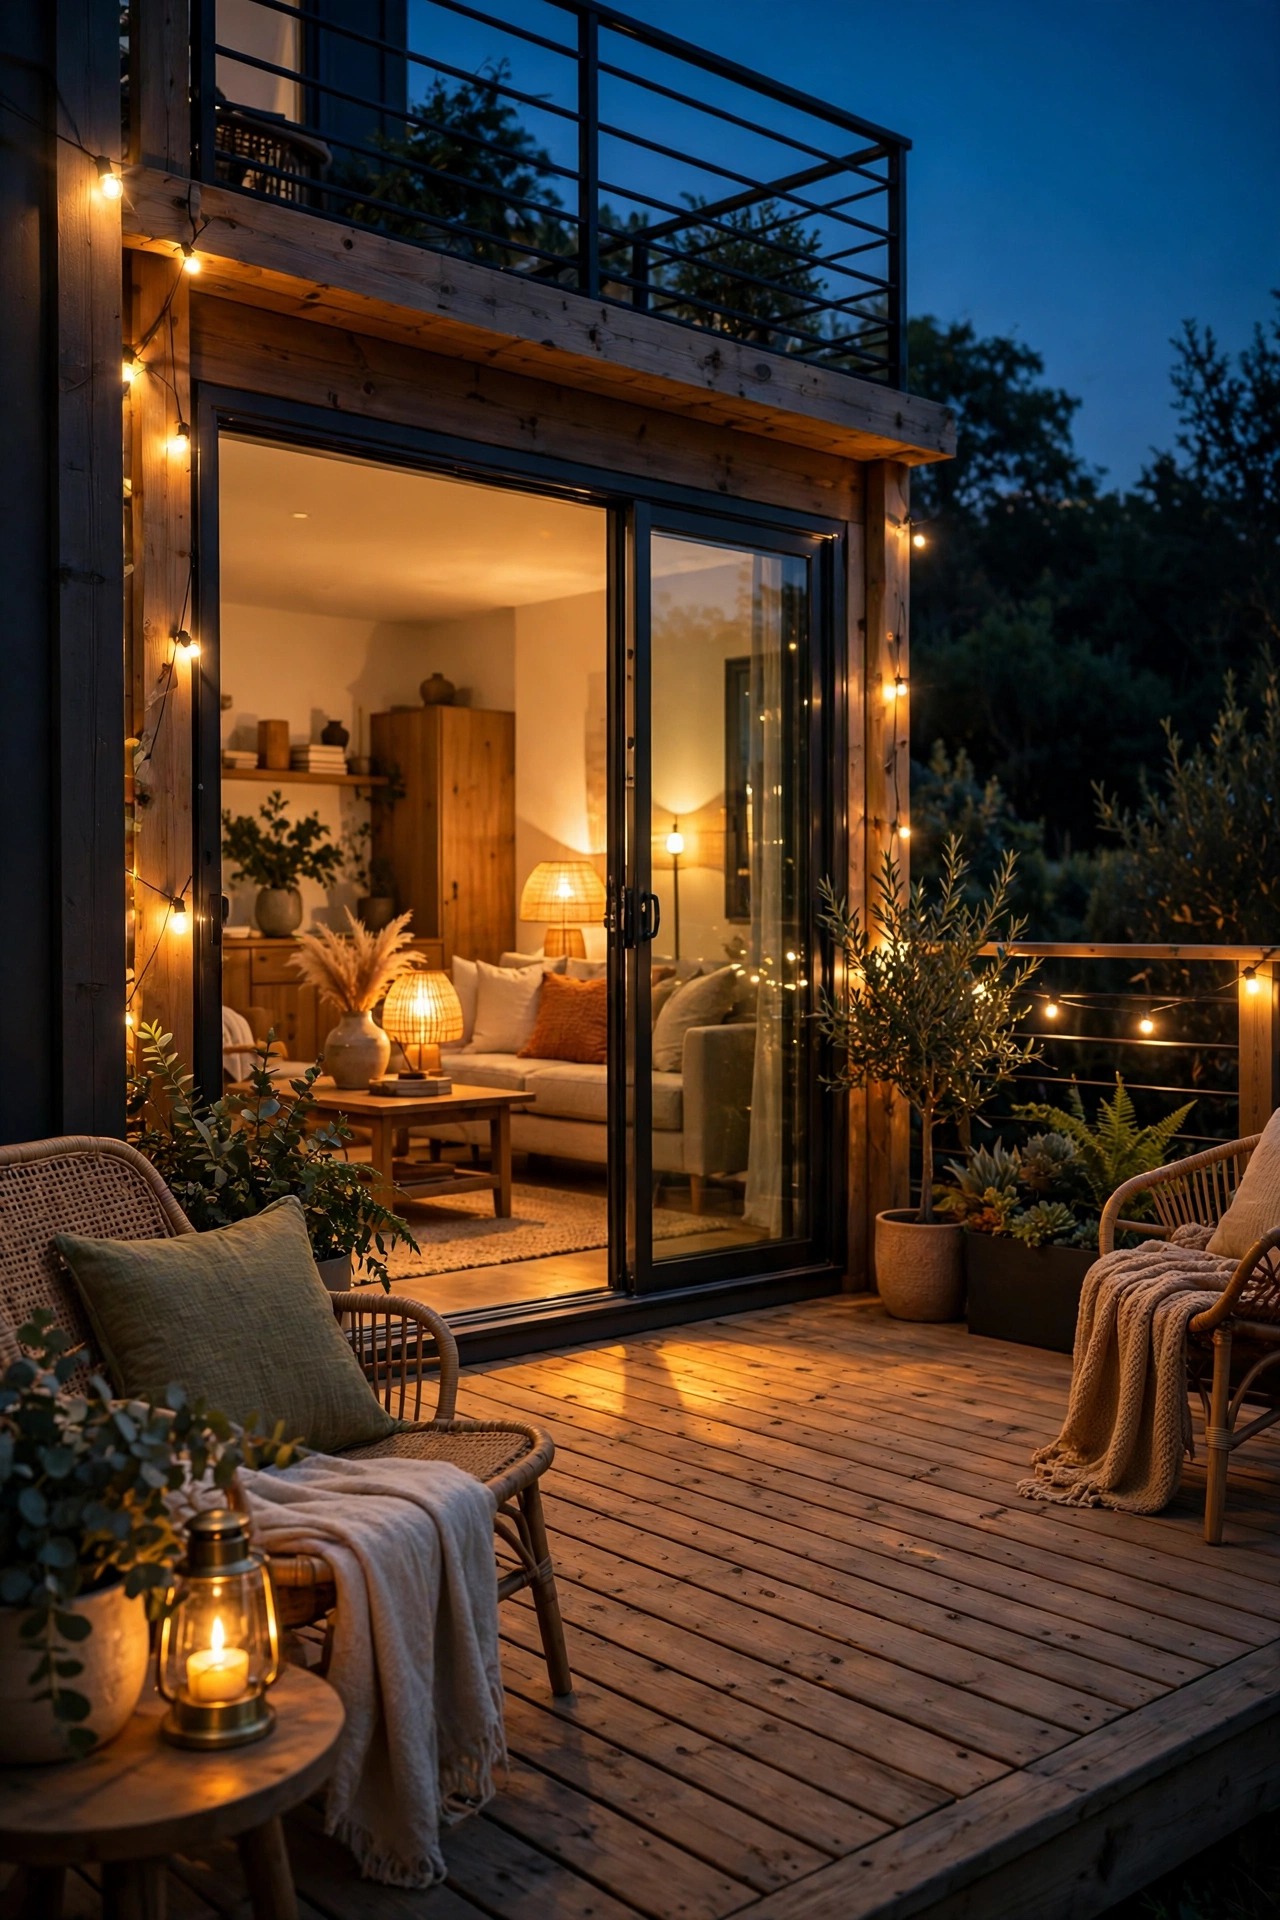
Mistake 7: Fixtures Placed Exactly Where Chair Legs and Feet Find Them
Walk a new deck at night and watch where people put their feet: beside chairs, at the bottom of the stairs, along the path from the door to the grill. Now look where the little mushroom path lights and low puck lights got planted — right there. Within a month, half of them are leaning at angles, lenses are scuffed, and one is face-down in the mulch. A deck dotted with tilted, damaged fixtures looks neglected no matter how good the plan was, because your eye goes straight to the things that are broken.
Place fixtures like furniture will actually be used, not like the showroom photo. I keep freestanding low lights out of the main walking lanes entirely, tuck them into planter edges and corners where feet never go, and I put light into structure instead: recessed into risers, under bench seats, under the railing, inside the skirt. Anything that must sit in an open area gets a stout metal stake or a flush in-floor puck that a chair leg can slide over without snapping it. Before you finalize any layout, set the chairs out, walk the routes you really walk, and mark fixture spots with tape for a night or two. Ten minutes of rehearsal saves a season of leaning lights.
Suggested budget range: $40 – $150.

Mistake 8: No Dimmer and No Zones — Full Blast or Nothing
A deck needs different light for a dinner party, a quiet Tuesday for two, and a teenager's birthday, yet most decks get exactly two settings: blazing and off. Full brightness feels like a store closing announcement; off feels like the evening is over. So people choose off, and the beautiful deck sits dark behind the glass. Missing control is one of the quiet deck lighting mistakes — nothing is broken, nothing is missing, yet the space never gets used at its best because there is no in-between.
Zones and dimming fix this for less than a single nice fixture. I wire or group the deck into at least three zones — overhead and ambient on one, task and grill on another, accents and stairs on a third — each on its own dimmer or smart control. A low-voltage system makes this easy with separate runs off one transformer; line-voltage fixtures can use outdoor-rated smart switches or a simple inline dimmer where the fixture allows it. Most nights I run ambient at about half, accents lower, and task light only while cooking. That layered glow at partial brightness is the exact look people describe as finished. Set scenes once, and the deck tunes itself to the evening in one tap.
Suggested budget range: $60 – $220.
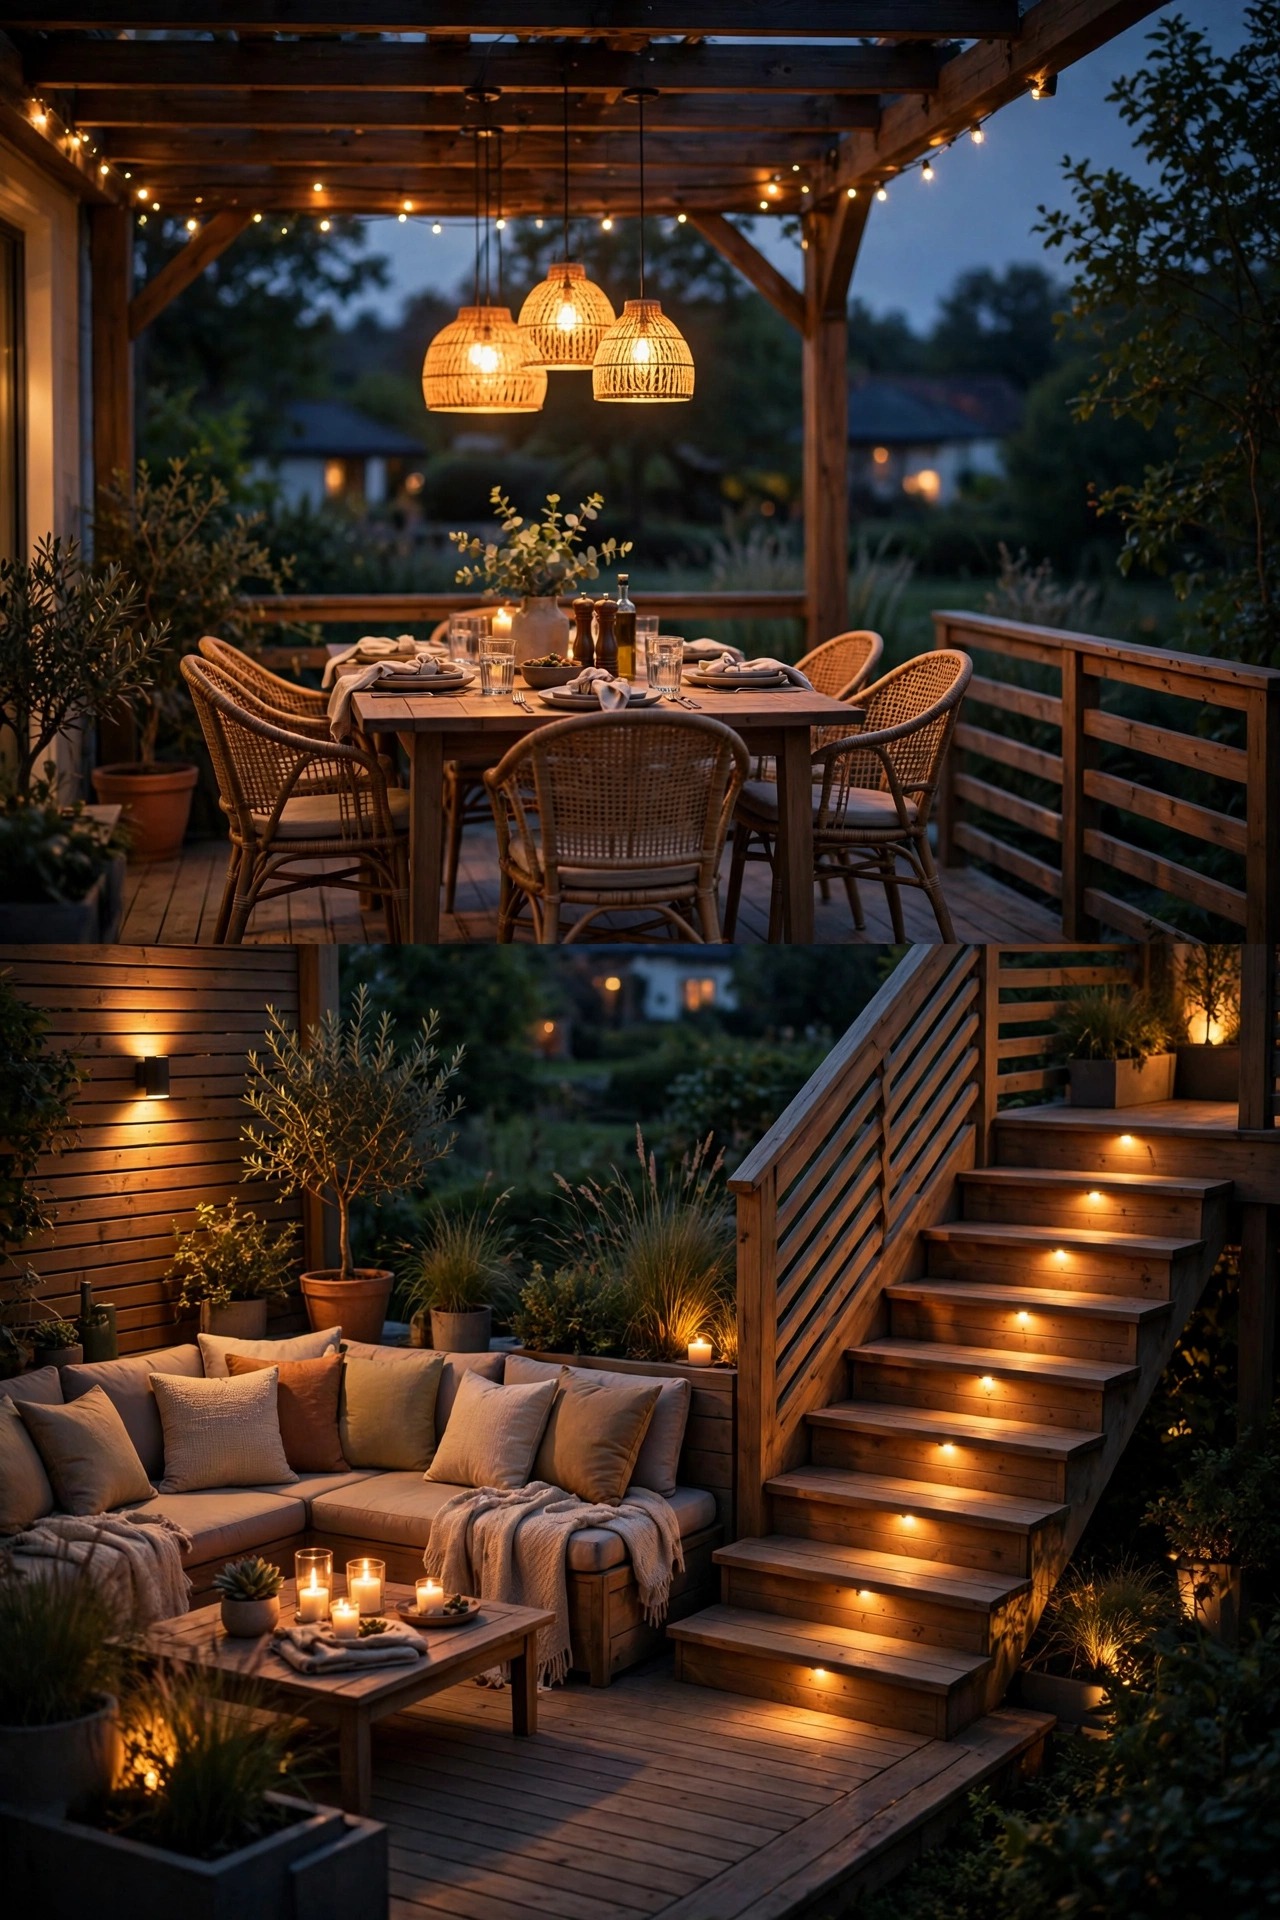
Mistake 9: Forgetting the View from Inside the House
Everybody plans deck lighting standing on the deck. But for most of the year, you see your deck from the couch, through the patio doors — and a deck that looks lovely from the grill can look like a row of bare bulbs from the sofa. Unshielded fixtures aimed outward send their brightest point straight through the glass, so the view from inside becomes glare with a dark yard behind it. When the deck looks harsh from indoors, people close the blinds on it, and an unseen deck might as well be unfinished.
Do the inside test before you call any install done. Sit where you actually sit, at night, with the deck lights on, and look out. Every fixture you can see directly is a candidate for a shield, a frosted lens, a lower-wattage bulb, or a small re-aim downward. Fixtures under the railing, in the risers, and washing walls or plantings all read as glow rather than glare through glass, which is exactly what you want. I also like one gentle focal point visible from inside — a lit planter, a small tree uplit beyond the deck — because it pulls the eye past the deck and makes the whole yard feel deep and finished.
Suggested budget range: $20 – $110.
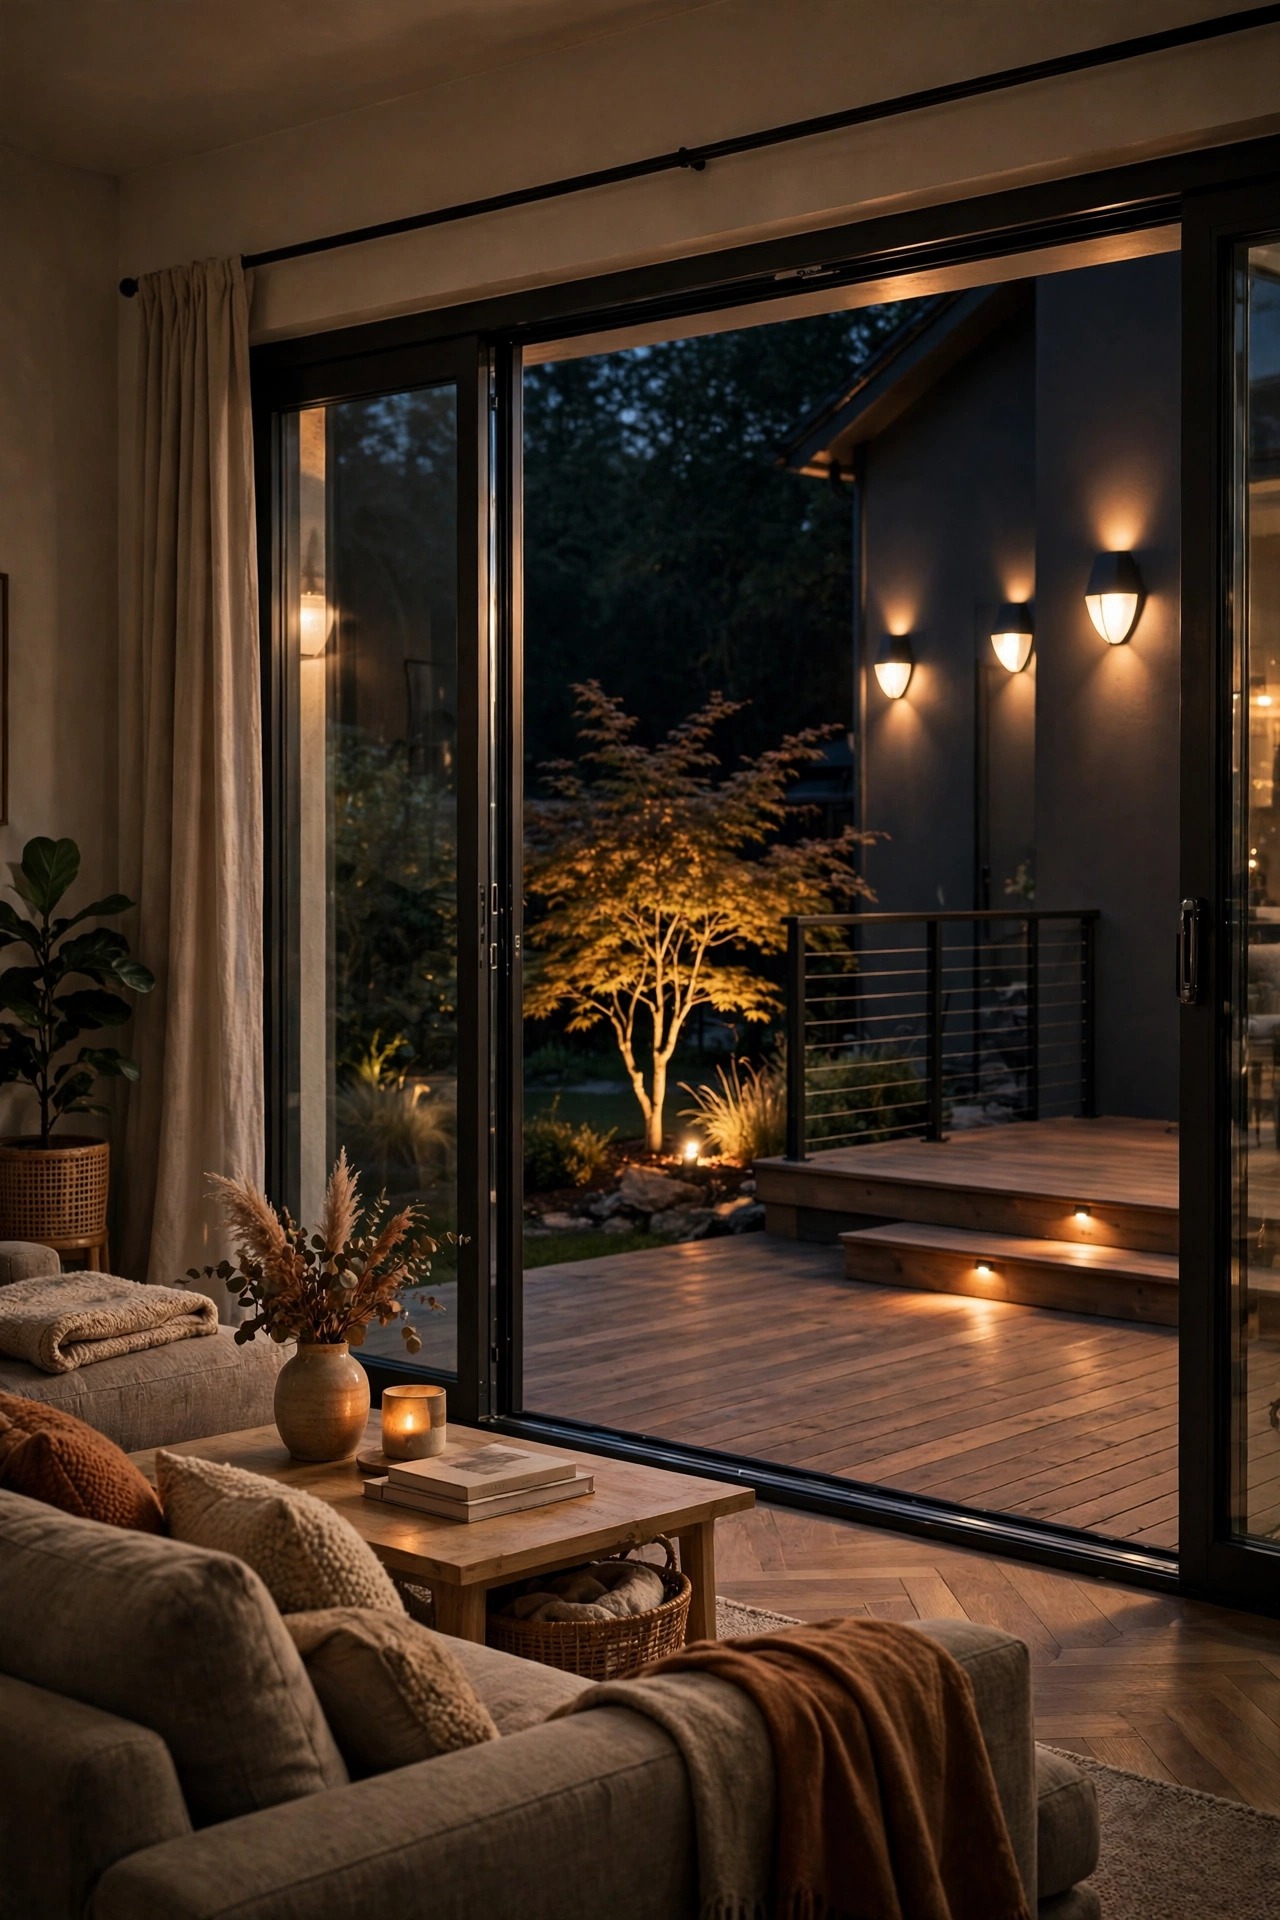
Mistake 10: Wiring Run Visibly Across the Boards Instead of Under the Deck
Nothing announces a DIY rush job like a cable snaking across the deck boards, stapled along the rim, and diving through a drilled hole in the wrong place. Visible wiring is the lighting equivalent of leaving the price tag on — everyone sees the mechanics, so the magic never lands. It is also a trip hazard, a chew target for critters, and the first thing to corrode, because cable meant to be sheltered is sitting in puddles and sun.
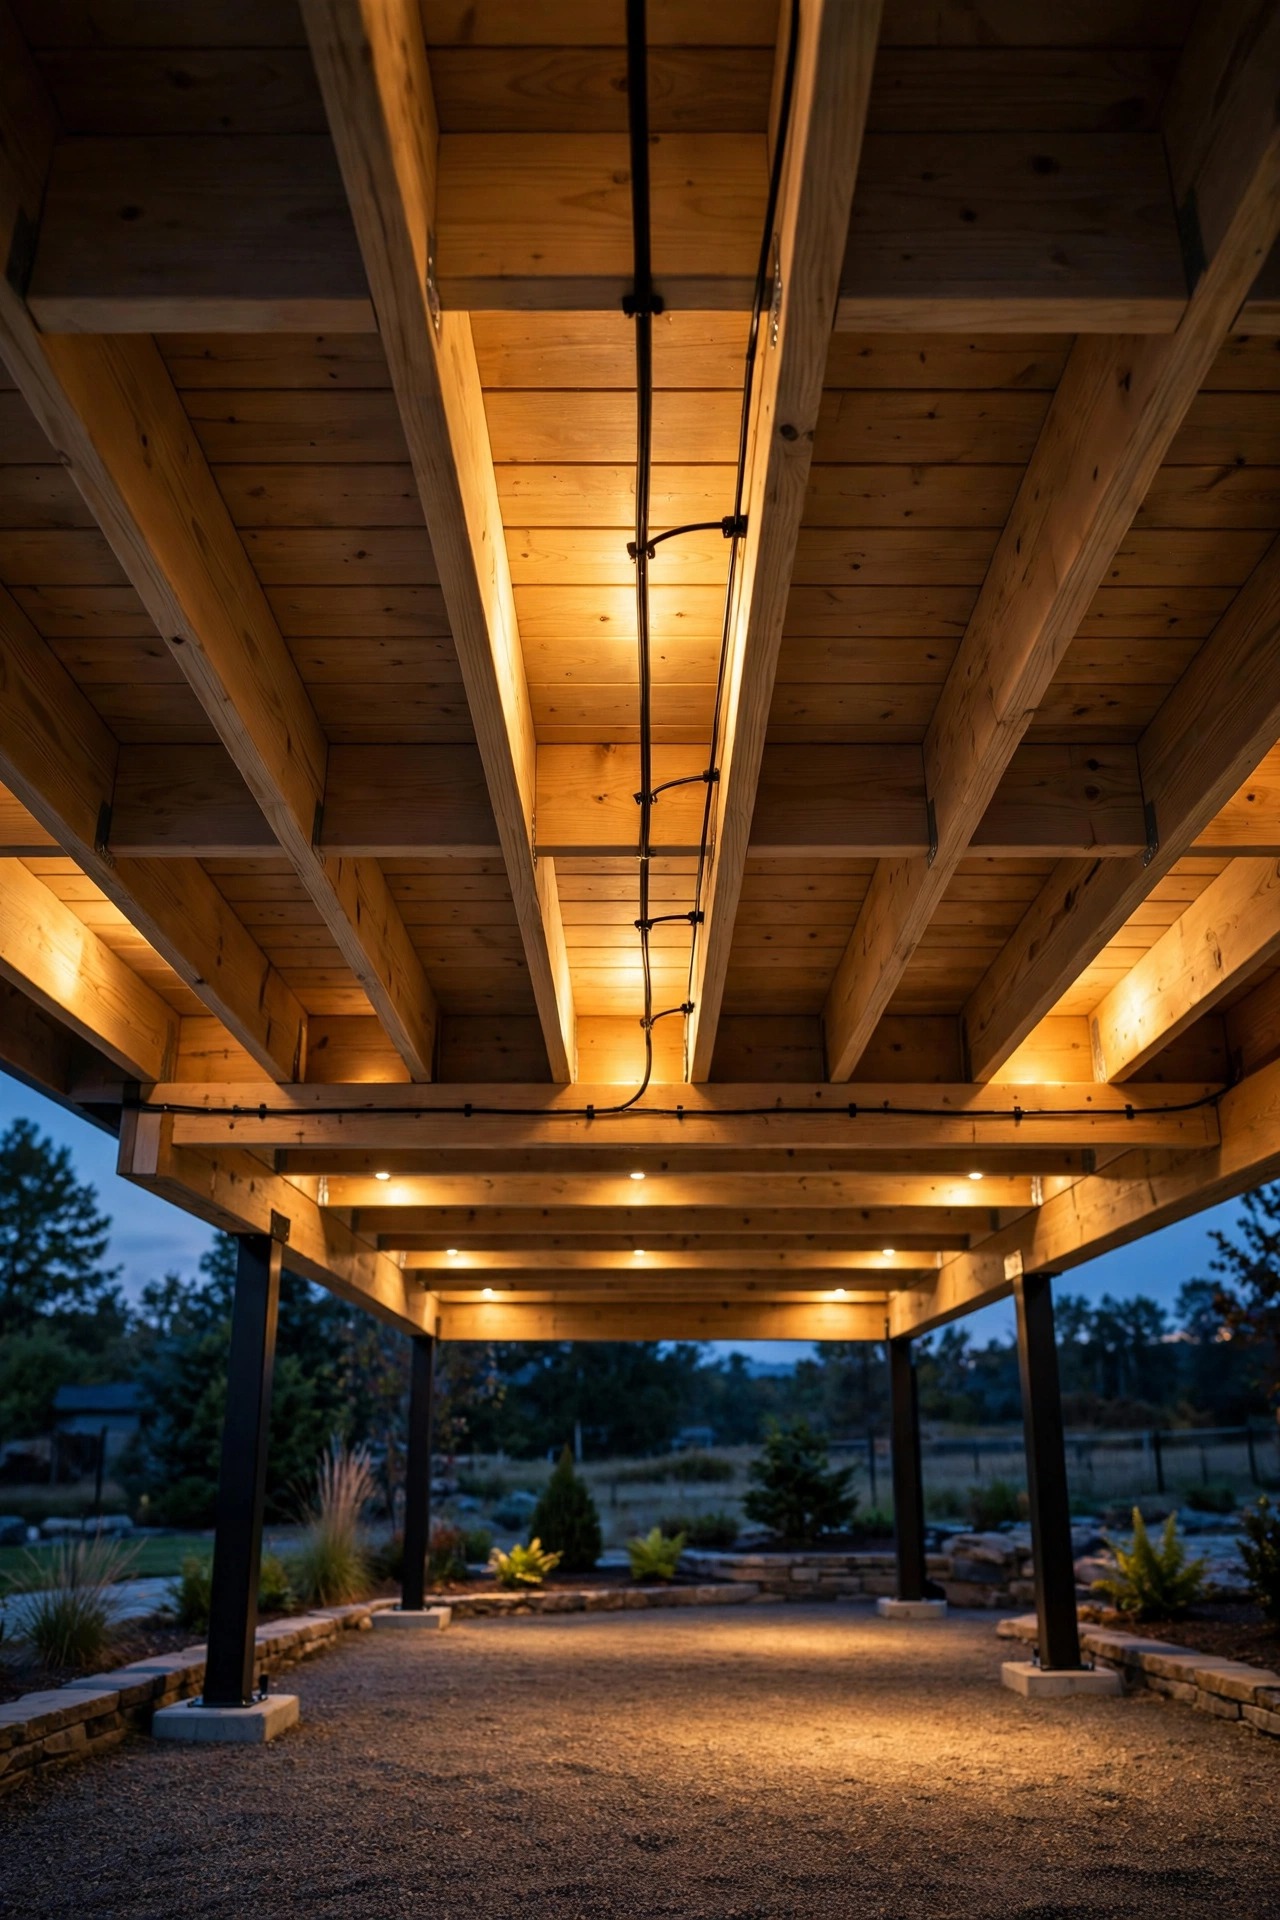
Decks are actually the easiest place in the yard to hide wire, since there is a whole cavity underneath. I run low-voltage cable under the deck, up through the joist space, and pop it through small drilled holes exactly where each fixture mounts, so from above you see fixtures only — no cable anywhere. Leave a little slack loop at each fixture for future adjustments, use cable rated for outdoor and burial use, and keep connections in gel-filled waterproof connectors tucked under the boards. Line-voltage work follows code and often needs a licensed electrician, which is money well spent. If your deck has an open underside, my under-deck lighting ideas show how clean the ceiling of that space can look once cable and fixtures are planned together.
Suggested budget range: $45 – $160.
Mistake 11: The Last of the Deck Lighting Mistakes — Stopping Dead at the Deck Edge
Here is the last of the deck lighting mistakes, and it might be the most powerful: the lighting ends exactly where the deck ends. Boards glowing, railing glowing — and beyond it, a wall of black yard. Your eye stops hard at that bright edge, so the deck feels like a lit stage floating in nothing, smaller than it is and cut off from the garden it was built to enjoy. The most finished-feeling decks I know cheat the boundary: the light keeps going, gently, past the last board.
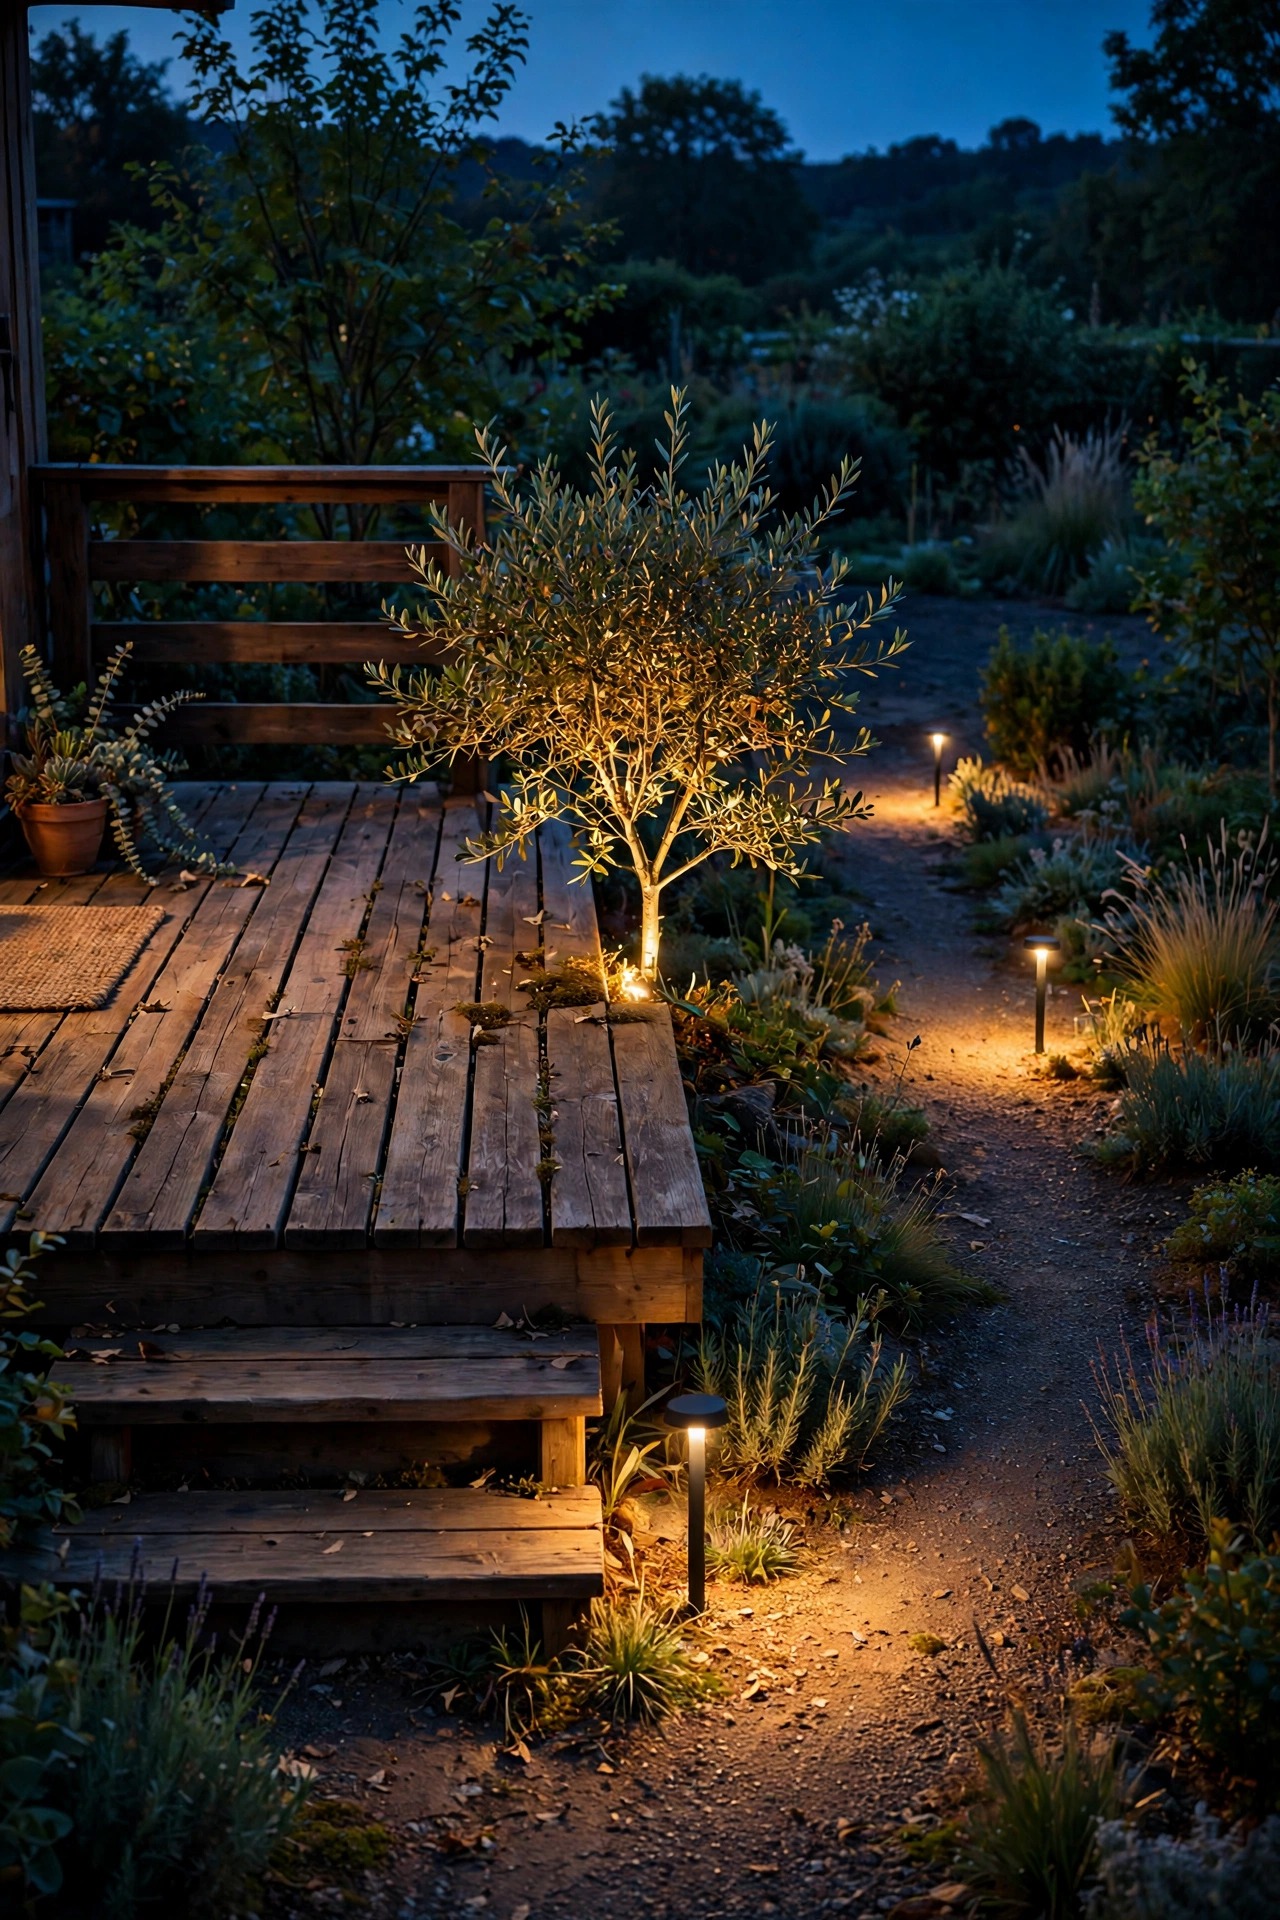
You do not need to light the whole yard — just give the eye two or three landing spots beyond the deck. A small uplight under the tree the deck faces, a pair of low path lights starting the route to the gate or the fire pit, a lantern on the first garden step: each one is a breadcrumb that extends the room. Keep them dimmer than the deck itself so the deck stays the star, and match the color temperature to everything else. That gradient — bright deck, soft middle distance, dark beyond — is the layering principle at yard scale, and it is the difference between a deck that ends and a deck that opens.
Suggested budget range: $55 – $200.
Frequently Asked Questions
How much light does a deck actually need?
Less than most people install, but in more places. Think in layers: soft ambient light around 100 to 200 lumens per fixture for atmosphere, brighter task light of 400 to 600 lumens at the grill, and gentle accents for stairs and edges. Three dim layers beat one bright fixture every time, and a dimmer lets you tune the total to the evening.
What color temperature is best for deck lighting?
Warm white, 2700K to 3000K, for nearly every deck fixture. It matches the light inside most homes, flatters wood tones and skin, and keeps the deck feeling connected to the house through the glass doors. Avoid daylight bulbs at 5000K and above outdoors — they read as harsh blue-white and clash with everything warm nearby.
Are solar deck lights bright enough to fix these mistakes?
Solar works well for gentle accents — post caps, stair markers, edge lights — in spots that get several hours of direct sun. For stairs you rely on, grill task light, and anything on a dimmer, wired low-voltage LED is brighter, steadier, and lasts all evening regardless of the weather. I use solar as the supporting cast, never the lead.
Can I add deck lighting without tearing up the deck?
Usually, yes. Most fixes here are surface-friendly: riser lights mount to the stair face, strips hide under rails and benches, and low-voltage cable runs under the deck through the joist space, surfacing only at each fixture. A typical weekend is enough for stairs, strips, and a dimmer — no boards need to come up.
Conclusion
None of the deck lighting mistakes on this list needs a rebuild — just a layer added, a bulb swapped, a fixture re-aimed, or wire tucked where it always belonged. Pick the two or three that match your deck, fix those first, and do the inside-the-house test on a quiet night to feel the difference. A finished deck is not the brightest one; it is the one where the light was planned in layers, all the way from the stairs to the edge of the yard. Browse more deck and outdoor lighting ideas here on the site, and let your deck finally feel done.