There is something about a brick walkway at dusk that just feels like home. The warm reds and browns hold the last light of the day beautifully, and with the right brick walkway lighting ideas, that path can glow softly all evening instead of disappearing into shadow. In my experience, brick pairs best with warm white light in the 2700K to 3000K range — anything cooler washes the color out and makes the whole entry feel a little cold and modern in the wrong way.
My approach is always layering. A line of path lights alone can look like a runway, so I mix low edging light, a taller lantern or two, and a gentle wash over the brick itself. Below are 15 ideas I have used or recommended again and again, from quick solar fixes to low-voltage setups that last for years. If you want a broader starting point, my roundup of walkway lighting ideas covers other path materials too.
1. Classic Low-Voltage Lantern Path Lights
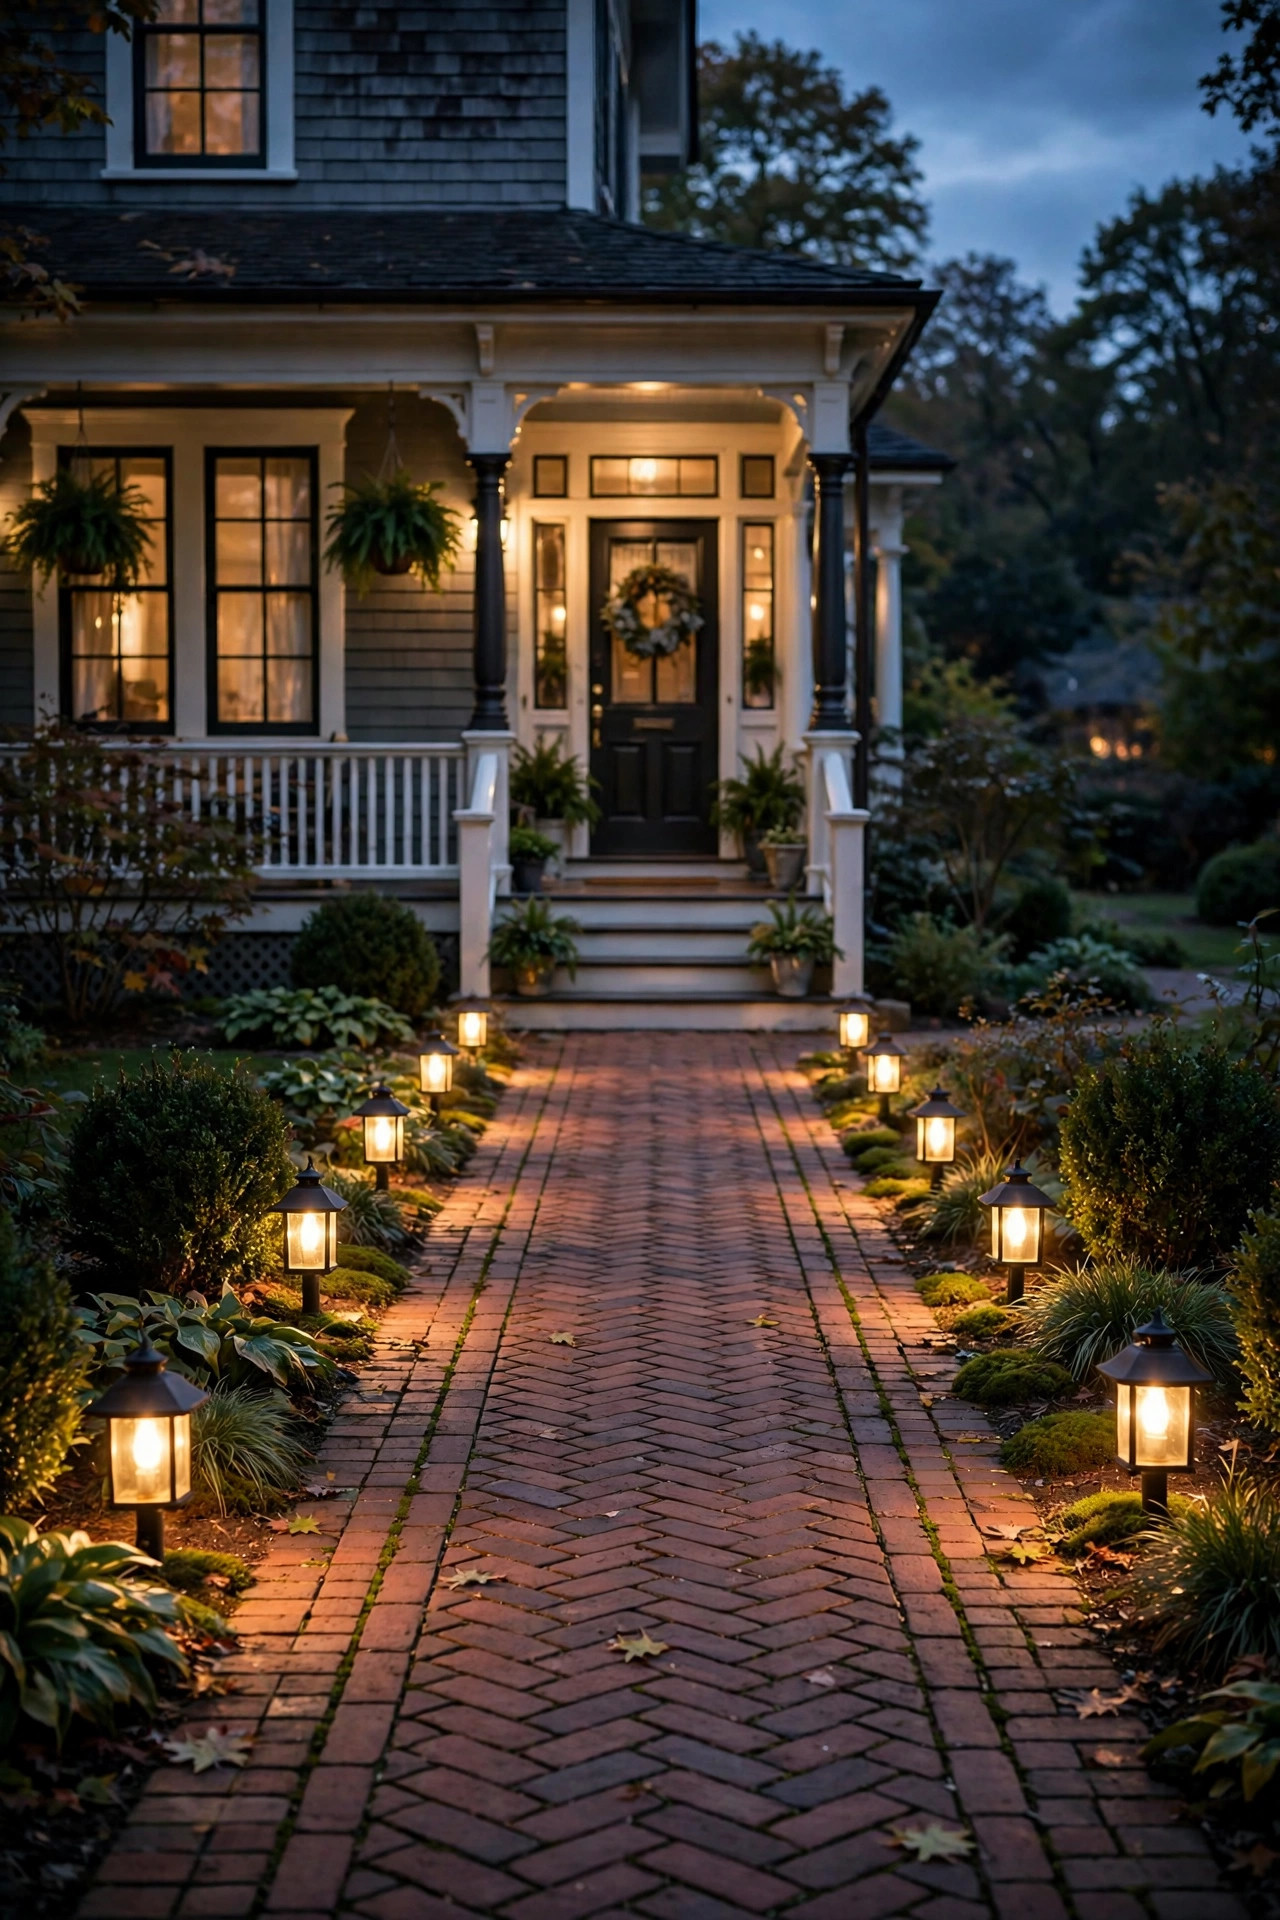
If I had to pick one look for brick, this is it. Short black or bronze lantern-style path lights, about 14 to 18 inches tall, echo the traditional feel of brick without competing with it. Space them 5 to 6 feet apart and stagger them on alternating sides of the walkway rather than lining them up in perfect rows — that zigzag pattern feels much more natural and avoids the airport-runway look.
Choose fixtures with a frosted or seeded glass lens so the bulb glows instead of glaring, and look for integrated LED or replaceable LED bulbs around 100 to 200 lumens each. That is plenty for a residential path. Run the low-voltage cable in the mulch or soil bed beside the brick, never under the pavers themselves, so you can reach it later without lifting the walkway. A transformer on a simple timer or photocell means the lights come on at dusk on their own, which honestly is the part I appreciate most on busy evenings.
Suggested budget range: $180 – $420.
2. Solar Stake Lights With a Warm Glow
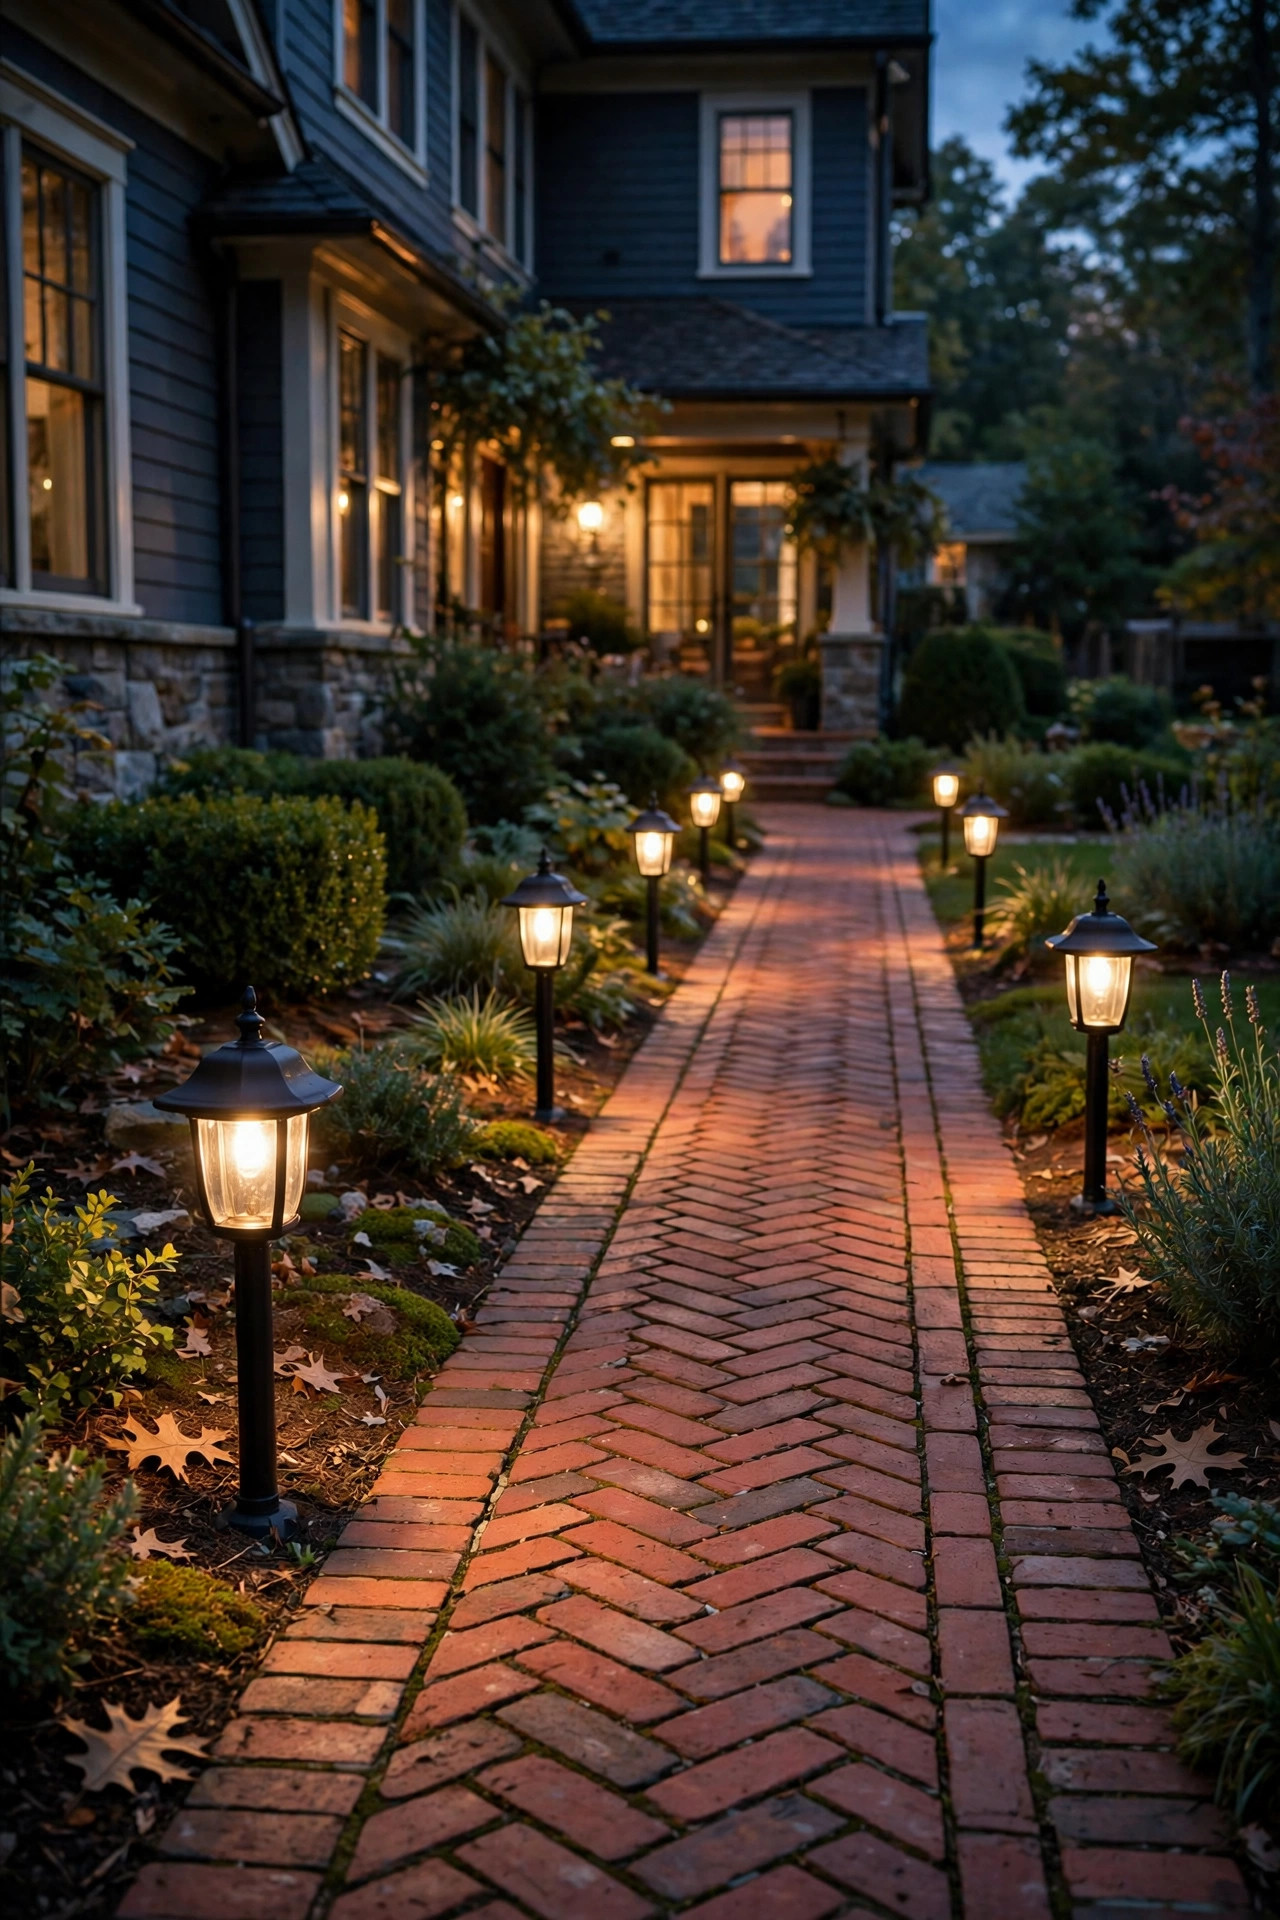
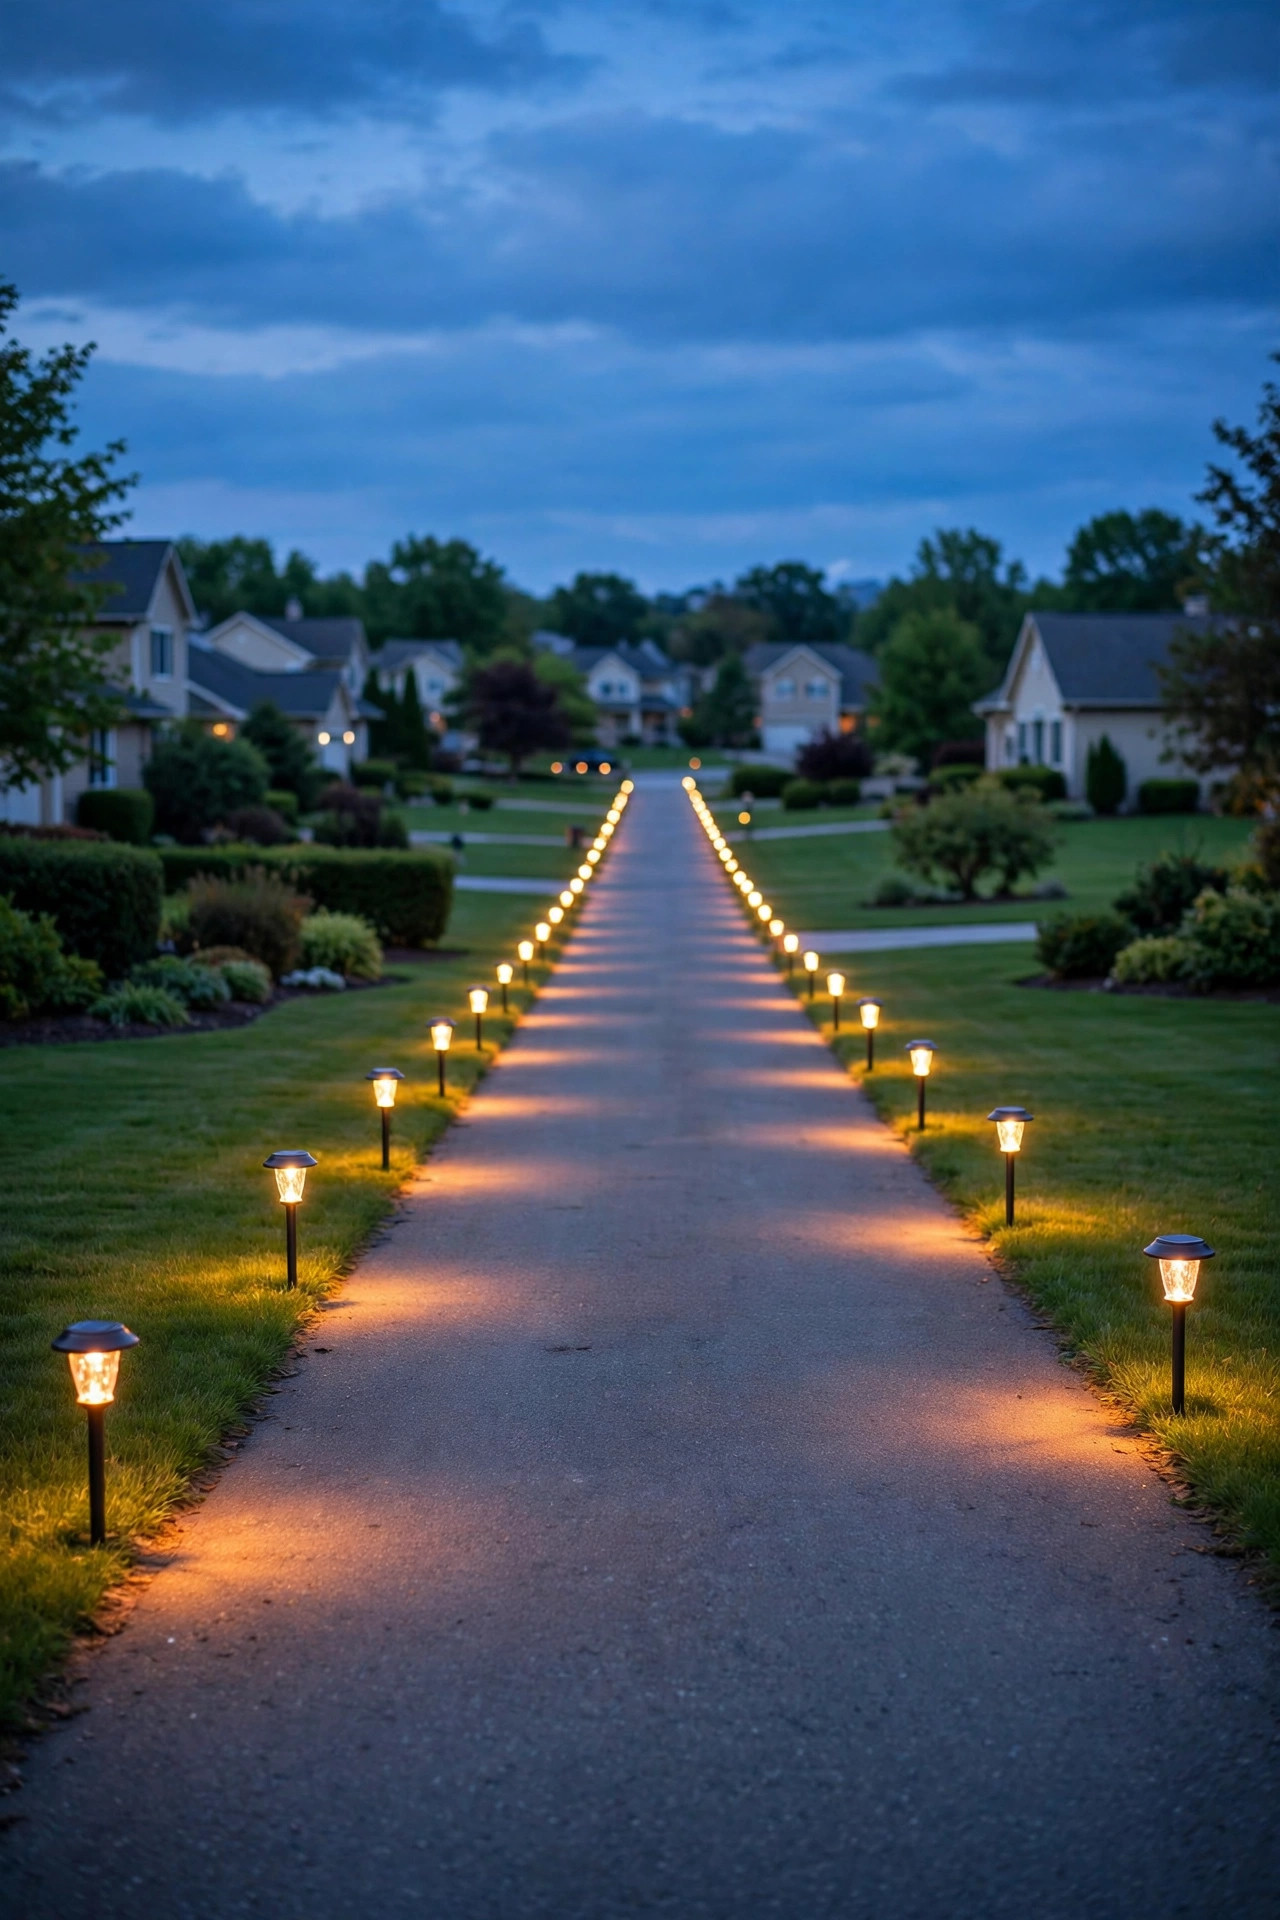
Solar stakes are the friendliest starting point for brick walkway lighting ideas because there is no wiring at all — you push them into the soil along the edges and you are done in twenty minutes. The honest catch is light quality. Look specifically for warm white models rated 2700K to 3000K, and skip anything labeled daylight or cool white, because that blue tone fights with brick every time.
Place the solar panel tops where they get at least six hours of direct sun; a walkway shaded by a big maple will leave you with dim, short-lived light by 9 p.m. I space solar stakes a little closer than wired lights, about 4 to 5 feet apart, since each one is dimmer. They are wonderful for defining the edge of the path and keeping guests on the brick instead of the flower beds. My full breakdown of styles and placement is in this solar path lights guide if you want to compare options before buying a set.
Suggested budget range: $40 – $120.
3. In-Ground Paver Lights Set Into the Brick
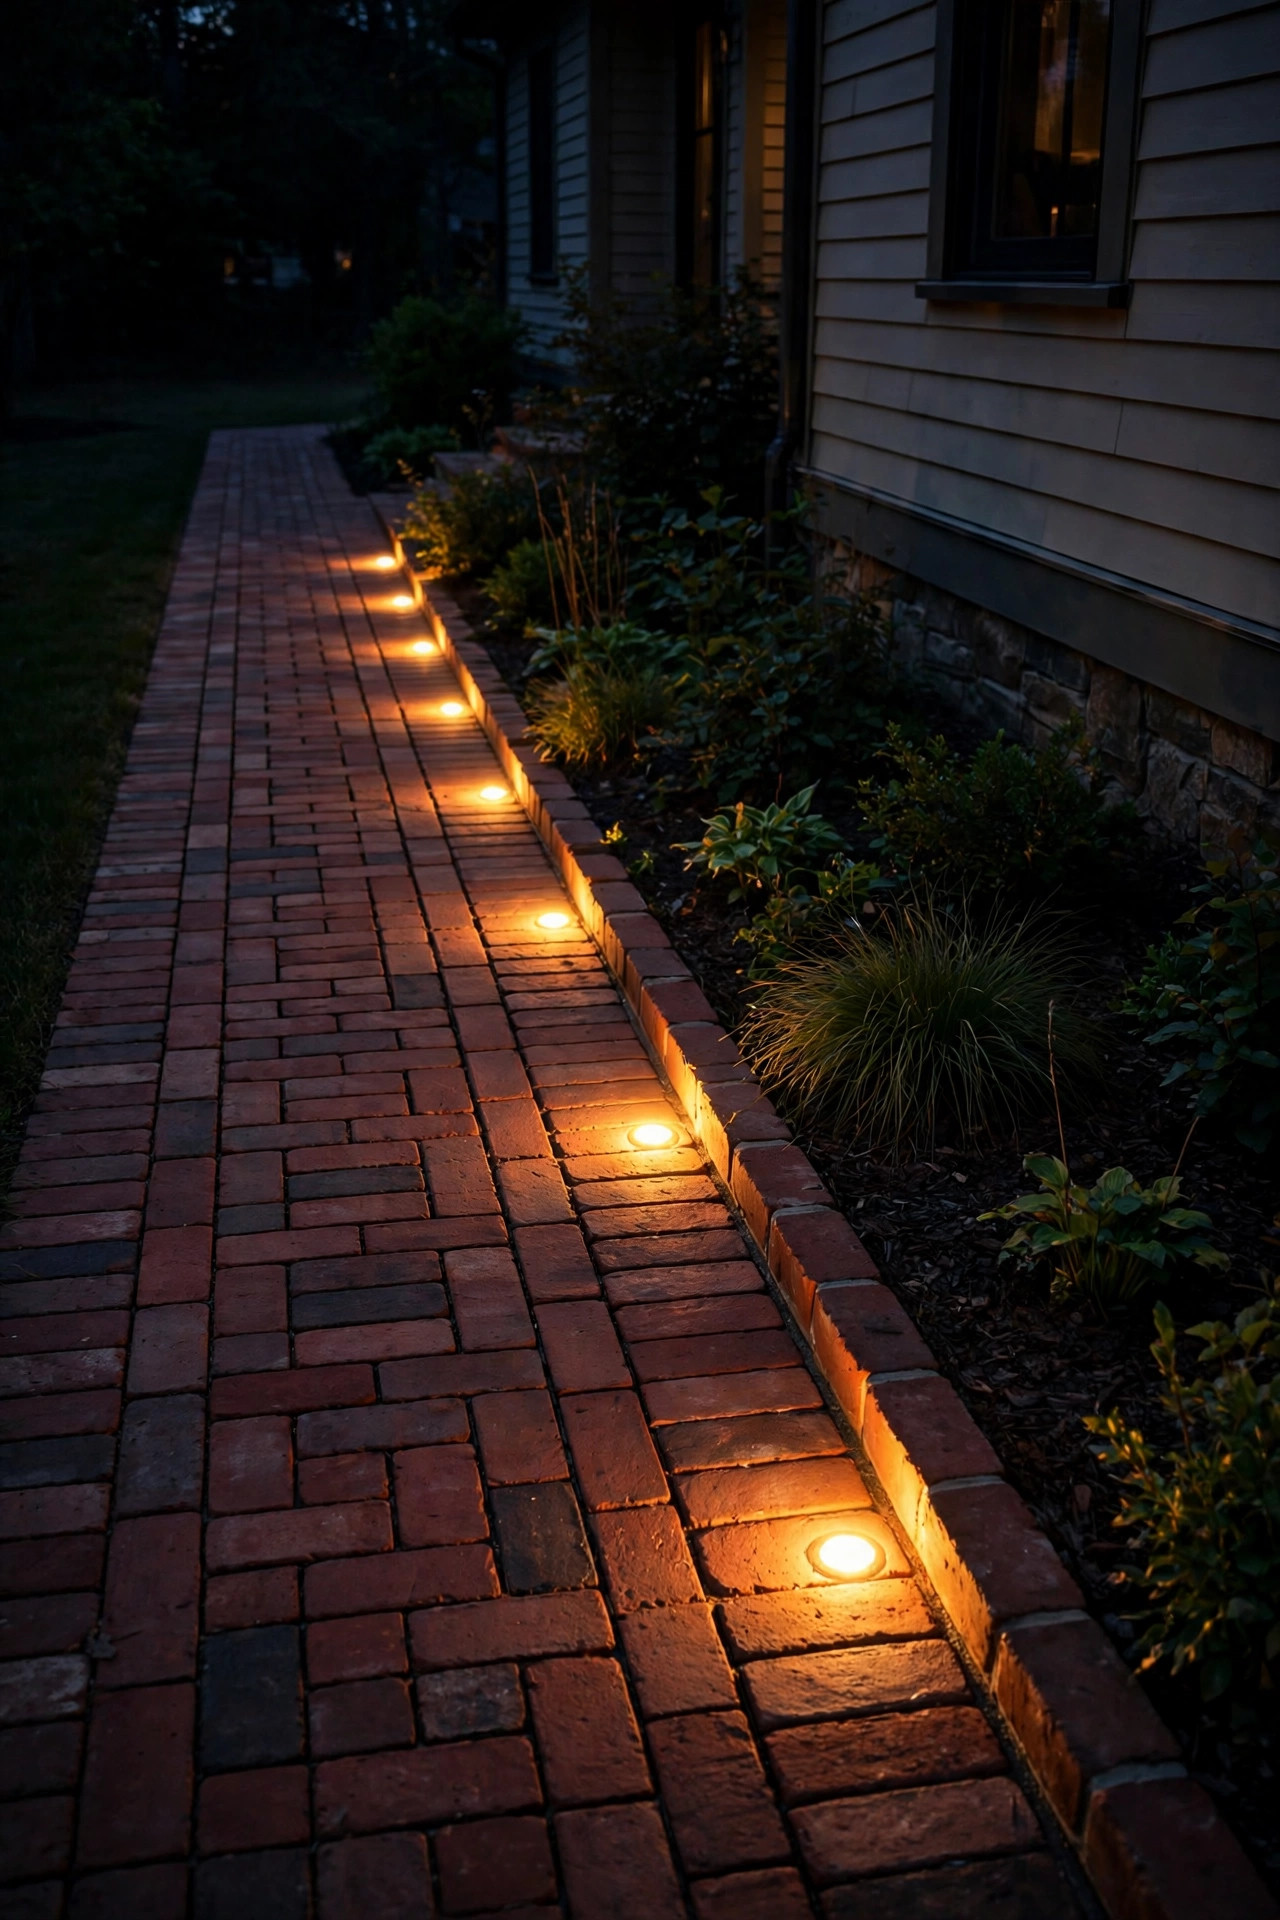
This is the most tailored look on the list: small rectangular LED paver lights that replace individual bricks along the edge of the walkway, sitting perfectly flush with the surface. Because they are built into the path itself, there is nothing to knock over with a mower or trip on, and at night the walkway seems to outline itself.
Installation is easiest when the walkway is being built or repaired, but you can retrofit them by lifting selected bricks, running low-voltage wire in the sand base, and resetting the brick around the fixture. Keep the light output low — these sit close to eye level when you are walking, so a soft marker glow beats a bright beam. Space them every 3 to 4 bricks along one or both edges, or use them just to mark the start of the path and any step or turn. Choose fixtures rated for drive-over or at least foot traffic, with sealed, waterproof housings.
Suggested budget range: $150 – $400.
4. Short Bollard Lights for a Formal Edge
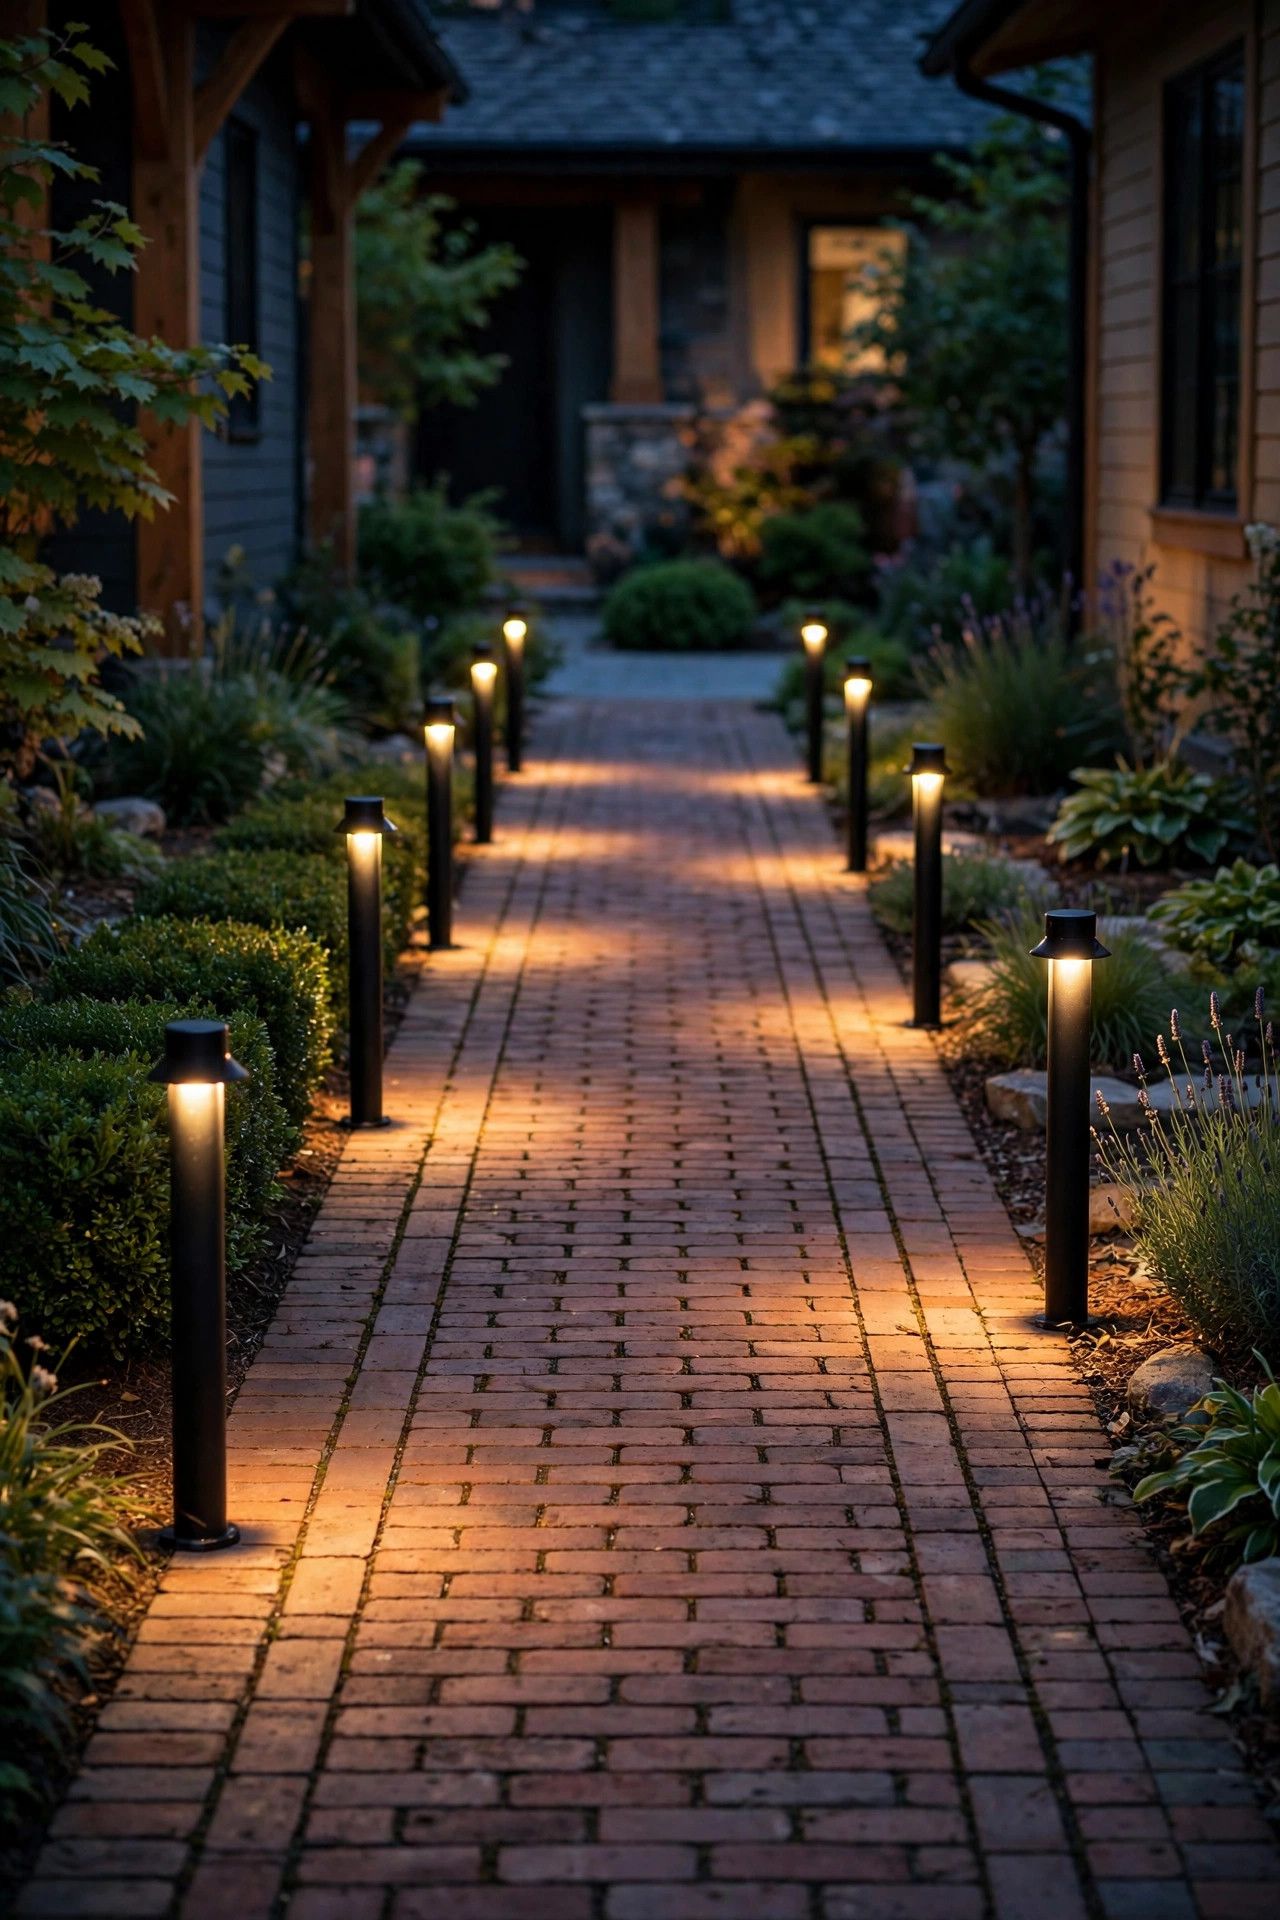
Bollards bring a little formality that suits brick beautifully, especially on straight walkways leading to a colonial or traditional home. Keep them short — 12 to 18 inches — so they read as garden lighting rather than commercial parking-lot fixtures. A matte black or aged bronze finish disappears into the planting beds during the day and lets the light do the talking at night.
I like bollards spaced 6 to 8 feet apart on one side of a wide walkway, or in pairs flanking the start of the path. Choose designs that throw light downward and outward in a shielded pattern so guests are not squinting into an exposed bulb. Bollards are sturdier than stake lights, which makes them a smart pick if your walkway edges get bumped by bikes, wagons, or an enthusiastic dog. Most are low-voltage and install the same way as standard path lights, with a heavy-duty stake or a surface mount on a small concrete pad.
Suggested budget range: $200 – $500.
5. Lantern Posts at the Start of the Path
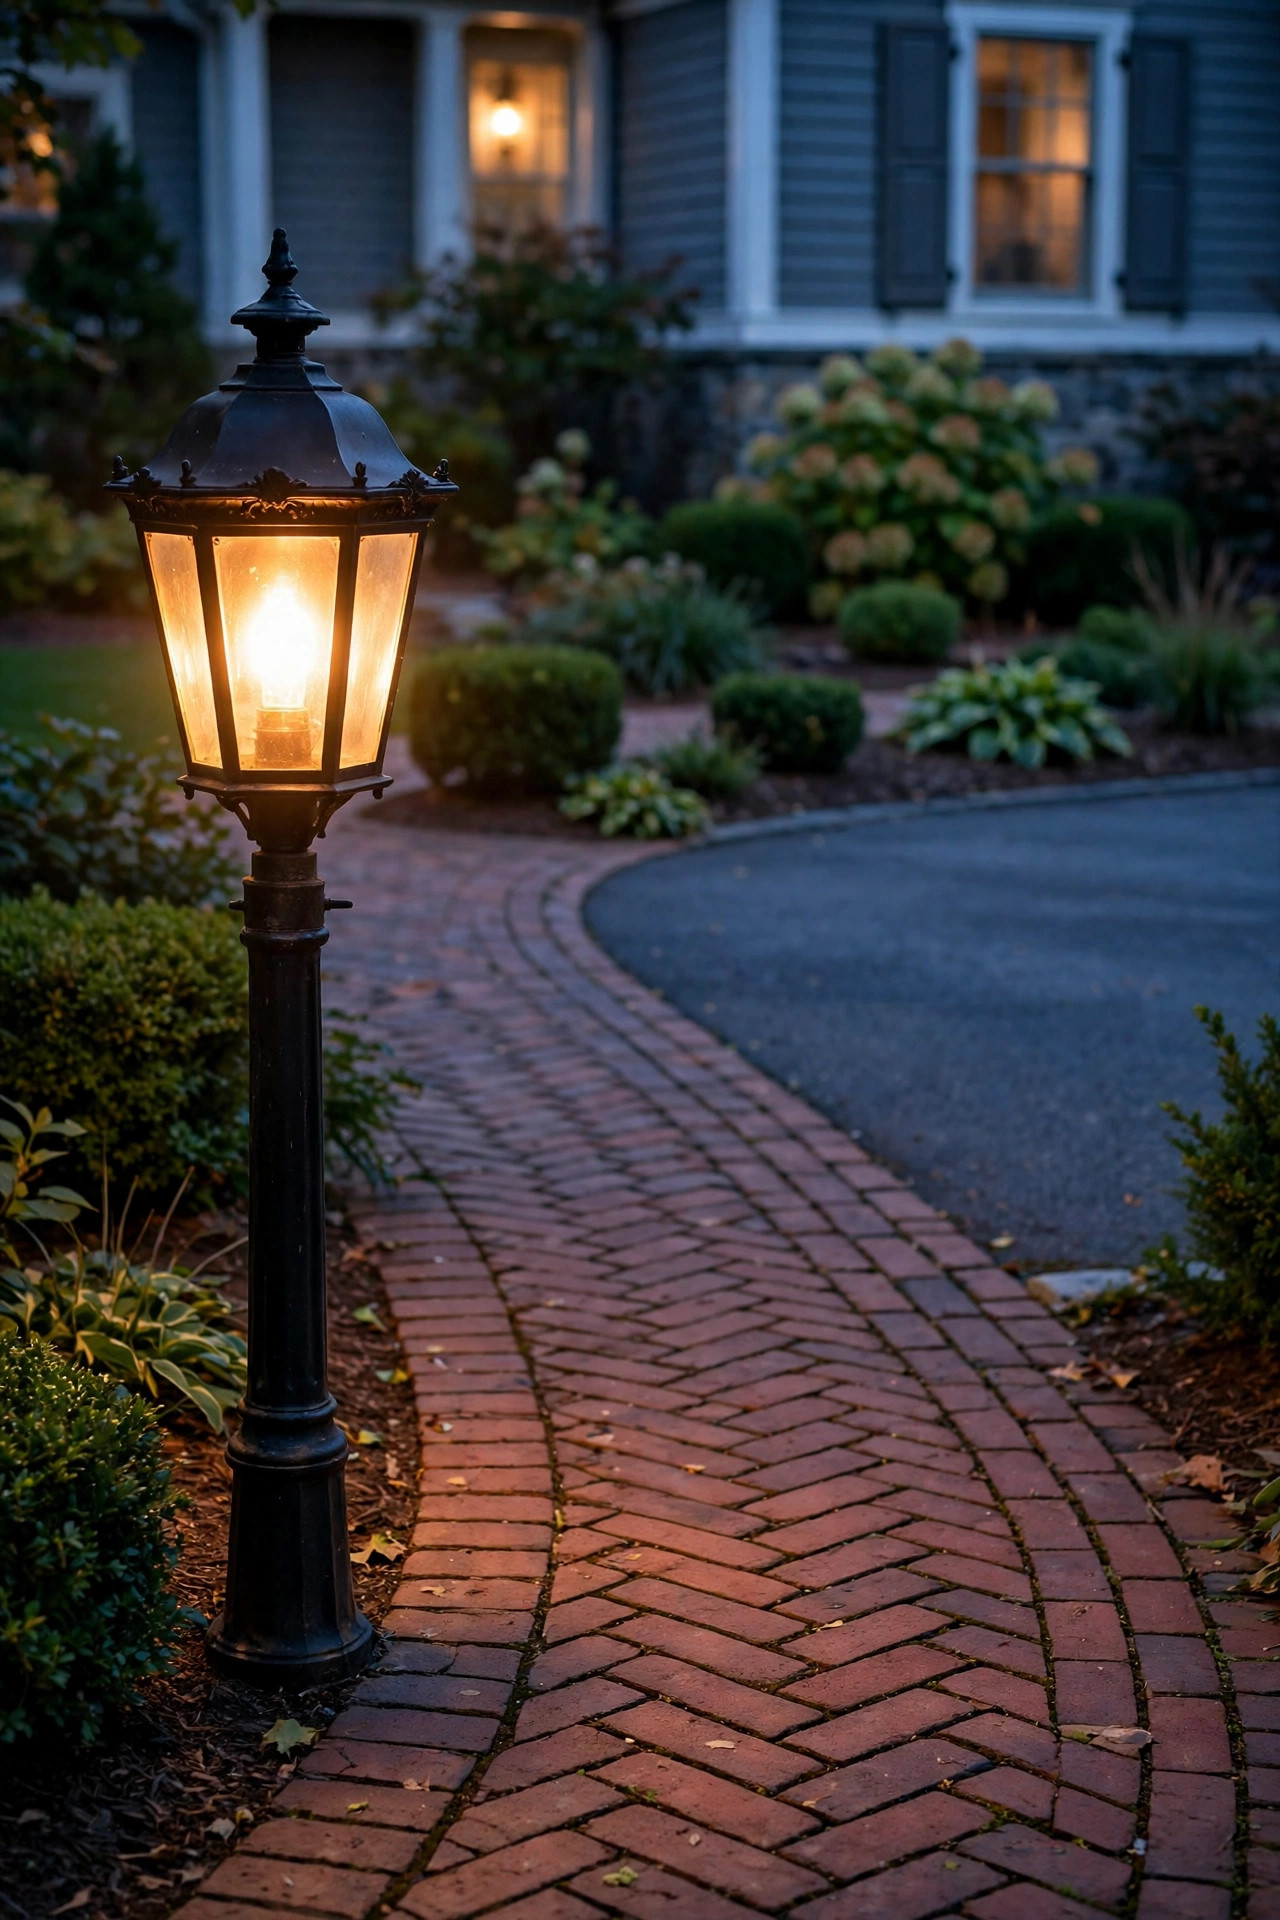
One taller lantern post where the walkway meets the driveway or sidewalk gives the whole entry a sense of arrival. Think of it as the walkway's welcome sign. A post around 4 to 5 feet tall with a classic lantern head matches the scale of most front doors and looks especially right with brick.
Because this fixture is taller, it casts a wider pool of light, so it can anchor the design while smaller path lights carry the rest of the route. Put it on a timer or a smart plug so it is reliably on when guests arrive after dark. If your walkway is long, a matching post at the porch end creates a lovely pair of bookends. Keep the bulb warm, around 2700K, and avoid anything over about 800 lumens — you want a glow, not a floodlight. Many posts are line-voltage and need an electrician, though low-voltage and solar post options exist for easier installs.
Suggested budget range: $150 – $450.
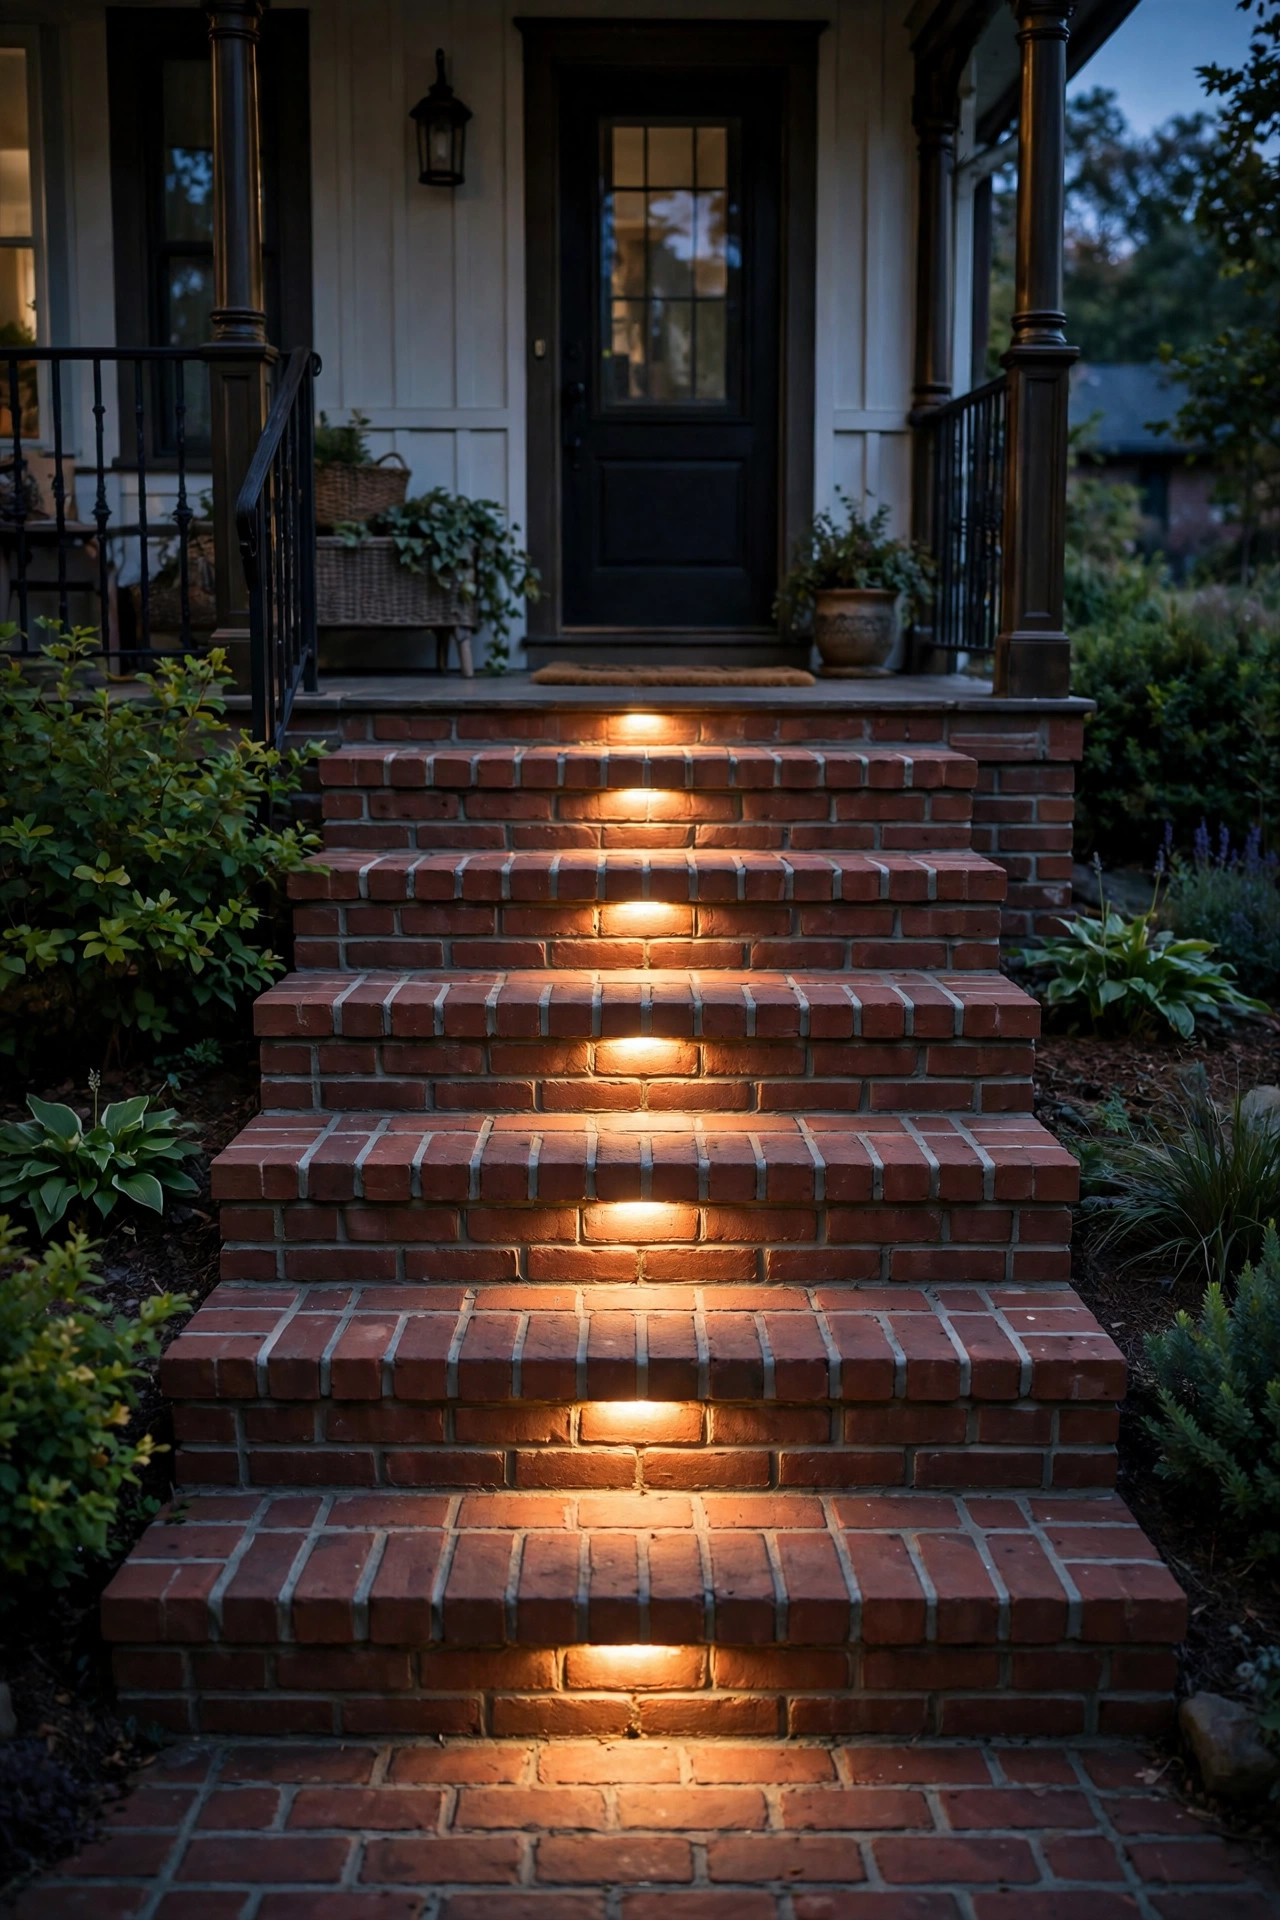
6. Step Lights for Brick Steps and Landings
Brick walkways often include a step or two up to the porch, and those steps are exactly where someone trips in the dark. Small step lights recessed into the riser of each step, or surface-mounted on the side wall of the steps, wash light across the tread where feet actually land. It is one of the most practical brick walkway lighting ideas on this list, and it looks like it was always part of the design.
Aim for one light per step, centered or in pairs on wider steps, wired into the same low-voltage run as your path lights. Louvered or hooded fixtures keep the light aimed down at the tread instead of into eyes. If your steps are solid brick with no easy way to recess a fixture, a slim surface-mount light on the side cheek wall works nearly as well. Always use outdoor-rated, sealed fixtures here, since steps collect rain and sprinkler spray.
Suggested budget range: $90 – $260.
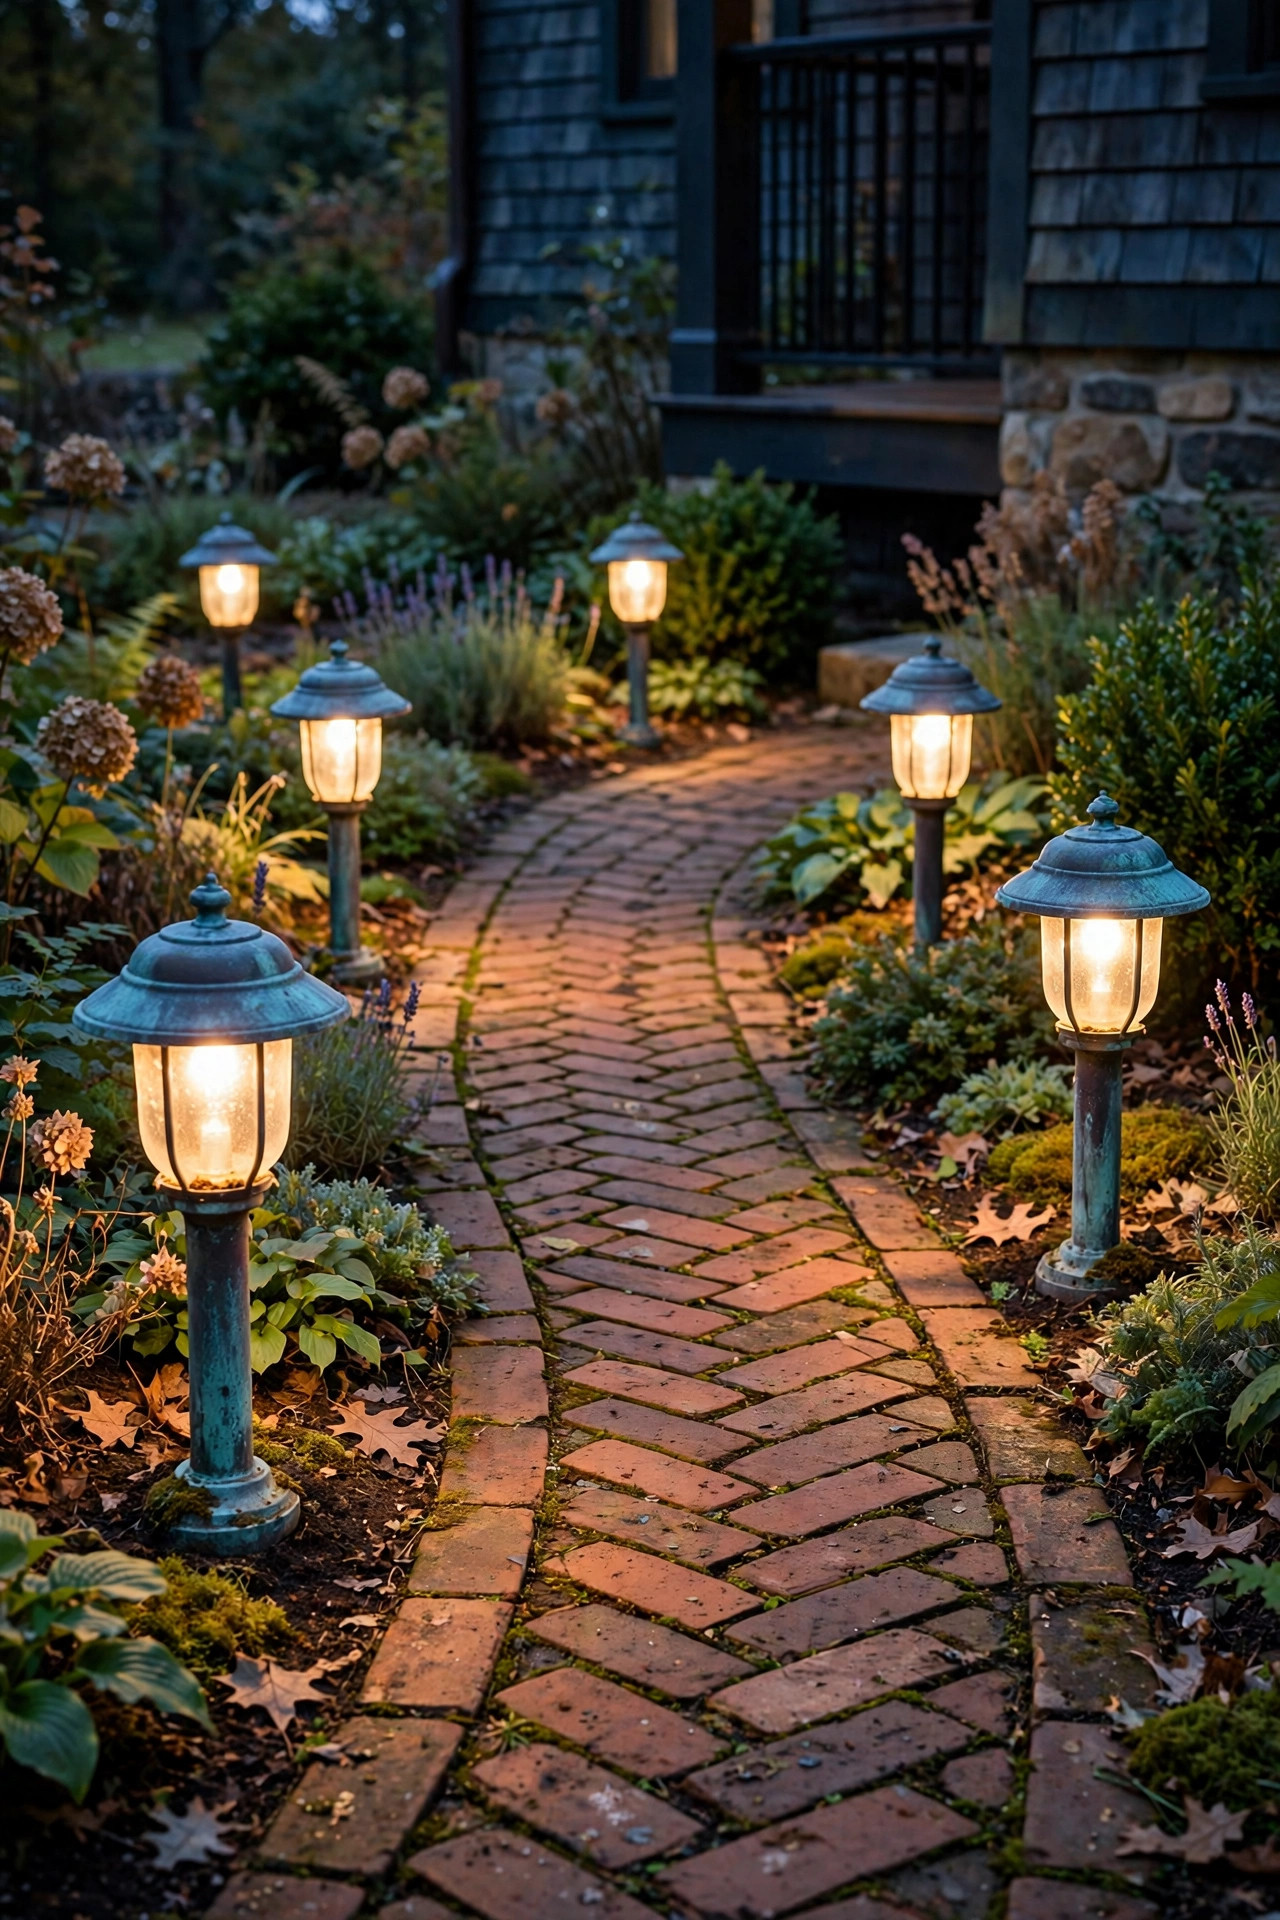
7. Copper Path Lights That Age With the Brick
Copper and brick are natural partners. Both start bright and deepen with age, and a copper path light develops a soft patina that looks better in year three than it did out of the box. If your home leans traditional, craftsman, or cottage, copper fixtures feel like they belong.
Real copper costs more than painted aluminum, so I often suggest copper just for the two or four lights closest to the porch, where people see them up close, and a coordinating bronze finish farther down the path. The warm metal also reflects light with a slightly golden cast that flatters the red tones in brick. Care is minimal: leave the patina alone if you like the aged look, or polish and seal the fixtures once a year to keep the bright finish. As always, choose LED bulbs or integrated LEDs so you are not climbing into the beds to change bulbs every season.
Suggested budget range: $220 – $550.
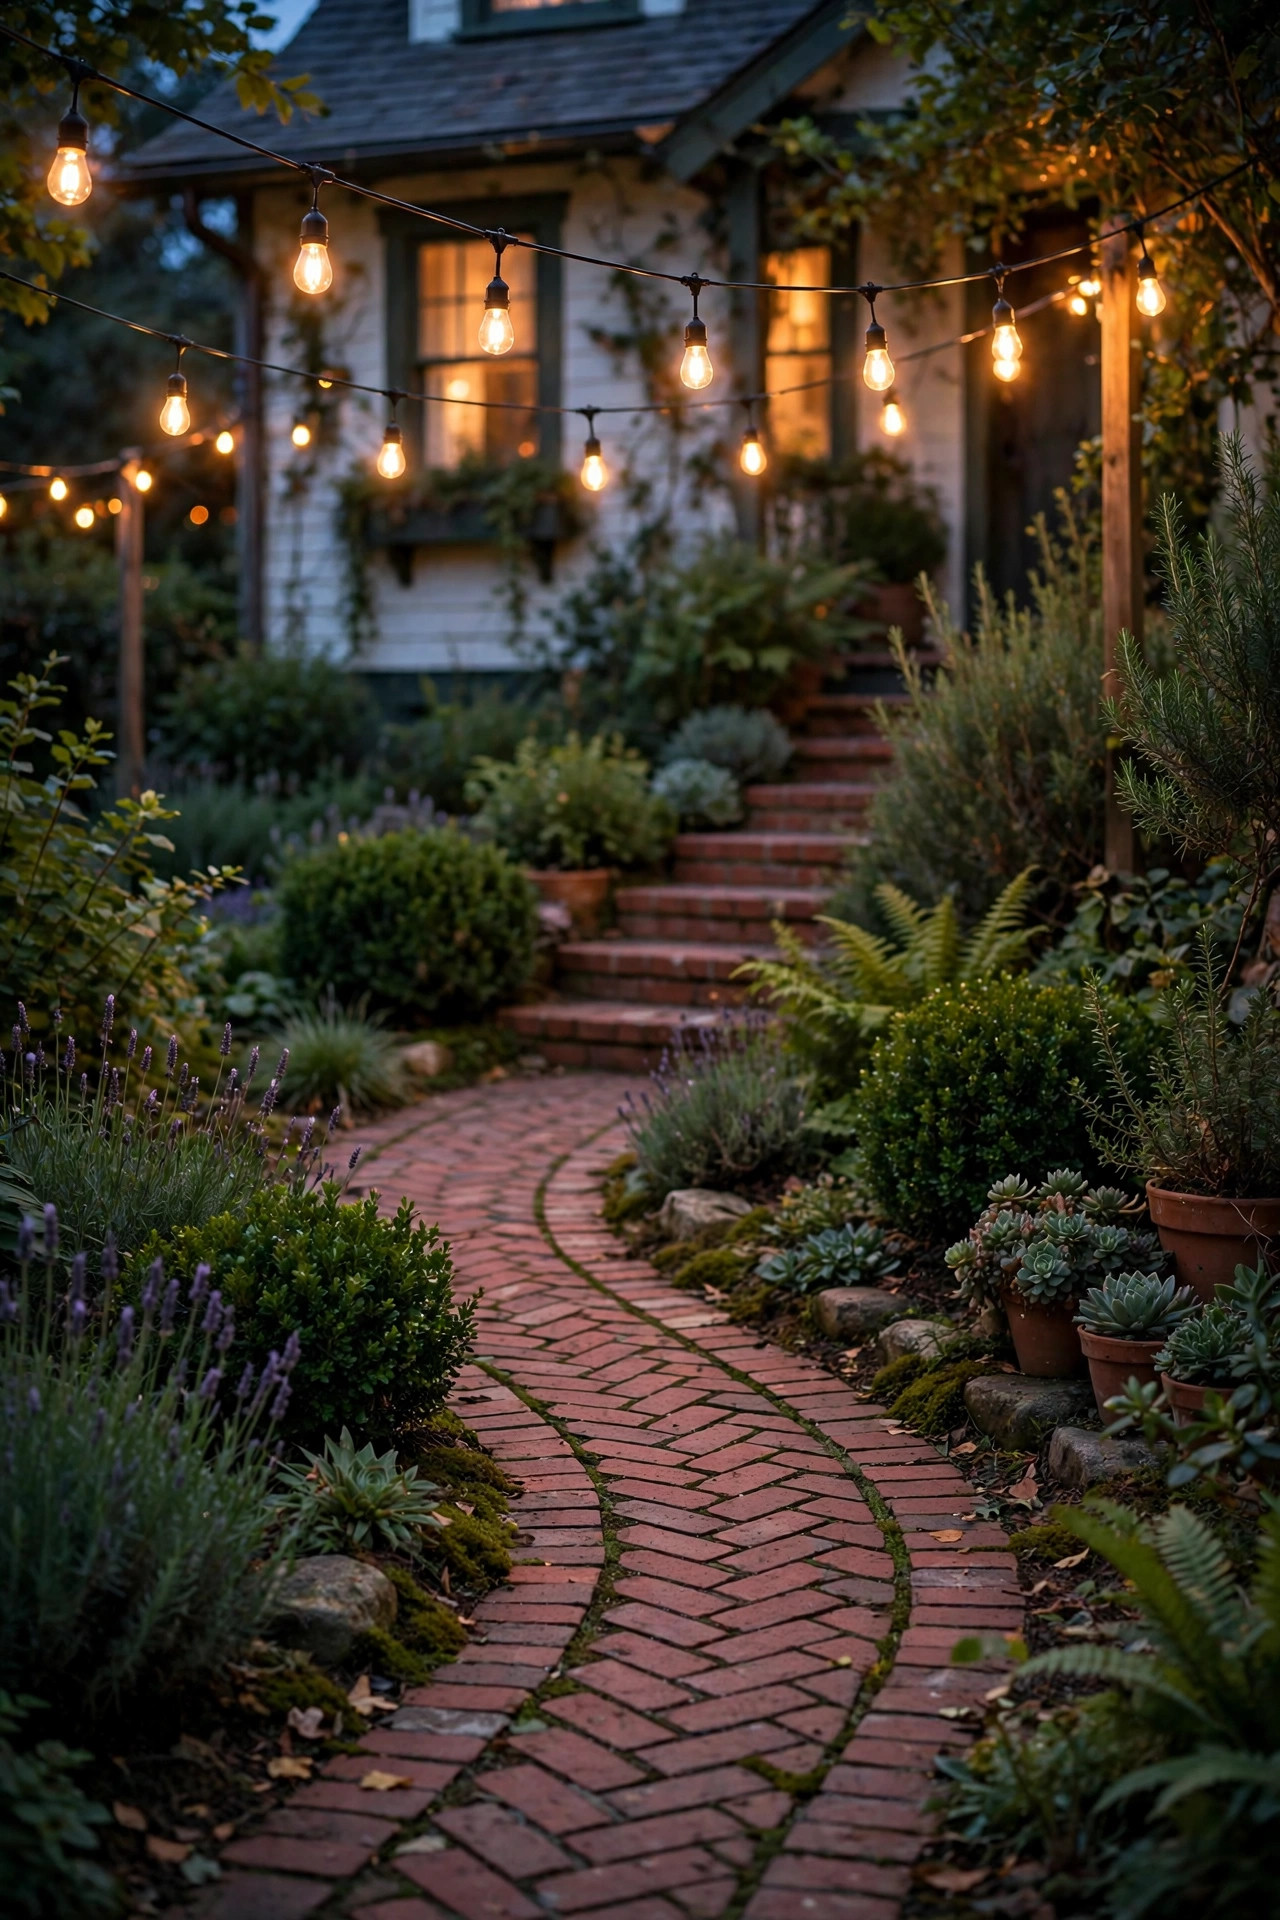
8. String Lights Over a Garden Brick Path
For a brick path that winds through a garden or connects the front walk to a side gate, a canopy of string lights adds pure charm. Run warm white outdoor string lights between short posts, a fence, or nearby trees so the strands arc gently over the walkway about 7 to 8 feet up — high enough to walk under comfortably, low enough to feel cozy.
Use commercial-grade, outdoor-rated strands with shatterproof LED bulbs, and keep connections off the ground and away from puddle spots. This look is more about atmosphere than navigation, so I still add a few low path lights or solar stakes at ground level to define the edges. Honestly, this is the idea guests comment on most at summer gatherings. It turns an ordinary trip down the path into a little moment. In winter, the same strands outline the walkway beautifully against bare branches, though I check the clips after any heavy snow.
Suggested budget range: $60 – $180.
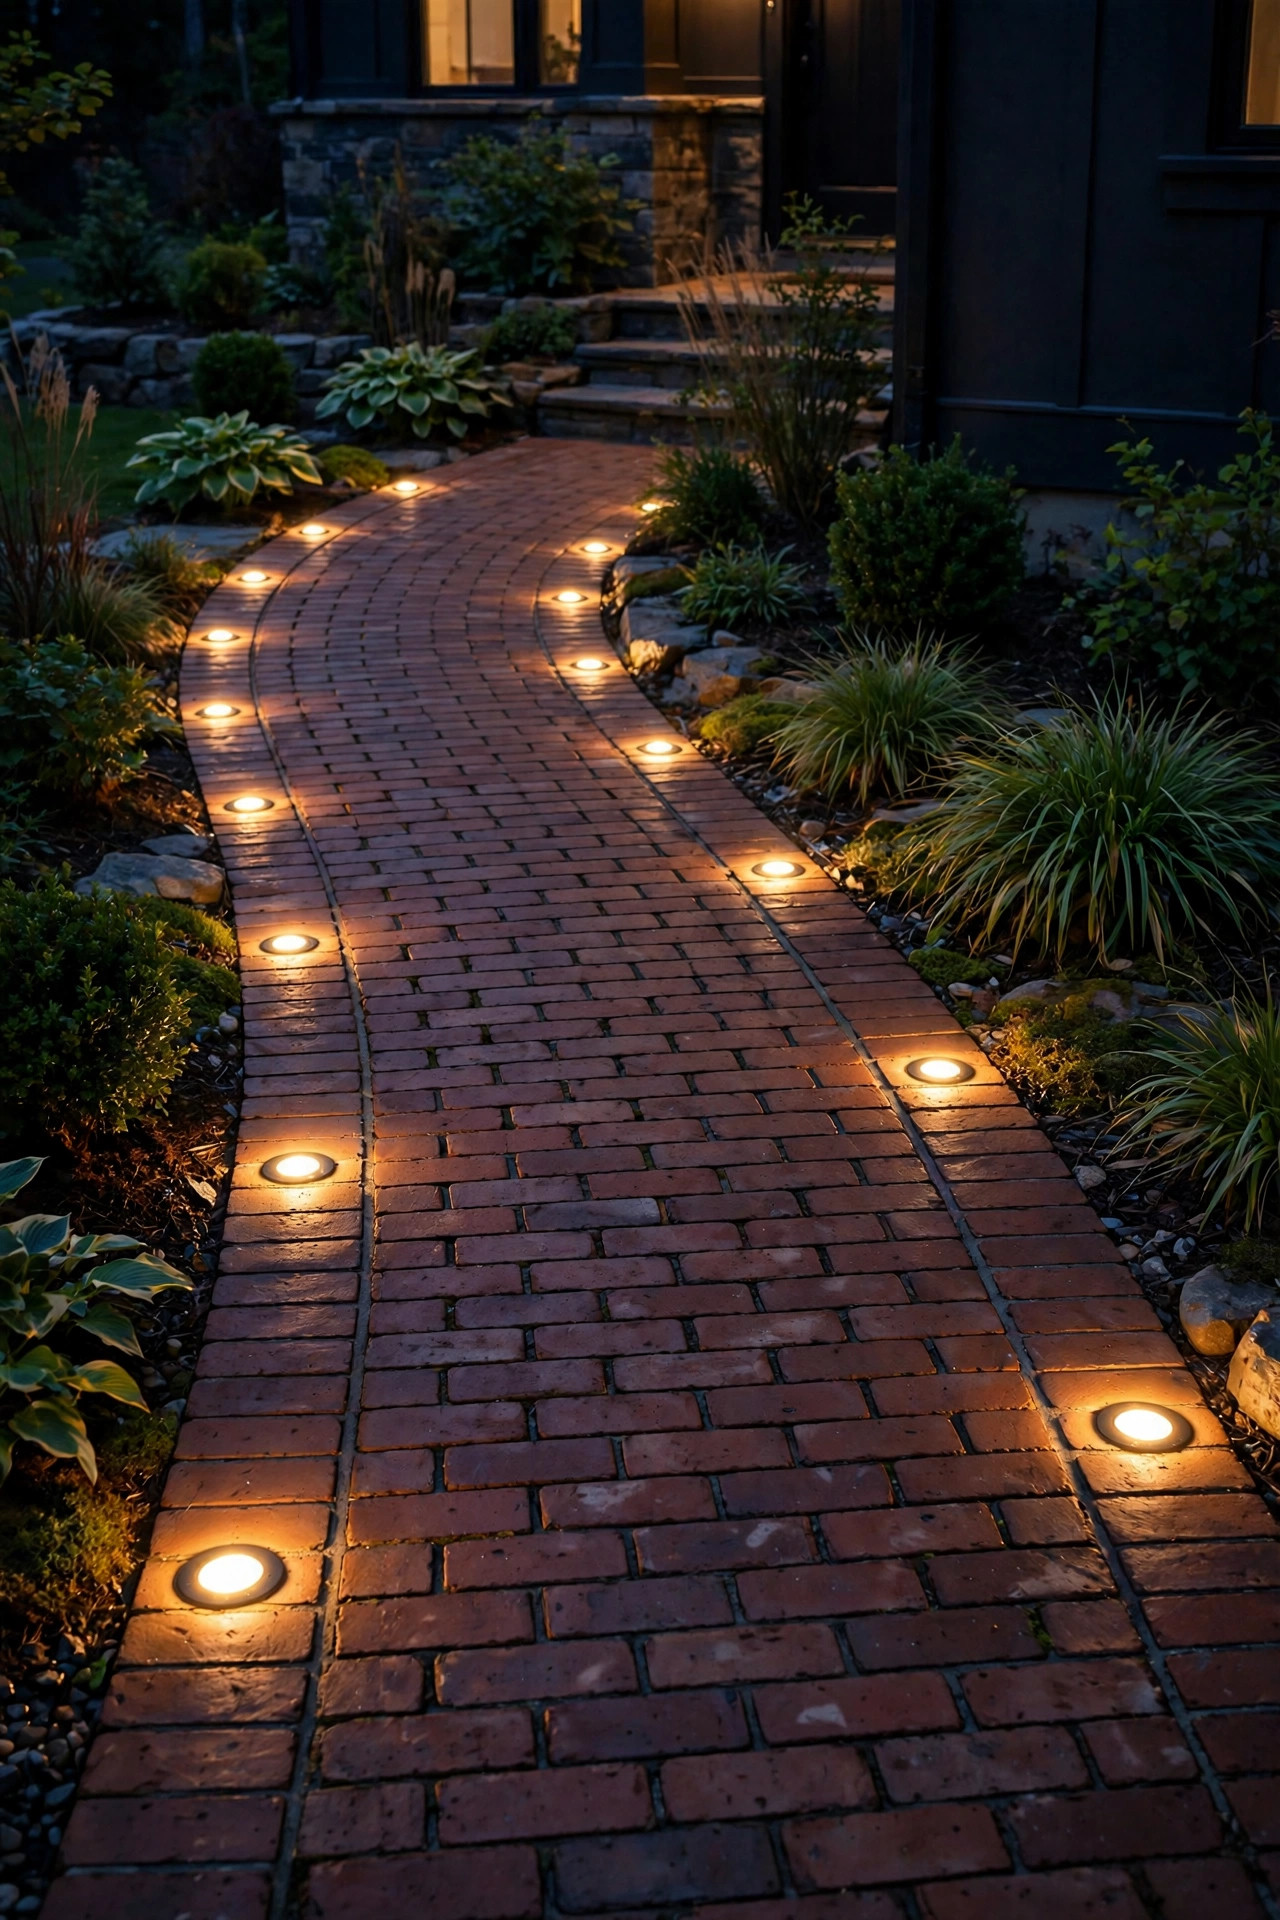
9. Recessed Deck-Style Lights in a Brick Border
If your walkway has a soldier-course or herringbone border, small round recessed lights can sit right in that border row for a clean, built-in effect. These are similar in spirit to paver lights but round, about 2 to 3 inches across, and they spill a soft disc of light across the bricks.
They work best as accent markers every 4 to 6 feet rather than your only light source, paired with a lantern near the door. Because they sit flush, they survive foot traffic, strollers, and snow shovels better than anything on a stake. Retrofit difficulty is the trade-off: each light needs a hole cored or a brick swapped out, plus wire run beneath the path, so this is a weekend project or a small pro job. Sealed stainless or composite housings with an IP67 waterproof rating hold up best at ground level, where fixtures sit in every puddle.
Suggested budget range: $170 – $380.
10. Motion-Sensor Lights Where the Walk Meets the Drive
The stretch where the walkway meets the driveway is where people step out of cars in the dark, juggling bags and keys. A motion-sensor light there — mounted on a short post, a nearby tree, or the garage wall aimed at the junction — earns its keep every single night.
Set the sensor range modestly, around 10 to 15 feet, so passing cars on the street do not trigger it, and aim the light head down the walkway rather than across the yard. A warm LED around 400 to 600 lumens is enough to see steps and edges clearly without startling anyone. I like pairing one motion light at the drive end with always-on low path lights along the rest of the walk, so the route is defined but the welcome brightens as you approach. Battery and solar motion models make this an easy add-on with no wiring at all.
Suggested budget range: $35 – $140.

11. Hanging Lanterns From Shepherd's Hooks
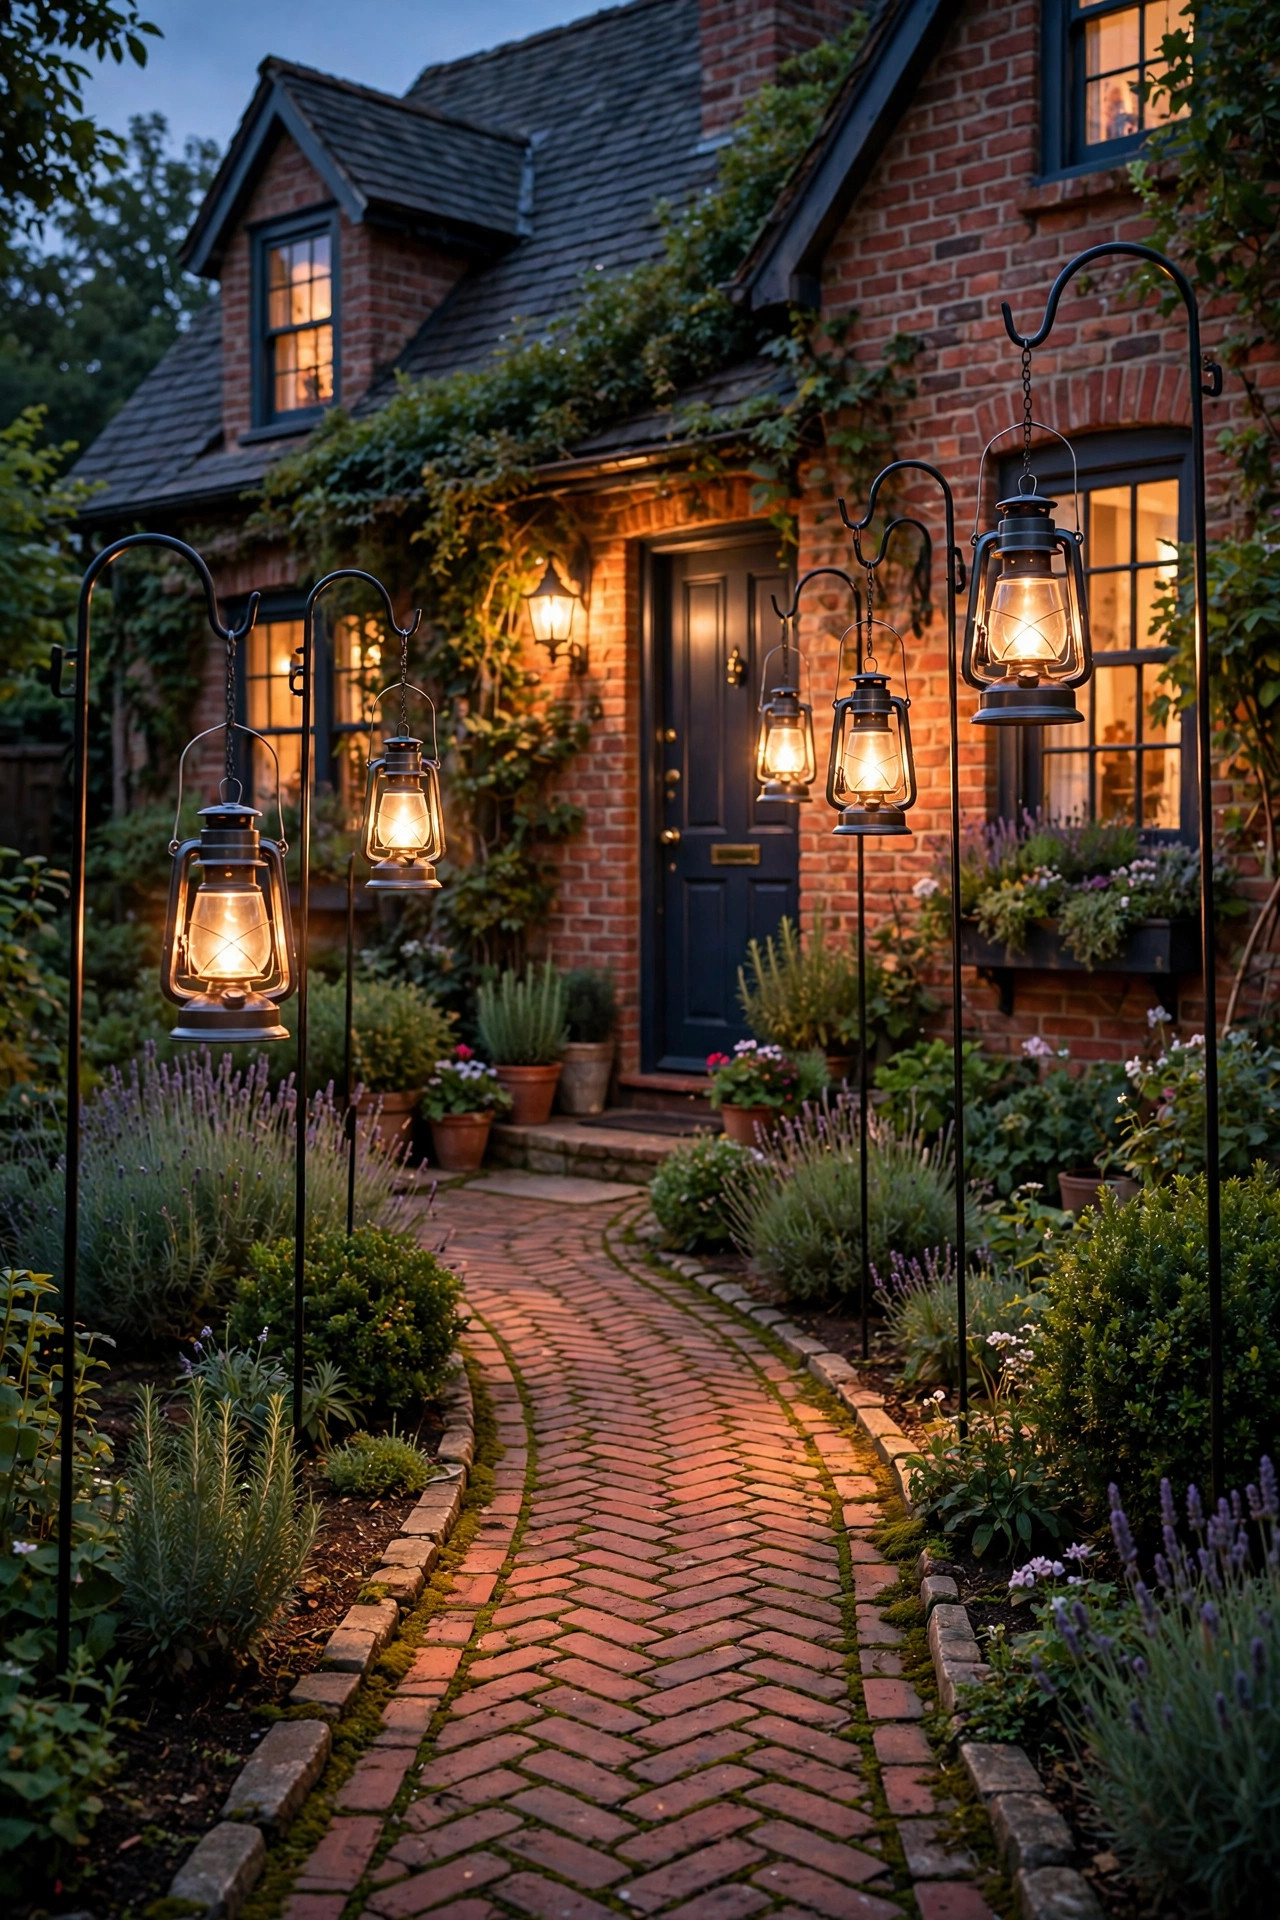
Shepherd's hooks with hanging lanterns give a brick walkway a storybook, cottage feel, and they are completely renter-friendly since nothing is wired or dug in. Press hooks into the beds every 5 to 6 feet along one side of the path and hang battery, solar, or candle-style LED lanterns at slightly varied heights for a relaxed look.
My honest advice: choose lanterns with a built-in timer function, so they switch on for six hours at dusk and you never trudge out to flip switches. Solar lanterns need their little panels facing up and unshaded, which the open hook position usually handles well. In windy areas, pick hooks with a double-prong base and lanterns with a bit of weight so they hang steady instead of swinging. This is also the easiest look to change seasonally — swap in lanterns with fall leaves or winter greenery tucked around the handle and the whole walkway feels new.
Suggested budget range: $50 – $160.
12. A Low-Voltage System Planned as One Run
Individually lovely lights still look scattered if they were bought one at a time. Planning the walkway as a single low-voltage system — one transformer, one cable run, matched fixtures — is what makes brick walkway lighting ideas look professionally done. It is also more affordable than it sounds, and my overview of low-voltage path lights walks through the basics.
Start by measuring the walkway and counting fixtures: most homes need 6 to 10 path lights for a typical front walk. Add up the wattage (LEDs make this easy — often under 40 watts total) and choose a transformer with at least 20 percent headroom, usually a 150-watt unit. Run 12-gauge cable in the bed alongside the brick, connect each fixture with waterproof connectors, and put the transformer on a photocell timer near an outdoor GFCI outlet. Buy fixtures from one finish family so the path reads as a single design from the street.
Suggested budget range: $300 – $700.

13. Uplighting the Brick Itself With Well Lights
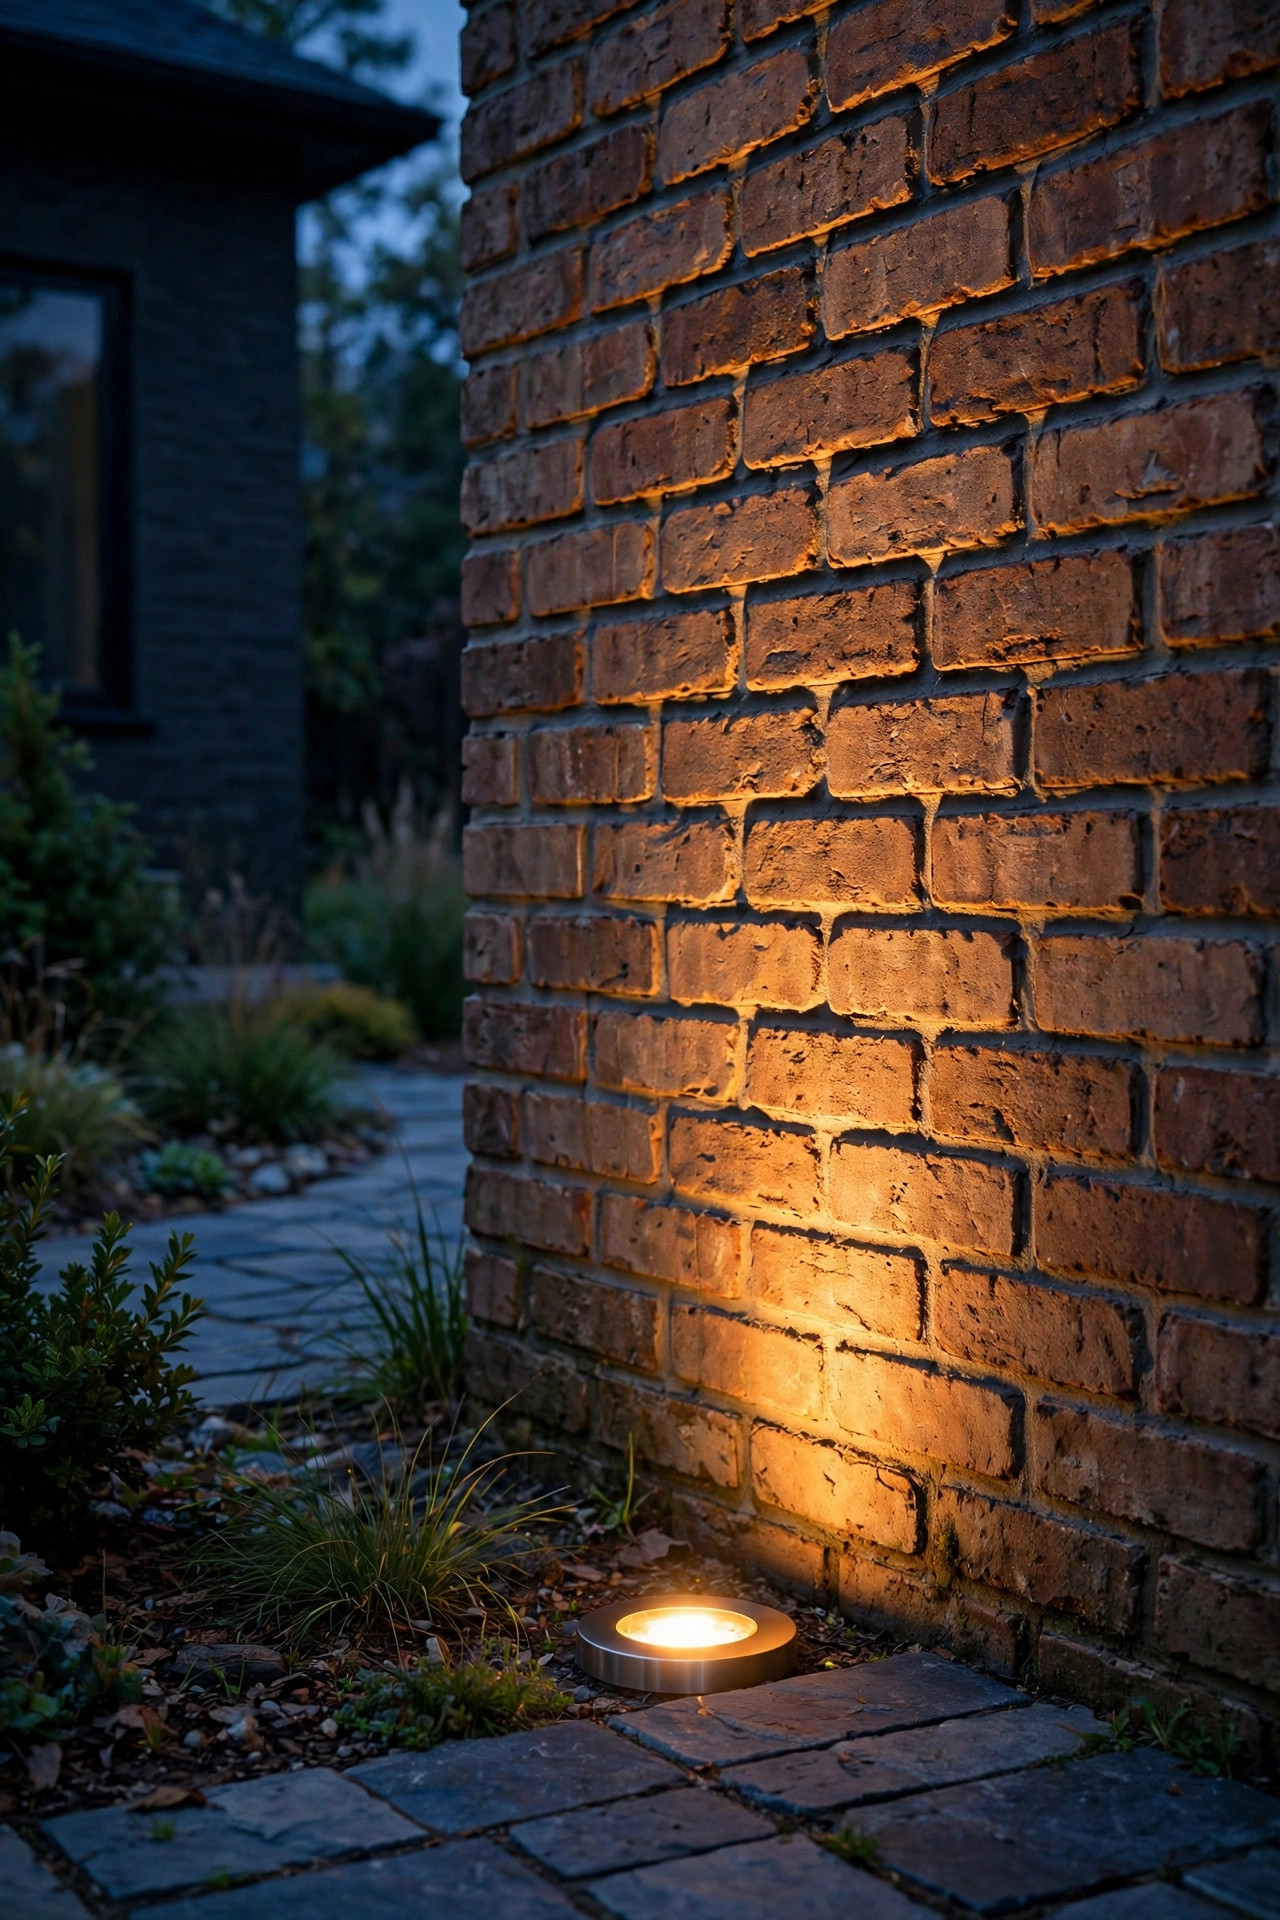
Brick has texture worth showing off. Small in-ground well lights placed at the base of a brick retaining wall, garden edging, or the brick facade beside the walkway graze light upward across the surface, and every bump and mortar line casts a tiny shadow. The effect is rich and architectural, especially against older, handmade-look brick.
Keep these as accents — one or two well lights highlighting a wall or a pair of brick pillars where the walkway begins — rather than a continuous row, which can feel theatrical. Use a narrow to medium beam, around 30 to 45 degrees, and a warm 2700K LED. Because well lights sit in the ground, drainage matters: set them in a small gravel pocket so water does not pool in the housing, and choose fixtures with sealed lenses rated for in-ground use. Angle adjustable models slightly toward the wall for the strongest grazing effect.
Suggested budget range: $120 – $320.
14. Fairy Lights Woven Through Walkway Plantings
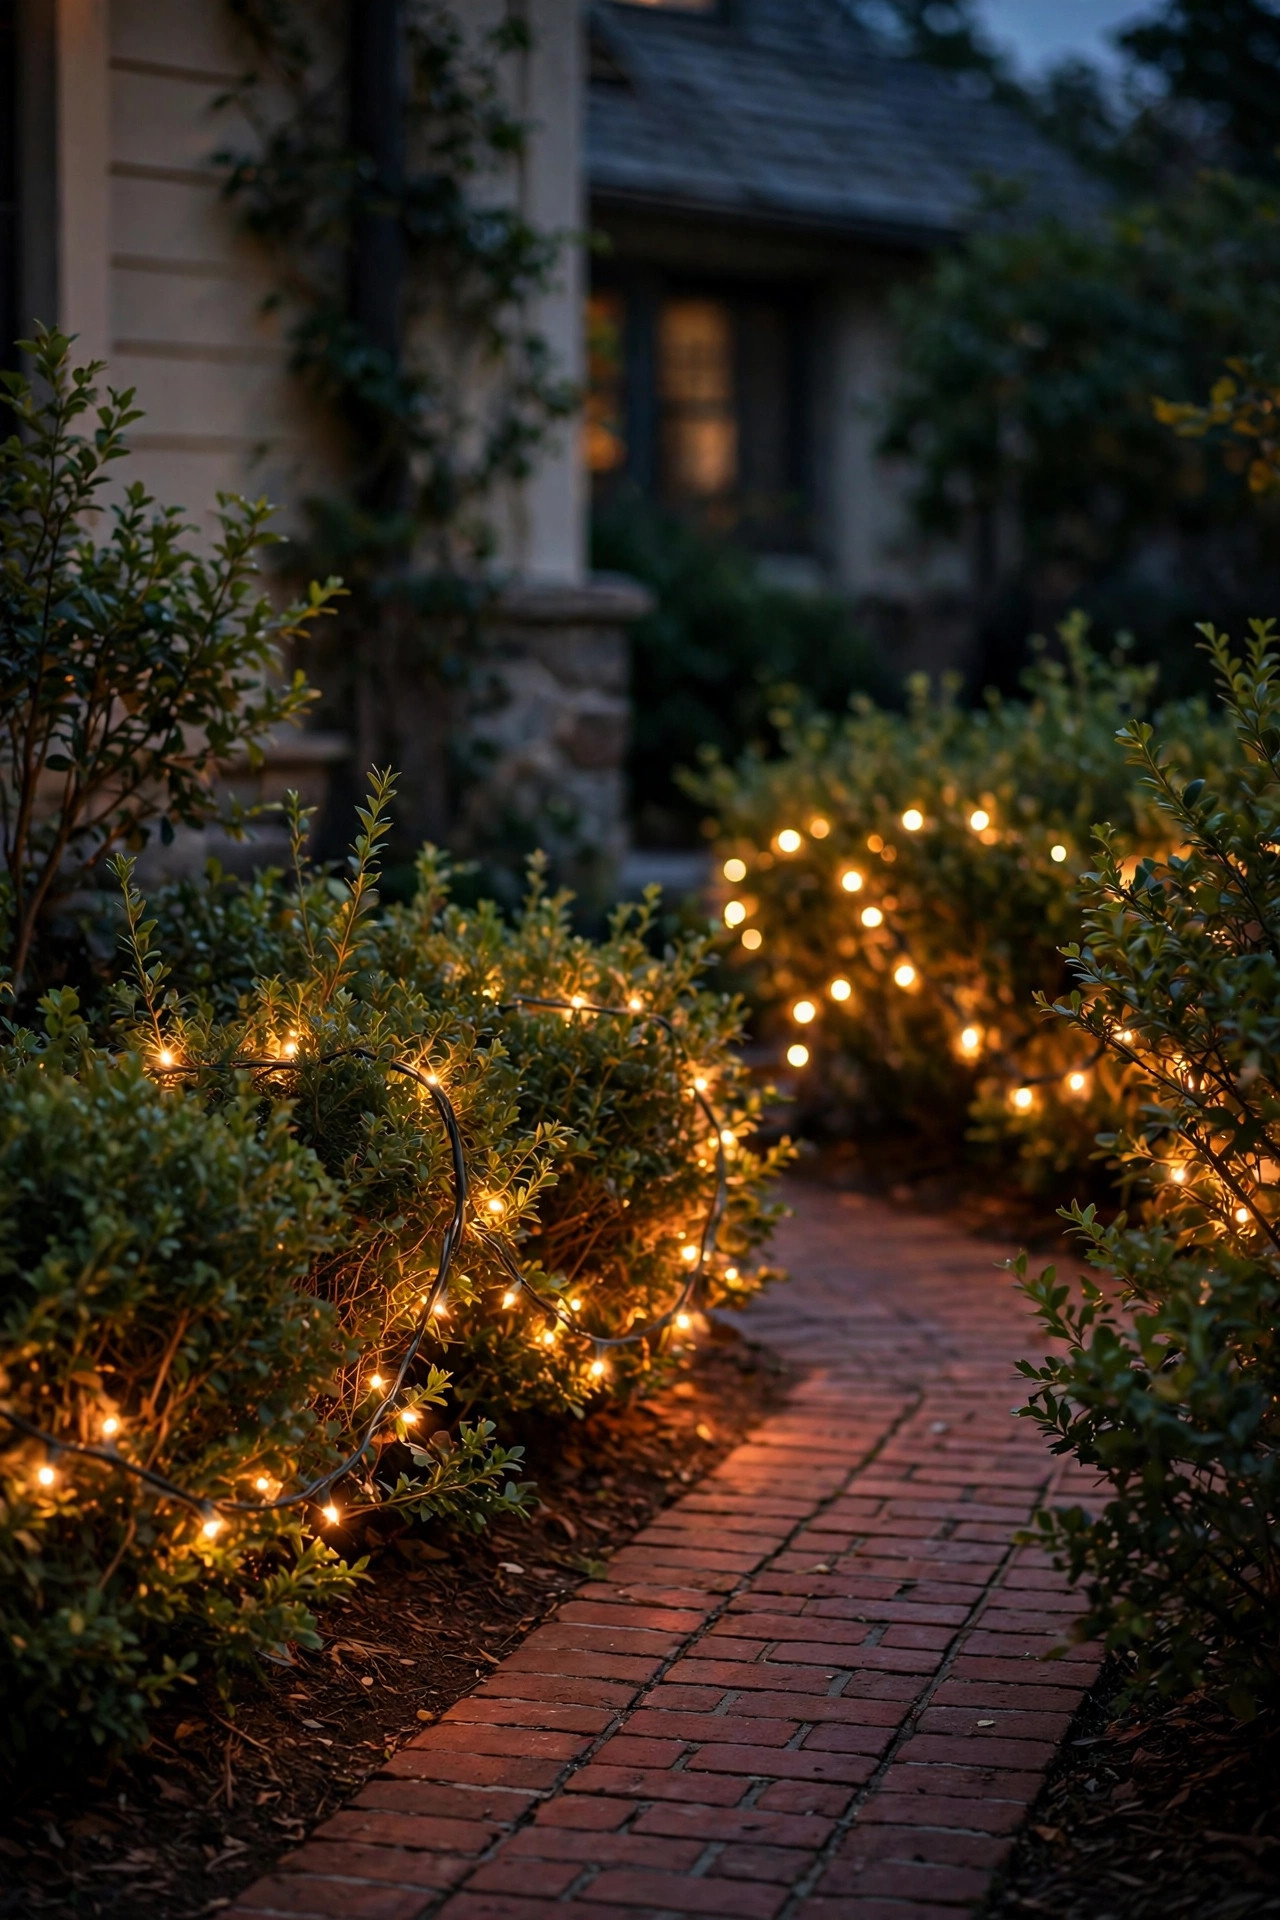
For softness, nothing beats tiny warm fairy lights woven through the plantings that edge a brick path — boxwood, lavender, ornamental grasses, or a low hedge. The lights twinkle from inside the foliage while the walkway itself stays calmly lit by a few path fixtures, and together the layers feel magical without being busy.
Use outdoor-rated, copper-wire LED fairy lights, which bend easily around branches and nearly disappear during the day. Solar versions work in sunny beds; plug-in strands on a timer are more reliable in shade. Keep the density gentle — one strand per shrub is plenty — and keep lights off any plant part that gets pruned often, so you are not untangling wire every spring. A quick safety note I always give: LED only, since fairy lights sit directly against leaves and mulch, and LEDs stay cool to the touch. This pairs beautifully with idea 8 if your path has both plantings and overhead space.
Suggested budget range: $25 – $90.
15. Smart Lights on a Dusk Schedule
The finishing touch I recommend for almost every walkway now is control. Smart bulbs in your lantern post, a smart plug on the transformer, or app-controlled low-voltage systems let the whole brick path light itself at sunset, dim late at night, and brighten when someone approaches — no timers to reset after every power flicker or season change.
Astronomical scheduling is the feature worth having: the lights track actual sunset in your zip code, so they are never burning at 5 p.m. in June or coming on after dark in December. I set my own walkway to full brightness from dusk to about 10 p.m., then dim to 40 percent overnight for a soft security glow that does not waste energy. Group the walkway lights with the porch light in one scene so a single tap or voice command welcomes guests. Even one smart element, like a smart plug on an existing transformer, upgrades an older setup for very little money.
Suggested budget range: $30 – $200.
Frequently Asked Questions
What color light looks best on a brick walkway?
Warm white, in the 2700K to 3000K range, is the most flattering choice for brick. It echoes firelight and brings out the red, orange, and brown tones in the clay. Cooler light at 4000K and above tends to make brick look gray and flat. If your brick is already very orange, 2700K keeps it cozy; for darker brown brick, 3000K adds a touch of clarity while staying warm.
How far apart should walkway lights be spaced?
For most brick walkways, 5 to 6 feet between low-voltage path lights gives overlapping pools of light without a runway effect. Solar lights are dimmer, so 4 to 5 feet works better. Taller bollards can stretch to 6 to 8 feet. Whatever you choose, stagger fixtures on alternating sides of the path rather than placing them in straight matching rows.
Are solar lights bright enough for a brick walkway?
They are bright enough to mark the path and keep guests oriented, which is what most front walks need. Quality warm white solar stakes give a soft glow for 6 to 8 hours on a full day's sun. They are not bright enough for steps or security tasks, so I pair them with at least one wired or motion light at steps and at the driveway end of the walk.
Can I install paver lights in an existing brick walkway?
Yes, with a little patience. You lift individual bricks where the lights will go, run low-voltage cable through the sand or gravel base, set the fixture in place of the brick, and re-lay the surrounding bricks snugly. It is very doable on a sand-set walkway. For brick set in mortar, the job is harder and often worth handing to a mason or lighting installer to avoid cracking the surface.
Conclusion
Brick already gives you the classic charm — the lighting just has to respect it. Warm color temperature, fixtures that suit a traditional home, and a layered mix of path, step, and accent light will make your brick walkway lighting ideas feel intentional instead of improvised. Start with the safety spots first, steps and the driveway junction, then add the pretty layers as your budget allows. When you are ready for more inspiration, browse the rest of my outdoor lighting ideas here on the site and find the next project for your porch, driveway, or garden.