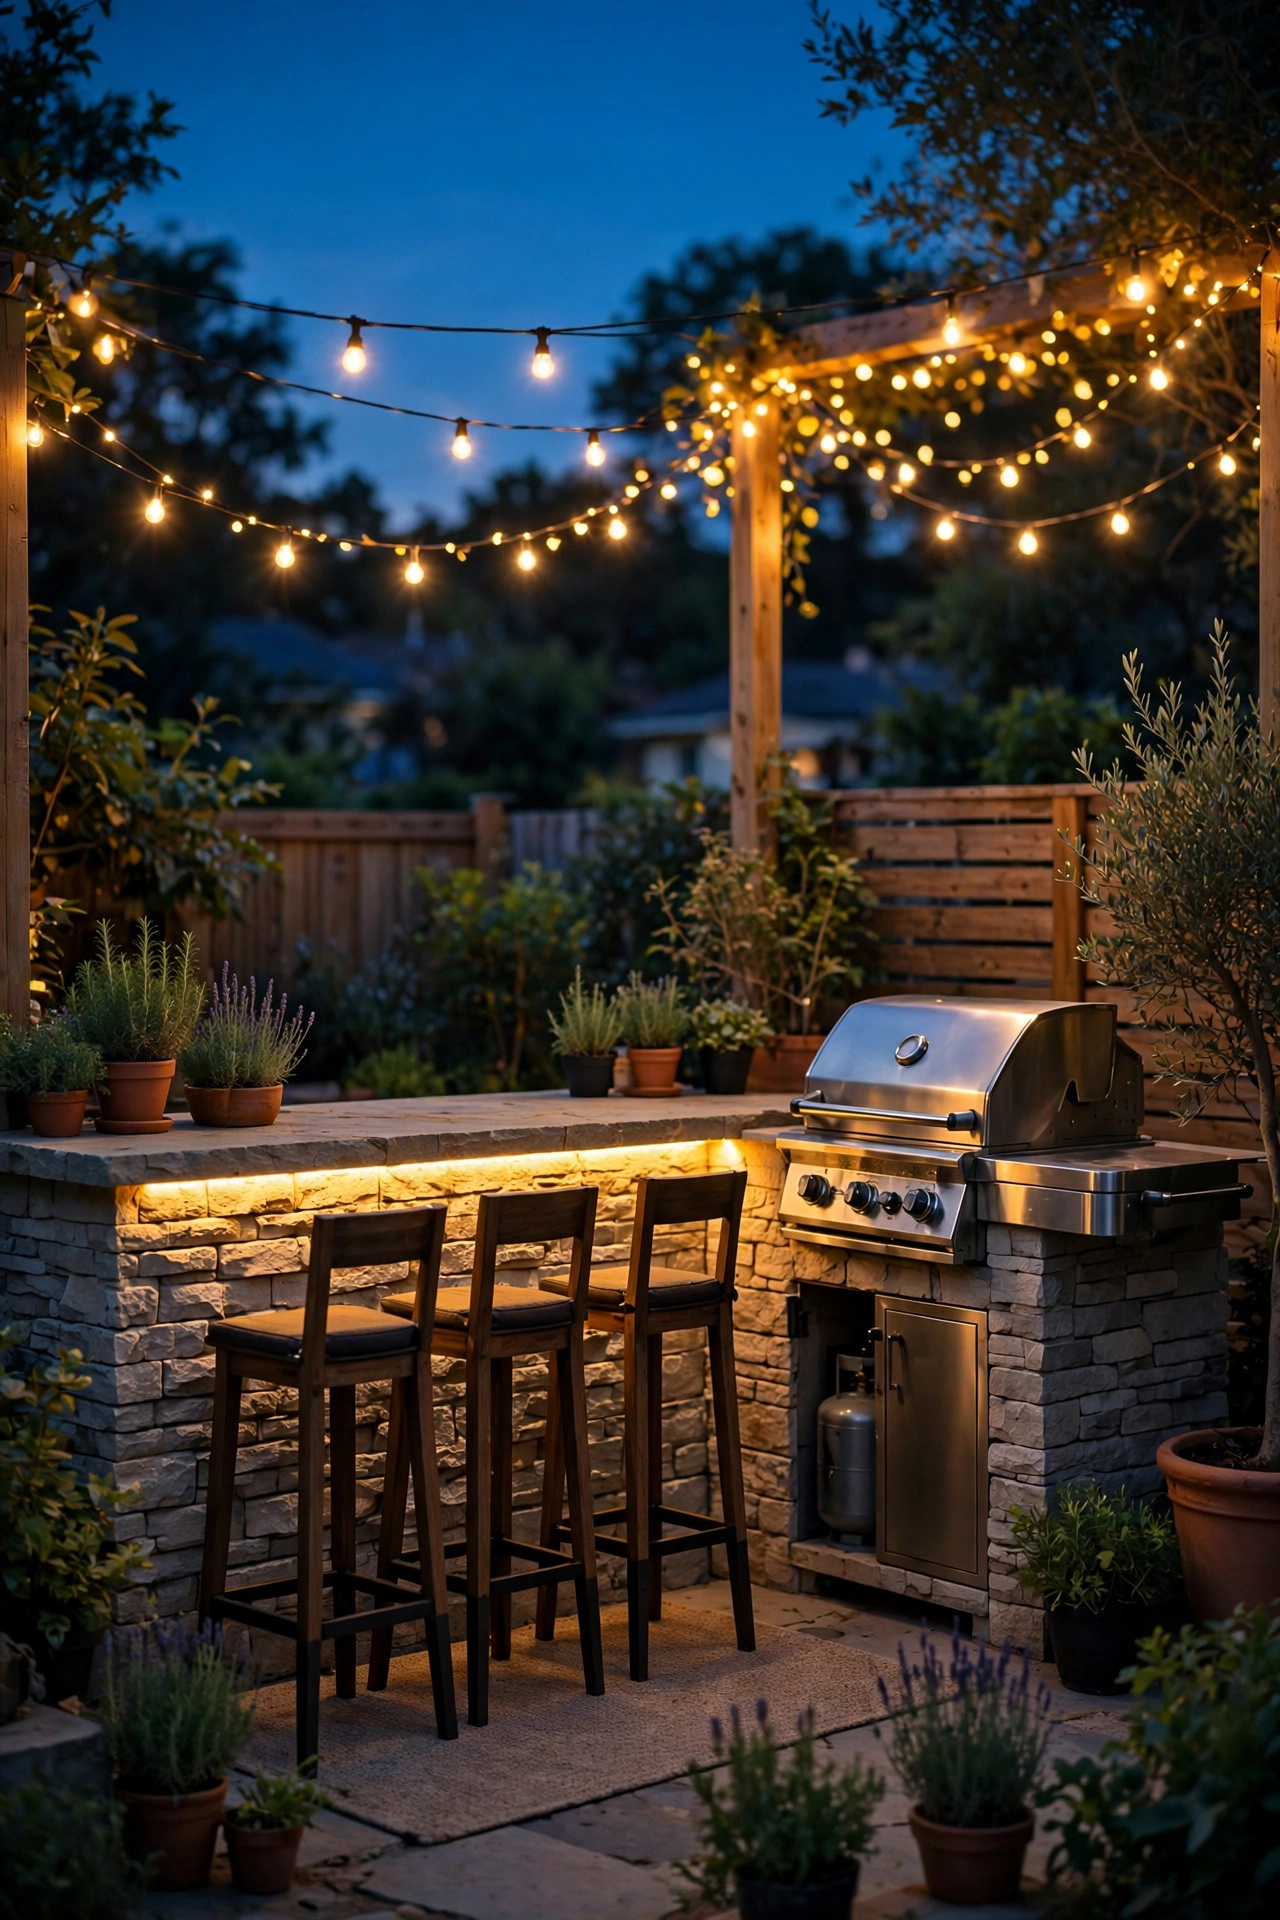
Intro
There's nothing quite like firing up the grill after the sun goes down — the sizzle, the woodsmoke, the clink of glasses as friends drift toward the patio. But here's what I've learned the hard way: an outdoor kitchen without good outdoor kitchen lighting is just a very expensive patio decoration after 8 p.m. If you can't see the color of the steaks, read the spice labels, or spot the steps between the grill and the bar, nobody's staying long — no matter how gorgeous the setup looks in daylight.
In my experience, the kitchens that get used all evening have one thing in common: layered light. Three distinct layers, to be exact. Bright, focused task lighting where you cook (the grill, the prep counter, the sink), soft ambient light where you gather (string lights, lanterns, pendants), and low accent light along paths and steps so guests can move around safely. Miss any one of those three and something feels off — either you can't see your food, or the mood dies.
Below are 19 of my favorite outdoor kitchen lighting ideas, from a $25 grill light that changes everything to full layered plans worth every penny.
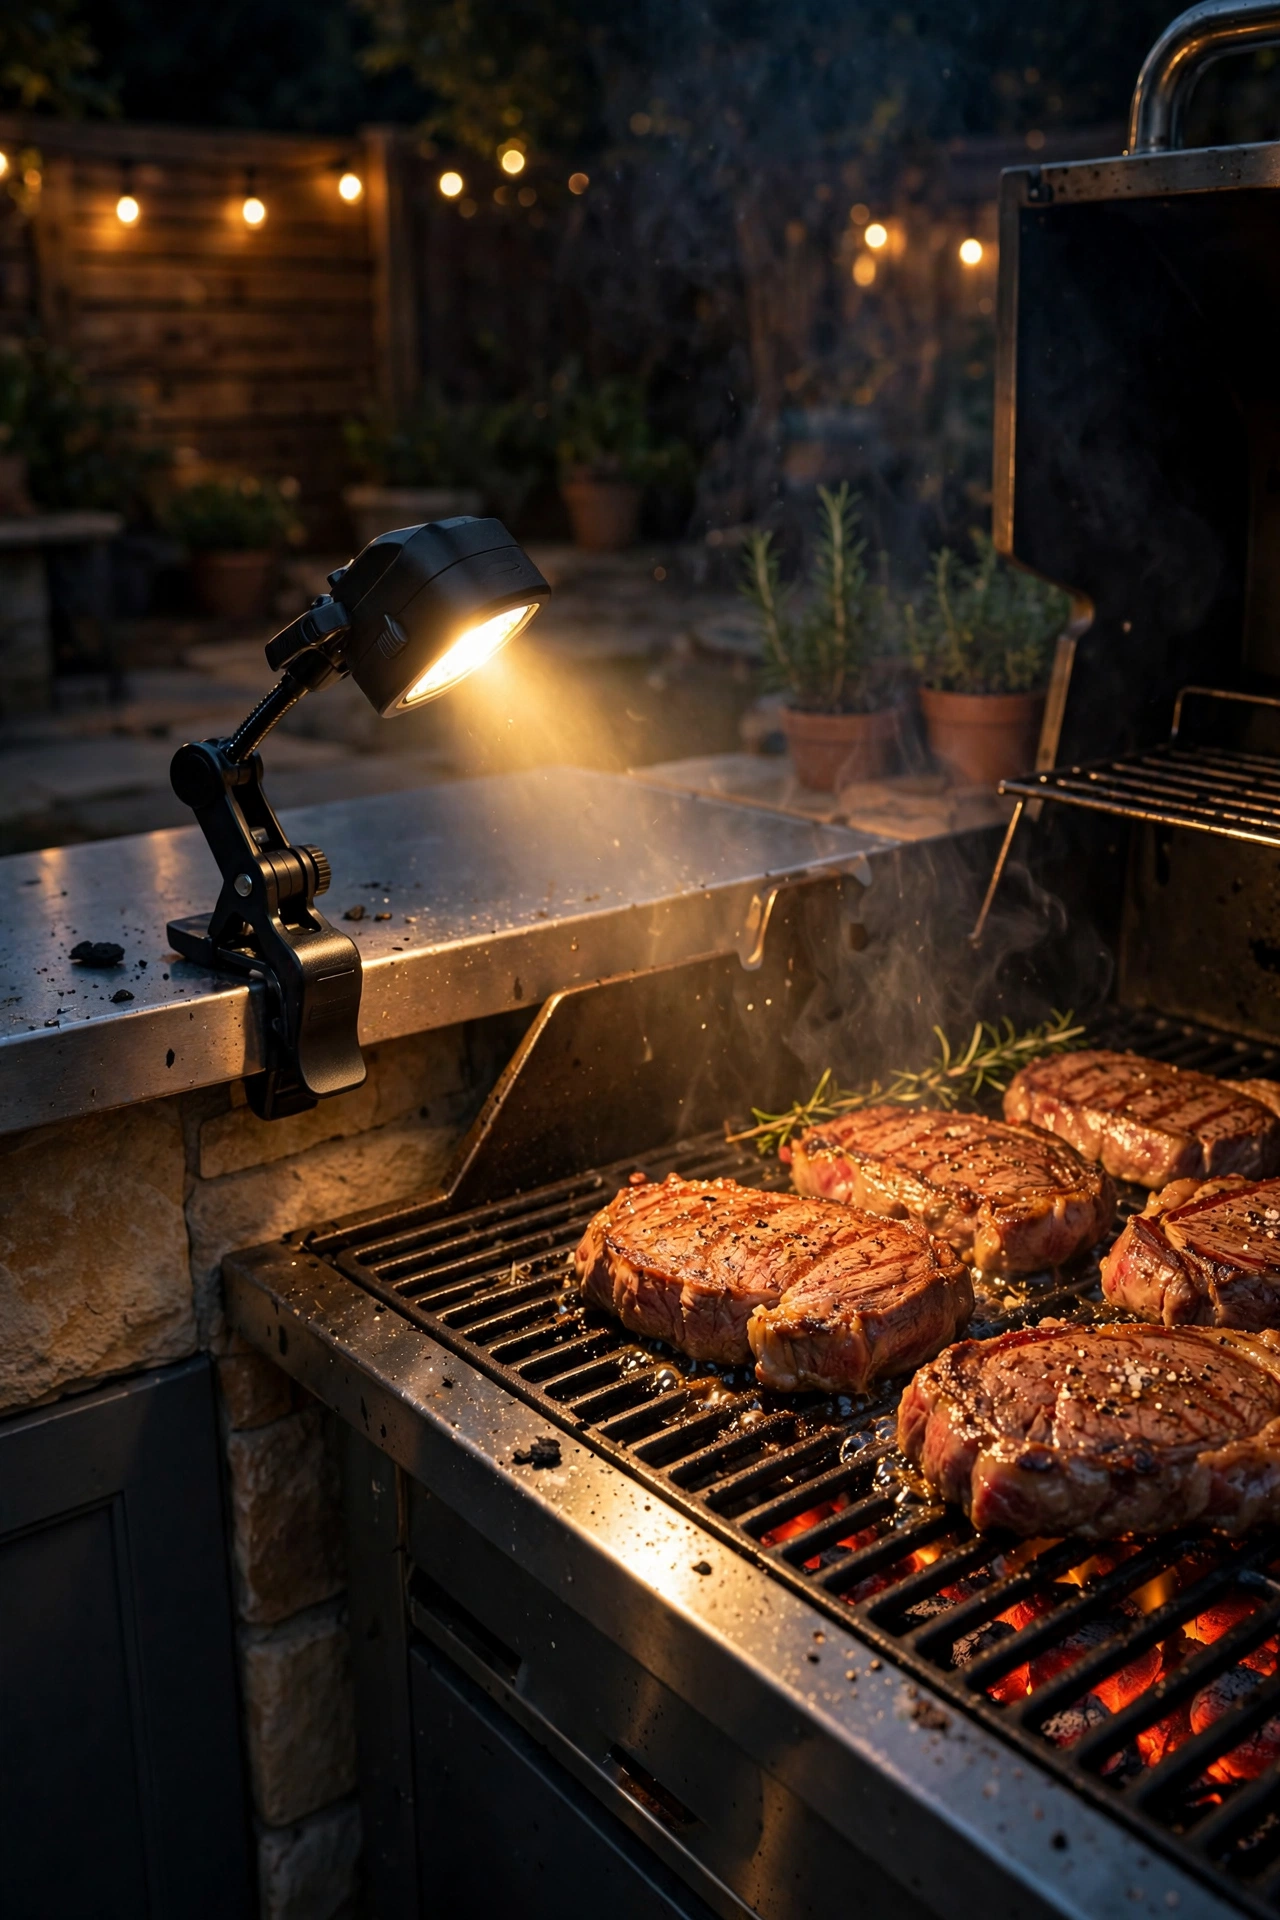
1. Clip-On LED Grill Task Light
If you buy exactly one thing for your outdoor kitchen, make it this. A clip-on LED grill light mounts to the handle or side shelf of your gas or charcoal grill and aims a bright beam straight at the cooking grate — which means you can actually see the sear marks at 9 p.m. instead of squinting and guessing. In my experience, this is the single biggest quality-of-life upgrade in all of outdoor kitchen lighting, and it costs less than a bag of lump charcoal.
Look for a model with a flexible gooseneck (about 8 to 12 inches of bendable arm) and a heat-resistant housing — LED, always, since the housing sits inches from a hot grill and never gets more than warm. Most clip-ons run on 3 AA batteries or a rechargeable cell and give you 3 to 5 hours of runtime per charge, which is plenty for a long cookout. Aim for around 100 to 150 lumens: enough to read the crust on a pork shoulder, not so much that it blinds your guests.
Mount it on the opposite side from your dominant hand so you're not casting shadows on the grate. And here's my tip: keep a second one clipped to your grill cart for plating — the light on the meat is what matters most, but seeing your tongs helps too.
Suggested budget range: $20 – $45.
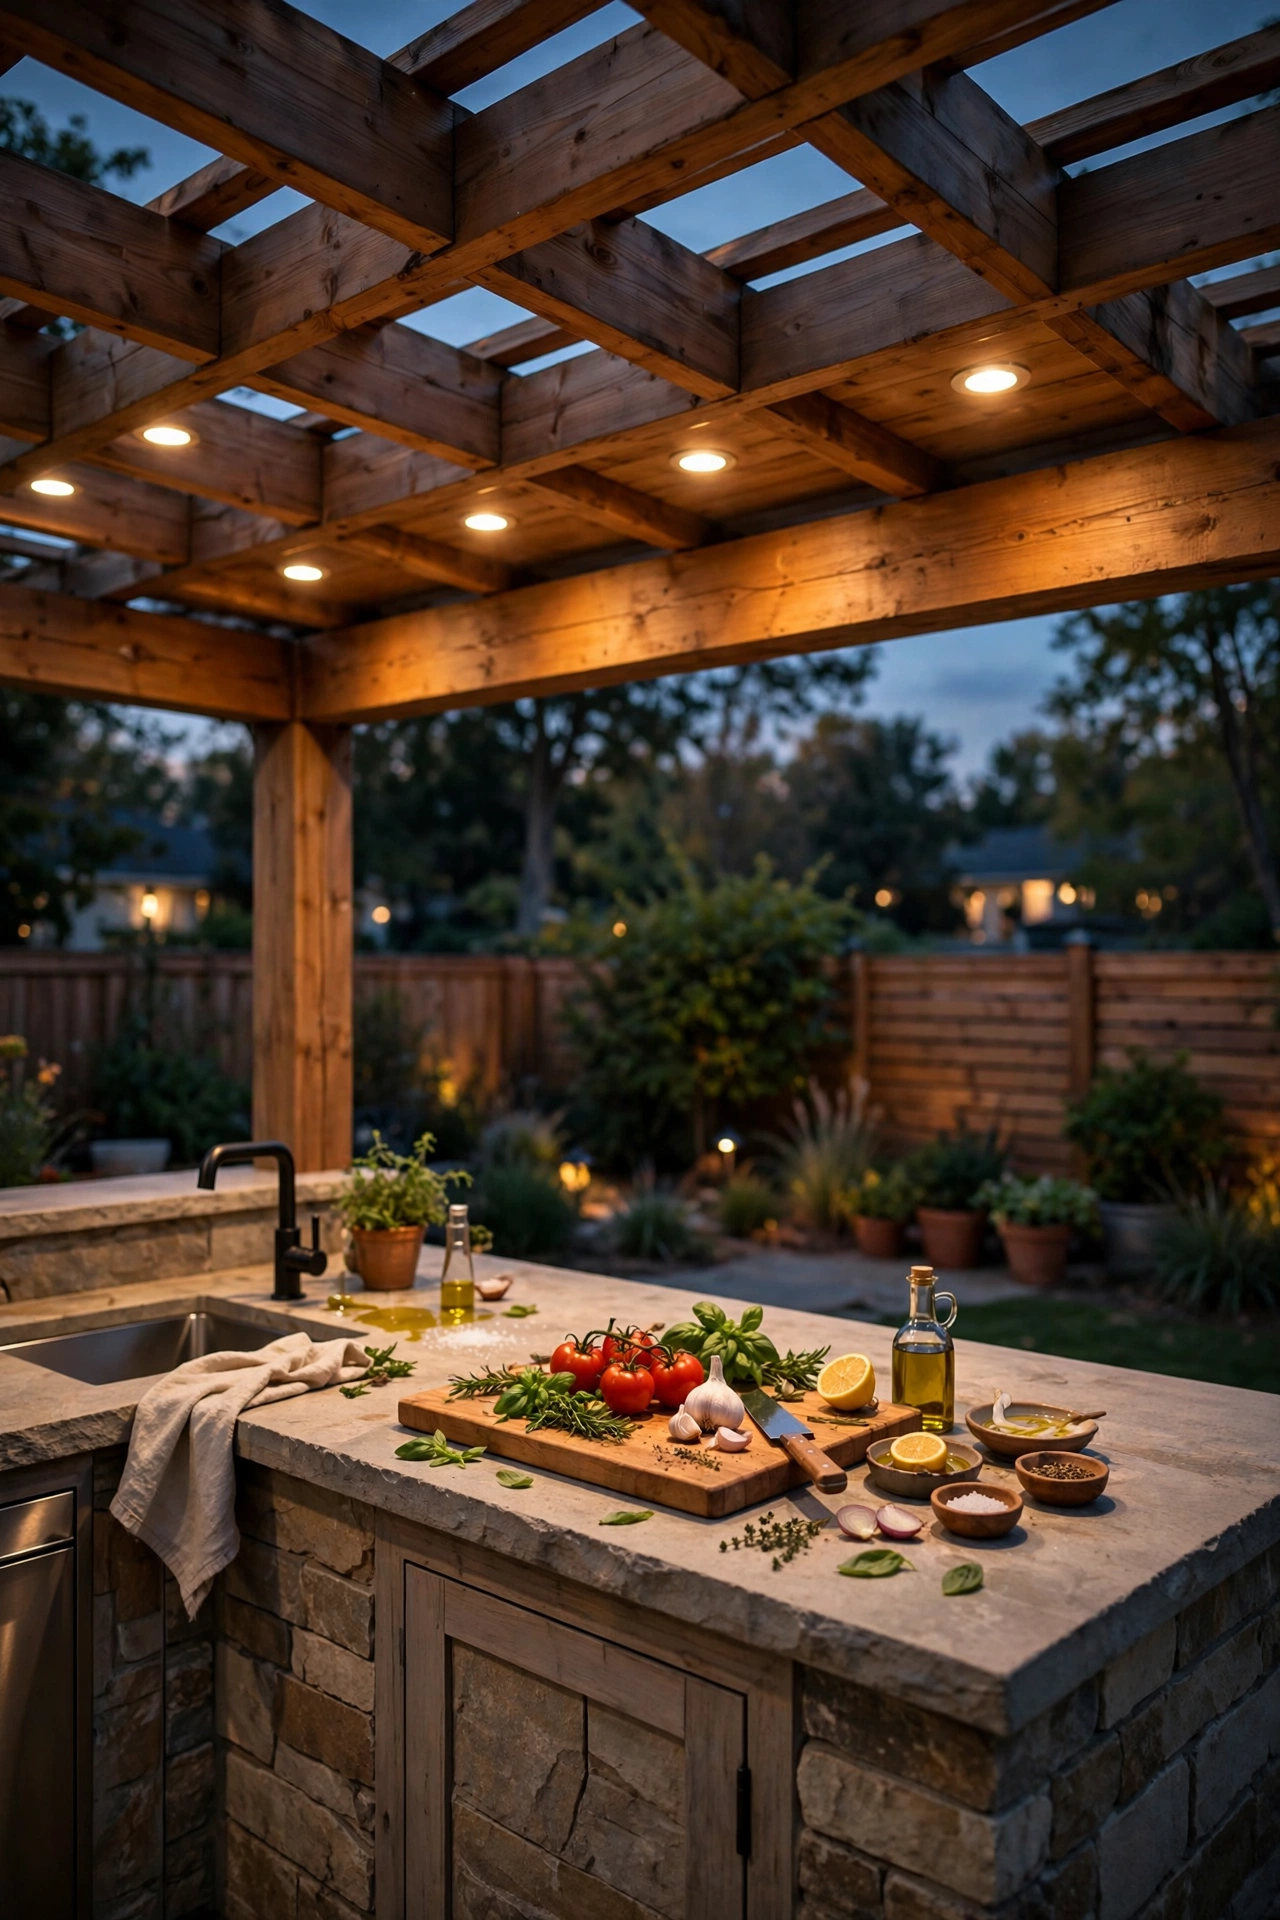
2. Recessed Downlights in the Pergola or Roof Overhang
Built-in outdoor kitchens under a pergola, pavilion, or roof overhang are where lighting gets serious — and recessed downlights are the gold standard for the grill and prep zones. I always recommend planning these like you would indoor kitchen recessed lighting: space the fixtures 4 to 6 feet apart in a grid over the work counters, mounted flush in the ceiling or between pergola rafters, so you get even, shadow-free light right where you're chopping and flipping.
Go with outdoor-rated LED recessed cans (look for the "wet location" rating if there's no solid roof above them — "damp location" is fine under a full cover). A 4000K to 5000K color temperature is ideal over the grill and prep areas; it renders food color accurately, so burgers look brown instead of muddy-gray. Connect them to a dimmer switch so the same lights can drop to a warm, low glow when the cooking's done and you're just hanging out.
Placement rule I swear by: put one light directly over each work zone — the grill, the prep counter, the sink — and center them so your body doesn't block the light when you stand at the counter. For a 10-foot run of counter space, three downlights is the sweet spot.
Suggested budget range: $150 – $400.
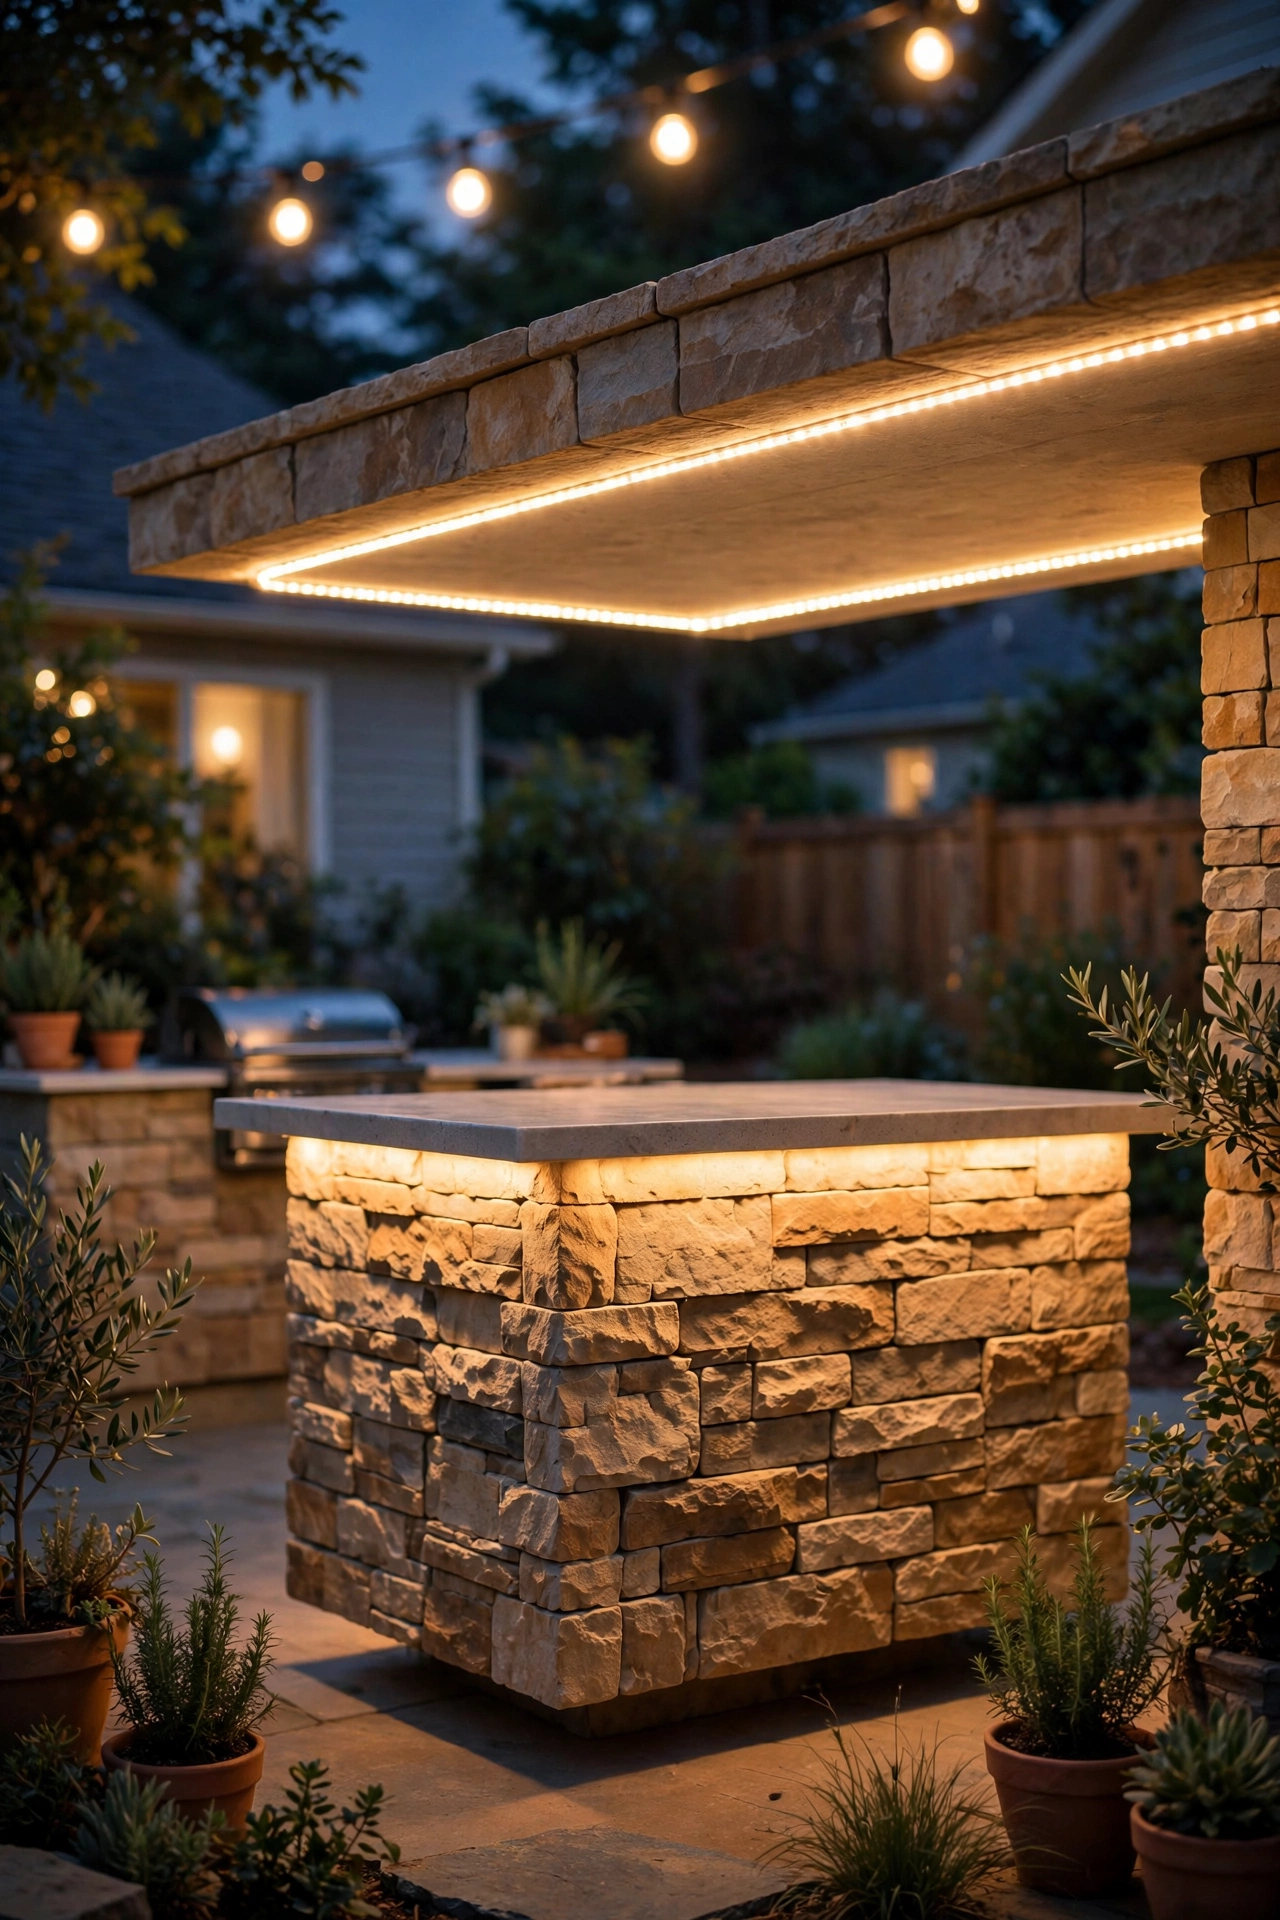
3. LED Strip Lights Under Counter Overhangs
Under-counter LED strips are the jewelry of the outdoor kitchen — they're not the main event, but they make everything look expensive. I run them under the overhang of the bar counter and under wall cabinets, aimed back at the stone or tile face. The result is a soft ribbon of light that washes the counter front and makes the whole island look like it's floating.
The practical stuff: buy outdoor-rated silicone-coated LED strips (IP65 or better), and stick them in an aluminum channel with a diffuser cover so you see a smooth line of light instead of harsh dots. Mount them 1 to 2 inches back from the front edge of the overhang so they're hidden from view — you want to see the glow, not the hardware. Warm white 2700K to 3000K is my pick here; it flatters food, drinks, and faces.
Power them with a low-voltage 12V transformer plugged into a GFCI outlet, and put the whole run on a dusk-to-dawn timer. A 16-foot strip at roughly 300 lumens per foot gives you the perfect accent glow for a standard 6- to 8-foot island. One caution: keep strip connections inside weatherproof junction boxes, not dangling loose — outdoor kitchens get hosed down, and you want zero water getting into wiring.
Suggested budget range: $60 – $160.
4. String Light Canopy Over the Dining and Bar Zone
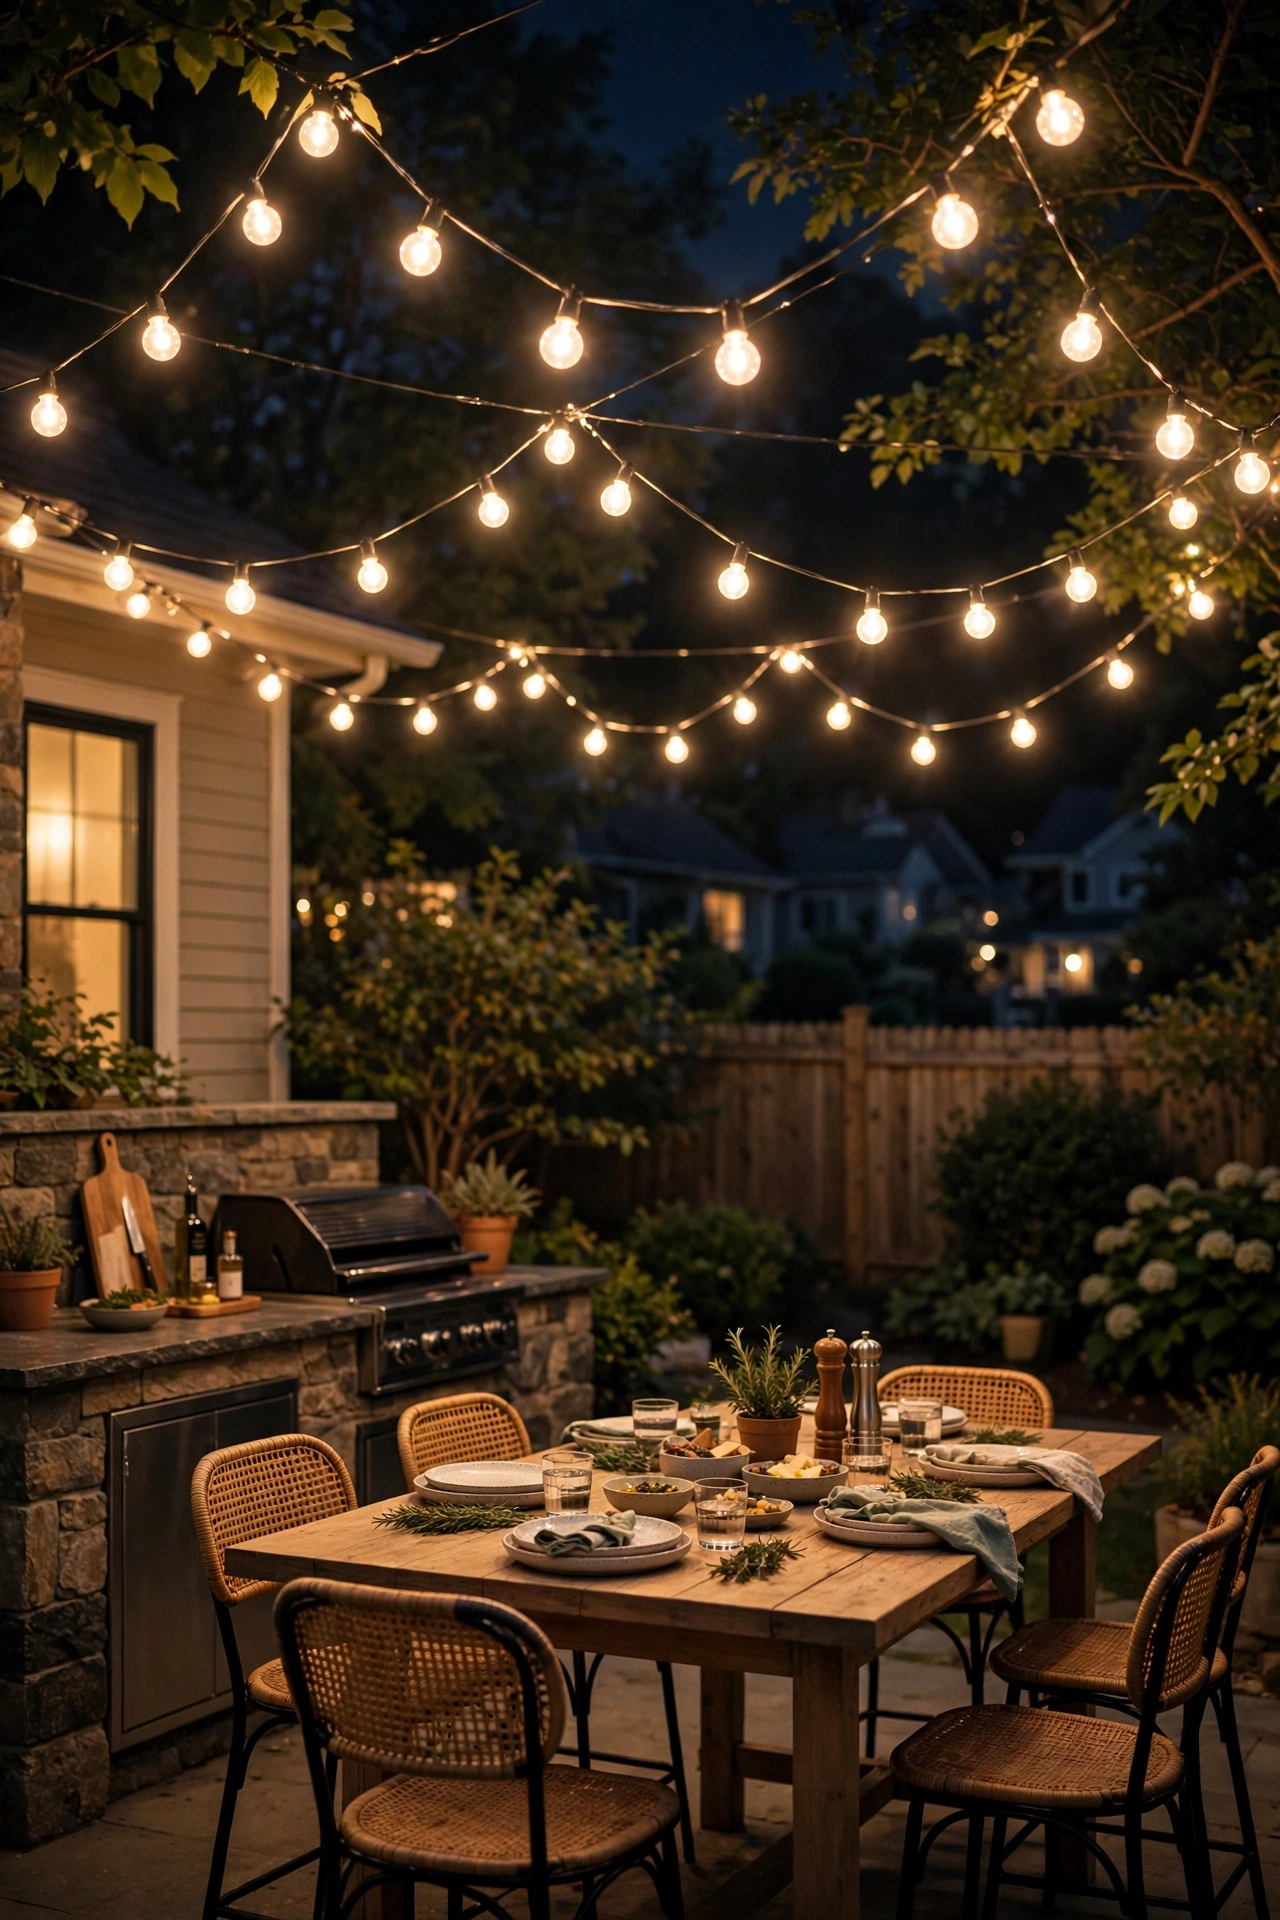
Every outdoor kitchen needs one great mood moment, and this is it. A canopy of globe string lights stretched over the dining table or bar seating instantly says "party" — it's the look everyone photographs, and honestly? It's the cheapest way to transform a patio from functional to magical.
Here's my method: run a sturdy cable (a 1/8-inch steel cable with turnbuckles works beautifully) in a zigzag or radial pattern 9 to 10 feet overhead, then drape your string lights along it. Globe-style LED strands — G40 bulbs are my favorite, about the size of a golf ball — spaced 12 to 24 inches apart give you that classic bistro glow without the harsh brightness of bigger bulbs. For a 12×16-foot seating area, plan on 4 to 5 strands of 25 feet each.
Hang them high enough that nobody can grab a bulb (8 feet minimum at the lowest sag point) and keep them well away from the grill's heat plume — hot grease and string lights are a terrible combination. Use outdoor-rated strands and plug them into a weatherproof timer box on a GFCI circuit. Warm white 2700K is non-negotiable here; cool white makes everyone look like they're in a hospital cafeteria. This pairs beautifully with layered patio lighting — my summer patio lighting ideas post breaks down the full canopy approach step by step.
Suggested budget range: $80 – $220.
5. Pendant Lights Over the Island or Bar Counter
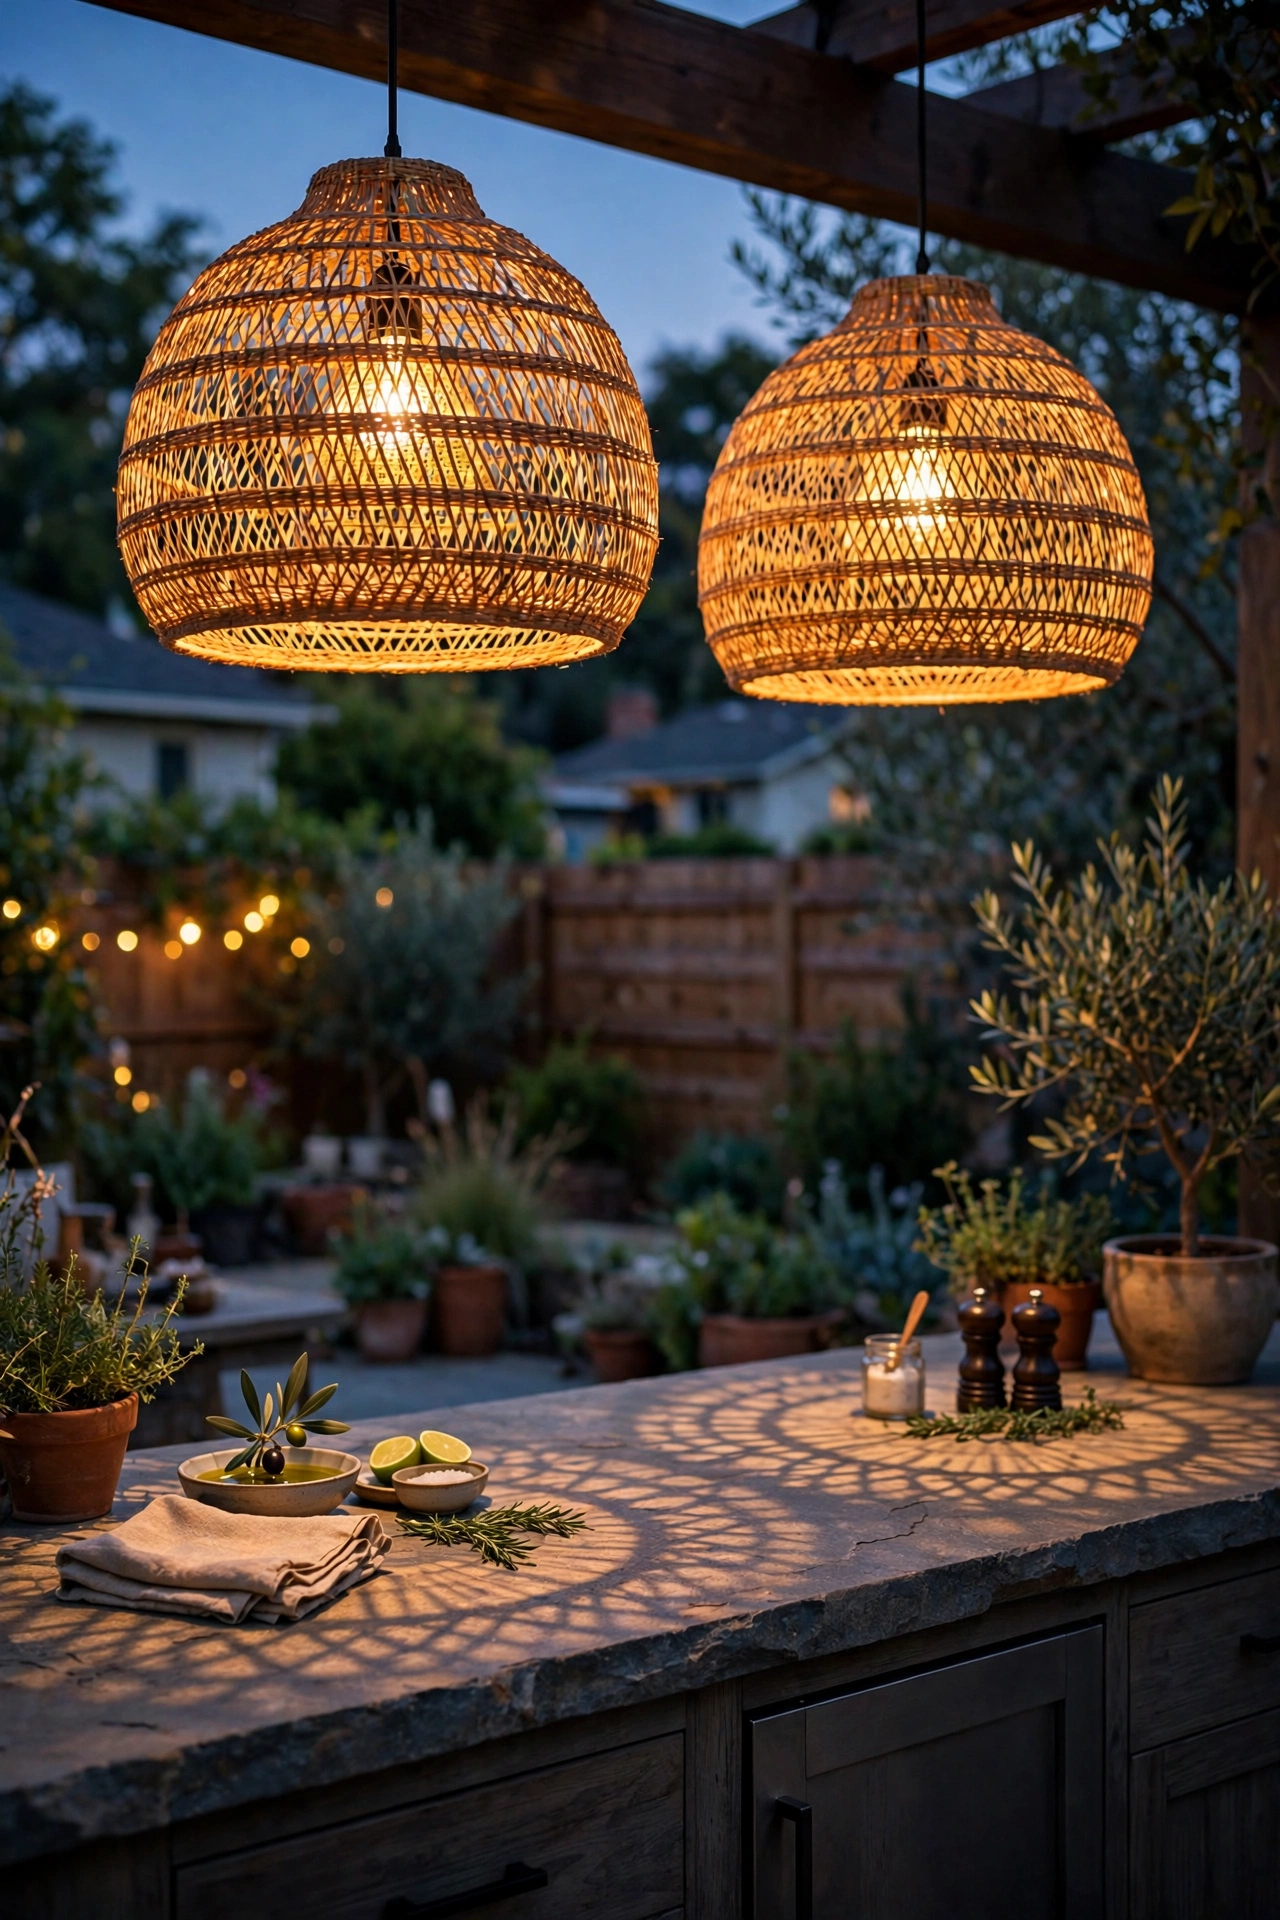
Pendants over the island are where your outdoor kitchen gets its personality. Two or three weather-rated pendant fixtures hung over the bar counter turn the seating zone into a destination — the same way pendants anchor an indoor kitchen island. I love the look of oversized woven rattan or hammered metal pendants; they catch the light and cast the prettiest patterns on the counter below.
Hang them 30 to 36 inches above the countertop surface — the same rule as indoors. Space multiple pendants 24 to 30 inches apart, centered on the counter. Use outdoor-rated fixtures (wet-rated if exposed, damp-rated under cover) and screw in dimmable LED filament-style bulbs in the 40- to 60-watt equivalent range. Dimmable is key: full brightness for assembling taco platters, low and moody for after-dinner drinks.
Wiring note: pendants need a real electrical box in the ceiling or pergola beam — this is a job for an electrician if you're not comfortable with junction boxes and conduit, especially outdoors. Run them on their own dimmer switch, separate from the task lights, so you can set the mood independent of the work zones. And choose a finish that stands up to humidity — powder-coated metal or marine-grade brass will outlast anything painted.
Suggested budget range: $120 – $350.
6. Solar Path Lights Marking the Kitchen Walkways
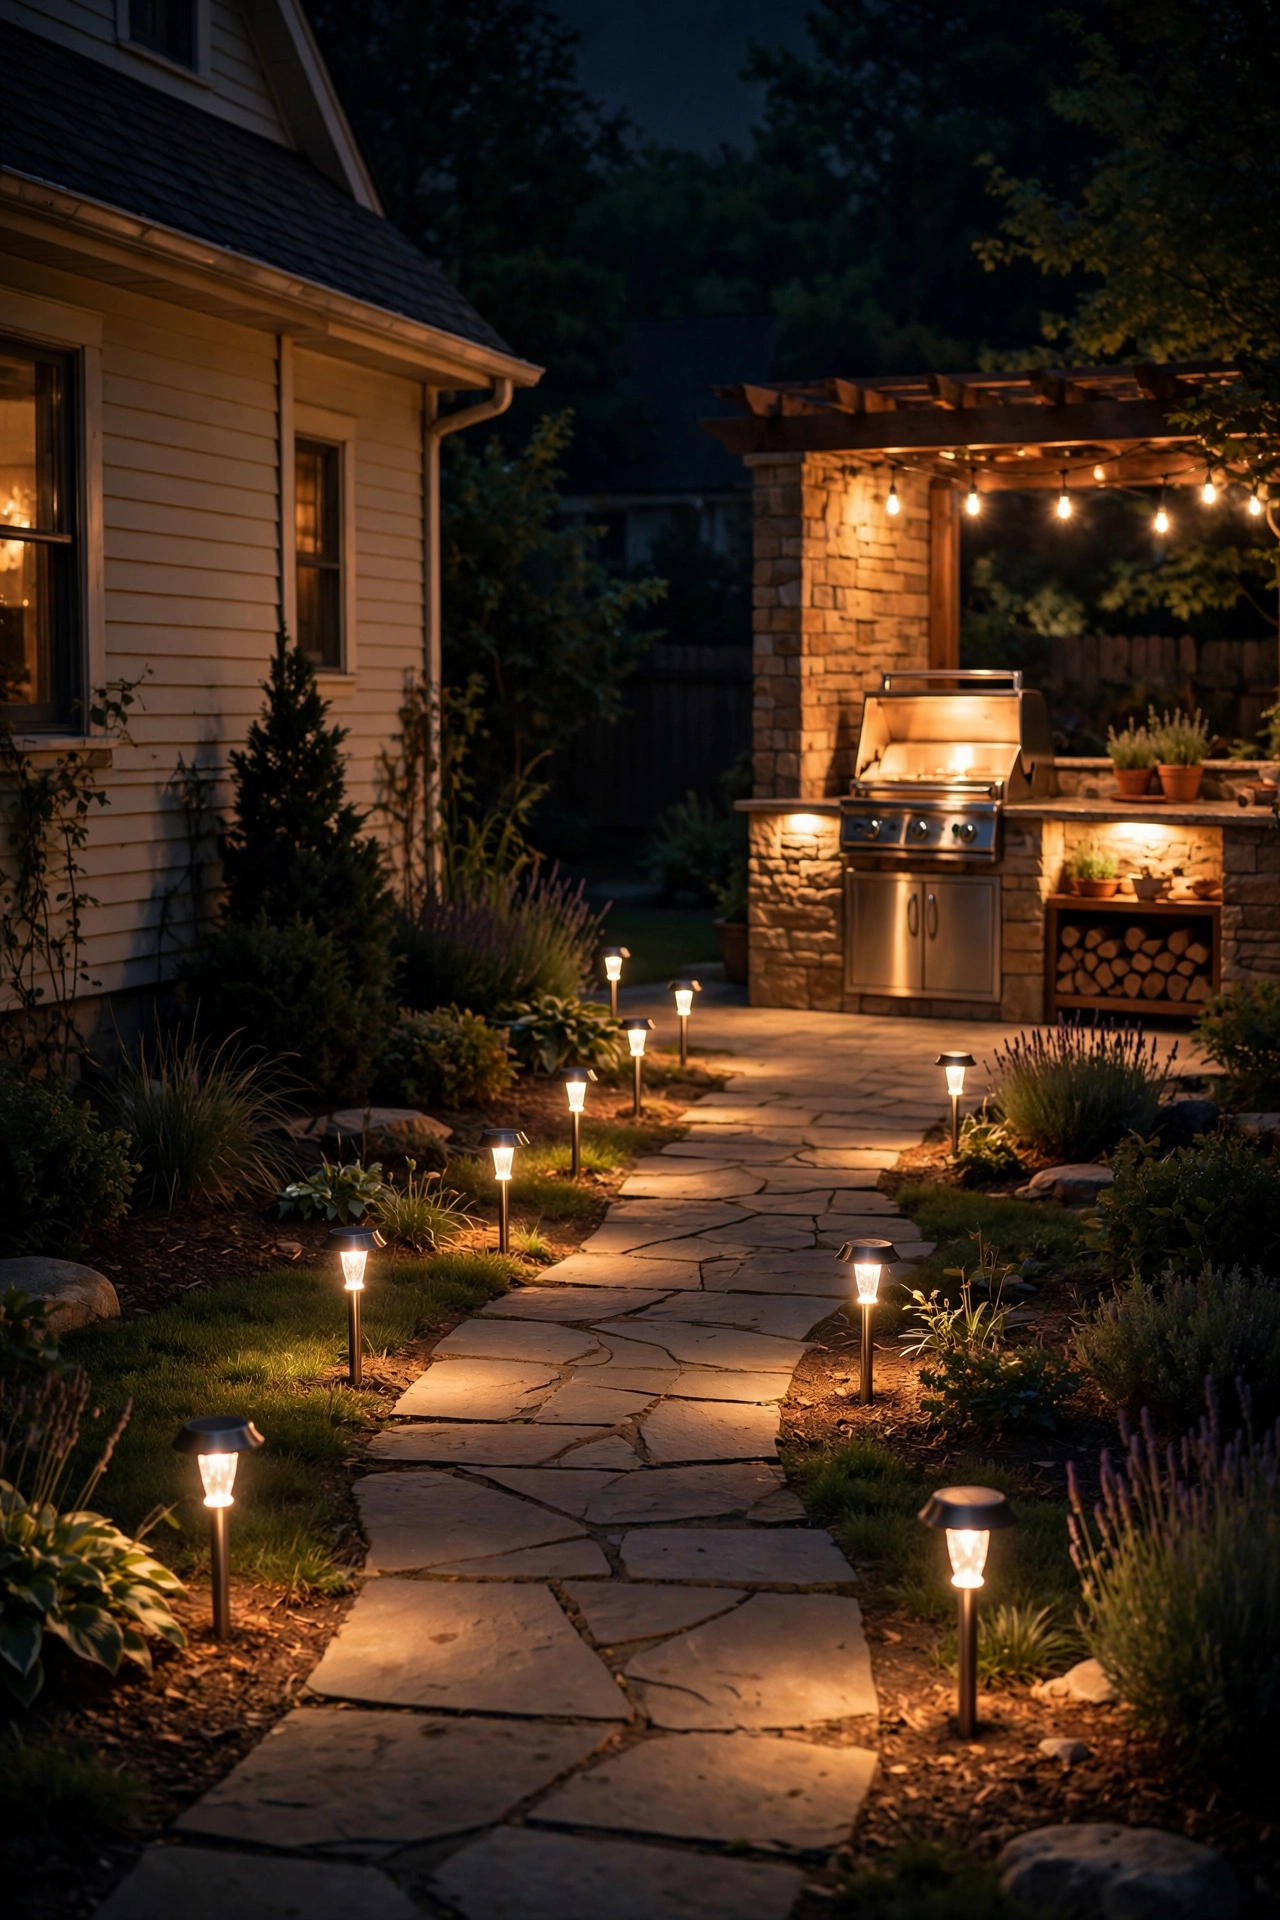
Your outdoor kitchen doesn't exist in isolation — guests are walking between the house, the grill, the dining table, and the bar all evening, often in the dark. Solar path lights are my zero-effort answer: no wiring, no electrician, just stake them along the walking routes and let the sun do the work.
Place them 6 to 8 feet apart along both sides of main paths, staggering left-right so the light zigzags naturally. For steps, put one at the top and bottom of every run — I always recommend this, because outdoor kitchen traffic plus stairs plus darkness is a recipe for a twisted ankle. Look for solar stakes with a warm-white LED (2700K to 3000K) and a brightness around 10 to 15 lumens each — you want a guide, not a runway.
Honestly? Solar stakes are the weakest link in any lighting plan, so choose carefully: get ones with a monocrystalline panel (they charge better in partial shade) and a replaceable rechargeable battery so you're not throwing the whole fixture away in two years. In deep shade, skip solar and run a low-voltage wired path light instead — one dead zone of dead lights ruins the effect. Wipe the panels clean every month or two; a dusty panel is why most "dead" solar lights are just dirty.
Suggested budget range: $40 – $120.
7. Motion-Sensor Step Lights on Kitchen Stairs
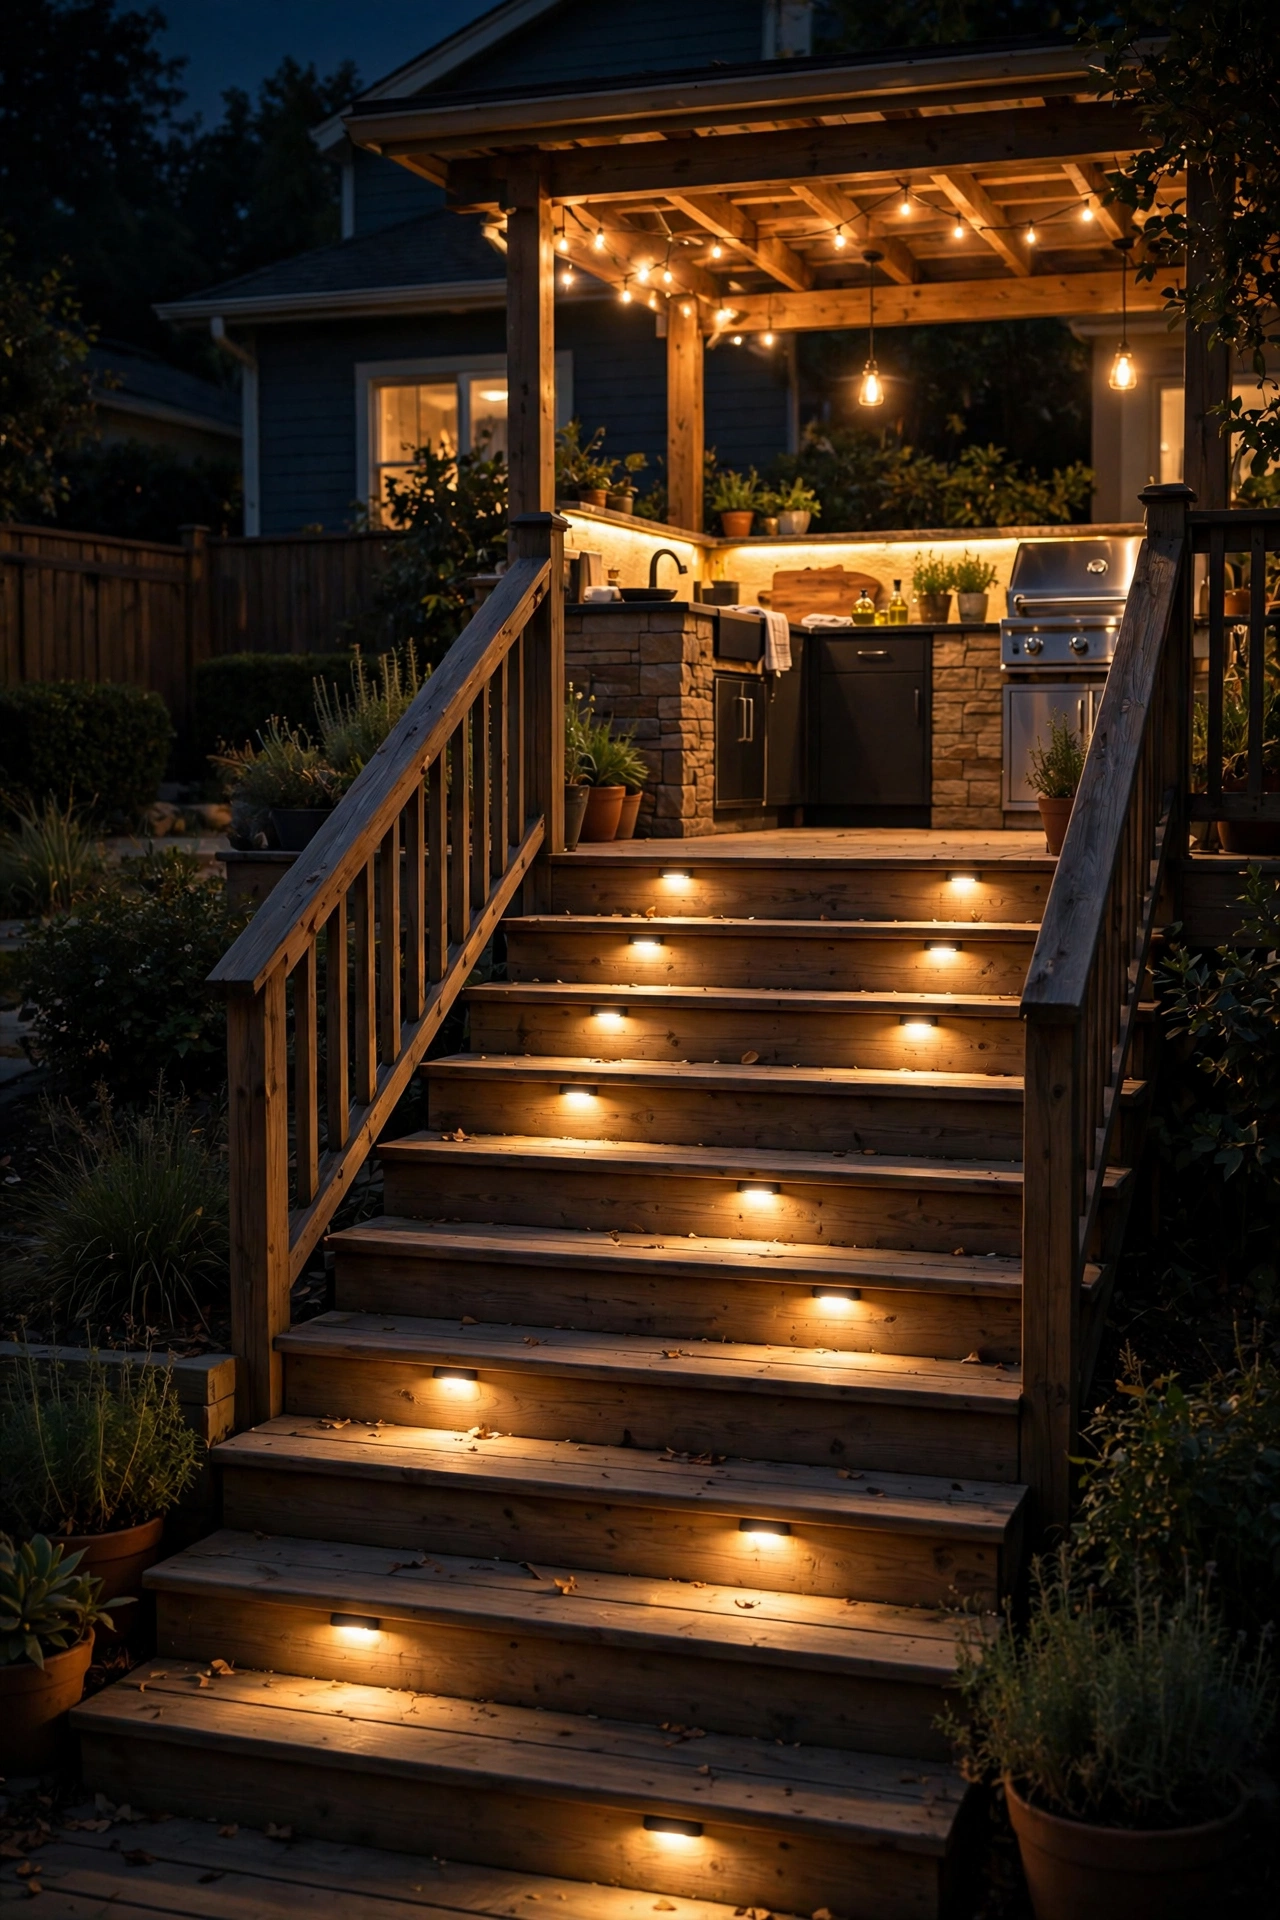
This one's pure safety, and I won't budge on it: if your outdoor kitchen sits on a deck, a raised patio, or a terraced yard, every step needs light. Motion-sensor step lights mounted into the risers or on the wall beside each step turn on when someone approaches and fade off after a minute — perfect for hands full of platters and tongs.
Mount them low, 6 to 8 inches above each tread, either recessed into the riser face or in slim surface-mount channels along the stair wall. Low-voltage LED step lights (about 50 to 100 lumens each) wired to your 12V transformer system are the cleanest solution; they're barely visible during the day and cast a soft pool of light on each tread at night. For stairs that already exist and can't easily be rewired, battery-powered motion-sensor pucks with adhesive or screw mounts are a solid weekend fix — look for ones rated for outdoor use and at least a 15-foot detection range.
The motion sensor is the genius part: the steps are lit when you need them and dark when you don't, so there's no light pollution and no forgetting to turn them off. Angle them down and shield the lens so guests aren't blinded walking up — the light should wash the step, not their eyes.
Suggested budget range: $50 – $180.
8. Lanterns on the Serving Counter
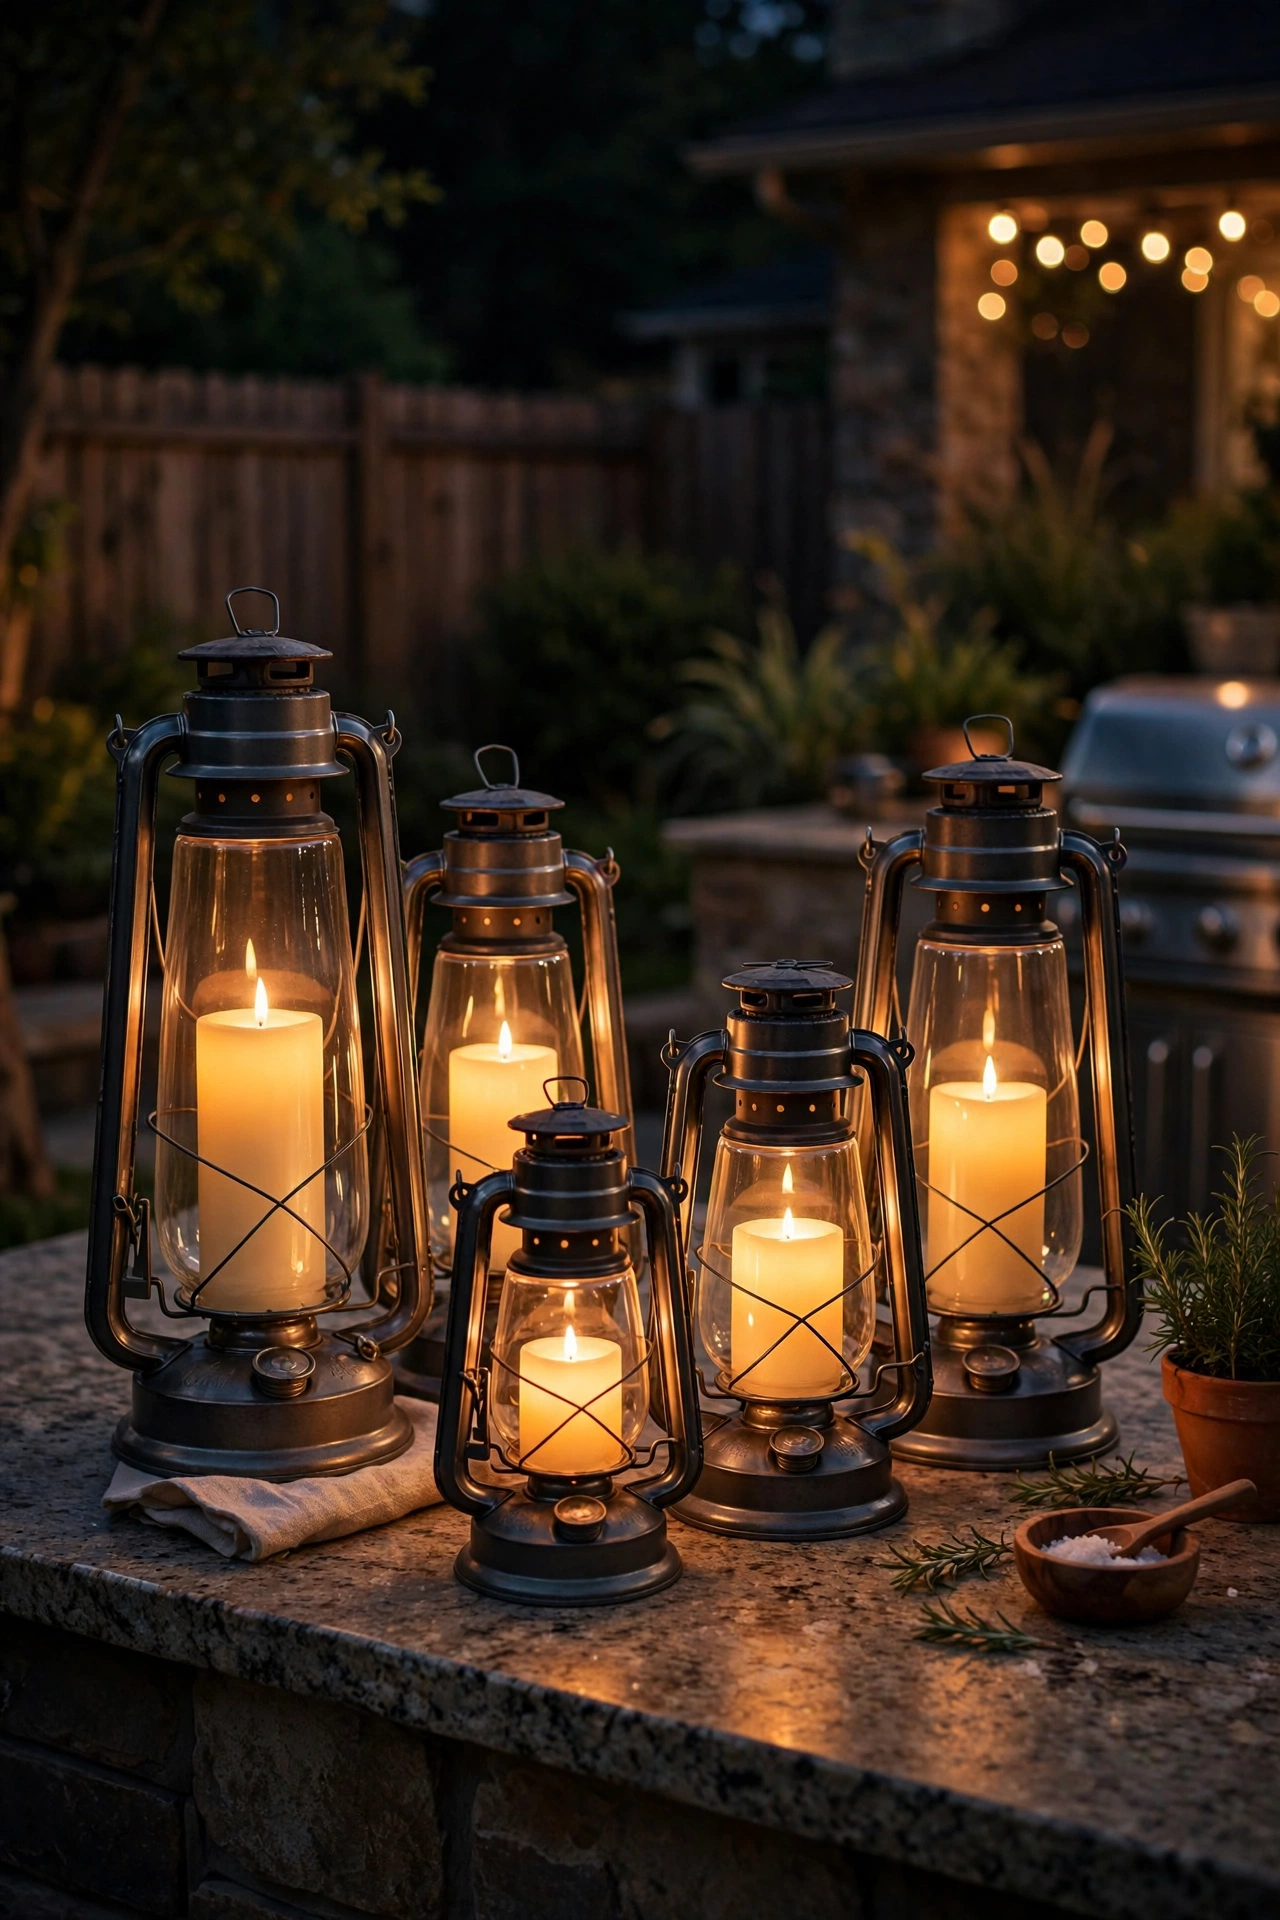
Lanterns are the easiest win on this entire list, and they're endlessly rearrangeable. A cluster of hurricane lanterns or metal-frame lanterns down the middle of your serving counter gives you instant centerpiece lighting that you can move, group, and restyle for every gathering. I keep a set of five in different heights and just refresh what's inside them seasonally.
Fill them with flameless LED pillar candles — the flickering-flame style, 3×4 or 3×6 inches, in warm amber. They look remarkably like real candles from a few feet away, and here's the thing that matters near a kitchen: LED only near flammables, always. Real flames have no business next to paper napkins, dried herbs, wooden serving boards, or a breeze that can knock things over. Group lanterns in odd numbers (three or five) and vary the heights — a 16-inch lantern flanked by two 10-inchers looks intentional; three identical lanterns in a row looks like a hardware store display.
For windy evenings, choose lanterns with glass panels that close and LED candles heavy enough not to rattle. I set mine on a long wooden tray so I can lift the whole arrangement inside in thirty seconds when rain rolls in.
Suggested budget range: $45 – $130.
9. Flameless Tiki Torches Ringing the Seating Area
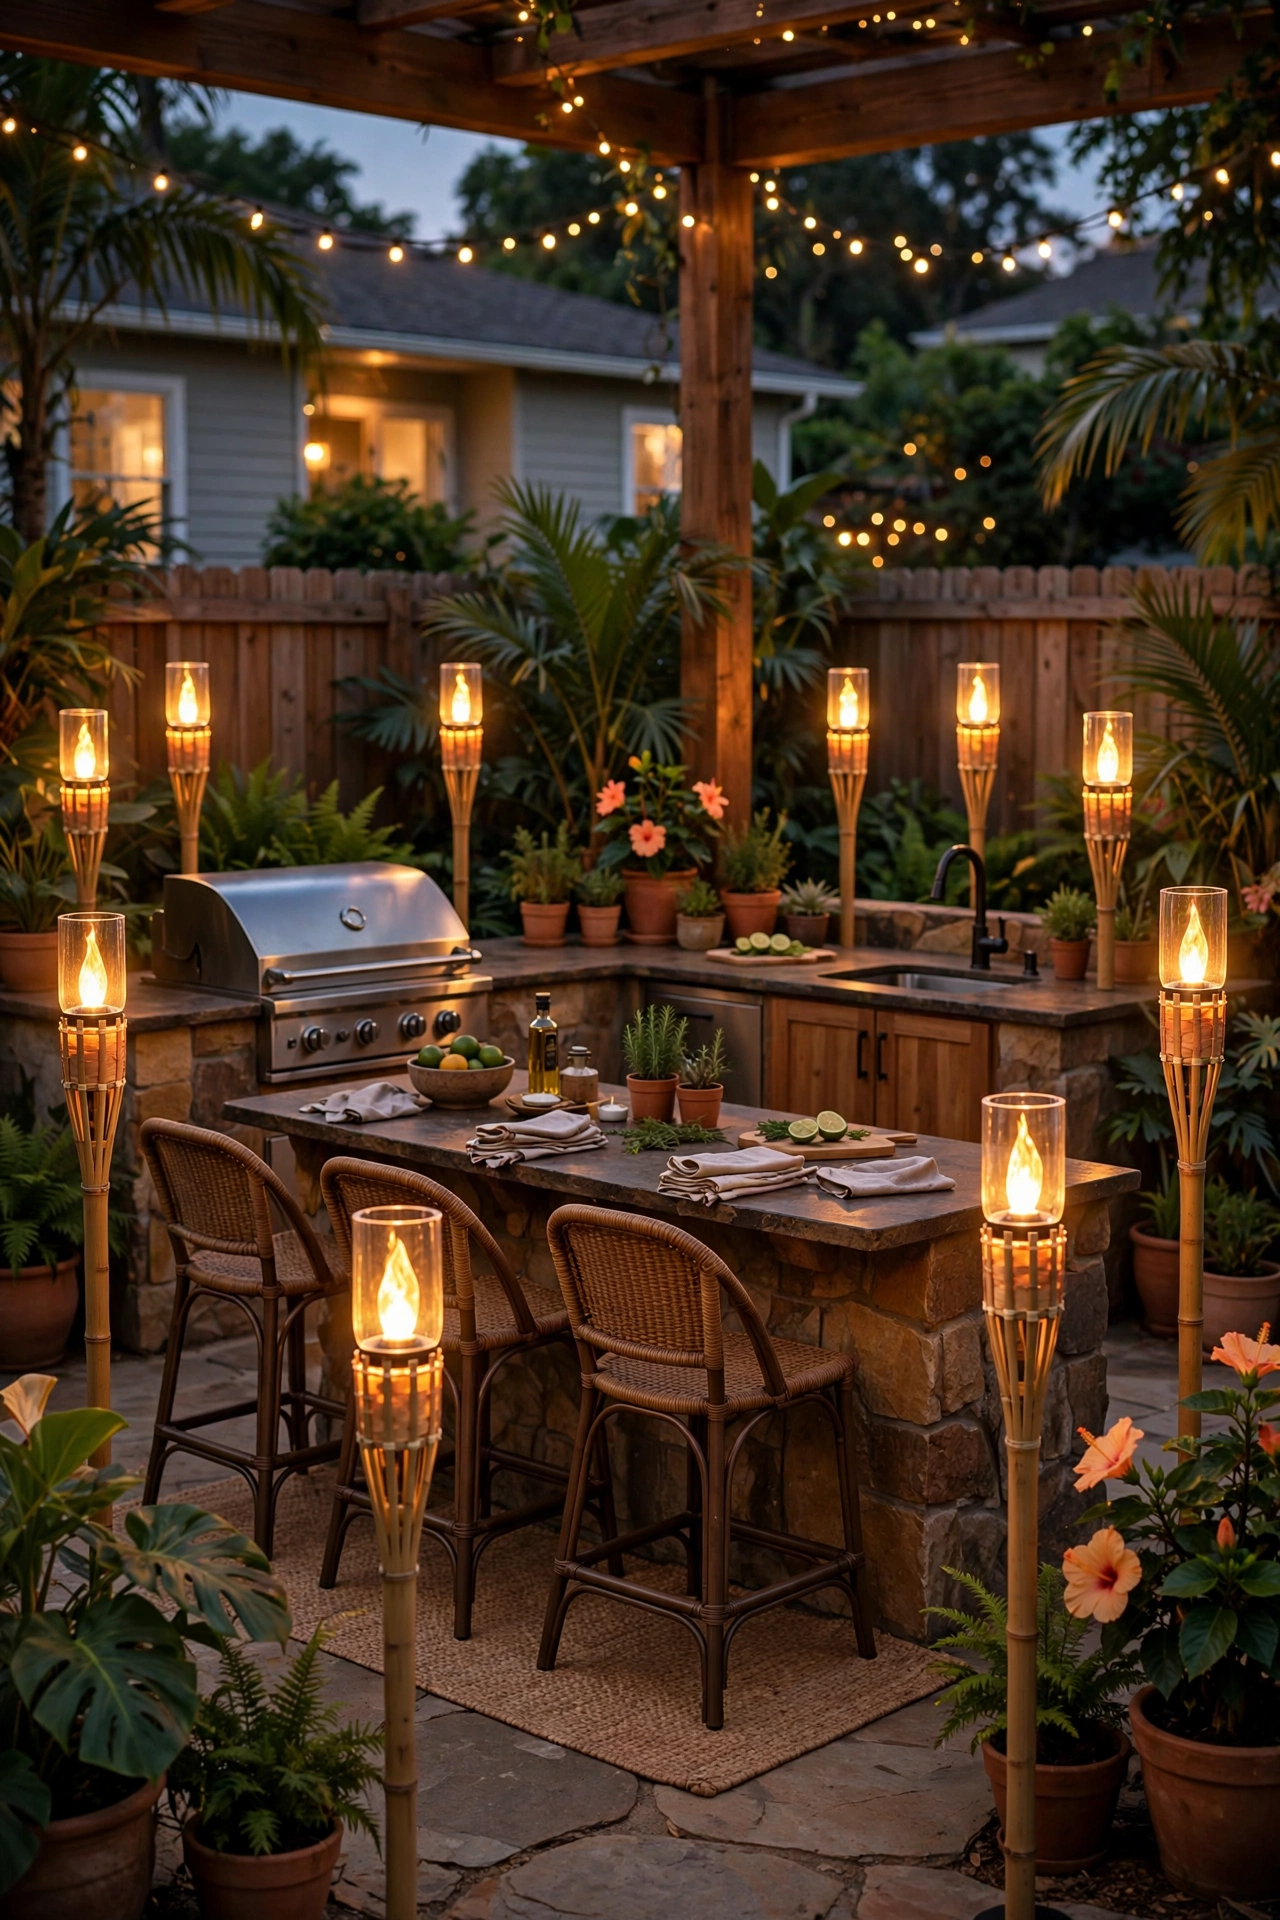
Nothing says "summer cookout" like tiki torches — but real fire torches and a crowded patio full of kids, dogs, and tipsy guests make me nervous. My solution: LED flameless tiki torches. You get the tall, dramatic silhouette and the warm dancing glow, with zero open flame, zero fuel to refill, and zero risk of a knocked-over torch setting the mulch on fire.
Place them around the perimeter of the seating area, 6 to 8 feet apart and at least 3 feet back from any walking path — never between the grill and the tables, where foot traffic is heaviest. The solar-powered versions are the easiest: stake them in during the day, they charge, and they flicker on automatically at dusk. Look for torches with a convincing flame-effect LED (warm amber, around 2700K) rather than a flat white light; the flicker is what sells the illusion.
Height matters: standard 5-foot torches are the sweet spot — tall enough to read as torches, short enough not to become a hazard. In my experience, a ring of six to eight torches around a dining zone creates the coziest possible glow, and because they're LED, you can leave them up all season without a single refill. Keep real-flame torches off the patio entirely if you have small children — the flameless versions look just as good in photos, honestly.
Suggested budget range: $60 – $150.
10. Under-Shelf Lighting in the Outdoor Pantry or Storage Cabinet
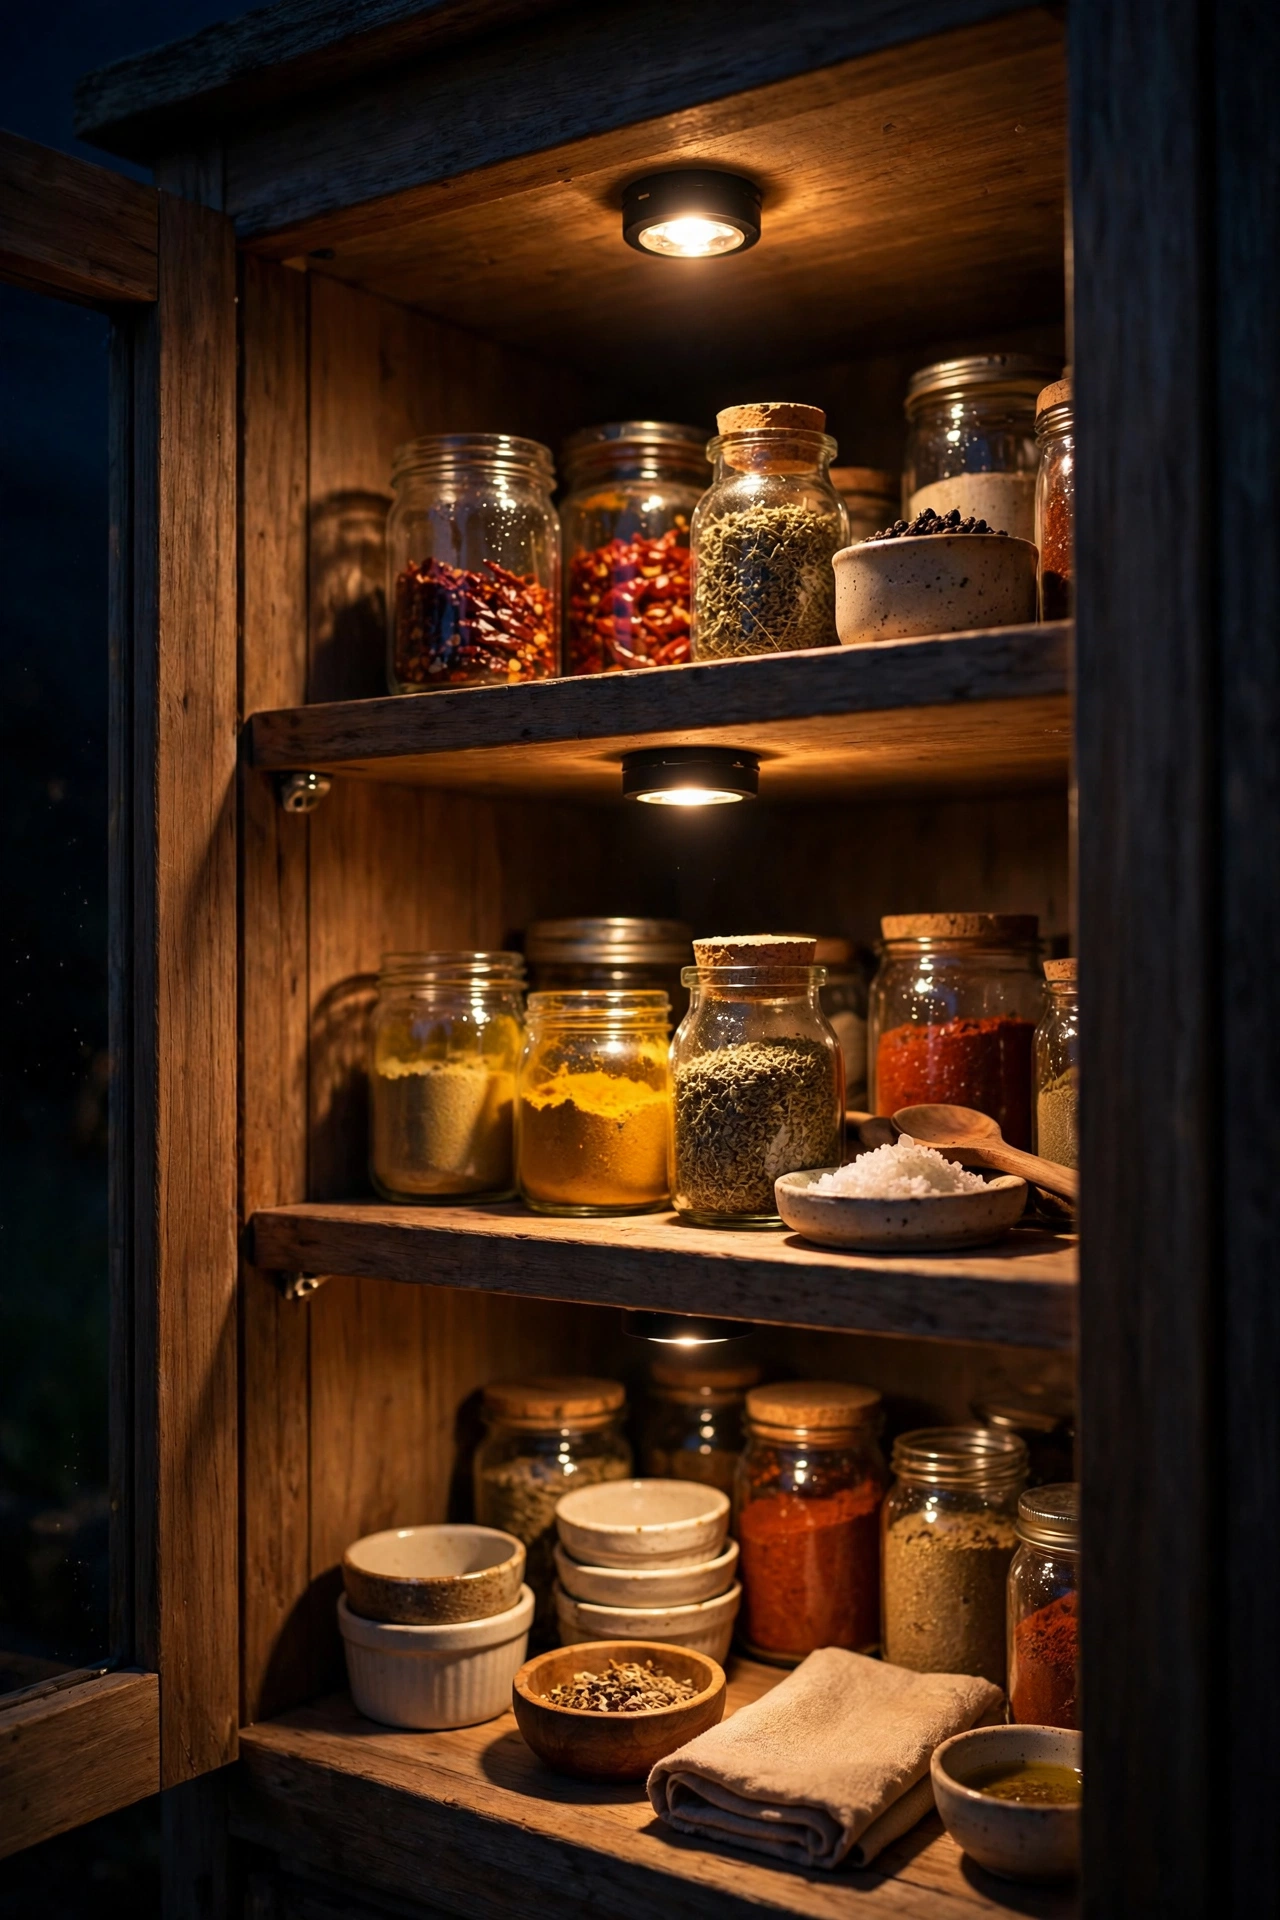
If your outdoor kitchen has storage cabinets, a pantry nook, or open shelving for spices and serveware, light it — you'll thank me the first time you're hunting for the smoked paprika in the dark. Tiny LED puck lights or short strip segments mounted under each shelf turn dead cabinet space into a jewelry box.
I always recommend rechargeable motion-sensor pucks for this: stick one under each shelf (the 3- to 4-inch round ones with a 3M adhesive or magnetic mount), and they pop on when you open the cabinet or reach in. No wiring, no switches, and one charge lasts weeks since they're only on for seconds at a time. For open shelving, run a slim LED strip under each shelf front edge instead — 2700K warm white keeps the spices looking appetizing instead of washed out.
The practical bit: keep pucks and strips 2 inches back from the shelf edge so they're hidden, and aim them straight down. In enclosed cabinets, pick fixtures rated for enclosed or damp locations and never use high-heat bulbs — heat builds up fast in a closed box. And leave a little gap between the light and anything flammable; I store my lighter fluid and charcoal far from the lit shelves, always. LED-only here, for exactly that reason.
Suggested budget range: $25 – $80.
11. Waterproof LED Bar at the Drink Station or Outdoor Fridge
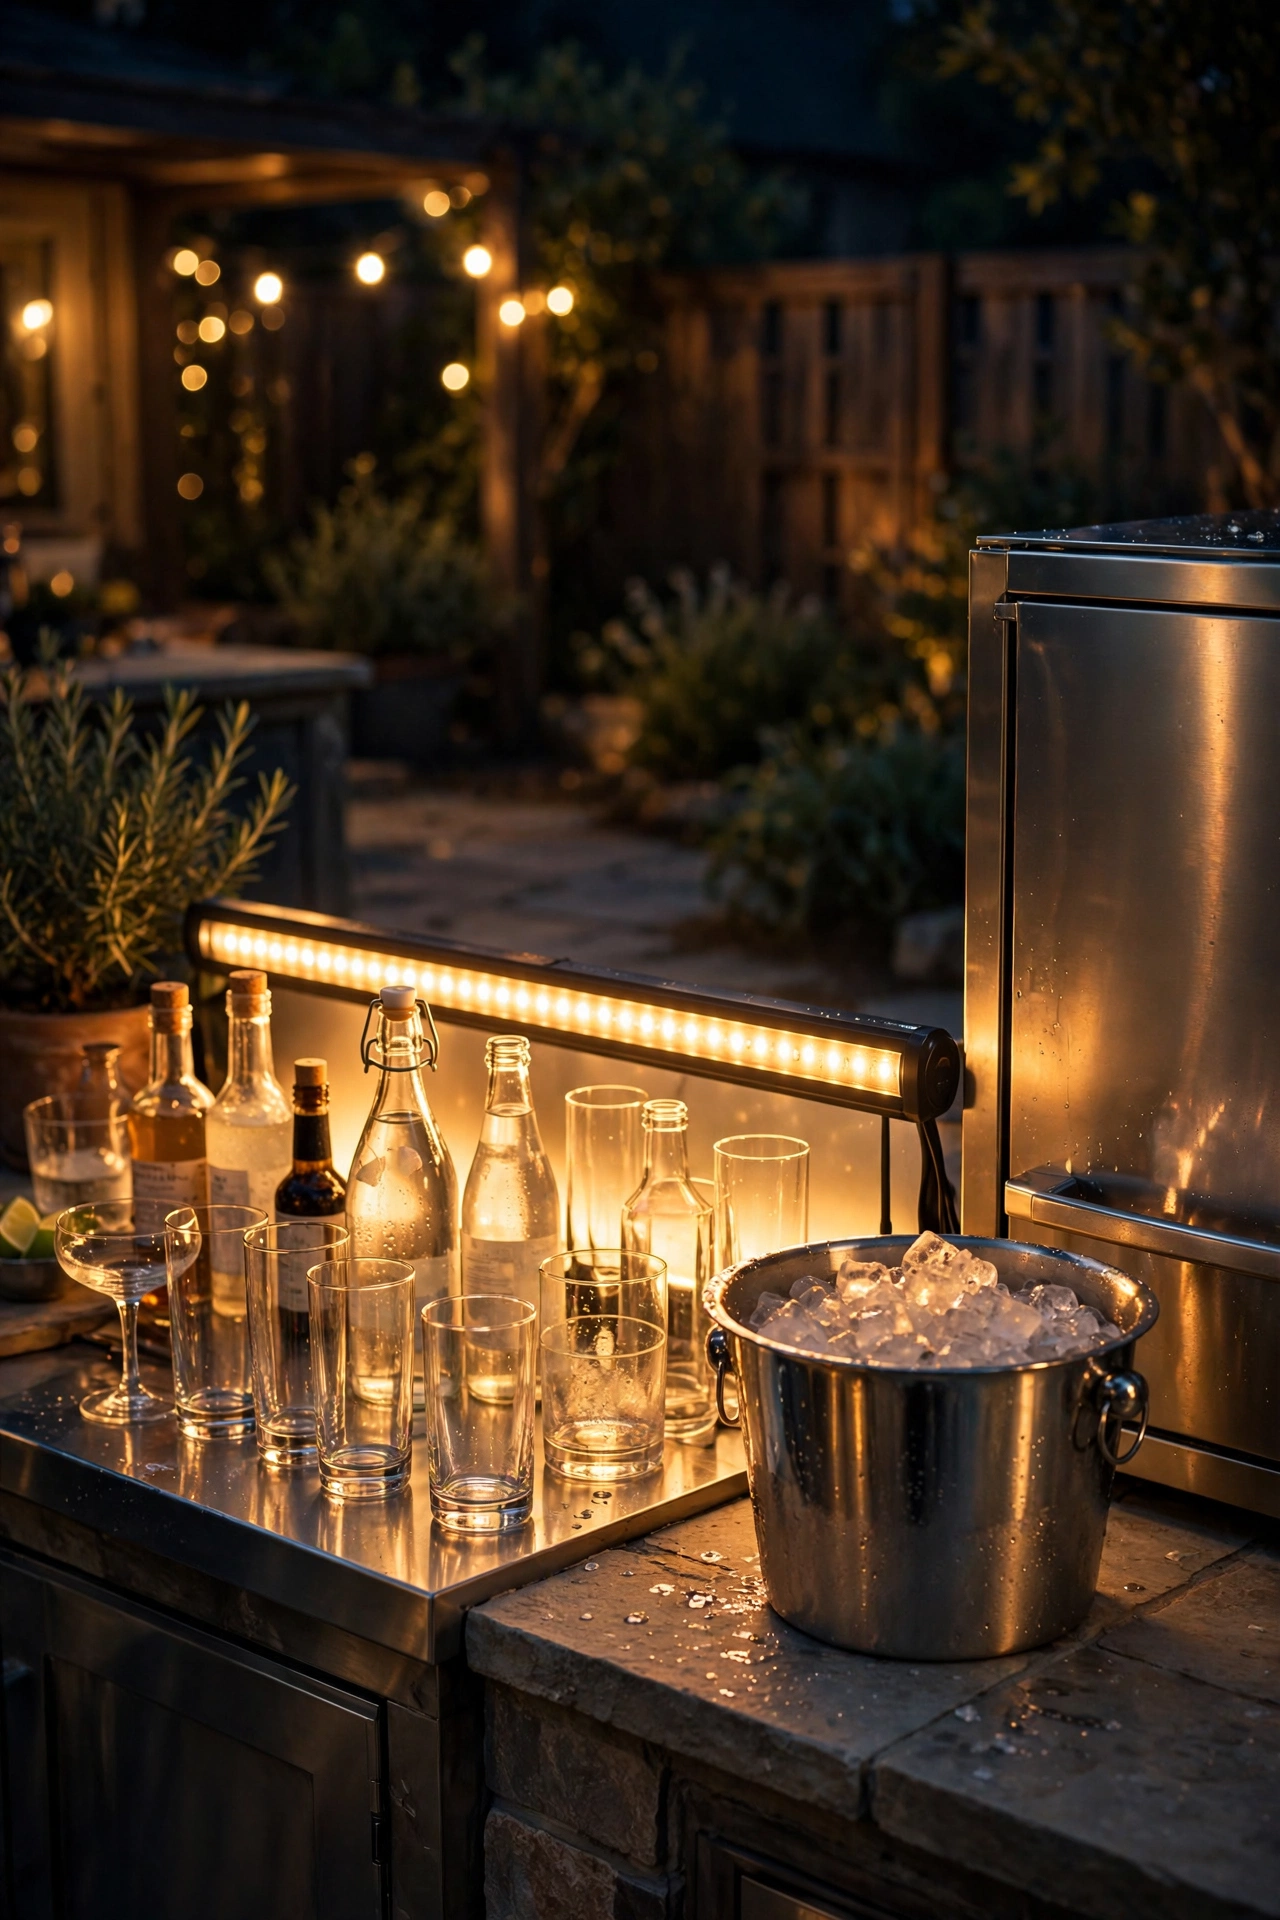
The drink station is where the party lives, so light it like it matters. I mount a slim waterproof LED bar or short strip vertically on the side of the outdoor fridge or horizontally above the beverage cooler — it makes the station findable in the dark and turns ice buckets and glassware into a glowing little vignette.
Use an IP68-rated waterproof bar (the kind made for boat decks) mounted with silicone adhesive or stainless screws. Aim for 2700K to 3000K warm white; cool light makes drinks look clinical and the ice look blue. A 12-inch bar at around 300 lumens is plenty for a drink station — you're marking the spot and adding sparkle, not reading by it.
Position the bar so it washes across the bottles and glassware rather than shining into people's eyes. If your fridge has a stainless front, the light will reflect beautifully — almost doubling the glow. Safety note: drink stations mean water, ice melt, and spills, so every fixture here needs to be truly waterproof, and the circuit must run through a GFCI outlet. Drips happen; make sure your wiring shrugs them off.
Suggested budget range: $30 – $90.
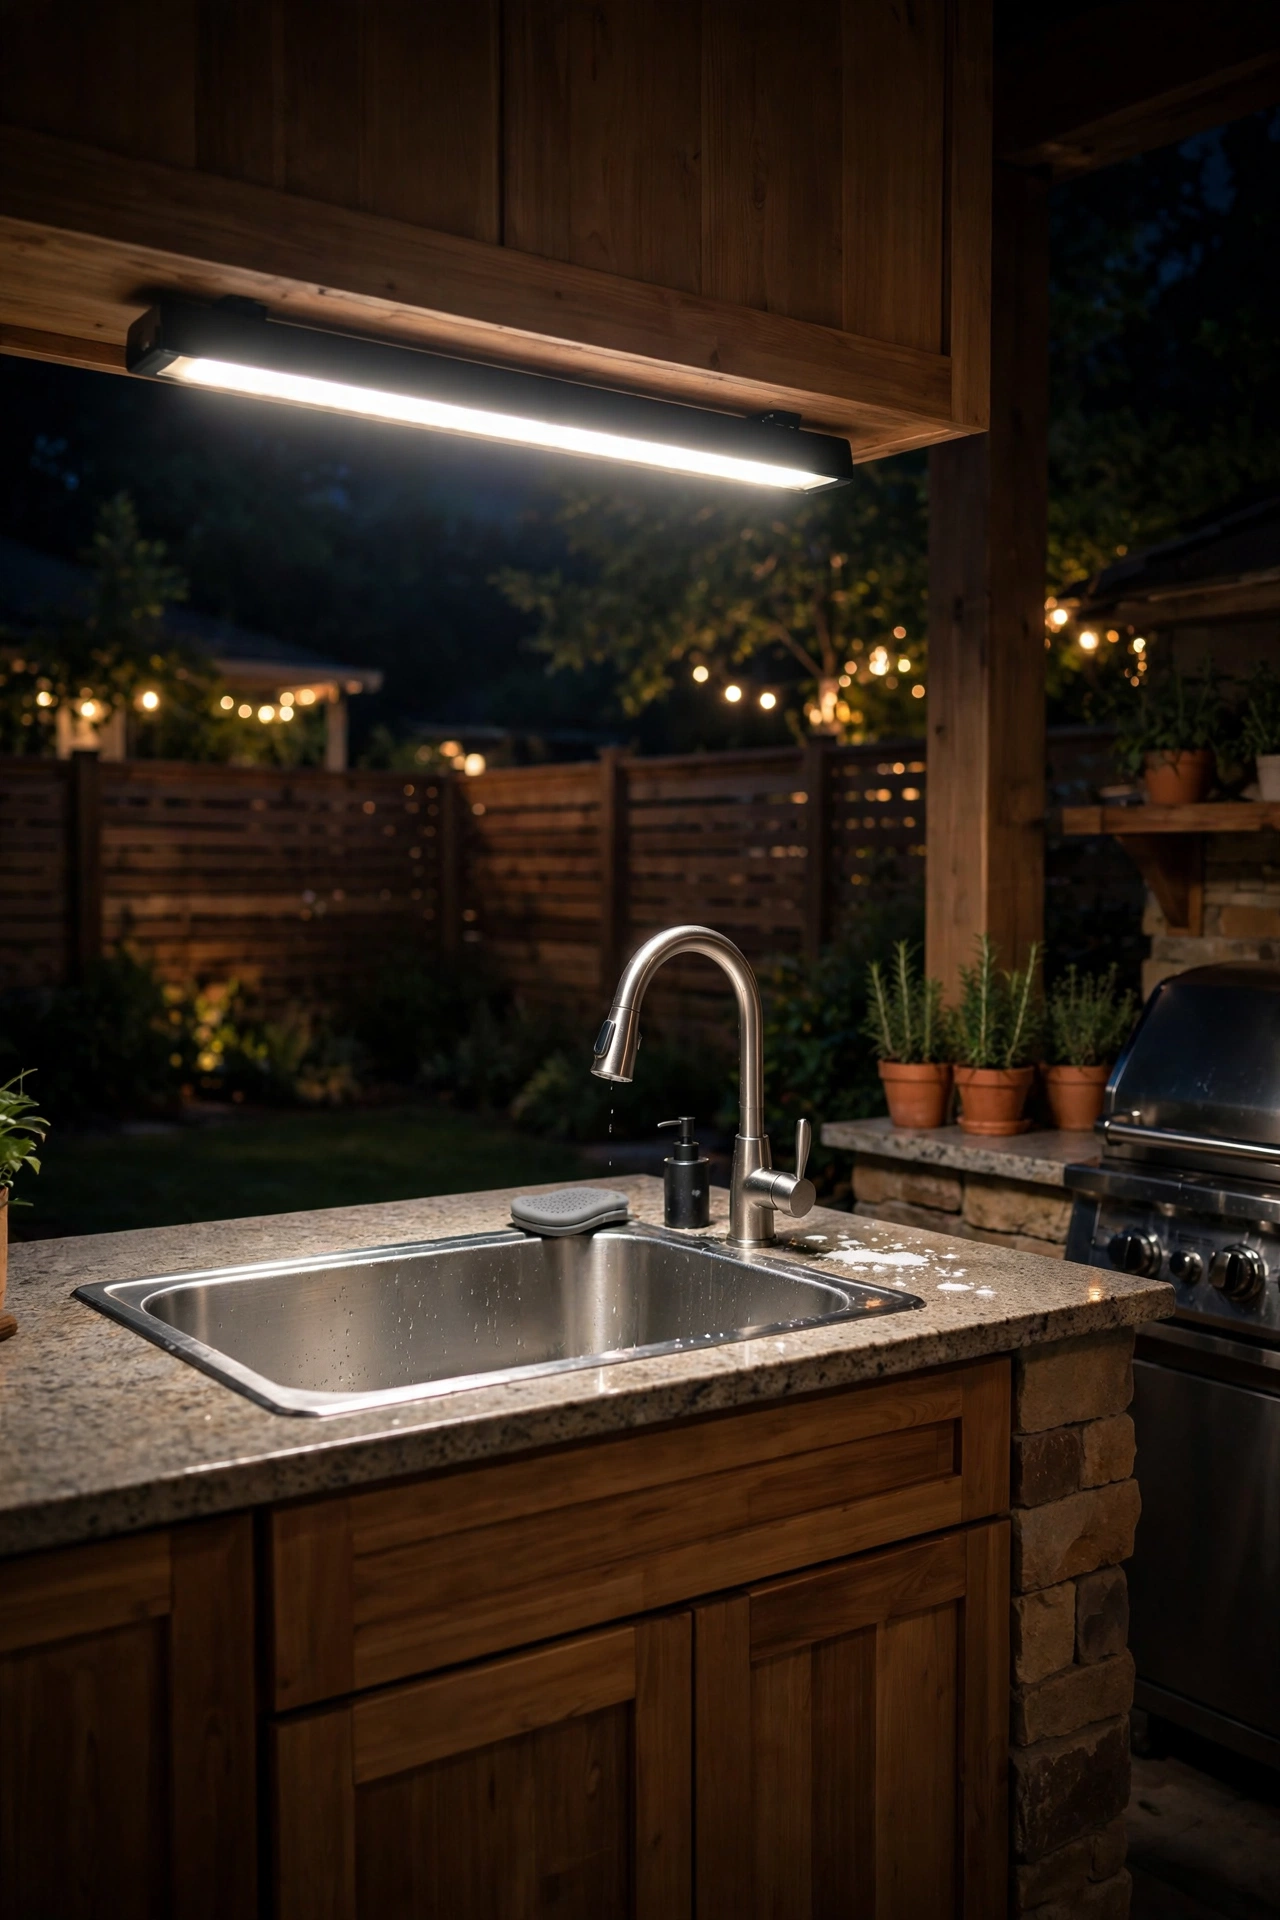
12. Task Light Over the Outdoor Sink and Prep Station
Here's the zone everyone forgets until they're rinsing corn husks in the dark: the outdoor sink. Whether it's a full plumbed sink or a simple wash station, it needs its own dedicated task light — and it needs to be the brightest task light in the kitchen, because sinks mean knives, splashing water, and slippery hands.
I mount a slim outdoor-rated LED bar light or a compact wall-mounted fixture 18 to 24 inches above the sink basin, aimed straight down. Go brighter here than you think: 500 to 800 lumens at 4000K gives you the clear, daylight-ish light that makes knife work and cleanup safe. Use a fixture rated for wet locations (IP65 minimum), because this is the wettest spot in the entire kitchen — and the outlet powering it must be GFCI-protected with a weatherproof cover. No exceptions.
If you have a gooseneck-style fixture, you can aim it precisely at the basin; if it's a bar, center it on the faucet. When I'm planning a kitchen layout, the sink light and the grill light are the two non-negotiables — everything else is atmosphere. My electrical safety tips guide covers GFCI placement and wet-rated fixtures in more detail.
Suggested budget range: $50 – $140.
13. Rope Light Cove Along Pergola Beams
If recessed cans are too much commitment (or your pergola has no ceiling to recess into), a rope light cove is the next best thing — and it's a pure weekend project. I run LED rope light along the inside edge of the top beams, tucked into the corner where the beam meets the rafters, so the beams themselves glow softly at night.
The trick is concealment: fasten the rope light with clear UV-rated clips every 12 inches, pushed up into the beam shadow so the rope is invisible from below. All you see is the wash of warm light tracing the roofline — it defines the whole structure at night and makes the ceiling feel lower and cozier. Use LED rope (not incandescent — the old incandescent rope lights run hot and eat electricity), 2700K warm white, outdoor-rated.
One strand around a 12×16-foot pergola takes about 60 to 70 feet of rope light and one outdoor timer. Keep the rope 6 feet or more above the grill and any seating where someone could grab it. It's not a task light — it's pure ambiance — so pair it with one of the task options above for the actual cooking zones. The layered effect of hidden cove light plus bright task light is what makes a kitchen feel professionally designed.
Suggested budget range: $50 – $150.

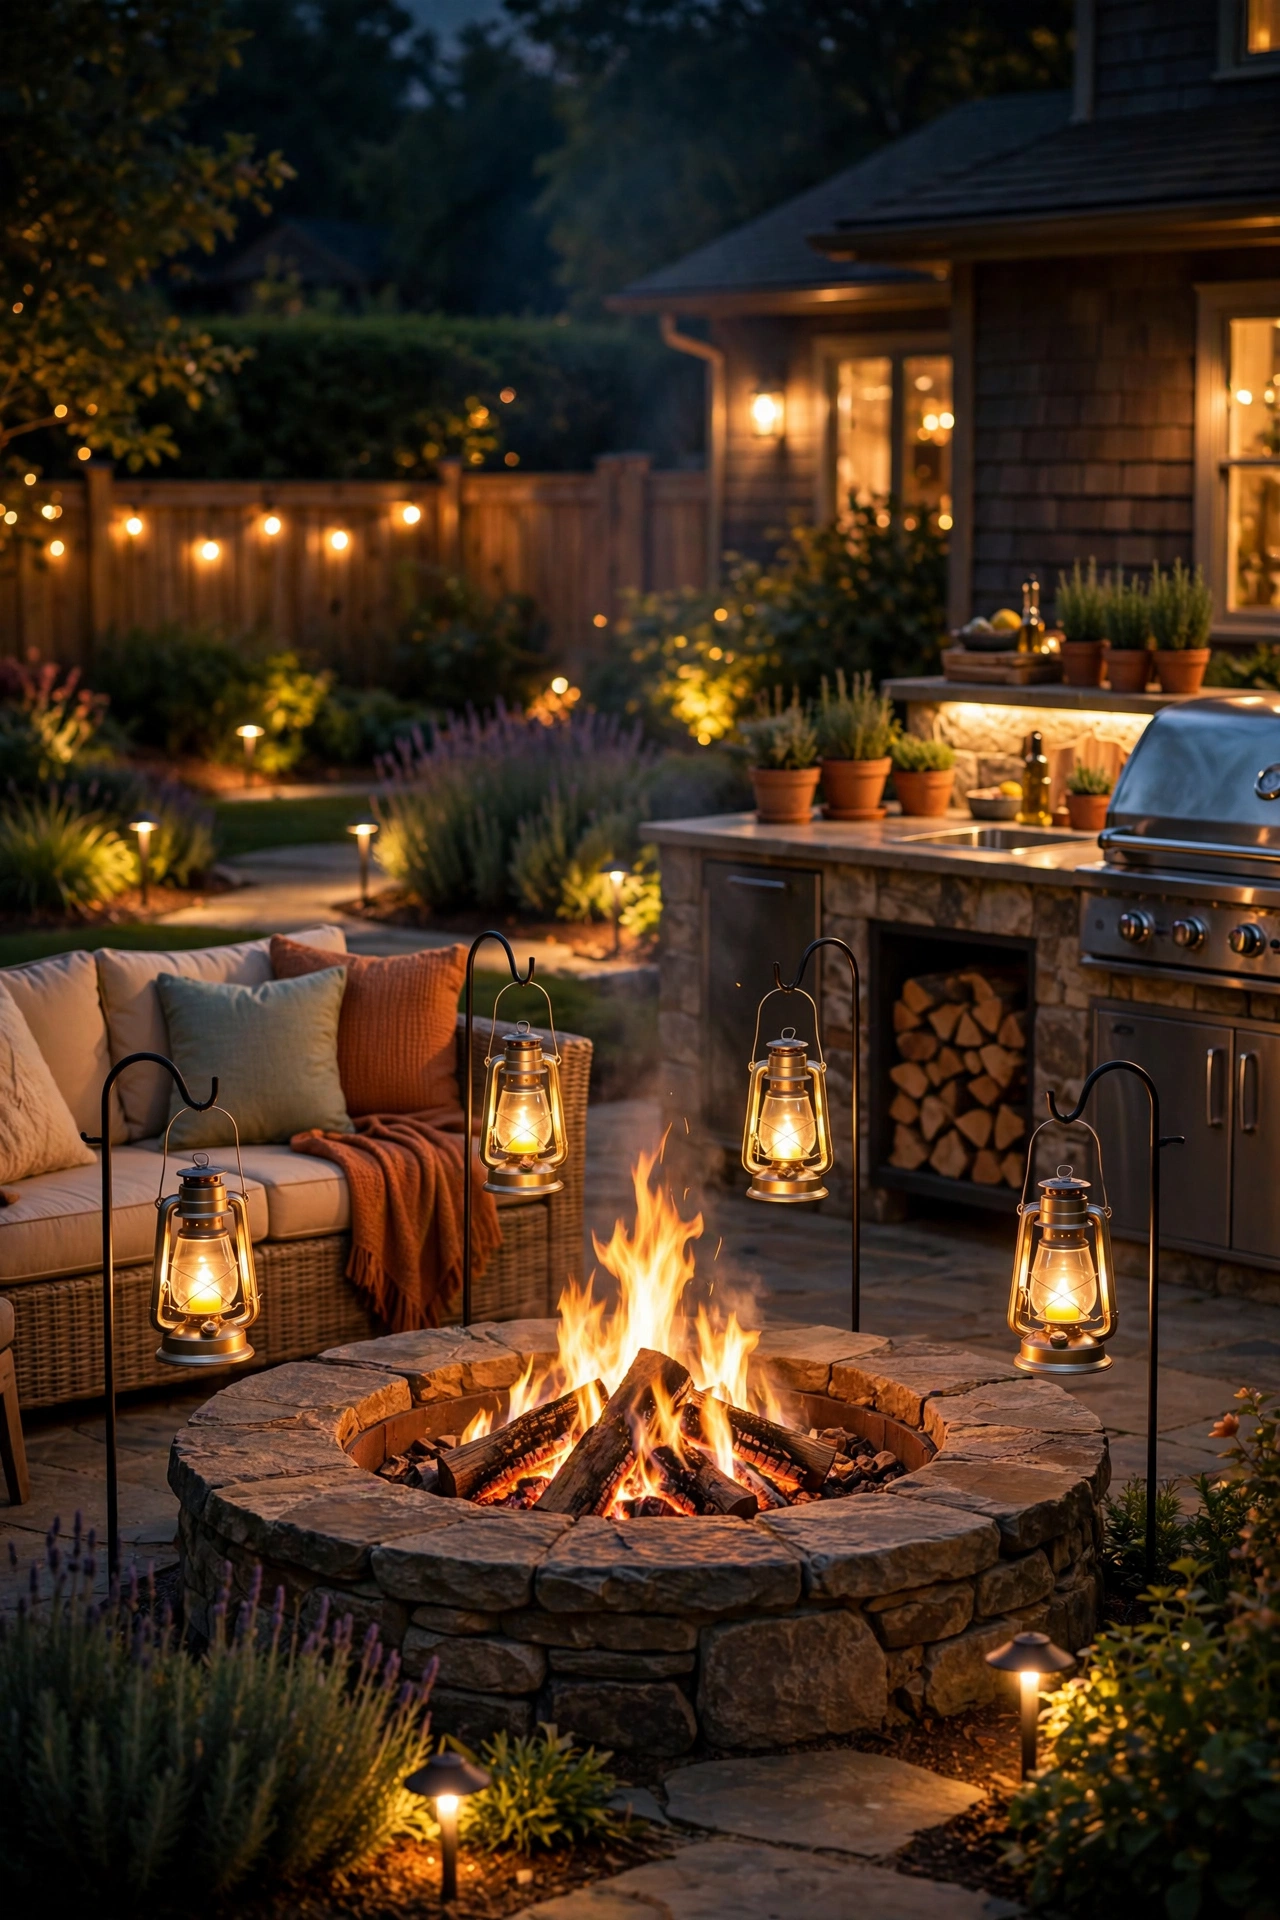
14. A Warm Glow Anchor Around the Fire Pit or Patio Heater
Every outdoor kitchen needs a "land here" spot for when the food's resting and the conversation takes over — and a fire pit or patio heater with the right lighting around it becomes the gravitational center of the whole evening. The light from the fire does half the work, so your job is framing it.
I ring the fire pit zone with low, warm accents: solar lanterns on short shepherd's hooks (about 3 feet tall) at the corners of the seating area, and a set of low-voltage well lights tucked into the surrounding planting beds, aimed outward so the landscaping glows behind the fire. Keep everything 3 feet or more from the fire pit edge — heat kills LED electronics, and melted fixtures are no fun to replace.
The combination of flickering firelight at center and steady warm accents around the edges is pure magic; it's the layering principle doing its work. I put the perimeter lights on the same timer as the rest of the patio so the whole zone comes alive at dusk together. One safety note I always give: firelight is beautiful but it throws deep shadows, so make sure the path from the kitchen to the fire pit is lit separately — nobody should be navigating dark ground while carrying hot food.
Suggested budget range: $70 – $200.
15. Smart Color-Changing Bulbs for Party Mode
This is the fun one. Swap the bulbs in your pendants, string lights (where the sockets accept standard bases), or landscape uplights for smart color-changing LEDs, and your kitchen goes from weeknight dinner mode to birthday-party mode with a tap on your phone. I use mine more than I expected — warm amber for date night, team colors for game day, soft green and red for a holiday cookout.
Buy outdoor-rated smart bulbs (they exist in standard A19 and flood formats) and screw them into fixtures you already own — no new wiring. Group the bulbs by zone in the app: cooking zone stays warm white always, party zone gets the color. Keep the grill and prep task lights out of the color game entirely; food color accuracy matters there, and a green-tinted burger is nobody's friend.
The one thing to know: smart bulbs need a decent Wi-Fi signal outside. If your patio is a dead zone, add a weatherproof range extender near the house wall or look for bulbs that use a hub with a stronger outdoor protocol. And set a schedule so everything returns to warm white at 10 p.m. — your neighbors will appreciate it, and honestly, so will your photos.
Suggested budget range: $60 – $180.

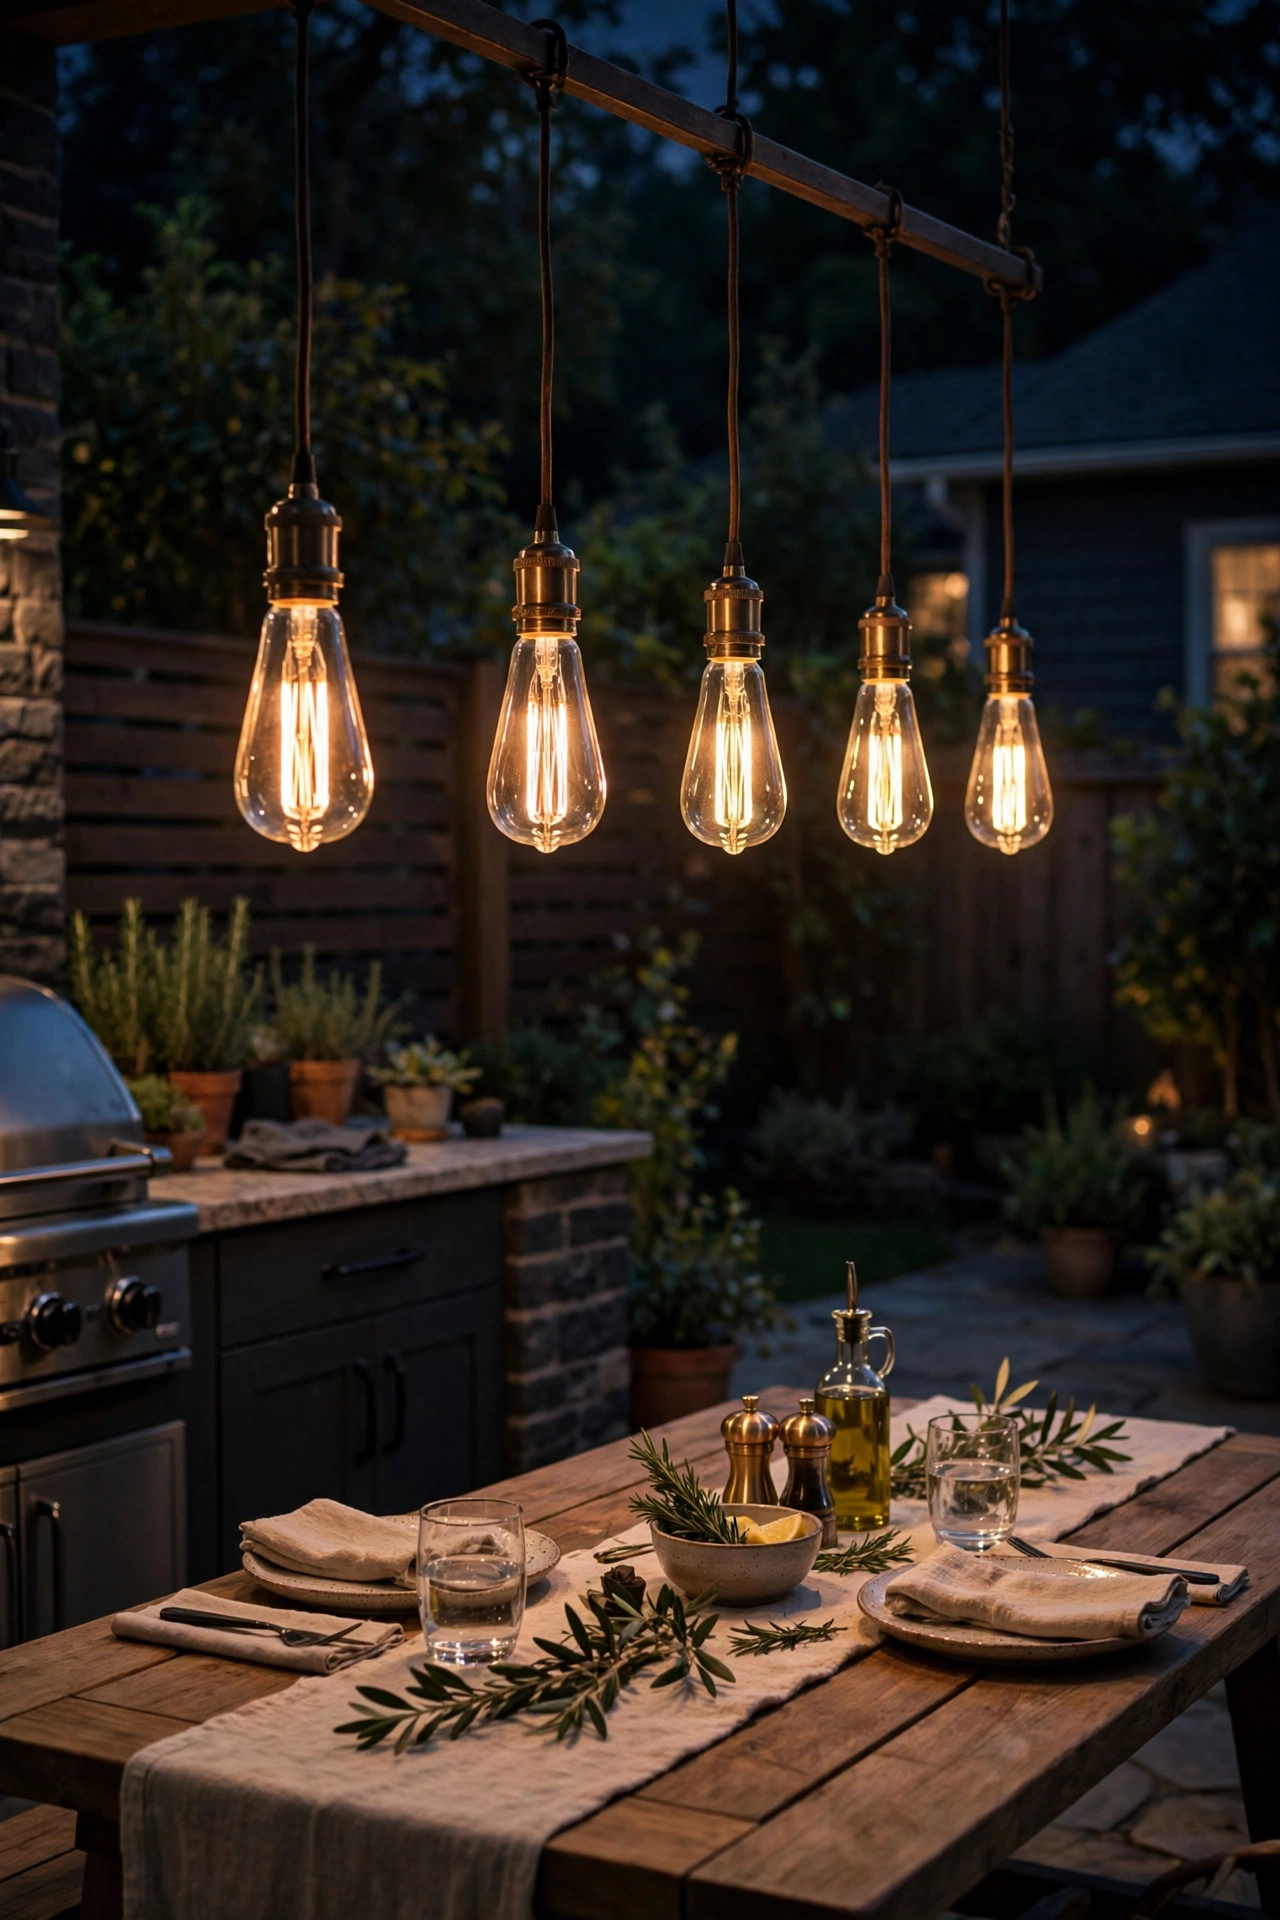
16. Hanging Edison Pendants Over the Dining Table
If the bar counter got pendants (idea #5), the dining table deserves them too — but I style them differently here. Over the dining table, I hang a linear row of smaller Edison-style pendants with clear glass and visible LED filaments, spaced about 24 inches apart and hung 30 to 36 inches above the tabletop. It's the outdoor version of a dining room chandelier, and it makes every meal feel like an occasion.
Use dimmable LED filament bulbs — the vintage amber-tinted ones at 2200K to 2700K are stunning over food. Hang the row from a simple beam, a pergola crosspiece, or a tensioned cable if there's no structure (a 1/8-inch steel cable between two posts works and costs almost nothing). Keep every fixture outdoor-rated and every connection in weatherproof housings; dining table pendants hang low enough that rain and sprinklers will find them.
Dimming is everything here. I run these on a wireless dimmer switch so the table can glow low while the kitchen task lights stay bright — the cook can see the grill, and the guests feel like they're in a restaurant. If you only hang one lighting fixture in the whole kitchen, honestly, a row of Edison pendants over the dining table might be the prettiest single thing you can do.
Suggested budget range: $100 – $300.
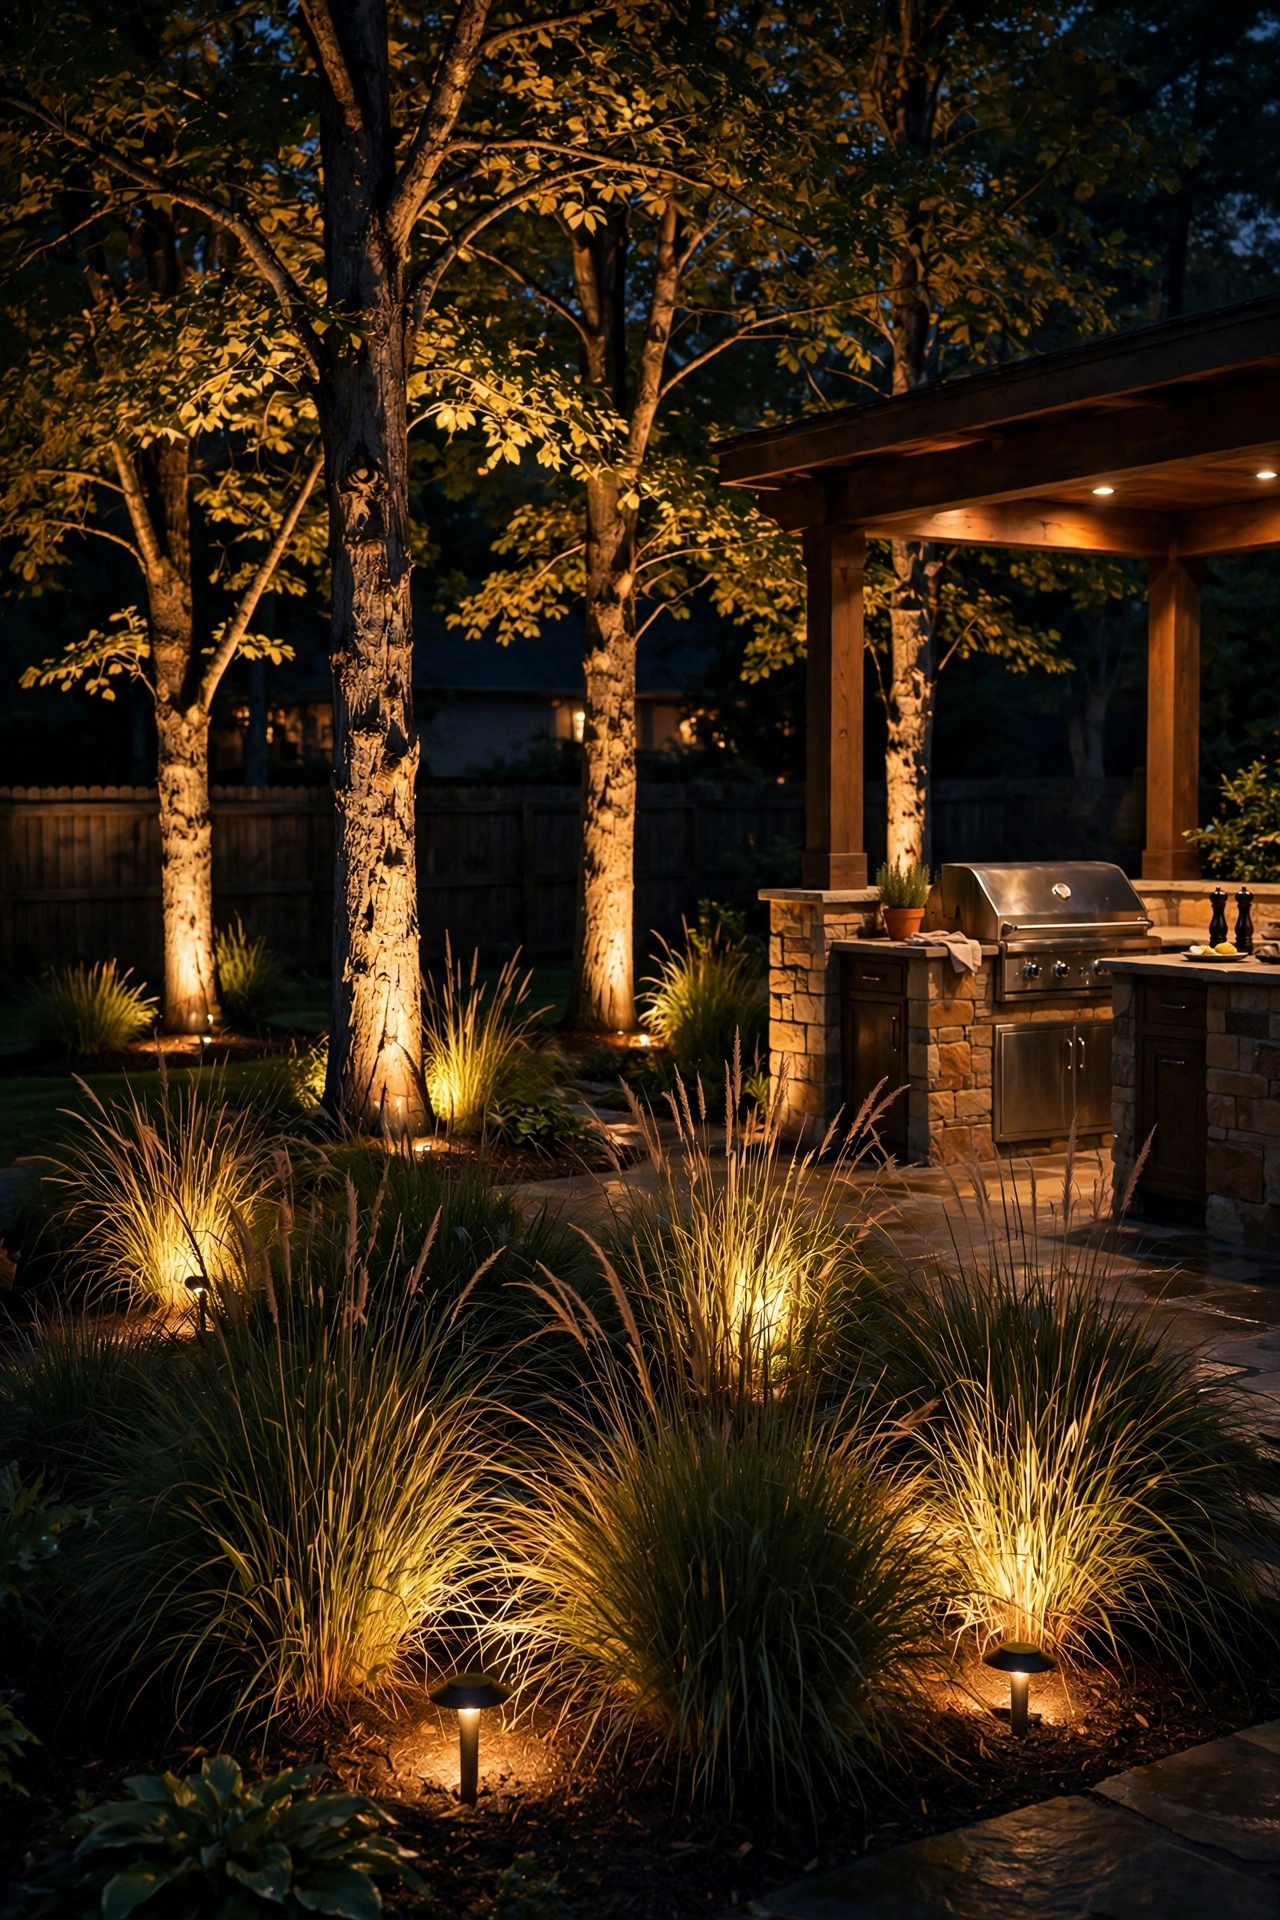
17. Uplights in the Surrounding Landscaping for Depth
A kitchen floating in a black void feels small and a little eerie — even if the counters are perfectly lit. The fix is uplighting the landscape around the kitchen: a few well-placed spotlights washing nearby trees, stone walls, or tall grasses give your eyes somewhere to land beyond the patio and make the whole space feel twice as big. This is the background layer of the layering philosophy, and it's what separates "nice patio" from "wow."
I use low-voltage LED uplights (about 200 to 300 lumens each) staked 1 to 2 feet from the base of each feature tree or shrub, aimed up into the canopy. For a standard kitchen patio, 4 to 6 uplights is plenty — you want pools of light with darkness between them, not a wall of light. Warm white 2700K to 3000K keeps the plants looking natural; cooler temps turn foliage an odd blue-green.
Keep uplights aimed away from seating areas so guests aren't staring into a glare, and angle them so no light spills onto neighboring windows. Wire them into the same low-voltage system as your path lights on one transformer, and you'll have a whole-yard lighting plan running off a single timer. The best part? When friends step away from the grill for a minute, they're standing in a garden that glows — and that's the memory they take home.
Suggested budget range: $80 – $250.
18. Battery Wall Sconces on Pillars and Fences for Flexible Zones
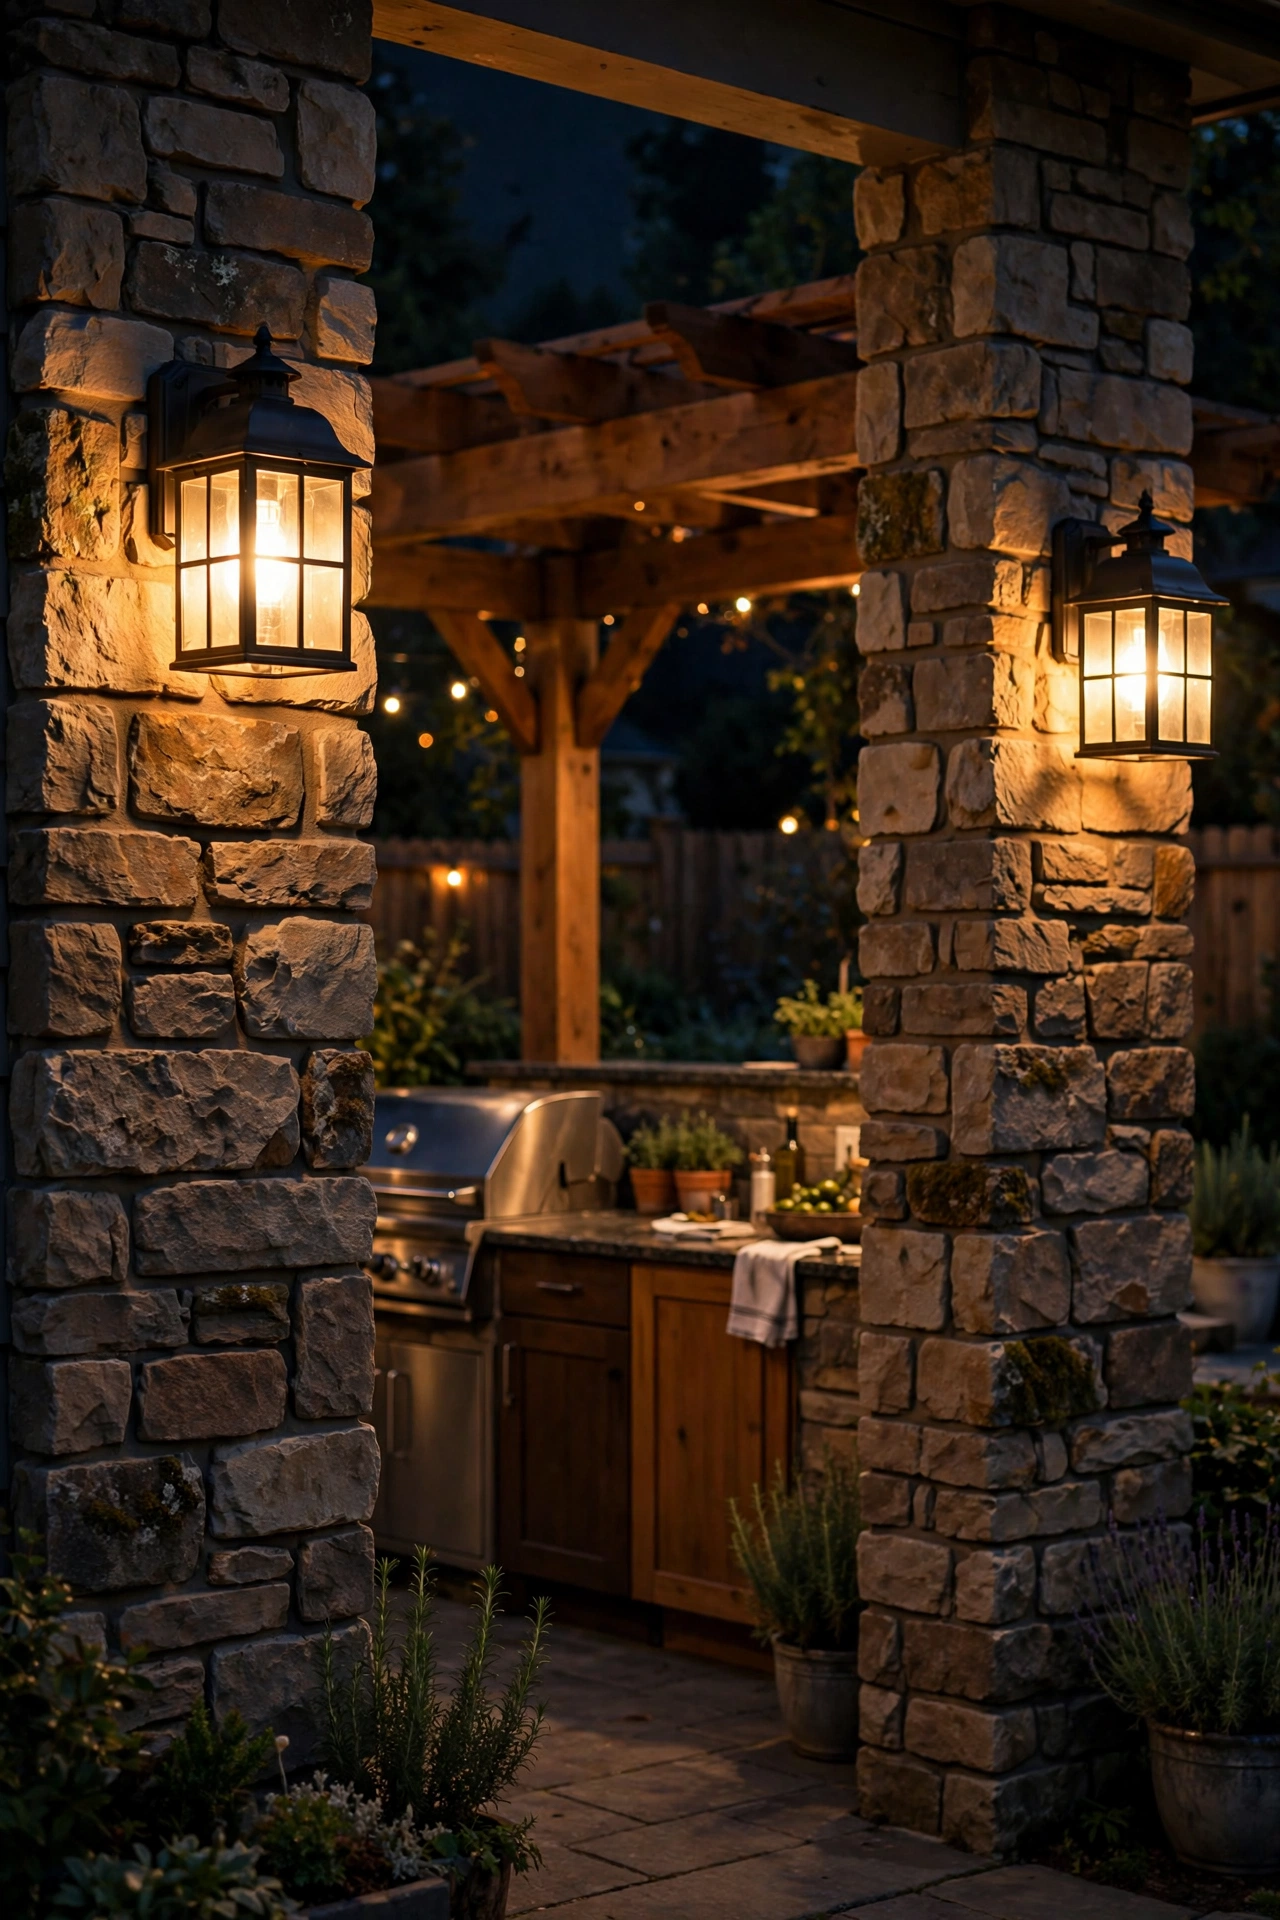
Not every corner of an outdoor kitchen can (or should) be wired. For pillars, fence posts, and the side of the house where running conduit would be a nightmare, battery-powered LED wall sconces are my secret weapon. They look like real hardwired fixtures — lantern-style, gooseneck, or modern box designs — but they stick on with screws or heavy-duty adhesive and run for months on rechargeable batteries.
I mount them 5 to 6 feet high on the pillars flanking the kitchen entrance and on fence posts along the back of the patio. The best ones have a dusk-to-dawn sensor plus a remote control, so they come on automatically and I can dim them from my seat. Look for fixtures with a real glass or polycarbonate lens and at least IP44 weatherproofing; the cheap plastic ones yellow in the sun within a season.
These are also perfect for renters or anyone who wants to test a lighting layout before committing to wiring — live with the sconces for a summer, then hardwire your favorites. Because there's no heat and no wiring, they're safe to mount near wood fences and vinyl siding where you'd never run line voltage. LED-only, obviously, but that's true of every battery sconce on the market anyway.
Suggested budget range: $40 – $130.
19. One Smart Timer (and a GFCI Plan) Running the Whole Show
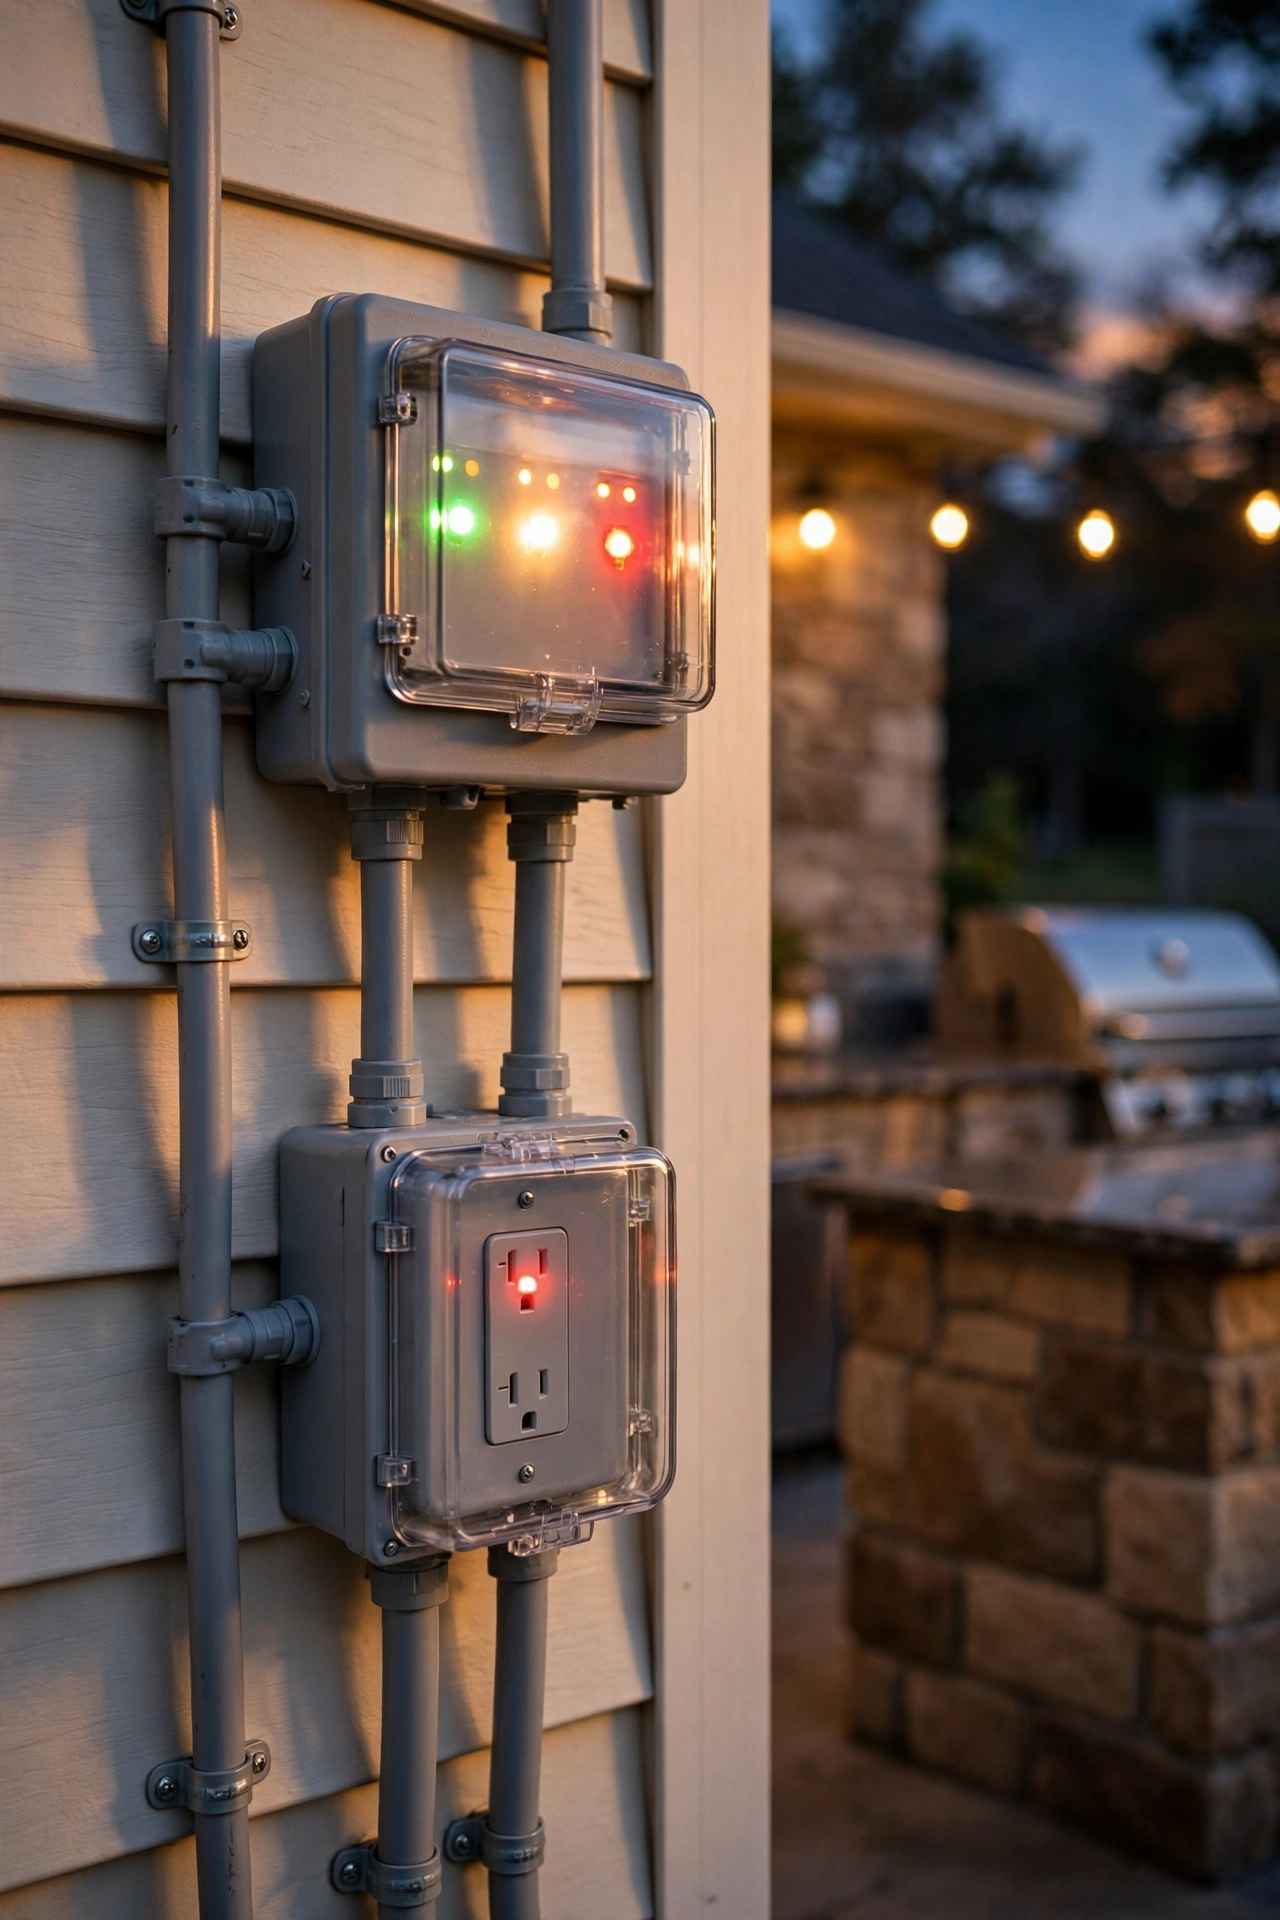
After all these beautiful fixtures, the most important idea is the least glamorous: a proper control and safety setup. Every circuit in your outdoor kitchen lighting plan should run through GFCI-protected outlets, and every zone should be on a timer or smart control — because the best lighting is the lighting you never have to think about.
Here's how I set it up: the transformer for all low-voltage lighting (path lights, step lights, uplights) plugs into a weatherproof GFCI outlet and runs on a dusk-to-dawn photocell timer. The 120V fixtures — recessed cans, pendants, the sink task light — go on their own dimmer switches. Everything that touches water or lives outdoors gets tested monthly: press the "test" button on each GFCI outlet and make sure it trips, then resets. It takes ten seconds.
Label your zones at the panel ("kitchen task," "patio ambient," "landscape") so you or an electrician can isolate anything quickly. Keep all outdoor electrical connections in weatherproof boxes with drip loops in the cable so water runs off instead of in. And if any of this feels outside your comfort zone, hire a licensed electrician for the line-voltage work — a couple hundred dollars of pro labor is cheap insurance. A thoughtful plan like this ties into the whole-yard approach, which is why I always suggest reading up on backyard lighting design alongside your kitchen plan — the two should work as one system.
Suggested budget range: $60 – $200.
Frequently Asked Questions
What color temperature is best for outdoor kitchen lighting?
Use different temperatures for different zones: 4000K to 5000K over the grill, prep counter, and sink for accurate food color and safe knife work; 2700K to 3000K warm white for dining, bar seating, and accent lighting where you want a cozy glow. In my experience, the biggest mistake is using one temperature everywhere — cool white makes guests look washed out, and warm white makes it hard to tell if a burger is done.
What waterproof rating do outdoor kitchen lights need?
Look for IP65-rated fixtures near the sink, grill, and anywhere water splashes; IP44 is the minimum for general patio fixtures under cover. Fixtures fully exposed to rain should be "wet location" rated, while "damp location" is fine under a solid roof or pergola cover. Always run outdoor kitchen circuits through GFCI-protected outlets, keep connections inside weatherproof junction boxes, and remember that waterproofing protects the fixture — GFCI protects you.
Should I use solar or wired lights for an outdoor kitchen?
Both, honestly. Use wired (low-voltage 12V or line voltage) for anything critical: grill task lights, sink lights, step lights, and recessed cans — these need to be bright, reliable, and on-demand. Use solar for accents and paths where a missed night isn't a safety issue: perimeter torches, lantern hooks, and far walkway stakes. In my experience, solar fixtures in shaded areas underperform badly, so anything under a roof or tree canopy should be wired.
How much does it cost to light an outdoor kitchen?
A simple setup — grill task light, a couple of string light strands, solar path lights, and lanterns — runs about $150 to $300 and you can do it in a weekend. A mid-range layered plan with low-voltage path and step lights, LED strips, pendants, and a timer adds up to roughly $500 to $1,500, often with an electrician visit for the wired fixtures. Start with task lighting for safety, add ambiance next, and layer up over time.
Conclusion
At the end of the day, great outdoor kitchen lighting comes down to that same principle I keep coming back to: layer your light. Bright, focused task lighting where you cook; warm, inviting ambient light where you gather; and low accent light along every path and step. Get those three layers right and your kitchen stays alive long after the sun goes down — which is when the best memories happen anyway.
Start with the safety-critical stuff (grill light, sink light, steps), then add the pretty layers one weekend at a time. And if you're hungry for more ideas, browse the rest of our lighting guides — there's a whole yard of glow waiting for you.
Happy grilling after dark, and I'll see you out there.