Brighten Your Home: How to Install Wall Lights in Minutes
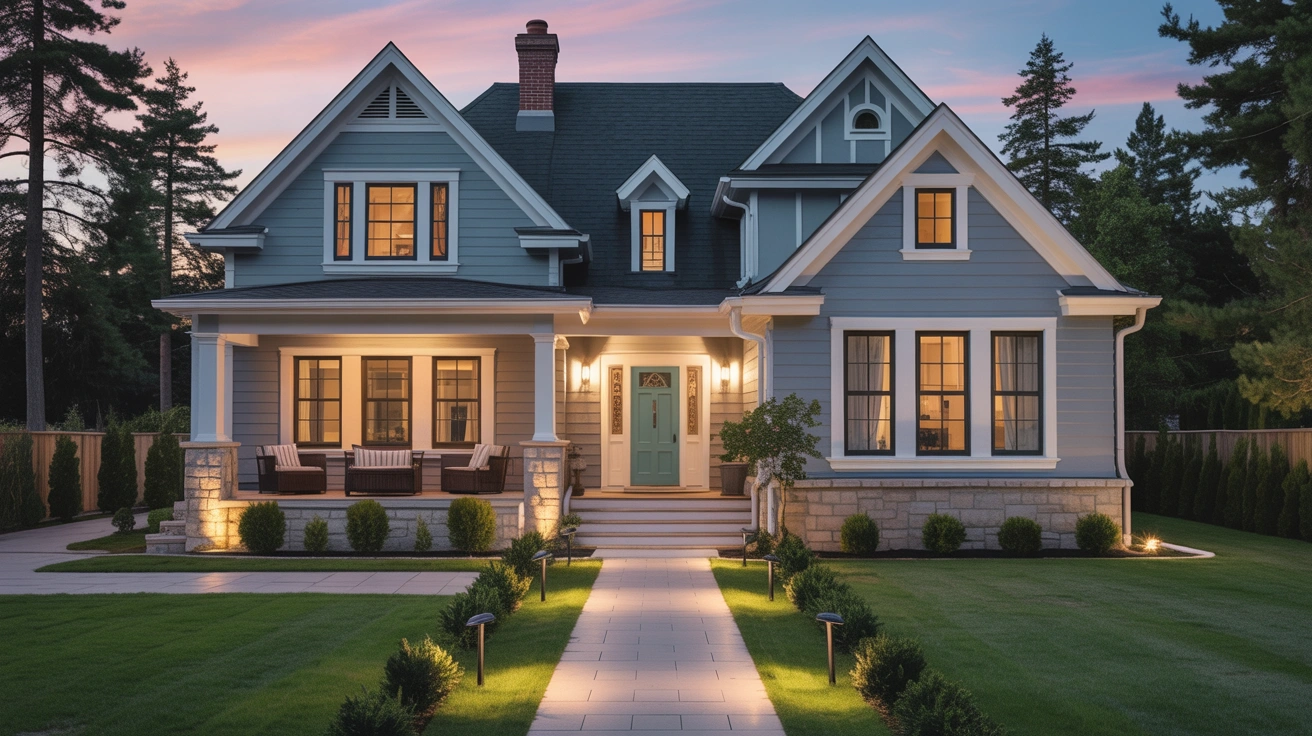
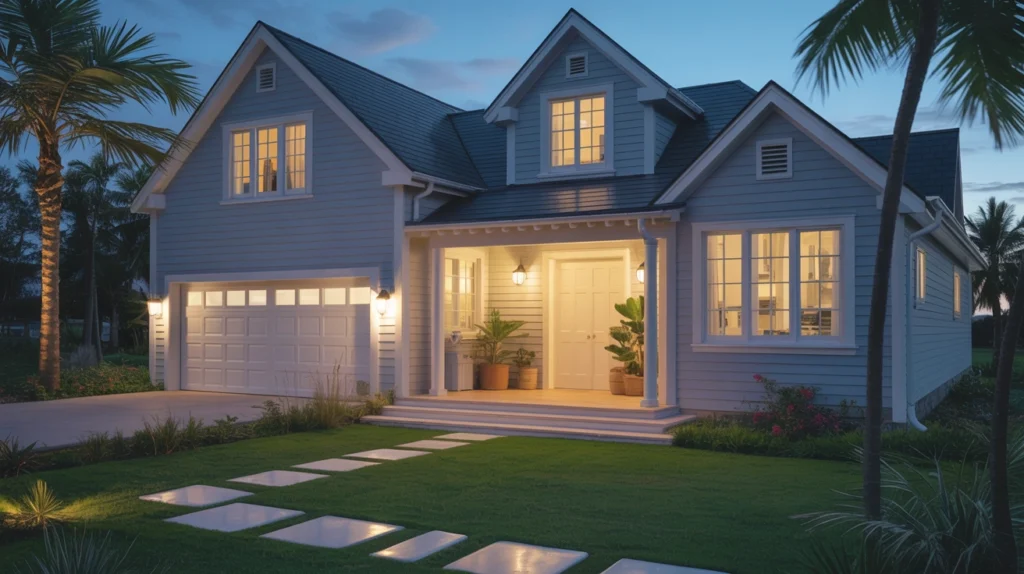
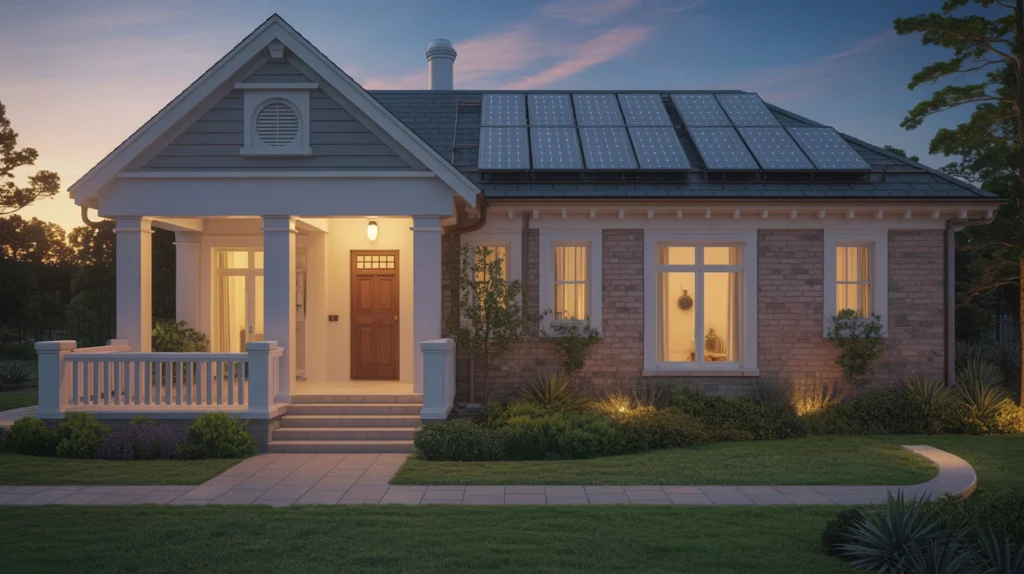
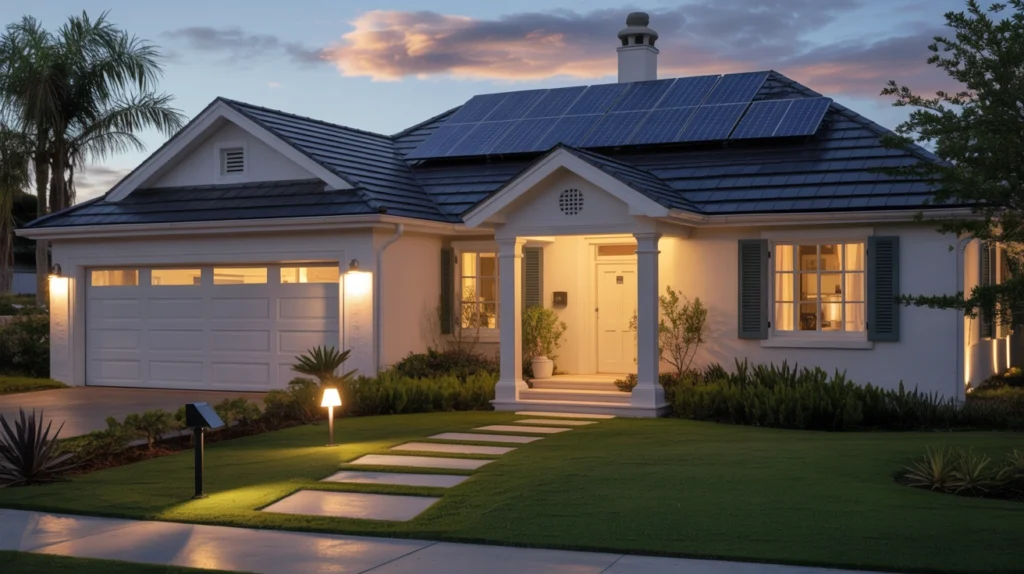
Installing exterior house lights enhances safety, security, and curb appeal for front porches, pathways, driveways, and patios. Whether using LED, solar, or smart lights, proper installation ensures performance and durability. This 2025 guide provides detailed steps for installing hardwired, solar, and smart exterior lights, featuring products from Philips Hue, Amazon Basics, and Leonlite to illuminate your dream home with light blue, gray, or white exteriors.
Why Install Wall Lights?
- Safety: Illuminates walkways and entryways, preventing trips.
- Security: Deters intruders with motion sensors or bright floodlights.
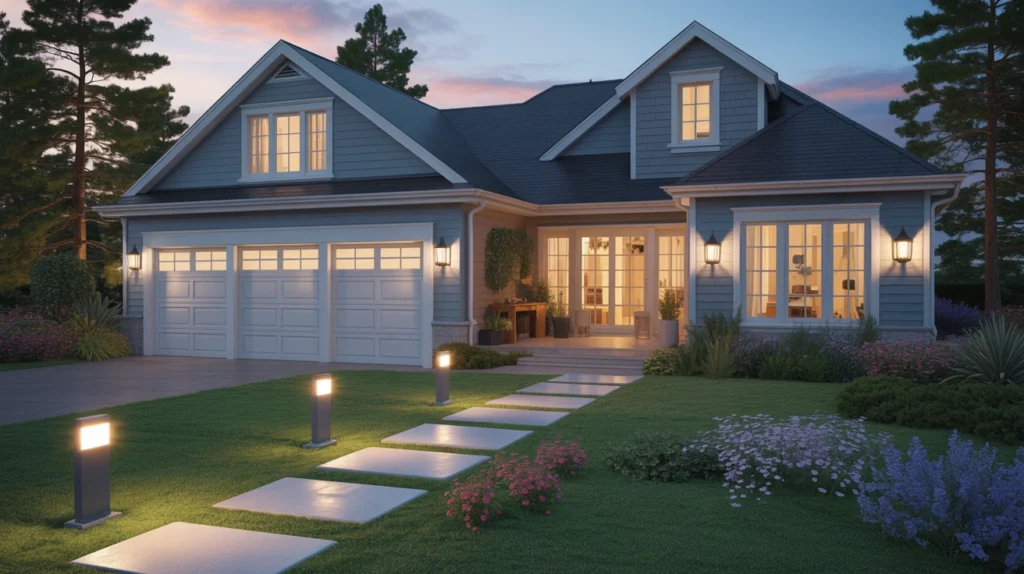
- Aesthetics: Enhances coastal, modern, or farmhouse exteriors.
- Energy Efficiency: LEDs save ~$16/year per fixture vs. incandescents (10W vs. 60W, 6 hours/day, $0.15/kWh); solar eliminates grid costs.
- Smart Control: Apps like Philips Hue or Ring Home offer automation.
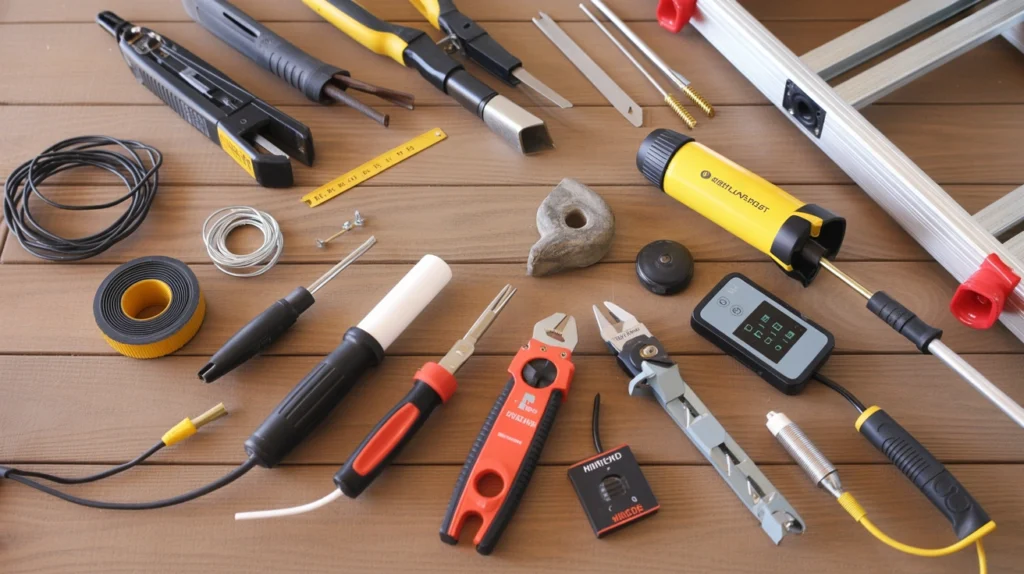
Tools and Materials Needed
- Tools:
- Screwdriver set (Phillips, flathead)
- Voltage tester (non-contact preferred)
- Wire cutters/strippers
- Drill with masonry bits (for brick/stone)
- Ladder (6–12 ft, depending on height)
- Tape measure, level, pencil
- Caulk gun, flashlight, gloves, safety glasses
- Materials:
- Exterior light fixtures (e.g., Leonlite Floodlight, ~$60, Amazon)
- LED bulbs (e.g., Amazon Basics A19, ~$10, 10W, 800 lumens) or integrated LED fixtures
- Wire nuts, electrical tape
- Mounting hardware (screws, anchors for masonry)
- Weatherproof caulk (silicone, marine-grade)
- Junction box (if replacing or missing, ~$10)
- Solar lights (e.g., Linkind Solar Spotlight, ~$30, Amazon) for wire-free options
- Smart hub (e.g., Philips Hue Bridge, ~$60) for smart lights
- Safety Gear: Non-slip shoes, insulated tools.
Step-by-Step Installation Guide
1. Plan Your Lighting Layout
Design a functional and aesthetic lighting scheme tailored to your home’s needs.
- Assess Needs:
- Purpose: Security (floodlights, 800–2000 lumens), navigation (pathway lights, 100–400 lumens), ambiance (sconces, 400–800 lumens).
- Locations: Porches, garages, pathways, facades, or landscapes.
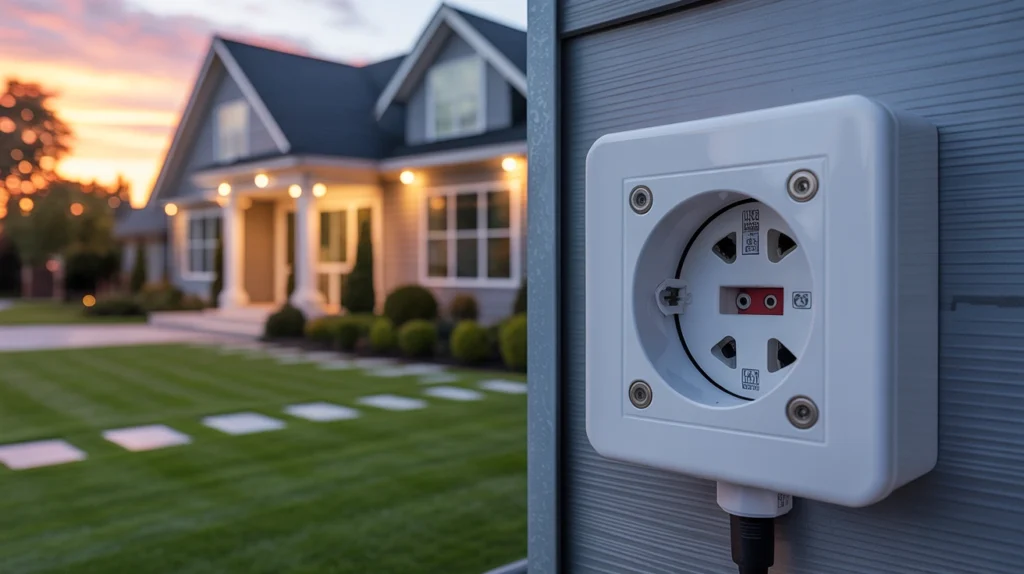
- Power Source: Hardwired (grid-powered), solar, or plug-in.
- Design Tips:
- Layer Lighting: Combine ambient (sconces), task (floodlights), and accent (spotlights).
- Spacing: Place pathway lights 2–3 feet apart, floodlights for 30–50 ft coverage.
- Aesthetics: Match finishes (matte black, brass) to light blue, gray, or navy exteriors.
- Color Temperature: 2700K–3000K (warm) for cozy, 4000K–5000K (cool) for security.
- Regulations: Check HOA or local codes for restrictions (e.g., dark sky-compliant fixtures).
- Example: Plan Philips Hue Econic Wall Lanterns ($180, Amazon) for porch, Leonlite Floodlights for driveway, and Amazon Basics Solar Pathway Lights ($40/8-pack) for walkway.
- Tip: Sketch a layout and test with a flashlight at night to preview effects.
2. Choose the Right Fixtures
Select LED, solar, or smart fixtures based on efficiency, durability, and features.
- LED Fixtures:
- Efficiency: 10W LED = 60W incandescent (~$16/year savings per fixture).
- Durability: IP65/IP66 for weather resistance; aluminum or brass for coastal homes.
- Example: Kichler Barrington Wall Sconce (~$150, Home Depot, 10W, 800 lumens).
- Solar Fixtures:
- Benefits: Zero electricity costs; no wiring.
- Features: Monocrystalline panels, 600–2000mAh batteries, dusk-to-dawn sensors.
- Example: Linkind StarRay Solar Spotlight (~$30, Amazon, 7W, 400 lumens).
- Smart Fixtures:
- Features: Motion sensors, Wi-Fi/Zigbee, app control (e.g., Philips Hue, Ring).
- Example: Ring Solar Floodlight (~$90, Amazon, 2000 lumens) with Ring Home App.
- Tip: Choose Energy Star-certified fixtures for rebates ($2–$20/fixture).
3. Gather Permits and Check Codes
Ensure compliance with local regulations before installation.
- Permits: Required for new hardwired installations in some areas; check with your city’s building department (~$20–$100).
- Codes:
- NEC (National Electrical Code): Requires weatherproof junction boxes and GFCI outlets for outdoor circuits.
- HOA Rules: May restrict fixture styles, brightness, or placement.
- Dark Sky Compliance: Use shielded fixtures to minimize light pollution.
- Tip: Contact local authorities or an electrician to confirm requirements.
4. Turn Off Power (Hardwired Only)
Eliminate electrical hazards by disconnecting power for hardwired installations.
- Steps:
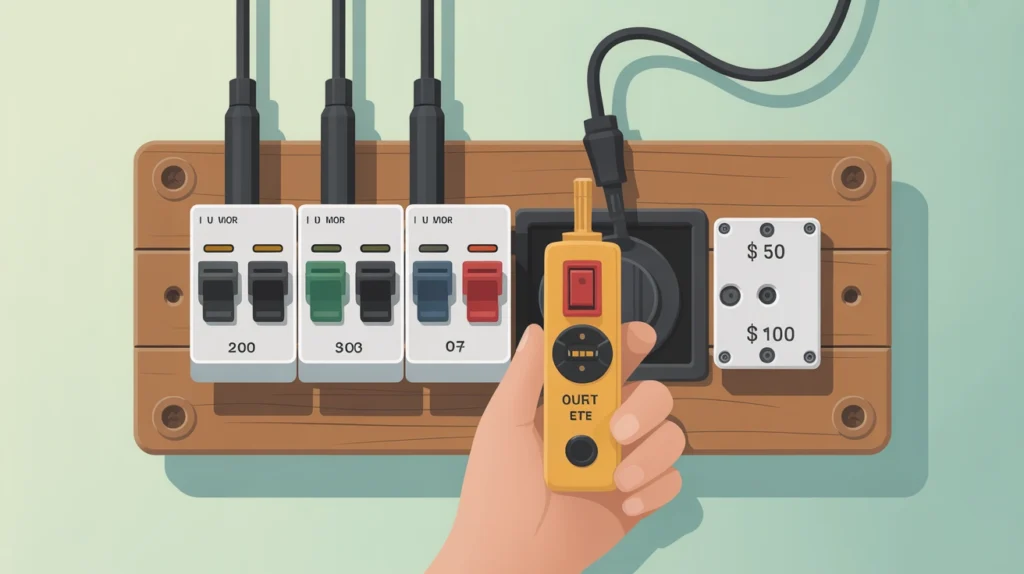
- Locate the circuit breaker controlling the outdoor circuit.
- Switch off the breaker; verify with a voltage tester (e.g., ~$15, Amazon).
- Post a warning sign on the breaker panel to prevent accidental reactivation.
- Safety Tip: If unsure about circuits, hire an electrician ($50–$100/hour).
- Note: Solar or battery-powered lights skip this step.
5. Remove Old Fixtures (If Retrofitting)
Safely remove existing lights to prepare for new installations.
- Steps:
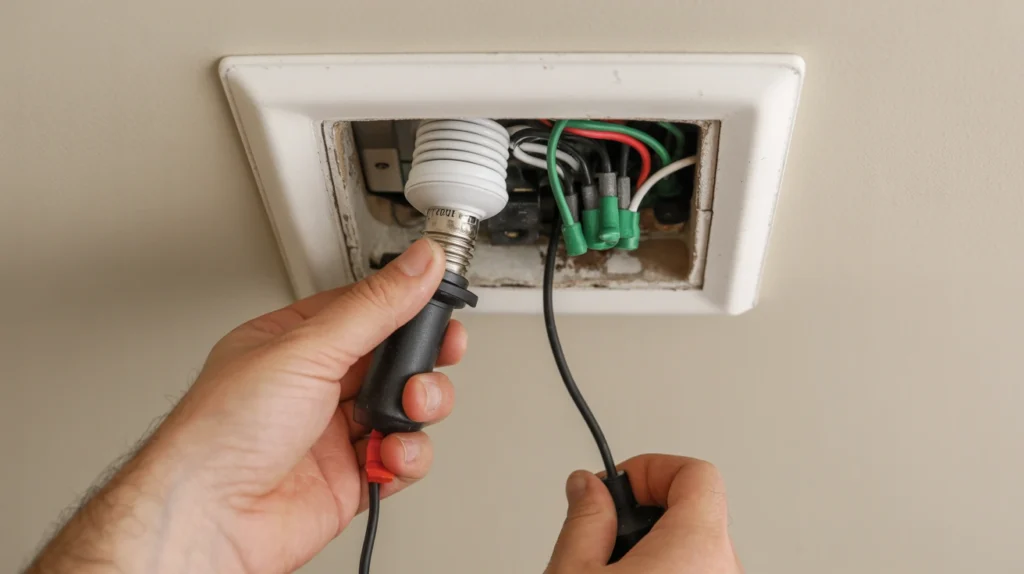
- Confirm Power Off: Double-check with voltage tester.
- Remove Bulbs: Unscrew incandescent, halogen, or CFL bulbs; recycle CFLs at Home Depot due to mercury.
- Detach Fixture:
- Unscrew mounting plate from junction box.
- Disconnect wires (black to black, white to white, ground to green/copper).
- Label wires for new fixture.
- Inspect Junction Box: Replace if rusted or damaged (~$10–$20).
- Tip: Take photos of wiring for reference.
- Disposal: Recycle old fixtures at local facilities.
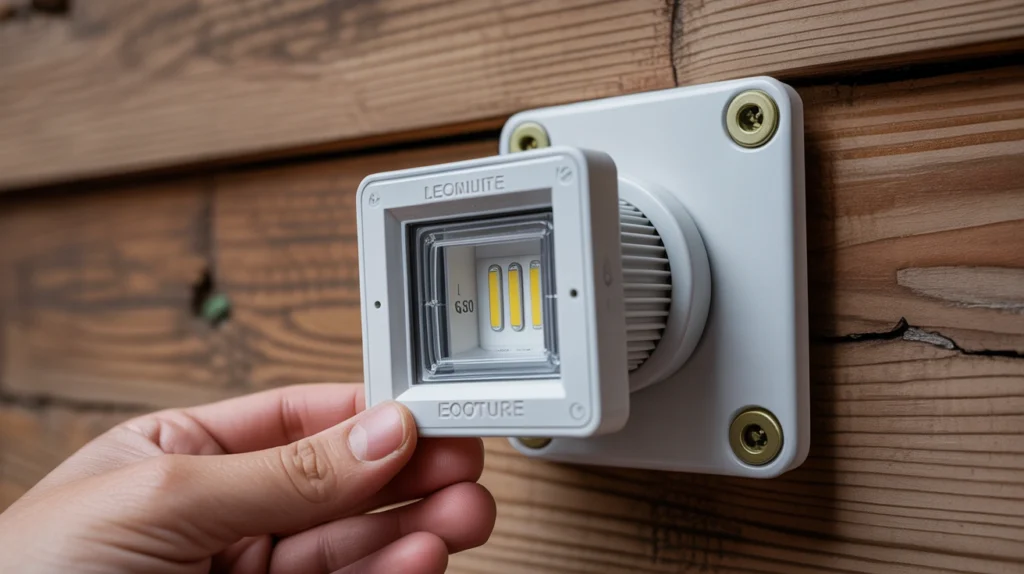
6. Install Hardwired LED Fixtures
Mount and wire new LED fixtures for grid-powered lighting.
- Steps:
- Mount Base:
- Align new fixture’s mounting plate with junction box.
- Drill pilot holes for masonry (use anchors) or wood siding.
- Secure with screws (included or ~$5/pack).
- Connect Wires:
- Strip ½ inch of insulation from fixture and house wires.
- Connect black (hot) to black, white (neutral) to white, ground to green/copper using wire nuts.
- Wrap connections with electrical tape for safety.
- Attach Fixture:
- Screw fixture to mounting plate.
- Insert LED bulb (e.g., Amazon Basics, ~$10) or use integrated LED.
- Seal:
- Apply weatherproof caulk around fixture edges to prevent water ingress.
- Test:
- Restore power; verify operation with switch or motion sensor.
- Mount Base:
- Example: Install Leonlite LED Motion Sensor Floodlight (~$60, Amazon) for garage.
- Safety Tip: If wiring is complex or outdated, consult an electrician ($100–$300/fixture).
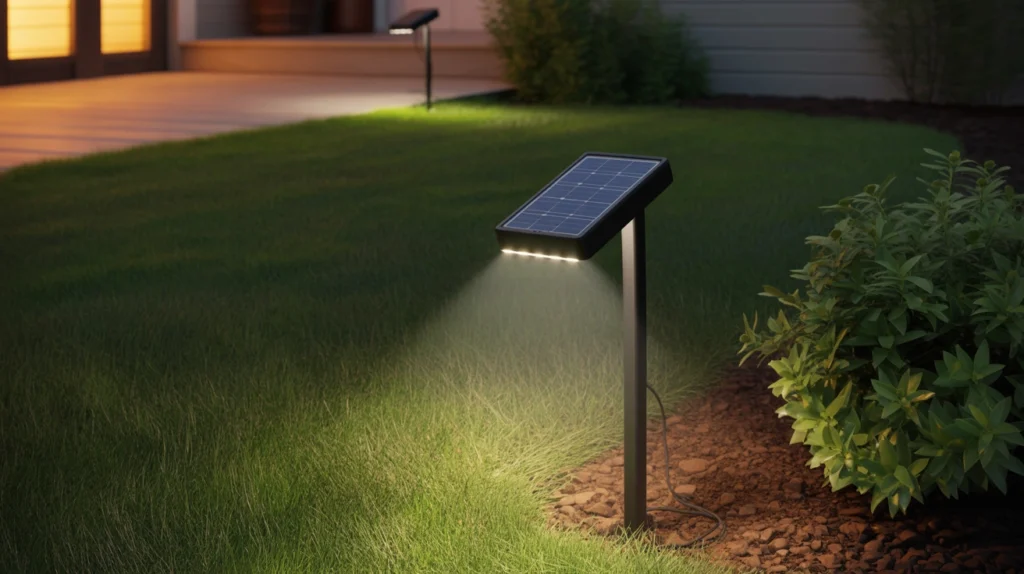
7. Install Solar LED Fixtures
Set up solar lights for wire-free, eco-friendly illumination.
- Steps:
- Choose Location: Place in south-facing areas with 6–8 hours of direct sunlight; avoid shade.
- Stake or Mount:
- Pathway Lights: Push stakes 6–8 inches into soil (e.g., Amazon Basics Solar Pathway, ~$40/8-pack).
- Spotlights/Wall Lights: Mount with brackets/screws (e.g., Linkind Solar Spotlight, ~$30).
- Use a mallet for hard ground; ensure level placement.
- Charge: Allow 24–48 hours of sunlight to fully charge batteries.
- Test: Confirm dusk-to-dawn or motion sensor activation at night.
- Tip: Adjust solar panel angles (30–45°) to maximize sunlight capture.
- Example: Install Ring Solar Pathlight (~$35, Amazon) for driveway.
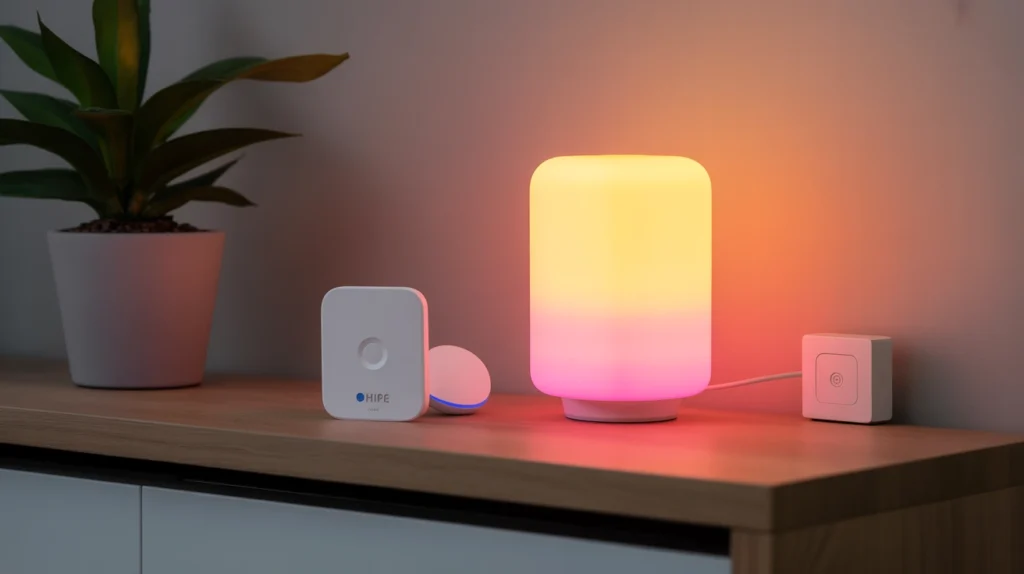
8. Set Up Smart Lighting Features
Configure smart lighting for automation and remote control.
- Steps:
- Install Hub (if needed): Connect Philips Hue Bridge ($60) or Ring Home Bridge ($70) to your router.
- Download App: Use Philips Hue, Ring Home, Govee Home, or brand-specific apps (e.g., Wyze App Store/Google Play).
- Pair Lights: Follow app prompts to connect via Wi-Fi, Zigbee, or Bluetooth.
- Configure Automation:
- Set schedules (e.g., on at dusk, off at midnight).
- Enable motion detection (10–33 ft range) or geofencing.
- Integrate with Alexa, Google Home, or HomeKit for voice control.
- Test: Verify app functionality, brightness, and motion triggers.
- Example: Pair Philips Hue Econic Lantern with Hue Motion Sensor (~$50) for porch automation.
- Tip: Ensure a strong Wi-Fi signal; add a mesh router (~$50–$100) if needed.
9. Test and Adjust Lighting
Ensure optimal performance and aesthetics after installation.
- Tests:
- Functionality: Confirm lights turn on/off, dim, or respond to sensors or apps.
- Coverage: Check illumination reaches pathways, facades, or entryways.
- Aesthetics: Verify color temperature (2700K vs. 4000K) complements paint swatches.
- Adjustments:
- Reposition solar panels for better sunlight.
- Angle floodlights or spotlights to reduce glare.
- Fine-tune motion sensor sensitivity or duration (30 seconds–5 minutes).
- Tip: Use dark sky-compliant fixtures to minimize light pollution.
10. Maintain Your Exterior Lights
Regular upkeep ensures long-term efficiency and durability.
- Tasks:
- Clean: Wipe lenses and solar panels monthly to remove dust or salt.
- Inspect: Check wiring, seals, or junction boxes yearly for corrosion.
- Replace: Swap solar batteries every 2–5 years (~$2–$10); LEDs last 10–20 years.
- Update: Keep smart apps/firmware updated.
- Warranties: Use Philips Hue (2 years), Amazon Basics (1 year), Leonlite (2 years).
- Tip: Store spare parts for quick fixes.
Safety and Compliance Tips
- Electrical Safety: Always use a voltage tester; avoid wet conditions during installation.
- Ladder Safety: Secure ladder on flat ground; have a spotter for heights over 8 feet.
- Weatherproofing: Ensure IP65/IP66 fixtures and sealed connections for coastal or humid areas.
- Permits: Obtain for new circuits or major installs (~$50–$100).
- Codes: Follow NEC for GFCI protection and HOA rules for aesthetics.
Cost Estimate
- Hardwired Fixtures: $40–$200/fixture x 10 = $400–$2,000; electrician $100–$300/fixture.
- Solar Lights: $30–$100/fixture x 8 = $240–$800.
- Smart Hub: $50–$100 (one-time).
- Tools/Materials: $20–$100.
- Total: ~$500–$3,000 for 10–10 fixtures.
- Savings: ~LEDs save ~$164/year for 10 fixtures vs. incandescents (10W vs. 60W, $0.15/kWh).
Where to Buy
- Amazon: Amazon Basics, Philips Hue, Leonlite, Linkind.
- Home Depot: Kichler, Hinkley, Hampton Bay.
- Wayfair: Stylish sconces, floodlights.
- Manufacturer Sites: Direct for warranties.
Customer Insights
- Sarah M., Raleigh, NC: “LED sconces transformed our light blue porch—easy install!”
- Emily T., Seattle, WA: “Solar path lights were a breeze to set up on our gray walkway!”
- Mark T., Central Iowa: “Ring floodlights secure our navy driveway with app control!”
Conclusion
Installing exterior house lights boosts safety, security, and aesthetics with LED, solar, or smart options. Follow these steps to plan, select, and install fixtures like Philips Hue, Amazon Basics, or Leonlite, ensuring compliance with safety codes. Shop at Amazon, Home Depot, or Wayfair, and maintain lights for longevity. Share your lighting projects on Pinterest or Houzz to inspire others and light up your dream home!