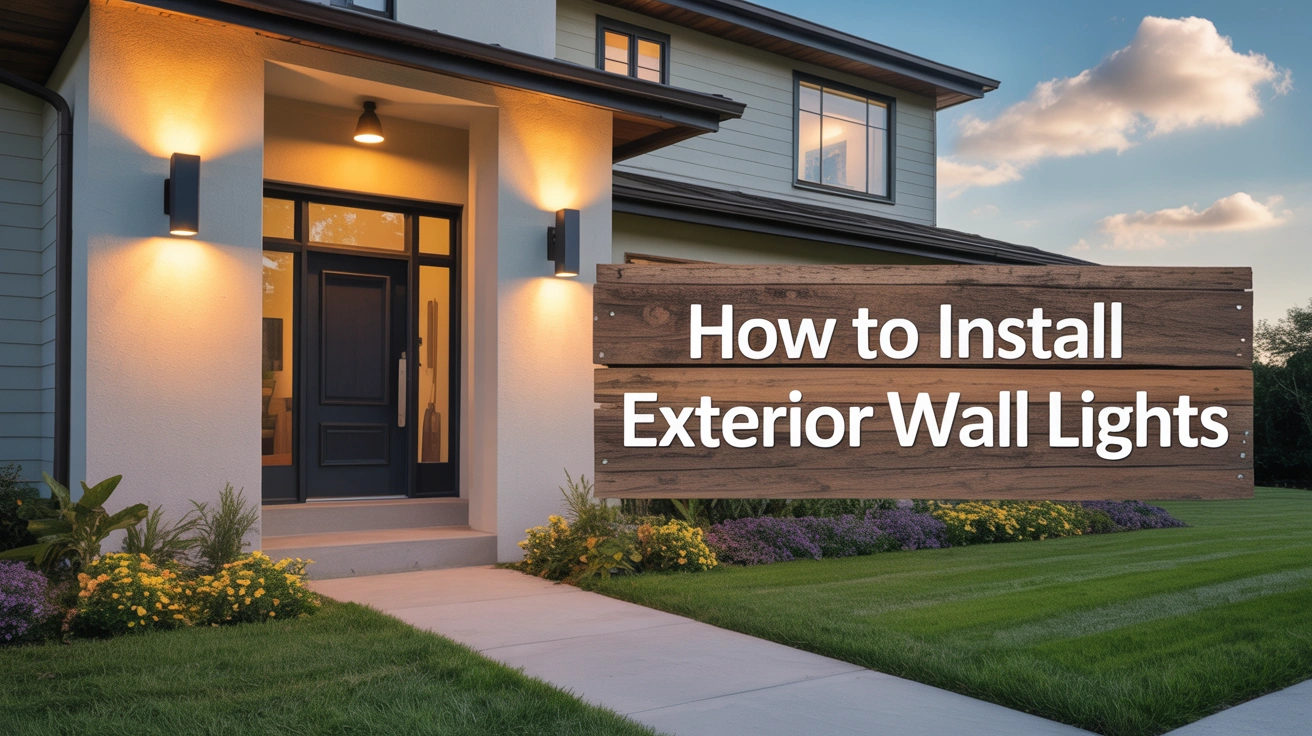
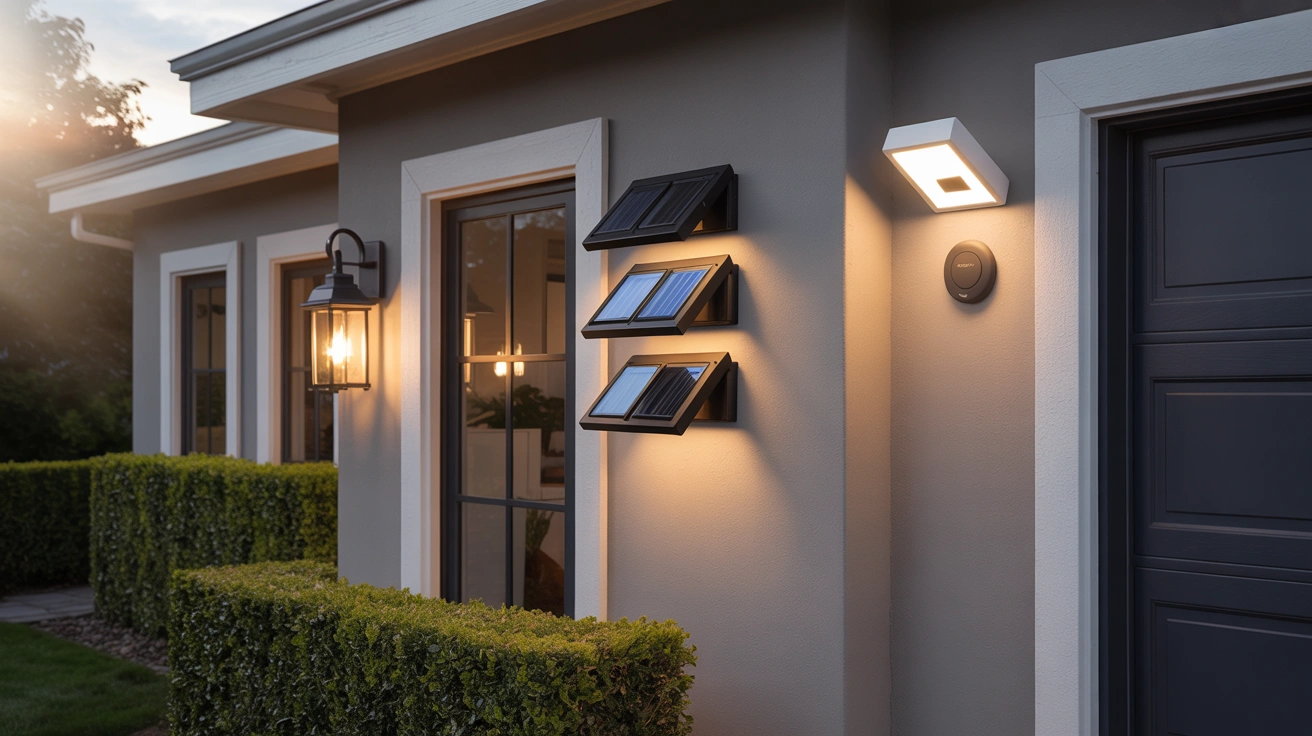
How to Install Exterior Wall Lights for Your House
Exterior wall lights for your house enhance curb appeal, improve safety, and create a welcoming ambiance for front porches, entryways, garages, or patios. Installing these fixtures can be a manageable DIY project for simple setups or may require a professional electrician for hardwired installations. This guide provides step-by-step instructions for installing exterior wall lights, covering preparation, tools, safety tips, and maintenance to ensure a polished, functional outdoor lighting setup. Whether you’re adding LED wall sconces, solar lights, or motion sensor lanterns, follow these steps to illuminate your dream home with style and precision.
Why Install Exterior Wall Lights?
Exterior wall lights serve multiple purposes:
- Aesthetic Appeal: Highlight your home’s exterior design, complementing light gray or light blue house exteriors.
- Safety and Security: Illuminate front entries, garages, or pathways to prevent tripping and deter intruders.
- Functionality: Motion sensors and dusk-to-dawn features add convenience and energy efficiency.
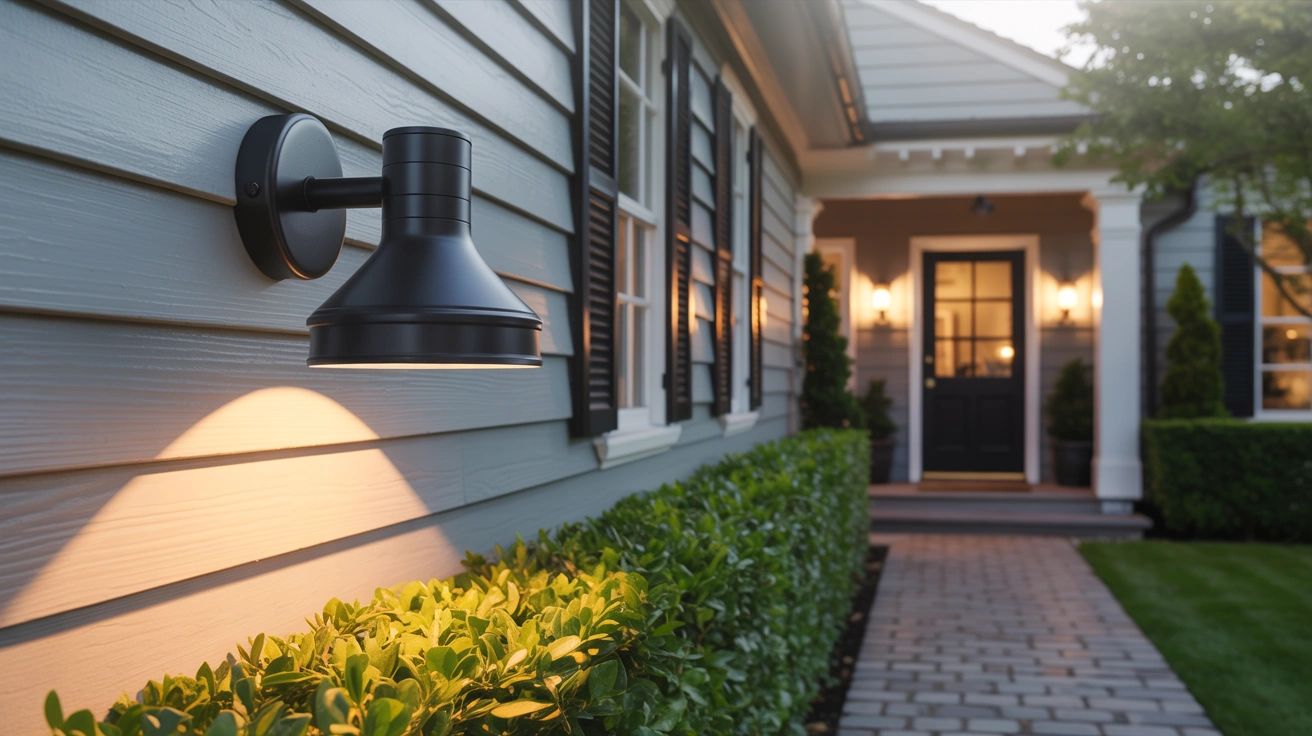
- Versatility: Available in styles like modern, farmhouse, or traditional, with durable materials like brass or powder-coated aluminum.
Brands like Kichler, Progress Lighting, and Philips Hue offer reliable options, from LED to solar-powered fixtures, ensuring long-lasting performance.
Types of Exterior Wall Lights
Before installing, choose the right exterior wall lights for your needs:
- Hardwired Wall Sconces: Provide consistent, bright illumination (e.g., Kichler Barrington Lantern).
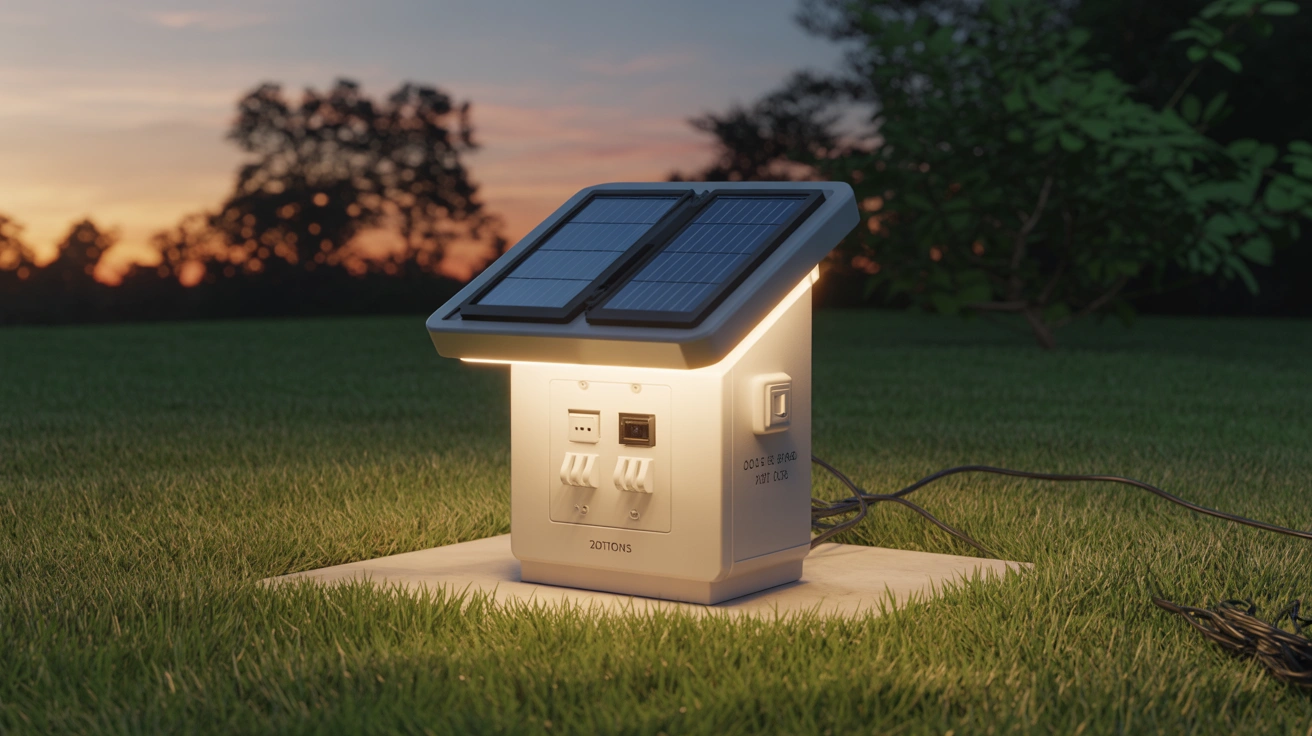
- Solar Wall Lights: No wiring required, ideal for DIY (e.g., Amazon Basics 2-Pack Solar Lights).
- Smart Wall Lights: App-controlled with motion sensors (e.g., Philips Hue Econic).
- Motion Sensor Lights: Enhance security for garages or side entrances (e.g., Leonlite LED Wall Light).
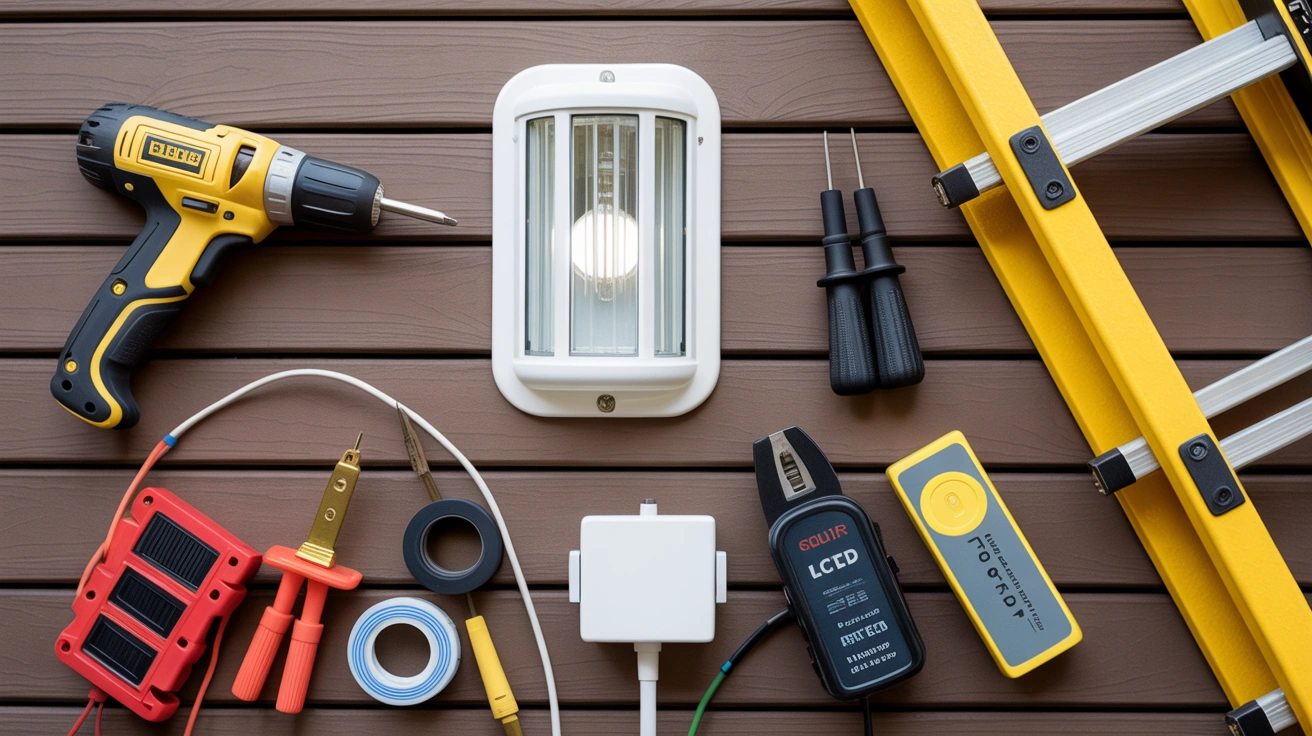
Tools and Materials Needed
- Tools: Screwdriver, drill, wire cutters/strippers, voltage tester, ladder, level, stud finder.
- Materials: Exterior wall light fixture, mounting hardware, wire connectors, electrical tape, junction box (if not pre-installed), weatherproof caulk.
- Safety Gear: Gloves, safety glasses, insulated tools.
- Optional: Solar lights (no wiring needed) or USB charger for solar batteries.
Step-by-Step Guide to Installing Exterior Wall Lights
1. Plan Your Installation
- Choose Location: Place lights at 65–75 inches from the ground for optimal spread, typically flanking front doors, garages, or patio walls. Ensure solar lights get 6–8 hours of direct sunlight.
- Check Local Codes: Verify building codes or permits for electrical work in your area (contact your local municipality).
- Select Fixture: Ensure the fixture is UL-listed for wet or damp locations and matches your exterior house color (e.g., matte black for light gray exteriors).
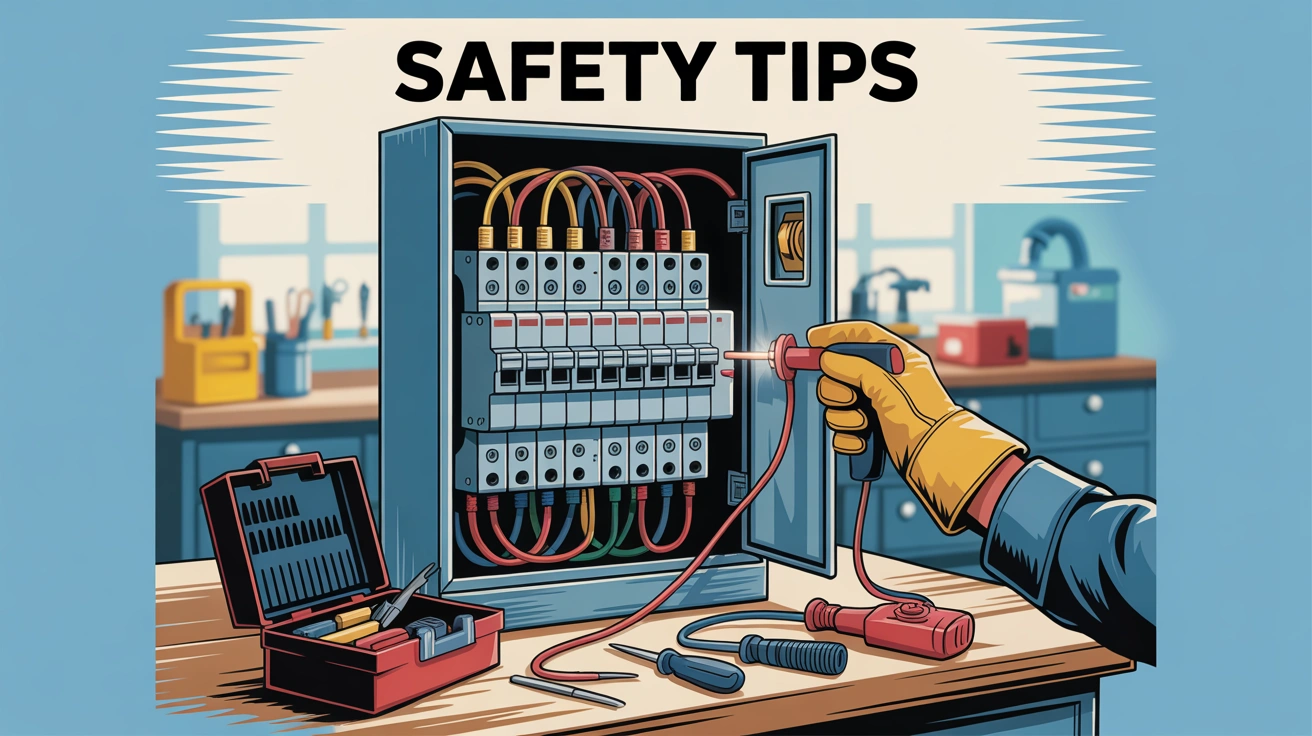
- Turn Off Power: For hardwired lights, switch off the circuit breaker to avoid electrical shock. Use a voltage tester to confirm no power.

2. Prepare thes Installation Site
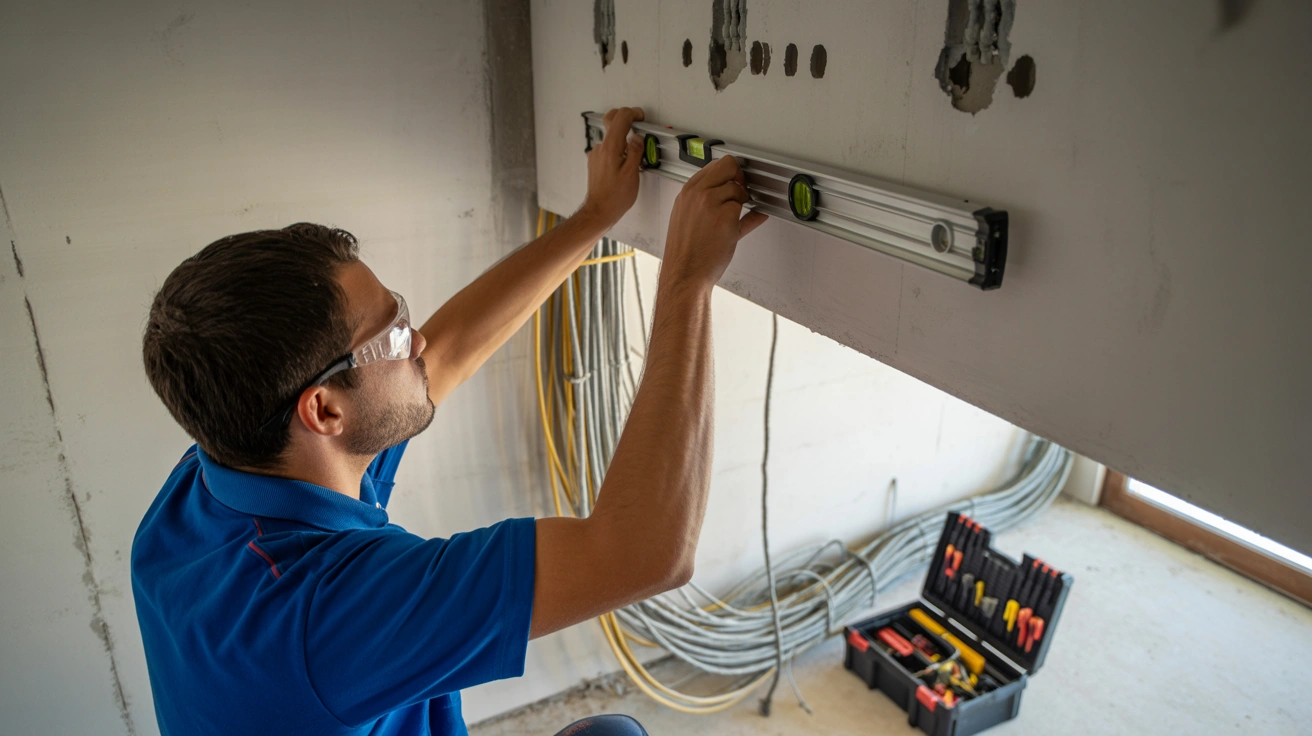
- Locate Wiring: For hardwired lights, ensure an existing junction box or plan to install one. Use a stud finder to avoid drilling into studs.
- Mark Mounting Points: Hold the fixture’s mounting bracket against the wall, use a level to ensure it’s straight, and mark screw holes with a pencil.
- For Solar Lights: Skip wiring steps; ensure the solar panel can be positioned for maximum sunlight exposure.
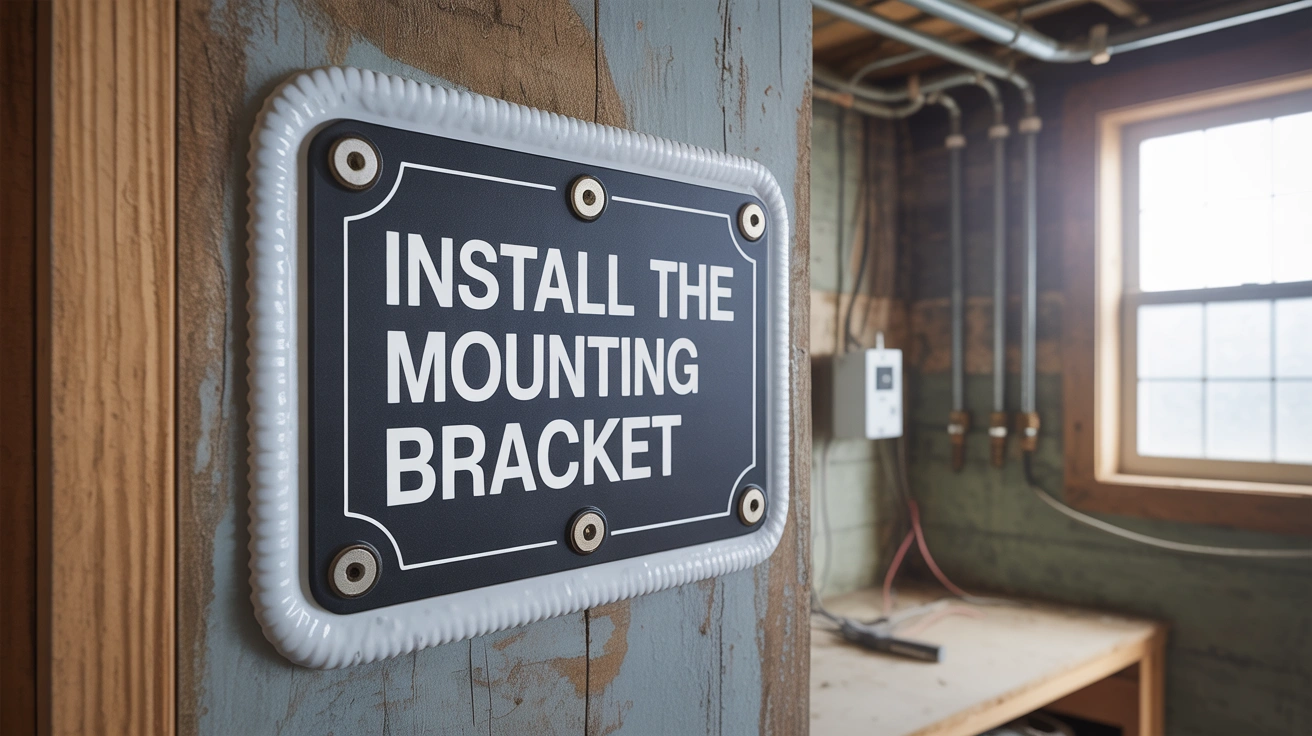
3. Install the Mounting Bracket
- Hardwired Lights:
- Drill pilot holes at marked points.
- Secure the mounting bracket to the junction box or wall with provided screws.
- Apply weatherproof caulk around the bracket to seal against moisture.
- Solar Lights:
- Attach the mounting bracket to the wall using screws or adhesive (if provided).
- Ensure the solar panel is angled toward sunlight.
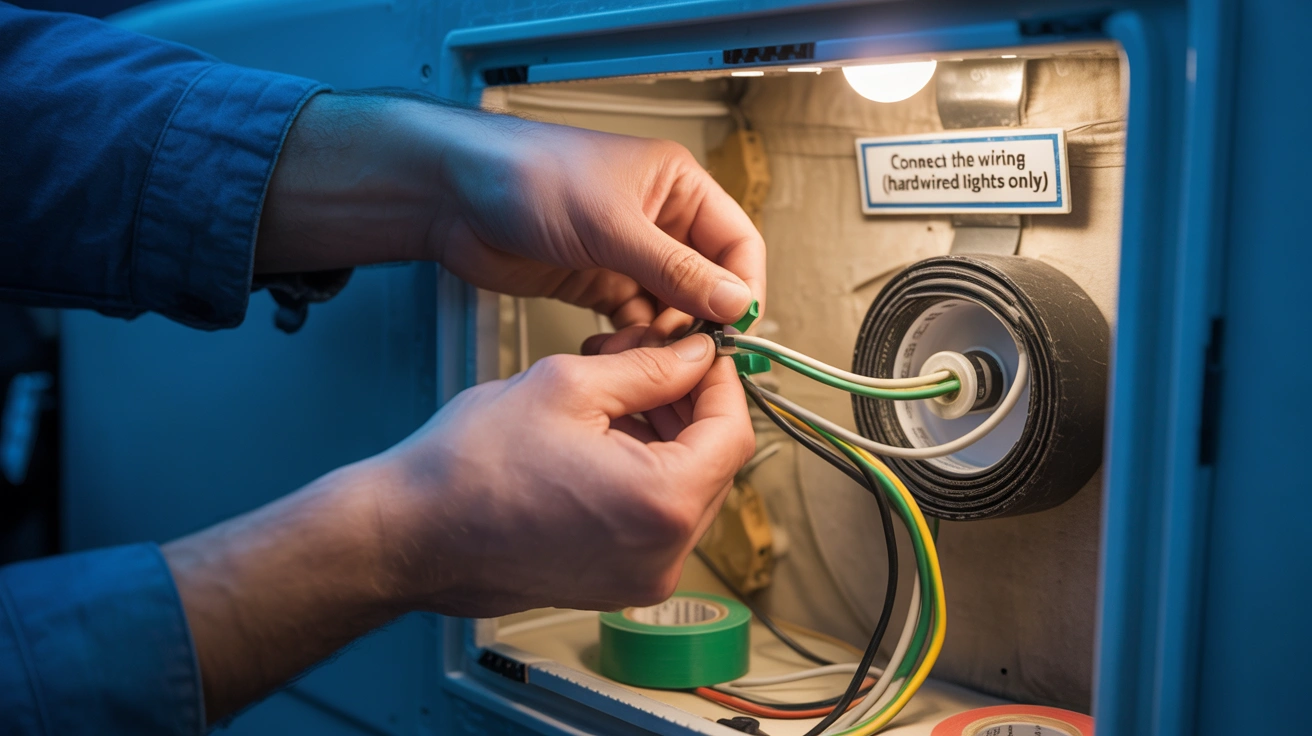
4. Connect the Wiring (Hardwired Lights Only)
- Access Wires: Remove the cover from the junction box to expose house wiring (black = hot, white = neutral, green/copper = ground).
- Connect Fixture Wires:
- Strip ½ inch of insulation from the fixture’s wires.
- Match wires: black to black (hot), white to white (neutral), ground to ground.
- Secure with wire connectors and wrap with electrical tape for safety.
- Test Connections: Tug gently to ensure wires are secure.
- Caution: If you’re unfamiliar with electrical work, hire a licensed electrician to avoid risks.
5. Mount the Light Fixture
- Attach Fixture: Secure the wall sconce or lantern to the mounting bracket using provided screws or clips.
- Align Properly: Use a level to ensure the fixture is straight.
- Seal Gaps: Apply weatherproof caulk around the fixture’s base to prevent water ingress.
- For Solar Lights: Snap or screw the light onto the bracket; ensure the solar panel is attached or positioned correctly.
6. Install Bulbs and Test
- Insert Bulbs: Use LED bulbs (recommended for efficiency) or bulbs specified by the manufacturer. Check wattage and color temperature (e.g., 2700K for warm, 5000K for cool).
- For Solar Lights: Ensure batteries are charged (some models include USB charging options).
- Test the Fixture:
- For hardwired lights, restore power at the circuit breaker and flip the switch.
- For solar lights, cover the solar panel to simulate darkness and verify operation.
- Adjust motion sensors or dusk-to-dawn settings as needed.
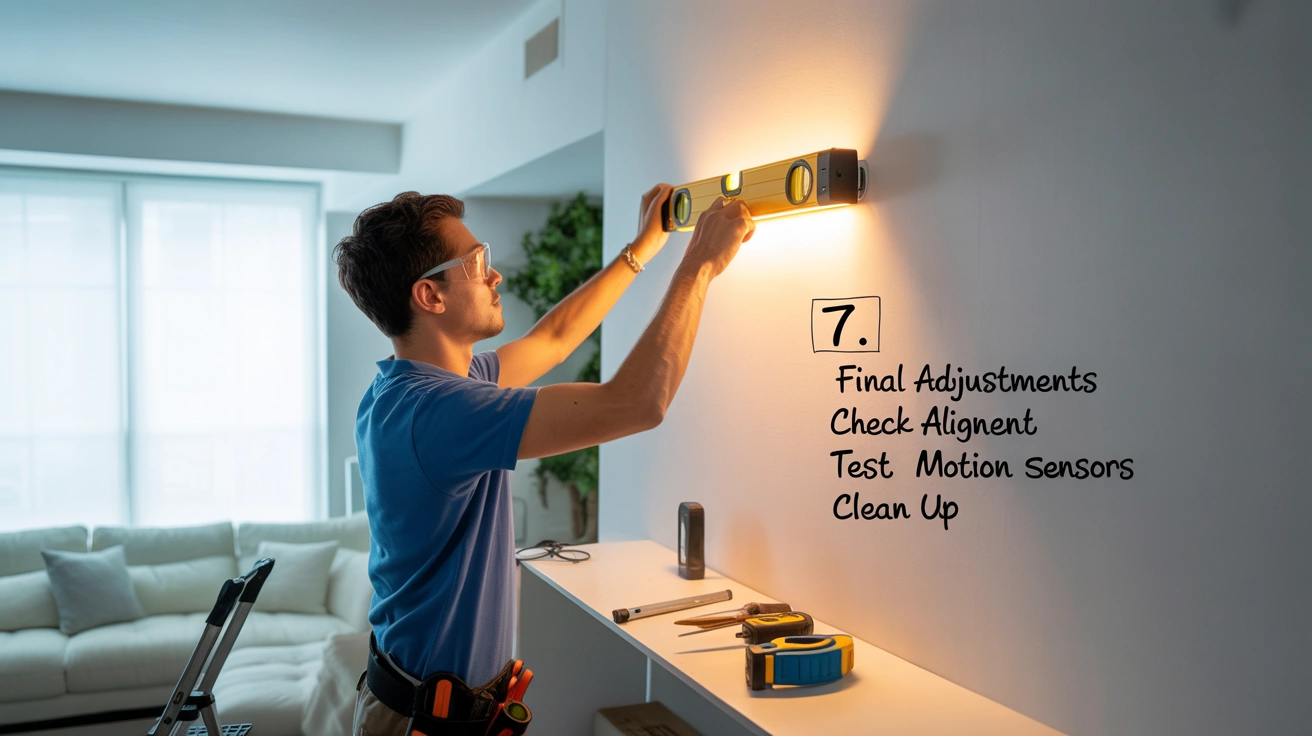
7. Final Adjustments
- Check Alignment: Ensure the fixture is level and secure.
- Test Motion Sensors: Walk past the sensor to confirm range and sensitivity (typically 10–33 feet).
- Clean Up: Remove debris and store tools safely.
Safety Tips
- Turn Off Power: Always confirm power is off with a voltage tester before handling wires.
- Use Insulated Tools: Prevent electrical shock with proper equipment.
- Follow Manufacturer Instructions: Adhere to fixture-specific guidelines for wet-rated or damp-rated installations.
- Hire a Professional: For complex wiring or multiple fixtures, consult a licensed electrician to ensure compliance with NEC (National Electrical Code).
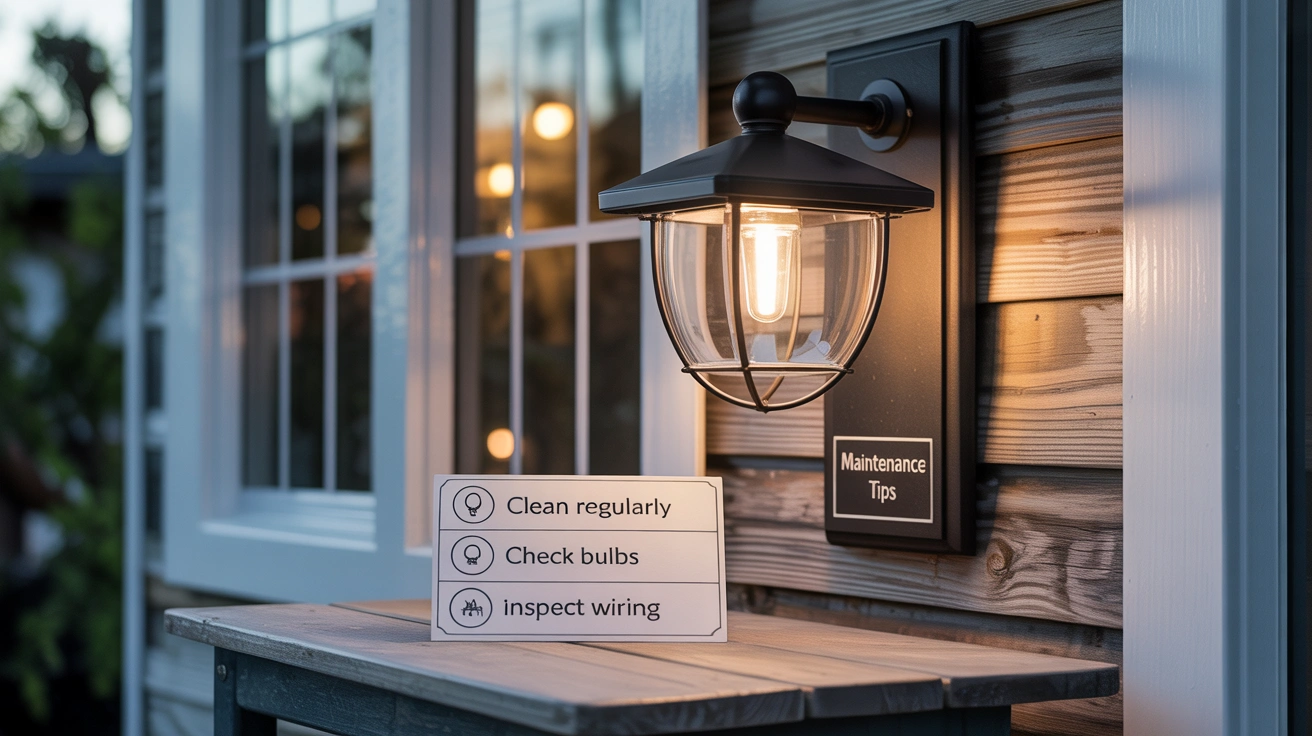
Maintenance Tips for Exterior Wall Lights
- Clean Regularly: Wipe tempered glass shades and solar panels to maintain brightness and efficiency.
- Check Bulbs: LED bulbs last 5–10 years; replace as needed.
- Inspect Wiring: For hardwired lights, check connections annually for wear or corrosion.
- Replace Solar Batteries: Swap out solar batteries every 2–5 years for optimal performance.
- Warranties: Check brand warranties (e.g., Kichler: 5 years, Philips Hue: 2 years, Progress Lighting: 1–3 years).
Top Exterior Wall Light Picks for Your House
- Kichler Barrington Wall Lantern
- Features: LED-compatible, black finish, IP65 waterproof, 800 lumens
- Best For: Front porches or garages
- Price: ~$150 (Home Depot)
- Why Choose: Classic design with durable aluminum and tempered glass.
- Philips Hue Econic Smart Wall Light
- Features: 16 million colors, motion sensor, app-controlled, IP44
- Best For: Modern front entries or patios
- Price: ~$180 (Amazon)
- Why Choose: Sleek smart lighting with customizable colors.
- Amazon Basics Solar Wall Lantern (2-Pack)
- Features: Solar-powered, dusk-to-dawn, IP65, 200 lumens
- Best For: Pathways or entryways
- Price: ~$40 (Amazon)
- Why Choose: Budget-friendly, easy DIY installation.
- Leonlite LED Motion Sensor Wall Light
- Features: 1800 lumens, adjustable heads, IP65, dusk-to-dawn
- Best For: Garages or side entrances
- Price: ~$60 (Amazon)
- Why Choose: Bright, security-focused design.
Troubleshooting Common Issues
- Light Doesn’t Turn On: Check power (hardwired) or solar battery charge. Ensure solar panels get sunlight.
- Dim Light: Clean solar panels or replace LED bulbs. Verify adequate sunlight exposure.
- Motion Sensor Issues: Adjust sensitivity or range; ensure no obstructions.
- Flickering: Check loose wiring (hardwired) or replace solar batteries.
When to Hire a Professional
- Complex Wiring: If your home lacks a junction box or requires new wiring, hire an electrician.
- Multiple Fixtures: Installing several wall sconces or integrating smart lighting systems is best left to professionals.
- Safety Concerns: If you’re unsure about electrical work, prioritize safety and consult a licensed electrician.
Where to Buy
- Amazon: Budget-friendly solar and LED options like Amazon Basics or Leonlite.
- Home Depot: Stocks Kichler, Progress Lighting, and Philips Hue.
- Wayfair: Stylish wall sconces and lanterns for modern or farmhouse aesthetics.
- Manufacturer Sites: Direct purchases from Kichler or Philips Hue for warranties.
Customer Insights
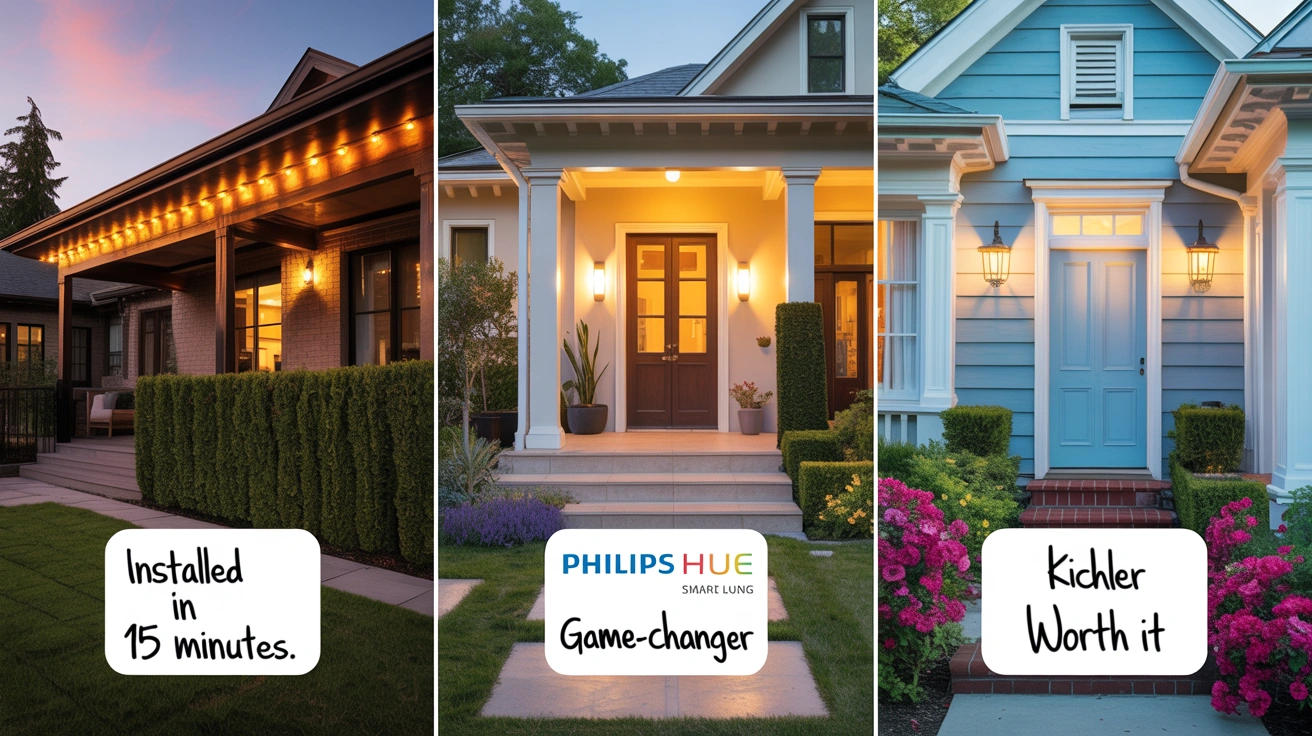
- Mark T., Central Iowa: “Installed Amazon Basics solar lights on our patio in 15 minutes. So easy and bright!”
- Claire R., Seattle, WA: “The Philips Hue smart lights on our front entry are a game-changer. Love the app control!”
- Sarah L., Miami, FL: “Our Kichler sconces look stunning on our light blue house exterior. Professional installation was worth it.”
Conclusion
Installing exterior wall lights for your house is a rewarding project that boosts curb appeal, safety, and functionality. Whether you choose solar-powered fixtures for easy DIY setup or LED smart lights for modern convenience, proper planning and execution are key. Follow safety guidelines, use durable fixtures from brands like Kichler or Philips Hue, and consider professional help for hardwired installations. Shop at Amazon, Home Depot, or Wayfair to find the perfect wall sconces or lanterns, and share your outdoor lighting projects on Pinterest or Houzz for inspiration. Light up your dream home today!