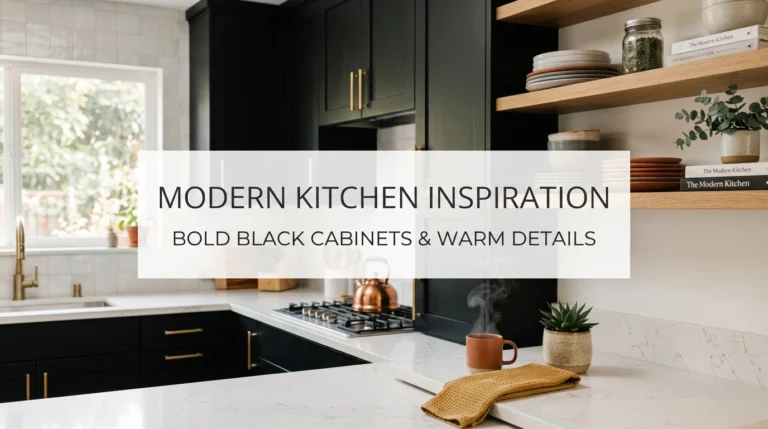
15 Smart Small Kitchen Layout Ideas That Actually Work

15 Smart Small Kitchen Layout Ideas That Actually Work If your kitchen feels cramped, cluttered, or just plain frustrating to use, you’re definitely not alone…

Smart Small Kitchen Layout Ideas

15 Smart Small Kitchen Layout Ideas That Actually Work

If your kitchen feels cramped, cluttered, or just plain frustrating to use, you’re definitely not alone. Small kitchens can make even simple things—like chopping vegetables or making coffee—feel like a juggling act. In my experience, the biggest mistake here is thinking you need a full renovation to fix it. You don’t.

A few smart layout tweaks and thoughtful styling choices can completely change how your kitchen looks and how it works. We’re talking about real, doable ideas—nothing showroom-perfect or unrealistic. Just practical, Pinterest-worthy solutions that make everyday life easier.

In this post, you’ll find 15 small kitchen layout ideas that actually work—each one designed to help you save space, improve flow, and add personality without blowing your budget. If your kitchen needs a reset, you’re in the right place.

Let’s get into it.

Galley Layout That Maximizes Every Inch

There’s something quietly satisfying about a galley kitchen done right. Everything is within arm’s reach, the lines are clean, and it feels efficient instead of cramped. When it’s styled well, it can feel cozy rather than narrow.

Keep cabinets on both sides but go lighter on the upper storage to avoid that boxed-in feeling. I always recommend using one side for full cabinetry and the other for open shelves or a slim counter. Stick to a width of about 90–120 cm between counters so you can move comfortably. Budget-wise, this layout can stay under $300 if you’re just updating shelves and lighting. One mistake to avoid: don’t use dark cabinets on both sides—it makes the space feel tighter.
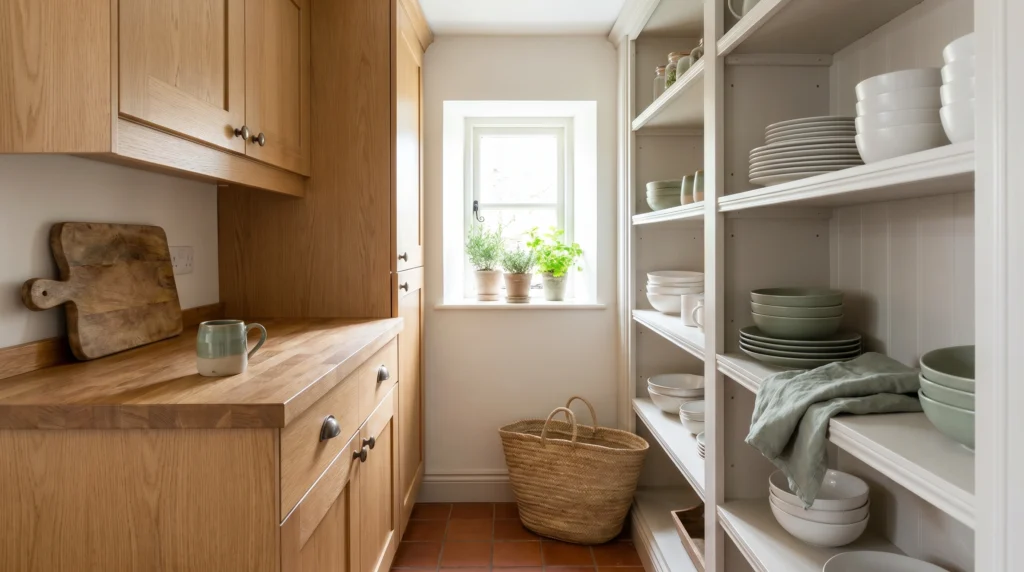
Galley Layout That Maximizes Every Inch

L-Shaped Layout for Open Movement

This layout instantly opens up a small kitchen by using two walls instead of boxing you in. It feels breathable, especially if one side flows into a dining or living space.

Use one wall for cooking (stove + hood) and the other for prep and sink. Leave the corner mostly uncluttered—it’s tempting to overfill it, but space is what makes this layout work. What I personally love about this is how easy it is to add a small table or cart nearby. You can keep it under $200 with smart storage upgrades. Tip: avoid bulky corner cabinets that are hard to reach.
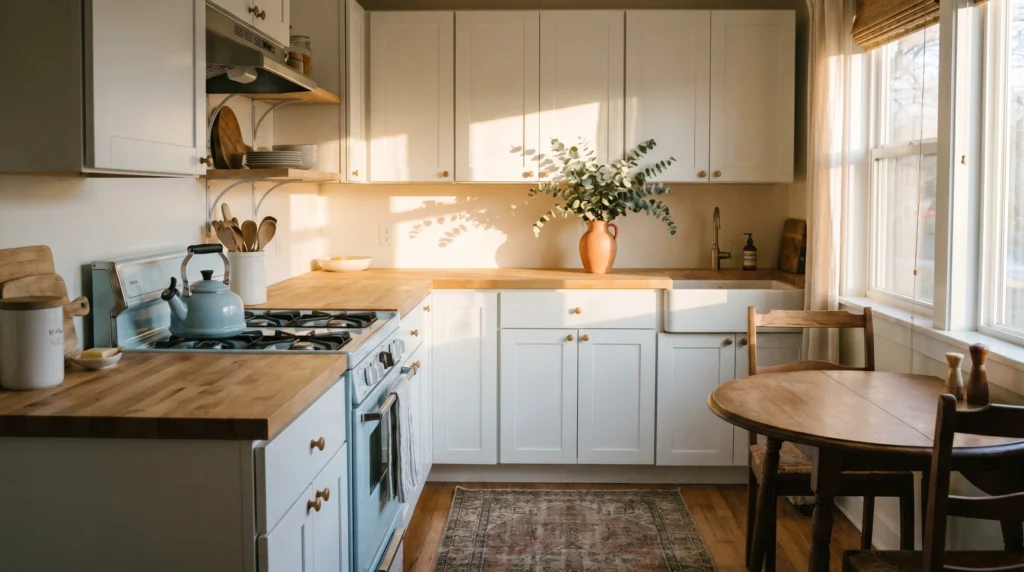
L-Shaped Layout for Open Movement

One-Wall Kitchen for Ultra-Compact Spaces

If you’re working with a studio or tiny apartment, this layout keeps everything streamlined along a single wall. It’s minimal but can still feel warm and lived-in.

Stack your functions: fridge, sink, and stove in a straight line. Use vertical storage above—floating shelves or tall cabinets. I always recommend adding under-cabinet lighting here because it makes a huge difference. You can pull this off for $100–$250 with smart upgrades. Biggest mistake? Leaving the wall blank above the counter—it wastes valuable space.
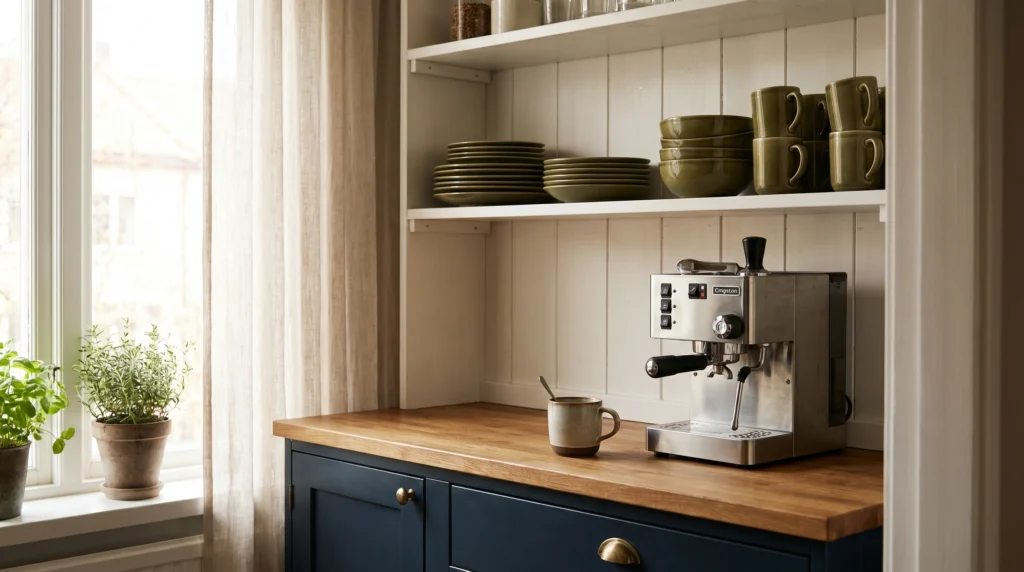
One-Wall Kitchen for Ultra-Compact Spaces

U-Shaped Layout for Maximum Storage

This layout wraps around three sides, giving you tons of storage and prep space—even in a small kitchen. It feels like your own little cooking zone.

Keep one side slightly open or lower (like a breakfast bar) to avoid feeling closed in. Use lighter tones on upper cabinets to keep things airy. In my experience, the biggest mistake here is overloading all three walls with heavy cabinetry. Budget: $200–$400 for updates. Tip: add open shelving on one side to break up the heaviness.
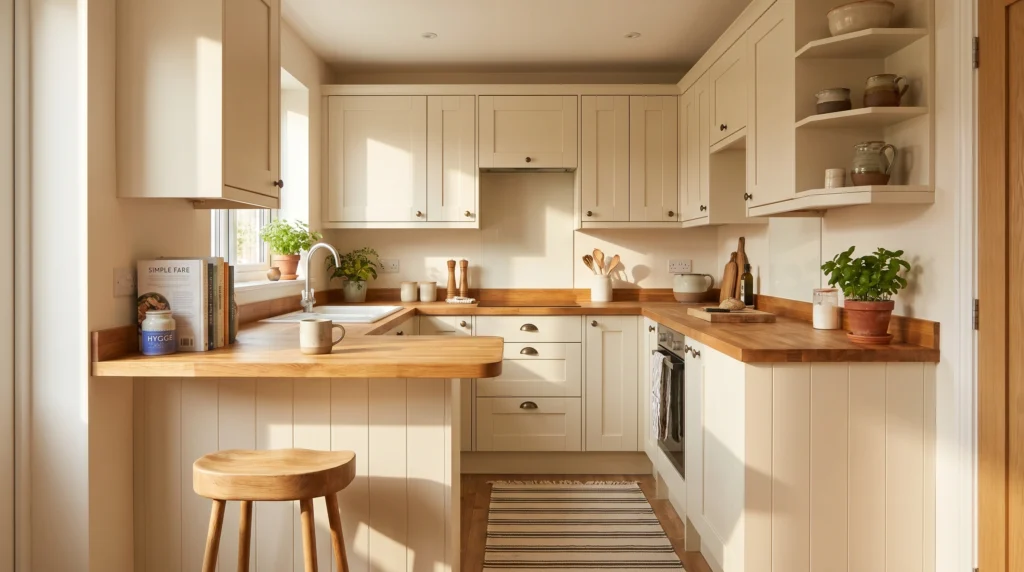
U-Shaped Layout for Maximum Storage

Corner Sink Layout That Frees Up Counter Space

Placing your sink in the corner might sound unusual, but it frees up long stretches of counter space where you need it most.

Angle the sink slightly for better ergonomics, and install a corner window if possible. What I love about this is how it opens up the main workspace. Cost can stay under $150 if you’re just repositioning fixtures. Tip: avoid deep, awkward corner cabinets below—go for pull-out storage instead.
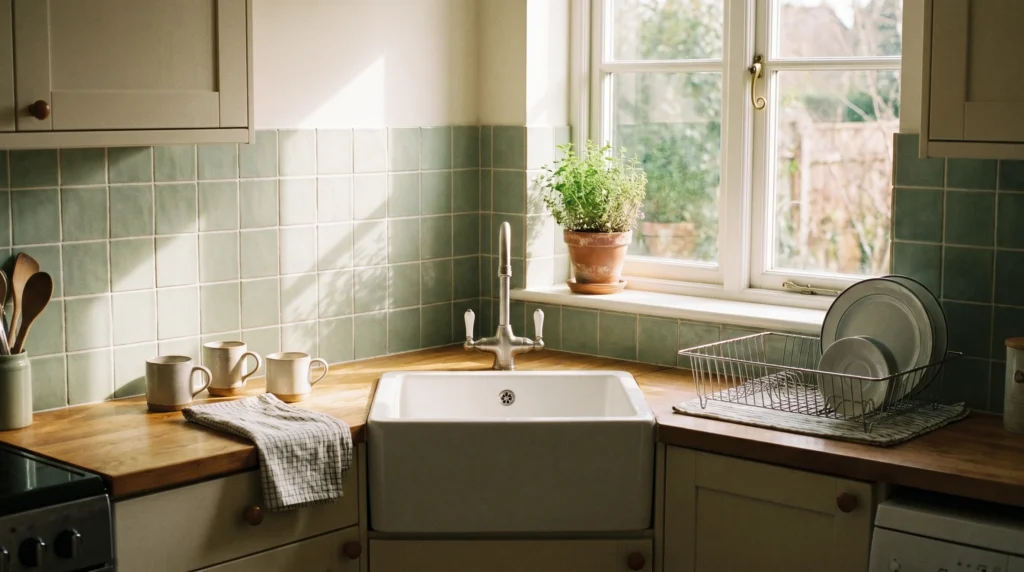
Corner Sink Layout That Frees Up Counter Space

Peninsula Layout for Extra Surface Without Bulk

A peninsula gives you extra workspace without needing a full island. It’s attached on one side, making it perfect for small kitchens.

Use it as a prep area, breakfast spot, or even storage underneath. I always recommend keeping it narrow—about 60 cm wide. Budget can range from $80–$200 depending on materials. Mistake to avoid: making it too wide and blocking movement.
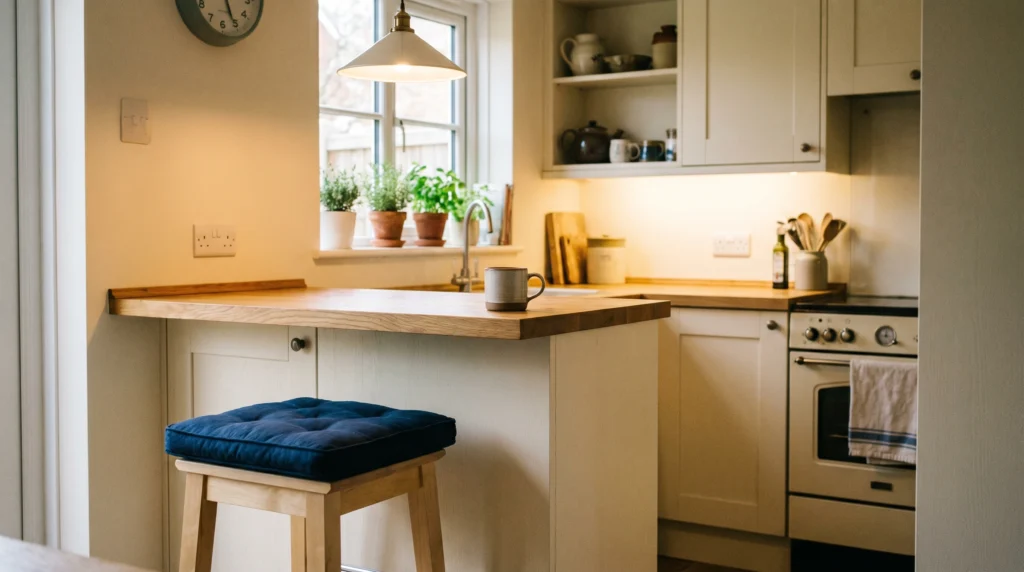
Peninsula Layout for Extra Surface Without Bulk

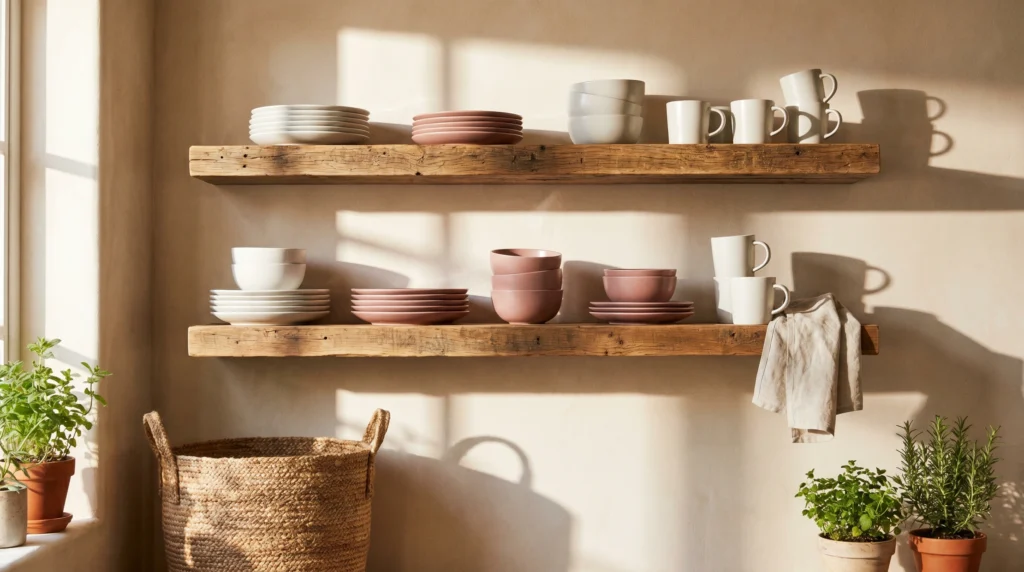
Open Shelving Layout for a Lighter Feel

Replacing upper cabinets with open shelves can instantly make a small kitchen feel bigger and more relaxed.

Stick to 2–3 shelves max and keep items curated—plates, mugs, jars. What I personally love about this is how it forces you to stay organized. It’s also budget-friendly, around $50–$120. Tip: avoid overcrowding shelves—it quickly looks messy.
15 Smart Small Kitchen Layout Ideas That Actually Work

If your kitchen feels cramped, cluttered, or just plain frustrating to use, you’re definitely not alone. Small kitchens can make even simple things—like chopping vegetables or making coffee—feel like a juggling act. In my experience, the biggest mistake here is thinking you need a full renovation to fix it. You don’t.

A few smart layout tweaks and thoughtful styling choices can completely change how your kitchen looks and how it works. We’re talking about real, doable ideas—nothing showroom-perfect or unrealistic. Just practical, Pinterest-worthy solutions that make everyday life easier.

In this post, you’ll find 15 small kitchen layout ideas that actually work—each one designed to help you save space, improve flow, and add personality without blowing your budget. If your kitchen needs a reset, you’re in the right place.

Let’s get into it.

Galley Layout That Maximizes Every Inch

There’s something quietly satisfying about a galley kitchen done right. Everything is within arm’s reach, the lines are clean, and it feels efficient instead of cramped. When it’s styled well, it can feel cozy rather than narrow.

Keep cabinets on both sides but go lighter on the upper storage to avoid that boxed-in feeling. I always recommend using one side for full cabinetry and the other for open shelves or a slim counter. Stick to a width of about 90–120 cm between counters so you can move comfortably. Budget-wise, this layout can stay under $300 if you’re just updating shelves and lighting. One mistake to avoid: don’t use dark cabinets on both sides—it makes the space feel tighter.

L-Shaped Layout for Open Movement

This layout instantly opens up a small kitchen by using two walls instead of boxing you in. It feels breathable, especially if one side flows into a dining or living space.

Use one wall for cooking (stove + hood) and the other for prep and sink. Leave the corner mostly uncluttered—it’s tempting to overfill it, but space is what makes this layout work. What I personally love about this is how easy it is to add a small table or cart nearby. You can keep it under $200 with smart storage upgrades. Tip: avoid bulky corner cabinets that are hard to reach.

One-Wall Kitchen for Ultra-Compact Spaces

If you’re working with a studio or tiny apartment, this layout keeps everything streamlined along a single wall. It’s minimal but can still feel warm and lived-in.

Stack your functions: fridge, sink, and stove in a straight line. Use vertical storage above—floating shelves or tall cabinets. I always recommend adding under-cabinet lighting here because it makes a huge difference. You can pull this off for $100–$250 with smart upgrades. Biggest mistake? Leaving the wall blank above the counter—it wastes valuable space.

U-Shaped Layout for Maximum Storage

This layout wraps around three sides, giving you tons of storage and prep space—even in a small kitchen. It feels like your own little cooking zone.

Keep one side slightly open or lower (like a breakfast bar) to avoid feeling closed in. Use lighter tones on upper cabinets to keep things airy. In my experience, the biggest mistake here is overloading all three walls with heavy cabinetry. Budget: $200–$400 for updates. Tip: add open shelving on one side to break up the heaviness.

Corner Sink Layout That Frees Up Counter Space

Placing your sink in the corner might sound unusual, but it frees up long stretches of counter space where you need it most.

Angle the sink slightly for better ergonomics, and install a corner window if possible. What I love about this is how it opens up the main workspace. Cost can stay under $150 if you're just repositioning fixtures. Tip: avoid deep, awkward corner cabinets below—go for pull-out storage instead.

Peninsula Layout for Extra Surface Without Bulk

A peninsula gives you extra workspace without needing a full island. It’s attached on one side, making it perfect for small kitchens.

Use it as a prep area, breakfast spot, or even storage underneath. I always recommend keeping it narrow—about 60 cm wide. Budget can range from $80–$200 depending on materials. Mistake to avoid: making it too wide and blocking movement.

Open Shelving Layout for a Lighter Feel

Replacing upper cabinets with open shelves can instantly make a small kitchen feel bigger and more relaxed.

Stick to 2–3 shelves max and keep items curated—plates, mugs, jars. What I personally love about this is how it forces you to stay organized. It’s also budget-friendly, around $50–$120. Tip: avoid overcrowding shelves—it quickly looks messy.

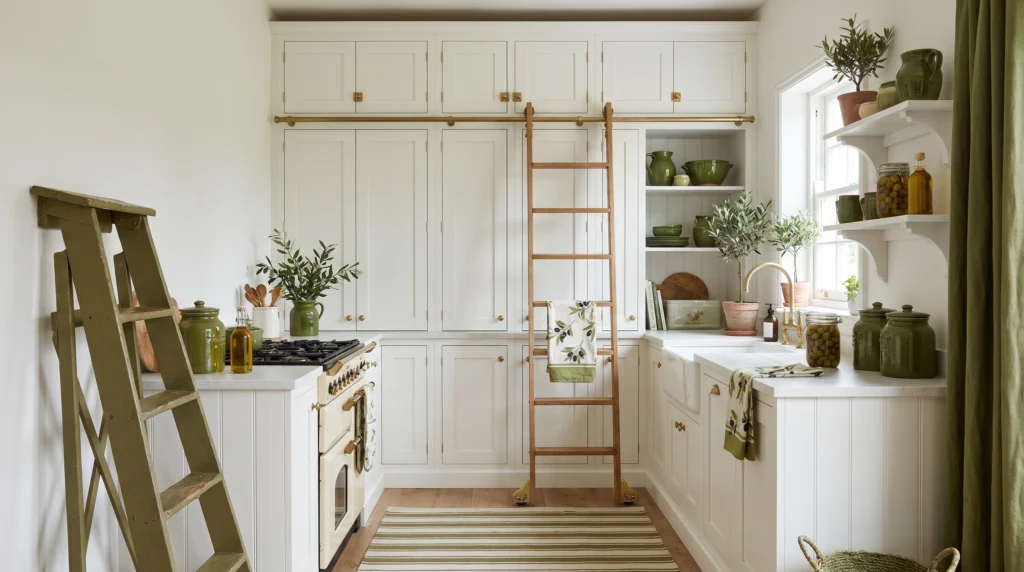
Vertical Storage Layout That Uses Wall Height

When floor space is tight, go up. Tall cabinets or stacked shelves make a huge difference.

Use the top shelves for less-used items and keep daily items within reach. I always recommend adding a small step stool—it’s a game changer. Budget: $100–$300. Mistake: leaving vertical space empty.
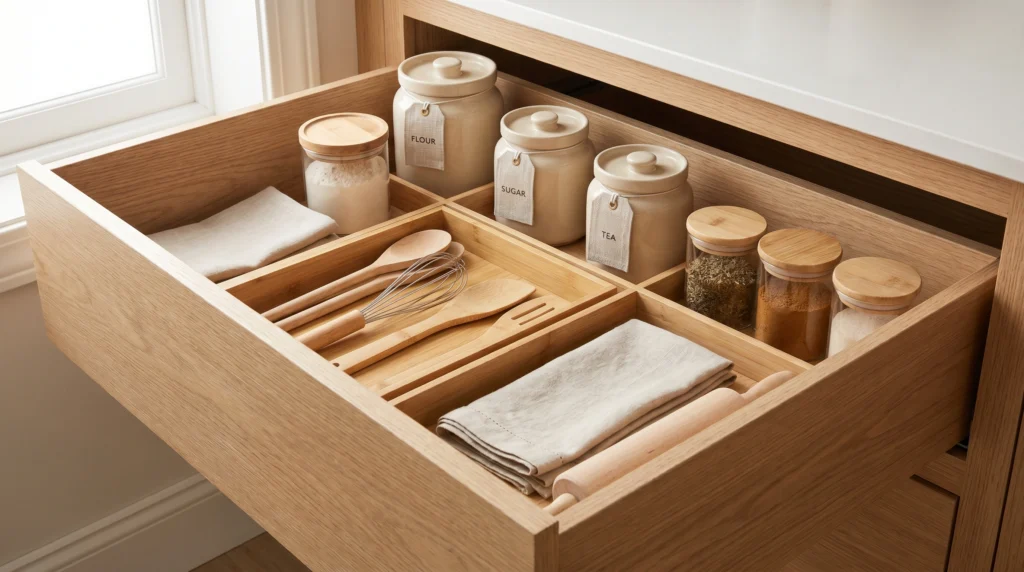
Hidden Storage Layout for a Clean Look

Clutter is the fastest way to make a small kitchen feel even smaller. Hidden storage keeps things calm and functional.

Use pull-out drawers, cabinet organizers, and concealed bins. In my experience, the biggest mistake is relying only on shelves. Budget can be as low as $60 for organizers. Tip: label sections to stay consistent.
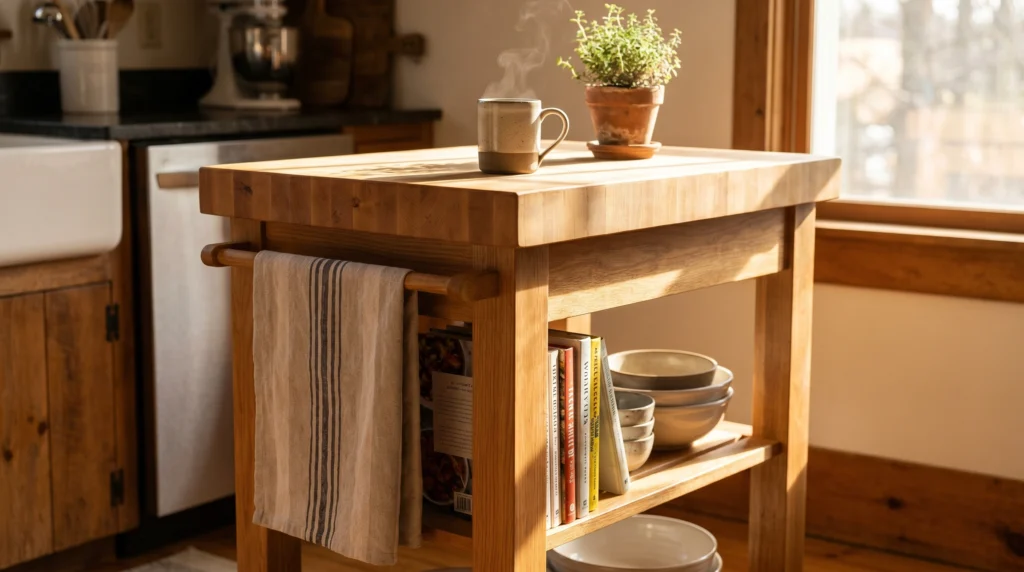
Island-on-Wheels Layout for Flexibility

A fixed island isn’t always practical, but a rolling one? That’s a different story.

Use it when you need extra space, then tuck it away. I always recommend locking wheels for stability. Budget: $80–$180. Tip: don’t go too large—it should move easily.
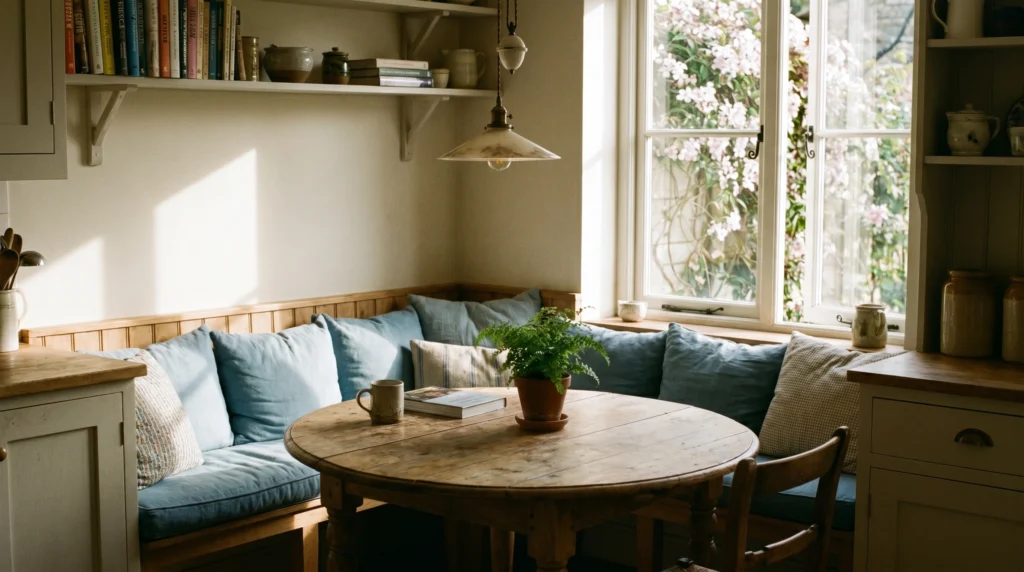
Breakfast Nook Layout That Saves Space

Even a tiny kitchen can fit a small dining spot with the right layout.

Use a corner bench and a round table to save space. What I love about this is how it makes the kitchen feel more social. Budget: $120–$300. Tip: use storage benches for extra function.
Slim Appliance Layout for Tight Spaces

Standard appliances can overwhelm a small kitchen. Slim versions give you breathing room.

Look for 45 cm dishwashers or narrow fridges. I always recommend prioritizing function over size. Budget varies, but even swapping one appliance helps. Mistake: squeezing in oversized appliances.
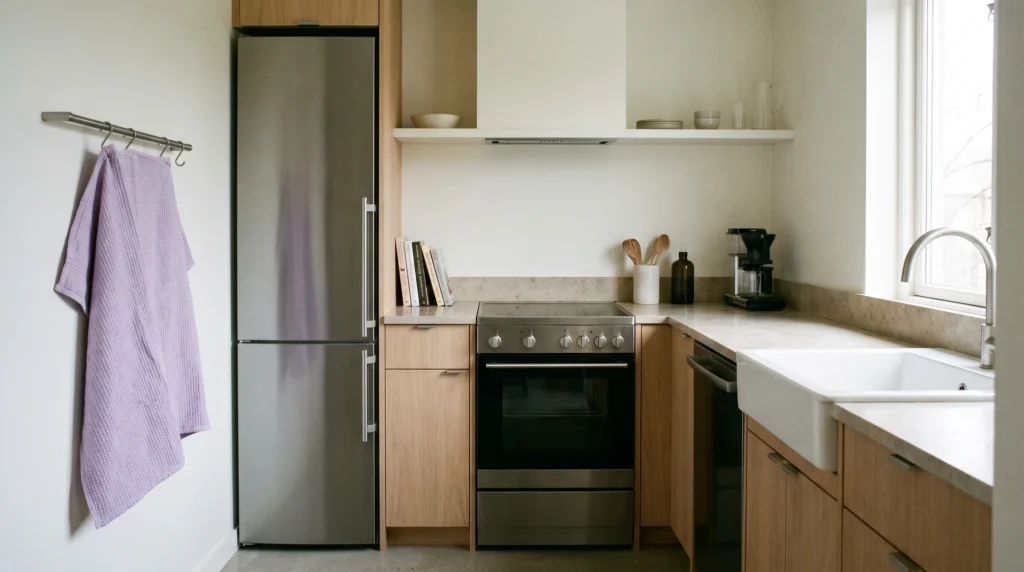
Two-Tone Layout to Add Depth

Using two colors can visually separate zones and make a small kitchen feel more dynamic.

Keep darker tones on lower cabinets and lighter ones above. What I personally love is how this adds character without clutter. Budget: $50–$150 for paint updates. Tip: don’t pick colors that clash.
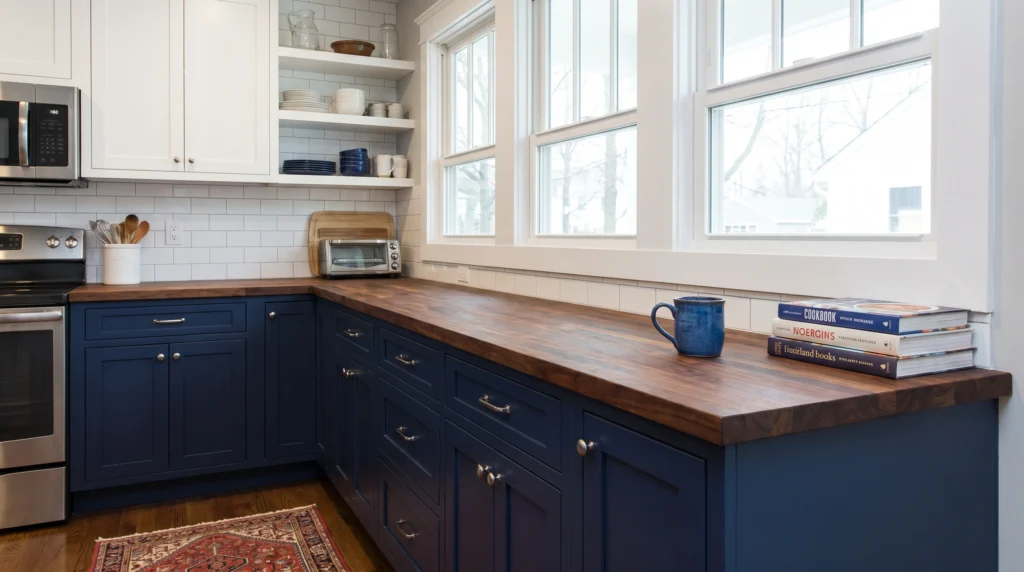
Light-Focused Layout for Airiness

Lighting can completely change how a small kitchen feels.

Use under-cabinet lights, warm bulbs, and natural light where possible. I always recommend layering lighting instead of relying on one source. Budget: $30–$100. Mistake: using harsh white lighting.
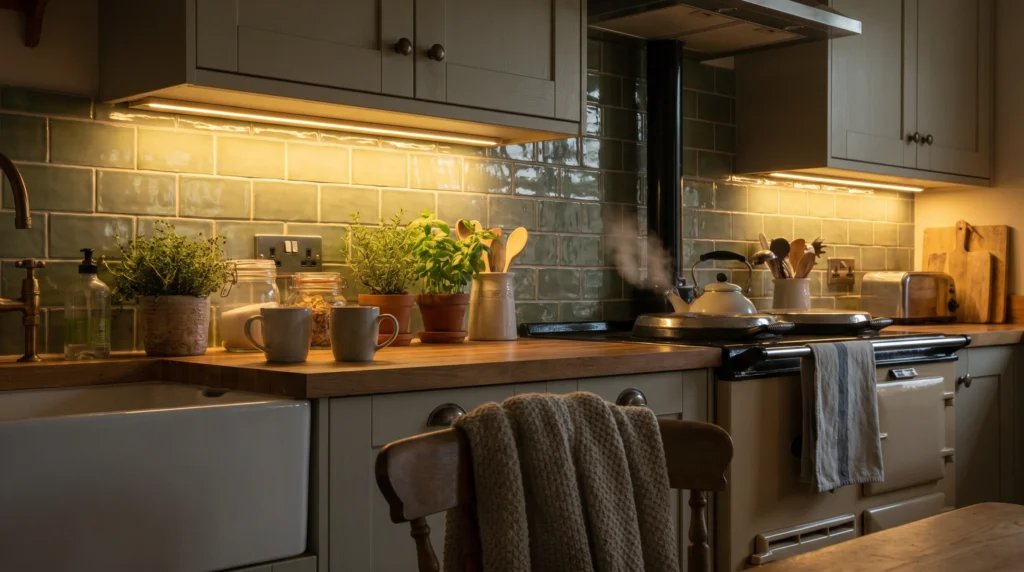
Minimal Zone Layout for Better Flow

Instead of cramming everything together, divide your kitchen into small zones: prep, cook, clean.

Even in tight spaces, this improves flow and reduces stress. In my experience, the biggest mistake is overlapping these zones too much. Budget: free to low-cost—just rearranging helps. Tip: keep tools near their zone.
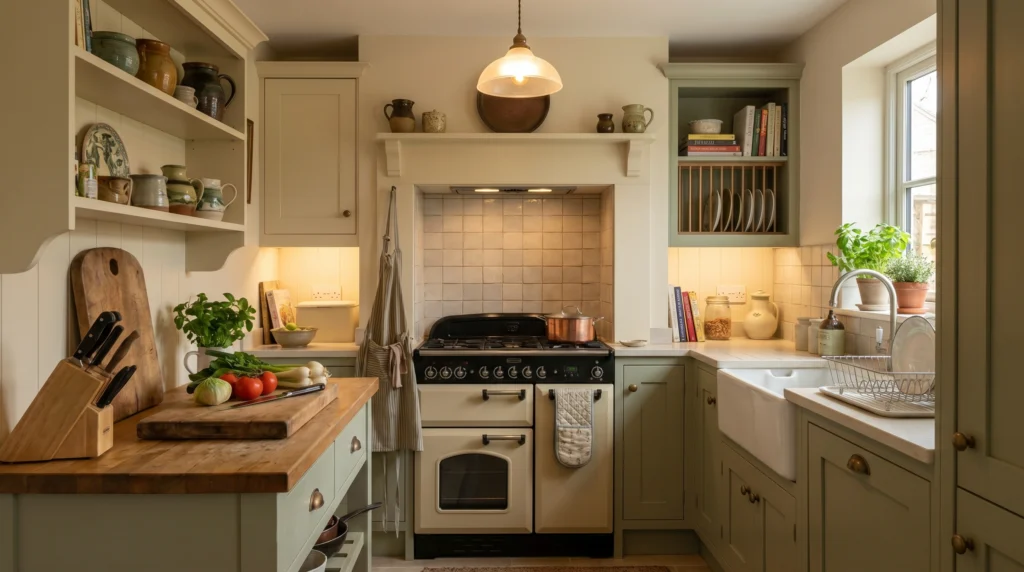
Conclusion

A small kitchen doesn’t need more space—it needs smarter choices. That’s really what it comes down to. With the right layout, even the tiniest kitchen can feel comfortable, practical, and full of personality.

You don’t have to do everything at once, either. Start with one or two of these small kitchen layout ideas that actually work—maybe better lighting, a rolling island, or open shelving—and build from there. Those small changes add up faster than you’d think.

At the end of the day, the goal isn’t perfection. It’s a space that works for you, feels good to be in, and makes everyday routines easier.

So, which of these ideas are you trying first? I’m genuinely curious—tell me what your kitchen looks like right now.

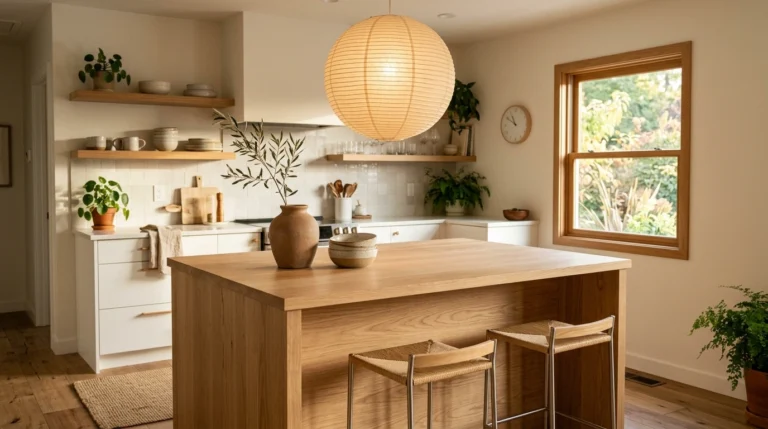
FAQs

How do I make a very small kitchen look bigger?

Start by decluttering and removing visual weight. Swap upper cabinets for open shelves or lighter tones. Good lighting also makes a big difference—especially under-cabinet lighting. Mirrors or glossy backsplashes can help reflect light and create a sense of depth.

What is the best layout for a small kitchen?

It depends on your space, but galley and L-shaped layouts are usually the most efficient. They keep everything within reach without overcrowding the room. One-wall kitchens work well for studios, while U-shaped layouts are great if you need extra storage.

Are kitchen islands worth it in small kitchens?

A full island can be too bulky, but a rolling island or slim peninsula is often worth it. They add prep space and storage without permanently taking up room. Flexibility is key in small kitchens.

How can I add storage without making my kitchen feel crowded?

Go vertical with tall cabinets or shelves, and use hidden storage like pull-out drawers. Keep surfaces clear and only display a few intentional items. Organization matters more than quantity.

What colors work best in small kitchens?

Lighter colors like white, cream, or soft gray help reflect light and open up the space. You can still add personality with accents—like sage green, navy, or muted terracotta—without overwhelming the room.

Vertical Storage Layout That Uses Wall Height

When floor space is tight, go up. Tall cabinets or stacked shelves make a huge difference.

Use the top shelves for less-used items and keep daily items within reach. I always recommend adding a small step stool—it’s a game changer. Budget: $100–$300. Mistake: leaving vertical space empty.

Vertical Storage Layout That Uses Wall Height

Hidden Storage Layout for a Clean Look

Clutter is the fastest way to make a small kitchen feel even smaller. Hidden storage keeps things calm and functional.

Use pull-out drawers, cabinet organizers, and concealed bins. In my experience, the biggest mistake is relying only on shelves. Budget can be as low as $60 for organizers. Tip: label sections to stay consistent.

Hidden Storage Layout for a Clean Look

Island-on-Wheels Layout for Flexibility

A fixed island isn’t always practical, but a rolling one? That’s a different story.

Use it when you need extra space, then tuck it away. I always recommend locking wheels for stability. Budget: $80–$180. Tip: don’t go too large—it should move easily.

Island-on-Wheels Layout for Flexibility

Breakfast Nook Layout That Saves Space

Even a tiny kitchen can fit a small dining spot with the right layout.

Use a corner bench and a round table to save space. What I love about this is how it makes the kitchen feel more social. Budget: $120–$300. Tip: use storage benches for extra function.

Breakfast Nook Layout That Saves Space

Slim Appliance Layout for Tight Spaces

Standard appliances can overwhelm a small kitchen. Slim versions give you breathing room.

Look for 45 cm dishwashers or narrow fridges. I always recommend prioritizing function over size. Budget varies, but even swapping one appliance helps. Mistake: squeezing in oversized appliances.

Slim Appliance Layout for Tight Spaces

Two-Tone Layout to Add Depth

Using two colors can visually separate zones and make a small kitchen feel more dynamic.

Keep darker tones on lower cabinets and lighter ones above. What I personally love is how this adds character without clutter. Budget: $50–$150 for paint updates. Tip: don’t pick colors that clash.

Two-Tone Layout to Add Depth

Light-Focused Layout for Airiness

Lighting can completely change how a small kitchen feels.

Use under-cabinet lights, warm bulbs, and natural light where possible. I always recommend layering lighting instead of relying on one source. Budget: $30–$100. Mistake: using harsh white lighting.

Light-Focused Layout for Airiness

Minimal Zone Layout for Better Flow

Instead of cramming everything together, divide your kitchen into small zones: prep, cook, clean.

Even in tight spaces, this improves flow and reduces stress. In my experience, the biggest mistake is overlapping these zones too much. Budget: free to low-cost—just rearranging helps. Tip: keep tools near their zone.

Minimal Zone Layout for Better Flow

Conclusion

A small kitchen doesn’t need more space—it needs smarter choices. That’s really what it comes down to. With the right layout, even the tiniest kitchen can feel comfortable, practical, and full of personality.

You don’t have to do everything at once, either. Start with one or two of these small kitchen layout ideas that actually work—maybe better lighting, a rolling island, or open shelving—and build from there. Those small changes add up faster than you’d think.

At the end of the day, the goal isn’t perfection. It’s a space that works for you, feels good to be in, and makes everyday routines easier.

So, which of these ideas are you trying first? I’m genuinely curious—tell me what your kitchen looks like right now.
FAQs

Start by decluttering and removing visual weight. Swap upper cabinets for open shelves or lighter tones. Good lighting also makes a big difference—especially under-cabinet lighting. Mirrors or glossy backsplashes can help reflect light and create a sense of depth.

It depends on your space, but galley and L-shaped layouts are usually the most efficient. They keep everything within reach without overcrowding the room. One-wall kitchens work well for studios, while U-shaped layouts are great if you need extra storage.

A full island can be too bulky, but a rolling island or slim peninsula is often worth it. They add prep space and storage without permanently taking up room. Flexibility is key in small kitchens.

Go vertical with tall cabinets or shelves, and use hidden storage like pull-out drawers. Keep surfaces clear and only display a few intentional items. Organization matters more than quantity.

Lighter colors like white, cream, or soft gray help reflect light and open up the space. You can still add personality with accents—like sage green, navy, or muted terracotta—without overwhelming the room.

Leave a Reply

Your email address will not be published. Required fields are marked *

About the Author

Sarah Profile image

Sarah

Hi, I’m Sarah a home decor enthusiast and writer passionate about creating spaces that feel both beautiful and lived-in. I believe your home should reflect your personality while still being practical for everyday life. Through simple ideas and thoughtful styling, I share inspiration to help you design a space you truly love.